
Steam 설치
로그인
|
언어
简体中文(중국어 간체)
繁體中文(중국어 번체)
日本語(일본어)
ไทย(태국어)
Български(불가리아어)
Čeština(체코어)
Dansk(덴마크어)
Deutsch(독일어)
English(영어)
Español - España(스페인어 - 스페인)
Español - Latinoamérica(스페인어 - 중남미)
Ελληνικά(그리스어)
Français(프랑스어)
Italiano(이탈리아어)
Bahasa Indonesia(인도네시아어)
Magyar(헝가리어)
Nederlands(네덜란드어)
Norsk(노르웨이어)
Polski(폴란드어)
Português(포르투갈어 - 포르투갈)
Português - Brasil(포르투갈어 - 브라질)
Română(루마니아어)
Русский(러시아어)
Suomi(핀란드어)
Svenska(스웨덴어)
Türkçe(튀르키예어)
Tiếng Việt(베트남어)
Українська(우크라이나어)
번역 관련 문제 보고


Finally, for the sync'ing of the midi playback with video playback, it helped to play-back both in 0.25 speed (I used VLC for the video-playback, which goes down to 0.25 speed easily), so that when I Alt-tab between the apps to try to quickly playback both at the same time, the error in timing effectively gets reduced by 4x. I still needed to tweak the start-offset of the midi-playback and it still took me several tries, but overall it worked out! I apologize for the wall of text, and thank you so much egglyberts!
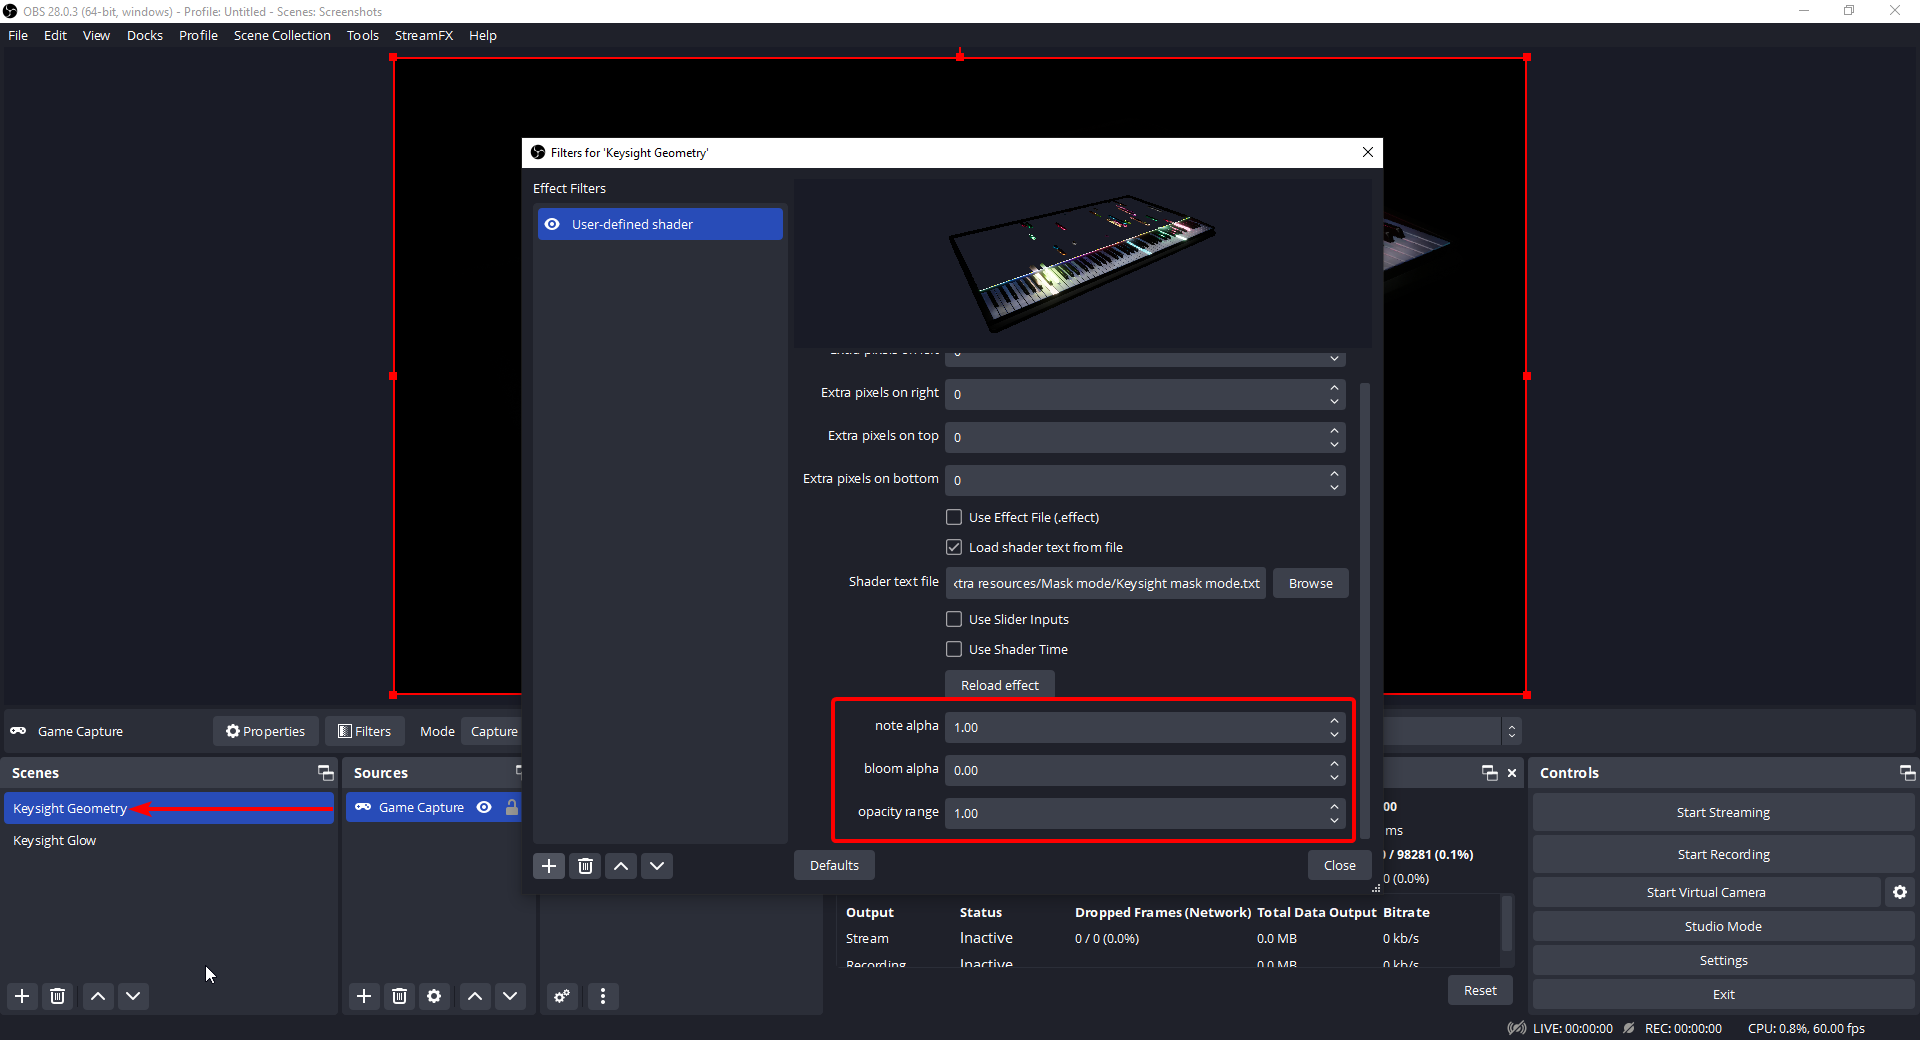
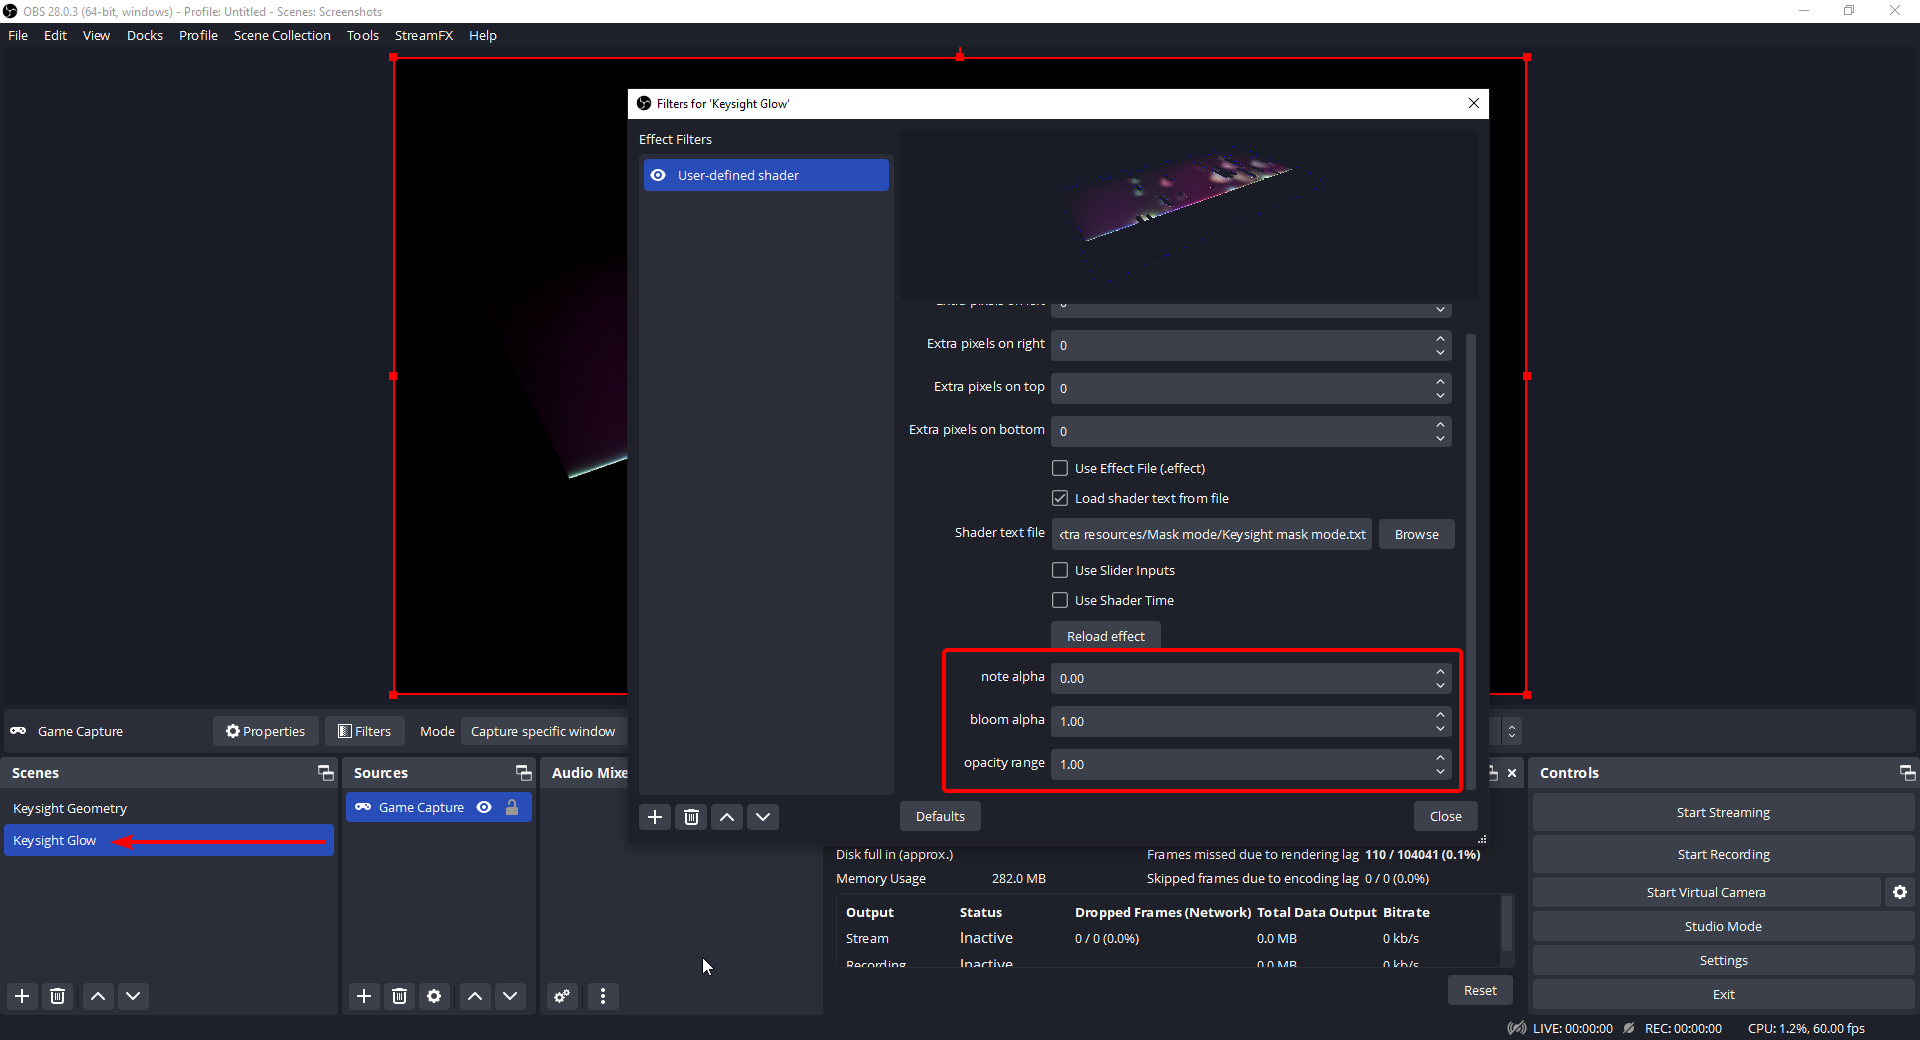
float bloom_mask = (clamp(((max(corrected.r, max(corrected.g, corrected.b)))*bloom_alpha), 0.0, 1.0))-note_mask*(1-note_alpha);
bloom_mask = (bloom_mask - (1-opacity_range)) * (1/opacity_range);
bloom_mask = (clamp(bloom_mask, 0.0, 1.0));
float3 bloom_layer = float3(corrected.r*pixel_multiplier, corrected.g*pixel_multiplier, corrected.b*pixel_multiplier);
float3 mixed_layer = float3((lerp(bloom_layer.r, corrected.r, note_mask)), (lerp(bloom_layer.g, corrected.g, note_mask)), (lerp(bloom_layer.b, corrected.b, note_mask)));
return float4(mixed_layer.rgb, (note_mask*note_alpha)+bloom_mask);
}
```
(remove the back-ticks, I hoped they'd give me nice code-formatting).
```
uniform float note_alpha = 1.0;
uniform float bloom_alpha = 1.0;
uniform float opacity_range = 1.0;
float4 mainImage( VertData v_in ) : TARGET
{
float2 uv = v_in.uv;
float blue_multiplier = 0.495;
float2 baseUV = float2(uv.x, uv.y);
float4 base = image.Sample(textureSampler, baseUV);
float note_mask;
if(base.b >= (0.5-((0.5 - blue_multiplier)*0.5)))
note_mask = 1.0;
else
note_mask = 0.0;
float3 corrected = float3(base.r, base.g, (base.b-(0.5*note_mask))*(1/blue_multiplier));
float pixel_multiplier = 1.0/(max(corrected.r, max(corrected.g, corrected.b)));
```
(continued) in next comment
Shady link? Perhaps, but it's open-source and shady links fit the Shader theme anyway :P
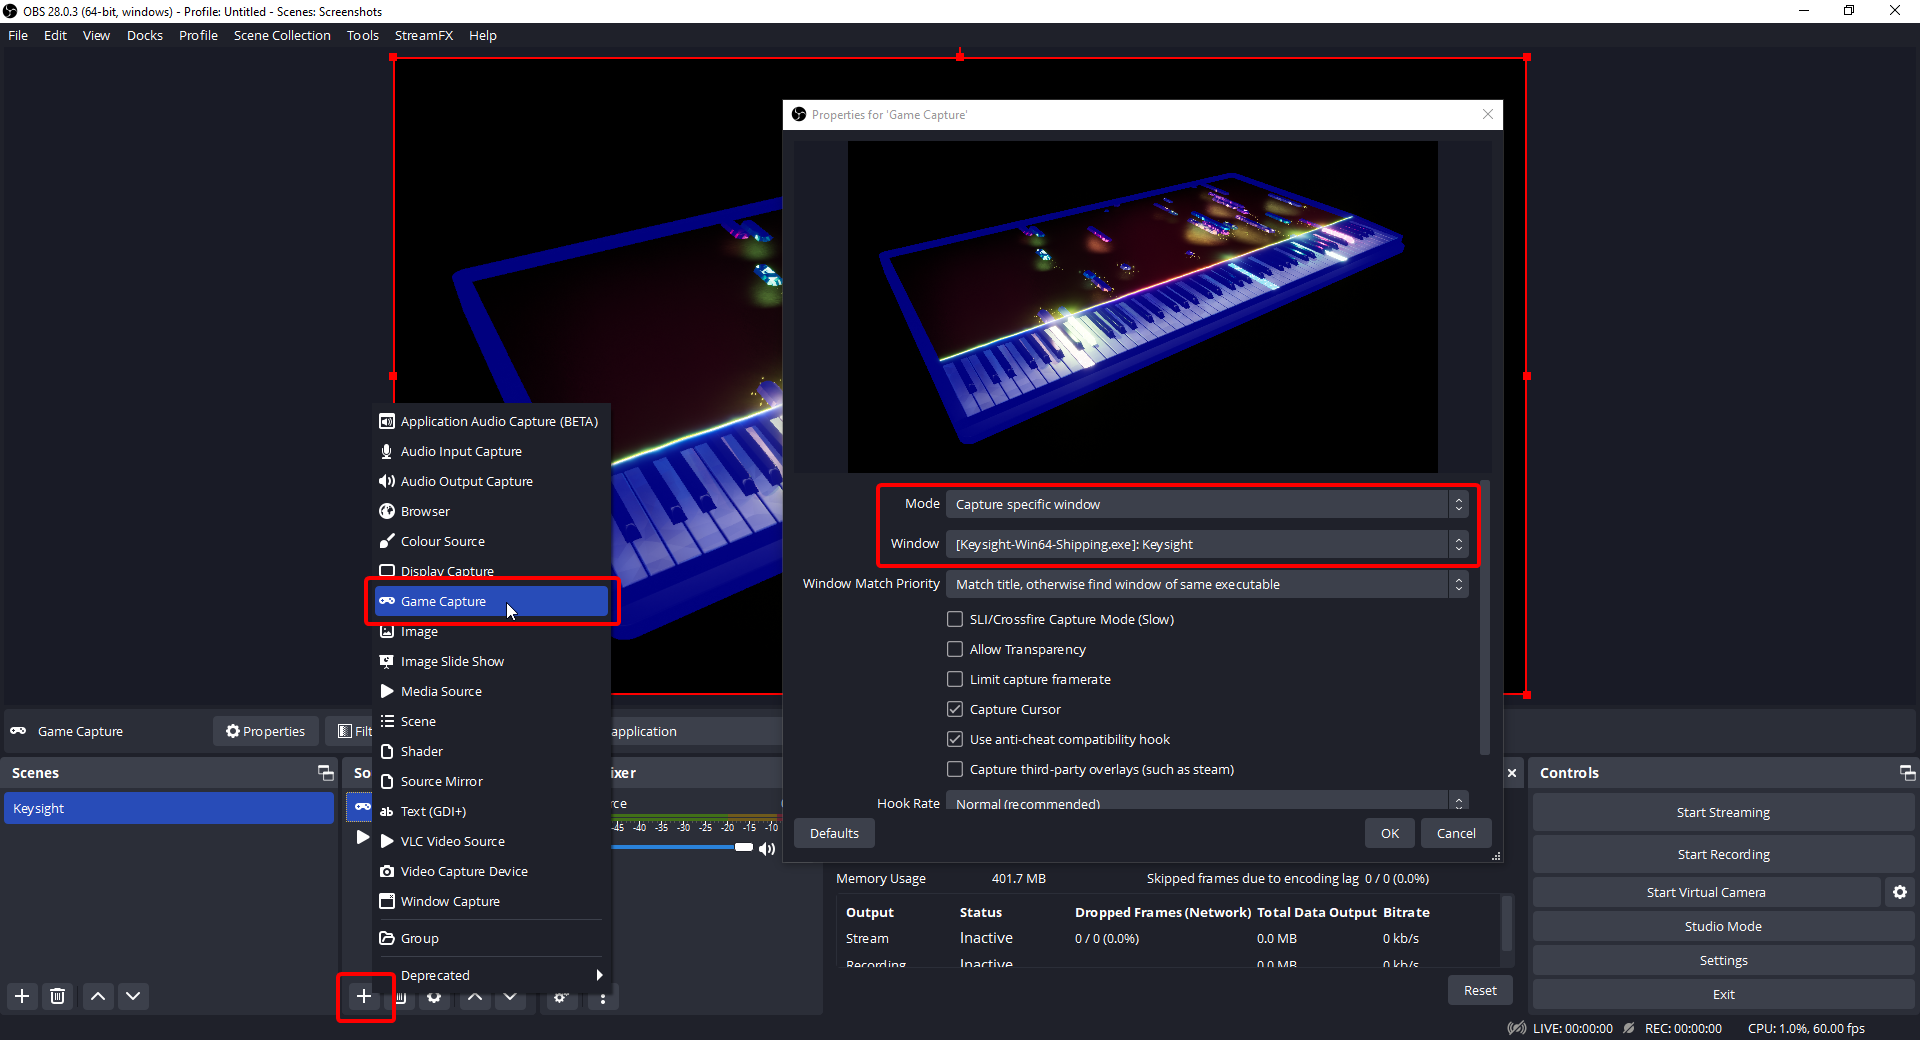
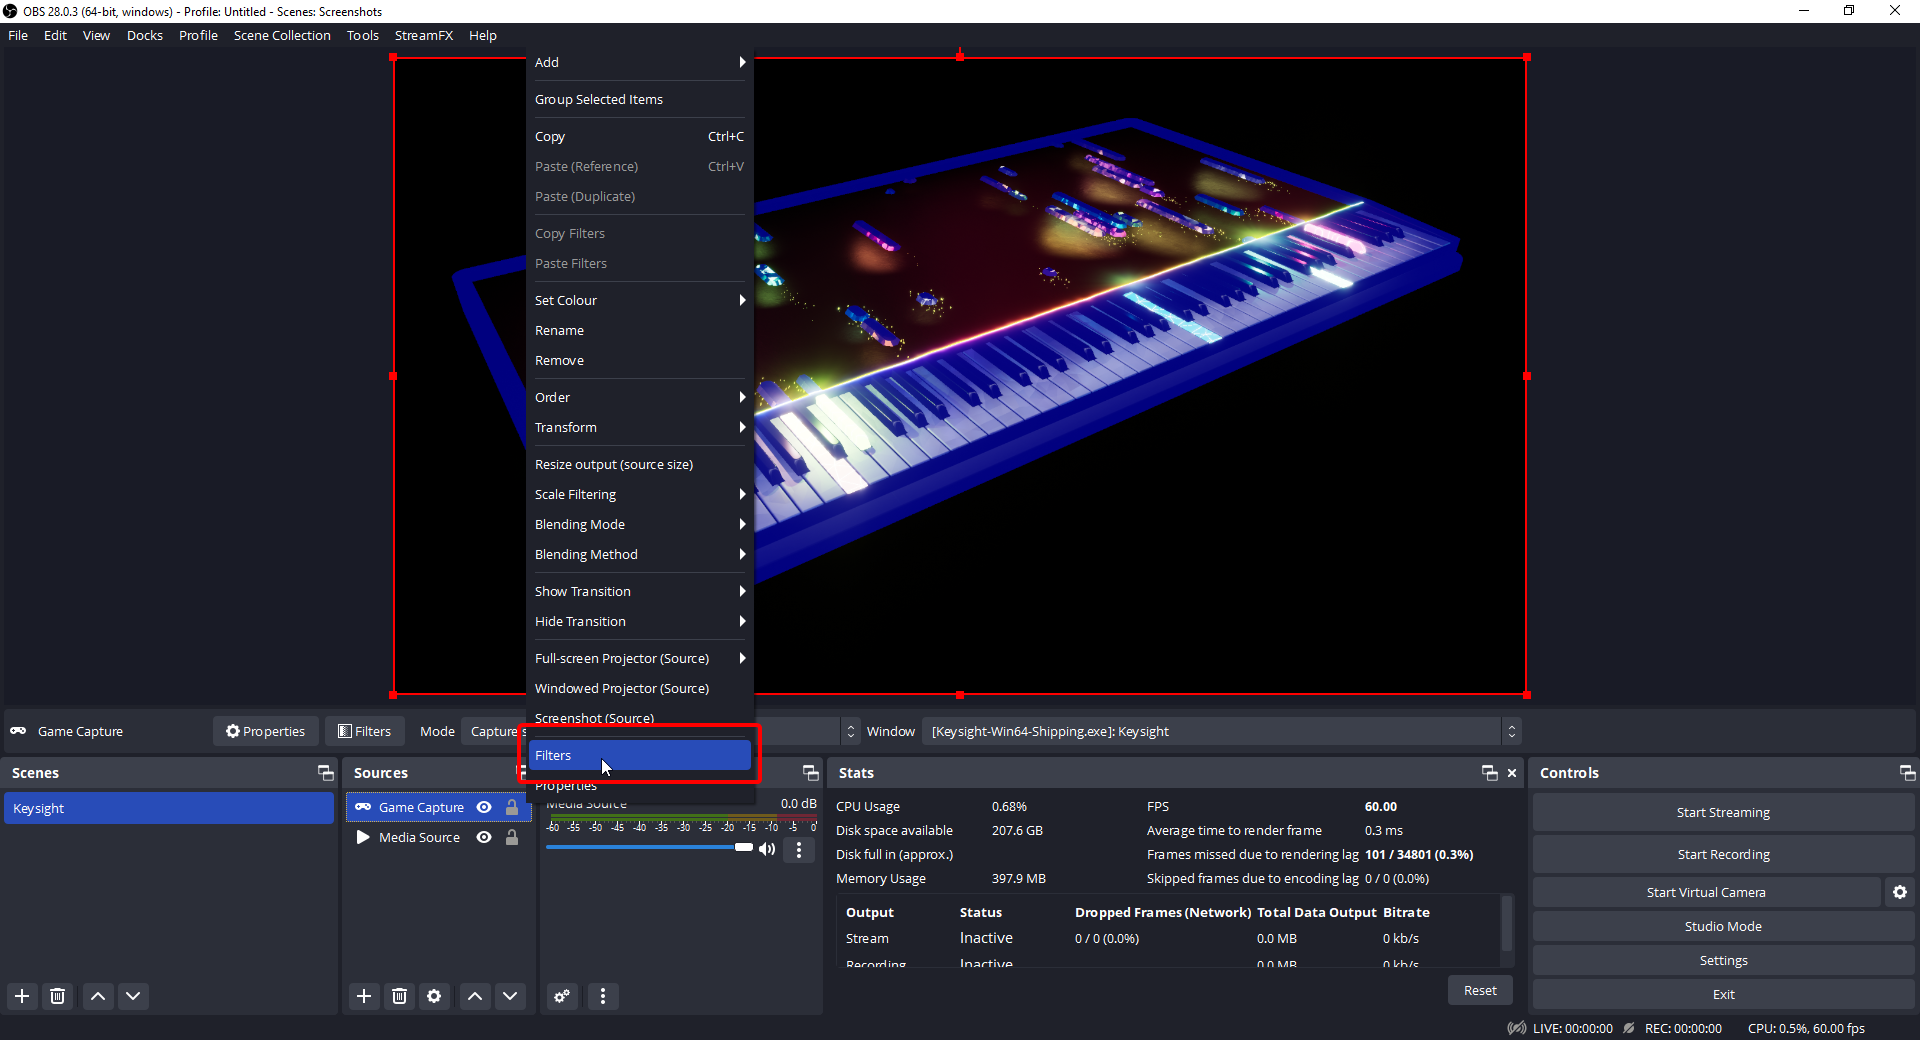
If you install that, the filter you want is "User-defined Shader". And then Egglybert's HLSL shader source code ALMOST works, except there's a few syntax changes to be made. In summary, I had to remove the pragmas, rename the main function, and change the name of the texturesampler variable. See the following comment for the code (character-limit).
I'll admit that both options are really undesirable, but honestly if you (or anyone reading this) has actual solutions to alpha video that I can bake into Keysight I'd love to hear them, as I've spent a very long time now frustrated at this limitation!
Theoretically, if your video editor could use HLSL shaders, you could apply mask-mode "offline", but doing some quick searching around I couldn't really find this as something anyone was trying to do. Due to the more program-y nature of it, perhaps Blender video editing could somehow support it?
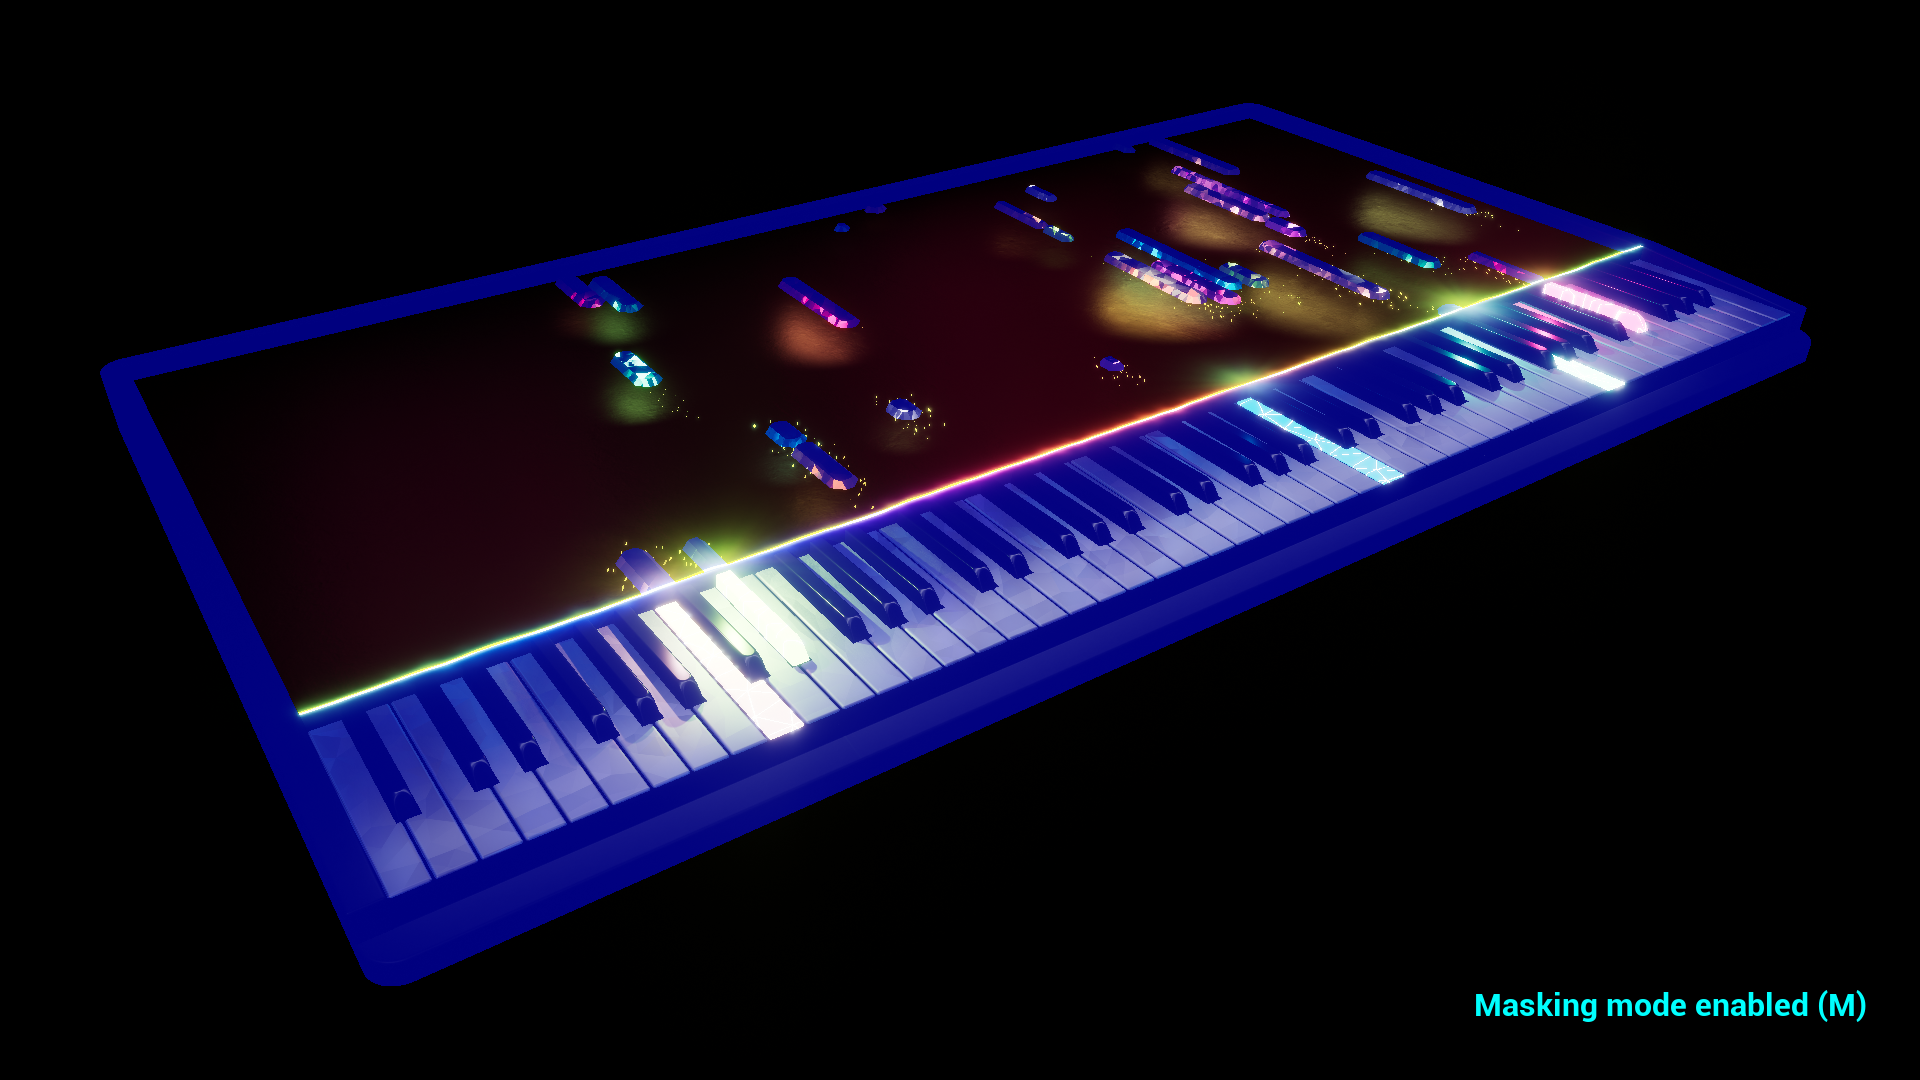
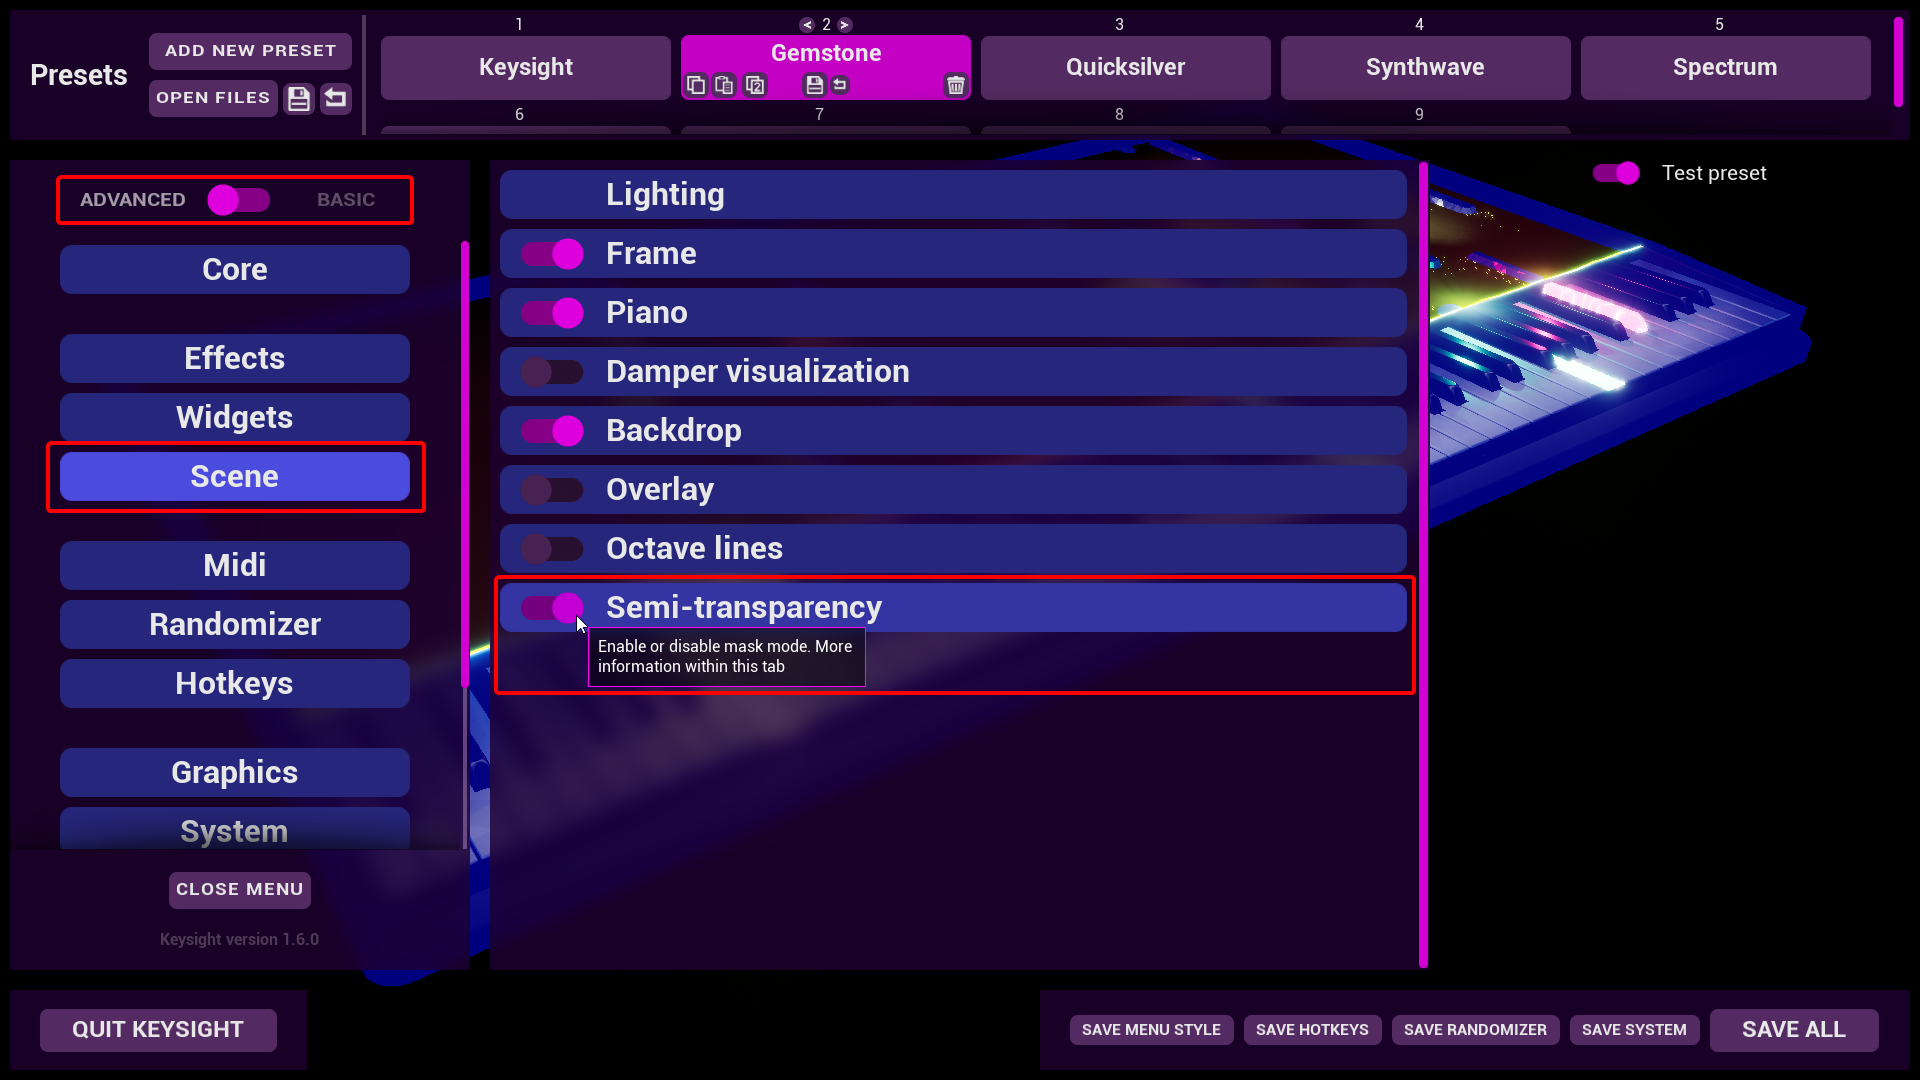
In terms of what you can do right now regardless of tools or research, there are two potential things: sacrificing all semi-transparent effects (such as particles and pulses), removing the background, setting void colour to green and just chroma-keying it. This would leave you with just note objects and any lighting on them, but if that's all you need it would be the simpler solution perhaps?
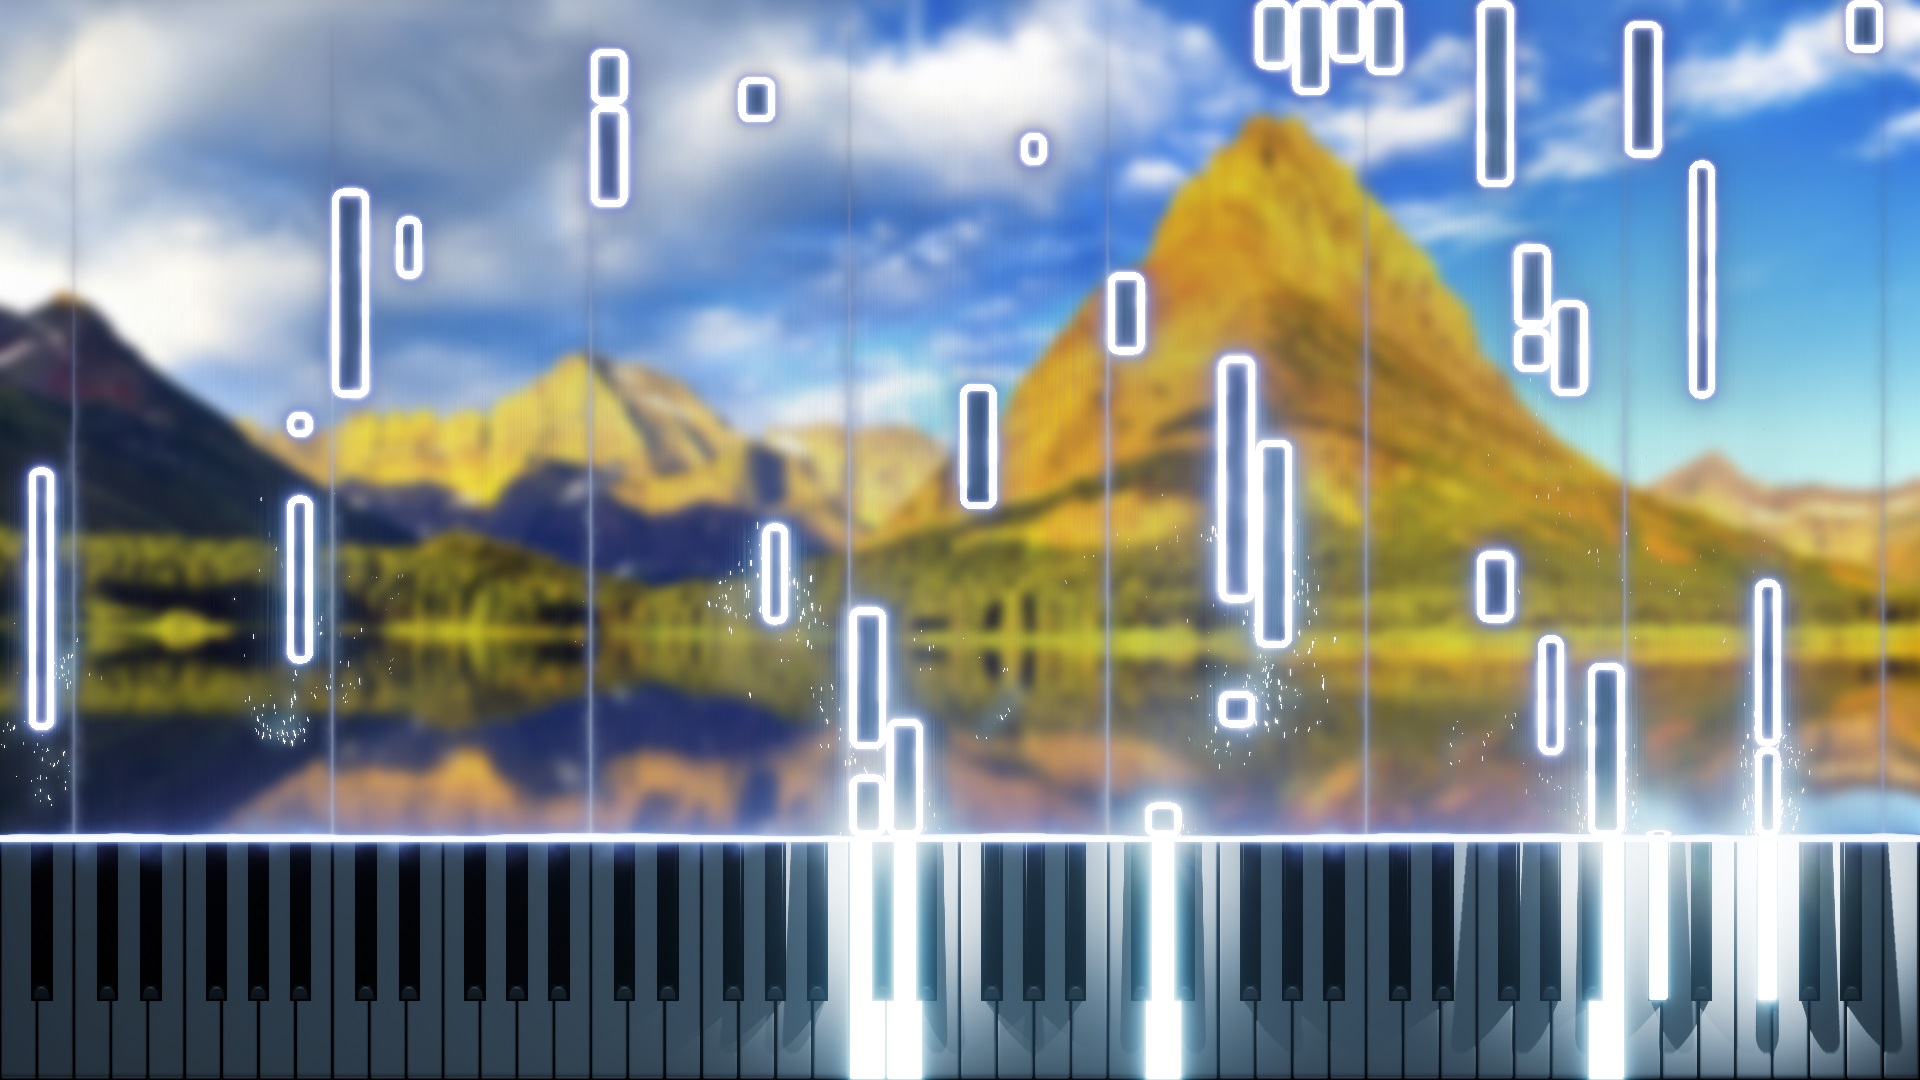
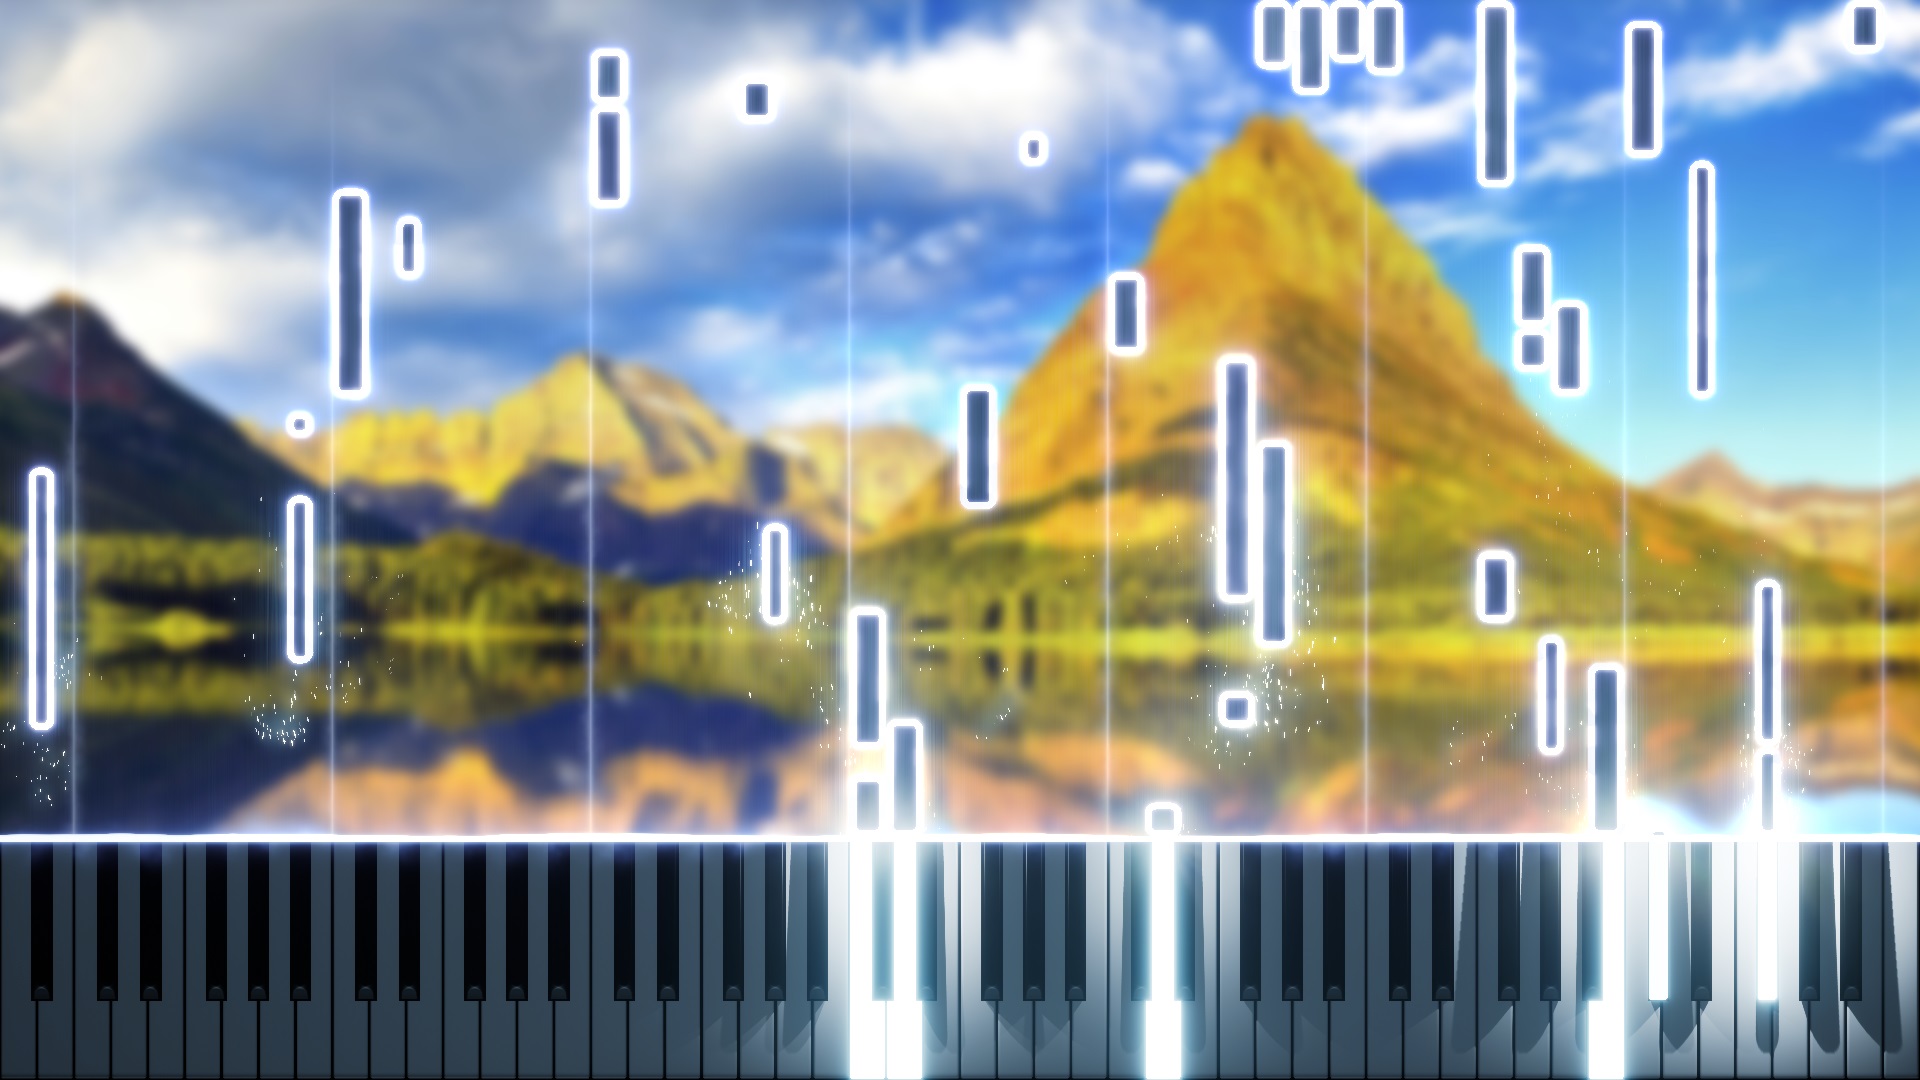
The problem I'm trying to solve right now is creating a YouTube video, and I want to synchronize things just right so that certain parts of the background video show up at certain times of the piece. I guess I could prep the background video in advance and basically try to press play on my static MIDI file in Keysight and press play on the background video at the same time, so they're sync'ed...but I'm wondering if there's a better way for this...
The ideal thing would be if I could output a video with transparency from OBS, and then work on layering the background video underneath in something like After Effects. But I'm pretty sure OBS can't do that.