
Installer Steam
connexion
|
langue
简体中文 (chinois simplifié)
繁體中文 (chinois traditionnel)
日本語 (japonais)
한국어 (coréen)
ไทย (thaï)
Български (bulgare)
Čeština (tchèque)
Dansk (danois)
Deutsch (allemand)
English (anglais)
Español - España (espagnol castillan)
Español - Latinoamérica (espagnol d'Amérique latine)
Ελληνικά (grec)
Italiano (italien)
Bahasa Indonesia (indonésien)
Magyar (hongrois)
Nederlands (néerlandais)
Norsk (norvégien)
Polski (polonais)
Português (portugais du Portugal)
Português - Brasil (portugais du Brésil)
Română (roumain)
Русский (russe)
Suomi (finnois)
Svenska (suédois)
Türkçe (turc)
Tiếng Việt (vietnamien)
Українська (ukrainien)
Signaler un problème de traduction


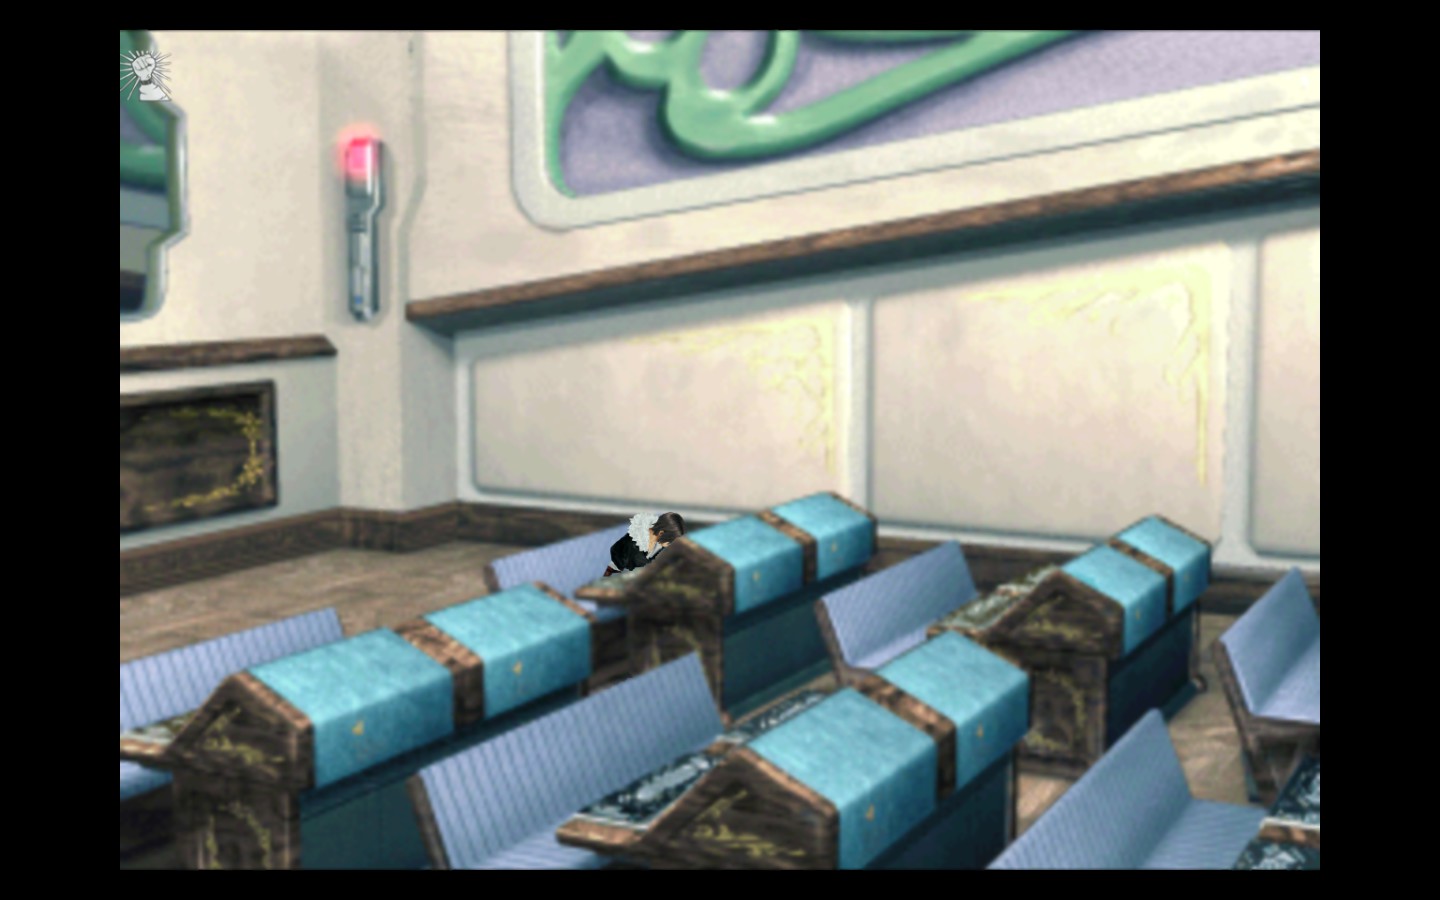


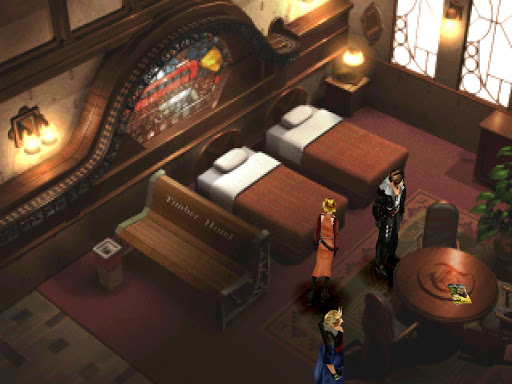
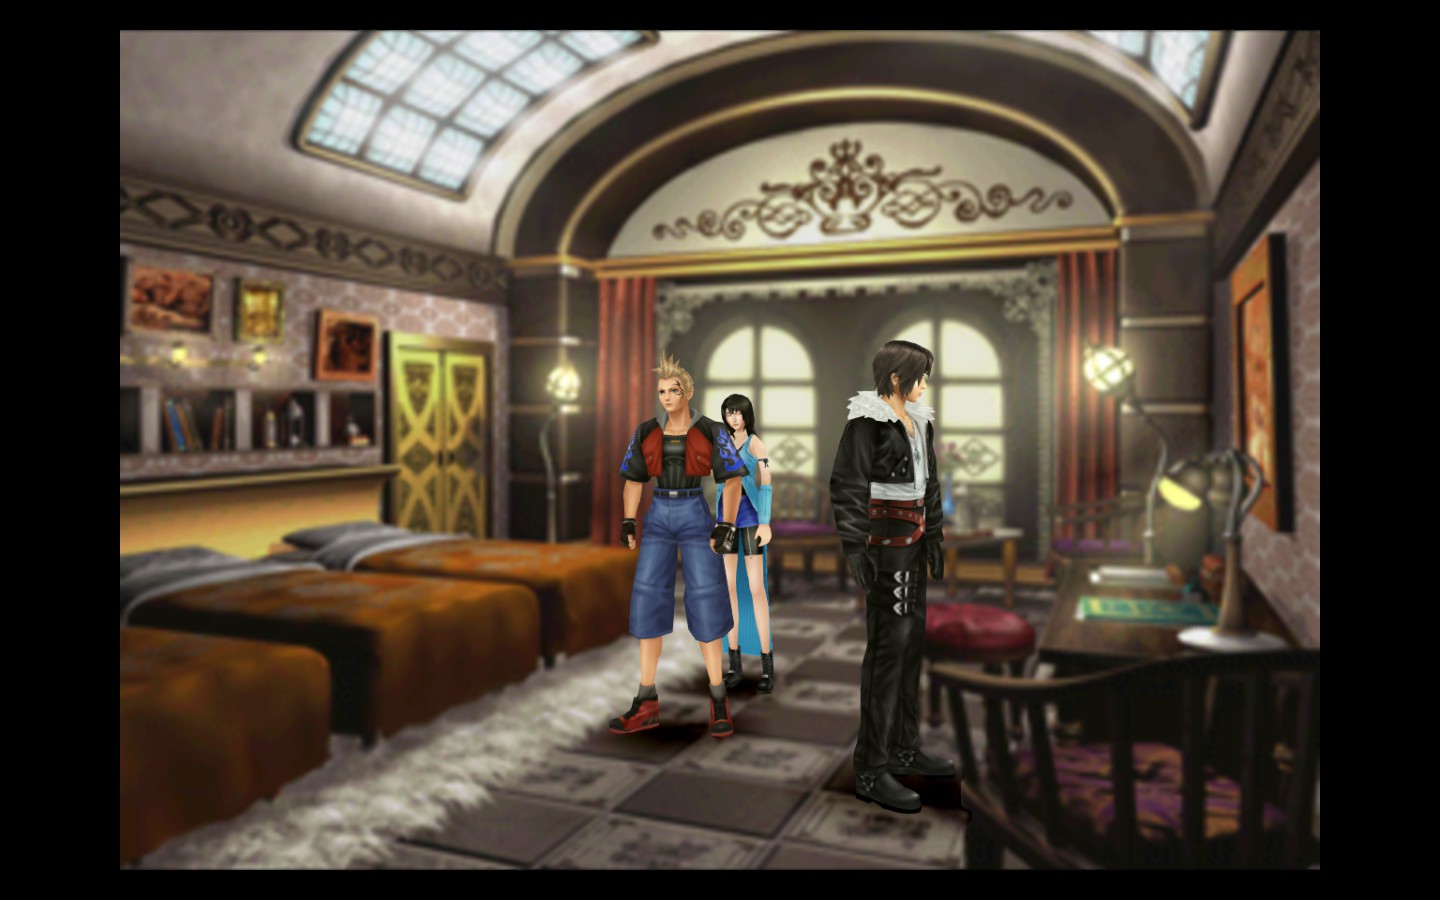


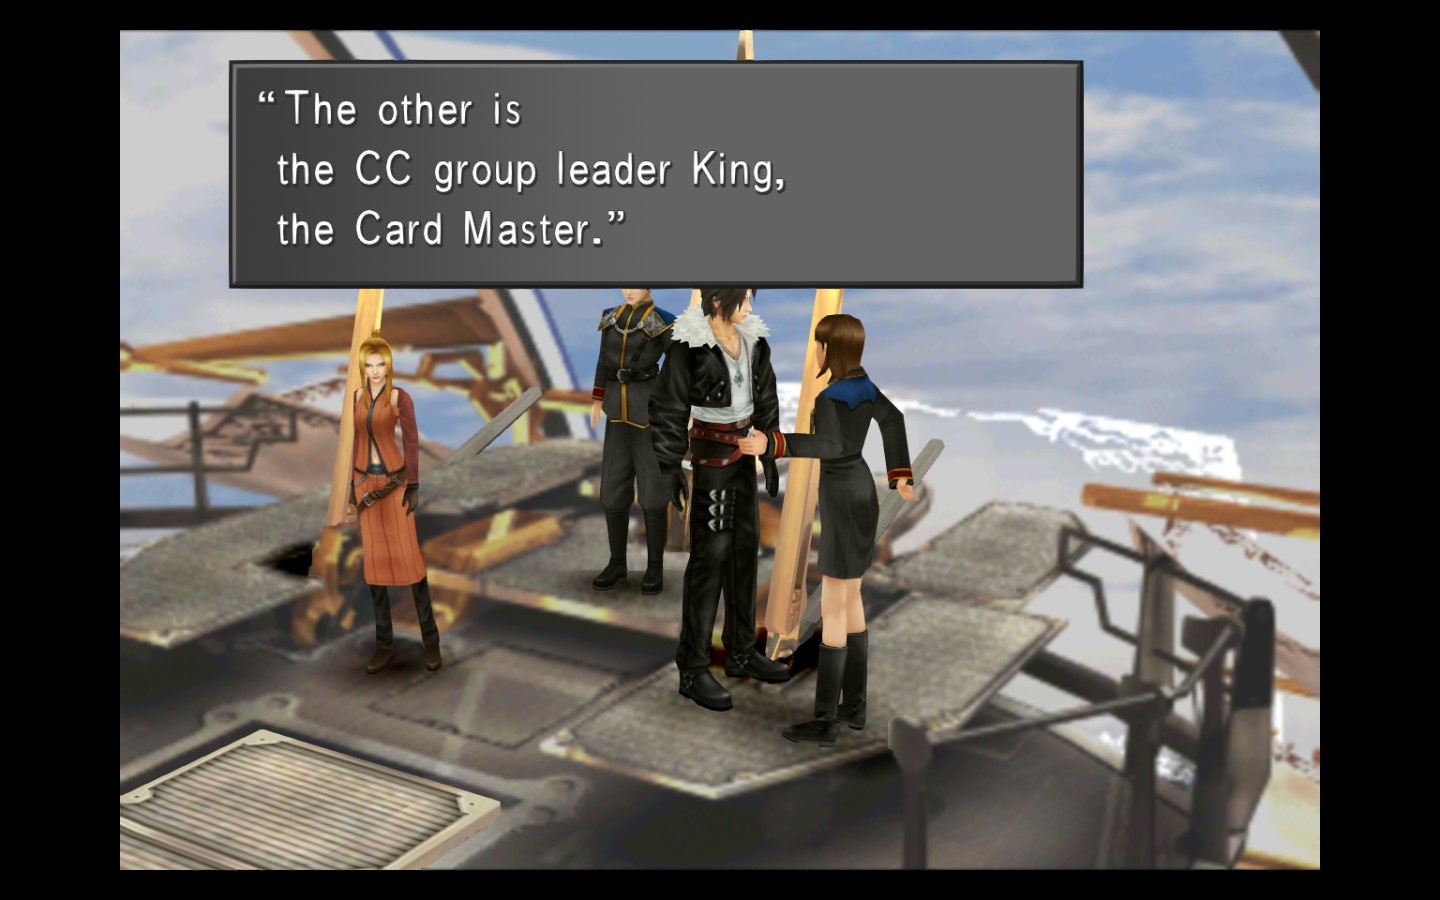
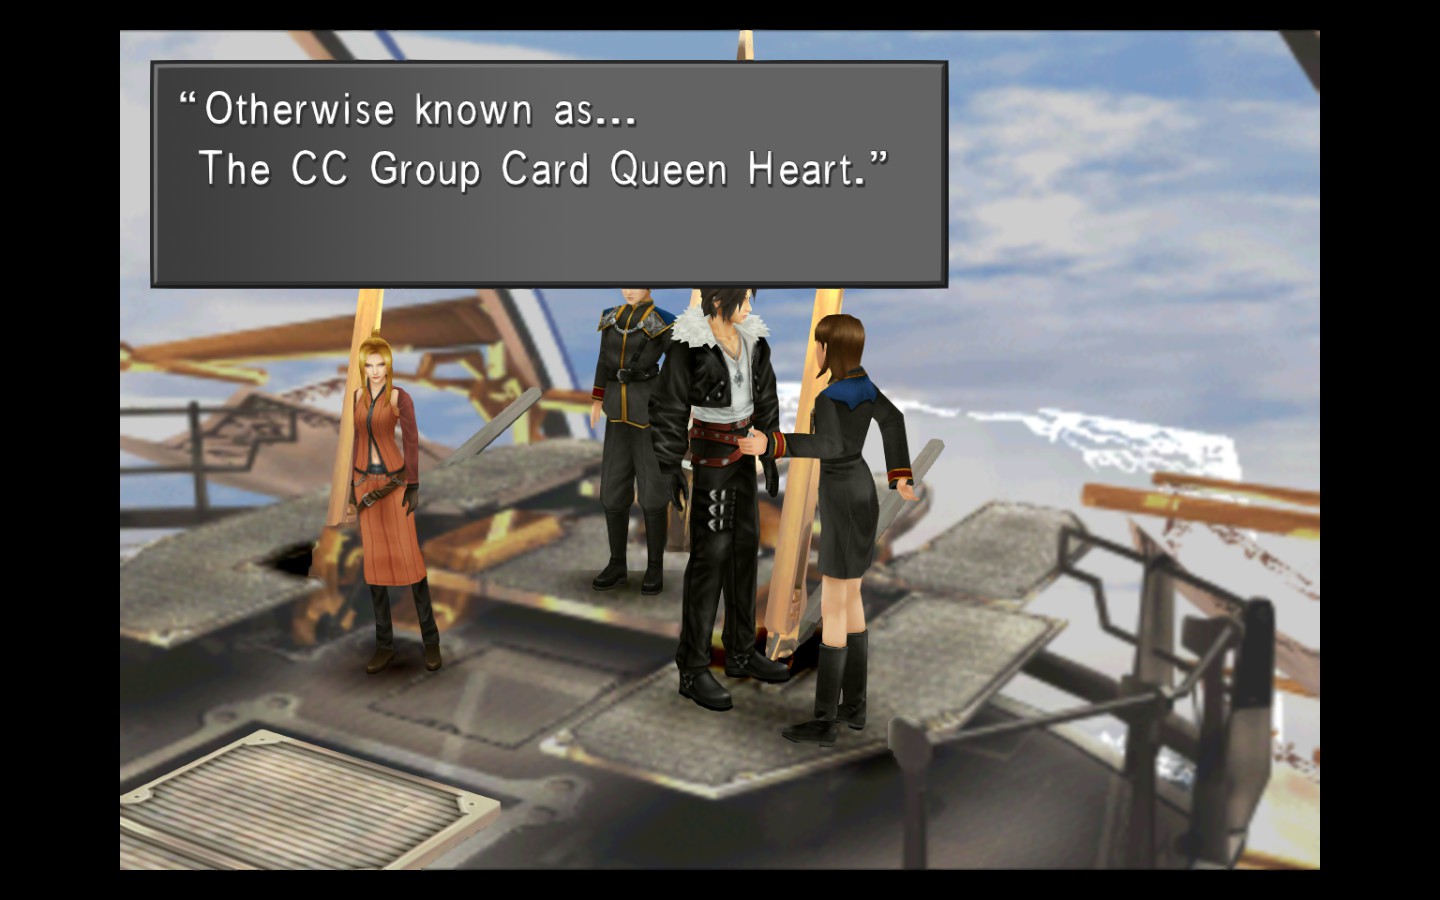
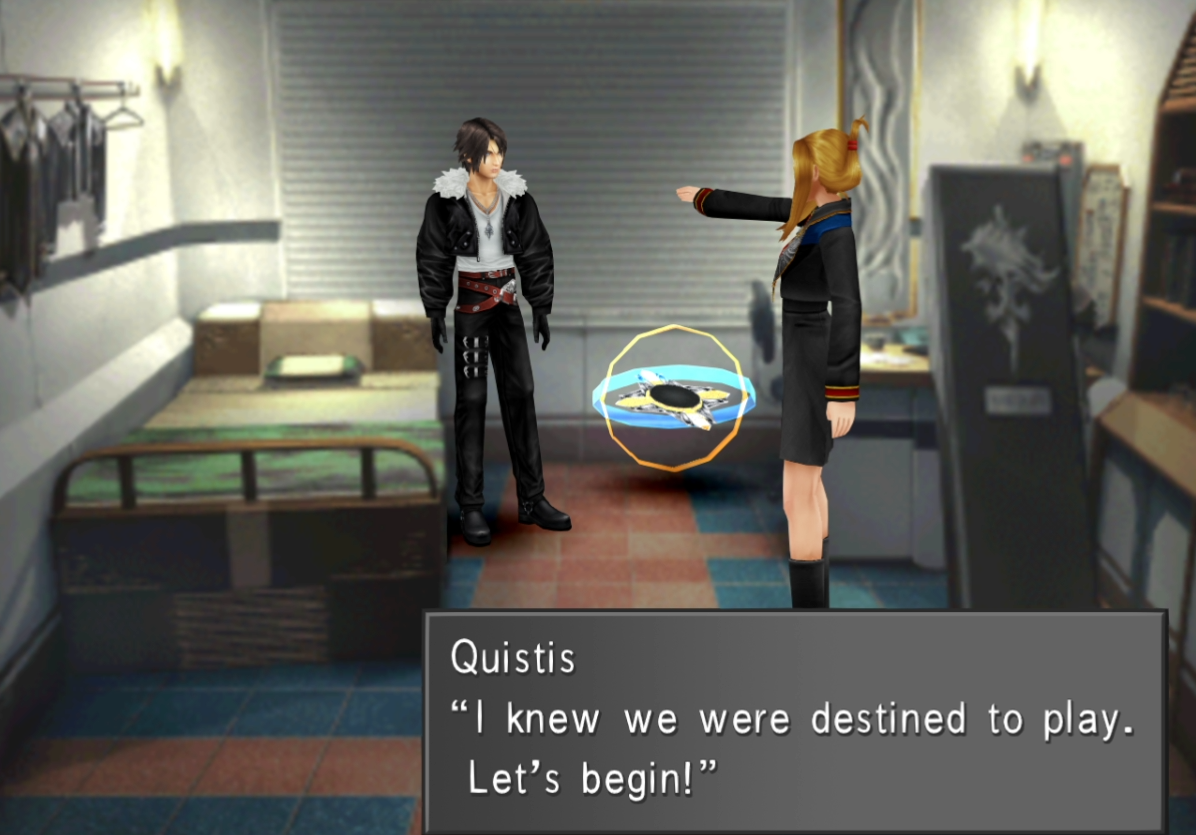


> Master King-In order to initiate a game against the Master King you will have to head back to your dormitory room and take a nap.Keep resting if needed until she appears.Each time you defeat Xu,followed by taking a nap in your dorm room,Qustis will be there when you awake to challenge you.
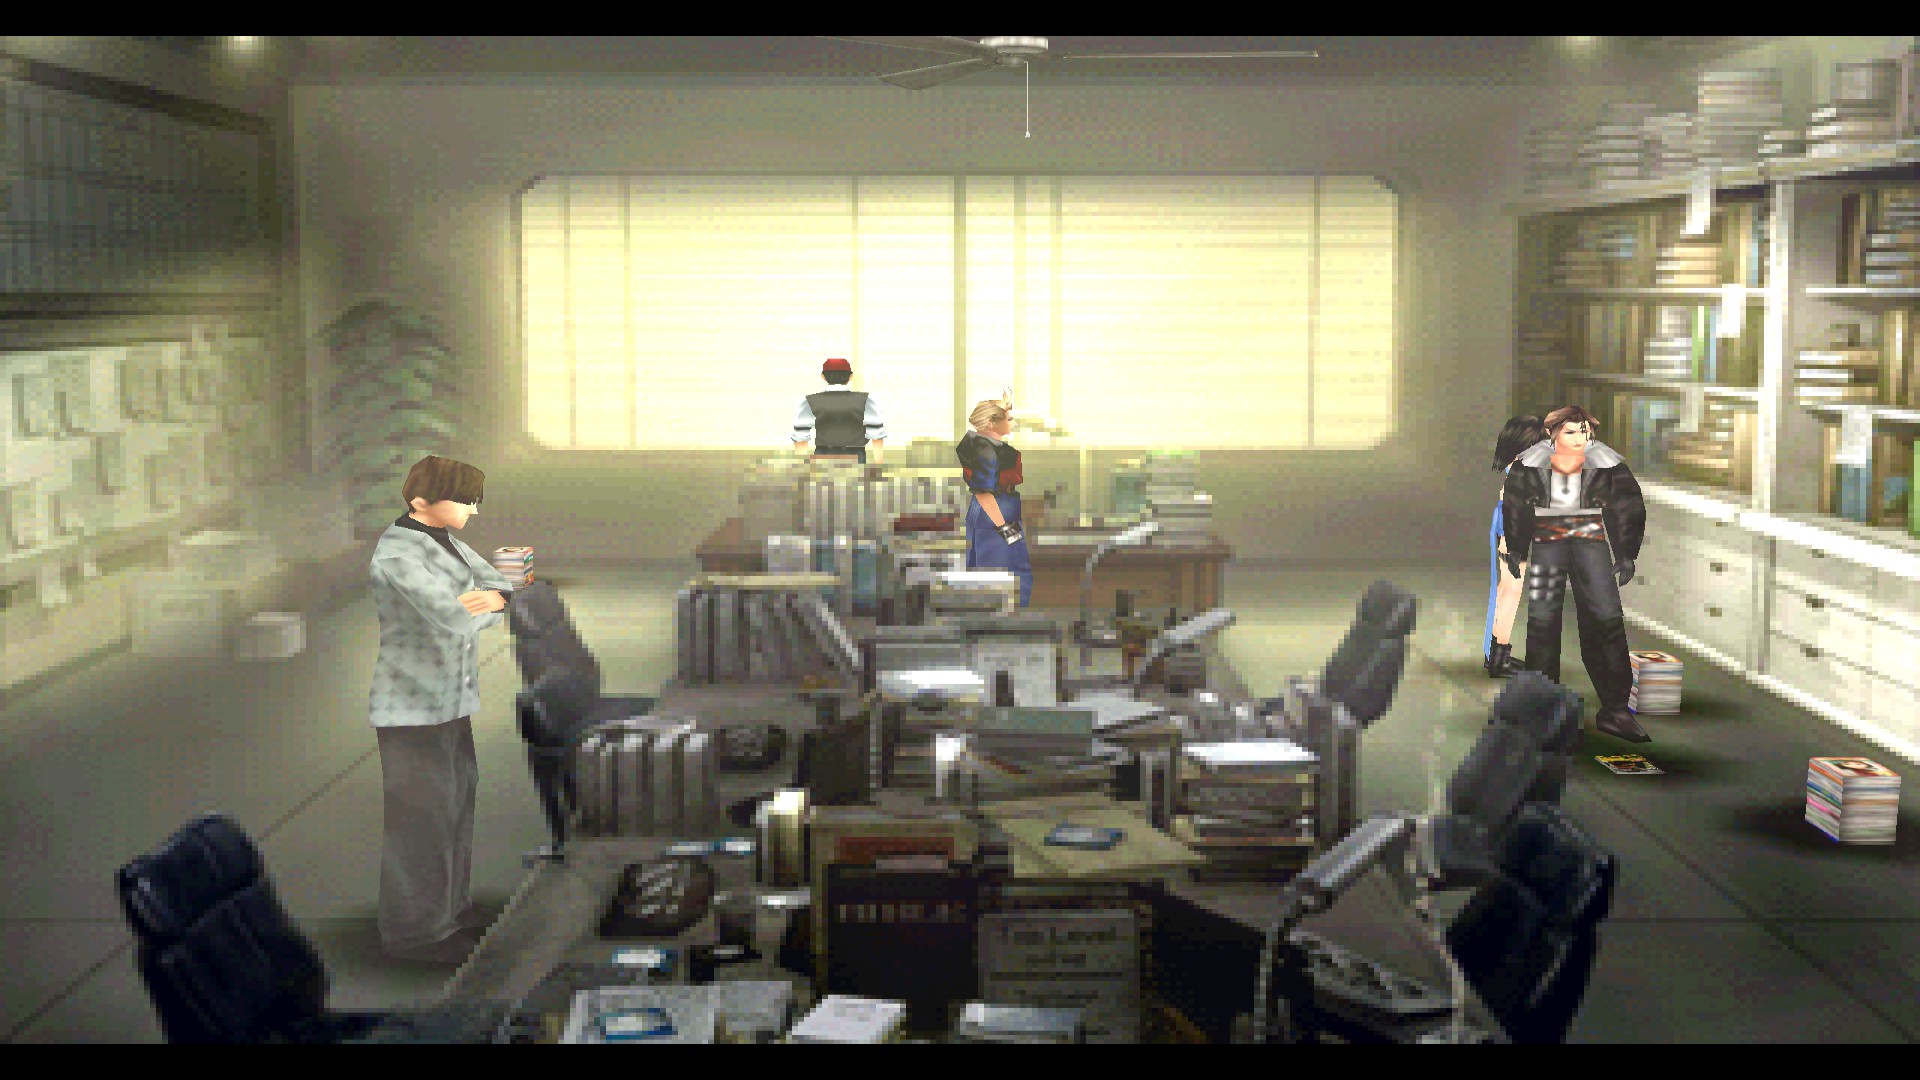
The above section should tell the player to go speak to the dr in the infirmary (with square) before resting. As she needs to say the line about "You may meet the King soon" before the event can happen.
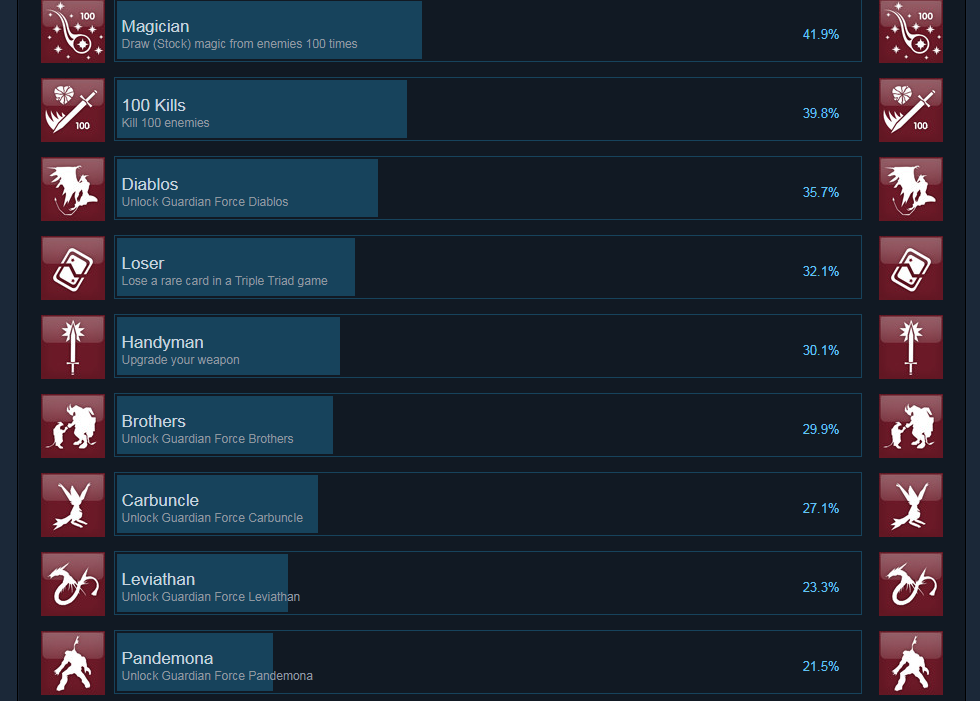
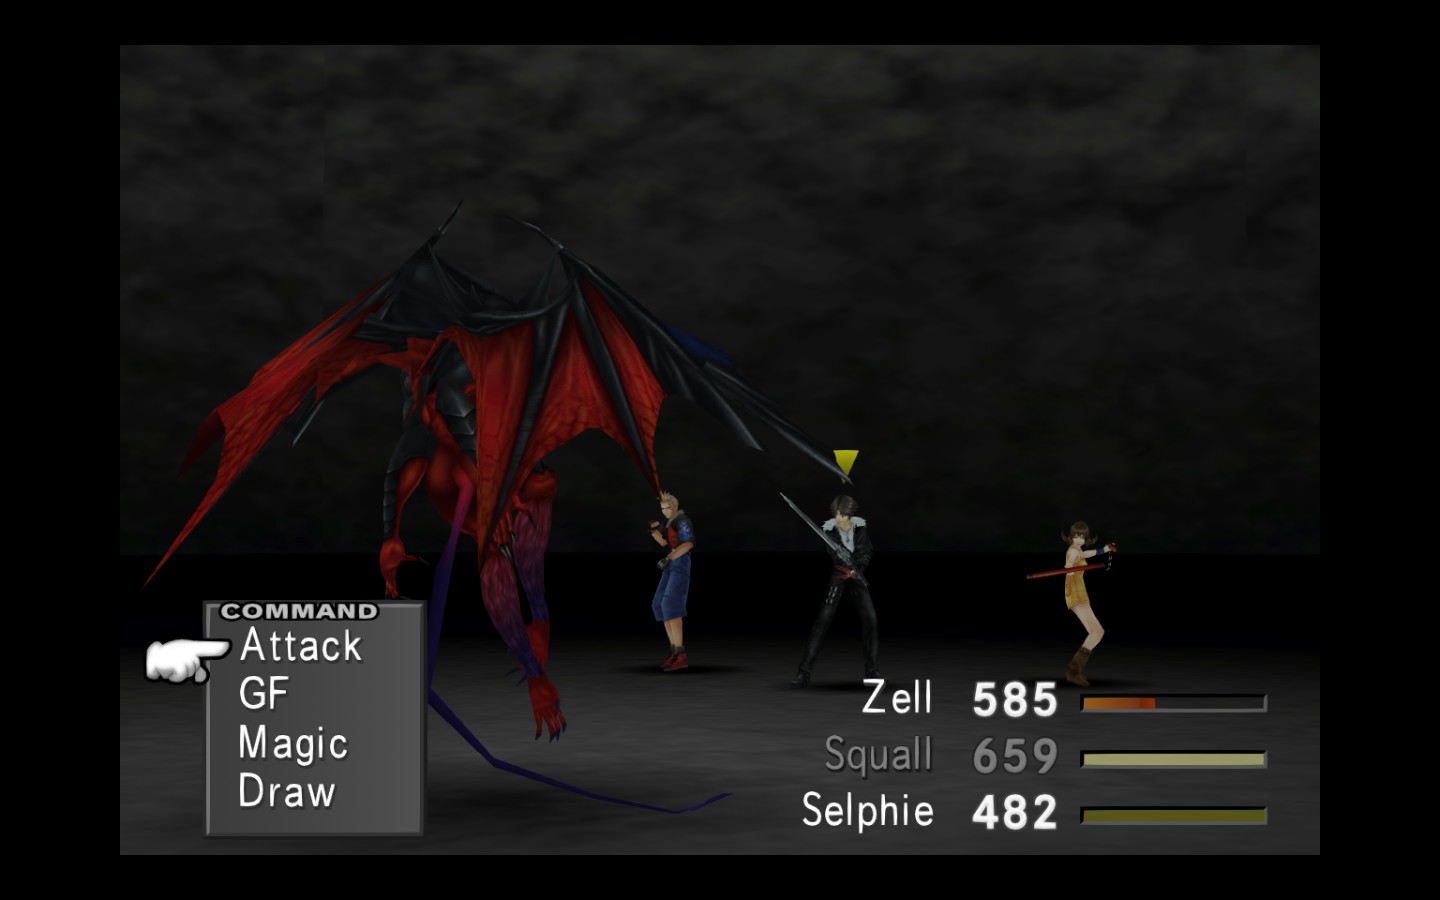
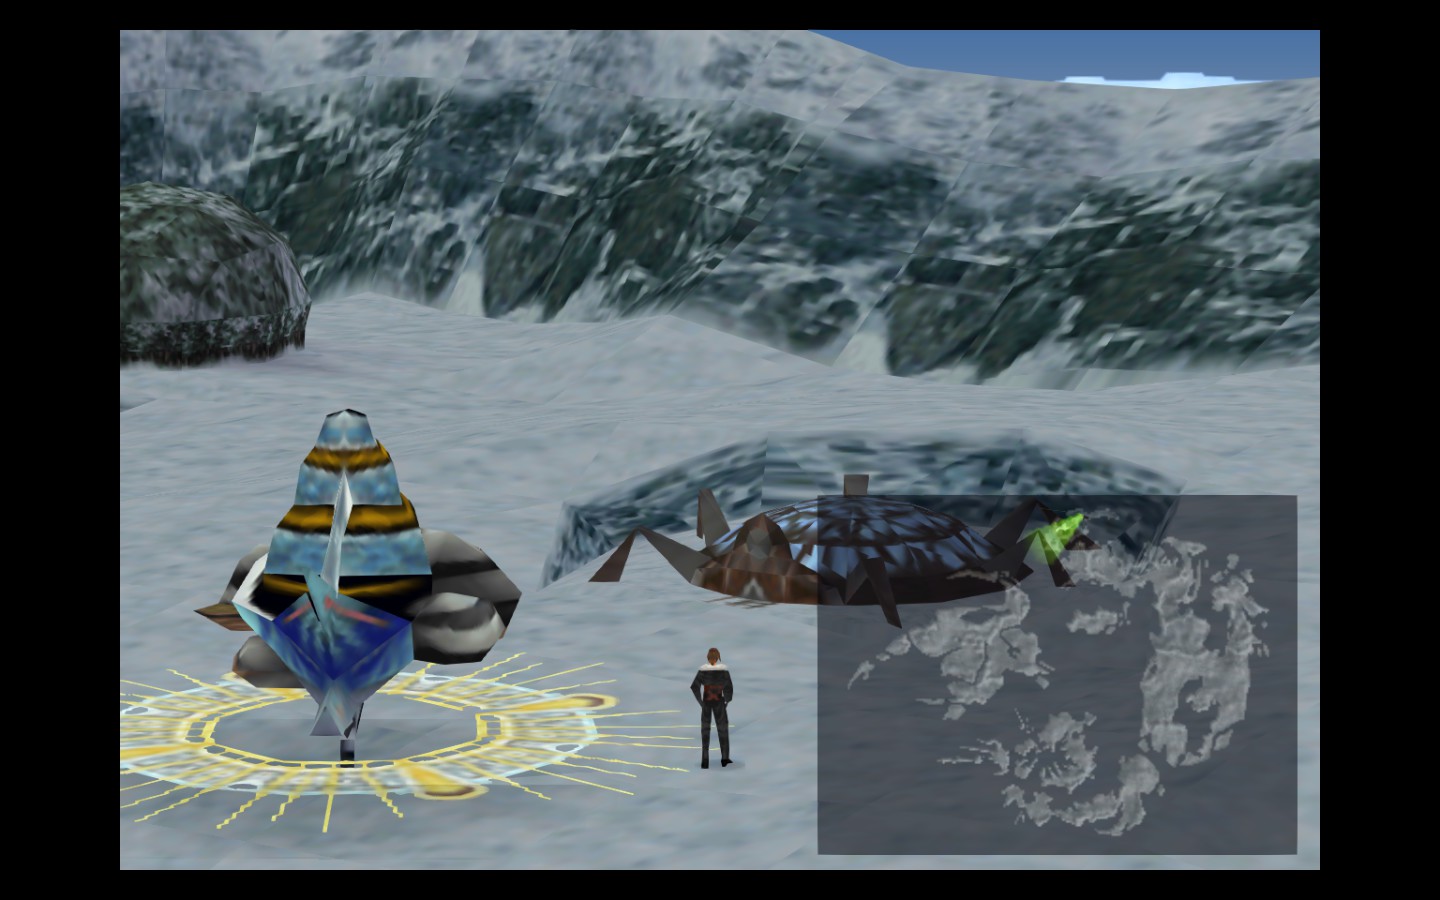
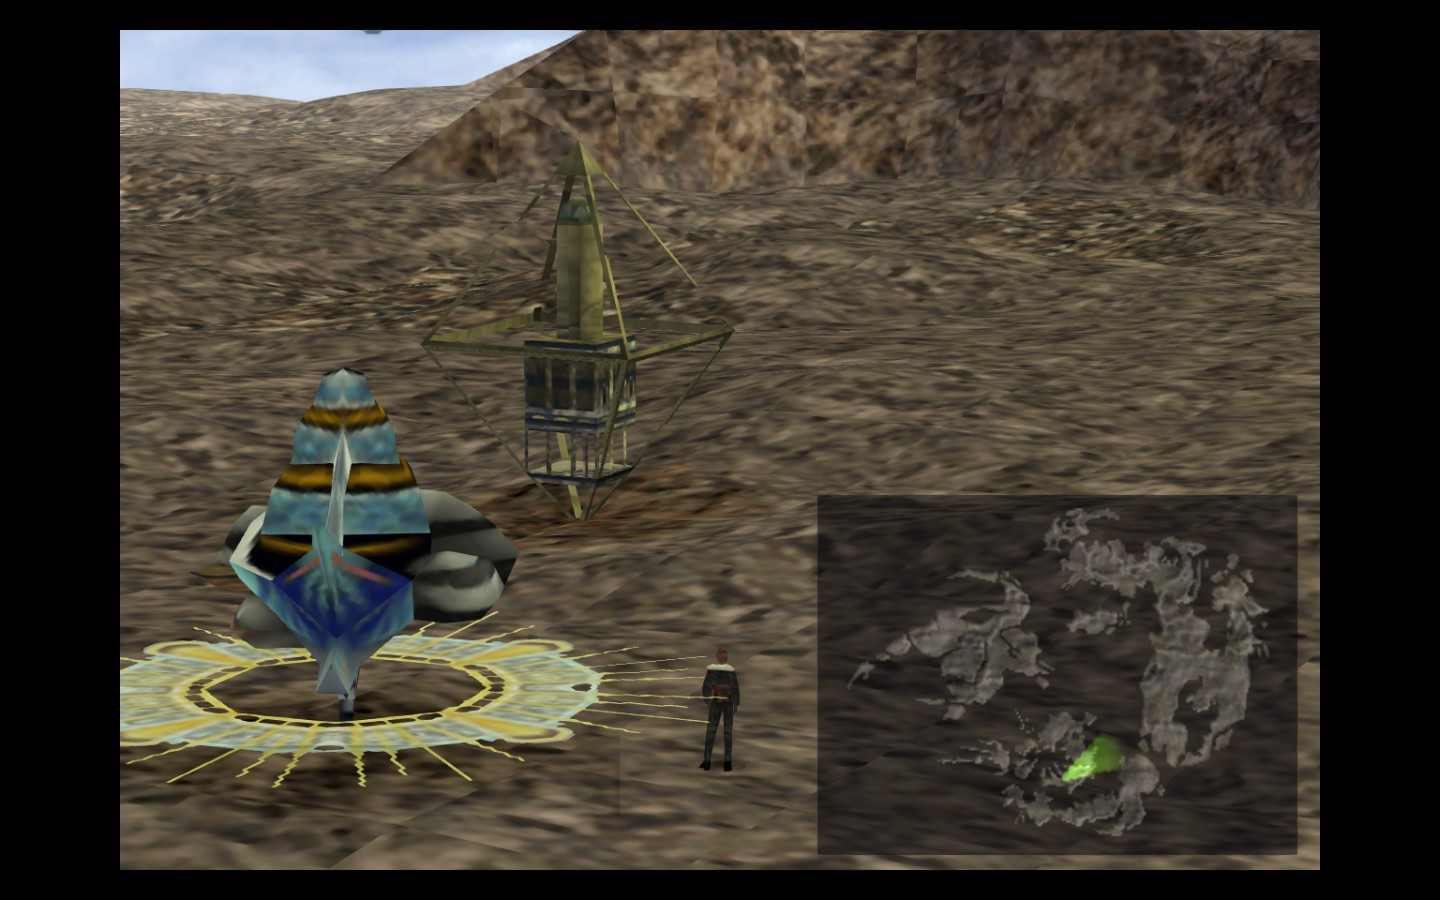
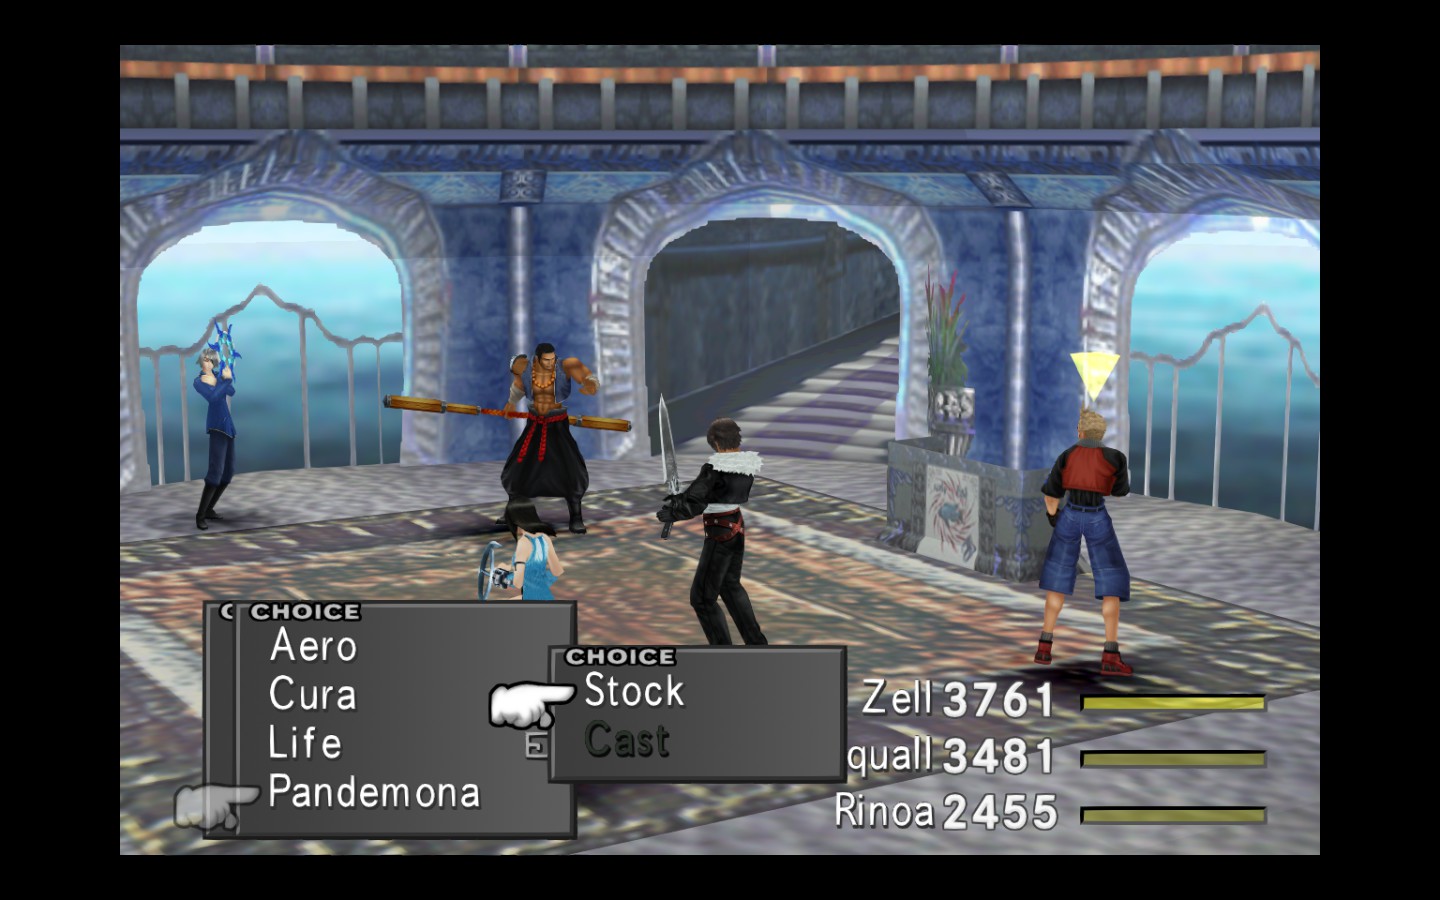
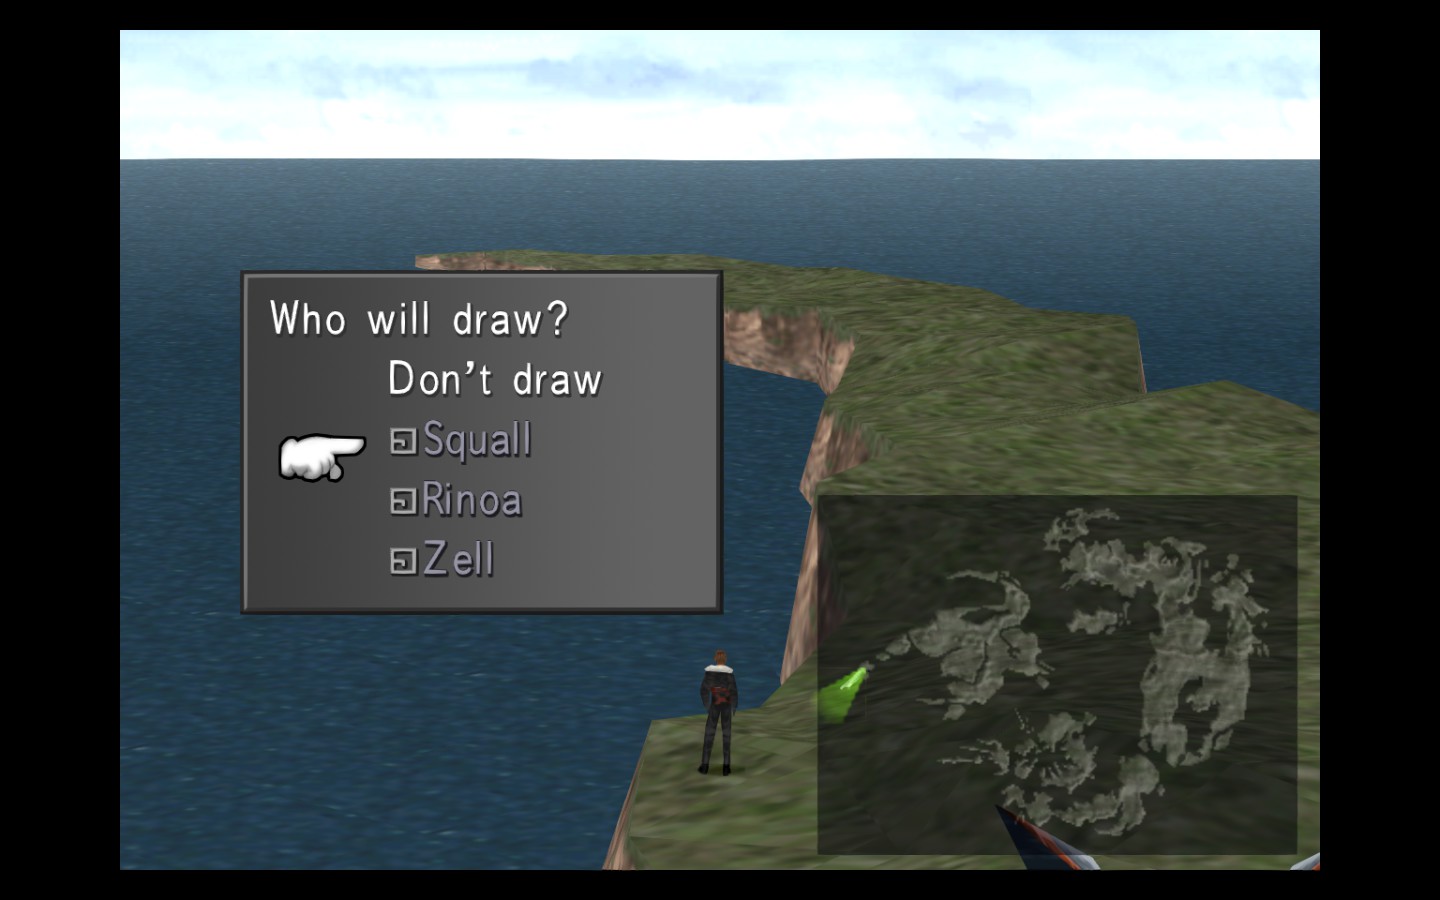
I slept 50+ times with no event and thought it must be something that needed a little more story progression first and then realised I'd missed the first Pandemona draw chance since the achievements in this guide seem to be laid out in order that you can get them.