Steam

Steam

366 voti
How to Make ASCII Art for the Custom Info Box on Your Steam Profile Page
Da PUSSYSLΛYΣR
This guide will allow you to create ASCII art out of text in the custom info box on your profile page. Trying to format ASCII art text in a way that doesn't skew the image can be difficult and time-consuming, this guide will teach you my method for quickly creating ASCII art out of text using the custom info box on your steam profile page. The ASCII image will only be viewable while viewing your profile on the Steam client, it will be skewed in browser and mobile versions.
8
   
Premio
Aggiungi ai preferiti
Preferito
Rimuovi dai preferiti
Preview
Converting an Image to ASCII
Start by finding an image you want to convert to ASCII.

The image should have lots of contrast and not be too complex. Photographs with strong lighting, logos, or ink drawings work best. Images that are taller than they are wide will turn out the best.

The custom infobox is only 47 characters wide, so in order to preserve details in the image, you may need to crop it down in Paint or Photoshop so that the subject is as big as possible.

To convert your image to ASCII download Ascii Generator 2:

https://sourceforge.net/projects/ascgen2/

Run the executable and double click the box in the bottom right to upload your image, or just drag and drop it in.

In the top right where it says "Size" change the width to 46 if the height is longer than 35, or 47 if the height is shorter than or equal to 35. Press the "x" button in between the length and width to change one freely of the other. It is good to stretch the image vertically by increasing the height independently of the width because Steam will squish the ASCII text back down a little bit. However, make sure the width is either 46 or 47 depending on the height as I mentioned before.

Keep the "Ramp" on Auto for the best results. Play around with the levels, brightness, contrast, and dither in the box on the bottom left until the result looks good to you. The "Invert the Output" button can be useful as well if you want to switch the background and foreground from light to dark or vice versa.

After you are satisfied with the image, highlight all of the text, right click, and copy it.

Formatting the Generated ASCII Text
Open up Google docs and paste the text into a new document. Highlight the text and change the font to Courier New which is a monospaced font. The text should now be all lined up and the image should not be skewed.


After every line of text should be a single space, delete each space starting from the bottom and going up. This will skew the image but is important in order to format it correctly. Don't delete anything else or the image will not align properly.


Highlight all of the text, it should be a jumbled mess and not look like the image at all, copy it.


Go to the following website to convert the text into Full width text.

https://dencode.com/en/string/character-width

Paste your text into the top box, click on "Full Width" and then copy all of the converted text.

Go back into Google docs and paste the text. If your image is 46 characters wide, change the font size to 10 and the margins all to 1. Don't change the type of font though, it should say Courier New. The text should be aligned to create the image. If your image is 47 characters wide, change the font to 10 and change the right margin to 0.9 to align the text.

Inserting the Text into the Custom Info Box
On the Steam Client go to:

Profile > Edit Profile > Featured Showcase

Select Custom Info Box


This next part can be tedious, but shouldn't take more than five minutes depending on the length of your ASCII image.

Go back to Google docs and copy only the first line of text. Make sure you get all of it and don't accidentally copy anything else.


Paste it into the empty Custom Info Box on the Steam Client. The text will continue past the first line in the Custom Info Box editor, but it will align on your profile because your profile's info box is wider than the editor's text box.

After pasting the first line of text into the custom info box editor, press "enter" on your keyboard to create a new line. Now copy and past the second line of text, press enter, then copy and paste the third line, press enter, etc...


After you have carefully entered every line, press "Save" at the bottom of the page and then return to your profile.

The ASCII image probably will not show up on your profile yet. If it doesn't, press "Edit or Change Showcase".


Scroll down to the bottom and delete the little question mark symbol at the end of the text. I believe this symbol appears if you exceed a certain text limit, so longer images will be cropped off from here down. Press save again and return to your profile.


You should now have ASCII art on your profile!


49 commenti
|LightStory| BLUE WORLD 31 mar, ore 17:41 
I can't do it, I can't do it, help me
kevezhard 13 mar, ore 10:08 
I can not open the app, it always requests the .NET Framework installing, but I already did that.
Rad Reptile 2 ott 2024, ore 13:05 
Thank you so much man, this is super helpful and i was looking to do something like this for so long
tira thurun ouaaaa ouaaa 8 ago 2024, ore 17:17 
Kurt actually had a gun, huh?
kawaii anxiety 20 lug 2024, ore 16:00 
In the end, when I paste ASCII art in the showcase, it doesn't appear in my profile. I opened an edit again and didn't find question mark in the input. What should I do?
Myth 7 giu 2024, ore 5:56 
Try go through the whole "Formatting the Generated ASCII Text" section with your text. That might help
Rubo 7 giu 2024, ore 3:34 
How to do this, but with Text only, instead of an image, any and all text i seem to paste, gets jumbled and wont properly resemble what I am trying to paste.
Myth 18 apr 2024, ore 15:15 
Much love man, this helped me on 2 occasions.
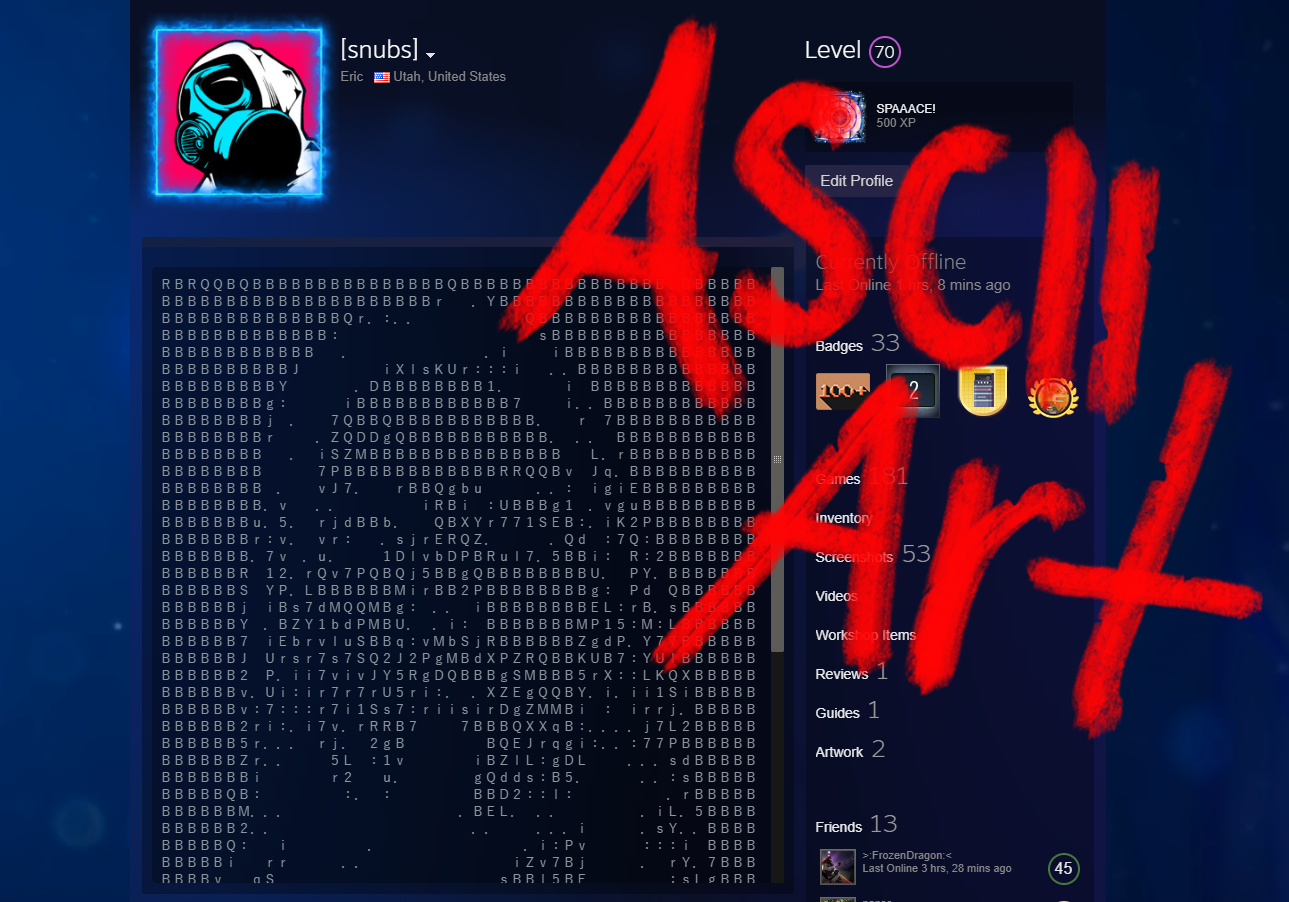
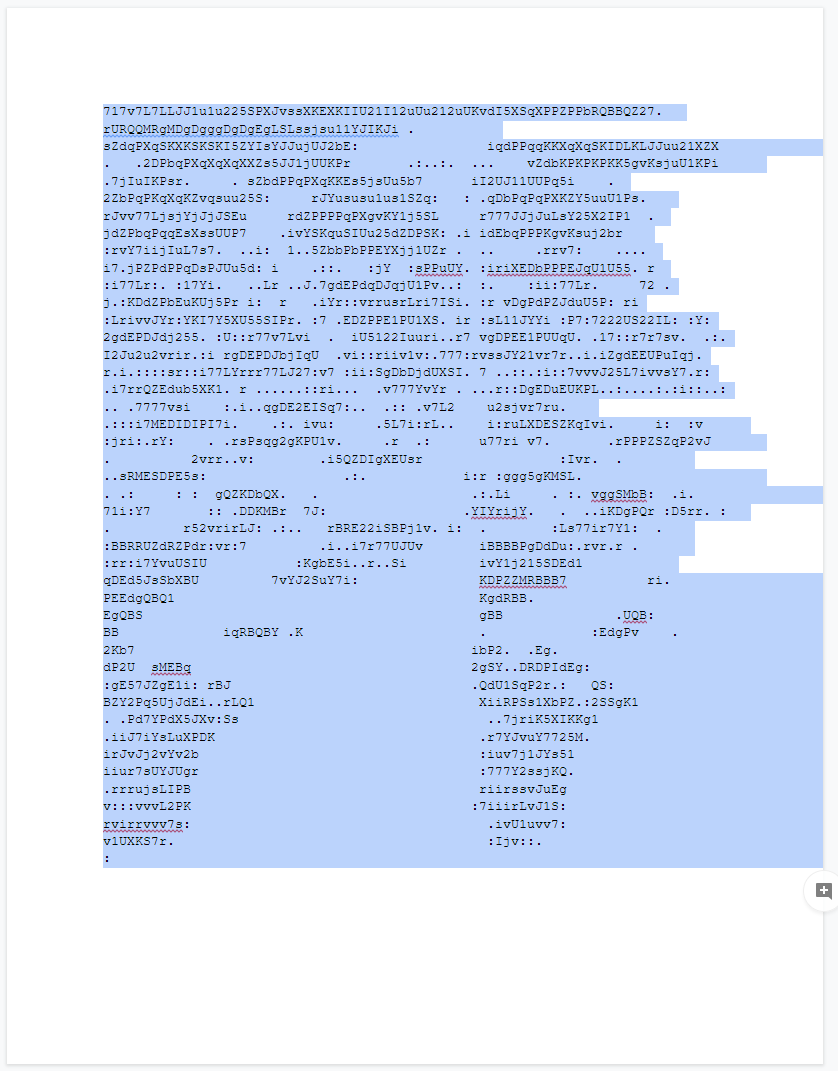
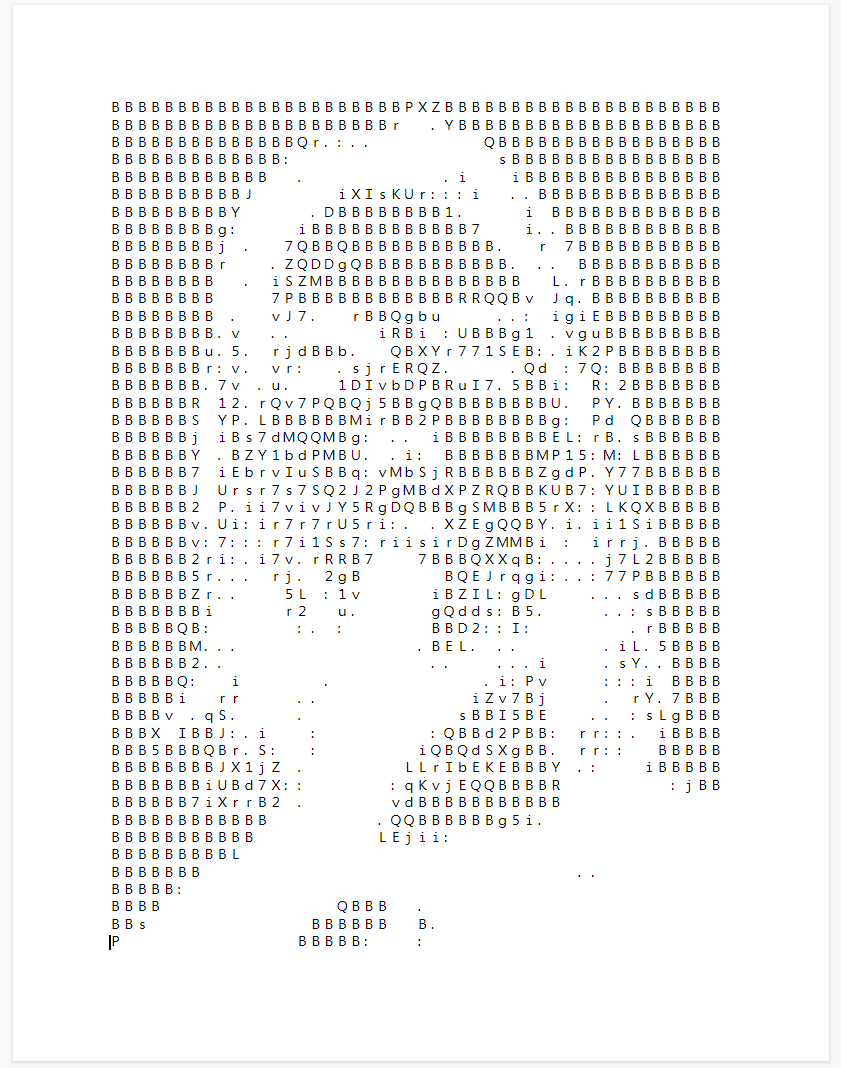
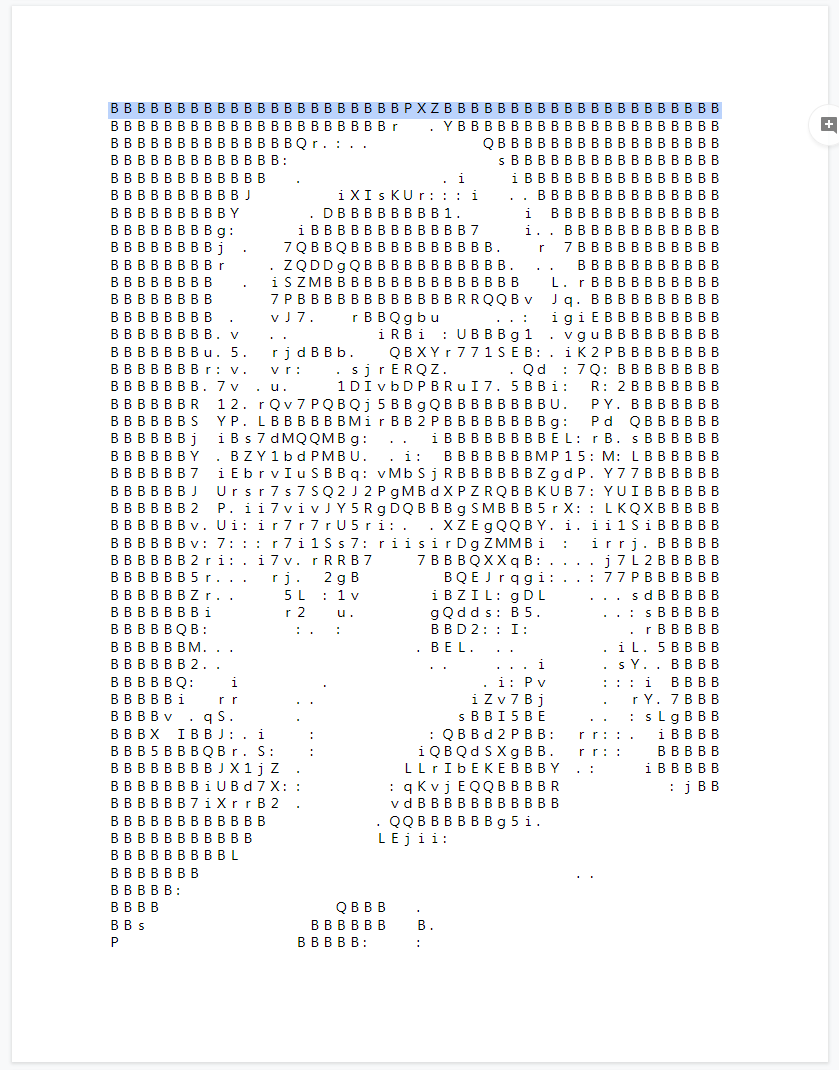
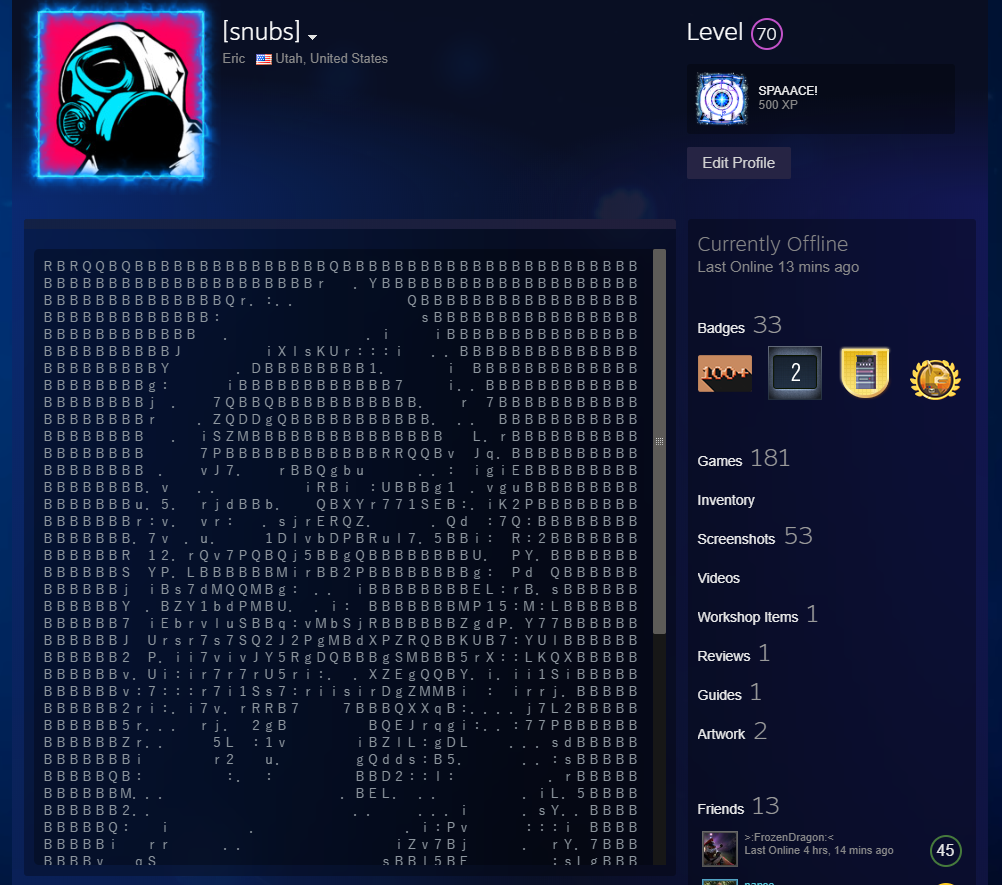
Great choice of art btw, Kurt passed too soon
ult 12 apr 2024, ore 7:19 
for anyone wanting to use the link below this for their ascii art, DO NOT

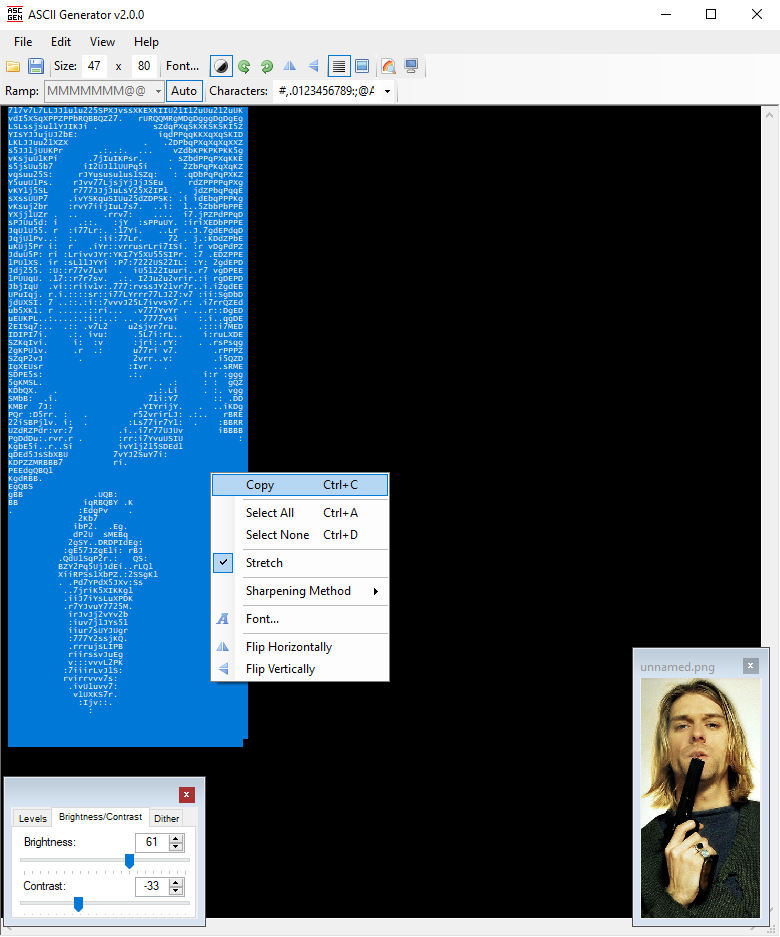
i just scanned it and it has 21 flagged trojans, be safe yall :grwheart: