Nexomon: Extinction

Nexomon: Extinction

223 ratings
Overall Guide (Quests, Nexomon, Items, ...) (NO Abyssal Update Updates)
By Darlot
This guide should provide overall information about Nexomon Locations, Item Locations, Vaults, Quests, Healer Locations and so on and so on...

Please comment if you found a Nexomon in a Zone where it was not listed, I'll gladly add it. If you have a wish what info is missing, or should be displayed different leave a comment. I am very happy to work together with everyone to provide the best guide possible.

Thank you :)
7
6
14
3
   
Award
Favorite
Favorited
Unfavorite
Introduction
Hello, I am trying to note everything down for the seperate Zones (found Items, Nexomon, Quests, and so on...).

For Zones with Nexomon I put a Fight Count in, right of the Nexomon you see a "x123", the number after the x indicates how often I've had a fight against this particular Nexomon. You can now caclulate a chance by dividing the xNumber/Fight Count = xxx
For example I've fought Rubby 27 times out of 50 fights 27/50=0,54 or 54%. Please be aware that this kind of chances are not really representable unless there were thousands of Fights in a Zone. Anyway I wanted to give you some small indication, whereas your personal experience might differ a lot!

If you search for the next Healer/Storage Console press CTRL+F and search for "Healer" or "Storage Console". For Vaults search for "Vault". And if you search for a specific Nexomon same procedure but with the name of the Nexomon. Hopefully you'll find what you search :)

I'll mark the Nexomon with:
1/X (Whereas X is the max Evo. Some Nexomon can evolve 1 time, some 2 time and some can't evolve at all.)
List of possible values:
  • 1/1
  • 1/2
  • 1/3
  • 2/2
  • 2/3
  • 3/3

Depending on where you are in the story you'll unlock new Nexomon in areas you already visited. Depending on that you might encounter less Nexomon than what I listed. Tier 1 you can catch at all times. Tier 2 will unlock after you saved Ignitia. Tier 3 will unlock after the story events on Drake Isles are finished. I can not tell you what Nexomon are Tier 1, 2 or 3... This would require some research which will consume hundreds of hours to do it alone. A good indicator is the Evolution stage. Tier 1 is first Evo, Tier 2 Second and 3rd Tier is 3rd Evolution. But thats just a rough overall. There are Nexomon with only one Evolution that might spawn in Tier 3 first. Keep that in mind and don't tryhard to much. You can always come back later. I would recommend doing major catching parts after the story, while you try to get some of the really cool Nexomon unlocked by reaching the End.
Random Things
  • You can find ALL 9 Starters in the Palmaya region
Nexomon I trained instead of catching them
Most likely you can find them in an area where you get evolved Nexomon and also find the first/secoond Evolution of it.

  • #106 - Harectic (Mega Rare) (2/2)*
  • #150 - Lamparos (Uncommon) (3/3)*
  • #180 - Shardberg (Mega Rare) (3/3)*
  • #216 - Floreina (Mega Rare) (2/2)*
  • #249 - Felclaw (Mega Rare) (3/3)*
  • #254 - Sikihob (Mega Rare) (2/3)*
  • #255 - Sikipha (Mega Rare) (3/3)*
  • #306 - Blizzaur (Mega Rare) (3/3)*
  • #321 - Horget (Mega Rare) (3/3)*
Story Quests
#01 - The Frozen Lake
Quest Start: Tamers Guild
Reward: 500 Coins, Perfect Berry, Blazing Shard, Ocean Shard
[/list]
Solution:
  • Meet Videll outside the Capital City.
  • Go South until Frozen Lake from Outlands - West Entrance
  • Go inside the Cave in Outlands - Frozen Lake
  • Rescue Videll and report back to Guild

#02 - Orphanage in Peril
Quest Start: Tamers Guild
Reward: 500 Coins, 1x Wind Nexotrap, 1x Plant Nexotrap
Solution:
  • Meet with Ross and Nora at the Orphanage.
  • Head inside the Orphanage and rescue three hostages.
  • Defeat all Bandits & meet Outside

#03 - Citadel under Attack
Quest Start: Immortal Citadel - Elizas Manor 1F
Reward: 400x Coins, 1x Glazed Cake, 1x Orange, 1x Egg Tart
Solution:
  • Search the Citadel for strange spirits.
  • One at City Center, One at City West Graveyard, One at City Market
  • Return to Eliza, Defend yourself

#04 - Tyrant Mulcimer
Quest Start: Desert - Outpost Building
Reward: 700x Coins, 1x Water Nexotrap, 1x Perfect Berry, 1x Ultra Elixir, Silver Badge
Solution:
  • Descend Grundas Chasm & Find your friends. (City)
  • Find Nivalis. (North of Frozen Lavalake)
  • Go to South Ignitia & Get the Power of Fire from Shrine.
  • Defeat Jin & Mulcimer
  • Return to Desert Outpost.Go to Guild Headquater.

#05 - The Mad Dragon
Quest Start: Drake Isles East - Entrance
Reward: 500 Coins, Wind Nexotrap, Ghost Nexotrap
Solution:
  • Get Lure for the Dragon in Lydias Village.
  • Find the Scientist outside the Village. He is in the house at Drake Isles - Intersection
  • Find the vial. Barrel in Southeast Corner
  • Bring it to Xanders & follow him.
  • Defeat the Dragon Dracon!

#06 - The Frozen Bunker
Quest Start: Frozen Tundra City & East & North - City Center
Reward: 600x Coins, Mineral Nexotrap, Discount Voucher
Solution:
  • Find the man who delivers the Explosives. Frozen Tundra City & East & North -Further East of City. And Defend them.
  • Return to V with the Explosives. Clear the Path west of the City. Go to the Bunker.
  • Progress through the bunker.

#07 - The Cursed Tower
Quest Start: Frozen Tundra City & East & North - City Center - Guild Hall
Reward: 1000x Coins, 1x Golden Nexotrap, Gold Badge
Solution:
  • Head to the Nexolord Tower. Enter the Tower. Defeat the Cult.
  • Defeat the Cultists and Nivalis.
  • Survive the Double Dragon Attack and return to Guild Outpost.

#08 - The Sinking City
Quest Start: Cadium East - East Intersection
Reward: 250x Coins, 1x Green Cake, 1x Pink Pecana, 1x Egg Tart, Interpreter
Solution:
  • Find and Fix all four Generators.
  • They're located in: Cadium East - North of East Intersection, Cadium East - East 4 of City Center, Cadium East - East of Southeast Intersection, Cadium East - South Southwest of Southeast Intersection

#09 - Desert Tyrant
Quest Start: Lateria - Chiefs Tent - Tent
Reward: 400x Coins, Perfect Berry, Nature Shard, Mind Shard, Laterian Sigil
Solution:
  • Find the Tyrant east of Lateria and fight him. Desert East - East of Bridge. After all Events return to Chiefs Tent.

#10 - Protect Tikala
Quest Start: Khan Woods North - Hidden Village North
Reward: 300x Coins, 1x Golden Nexotrap
Solution:
  • Defeat all Invaders in the Hidden Village. First West Village Side, then East.

#11 - Resurrect Eurus
Quest Start: Khan Woods North - Hidden Village North Cave
Reward: -
Solution:
  • Go to Drake Isles. Defeat Xanders. Revive Eurus.

#12 - Resurrect Mulcimer
Quest Start: Khan Woods North - Hidden Village North Cave
Reward: -
Solution:
  • Go to Ignitia (East then North of City). Go to Mining Club. Bring V 5x Ghost Shard. Trade with Mayor. Revive Mulcimer. Tame him.

#13 - Resurrect Nivalis
Quest Start: Khan Woods North - Hidden Village North Cave
Reward: -
Solution:
  • Go to Nexolord Tower. Defeat the Cultistsl. Find Nivalis Chamber. Resurrect him.

#14 - Resurrect Bolzen
Quest Start: Khan Woods North - Hidden Village North Cave
Reward: -
Solution:
  • Go to Cadium. Go to President. Go to Logan. Return to President. Face the other King. Resurrect Bolzen.

#15 - Resurrect Petram
Quest Start: Khan Woods North - Hidden Village North Cave
Reward: -
Solution:
  • Go to Lateria. Head East. Head to Lateria Chief. Convince 6 Laterian Hunters to join your cause. Let them do the job. Defeat Celine. Resurrect Petram.

#16 - Grandmaster Promotion
Quest Start: The Nexolord Tower - 4F
Reward: 1000x Coins, 1x Golden Nexotrap, 1x Perfect Berry, Grandmaster Badge
Solution:
  • Go to Guild HQ in Parum. Have 600+ Reputation. Finish the Combat Challenge. Water, Fire, Electric, Normal/Psychic.

#17 - Destroy Vados
Quest Start: Oprhanage
Reward: Endgame Content!!!
Solution:
  • Well... defeat him :)
Side Quests
#501 - Liam's Stolen Letter
Quest Start: Haunted Woods - South of Village
Reward: 250x Coins, 1x Perfect Berry, 1x Anti Potion, 1x Revive
Solution: Find the Thief in The Immortal Citadel - City Center House A6 - Upstairs, beat the crap out of her and get the letter :)
After that, go back to Liam, then to Hannah, say sorry and give her HER letter you stole...

#502 - Alfred's Dream
Quest Start: Immortal Citadel - Elizas Manor East
Reward: 300x Coins, 1x Exp Booster, 1x Water Nexotrap
Solution: Bring him 10 Nexotrap. Follow him to the East (Immortal Citadel - South of Intersection).

#503 - The Missing Kid
Quest Start: Outlands - West Entrance
Reward: 400x Coins, 1x Super Elixir, 1x Destruction Core (I)
Solution: Find her in Outlands - Ruins Middle and fight her, afterwards return her to Outlands - West Entrance.

#504 - Pretty Rocks
Quest Start: Forest - Intersection
Reward: Pickaxe
Solution: Give him following Items: 200 Coins, 1x Potion, 1x Elixir

#505 - The Tree of Gifts
Quest Start: Haunted Woods - The Tree
Reward: 1x Vault Key, 1x Golden Nexotrap, 1x Experience Core (II), 1x Greed Core (II)
Solution: It's just a trade, bring him the two Nexomon below. You can find both of them just the Area below the Tree. 1x Dreaver, 1x Griff

#506 - Ultimate Antidote
Quest Start: Desert - South of North Entrance
Reward: 300 Coins (+200 Coins) (+100 Coins)
Solution: Bring him five Anti-Poisons. Find him in Lateria - South of City. Defeat him.

#507 - Missing Tamers
Quest Start: Desert - South of North Entrance
Reward: 350x Coins, 1x Protection Core (I), 1x Immunity Core (I)
Solution: Find the missing Tamers, west of Ignitia. One West Ignitia - North Northwest West of Westbridge. Another One West Ignitia - Southwest West of Westbridge.

#508 - Catching a Namansi
Quest Start: Drake Isles - West of Intersection
Reward: Vault Key
Solution: Give him following Items: 1x Namasi (Evolution Dinja-Lv15->Dichala-Lv32->Namansi)

#509 - A Little Help
Quest Start: Tamers Guild
Reward: 200 Coins, Experience Core (II)
Solution: Deliver Supplies to outpost in the Outlands - Medical Tent.

#510 - Beautiful Parum
Quest Start: Parum City
Reward: 1x Vault Key
Solution: Search in Parum for garbage (after accepting the quest they shine like items) and return it to the old Lady. You need 12 Garbage. I found 9 in Parum City Center, 2 in Parum West and 1 in Parum East.

#511 - Playing With Salem
Quest Start: Forest - Northeast
Reward: Vault Key
Solution: Remember her maze pattern and follow it. East, North, East, West, North

#512 - Lisas Lunch
Quest Start: Palmaya - Southwest of Intersection
Reward: Crafting of Traps
Solution: Grab her lunch (for 150x Coins) at Palmaya Restaurant (Palmaya City Northwest)

#513 - Tech Support
Quest Start: Haunted Woods - East Graveyard
Reward: 350x Coins, 1x Vitality Core (I), 1x Plant Nexotrap
Solution: Delete his Browser history in Immortal City - City Center - House A9.
Go back to the Ghost.

#514 - The Lost Ring
Quest Start: Frozen Tundra - Bridge West
Reward: Vault Key
Solution: Find the Precious Ring in Desert East - East

#515 - Turning off the Heat
Quest Start: Ignitia City - City East
Reward: 250x Coins, 1x Water Nexotrap
Solution: Catch 8 Fire-type Nexomon. (already owned Fire-Nexomon count)

#516 - Turning up the Heat
Quest Start: Frozen Tundra - City Center
Reward: Vault Key
Solution: Give him following Nexomon: 1x Glontern (Evolution Blit -Lv12->Glontern-Lv30->Lamparos), 1x Imburion (Evolution Pongo -Lv16->Imbuzi-Lv34->Imburion

#517 - Evil Spirits
Quest Start: Frozen Tundra City Center - Guild Hall
Reward: Vault Key
Solution: Defeat a Ghost in Frozen Tundra East Cave - Entrance.

#518 - Thieves of the Tundra
Quest Start: Frozen Tundra - City Center
Reward: 700x Coins, 1x Nexotrap, 1x Vitality Core (I)
Solution: Fight off six Thieves (Unique ones). Fighting them BEFORE accepting the Quest does COUNT. You can find them:
  1. Frozen Tundra Base to City - East of Ice Bridge
  2. Frozen Tundra Base to City - North of Ice Bridge
  3. Frozen Tundra Base to City - North of Mining Outpost
  4. Frozen Tundra City & East & North - East of City
  5. Frozen Tundra City & East & North - Way to Nexolord Tower
  6. Frozen Tundra City & East & North - Northeast of City

#519 - The Middleman
Quest Start: Drake Isles - Northeast of Intersection
Reward: 350x Coins, 1x Destruction Core (I), 1x Flan, 1x Glazed Cake, 1x Golden Nexotrap
Solution: Do the Trade with him. He even gives you a Golden Nexotrap on top of the rewards. 1x Fire Nexotrap, 1x Water Nexotrap, 1x Wind Nexotrap, 1x Plant Nexotrap

#536 - Finding Vados
Quest Start: Lateria Prison - Cell
Reward: Protovados
Solution: Find Amelie in the Lateria Prison. Find Vados in The Nexolord Tower - North Chamber.

#537 - The Extinction Project
Quest Start: Parum - City Northwest (Secondary Research Center)
Reward: Experimental Lure
Solution: Give him money x1000 Coins.

Greater Drake Quests
All Quests start in Parum City - Tamer Guild (City North) - 3F after you finished #17.
In Solution you'll find the Location where you have to Lure them. You also need the Tribute Lure from the Vaults.

#521 - The Drake of Fire
Solution: North of Ignitia - Tyrant Bones

#522 - The Drake of Water
Solution: Frozen Tundra Base to City - Tyrant Skeleton

#523 - The Drake of Nature
Solution: Khan Woods North - East

#524 - The Drake of Wind
Solution: Drake Isles - Northern Ruin

#525 - The Drake of Stone
Solution: Desert - North of Entrance

#526 - The Drake of Thunder
Solution: Palmaya Surroundings - Southeast of Intersection

#527 - The Drake of Decay
Solution: East of Immortal Citadel - East of Intersection

#528 - The Drake of Mind
Solution: Immortal Citadel - City Northwest Windy Dirt Area

#529 - The Drake of Power
Solution: Outlands - Spencers (ruined) Manor
Primordial Tyrants Quests
All Quests start in Parum City - Tamer Guild (City North) - 3F after #17
For every Tyrant you need 25 Shards of their corresponding Element to revive them.
In Solution you'll simply find the Location where to resurrect them.

#520 - The Mad Scientist
Reward: Being able to Revive the Primordial Tyrants.
Solution: Bring Logan the Resurrection Machine Blueprints (Nexolord Tower, if you have not taken them already)

#530 - Fenrir is Reborn
Solution: South of Ignitia - Fire Shrine

#531 - Nadine is Reborn
Solution: Drake Isles East - Shrine

#532 - Merida is Reborn
Solution: Palmaya Surroundings - South of Intersection

#533 - Zetta is Reborn
Solution: Cadium - City President Mansion

#534 - Grunda is Reborn
Solution: Desert Cursed Cave - 2B North

#535 - Deena is Reborn
Solution: Hidden Village - Hidden Village Northwest
Tyrant Locations
You can catch the Tyrants, after you've finished the Story.
This are the information from the official Discord server:

Mulcimer
Ignitia Maps, Including Caves

Eurus
Drake Isles Maps, NOT including Lab, NOR Cave

Bolzen
Cadium Maps, Including Amelie's Lab

Nivalis
Frozen Tundra Maps, Including Bunker, Tower and Cave, Including Frozen Lake Cave

Petram
Desert Maps, Including Caves

Tikala
Khan Woods, Including Caves

Byeol
Palmaya

Fane
Haunted Woods, NOT including Caves

Titan (not rly a Tyrant, servant to King Ziegler)
All Maps

Darine (not rly a Tyrant, servant to King Ziegler)
All Maps

Ziegler (not rly a Tyrant, King of Netherworld, maybe not even a Nexomon)
All Maps
Crafting
Here I will list the Crafting Recipes for Cores/Traps, so you don't need to run back to the specific place just to see you're missing one or two Shards.

Core Crafting
Name
Blazing
Ocean
Tempest
Nature
Thunder
Stone
Phantom
Mind
Destruction Core (I)
3
0
0
0
2
0
0
0
Destruction Core (II)
6
0
0
0
3
3
0
0
Destruction Core (III)
10
0
0
0
5
5
0
0
Protection Core (I)
0
1
0
0
0
3
0
0
Protection Core (II)
0
3
0
1
0
5
0
0
Protection Core (III)
0
6
0
4
0
10
0
0
Vitality Core (I)
0
0
2
3
0
0
0
1
Vitality Core (II)
0
2
4
7
0
0
0
2
Vitality Core (III)
0
4
6
10
0
0
0
3
Immunity Core (I)
0
0
0
0
2
0
1
1
Immunity Core (II)
0
0
1
0
4
0
2
2
Immunity Core (III)
0
0
4
0
6
0
4
3
Experience Core (I)
0
2
0
0
0
0
0
3
Experience Core (II)
0
3
0
4
0
1
0
6
Experience Core (III)
0
6
0
8
0
4
0
10
Greed Core (I)
0
0
0
0
1
0
2
0
Greed Core (II)
0
2
0
0
3
0
4
0
Greed Core (III)
0
4
0
3
5
0
7
0
Stamina Core (I)
0
0
0
0
2
0
1
0
Stamina Core (II)
2
1
0
0
4
0
2
0
Stamina Core (III)
4
3
0
0
8
0
4
0
Synergy Core (I)
1
1
1
1
1
1
1
1
Synergy Core (II)
3
3
3
3
3
3
3
3
Synergy Core (III)
5
5
5
5
5
5
5
5


Trap Crafting
Traps in Palmaya - Southwest of Intersection
Name
Thunder
Stone
Phantom
Mind
Mineral Nexotrap
0
3
0
0
Electric Nexotrap
3
0
0
0
Psychic Nexotrap
0
0
0
3
Ghost Nexotrap
0
0
3
0

Traps in Lydias City
Name
Blazing
Ocean
Tempest
Nature
Fire Nexotrap
3
0
0
0
Water Nexotrap
0
3
0
0
Wind Nexotrap
0
0
3
0
Plant Nexotrap
0
0
0
3
Vaults
There are 9 Vaults, refer to list below where to find them

  1. Outlands South Cave - Further East
  2. Immortal Cave - Northeast
  3. Ignitia North Cave - Further North
  4. East of Ignitia & South Cave - Cave East
  5. Lydias Village Cave - North of Intersection (Wind Skill required)
  6. Frozen Tundra Mining Cave - South (Water Skill required)
  7. Cave South of Camp - North (Wind Skill required)
  8. Outlands East Cave - B2 Entrance
  9. Desert East Cave - Entrance (Water Skill required)


There are also Vault Keys for Quests and such. Refer to below list where to find them:

  • #505
  • #508
  • #510
  • #511
  • #514
  • #516
  • #517
  • #03
  • Interview after saving Ignitia
Status Effects
Please look at this great Guide (Ctrl+Mouseclick or Middle Mouseclick opens the Guide in a new tab, so you can switch as you need):

https://steamcommunity.com/sharedfiles/filedetails/?id=2217776657
Elemental Effectivenes Chart
This is the Chart pinned in the official discord Yellow-Attacker, Blue-Defender:
Orphanage*
Dormitory

Items:
  • 1x Apple
  • 1x 20 Coins
  • 1x 50 Coins


Main Hall

Items:
  • 1x Elixir (after you return with your own Nexomon)
  • 1x Anti Poison (NPC, after #02)


East Wing

Items:
  • 1x Potion
  • 1x Elixir
  • 1x Ether
  • 1x Elixir (after #02)
  • 1x Ghost Nexotrap (after #02)
  • 1x Psychic Nexotrap (after #02)
  • 50x Coins (after #02)


West Wing

Items:
  • 1x Nexotrap
  • 1x Vitality Core (II) (NPC, after #02)


F1 Headmaster Room (after you're back)

Items:
  • 1x 25 Coins
  • 1x Anti Paralyze


F2 Entrance (First when in Quest #02)

Items:
  • 1x Revive (NPC, after #02)


F2 Entrance (First after Quest #02)


Outside

Specials:
  • Warpstone (After #01 - The Frozen Lake)
  • Traveling Merchant (only until you've your Bronze Badge)

Items:
  • 1x Revive (outside the East Wing)
  • 1x 15 Coins
  • 1x Ether (Pickaxe required)
  • 1x Synergy Core (III) (Pickaxe required)
Forest*
Intersection

Quest:
  • #504 - Pretty Rocks (after you've your first own Nexomon)

Items:
  • 1x Shard Spot (Pickaxe required)


Statue (North Path)

Here you chose your first Nexomon out of 9. (one for each element)


Hidden Chamber Entrance

Specials:
  • Healer (only after Capture Tutorial, 3rd topic) (is gone after you return to Orphanage)

Items:
  • 1x Nexotrap
  • 1x 25 Coins
  • 1x Potion
  • 1x Super Potion
  • 3x Lemon Pies (after Capture Tutorial, speaking 2nd topic)
  • 1x Synergy Core (III)
  • 1x Shard Spot (Pickaxe required)


Hidden Chamber Northern Part

Nexomon: (1)
  • Fight Count: 61
  • #001 - Cloddy (Uncommon) (1/3) x7
  • #032 - Stinger (Common) (1/3) x9
  • #075 - Rubby (Common) (1/2) x33
  • #135 - Fanling (Uncommon) (1/3) x2
  • #145 - Calfter (Rare) (1/3) x3
  • #199 - Woozy (Rare) (1/2) x4
  • #207 - Skunqute (Common) (1/3) x1
  • #289 - Rapnux (Mega Rare) (Lure required) (1/1) x1
  • #292 - Florozard (Mega Rare) (Lure required) (1/1) (*Comment add, no encounter myself)
  • #325 - Dinja (Ultra Rare) (1/3) x1

Items:
  • 10x Nexotraps (Story, not missable)
  • 1x 25 Coins
  • 1x Healing Crystal


West Path

Nexomon: (2)
  • Fight Count: 70
  • #038 - Shromporo (Common) (1/3) x22
  • #075 - Rubby (Common) (1/2) x27
  • #135 - Fanling (Uncommon) (1/3) x11
  • #145 - Calfter (Rare) (1/3) x5
  • #187 - Cruff (Rare) (1/3) x2
  • #289 - Rapnux (Mega Rare) (Lure required) (1/1) x2
  • #292 - Florozard (Mega Rare) (Lure required) (1/1) x2
  • #325 - Dinja (Ultra Rare) (1/3) x1

Items:
  • 1x Flan
  • 2x Grapes
  • 1x Revive
  • 1x Synergy Core (I)
  • 2x Healing Crystal
  • 1x Shard Spot (Pickaxe required)
  • 1x Greed Wallet (Wind Skill required)


East Path

Nexomon: (2)
  • Fight Count: 60
  • #001 - Cloddy (Uncommon) (1/3) x6
  • #038 - Shromporo (Common) (1/3) x26
  • #122 - Poyal (Common) (1/3) x8
  • #190 - Singletti (Uncommon) (1/3) x5
  • #199 - Woozy (Rare) (1/2) x11
  • #325 - Dinja (Ultra Rare) (1/3) x4

Items:
  • 1x 20 Coins
  • 1x Potion
  • 2x Healing Crystal
  • 1x Shard Spot (Pickaxe required)


Northeast (Maze / North of East Path)

Quest:
  • #511 - Playing With Salem

Nexomon: (1)
  • Fight Count: 60
  • #001 - Cloddy (Uncommon) (1/3) x7
  • #038 - Shromporo (Common) (1/3) x12
  • #122 - Poyal (Common) (1/3) x29
  • #135 - Fanling (Uncommon) (1/3) x3
  • #145 - Calfter (Rare) (1/3) x1
  • #187 - Cruff (Rare) (1/3) x7
  • #325 - Dinja (Ultra Rare) (1/3) x1


Sea North of Maze

Items:
  • 1x Peach
  • 1x Perfect Berry
  • 1x Masquiti Companion
  • 2x Shard Spot (Pickaxe required)


East of Orphanage

Nexomon: (2)
  • Fight Count: 60
  • #001 - Cloddy (Uncommon) (1/3) x3
  • #032 - Stinger (Common) (1/3) x24
  • #075 - Rubby (Common) (1/2) x6
  • #187 - Cruff (Rare) (1/3) x16
  • #190 - Singletti (Uncommon) (1/3) x6
  • #325 - Dinja (Ultra Rare) (1/3) x5

Tamer:
  • Money Stealing Girl


Items:
  • 1x 50 Coins (accessible from Forest - East Path)
  • 1x Green Pear (accessible from Forest - East Path)
  • 1x Nexotrap
  • 1x 20 Coins
  • 1x Healing Crystal


South of Orphanage

Nexomon: (2)
  • Fight Count: 60
  • #001 - Cloddy (Uncommon) (1/3) x6
  • #032 - Stinger (Common) (1/3) x14
  • #038 - Shromporo (Common) (1/3) x9
  • #122 - Poyal (Common) (1/3) x16
  • #135 - Fanling (Uncommon) (1/3) x3
  • #145 - Calfter (Rare) (1/3) x1
  • #187 - Cruff (Rare) (1/3) x1
  • #190 - Singletti (Uncommon) (1/3) x5
  • #199 - Woozy (Rare) (1/2) x3
  • #325 - Dinja (Ultra Rare) (1/3) x2

Tamer:
  • Green Headband Guy
  • Boy with blue Basecap

Items:
  • 1x Watermelon
  • 1x Potion
  • 1x Healing Crystal

Trader:
  • GIVES
  • 2x Ghost Nexotrap
  • 2x Psychic Nexotrap
  • FOR
  • 1x Nexotrap
  • 1x Revive
  • 100 Coins
Camp & Suroundings*
Camp

Specials:
  • Healer
  • Move Trainer

Items:
  • 1x Nexotrap
  • 1x Shard Spot (Pickaxe required)
  • 3x Ocean Shard (NPC, after saving Ignitia)

Trader:
Gives
  • 250 Coins
for
  • 1x Rubby (Lv. 1)


South of Camp

Specials:
  • Cave Entrance (Wind Skill required)

Nexomon: (1)
  • Fight Count: 63
  • #111 - Hinazuru (Uncommon) (1/3) x7
  • #112 - Nakazuru (Uncommon) (2/3) x7
  • #113 - Senshizuru (Uncommon) (3/3) x1
  • #130 - Snush (Common) (1/3) x32
  • #220 - Frogick (Rare) (1/2) x7
  • #221 - Cranoad (Rare) (2/2) x1
  • #289 - Rapnux (Mega Rare) (Lure required) (1/1) x1
  • #343 - Gekoko (Ultra Rare) (1/3) x4
  • #344 - Kamelevo (Ultra Rare) (2/3) x3

Items:
  • Healing Crytal
  • 1x Shard Spot (Pickaxe required)


Pier (Further South of Camp)

Specials:
  • A Pier where I can't do anything for now. (after #07, it'll become relevant)

Nexomon: (1)
  • Fight Count: 60
  • #010 - Spikus (Uncommon) (1/3) x12
  • #011 - Spikarm (Uncommon) (2/3) x1
  • #122 - Poyal (Common) (1/3) x12
  • #123 - Puggard (Common) (2/3) x10
  • #130 - Snush (Common) (1/3) x20
  • #220 - Frogick (Rare) (1/2) x4
  • #292 - Florozard (Mega Rare) (Lure required) (1/1) x1

Items:
  • 1x Shard Spot (Pickaxe required)
  • 1x Experience Core (II) (NPC, after Story Dialog)


West of Camp

Tamer:
  • Mr. Survival

Items:
  • 1x Peach
  • 1x Synergy Core (I)


Ferry (Northwest of Camp)

Specials:
  • Ferry to Palmaya

Items:
  • 1x Shard Spot (Pickaxe required)
Cave South of Camp*
Since you can't enter it without Wind Skill I will not the "Wind Skill required" phrase in this section.

Entrance

Nexomon:
  • Fight Count: 20
  • #022 - Branipus (Common) (1/3) x3
  • #023 - Cerebrius (Common) (2/3) x2
  • #025 - Skerdi (Common) (1/3) x4
  • #026 - Aferaid (Common) (2/3) x1
  • #151 - Blublub (Uncommon) (1/2) x3
  • #165 - Vodo (Uncommon) (1/3) x3
  • #196 - Croo (Rare) (1/3) x1
  • #197 - Cadeto (Rare) (2/3) x2
  • #223 - Teslad (Rare) (2/3) x1

Items:
  • 1x Nexotrap
  • 1x Shard Spot (Pickaxe required)


East

Nexomon:
  • Fight Count: 20
  • #025 - Skerdi (Common) (1/3) x3
  • #026 - Aferaid (Common) (2/3) x5
  • #027 - Dreddiful (Common) (3/3) x1
  • #036 - Draniphant (Common) (2/3) x1
  • #037 - Tuskant (Common) (3/3) x2
  • #096 - Scalder (Uncommon) (1/2) x1
  • #097 - Scailla (Uncommon) (2/2) x2
  • #197 - Cadeto (Rare) (2/3) x3
  • #220 - Frogick (Rare) (1/2) x2

Items:
  • 4x Shard Spot (Pickaxe required)


North

Specials:
  • Vault #7

Nexomon:
  • Fight Count: 22
  • #022 - Branipus (Common) (1/3) x4
  • #023 - Cerebrius (Common) (2/3) x3
  • #024 - Octollect (Common) (3/3) x1
  • #025 - Skerdi (Common) (1/3) x3
  • #026 - Aferaid (Common) (2/3) x2
  • #027 - Dreddiful (Common) (3/3) x1
  • #151 - Blublub (Uncommon) (1/2) x1
  • #152 - Globlob (Uncommon) (2/2) x3
  • #166 - Malevodo (Uncommon) (2/3) x1
  • #167 - Malenostra (Uncommon) (3/3) x1
  • #222 - Tesling (Rare) (1/3) x1
  • #224 - Volpressor (Rare) (3/3) x1

Items:
  • 1x Healing Crystal
  • 4x Shard Spot (Pickaxe required)


Vault #7

Items:
  • 150x Coins
  • 100x Coins
  • 150x Coins
  • 1x Golden Nexotrap
  • 100x Coins
  • 1x Lioness Companion
  • 1x Tribute of Thunder


West

Nexomon:
  • Fight Count: 30
  • #022 - Branipus (Common) (1/3) x2
  • #023 - Cerebrius (Common) (2/3) x4
  • #024 - Octollect (Common) (3/3) x2
  • #035 - Faucefant (Common) (1/3) x2
  • #036 - Draniphant (Common) (2/3) x5
  • #037 - Tuskant (Common) (3/3) x1
  • #096 - Scalder (Uncommon) (1/2) x1
  • #097 - Scailla (Uncommon) (2/2) x1
  • #165 - Vodo (Uncommon) (1/3) x1
  • #166 - Malevodo (Uncommon) (2/3) x2
  • #167 - Malenostra (Uncommon) (3/3) x2
  • #220 - Frogick (Rare) (1/2) x1
  • #222 - Tesling (Rare) (1/3) x2
  • #223 - Teslad (Rare) (2/3) x1
  • #289 - Rapnux (Mega Rare) (Lure required) (1/1) x1
  • #292 - Florozard (Mega Rare) (Lure required) (1/1) x2

Items:
  • 4x Shard Spot (Pickaxe required)
Palmaya City & North Surroundings*
Ferry Entrance

Specials:
  • Warpstone (After #01 - The Frozen Lake)

Trader:
  • GIVES
  • 2x Canele
  • 2x Pandulce
  • 2x Green Cake
  • 2x Pincho
  • FOR
  • 3x Nexotrap
  • 2x Potion
  • 1x Ether


Palmaya City Center (South of Ferry)

Houses
North House
Items:
  • 1x Water Nexotrap (NPC)
  • 1x Mineral Whistle

South House
Items:
  • 1x Nexotrap


Palmaya City East

Houses
House at Entrance
Items:
  • 1x Ether


Palmaya City West

Items:
  • 1x Donut
  • 1x Shard Spot (Pickaxe required)

Houses
House West
Can't enter now. Higher badge required I guess...

House North


Palmaya City Northwest

Specials:
  • Healing Center
  • Store
  • Restaurant
  • Move Trainer

Houses
Healing Center
Specials:
  • Healer
  • Storage Console

Store
Specials:
  • Merchant
  • Shard Buyer -.-"

Restaurant

Items:
  • 1x Onigiri

Trader:
  • GIVES
  • 1x Secret Sauce
  • FOR
  • 450x Coins


North of Intersection (West of City)

Nexomon: (2)
  • Fight Count: 100
  • #007 - Bloopish (Common) (1/3) x2
  • #008 - Glimoory (Common) (2/3) x2
  • #025 - Skerdi (Common) (1/3) x2
  • #026 - Aferaid (Common) (2/3) x4
  • #032 - Stinger (Common) (1/3) x5
  • #033 - Moonsting (Common) (2/3) x2
  • #035 - Faucefant (Common) (1/3) x11
  • #036 - Draniphant (Common) (2/3) x7
  • #037 - Tuskant (Common) (3/3) x1
  • #058 - Keromb (Uncommon) (1/2) x4
  • #059 - Kerosion (Uncommon) (2/2) x1
  • #060 - Snaibble (Mega Rare) (1/3) x2
  • #061 - Snaiflow (Mega Rare) (2/3) x1
  • #062 - Snaijet (Mega Rare) (3/3) x1
  • #082 - Bomriol (Rare) (2/3) x1
  • #092 - Brumtler (Uncommon) (1/2) x3
  • #094 - Moga (Common) (1/1) x5
  • #095 - Monkapow (Common) (1/1) x6
  • #105 - Kawsnow (Mega Rare) (1/2) x0 (* Comment add)
  • #133 - Durtacles (Uncommon) (1/2) x2
  • #134 - Roclas (Uncommon) (2/2) x2
  • #148 - Blit (Uncommon) (1/3) x2
  • #149 - Glontern (Uncommon) (2/3) x1
  • #178 - Babicle (Mega Rare) (1/3) x1
  • #179 - Shardice (Mega Rare) (2/3) x1
  • #184 - Ribombo (Rare) (1/3) x6
  • #185 - Bombargrof (Rare) (2/3) x1
  • #223 - Teslad (Rare) (2/3) x3
  • #227 - Ripha (Rare) (1/3) x5
  • #228 - Grimmon (Rare) (2/3) x3
  • #285 - Lovinu (Mega Rare) (1/2) x1
  • #291 - Antarzen (Mega Rare) (Lure required) (1/1) x1
  • #325 - Dinja (Ultra Rare) (1/3) x2
  • #326 - Dichala (Ultra Rare) (2/3) x1
  • #328 - Lume (Ultra Rare) (1/3) x2
  • #329 - Lumefur (Ultra Rare) (2/3) x1
  • #330 - Lumerei (Ultra Rare) (3/3) x1
  • #337 - Trebly (Ultra Rare) (1/3) x3
  • #338 - Treclay (Ultra Rare) (2/3) x1

Tamer:
  • Ghost
  • Swimmer

Items:
  • 1x Nexotrap
  • 3x Shard Spot (Pickaxe required)


Northwest of Intersection

Nexomon: (1)
  • Fight Count: 100
  • #007 - Bloopish (Common) (1/3) x6
  • #008 - Glimoory (Common) (2/3) x1
  • #009 - Glamoory (Common) (3/3) x1
  • #069 - Bulbrit (Common) (1/2) x11
  • #070 - Cromeon (Common) (2/2) x1
  • #075 - Rubby (Common) (1/2) x8
  • #076 - Runk (Common) (2/2) x2
  • #084 - Shardrine (Common) (1/2) x1
  • #092 - Brumtler (Uncommon) (1/2) x2
  • #093 - Brumenie (Uncommon) (2/2) x1
  • #105 - Kawsnow (Mega Rare) (1/2) x1
  • #127 - Jeloon (Common) (1/3) x13
  • #128 - Jelifo (Common) (2/3) x5
  • #129 - Jeliflux (Common) (3/3) x1
  • #151 - Blublub (Uncommon) (1/2) x4
  • #159 - Leechy (Uncommon) (1/2) x1
  • #160 - Dracly (Uncommon) (2/2) x2
  • #175 - PotPot (Rare) (1/3) x1
  • #176 - Neglente (Rare) (2/3) x1
  • #177 - Outgrov (Rare) (3/3) x1
  • #178 - Babicle (Mega Rare) (1/3) x1
  • #179 - Shardice (Mega Rare) (2/3) x1
  • #182 - Hohopi (Uncommon) (1/2) x5
  • #183 - Mojompo (Uncommon) (2/2) x2
  • #187 - Cruff (Rare) (1/3) x1
  • #188 - Croncho (Rare) (2/3) x2
  • #215 - Graciful (Mega Rare) (1/2) x2
  • #220 - Frogick (Rare) (1/2) x3
  • #253 - Siki (Mega Rare) (1/3) x2
  • #265 - Yummo (Uncommon) (1/3) x1
  • #266 - Yomnom (Uncommon) (2/3) x1
  • #267 - Glunch (Uncommon) (3/3) x1
  • #268 - Muu (Rare) (1/3) x2
  • #269 - Carcaros (Rare) (2/3) x1
  • #285 - Lovinu (Mega Rare) (1/2) x3
  • #286 - Lovidovi (Mega Rare) (2/2) x1
  • #334 - Mara (Ultra Rare) (1/3) x1
  • #335 - Marasuma (Ultra Rare) (2/3) x2
  • #340 - Mearn (Ultra Rare) (1/3) x1
  • #349 - Behilda (Ultra Rare) (1/3) x1
  • #350 - Heddeca (Ultra Rare) (2/3) x2

Items:
  • 1x Shard Spot (Pickaxe required)
Palmaya Surroundings*
Intersection (Southwest of Palmaya City)

Tamer:
  • Surfer
  • Pirate

Items:
  • 1x Elixir
  • 1x Gekoko Companion


West of Intersection

Nexomon: (2)
  • Fight Count: 200+
  • #013 - Pebglem (Common) (1/3) x7
  • #014 - Gemock (Common) (2/3) x2
  • #015 - Gemaxar (Common) (3/3) x1
  • #022 - Branipus (Common) (1/3) x17
  • #023 - Cerebrius (Common) (2/3) x8
  • #024 - Octollect (Common) (3/3) x4
  • #041 - Fortle (Mega Rare) (1/3) x2
  • #042 - Fortoise (Mega Rare) (2/3) x1
  • #043 - Fortank (Mega Rare) (3/3) x1
  • #064 - Peltry (Rare) (2/2) x1
  • #071 - Virox (Rare) (1/2) x3
  • #072 - Bactoul (Rare) (2/2) x2
  • #077 - Deember (Common) (1/3) x24
  • #078 - Deebuz (Common) (2/3) x7
  • #079 - Antlorm (Common) (3/3) x3
  • #084 - Shardrine (Common) (1/2) x2
  • #085 - Shardrillion (Common) (2/2) x2
  • #109 - Pont (Uncommon) (1/2) x6
  • #110 - Stalagca (Uncommon) (2/2) x3
  • #125 - Chowser (Uncommon) (1/2) x10
  • #126 - Cuisizle (Uncommon) (2/2) x2
  • #130 - Snush (Common) (1/3) x12
  • #131 - Shloom (Common) (2/3) x14
  • #132 - Swamplow (Common) (3/3) x6
  • #159 - Leechy (Uncommon) (1/2) x4
  • #172 - Streamole (Uncommon) (1/3) x6
  • #173 - Streamog (Uncommon) (2/3) x2
  • #174 - Streamoad (Uncommon) (3/3) x1
  • #175 - PotPot (Rare) (1/3) x4
  • #176 - Neglente (Rare) (2/3) x1
  • #177 - Outgrov (Rare) (3/3) x1
  • #190 - Singletti (Uncommon) (1/3) x8
  • #192 - Couplet (Uncommon) (3/3) x4
  • #201 - Magnipub (Rare) (1/3) x4
  • #202 - Sunnos (Rare) (2/3) x1
  • #204 - Ponic (Mega Rare) (1/3) x1
  • #205 - Giddiyelp (Mega Rare) (2/3) x1
  • #206 - Centeror (Mega Rare) (3/3) x1
  • #241 - Duh (Rare) (1/3) x7
  • #242 - Duktar (Rare) (2/3) x8
  • #244 - Bira (Mega Rare) (1/3) x1
  • #245 - Biralo (Mega Rare) (2/3) x1
  • #246 - Bisina (Mega Rare) (3/3) x1
  • #247 - Nekpanchi (Mega Rare) (1/3) x1
  • #253 - Siki (Mega Rare) (1/3) x0 (*Comment add, no encounter myself)
  • #279 - Waser (Mega Rare) (1/2) x1
  • #280 - Wargoyle (Mega Rare) (2/2) x1
  • #287 - Lurkost (Mega Rare) (1/2) x1
  • #288 - Lurkennie (Mega Rare) (2/2) x1
  • #290 - Boilgog (Mega Rare) (Lure required) (1/1) x1
  • #328 - Lume (Ultra Rare) (1/3) x1
  • #329 - Lumefur (Ultra Rare) (2/3) x4
  • #337 - Trebly (Ultra Rare) (1/3) x1
  • #338 - Treclay (Ultra Rare) (2/3) x1
  • #339 - Tresaur (Ultra Rare) (3/3) x1
  • #344 - Kamelevo (Ultra Rare) (2/3) x1
  • #346 - Masquiti (Ultra Rare) (1/3) x1
  • #347 - Masqat (Ultra Rare) (2/3) x1

Tamer:
  • Girl with Torch
  • Fisher

Items:
  • 1x Donut
  • 2x Shard Spot (Pickaxe required)


Southwest of Intersection

Items:
  • 1x Revive
  • 1x Potion
  • 1x Shard Spot (Pickaxe required)

Houses
Trapers Home

Specials:
  • Mineral, Electric, Psychic and Ghost Nexotrap Crafting (after #512)

Quest:
  • #512 - Lisas Lunch (Bronze Badge required)


South of Intersection

Quest:
  • #532 - Merida is Reborn (after #520)

Tamer:
  • Dancer

Items:
  • 1x Peach
  • 1x Healing Crystal
Palmaya East & Southeast Surroundings*
East of Intersection(South City)

Nexomon: (4)
  • Fight Count: 202+
  • #053 - Ghouze (Common) (1/2) x36
  • #054 - Mazecter (Common) (2/2) x6
  • #080 - Varawirl (Common) (1/1) x14
  • #086 - Sounse (Common) (1/2) x1
  • #087 - Mound (Common) (2/2) x4
  • #098 - Bushnome (Common) (1/1) x2
  • #101 - Candly (Uncommon) (1/1) x8
  • #143 - Prankrow (Common) (1/2) x15
  • #144 - Kromicide (Common) (2/2) x4
  • #161 - Chirrent (Uncommon) (1/2) x3
  • #181 - Foxdra (Uncommon) (1/1) x5
  • #190 - Singletti (Uncommon) (1/3) x15
  • #192 - Couplet (Uncommon) (3/3) x11
  • #199 - Woozy (Rare) (1/2) x1
  • #210 - Tiliamber (Mega Rare) (1/2) x1
  • #240 - Moonline (Rare) (1/1) x4
  • #256 - Moonica (Rare) (1/3) x8
  • #257 - Moonette (Rare) (2/3) x4
  • #258 - Lunabelle (Rare) (3/3) x4
  • #259 - Sae (Mega Rare) (1/3) x1
  • #260 - Palsae (Mega Rare) (2/3) x2
  • #261 - Dalsae (Mega Rare) (3/3) x1
  • #262 - Omentic (Mega Rare) (1/3) x2
  • #263 - Omepark (Mega Rare) (2/3) x5
  • #264 - Omecharge (Mega Rare) (3/3) x1
  • #271 - Paupo (Rare) (1/2) x10
  • #272 - Arispauva (Rare) (2/2) x3
  • #275 - Mermella (Rare) (1/2) x4
  • #276 - Sirnymfa (Rare) (2/2) x1
  • #277 - Algon (Uncommon) (1/2) x1
  • #281 - Glidlee (Mega Rare) (1/2) x1
  • #282 - Sorvian (Mega Rare) (2/2) x2
  • #283 - Smanic (Mega Rare) (1/2) x7
  • #284 - Resonic (Mega Rare) (2/2) x1
  • #334 - Mara (Ultra Rare) (1/3) x1
  • #340 - Mearn (Ultra Rare) (1/3) x4
  • #341 - Felarnia (Ultra Rare) (2/3) x1
  • #344 - Kamelevo (Ultra Rare) (2/3) x1
  • #346 - Masquiti (Ultra Rare) (1/3) x4
  • #347 - Masqat (Ultra Rare) (2/3) x3
  • #348 - Feliblanqo (Ultra Rare) (3/3) x1

Tamer:
  • Girl

Items:
  • 1x Healing Crystal
  • 2x Shard Spot (Pickaxe required)


Southeast of Intersection

Quest:
  • #526 - The Drake of Thunder (after #17)

Nexomon:
  • Fight Count: 54+
  • #013 - Pebglem (Common) (1/3) x5
  • #014 - Gemock (Common) (2/3) x3
  • #063 - Onin (Rare) (1/2) x1
  • #073 - Cranillow (Uncommon) (1/2) x3
  • #098 - Bushnome (Common) (1/1) x1
  • #099 - Rappub (Uncommon) (1/2) x2
  • #145 - Calfter (Rare) (1/3) x3
  • #146 - Calplex (Rare) (2/3) x1
  • #163 - Gomarm (Common) (1/2) x9
  • #168 - Goateeze (Rare) (1/2) x5
  • #169 - Goatlanche (Rare) (2/2) x4
  • #172 - Streamole (Uncommon) (1/3) x2
  • #199 - Woozy (Rare) (1/2) x2
  • #204 - Ponic (Mega Rare) (1/3) x1
  • #210 - Tiliamber (Mega Rare) (1/2) x3
  • #211 - Blazetilia (Mega Rare) (2/2) x1
  • #247 - Nekpanchi (Mega Rare) (1/3) x1
  • #248 - Nekgiri (Mega Rare) (2/3) x1
  • #277 - Algon (Uncommon) (1/2) x1
  • #290 - Boilgog (Mega Rare) (Lure required) (1/1) x1
  • #295 - Goblat (Mega Rare) (Lure required) (1/1) x1
  • #325 - Dinja (Ultra Rare) (1/3) x2
  • #326 - Dichala (Ultra Rare) (2/3) x1
  • #331 - Noki (Ultra Rare) (1/3) x1
  • #332 - Vainok (Ultra Rare) (2/3) x1
  • #350 - Heddeca (Ultra Rare) (2/3) x2

Items:
  • 1x Shard Spot (Pickaxe required)
Bridge (East of Orphanage)*
West End

Items:
  • 1x Peach


Middle Part

Items:
  • 1x Plant Nexotrap

Trader:
Gives
  • 1x Golden Nexotrap
for
  • 1x Cruff (Lv. 1)


East End
(1)

Nexomon:
  • Fight Count: 73
  • #028 - Griff (Common) (1/3) x9
  • #063 - Onin (Rare) (1/2) x2
  • #088 - Scaratic (Common) (1/2) x32
  • #159 - Leechy (Uncommon) (1/2) x13
  • #161 - Chirrent (Uncommon) (1/2) x9
  • #184 - Ribombo (Rare) (1/3) x4
  • #289 - Rapnux (Mega Rare) (Lure required) (1/1) x1
  • #292 - Florozard (Mega Rare) (Lure required) (1/1) x2
  • #340 - Mearn (Ultra Rare) (1/3) x0 (*Comment add, no encounter myself)

Items:
  • 1x Banana


Broken House at East End

Items:
  • 1x Ether
  • 3x Nexotraps
Parum City*
Parum - Entrance

Nexomon: (2)
  • Fight Count: 60
  • #028 - Griff (Common) (1/3) x22
  • #063 - Onin (Rare) (1/2) x3
  • #088 - Scaratic (Common) (1/2) x20
  • #102 - Porklet (Uncommon) (1/3) x3
  • #159 - Leechy (Uncommon) (1/2) x6
  • #168 - Goateeze (Rare) (1/2) x4
  • #340 - Mearn (Ultra Rare) (1/3) x2

Tamer:
  • Pink Hair Girl

Items:
  • 1x Healthy Charm (Wind Skill required)


City Center

Be aware I went to the Tamers Guild first, so I am not sure what of the things in the City might need a Bronze Badge to trigger.

Specials:
  • Warpstone (After #01 - The Frozen Lake)
  • Move Trainer

Quest:
  • #510 - Beautiful Parum (Bronze Badge required)


Trader:
  • GIVES
  • 1x Wind Whistle
  • 1x Secret Sauce
  • FOR
  • 500x Coins

  • GIVES
  • 1x EXP Booster
  • FOR
  • 1x Mind Shard
  • 1x Stone Shard
  • 2x Potion
  • 2x Ether

  • GIVES
  • 1x Max Potion
  • 1x Max Ether
  • 1x Max Elixir
  • FOR
  • 250x Coins

Nexomon Healing Center & General Store:
Healing Center:
Specials:
  • Healer
  • Storage Console

General Store:
Trader:
Wares vary depending on your rank.
Shard Buyer
He tries to buy your precious Elemental Shards. -.-"
Items:
  • 1x Greed Core (I) (NPC, for saving Ignitia)

Weapon Factory
Can only be accessed with at least Bronze Badge. It's in Northeast of Parum City Center.
For now nothing to do except Talk with NPCs.
Items:
  • 1x Workout Charm

Houses:
House in Northwest of Parum City Center
Items:
  • 1x Nexotrap
  • 1x Fire Nexotrap


Houses in Southeast of Parum City Center


A1 (Silver Badge required)

A2 (Silver Badge required)

A3
Items:
  • 1x Ether
A3 - Upstairs:
Items:
  • 1x Discount Voucher

A4 (Silver Badge required)
Items:
  • 1x Ether

A5

A6
Locked.


City West

Items:
  • 1x Nexotrap

Houses

West House

Items:
  • 35x Coins

East House
Locked.


City Northwest

Trader:
  • GIVES
  • 1x Psychic Whistle
  • 1x Dragon Whistle
  • 1x Golden Nexotrap
  • 400x Coins
  • FOR
  • 5x Blazing Shard
  • 5x Thunder Shard
  • 5x Nature Shard
  • 5x Phantom Shard

Synthesis Center


Synth Shards to Cores
Here you can craft Cores.

Trader:
  • GIVES
  • 1x Mineral Whistle
  • 300x Coins
  • FOR
  • 2x Ocean Shard
  • 2x Mind Shard
  • 2x Stone Shard

Items:
  • 1x Donut
  • 1x Bonnie's Access Card (after Atlas Scan)


Secondary Research Center


Quest:
  • #537 - The Extinction Project (Bronze Badge required)


City Northwest West

Items:
  • 1x Electric Whistle
  • 1x Potion


City Northwest North

Way to Khan Woods once you've the Access Card.


City Northwest East

Items:
  • 1x Cosmic Charm

Houses:
A1
Items:
  • 1x Onigiri

A2
Locked...

A3
Items:
  • 1x Peach

A3 - Upstairs
Items:
  • 1x Revive


City East

Houses:
Left
Someone in front of door.
Middle
Right
Locked...


City Northeast

Items:
  • 35x Coins

Houses:
House right of the canal
Items:
  • 1x Elixir
  • 1x Woozy Companion


Airship Terminal

Trader:
  • GIVES
  • 1x Airship Ticket
  • FOR
  • 200x Coins

  • GIVES
  • 1x Dragon Whistle
  • FOR
  • 350x Coins
  • 1x Blazing Shard
  • 1x Nature Shard


Airship

Items:
  • 20x Coins

Cabins

A1

A2
Special:
  • Storage Console

A3
Items:
  • 1x Potion

A4
Items:
  • 20x Coins
  • 1x Sandillo Companion
Parum City - Tamer Guild (City North)*
Stairs up to the Tamer Guide

Items:
  • 1x Elixir
  • 75x Coins (From the Fisher Girl, after obtaining Bronze Badge)
  • 1x Vitality Core (II) (NPC, after getting Silver Badge, not missable)
  • 1x Max Elixir (NPC, after Grandmaster Promotion?)
  • 3x Nature Shards (NPC, after Grandmaster Promotion?)


Hall
except for accepting Main Story Quests, and Side Quests nothing else yet.

Quest:
  • #01 - The Frozen Lake (Story)
  • #02 - Orphanage in Peril (Story)
  • #509 - A Little Help (Bronze Badge required)

Items:
  • 1x Max Elixir (NPC, after getting Silver Badge)
  • 3x Perfect Berries (NPC, after getting Silver Badge)
  • 1x Nature Shard & 1 Tempest Shard (NPC, after getting Silver Badge)


The Meeting room
Here you get instructions for the Tamers Guid Quests.


Stairs Entrance


1F

Specials:
  • Story Fight (Xanders)


2F


3F

Quest: (after the Events)
  • #520 - The Mad Scientist
  • #521-#535 (Primordial Tyrant and Greater Drake Quests)


3F East

Items:
  • 1x Ghost Whistle


3F West

Items:
  • 1x Exp Booster


3F North


Vados Platform - 4F


Specials:
  • Story Fight (Edward)
Outlands*
West Entrance

Specials:
  • Warpstone (After #01 - The Frozen Lake)
  • Healer

Quest:
  • #503 - The Missing Kid

Nexomon: (5)
  • Fight Count: 91
  • #028 - Griff (Common) (1/3) x33
  • #044 - Larkito (Common) (1/3) x11
  • #063 - Onin (Rare) (1/2) x2
  • #088 - Scaratic (Common) (1/2) x15
  • #102 - Porklet (Uncommon) (1/3) x5
  • #159 - Leechy (Uncommon) (1/2) x6
  • #161 - Chirrent (Uncommon) (1/2) x6
  • #168 - Goateeze (Rare) (1/2) x5
  • #184 - Ribombo (Rare) (1/3) x2
  • #289 - Rapnux (Mega Rare) (Lure required) (1/1) x2
  • #340 - Mearn (Ultra Rare) (1/3) x4

Tamer:
  • Boy at Camp
  • Girl with blue Cap East
  • Girl below Podest close to south exit

Items:
  • 1x Potion
  • 50x Coins
  • 1x Nexotrap
  • 20x Coins
  • 1x Super Revive
  • 1x Orange
  • 1x Healing Crystal
  • 4x Shard Spots (Pickaxe required)
  • 1x Normal Whistle (Wind Skill required)

Trader:
  • GIVES
  • 1x Water Whistle
  • FOR
  • 300x Coins
  • GIVES
  • 5x Anti Freeze
  • FOR
  • 150x Coins
  • GIVES
  • 250x Coins
  • 1x Protection Core (I)
  • FOR
  • 3x Nexotrap


Medical Tent
Special:
  • Storage Console

Quest:
  • Deliver Supplies from #509 - A Little Help

Items:
  • 1x Pincho
  • 1x Glazed Cake
  • 20x Coins


East (Entrance Cave)

Nexomon: (3)
  • Fight Count: 83
  • #010 - Spikus (Uncommon) (1/3) x4
  • #011 - Spikarm (Uncommon) (2/3) x2
  • #019 - Zumble (Common) (1/3) x20
  • #020 - Zasp (Common) (2/3) x4
  • #021 - Zappnic (Common) (3/3) x3
  • #111 - Hinazuru (Uncommon) (1/3) x9
  • #112 - Nakazuru (Uncommon) (2/3) x2
  • #122 - Poyal (Common) (1/3) x17
  • #123 - Puggard (Common) (2/3) x3
  • #124 - Brauncer (Common) (3/3) x2
  • #130 - Snush (Common) (1/3) x6
  • #187 - Cruff (Rare) (1/3) x8
  • #292 - Florozard (Mega Rare) (Lure required) (1/1) x1
  • #343 - Gekoko (Ultra Rare) (1/3) x4

Tamer:
  • Lumberjack

Items:
  • 1x Nexotrap
  • 1x Shard Spot (Pickaxe required)


South

Specials:
  • Cave Entrance (Fire Skill required)

Nexomon: (4)
  • Fight Count: 83
  • #044 - Larkito (Common) (1/3) x33
  • #063 - Onin (Rare) (1/2) x8
  • #088 - Scaratic (Common) (1/2) x19
  • #159 - Leechy (Uncommon) (1/2) x6
  • #161 - Chirrent (Uncommon) (1/2) x8
  • #168 - Goateeze (Rare) (1/2) x1
  • #184 - Ribombo (Rare) (1/3) x1
  • #289 - Rapnux (Mega Rare) (Lure required) (1/1) x2
  • #292 - Florozard (Mega Rare) (Lure required) (1/1) x1
  • #340 - Mearn (Ultra Rare) (1/3) x4

Tamer:
  • Girl in Cyan
  • Boy with Headphones

Items:
  • Experience Core (I)
  • 50x Coins
  • 2x Cream Puffs
  • 2x Blazing Shards
  • 1x Potion
  • 1x Healing Crystal
  • 100x Coins (NPC, after opening the Cave)
  • 3x Shard Spot (Pickaxe required)


South Southeast

Nexomon: (5)
  • Fight Count: 71
  • #075 - Rubby (Common) (1/2) x17
  • #076 - Runk (Common) (2/2) x1
  • #102 - Porklet (Uncommon) (1/3) x4
  • #103 - Hoglet (Uncommon) (2/3) x5
  • #107 - Seedko (Common) (1/2) x15
  • #114 - Eqo (Uncommon) (1/3) x1
  • #115 - Soniqo (Uncommon) (2/3) x6
  • #196 - Croo (Rare) (1/3) x11
  • #197 - Cadeto (Rare) (2/3) x3
  • #289 - Rapnux (Mega Rare) (Lure required) (1/1) x3
  • #292 - Florozard (Mega Rare) (Lure required) (1/1) x2
  • #335 - Marasuma (Ultra Rare) (2/3) x3

Tamer:
  • Girl
  • Boy South

Items:
  • 1x Nexotrap
  • 3x Shard Spot (Pickaxe required)


Ruins Entrance

Items:
  • 1x Peach
  • 1x Greed Wallet


Ruins Middle

Quest:
  • #503 - The Missing Kid <- Quest Item :D

Items:
  • 35x Coins


Spencers (ruined) Manor

Quest:
  • #529 - The Drake of Power (after #17)

Items:
  • 1x Paupo Companion


Frozen Lake (Entrance Cave)

Specials:
  • Warpstone (After #01 - The Frozen Lake)
  • Traveling Merchant

Nexomon: (3)
  • Fight Count: 61
  • #028 - Griff (Common) (1/3) x12
  • #044 - Larkito (Common) (1/3) x10
  • #088 - Scaratic (Common) (1/2) x19
  • #102 - Porklet (Uncommon) (1/3) x5
  • #159 - Leechy (Uncommon) (1/2) x6
  • #161 - Chirrent (Uncommon) (1/2) x1
  • #168 - Goateeze (Rare) (1/2) x1
  • #184 - Ribombo (Rare) (1/3) x6
  • #289 - Rapnux (Mega Rare) (Lure required) (1/1) x1

Tamer:
  • Tamer west of cave

Items:
  • 1x Anti Bind
  • 1x Anti Burn
  • 1x Ocean Shard
  • 1x Healing Crystal
  • 2x Shard Spots (Pickaxe required)
  • 1x Elemental Shard (from NPC after #01 - The Frozen Lake)
Outlands East Cave*
Entrance

Nexomon:
  • Fight Count: 77
  • #007 - Bloopish (Common) (1/3) x23
  • #008 - Glimoory (Common) (2/3) x3
  • #009 - Glamoory (Common) (3/3) x2
  • #133 - Durtacles (Uncommon) (1/2) x7
  • #143 - Prankrow (Common) (1/2) x22
  • #144 - Kromicide (Common) (2/2) x2
  • #275 - Mermella (Rare) (1/2) x11
  • #276 - Sirnymfa (Rare) (2/2) x2
  • #346 - Masquiti (Ultra Rare) (1/3) x4
  • #347 - Masqat (Ultra Rare) (2/3) x1

Items:
  • 35x Coins
  • 6x Shard Spot (Pickaxe required)


B1 Entrance

Nexomon:
  • Fight Count: 76
  • #007 - Bloopish (Common) (1/3) x26
  • #008 - Glimoory (Common) (2/3) x3
  • #009 - Glamoory (Common) (3/3) x3
  • #013 - Pebglem (Common) (1/3) x24
  • #212 - Mallish (Uncommon) (1/3) x7
  • #213 - Mallark (Uncommon) (2/3) x3
  • #214 - Thrammer (Uncommon) (3/3) x2
  • #275 - Mermella (Rare) (1/2) x4
  • #346 - Masquiti (Ultra Rare) (1/3) x1
  • #347 - Masqat (Ultra Rare) (2/3) x2
  • #348 - Feliblanqo (Ultra Rare) (3/3) x1

Items:
  • 1x Revive
  • 8x Shard Spot (Pickaxe required)


B1 West

Nexomon:
  • Fight Count: 62
  • #007 - Bloopish (Common) (1/3) x18
  • #009 - Glamoory (Common) (3/3) x1
  • #133 - Durtacles (Uncommon) (1/2) x6
  • #134 - Roclas (Uncommon) (2/2) x3
  • #143 - Prankrow (Common) (1/2) x25
  • #144 - Kromicide (Common) (2/2) x1
  • #275 - Mermella (Rare) (1/2) x4
  • #346 - Masquiti (Ultra Rare) (1/3) x4

Items:
  • 1x Ether
  • 1x Healing Crystal
  • 5x Shard Spot (Pickaxe required)


B2 Entrance

Special:
  • Vault #8

Nexomon:
  • Fight Count: 77
  • #013 - Pebglem (Common) (1/3) x18
  • #014 - Gemock (Common) (2/3) x4
  • #143 - Prankrow (Common) (1/2) x21
  • #144 - Kromicide (Common) (2/2) x2
  • #175 - PotPot (Rare) (1/3) x7
  • #176 - Neglente (Rare) (2/3) x2
  • #212 - Mallish (Uncommon) (1/3) x14
  • #213 - Mallark (Uncommon) (2/3) x2
  • #214 - Thrammer (Uncommon) (3/3) x1
  • #346 - Masquiti (Ultra Rare) (1/3) x7
  • #348 - Feliblanqo (Ultra Rare) (3/3) x1

Items:
  • 1x Elixir
  • 6x Shard Spot (Pickaxe required)

Vault #8

Items:
  • 150x Coins
  • 100x Coins
  • 150x Coins
  • 100x Coins
  • 1x Golden Nexotrap
  • 1x Raksuma Companion
  • 1x Tribute of Nature


B2 East

Nexomon:
  • Fight Count: 75
  • #007 - Bloopish (Common) (1/3) x21
  • #008 - Glimoory (Common) (2/3) x4
  • #013 - Pebglem (Common) (1/3) x16
  • #014 - Gemock (Common) (2/3) x1
  • #133 - Durtacles (Uncommon) (1/2) x13
  • #134 - Roclas (Uncommon) (2/2) x3
  • #175 - PotPot (Rare) (1/3) x9
  • #176 - Neglente (Rare) (2/3) x2
  • #346 - Masquiti (Ultra Rare) (1/3) x5
  • #347 - Masqat (Ultra Rare) (2/3) x1

Items:
  • 5x Shard Spot (Pickaxe required)
Outlands South Cave*
Entrance

Nexomon:
  • Fight Count: 11
  • #047 - Chibbit (Common) (1/3) x5
  • #077 - Deember (Common) (1/3) x3
  • #145 - Calfter (Rare) (1/3) x1
  • #277 - Algon (Uncommon) (1/2) x2

Items:
  • 7x Shard Spot (Pickaxe required)


East

Nexomon:
  • Fight Count: 11
  • #047 - Chibbit (Common) (1/3) x4
  • #077 - Deember (Common) (1/3) x3
  • #182 - Hohopi (Uncommon) (1/2) x3
  • #337 - Trebly (Ultra Rare) (1/3) x1

Items:
  • 1x Ether
  • 6x Shard Spot (Pickaxe required)


Further East

Specials:
  • Vault #1

Nexomon:
  • Fight Count: 11
  • #047 - Chibbit (Common) (1/3) x1
  • #055 - Taipluff (Common) (1/3) x4
  • #277 - Algon (Uncommon) (1/2) x3
  • #289 - Rapnux (Mega Rare) (Lure required) (1/1) x3

Items:
  • 4x Shard Spot (Pickaxe required)


Vault #1

Items:
  • 150x Coins
  • 100x Coins
  • 100x Coins
  • 200x Coins
  • 1x Ghost Nexotrap
  • 1x Holoch Companion
  • 1x Tribute of Power


West

Nexomon:
  • Fight Count: 10
  • #047 - Chibbit (Common) (1/3) x6
  • #055 - Taipluff (Common) (1/3) x3
  • #337 - Trebly (Ultra Rare) (1/3) x1

Items:
  • 1x Donut
  • 1x Ether
  • 1x Healing Crystal
  • 7x Shard Spot (Pickaxe required)


Further West

Nexomon:
  • Fight Count: 10
  • #055 - Taipluff (Common) (1/3) x2
  • #077 - Deember (Common) (1/3) x3
  • #271 - Paupo (Rare) (1/2)
  • #277 - Algon (Uncommon) (1/2) x2
  • #292 - Florozard (Mega Rare) (Lure required) (1/1) x1
  • #337 - Trebly (Ultra Rare) (1/3) x1

Items:
  • 1x Revive
  • 1x Greed Wallet (Water Skill required)
  • 2x Shard Spot (Pickaxe required) (1x Water Skill required)
Frozen Lake Cave*
Entrance

Nexomon: (3)
  • Fight Count: 67
  • #007 - Bloopish (Common) (1/3) x22
  • #035 - Faucefant (Common) (1/3) x25
  • #111 - Hinazuru (Uncommon) (1/3) x4
  • #138 - Scooptor (Uncommon) (1/3) x4
  • #151 - Blublub (Uncommon) (1/2) x2
  • #168 - Goateeze (Rare) (1/2) x2
  • #222 - Tesling (Rare) (1/3) x1
  • #250 - Coral (Rare) (1/3) x5
  • #331 - Noki (Ultra Rare) (1/3) x2

Items:
  • 1x Perfect Berry
  • 1x Shard Spots (Pickaxe required)


East

Nexomon: (2)
  • Fight Count: 57
  • #007 - Bloopish (Common) (1/3) x24
  • #035 - Faucefant (Common) (1/3) x5
  • #086 - Sounse (Common) (1/2) x11
  • #111 - Hinazuru (Uncommon) (1/3) x3
  • #138 - Scooptor (Uncommon) (1/3) x4
  • #151 - Blublub (Uncommon) (1/2) x3
  • #168 - Goateeze (Rare) (1/2) x4
  • #250 - Coral (Rare) (1/3) x2
  • #331 - Noki (Ultra Rare) (1/3) x1

Items:
  • 1x Water Whistle
  • 1x Shard Spots (Pickaxe required)


South Sliding Paradise

Solution below

From the start go:
Down, Right, Up, Left, Down, Left, Up, Right, Down, Right, Up, Right. Welcome to your target destination. :)


Southeast

Nexomon: (1)
  • Fight Count: 57
  • #007 - Bloopish (Common) (1/3) x17
  • #086 - Sounse (Common) (1/2) x20
  • #138 - Scooptor (Uncommon) (1/3) x4
  • #151 - Blublub (Uncommon) (1/2) x8
  • #222 - Tesling (Rare) (1/3) x7
  • #331 - Noki (Ultra Rare) (1/3) x1

Items:
  • 2x Shard Spots (Pickaxe required)


B1 Entrance

Nexomon: (3)
  • Fight Count: 60
  • #035 - Faucefant (Common) (1/3) x11
  • #086 - Sounse (Common) (1/2) x24
  • #111 - Hinazuru (Uncommon) (1/3) x3
  • #138 - Scooptor (Uncommon) (1/3) x6
  • #151 - Blublub (Uncommon) (1/2) x4
  • #168 - Goateeze (Rare) (1/2) x3
  • #250 - Coral (Rare) (1/3) x8
  • #331 - Noki (Ultra Rare) (1/3) x1

Items:
  • 1x Nexotrap
  • 1x Strawberry Cake
  • 1x Healing Crystal
  • 3x Shard Spots (Pickaxe required)


B1 South

Special:
  • Boss Fight (Nivalis)

Nexomon: (3)
  • Fight Count: 59
  • #007 - Bloopish (Common) (1/3) x11
  • #035 - Faucefant (Common) (1/3) x11
  • #086 - Sounse (Common) (1/2) x15
  • #111 - Hinazuru (Uncommon) (1/3) x5
  • #138 - Scooptor (Uncommon) (1/3) x5
  • #151 - Blublub (Uncommon) (1/2) x1
  • #168 - Goateeze (Rare) (1/2) x2
  • #169 - Goatlanche (Rare) (2/2) x1
  • #222 - Tesling (Rare) (1/3) x3
  • #250 - Coral (Rare) (1/3) x3
  • #331 - Noki (Ultra Rare) (1/3) x2
Haunted Woods*
West Entrance

Nexomon: (2)
  • Fight Count: 61
  • #025 - Skerdi (Common) (1/3) x32
  • #028 - Griff (Common) (1/3) x6
  • #099 - Rappub (Uncommon) (1/2) x7
  • #165 - Vodo (Uncommon) (1/3) x5
  • #175 - PotPot (Rare) (1/3) x6
  • #268 - Muu (Rare) (1/3) x4
  • #328 - Lume (Ultra Rare) (1/3) x1

Tamer:
  • Scared Girl

Items:
  • 1x Shard Spot (Pickaxe required)


Bridge

Items: (reachable from Immortal Citadel - City Southwest)
  • 1x Plant Whistle
  • 1x Shard Spot (Pickaxe required)

Trader:
  • GIVES
  • 1x Fire Whistle
  • FOR
  • 200x Coins
  • 2x Blazing Shard
  • 2x Thunder Shard


Intersection (East of Bridge)

Nexomon: (2)
  • Fight Count: 63
  • #025 - Skerdi (Common) (1/3) x7
  • #028 - Griff (Common) (1/3) x19
  • #050 - Dreaver (Common) (1/3) x9
  • #092 - Brumtler (Uncommon) (1/2) x2
  • #099 - Rappub (Uncommon) (1/2) x2
  • #165 - Vodo (Uncommon) (1/3) x4
  • #175 - PotPot (Rare) (1/3) x7
  • #268 - Muu (Rare) (1/3) x8
  • #296 - Divette (Mega Rare) (Lure required) (1/1) x1
  • #297 - Gradow (Mega Rare) (Lure required) (1/1) x1
  • #328 - Lume (Ultra Rare) (1/3) x3

Items:
  • 1x Shard Spot (Pickaxe required)


The Tree (Northwest of Intersection)

Quest:
  • #505 - The Tree of Gifts (Bronze Badge required)

Items:
  • 1x Golden Nexotrap (upon entering)


North Graveyard (Northeast of Intersection)

Nexomon: (2)
  • Fight Count: 60
  • #025 - Skerdi (Common) (1/3) x13
  • #028 - Griff (Common) (1/3) x10
  • #050 - Dreaver (Common) (1/3) x18
  • #092 - Brumtler (Uncommon) (1/2) x4
  • #099 - Rappub (Uncommon) (1/2) x1
  • #165 - Vodo (Uncommon) (1/3) x1
  • #175 - PotPot (Rare) (1/3) x3
  • #268 - Muu (Rare) (1/3) x8
  • #328 - Lume (Ultra Rare) (1/3) x2

Tamer:
  • Girl between Graves

Items:
  • 30x Coins
  • 20x Coins
  • 2x Shard Spot (Pickaxe required)


East Graveyard (East of Intersection)

Specials:
  • Here is the Grave you need for the "Never Forget" Achievement

Quest:
  • #513 - Tech Support

Nexomon: (2)
  • Fight Count: 60
  • #022 - Branipus (Common) (1/3) x9
  • #050 - Dreaver (Common) (1/3) x24
  • #092 - Brumtler (Uncommon) (1/2) x2
  • #099 - Rappub (Uncommon) (1/2) x3
  • #165 - Vodo (Uncommon) (1/3) x5
  • #175 - PotPot (Rare) (1/3) x2
  • #268 - Muu (Rare) (1/3) x10
  • #296 - Divette (Mega Rare) (Lure required) (1/1) x1
  • #297 - Gradow (Mega Rare) (Lure required) (1/1) x1
  • #328 - Lume (Ultra Rare) (1/3) x3

Tamer:
  • Scared Boy

Items:
  • 1x Ether
  • 1x Potion
  • 1x Anti Confusion
  • 1x Healing Crystal
  • 3x Shard Spot (Pickaxe required)

Houses
House in the East

Items:
  • 1x Revive
  • 1x Greed Wallet


South of Immortal Citadel

Quest:
  • #501 - Liam's Stolen Letter (upon entering)

Nexomon: (3)
  • Fight Count: 60
  • #022 - Branipus (Common) (1/3) x19
  • #025 - Skerdi (Common) (1/3) x12
  • #092 - Brumtler (Uncommon) (1/2) x5
  • #099 - Rappub (Uncommon) (1/2) x4
  • #165 - Vodo (Uncommon) (1/3) x7
  • #175 - PotPot (Rare) (1/3) x8
  • #268 - Muu (Rare) (1/3) x2
  • #296 - Divette (Mega Rare) (Lure required) (1/1) x2
  • #328 - Lume (Ultra Rare) (1/3) x1

Items:
  • 1x Nexotrap
  • 1x Shard Spot (Pickaxe required)
Immortal Citadel*
City Center

Specials:
  • Warpstone (After #01 - The Frozen Lake)

Items:
  • 30x Coins
  • 1x Potion
  • 1x Anti Poison

Trader:
  • GIVES
  • 1x Ghost Whistle
  • 1x Mineral Nexotrap
  • FOR
  • 1x Strawberry Cake
  • 1x Lemon Pie
  • 1x Egg Tart
  • 1x Meat

Houses

A1
Locked...

A2
Items:
  • 1x Ether

A3
Items:
  • 1x Electric Whistle

A4

A5
Locked...

A6

A6 - Upstairs

Quest:
  • #501 - Liam's Stolen Letter -> Quest Item

Items:
  • 1x Ether

A7
Locked...

A8
Locked...

A9

Quest:
  • #513 - Tech Support -> Computer

Items:
  • 1x Nexotrap


City West Graveyard

Items:
  • 1x Plant Nexotrap
  • 1x Psychic Nexotrap
  • 1x Vault Key (during #03)
  • 1x Shard Spot (Pickaxe required)


City Northwest Windy Dirt Area

Quest:
  • #528 - The Drake of Mind (after #17)


City Southwest

Nexomon: (5)
  • Fight Count: 90
  • #010 - Spikus (Uncommon) (1/3) x2
  • #071 - Virox (Rare) (1/2) x1
  • #081 - Ploriol (Rare) (1/3) x6
  • #117 - Sectoc (Uncommon) (1/3) x3
  • #120 - Folicurse (Common) (1/2) x41
  • #181 - Foxdra (Uncommon) (1/1) x2
  • #207 - Skunqute (Common) (1/3) x3
  • #225 - Mimi (Common) (1/3) x11
  • #227 - Ripha (Rare) (1/3) x2
  • #237 - Auga (Common) (1/3) x14
  • #297 - Gradow (Mega Rare) (Lure required) (1/1) x1
  • #349 - Behilda (Ultra Rare) (1/3) x4

Tamer:
  • Boy with red/orange Cap

Items:
  • 1x Healing Crystal
  • 5x Shard Spot (Pickaxe required)


City Cauldron (West of Graveyard)

Specials:
  • Merchant


City Broken Tower (West of Cauldron)

Nexomon: (3)
  • Fight Count: 60
  • #010 - Spikus (Uncommon) (1/3) x1
  • #081 - Ploriol (Rare) (1/3) x6
  • #090 - Medlass (Common) (1/2) x15
  • #117 - Sectoc (Uncommon) (1/3) x3
  • #120 - Folicurse (Common) (1/2) x4
  • #181 - Foxdra (Uncommon) (1/1) x2
  • #225 - Mimi (Common) (1/3) x8
  • #227 - Ripha (Rare) (1/3) x5
  • #237 - Auga (Common) (1/3) x15
  • #349 - Behilda (Ultra Rare) (1/3) x1

Items:
  • 1x Ether
  • 1x Spektar Companion
  • 1x Shard Spot (Pickaxe required)


City Market (East)

Specials:
  • Healer
  • Storage Console
  • Merchant
  • Move Trainer
  • East Road blocked for now...

Nexomon: (4)
  • Fight Count: 70
  • #010 - Spikus (Uncommon) (1/3) x5
  • #071 - Virox (Rare) (1/2) x3
  • #081 - Ploriol (Rare) (1/3) x2
  • #117 - Sectoc (Uncommon) (1/3) x4
  • #120 - Folicurse (Common) (1/2) x17
  • #181 - Foxdra (Uncommon) (1/1) x2
  • #207 - Skunqute (Common) (1/3) x2
  • #227 - Ripha (Rare) (1/3) x2
  • #237 - Auga (Common) (1/3) x29
  • #296 - Divette (Mega Rare) (Lure required) (1/1) x2
  • #297 - Gradow (Mega Rare) (Lure required) (1/1) x1
  • #349 - Behilda (Ultra Rare) (1/3) x3

Items:
  • 1x Canele
  • 1x Flan
  • 1x Greed Core (I)
  • 2x Ghost Nexotrap (during #03)

Trader:
  • GIVES
  • 2x Tempest Shard
  • 2x Phantom Shard
  • 2x Thunder Shard
  • 2x Stone Shard
  • FOR
  • 200x Coins

  • GIVES
  • 250x Coins
  • 1x Fire Whistle
  • FOR
  • 2x Max Potion
  • 2x Max Ether

Houses

A1
Items:
  • 1x Peach

A2
Locked...

A3
Locked...

A4
Items:
  • 1x Elixir


Elizas Manor (North)

Items:
  • 20x Coins
  • 1x Nexotrap
  • 3x Shard Spot (Pickaxe required)


Elizas Manor Entrance


Elizas Manor East

Quest:
  • #502 - Alfred's Dream (Bronze Badge required)

Items:
  • 1x Orange
  • 20x Coins


Elizas Manor 1F

She demands 500 Coins (after #17)

Quest:
  • #03 - Citadel under Attack (after #02)

Tamer:
  • Eliza (after #17)


Items:
  • 1x Golden Nexotrap (after defeating her)
East of Immortal Citadel*
Intersection (East of City)

Nexomon: (5)
  • Fight Count: 53
  • #010 - Spikus (Uncommon) (1/3) x2
  • #071 - Virox (Rare) (1/2) x1
  • #081 - Ploriol (Rare) (1/3) x4
  • #117 - Sectoc (Uncommon) (1/3) x2
  • #120 - Folicurse (Common) (1/2) x14
  • #181 - Foxdra (Uncommon) (1/1) x2
  • #207 - Skunqute (Common) (1/3) x2
  • #225 - Mimi (Common) (1/2) x20
  • #227 - Ripha (Rare) (1/3) x3
  • #297 - Gradow (Mega Rare) (Lure required) (1/1) x2
  • #349 - Behilda (Ultra Rare) (1/3) x1

Tamer:
  • Pink Hair Girl

Items:
  • 2x Shard Spot (Pickaxe required)


North of Intersection

Specials:
  • Cave Entrance

Nexomon: (4)
  • Fight Count: 42
  • #010 - Spikus (Uncommon) (1/3) x3
  • #071 - Virox (Rare) (1/2) x2
  • #081 - Ploriol (Rare) (1/3) x2
  • #090 - Medlass (Common) (1/2) x12
  • #181 - Foxdra (Uncommon) (1/1) x1
  • #207 - Skunqute (Common) (1/3) x4
  • #225 - Mimi (Common) (1/2) x6
  • #227 - Ripha (Rare) (1/3) x2
  • #296 - Divette (Mega Rare) (Lure required) (1/1) x5
  • #297 - Gradow (Mega Rare) (Lure required) (1/1) x3
  • #349 - Behilda (Ultra Rare) (1/3) x2

Tamer:
  • Man

Items:
  • 1x Nexotrap
  • 2x Shard Spot (Pickaxe required)

Trader:
  • GIVES
  • 300x Coins
  • 1x Electric Whistle
  • 1x Exp Booster
  • FOR
  • 1x Ghouze
  • 1x Mimi


East of Intersection

Quest:
  • #527 - The Drake of Decay (after #17)

Tamer:
  • Tamer

Items:
  • 1x Peach
  • 1x Dreddiful Companion
  • 3x Shard Spot (Pickaxe required)


South of Intersection

Nexomon: (3)
  • Fight Count: 30
  • #071 - Virox (Rare) (1/2) x3
  • #090 - Medlass (Common) (1/2) x7
  • #117 - Sectoc (Uncommon) (1/3) x2
  • #207 - Skunqute (Common) (1/3) x3
  • #225 - Mimi (Common) (1/2) x10
  • #227 - Ripha (Rare) (1/3) x1
  • #296 - Divette (Mega Rare) (Lure required) (1/1) x1
  • #297 - Gradow (Mega Rare) (Lure required) (1/1) x1
  • #349 - Behilda (Ultra Rare) (1/3) x2

Items:
  • 1x Potion
  • 1x Healing Crystal
  • 1x Shard Spot (Pickaxe required)

Trader:
  • GIVES
  • 1x Wind Nexotrap
  • 1x Plant Nexotrap
  • 1x Mineral Nexotrap
  • 1x Fire Nexotrap
  • FOR
  • 4x Ghost Nexotrap


Southeast of Intersection

Nexomon: (5)
  • Fight Count: 52
  • #010 - Spikus (Uncommon) (1/3) x1
  • #071 - Virox (Rare) (1/2) x3
  • #081 - Ploriol (Rare) (1/3) x1
  • #090 - Medlass (Common) (1/2) x18
  • #117 - Sectoc (Uncommon) (1/3) x1
  • #181 - Foxdra (Uncommon) (1/1) x5
  • #207 - Skunqute (Common) (1/3) x2
  • #227 - Ripha (Rare) (1/3) x1
  • #237 - Auga (Common) (1/3) x18
  • #296 - Divette (Mega Rare) (Lure required) (1/1) x2

Tamer:
  • Girl

Items:
  • 1x Immunity Core (I)
  • 1x Shard Spot (Pickaxe required)
  • 1x Healthy Charm (Wind Skill required)
  • 1x Shard Spot (Pickaxe required) (Wind Skill required)

Trader:
  • GIVES
  • 1x Secret Sauce
  • 3x Perfect Berry
  • FOR
  • 250x Coins
  • 4x Blazing Shard
  • 3x Thunder Shard


East Southeast of Intersection

Specials:
  • Healer

Items:
  • 1x Nexotrap
  • 40x Coins
  • 1x Shard Spot (Pickaxe required)

Houses
Tent
Specials:
  • Storage Console

Items:
  • 1x Elixir
  • 1x Nexotrap
  • 1x Potion


Way to Desert

Nexomon: (5)
  • Fight Count: 50
  • #075 - Rubby (Common) (1/2) x12
  • #076 - Runk (Common) (2/2) x11
  • #102 - Porklet (Uncommon) (1/3) x4
  • #103 - Hoglet (Uncommon) (2/3) x1
  • #104 - Barboraco (Uncommon) (3/3) x1
  • #107 - Seedko (Common) (1/2) x8
  • #114 - Eqo (Uncommon) (1/3) x3
  • #115 - Soniqo (Uncommon) (2/3) x1
  • #230 - Rapi (Mega Rare) (1/2) x4
  • #231 - Rapilux (Mega Rare) (2/2) x1
  • #289 - Rapnux (Mega Rare) (Lure required) (1/1) x2
  • #334 - Mara (Ultra Rare) (1/3) x1
  • #335 - Marasuma (Ultra Rare) (2/3) x1

Tamer:
  • Girl on Ruin

Items:
  • 1x Revive
  • 1x Healing Crystal
Immortal Cave*
Entrance

Nexomon:
  • Fight Count: 12
  • #050 - Dreaver (Common) (1/3) x2
  • #051 - Dredmore (Common) (2/3) x4
  • #053 - Ghouze (Common) (1/2) x2
  • #109 - Pont (Uncommon) (1/2) x1
  • #201 - Magnipub (Rare) (1/3) x1
  • #296 - Divette (Mega Rare) (Lure required) (1/1) x1
  • #343 - Gekoko (Ultra Rare) (1/3) x1

Items:
  • 1x Peach
  • 3x Shard Spot (Pickaxe required)


West

Nexomon:
  • Fight Count: 11
  • #053 - Ghouze (Common) (1/2) x1
  • #073 - Cranillow (Uncommon) (1/2) x1
  • #143 - Prankrow (Common) (1/2) x5
  • #201 - Magnipub (Rare) (1/3) x1
  • #343 - Gekoko (Ultra Rare) (1/3) x3

Items:
  • 1x Donut
  • 1x Healing Crystal
  • 5x Shard Spot (Pickaxe required)


North

Nexomon:
  • Fight Count: 10
  • #143 - Prankrow (Common) (1/2) x5
  • #163 - Gomarm (Common) (1/2) x2
  • #201 - Magnipub (Rare) (1/3) x1
  • #297 - Gradow (Mega Rare) (Lure required) (1/1) x1
  • #343 - Gekoko (Ultra Rare) (1/3) x1

Items:
  • 1x Revive
  • 1x Healing Crystal
  • 3x Shard Spot (Pickaxe required)


Northeast

Specials:
  • Vault #2

Nexomon:
  • Fight Count: 10
  • #050 - Dreaver (Common) (1/3) x3
  • #051 - Dredmore (Common) (2/3) x1
  • #073 - Cranillow (Uncommon) (1/2) x2
  • #163 - Gomarm (Common) (1/2) x3
  • #201 - Magnipub (Rare) (1/3) x1

Items:
  • 3x Shard Spot (Pickaxe required)


Vault #2

Items:
  • 150x Coins
  • 2x Max Elixir
  • 200x Coins
  • 2x Fire Nexotrap
  • 200x Coins
  • 1x Malitress Companion
  • 1x Tribute of Decay
Drake Isles*
Airship Entrance

Specials:
  • Merchant
  • Healer

Nexomon: (1)
  • Fight Count: 75
  • #016 - Heliwurm (Common) (1/3) x33
  • #067 - Baloompa (Common) (1/2) x3
  • #153 - Stalkee (Uncommon) (1/3) x17
  • #294 - Hyphoon (Mega Rare) (Lure required) (1/1) x2
  • #296 - Divette (Mega Rare) (Lure required) (1/1) x2
  • #301 - Drare (Mega Rare) (1/3) x1
  • #307 - Briar (Mega Rare) (1/3) x2
  • #313 - Flotter (Mega Rare) (1/3) x8
  • #325 - Dinja (Ultra Rare) (1/3) x7

Trader:
  • GIVES
  • 2x Flan
  • 2x Strawberry Cake
  • 2x Shrimpgiri
  • 2x Orange
  • FOR
  • 250x Coins


East of Airship

Tamer:
  • Musician

Items:
  • 1x Elixir

Houses
West House near Area Entrance
Items:
  • 1x Anti Sleep (NPC)

East House


Intersection (Northeast of Airship)

Nexomon: (2)
  • Fight Count: 65
  • #016 - Heliwurm (Common) (1/3) x32
  • #067 - Baloompa (Common) (1/2) x3
  • #153 - Stalkee (Uncommon) (1/3) x16
  • #298 - Basil (Mega Rare) (1/3) x2
  • #296 - Divette (Mega Rare) (Lure required) (1/1) x1
  • #301 - Drare (Mega Rare) (1/3) x5
  • #310 - Oren (Mega Rare) (1/3) x1
  • #322 - Deyam (Mega Rare) (1/3) x1
  • #325 - Dinja (Ultra Rare) (1/3) x4

Items:
  • 1x Nexotrap (Wind Skill required)
  • Discount Voucher (Wind Skill required)
  • 1x Healing Crystal
  • 2x Shard Spot (Pickaxe required) (2x Wind Skill required)

Houses
House at Intersection
Access first during #05.
Items:
  • 1x Orange


West of Intersection

Quest:
  • #508 - Catching a Namansi (Bronze Badge required)

Nexomon: (2)
  • Fight Count: 61
  • #016 - Heliwurm (Common) (1/3) x26
  • #067 - Baloompa (Common) (1/2) x3
  • #153 - Stalkee (Uncommon) (1/3) x17
  • #298 - Basil (Mega Rare) (1/3) x1
  • #307 - Briar (Mega Rare) (1/3) x3
  • #316 - Volt (Mega Rare) (1/3) x2
  • #319 - Wadgon (Mega Rare) (1/3) x5
  • #325 - Dinja (Ultra Rare) (1/3) x3
  • #326 - Dichala (Ultra Rare) (2/3) x1

Tamer:
  • Ghost

Items:
  • 1x Flan
  • 1x Orange
  • 1x Shard Spot (Pickaxe required)


East of Intersection

Nexomon: (2)
  • Fight Count: 60
  • #016 - Heliwurm (Common) (1/3) x23
  • #067 - Baloompa (Common) (1/2) x1
  • #153 - Stalkee (Uncommon) (1/3) x14
  • #296 - Divette (Mega Rare) (Lure required) (1/1) x2
  • #298 - Basil (Mega Rare) (1/3) x2
  • #307 - Briar (Mega Rare) (1/3) x5
  • #310 - Oren (Mega Rare) (1/3) x4
  • #319 - Wadgon (Mega Rare) (1/3) x2
  • #322 - Deyam (Mega Rare) (1/3) x3
  • #325 - Dinja (Ultra Rare) (1/3) x5

Tamer:
  • Exlorer Girl

Items:
  • 1x Healing Crystal
  • 2x Shard Spot (Pickaxe required)


North of Intersection

Nexomon: (2)
  • Fight Count: 61
  • #016 - Heliwurm (Common) (1/3) x12
  • #067 - Baloompa (Common) (1/2) x3
  • #153 - Stalkee (Uncommon) (1/3) x22
  • #294 - Hyphoon (Mega Rare) (Lure required) (1/1) x1
  • #301 - Drare (Mega Rare) (1/3) x9
  • #313 - Flotter (Mega Rare) (1/3) x2
  • #316 - Volt (Mega Rare) (1/3) x9
  • #325 - Dinja (Ultra Rare) (1/3) x3

Tamer:
  • Samurai (Silver Badge required)

Items:
  • 1x Orange
  • 1x Shard Spot (Pickaxe required)

Trader:
  • GIVES
  • 1x Experience Core (II)
  • 1x Immunity Core (II)
  • FOR
  • 3x Super Potion
  • 3x Super Ether
  • 2x Super Revive

Houses
House East
Items:
  • 2x Green Cake (NPC)


Northern Ruin

Quest:
  • #524 - The Drake of Wind (after #17)

Nexomon: (3)
  • Fight Count: 62
  • #001 - Cloddy (Uncommon) (1/3) x12
  • #044 - Larkito (Common) (1/3) x31
  • #045 - Moska (Common) (2/3) x1
  • #046 - Sakka (Common) (3/3) x2
  • #294 - Hyphoon (Mega Rare) (Lure required) (1/1) x1
  • #296 - Divette (Mega Rare) (Lure required) (1/1) x1
  • #304 - Cryzzard (Mega Rare) (1/3) x3
  • #307 - Briar (Mega Rare) (1/3) x6
  • #313 - Flotter (Mega Rare) (1/3) x4
  • #315 - Furrygon (Mega Rare) (3/3) x1

Items:
  • 1x Revive
  • 1x Glidlee Companion


Northeast of Intersection

Quest:
  • #519 - The Middleman (see Quests for Solution and Trade details)

Nexomon: (3)
  • Fight Count: 65
  • #016 - Heliwurm (Common) (1/3) x41
  • #067 - Baloompa (Common) (1/2) x3
  • #153 - Stalkee (Uncommon) (1/3) x18
  • #307 - Briar (Mega Rare) (1/3) x2
  • #316 - Volt (Mega Rare) (1/3) x1
  • #319 - Wadgon (Mega Rare) (1/3) x1

Items:
  • 1x Apple (Treestump to the right, no shiny item spot thing)
  • 2x Shard Spot (Pickaxe required)


South of Village

Nexomon: (2)
  • Fight Count: 62
  • #016 - Heliwurm (Common) (1/3) x29
  • #067 - Baloompa (Common) (1/2) x3
  • #153 - Stalkee (Uncommon) (1/3) x9
  • #294 - Hyphoon (Mega Rare) (Lure required) (1/1) x5
  • #310 - Oren (Mega Rare) (1/3) x1
  • #313 - Flotter (Mega Rare) (1/3) x7
  • #316 - Volt (Mega Rare) (1/3) x3
  • #325 - Dinja (Ultra Rare) (1/3) x5

Tamer:
  • Red Haired Woman

Items:
  • 3x Shard Spot (Pickaxe required) (Wind Skill required)

Houses
House East
Items:
  • 1x Onigiri
  • 1x Zumble Companion


Old Village Ruin

Nexomon: (3)
  • Fight Count: 78
  • #001 - Cloddy (Uncommon) (1/3) x15
  • #002 - Cubdy (Uncommon) (2/3) x2
  • #003 - Lukuma (Uncommon) (3/3) x1
  • #044 - Larkito (Common) (1/3) x26
  • #045 - Moska (Common) (2/3) x2
  • #046 - Sakka (Common) (3/3) x2
  • #067 - Baloompa (Common) (1/2) x4
  • #068 - Blimpapa (Common) (2/2) x1
  • #304 - Cryzzard (Mega Rare) (1/3) x8
  • #307 - Briar (Mega Rare) (1/3) x2
  • #309 - Foreer (Mega Rare) (3/3) x2
  • #313 - Flotter (Mega Rare) (1/3) x9
  • #314 - Dratter (Mega Rare) (2/3) x1
  • #315 - Furrygon (Mega Rare) (3/3) x1
  • #340 - Mearn (Ultra Rare) (1/3) x1
  • #342 - Yarnesty (Ultra Rare) (3/3) x1

Tamer:
  • Computer addict

Items:
  • 1x Running Shoes
Lydias Village (Drake Sigil required)*
Entrance

Special:
  • Warpstone (After #01 - The Frozen Lake)
  • Move Trainer
  • Trap Maker
  • Merchant

Items:
  • 1x Revive
  • 1x Greed Wallet (Wind Skill required)

Trader:
  • GIVES
  • 1x Discount Voucher
  • 1x Plant Whistle
  • FOR
  • 3x Tempest Shard
  • 3x Phantom Shard
  • 3x Thunder Shard
  • GIVES
  • 1x Exp Booster
  • FOR
  • 300x Coins
  • 3x Blazing Shard
  • 3x Nature Shard

Houses
Right to Healing Center

Right to Healing Center - Upstairs
Items:
  • 1x Ghost Whistle

Healing Center
Special:
  • Healer

Above to Healing Center
Items:
  • 1x Peach
  • 1x Onigiri

A little right-above to Healing Center
Items:
  • 1x Elixir

House left of Statue
Items:
  • 1x Ether


City West

Items:
  • 2x Peaches (NPC)
  • 1x Peach

Trader:
  • GIVES
  • 1x Secret Sauce
  • FOR
  • 600x Coins


City Northwest


City North

Special:
  • You can progress after #05, and the Shrine.
  • Boss Fight (Wind Skill required)

Items:
  • 1x Shrine Key (after #05)


City East

Special:
  • Cave Entrance

Trader:
  • GIVES
  • 1x Wind Whistle
  • 3x Perfect Berry
  • FOR
  • 1x Experience Core (I)
  • 1x Greed Core (I)
  • 1x Vitality Core (I)

Houses
West House
Items:
  • 1x Ether

Middle House
Items:
  • 1x Elixir

East House

East House - Upstairs
Items:
  • 1x Nexotrap
  • 1x Onigiri
Lydias Village Cave*
Entrance

Nexomon:
  • Fight Count: 14
  • #007 - Bloopish (Common) (1/3) x2
  • #008 - Glimoory (Common) (2/3) x3
  • #016 - Heliwurm (Common) (1/3) x1
  • #133 - Durtacles (Uncommon) (1/2) x1
  • #134 - Roclas (Uncommon) (2/2) x3
  • #145 - Calfter (Rare) (1/3) x3
  • #316 - Volt (Mega Rare) (1/3) x1

Items:
  • 4x Shard Spots (Pickaxe required)


Intersection (North of Entrance)

Nexomon:
  • Fight Count: 10
  • #007 - Bloopish (Common) (1/3) x1
  • #016 - Heliwurm (Common) (1/3) x3
  • #017 - Helipa (Common) (2/3) x3
  • #111 - Hinazuru (Uncommon) (1/3) x1
  • #301 - Drare (Mega Rare) (1/3) x1
  • #316 - Volt (Mega Rare) (1/3) x1

Items:
  • 1x Elixir
  • 3x Shard Spots (Pickaxe required)


West of Intersection

Items:
  • 1x Nexotrap
  • 1x Wind Whistle


North of Intersection

Special:
  • Vault #5 (Wind Skill required)

Nexomon:
  • Fight Count: 11
  • #007 - Bloopish (Common) (1/3) x3
  • #008 - Glimoory (Common) (2/3) x1
  • #016 - Heliwurm (Common) (1/3) x2
  • #111 - Hinazuru (Uncommon) (1/3) x1
  • #112 - Nakazuru (Uncommon) (2/3) x1
  • #196 - Croo (Rare) (1/3) x2
  • #310 - Oren (Mega Rare) (1/3) x1

Items:
  • 1x Healing Crystal
  • 5x Shard Spots (Pickaxe required) (3x Wind Skill required)


Vault #5

Items:
  • 150x Coins
  • 100x Coins
  • 100x Coins
  • 200x Coins
  • 1x Dragon Whistle
  • 1x Ultra Pickaxe
  • 1x Tribute of Tempest
  • 1x Wargoyle Companion


East of Intersection

Nexomon:
  • Fight Count: 10
  • #007 - Bloopish (Common) (1/3) x1
  • #016 - Heliwurm (Common) (1/3) x5
  • #017 - Helipa (Common) (2/3) x2
  • #133 - Durtacles (Uncommon) (1/2) x1
  • #196 - Croo (Rare) (1/3) x1

Items:
  • 3x Shard Spots (Pickaxe required)
Drake Isles East*
Entrance

Quest:
  • #05 - The Mad Dragon

Nexomon: (3)
  • Fight Count: 32
  • #019 - Zumble (Common) (1/3) x4
  • #044 - Larkito (Common) (1/3) x13
  • #045 - Moska (Common) (2/3) x6
  • #141 - Tundri (Uncommon) (1/2) x3
  • #296 - Divette (Mega Rare) (Lure required) (1/1) x1
  • #301 - Drare (Mega Rare) (1/3) x1
  • #302 - Ignigon (Mega Rare) (2/3) x1
  • #314 - Dratter (Mega Rare) (2/3) x1
  • #319 - Wadgon (Mega Rare) (1/3) x1
  • #323 - Deyama (Mega Rare) (2/3) x1

Tamer:
  • Old Man (after getting the vial in #05)
  • Girl North
  • Girl South

Items:
  • 1x Elixir
  • 1x Healing Crystal
  • 2x Shard Spot (Pickaxe required)

Trader:
  • GIVES (after getting the vial in #05)
  • 300x Coins
  • 1x Immunity Core (II)
  • 1x Greed Core (II)
  • FOR
  • 6x Nexotrap
  • 3x Fire Nexotrap
  • 3x Water Nexotrap


North

Nexomon: (1)
  • Fight Count: 21
  • #019 - Zumble (Common) (1/3) x8
  • #044 - Larkito (Common) (1/3) x2
  • #045 - Moska (Common) (2/3) x3
  • #141 - Tundri (Uncommon) (1/2) x3
  • #294 - Hyphoon (Mega Rare) (Lure required) (1/1) x1
  • #296 - Divette (Mega Rare) (Lure required) (1/1) x1
  • #299 - Wysil (Mega Rare) (2/3) x2
  • #313 - Flotter (Mega Rare) (1/3) x1

Tamer:
  • Man (after the Wind Shrine)


East

Nexomon: (3)
  • Fight Count: 30
  • #019 - Zumble (Common) (1/3) x5
  • #044 - Larkito (Common) (1/3) x8
  • #045 - Moska (Common) (2/3) x4
  • #141 - Tundri (Uncommon) (1/2) x4
  • #294 - Hyphoon (Mega Rare) (Lure required) (1/1) x1
  • #296 - Divette (Mega Rare) (Lure required) (1/1) x2
  • #298 - Basil (Mega Rare) (1/3) x1
  • #299 - Wysil (Mega Rare) (2/3) x1
  • #319 - Wadgon (Mega Rare) (1/3) x1
  • #320 - Wadtail (Mega Rare) (2/3) x1
  • #341 - Felarnia (Ultra Rare) (2/3) x2

Tamer:
  • Pinky
  • Greeny

Items:
  • 35x Coins
  • 1x Potion
  • 1x Mearn Companion (Wind Skill required)
  • 1x Healing Crystal (1x Wind Skill required)
  • 2x Shard Spot (Pickaxe required) (2x Wind Skill required)


South

Special:
  • Shrine Entrance (Shrine Key required)

Nexomon: (2)
  • Fight Count: 20
  • #019 - Zumble (Common) (1/3) x3
  • #044 - Larkito (Common) (1/3) x5
  • #045 - Moska (Common) (2/3) x3
  • #141 - Tundri (Uncommon) (1/2) x1
  • #301 - Drare (Mega Rare) (1/3) x2
  • #302 - Ignigon (Mega Rare) (2/3) x2
  • #313 - Flotter (Mega Rare) (1/3) x1
  • #322 - Deyam (Mega Rare) (1/3) x2
  • #323 - Deyama (Mega Rare) (2/3) x1

Items:
  • 1x Golden Nexotrap (from Leo, after Shrine)
  • 1x Healing Crystal
  • 3x Shard Spot (Pickaxe required) (1x Wind Skill required)


Shrine

Special:
  • Boss Fight (Ventra / Wind)

Quest:
  • #531 - Nadine is Reborn (after #520)
Drake Isle Laboratory*
Entrance

Nexomon:
  • Fight Count: 30
  • #001 - Cloddy (Uncommon) (1/3) x5
  • #002 - Cubdy (Uncommon) (2/3) x1
  • #047 - Chibbit (Common) (1/3) x4
  • #048 - Xotor (Common) (2/3) x9
  • #069 - Bulbrit (Common) (1/2) x2
  • #301 - Drare (Mega Rare) (1/3) x2
  • #302 - Ignigon (Mega Rare) (2/3) x1
  • #303 - Acegon (Mega Rare) (3/3) x2
  • #316 - Volt (Mega Rare) (1/3) x1
  • #317 - Volnamic (Mega Rare) (2/3) x1
  • #349 - Behilda (Ultra Rare) (1/3) x1
  • #350 - Heddeca (Ultra Rare) (2/3) x1

Items:
  • 1x Potion


Hall

Nexomon:
  • Fight Count: 21
  • #001 - Cloddy (Uncommon) (1/3) x3
  • #002 - Cubdy (Uncommon) (2/3) x1
  • #047 - Chibbit (Common) (1/3) x5
  • #048 - Xotor (Common) (2/3) x3
  • #069 - Bulbrit (Common) (1/2) x7
  • #350 - Heddeca (Ultra Rare) (2/3) x2


West

Nexomon:
  • Fight Count: 22
  • #001 - Cloddy (Uncommon) (1/3) x1
  • #002 - Cubdy (Uncommon) (2/3) x3
  • #047 - Chibbit (Common) (1/3) x6
  • #048 - Xotor (Common) (2/3) x2
  • #069 - Bulbrit (Common) (1/2) x7
  • #307 - Briar (Mega Rare) (1/3) x1
  • #308 - Chaparral (Mega Rare) (2/3) x1
  • #350 - Heddeca (Ultra Rare) (2/3) x1

Items:
  • 1x Donut


1F West

Nexomon:
  • Fight Count: 21
  • #001 - Cloddy (Uncommon) (1/3) x3
  • #002 - Cubdy (Uncommon) (2/3) x3
  • #047 - Chibbit (Common) (1/3) x4
  • #048 - Xotor (Common) (2/3) x3
  • #069 - Bulbrit (Common) (1/2) x5
  • #319 - Wadgon (Mega Rare) (1/3) x1
  • #320 - Wadtail (Mega Rare) (2/3) x1
  • #349 - Behilda (Ultra Rare) (1/3) x1

Items:
  • 1x Potion
  • 1x Greed Wallet


2F West

Nexomon:
  • Fight Count: 20
  • #001 - Cloddy (Uncommon) (1/3) x2
  • #002 - Cubdy (Uncommon) (2/3) x2
  • #047 - Chibbit (Common) (1/3) x3
  • #048 - Xotor (Common) (2/3) x4
  • #069 - Bulbrit (Common) (1/2) x3
  • #316 - Volt (Mega Rare) (1/3) x1
  • #319 - Wadgon (Mega Rare) (1/3) x1
  • #320 - Wadtail (Mega Rare) (2/3) x2
  • #349 - Behilda (Ultra Rare) (1/3) x1
  • #350 - Heddeca (Ultra Rare) (2/3) x1

Items:
  • 1x Elixir
  • 1x Flan
  • 1x Exp Booster


East

Nexomon:
  • Fight Count: 20
  • #001 - Cloddy (Uncommon) (1/3) x5
  • #002 - Cubdy (Uncommon) (2/3) x2
  • #047 - Chibbit (Common) (1/3) x2
  • #048 - Xotor (Common) (2/3) x1
  • #069 - Bulbrit (Common) (1/2) x7
  • #303 - Acegon (Mega Rare) (3/3) x2
  • #310 - Oren (Mega Rare) (1/3) x1
  • #311 - Orgot (Mega Rare) (2/3) x1

Items:
  • 1x Workout Charm


1F East

Nexomon:
  • Fight Count: 21
  • #001 - Cloddy (Uncommon) (1/3) x1
  • #002 - Cubdy (Uncommon) (2/3) x1
  • #047 - Chibbit (Common) (1/3) x3
  • #048 - Xotor (Common) (2/3) x4
  • #069 - Bulbrit (Common) (1/2) x5
  • #301 - Drare (Mega Rare) (1/3) x2
  • #322 - Deyam (Mega Rare) (1/3) x1
  • #323 - Deyama (Mega Rare) (2/3) x1
  • #324 - Phantra (Mega Rare) (3/3) x1
  • #349 - Behilda (Ultra Rare) (1/3) x1
  • #350 - Heddeca (Ultra Rare) (2/3) x1


2F East

Nexomon:
  • Fight Count: 22
  • #002 - Cubdy (Uncommon) (2/3) x1
  • #047 - Chibbit (Common) (1/3) x4
  • #048 - Xotor (Common) (2/3) x7
  • #069 - Bulbrit (Common) (1/2) x2
  • #298 - Basil (Mega Rare) (1/3) x1
  • #299 - Wysil (Mega Rare) (2/3) x1
  • #300 - Tarragon (Mega Rare) (3/3) x1
  • #322 - Deyam (Mega Rare) (1/3) x3
  • #349 - Behilda (Ultra Rare) (1/3) x2

Items:
  • 1x Nexotrap
  • 1x Golden Nexotrap (accessible through 3F East)


3F East

Nexomon:
  • Fight Count: 20
  • #001 - Cloddy (Uncommon) (1/3) x3
  • #002 - Cubdy (Uncommon) (2/3) x2
  • #047 - Chibbit (Common) (1/3) x2
  • #048 - Xotor (Common) (2/3) x5
  • #069 - Bulbrit (Common) (1/2) x4
  • #298 - Basil (Mega Rare) (1/3) x1
  • #299 - Wysil (Mega Rare) (2/3) x1
  • #307 - Briar (Mega Rare) (1/3) x1
  • #349 - Behilda (Ultra Rare) (1/3) x1
  • #350 - Heddeca (Ultra Rare) (2/3) x1


North

Special:
  • Boss Fight(s)
Frozen Tundra Base to City*
Ice Bridge West

Quest:
  • #514 - The Lost Ring (Bronze Badge required)

Tamer:
  • Bandit

Items:
  • 1x Shard Spot (Pickaxe required)

Trader:
  • GIVES
  • 1x Electric Nexotrap
  • 1x Ghost Nexotrap
  • 1x Psychic Nexotrap
  • FOR
  • 400x Coins


East of Ice Bridge

Specials:
  • Warpstone (After #01 - The Frozen Lake)

Nexomon: (4)
  • Fight Count: 70
  • #016 - Heliwurm (Common) (1/3) x9
  • #017 - Helipa (Common) (2/3) x5
  • #018 - Heliventus (Common) (3/3) x1
  • #090 - Medlass (Common) (1/2) x14
  • #091 - Madamusa (Common) (2/2) x14
  • #092 - Brumtler (Uncommon) (1/2) x2
  • #138 - Scoopter (Uncommon) (1/3) x4
  • #139 - Excravator (Uncommon) (2/3) x4
  • #182 - Hohopi (Uncommon) (1/2) x4
  • #183 - Mojompo (Uncommon) (2/2) x1
  • #220 - Frogick (Rare) (1/2) x9
  • #326 - Dichala (Ultra Rare) (2/3) x2
  • #327 - Namansi (Ultra Rare) (3/3) x1

Tamer:
  • Lumberjack
  • Bandit Girl (Thieve for #518)

Items:
  • 1x Revive (on the boxes close to entance, no shiny item marker)
  • 1x Healing Crystal
  • 1x Shard Spot (Pickaxe required)

Trader:
(Man repairing Generator, no blue star)
  • GIVES
  • 350x Coins
  • FOR
  • 5x Anti Freeze

  • GIVES
  • 400x Coins
  • FOR
  • 3x Potion
  • 3x Ether
  • 1x Revive


North of Ice Bridge

Nexomon: (3)
  • Fight Count: 65
  • #090 - Medlass (Common) (1/2) x10
  • #091 - Madamusa (Common) (2/2) x9
  • #092 - Brumtler (Uncommon) (1/2) x4
  • #093 - Brumenie (Uncommon) (2/2) x1
  • #139 - Excravator (Uncommon) (2/3) x2
  • #182 - Hohopi (Uncommon) (1/2) x3
  • #183 - Mojompo (Uncommon) (2/2) x3
  • #220 - Frogick (Rare) (1/2) x4
  • #235 - Hydrip (Common) (1/2) x22
  • #236 - Hydrose (Common) (2/2) x1
  • #251 - Grebal (Rare) (2/3) x2
  • #325 - Dinja (Ultra Rare) (1/3) x3
  • #326 - Dichala (Ultra Rare) (2/3) x1

Tamer:
  • Flute Player
  • Bandit Girl (Thieve for #518)

Items:
  • 3x Shard Spot (Pickaxe required)

Trader:
  • GIVES
  • 1x Exp Booster
  • FOR
  • 400x Coins


Tyrant Skeleton

Quest:
  • #522 - The Drake of Water (after #17)

Items:
  • 1x Noki Companion


Riverway

Nexomon: (2)
  • Fight Count: 60
  • #028 - Griff (Common) (1/3) x7
  • #029 - Griffgar (Common) (2/3) x6
  • #090 - Medlass (Common) (1/2) x2
  • #091 - Madamusa (Common) (2/2) x3
  • #092 - Brumtler (Uncommon) (1/2) x3
  • #093 - Brumenie (Uncommon) (2/2) x1
  • #138 - Scoopter (Uncommon) (1/3) x3
  • #139 - Excravator (Uncommon) (2/3) x1
  • #182 - Hohopi (Uncommon) (1/2) x3
  • #235 - Hydrip (Common) (1/2) x16
  • #250 - Coral (Rare) (1/3) x10
  • #251 - Grebal (Rare) (2/3) x2
  • #293 - Blizstrong (Mega Rare) (Lure required) (1/1) x1
  • #325 - Dinja (Ultra Rare) (1/3) x1
  • #326 - Dichala (Ultra Rare) (2/3) x1

Tamer:
  • Red Girl

Items:
  • 3x Shard Spot (Pickaxe required) (2 of them not reachable yet...)

Trader:
  • GIVES
  • 1x Plant Whistle
  • 1x Electric Whistle
  • FOR
  • 800x Coins


Mining Outpost

Specials:
  • Cave Entrance

Nexomon: (2)
  • Fight Count: 60
  • #028 - Griff (Common) (1/3) x16
  • #029 - Griffgar (Common) (2/3) x13
  • #092 - Brumtler (Uncommon) (1/2) x4
  • #138 - Scoopter (Uncommon) (1/3) x3
  • #235 - Hydrip (Common) (1/2) x15
  • #250 - Coral (Rare) (1/3) x6
  • #251 - Grebal (Rare) (2/3) x1
  • #325 - Dinja (Ultra Rare) (1/3) x1
  • #327 - Namansi (Ultra Rare) (3/3) x1

Tamer:
  • Mine Owner
  • Man in White

Items:
  • 1x Donut
  • 1x Orange
  • 3x Shard Spot (Pickaxe required)

Trader:
  • GIVES
  • 1x Ghost Whistle
  • 1x Exp Booster
  • FOR
  • 3x Phantom Shard
  • 3x Blazing Shard
  • 3x Stone Shard
  • 3x Tempest Shard


North of Mining Outpost

Nexomon: (3)
  • Fight Count: 65
  • #016 - Heliwurm (Common) (1/3) x7
  • #017 - Helipa (Common) (2/3) x2
  • #018 - Heliventus (Common) (3/3) x2
  • #028 - Griff (Common) (1/3) x15
  • #029 - Griffgar (Common) (2/3) x13
  • #092 - Brumtler (Uncommon) (1/2) x2
  • #096 - Scalder (Uncommon) (1/2) x2
  • #138 - Scoopter (Uncommon) (1/3) x2
  • #182 - Hohopi (Uncommon) (1/2) x2
  • #235 - Hydrip (Common) (1/2) x3
  • #250 - Coral (Rare) (1/3) x2
  • #256 - Moonica (Rare) (1/3) x5
  • #257 - Moonette (Rare) (2/3) x2
  • #258 - Lunabelle (Rare) (3/3) x2
  • #325 - Dinja (Ultra Rare) (1/3) x1
  • #326 - Dichala (Ultra Rare) (2/3) x3

Tamer:
  • Miner
  • Bandit Girl (Thieve for #518)

Items:
  • 1x Nexotrap
  • 5x Shard Spot (Pickaxe required)
Frozen Sea*
Frozen Sea (Northwest of Mining Outpost)

Nexomon: (4)
  • Fight Count: 70
  • #016 - Heliwurm (Common) (1/3) x19
  • #017 - Helipa (Common) (2/3) x8
  • #018 - Heliventus (Common) (3/3) x2
  • #028 - Griff (Common) (1/3) x11
  • #029 - Griffgar (Common) (2/3) x3
  • #030 - Lioness (Common) (3/3) x2
  • #092 - Brumtler (Uncommon) (1/2) x2
  • #096 - Scalder (Uncommon) (1/2) x1
  • #138 - Scoopter (Uncommon) (1/3) x4
  • #139 - Excravator (Uncommon) (2/3) x3
  • #182 - Hohopi (Uncommon) (1/2) x1
  • #183 - Mojompo (Uncommon) (2/2) x4
  • #256 - Moonica (Rare) (1/3) x4
  • #257 - Moonette (Rare) (2/3) x1
  • #325 - Dinja (Ultra Rare) (1/3) x4
  • #326 - Dichala (Ultra Rare) (2/3) x1

Tamer:
  • Sumo
  • Punk

Items:
  • 1x Discount Voucher
  • 1x Donut
  • 1x Healing Crystal
  • 6x Shard Spot (Pickaxe required)

Trader:
  • GIVES
  • 1x Dragon Whistle
  • 1x Golden Nexotrap
  • FOR
  • 3x Super Potion
  • 3x Super Ether
  • 3x Super Elixir
  • 3x Super Revive


North of Sea

Specials:
  • Blocked Bridge East for now... / Also blocked from east path (First access during #06)

Nexomon: (4)
  • Fight Count: 61
  • #084 - Shardrine (Common) (1/2) x5
  • #086 - Sounse (Common) (1/2) x12
  • #087 - Mound (Common) (2/2) x10
  • #193 - Sandillo (Uncommon) (1/3) x8
  • #194 - Gravello (Uncommon) (2/3) x3
  • #212 - Mallish (Uncommon) (1/3) x1
  • #235 - Hydrip (Common) (1/2) x18
  • #240 - Moonline (Rare) (1/1) x1
  • #293 - Blizstrong (Mega Rare) (Lure required) (1/1) x1
  • #331 - Noki (Ultra Rare) (1/3) x1
  • #332 - Vainok (Ultra Rare) (2/3) x1

Items:
  • 1x Elixir (NPC, Camp)
  • 1x Healing Shard
  • 2x Shard Spot (Pickaxe required)
  • 2x Shard Spot (Pickaxe required) (East side, come from City)


Northwest of Sea

Items:
  • 1x Cruff Companion


Further North of Sea

Specials:
  • Metal Door / Bunker Entrance (First access during #06)

Nexomon: (2)
  • Fight Count: 60
  • #084 - Shardrine (Common) (1/2) x11
  • #086 - Sounse (Common) (1/2) x9
  • #087 - Mound (Common) (2/2) x6
  • #193 - Sandillo (Uncommon) (1/3) x5
  • #194 - Gravello (Uncommon) (2/3) x2
  • #212 - Mallish (Uncommon) (1/3) x8
  • #235 - Hydrip (Common) (1/2) x11
  • #240 - Moonline (Rare) (1/1) x6
  • #331 - Noki (Ultra Rare) (1/3) x1
  • #332 - Vainok (Ultra Rare) (2/3) x2
Frozen Tundra Mining Cave*
Cave Entrance

Nexomon:
  • Fight Count: 67
  • #025 - Skerdi (Common) (1/3) x15
  • #026 - Aferaid (Common) (2/3) x9
  • #035 - Faucefant (Common) (1/3) x9
  • #036 - Draniphant (Common) (2/3) x7
  • #191 - Singlette (Uncommon) (2/3) x8
  • #268 - Muu (Rare) (1/3) x5
  • #269 - Carcaros (Rare) (2/3) x3
  • #293 - Blizstrong (Mega Rare) (Lure required) (1/1) x1
  • #343 - Gekoko (Ultra Rare) (1/3) x7
  • #344 - Kamelevo (Ultra Rare) (2/3) x3

Items:
  • 1x Donut
  • 4x Shard Spot (Pickaxe required)


Cave Southwest

Nexomon:
  • Fight Count: 60
  • #025 - Skerdi (Common) (1/3) x12
  • #026 - Aferaid (Common) (2/3) x16
  • #035 - Faucefant (Common) (1/3) x14
  • #036 - Draniphant (Common) (2/3) x6
  • #172 - Streamole (Uncommon) (1/3) x3
  • #268 - Muu (Rare) (1/3) x3
  • #269 - Carcaros (Rare) (2/3) x2
  • #343 - Gekoko (Ultra Rare) (1/3) x1
  • #344 - Kamelevo (Ultra Rare) (2/3) x3

Items:
  • 1x Peach
  • 1x Ether
  • 9x Shard Spot (Pickaxe required)


Cave Souteast

Nexomon:
  • Fight Count: 10
  • #035 - Faucefant (Common) (1/3) x4
  • #036 - Draniphant (Common) (2/3) x1
  • #080 - Varawirl (Common) (1/1) x4
  • #344 - Kamelevo (Ultra Rare) (2/3) x1

Items:
  • Elixir
  • 3x Shard Spot (Pickaxe required) (Water Skill required)


Cave Sout

Specials:
  • Vault #6


Nexomon:
  • Fight Count: 10
  • #025 - Skerdi (Common) (1/3) x3
  • #026 - Aferaid (Common) (2/3) x1
  • #080 - Varawirl (Common) (1/1) x3
  • #172 - Streamole (Uncommon) (1/3) x2
  • #344 - Kamelevo (Ultra Rare) (2/3) x1

Items:
  • 1x Workout Charm
  • 1x Healing Crystal
  • 7x Shard Spot (Pickaxe required)


Vault #6

Items:
  • 100x Coins
  • 100x Coins
  • 150x Coins
  • 1x Psychic Nexotrap
  • 50x Coins
  • 1x Blizstrong Companion
  • 1x Tribute of Ocean
Frozen Tundra Bunker*
Entrance

Specials:
  • Lots of Fights due to Story, prepare to fight ~8 Nexomon without being able to heal from menu.
  • Lots of NPCs/Merchants (after finishing the Bunker Events)

Nexomon:
  • Fight Count: 21
  • #007 - Bloopish (Common) (1/3) x3
  • #088 - Scaratic (Common) (1/2) x2
  • #089 - Enercer (Common) (2/2) x5
  • #117 - Sectoc (Uncommon) (1/3) x1
  • #118 - Minet (Uncommon) (2/3) x1
  • #145 - Calfter (Rare) (1/3) x1
  • #187 - Cruff (Rare) (1/3) x1
  • #188 - Croncho (Rare) (2/3) x1
  • #212 - Mallish (Uncommon) (1/3) x3
  • #213 - Mallark (Uncommon) (2/3) x3

Items:
  • 1x Cosmic Charm
  • 1x Revive
  • 1x Immunity Core (II) (after finishing the Bunker Events)
  • 1x


North 1

Nexomon:
  • Fight Count: 21
  • #007 - Bloopish (Common) (1/3) x1
  • #008 - Glimoory (Common) (2/3) x2
  • #088 - Scaratic (Common) (1/2) x2
  • #089 - Enercer (Common) (2/2) x4
  • #118 - Minet (Uncommon) (2/3) x2
  • #145 - Calfter (Rare) (1/3) x1
  • #146 - Calplex (Rare) (2/3) x3
  • #187 - Cruff (Rare) (1/3) x1
  • #188 - Croncho (Rare) (2/3) x2
  • #265 - Yummo (Uncommon) (1/3) x3

Items:
  • 1x Fire Nexotrap
  • 1x Nexotrap


North 2

Nexomon:
  • Fight Count: 20
  • #008 - Glimoory (Common) (2/3) x4
  • #088 - Scaratic (Common) (1/2) x3
  • #089 - Enercer (Common) (2/2) x4
  • #145 - Calfter (Rare) (1/3) x1
  • #146 - Calplex (Rare) (2/3) x1
  • #147 - Bullogan (Rare) (3/3) x1
  • #187 - Cruff (Rare) (1/3) x2
  • #188 - Croncho (Rare) (2/3) x1
  • #212 - Mallish (Uncommon) (1/3) x1
  • #265 - Yummo (Uncommon) (1/3) x2

Items:
  • 1x Mineral Nexotrap (Coco)
  • 1x Anti Freeze (V)


North 3

Specials:
  • Boss Fight
Frozen Tundra City & East & North*
City Center

Specials:
  • Warpstone (After #01 - The Frozen Lake)
  • Move Trainer

Quest:
  • #516 - Turning up the Heat (Bronze Badge required)
  • #518 - Thieves of the Tundra (Bronze Badge required)
  • #06 - The Frozen Bunker (after the Drake Isles Events)

Items:
  • 1x Nexotrap

Houses
House Northwest Corner
Items:
  • 1x Ether
  • 1x Nexotrap

Store
Specials:
  • Merchant
  • Shard Buyer -.-"

Healing Center
Specials:
  • Healer
  • Storage Console

House North
Items:
  • 1x Ether

House Northeast
Items:
  • 35x Coins

Guild Hall
Quest:
  • #517 - Evil Spirits (Bronze Badge required)
  • #07 - The Cursed Tower (after #06)

Items:
  • 1x Protection Core (II) (Story, not missable)
  • Gold Badge (during #07)

Guild Hall - Downstairs
Specials:
  • Gained Water Skill (after #07)
Items:
  • 1x Nexotrap
  • 1x Challenge Badge (Water Skill required)


East of City

Specials:
  • Trenches blocking the path to the east for now... (Wind Skill required)
  • Ice Block blocks North path (Fire Skill required)

Tamer:
  • Bandit Girl (Thieve for #518) (east side of wall)

Items:
  • 1x Elixir (Wind Skill required)
  • 1x Shard Spot (Pickaxe required)
  • 3x Shard Spot (Pickaxe required) (Wind Skill required)
  • 1x Shard Spot (Pickaxe required) (east side of wall)
  • 1x Exp Booster (Wind Skill required) (come from South)


Southeast of City

Nexomon: (5)
  • Fight Count: 67
  • #084 - Shardrine (Common) (1/2) x13
  • #086 - Sounse (Common) (1/2) x15
  • #087 - Mound (Common) (2/2) x15
  • #193 - Sandillo (Uncommon) (1/3) x8
  • #194 - Gravello (Uncommon) (2/3) x3
  • #196 - Croo (Rare) (1/3) x7
  • #212 - Mallish (Uncommon) (1/3) x1
  • #235 - Hydrip (Common) (1/2) x2
  • #331 - Noki (Ultra Rare) (1/3) x3
  • #332 - Vainok (Ultra Rare) (2/3) x1

Tamer:
  • Ghost

Items:
  • 1x Healing Crystal (Wind Skill required)
  • 2x Shard Spot (Pickaxe required) (Wind Skill required)

Houses
The House

The House Upstairs

Items:
  • 1x Nexotrap
  • 1x Psychic Whistle


Frozen Town (Southeast East of City)

Nexomon: (3)
  • Fight Count: 40
  • #016 - Heliwurm (Common) (1/3) x7
  • #017 - Helipa (Common) (2/3) x7
  • #090 - Medlass (Common) (1/2) x8
  • #091 - Madamusa (Common) (2/2) x5
  • #092 - Brumtler (Uncommon) (1/2) x3
  • #096 - Scalder (Uncommon) (1/2) x2
  • #250 - Coral (Rare) (1/3) x1
  • #251 - Grebal (Rare) (2/3) x1
  • #256 - Moonica (Rare) (1/3) x1
  • #293 - Blizstrong (Mega Rare) (Lure required) (1/1) x3
  • #326 - Dichala (Ultra Rare) (2/3) x2

Tamer:
  • Thieve Hunter
  • Guy with red hat

Items:
  • 1x Ether
  • 3x Shard Spot (Pickaxe required)


Further East of City

Tamer:
  • Boy

Items:
  • 3x Shard Spot (Pickaxe required) (1x Wind Skill required)

Broken House (Wind Skill required)
Items:
  • 1x Greed Wallet
  • 1x Explosives (Story, not missable)
  • 2x Water Nextrap (Story, not missable)
  • 1x Stone Shard (NPC, after saving them)


Northeast of City

Specials:
  • Cave Entrance

Tamer:
  • Bandit Girl (Thieve for #518)

Items:
  • 1x Shard Spot (Pickaxe required)
  • 1x Healing Crystal (Wind Skill required)
  • 4x Shard Spot (Pickaxe required) (Wind Skill required)


City North

Items:
  • 3x Shard Spot (Pickaxe required)


Bridge to Nexolord Tower

Nexomon: (4)
  • Fight Count: 75
  • #016 - Heliwurm (Common) (1/3) x12
  • #017 - Helipa (Common) (2/3) x12
  • #127 - Jeloon (Common) (1/3) x14
  • #135 - Fanling (Uncommon) (1/3) x11
  • #136 - Fandiose (Uncommon) (2/3) x7
  • #304 - Cryzzard (Mega Rare) (1/3) x3
  • #305 - Blizzarm (Mega Rare) (2/3) x2
  • #310 - Oren (Mega Rare) (1/3) x2
  • #312 - Oregoon (Mega Rare) (3/3) x1
  • #316 - Volt (Mega Rare) (1/3) x3
  • #317 - Volnamic (Mega Rare) (2/3) x2
  • #318 - Voltaic (Mega Rare) (3/3) x1
  • #337 - Trebly (Ultra Rare) (1/3) x2
  • #338 - Treclay (Ultra Rare) (2/3) x3

Tamer:
  • Girl on Bridge
  • Hockey Player

Items:
  • 1x Flan
  • 1x Potion
  • 1x Shard Spot (Pickaxe required)


Way to Nexolord Tower

Nexomon: (2)
  • Fight Count: 30
  • #016 - Heliwurm (Common) (1/3) x9
  • #017 - Helipa (Common) (2/3) x5
  • #127 - Jeloon (Common) (1/3) x1
  • #135 - Fanling (Uncommon) (1/3) x4
  • #136 - Fandiose (Uncommon) (2/3) x3
  • #304 - Cryzzard (Mega Rare) (1/3) x1
  • #310 - Oren (Mega Rare) (1/3) x1
  • #311 - Orgot (Mega Rare) (2/3) x2
  • #316 - Volt (Mega Rare) (1/3) x1
  • #317 - Volnamic (Mega Rare) (2/3) x1
  • #338 - Treclay (Ultra Rare) (2/3) x2

Tamer:
  • Bandit Girl (Thieve for #518)

Items:
  • 1x Orange
  • 1x Healing Shard
  • 2x Shard Spot (Pickaxe required)


Tower Entrance Outside
You can enter during #07.

Items:
  • 1x Healing Shard
  • 2x Shard Spot (Pickaxe required)
Frozen Tundra East Cave*
Entrance

Specials:
  • Quest Target #517

Items:
  • 1x Healing Crystal
  • 9x Shard Spot (Pickaxe required)
The Nexolord Tower*
Entrance


1F

Specials:
  • Story Fight

Nexomon:
  • Fight Count: 14
  • #019 - Zumble (Common) (1/3) x3
  • #020 - Zasp (Common) (2/3) x1
  • #073 - Cranillow (Uncommon) (1/2) x1
  • #122 - Poyal (Common) (1/3) x5
  • #123 - Puggard (Common) (2/3) x2
  • #227 - Ripha (Rare) (1/3) x2

Items:
  • 1x Green Pear


2F

Nexomon:
  • Fight Count: 15
  • #019 - Zumble (Common) (1/3) x2
  • #020 - Zasp (Common) (2/3) x1
  • #122 - Poyal (Common) (1/3) x8
  • #123 - Puggard (Common) (2/3) x1
  • #151 - Blublub (Uncommon) (1/2) x1
  • #152 - Globlob (Uncommon) (2/2) x1
  • #227 - Ripha (Rare) (1/3) x1


2F - West
(During #13)

Nexomon:
  • Fight Count: 12
  • #070 - Cromeon (Common) (2/2) x1
  • #143 - Prankrow (Common) (1/2) x1
  • #144 - Kromicide (Common) (2/2) x2
  • #151 - Blublub (Uncommon) (1/2) x2
  • #188 - Croncho (Rare) (2/3) x1
  • #212 - Mallish (Uncommon) (1/3) x2
  • #213 - Mallark (Uncommon) (2/3) x1
  • #214 - Thrammer (Uncommon) (3/3) x1
  • #250 - Coral (Rare) (1/3) x1

Items:
  • 1x Elixir


2F - West West
(During #13)

Nexomon:
  • Fight Count: 12
  • #069 - Bulbrit (Common) (1/2) x2
  • #080 - Varawirl (Common) (1/1) x1
  • #096 - Scalder (Uncommon) (1/2) x1
  • #097 - Scailla (Uncommon) (2/2) x1
  • #151 - Blublub (Uncommon) (1/2) x3
  • #188 - Croncho (Rare) (2/3) x1
  • #189 - Domigator (Rare) (3/3) x1
  • #251 - Grebal (Rare) (2/3) x1
  • #252 - Greben (Rare) (3/3) x1

Items:
  • 1x Discount Voucher
  • 3x Shard Spot (Pickaxe required)


3F
(During #13)

Specials:
  • Door (Key needed)

Nexomon:
  • Fight Count: 10
  • #080 - Varawirl (Common) (1/1) x2
  • #143 - Prankrow (Common) (1/2) x1
  • #144 - Kromicide (Common) (2/2) x2
  • #189 - Domigator (Rare) (3/3) x1
  • #212 - Mallish (Uncommon) (1/3) x2
  • #213 - Mallark (Uncommon) (2/3) x1
  • #214 - Thrammer (Uncommon) (3/3) x1

Items:
  • 1x Nexotrap
  • 1x Healing Crystal


3F Ice Paradise
(During #13)


3F Ice Paradise West
(During #13)

Items:
  • 4x Shard Spot (Pickaxe required)


3F Nivalis Chamber
(During #13)


4F
(During #13)

Quest:
  • #16 - Grandmaster Promotion (after #11-15)


Items:
  • 1x Tower Key (Story, not missable)


Down the Ladder

Nexomon:
  • Fight Count: 15
  • #022 - Branipus (Common) (1/3) x4
  • #023 - Cerebrius (Common) (2/3) x6
  • #020 - Zasp (Common) (2/3) x1
  • #228 - Grimmon (Rare) (2/3) x3
  • #347 - Masqat (Ultra Rare) (2/3) x1

Items:
  • 1x Nexotrap


Resting Place (Further Down the Ladder)

Items:
  • 30x Coins
  • 1x Donut


North of Resting Place

Nexomon:
  • Fight Count: 15
  • #019 - Zumble (Common) (1/3) x1
  • #020 - Zasp (Common) (2/3) x3
  • #022 - Branipus (Common) (1/3) x1
  • #023 - Cerebrius (Common) (2/3) x3
  • #172 - Streamole (Uncommon) (1/3) x3
  • #173 - Streamog (Uncommon) (2/3) x1
  • #227 - Ripha (Rare) (1/3) x2
  • #347 - Masqat (Ultra Rare) (2/3) x1

Items:
  • 1x Revive
  • 1x Moonica Companion


Intersection (Further North of Resting Place)

Specials:
  • Healer (only once)

Items:
  • 2x Ultra Elixir (Story, not missable)


Southwest of Intersection

Nexomon:
  • Fight Count: 13
  • #022 - Branipus (Common) (1/3) x2
  • #127 - Jeloon (Common) (1/3) x4
  • #128 - Jelifo (Common) (2/3) x3
  • #151 - Blublub (Uncommon) (1/2) x2
  • #152 - Globlob (Uncommon) (2/2) x1
  • #346 - Masquiti (Ultra Rare) (1/3) x1


Southwest 2 of Intersection

Specials:
  • Boss Fight (Nivalis)


Northwest of Intersection

Nexomon:
  • Fight Count: 13
  • #022 - Branipus (Common) (1/3) x3
  • #023 - Cerebrius (Common) (2/3) x1
  • #073 - Cranillow (Uncommon) (1/2) x3
  • #074 - Swactrum (Uncommon) (2/2) x1
  • #127 - Jeloon (Common) (1/3) x4
  • #346 - Masquiti (Ultra Rare) (1/3) x1

Items:
  • 1x Cosmic Charm


Northwest 2 of Intersection

Specials:
  • Story Fight (Fire)

Items:
  • 3x Shard Spot (Pickaxe required)


Southeast of Intersection

Nexomon:
  • Fight Count: 13
  • #081 - Ploriol (Rare) (1/3) x2
  • #082 - Bomriol (Rare) (2/3) x1
  • #122 - Poyal (Common) (1/3) x3
  • #123 - Puggard (Common) (2/3) x1
  • #127 - Jeloon (Common) (1/3) x3
  • #128 - Jelifo (Common) (2/3) x2
  • #172 - Streamole (Uncommon) (1/3) x1


Southeast 2 of Intersection

Specials:
  • Story Fight (Thunder/Plant)


Northeast of Intersection

Nexomon:
  • Fight Count: 13
  • #081 - Ploriol (Rare) (1/3) x2
  • #122 - Poyal (Common) (1/3) x5
  • #123 - Puggard (Common) (2/3) x3
  • #128 - Jeliflo (Common) (2/3) x1
  • #153 - Stalkee (Uncommon) (1/3) x2


Northeast 2 of Intersection

Specials:
  • Story Fight (Misc)


North Chamber

Specials:
  • Boss Fight (Volta)

Items:
  • 1x Resurrection Blueprints (right crates)
Cadium*
Entrance

Specials:
  • Warpstone (After #01 - The Frozen Lake)

Items:
  • 1x Elixir


City Center

Specials:
  • Healer (after #08)
  • Merchant (after #08) (He has no Icon, he is east of the Healer)

Items:
  • 1x Potion


City West

Items:
  • 1x Orange
  • 1x Donut


City Northwest

Items:
  • 1x Flan


City South


City President Mansion

Quest:
  • #533 - Zetta is Reborn (after #520)

Items:
  • Cadium Key (after winning in the Arena)
  • 1x Perfect Berry (NPC, during #14)


Bolzens Chamber


City Southwest

Items:
  • 2x Lacremes (NPC, after #08)

Houses
East Door

West Door
Items:
  • 1x Donut


City Arena

Specials:
  • The Mega Arena of Doom
Cadium East*
East of City Center

Nexomon:
  • Fight Count: 23
  • #047 - Chibbit (Common) (1/3) x1
  • #048 - Xotor (Common) (2/3) x1
  • #049 - Odiborg (Common) (3/3) x3
  • #053 - Ghouze (Common) (1/2) x3
  • #054 - Mazecter (Common) (2/2) x1
  • #117 - Sectoc (Uncommon) (1/3) x3
  • #118 - Minet (Uncommon) (2/3) x1
  • #207 - Skunqute (Common) (1/3) x2
  • #208 - Skunqeau (Common) (2/3) x2
  • #251 - Grebal (Rare) (2/3) x1
  • #287 - Lurkost (Mega Rare) (1/2) x2
  • #318 - Voltaic (Mega Rare) (3/3) x1
  • #332 - Vainok (Ultra Rare) (2/3) x1
  • #333 - Hainok (Ultra Rare) (3/3) x1

Items:
  • 1x Onigiri


East 2 of City Center

Items:
  • 1x Mermella Companion


East Intersection (East 3 of City Center)

Quest:
  • #08 - The Sinking City (after finding the Scientist in Cadium City - West)

Nexomon:
  • Fight Count: 17
  • #047 - Chibbit (Common) (1/3) x4
  • #048 - Xotor (Common) (2/3) x2
  • #053 - Ghouze (Common) (1/2) x2
  • #054 - Mazecter (Common) (2/2) x3
  • #119 - Orologikus (Uncommon) (3/3) x1
  • #161 - Chirrent (Uncommon) (1/2) x2
  • #162 - Ostrolt (Uncommon) (2/2) x1
  • #318 - Voltaic (Mega Rare) (3/3) x1
  • #331 - Noki (Ultra Rare) (1/3) x1

Houses
The only House (access during #14)

The only House - 1B (access during #14)


North of East Intersection

Nexomon:
  • Fight Count: 15
  • #053 - Ghouze (Common) (1/2) x2
  • #054 - Mazecter (Common) (2/2) x3
  • #069 - Bulbrit (Common) (1/2) x2
  • #070 - Cromeon (Common) (2/2) x1
  • #161 - Chirrent (Uncommon) (1/2) x1
  • #207 - Skunqute (Common) (1/3) x2
  • #208 - Skunqeau (Common) (2/3) x2
  • #331 - Noki (Ultra Rare) (1/3) x1
  • #332 - Vainok (Ultra Rare) (2/3) x1

Items:
  • 1x Healing Crystal


East 4 of City Center

Nexomon:
  • Fight Count: 15
  • #053 - Ghouze (Common) (1/2) x4
  • #069 - Bulbrit (Common) (1/2) x1
  • #172 - Streamole (Uncommon) (1/3) x1
  • #173 - Streamog (Uncommon) (2/3) x1
  • #174 - Streamoad (Uncommon) (3/3) x1
  • #199 - Woozy (Rare) (1/2) x1
  • #207 - Skunqute (Common) (1/3) x2
  • #208 - Skunqeau (Common) (2/3) x2
  • #331 - Noki (Ultra Rare) (1/3) x1
  • #332 - Vainok (Ultra Rare) (2/3) x1

Items:
  • 1x Potion


Southeast Intersection (South of East Intersection)

Nexomon:
  • Fight Count: 14
  • #069 - Bulbrit (Common) (1/2) x3
  • #070 - Cromeon (Common) (2/2) x1
  • #117 - Sectoc (Uncommon) (1/3) x2
  • #118 - Minet (Uncommon) (2/3) x1
  • #127 - Jeloon (Common) (1/3) x2
  • #128 - Jeliflo (Common) (2/3) x2
  • #172 - Streamole (Uncommon) (1/3) x1
  • #174 - Streamoad (Uncommon) (3/3) x1
  • #200 - Frictingle (Rare) (2/2) x1

Items:
  • 1x Nexotrap

East of Southeast Intersection

Nexomon:
  • Fight Count: 15
  • #069 - Bulbrit (Common) (1/2) x1
  • #070 - Cromeon (Common) (2/2) x2
  • #117 - Sectoc (Uncommon) (1/3) x4
  • #118 - Minet (Uncommon) (2/3) x1
  • #127 - Jeloon (Common) (1/3) x1
  • #128 - Jeliflo (Common) (2/3) x4
  • #161 - Chirrent (Uncommon) (1/2) x1
  • #331 - Noki (Ultra Rare) (1/3) x1

Items:
  • 1x Elixir


Southeast of Southeast Intersection

Nexomon:
  • Fight Count: 15
  • #047 - Chibbit (Common) (1/3) x3
  • #049 - Odiborg (Common) (3/3) x1
  • #127 - Jeloon (Common) (1/3) x1
  • #128 - Jeliflo (Common) (2/3) x1
  • #129 - Jeliflux (Common) (3/3) x2
  • #172 - Streamole (Uncommon) (1/3) x1
  • #174 - Streamoad (Uncommon) (3/3) x2
  • #207 - Skunqute (Common) (1/3) x2
  • #208 - Skunqeau (Common) (2/3) x1
  • #331 - Noki (Ultra Rare) (1/3) x1

Items:
  • 1x Revive


Southwest of Southeast Intersection

Nexomon:
  • Fight Count: 12
  • #047 - Chibbit (Common) (1/3) x2
  • #048 - Xotor (Common) (2/3) x2
  • #049 - Odiborg (Common) (3/3) x1
  • #127 - Jeloon (Common) (1/3) x3
  • #128 - Jeliflo (Common) (2/3) x2
  • #161 - Chirrent (Uncommon) (1/2) x2


South Southwest of Southeast Intersection

Nexomon:
  • Fight Count: 15
  • #047 - Chibbit (Common) (1/3) x1
  • #048 - Xotor (Common) (2/3) x4
  • #049 - Odiborg (Common) (3/3) x1
  • #053 - Ghouze (Common) (1/2) x2
  • #117 - Sectoc (Uncommon) (1/3) x2
  • #118 - Minet (Uncommon) (2/3) x2
  • #172 - Streamole (Uncommon) (1/3) x1
  • #173 - Streamog (Uncommon) (2/3) x1
  • #331 - Noki (Ultra Rare) (1/3) x1

Items:
  • 1x Nexotrap
  • 1x Exp Booster
Vados Domain*
Vados Domain

Nexomon:
  • Fight Count: 35
  • #013 - Pebglem (Common) (1/3) x3
  • #014 - Gemock (Common) (2/3) x1
  • #019 - Zumble (Common) (1/3) x2
  • #020 - Zasp (Common) (2/3) x5
  • #021 - Zappnic (Common) (3/3) x3
  • #067 - Baloompa (Common) (1/2) x1
  • #068 - Blimpapa (Common) (2/2) x1
  • #088 - Scaratic (Common) (1/2) x2
  • #089 - Enercer (Common) (2/2) x1
  • #114 - Eqo (Uncommon) (1/3) x3
  • #116 - Eqoloptera (Uncommon) (3/3) x1
  • #138 - Scoopter (Uncommon) (1/3) x1
  • #161 - Chirrent (Uncommon) (1/2) x3
  • #212 - Mallish (Uncommon) (1/3) x2
  • #214 - Thrammer (Uncommon) (3/3) x1
  • #222 - Tesling (Rare) (1/3) x2
  • #224 - Volpressor (Rare) (3/3) x2
  • #344 - Kamelevo (Ultra Rare) (2/3) x2
  • #345 - Reptomotor (Ultra Rare) (3/3) x1

Items:
  • 1x Greed Wallet


Vados Domain 2

Specials:
  • Warpstone (After #01 - The Frozen Lake)


Vados Domain 3

Specials:
  • Boss Fight (Logan / Bolzen)


West of Vados Domain

Specials:
  • Underwater Capsule

Items:
  • 1x Nexotrap
Desert*
North Entrance

Specials:
  • Blocked path to the West for now... (after #03 you can pass)

Nexomon: (3)
  • Fight Count: 49
  • #055 - Taipluff (Common) (1/3) x10
  • #056 - Fistuff (Common) (2/3) x9
  • #111 - Hinazuru (Uncommon) (1/3) x2
  • #112 - Nakazuru (Uncommon) (2/3) x2
  • #125 - Chowser (Uncommon) (1/2) x1
  • #148 - Blit (Uncommon) (1/3) x3
  • #170 - Lumbi (Common) (1/2) x16
  • #256 - Moonica (Rare) (1/3) x6

Tamer:
  • Mr. A**hole

Items:
  • 3x Shard Spots (Pickaxe required)


South of Entrance

Specials:
  • Cursed Cave Entrance

Nexomon: (1)
  • Fight Count: 51
  • #032 - Stinger (Common) (1/3) x6
  • #033 - Moonsting (Common) (2/3) x12
  • #034 - Sunknight (Common) (3/3) x3
  • #122 - Poyal (Common) (1/3) x8
  • #123 - Puggard (Common) (2/3) x6
  • #125 - Chowser (Uncommon) (1/2) x4
  • #133 - Durtacles (Uncommon) (1/2) x2
  • #134 - Roclas (Uncommon) (2/2) x3
  • #217 - Worb (Rare) (1/3) x4
  • #218 - Parchidna (Rare) (2/3) x1
  • #219 - Holoch (Rare) (3/3) x1
  • #274 - Grath (Mega Rare) (2/2) x2

Tamer:
  • Explorer Girl

Trader:
  • GIVES
  • 1x Normal Whistle
  • FOR
  • 300x Coins
  • 4x Nexotrap


North of Entrance

Quest:
  • #525 - The Drake of Stone (after #17)

Nexomon: (4)
  • Fight Count: 112
  • #001 - Cloddy (Uncommon) (1/3) x4
  • #002 - Cubdy (Uncommon) (2/3) x2
  • #003 - Lukuma (Uncommon) (3/3) x1
  • #067 - Baloompa (Common) (1/2) x11
  • #068 - Blimpapa (Common) (2/2) x3
  • #077 - Deember (Common) (1/3) x8
  • #078 - Deebuz (Common) (2/3) x6
  • #079 - Antlorm (Common) (3/3) x2
  • #084 - Shardrine (Common) (1/2) x4
  • #085 - Shardrillion (Common) (2/2) x4
  • #109 - Pont (Uncommon) (1/2) x8
  • #110 - Stalagca (Uncommon) (2/2) x1
  • #148 - Blit (Uncommon) (1/3) x7
  • #149 - Glontern (Uncommon) (2/3) x6
  • #201 - Magnipub (Rare) (1/3) x6
  • #202 - Sunnos (Rare) (2/3) x1
  • #225 - Mimi (Common) (1/2) x10
  • #226 - Mimorus (Common) (2/2) x1
  • #232 - Pongo (Rare) (1/3) x1
  • #233 - Imbuzi (Rare) (2/3) x2
  • #234 - Imburion (Rare) (3/3) x1
  • #304 - Cryzzard (Mega Rare) (1/3) x3
  • #305 - Blizzarm (Mega Rare) (2/3) x2
  • #307 - Briar (Mega Rare) (1/3) x5
  • #308 - Chaparral (Mega Rare) (2/3) x1
  • #309 - Foreer (Mega Rare) (3/3) x2
  • #340 - Mearn (Ultra Rare) (1/3) x3
  • #341 - Felarnia (Ultra Rare) (2/3) x5
  • #342 - Yarnesty (Ultra Rare) (3/3) x1

Items:
  • Fortle Companion
  • 3x Shard Spots (Pickaxe required)


North Entrance (South of Immortal Citadel)

Nexomon: (2)
  • Fight Count: 20
  • #055 - Taipluff (Common) (1/3) x7
  • #056 - Fistuff (Common) (2/3) x2
  • #065 - Bouldion (Common) (1/2) x6
  • #111 - Hinazuru (Uncommon) (1/3) x1
  • #125 - Chowser (Uncommon) (1/2) x1
  • #170 - Lumbi (Common) (1/2) x1
  • #232 - Pongo (Rare) (1/3) x2

Tamer:
  • Snake Flute Guy

Items:
  • 2x Shard Spots (Pickaxe required)


South of North Entrance

Quest:
  • #506 - Ultimate Antidote

Nexomon: (3)
  • Fight Count: 30
  • #055 - Taipluff (Common) (1/3) x6
  • #056 - Fistuff (Common) (2/3) x2
  • #065 - Bouldion (Common) (1/2) x13
  • #111 - Hinazuru (Uncommon) (1/3) x2
  • #112 - Nakazuru (Uncommon) (2/3) x1
  • #125 - Chowser (Uncommon) (1/2) x2
  • #148 - Blit (Uncommon) (1/3) x2
  • #232 - Pongo (Rare) (1/3) x1
  • #334 - Mara (Ultra Rare) (1/3) x1

Tamer:
  • Girl
  • Guy with Spear
  • Girl with Ears

Items:
  • 20x Coins
  • 1x Healing Crystal
  • 6x Shard Spots (Pickaxe required)


Desert Outpost

Specials:
  • Warpstone (After #01 - The Frozen Lake)

Nexomon: (4)
  • Fight Count: 40
  • #055 - Taipluff (Common) (1/3) x4
  • #056 - Fistuff (Common) (2/3) x3
  • #065 - Bouldion (Common) (1/2) x12
  • #112 - Nakazuru (Uncommon) (2/3) x4
  • #125 - Chowser (Uncommon) (1/2) x2
  • #148 - Blit (Uncommon) (1/3) x2
  • #170 - Lumbi (Common) (1/2) x7
  • #256 - Moonica (Rare) (1/3) x4
  • #334 - Mara (Ultra Rare) (1/3) x2

Items:
  • 40x Coins
  • 1x Potion
  • 1x Super Elixir (NPC)
  • 4x Shard Spots (Pickaxe required)
  • 2x Mind Shard (NPC, after saving Ignitia)
  • 100x Coins (NPC, after saving Ignitia)

Trader:
  • GIVES
  • 1x Discount Voucher
  • FOR
  • 3x Anti Poison
  • 3x Anti Freeze
  • 3x Anti Sleep
  • GIVES
  • 2x Stamina Core (II)
  • FOR
  • 350x Coins
  • 4x Ether
  • 2x Super Ether


Outpost Building

Specials:
  • Storage Console

Quest:
  • #04 - Tyrant Mulcimer

Items:
  • 1x Stamina Core (I) (NPC)
Desert East*
West Entrance

Nexomon: (4)
  • Fight Count: 60
  • #031 - Flizard (Common) (1/1) x4
  • #065 - Bouldion (Common) (1/2) x18
  • #066 - Bouldcran (Common) (2/2) x3
  • #125 - Chowser (Uncommon) (1/2) x4
  • #126 - Cuisizle (Uncommon) (2/2) x1
  • #138 - Scoopter (Uncommon) (1/3) x6
  • #139 - Excravator (Uncommon) (2/3) x5
  • #141 - Tundri (Uncommon) (1/2) x3
  • #142 - Tundrox (Uncommon) (2/2) x1
  • #217 - Worb (Rare) (1/3) x7
  • #218 - Parchidna (Rare) (2/3) x3
  • #219 - Holoch (Rare) (3/3) x1
  • #328 - Lume (Ultra Rare) (1/3) x2
  • #329 - Lumefur (Ultra Rare) (2/3) x2

Tamer:
  • Guy with Spear
  • Old Guy (after saving Ignitia)

Items:
  • 1x Healing Shard
  • 5x Shard Spots (Pickaxe required)


East

Special:
  • Cave Entrance (Water Skill required)

Nexomon: (3)
  • Fight Count: 50
  • #031 - Flizard (Common) (1/1) x4
  • #032 - Stinger (Common) (1/3) x13
  • #033 - Moonsting (Common) (2/3) x5
  • #034 - Sunknight (Common) (3/3) x1
  • #065 - Bouldion (Common) (1/2) x3
  • #125 - Chowser (Uncommon) (1/2) x5
  • #138 - Scoopter (Uncommon) (1/3) x2
  • #139 - Excravator (Uncommon) (2/3) x1
  • #141 - Tundri (Uncommon) (1/2) x2
  • #142 - Tundrox (Uncommon) (2/2) x1
  • #217 - Worb (Rare) (1/3) x6
  • #218 - Parchidna (Rare) (2/3) x2
  • #219 - Holoch (Rare) (3/3) x1
  • #274 - Grath (Mega Rare) (2/2) x1
  • #328 - Lume (Ultra Rare) (1/3) x1

Tamer:
  • Archeologist

Items:
  • 1x Precious Ring
  • 2x Shard Spots (Pickaxe required)


Bridge

Special:
  • Way East blocked for now... (accessible during/after #09)

Items:
  • 1x Elixir


East of Bridge

Special:
  • Boss Fight (Celine / Petram)

Tamer:
  • Guy with Mask


Southeast of Bridge

Special:
  • Healer

Nexomon: (1)
  • Fight Count: 20
  • #031 - Flizard (Common) (1/1) x1
  • #032 - Stinger (Common) (1/3) x7
  • #033 - Moonsting (Common) (2/3) x1
  • #034 - Sunknight (Common) (3/3) x3
  • #138 - Scoopter (Uncommon) (1/3) x2
  • #139 - Excravator (Uncommon) (2/3) x2
  • #140 - Minetor (Uncommon) (3/3) x1
  • #142 - Tundrox (Uncommon) (2/2) x2
  • #274 - Grath (Mega Rare) (2/2) x1
  • #328 - Lume (Ultra Rare) (1/3) x1
Desert Cursed Cave*
Entrance

Nexomon:
  • Fight Count: 23
  • #065 - Bouldion (Common) (1/2) x6
  • #073 - Cranillow (Uncommon) (1/2) x3
  • #078 - Deebuz (Common) (2/3) x7
  • #165 - Vodo (Uncommon) (1/3) x1
  • #166 - Malevodo (Uncommon) (2/3) x1
  • #201 - Magnipub (Rare) (1/3) x1
  • #202 - Sunnos (Rare) (2/3) x3
  • #329 - Lumefur (Ultra Rare) (2/3) x1

Items:
  • 5x Shard Spots (Pickaxe required)


North Downstairs

Nexomon:
  • Fight Count: 20
  • #058 - Keromb (Uncommon) (1/2) x1
  • #077 - Deember (Common) (1/3) x2
  • #078 - Deebuz (Common) (2/3) x7
  • #156 - Rust (Common) (1/3) x1
  • #157 - Rustu (Common) (2/3) x3
  • #165 - Vodo (Uncommon) (1/3) x1
  • #166 - Malevodo (Uncommon) (2/3) x1
  • #268 - Muu (Rare) (1/3) x1
  • #269 - Carcaros (Rare) (2/3) x1
  • #270 - Immortis (Rare) (3/3) x1
  • #329 - Lumefur (Ultra Rare) (2/3) x1

Items:
  • 1x Healing Shard (Wind Skill required)
  • 5x Shard Spots (Pickaxe required) (Wind Skill required)


West

Nexomon:
  • Fight Count: 20
  • #058 - Keromb (Uncommon) (1/2) x2
  • #065 - Bouldion (Common) (1/2) x3
  • #066 - Bouldcran (Common) (2/2) x2
  • #156 - Rust (Common) (1/3) x4
  • #157 - Rustu (Common) (2/3) x2
  • #158 - Rustung (Common) (3/3) x1
  • #201 - Magnipub (Rare) (1/3) x3
  • #203 - Starckal (Rare) (3/3) x1
  • #328 - Lume (Ultra Rare) (1/3) x1
  • #329 - Lumefur (Ultra Rare) (2/3) x1
  • #330 - Lumerei (Ultra Rare) (3/3) x1

Items:
  • 1x Discount Voucher
  • 4x Shard Spots (Pickaxe required)


1B
(Wind Skill required)

Nexomon:
  • Fight Count: 21
  • #065 - Bouldion (Common) (1/2) x2
  • #066 - Bouldcran (Common) (2/2) x3
  • #073 - Cranillow (Uncommon) (1/2) x1
  • #074 - Swactrum (Uncommon) (2/2) x2
  • #156 - Rust (Common) (1/3) x2
  • #157 - Rustu (Common) (2/3) x3
  • #158 - Rustung (Common) (3/3) x3
  • #165 - Vodo (Uncommon) (1/3) x1
  • #166 - Malevodo (Uncommon) (2/3) x1
  • #268 - Muu (Rare) (1/3) x1
  • #270 - Immortis (Rare) (3/3) x2
  • #330 - Lumerei (Ultra Rare) (3/3) x1

Items:
  • 1x Wind Whistle
  • 4x Shard Spots (Pickaxe required) (2x Water Skill required)


2B
(Water+Wind Skill required)

Nexomon:
  • Fight Count: 20
  • #058 - Keromb (Uncommon) (1/2) x2
  • #059 - Kerosion (Uncommon) (2/2) x1
  • #073 - Cranillow (Uncommon) (1/2) x2
  • #074 - Swactrum (Uncommon) (2/2) x1
  • #077 - Deember (Common) (1/3) x2
  • #078 - Deebuz (Common) (2/3) x2
  • #079 - Antlorm (Common) (3/3) x2
  • #156 - Rust (Common) (1/3) x1
  • #157 - Rustu (Common) (2/3) x1
  • #158 - Rustung (Common) (3/3) x5
  • #203 - Starckal (Rare) (3/3) x1


2B North

Quest:
  • #534 - Grunda is Reborn (after #520)

Items:
  • 1x Healthy Charm
  • 6x Shard Spots (Pickaxe required)
Desert East Cave (Water Skill required)*
Entrance

Specials:
  • Vault #9

Nexomon:
  • Fight Count: 20
  • #013 - Pebglem (Common) (1/3) x2
  • #014 - Gemock (Common) (2/3) x2
  • #015 - Gemaxar (Common) (3/3) x1
  • #084 - Shardrine (Common) (1/2) x3
  • #085 - Shardrillion (Common) (2/2) x4
  • #109 - Pont (Uncommon) (1/2) x1
  • #148 - Blit (Uncommon) (1/3) x4
  • #232 - Pongo (Rare) (1/3) x1
  • #273 - Tantrunt (Mega Rare) (1/2) x2

Items:
  • 1x Revive
  • 1x Healing Shard
  • 4x Shard Spot (Pickaxe required)


Vault #9

Items:
  • 100x Coins
  • 100x Coins
  • 50x Coins
  • 1x Discount Voucher
  • 200x Coins
  • 1x Lunabelle Companion
  • 1x Tribute of Stone
Lateria*
City Center
(also known as City of A**holes... -.-")

Specials:
  • Warpstone (After #01 - The Frozen Lake)
  • Move Trainer

Trader:
  • GIVES
  • 1x Normal Whistle
  • FOR
  • 4x Super Potion
  • 4x Super Ether
  • 2x Super Revive

  • GIVES
  • 1x Golden Nexotrap
  • FOR
  • 300x Coins
  • 8x Mind Shard
  • 8x Thunder Shard
  • 8x Stone Shard

Houses
Northwest Corner

House on West side
Items:
  • 1x Onigiri

House West of Stair Entrance
Items:
  • 1x Elixir

House East of Stair Entrance
Items:
  • 1x Ether
  • 35x Coins

House Northeast Corner
Locked...

Healing Center
Specials:
  • Healer
  • Storage Console

Store
Specials:
  • Merchant
  • Shard Buyer -.-"


City South

Items:
  • 1x Revive

Trader:
  • GIVES
  • 200x Coins
  • 1x Psychic Whistle
  • 2x Psychic Nexotrap
  • FOR
  • 3x Blazing Shard
  • 3x Tempest Shard
  • 3x Mind Shard
  • 3x Thunder Shard

  • GIVES
  • 300x Coins
  • 1x Dragon Whistle
  • FOR
  • 1x Destruction Core (II)
  • 1x Protection Core (II)
  • 1x Vitality Core (II)

Houses
Upper Left House
Locked...

Middle Left House
Locked...

Middle Right House

House between Stairs
Items:
  • 1x Onigiri

House East
Items:
  • 35x Coins

Upper Platform West
Locked...

Upper Platform East


City North

Items:
  • 2x Shard Spot (Pickaxe required)


Prison

Can't enter for now... (coming back later)

Items:
  • 1x Repel Spray (Water Skill required)
  • 5x Shard Spot (Pickaxe required) (3x Water Skill required)


Marketplace (City East)

Specials:
  • Several Merchants (Laterian Sigil required)

Items:
  • 1x Dinja Companion (Wind Skill required)
  • 4x Shard Spot (Pickaxe required) (Wind Skill required)

Trader:
  • GIVES
  • 300x Coins
  • 1x Exp Booster
  • 1x Ultra Elixir
  • 1x Ultra Revive
  • FOR
  • 3x Phantom Shard
  • 3x Stone Shard
  • 3x Ocean Shard
  • 3x Nature Shard

Houses
Upper left House
Locked...

Upper right House
Items:
  • 1x Discount Voucher

Middle House


Observatory Entrance

Items:
  • 2x Shard Spot (Pickaxe required)


Observatory

Items:
  • 1x Shard Spot (Pickaxe required)


City Southeast

Trader:
  • GIVES
  • 3x Blazing Shard
  • 3x Mind Shard
  • 3x Tempest Shard
  • 1x Mineral Whistle
  • FOR
  • 3x Thunder Shard
  • 3x Ocean Shard
  • 3x Phantom Shard

Items:
  • 1x Nexotrap

Houses
House West

House East

Upper House West
Locked...

Upper House East


City Artillery (South)


Chiefs Tent (South)

Houses
Tent
Quest:
  • #09 - Desert Tyrant (after learning at the Observatory)
Items:
  • 1x Donut
  • 1x Cosmic Charm
  • Laterian Sigil (after #09)


South of City

Tamer:
  • Ghost

Items:
  • 1x Shard Spot (Pickaxe required)
  • 2x Shard Spot (Pickaxe required) (other Riverside)
Lateria Prison*
Cell


South of Cell

Items:
  • 1x Flan


Southeast of Cell

Items:
  • 1x Discount Voucher (in the last two cells (Doors) close to the stairs)


Prison Outside


North Building

Items:
  • 1x Greed Wallet


Northeast Building

Items:
  • 1x Tyrant Relic
  • 1x Elixir
North of Ignitia*
Entrance

Items:
  • 35x Coins
  • 1x Shard Spot (Pickaxe required)


Down the Elevator

Items:
  • 1x Healing Crystal
  • 1x Shard Spot (Pickaxe required)


South of Elevator

Nexomon: (4)
  • Fight Count: 48
  • #004 - Kolphur (Common) (1/3) x15
  • #102 - Porklet (Uncommon) (1/3) x3
  • #102 - Porklet (Uncommon) (1/3) x5
  • #103 - Hoglet (Uncommon) (2/3) x3
  • #156 - Rust (Common) (1/3) x7
  • #193 - Sandillo (Uncommon) (1/3) x7
  • #217 - Worb (Rare) (1/3) x6
  • #346 - Masquiti (Ultra Rare) (1/3) x2

Tamer:
  • Robber

Items:
  • 1x Elixir (NPC, after saving Ignitia)
  • 1x Shard Spot (Pickaxe required)


West of Elevator

Nexomon: (3)
  • Fight Count: 19
  • #004 - Kolphur (Common) (1/3) x2
  • #032 - Stinger (Common) (1/3) x5
  • #033 - Moonsting (Common) (2/3) x4
  • #103 - Hoglet (Uncommon) (2/3) x3
  • #156 - Rust (Common) (1/3) x1
  • #193 - Sandillo (Uncommon) (1/3) x1
  • #217 - Worb (Rare) (1/3) x2
  • #346 - Masquiti (Ultra Rare) (1/3) x1

Items:
  • 35x Coins
  • 1x Shard Spot (Pickaxe required)


Northwest of Entrance

Specials:
  • Cave Entrance

Tamer:
  • Girl

Items:
  • 1x Mineral Whistle
  • 30x Coins
  • 2x Shard Spot (Pickaxe required)


Tyrant Bones

Quest:
  • #521 - The Drake of Fire (after #17)

Nexomon: (3)
  • Fight Count: 30
  • #004 - Kolphur (Common) (1/3) x6
  • #005 - Sulphlo (Common) (2/3) x1
  • #006 - Moltano (Common) (3/3) x1
  • #055 - Taipluff (Common) (1/3) x3
  • #057 - Ninstuff (Common) (3/3) x4
  • #122 - Poyal (Common) (1/3) x5
  • #124 - Brauncer (Common) (3/3) x2
  • #193 - Sandillo (Uncommon) (1/3) x1
  • #201 - Magnipub (Rare) (1/3) x4
  • #232 - Pongo (Rare) (1/3) x2
  • #233 - Imbuzi (Rare) (2/3) x1

Items:
  • 1x Lume Companion
  • 3x Shard Spot (Pickaxe required)


Southwest of Entrance

Nexomon: (3)
  • Fight Count: 31
  • #004 - Kolphur (Common) (1/3) x4
  • #032 - Stinger (Common) (1/3) x7
  • #033 - Moonsting (Common) (2/3) x2
  • #102 - Porklet (Uncommon) (1/3) x3
  • #103 - Hoglet (Uncommon) (2/3) x4
  • #156 - Rust (Common) (1/3) x5
  • #193 - Sandillo (Uncommon) (1/3) x3
  • #241 - Duh (Rare) (1/3) x3

Tamer:
  • Girl

Items:
  • 1x Orange
  • 1x Shard Spot (Pickaxe required)


Bridge

Items:
  • 1x Water Nexotrap (NPC, after saving Ignitia)


Ignitia North Cave*
Entrance

Nexomon:
  • Fight Count: 20
  • #013 - Pebglem (Common) (1/3) x3
  • #077 - Deember (Common) (1/3) x4
  • #078 - Deebuz (Common) (2/3) x2
  • #148 - Blit (Uncommon) (1/3) x3
  • #165 - Vodo (Uncommon) (1/3) x2
  • #166 - Malevodo (Uncommon) (2/3) x2
  • #256 - Moonica (Rare) (1/3) x1
  • #273 - Tantrunt (Mega Rare) (1/2) x3

Items:
  • 1x Donut
  • 5x Shard Spot (Pickaxe required)


North

Nexomon:
  • Fight Count: 11
  • #013 - Pebglem (Common) (1/3) x1
  • #077 - Deember (Common) (1/3) x4
  • #078 - Deebuz (Common) (2/3) x1
  • #101 - Candly (Uncommon) (1/1) x2
  • #165 - Vodo (Uncommon) (1/3) x1
  • #256 - Moonica (Rare) (1/3) x2

Items:
  • 1x Discount Voucher
  • 10x Shard Spot (Pickaxe required)


Further North

Special:
  • Vault #3

Nexomon:
  • Fight Count: 12
  • #013 - Pebglem (Common) (1/3) x3
  • #078 - Deebuz (Common) (2/3) x4
  • #101 - Candly (Uncommon) (1/1) x2
  • #148 - Blit (Uncommon) (1/3) x1
  • #149 - Glontern (Uncommon) (2/3) x1
  • #256 - Moonica (Rare) (1/3) x1

Items:
  • 1x Ether
  • 1x Healing Crystal
  • 10x Shard Spot (Pickaxe required)


Vault #3

Items:
  • 150x Coins
  • 1x Ultra Revive
  • 200x Coins
  • 200x Coins
  • 2x Wind Nexotrap
  • 1x Acegon Companion
  • 1x Tribute of Blaze
Ignitia City*
City

Specials:
  • Warpstone (After #01 - The Frozen Lake)
  • Move Trainer
  • Store
  • Healing Center
  • Boss fight
  • Interview (after saving Ignitia)

Quest:
  • #507 - Missing Tamers


Items:
  • 35x Coins
  • 1x Drake Sigil (Story, not missable)
  • 1x Wind Nexotrap (NPC, after saving Ignitia)
  • 2x Ocean Shard (NPC, after saving Ignitia)
  • 1x Vault Key (Interview NPC, after saving Ignitia)

Trader:
  • GIVES
  • 200x Coins
  • 1x Exp Booster
  • FOR
  • 1x Vitality Core (I)
  • 1x Stamina Core (I)
  • GIVES
  • 1x Water Whistle
  • FOR
  • 5x Potion
  • 3x Ehter
  • 2x Elixir
  • 1x Revive

Houses
House right to Store

Store
Specials:
  • Merchant
  • Shard Buyer -.-"
Items:
  • 150x Coins (NPC, after saving Ignitia)
  • 1x Golden Nexotrap (NPC, after saving Ignitia)

House under Store
Items:
  • 1x Peach

House left to Healing Center
Items:
  • 1x Onigiri
  • 2x Fire Nexotrap (NPC, after saving Ignitia)

Healing Center
Specials:
  • Healer
  • Storage Console
Items:
  • 1x Anti Freeze (NPC, after saving Ignitia)

House under Healing Center
Items:
  • 1x Elixir


City East

Quest:
  • #515 - Turning off the Heat

Items:
  • 2x Mind Shard (NPC, after saving Ignitia)
  • 3x Shard Spot (Pickaxe required)

Trader:
  • GIVES
  • 300x Coins
  • 1x Fire Whistle
  • FOR
  • 2x Blazing Shard
  • 2x Tempest Shard
  • 2x Mind Shard


City East East

Quest:
  • #xxx - xxx

Trader:
  • GIVES
  • 250x Coins
  • 1x Exp Booster
  • FOR
  • 3x Ultra Potion
  • 3x Ultra Ether
  • 1x Ultra Elixir

Houses
House at Entrance
Locked

House under Entrance
Items:
  • 1x Ether

House East

Miners Building
Trader:
  • GIVES
  • 2x Water Nexotrap
  • 2x Fire Nexotrap
  • FOR
  • 3x Phantom Shard
  • 3x Ocean Shard
  • 3x Stone Shard
  • 3x Thunder Shard


City East East North

Items:
  • 2x Shard Spot (Pickaxe required)
West of Ignitia*
Westbridge (West of City)

Items:
  • 2x Super Ether (Story, not missable)
  • 2x Shard Spot (Pickaxe required)


West of Westbridge

Nexomon: (5)
  • Fight Count: 61
  • #058 - Keromb (Uncommon) (1/2) x3
  • #133 - Durtacles (Uncommon) (1/2) x2
  • #156 - Rust (Common) (1/3) x10
  • #157 - Rustu (Common) (2/3) x8
  • #170 - Lumbi (Common) (1/2) x14
  • #171 - Tiki (Common) (2/2) x8
  • #232 - Pongo (Rare) (1/3) x6
  • #233 - Imbuzi (Rare) (2/3) x5
  • #265 - Yummo (Uncommon) (1/3) x1
  • #328 - Lume (Ultra Rare) (1/3) x1
  • #329 - Lumefur (Ultra Rare) (2/3) x3

Tamer:
  • Girl with Mask

Items:
  • 1x Flan
  • 2x Shard Spot (Pickaxe required)


Southwest West of Westbridge

Specials:
  • Frozen Guy (Fire Skill needed)

Nexomon: (2)
  • Fight Count: 32
  • #004 - Kolphur (Common) (1/3) x5
  • #005 - Sulphlo (Common) (2/3) x1
  • #114 - Eqo (Uncommon) (1/3) x2
  • #133 - Durtacles (Uncommon) (1/2) x2
  • #156 - Rust (Common) (1/3) x5
  • #157 - Rustu (Common) (2/3) x10
  • #170 - Lumbi (Common) (1/2) x2
  • #171 - Tiki (Common) (2/2) x2
  • #184 - Ribombo (Rare) (1/3) x3
  • #185 - Bombargrof (Rare) (2/3) x1
  • #265 - Yummo (Uncommon) (1/3) x1
  • #328 - Lume (Ultra Rare) (1/3) x2

Items:
  • 1x Healing Crytal
  • 1x Imburion Companion
  • 300x Coins (Frozen Guy)
  • 2x Shard Spot (Pickaxe required)


Northwest West of Westbridge

Nexomon: (3)
  • Fight Count: 41
  • #004 - Kolphur (Common) (1/3) x9
  • #005 - Sulphlo (Common) (2/3) x5
  • #058 - Keromb (Uncommon) (1/2) x2
  • #114 - Eqo (Uncommon) (1/3) x3
  • #133 - Durtacles (Uncommon) (1/2) x2
  • #156 - Rust (Common) (1/3) x9
  • #157 - Rustu (Common) (2/3) x7
  • #184 - Ribombo (Rare) (1/3) x1
  • #185 - Bombargrof (Rare) (2/3) x1
  • #328 - Lume (Ultra Rare) (1/3) x1
  • #329 - Lumefur (Ultra Rare) (2/3) x1

Tamer:
  • Girl

Items:
  • 1x Nexotrap
  • 2x Shard Spot (Pickaxe required)


North Northwest West of Westbridge

Specials:
  • Frozen Guy (Fire Skill needed)

Nexomon: (3)
  • Fight Count: 39
  • #004 - Kolphur (Common) (1/3) x17
  • #005 - Sulphlo (Common) (2/3) x4
  • #120 - Folicurse (Common) (1/2) x1
  • #156 - Rust (Common) (1/3) x4
  • #184 - Ribombo (Rare) (1/3) x3
  • #217 - Worb (Rare) (1/3) x6
  • #218 - Parchidna (Rare) (2/3) x2
  • #328 - Lume (Ultra Rare) (1/3) x1
  • #329 - Lumefur (Ultra Rare) (2/3) x1

Tamer:
  • Archeologist

Items:
  • 1x Immunity Core (I) (Frozen Guy)


Frozen Lavalake

Nexomon: (2)
  • Fight Count: 28
  • #004 - Kolphur (Common) (1/3) x7
  • #005 - Sulphlo (Common) (2/3) x4
  • #114 - Eqo (Uncommon) (1/3) x1
  • #120 - Folicurse (Common) (1/2) x7
  • #121 - Malitress (Common) (2/2) x3
  • #217 - Worb (Rare) (1/3) x2
  • #218 - Parchidna (Rare) (2/3) x2
  • #328 - Lume (Ultra Rare) (1/3) x2

Items:
  • 1x Healing Crystal
  • 3x Shard Spot (Pickaxe required)


North of Frozen Lavalake

Specials:
  • Warpstone (After #01 - The Frozen Lake)
  • Boss fight
South of Ignitia*
Warpstone Entrance

Specials:
  • Warpstone (After #01 - The Frozen Lake)

Items:
  • 35x Coins
  • 2x Fire Nexotrap (Story, not missable)
  • 1x Shard Spot (Pickaxe required)


House East of Warpstone Entrance

Nexomon: (1)
  • Fight Count: 18
  • #004 - Kolphur (Common) (1/3) x3
  • #005 - Sulphlo (Common) (2/3) x1
  • #114 - Eqo (Uncommon) (1/3) x1
  • #120 - Folicurse (Common) (1/2) x3
  • #121 - Malitress (Common) (2/2) x6
  • #133 - Durtacles (Uncommon) (1/2) x1
  • #217 - Worb (Rare) (1/3) x2
  • #222 - Tesling (Rare) (1/3) x1

Items:
  • 1x Potion
  • 2x Shard Spot (Pickaxe required)

Houses
Only House
Locked...


East of House

Nexomon: (3)
  • Fight Count: 38
  • #120 - Folicurse (Common) (1/2) x8
  • #121 - Malitress (Common) (2/2) x8
  • #133 - Durtacles (Uncommon) (1/2) x3
  • #170 - Lumbi (Common) (1/2) x6
  • #171 - Tiki (Common) (2/2) x7
  • #222 - Tesling (Rare) (1/3) x3
  • #223 - Teslad (Rare) (2/3) x2
  • #265 - Yummo (Uncommon) (1/3) x1

Tamer:
  • Girl with Mask

Items:
  • 1x Revive
  • 2x Shard Spot (Pickaxe required)


Northeast of House

Specials:
  • Shrine Entrance

Nexomon: (5)
  • Fight Count: 69
  • #004 - Kolphur (Common) (1/3) x7
  • #005 - Sulphlo (Common) (2/3) x6
  • #058 - Keromb (Uncommon) (1/2) x1
  • #114 - Eqo (Uncommon) (1/3) x3
  • #120 - Folicurse (Common) (1/2) x5
  • #121 - Malitress (Common) (2/2) x8
  • #133 - Durtacles (Uncommon) (1/2) x3
  • #156 - Rust (Common) (1/3) x4
  • #157 - Rustu (Common) (2/3) x4
  • #170 - Lumbi (Common) (1/2) x13
  • #171 - Tiki (Common) (2/2) x5
  • #184 - Ribombo (Rare) (1/3) x1
  • #185 - Bombargrof (Rare) (2/3) x1
  • #222 - Tesling (Rare) (1/3) x1
  • #223 - Teslad (Rare) (2/3) x2
  • #232 - Pongo (Rare) (1/3) x1
  • #233 - Imbuzi (Rare) (2/3) x1
  • #328 - Lume (Ultra Rare) (1/3) x2
  • #329 - Lumefur (Ultra Rare) (2/3) x1

Tamer:
  • Guy in Armor (after saving Ignitia)

Items:
  • 1x Revive
  • 1x Healing Crystal
  • 2x Shard Spot (Pickaxe required)


Fire Shrine

Specials:
  • Boss fight
  • Power of Fire

Quest:
  • #530 - Fenrir is Reborn (after #520)
East of Ignitia & South Cave*
Southeast of City

Nexomon: (3)
  • Fight Count: 44
  • #004 - Kolphur (Common) (1/3) x3
  • #005 - Sulphlo (Common) (2/3) x1
  • #006 - Moltano (Common) (3/3) x2
  • #156 - Rust (Common) (1/3) x6
  • #157 - Rustu (Common) (2/3) x8
  • #158 - Rustung (Common) (3/3) x8
  • #184 - Ribombo (Rare) (1/3) x3
  • #185 - Bombargrof (Rare) (2/3) x3
  • #186 - Bomblasta (Rare) (3/3) x1
  • #193 - Sandillo (Uncommon) (1/3) x4
  • #194 - Gravello (Uncommon) (2/3) x3
  • #195 - Quarmor (Uncommon) (3/3) x1
  • #338 - Treclay (Ultra Rare) (2/3) x1

Items:
  • 1x Revive (just south of the entrance, the black stone, no item marker)
  • 1x Shard Spot (Pickaxe required)


South of City

Specials:
  • Cave Entrance

Nexomon: (4)
  • Fight Count: 54
  • #004 - Kolphur (Common) (1/3) x12
  • #005 - Sulphlo (Common) (2/3) x6
  • #006 - Moltano (Common) (3/3) x3
  • #055 - Taipluff (Common) (1/3) x11
  • #056 - Fistuff (Common) (2/3) x3
  • #057 - Ninstuff (Common) (3/3) x4
  • #058 - Keromb (Uncommon) (1/2) x4
  • #071 - Virox (Rare) (1/2) x1
  • #184 - Ribombo (Rare) (1/3) x2
  • #193 - Sandillo (Uncommon) (1/3) x4
  • #194 - Gravello (Uncommon) (2/3) x1
  • #195 - Quarmor (Uncommon) (3/3) x1
  • #337 - Trebly (Ultra Rare) (1/3) x1
  • #338 - Treclay (Ultra Rare) (2/3) x1

Items:
  • 1x Shard Spot (Pickaxe required)


Southwest of City

Nexomon: (2)
  • Fight Count: 31
  • #055 - Taipluff (Common) (1/3) x7
  • #056 - Fistuff (Common) (2/3) x2
  • #057 - Ninstuff (Common) (3/3) x4
  • #058 - Keromb (Uncommon) (1/2) x1
  • #071 - Virox (Rare) (1/2) x2
  • #156 - Rust (Common) (1/3) x6
  • #157 - Rustu (Common) (2/3) x3
  • #158 - Rustung (Common) (3/3) x2
  • #193 - Sandillo (Uncommon) (1/3) x2
  • #195 - Quarmor (Uncommon) (3/3) x1
  • #337 - Trebly (Ultra Rare) (1/3) x1

Tamer:
  • Ghost

Items:
  • 2x Shard Spot (Pickaxe required)


Cave Entrance

Nexomon:
  • Fight Count: 21
  • #031 - Flizard (Common) (1/1) x1
  • #084 - Shardrine (Common) (1/2) x6
  • #085 - Shardrillion (Common) (2/2) x1
  • #109 - Pont (Uncommon) (1/2) x1
  • #148 - Blit (Uncommon) (1/3) x4
  • #149 - Glontern (Uncommon) (2/3) x5
  • #217 - Worb (Rare) (1/3) x2
  • #218 - Parchidna (Rare) (2/3) x1

Items:
  • 3x Shard Spot (Pickaxe required)


Cave West

Nexomon:
  • Fight Count: 16
  • #031 - Flizard (Common) (1/1) x3
  • #109 - Pont (Uncommon) (1/2) x3
  • #122 - Poyal (Common) (1/3) x3
  • #123 - Puggard (Common) (2/3) x2
  • #148 - Blit (Uncommon) (1/3) x2
  • #149 - Glontern (Uncommon) (2/3) x3

Items:
  • 1x Donut
  • 3x Shard Spot (Pickaxe required)


Cave North

Nexomon:
  • Fight Count: 19
  • #084 - Shardrine (Common) (1/2) x4
  • #085 - Shardrillion (Common) (2/2) x2
  • #117 - Sectoc (Uncommon) (1/3) x1
  • #118 - Minet (Uncommon) (2/3) x1
  • #122 - Poyal (Common) (1/3) x2
  • #123 - Puggard (Common) (2/3) x2
  • #149 - Glontern (Uncommon) (2/3) x4
  • #256 - Moonica (Rare) (1/3) x2
  • #257 - Moonette (Rare) (2/3) x2

Items:
  • 35x Coins
  • 3x Shard Spot (Pickaxe required)


Cave East

Specials:
  • Vault #4

Nexomon:
  • Fight Count: 17
  • #084 - Shardrine (Common) (1/2) x4
  • #085 - Shardrillion (Common) (2/2) x1
  • #109 - Pont (Uncommon) (1/2) x3
  • #117 - Sectoc (Uncommon) (1/3) x2
  • #122 - Poyal (Common) (1/3) x4
  • #123 - Puggard (Common) (2/3) x2
  • #273 - Tantrunt (Mega Rare) (1/2) x1

Items:
  • 1x Healing Crytal
  • 4x Shard Spot (Pickaxe required)


Vault #4

Items:
  • 150x Coins
  • 1x Max Ether
  • 200x Coins
  • 200x Coins
  • 2x Electric Nexotrap
  • 1x Vodo Companion
  • 1x Tribute of Mind
Khan Woods South*
Entrance

Specials:
  • Healer

Nexomon: (1)
  • Fight Count: 19
  • #038 - Shromporo (Common) (1/3) x3
  • #039 - Shrombrela (Common) (2/3) x4
  • #063 - Onin (Rare) (1/2) x3
  • #098 - Bushnome (Common) (1/1) x1
  • #135 - Fanling (Uncommon) (1/3) x2
  • #153 - Stalkee (Uncommon) (1/3) x1
  • #154 - Mantoo (Uncommon) (2/3) x1
  • #155 - Mantrass (Uncommon) (3/3) x2
  • #289 - Rapnux (Mega Rare) (Lure required) (1/1) x1
  • #335 - Marasuma (Ultra Rare) (2/3) x1

Items:
  • 1x Onigiri


West of Entrance

Nexomon: (2)
  • Fight Count: 36
  • #038 - Shromporo (Common) (1/3) x6
  • #039 - Shrombrela (Common) (2/3) x4
  • #063 - Onin (Rare) (1/2) x3
  • #064 - Peltry (Rare) (2/2) x1
  • #098 - Bushnome (Common) (1/1) x4
  • #114 - Eqo (Uncommon) (1/3) x2
  • #115 - Soniqo (Uncommon) (2/3) x2
  • #135 - Fanling (Uncommon) (1/3) x2
  • #137 - Fainglori (Uncommon) (3/3) x1
  • #153 - Stalkee (Uncommon) (1/3) x1
  • #154 - Mantoo (Uncommon) (2/3) x2
  • #155 - Mantrass (Uncommon) (3/3) x1
  • #289 - Rapnux (Mega Rare) (Lure required) (1/1) x3
  • #334 - Mara (Ultra Rare) (1/3) x1
  • #336 - Raksuma (Ultra Rare) (3/3) x3

Items:
  • 1x Shard Spot (Pickaxe required)


North of Entrance

Specials:
  • Cave Entrance

Nexomon: (2)
  • Fight Count: 34
  • #050 - Dreaver (Common) (1/3) x6
  • #051 - Dredmore (Common) (2/3) x3
  • #052 - Dredrone (Common) (3/3) x5
  • #064 - Peltry (Rare) (2/2) x1
  • #098 - Bushnome (Common) (1/1) x4
  • #114 - Eqo (Uncommon) (1/3) x1
  • #116 - Eqoloptera (Uncommon) (3/3) x1
  • #135 - Fanling (Uncommon) (1/3) x3
  • #136 - Fandiose (Uncommon) (2/3) x1
  • #137 - Fainglori (Uncommon) (3/3) x1
  • #153 - Stalkee (Uncommon) (1/3) x3
  • #289 - Rapnux (Mega Rare) (Lure required) (1/1) x2
  • #292 - Florozard (Mega Rare) (Lure required) (1/1) x1
  • #334 - Mara (Ultra Rare) (1/3) x2

Items:
  • 2x Shard Spot (Pickaxe required)


Northwest of Entrance

Nexomon: (3)
  • Fight Count: 36
  • #038 - Shromporo (Common) (1/3) x3
  • #039 - Shrombrela (Common) (2/3) x3
  • #050 - Dreaver (Common) (1/3) x9
  • #051 - Dredmore (Common) (2/3) x3
  • #052 - Dredrone (Common) (3/3) x1
  • #098 - Bushnome (Common) (1/1) x1
  • #135 - Fanling (Uncommon) (1/3) x3
  • #153 - Stalkee (Uncommon) (1/3) x1
  • #241 - Duh (Rare) (1/3) x2
  • #242 - Duktar (Rare) (2/3) x1
  • #289 - Rapnux (Mega Rare) (Lure required) (1/1) x1
  • #292 - Florozard (Mega Rare) (Lure required) (1/1) x5
  • #334 - Mara (Ultra Rare) (1/3) x3

Items:
  • 1x Healing Crystal
  • 3x Shard Spot (Pickaxe required)
Khan Woods Connection Cave*
Entrance

Nexomon:
  • Fight Count: 20
  • #081 - Ploriol (Rare) (1/3) x1
  • #130 - Snush (Common) (1/3) x1
  • #131 - Shloom (Common) (2/3) x3
  • #159 - Leechy (Uncommon) (1/2) x2
  • #160 - Dracly (Uncommon) (2/2) x1
  • #237 - Auga (Common) (1/3) x3
  • #238 - Florauga (Common) (2/3) x4
  • #265 - Yummo (Uncommon) (1/3) x3
  • #266 - Yomnom (Uncommon) (2/3) x1
  • #289 - Rapnux (Mega Rare) (Lure required) (1/1) x1

Tamer:
  • Ghost

Items:
  • 1x Shard Spot (Pickaxe required)


East

Nexomon:
  • Fight Count: 19
  • #130 - Snush (Common) (1/3) x5
  • #131 - Shloom (Common) (2/3) x2
  • #237 - Auga (Common) (1/3) x2
  • #265 - Yummo (Uncommon) (1/3) x2
  • #268 - Muu (Rare) (1/3) x2
  • #269 - Carcaros (Rare) (2/3) x2
  • #277 - Algon (Uncommon) (1/2) x2
  • #278 - Reeferus (Uncommon) (2/2) x1
  • #292 - Florozard (Mega Rare) (Lure required) (1/1) x1

Items:
  • 1x Item Spot (don't know how to reach it...)
  • 2x Shard Spot (Pickaxe required)


North

Nexomon:
  • Fight Count: 19
  • #081 - Ploriol (Rare) (1/3) x2
  • #082 - Bomriol (Rare) (2/3) x1
  • #083 - Bloomriol (Rare) (3/3) x1
  • #130 - Snush (Common) (1/3) x5
  • #131 - Shloom (Common) (2/3) x1
  • #237 - Auga (Common) (1/3) x2
  • #268 - Muu (Rare) (1/3) x4
  • #277 - Algon (Uncommon) (1/2) x2
  • #289 - Rapnux (Mega Rare) (Lure required) (1/1) x1

Items:
  • 1x Miners Goggles
  • 3x Shard Spot (Pickaxe required)


West

Nexomon:
  • Fight Count: 18
  • #130 - Snush (Common) (1/3) x3
  • #131 - Shloom (Common) (2/3) x4
  • #159 - Leechy (Uncommon) (1/2) x1
  • #237 - Auga (Common) (1/3) x2
  • #265 - Yummo (Uncommon) (1/3) x2
  • #267 - Glunch (Uncommon) (3/3) x2
  • #268 - Muu (Rare) (1/3) x1
  • #269 - Carcaros (Rare) (2/3) x3

Items:
  • 3x Shard Spot (Pickaxe required)


Northwest

Items:
  • 1x Healing Crystal
  • 3x Shard Spot (Pickaxe required)
Khan Woods North*
South Entrance

Specials:
  • Path North blocked... (free after solving Khan Woods Mechanism Cave)

Nexomon: (2)
  • Fight Count: 30
  • #038 - Shromporo (Common) (1/3) x4
  • #039 - Shrombrela (Common) (2/3) x3
  • #040 - Shromboff (Common) (3/3) x3
  • #107 - Seedko (Common) (1/2) x5
  • #108 - Seedkorsky (Common) (2/2) x1
  • #175 - PotPot (Rare) (1/3) x4
  • #177 - Outgrov (Rare) (3/3) x3
  • #190 - Singletti (Uncommon) (1/3) x1
  • #292 - Florozard (Mega Rare) (Lure required) (1/1) x1
  • #349 - Behilda (Ultra Rare) (1/3) x2
  • #350 - Heddeca (Ultra Rare) (2/3) x3

Items:
  • 1x Shard Spot (Pickaxe required)


East


Quest:
  • #523 - The Drake of Nature (after #17)

Nexomon: (4)
  • Fight Count: 60
  • #010 - Spikus (Uncommon) (1/3) x7
  • #011 - Spikarm (Uncommon) (2/3) x2
  • #012 - Thornox (Uncommon) (3/3) x2
  • #025 - Skerdi (Common) (1/3) x2
  • #026 - Aferaid (Common) (2/3) x1
  • #027 - Dreddiful (Common) (3/3) x5
  • #099 - Rappub (Uncommon) (1/2) x1
  • #100 - Caninui (Uncommon) (2/2) x1
  • #130 - Snush (Common) (1/3) x5
  • #131 - Shloom (Common) (2/3) x7
  • #132 - Swamplow (Common) (3/3) x3
  • #201 - Magnipub (Rare) (1/3) x4
  • #202 - Sunnos (Rare) (2/3) x1
  • #237 - Auga (Common) (1/3) x8
  • #238 - Florauga (Common) (2/3) x2
  • #239 - Quarauga (Common) (3/3) x2
  • #241 - Duh (Rare) (1/3) x2
  • #242 - Duktar (Rare) (2/3) x3
  • #243 - Spektar (Rare) (3/3) x1
  • #292 - Florozard (Mega Rare) (Lure required) (1/1) x1

Items:
  • 1x Healing Crystal
  • Minet Companion (behind the big purple Mushroom)
  • 2x Shard Spot (Pickaxe required)

Minet Companion Location:


West

Specials:
  • Cave Entrance

Nexomon: (4)
  • Fight Count: 58
  • #038 - Shromporo (Common) (1/3) x7
  • #040 - Shromboff (Common) (3/3) x4
  • #107 - Seedko (Common) (1/2) x4
  • #108 - Seedkorsky (Common) (2/2) x2
  • #163 - Gomarm (Common) (1/2) x16
  • #164 - Guazharm (Common) (2/2) x3
  • #175 - PotPot (Rare) (1/3) x2
  • #176 - Neglente (Rare) (2/3) x1
  • #177 - Outgrov (Rare) (3/3) x1
  • #190 - Singletti (Uncommon) (1/3) x3
  • #192 - Couplet (Uncommon) (3/3) x2
  • #207 - Skunqute (Common) (1/3) x3
  • #209 - Skounquet (Common) (3/3) x1
  • #227 - Ripha (Rare) (1/3) x4
  • #289 - Rapnux (Mega Rare) (Lure required) (1/1) x1
  • #349 - Behilda (Ultra Rare) (1/3) x2
  • #350 - Heddeca (Ultra Rare) (2/3) x1
  • #351 - Noocidal (Ultra Rare) (3/3) x1

Items:
  • 2x Shard Spot (Pickaxe required)
Khan Woods Mechanism Cave*
Entrance

Specials:
  • Mechanism

Nexomon:
  • Fight Count: 21
  • #035 - Faucefant (Common) (1/3) x4
  • #037 - Tuskant (Common) (3/3) x1
  • #096 - Scalder (Uncommon) (1/2) x1
  • #097 - Scailla (Uncommon) (2/2) x2
  • #196 - Croo (Rare) (1/3) x1
  • #197 - Cadeto (Rare) (2/3) x1
  • #198 - Navrigal (Rare) (3/3) x2
  • #237 - Auga (Common) (1/3) x4
  • #238 - Florauga (Common) (2/3) x2
  • #239 - Quarauga (Common) (3/3) x2
  • #276 - Sirnymfa (Rare) (2/2) x1

Items:
  • 4x Shard Spot (Pickaxe required)


1F

Nexomon:
  • Fight Count: 20
  • #010 - Spikus (Uncommon) (1/3) x4
  • #011 - Spikarm (Uncommon) (2/3) x2
  • #012 - Thornox (Uncommon) (3/3) x1
  • #096 - Scalder (Uncommon) (1/2) x1
  • #130 - Snush (Common) (1/3) x3
  • #131 - Shloom (Common) (2/3) x1
  • #196 - Croo (Rare) (1/3) x1
  • #237 - Auga (Common) (1/3) x2
  • #238 - Florauga (Common) (2/3) x4
  • #275 - Mermella (Rare) (1/2) x1

Items:
  • 2x Shard Spot (Pickaxe required)


2F

Nexomon:
  • Fight Count: 21
  • #010 - Spikus (Uncommon) (1/3) x2
  • #012 - Thornox (Uncommon) (3/3) x2
  • #035 - Faucefant (Common) (1/3) x4
  • #037 - Tuskant (Common) (3/3) x3
  • #130 - Snush (Common) (1/3) x2
  • #131 - Shloom (Common) (2/3) x2
  • #132 - Swamplow (Common) (3/3) x1
  • #196 - Croo (Rare) (1/3) x1
  • #197 - Cadeto (Rare) (2/3) x1
  • #277 - Algon (Uncommon) (1/2) x1
  • #278 - Reeferus (Uncommon) (2/2) x1
  • #292 - Florozard (Mega Rare) (Lure required) (1/1) x1

Items:
  • 1x Potion
  • 1x Cosmic Charm
  • 1x Healing Crystal
  • 5x Shard Spot (Pickaxe required)
Hidden Village*
Hidden Village

Specials:
  • Warpstone (After #01 - The Frozen Lake)
  • Healer

Items:
  • 1x Nexotrap

Houses
Right House


Hidden Village East

Houses
(access during #10)
House
Items:
  • 1x Onigiri

House - Upstairs
Items:
  • 1x Greed Wallet


Hidden Village West

Nexomon: (3)
  • Fight Count: 35
  • #038 - Shromporo (Common) (1/3) x5
  • #039 - Shrombrela (Common) (2/3) x1
  • #040 - Shromboff (Common) (3/3) x1
  • #107 - Seedko (Common) (1/2) x10
  • #108 - Seedkorsky (Common) (2/2) x3
  • #163 - Gomarm (Common) (1/2) x3
  • #164 - Guazharm (Common) (2/2) x1
  • #207 - Skunqute (Common) (1/3) x4
  • #209 - Skounquet (Common) (3/3) x1
  • #227 - Ripha (Rare) (1/3) x2
  • #229 - Devoul (Rare) (3/3) x1
  • #289 - Rapnux (Mega Rare) (Lure required) (1/1) x1
  • #292 - Florozard (Mega Rare) (Lure required) (1/1) x1
  • #349 - Behilda (Ultra Rare) (1/3) x1

Houses
Right House
Items:
  • 1x Dragon Whistle


Hidden Village Northwest

Quest:
  • #535 - Deena is Reborn (after #520)


Items:
  • Mara Companion


Hidden Village North

Quest:
  • #10 - Protect Tikala


Hidden Village North Cave

Specials:
  • Special Warpstones

Quest:
  • #11 - Resurrect Eurus
  • #12 - Resurrect Mulcimer
  • #13 - Resurrect Nivalis
  • #14 - Resurrect Bolzen
  • #15 - Resurrect Petram
Journey’s End
Entrance


1F

Items:
  • 1x Healing Crystal


2F

Specials:
  • Boss Fight (Amelie)
  • Boss Fight (Vados)
Changelog
2020-08
  • Started the Guide & Game
  • Update Evolution Level to Nexomon
  • Grouped areas under one Entry

2020-09
  • Added a Crating section to the Guide (Traps will follow, once I am able to do them)
  • Added Crafting Recipes for Palmayas Trapmaker
  • Needed to split Palmaya, because there weren't more chars allowed to its section :x
  • Added a Link to the Status Effects Guide.
  • Re-Visited ALL Locations for the new Items, search for Items: "Synergy Core", "Workout Charm", "Cosmic Charm", "Running Shoes", Misc: "Move Trainer", "Healing Crystal" if you need them. Healing Crystal and Move Trainer were added to several places so they aren't that important for now, but you might want to get the new Items.
  • Added some Item Locations where Wind Skill is required
  • Re-Visited Places where Wind Skill is required (e.g. Camp Cave)
  • Had to re-organize the Quests section, since steam does not allow this many chars in one section.
  • Also re-organized the changelog, it now does not include when an area was added.
  • Added all Vault Key Locations.
  • Added Elemental Chart.
  • Due to Char-Limit I split the Side Quests in Side Quests, Greater Drake Quests and Primordial Tyrant Quests.
  • Finished Story. Re-Visiting ALL Areas to fight, find new Items and so on. Areas I finished are marked with a *. Areas I am currently processing are marked with (*).
  • Added Tyrant Locations.
  • Re-Visited ALL Maps and currently fighting in Palmaya again.
  • Had to split Palmaya due to the amount of Nexomon in one more section.
  • Stopped counting the Fights in Palmaya.
66 Comments
Feyniphia Raybrandt Jun 29, 2024 @ 12:21pm 
North of Intersection (West of City)

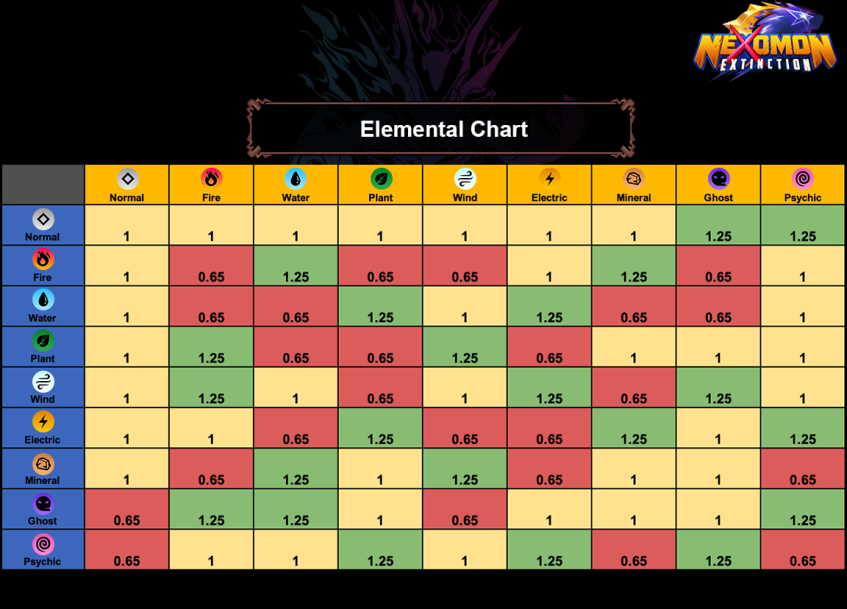
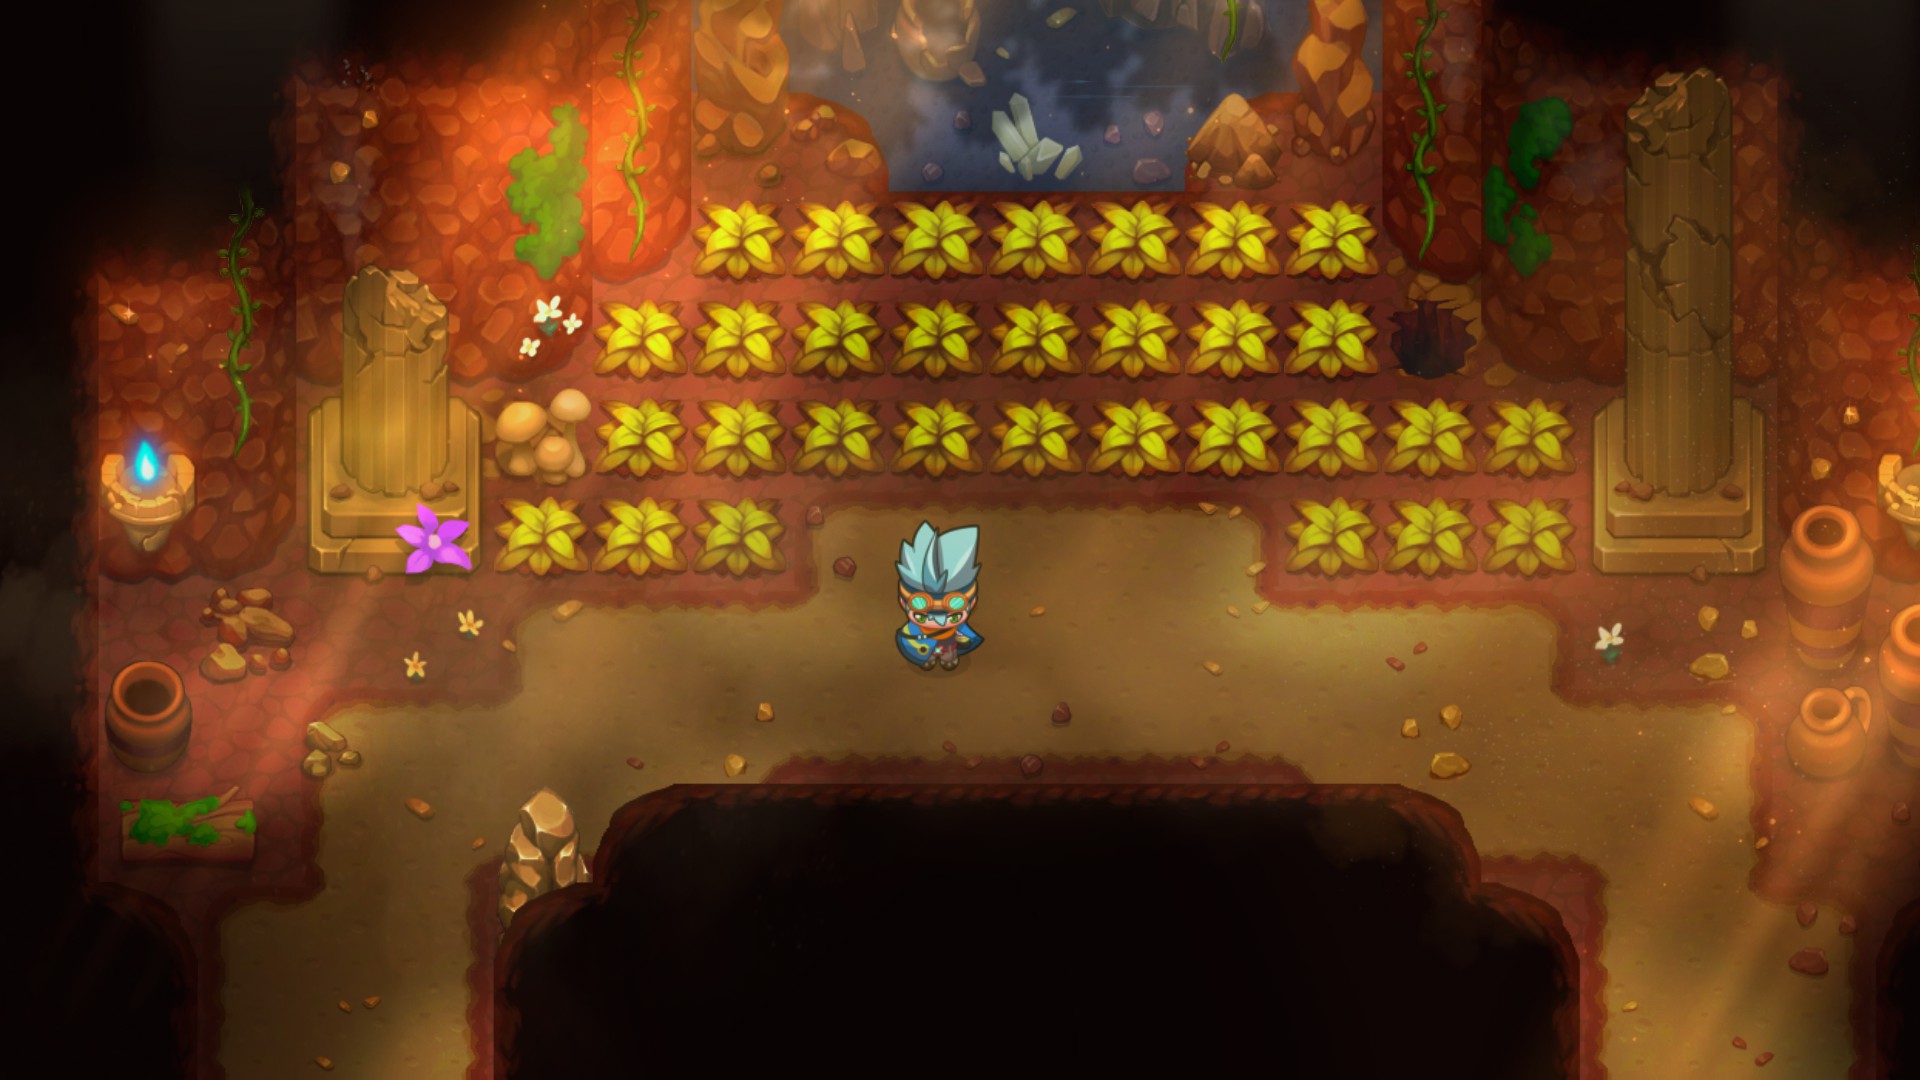
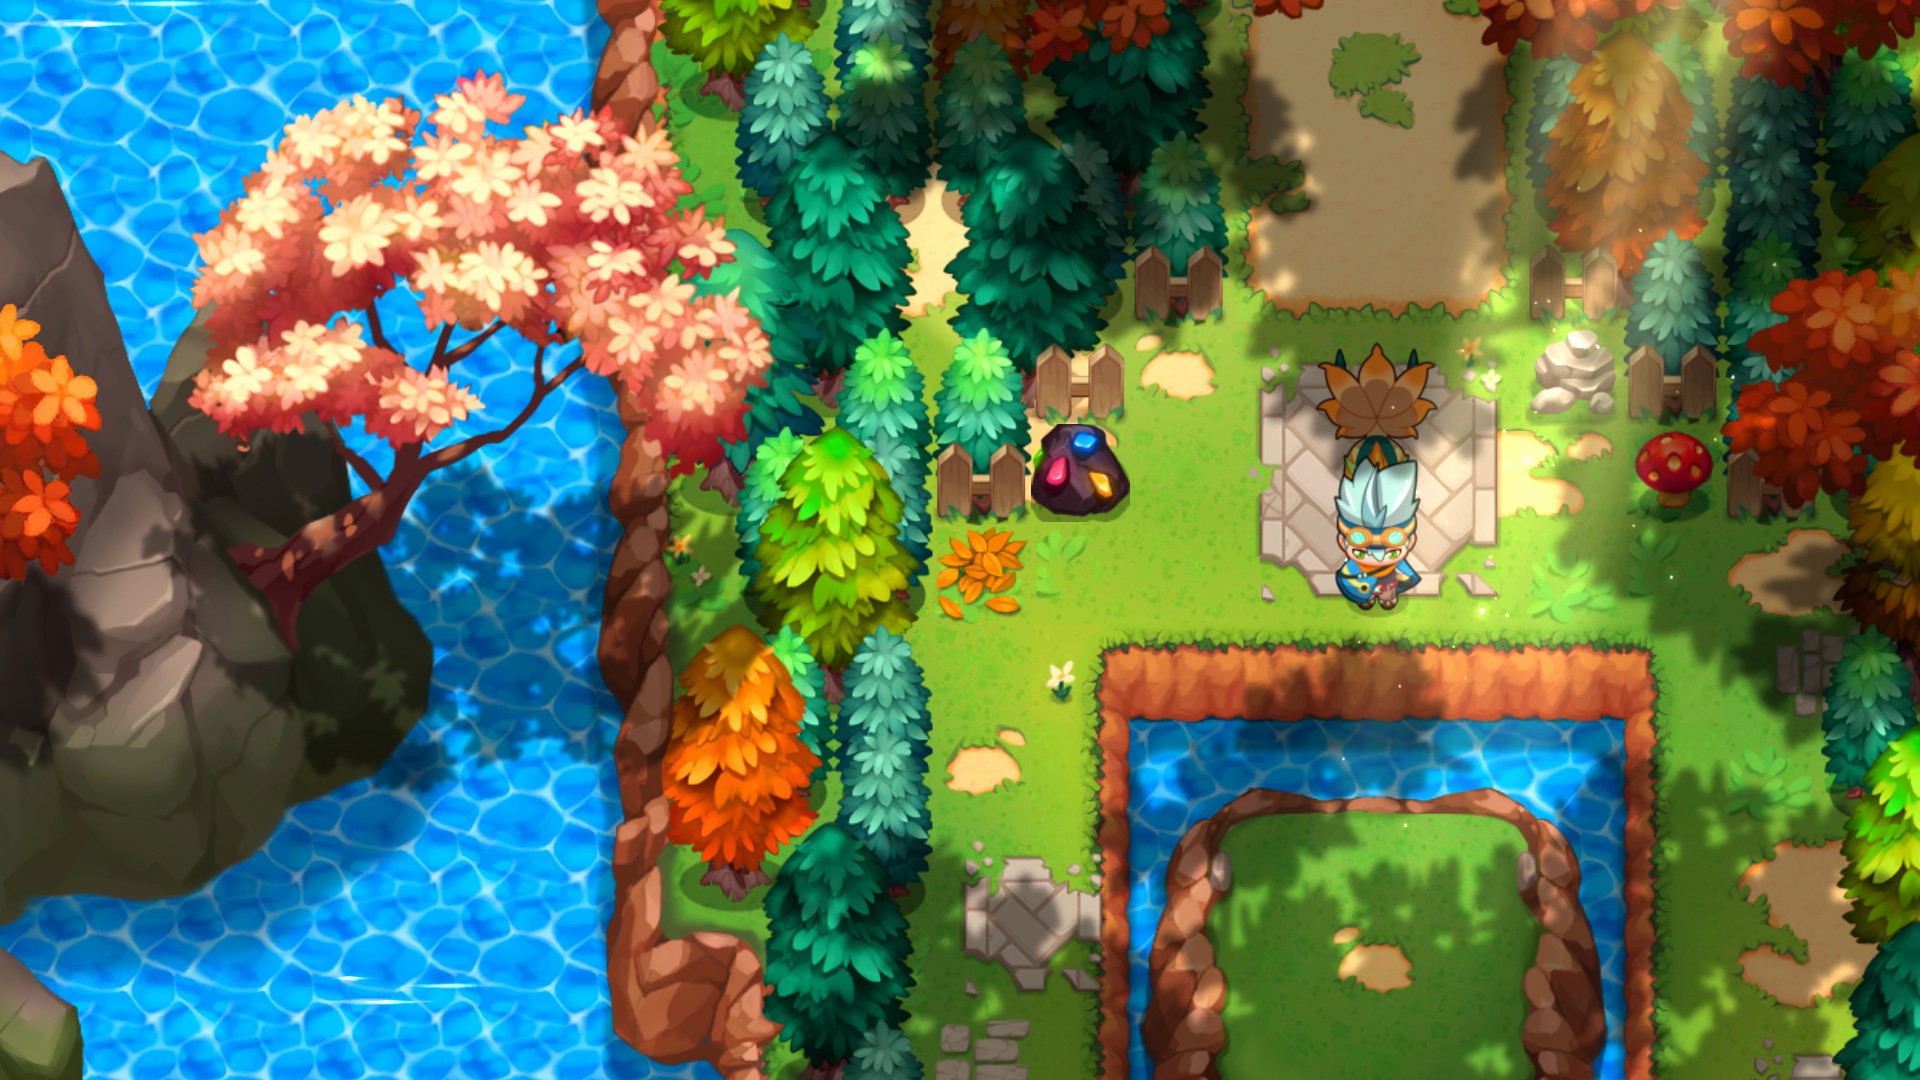
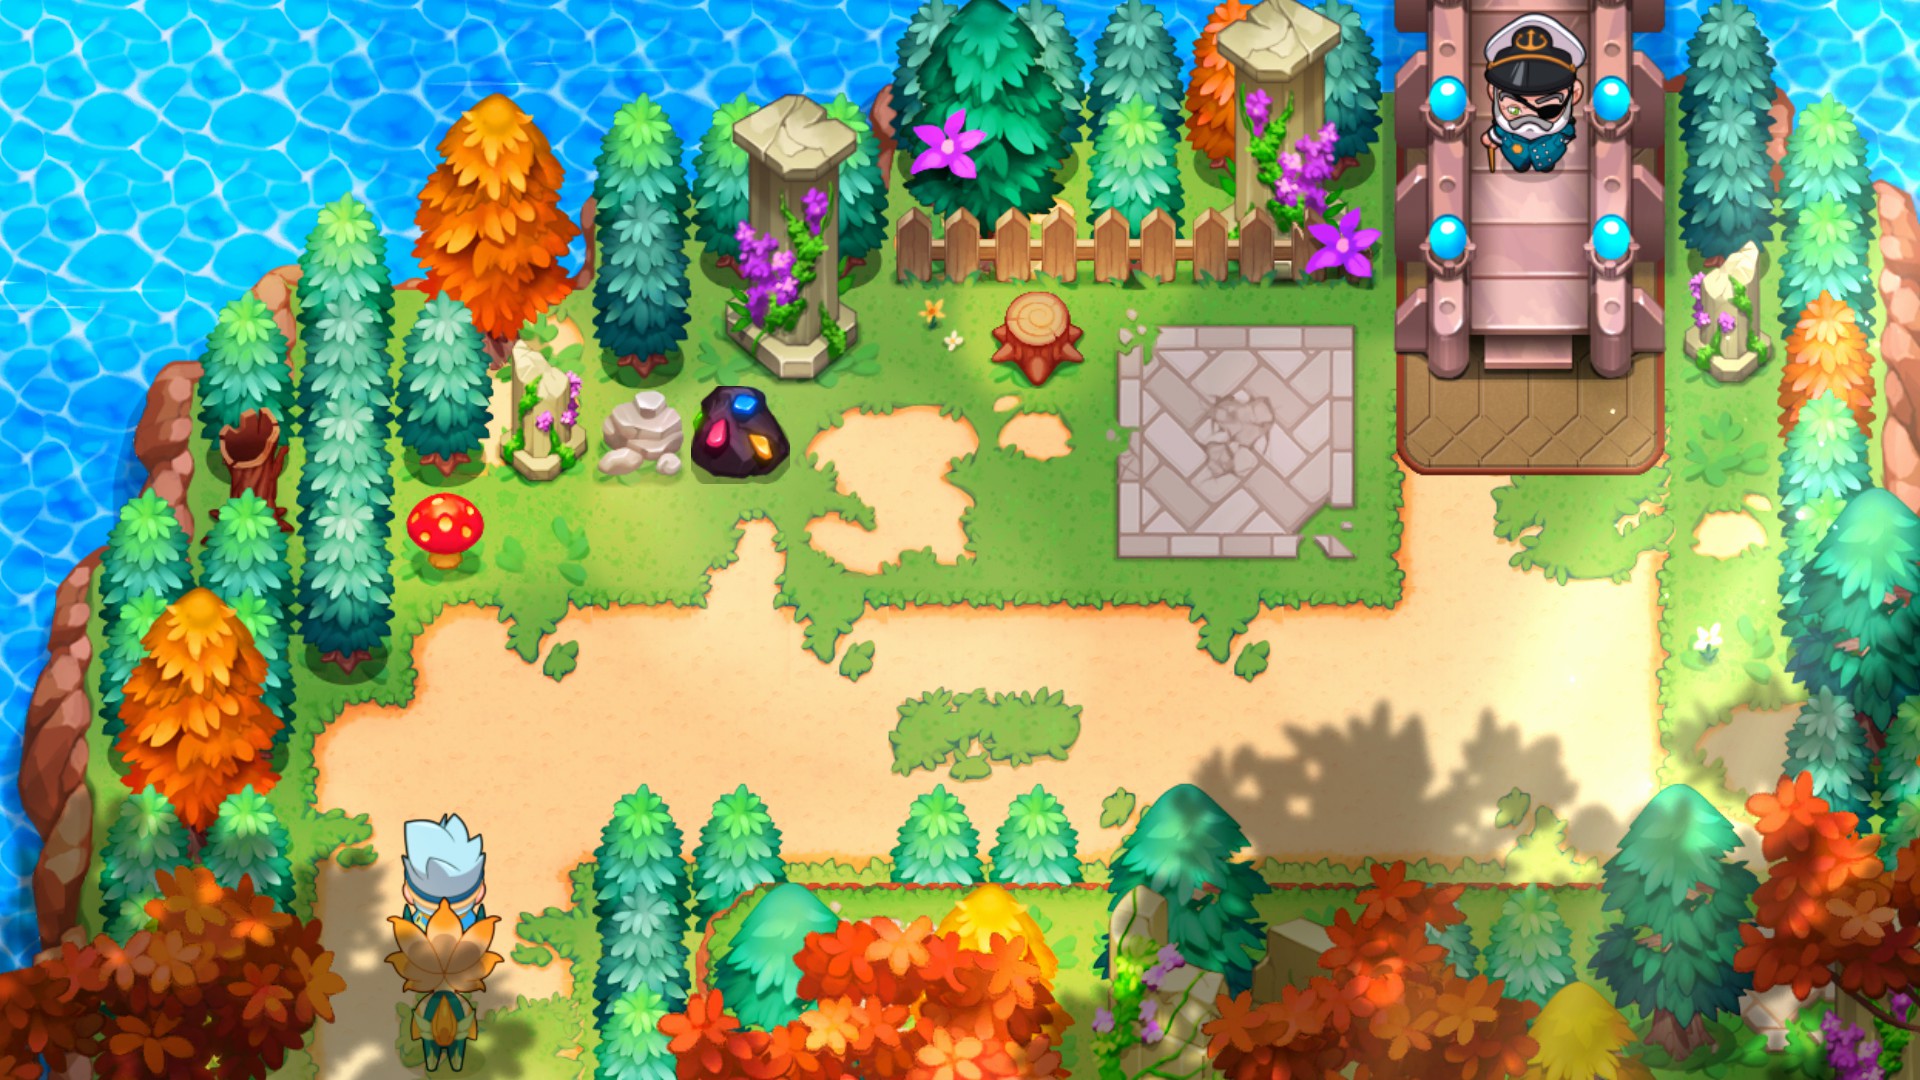
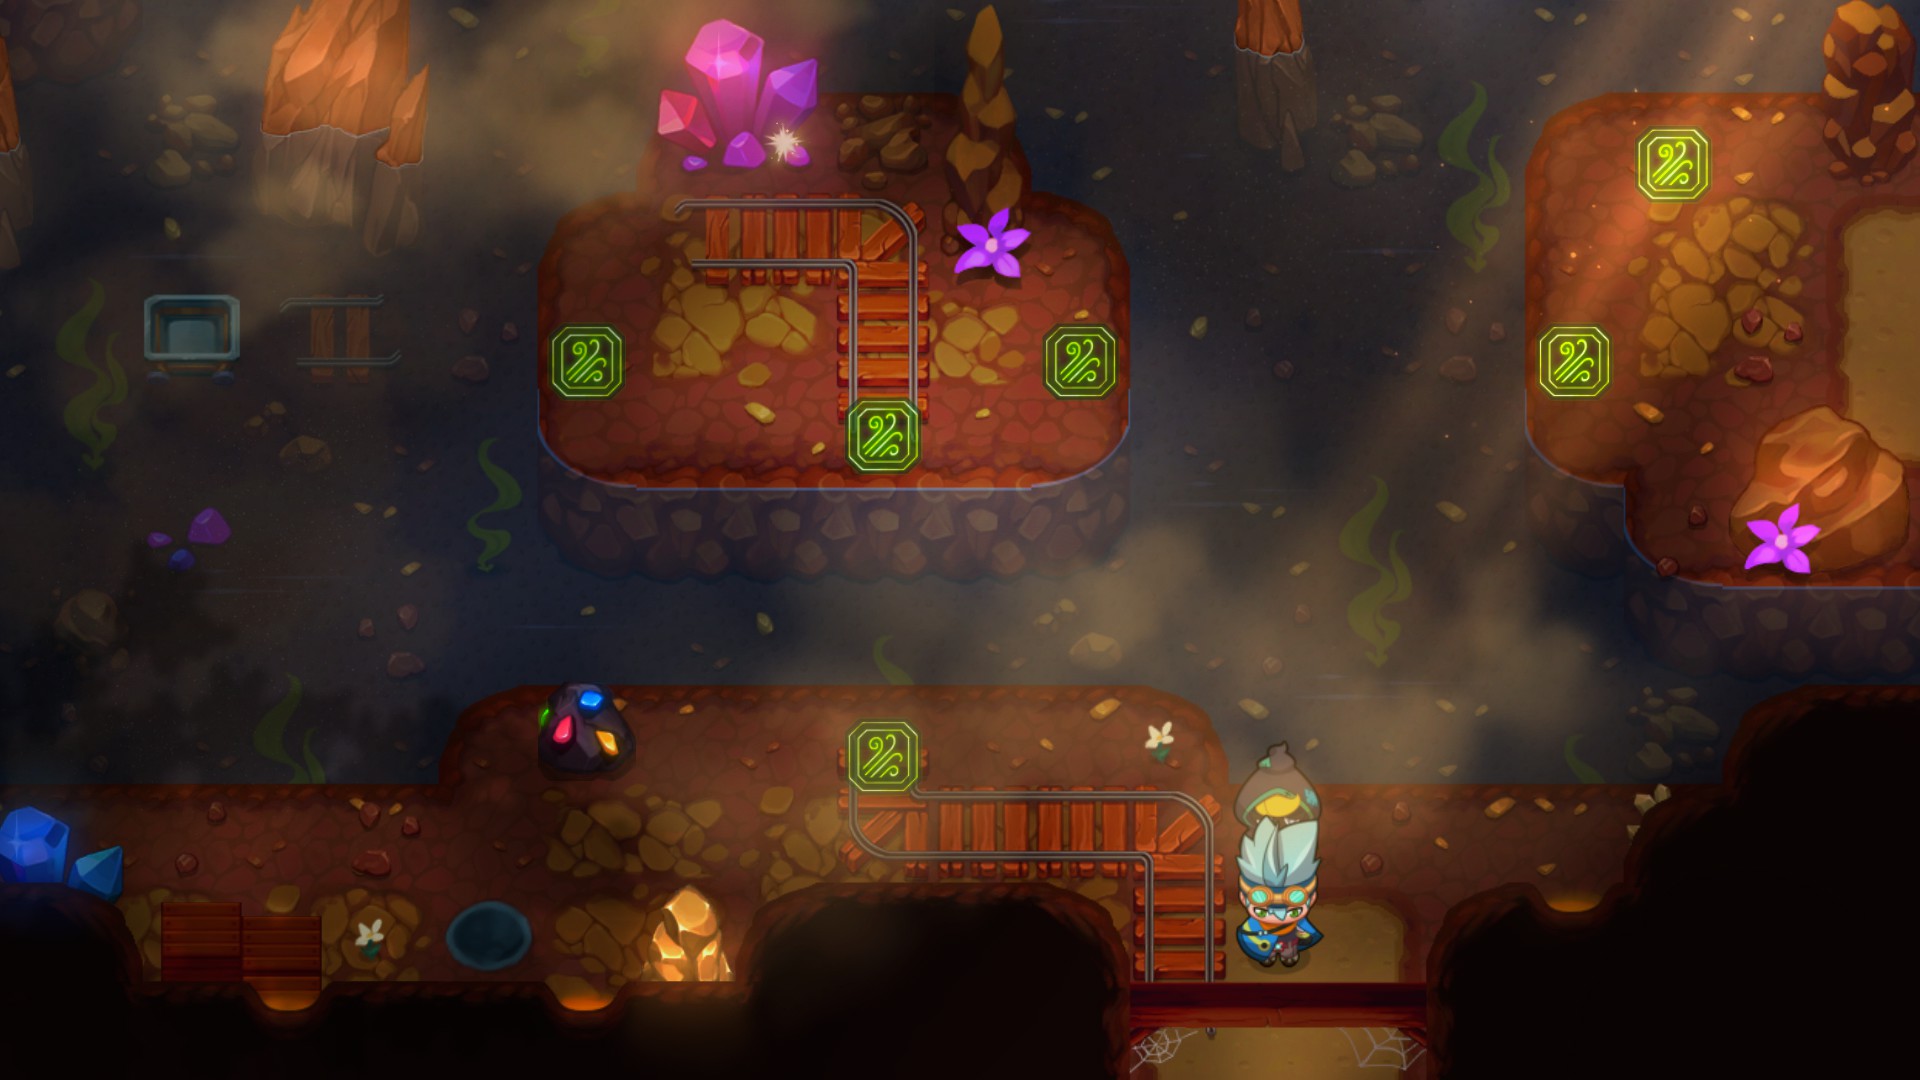
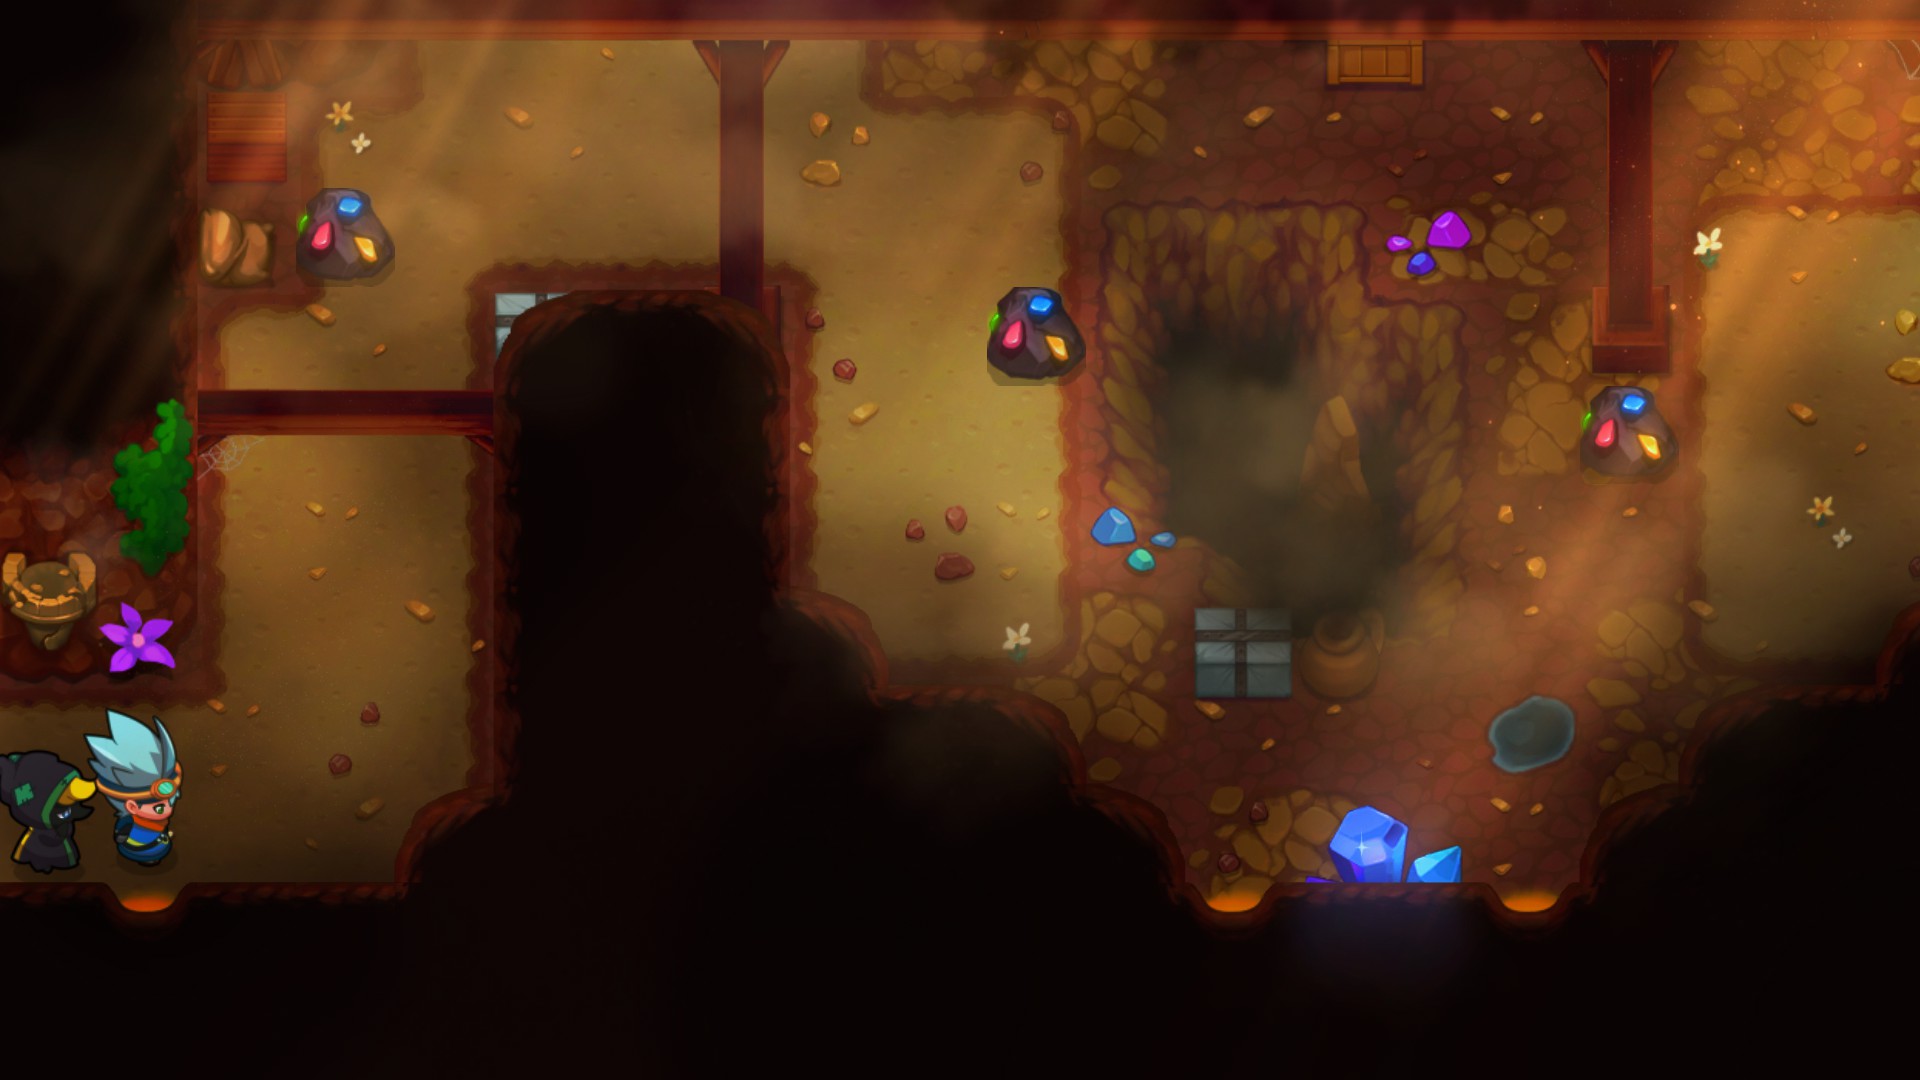
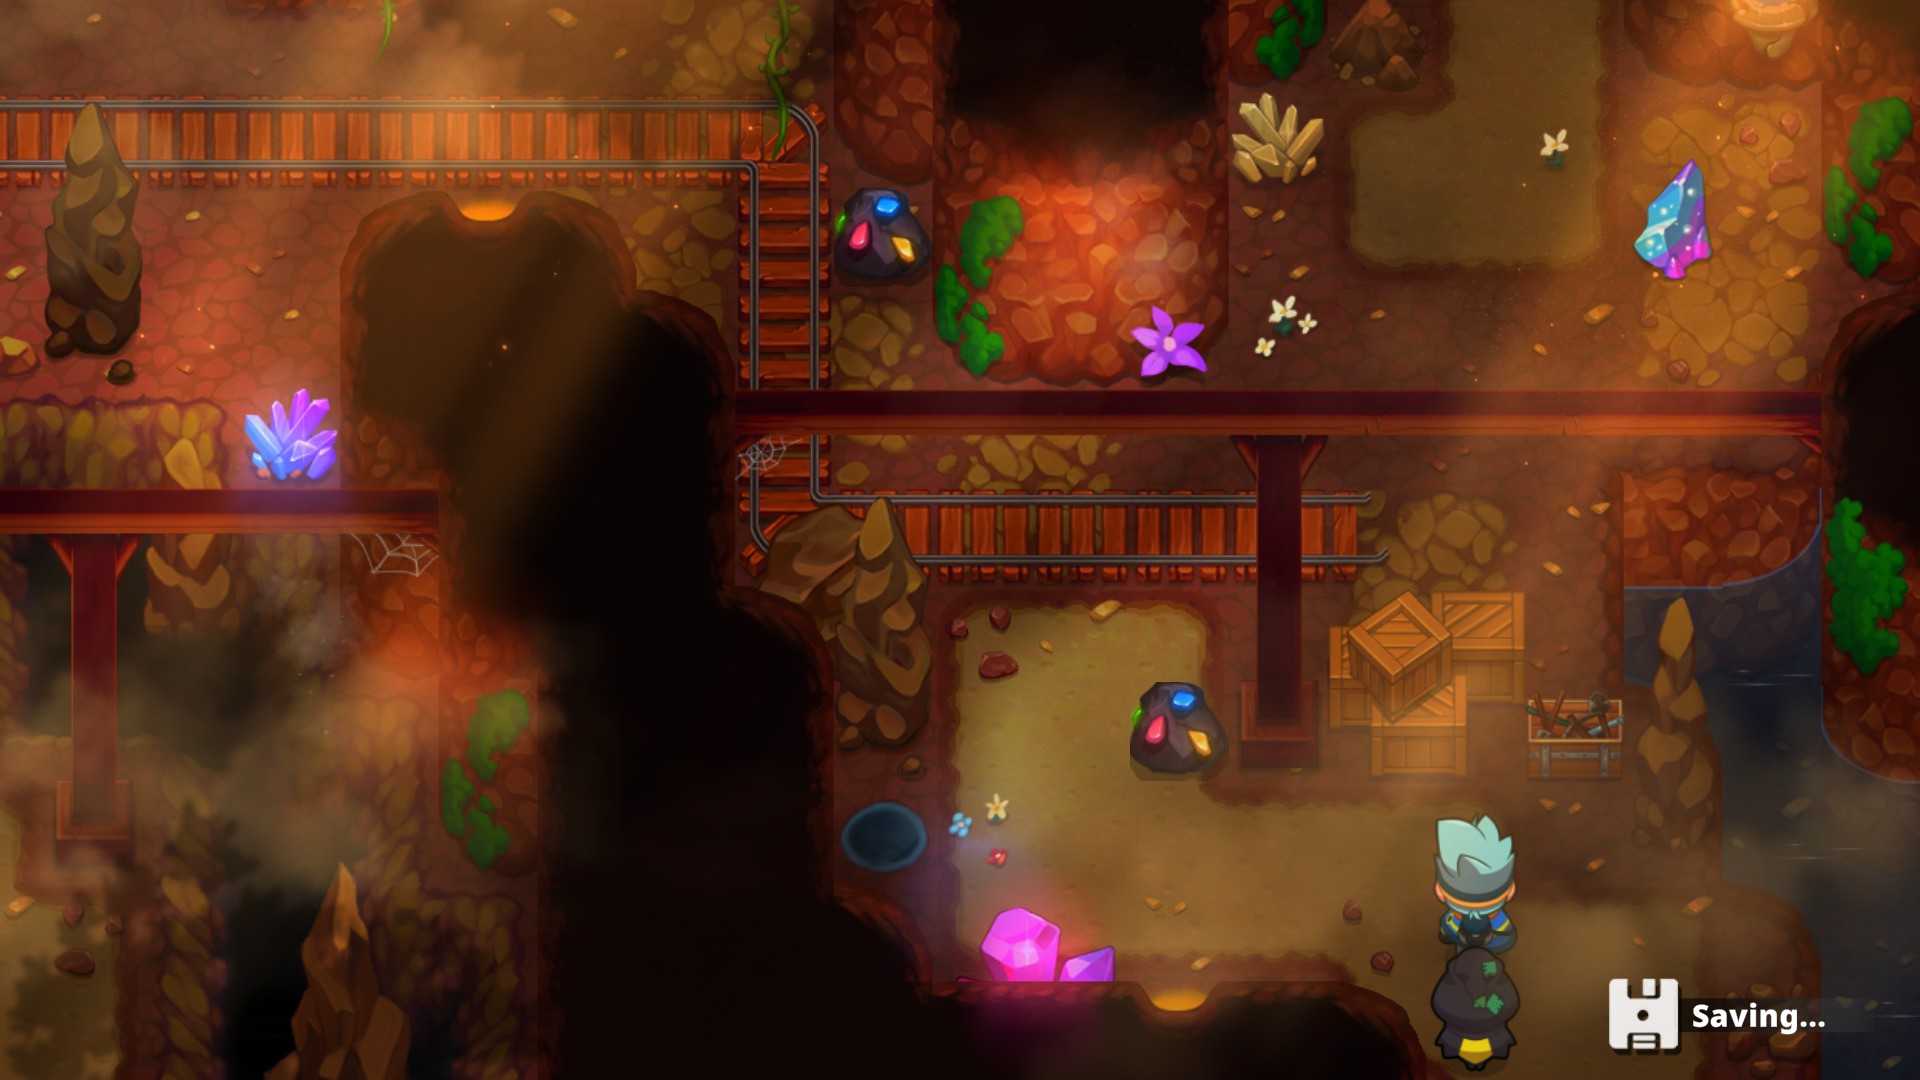
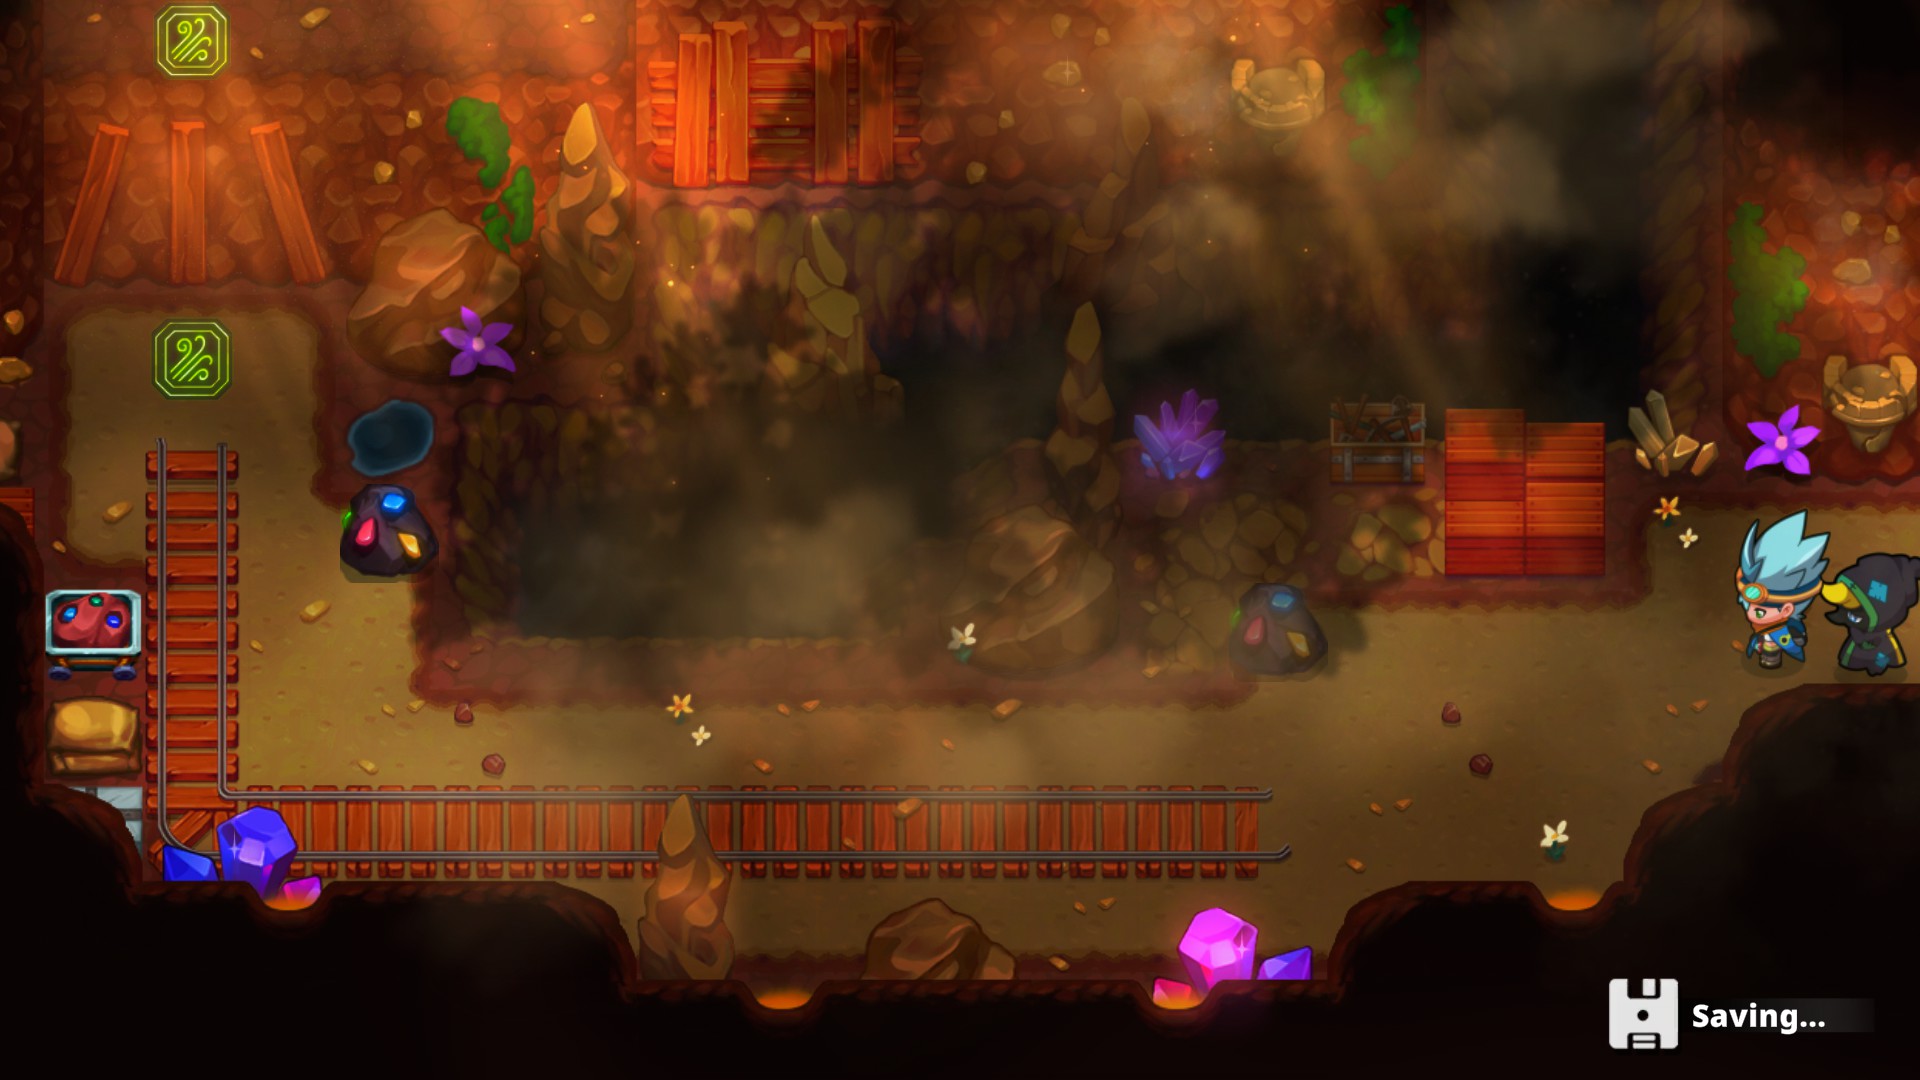
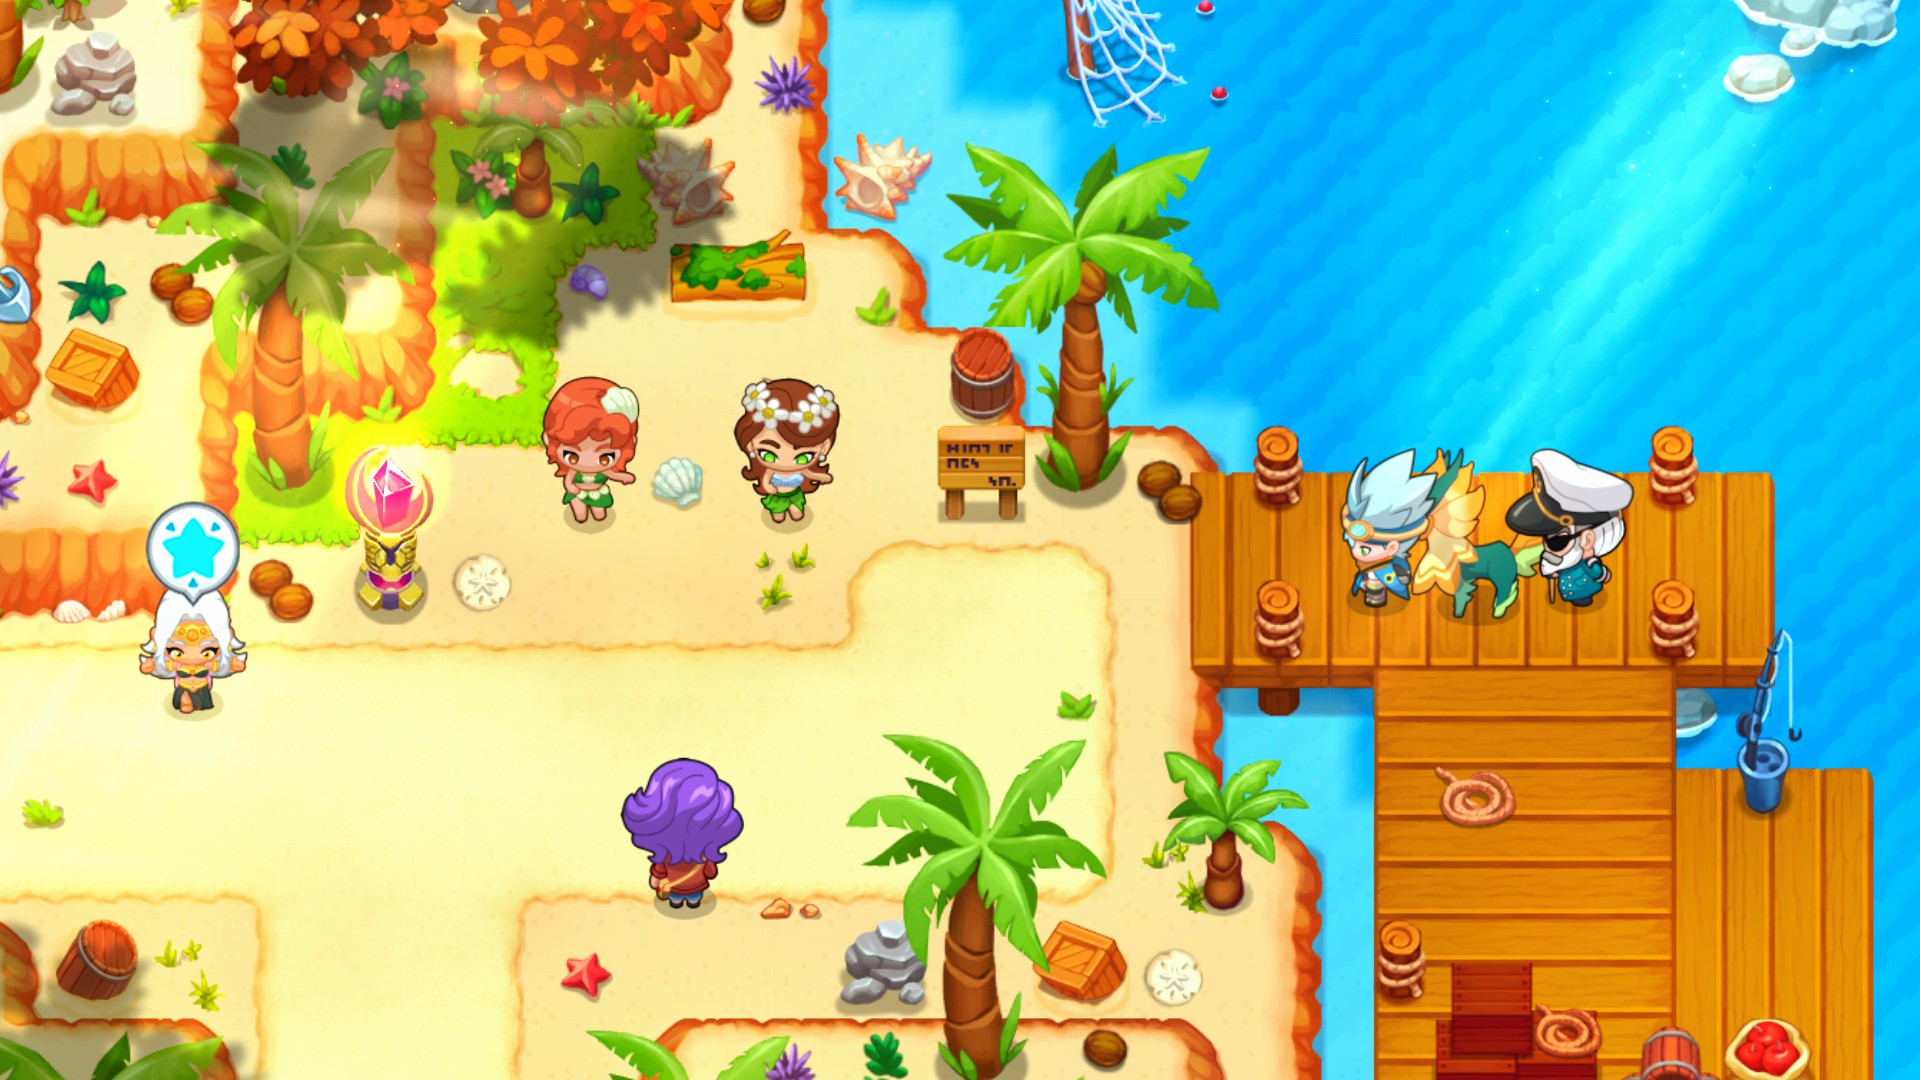
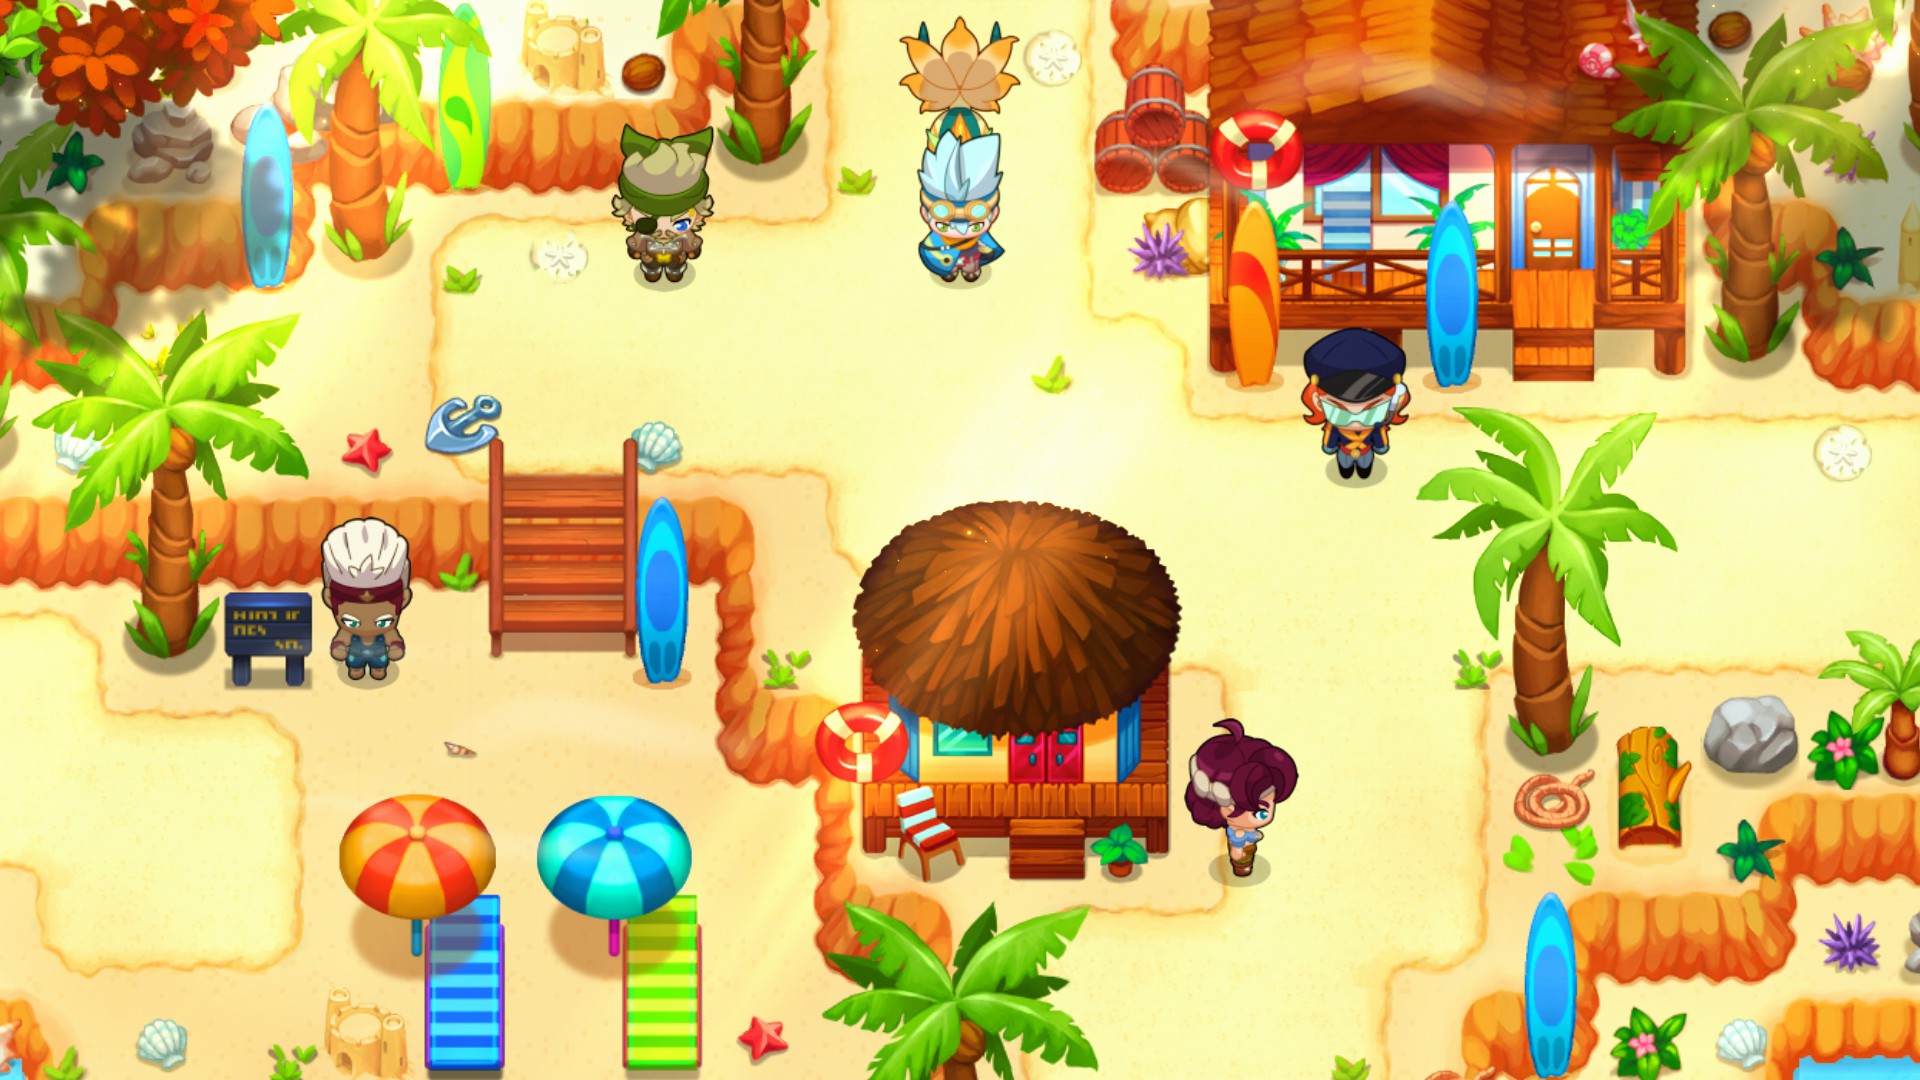
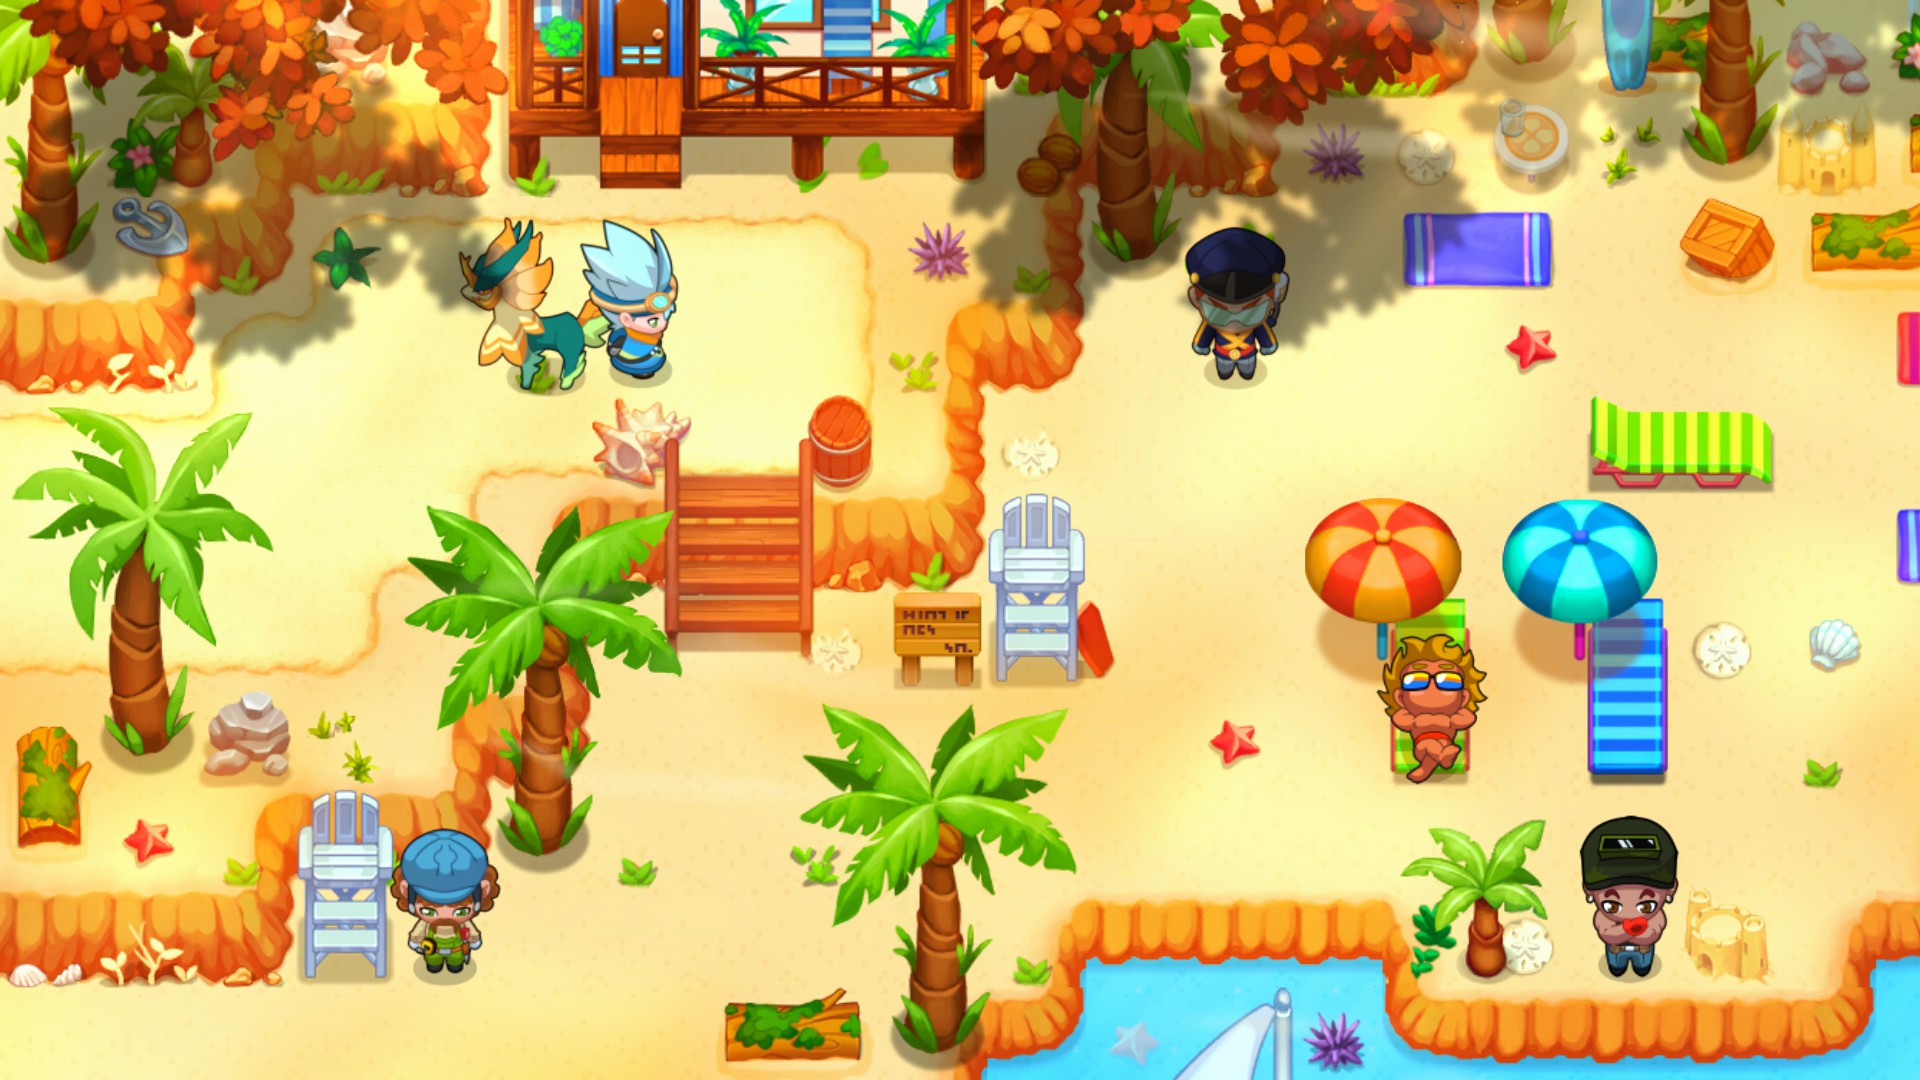
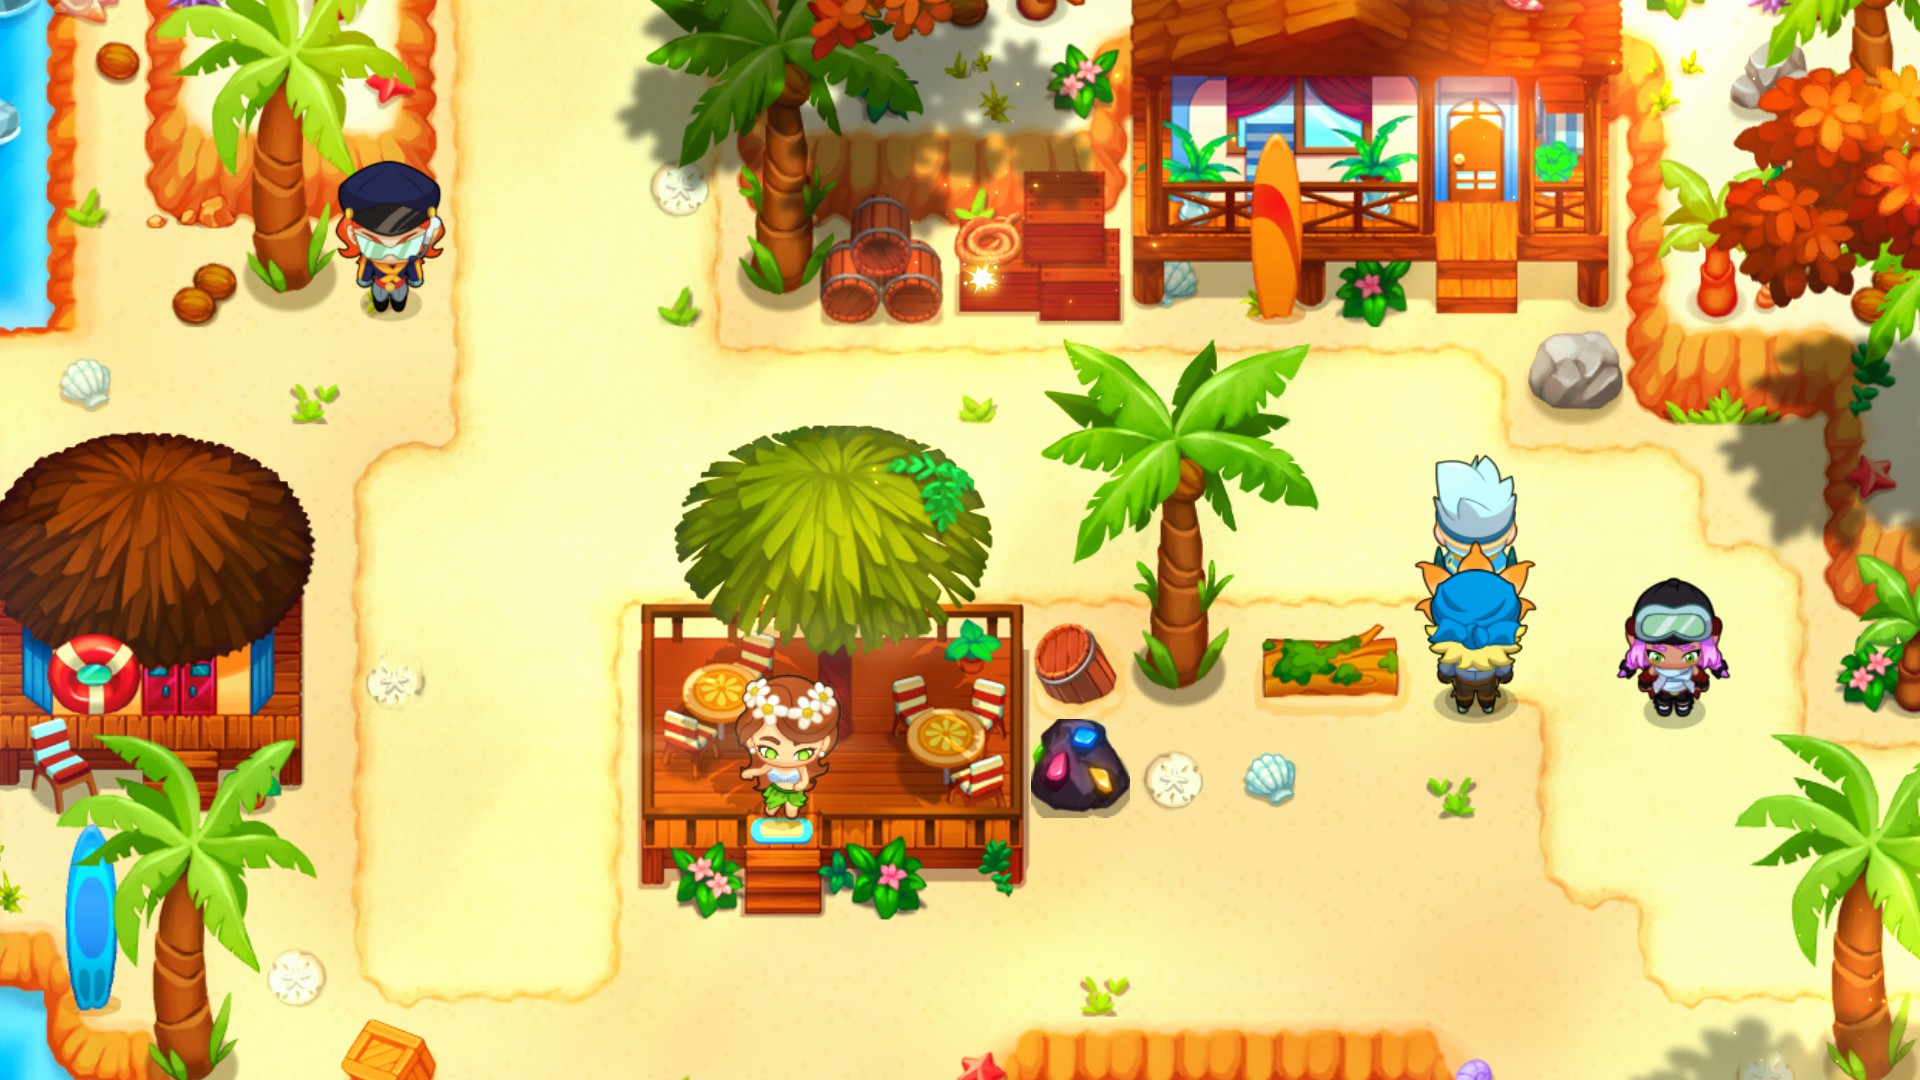
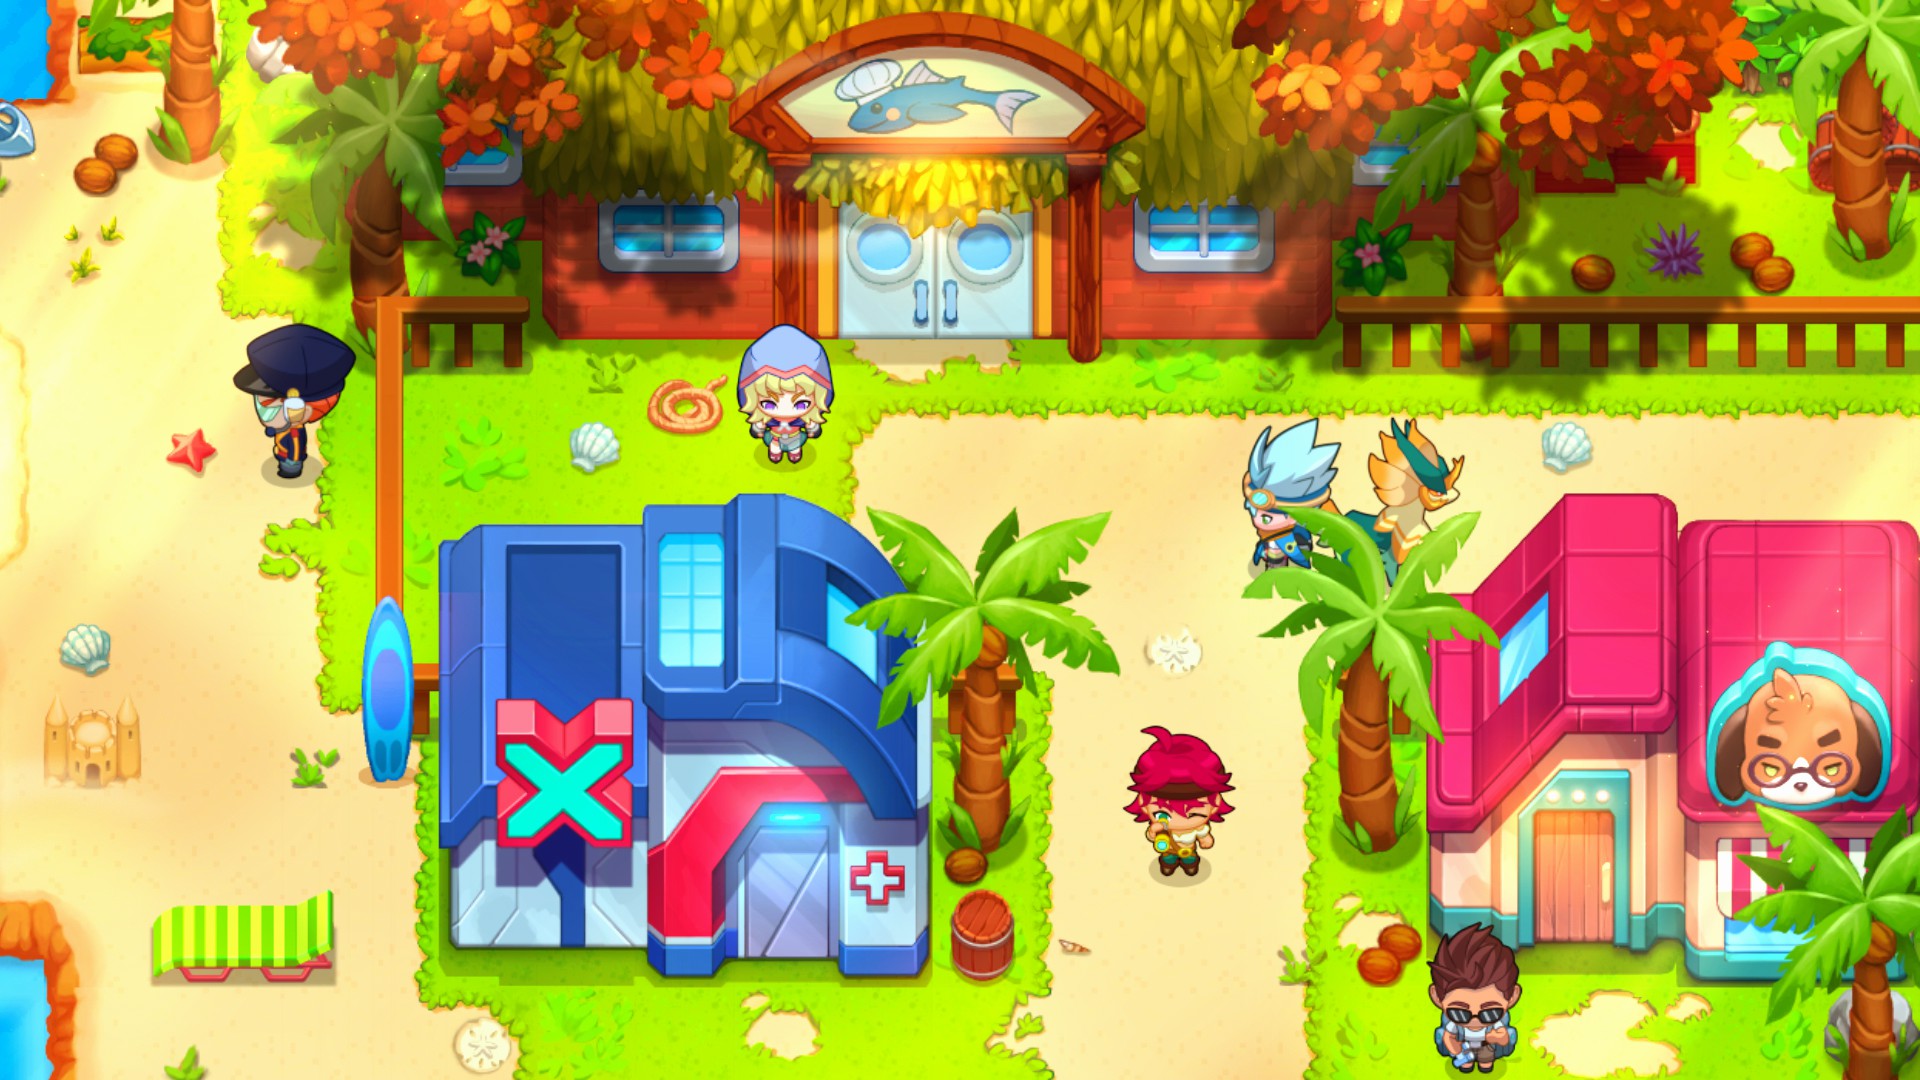
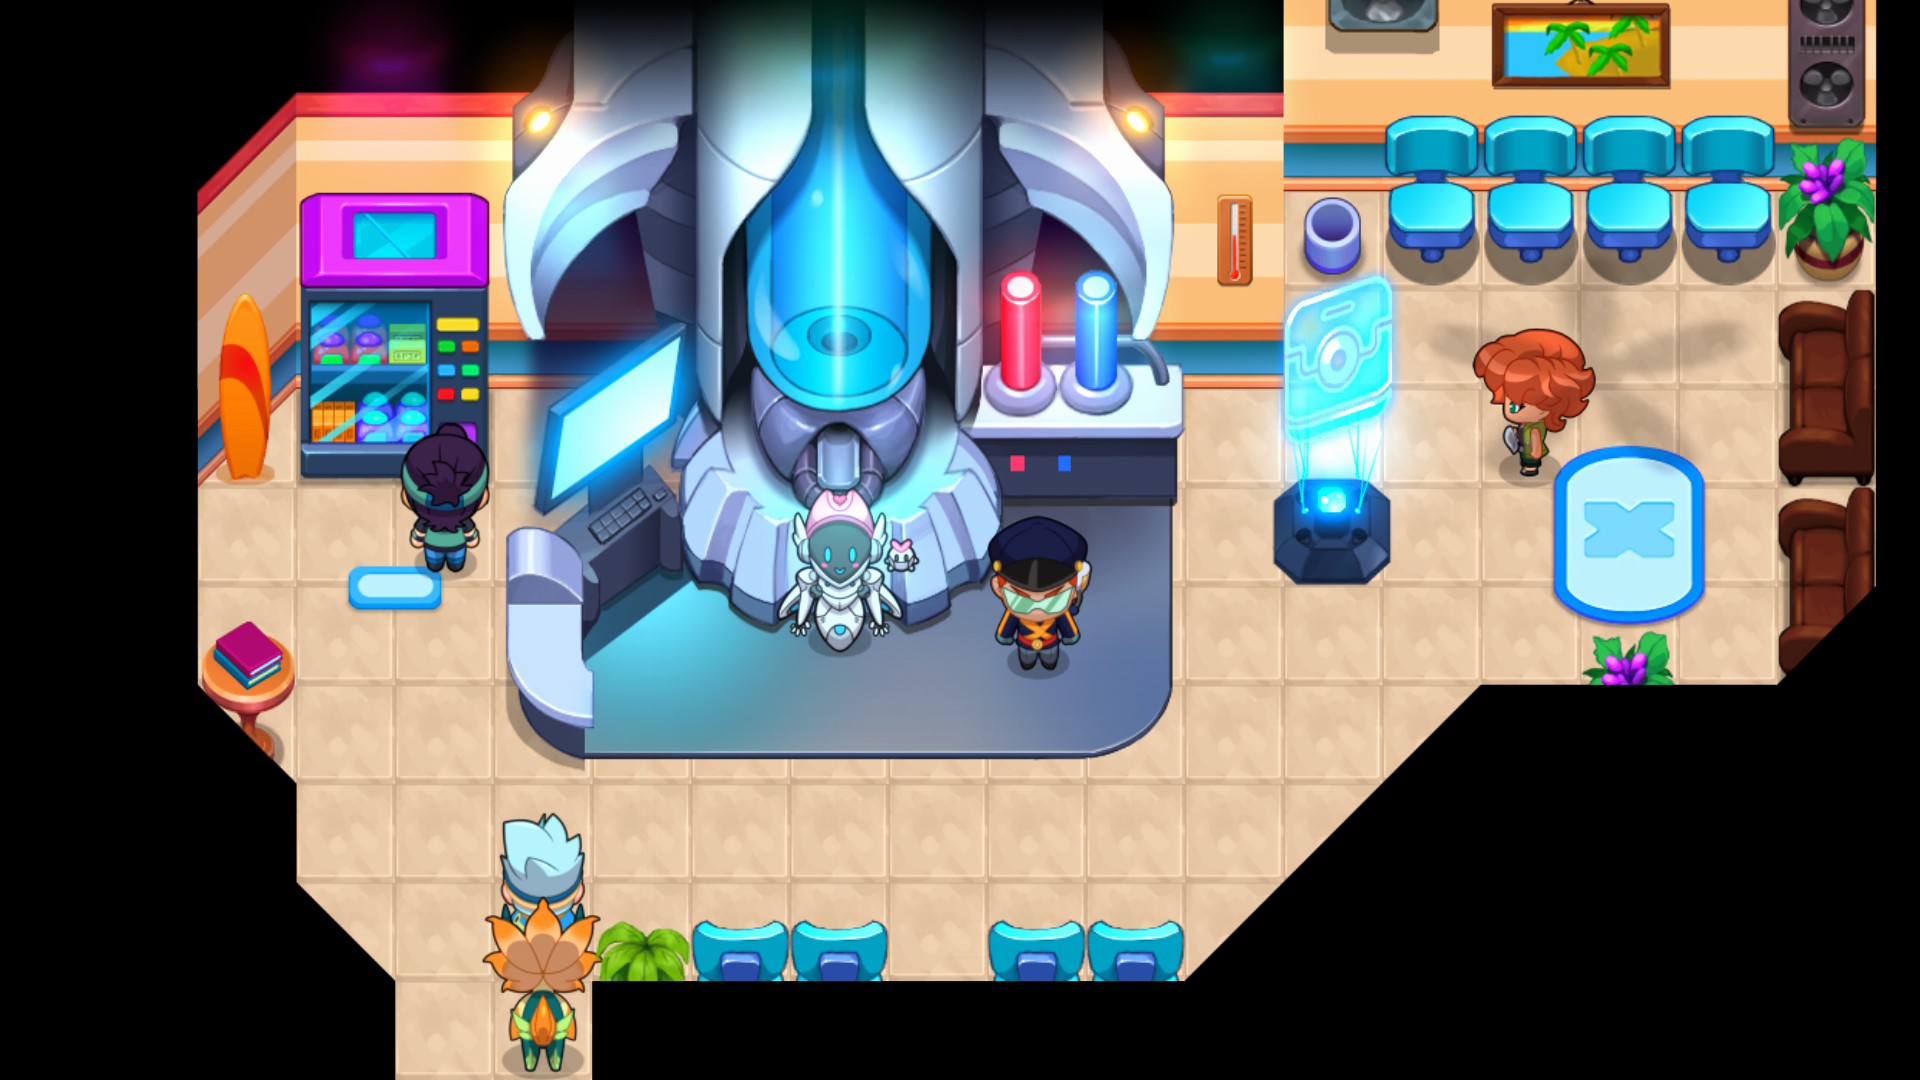
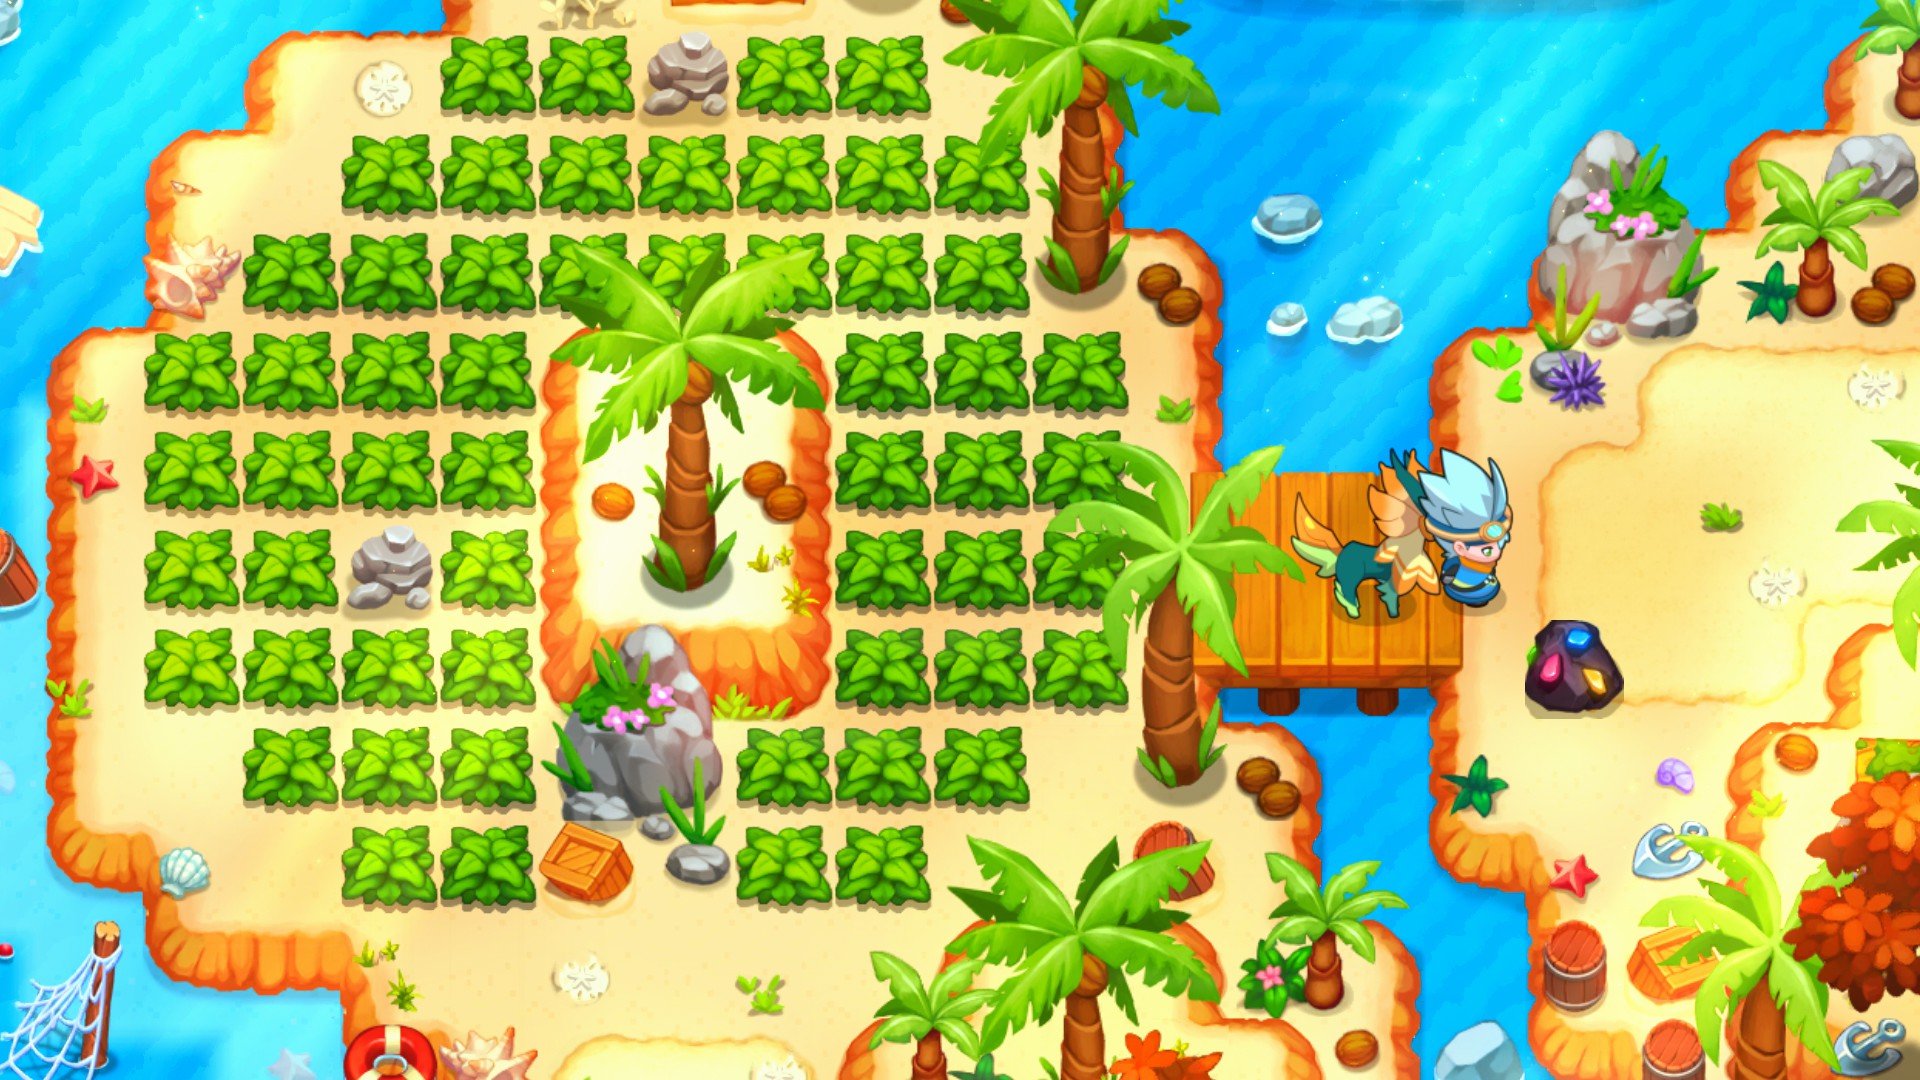
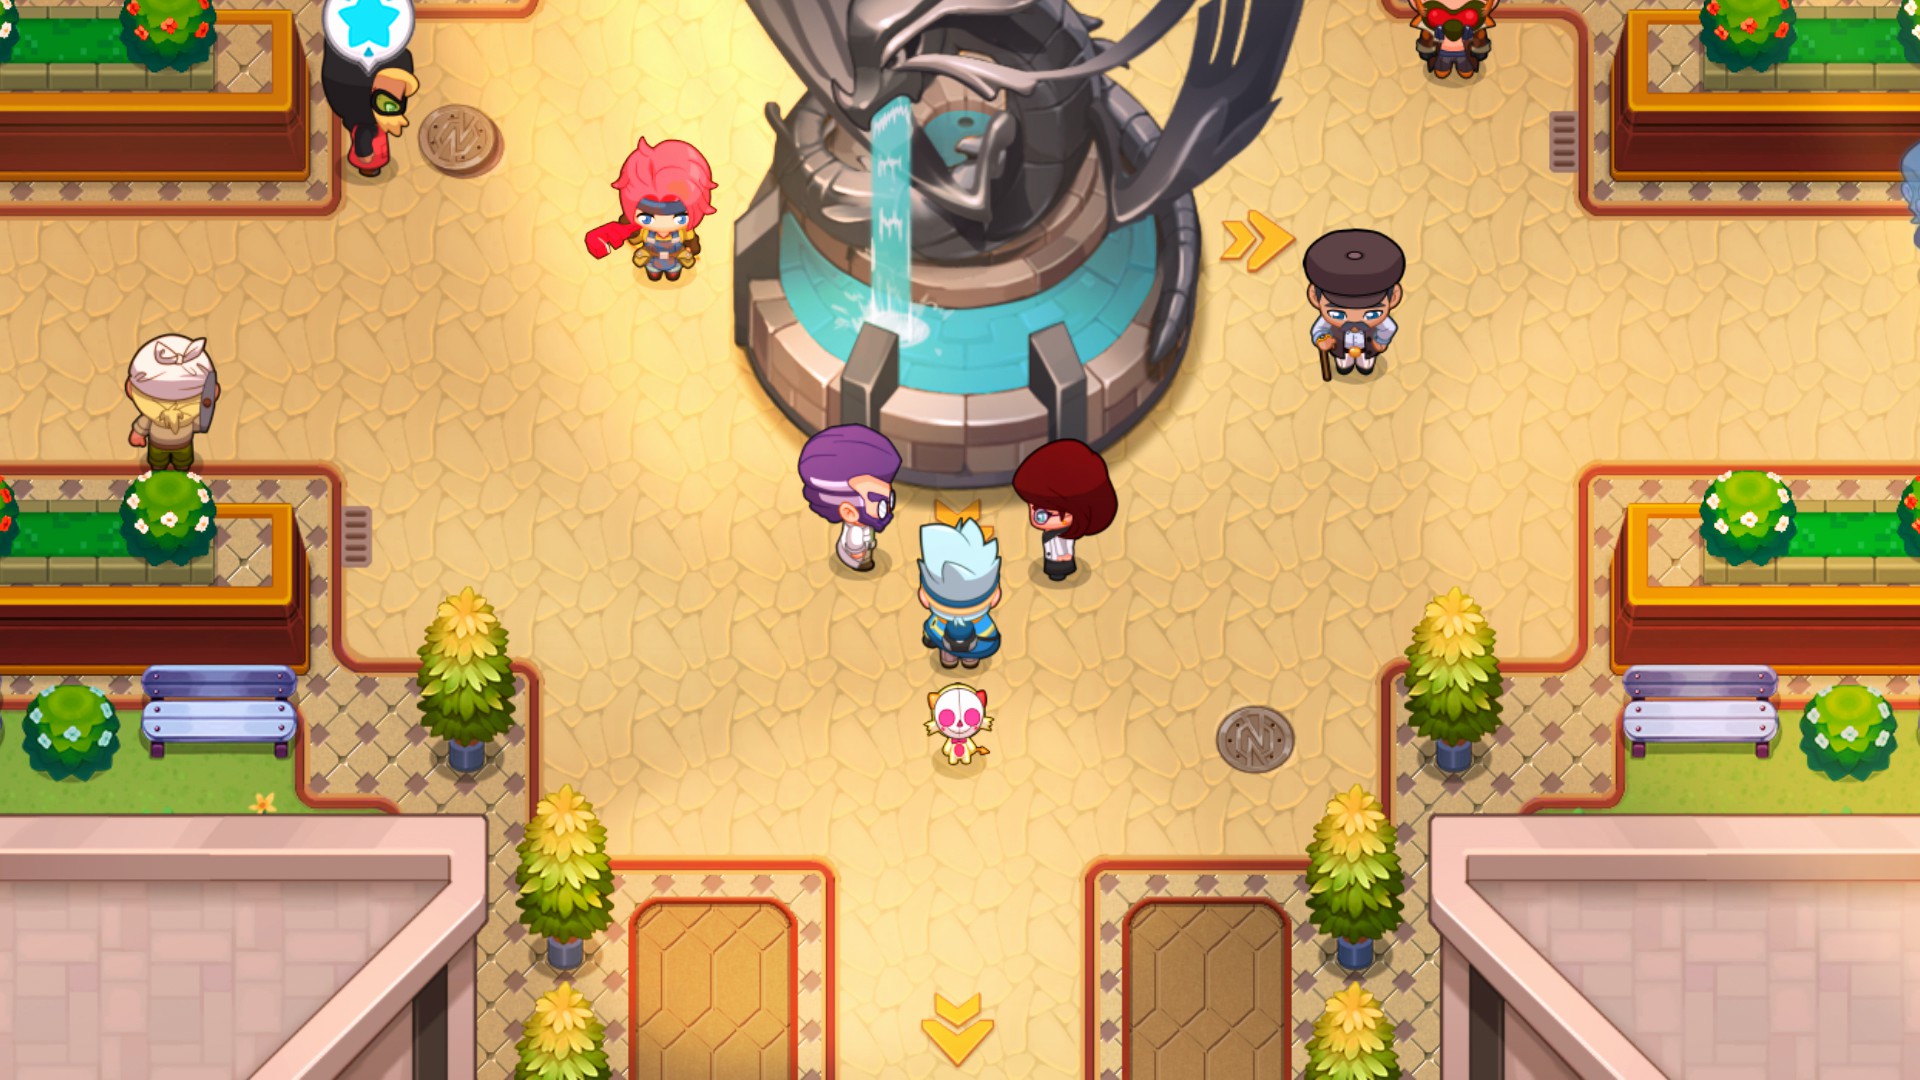
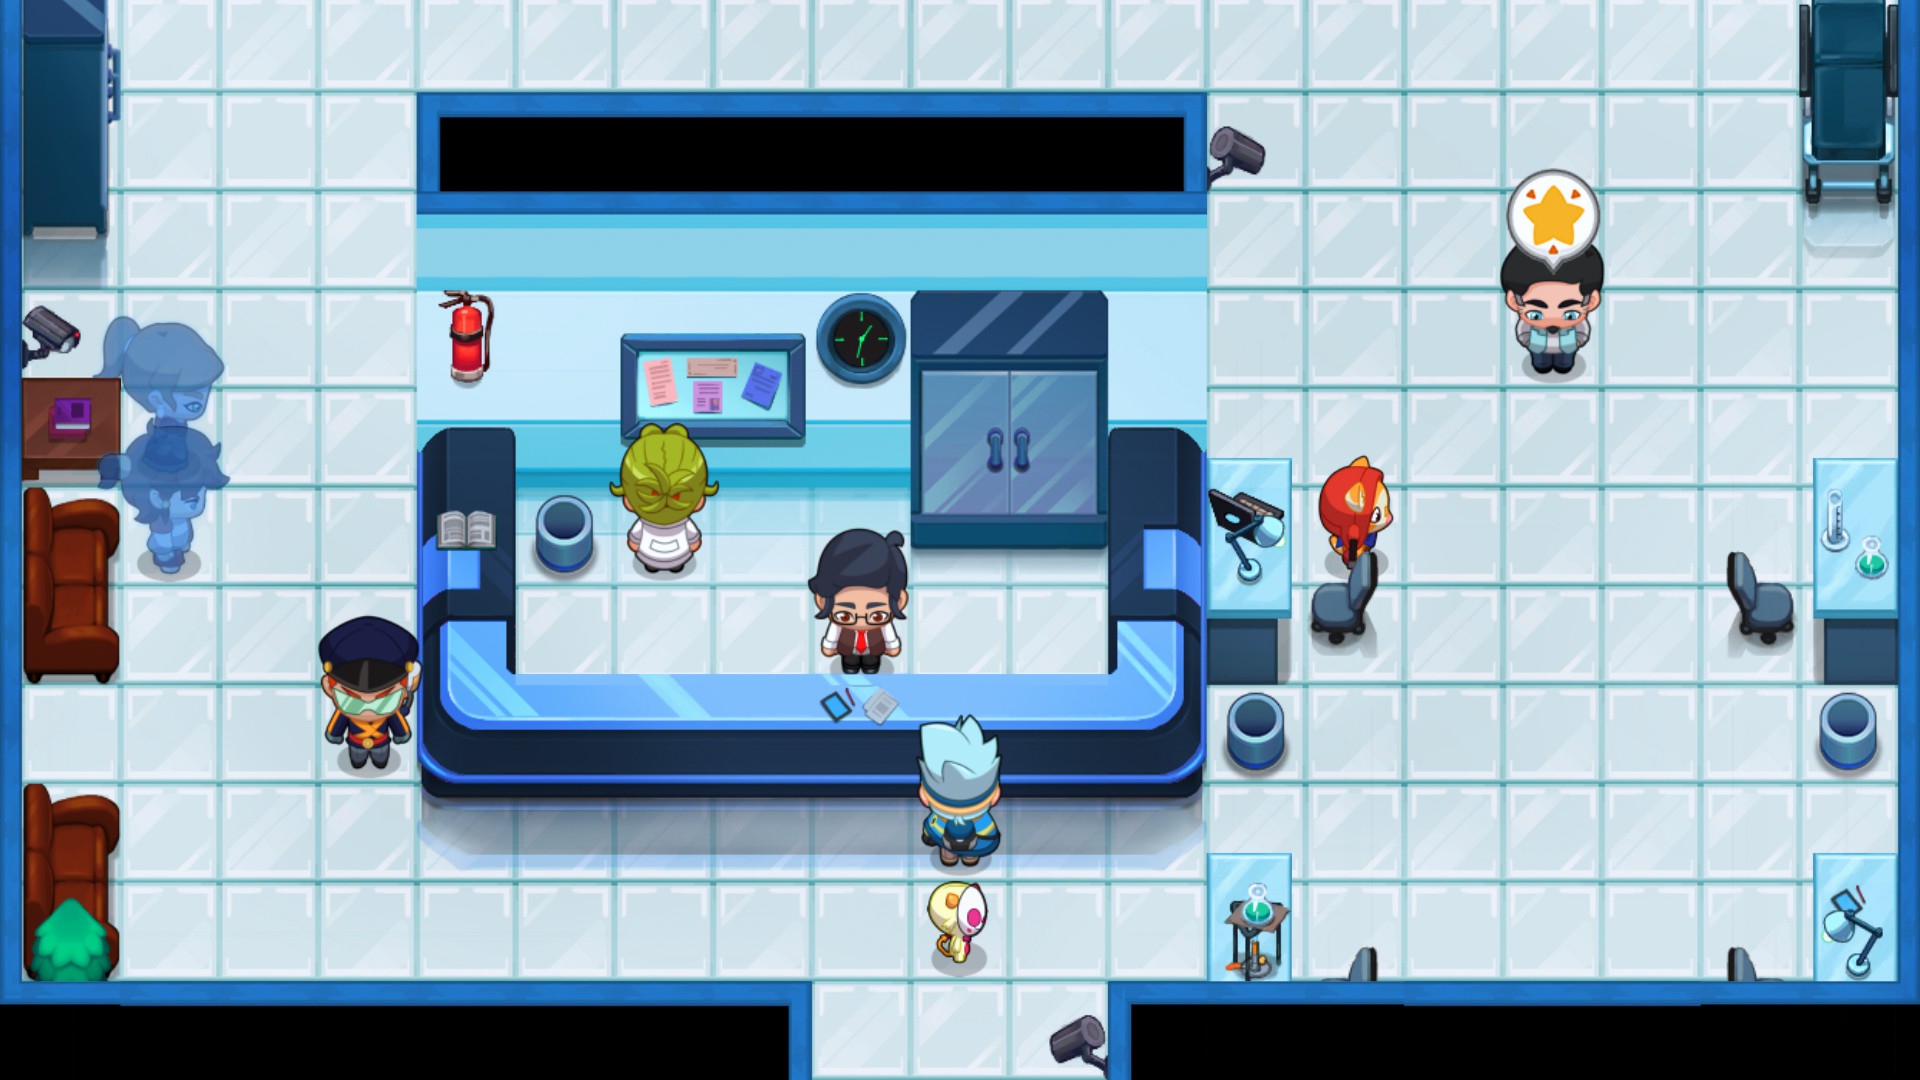
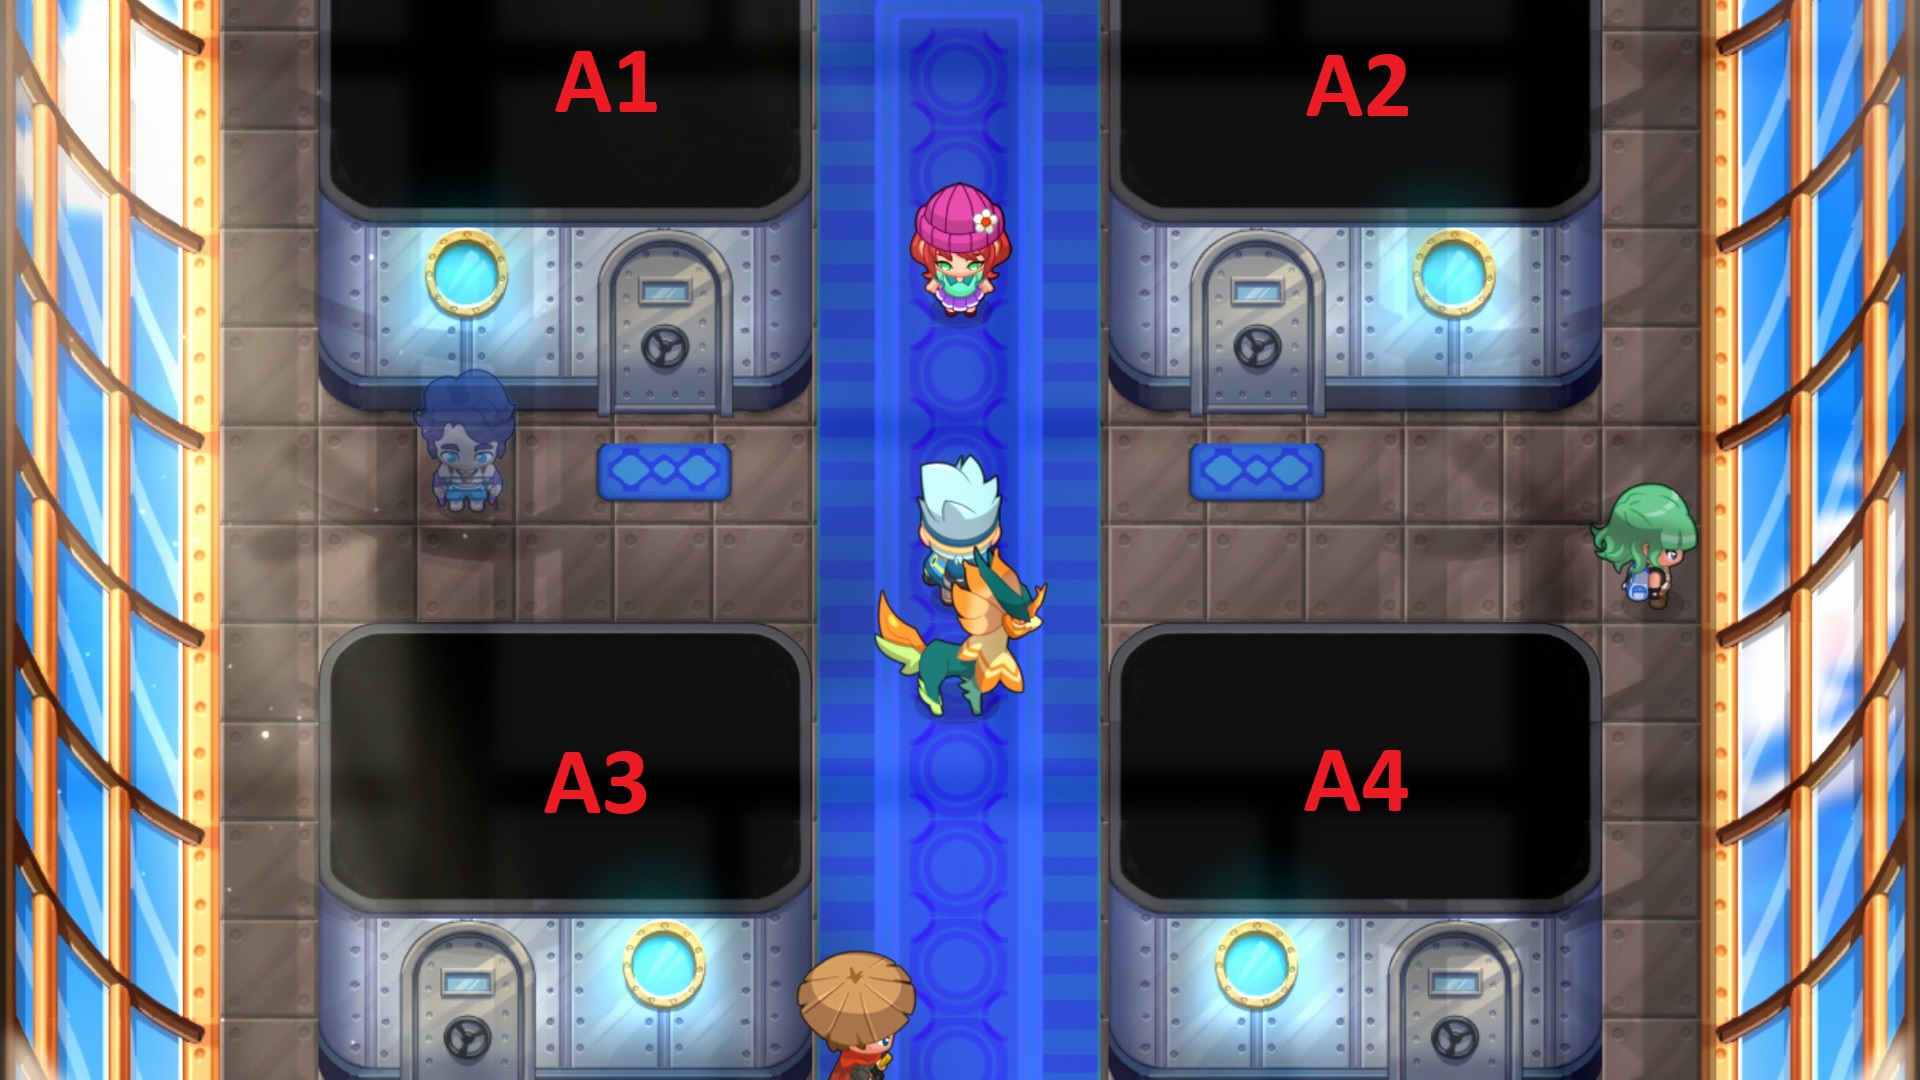
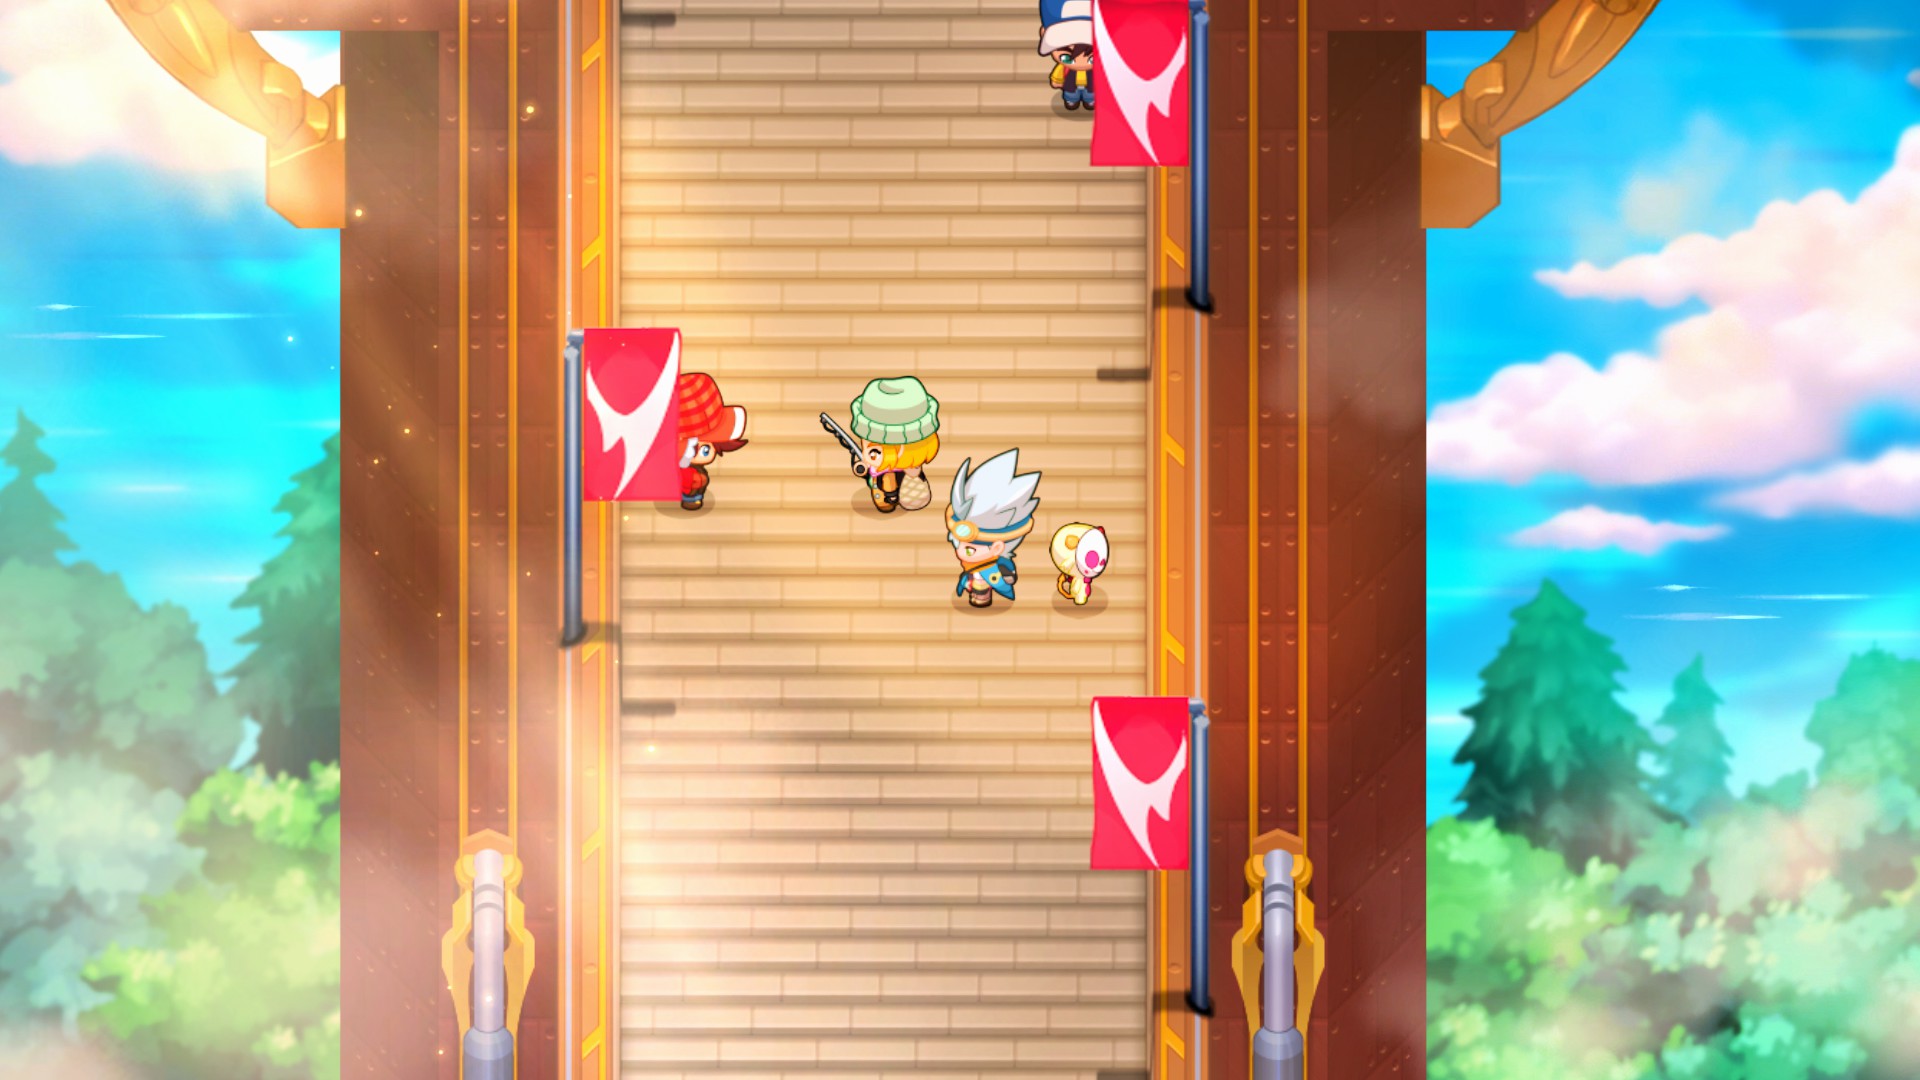
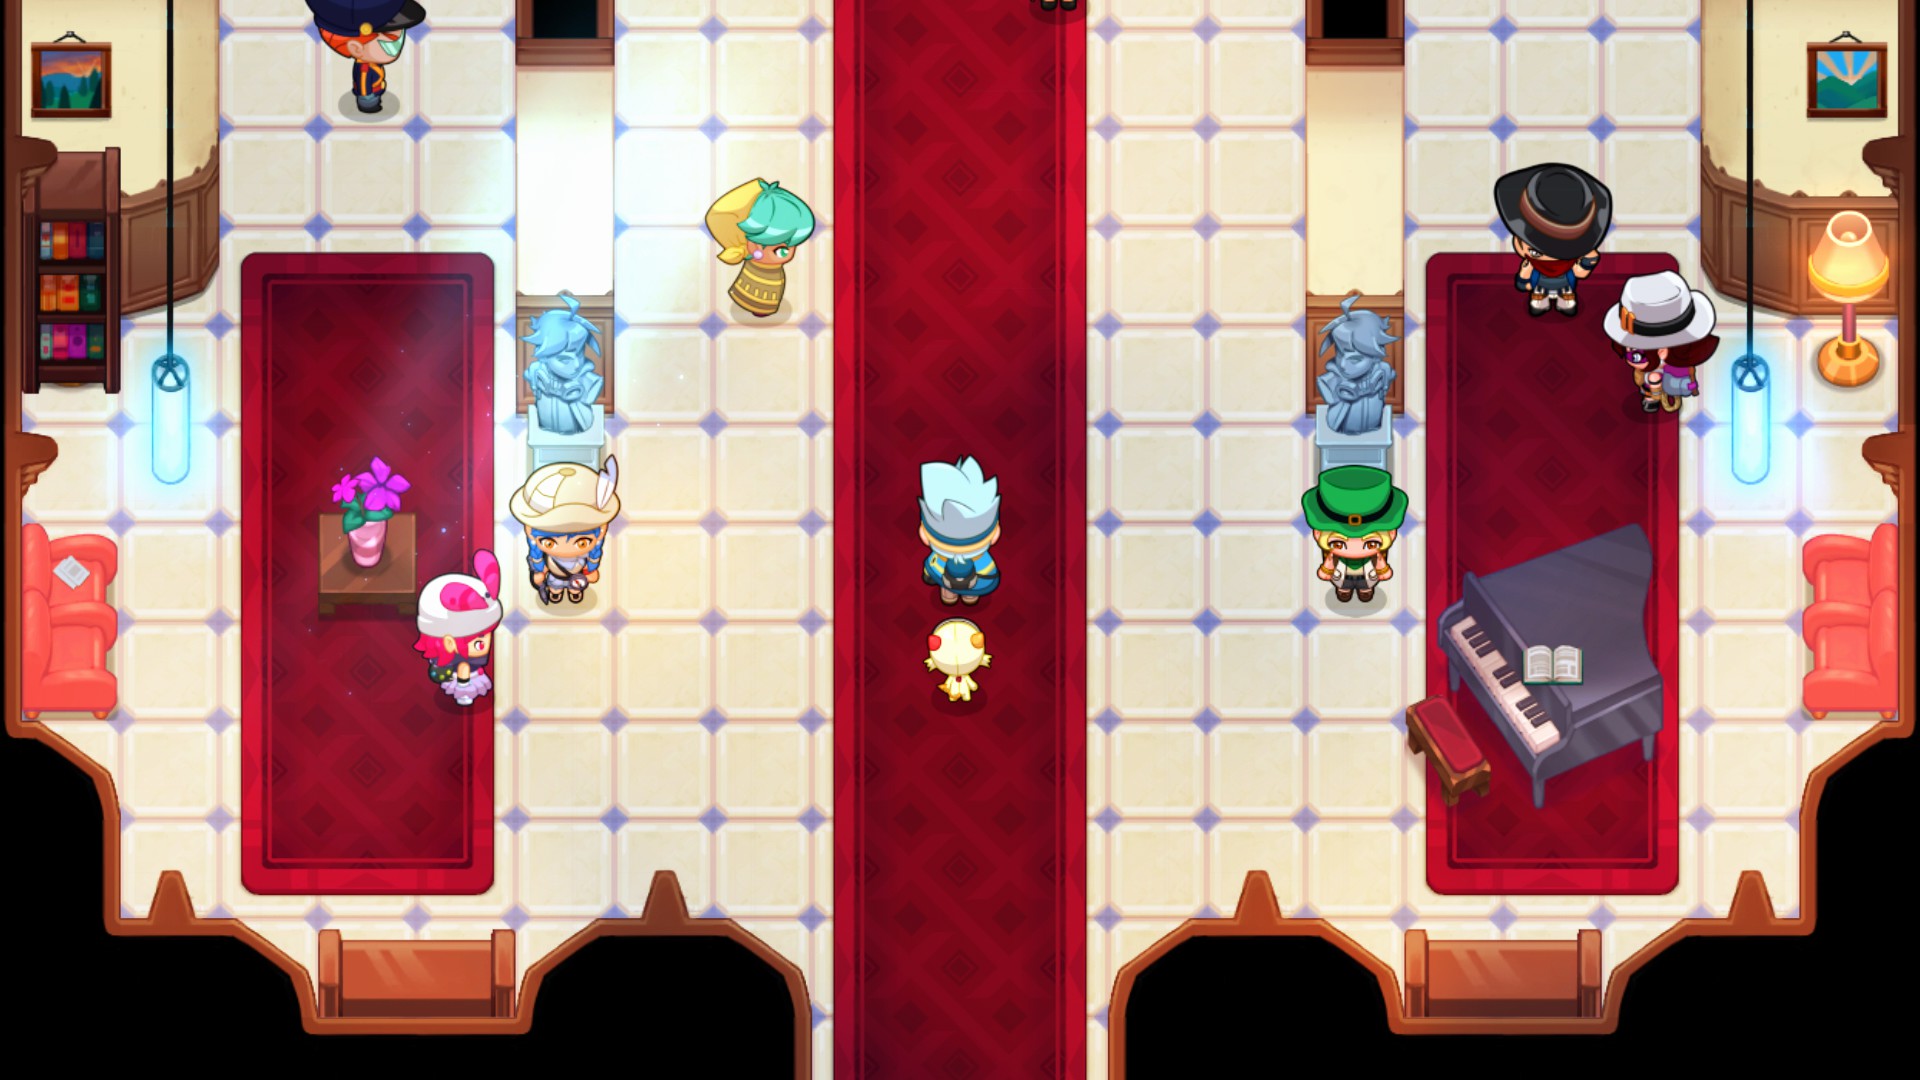
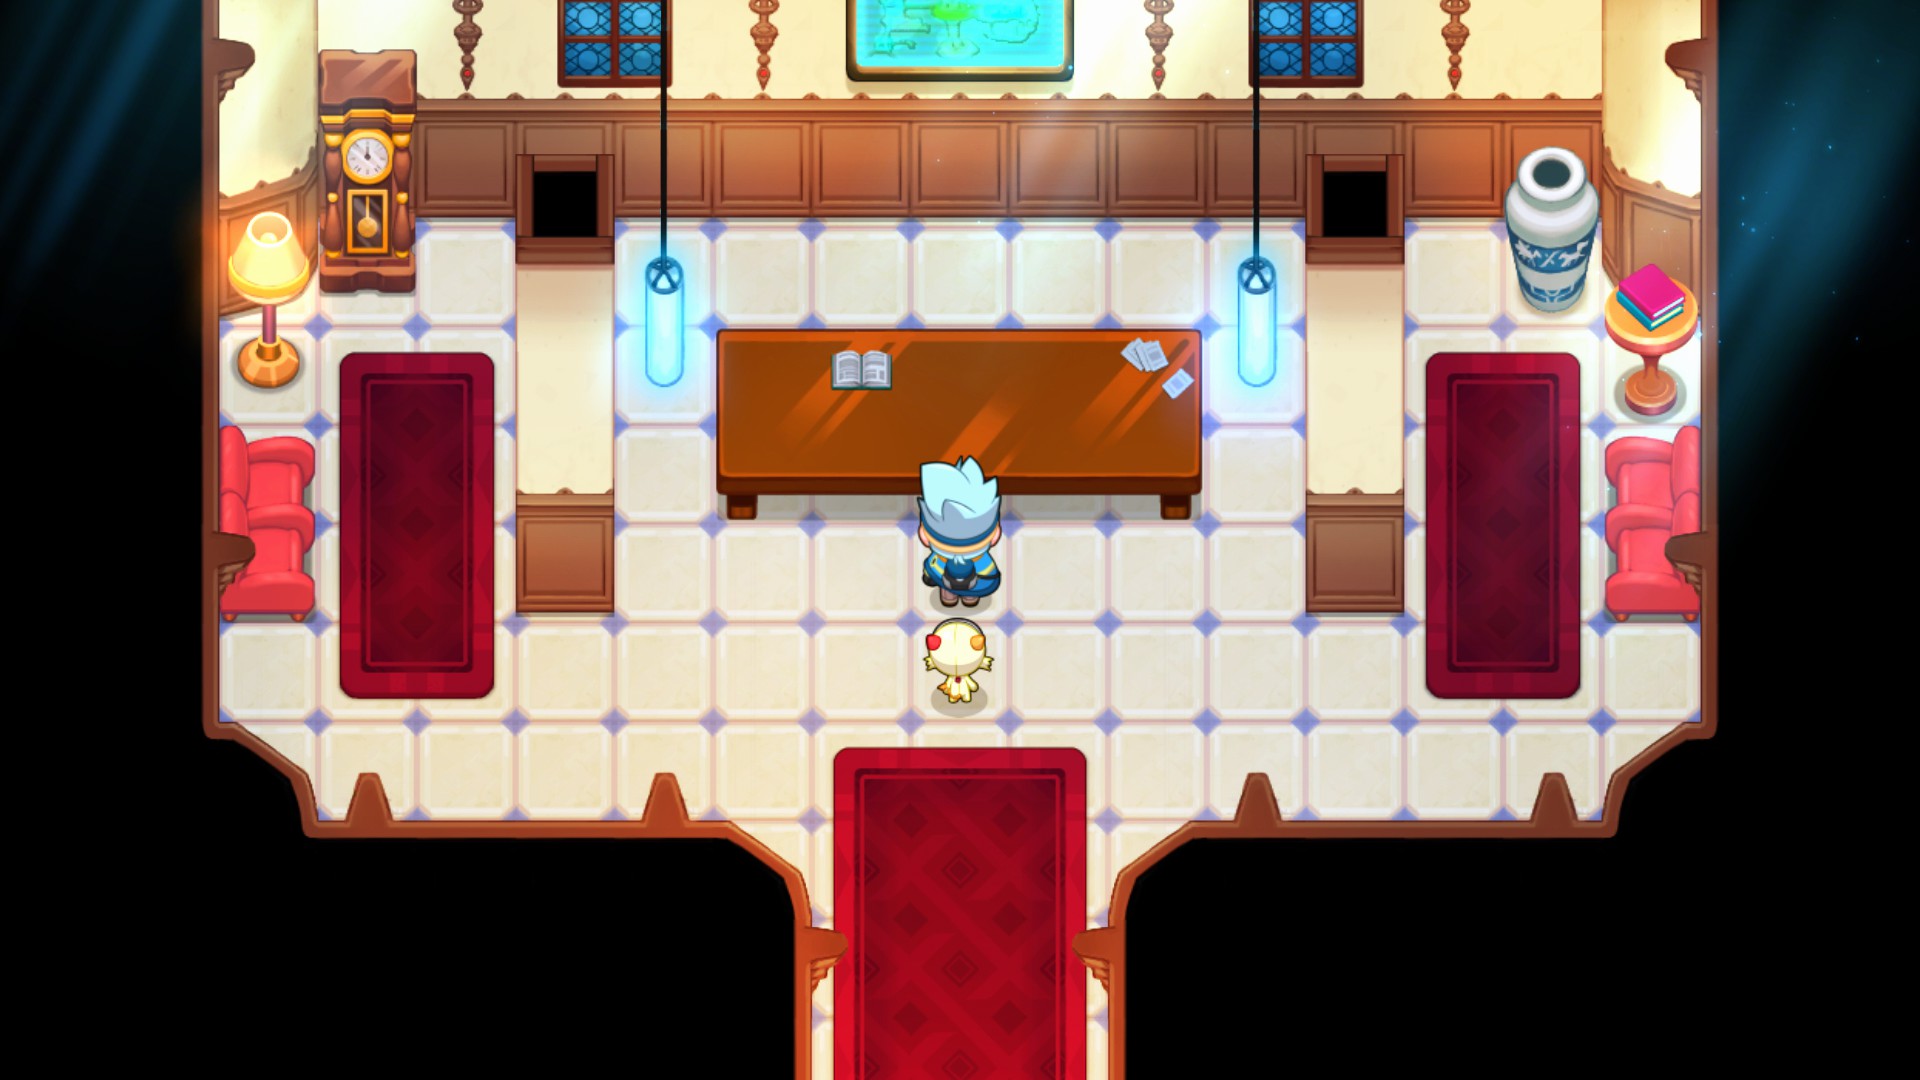
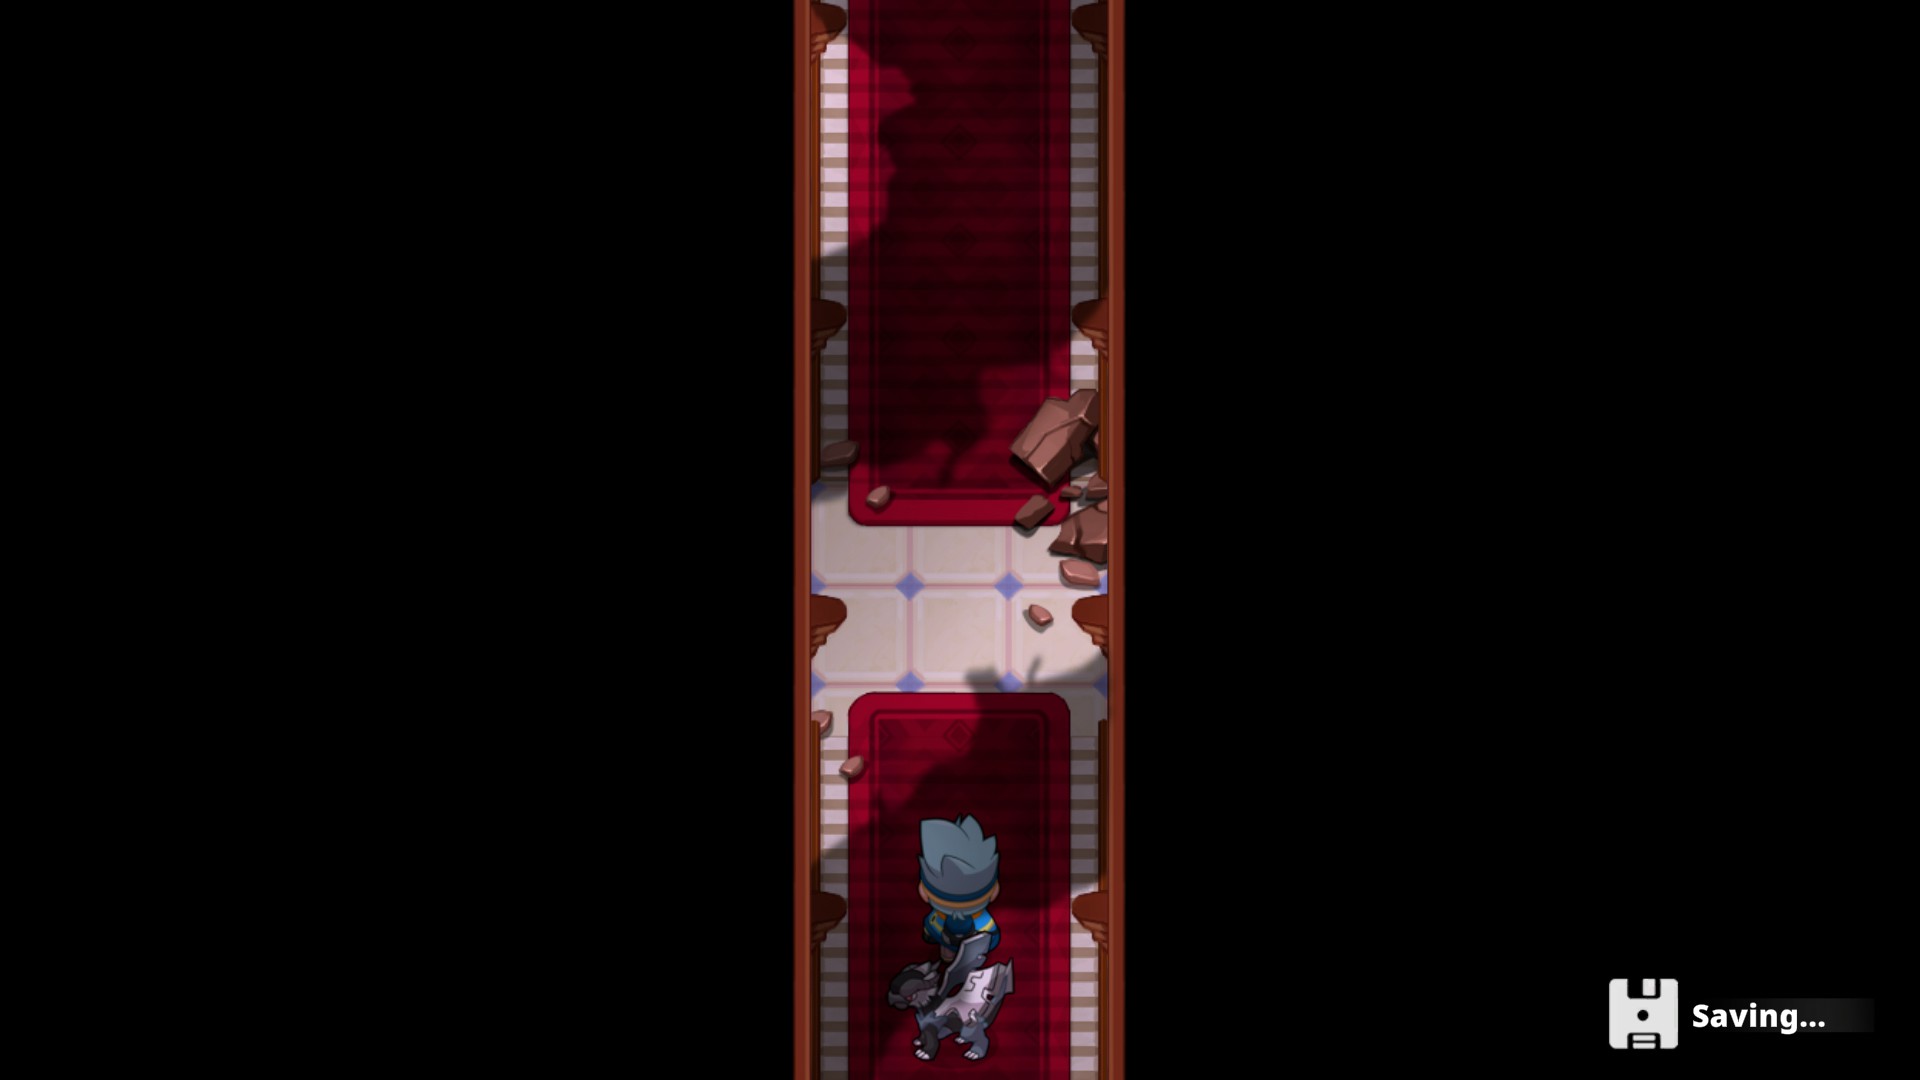
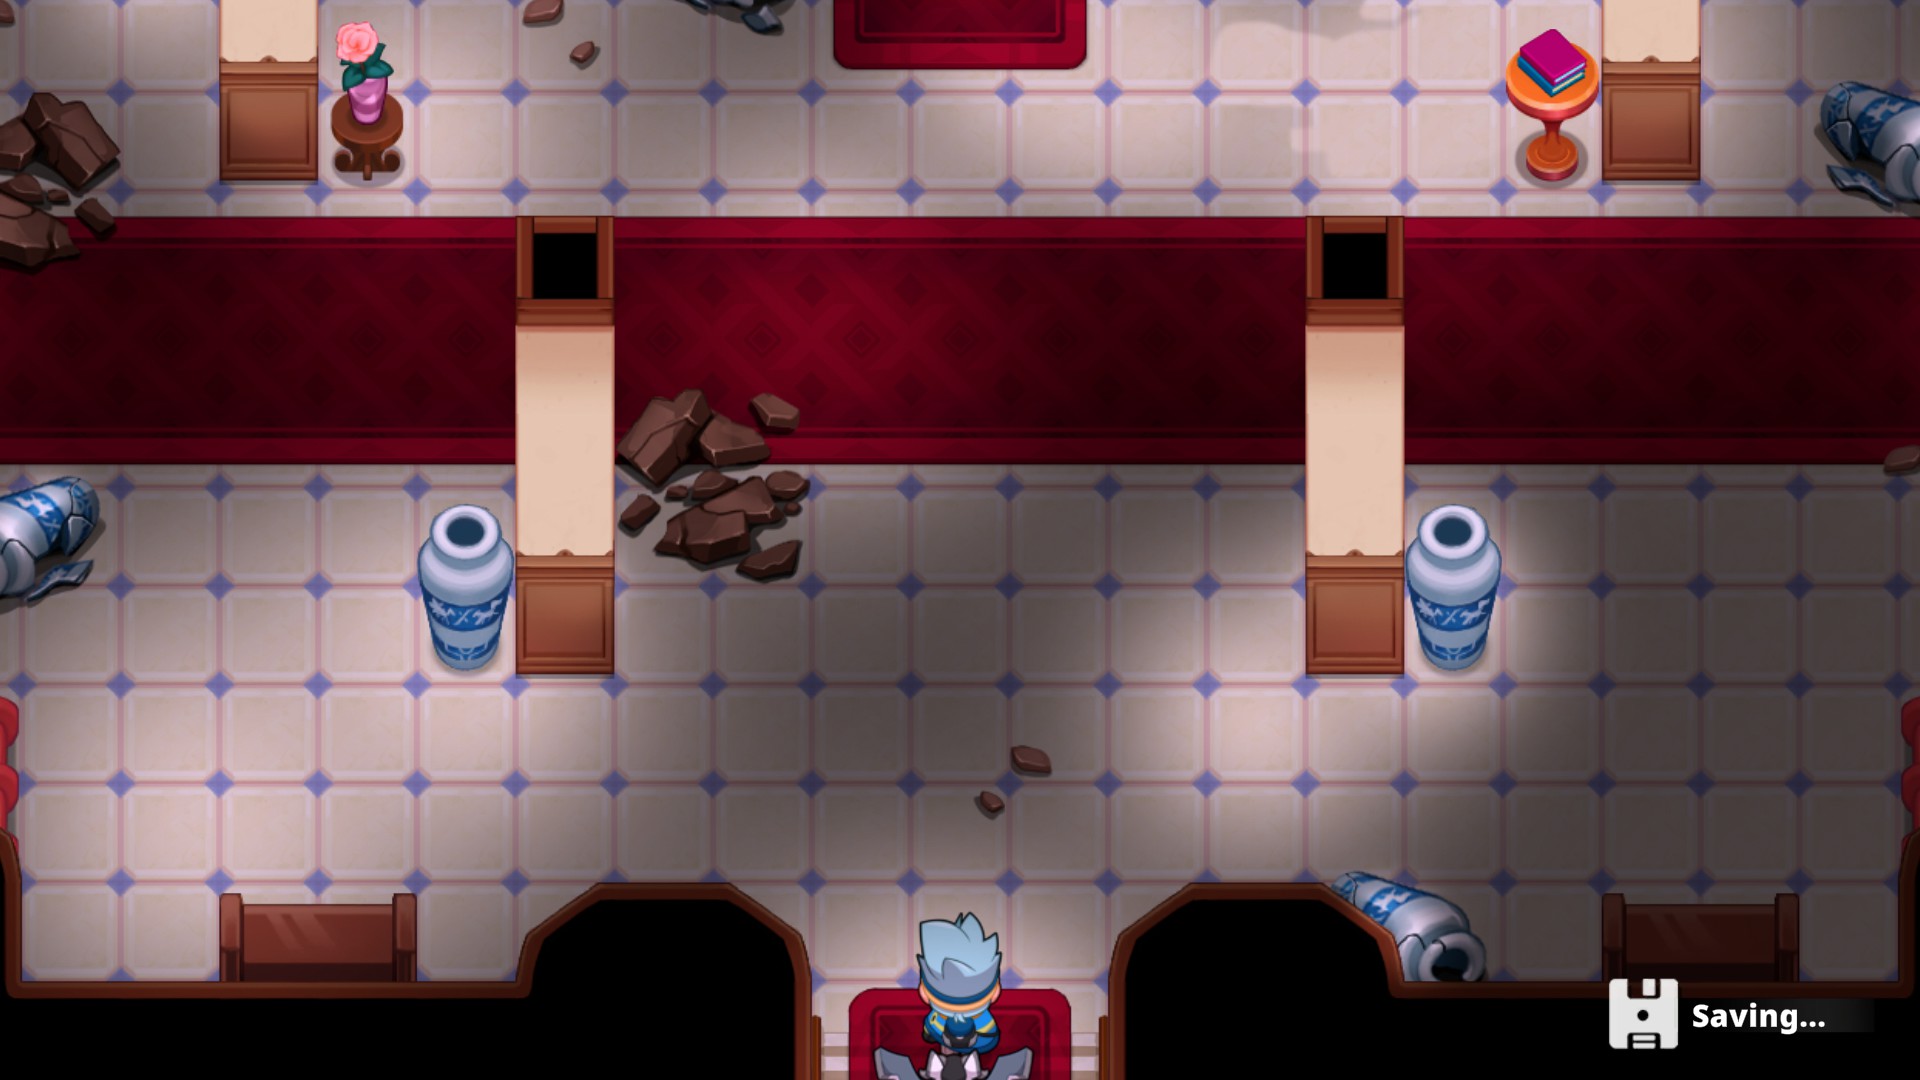
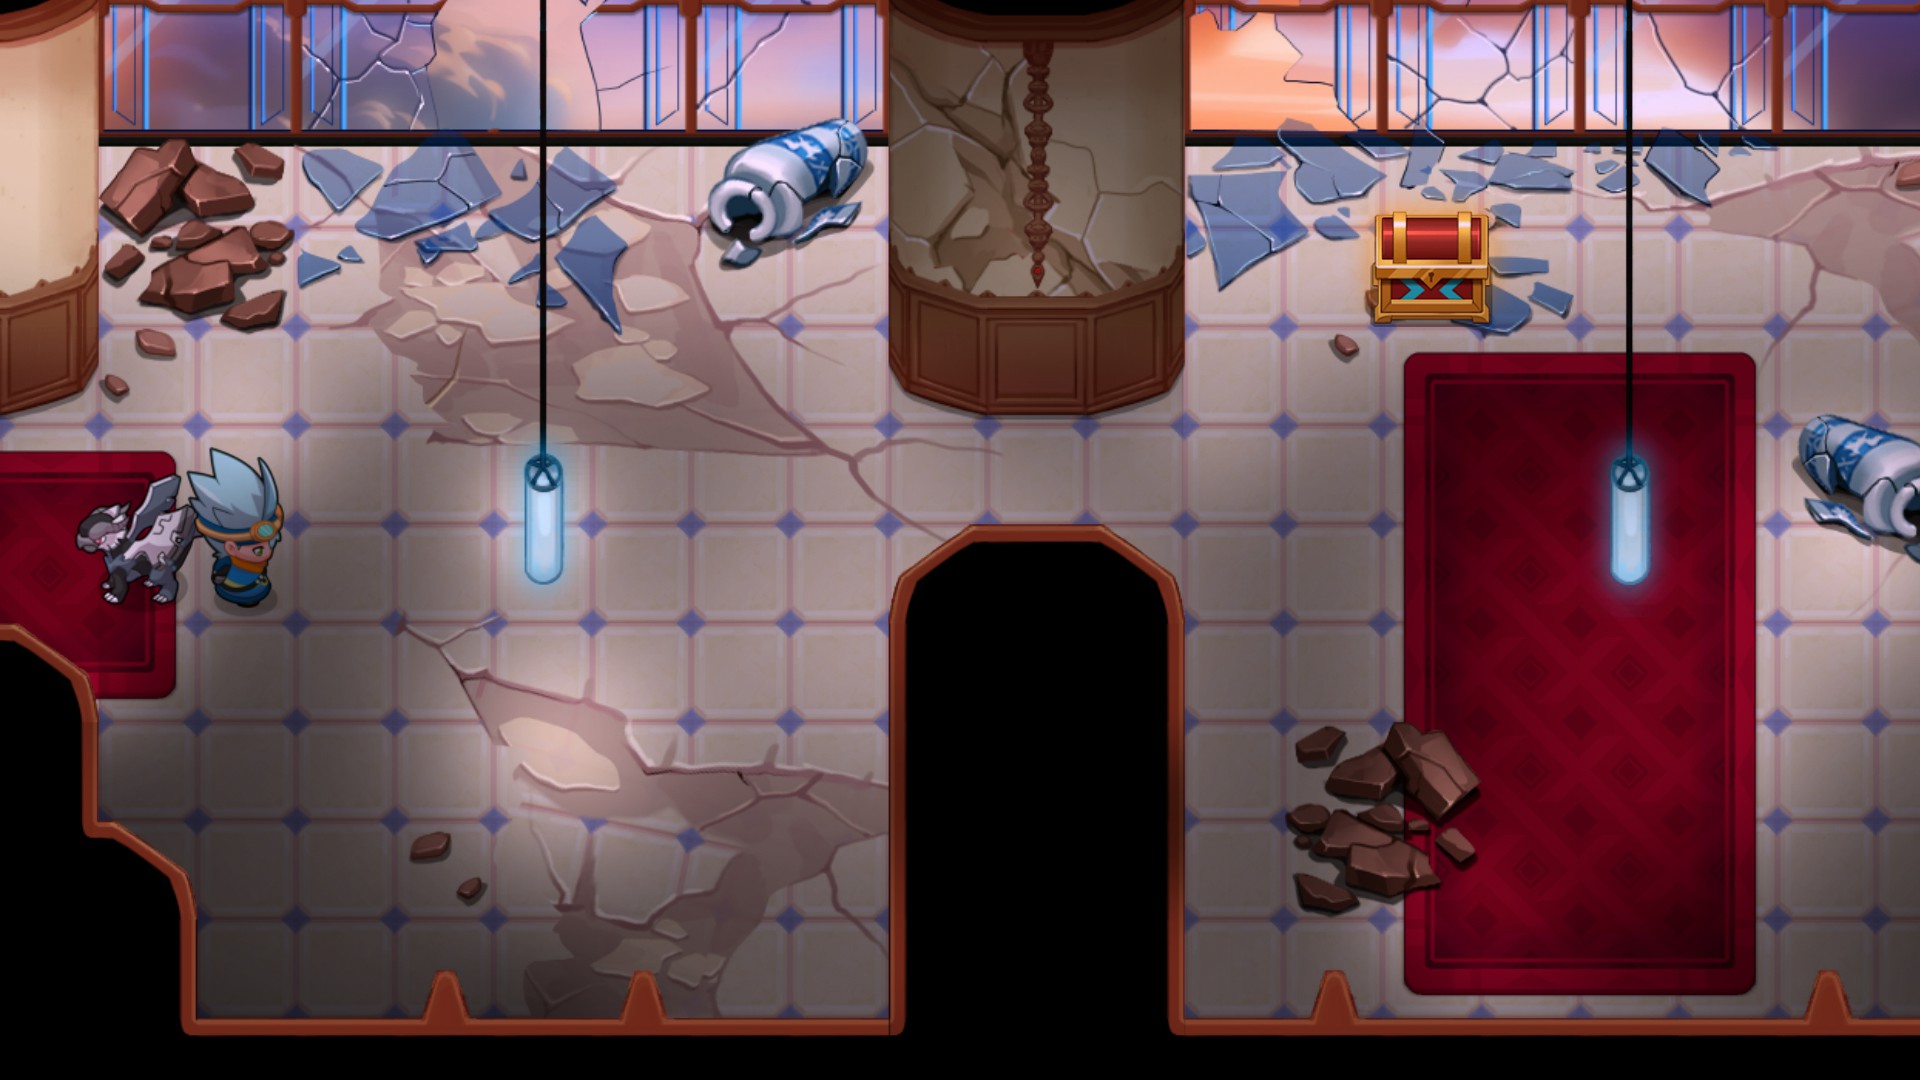
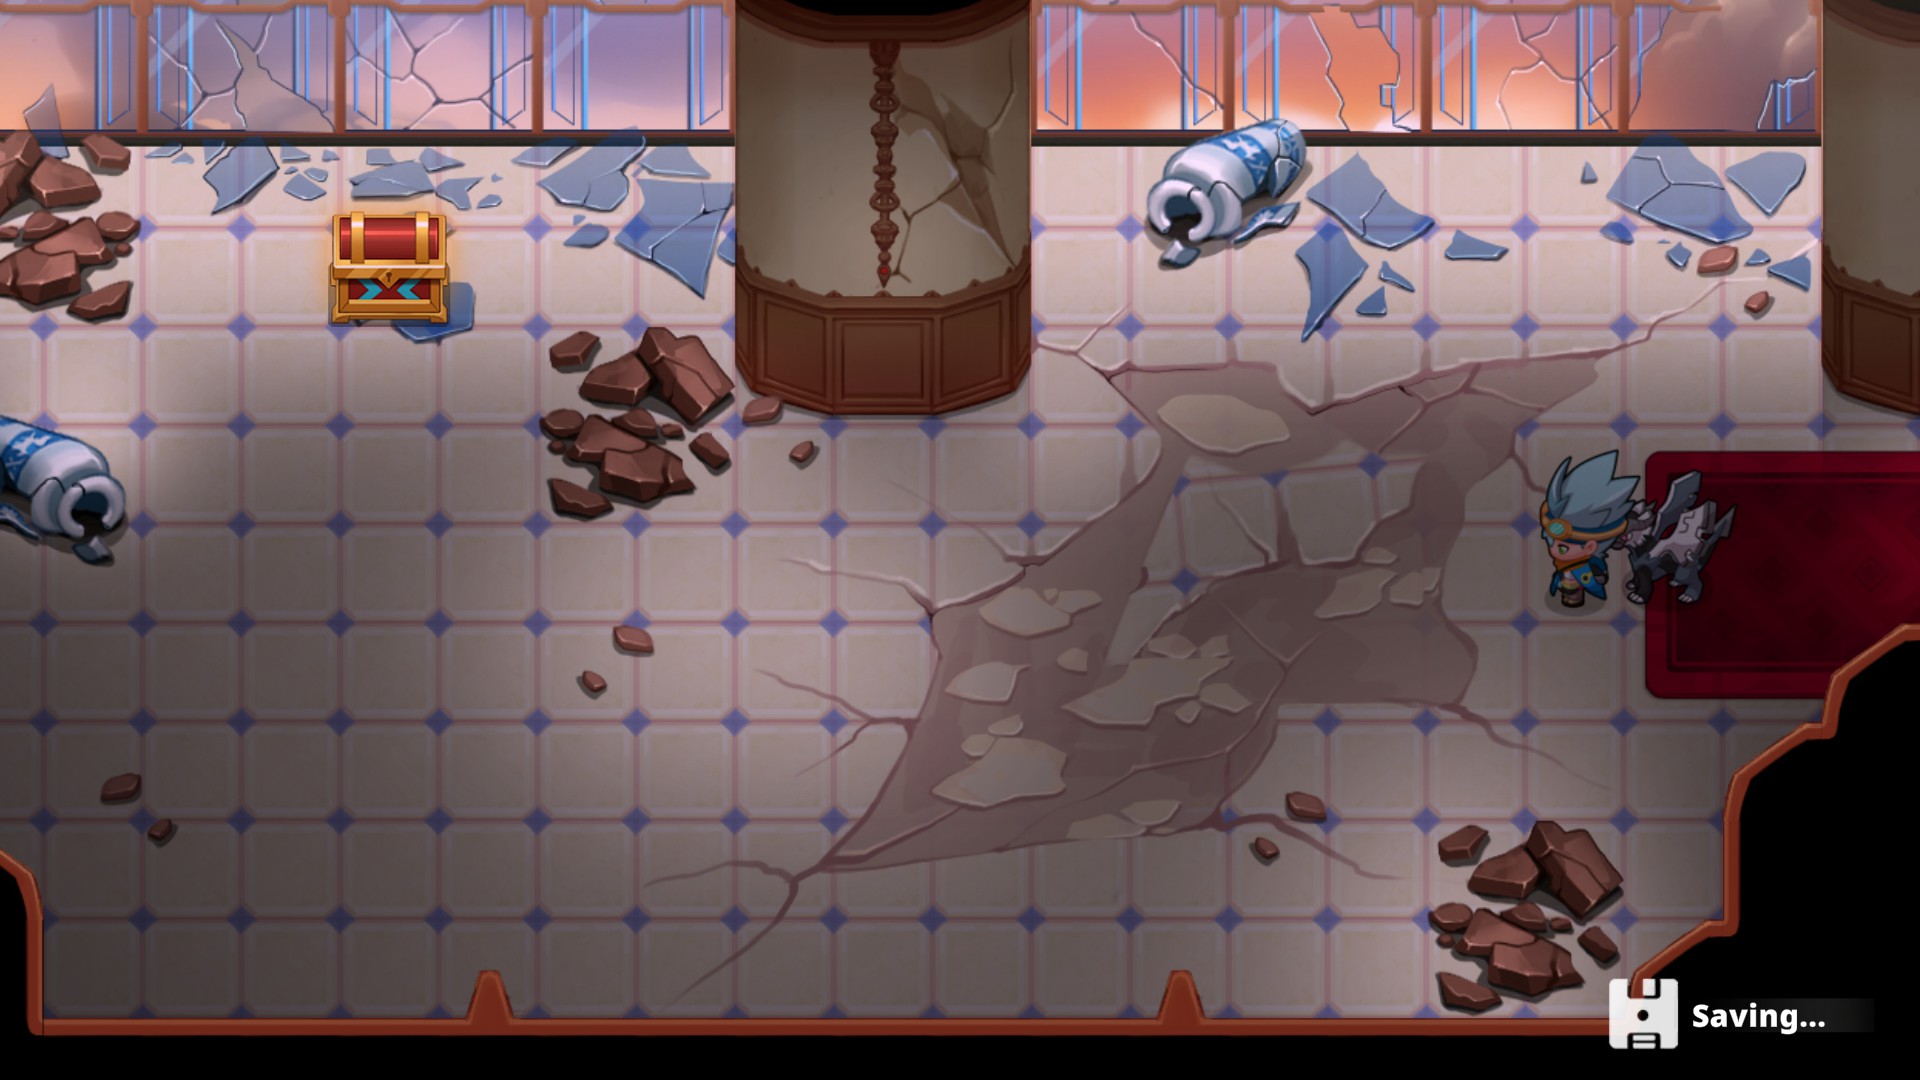
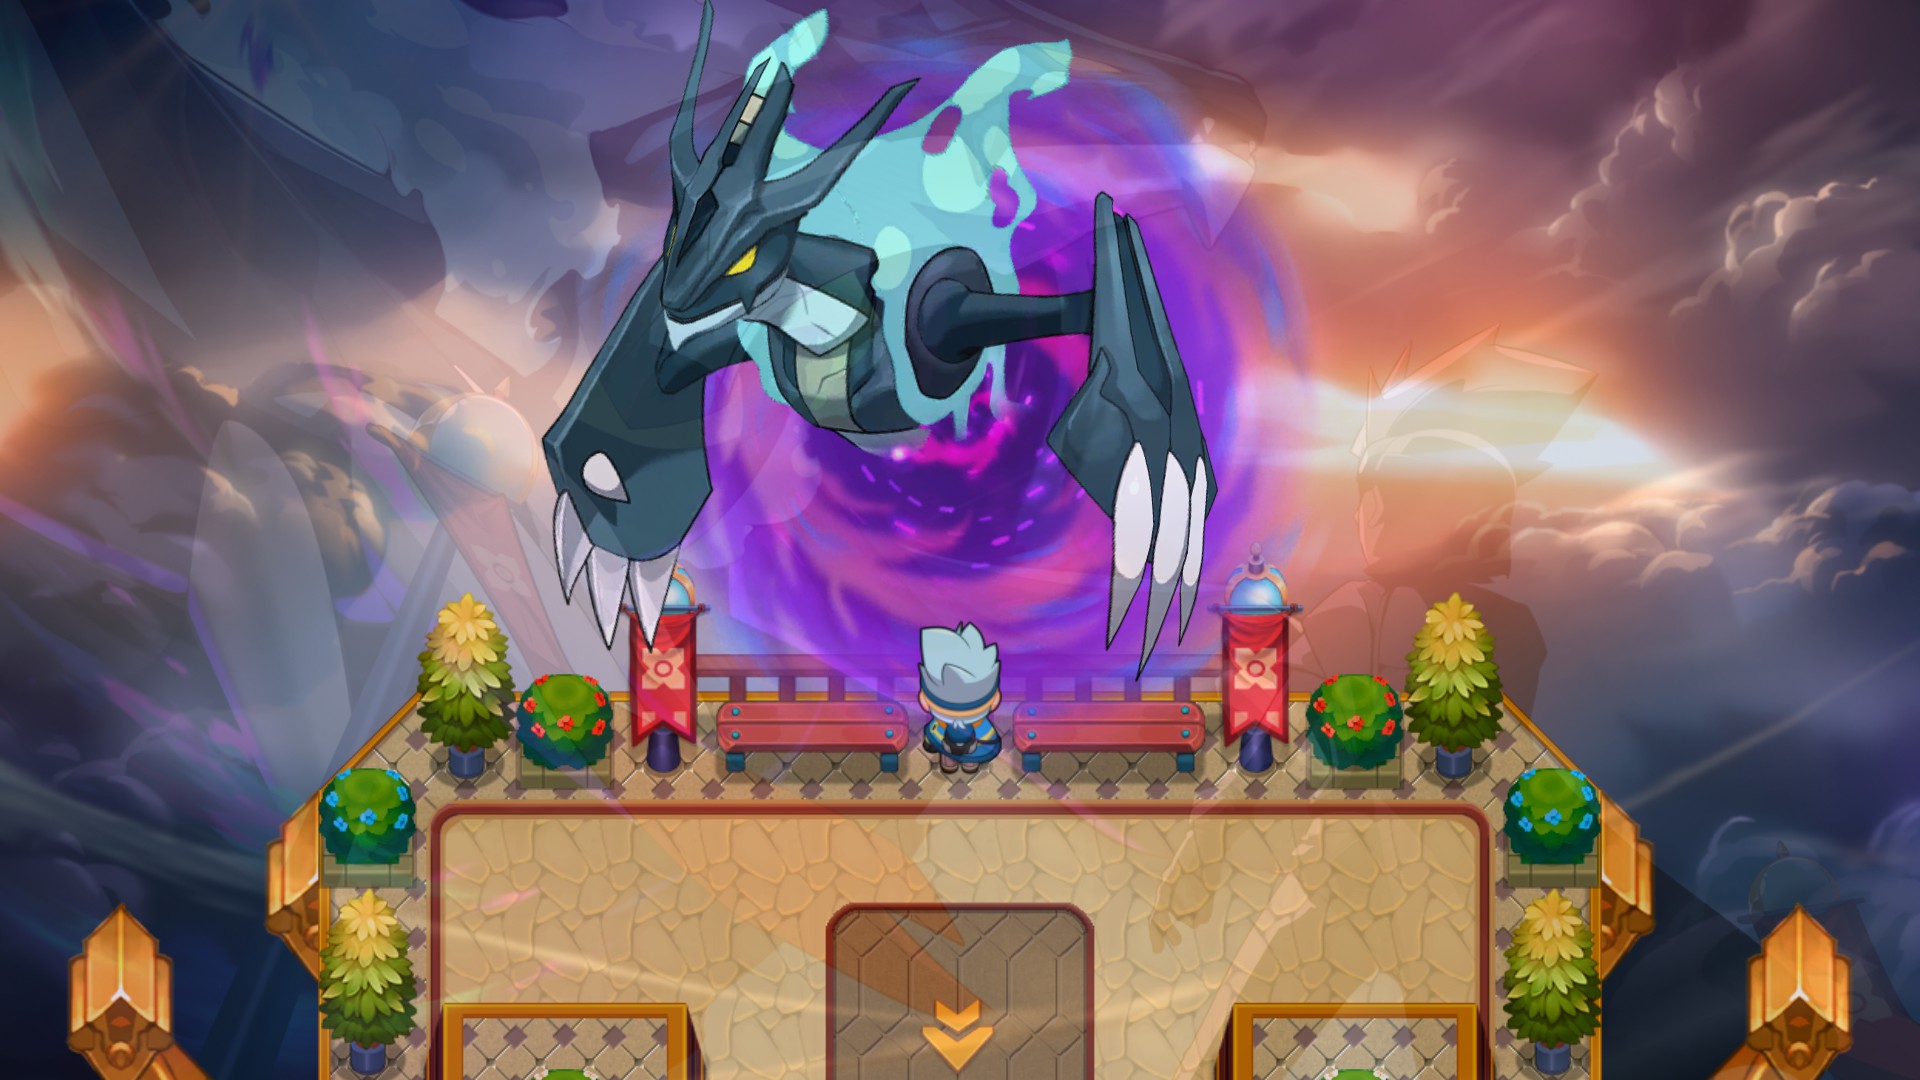
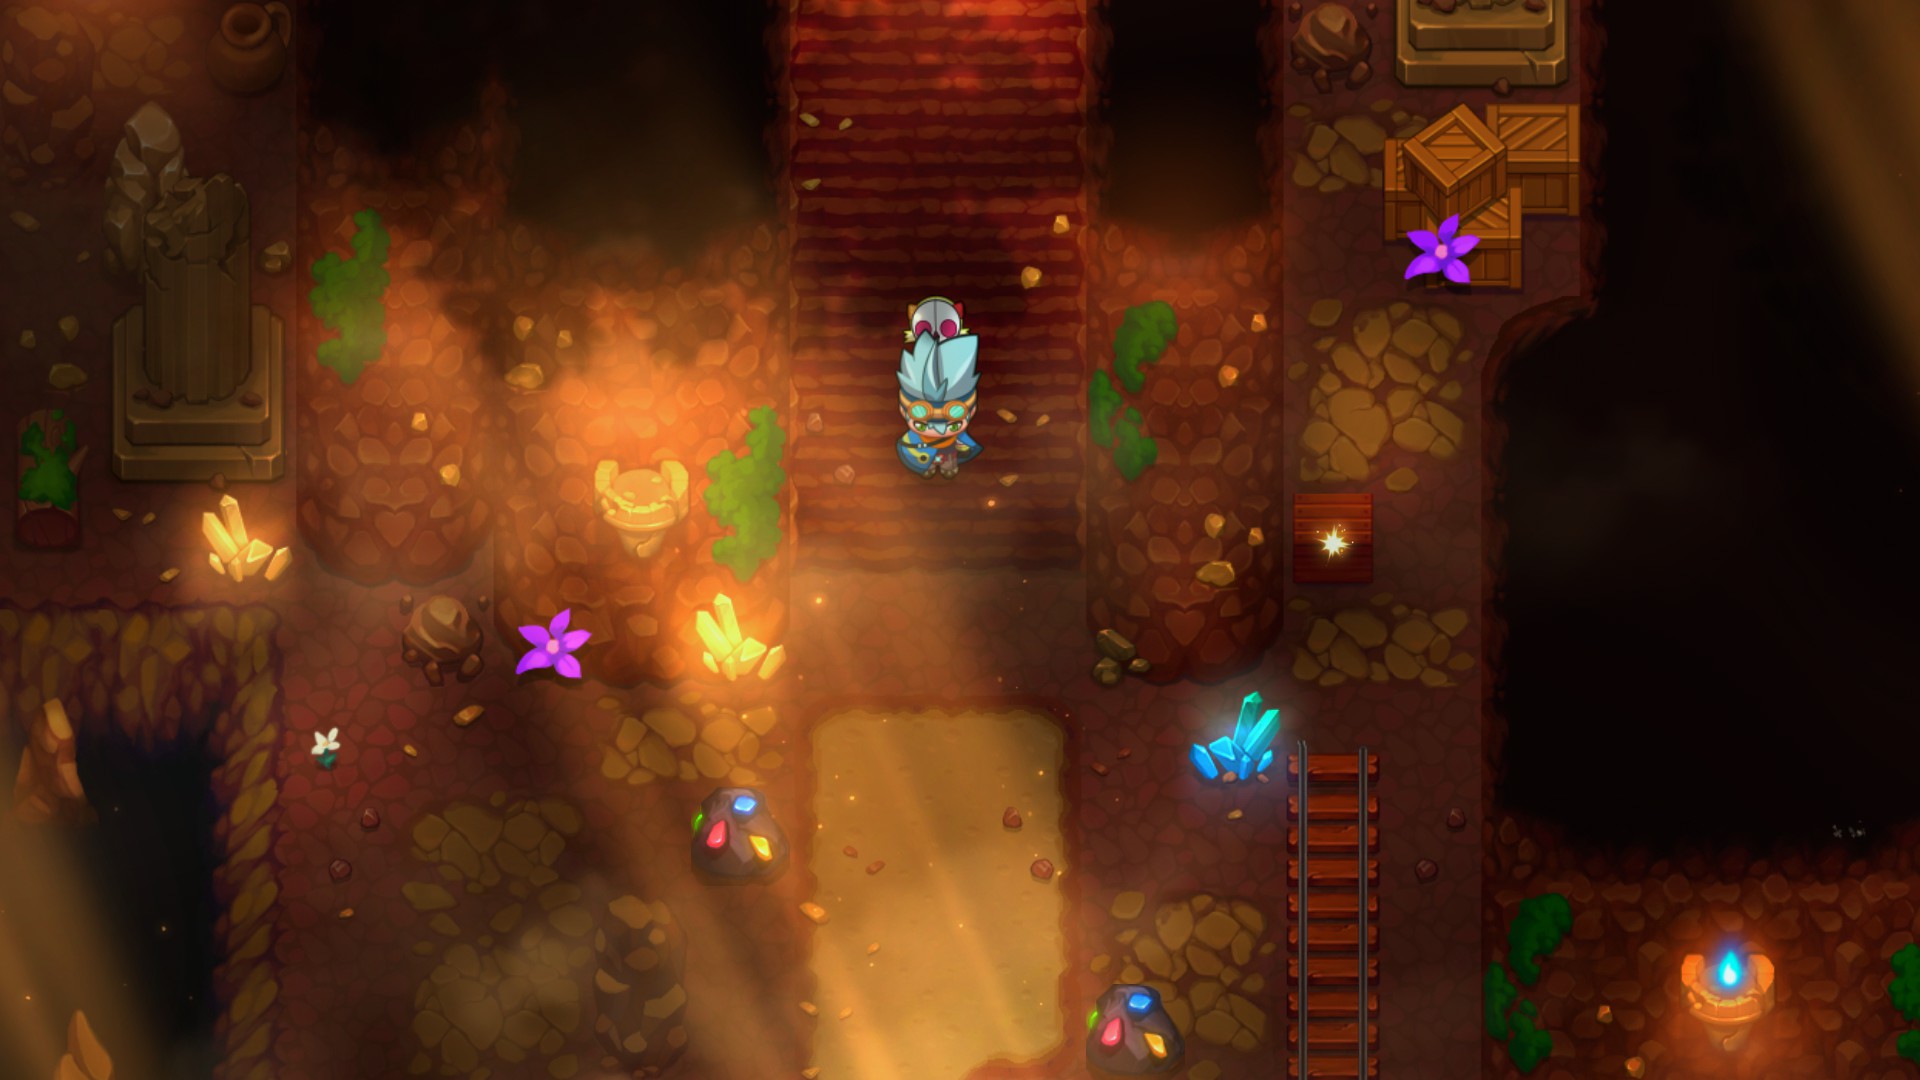
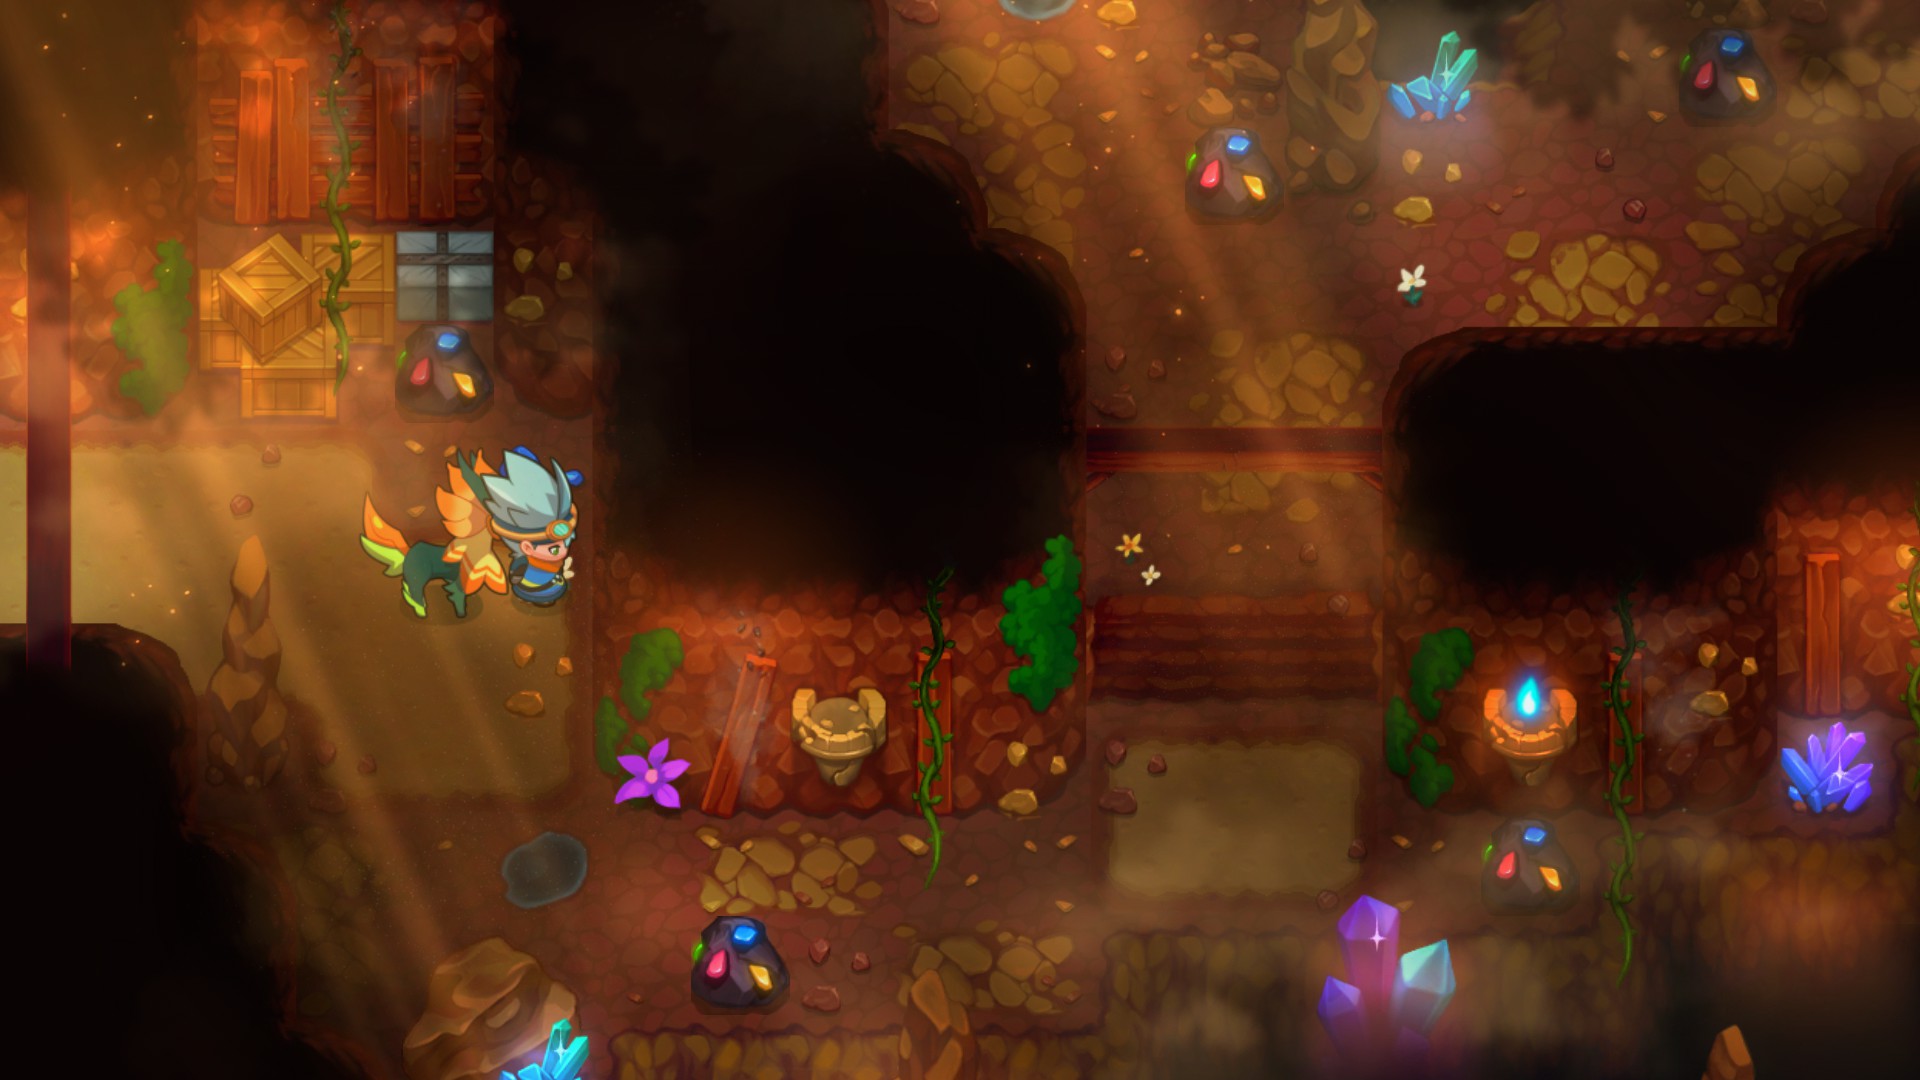
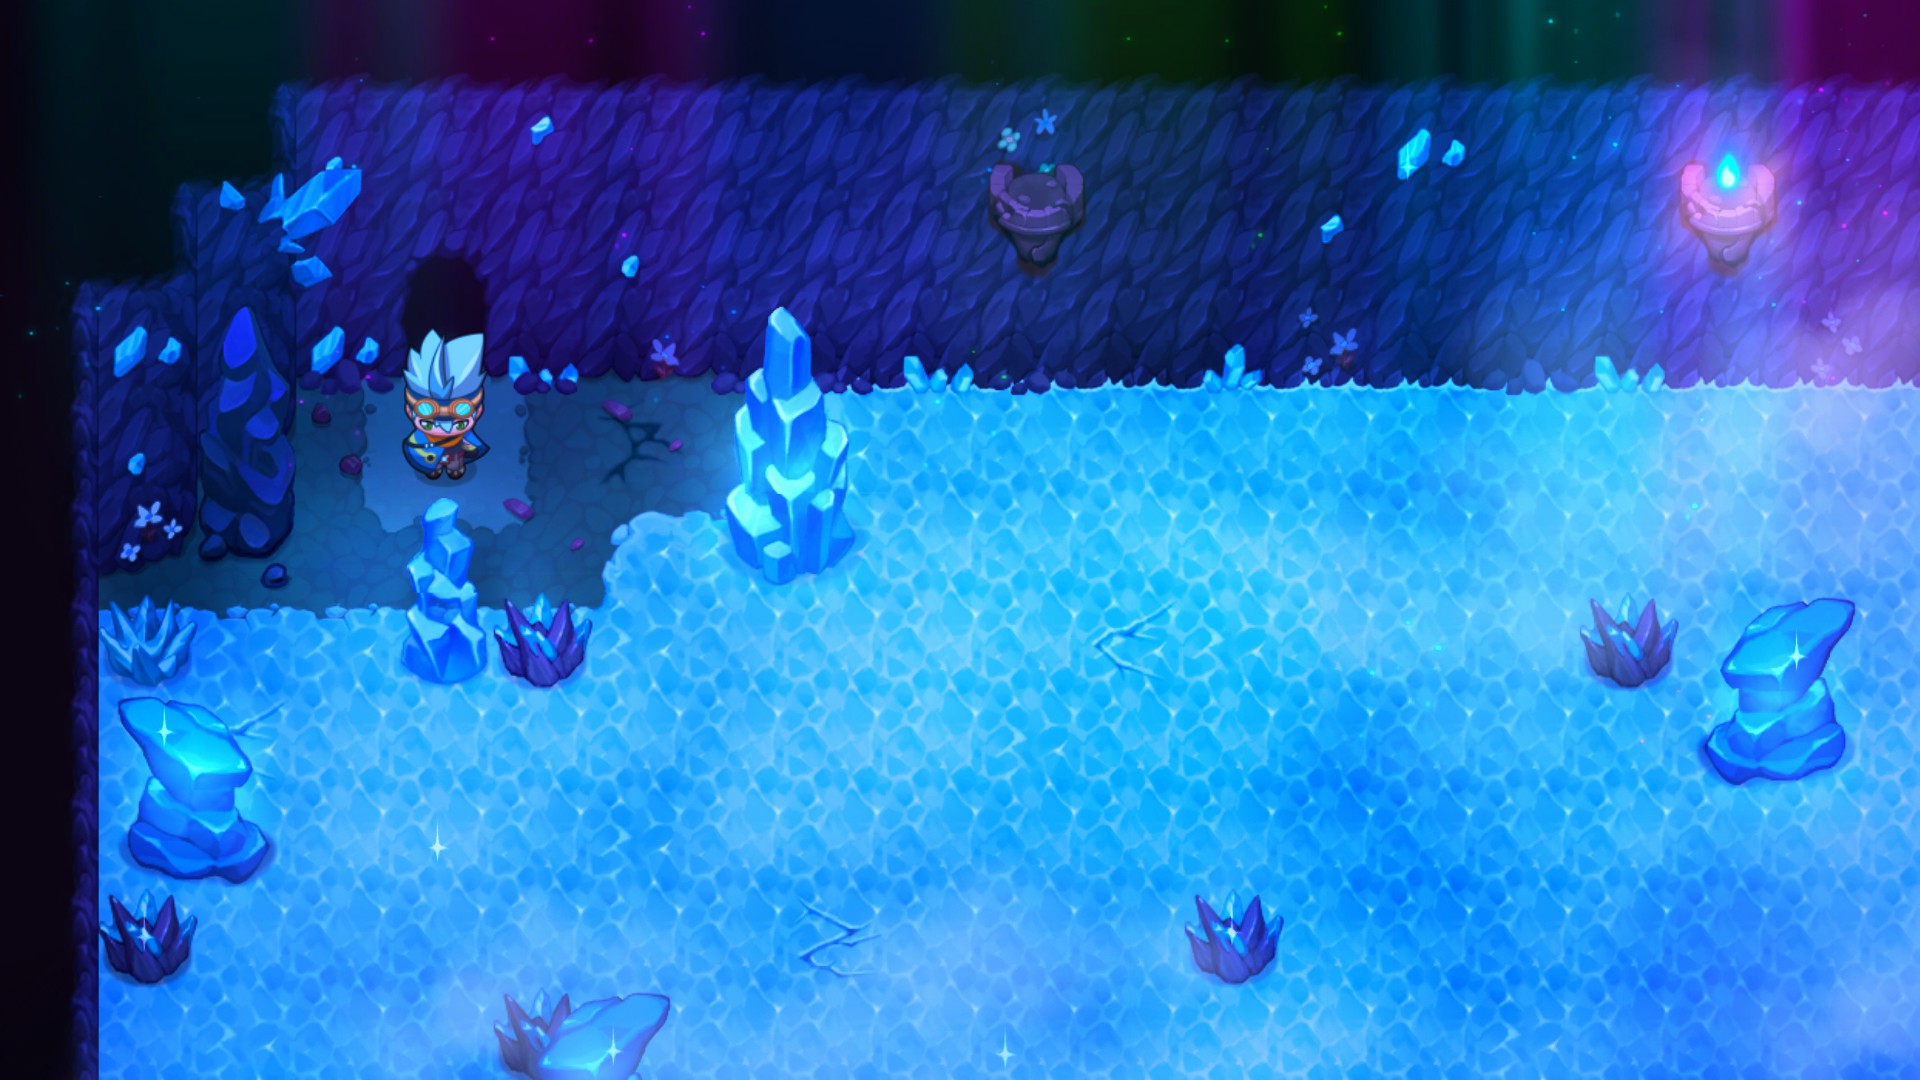
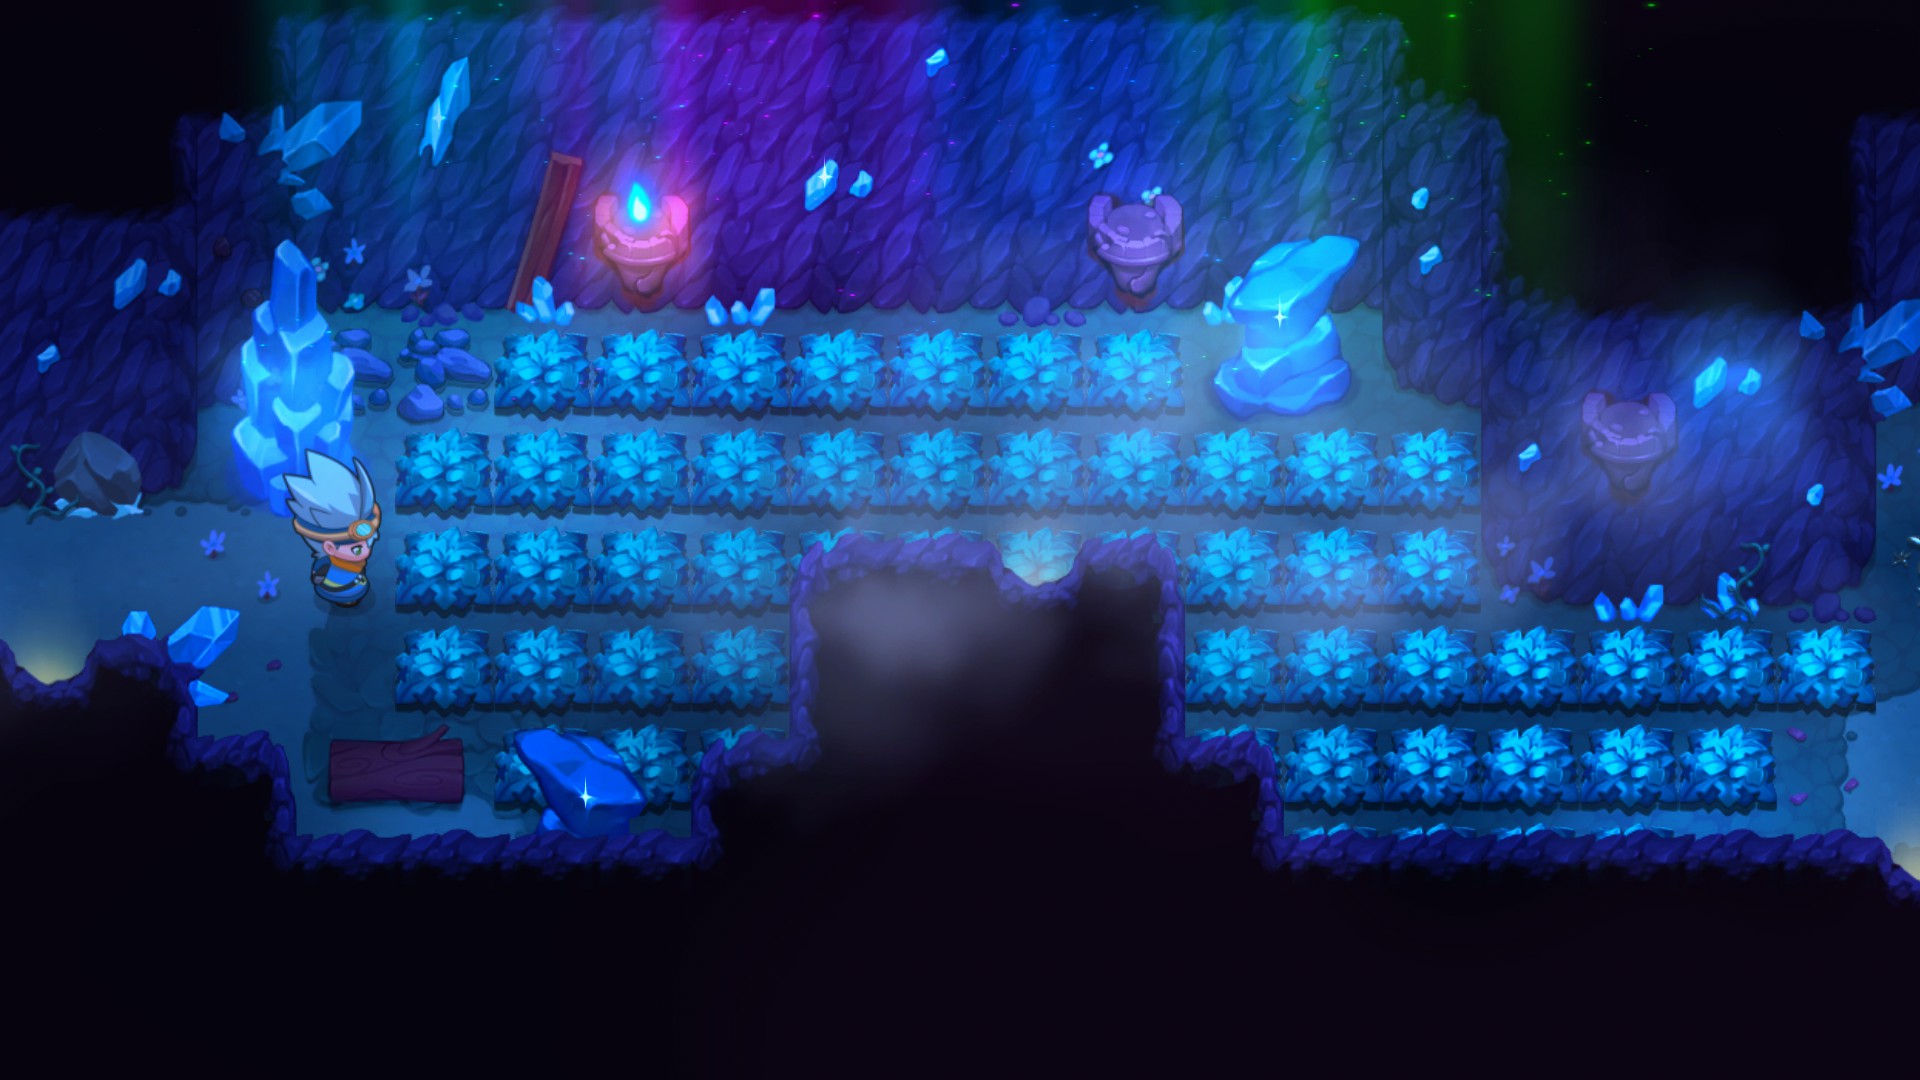
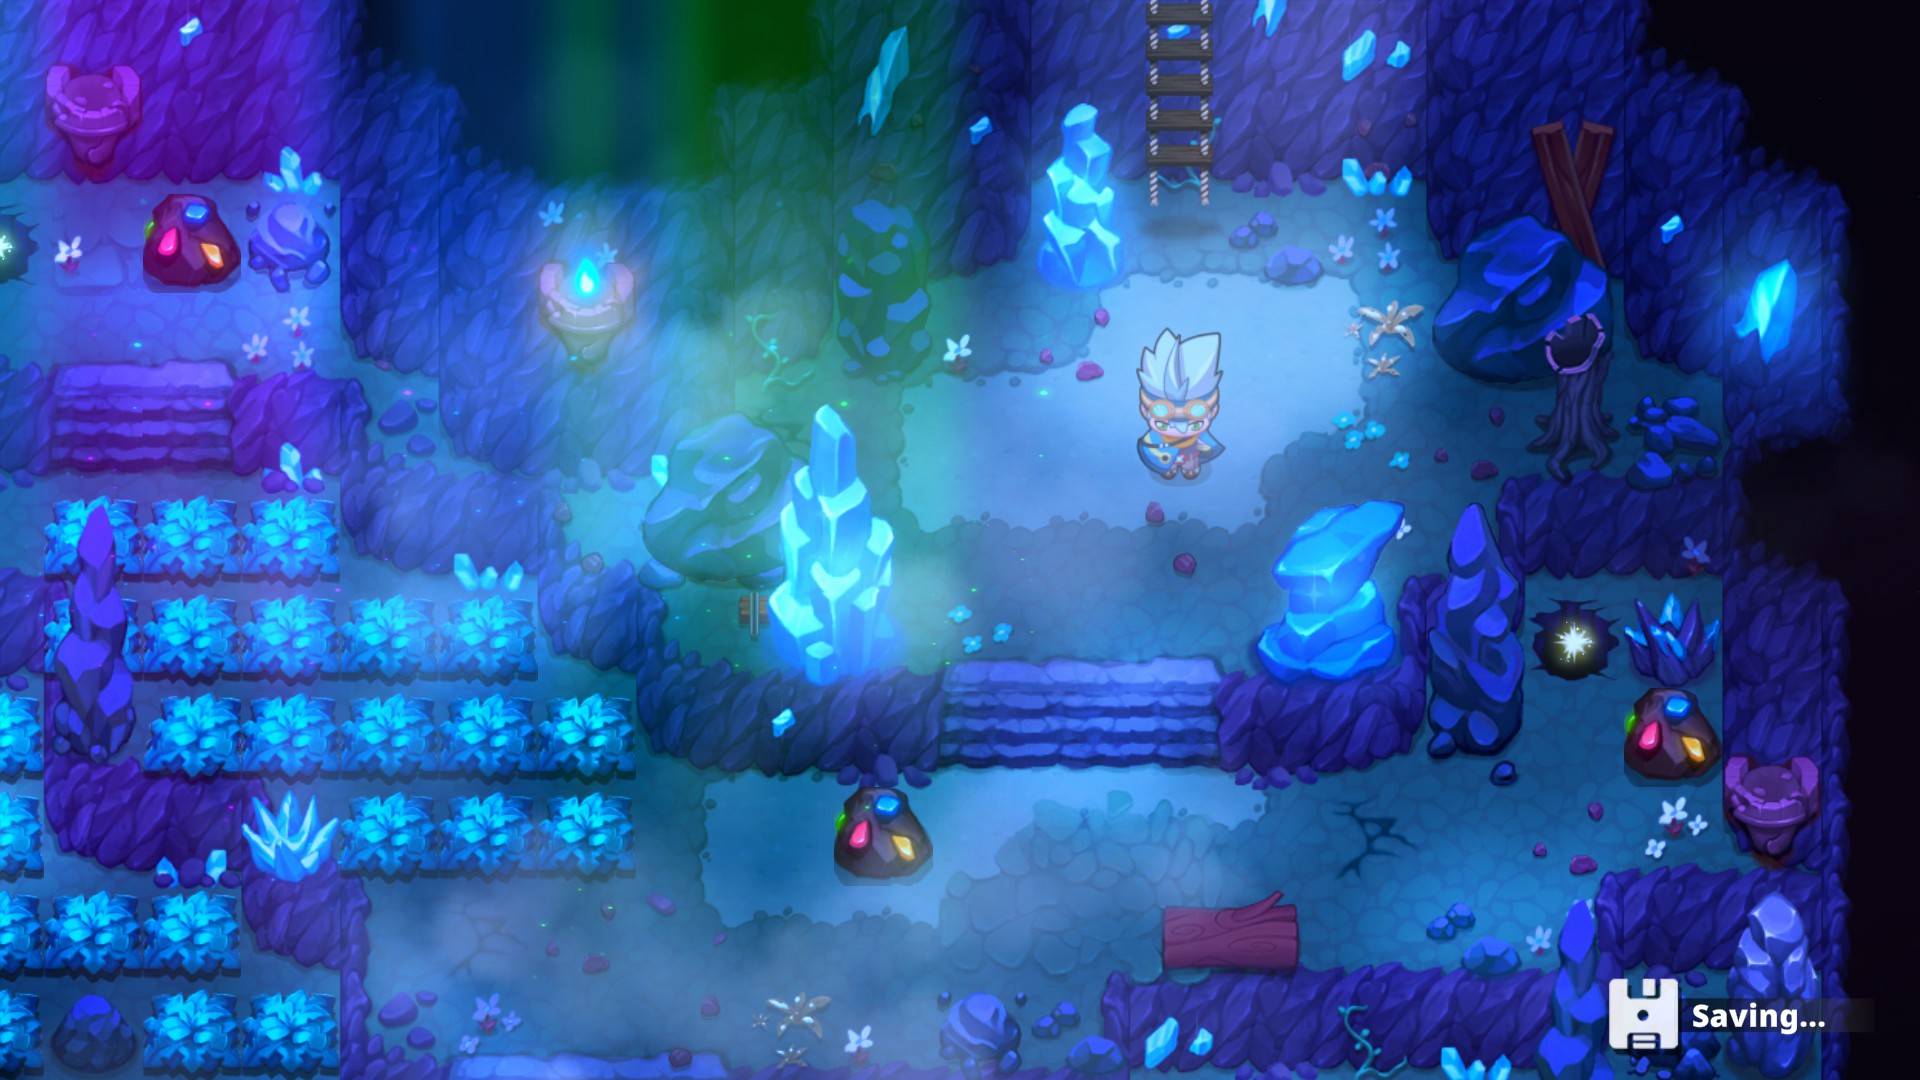
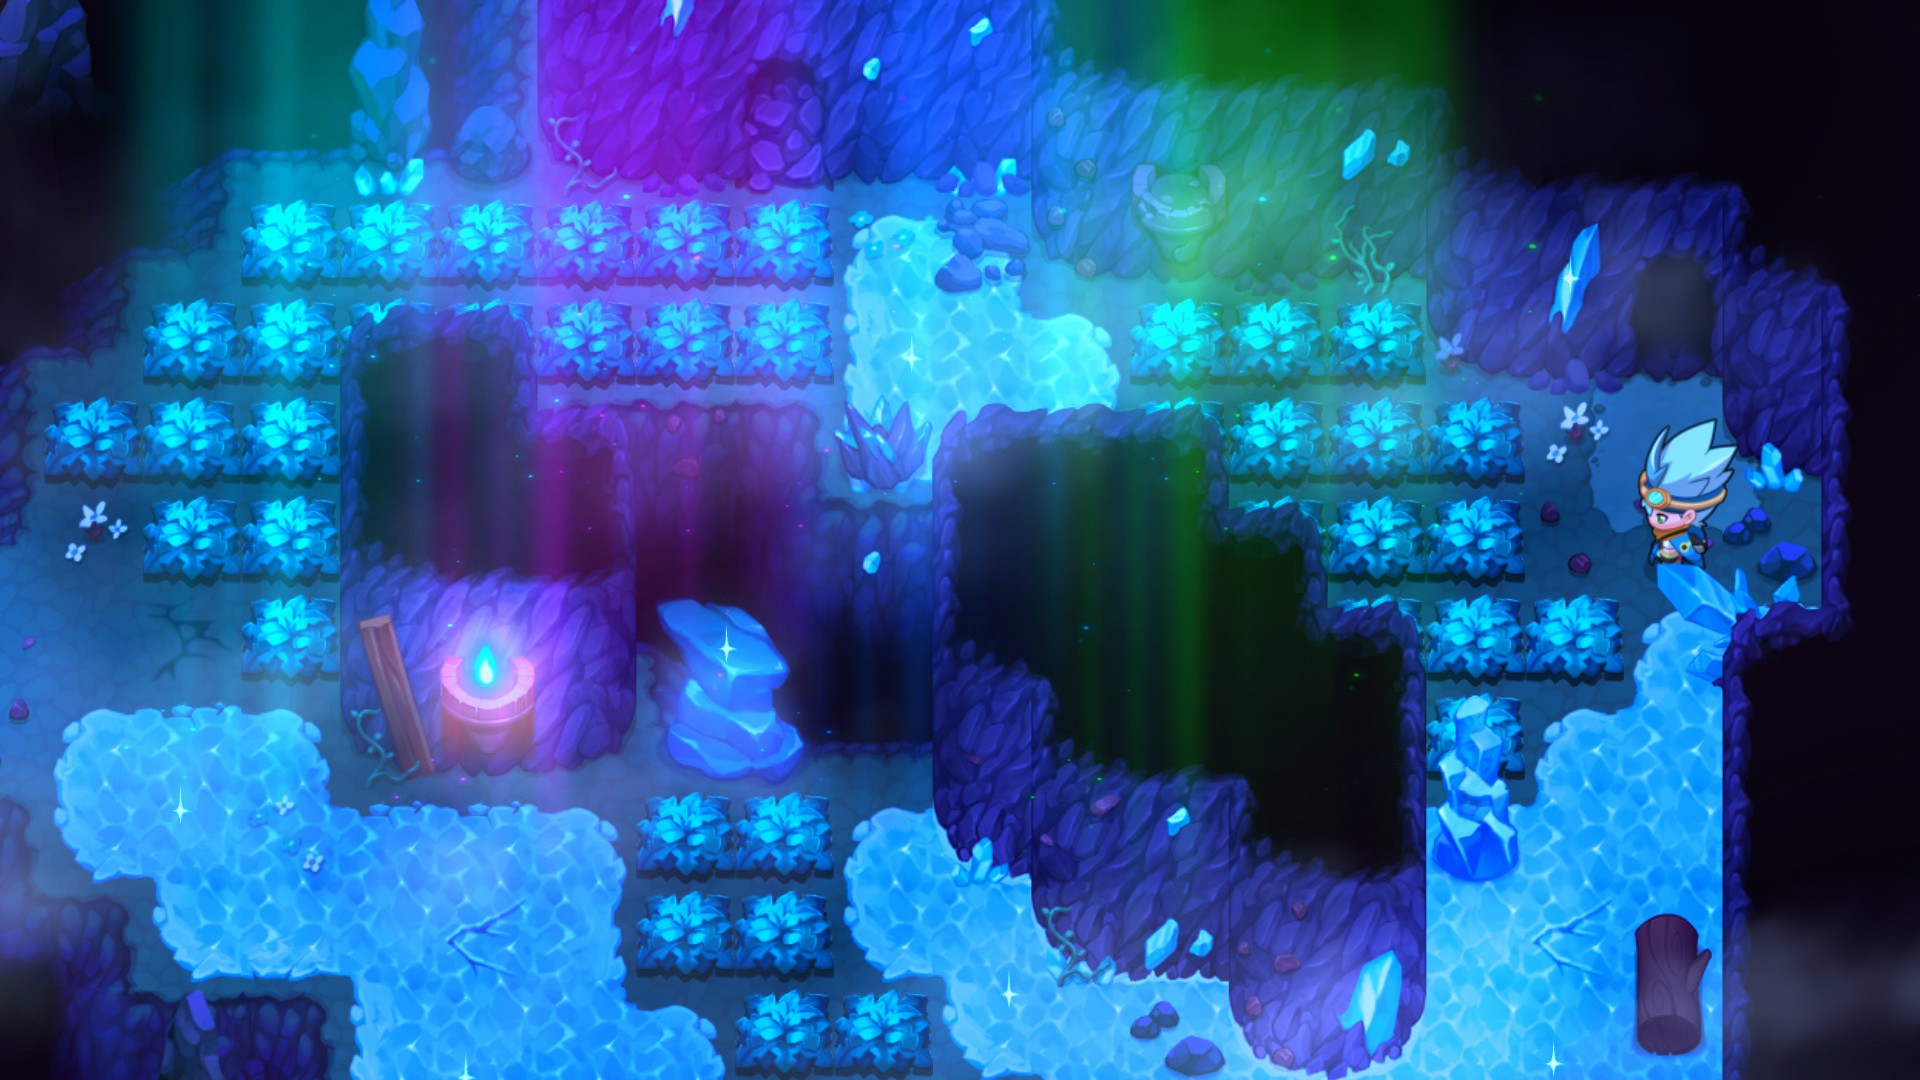
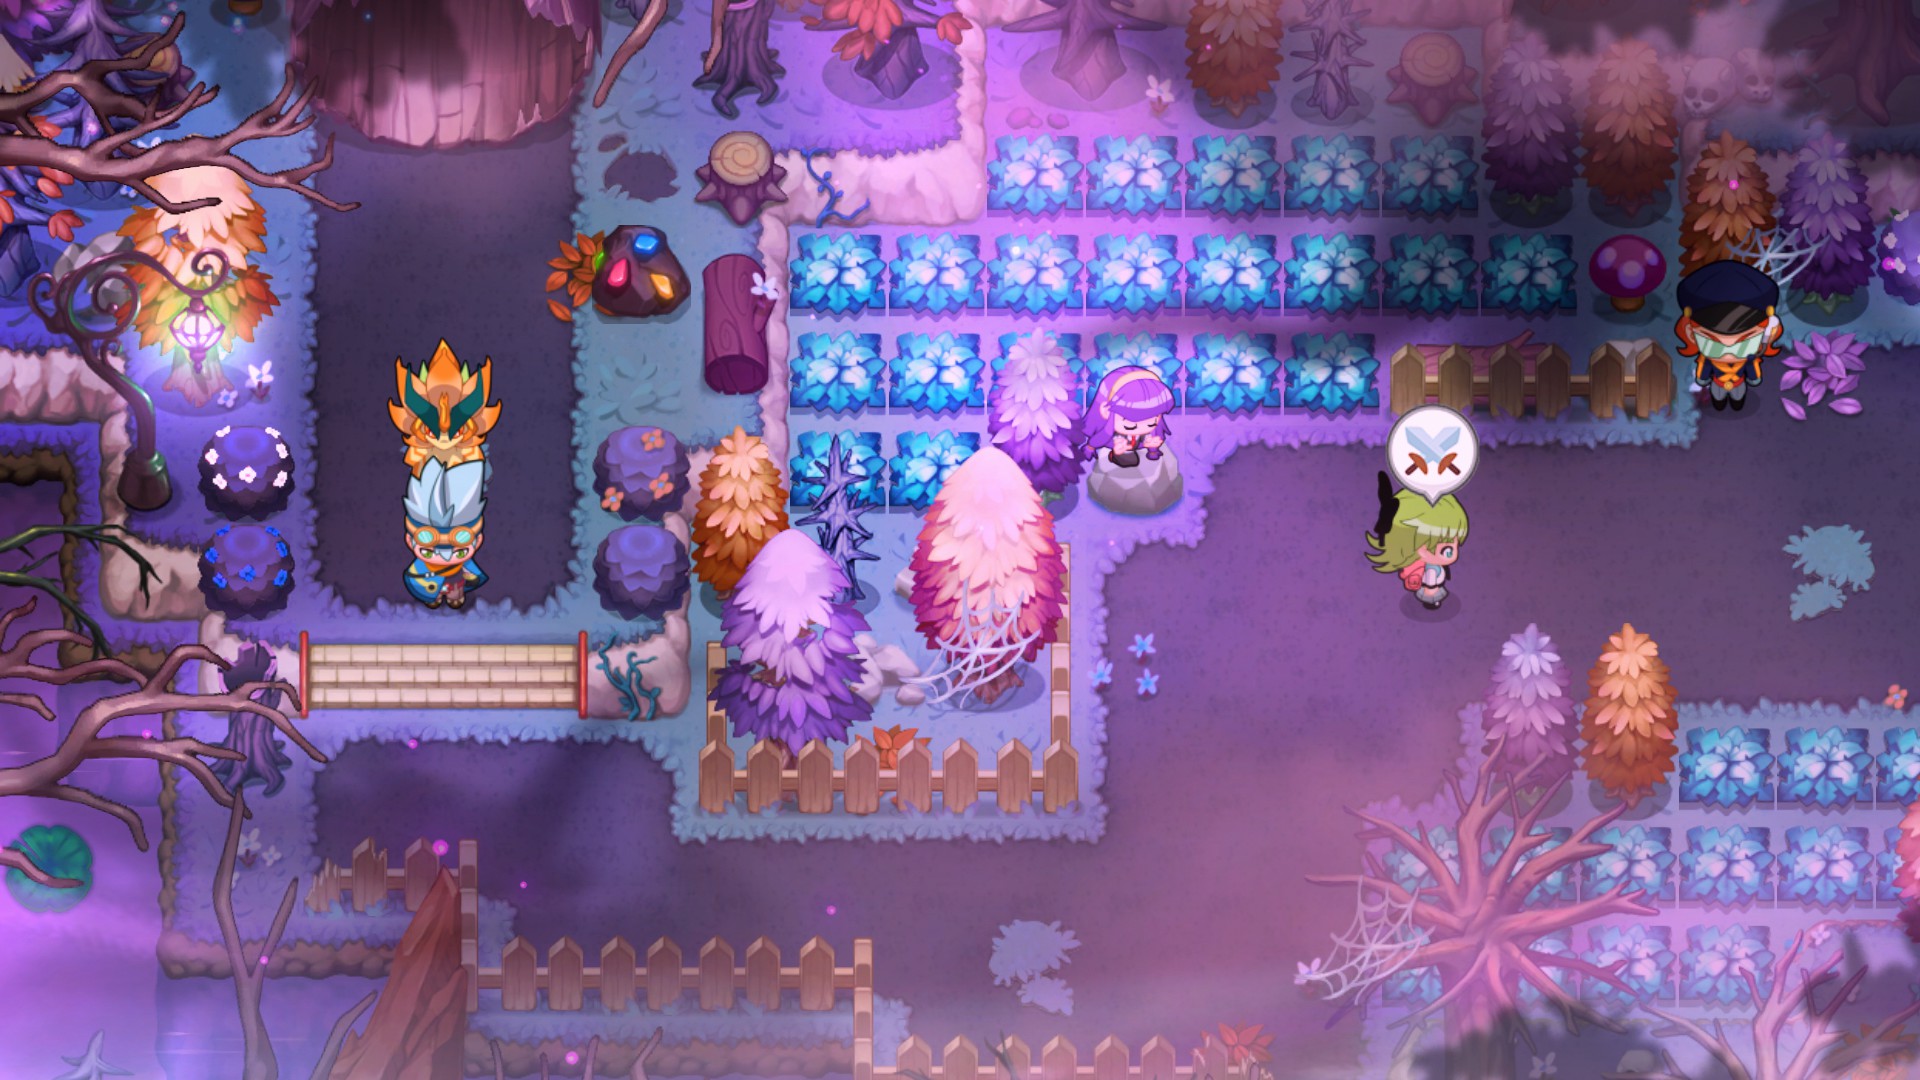
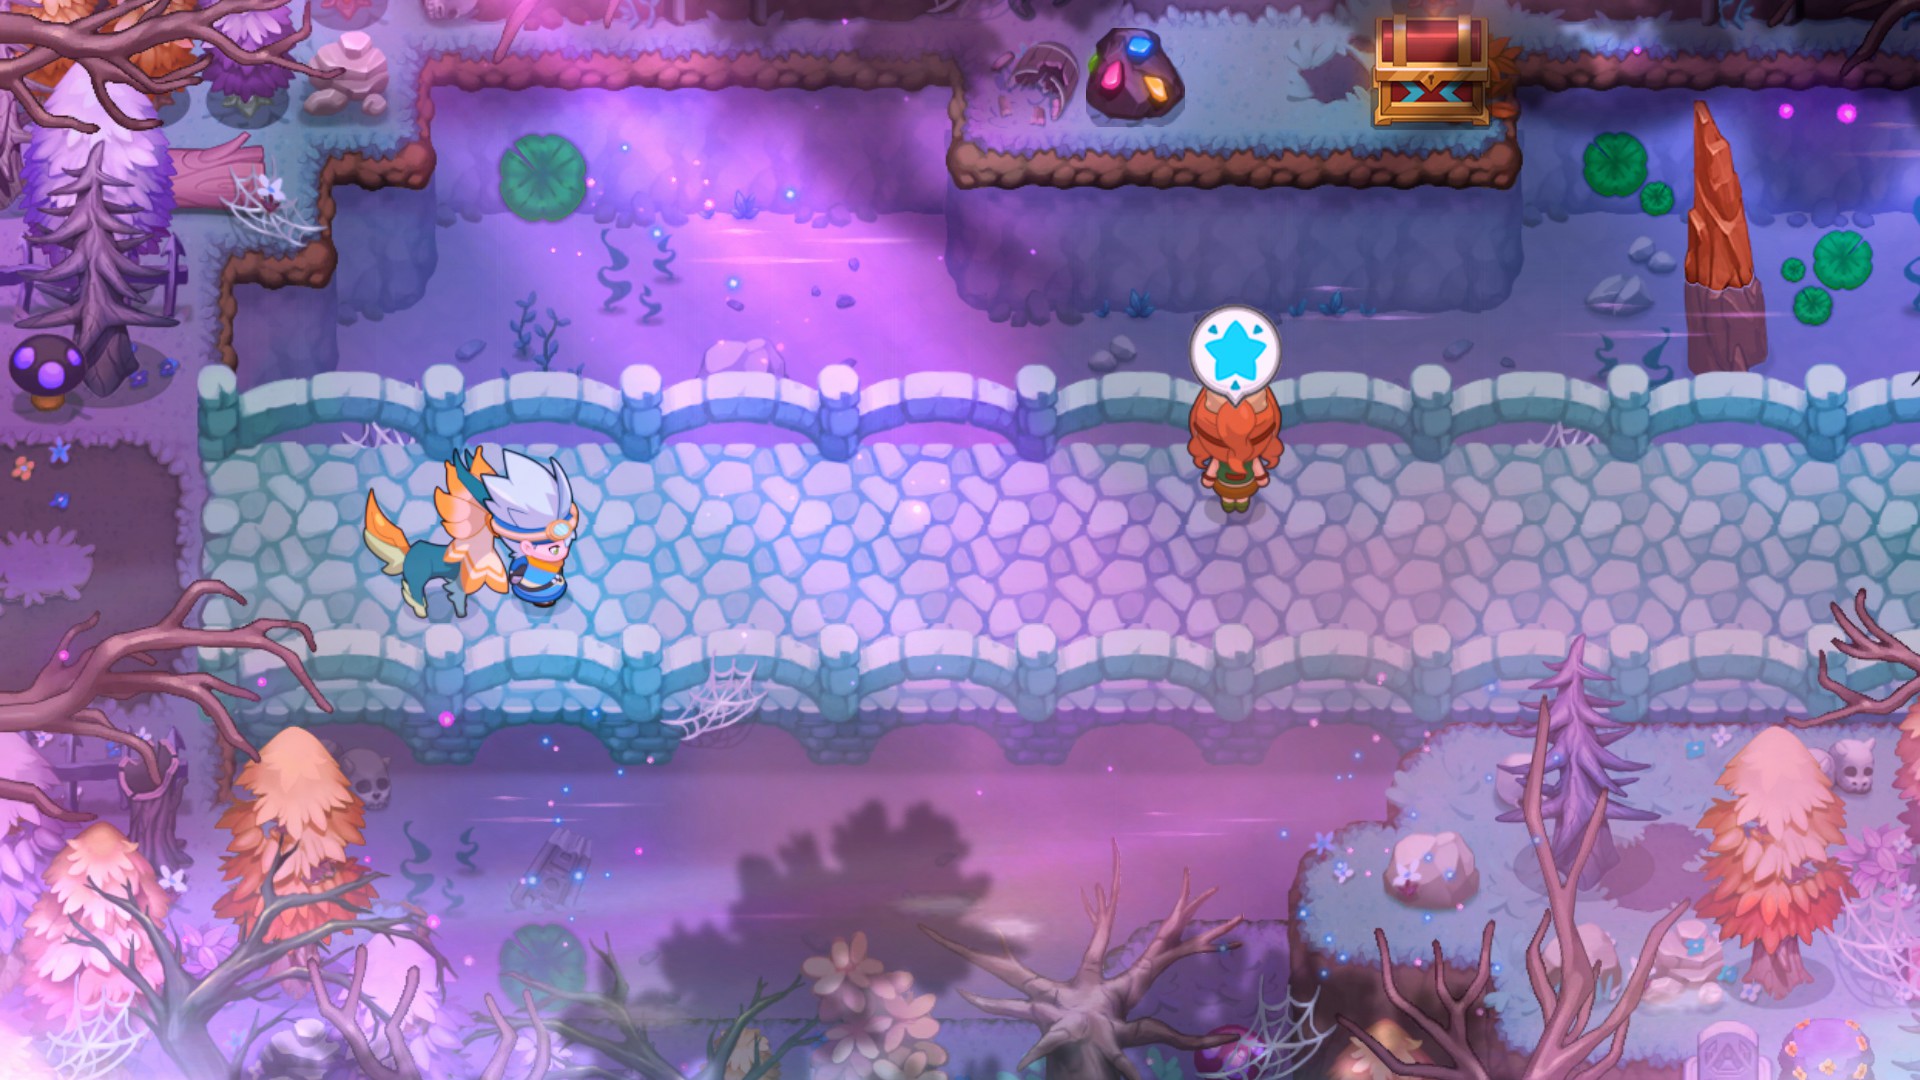
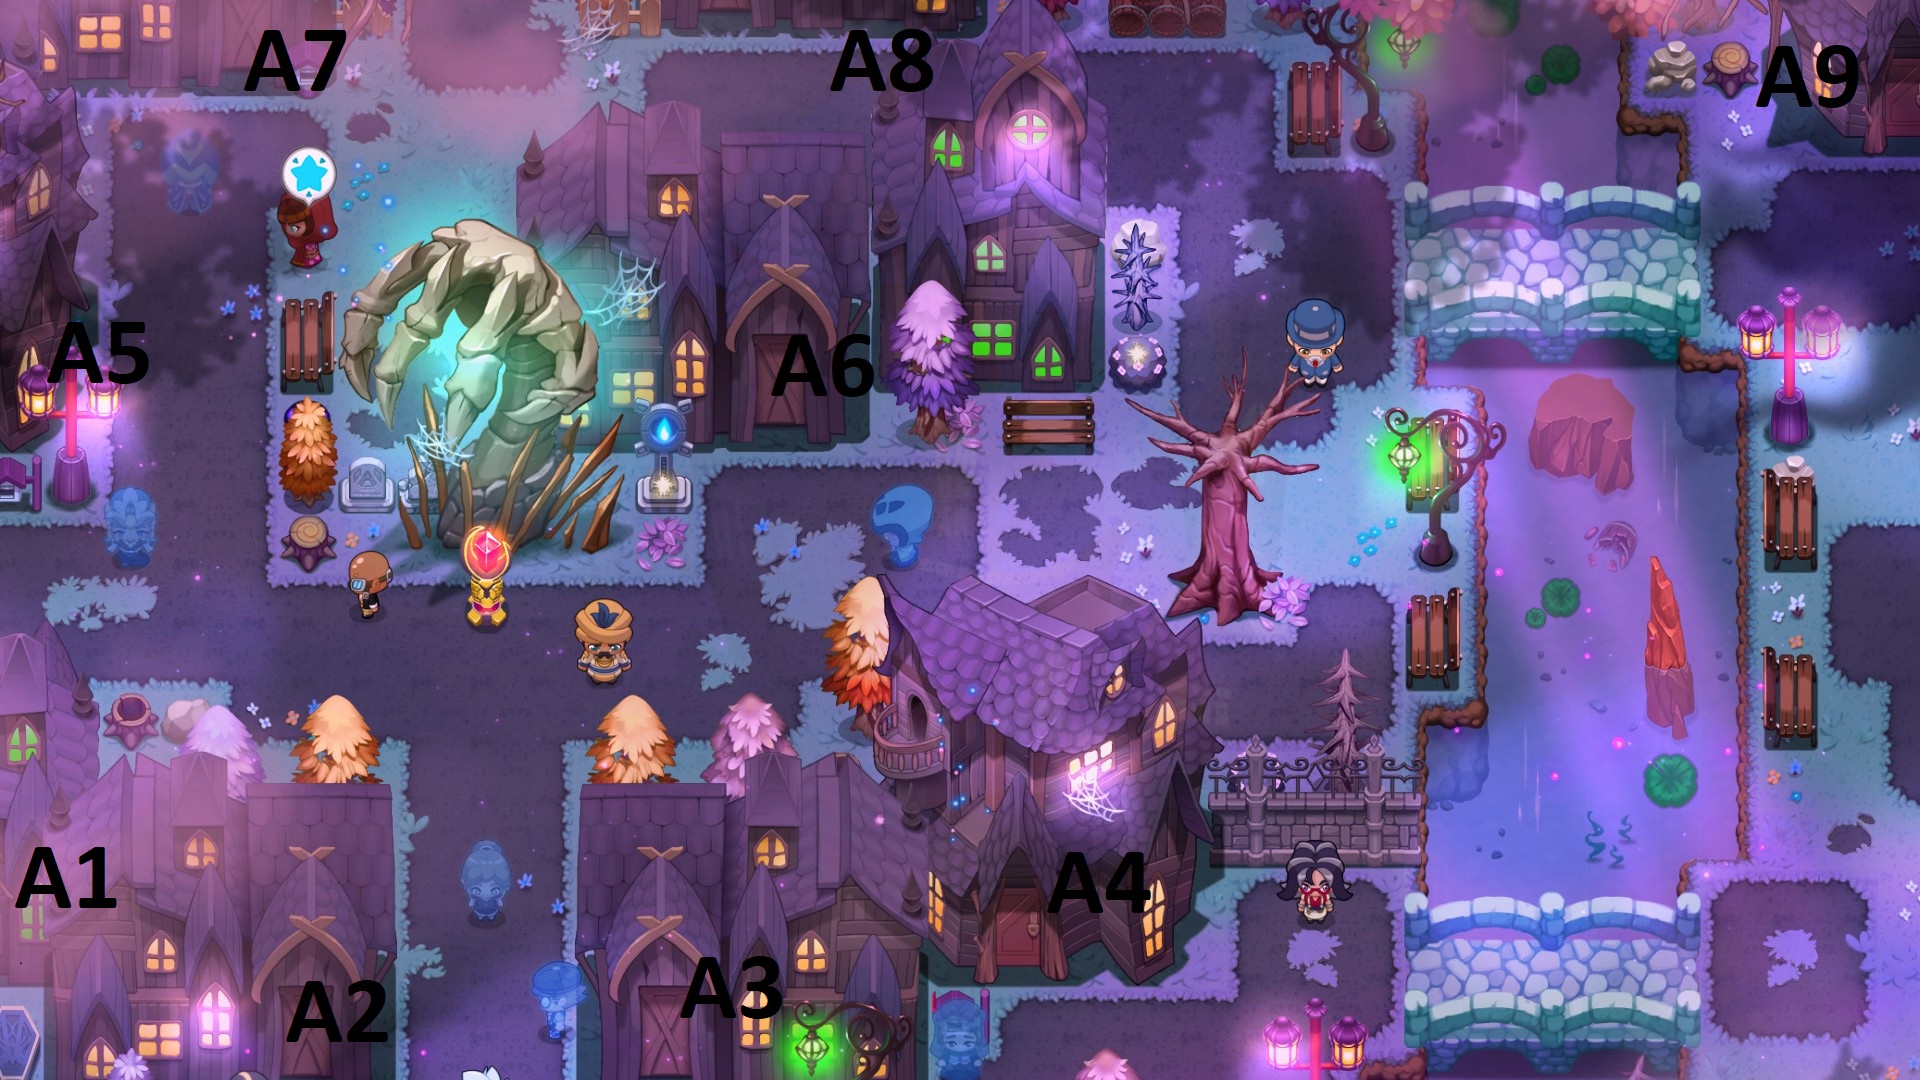
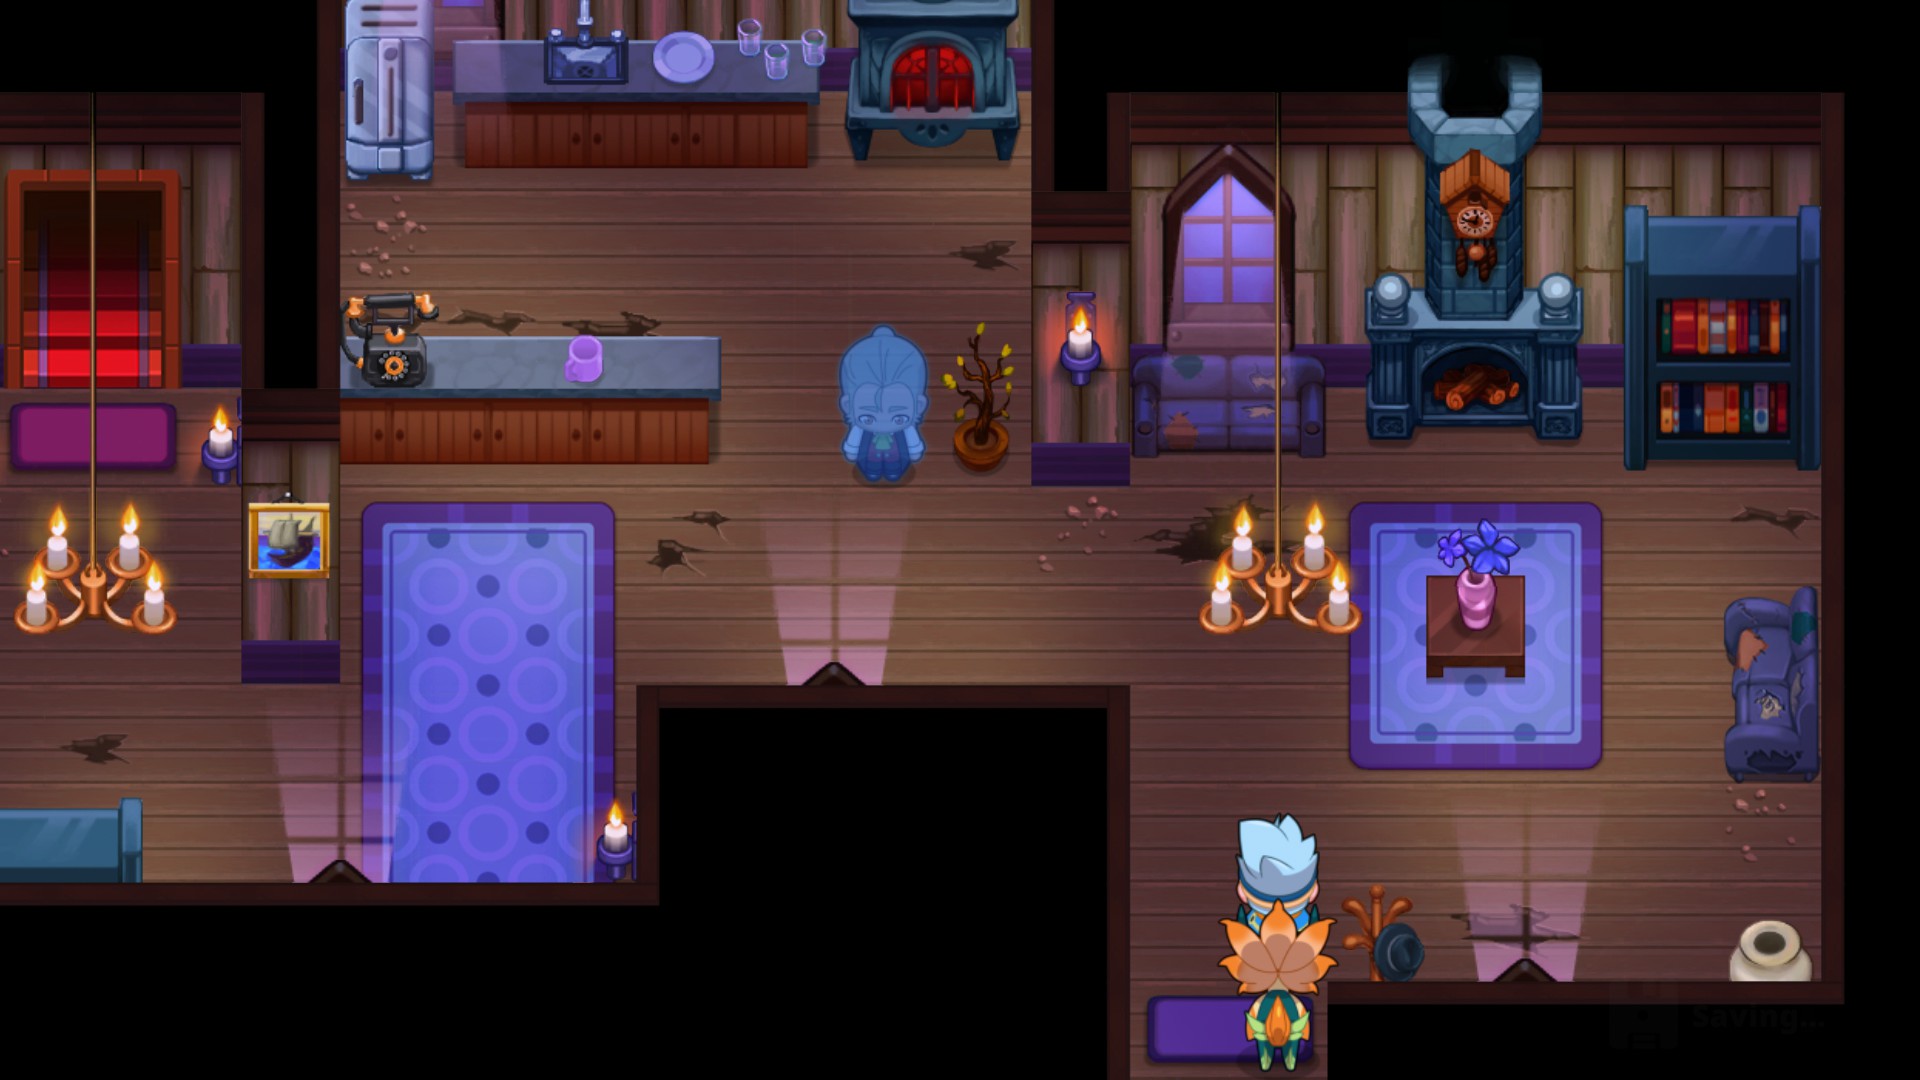
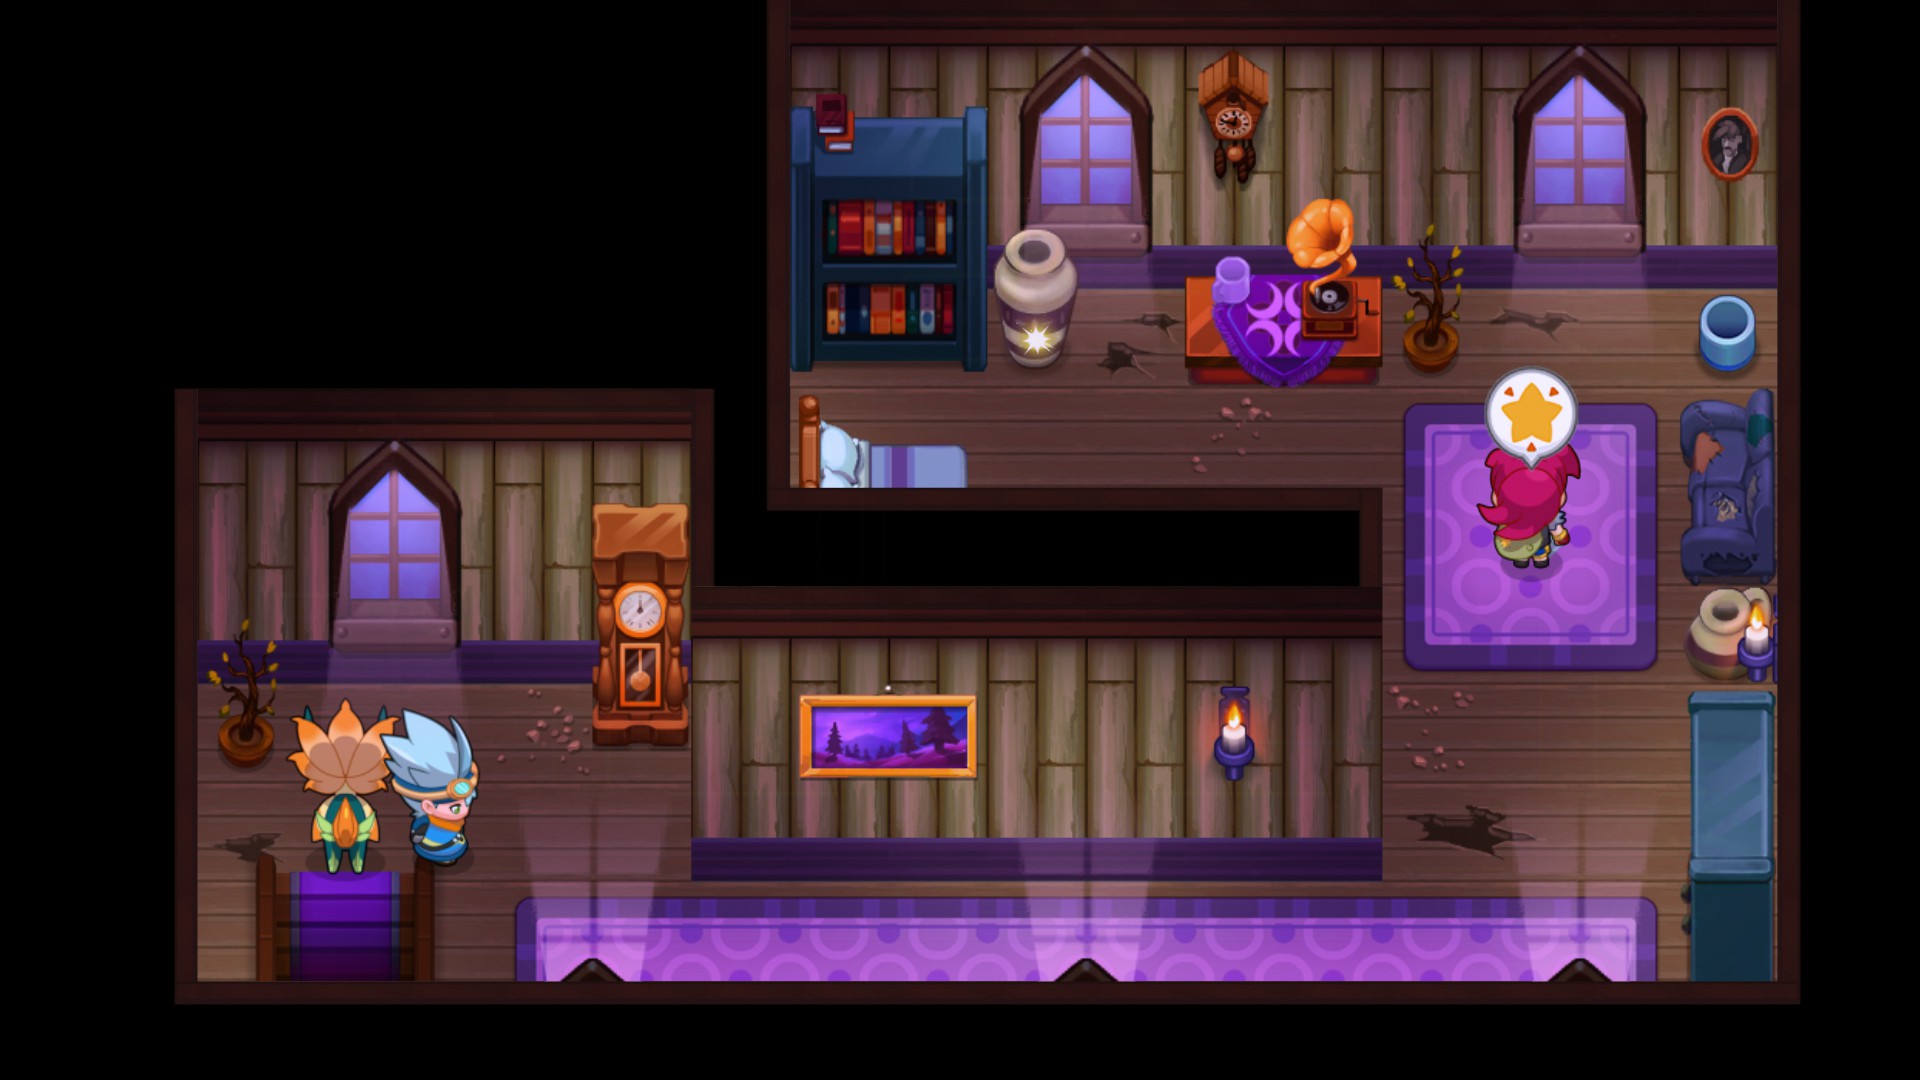
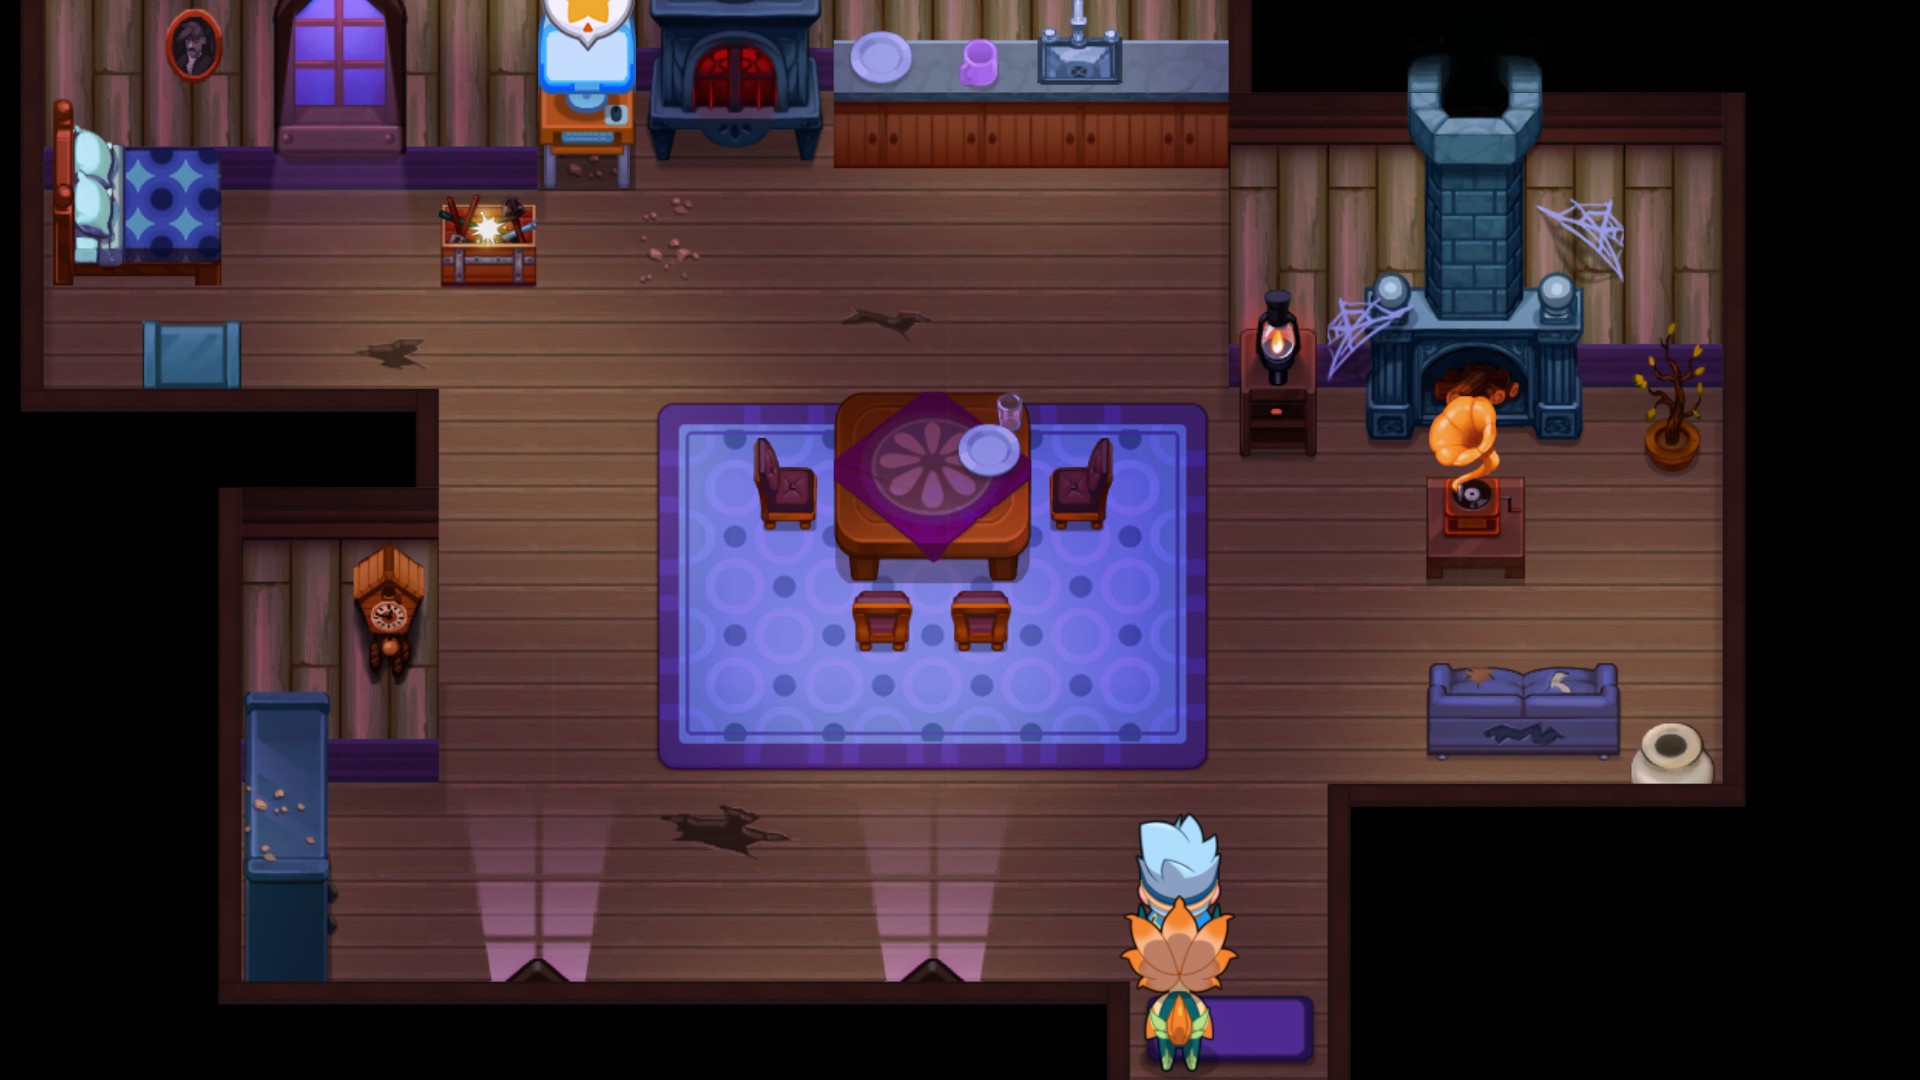
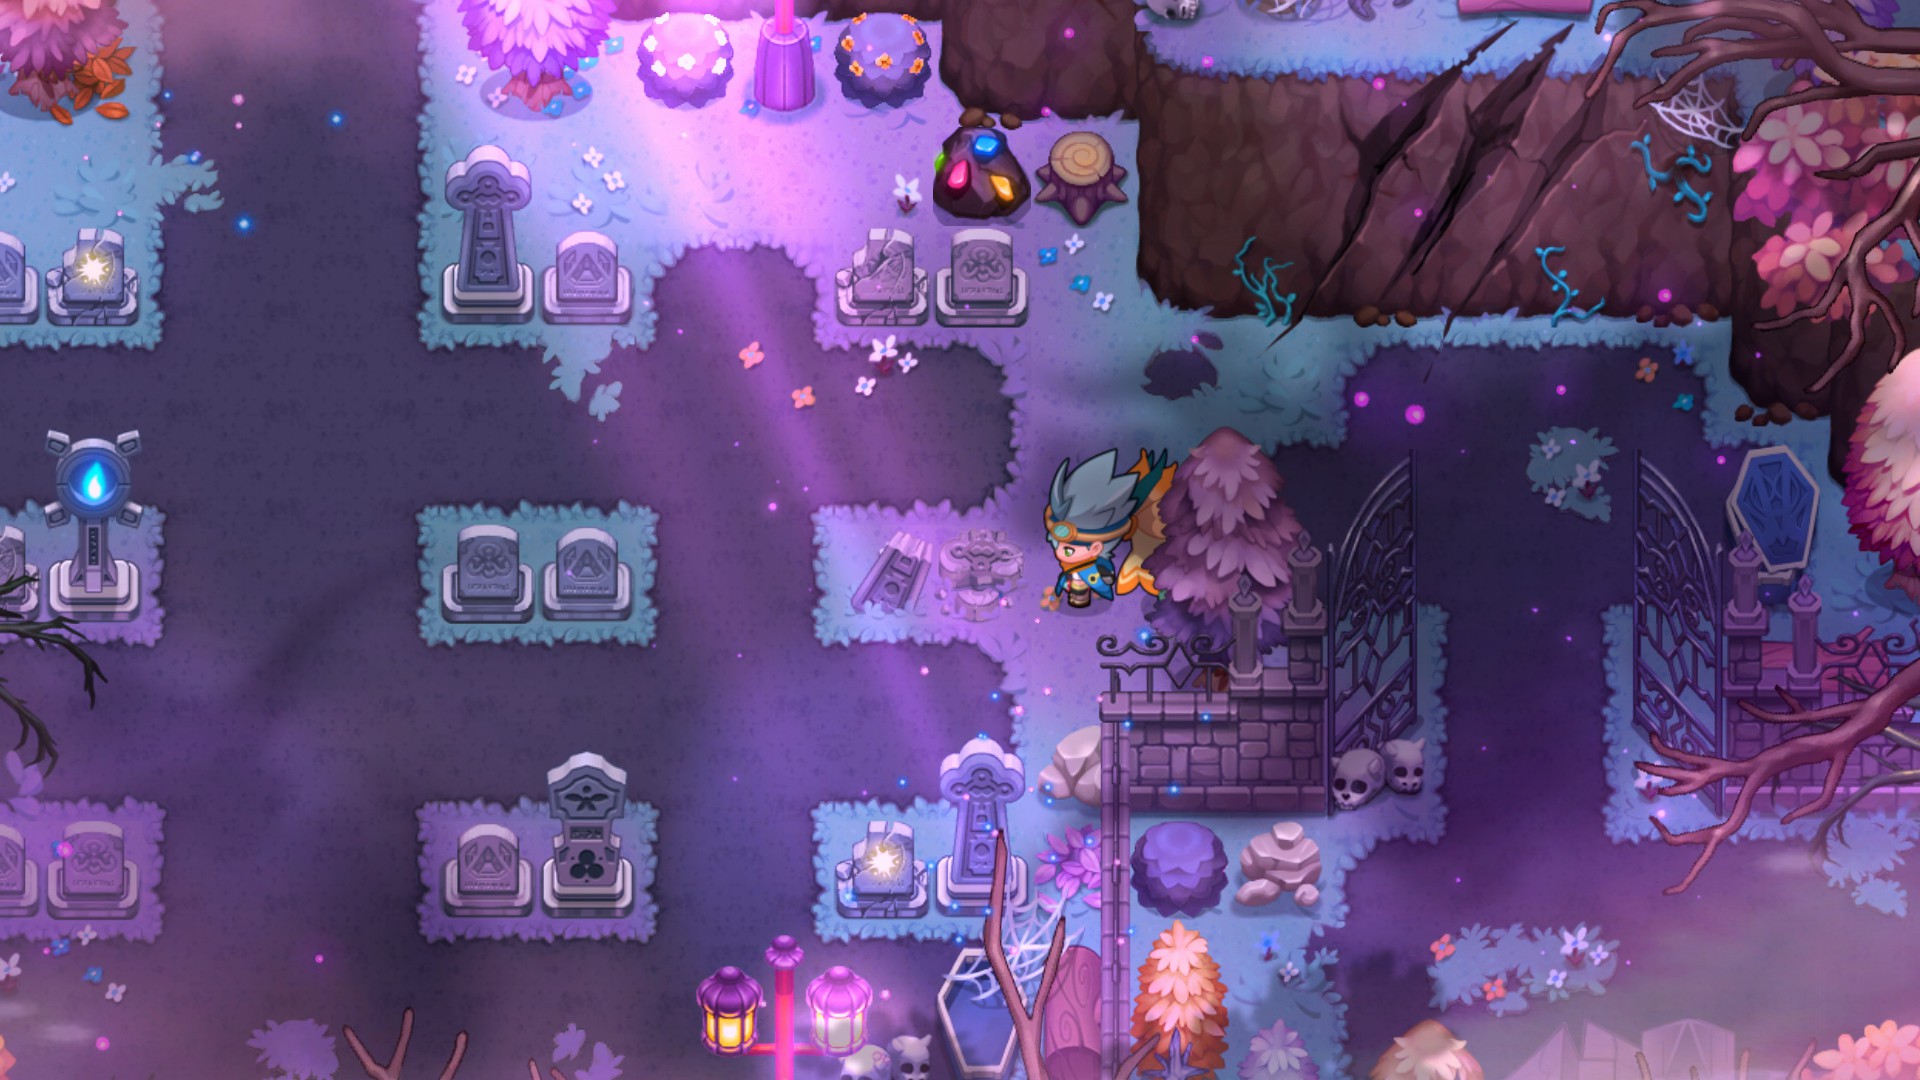
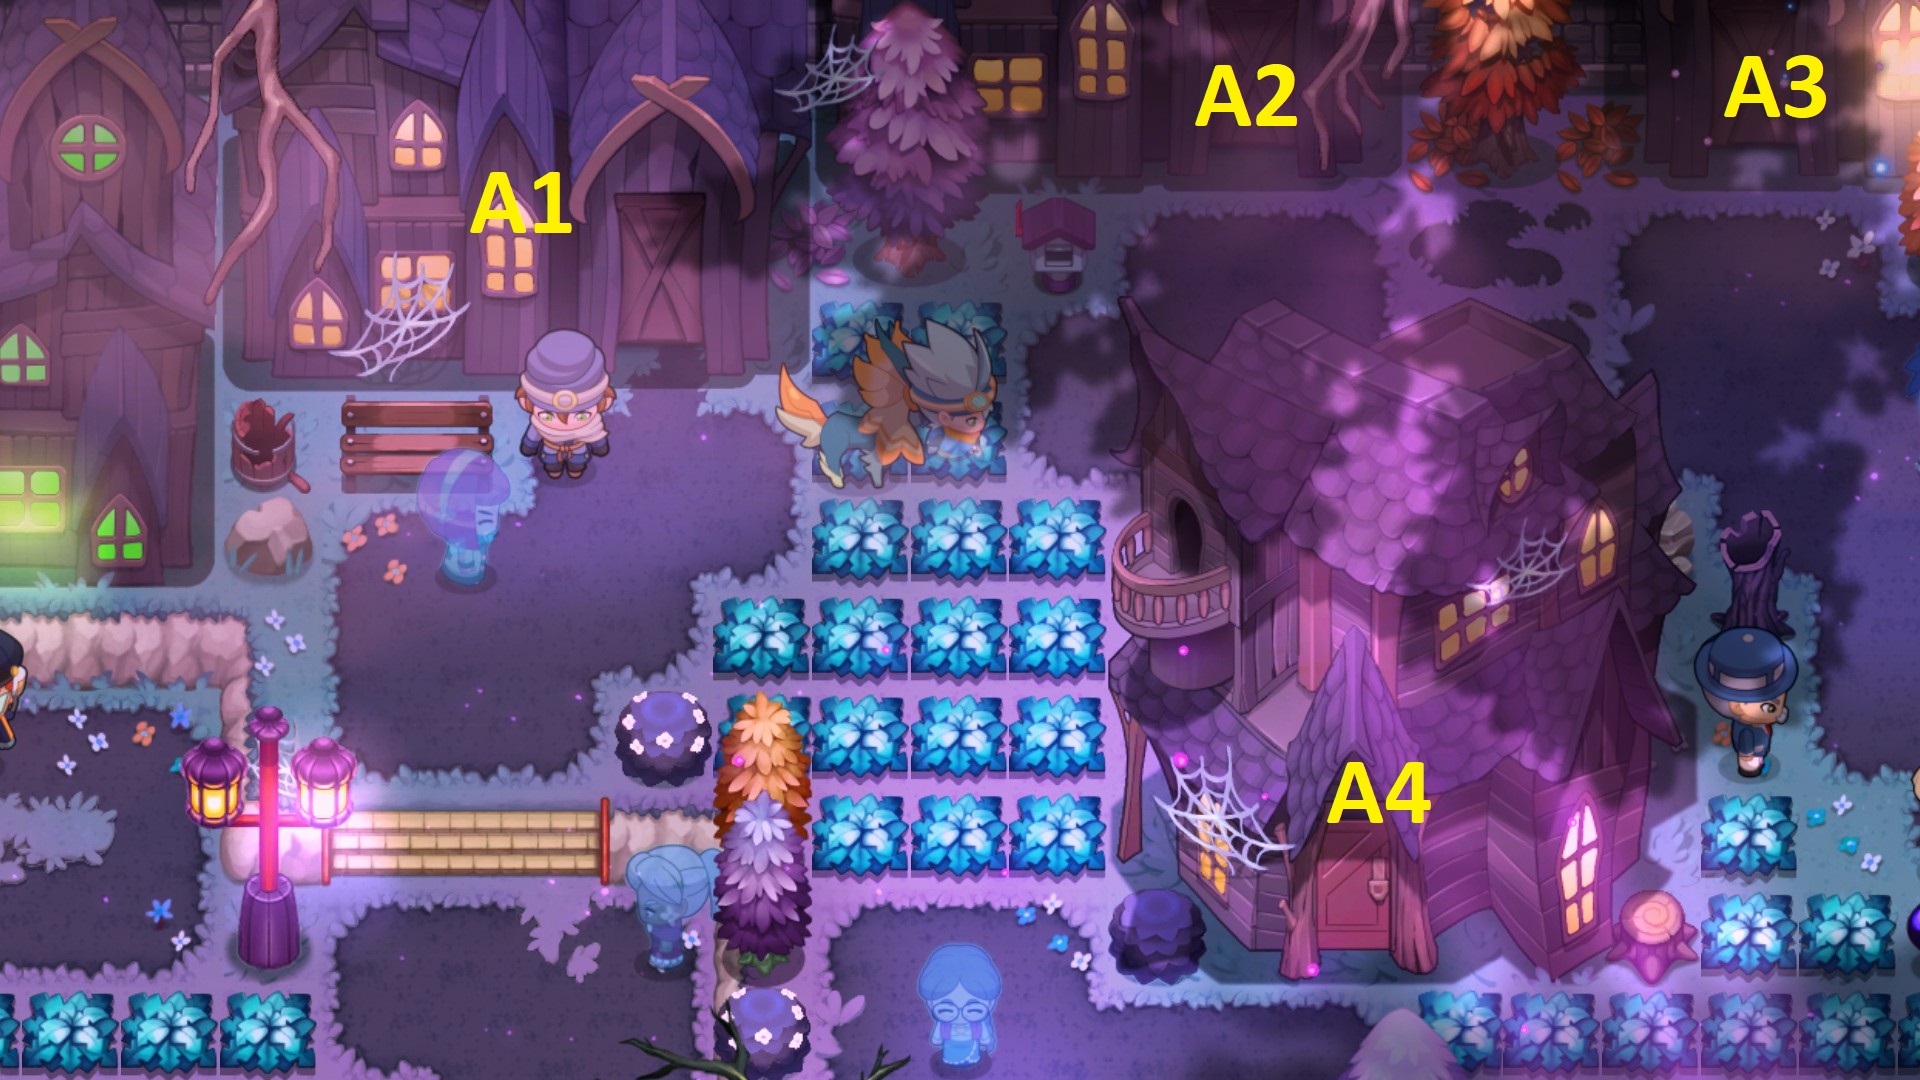
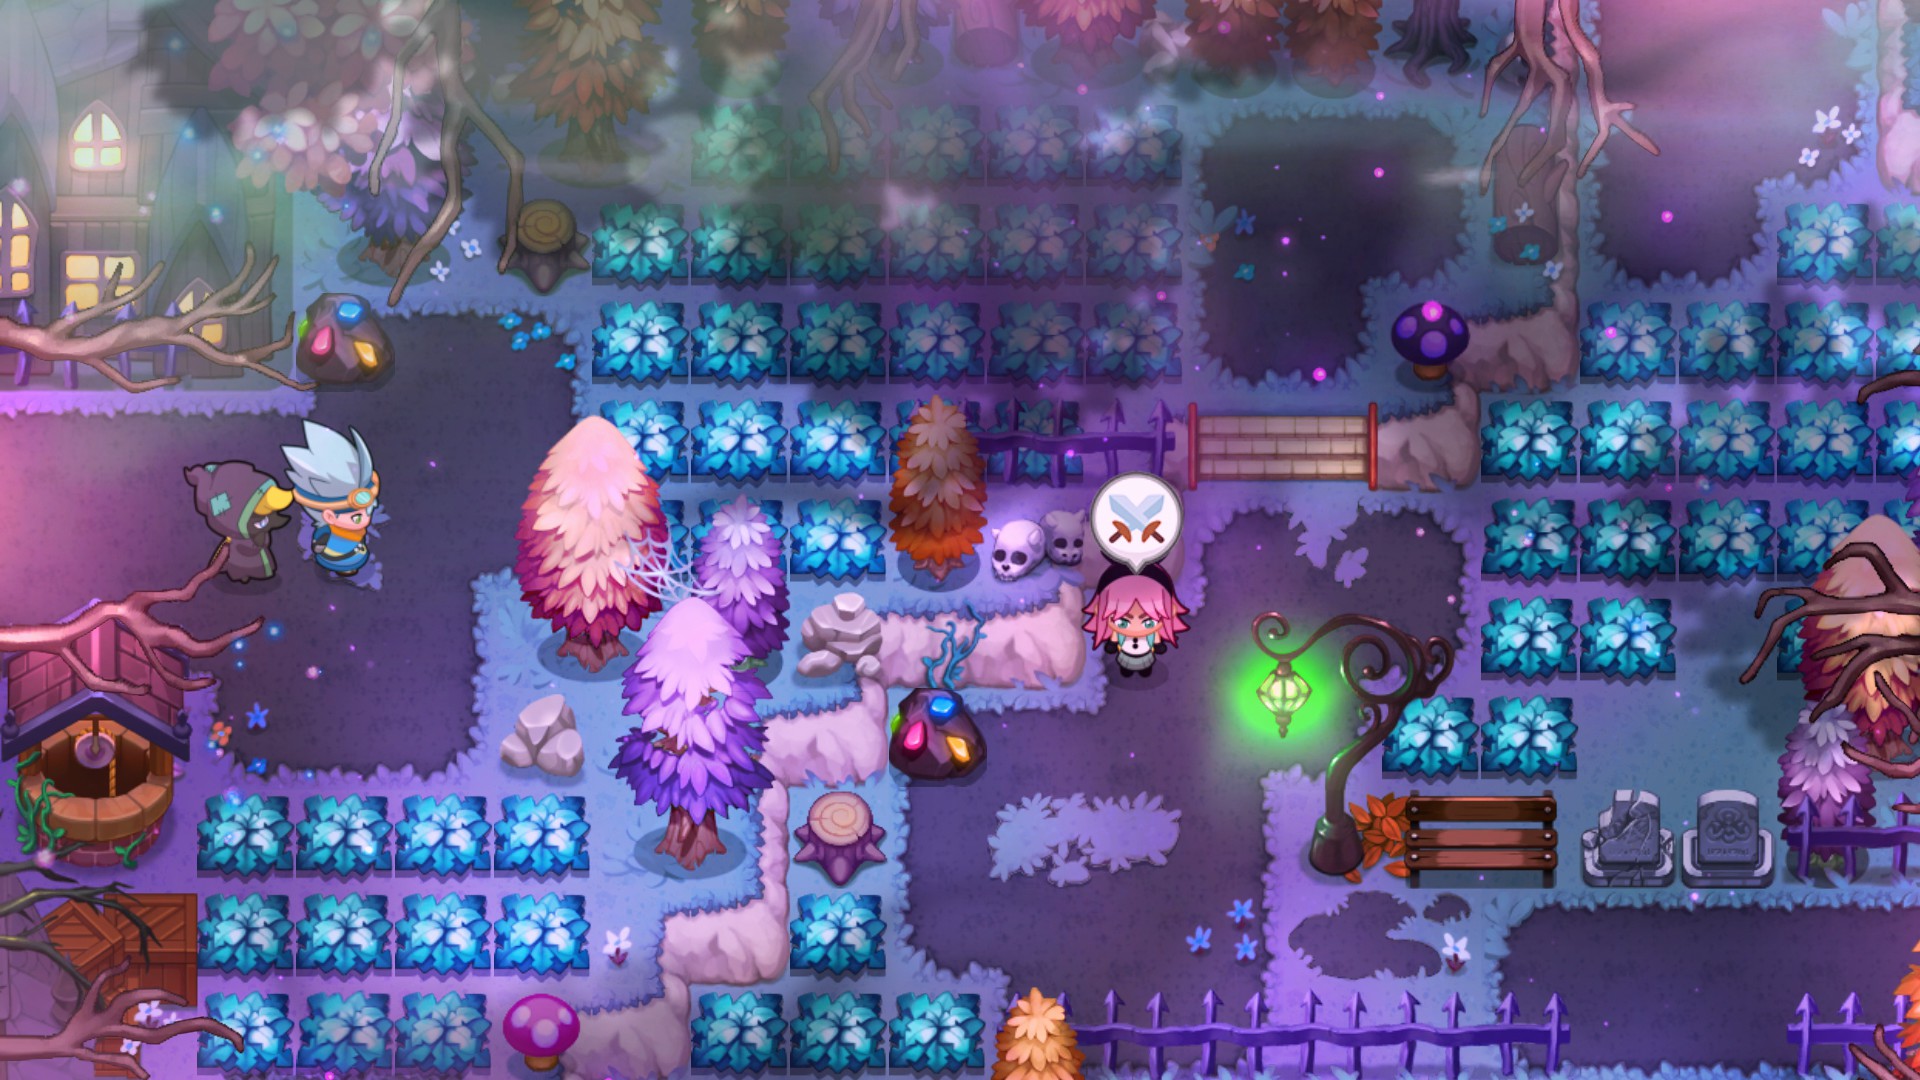
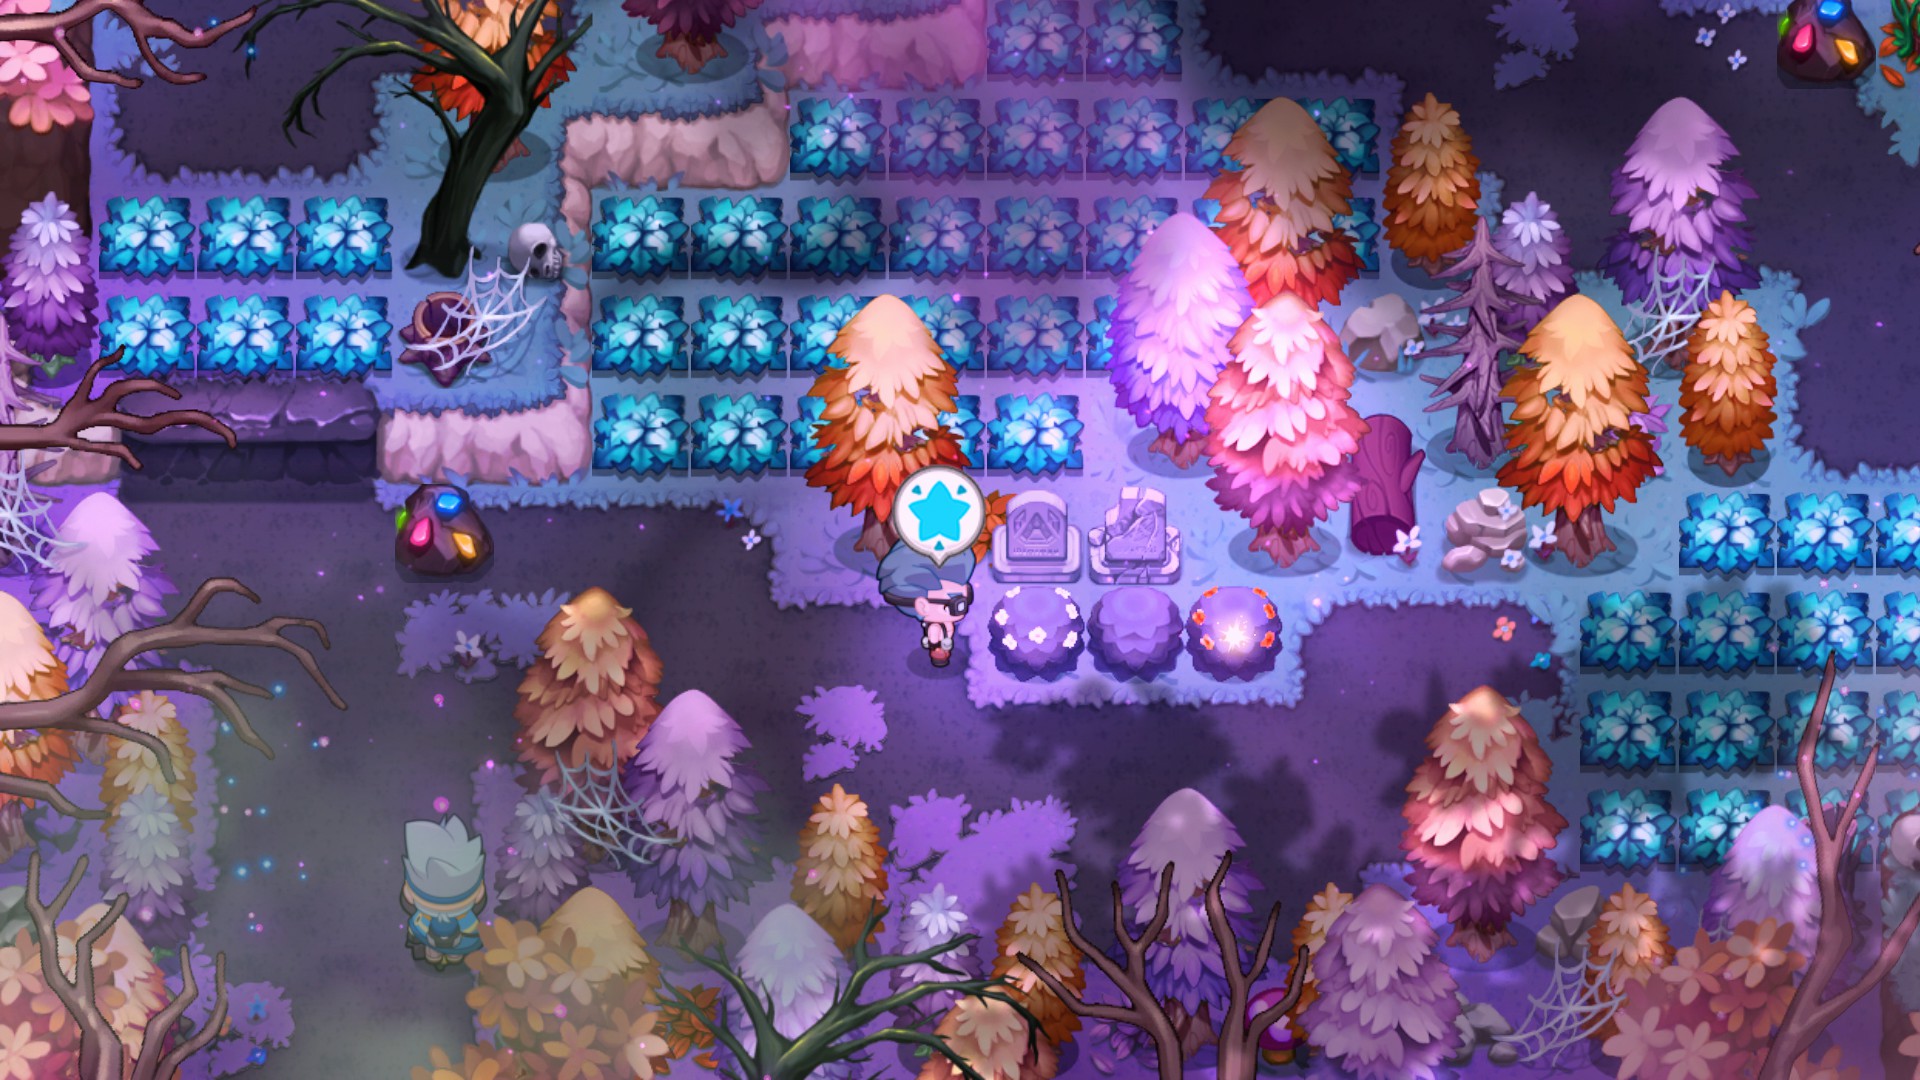
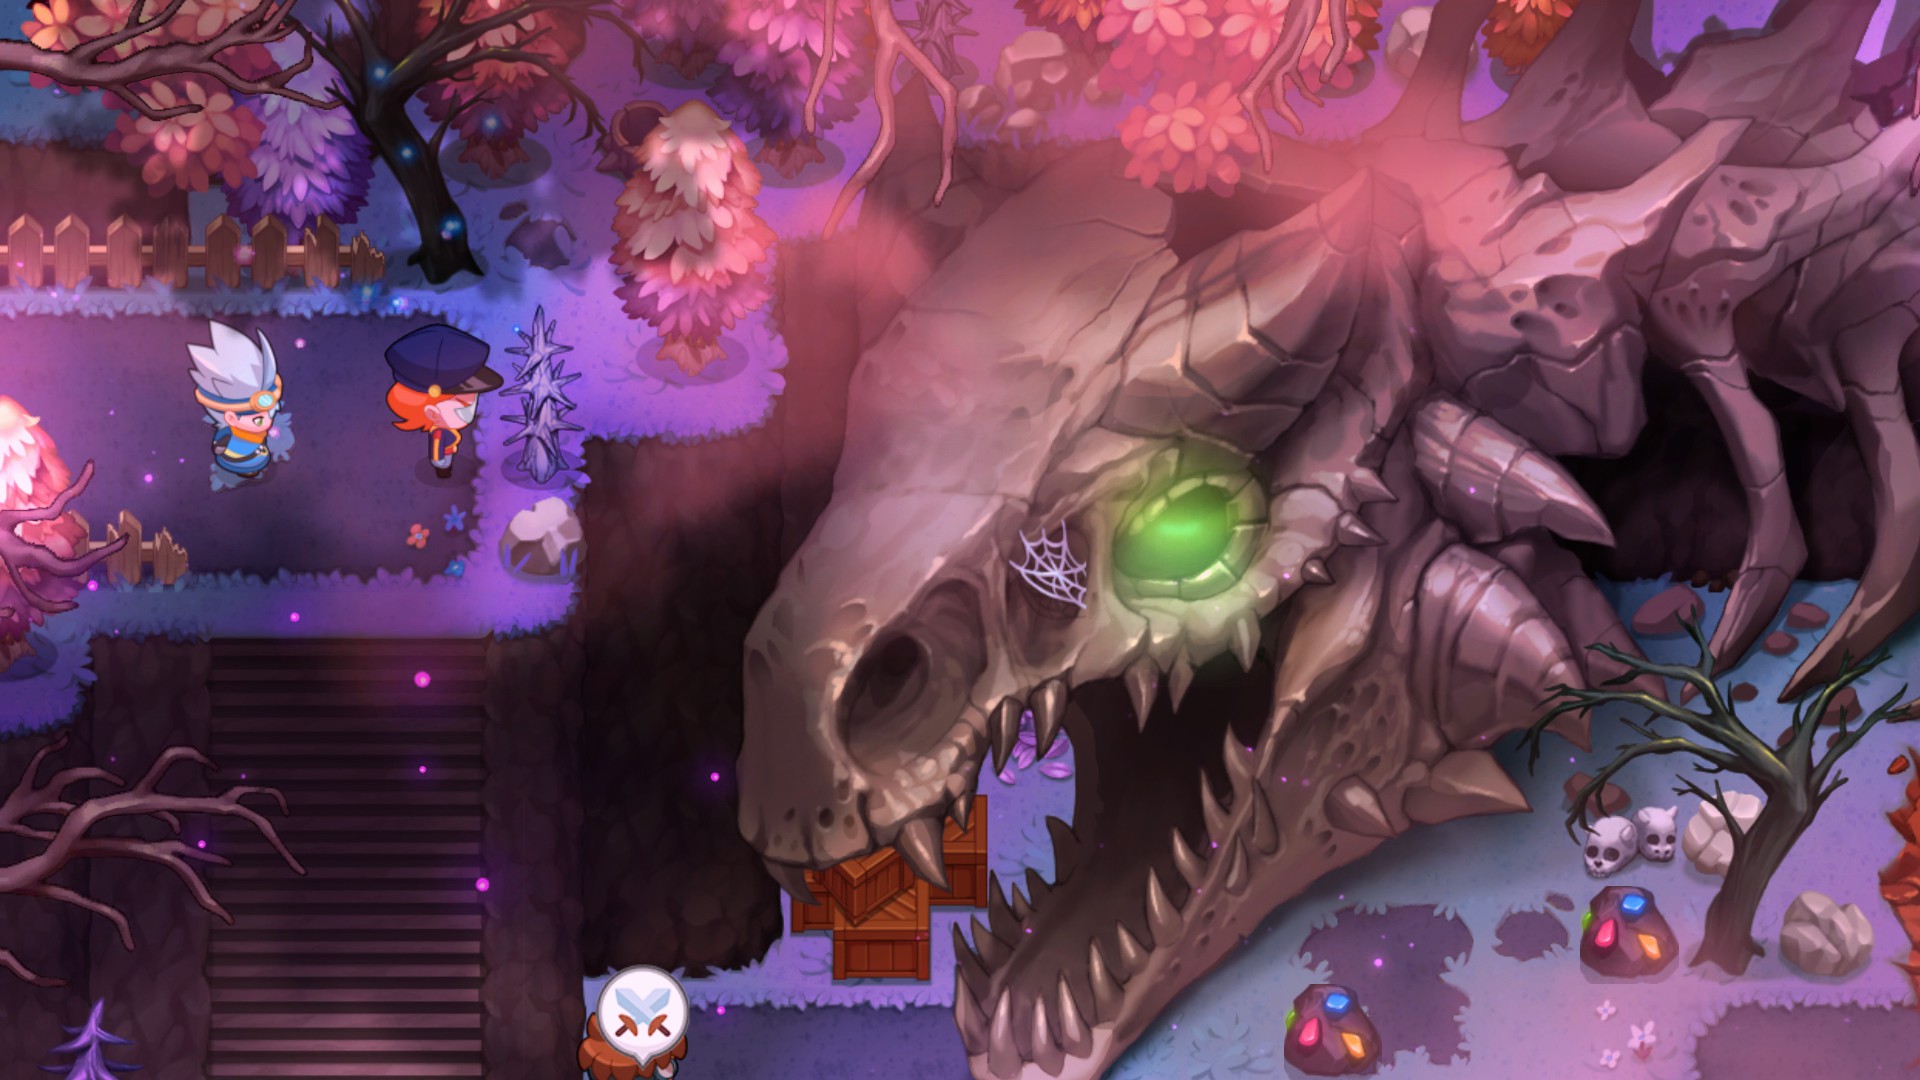
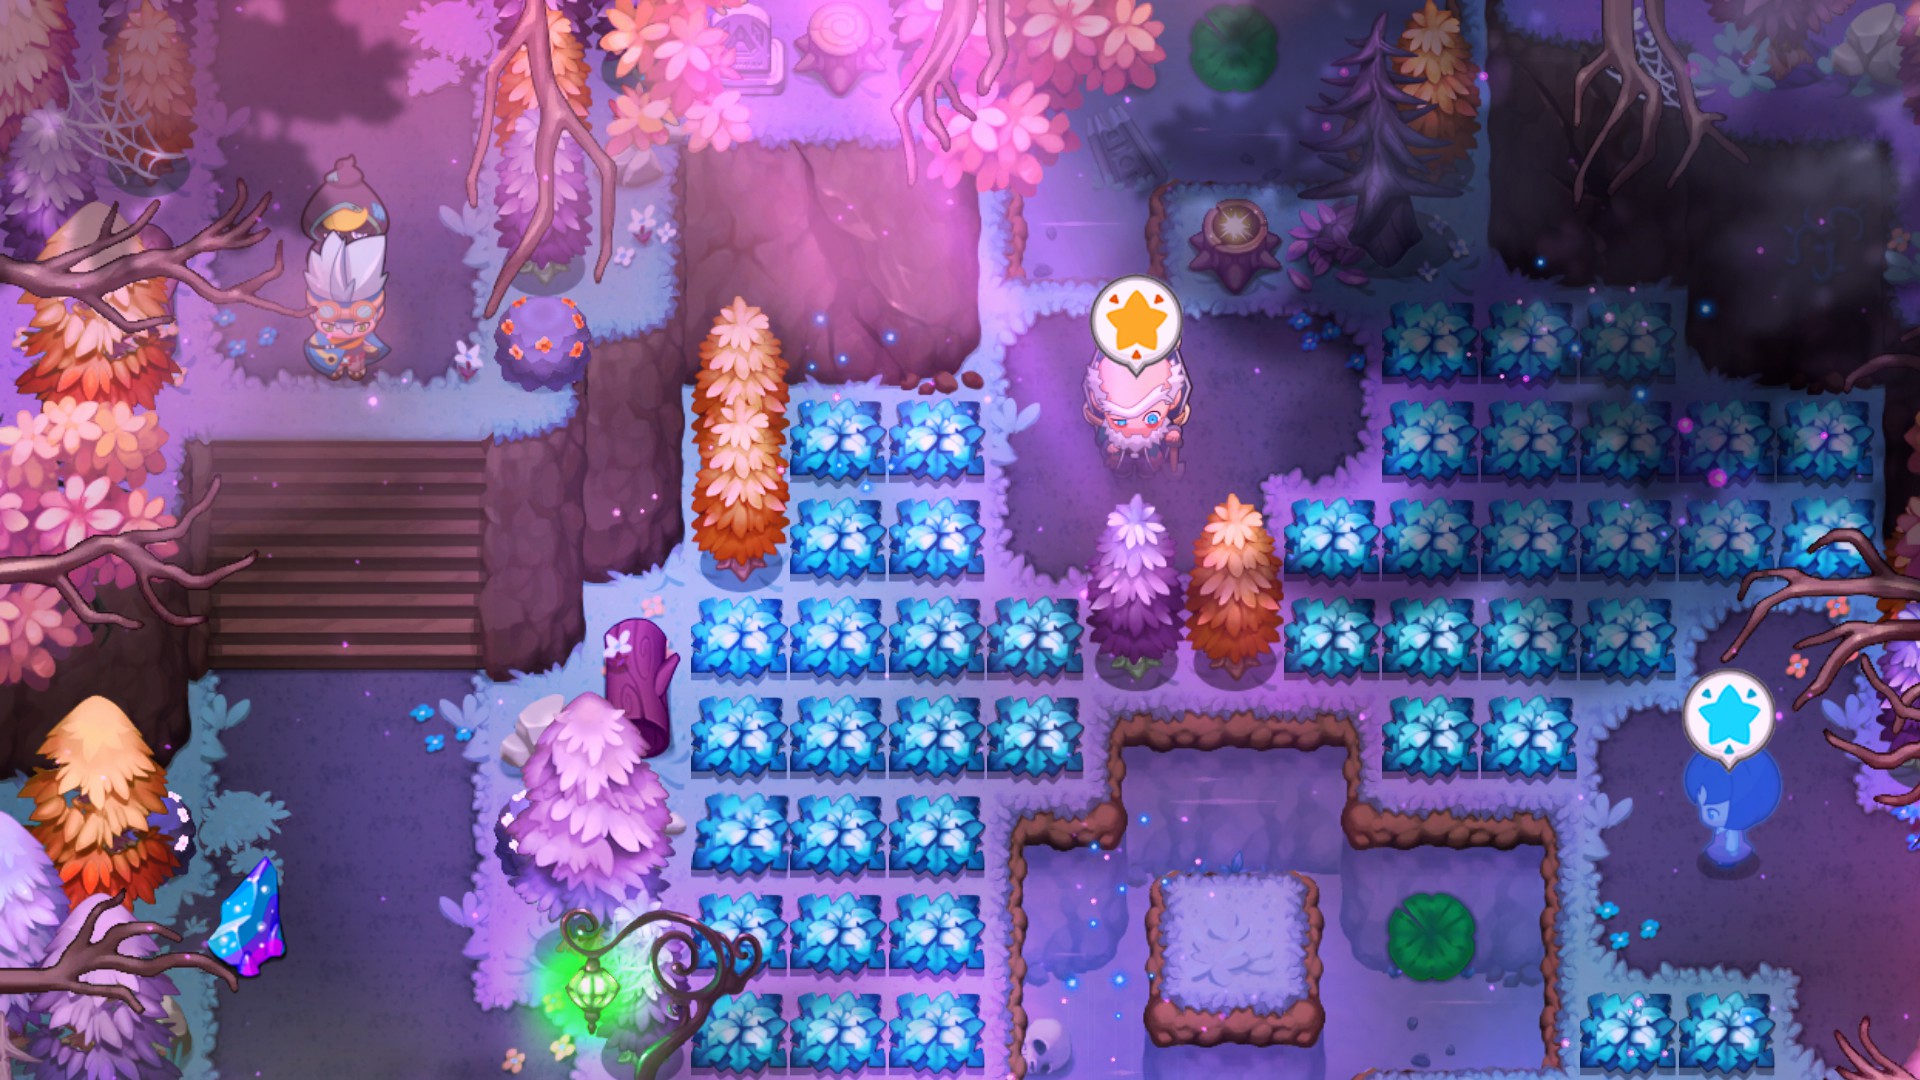
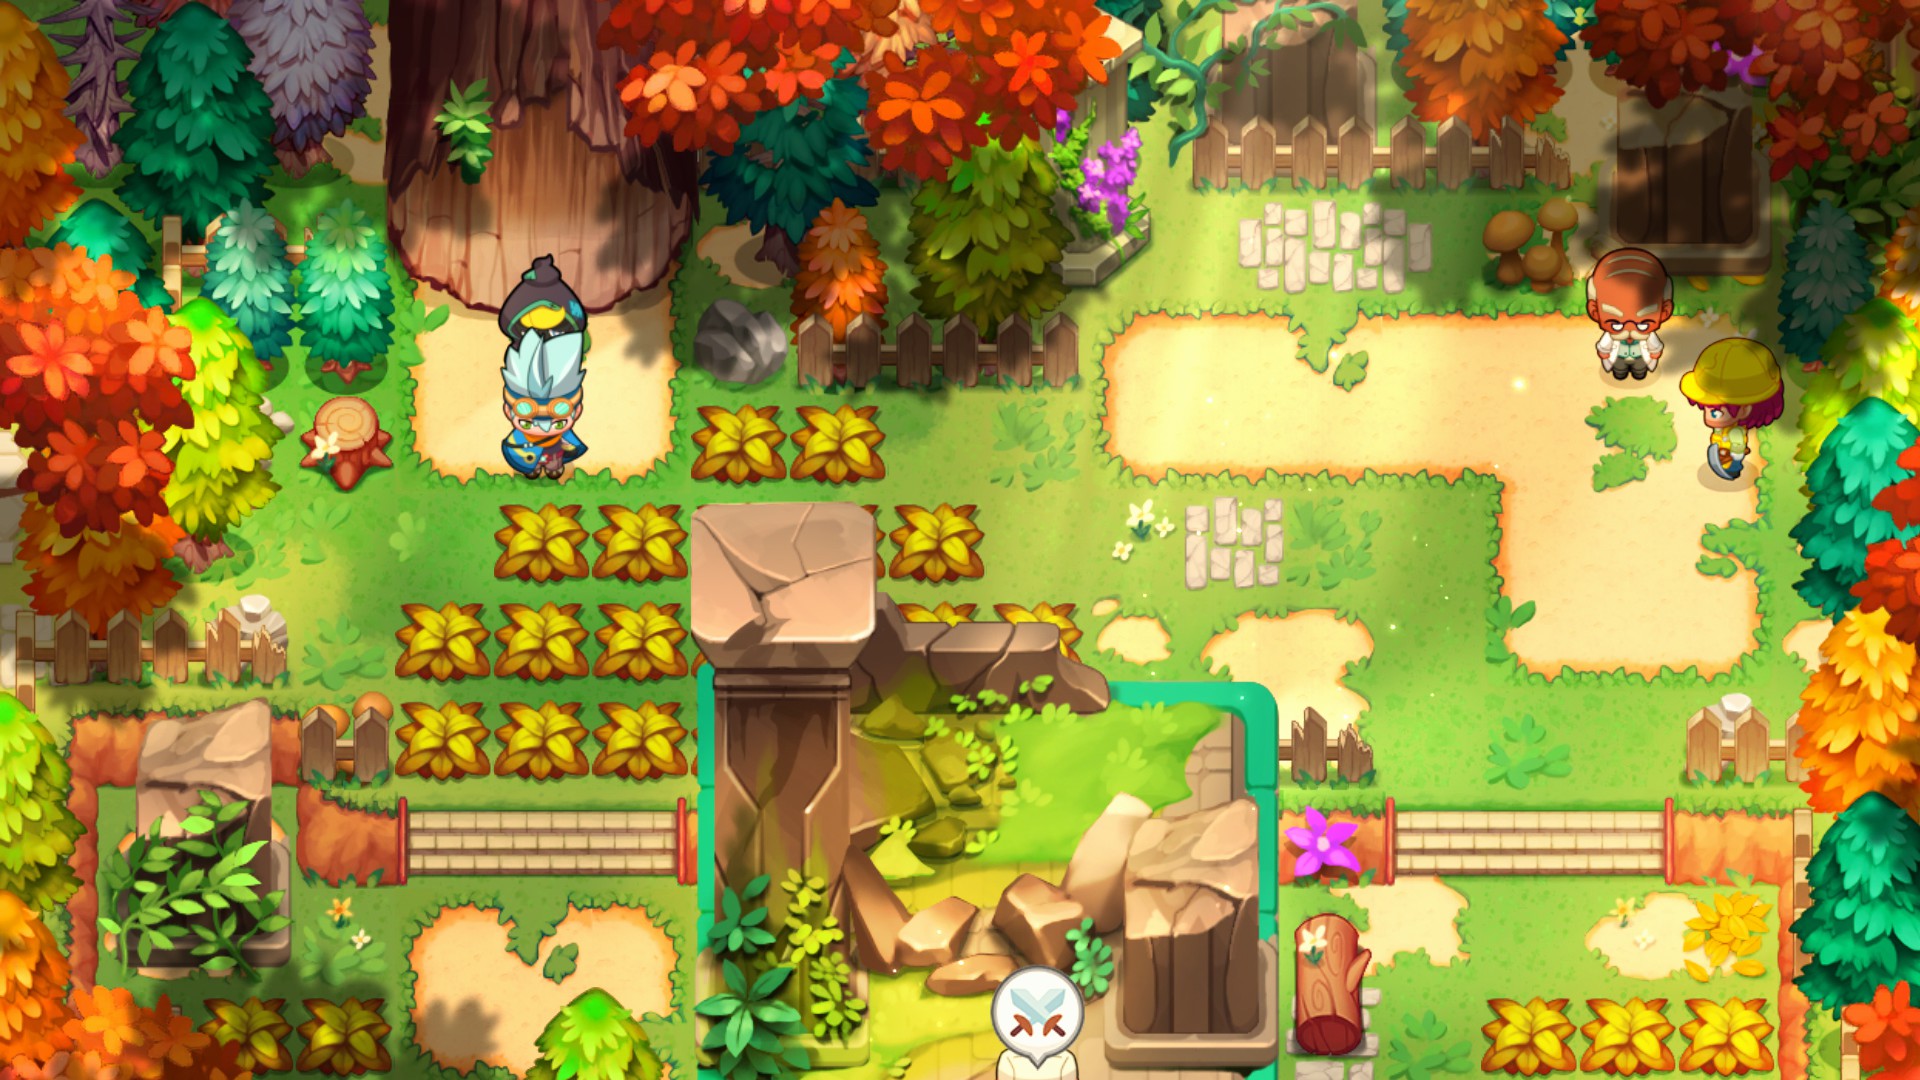
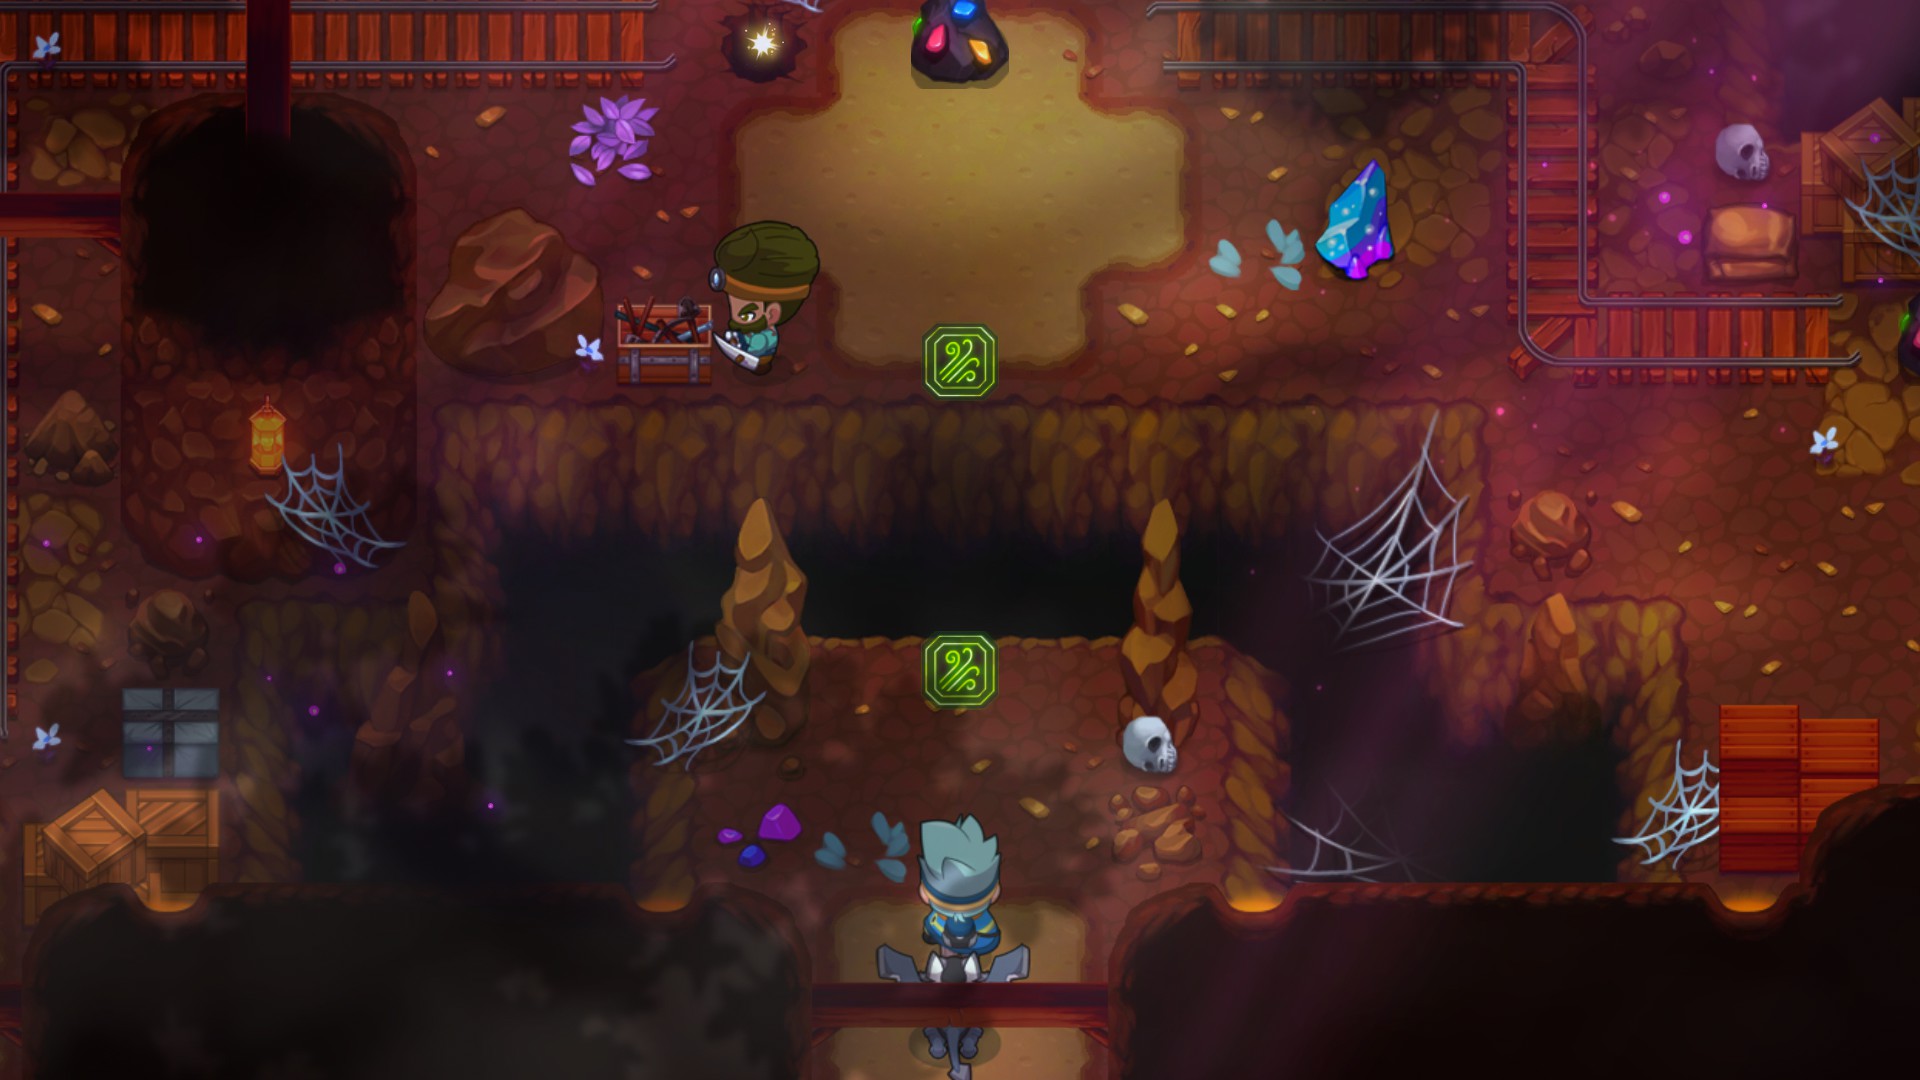
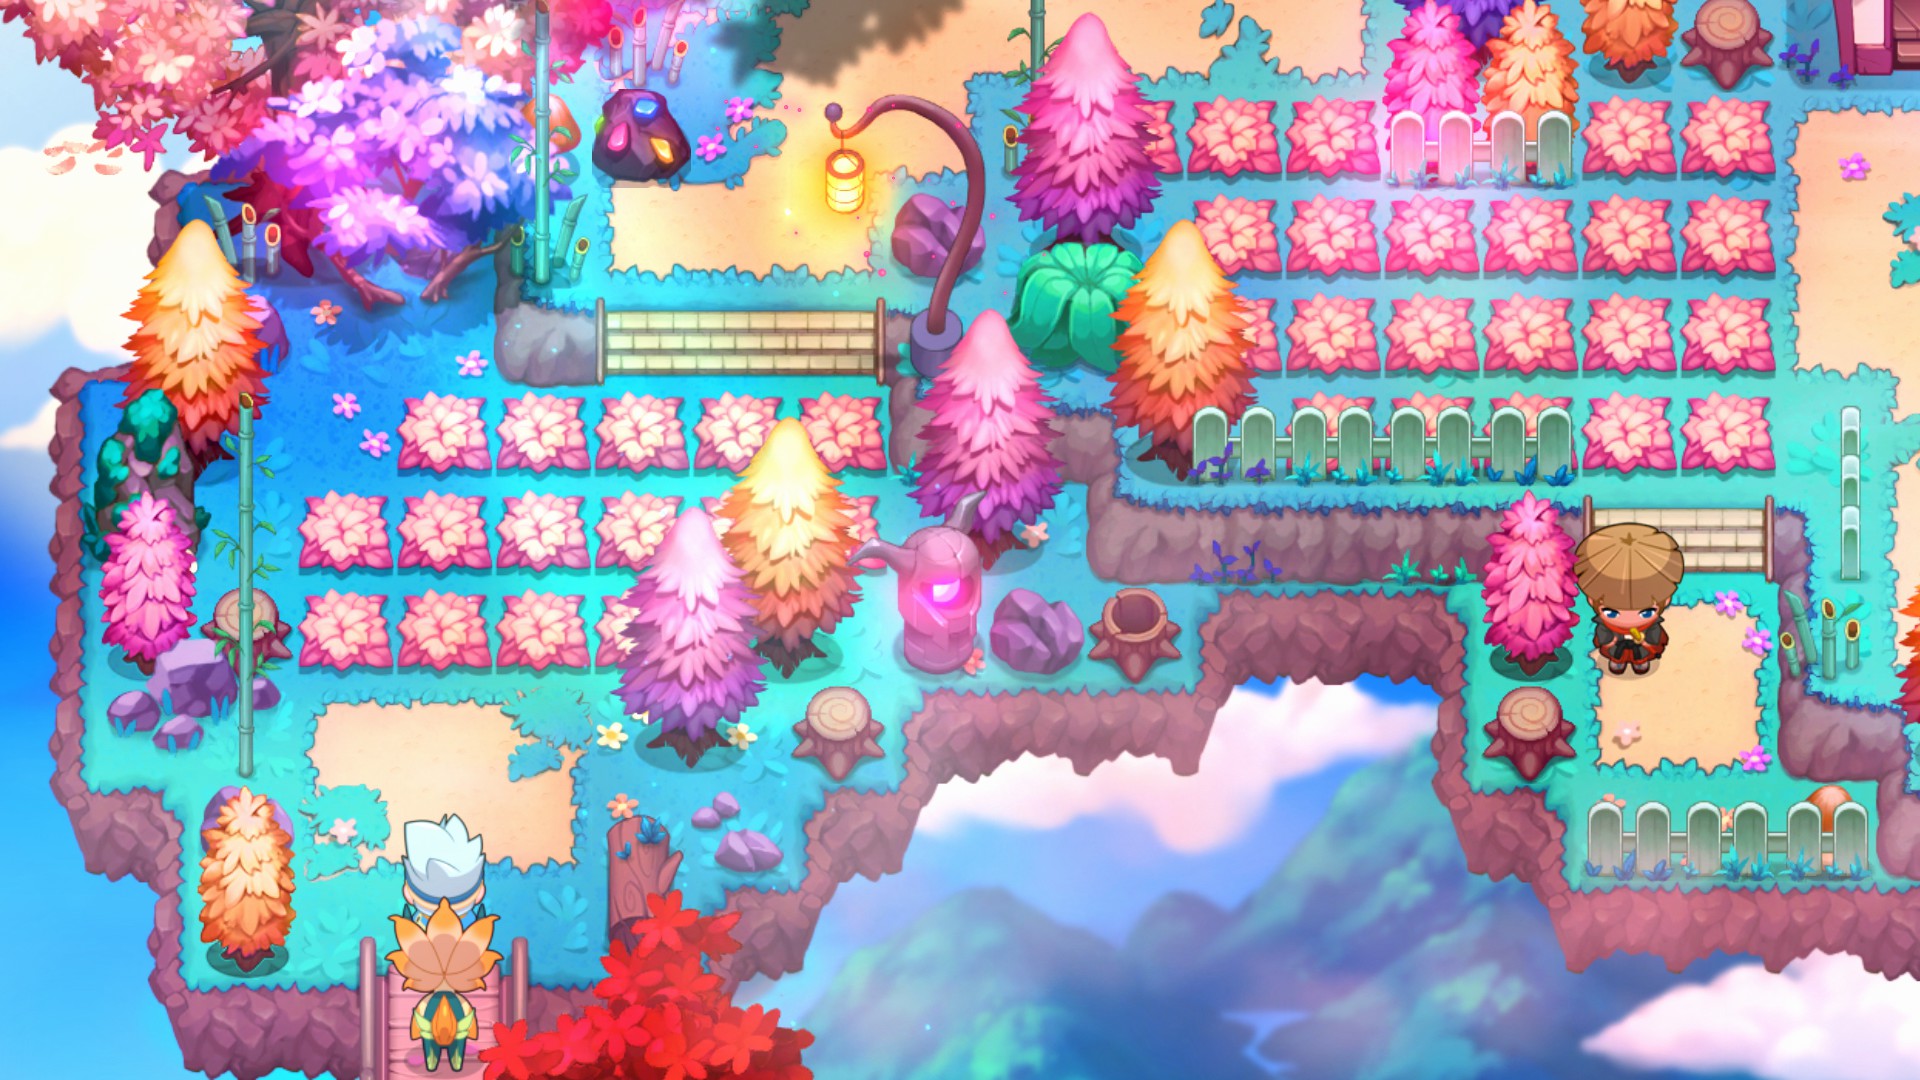
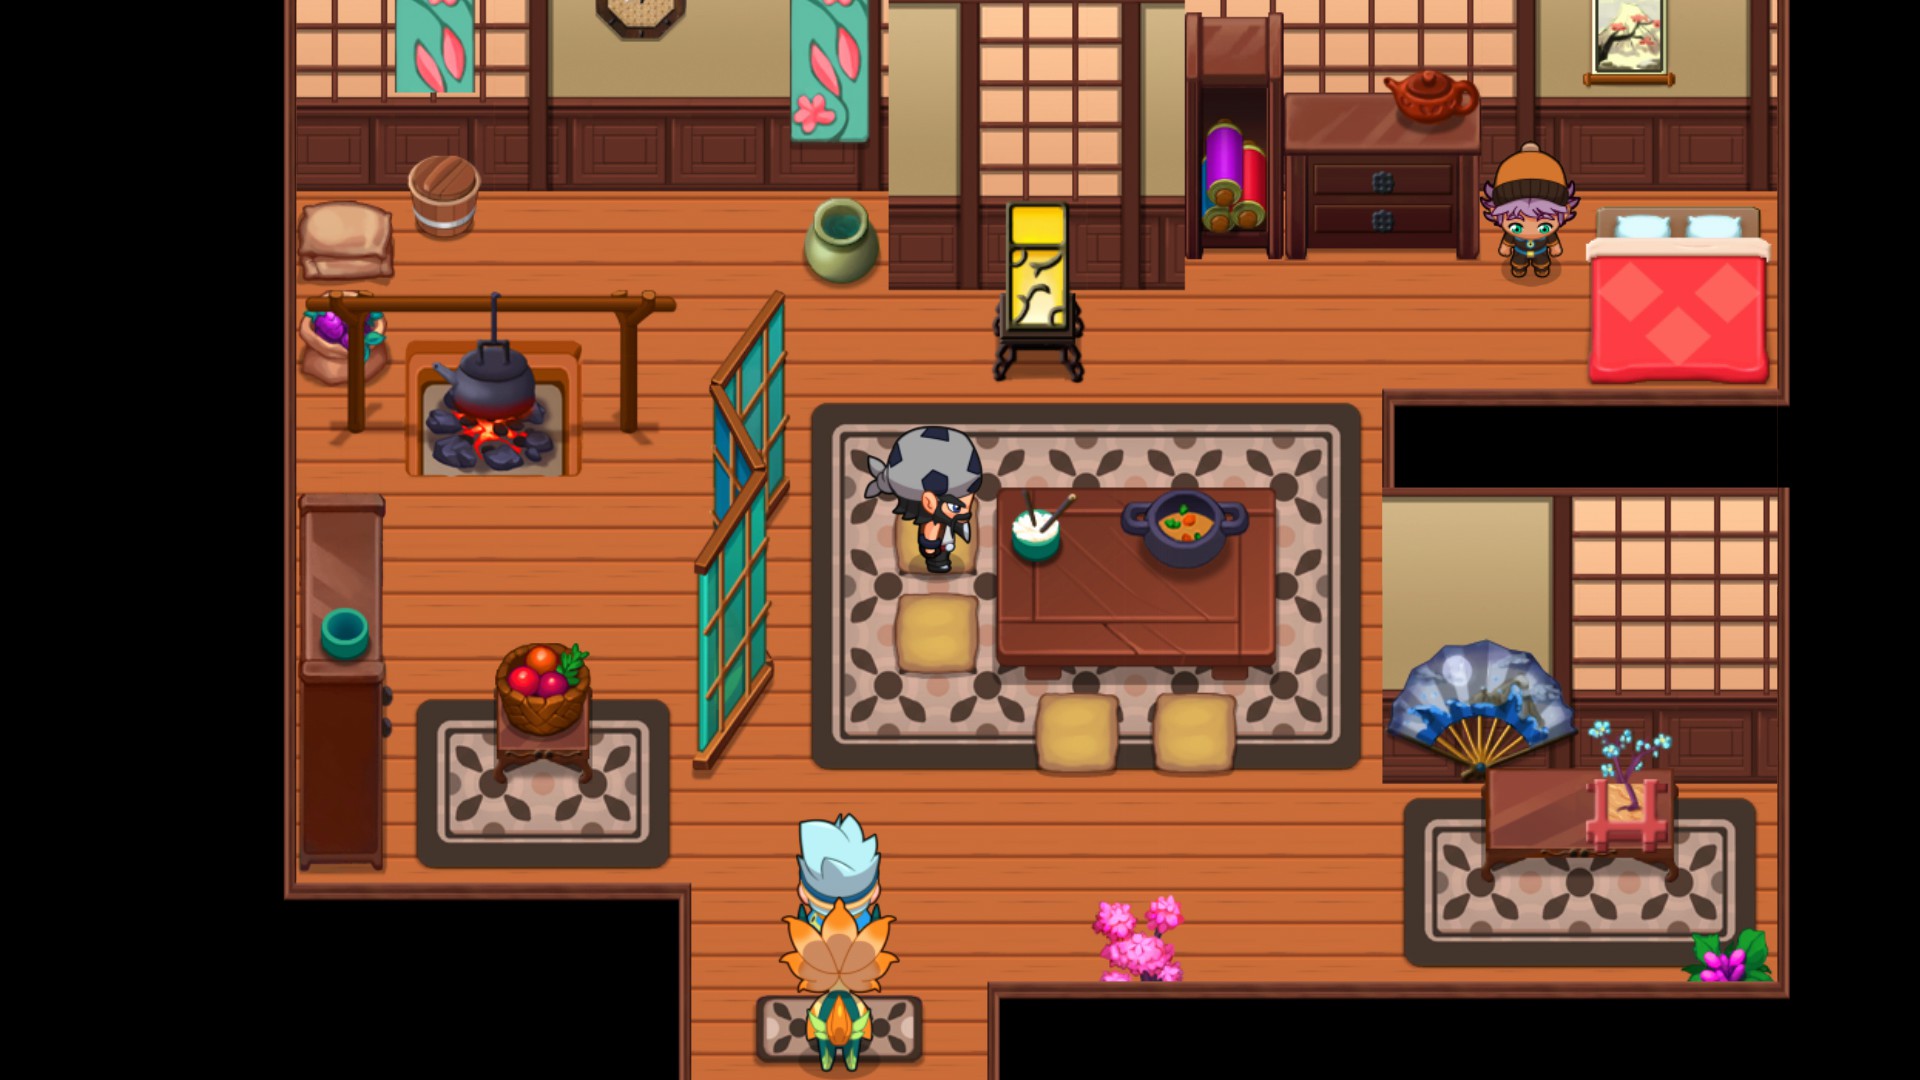
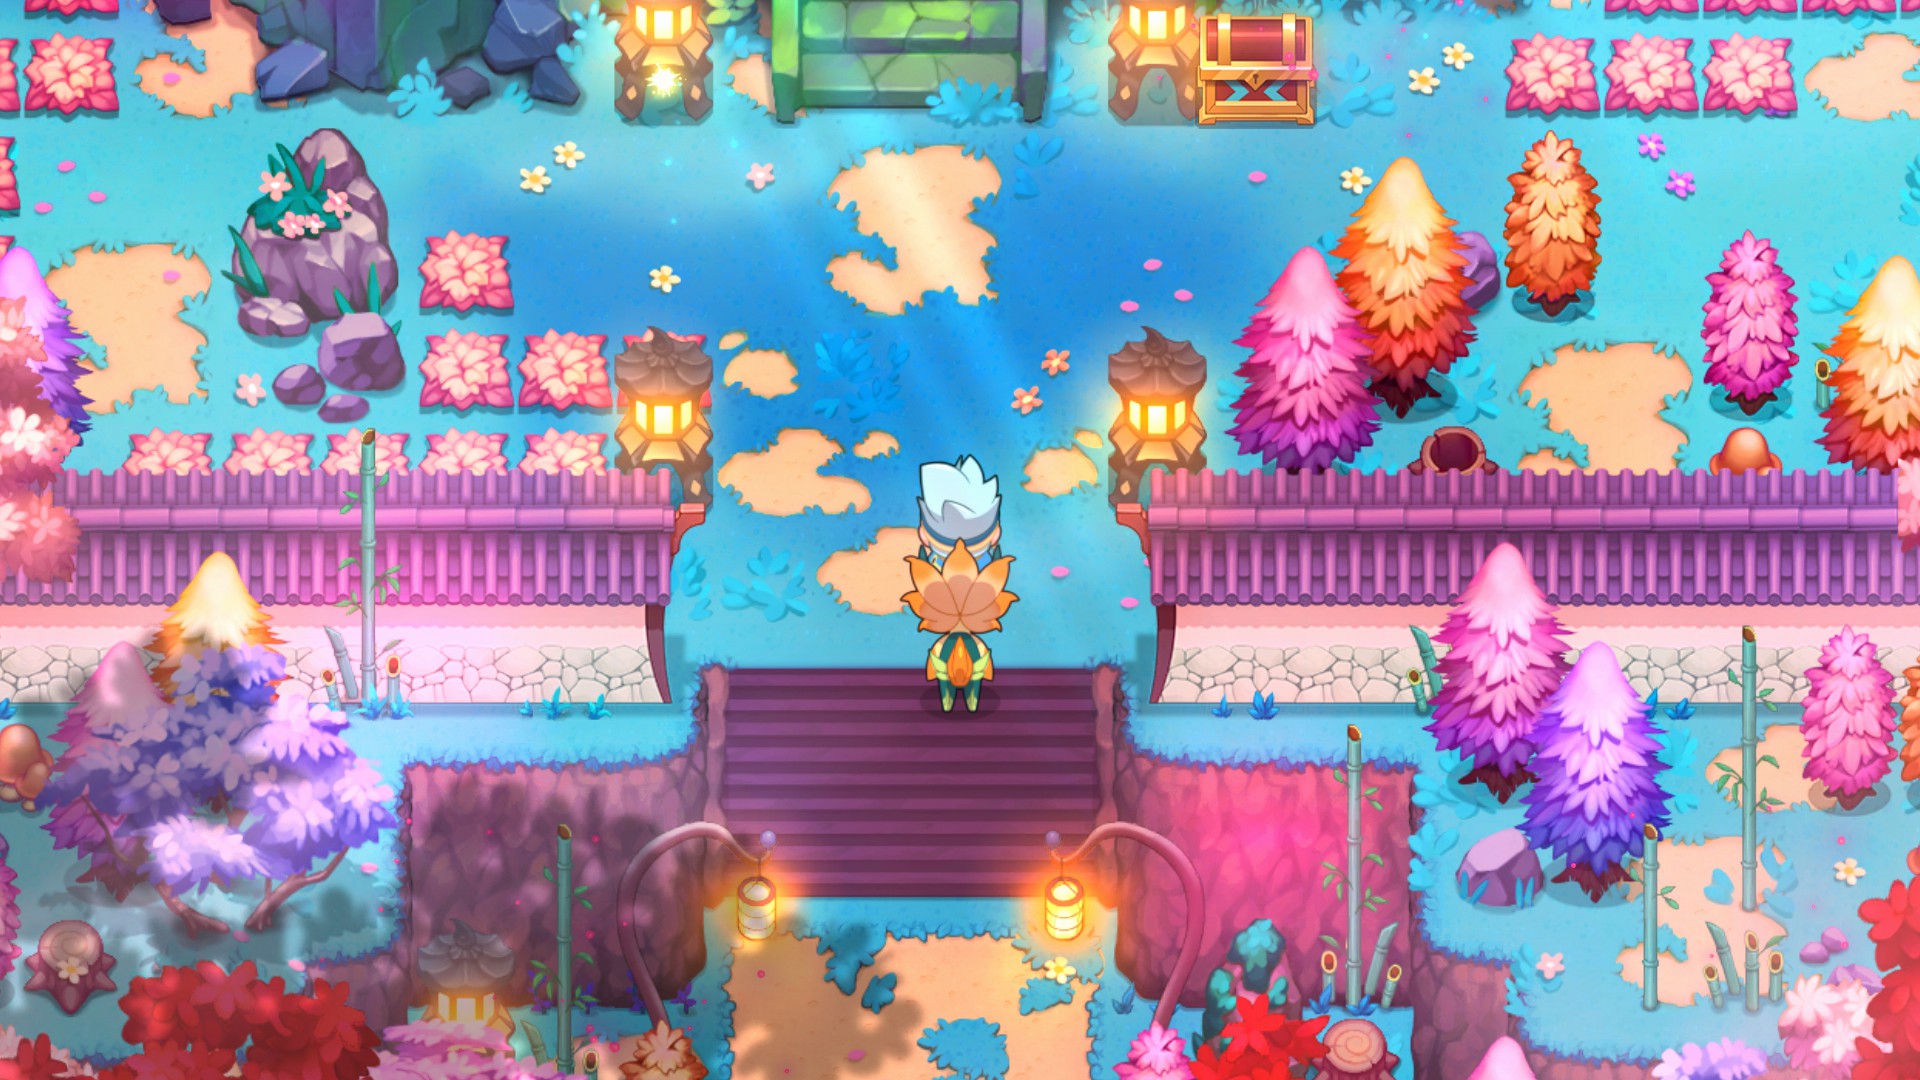
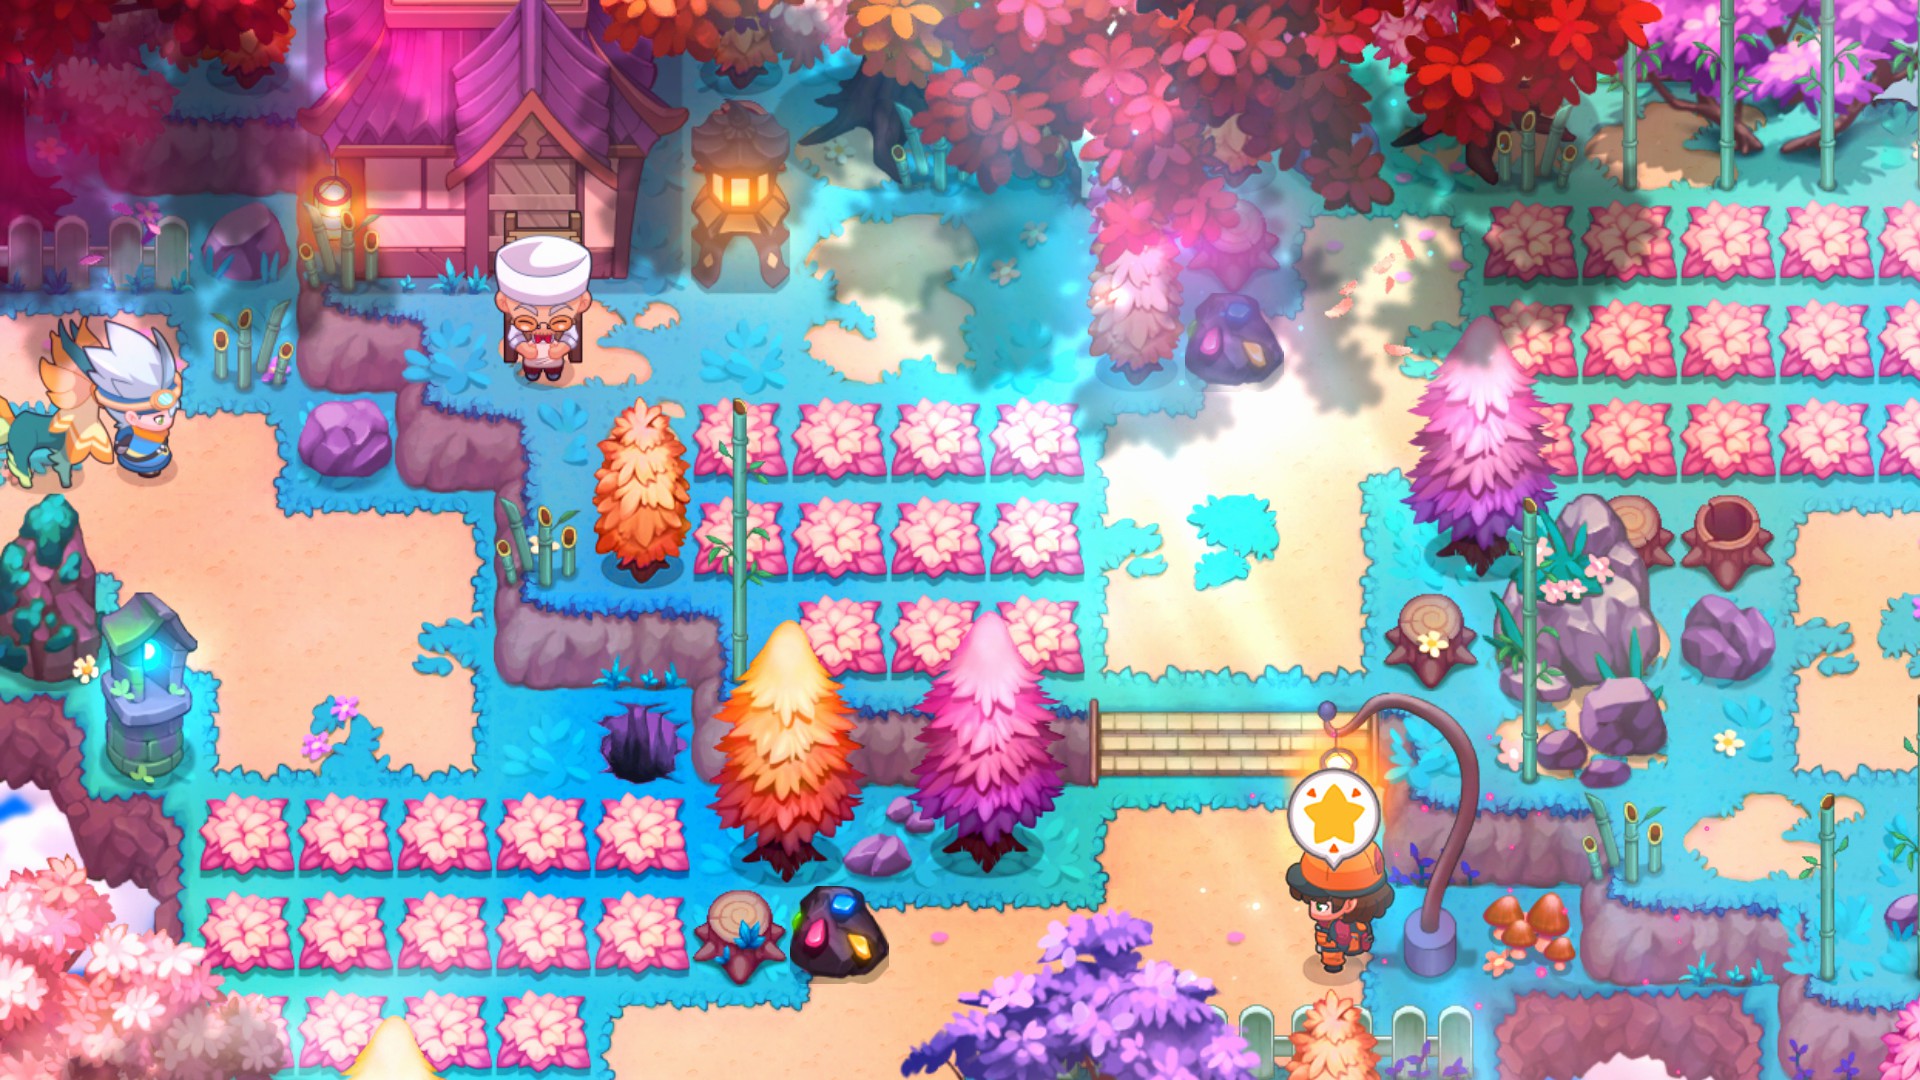
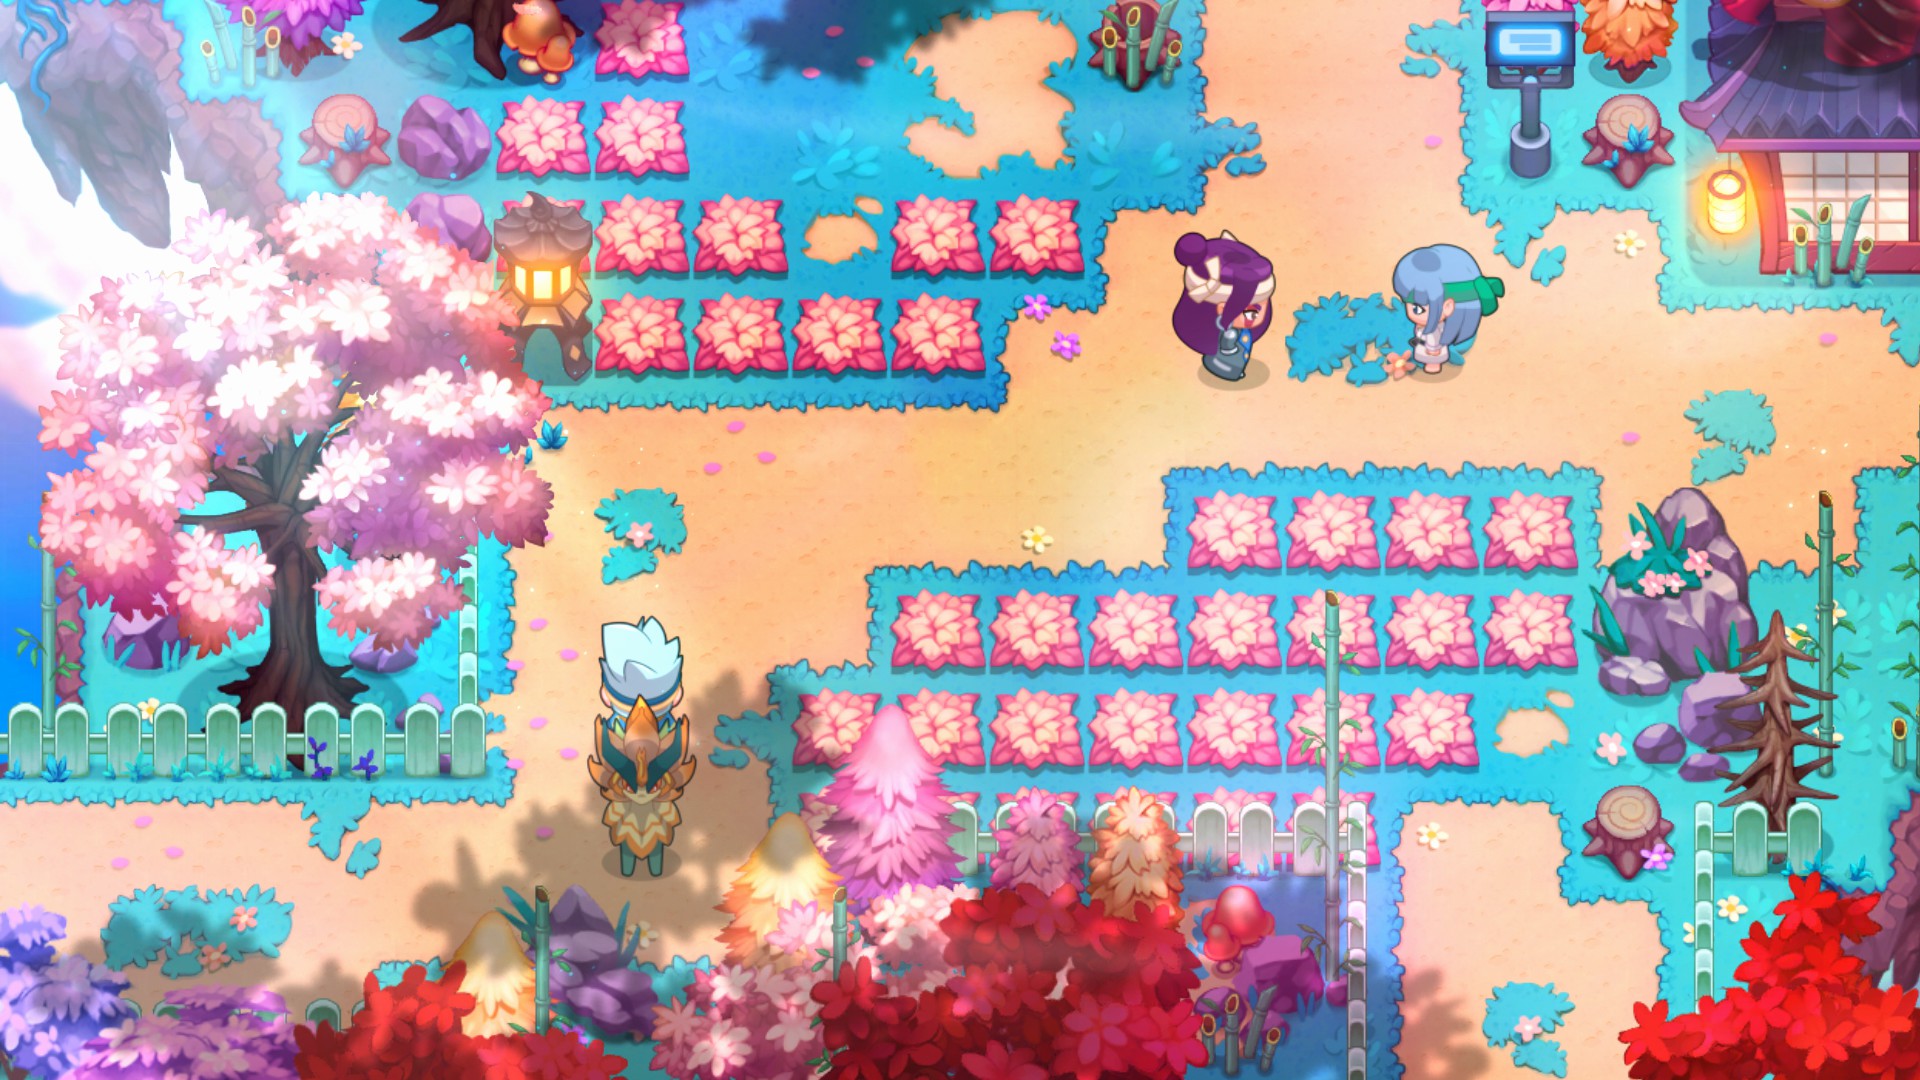
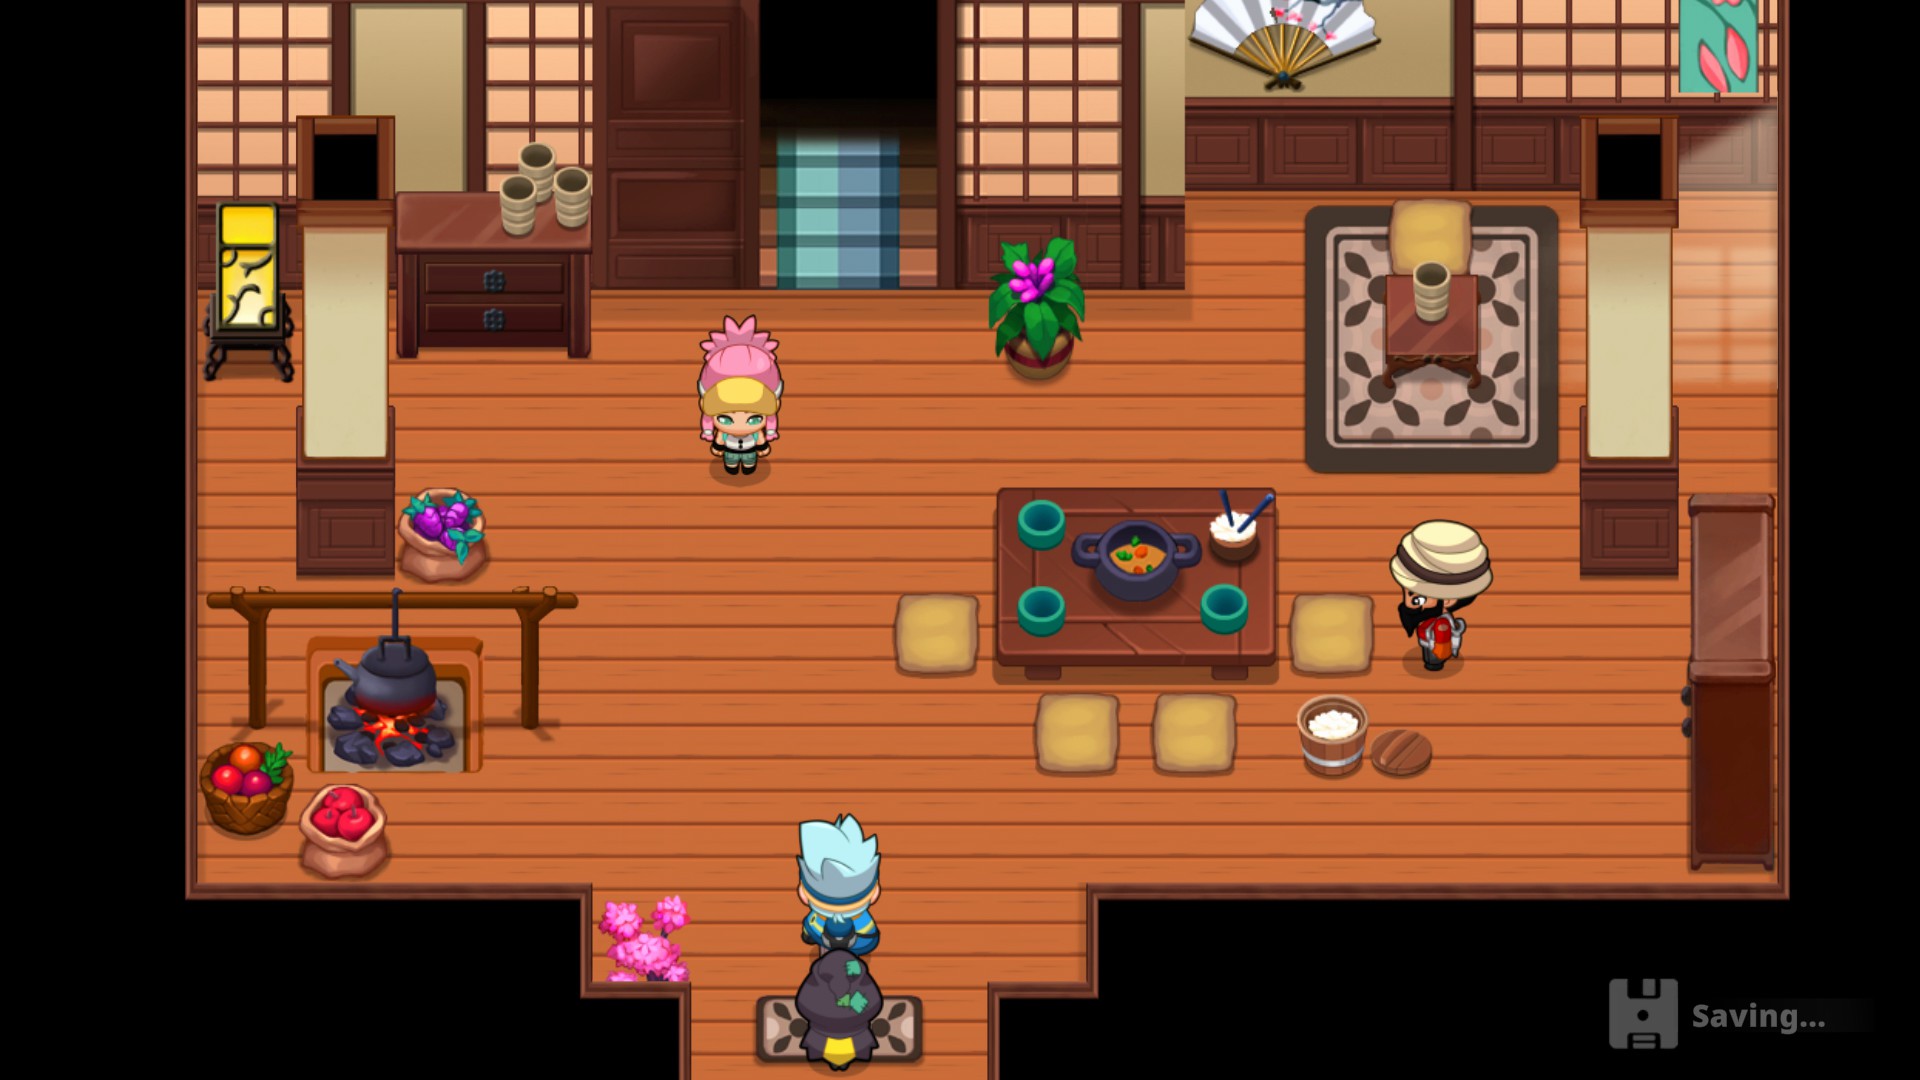
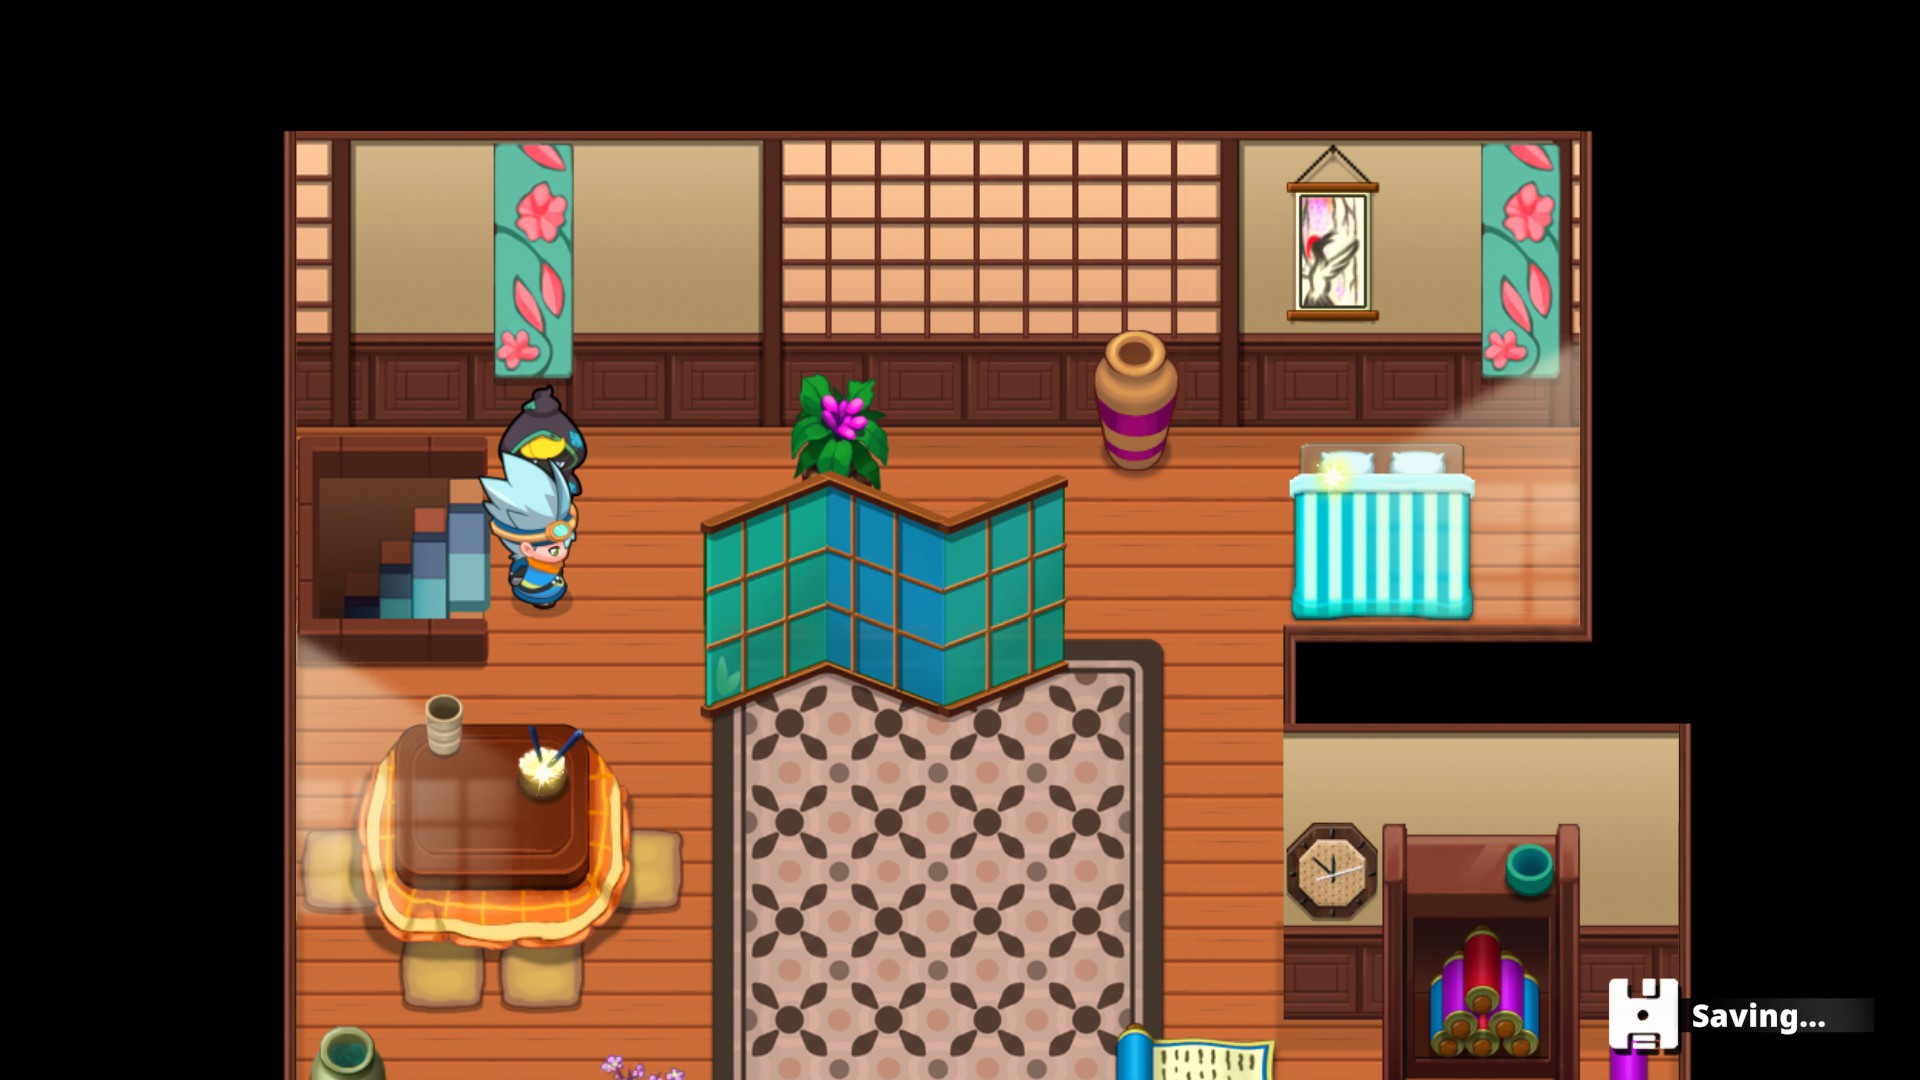
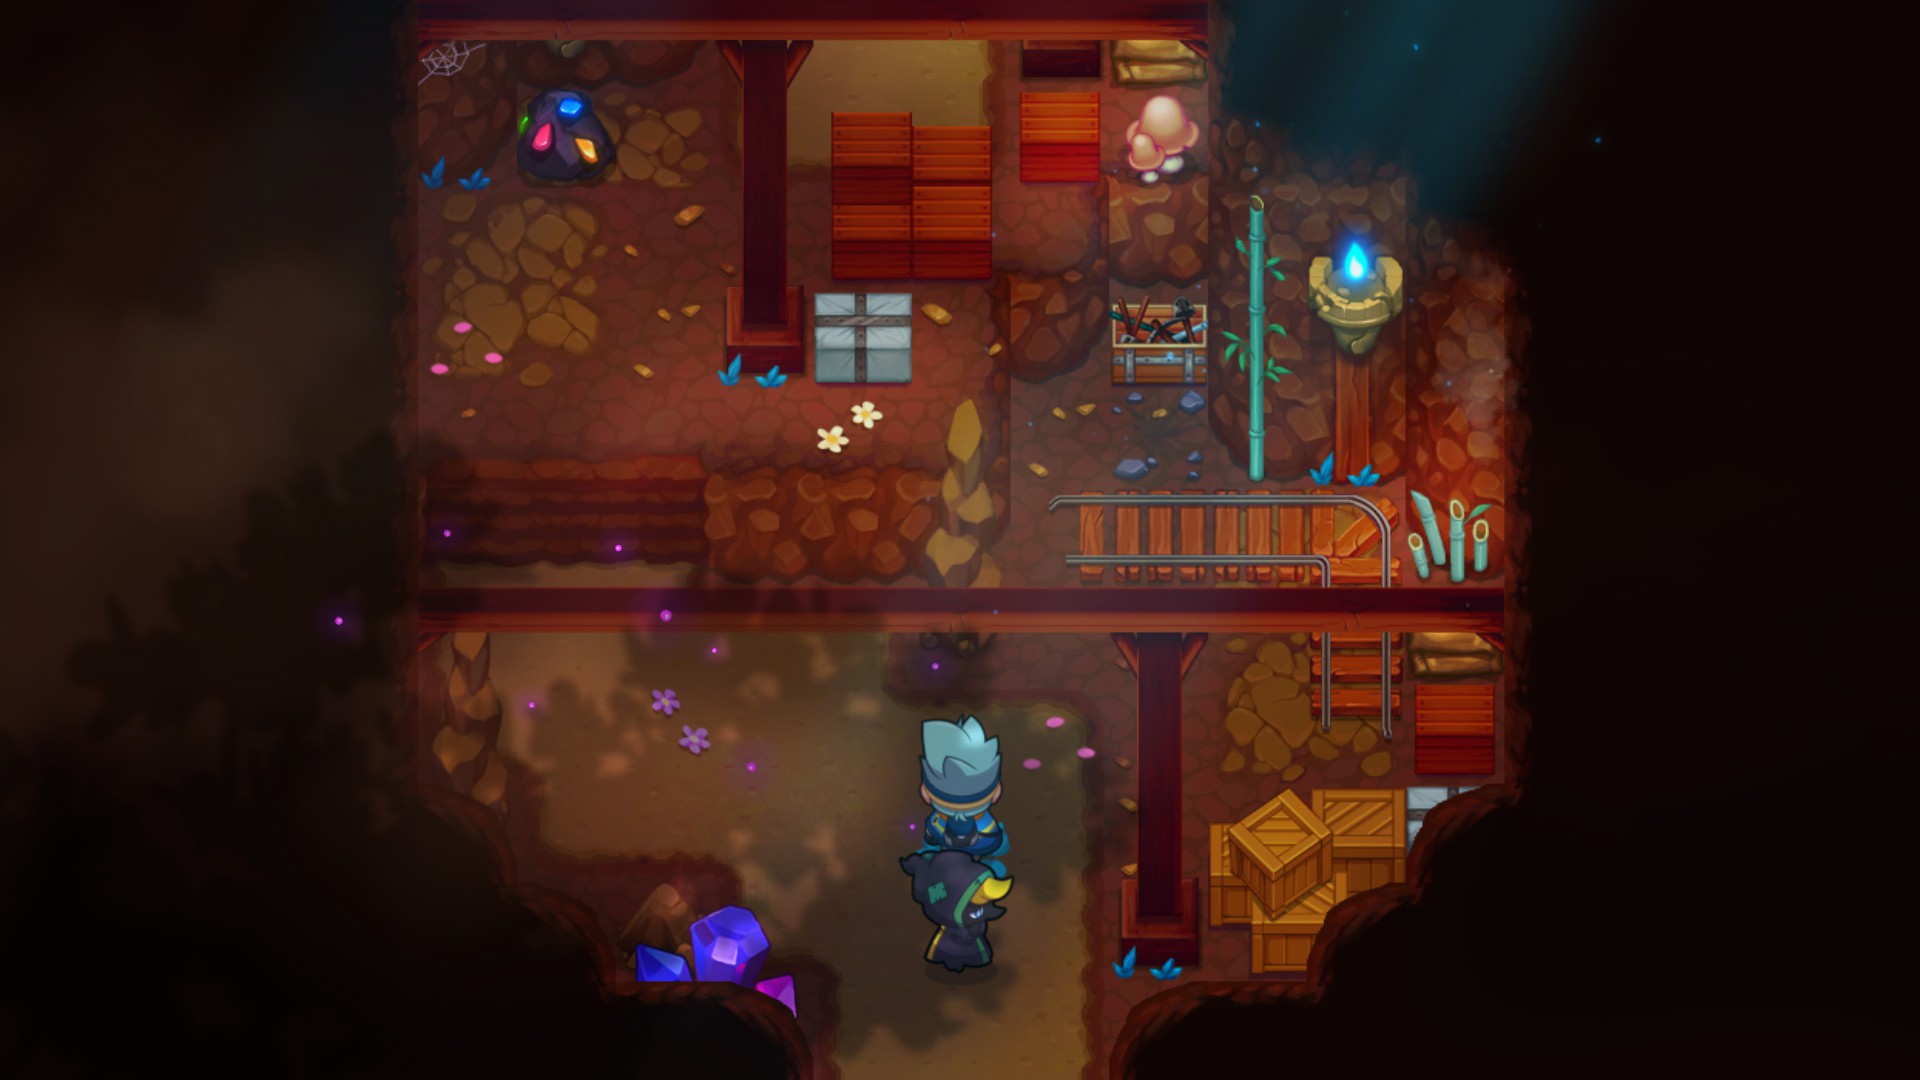
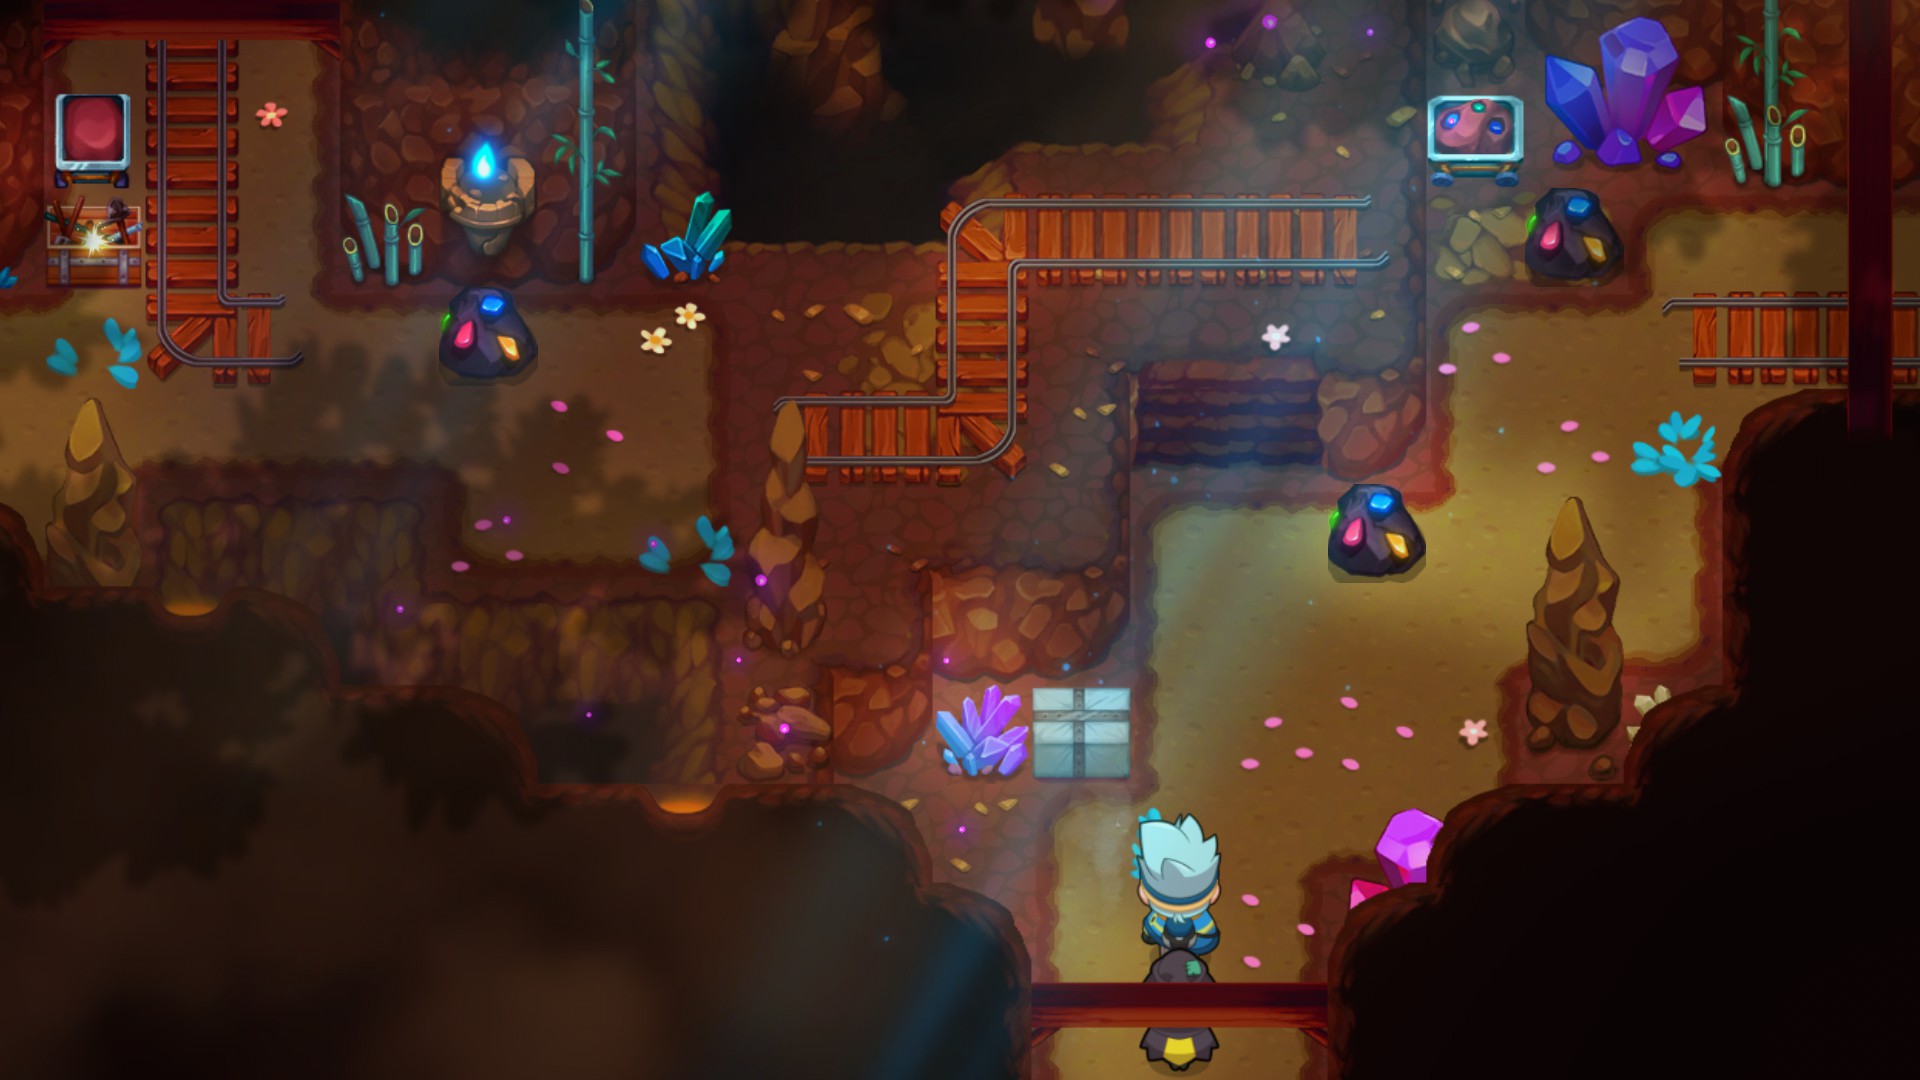
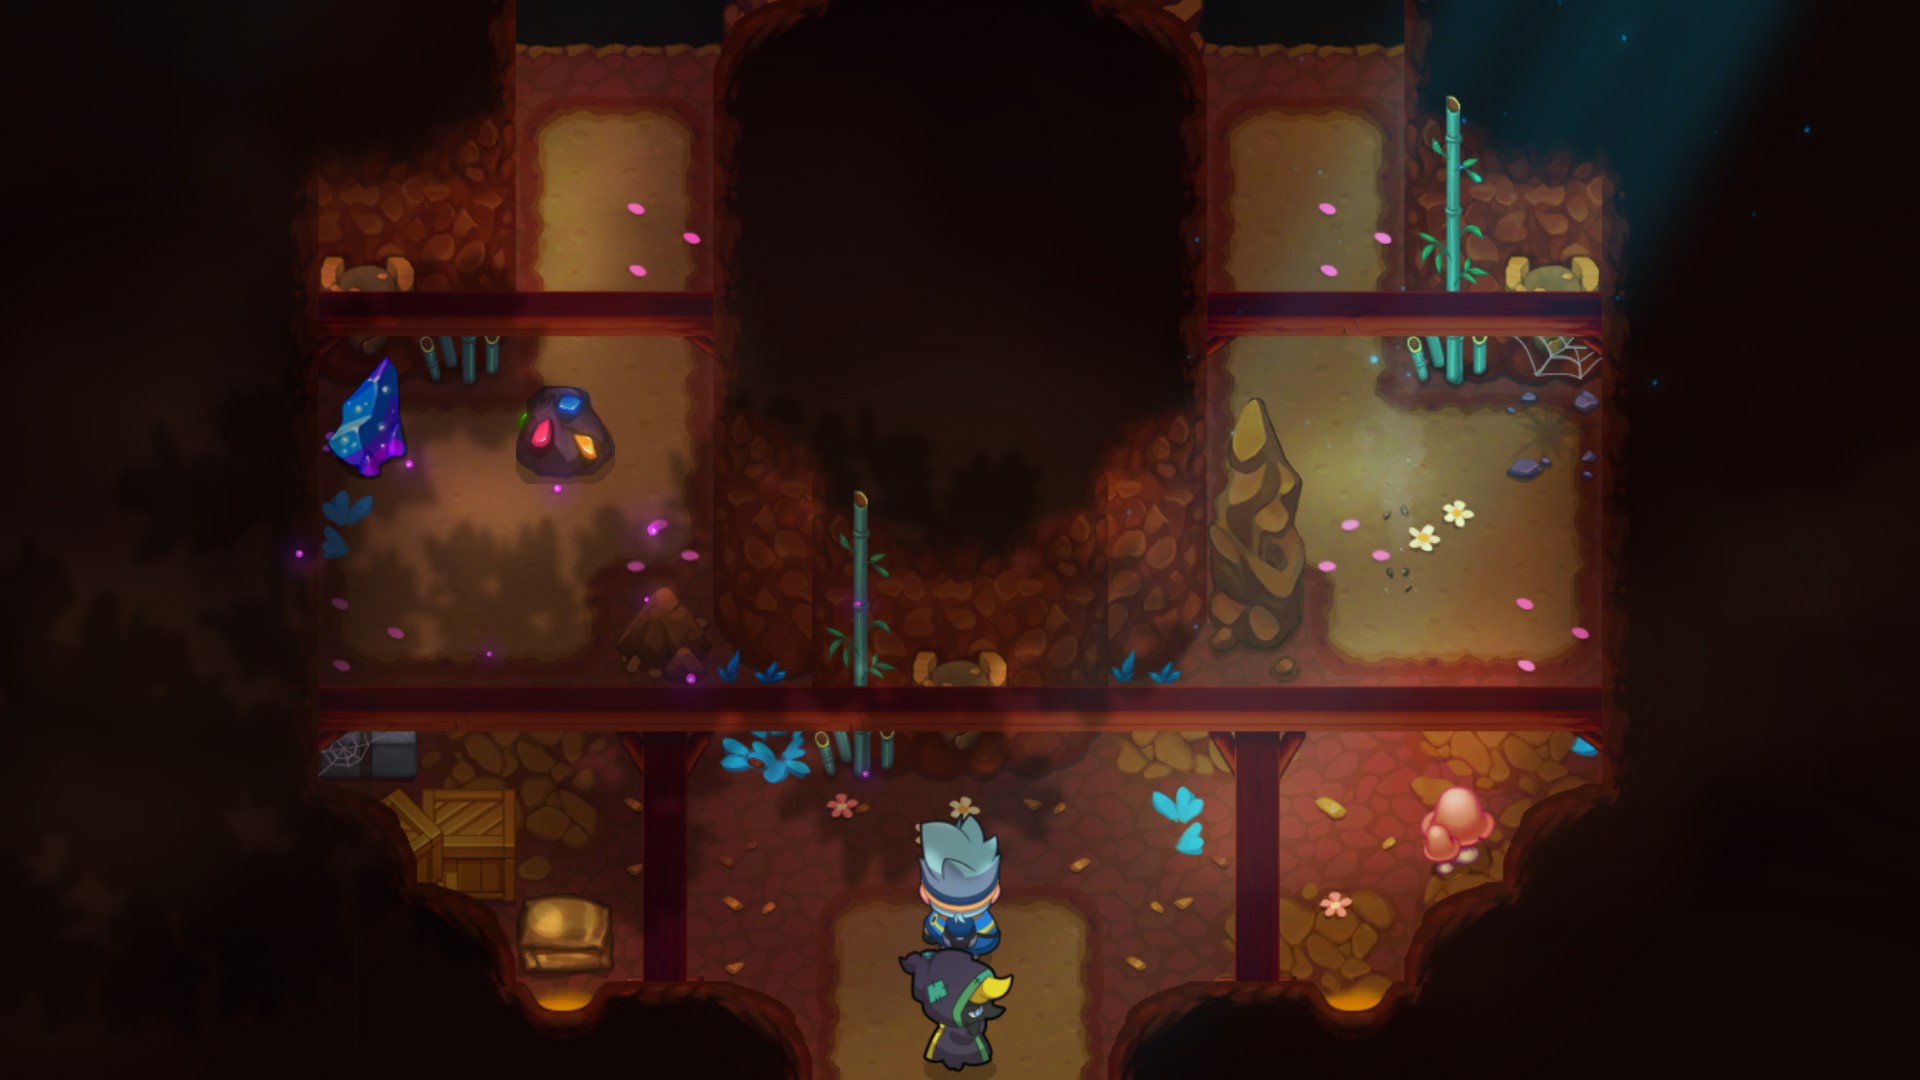
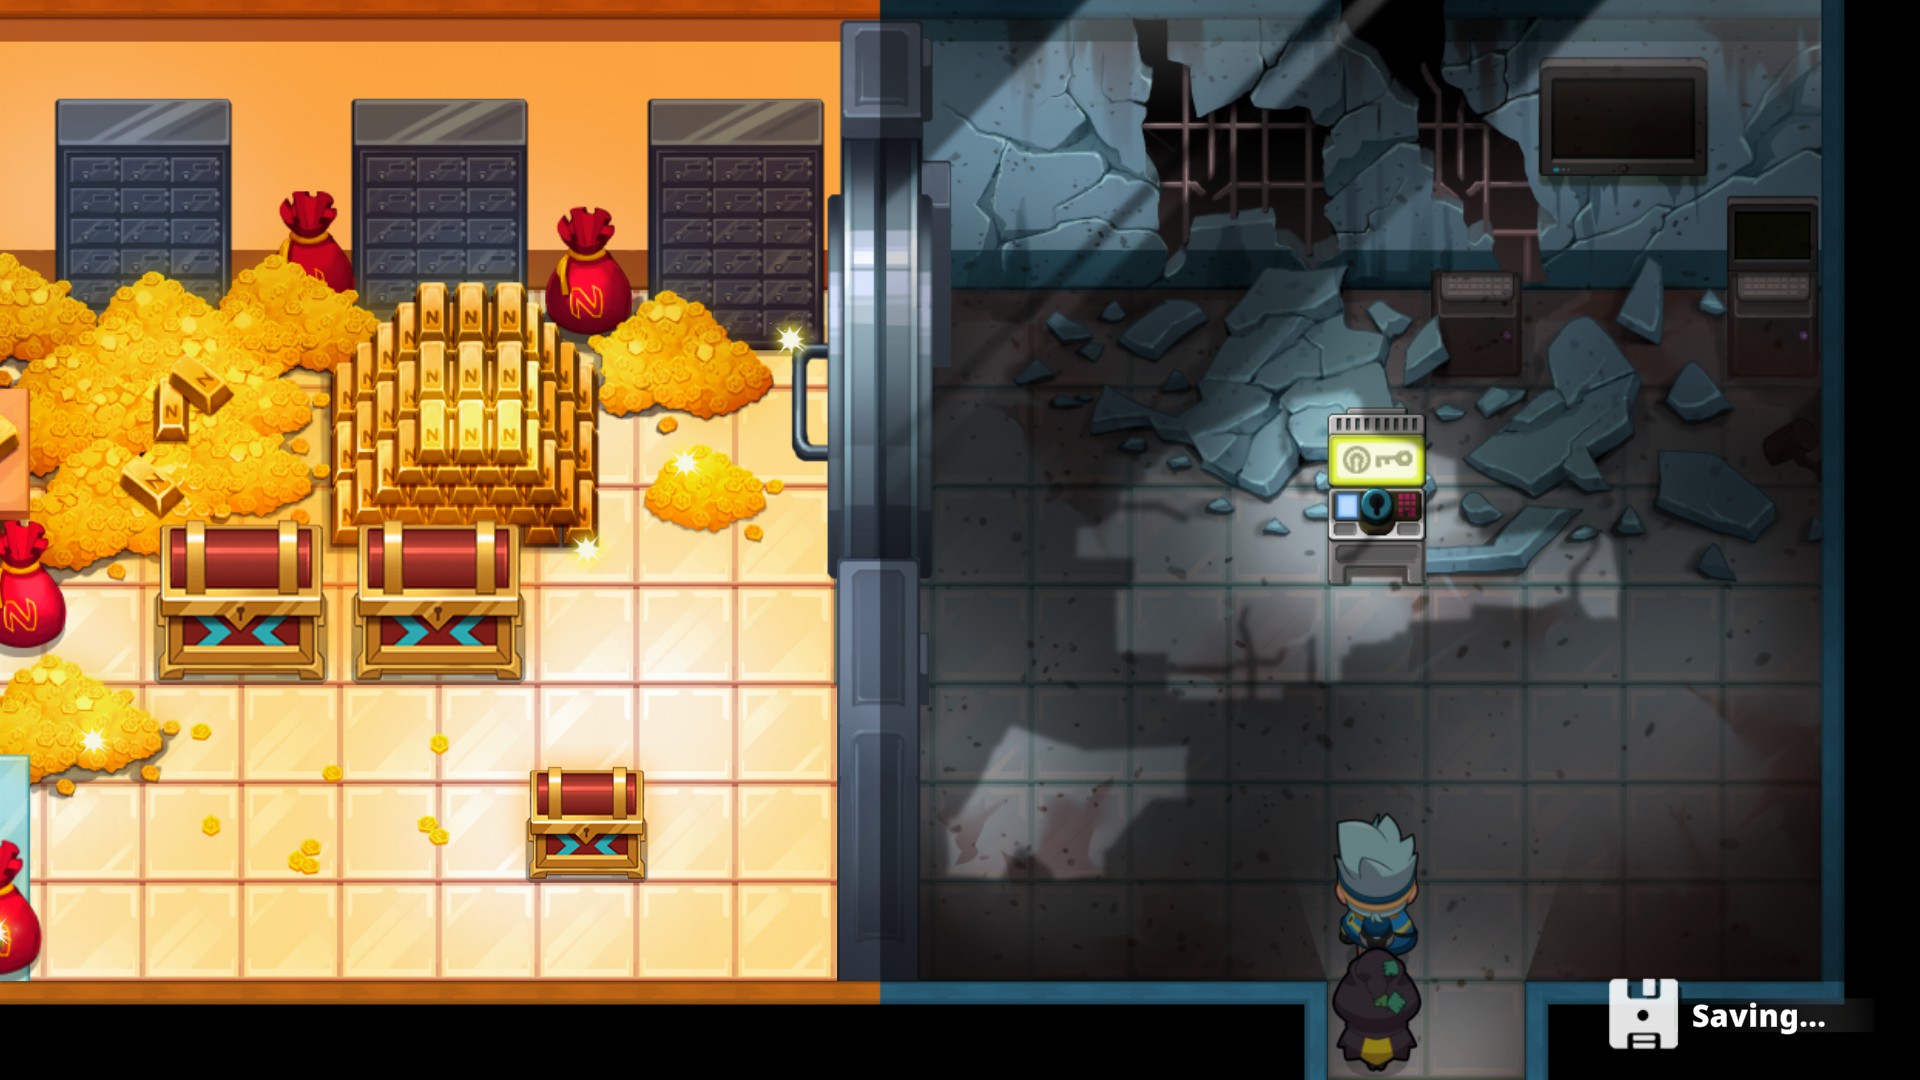
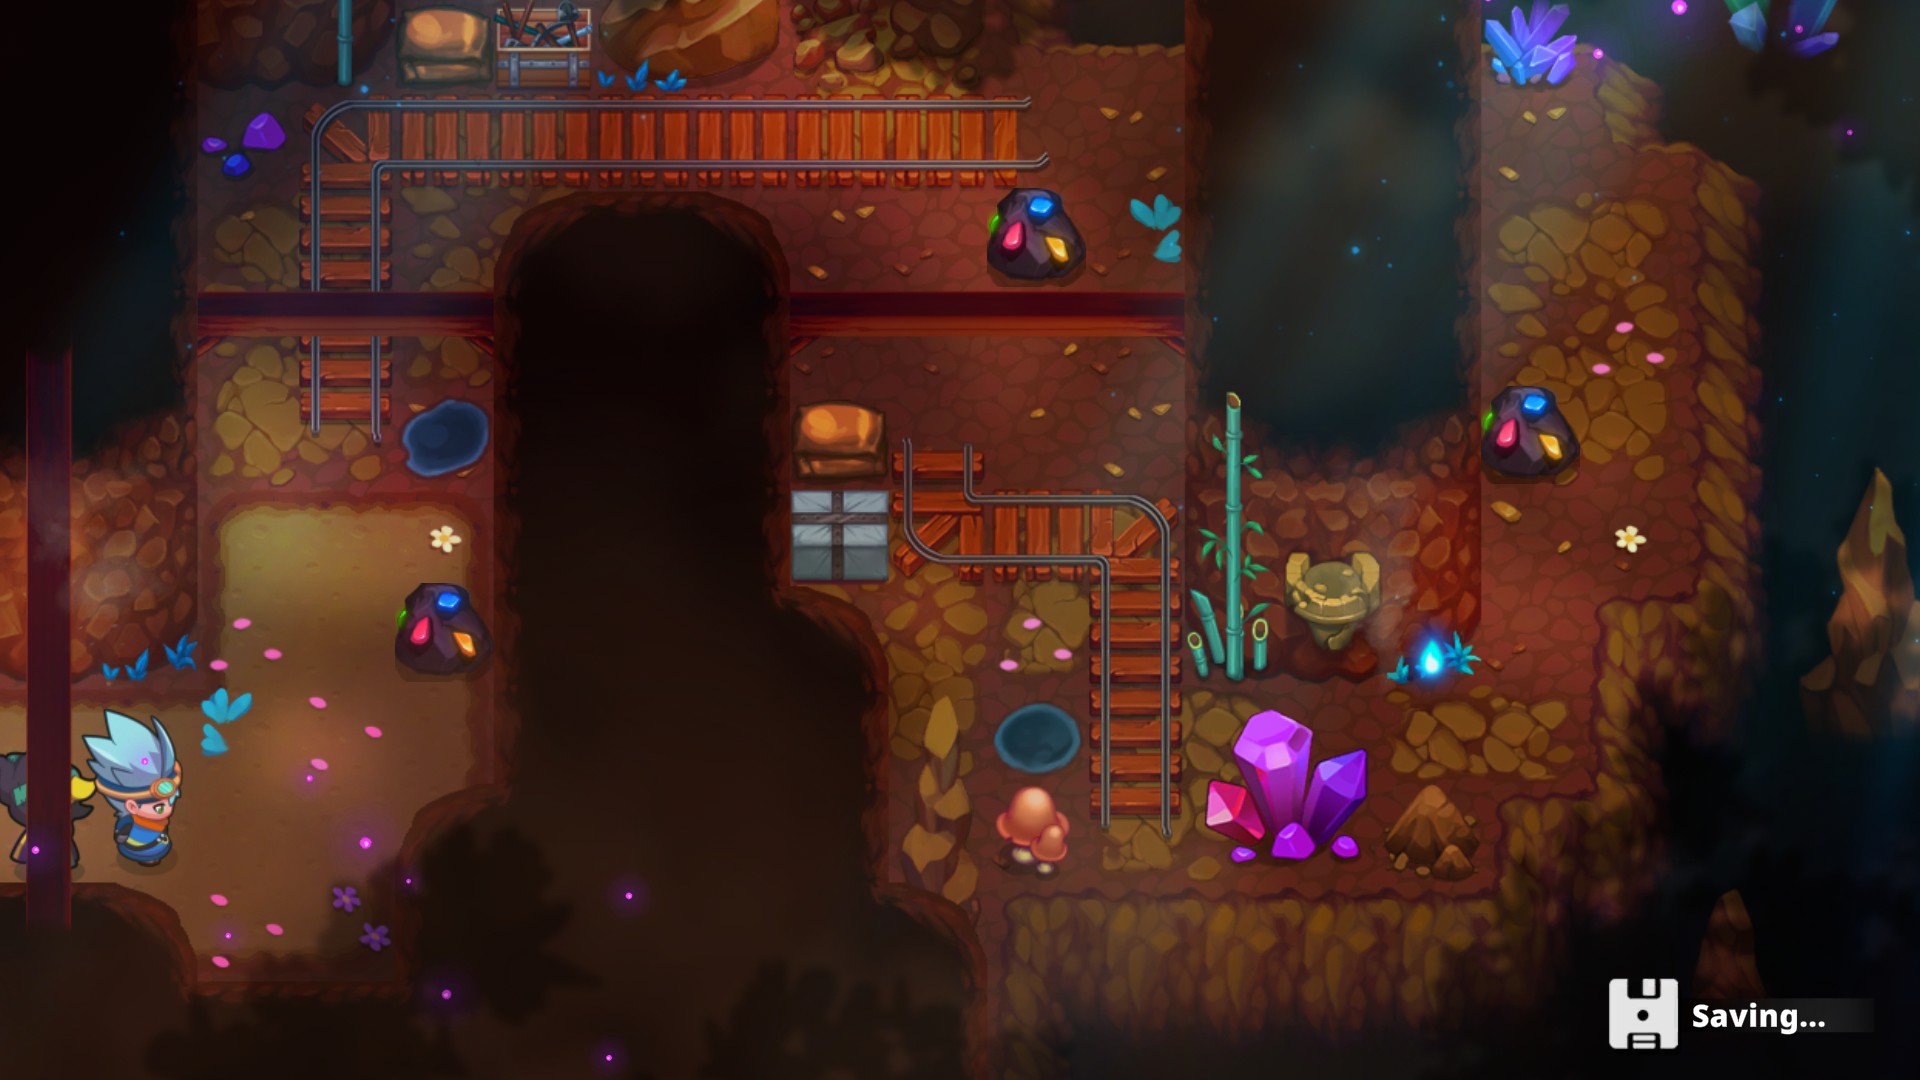
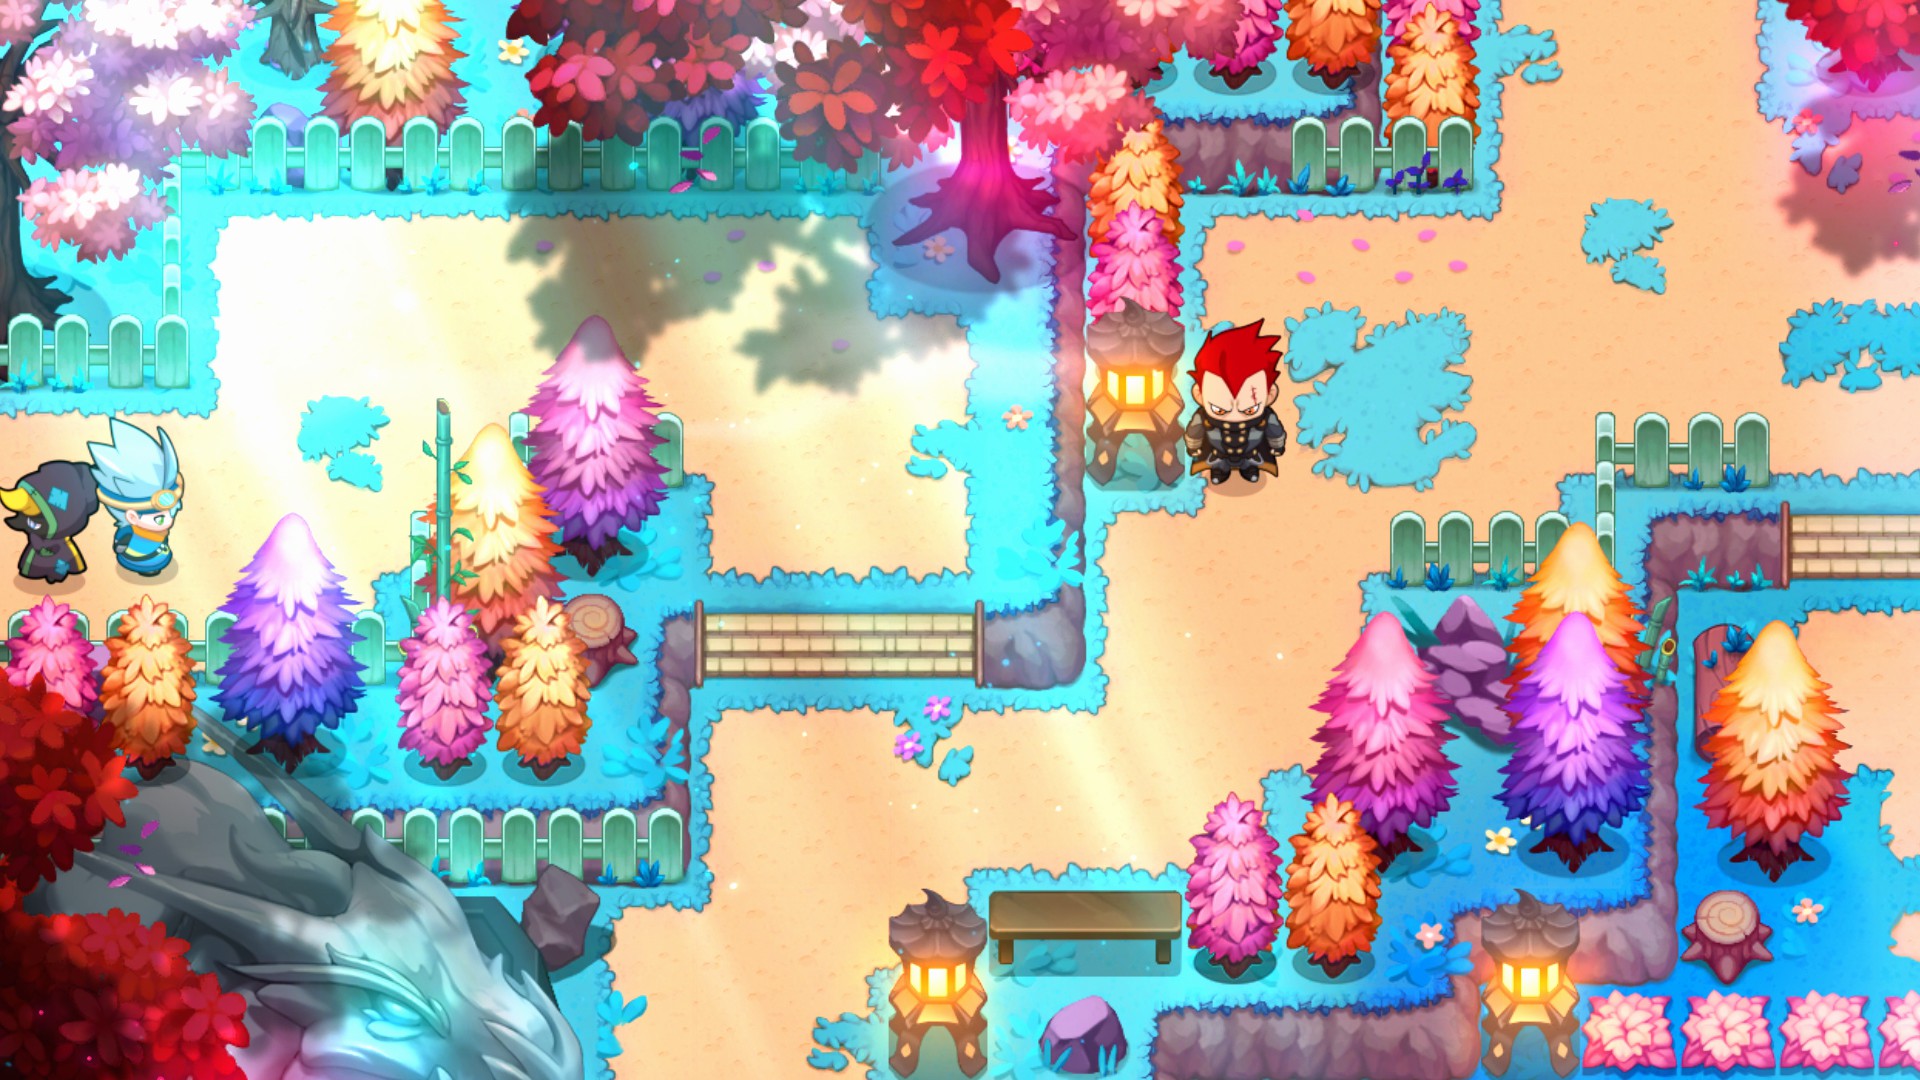
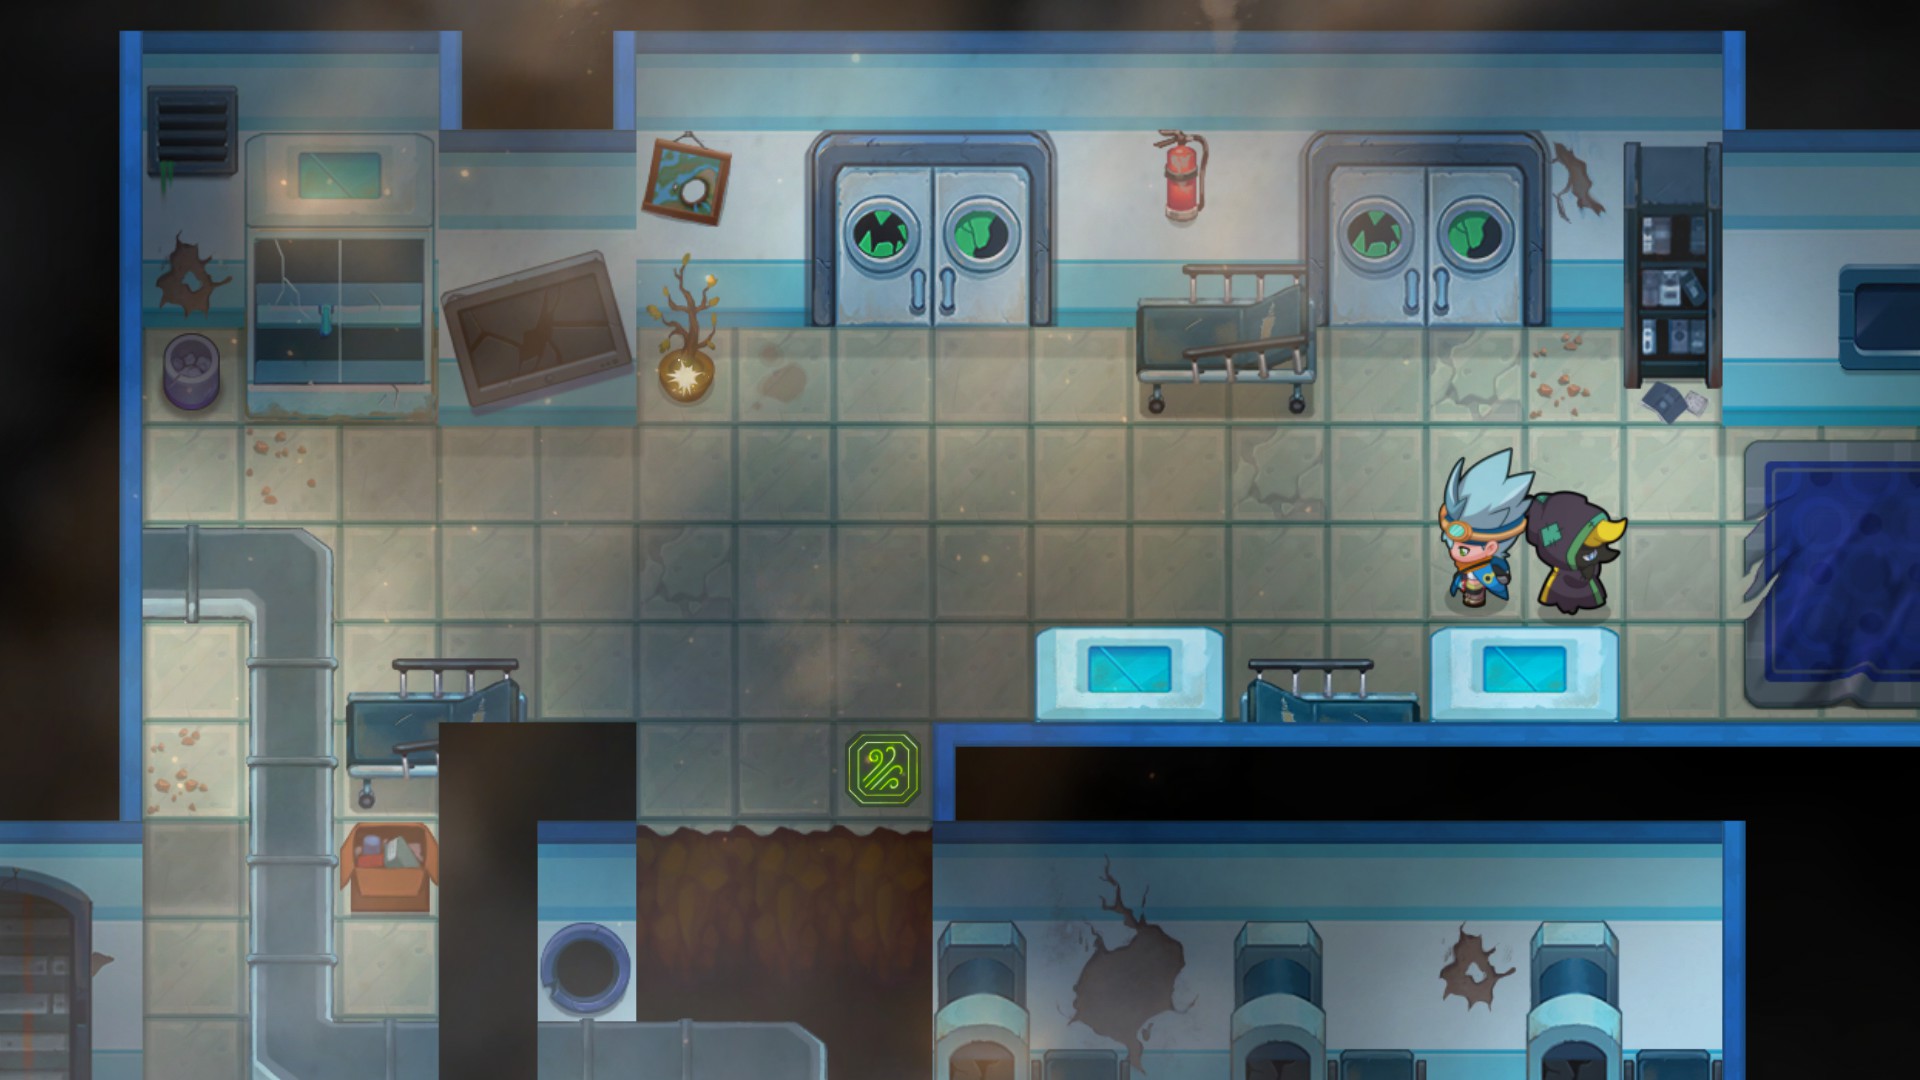
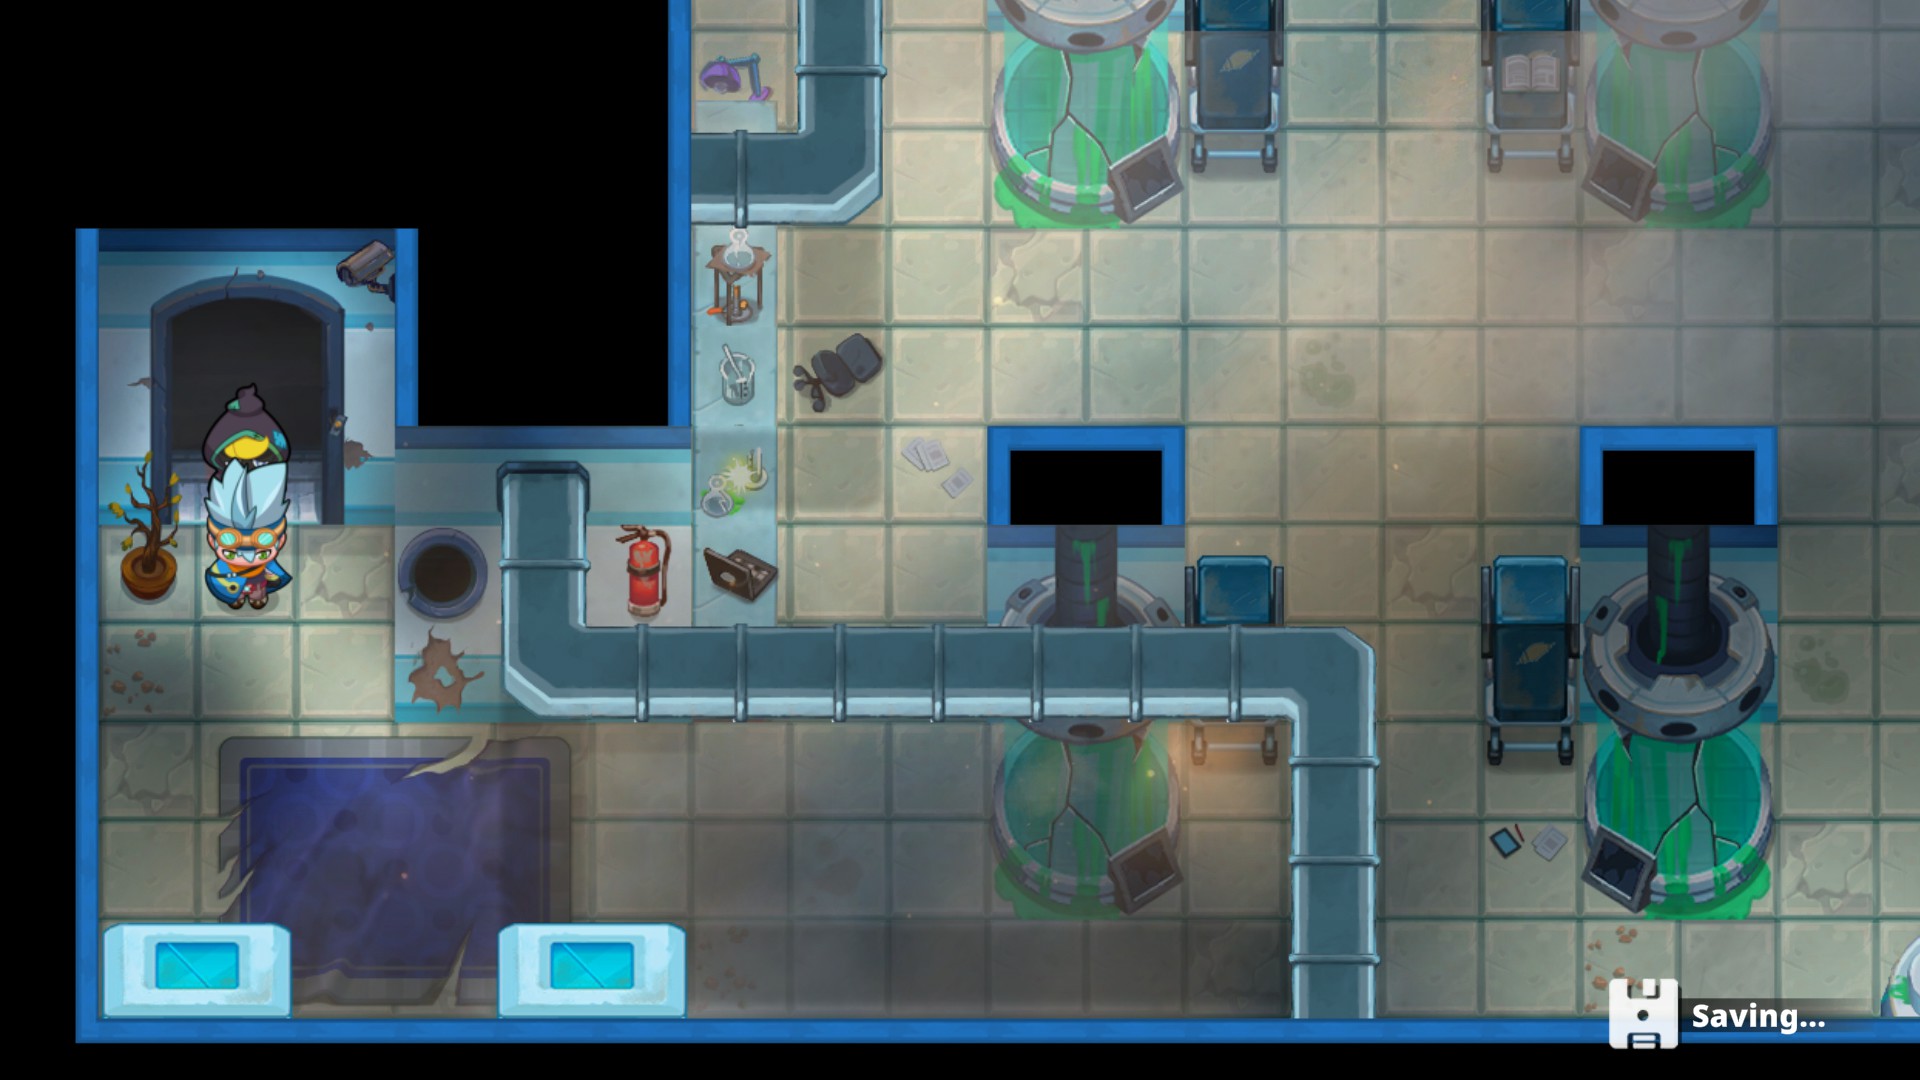
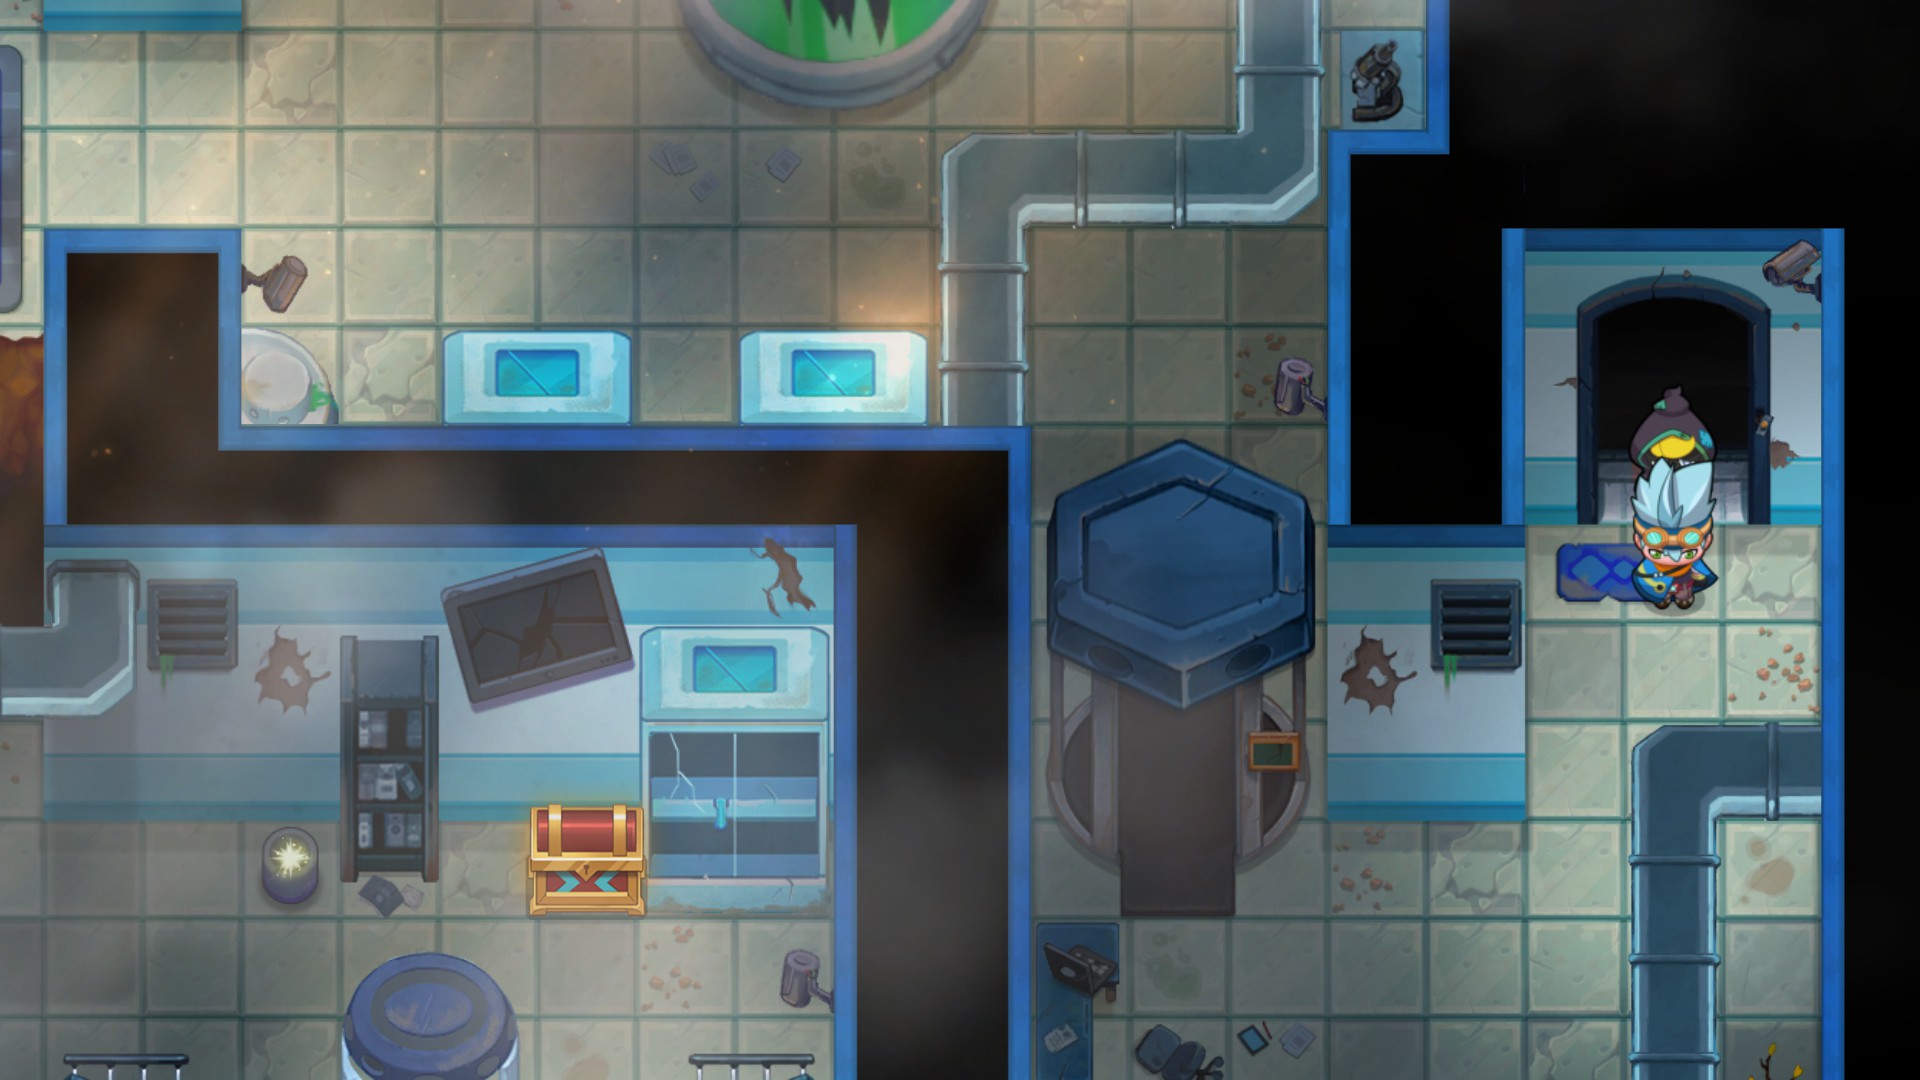
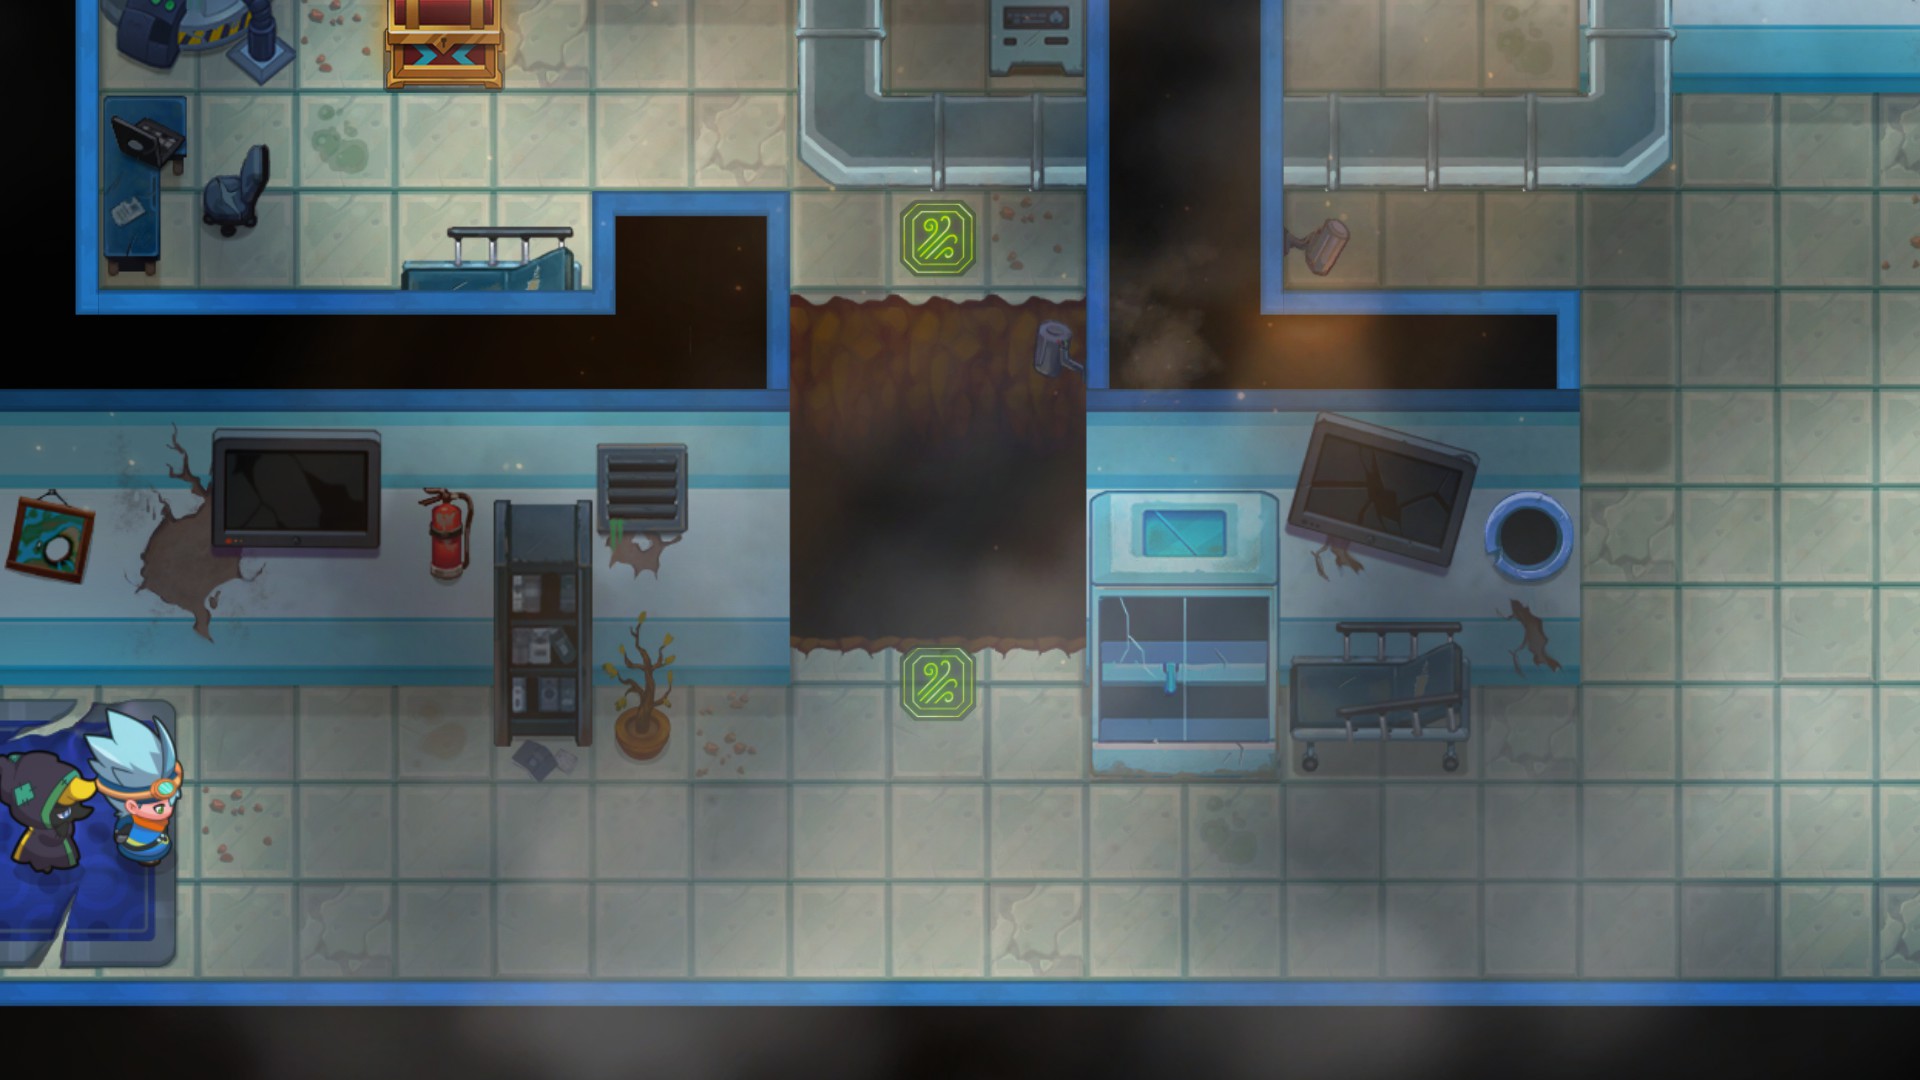
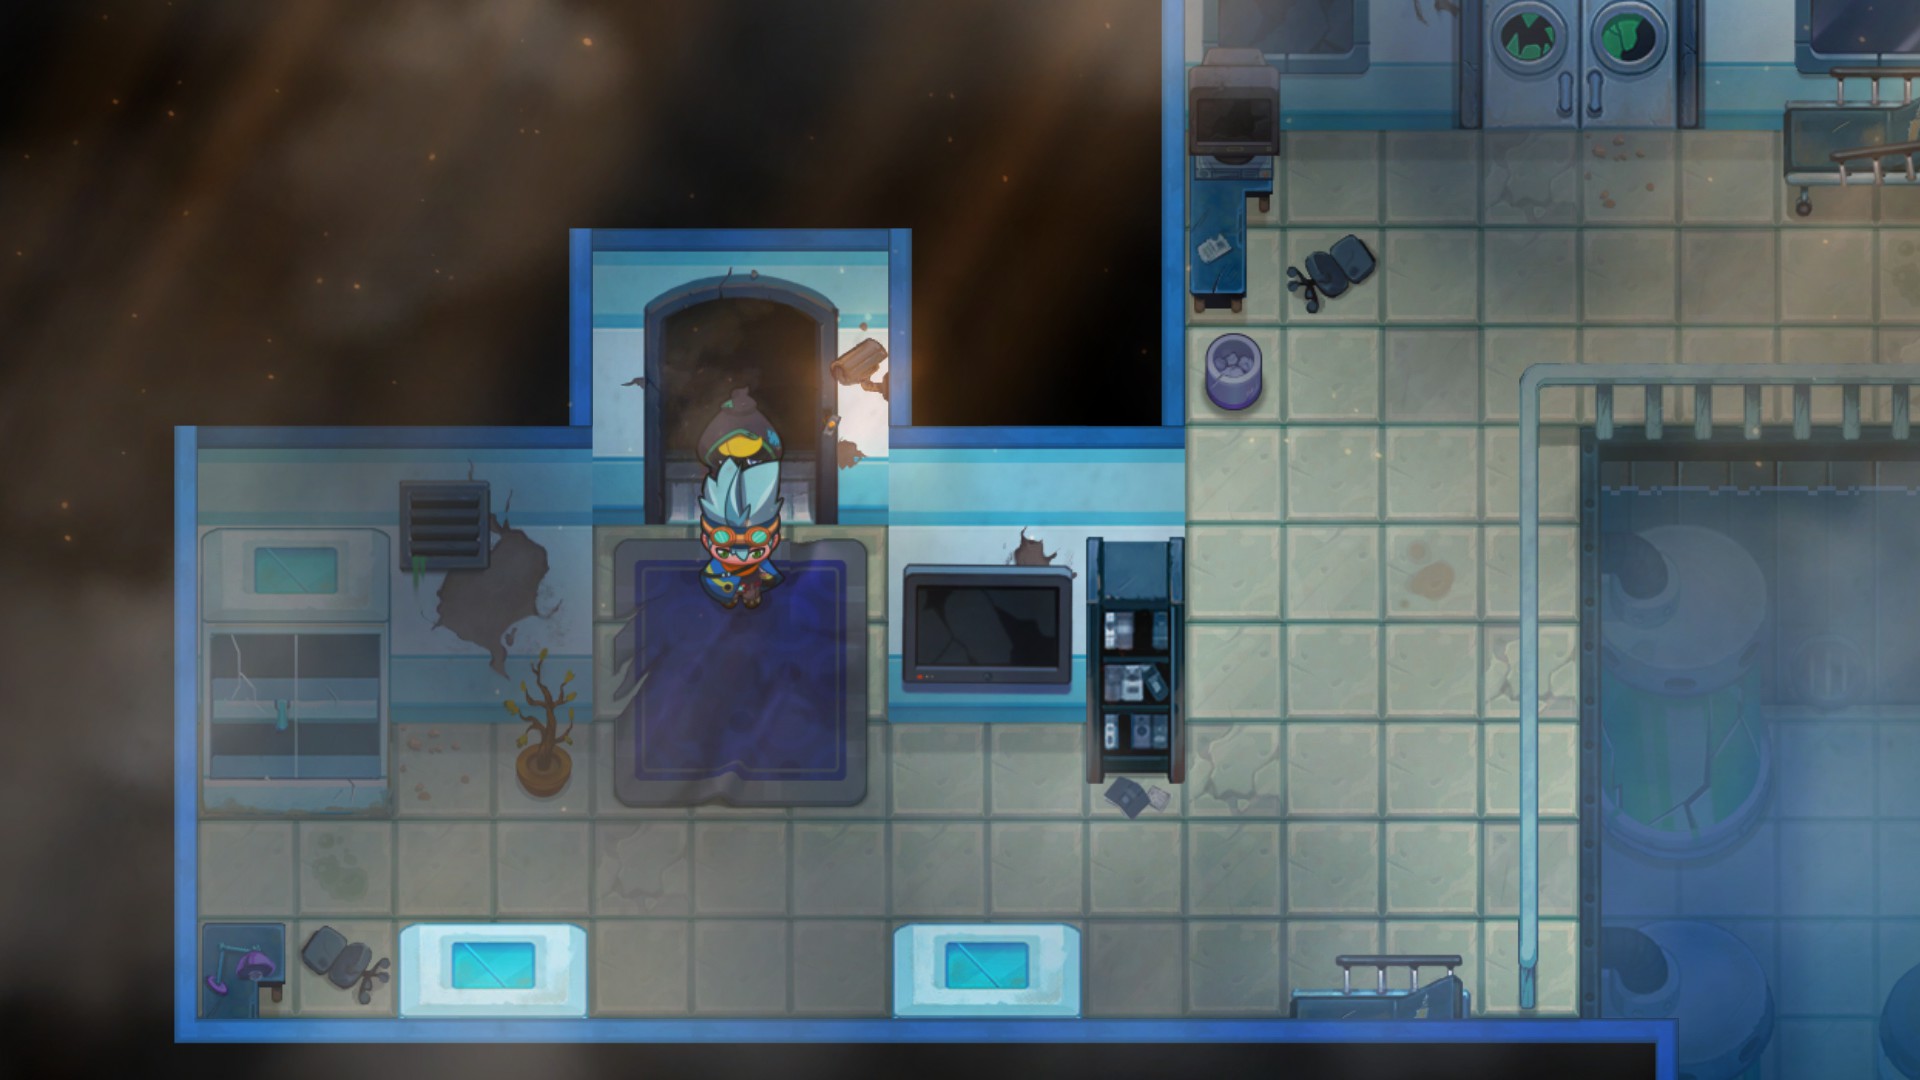
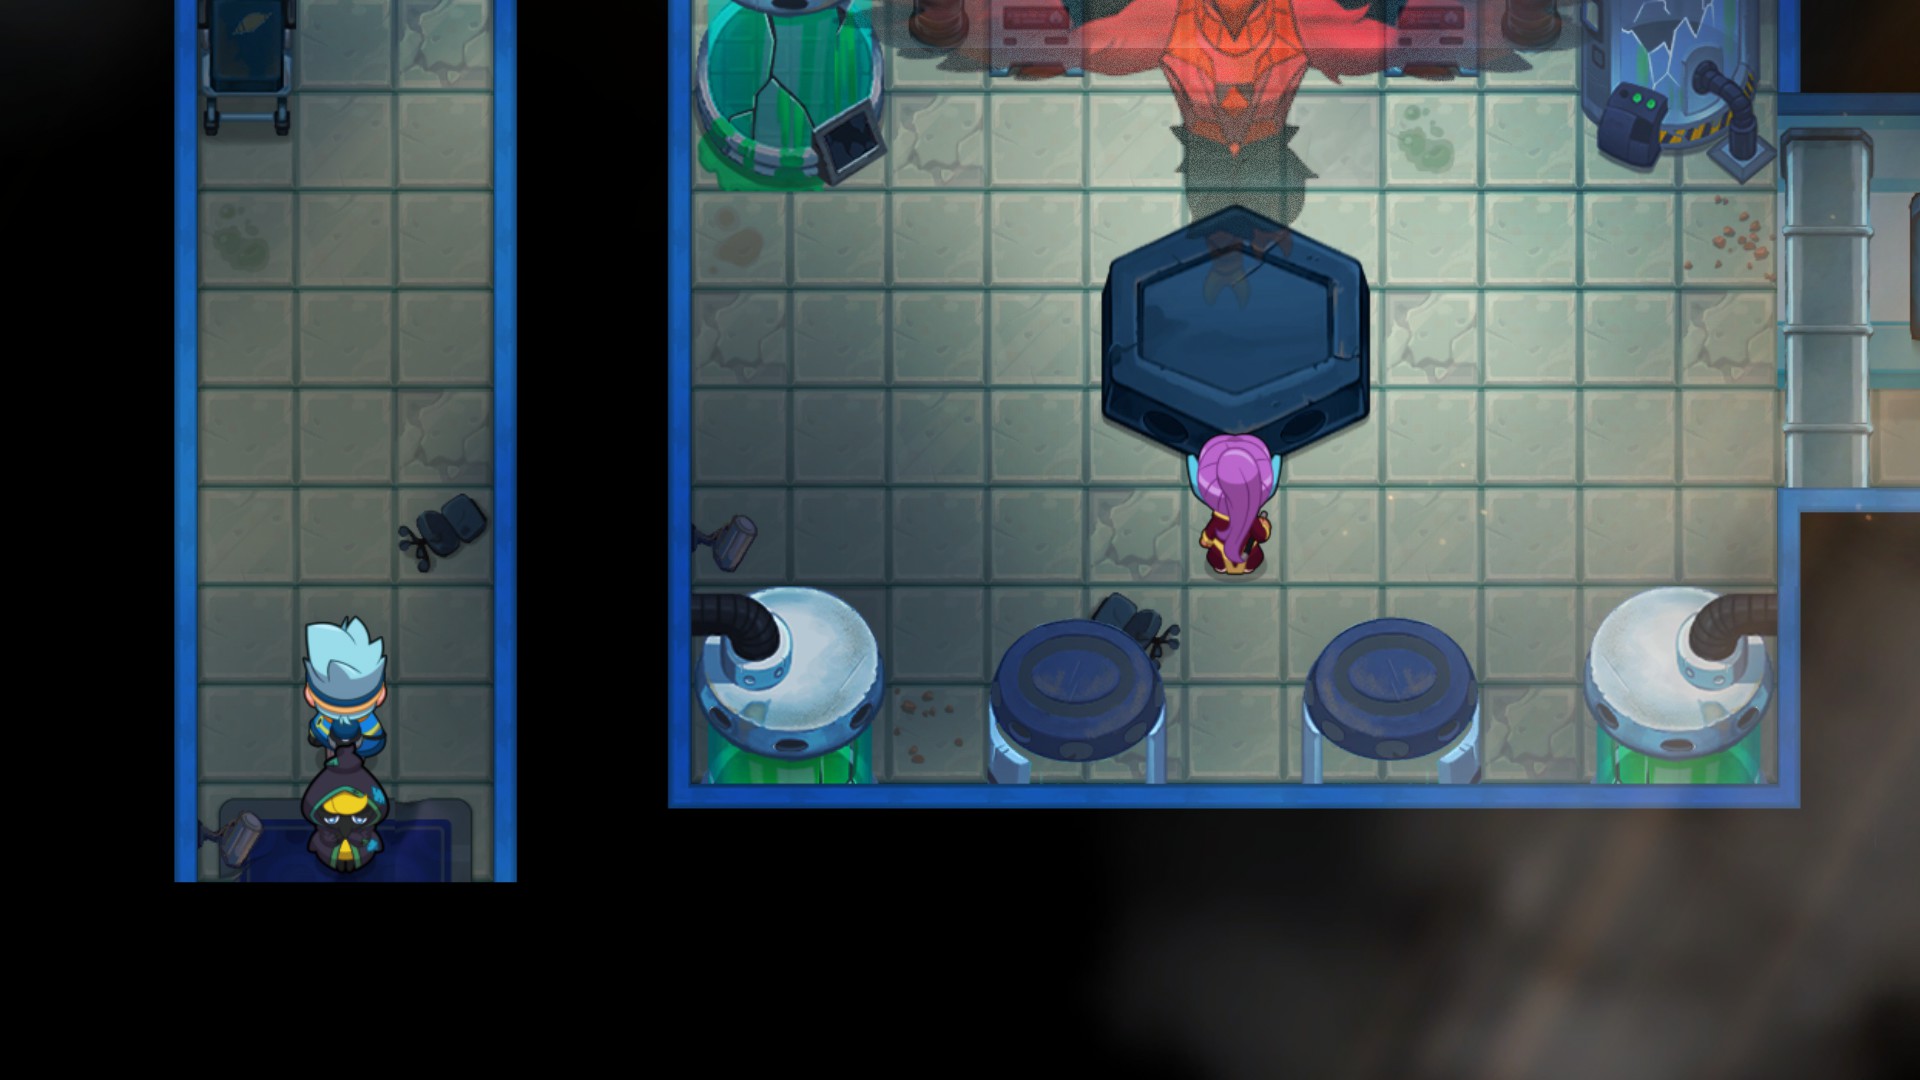
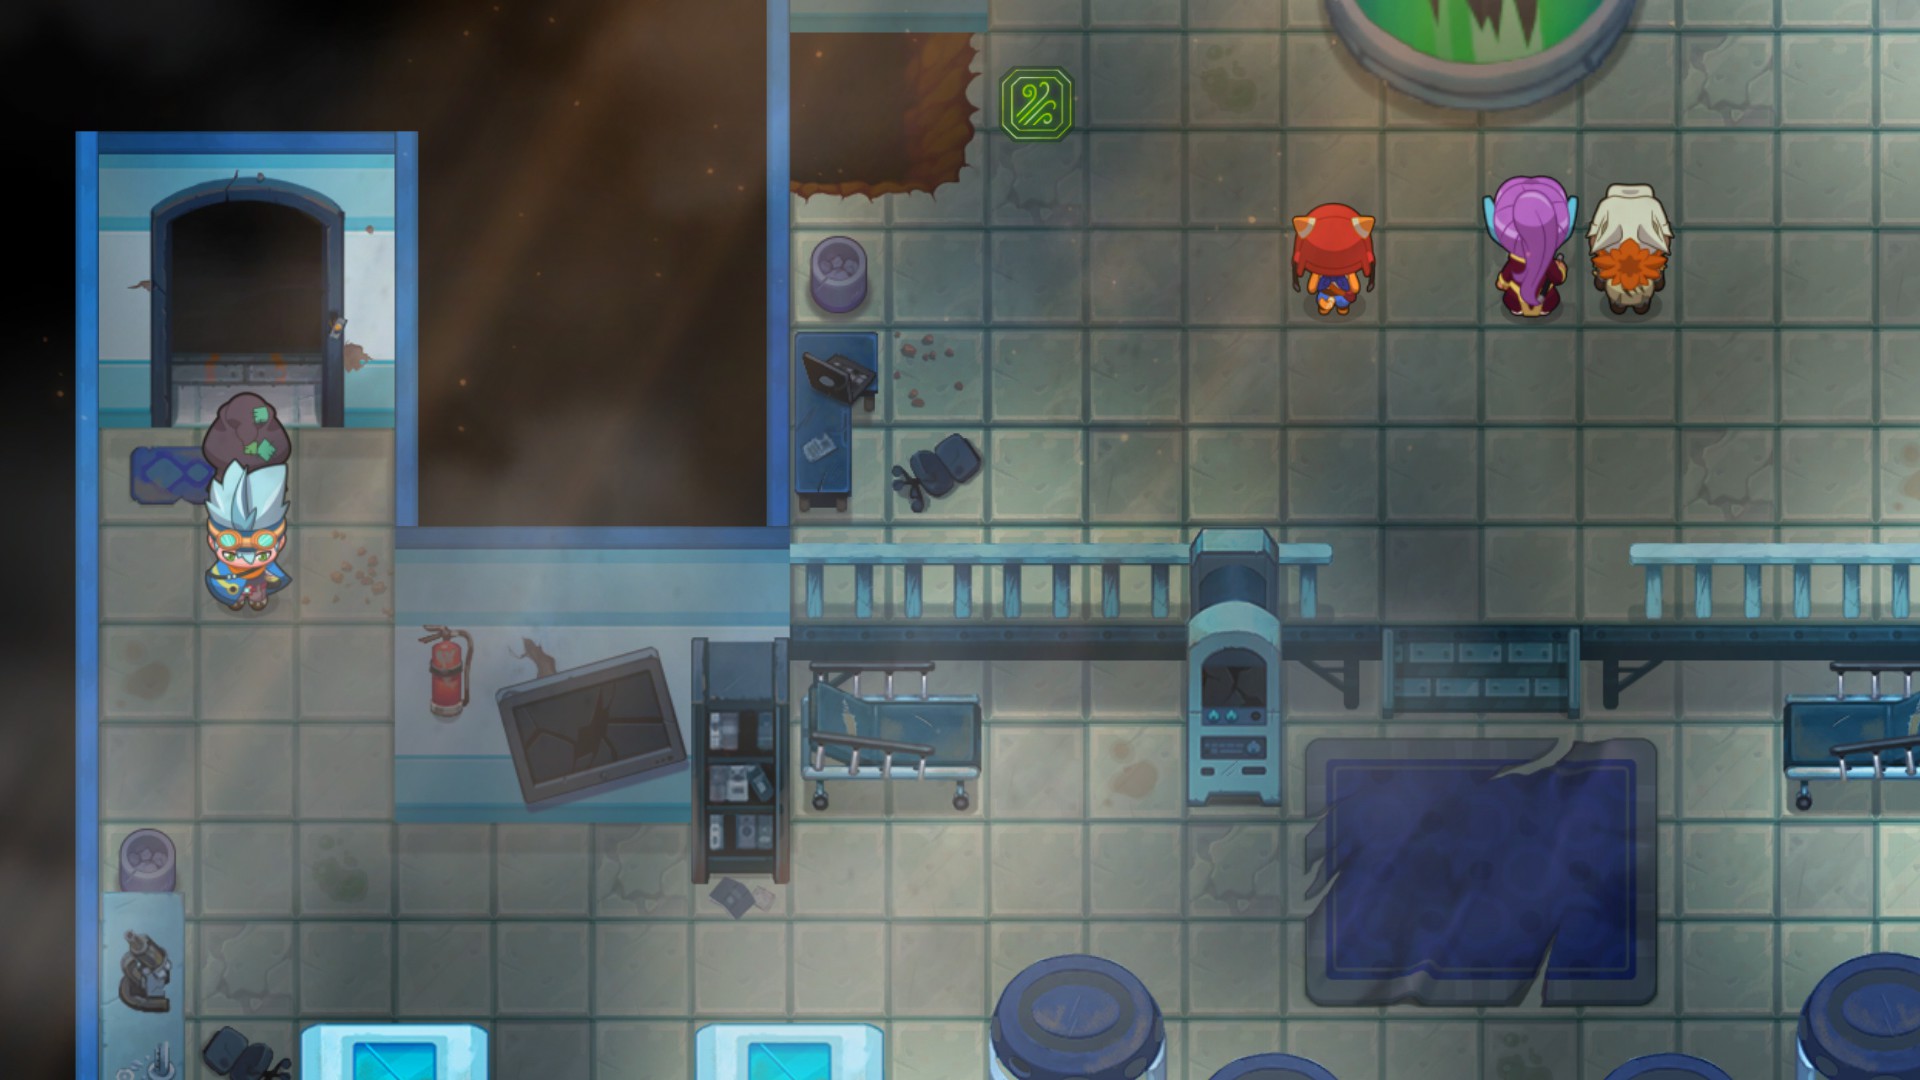
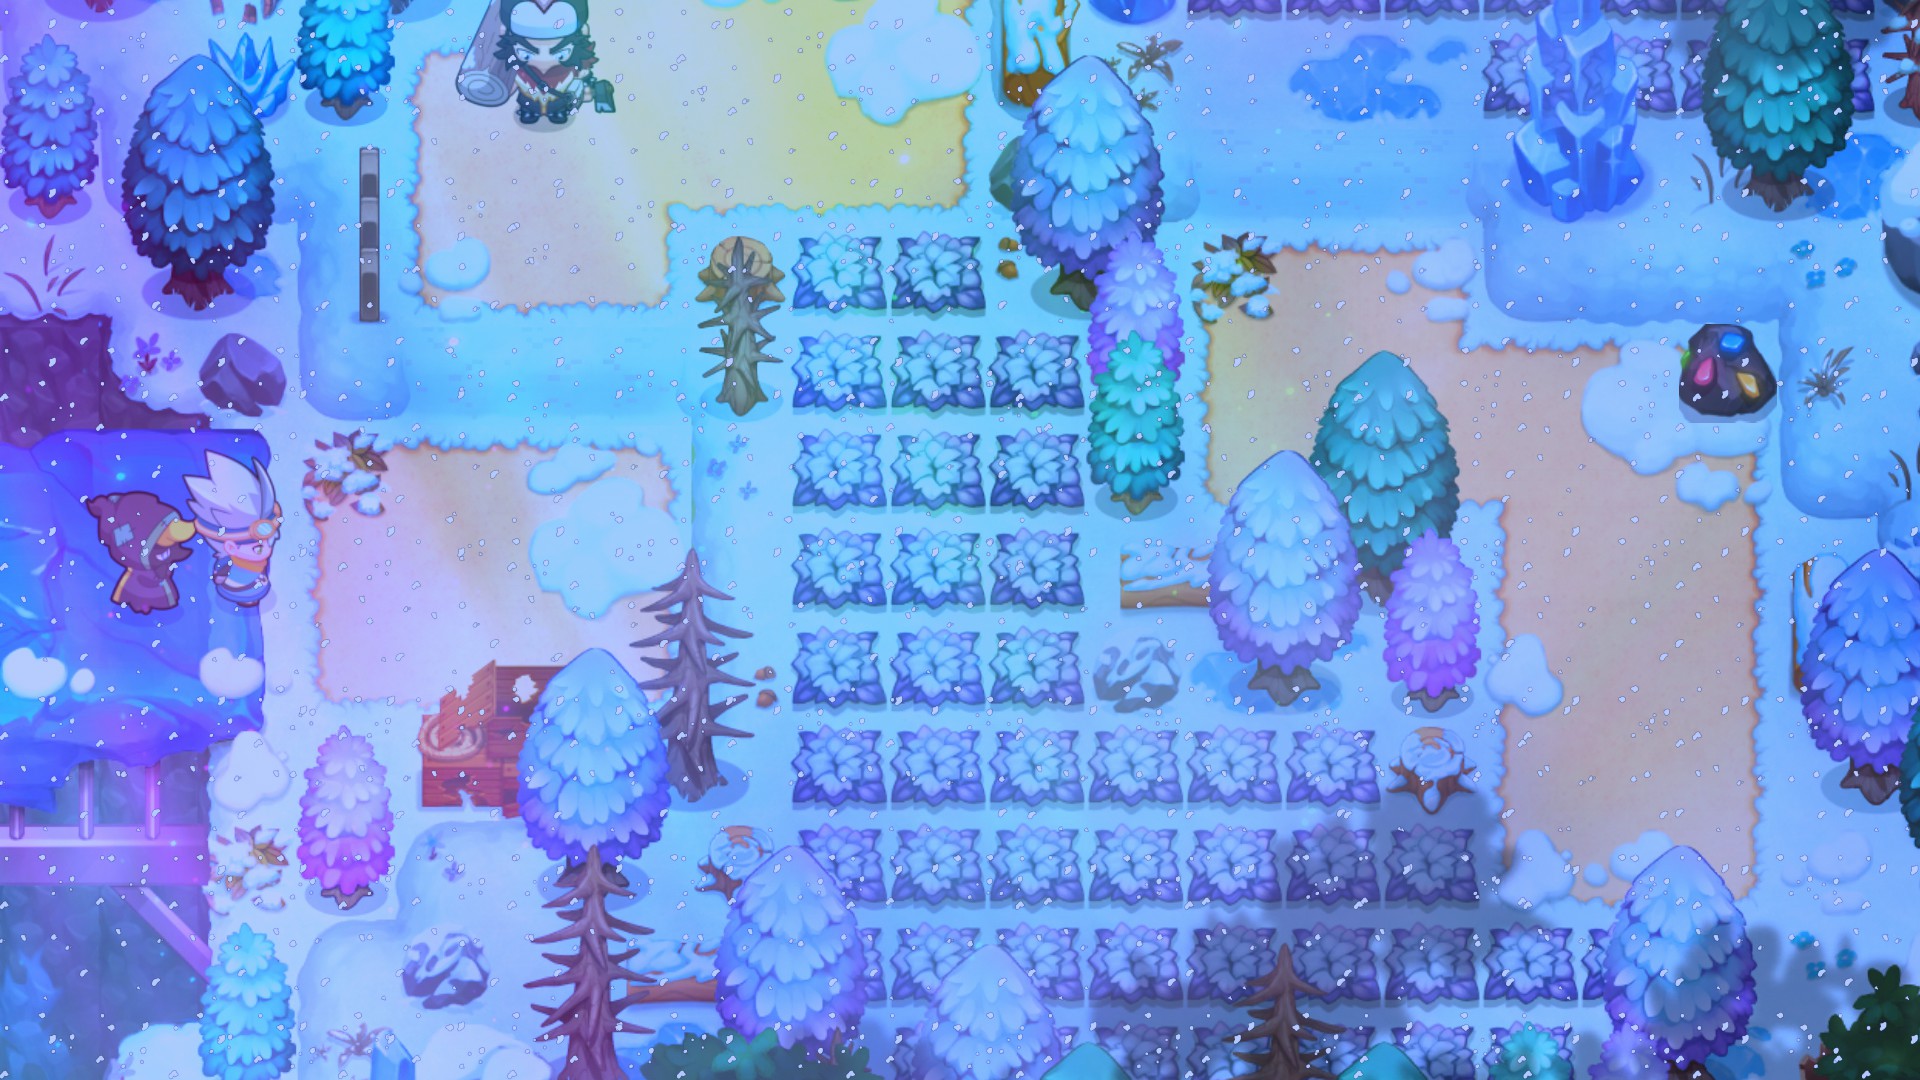
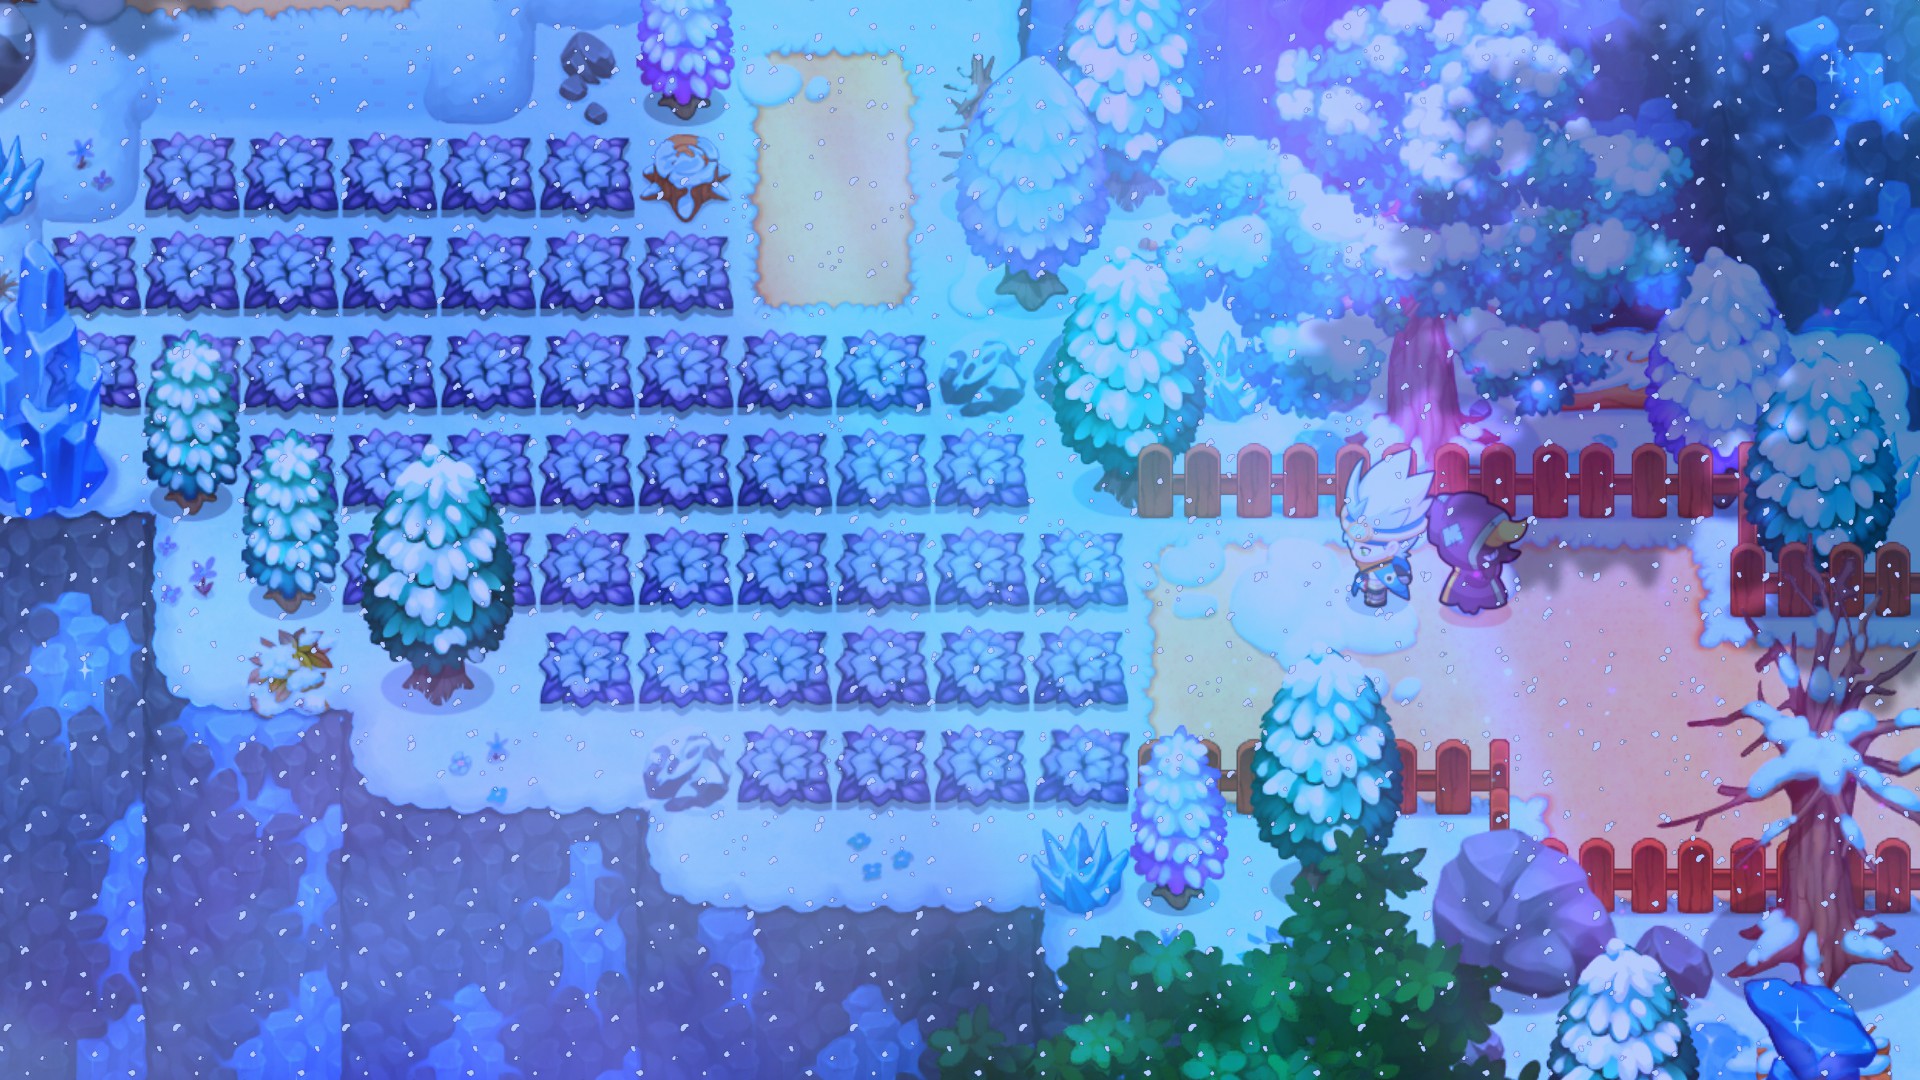
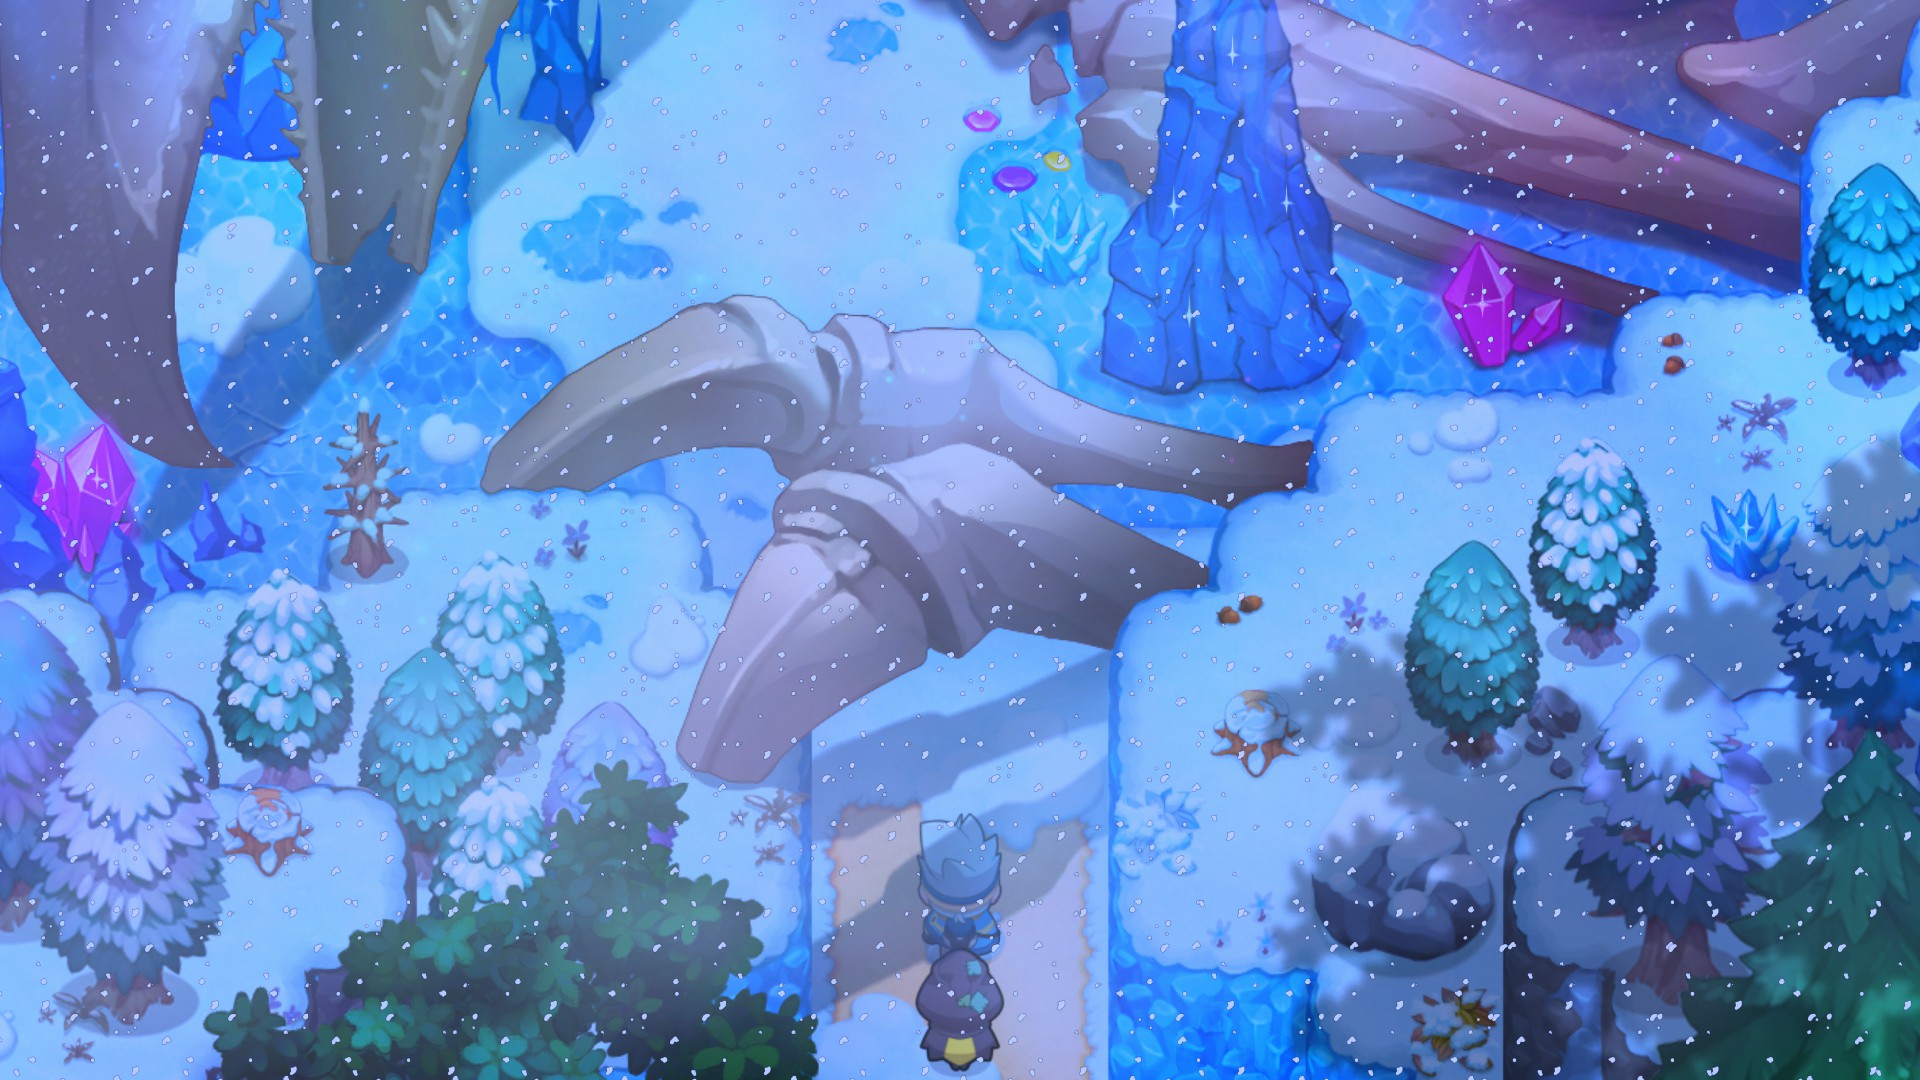
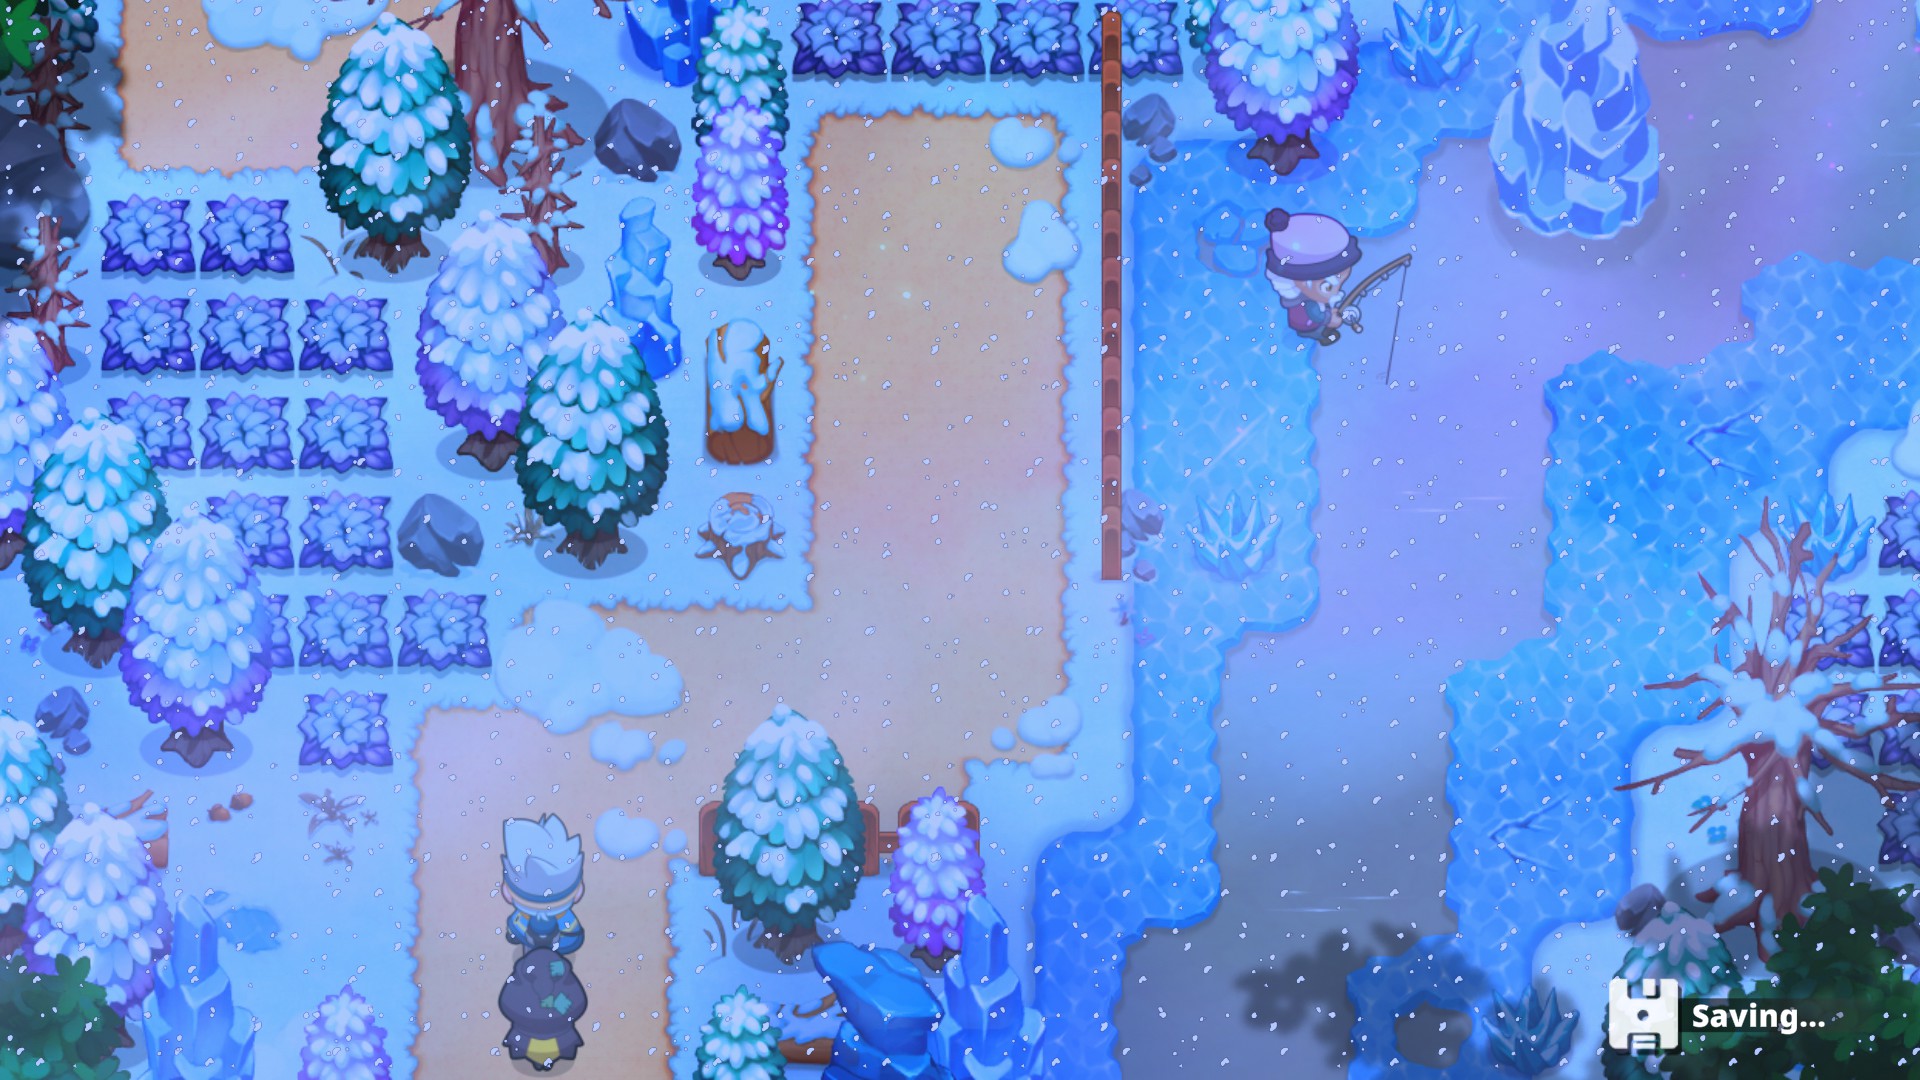
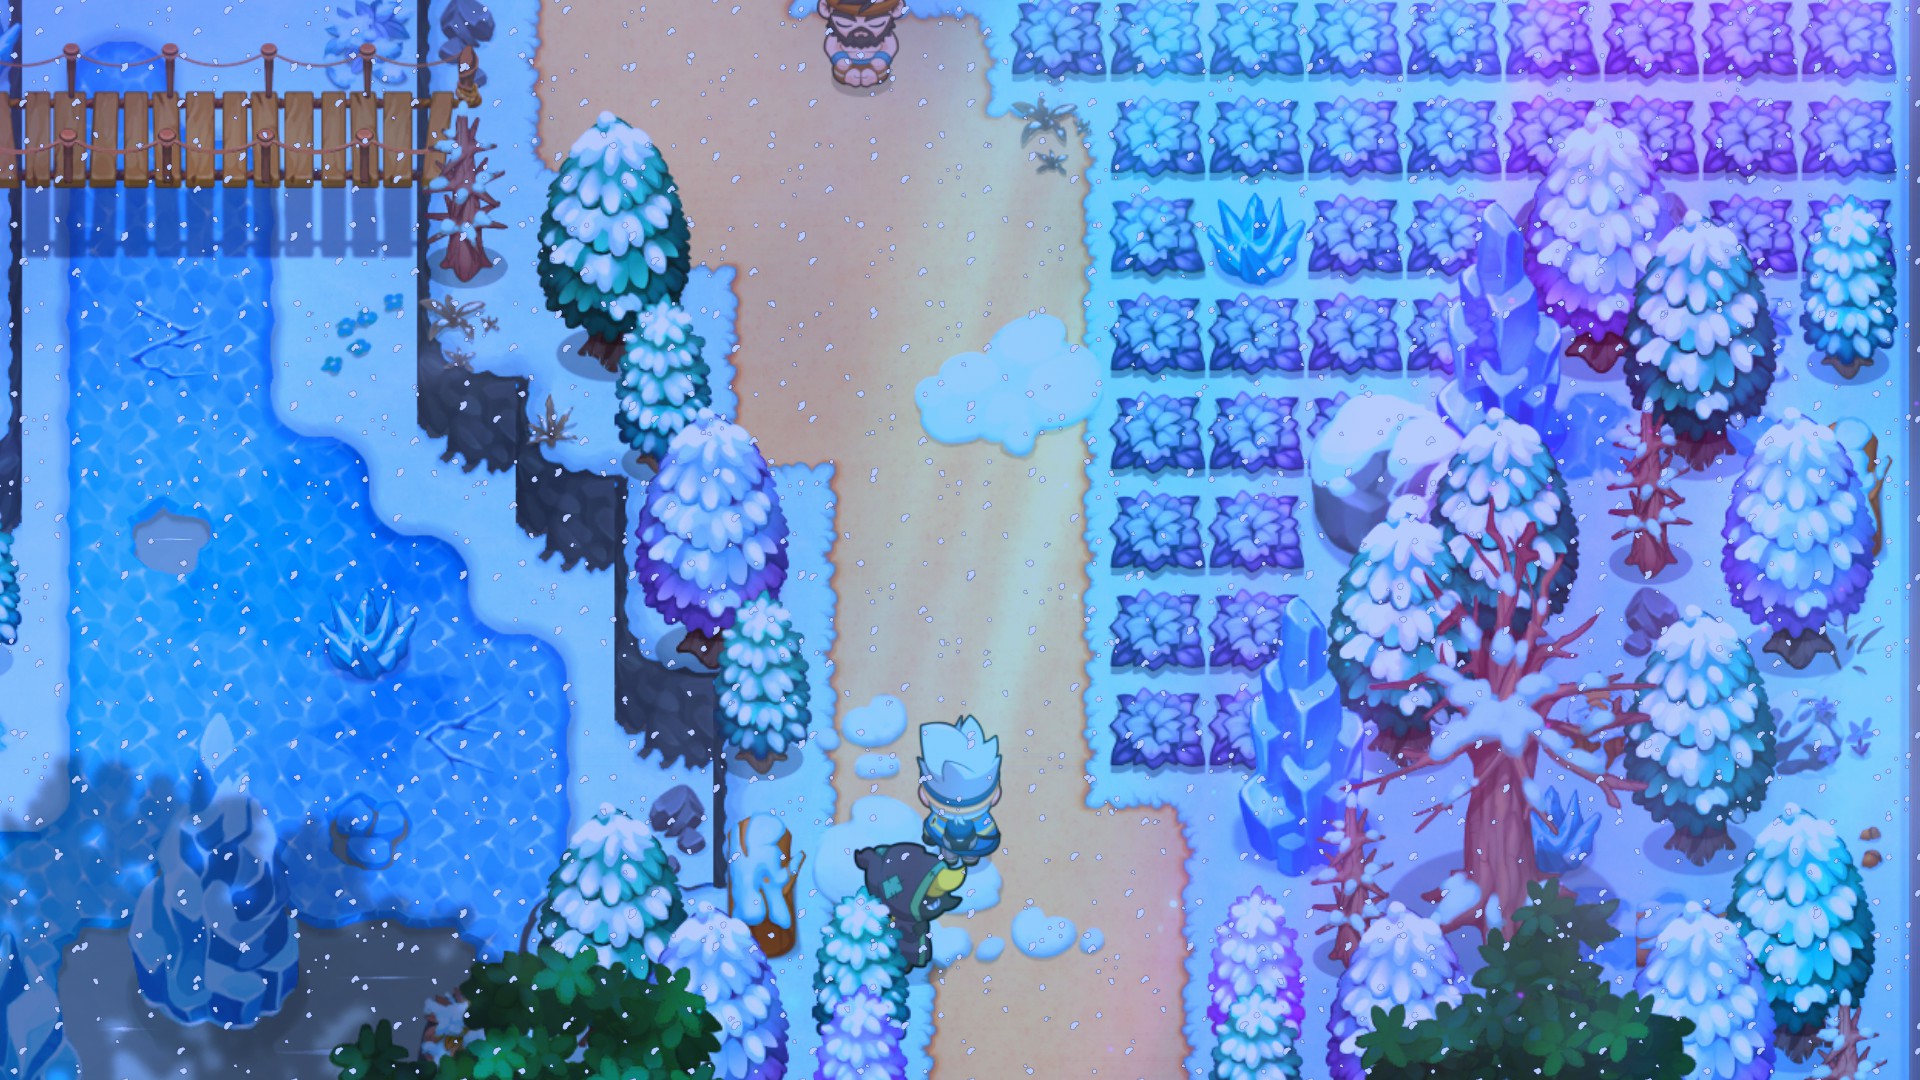
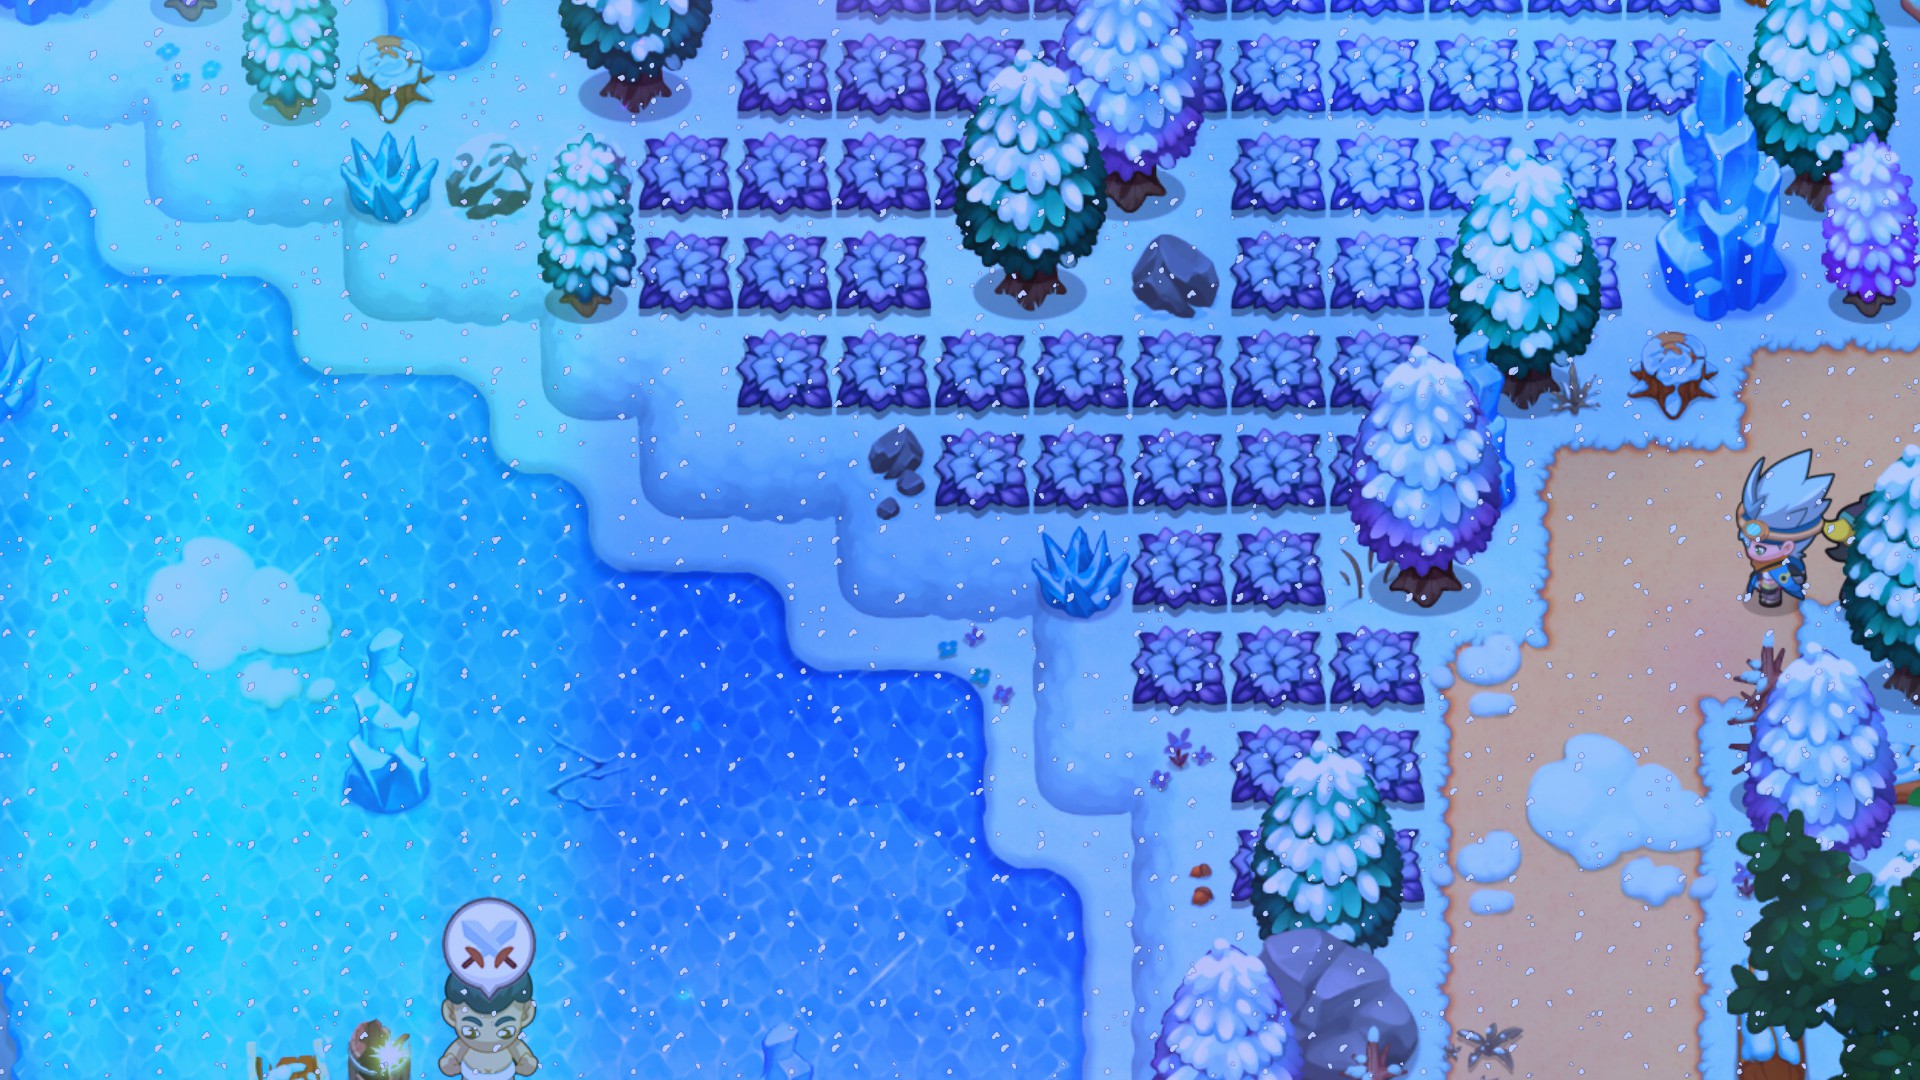
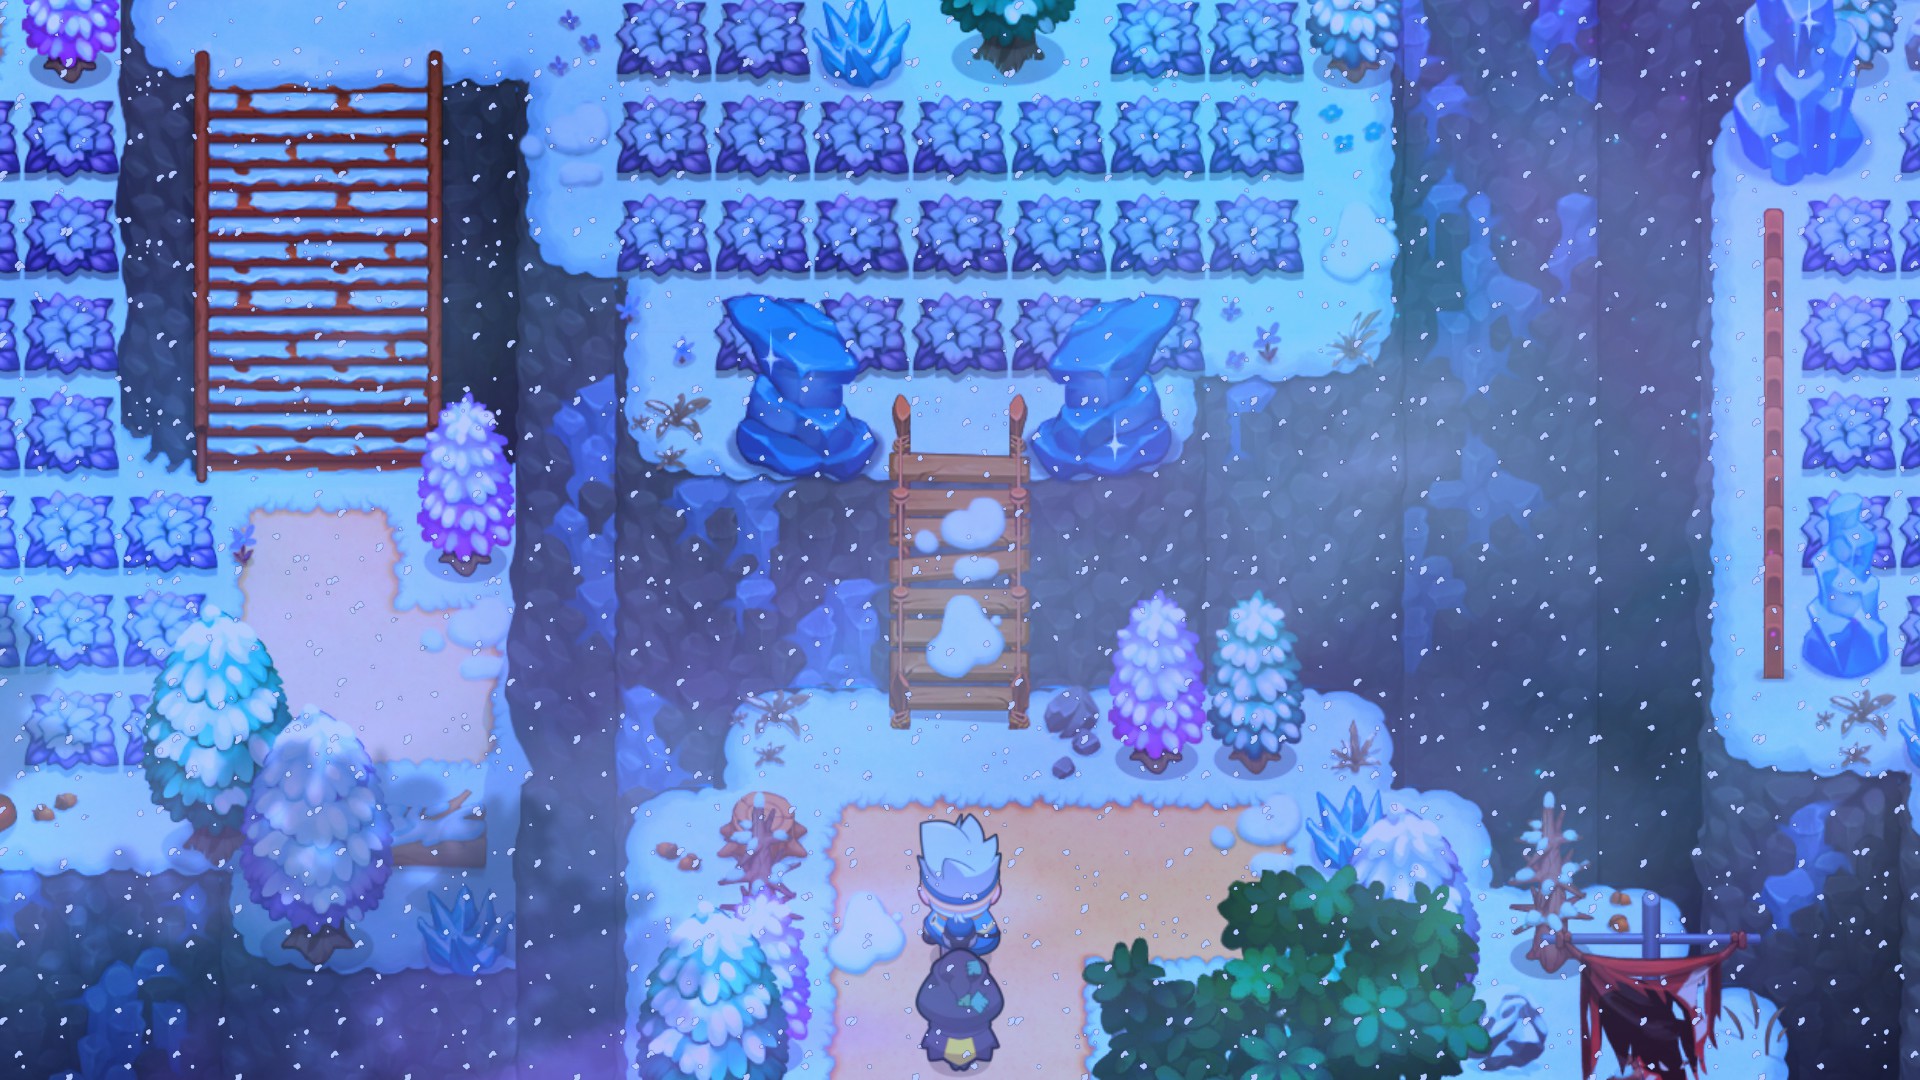
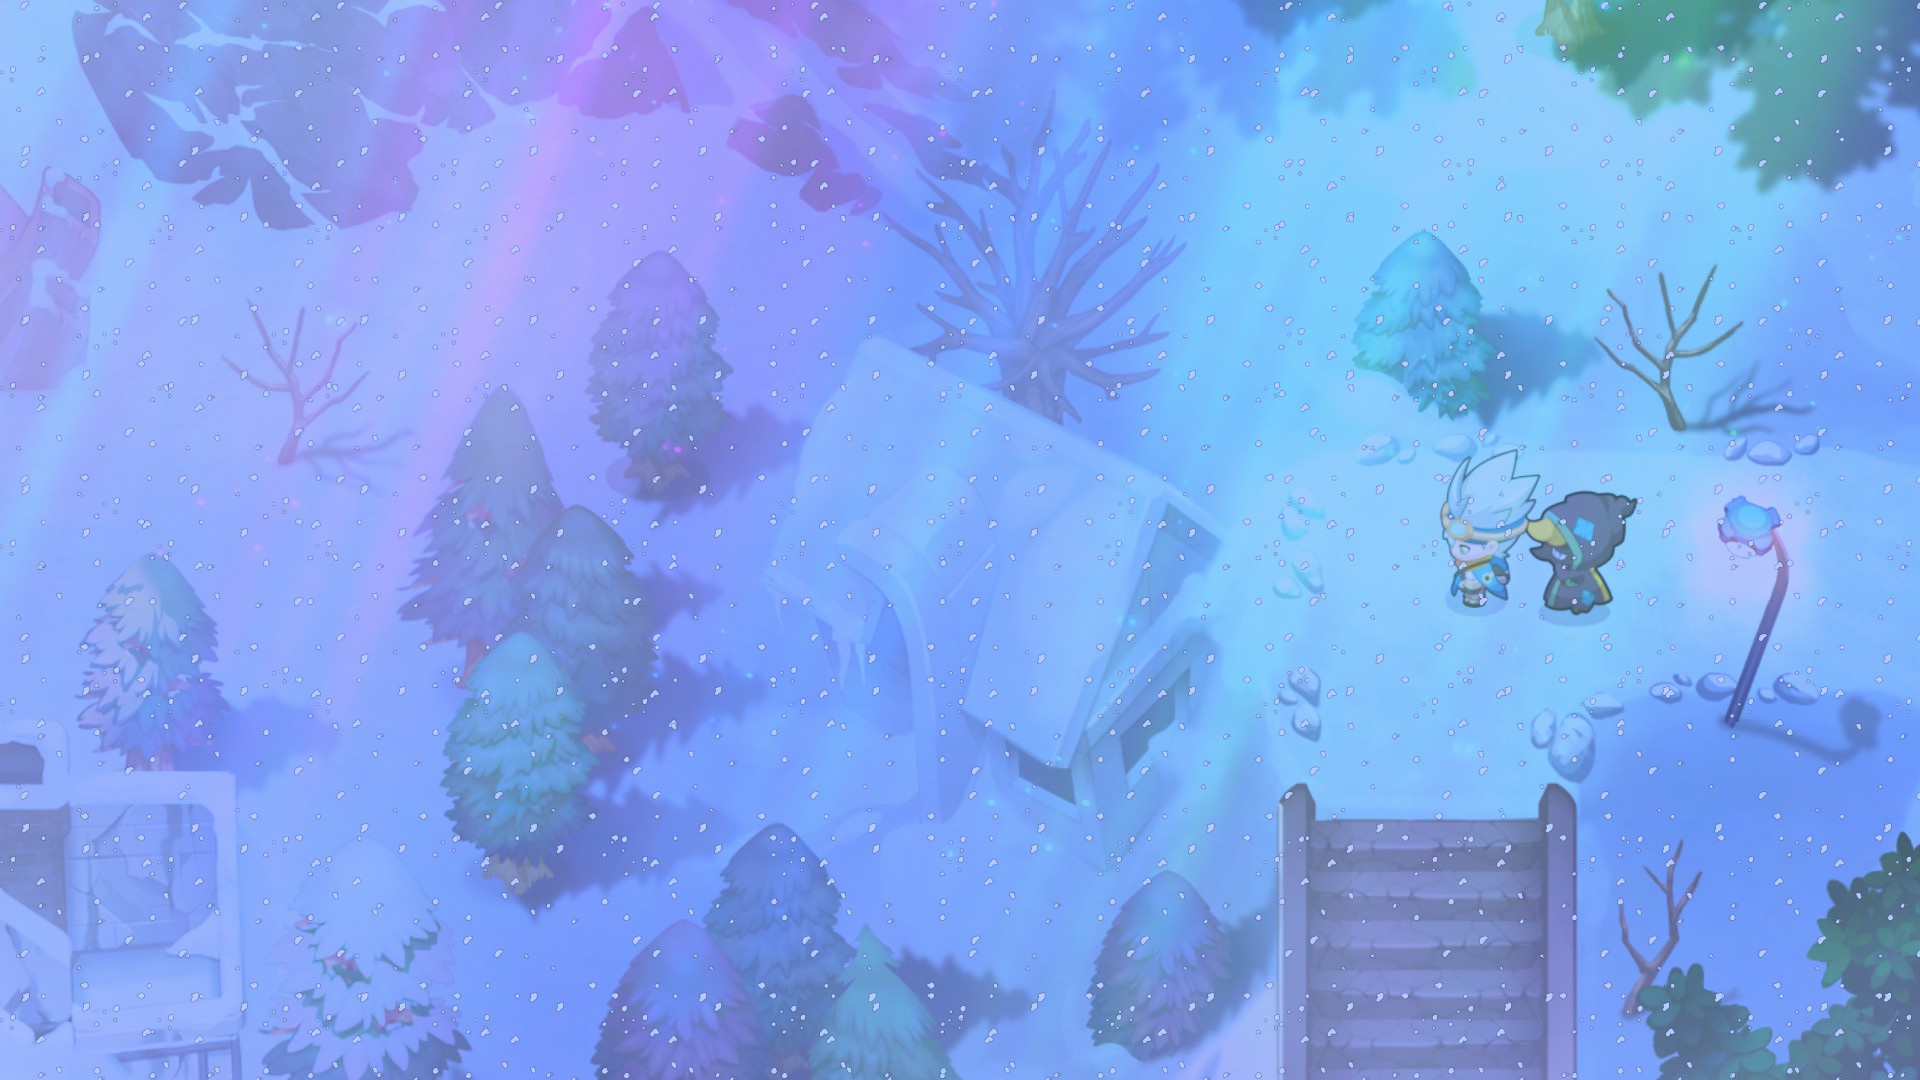
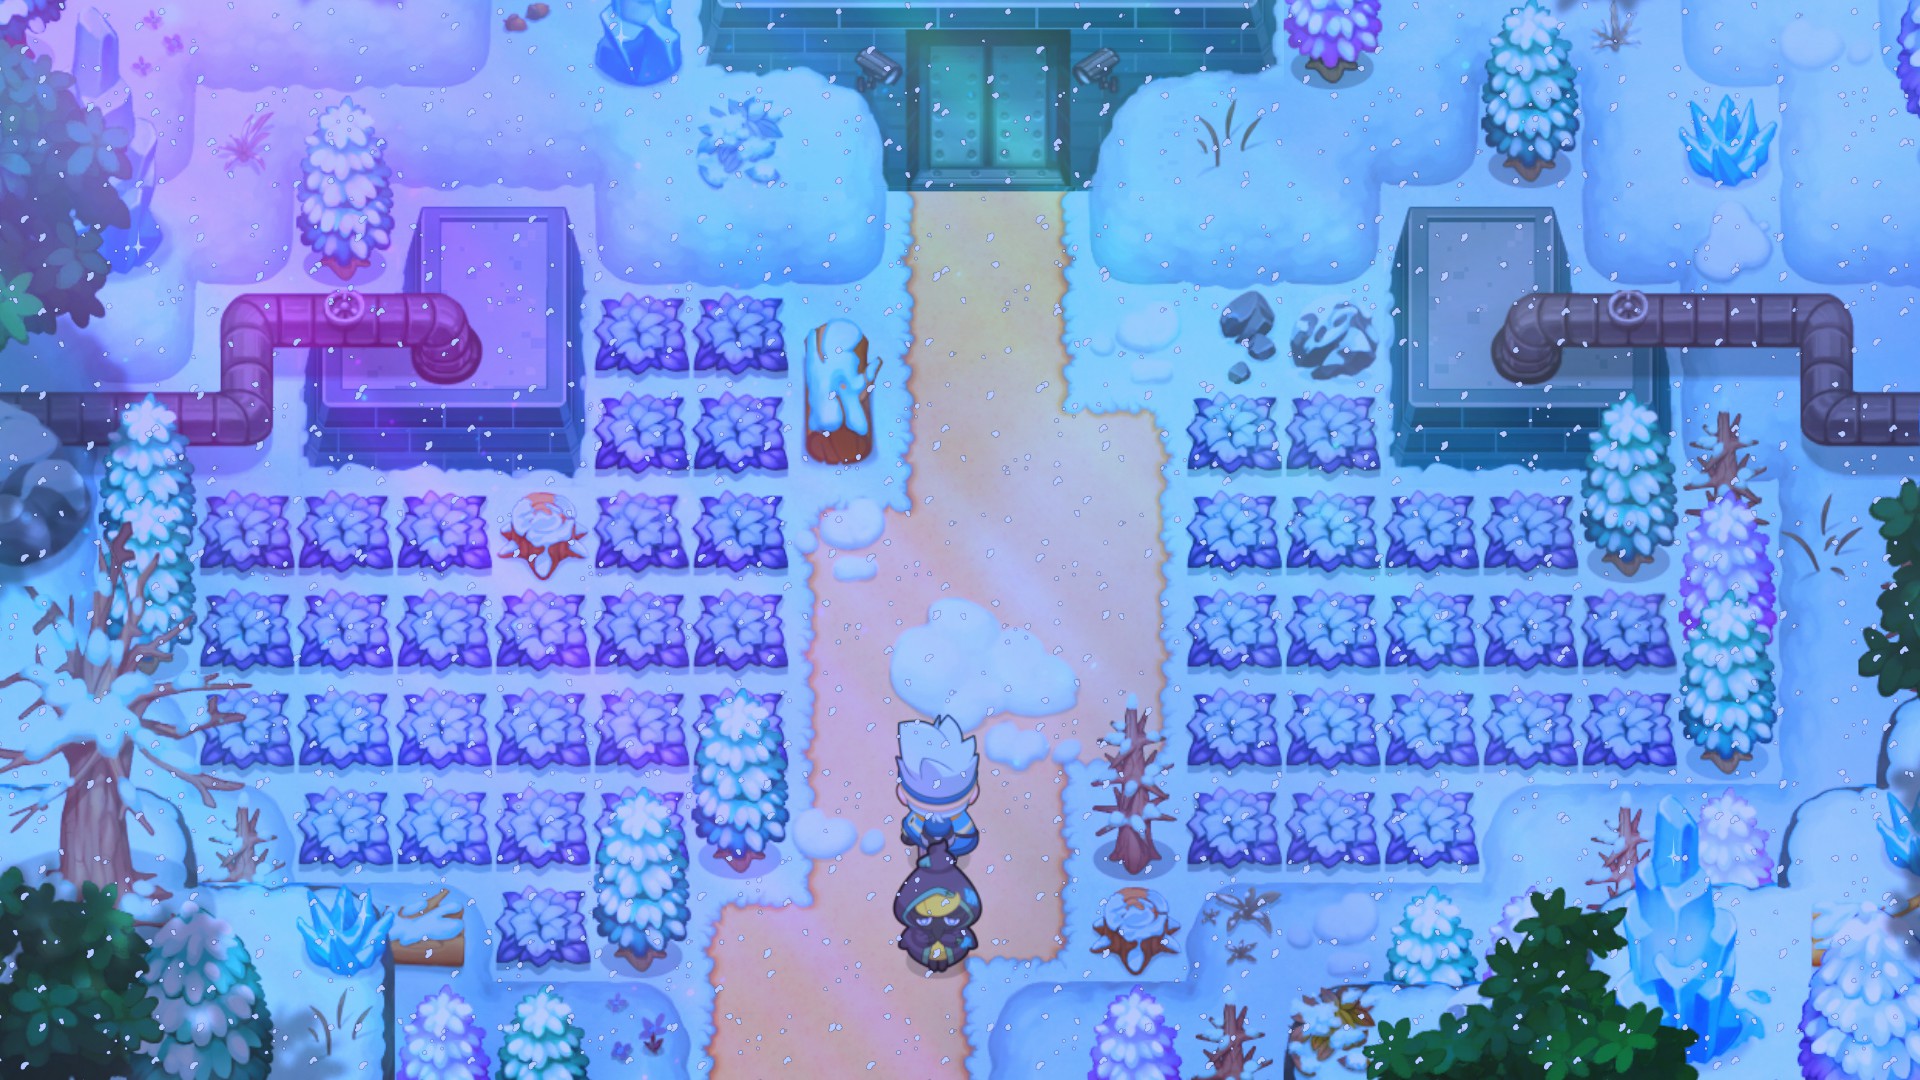
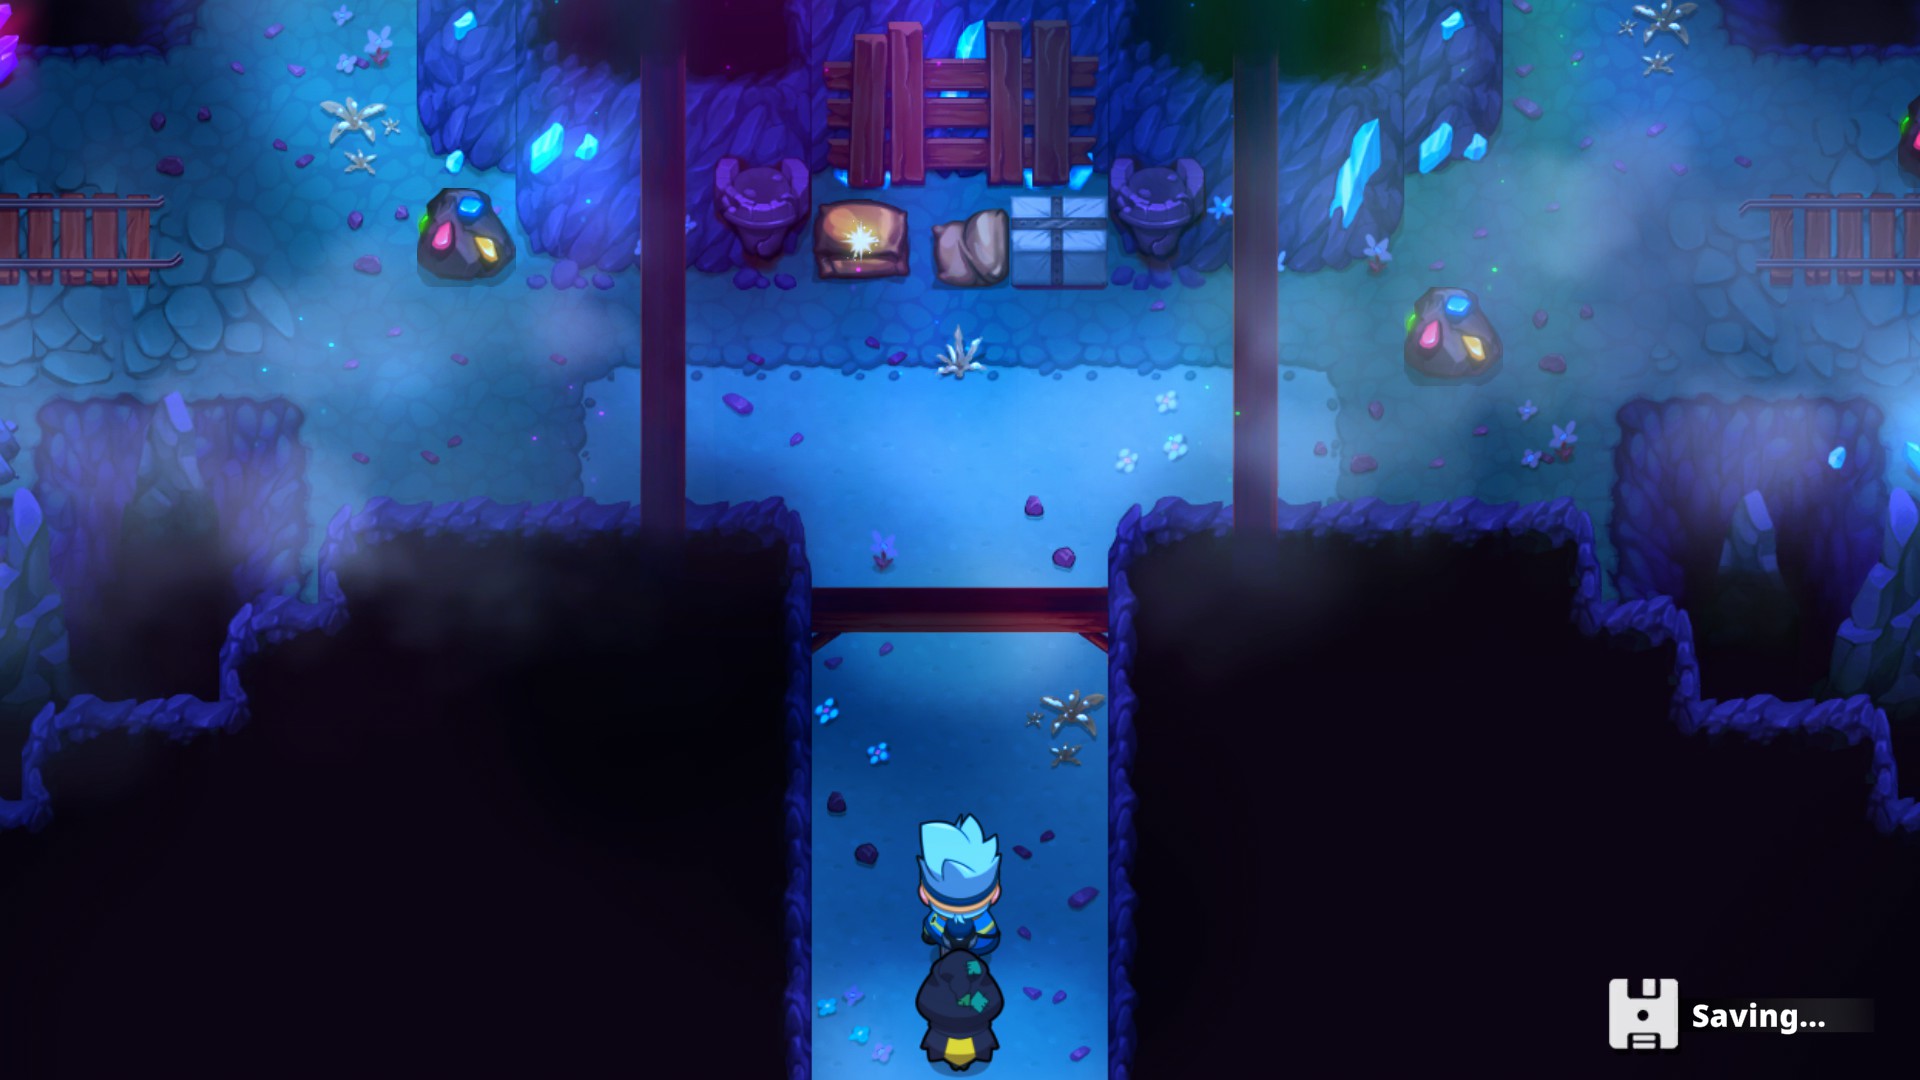
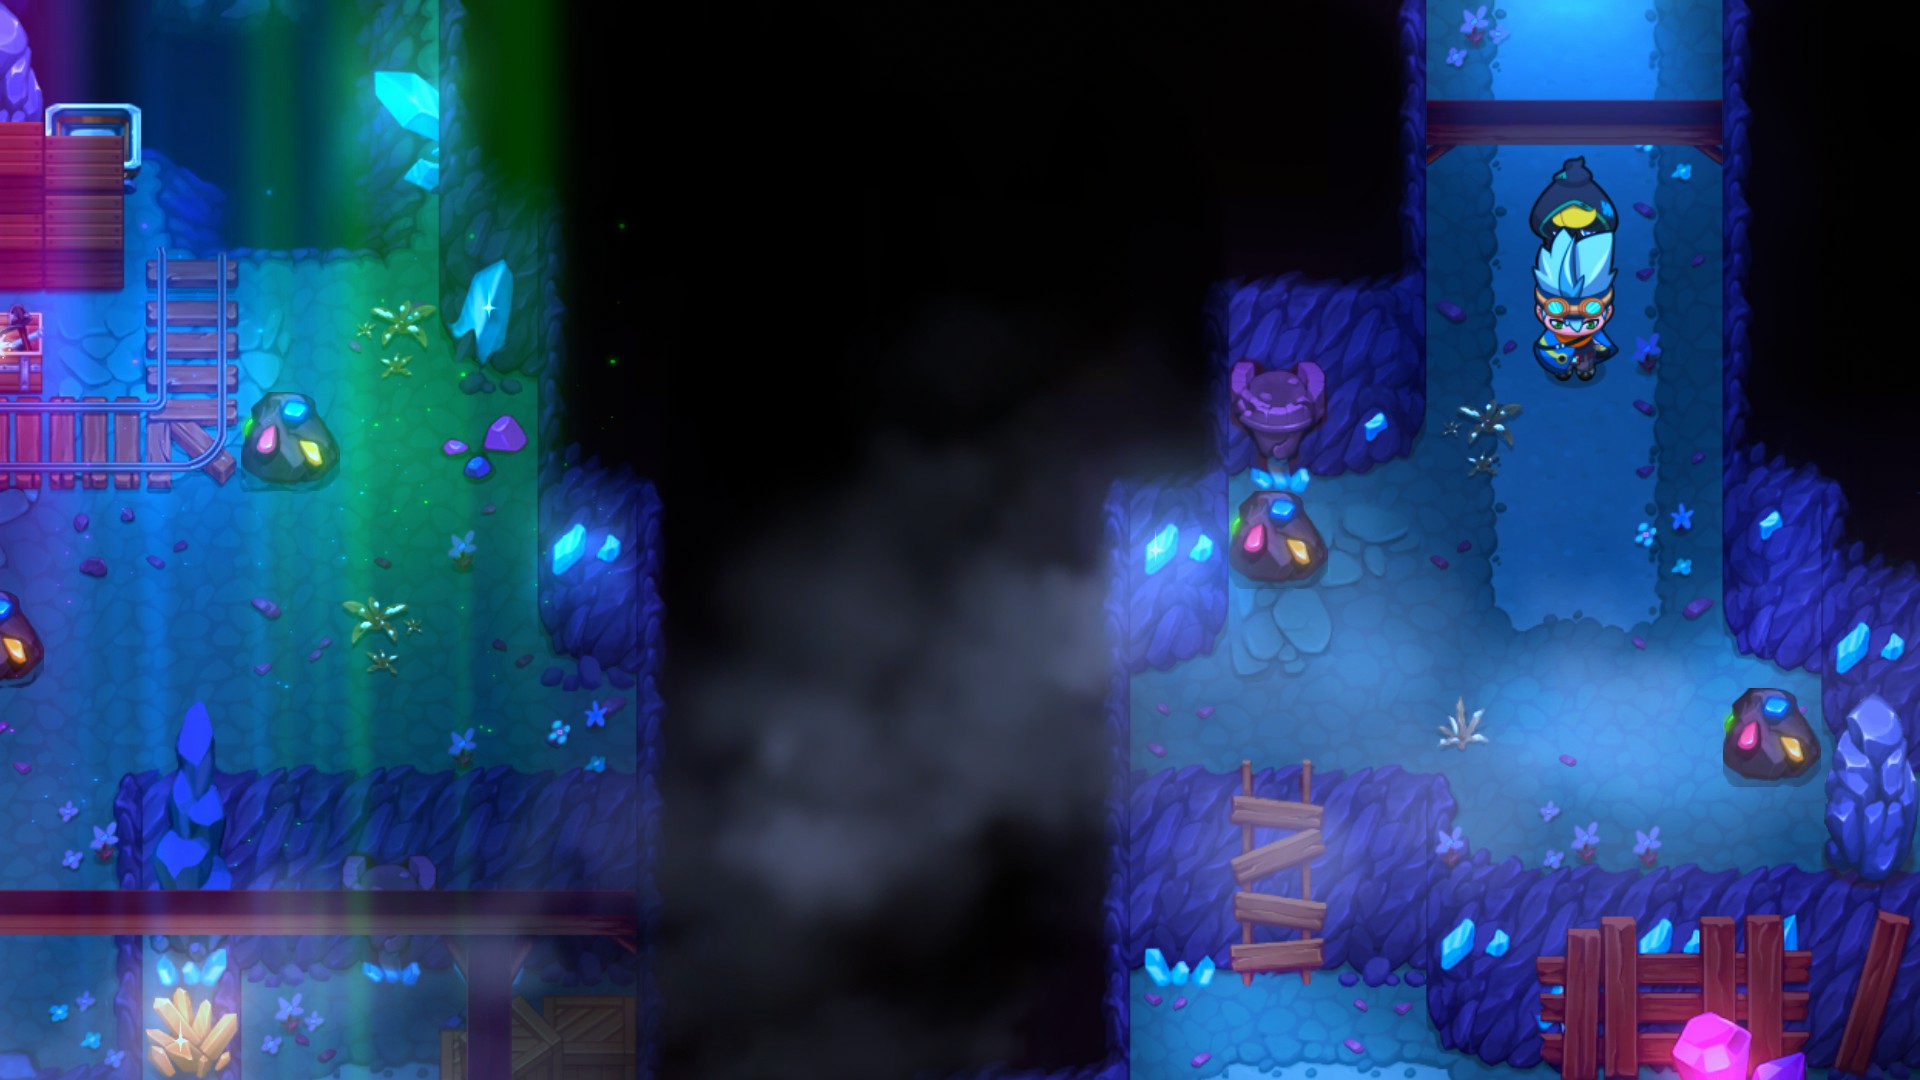
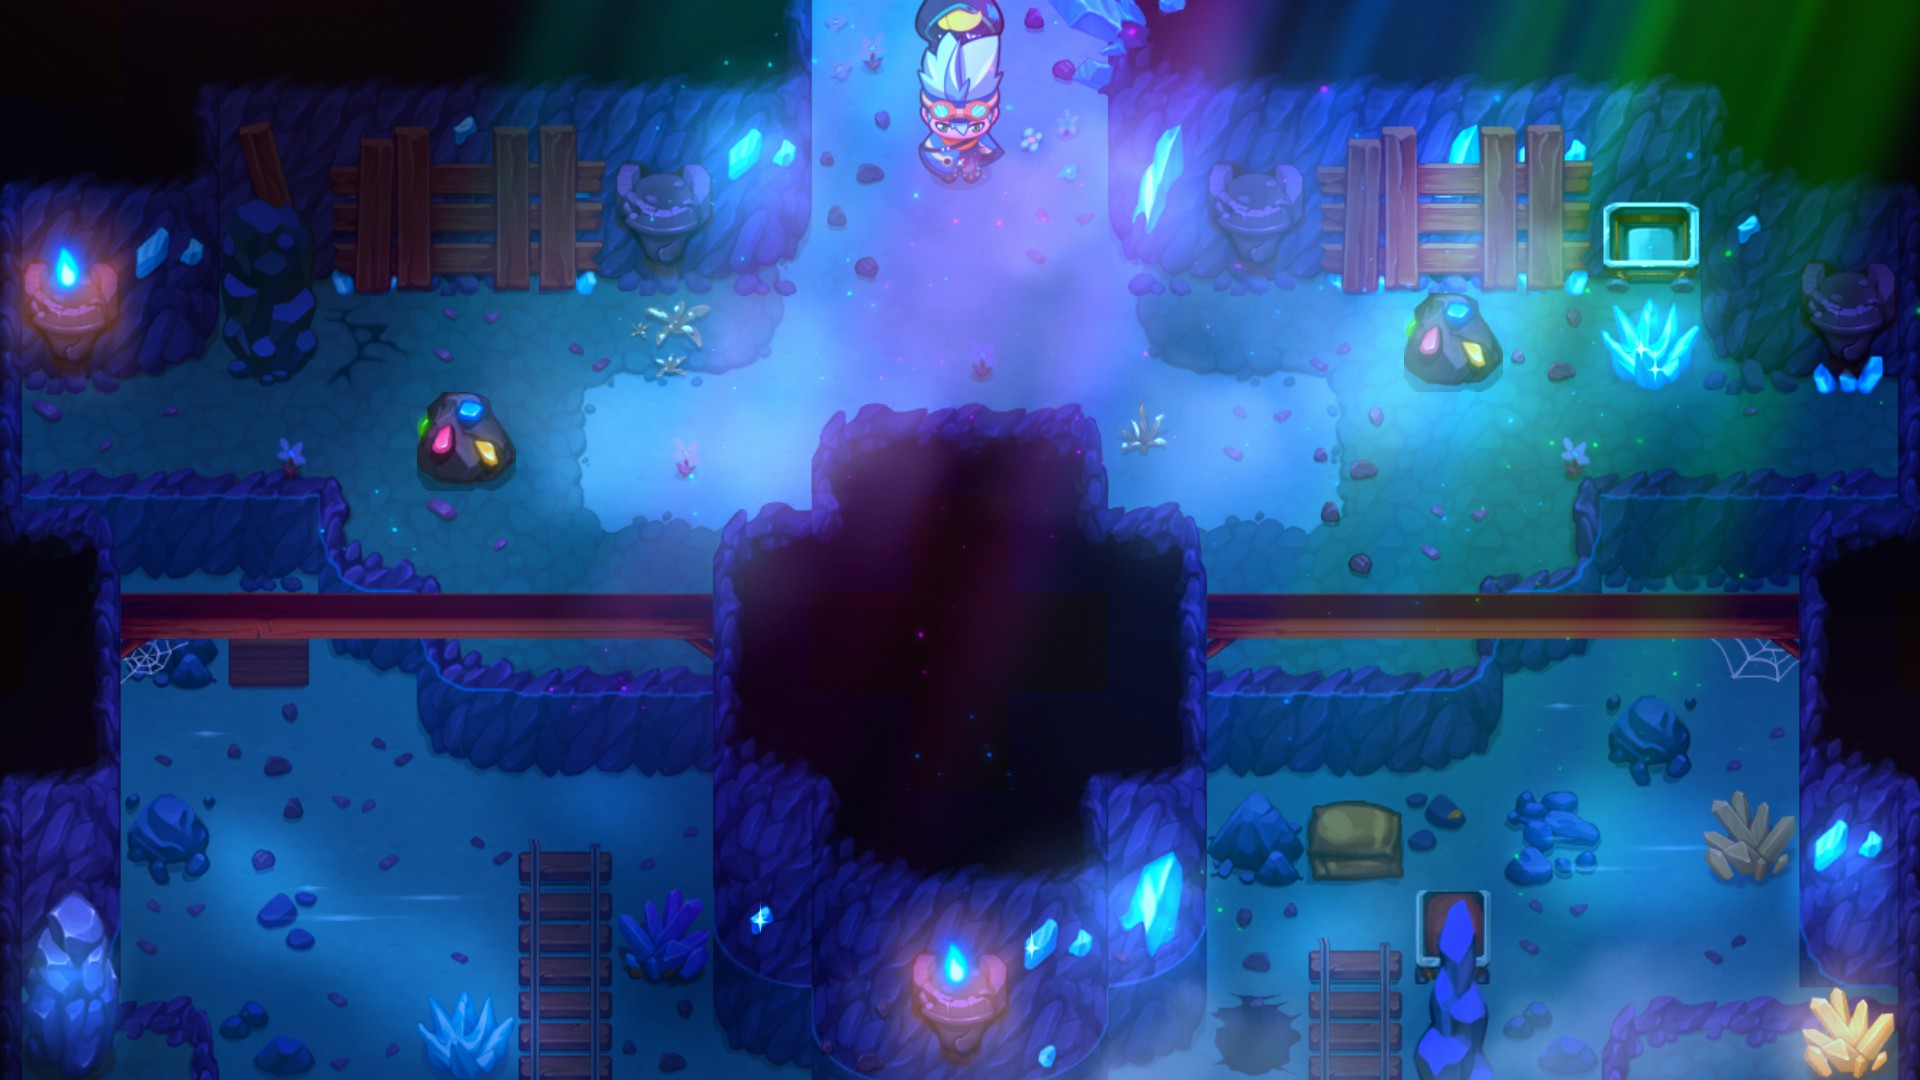
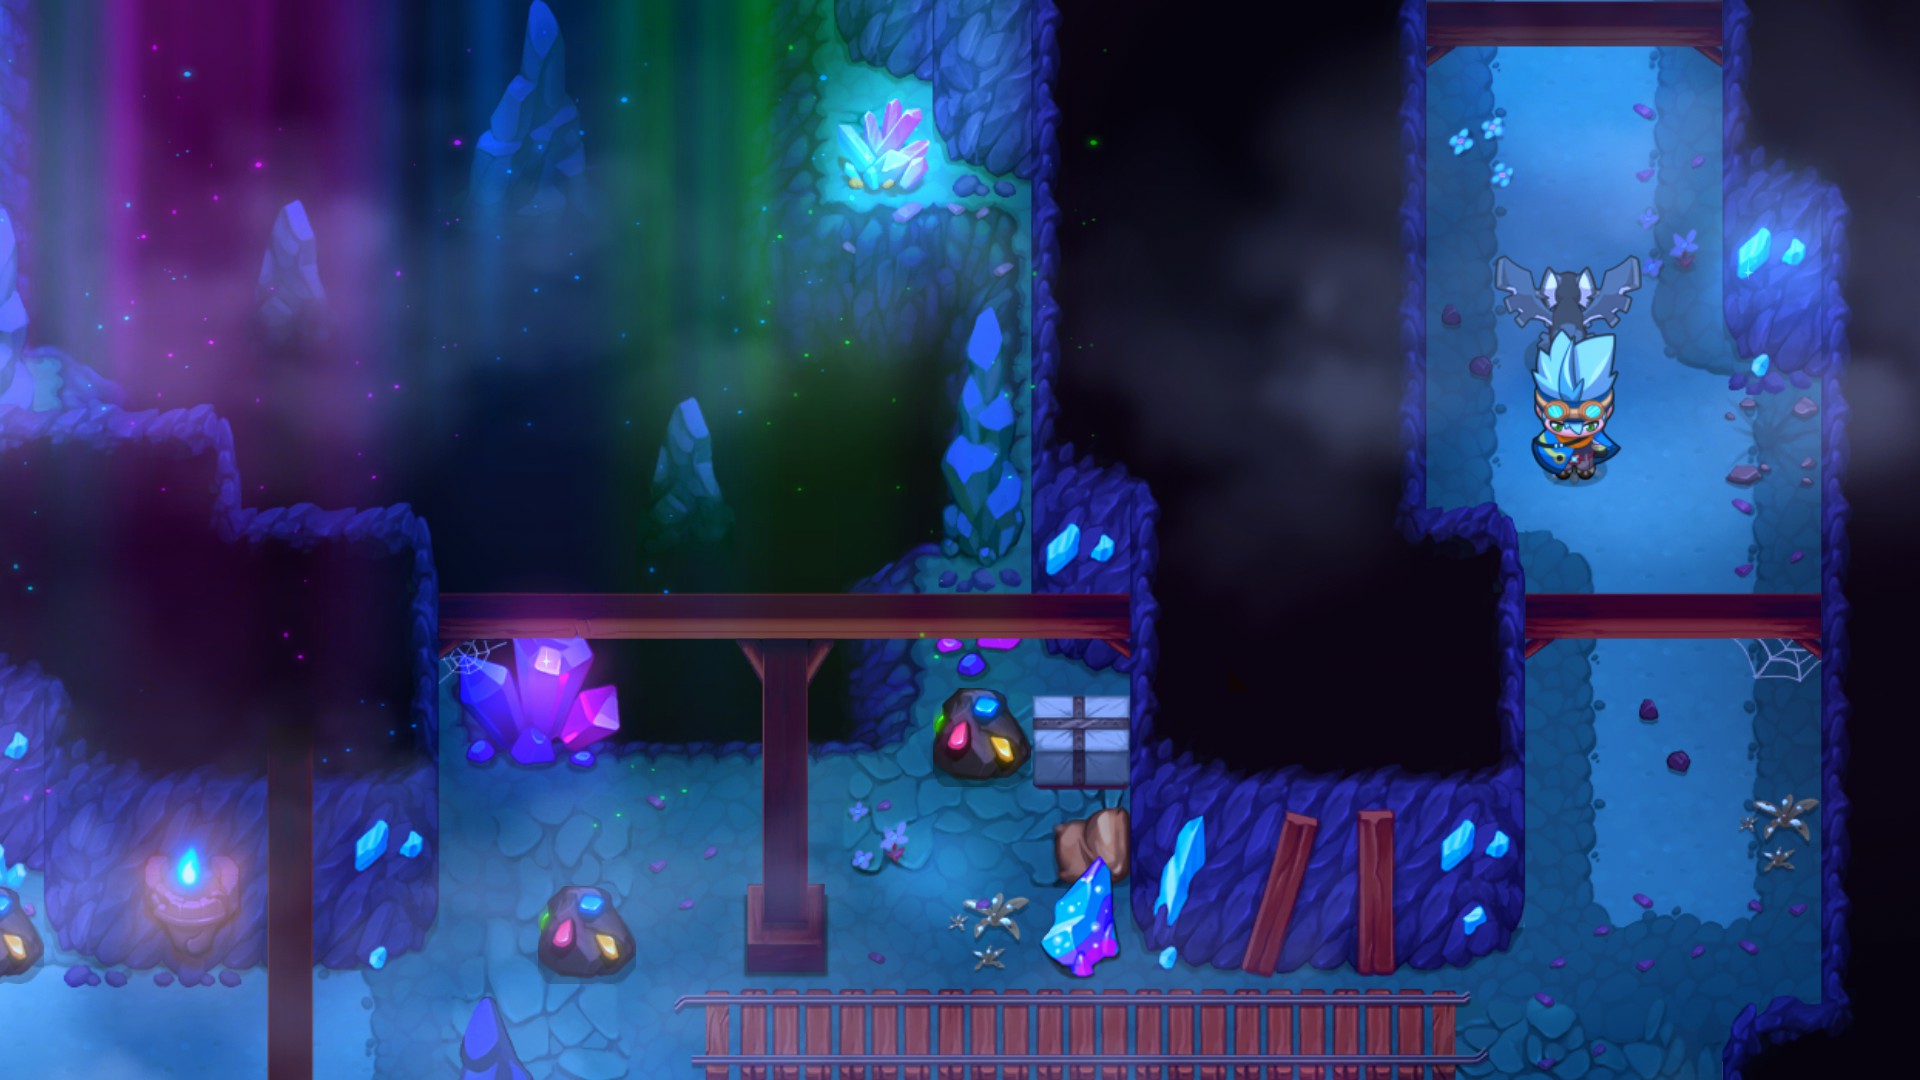
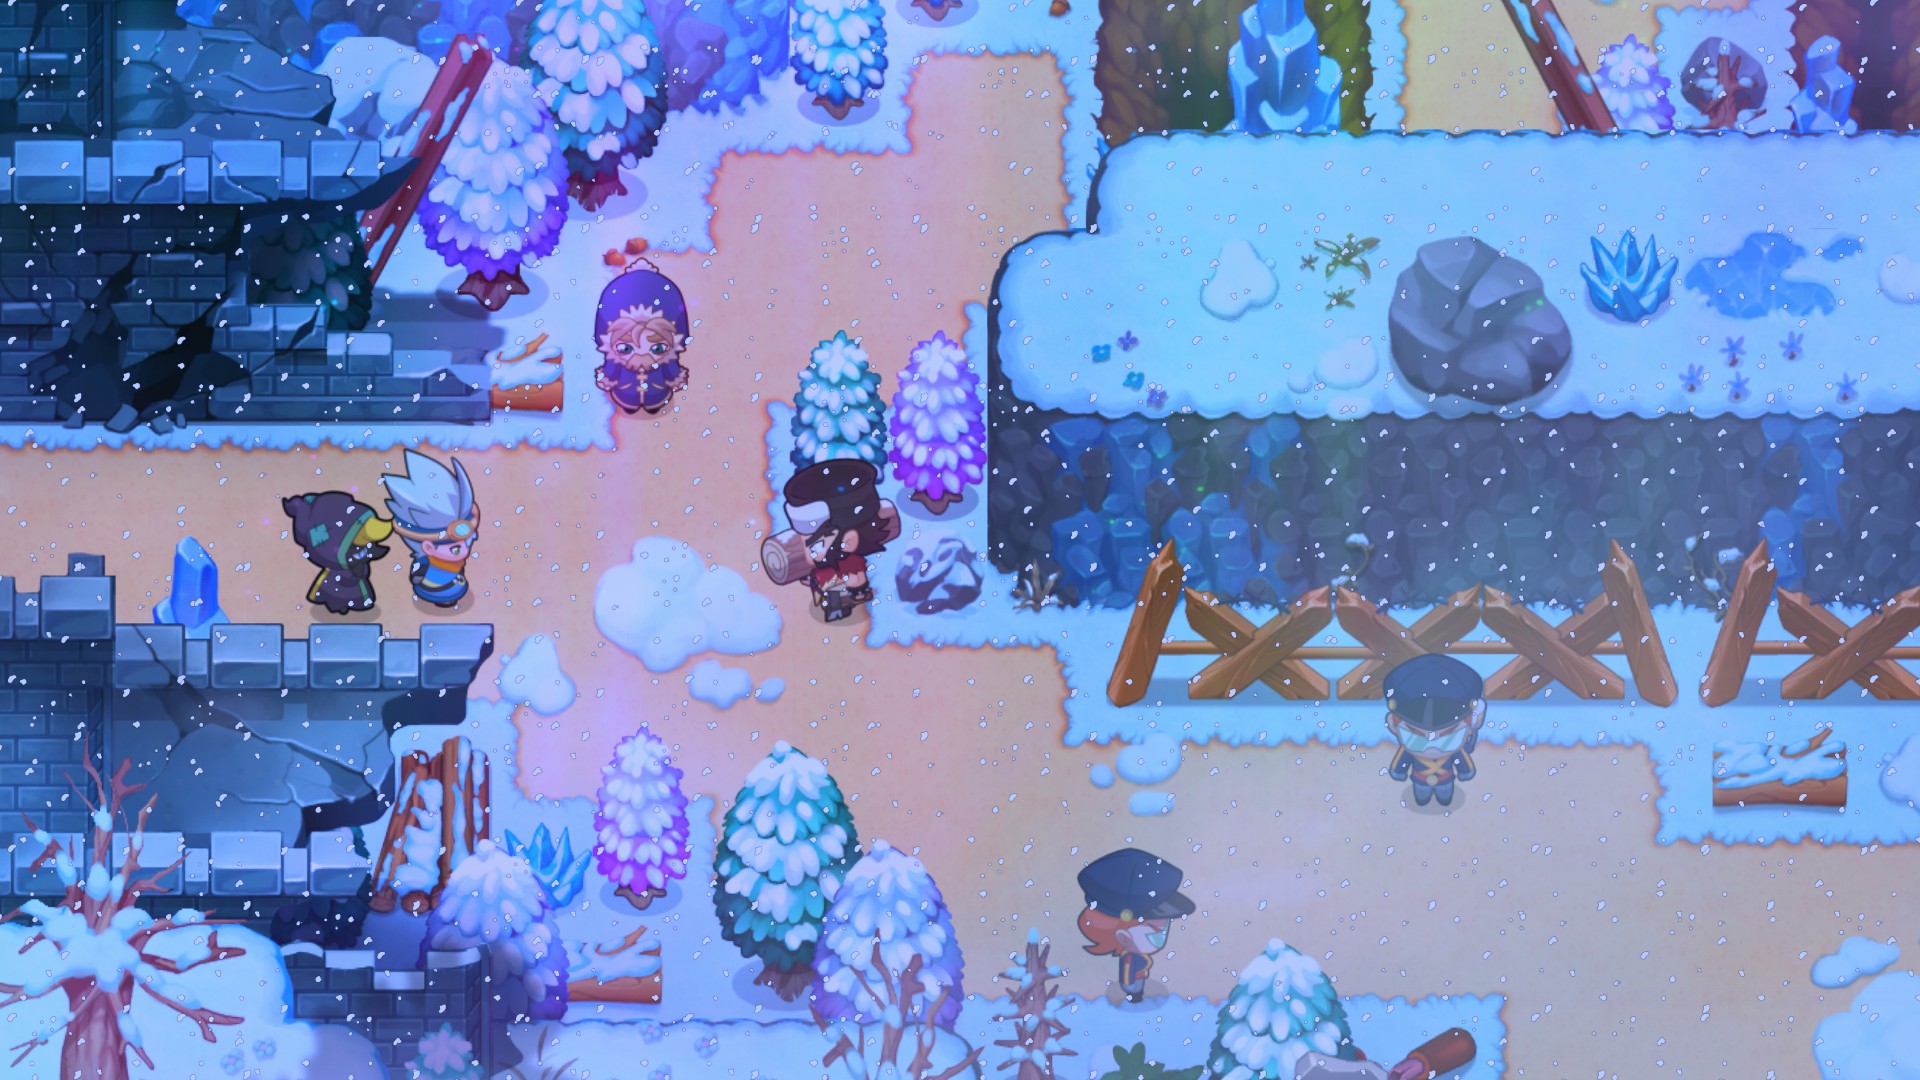
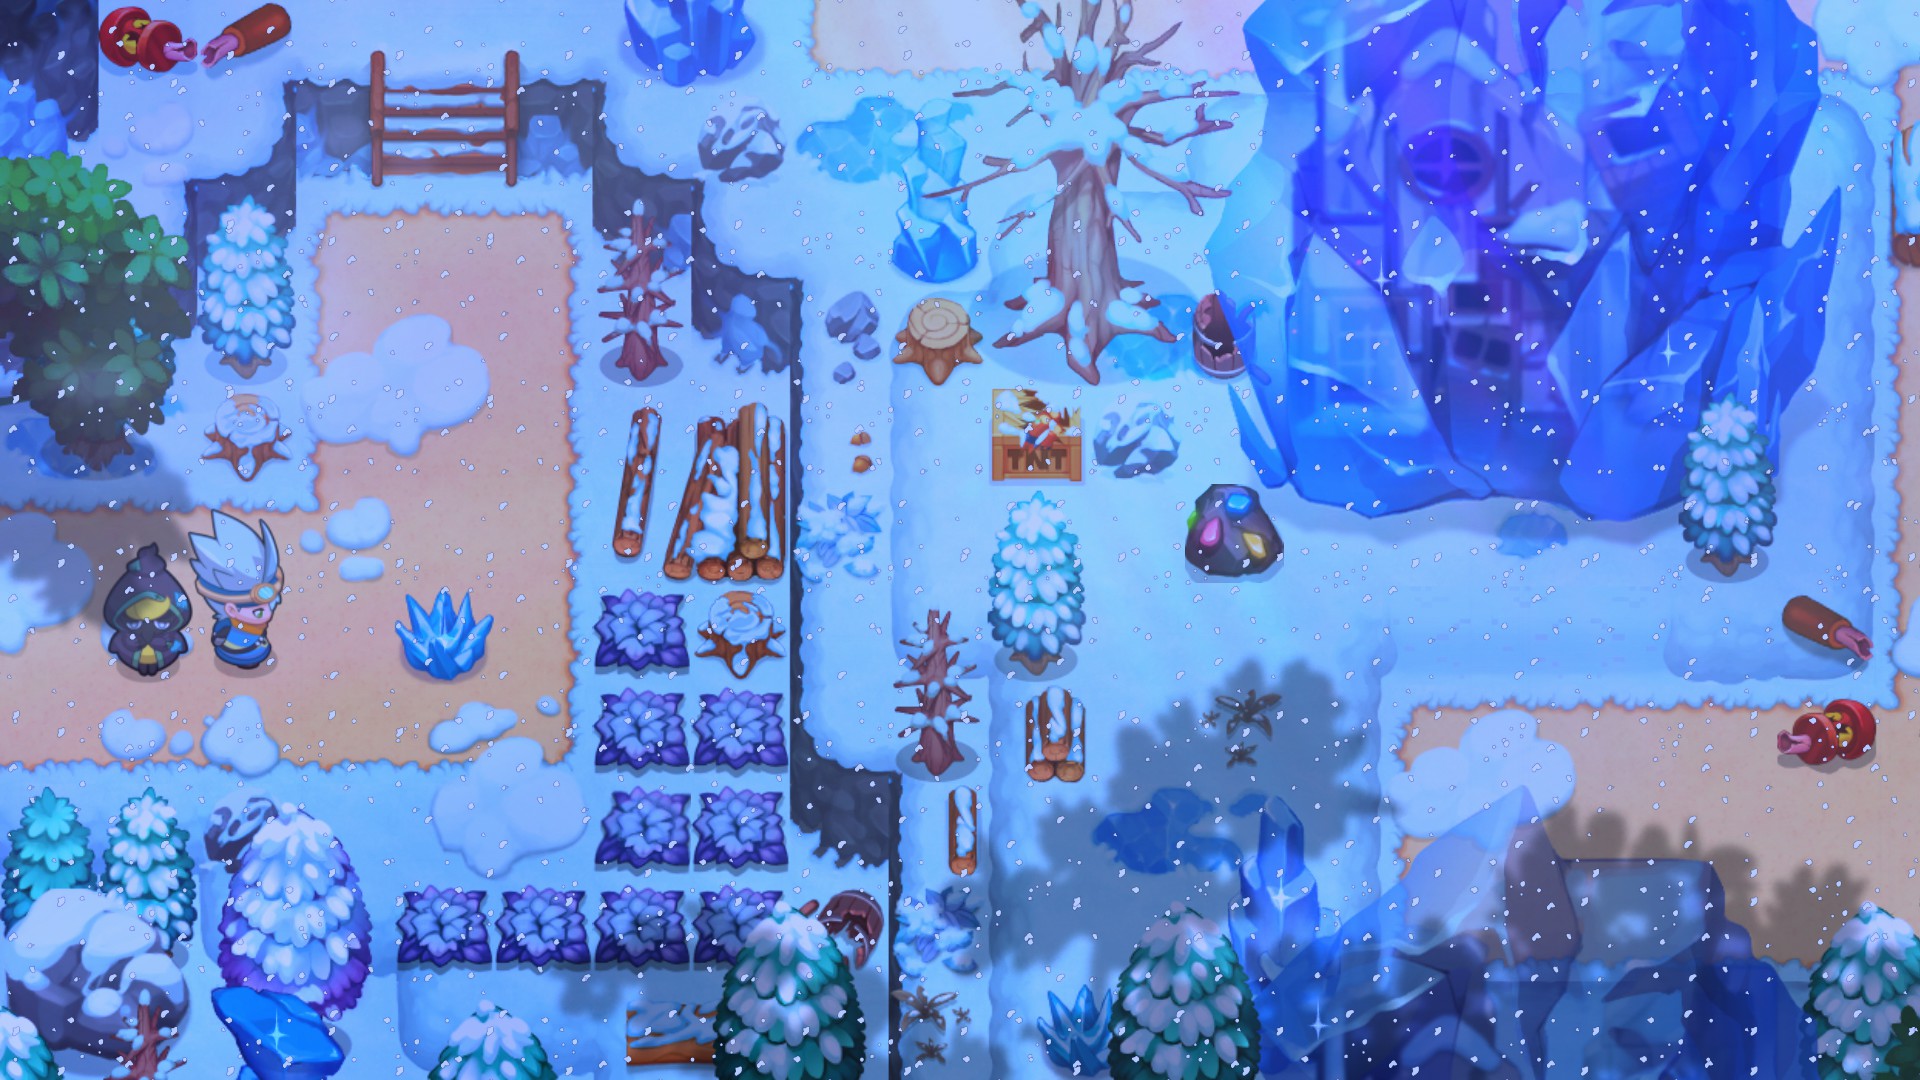
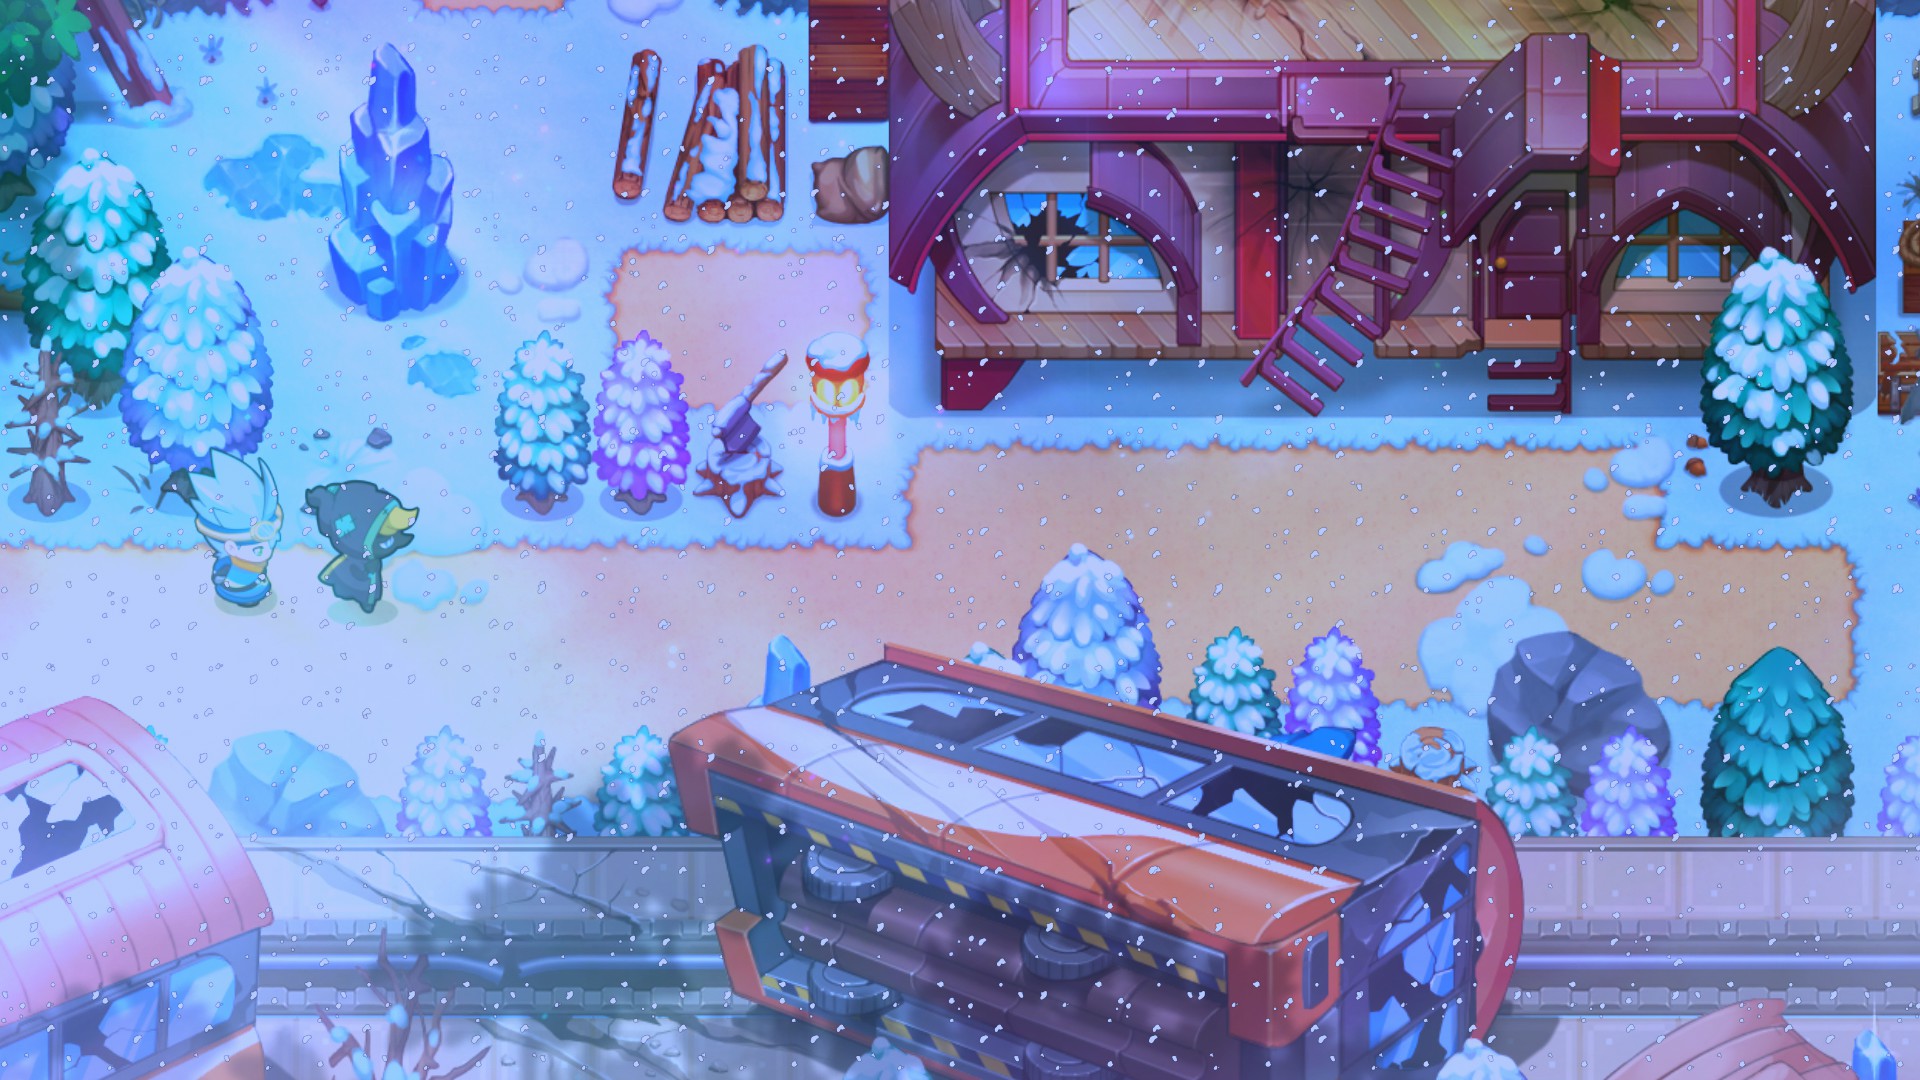
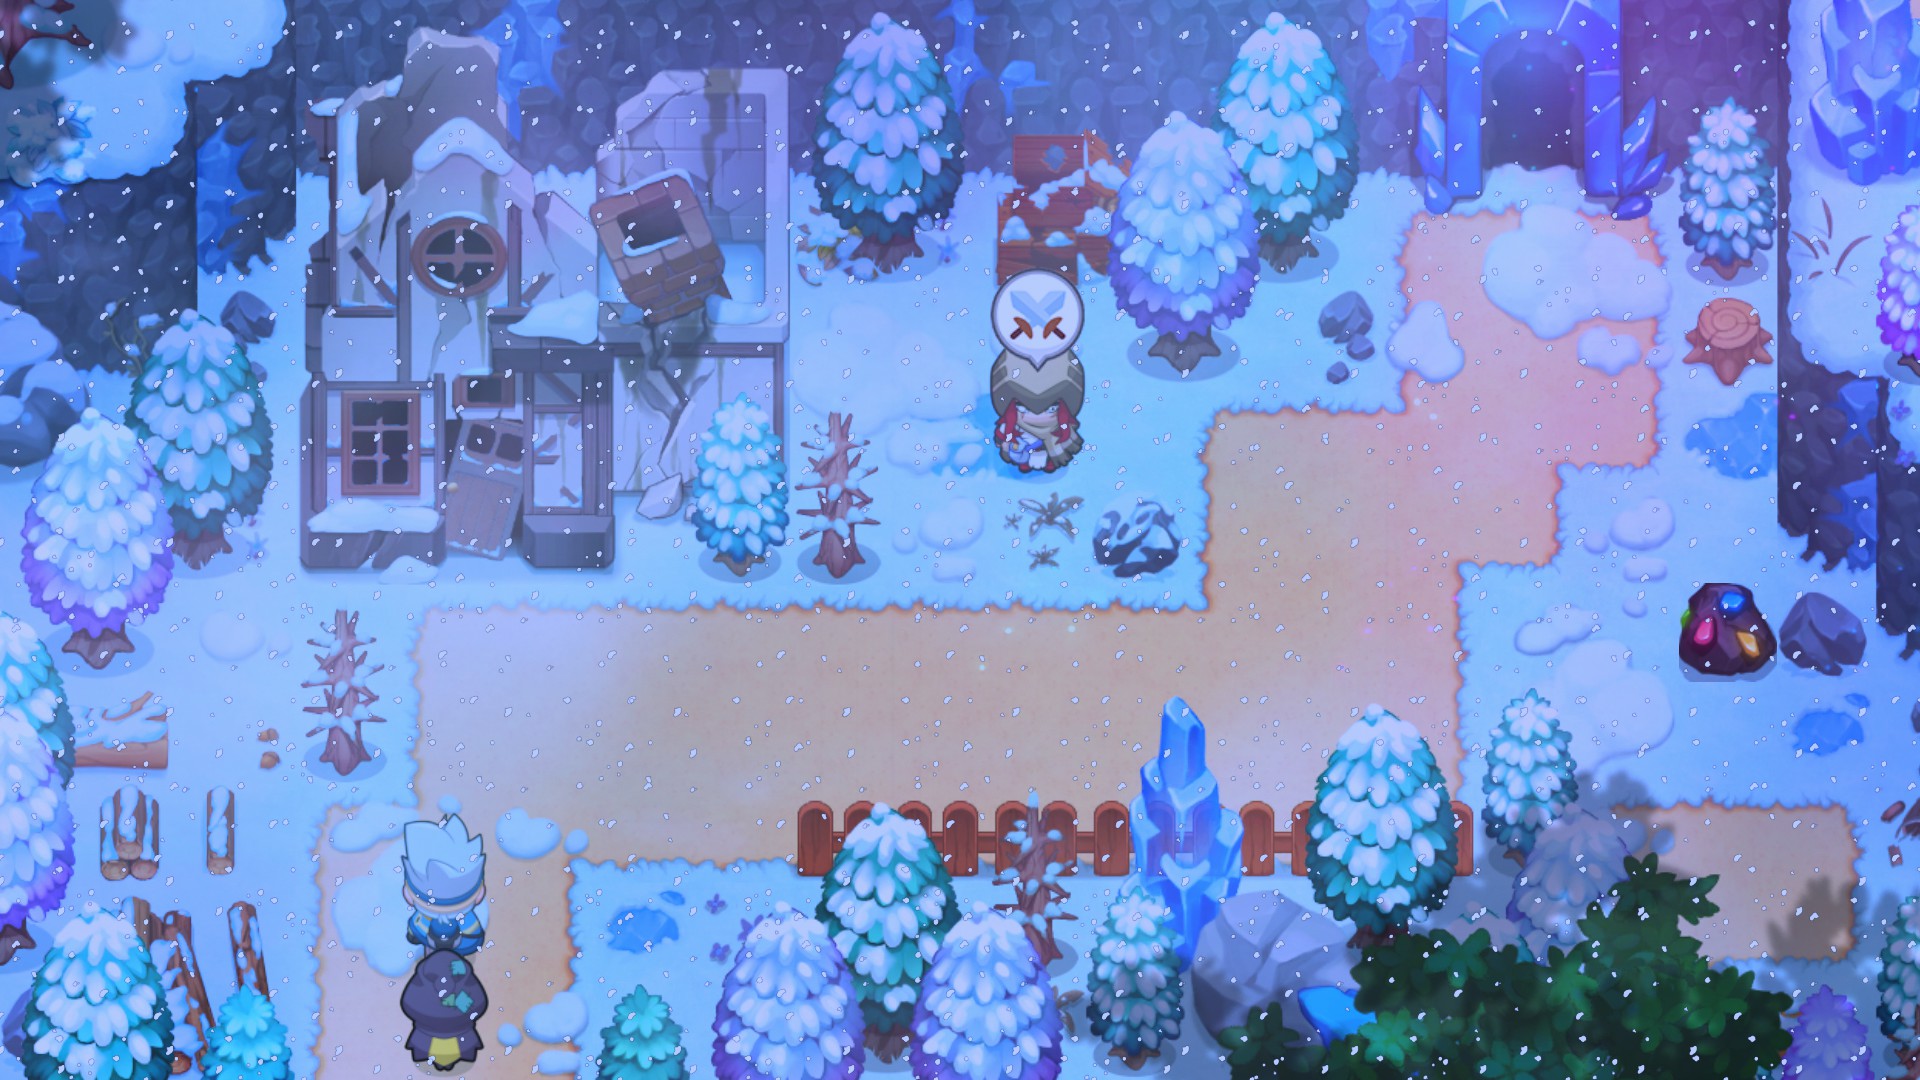
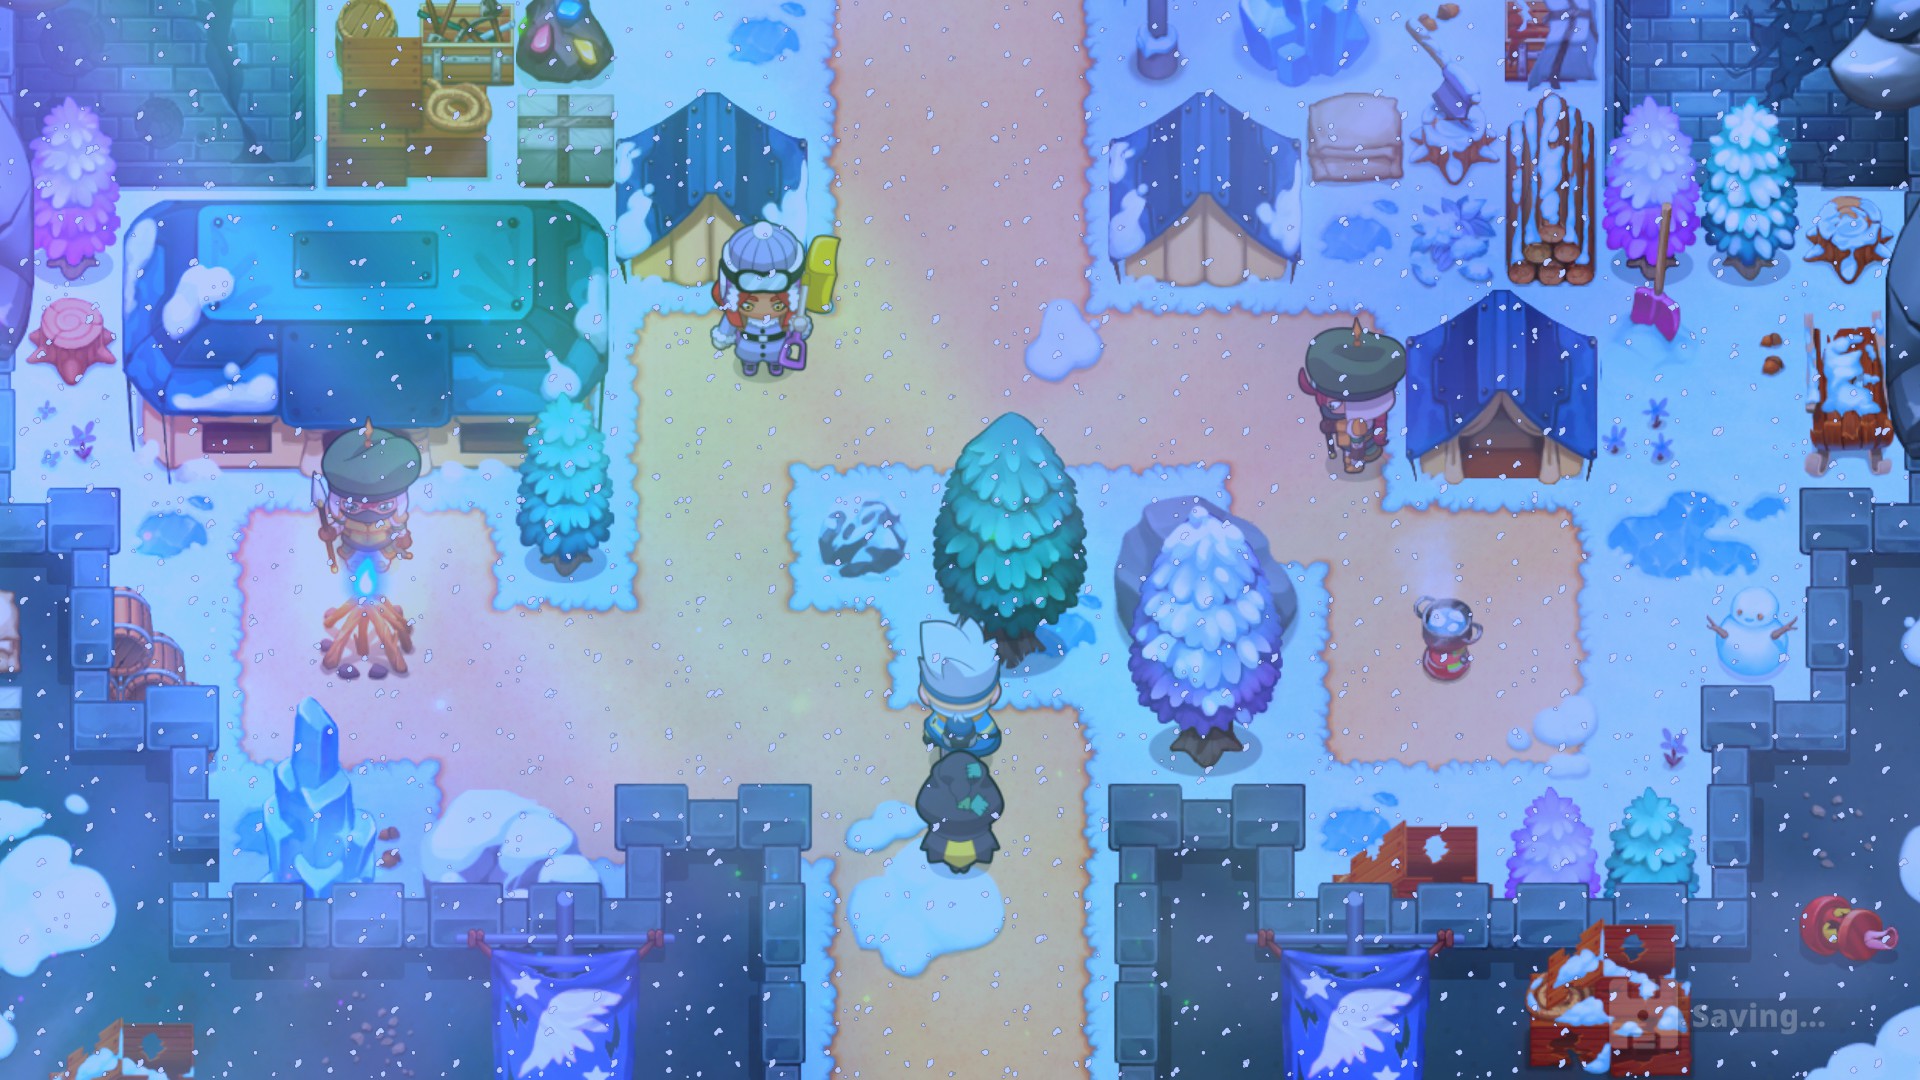
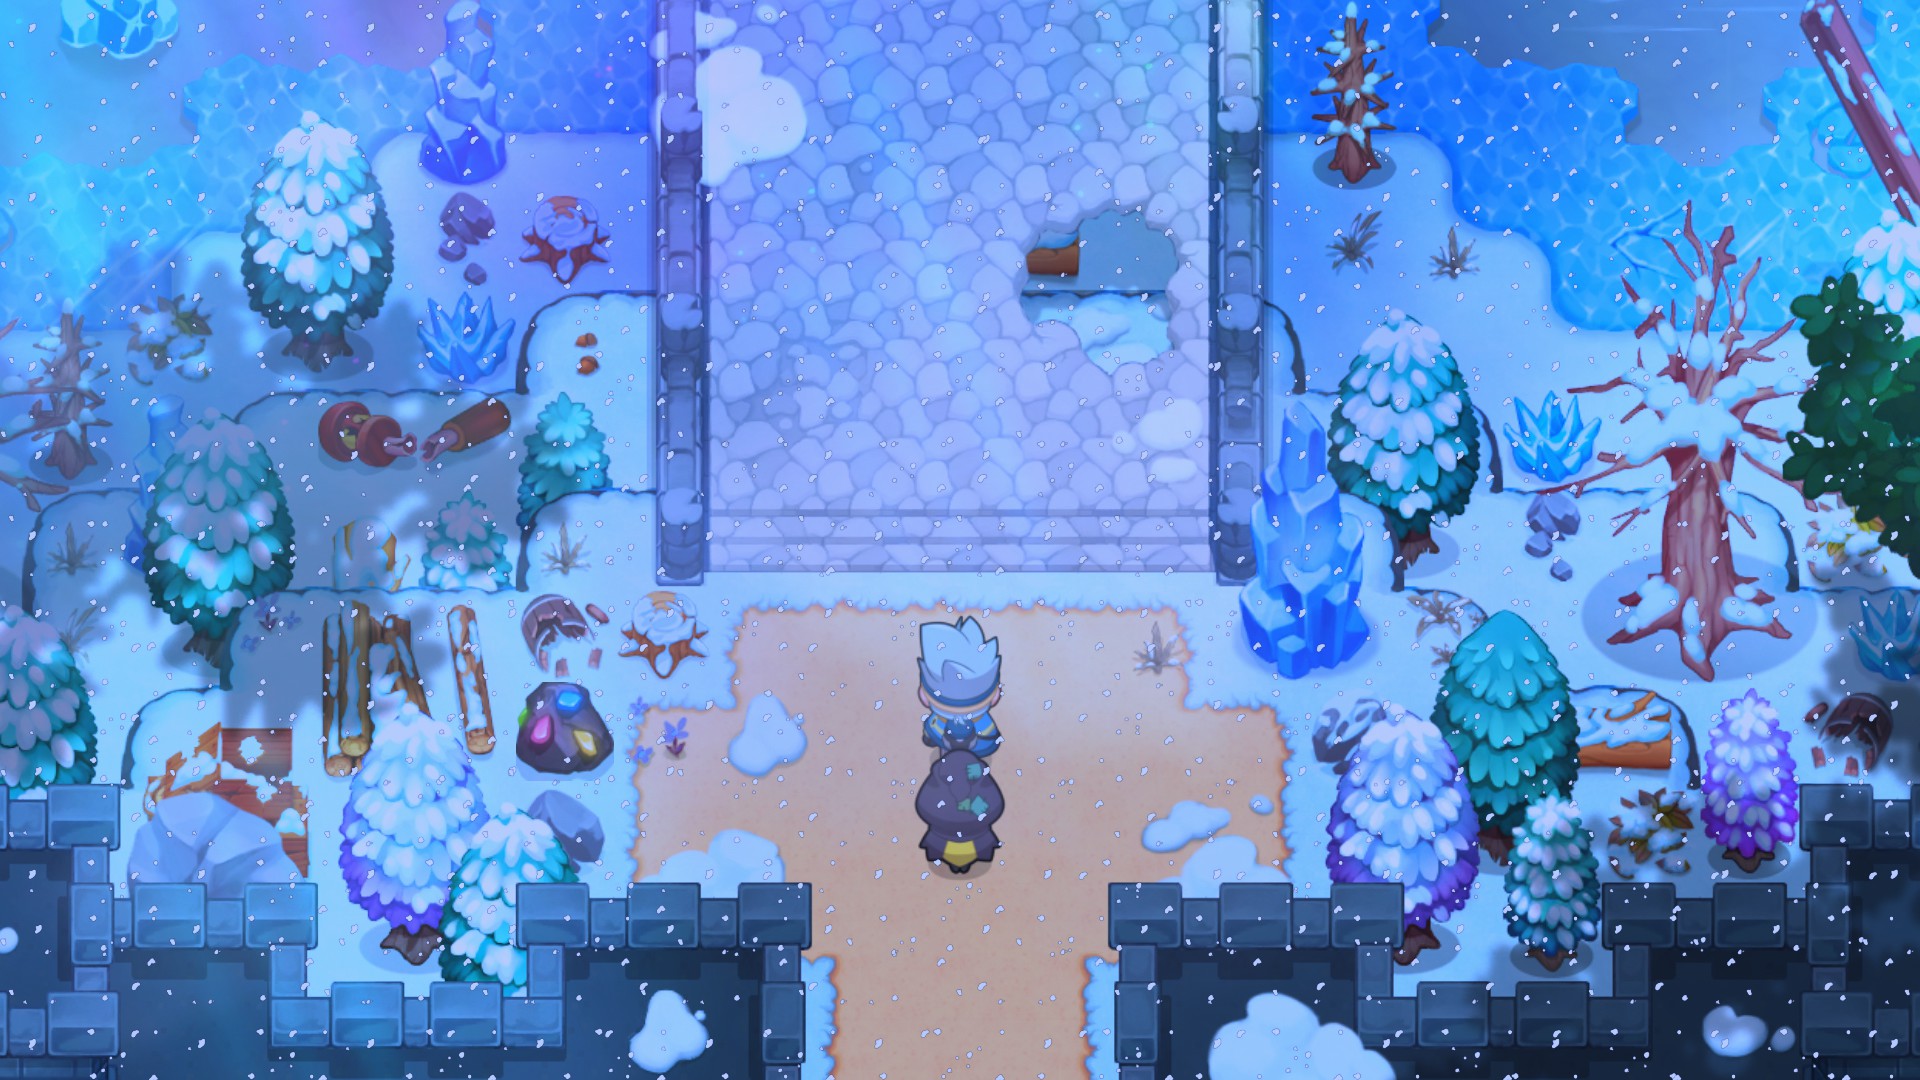
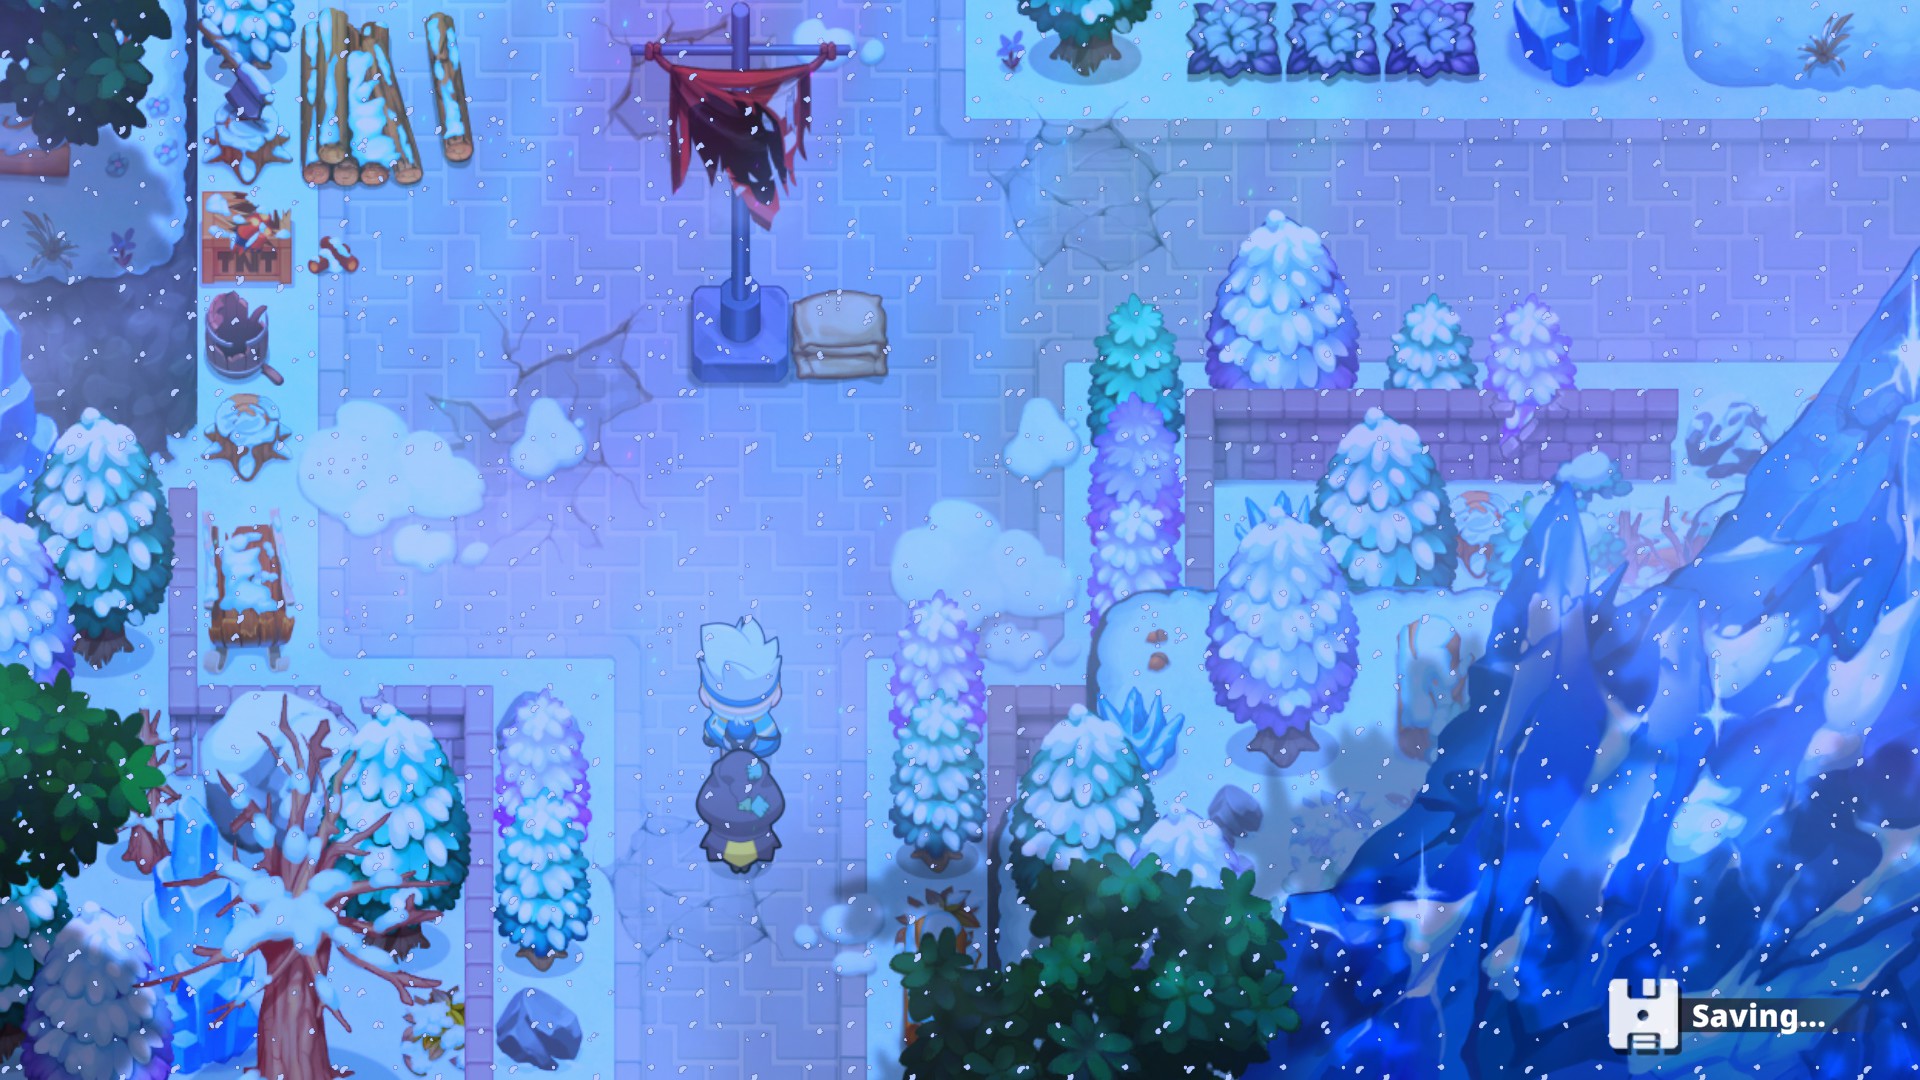
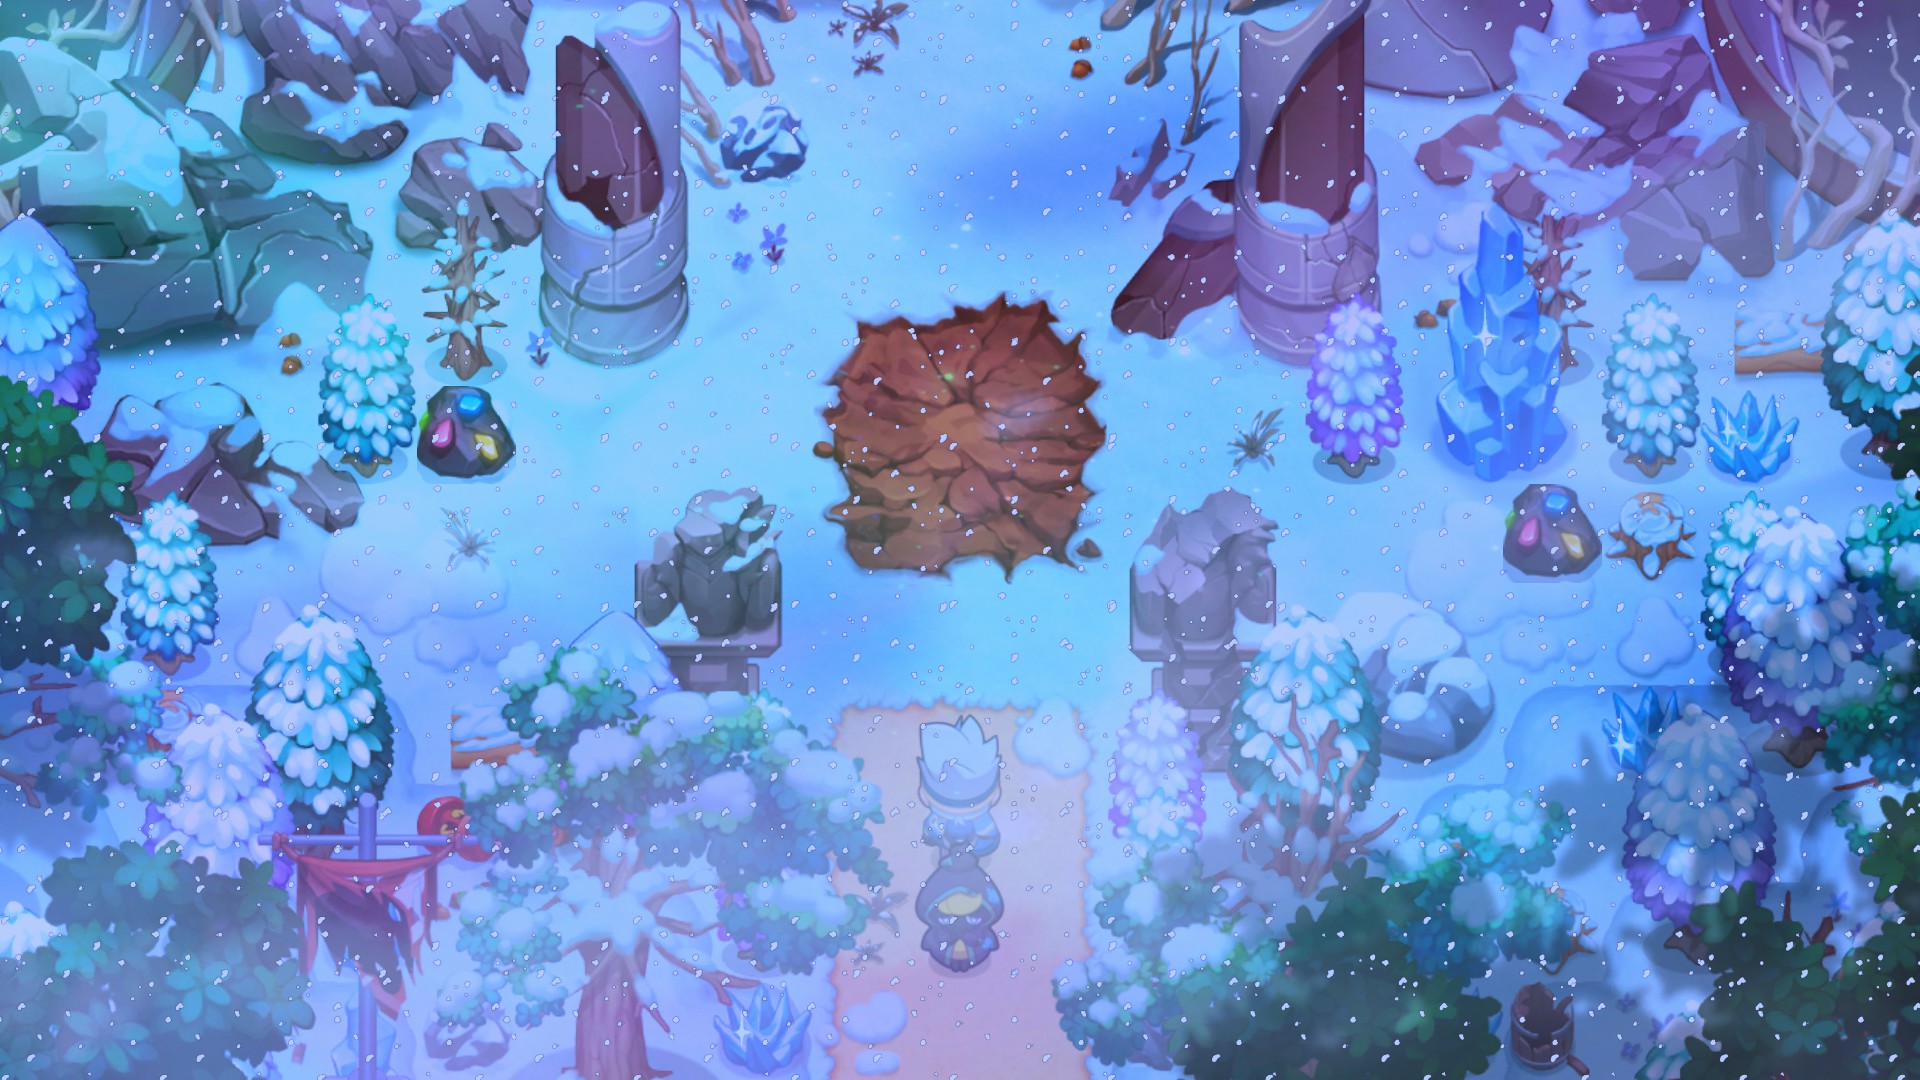
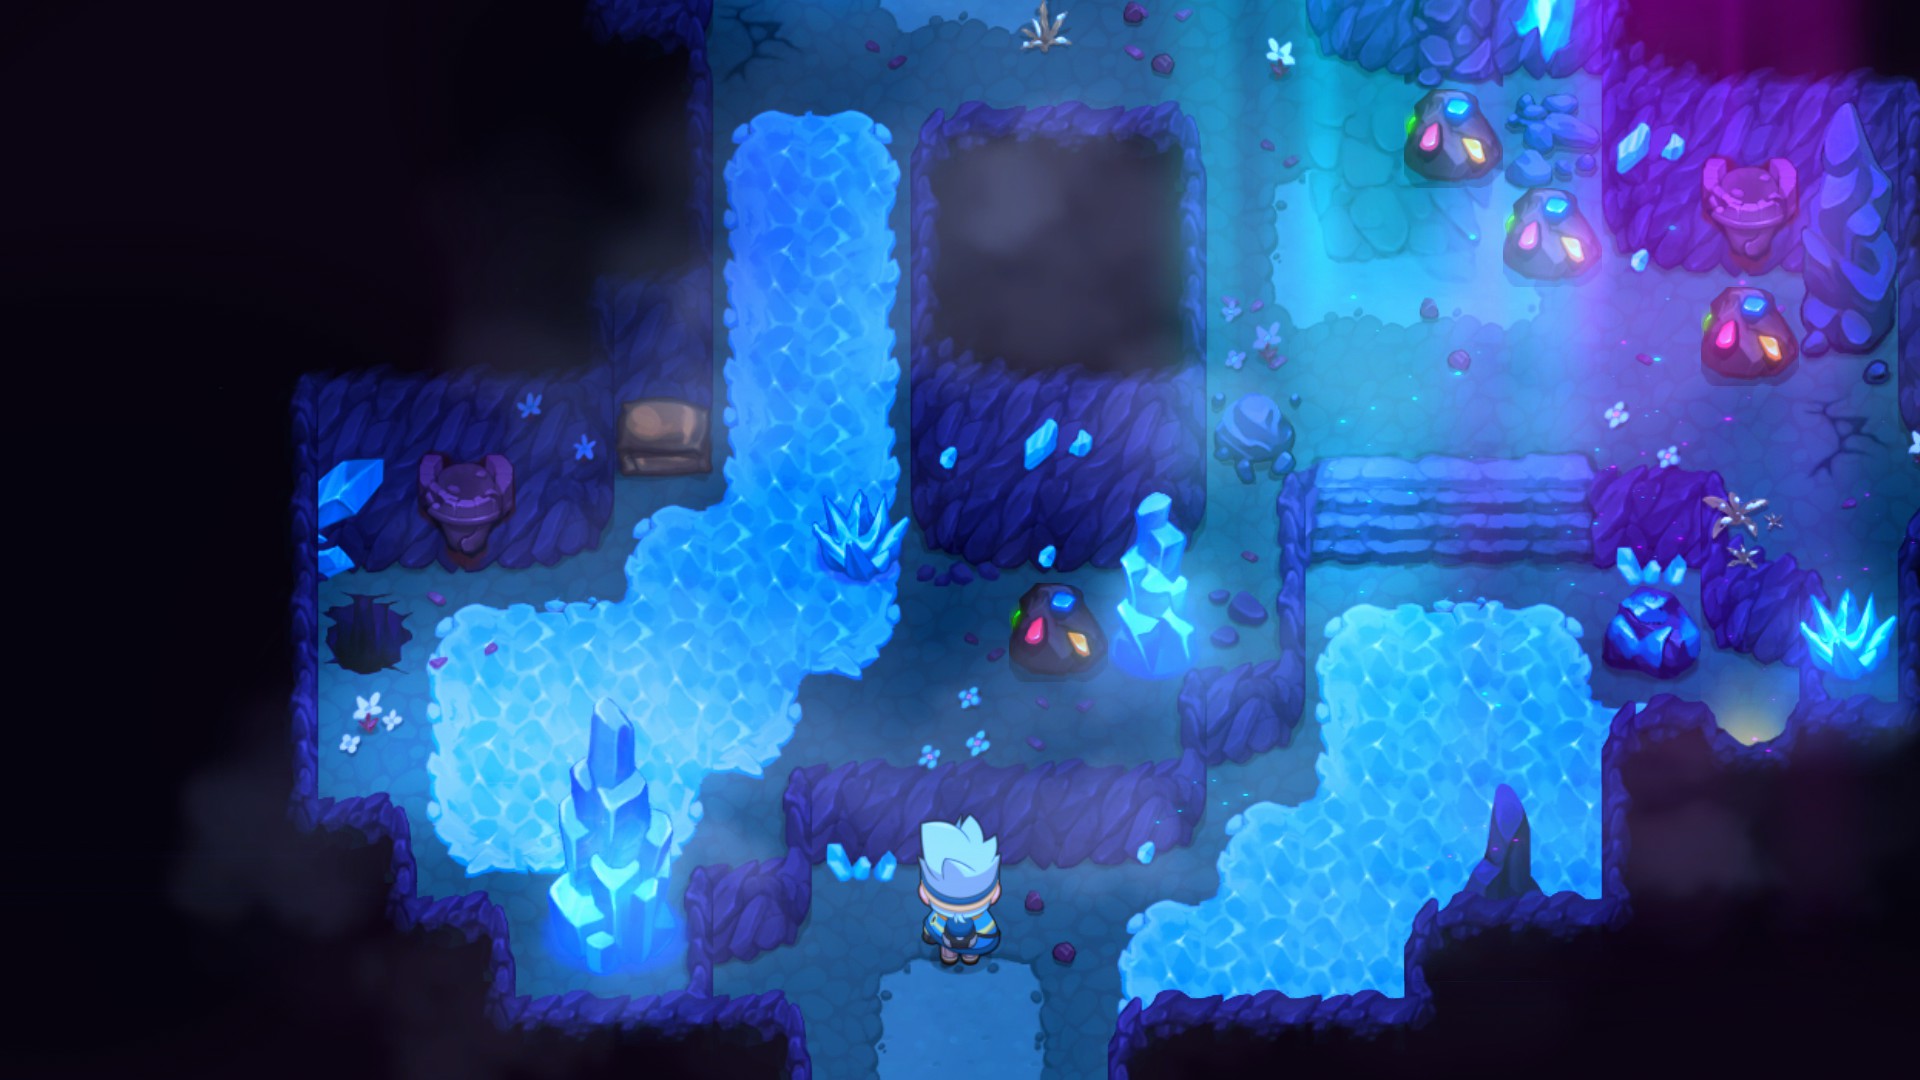
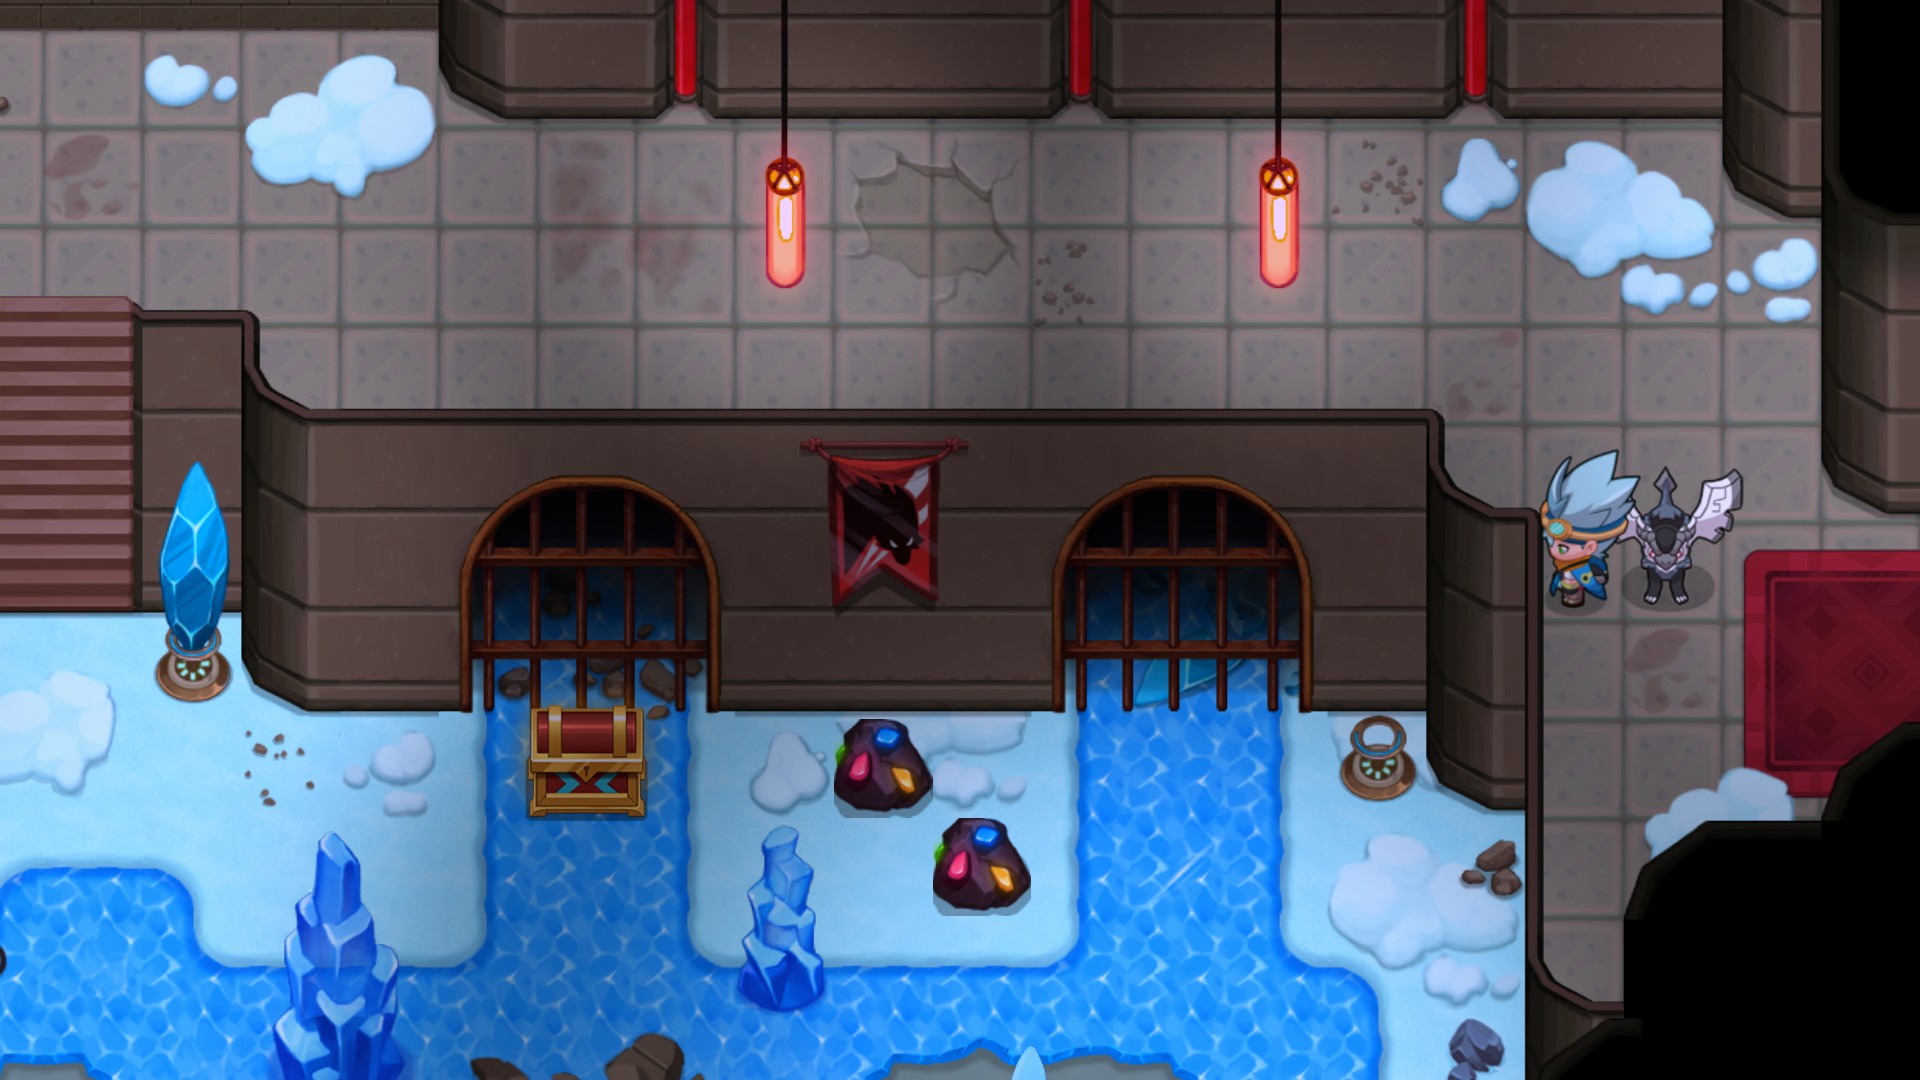
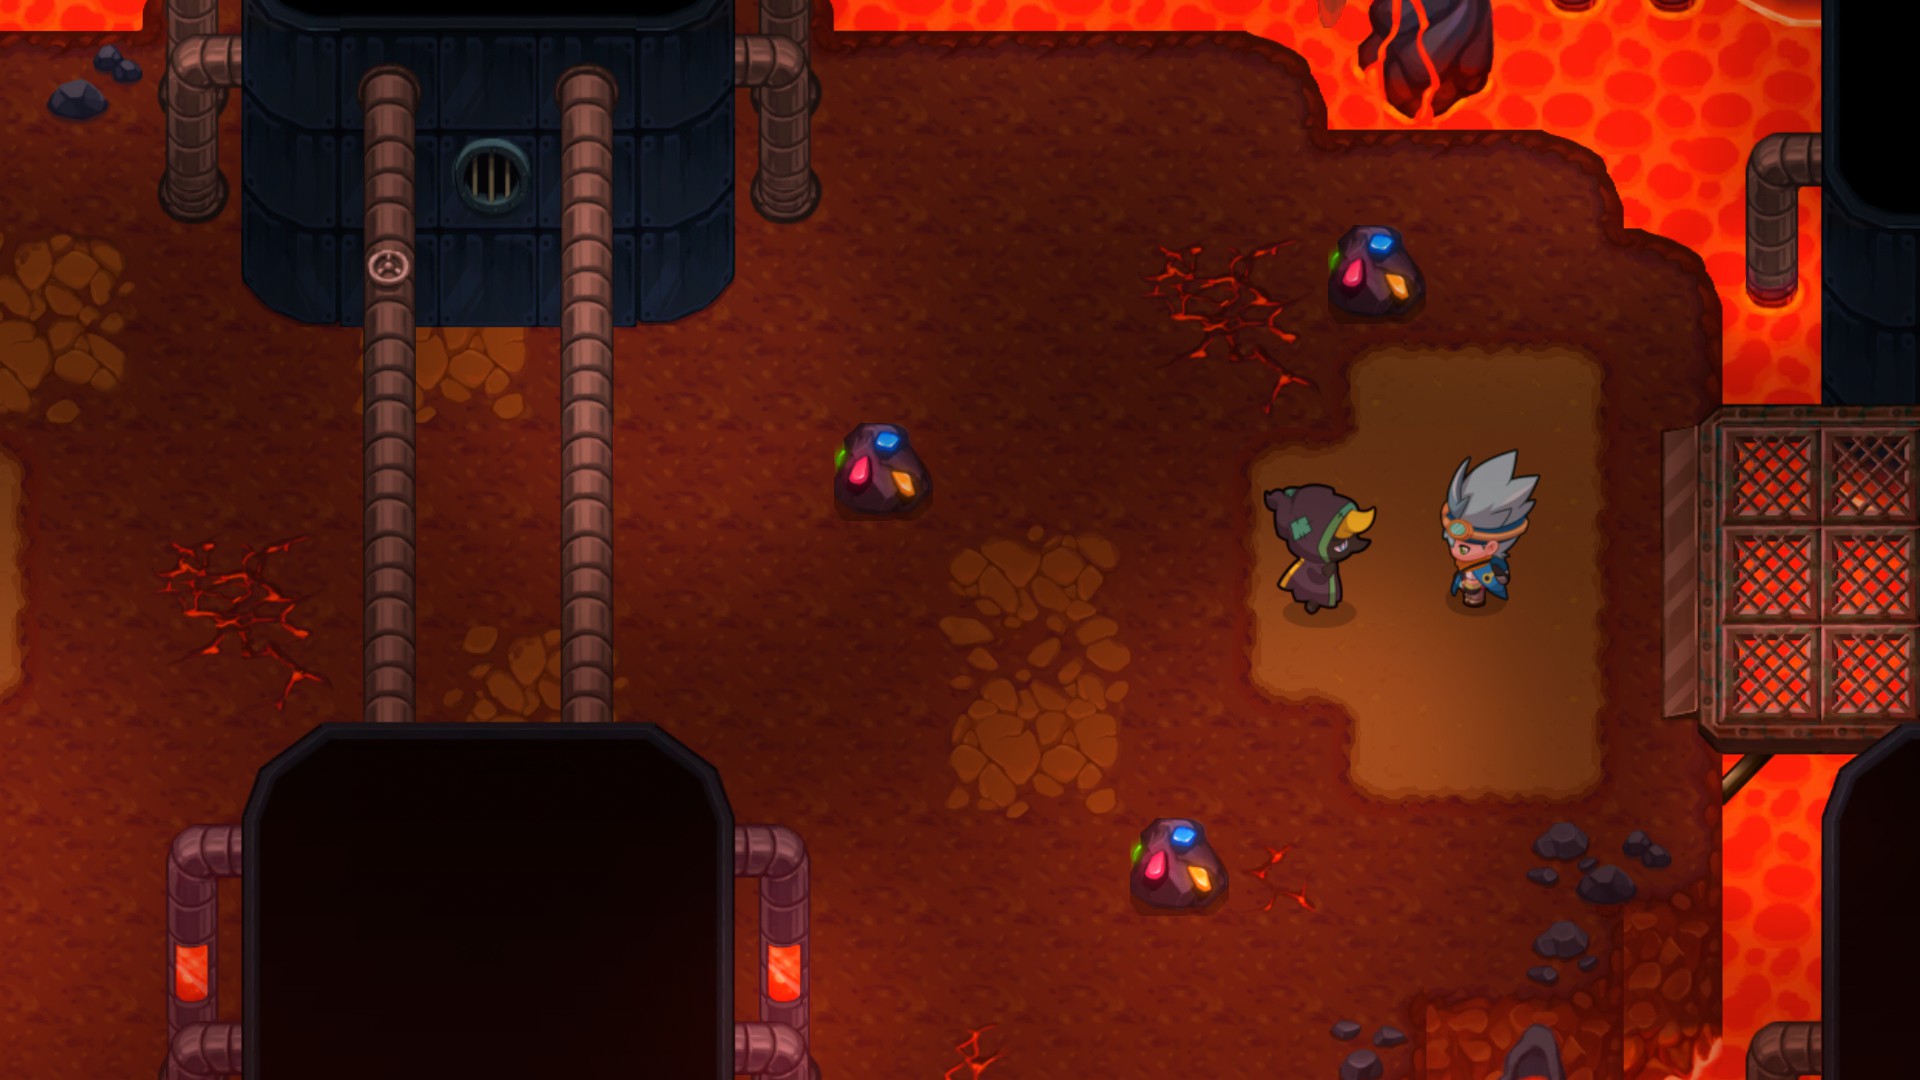
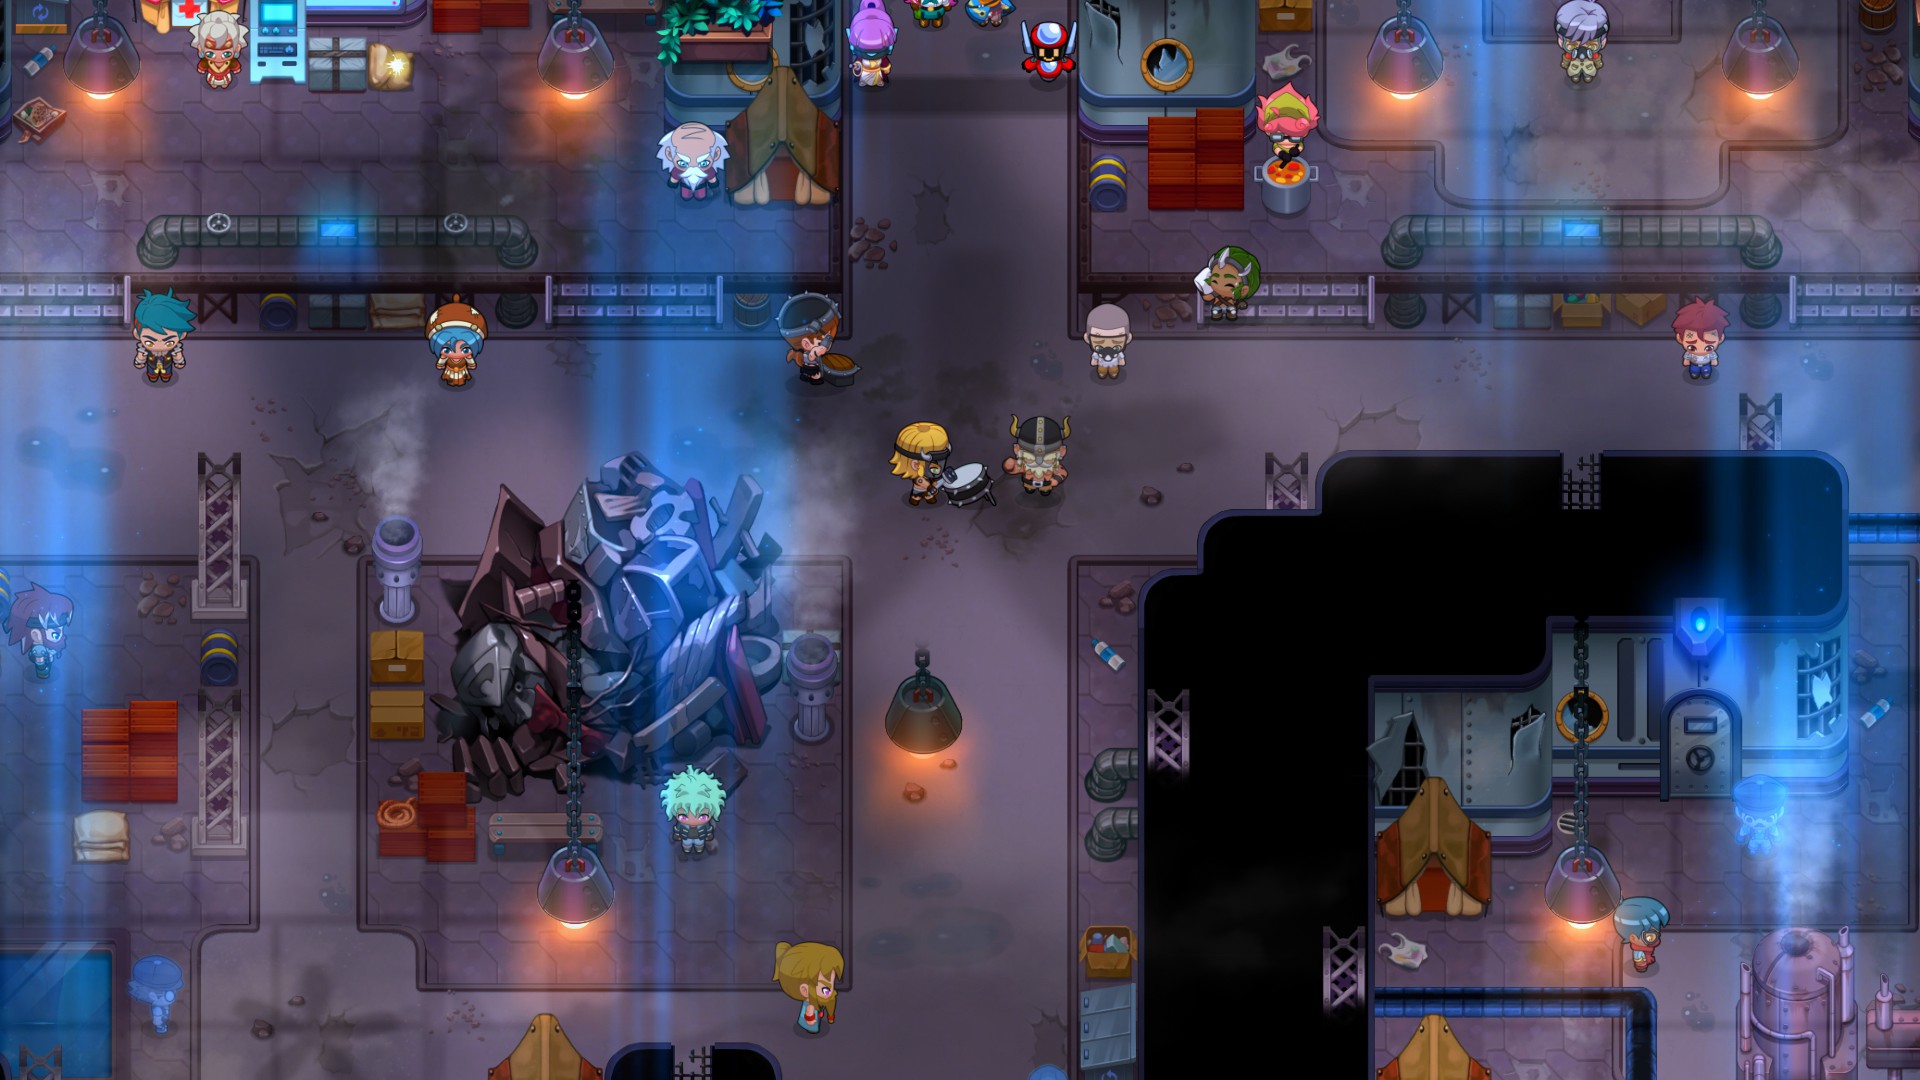
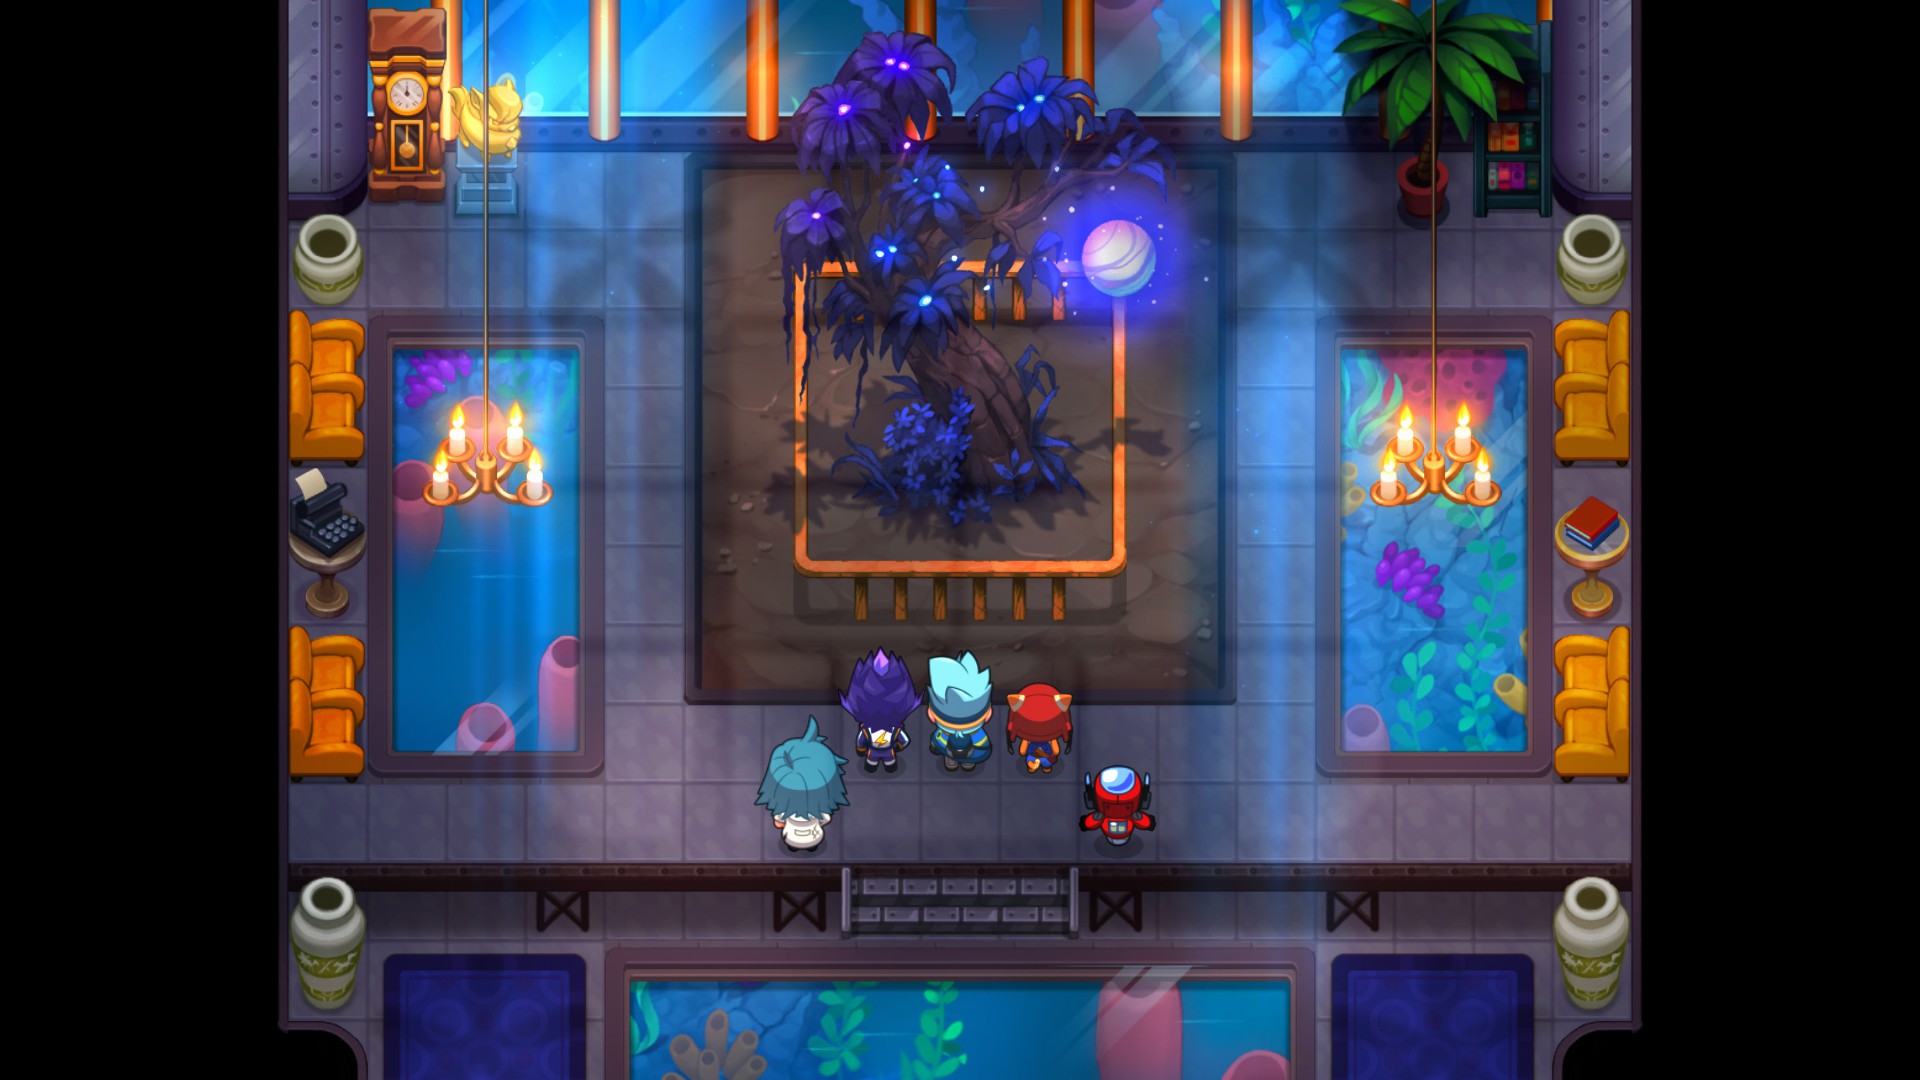
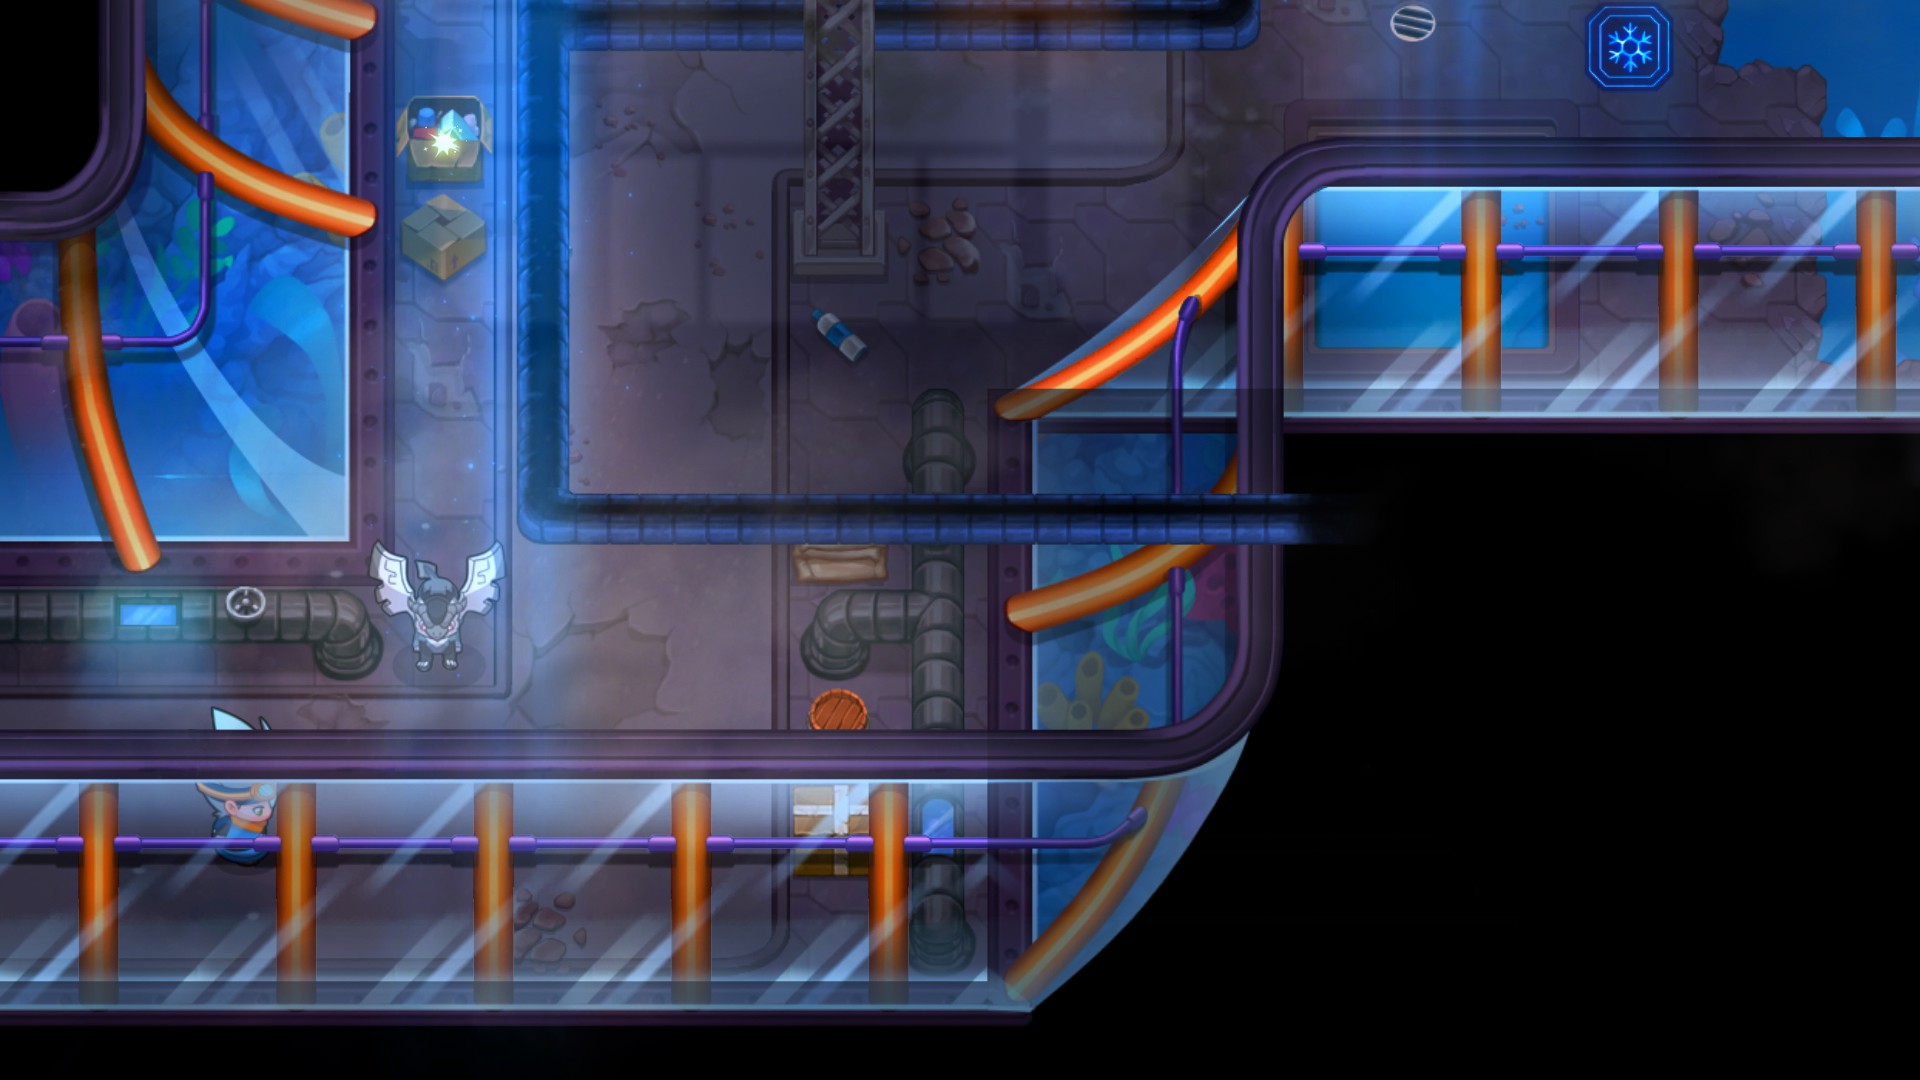
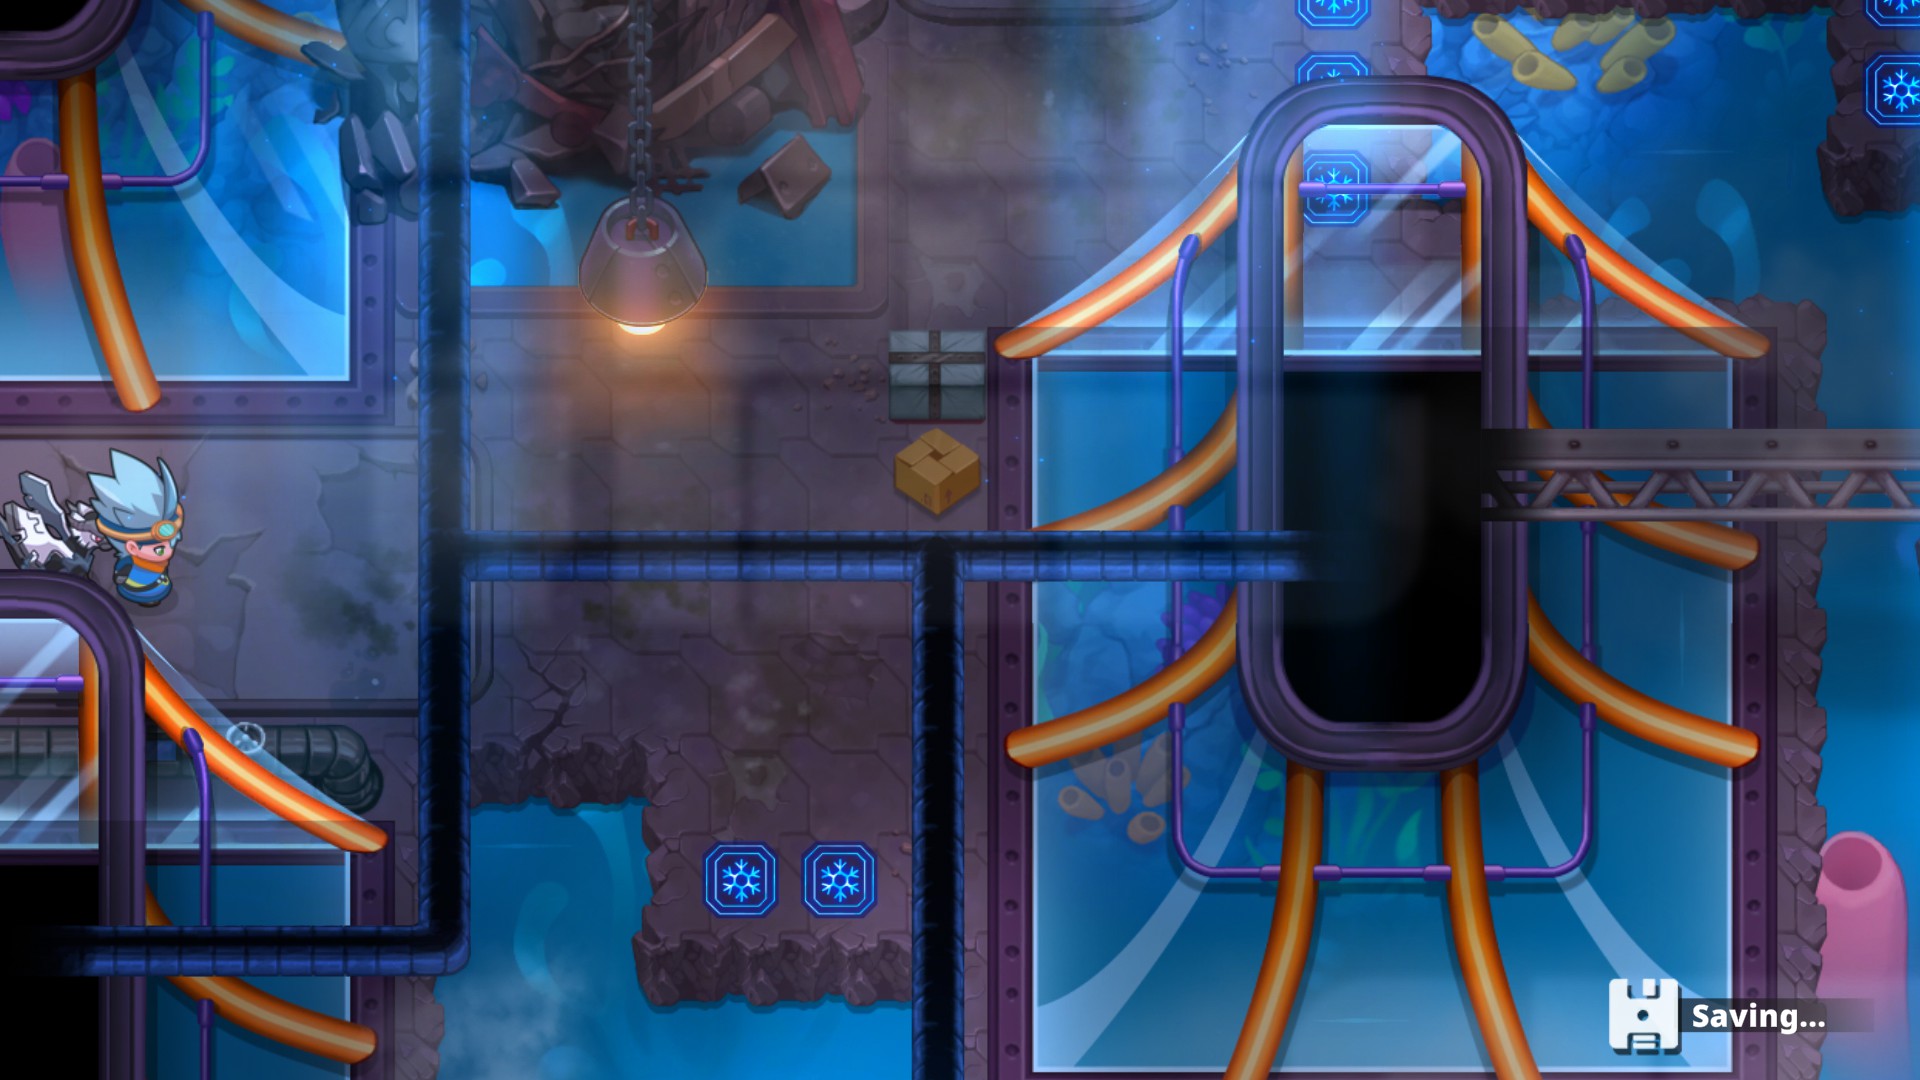
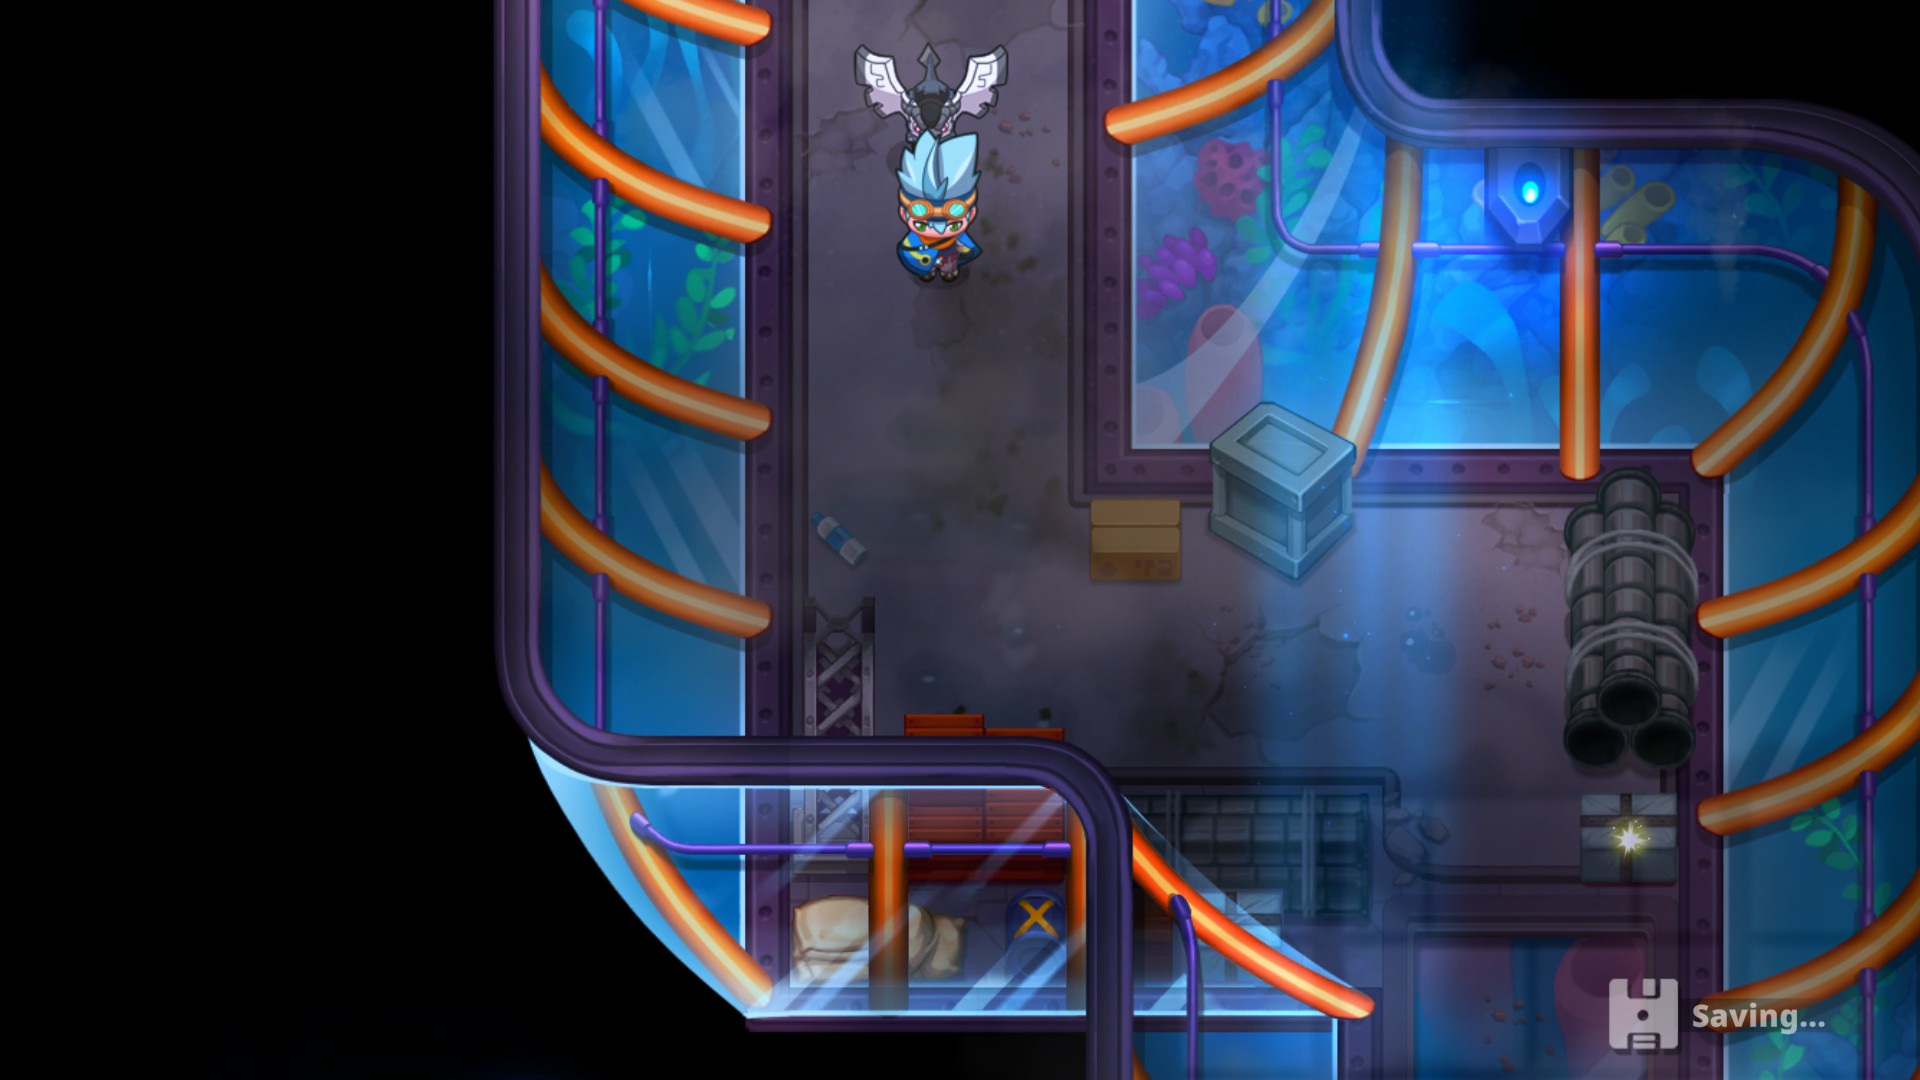
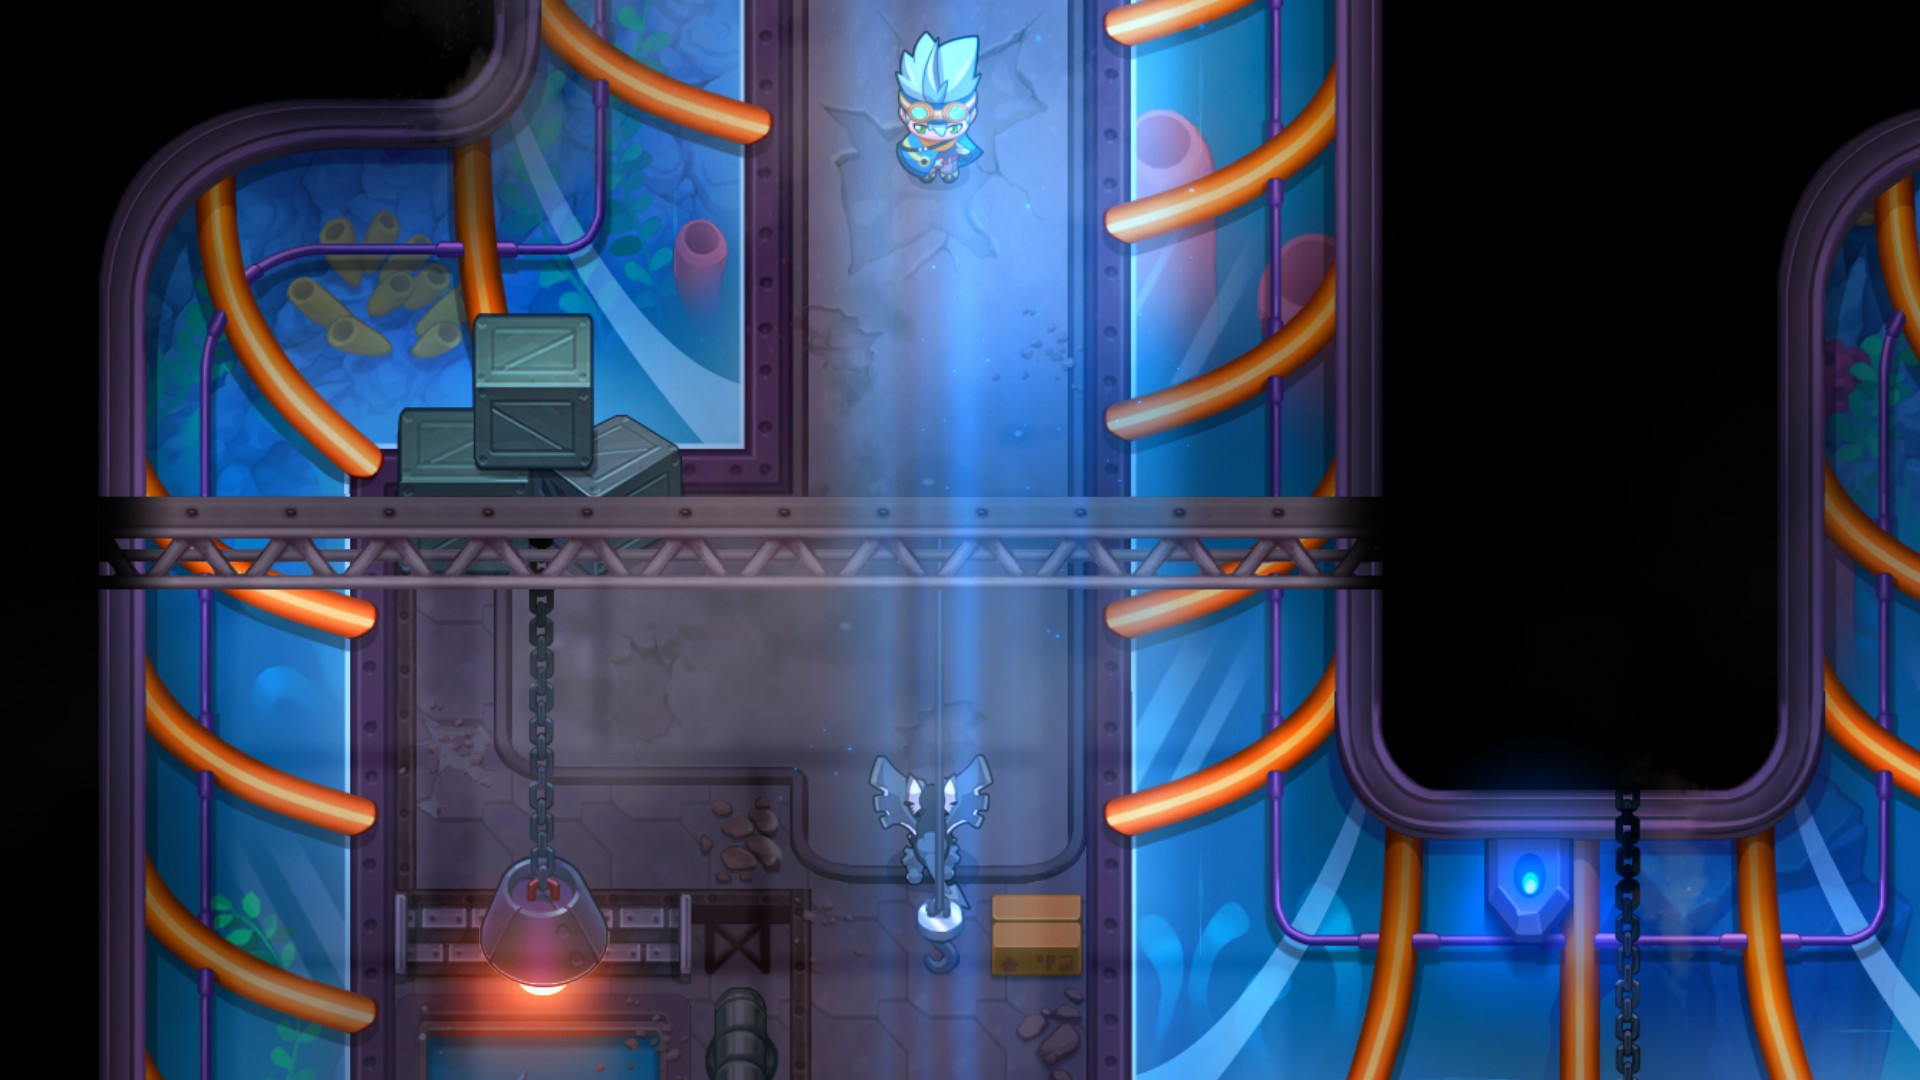
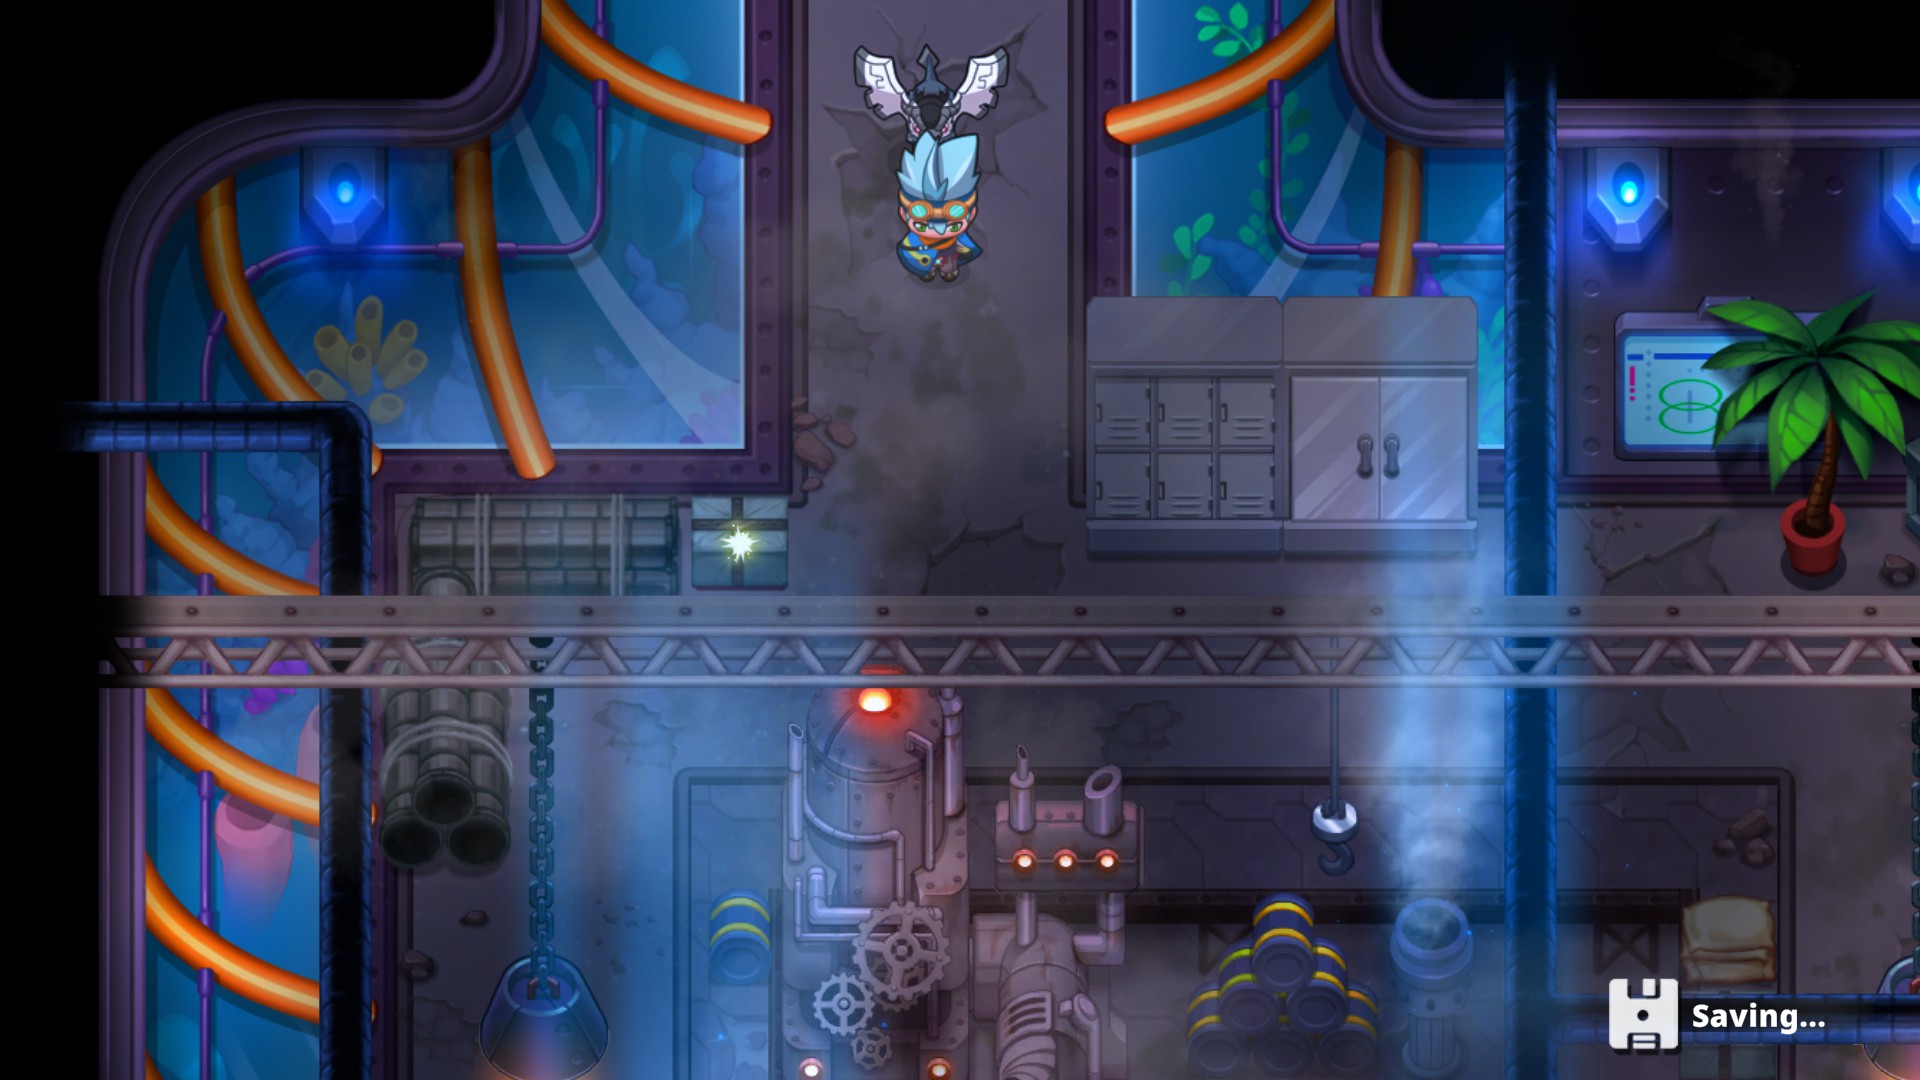
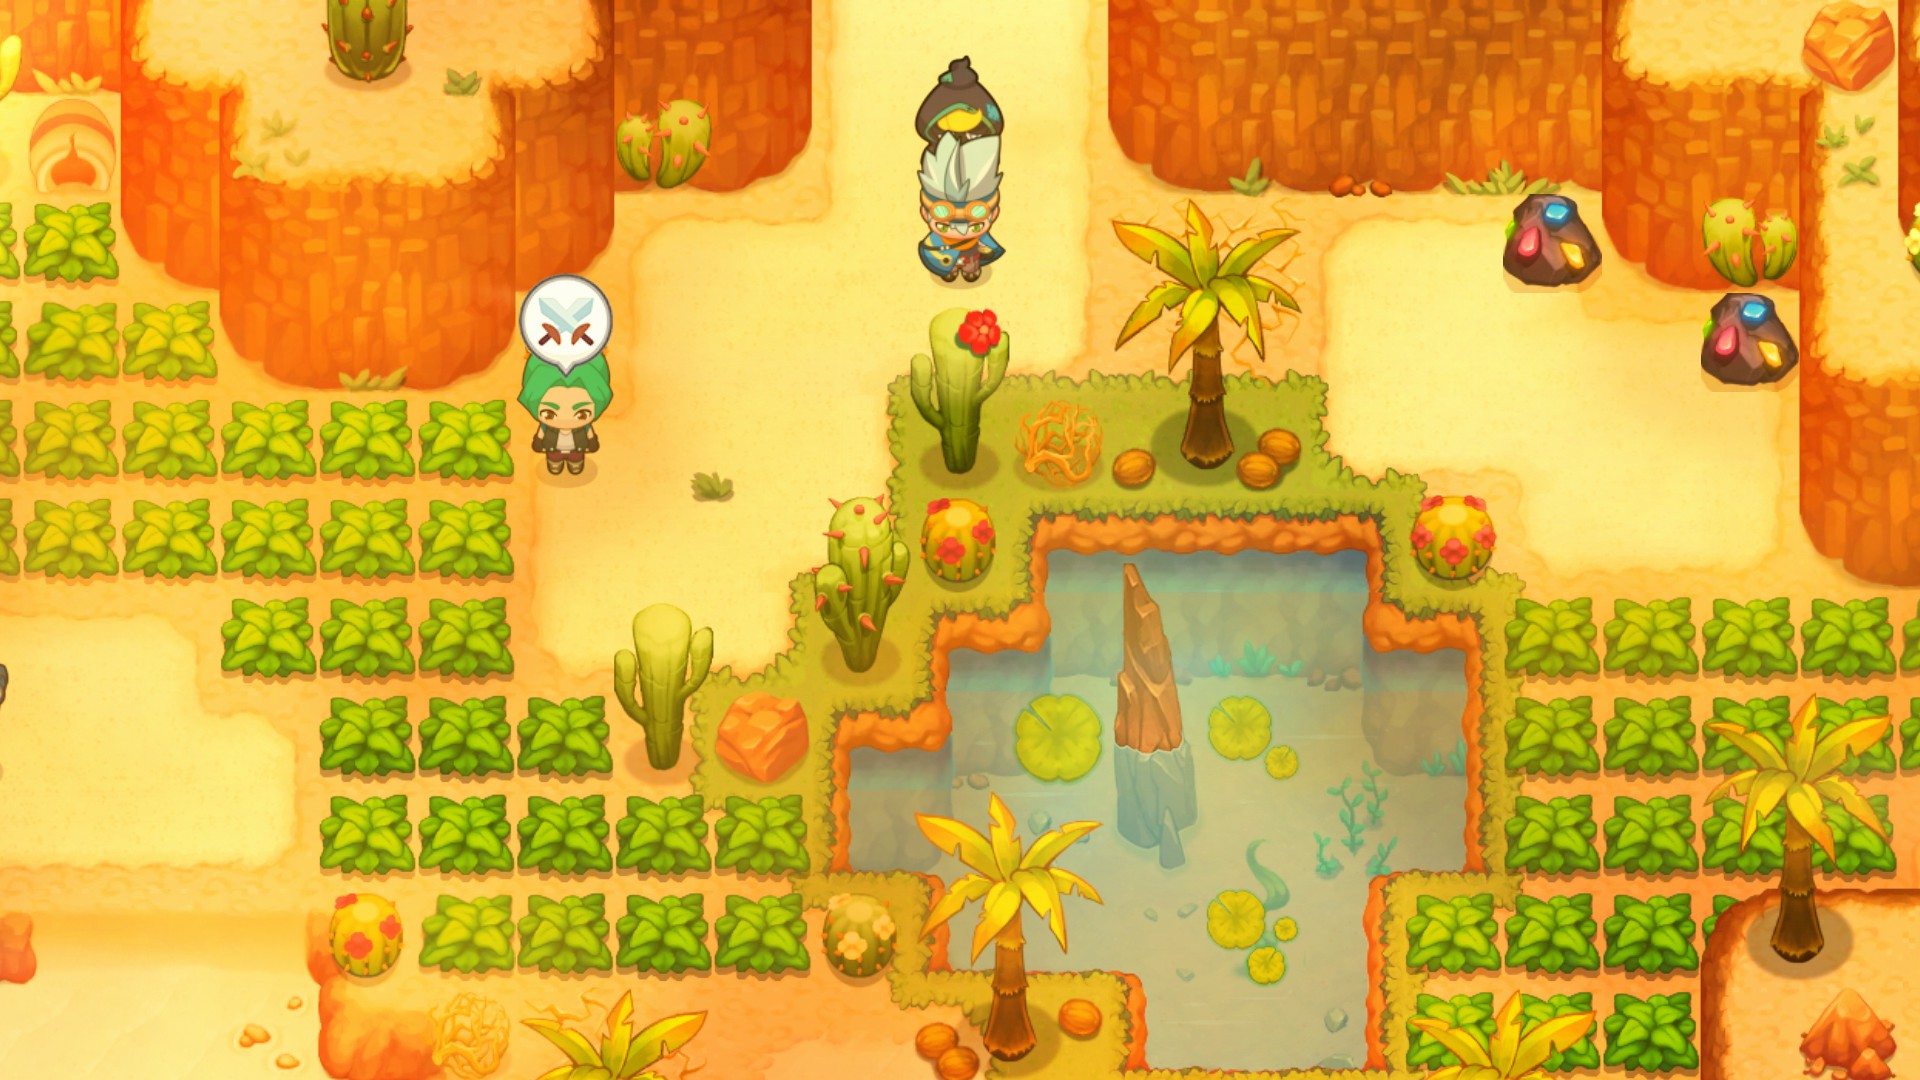
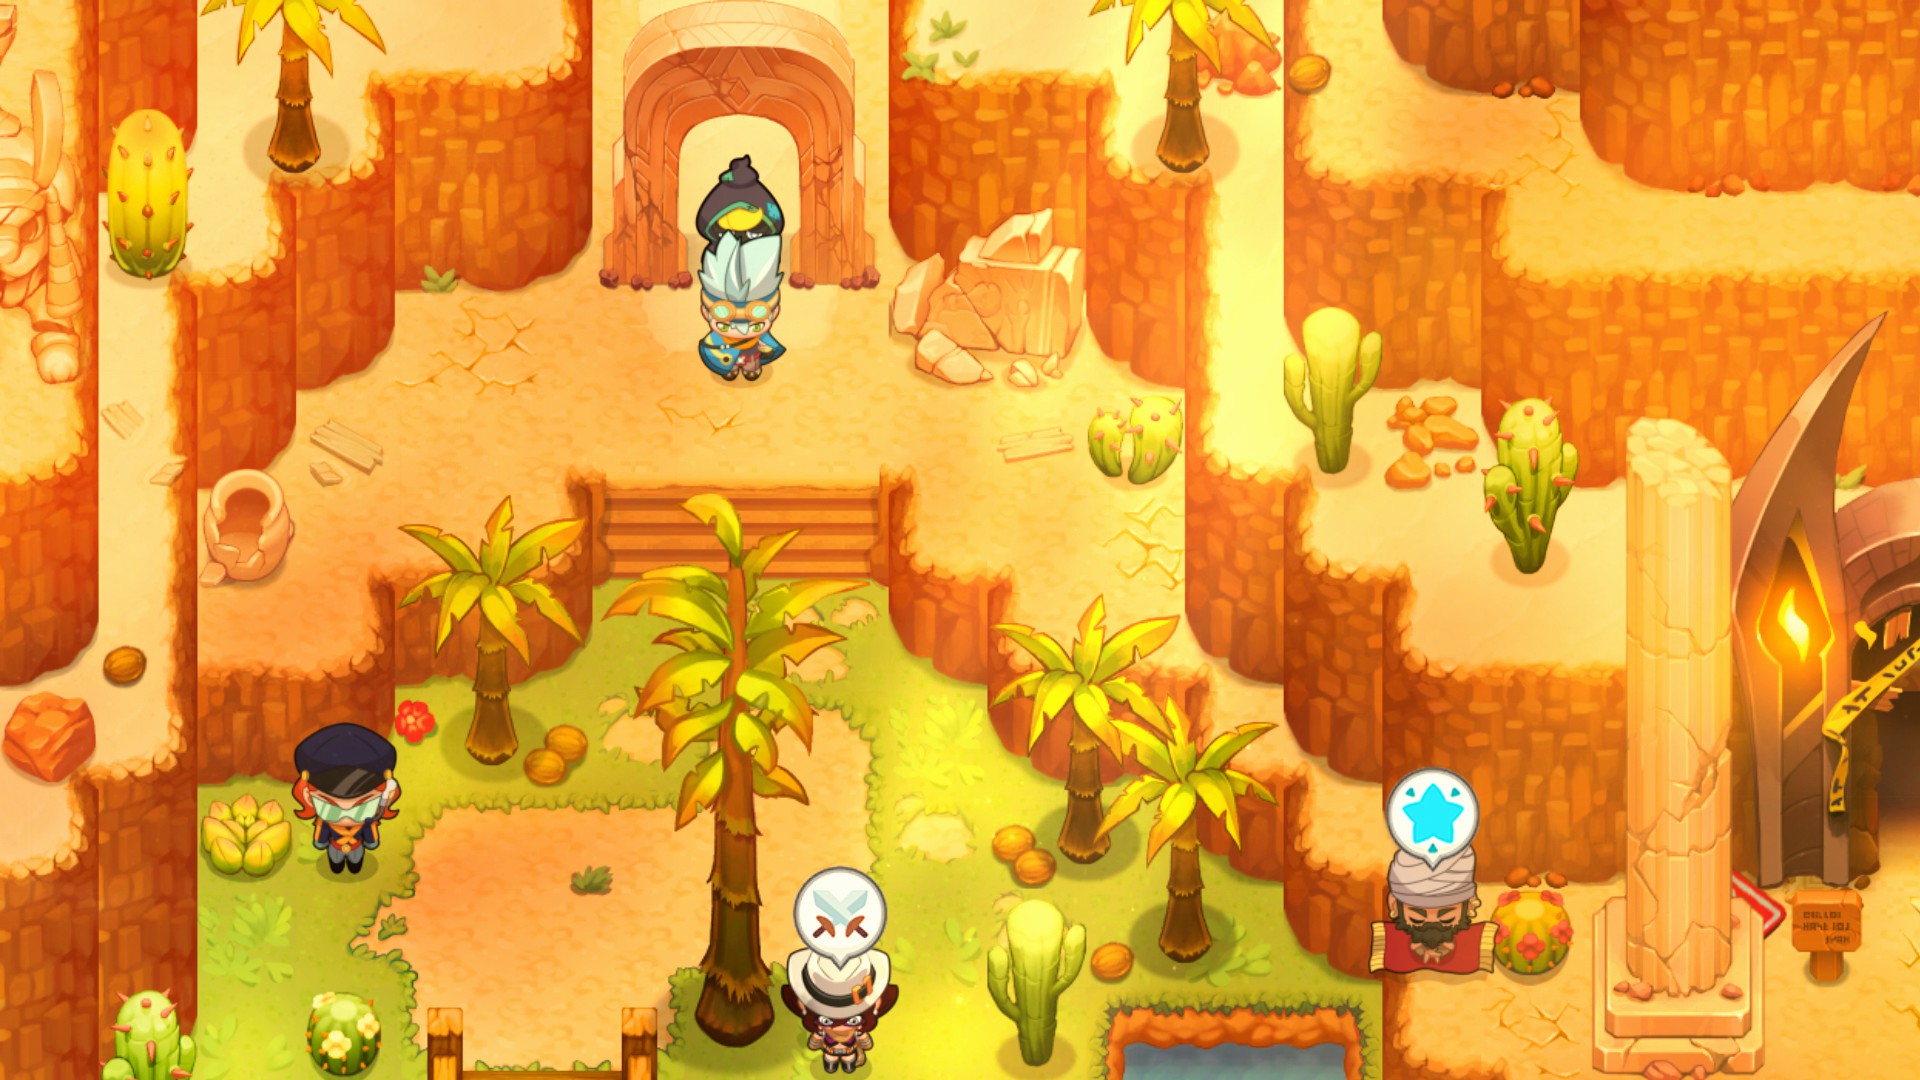
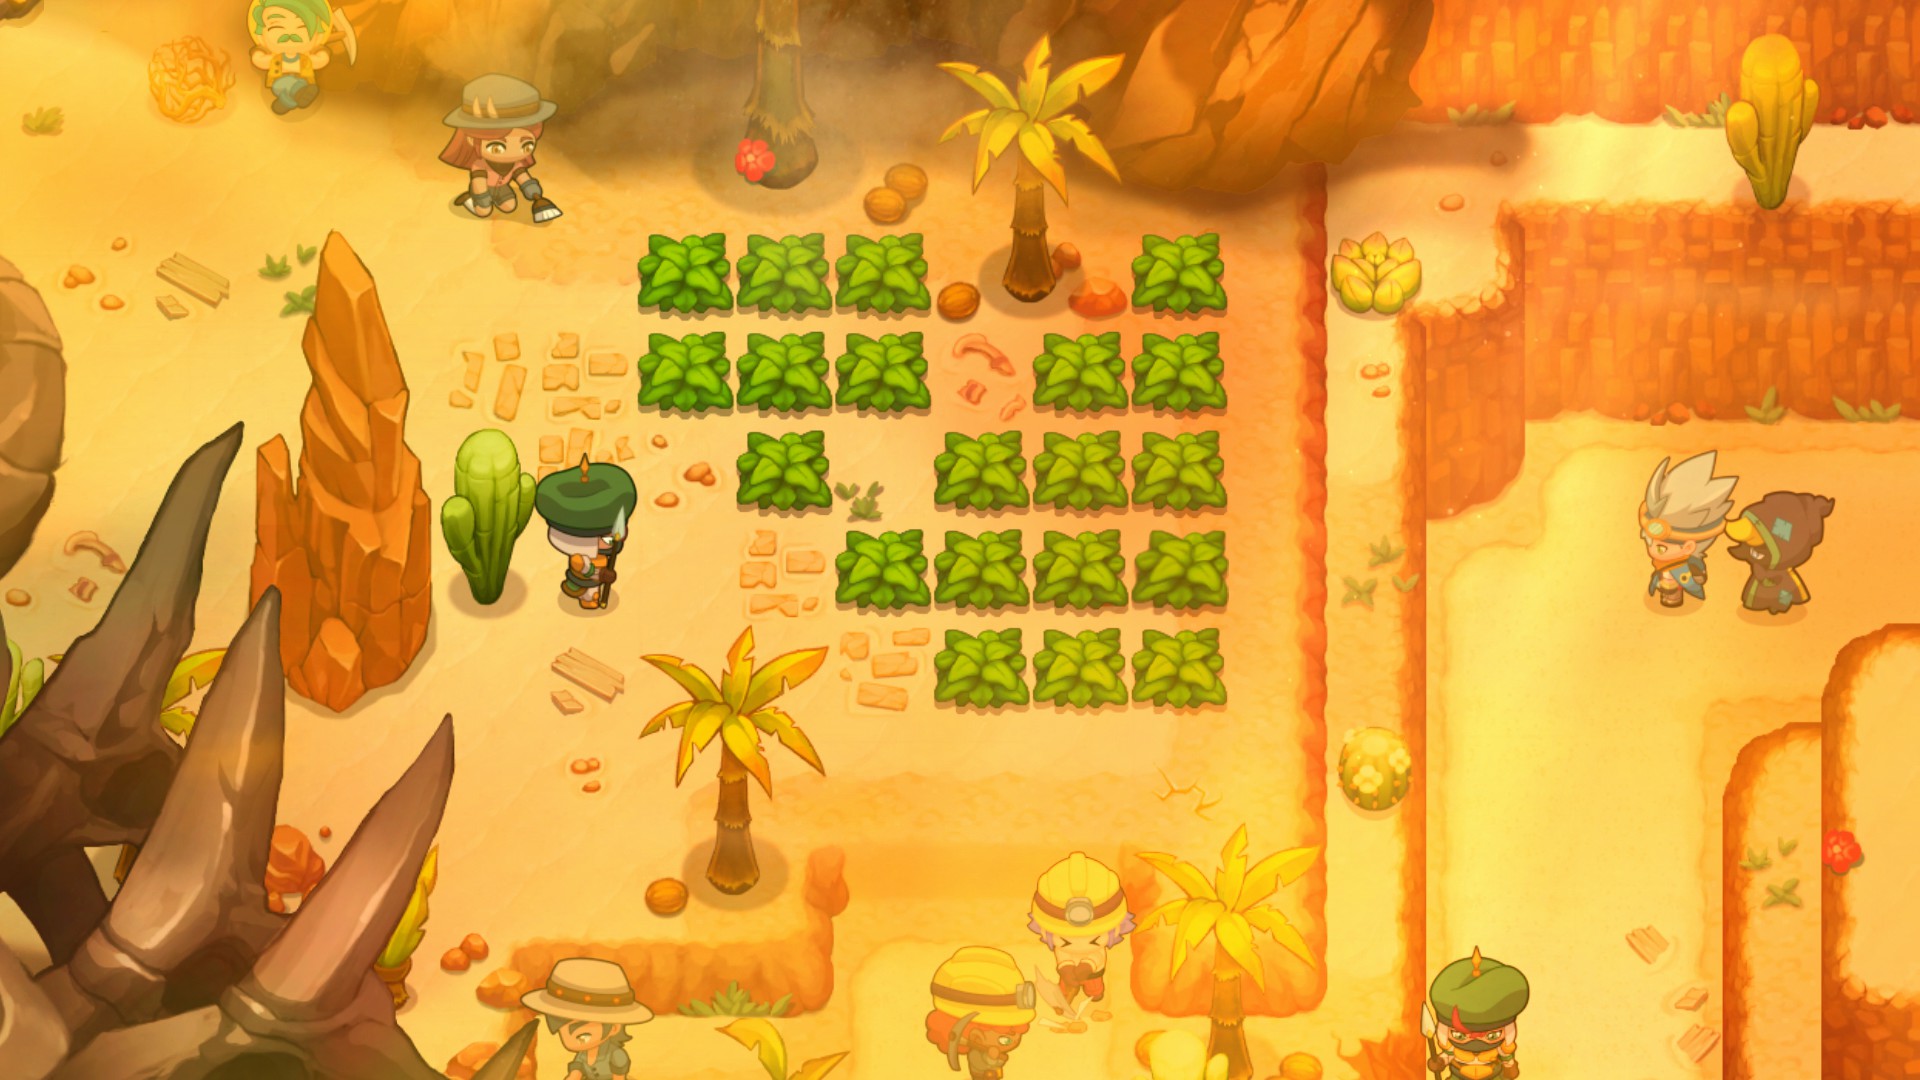
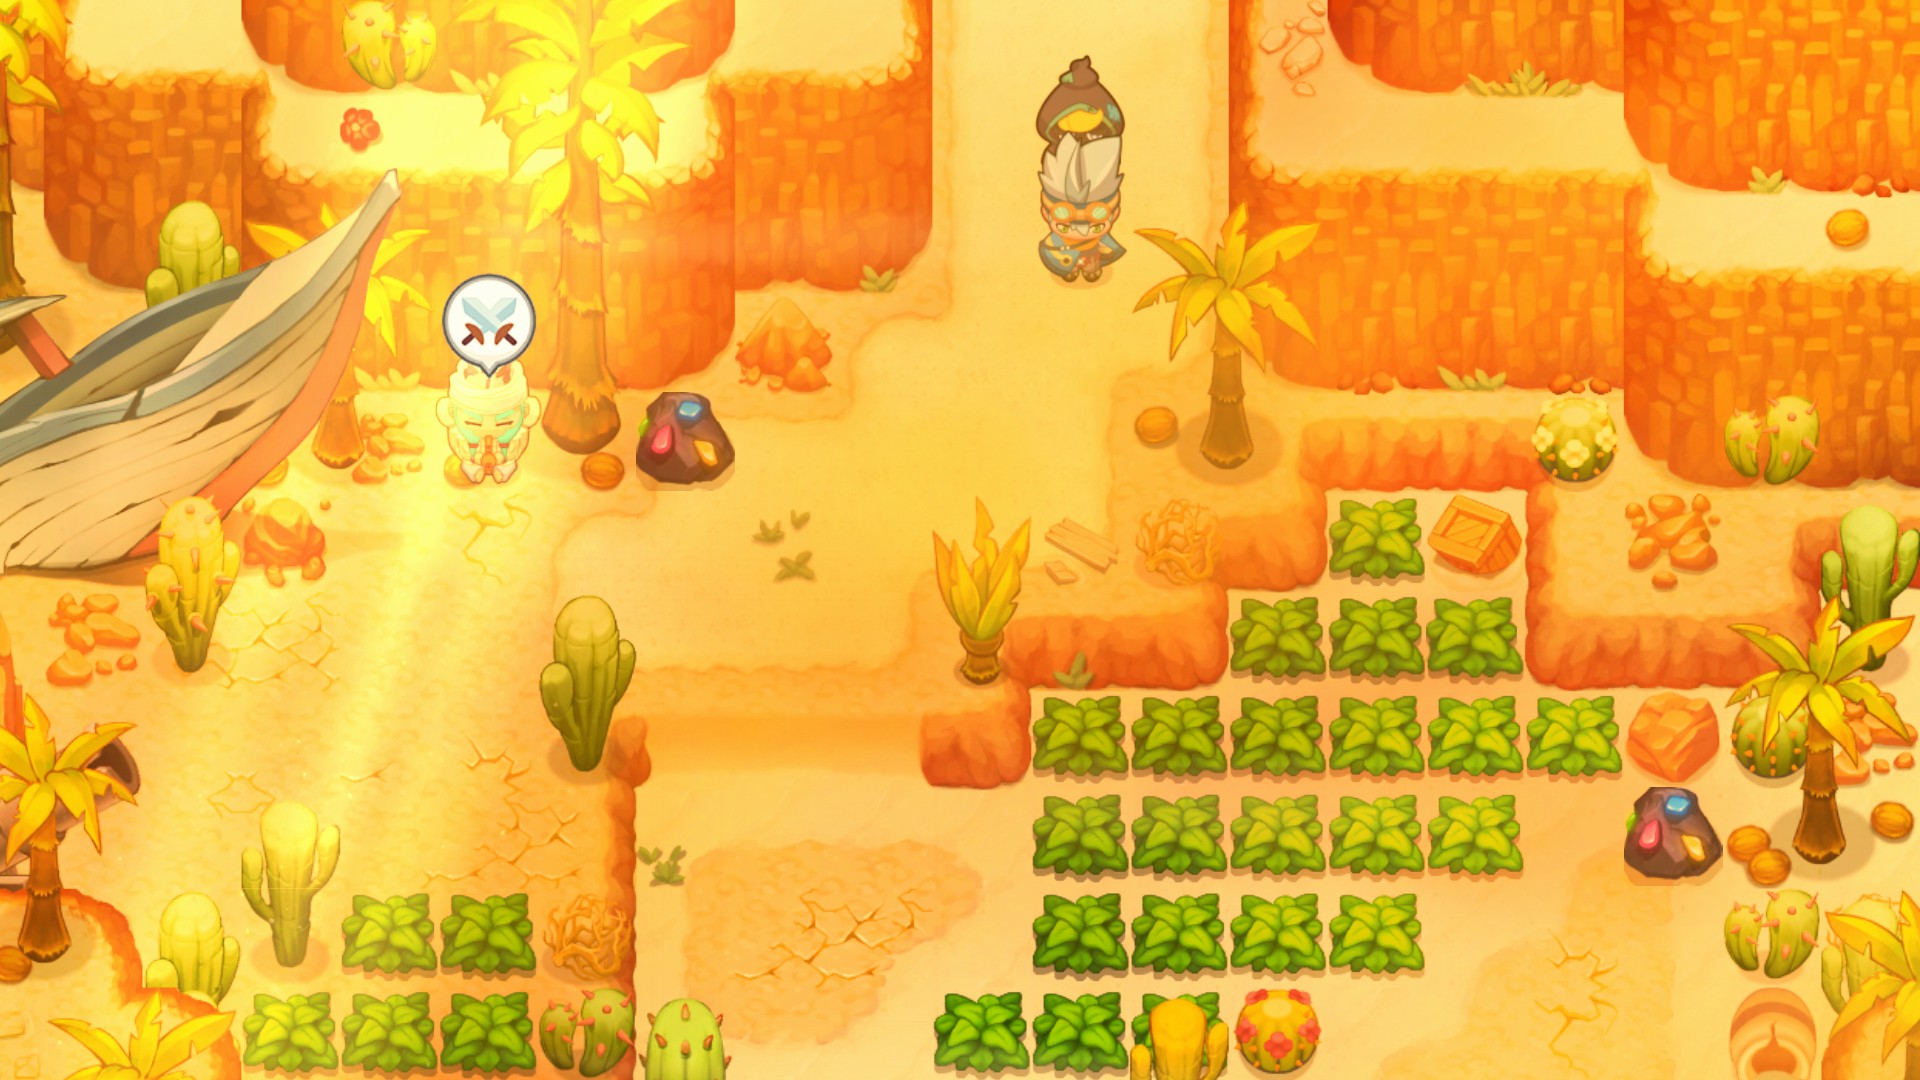
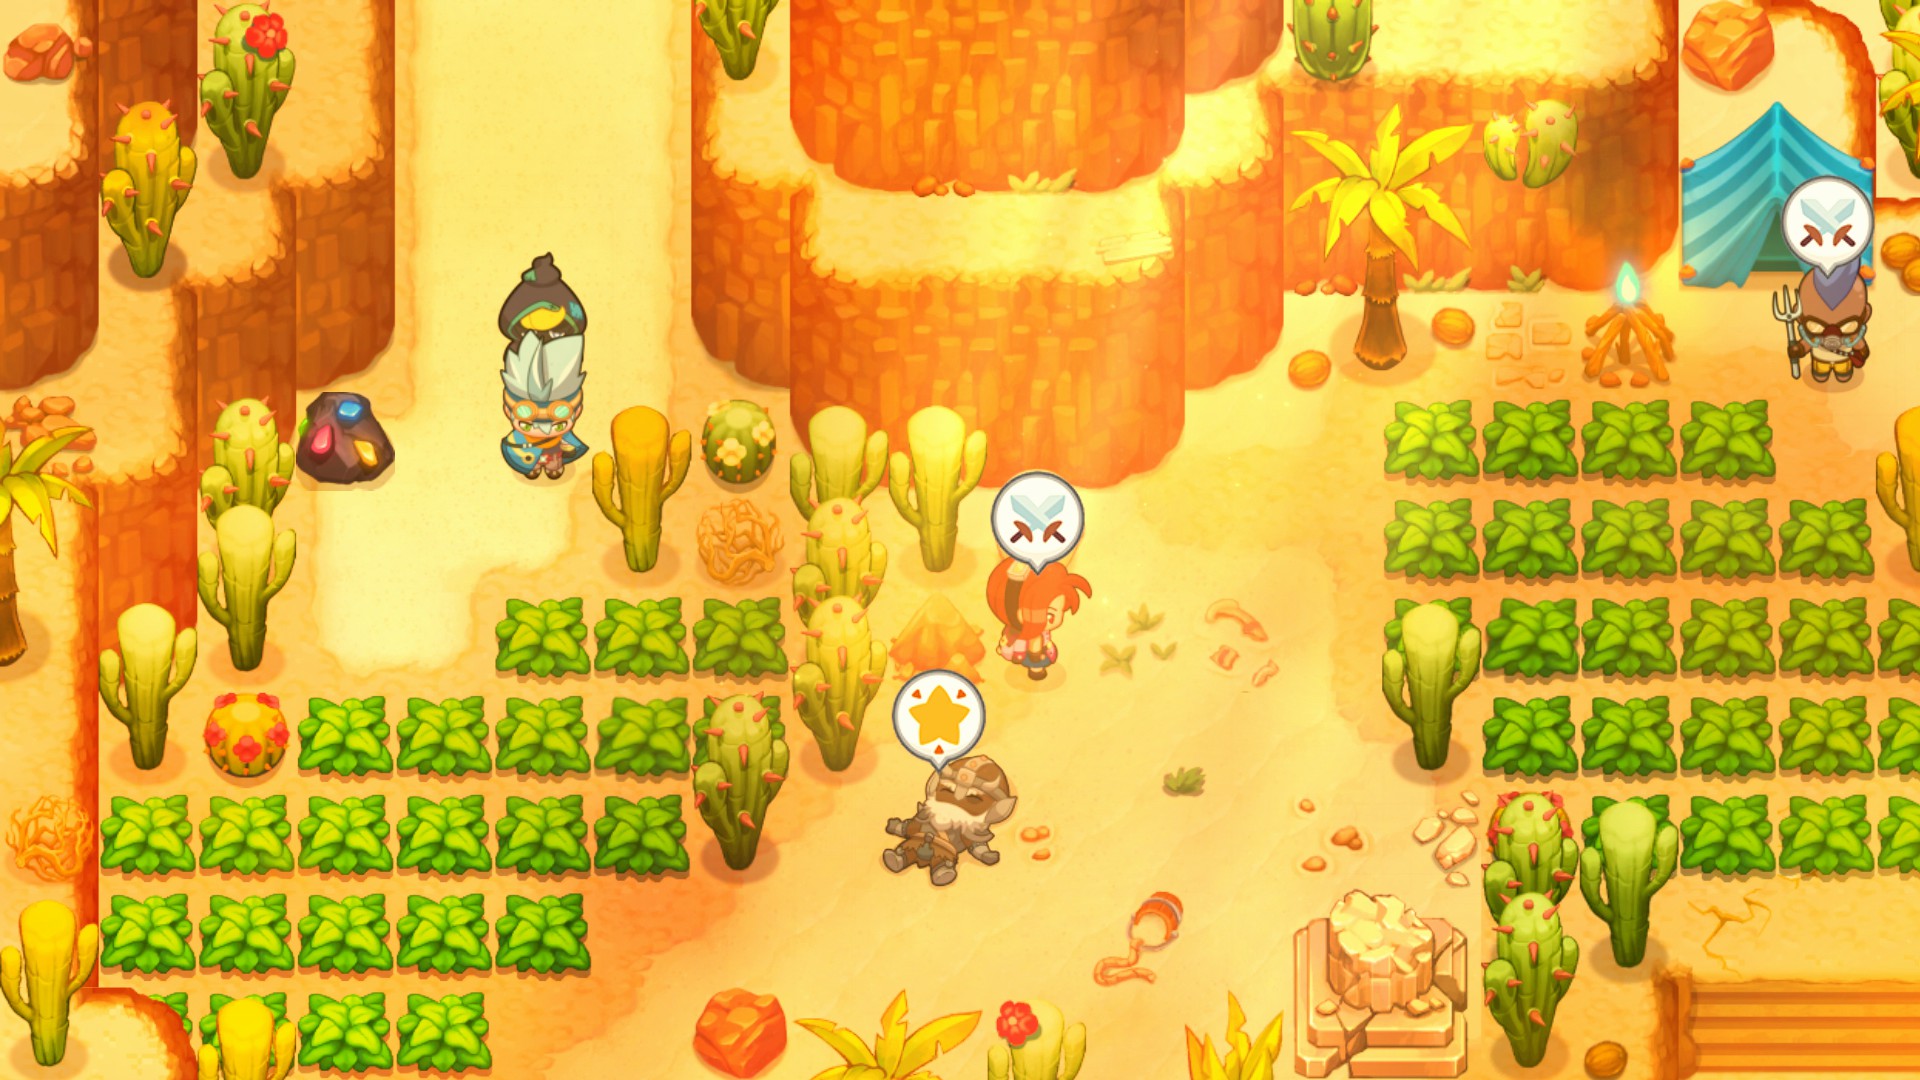
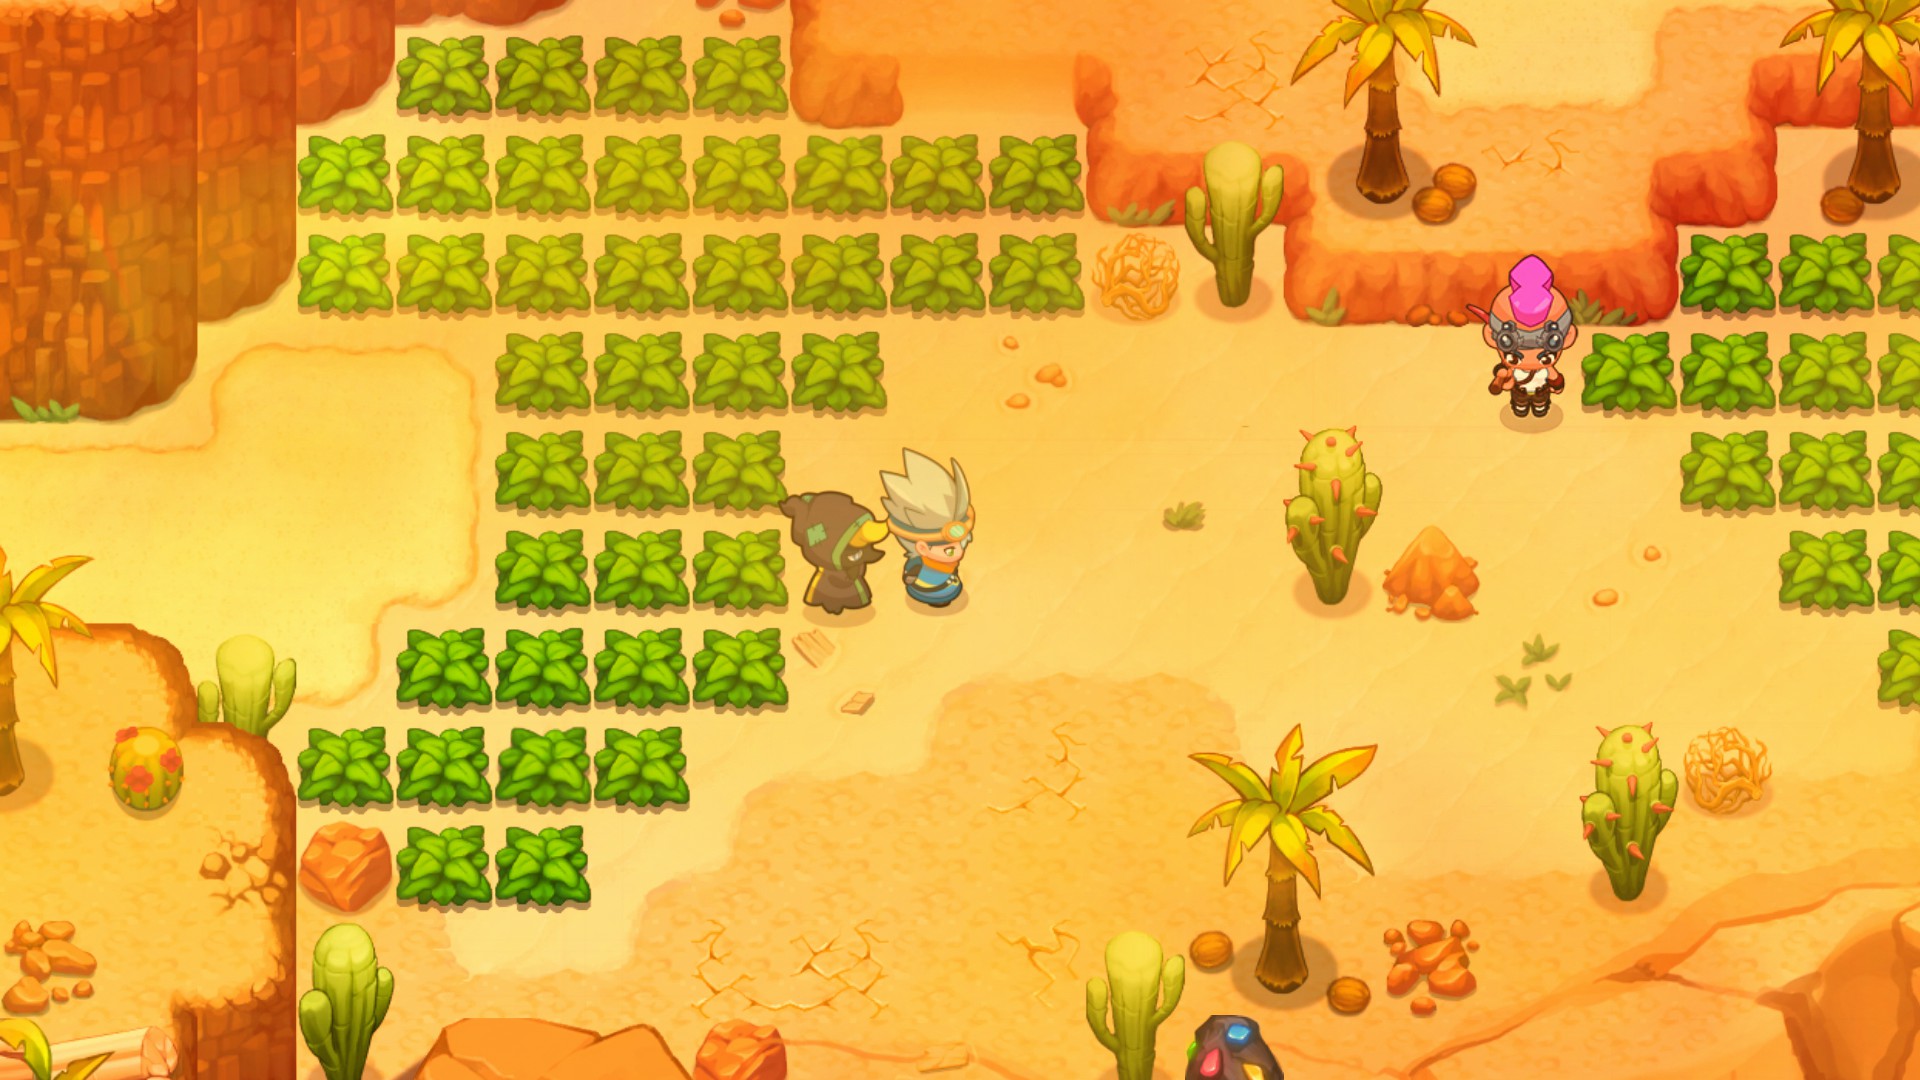
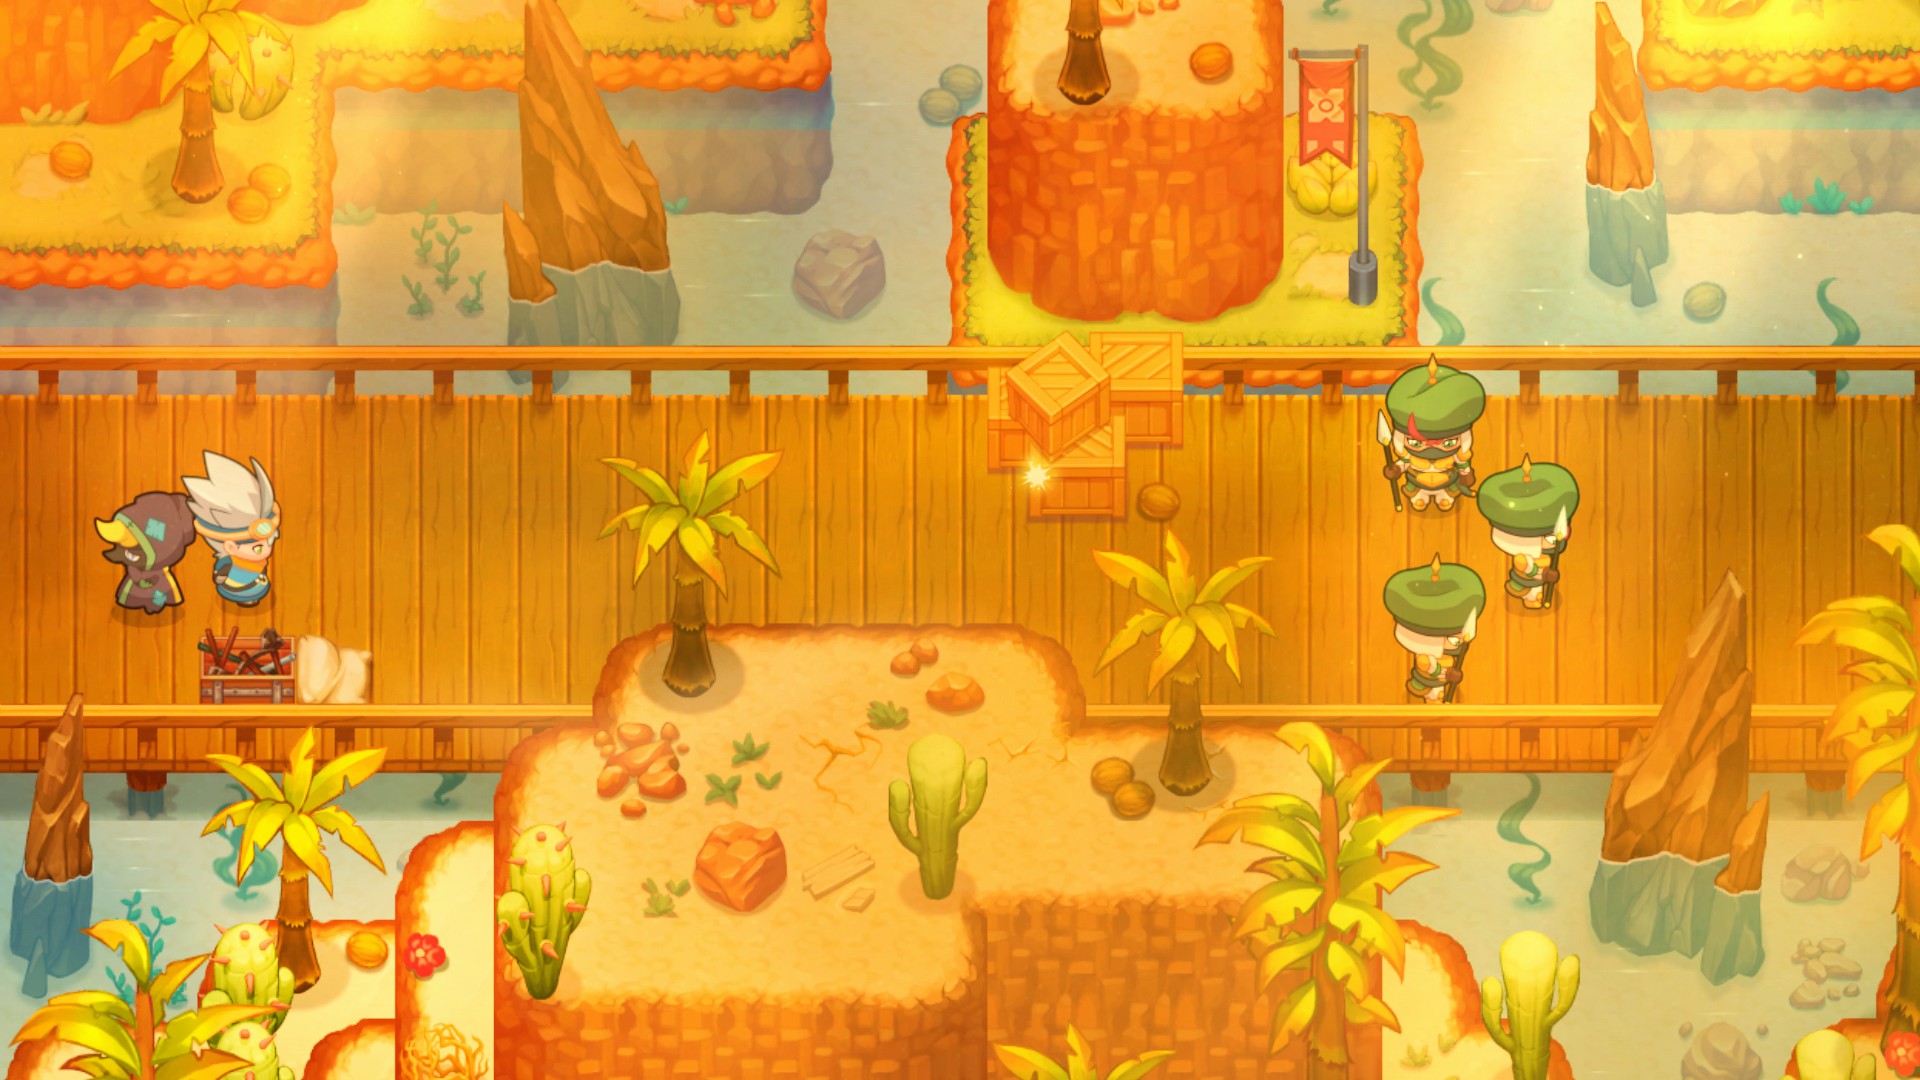
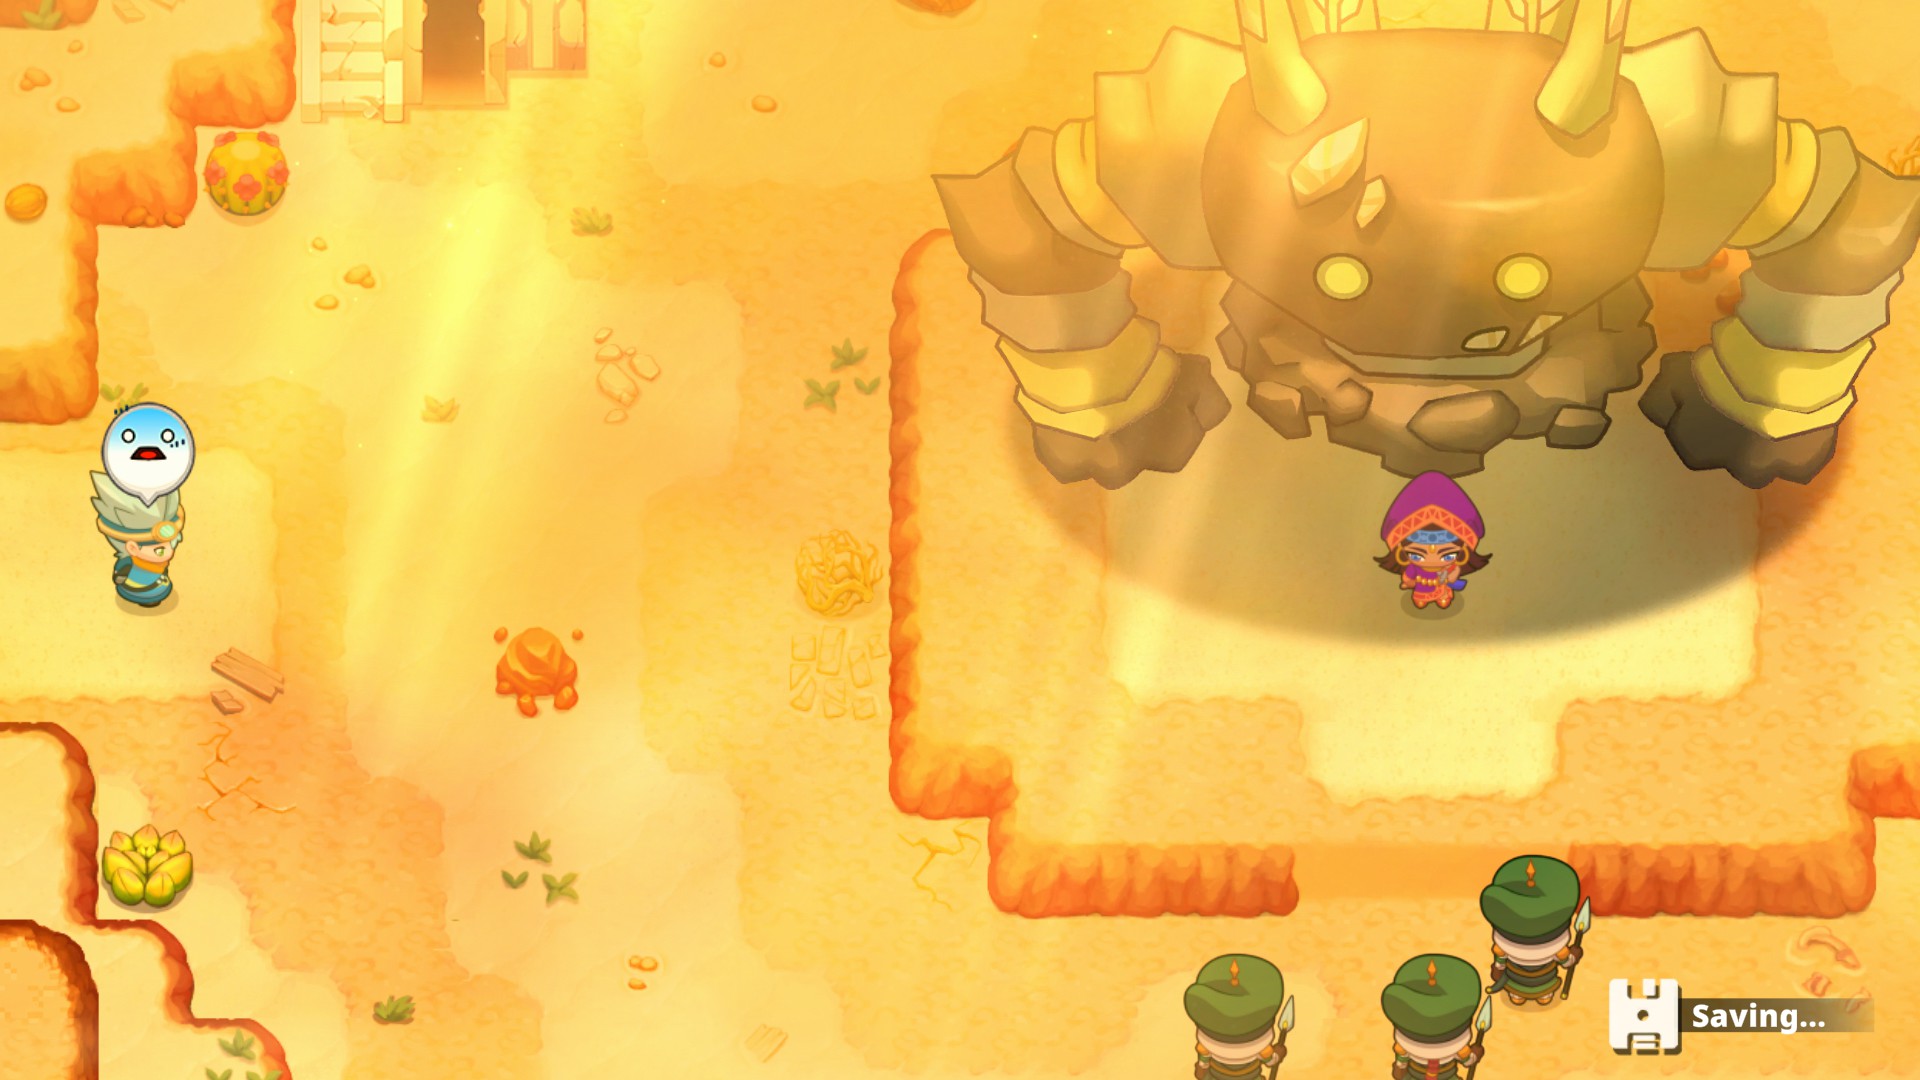
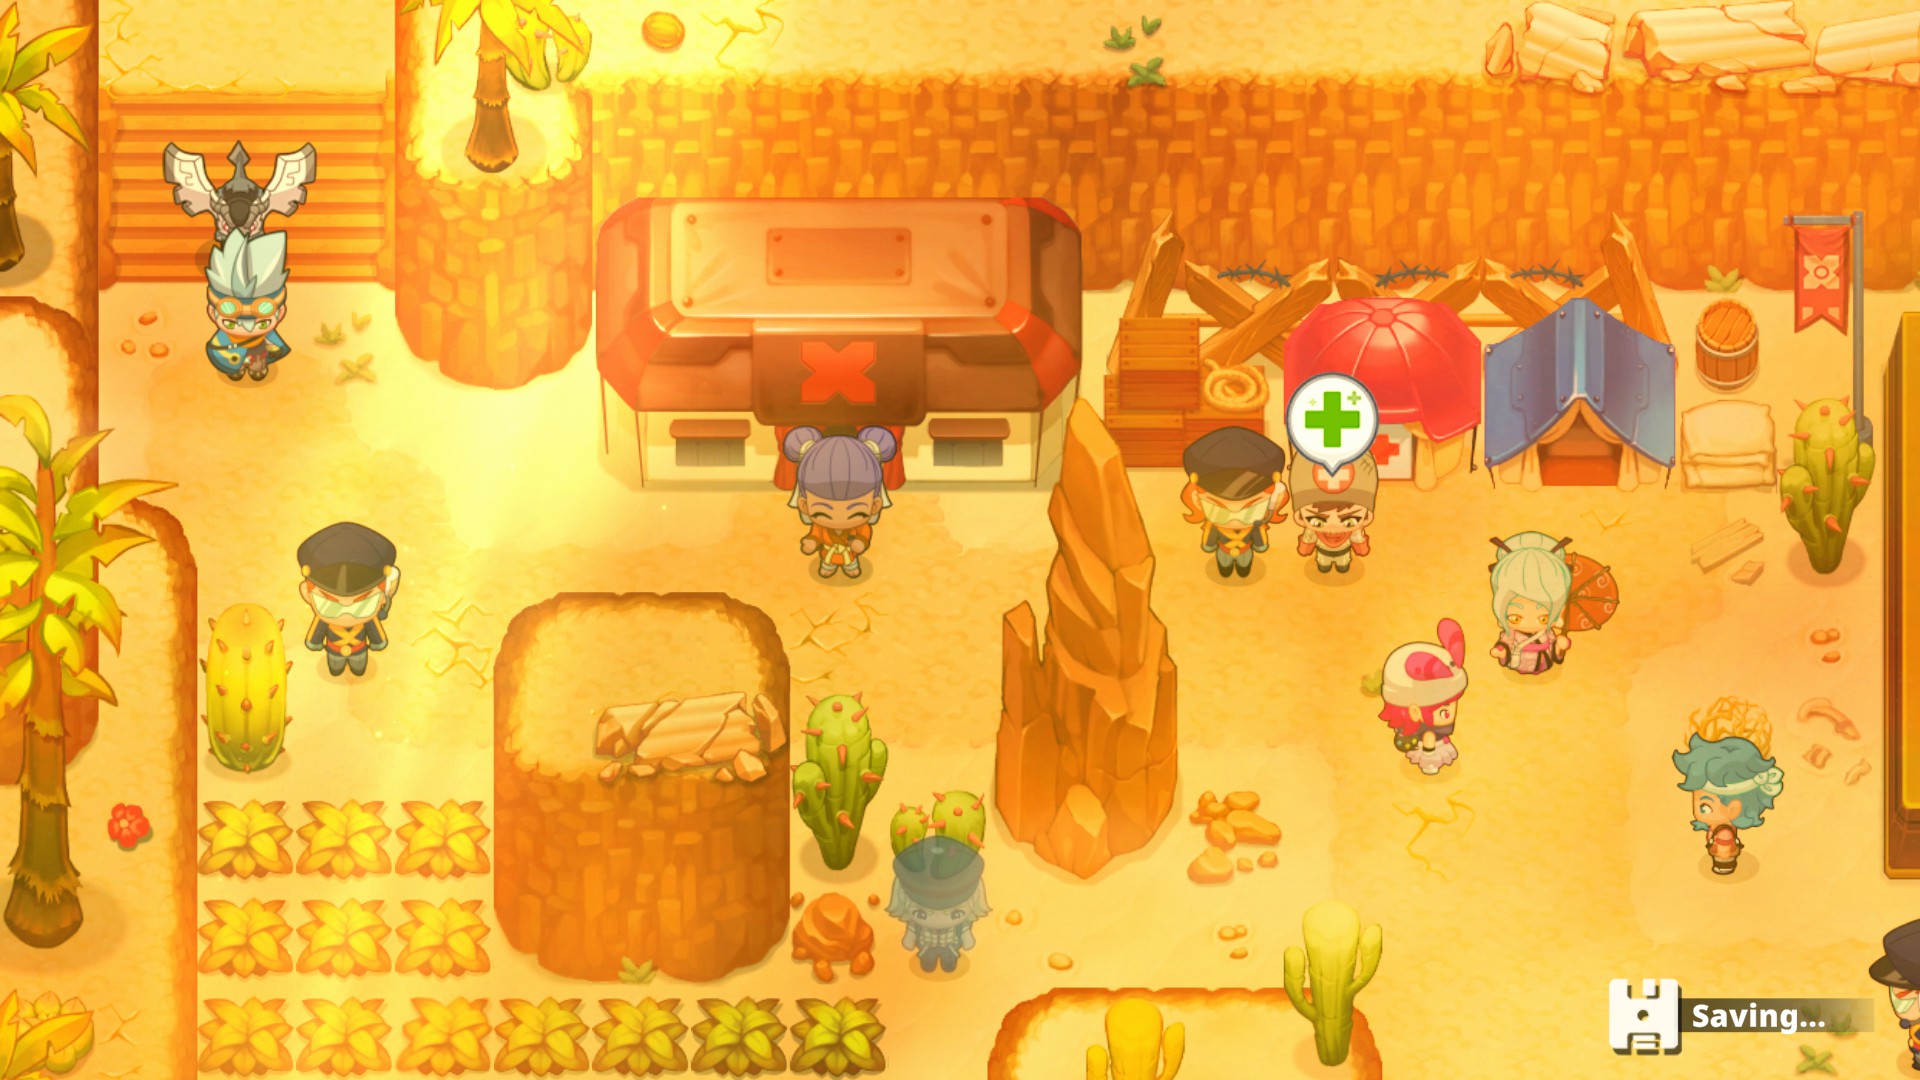
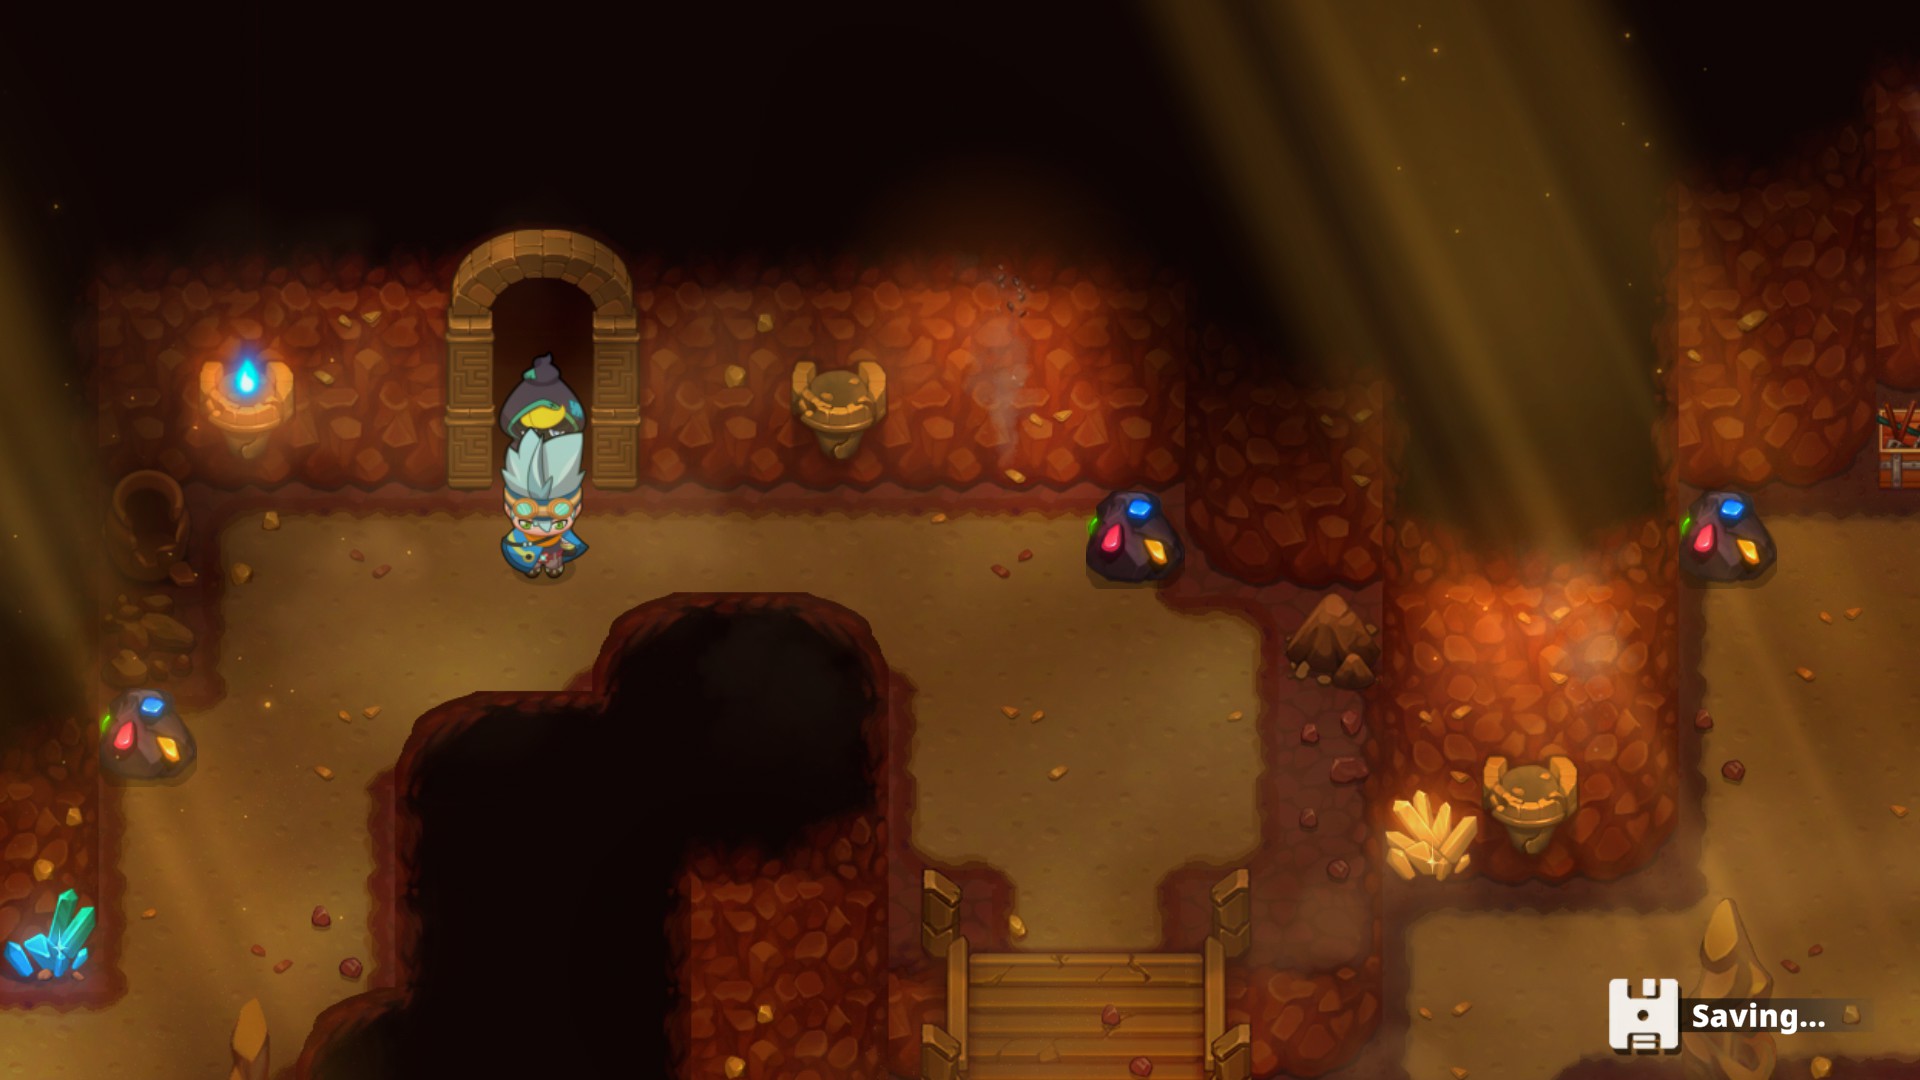
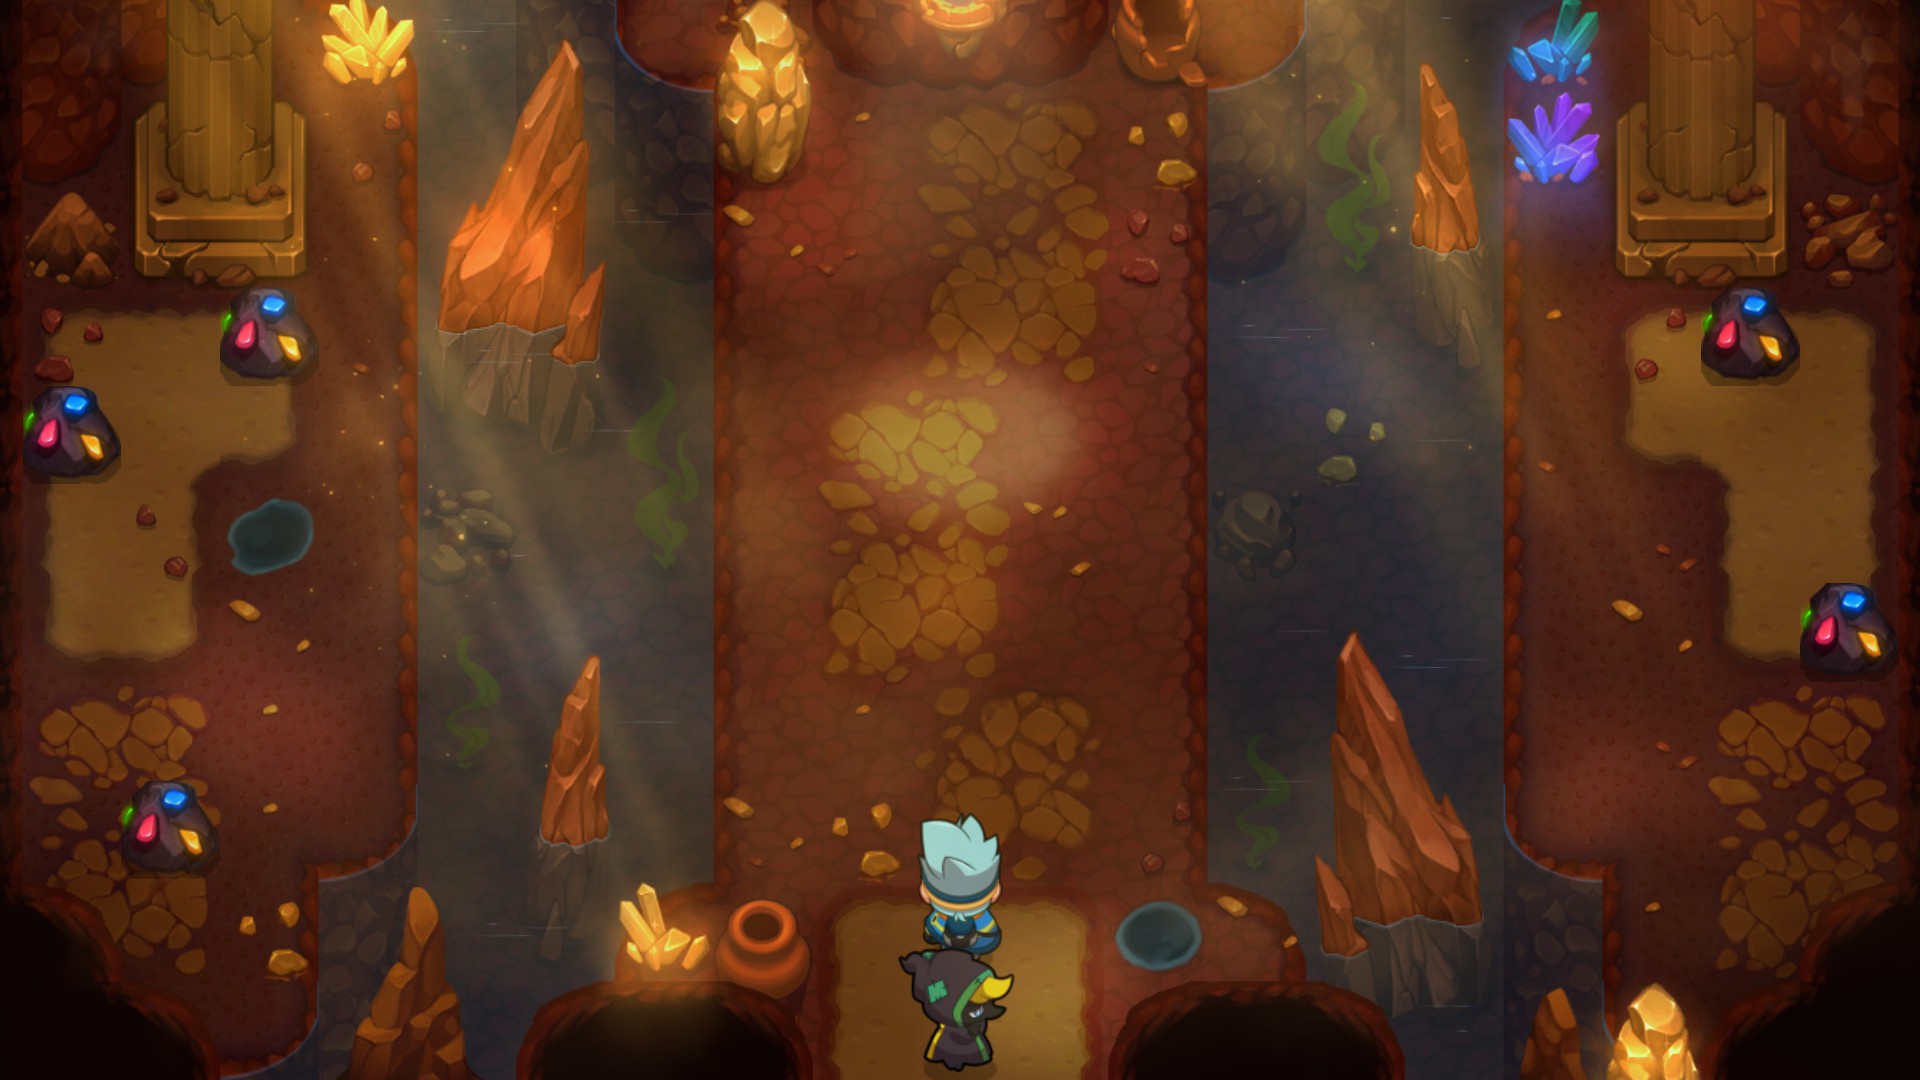
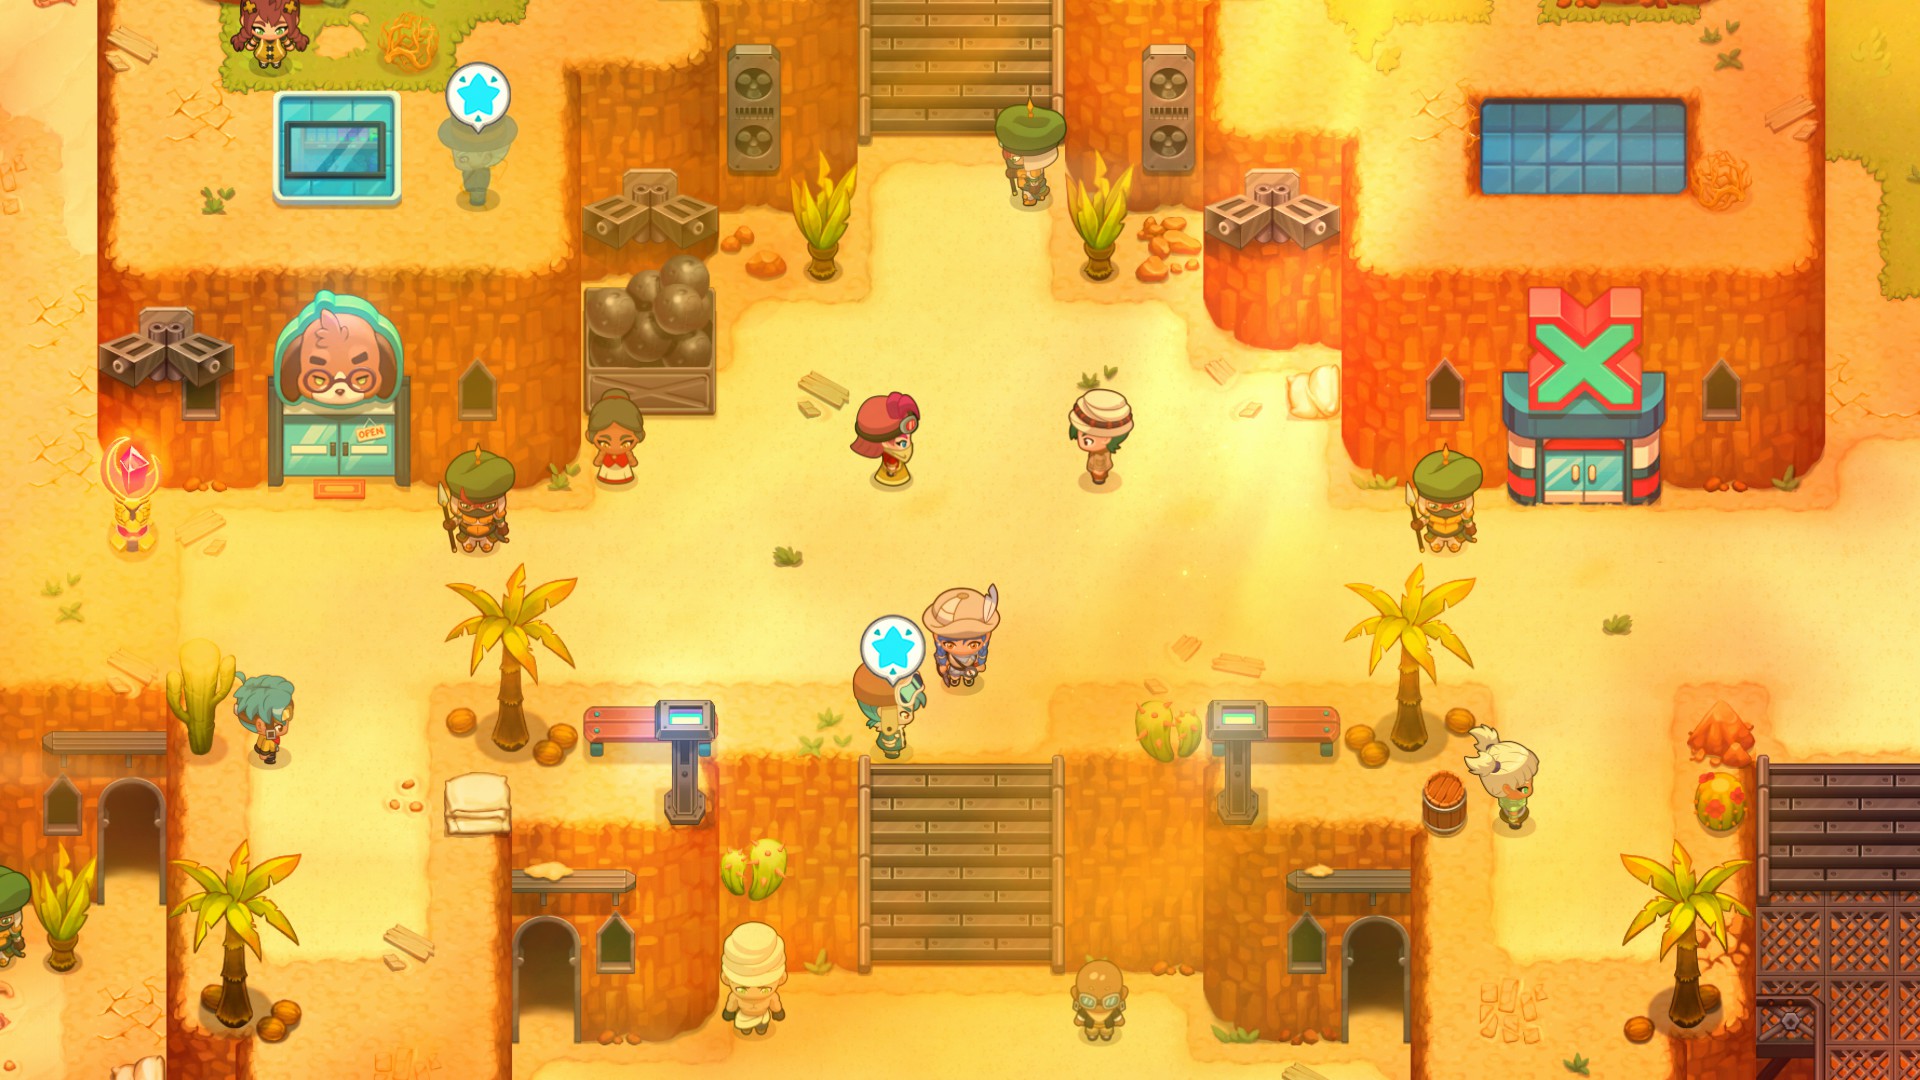
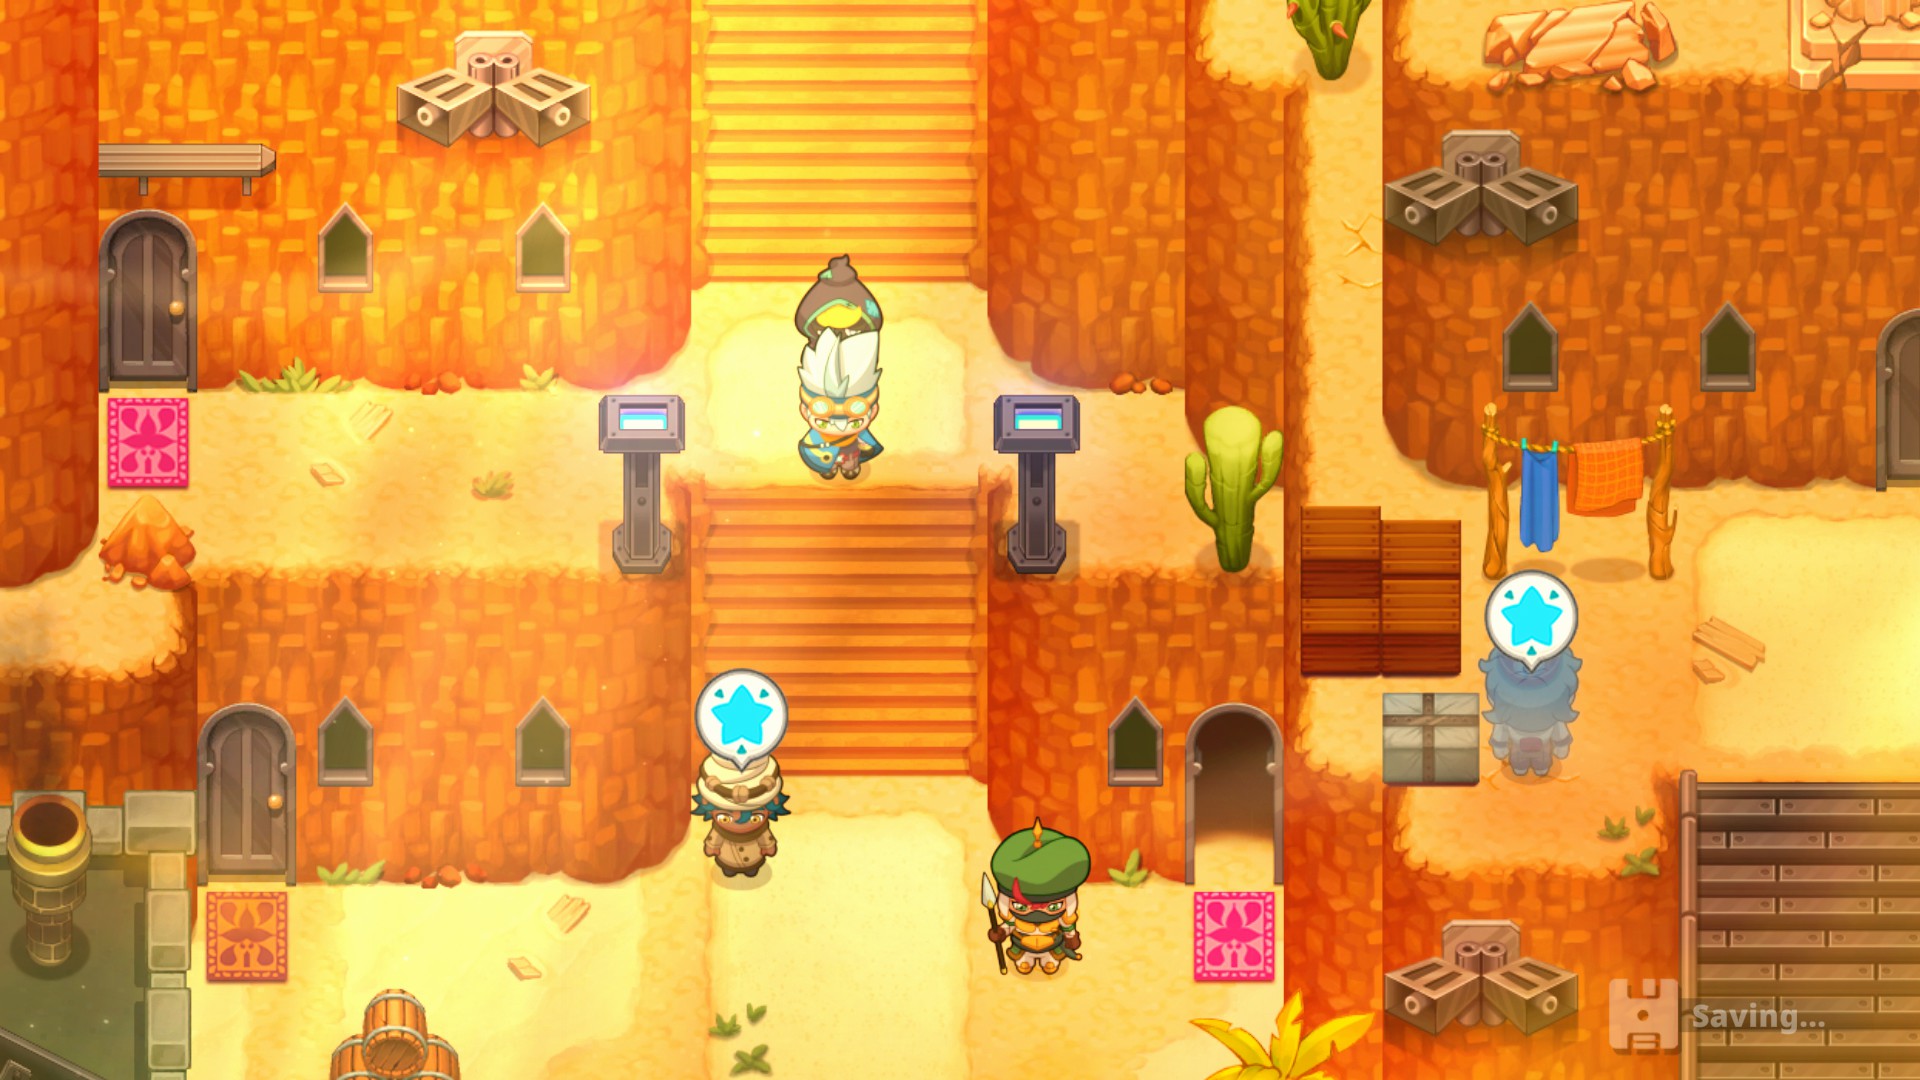
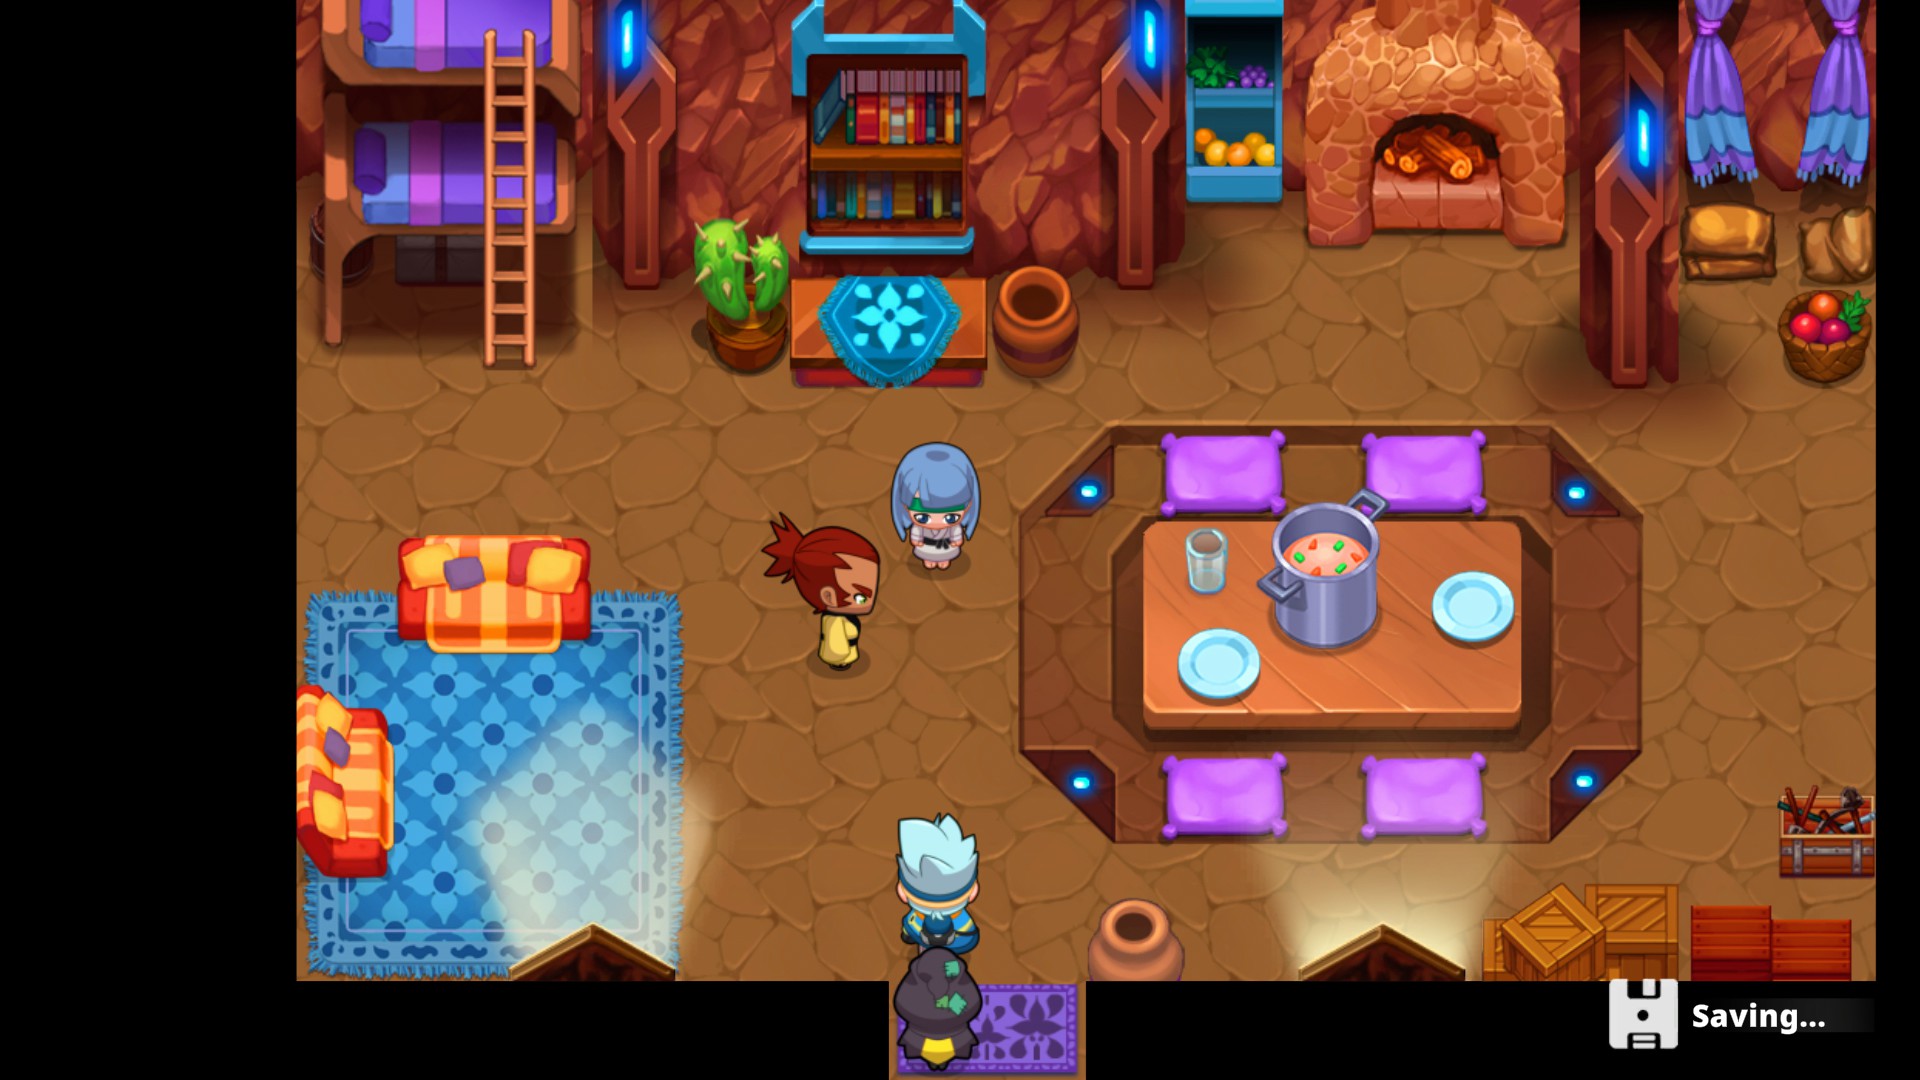
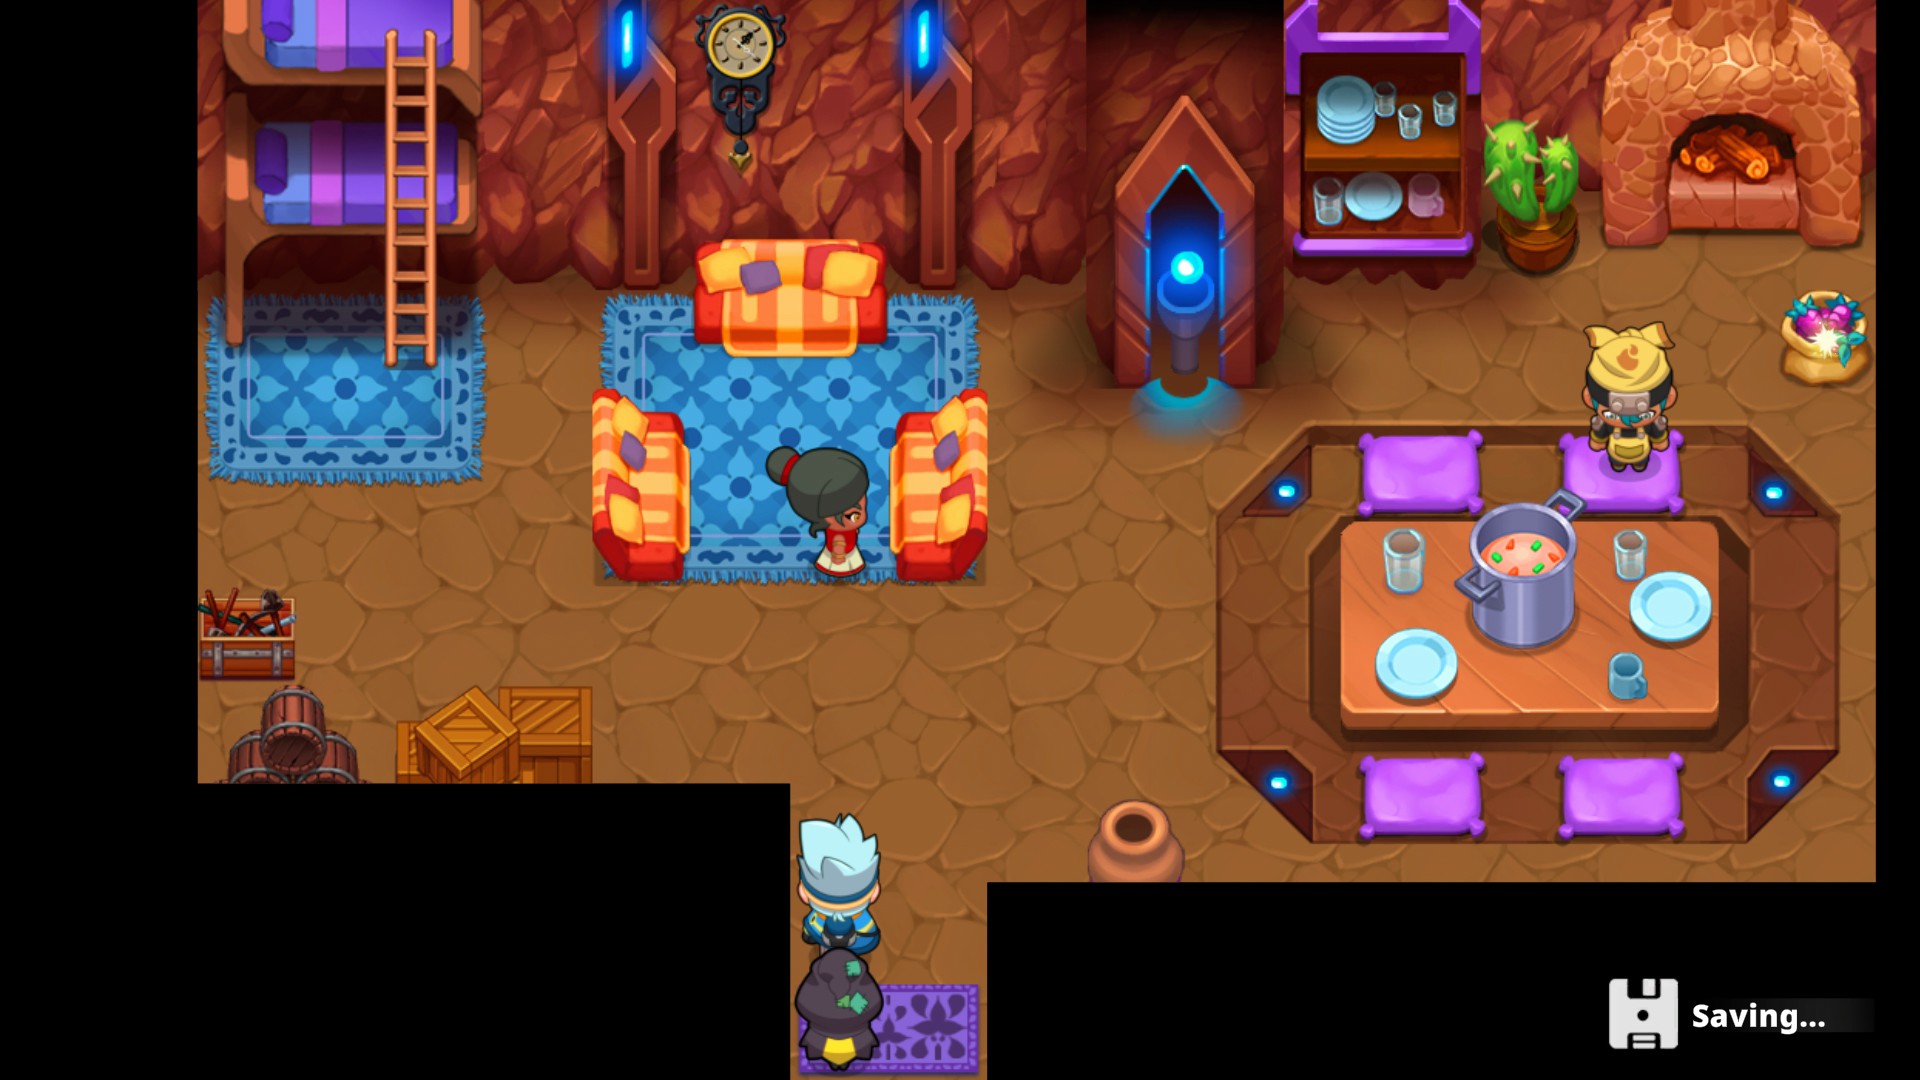
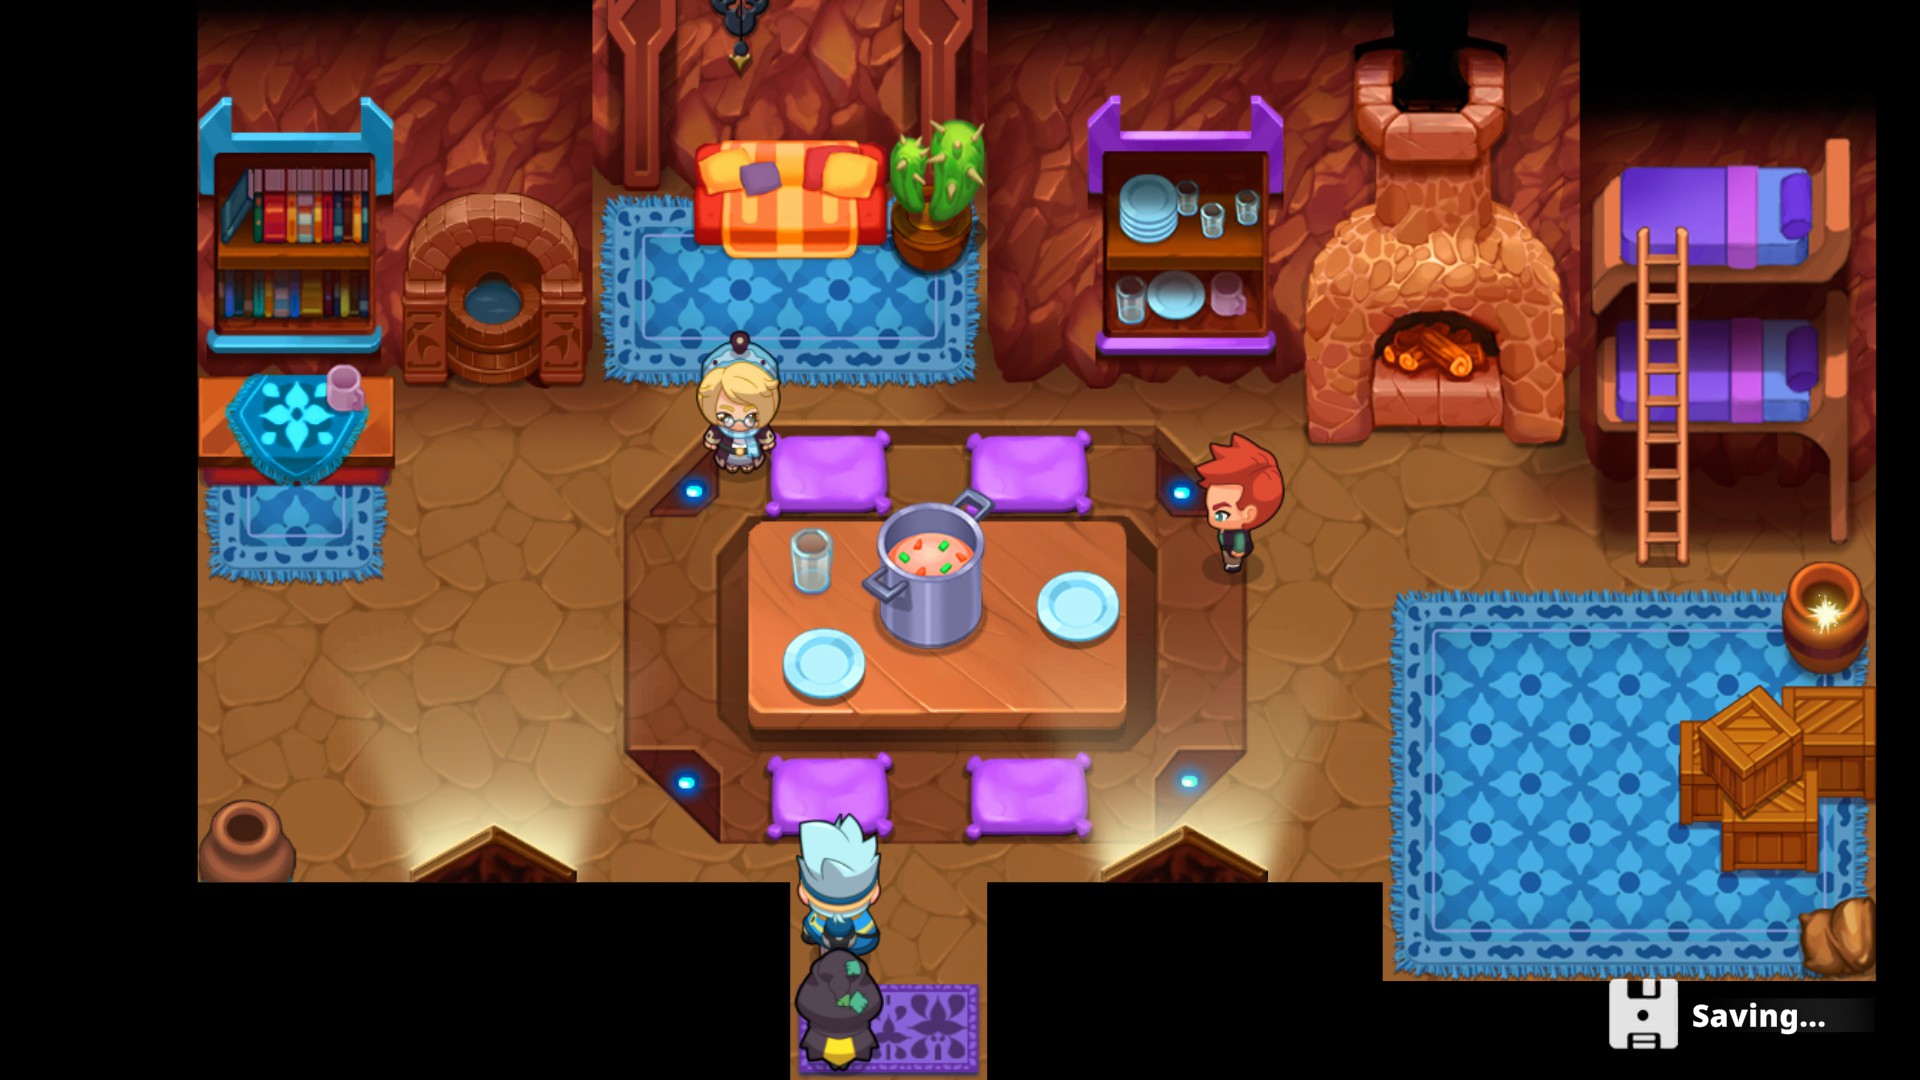
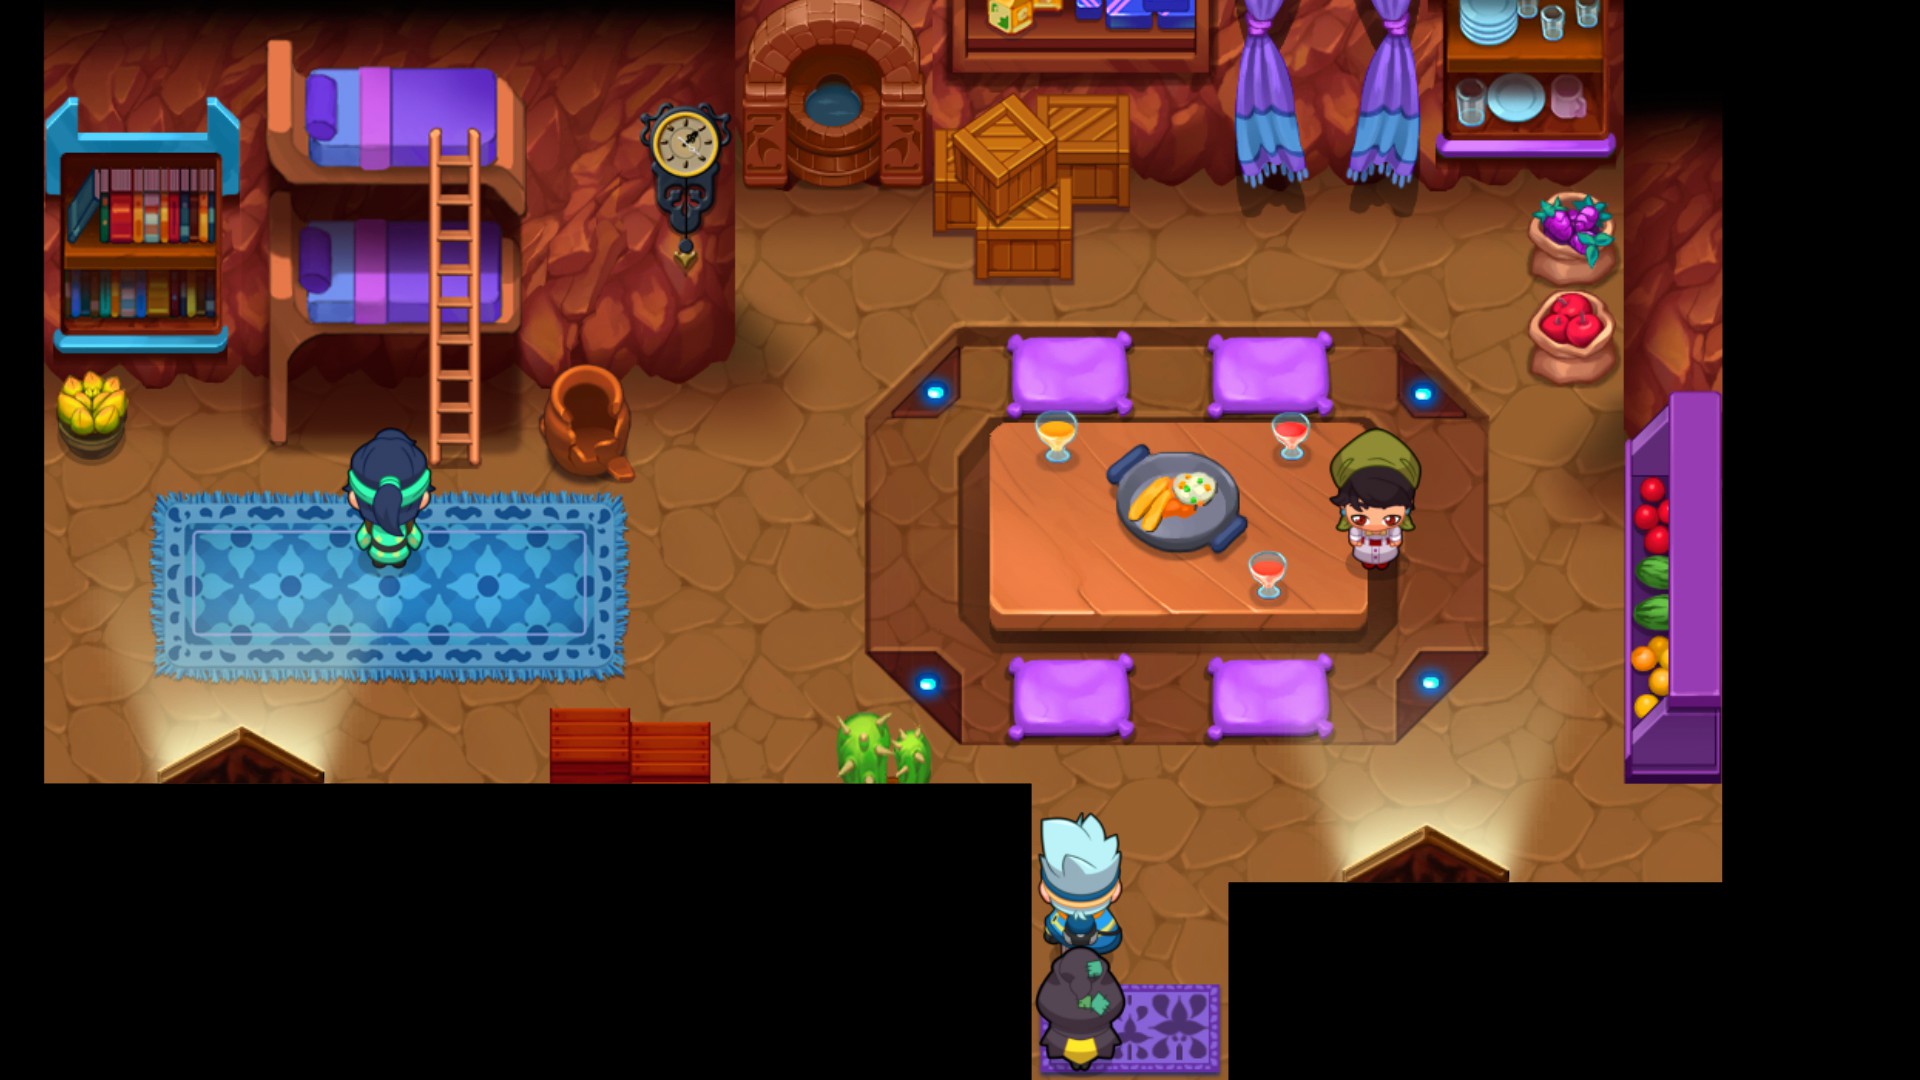
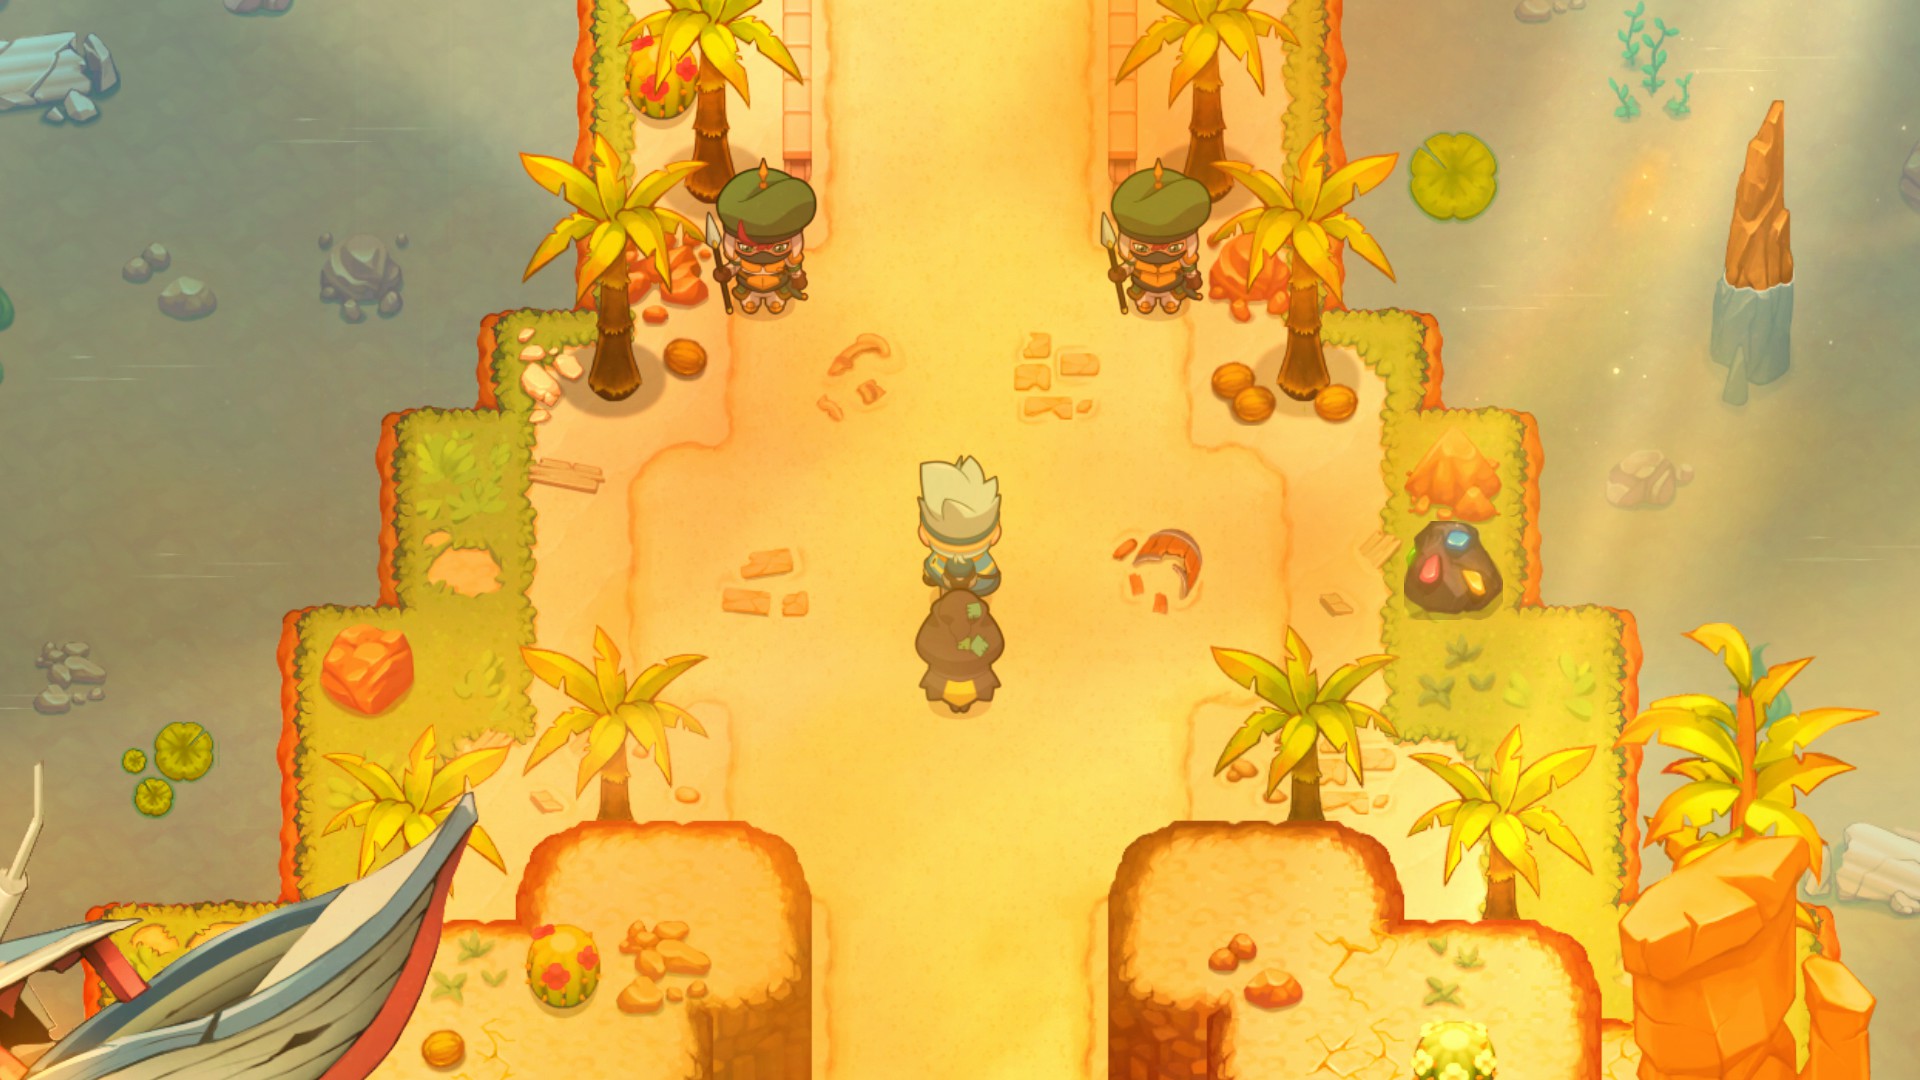
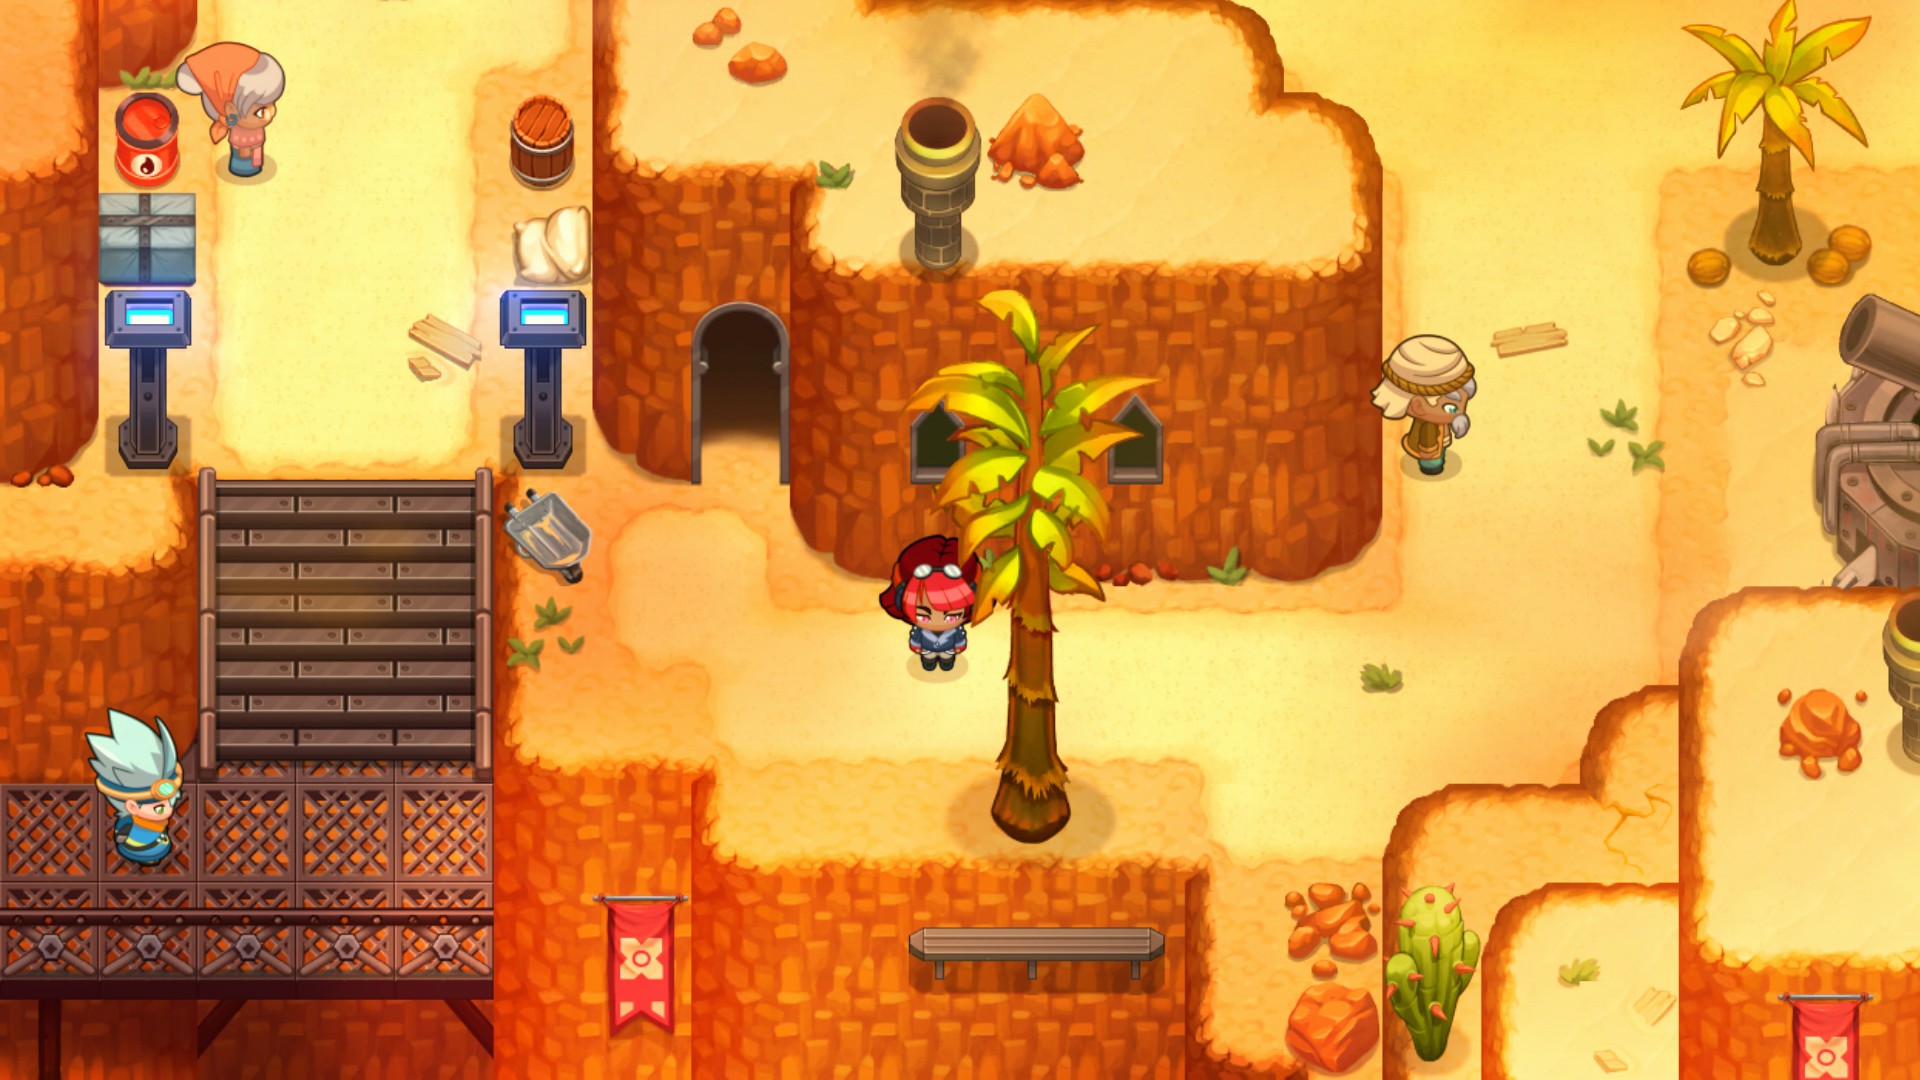
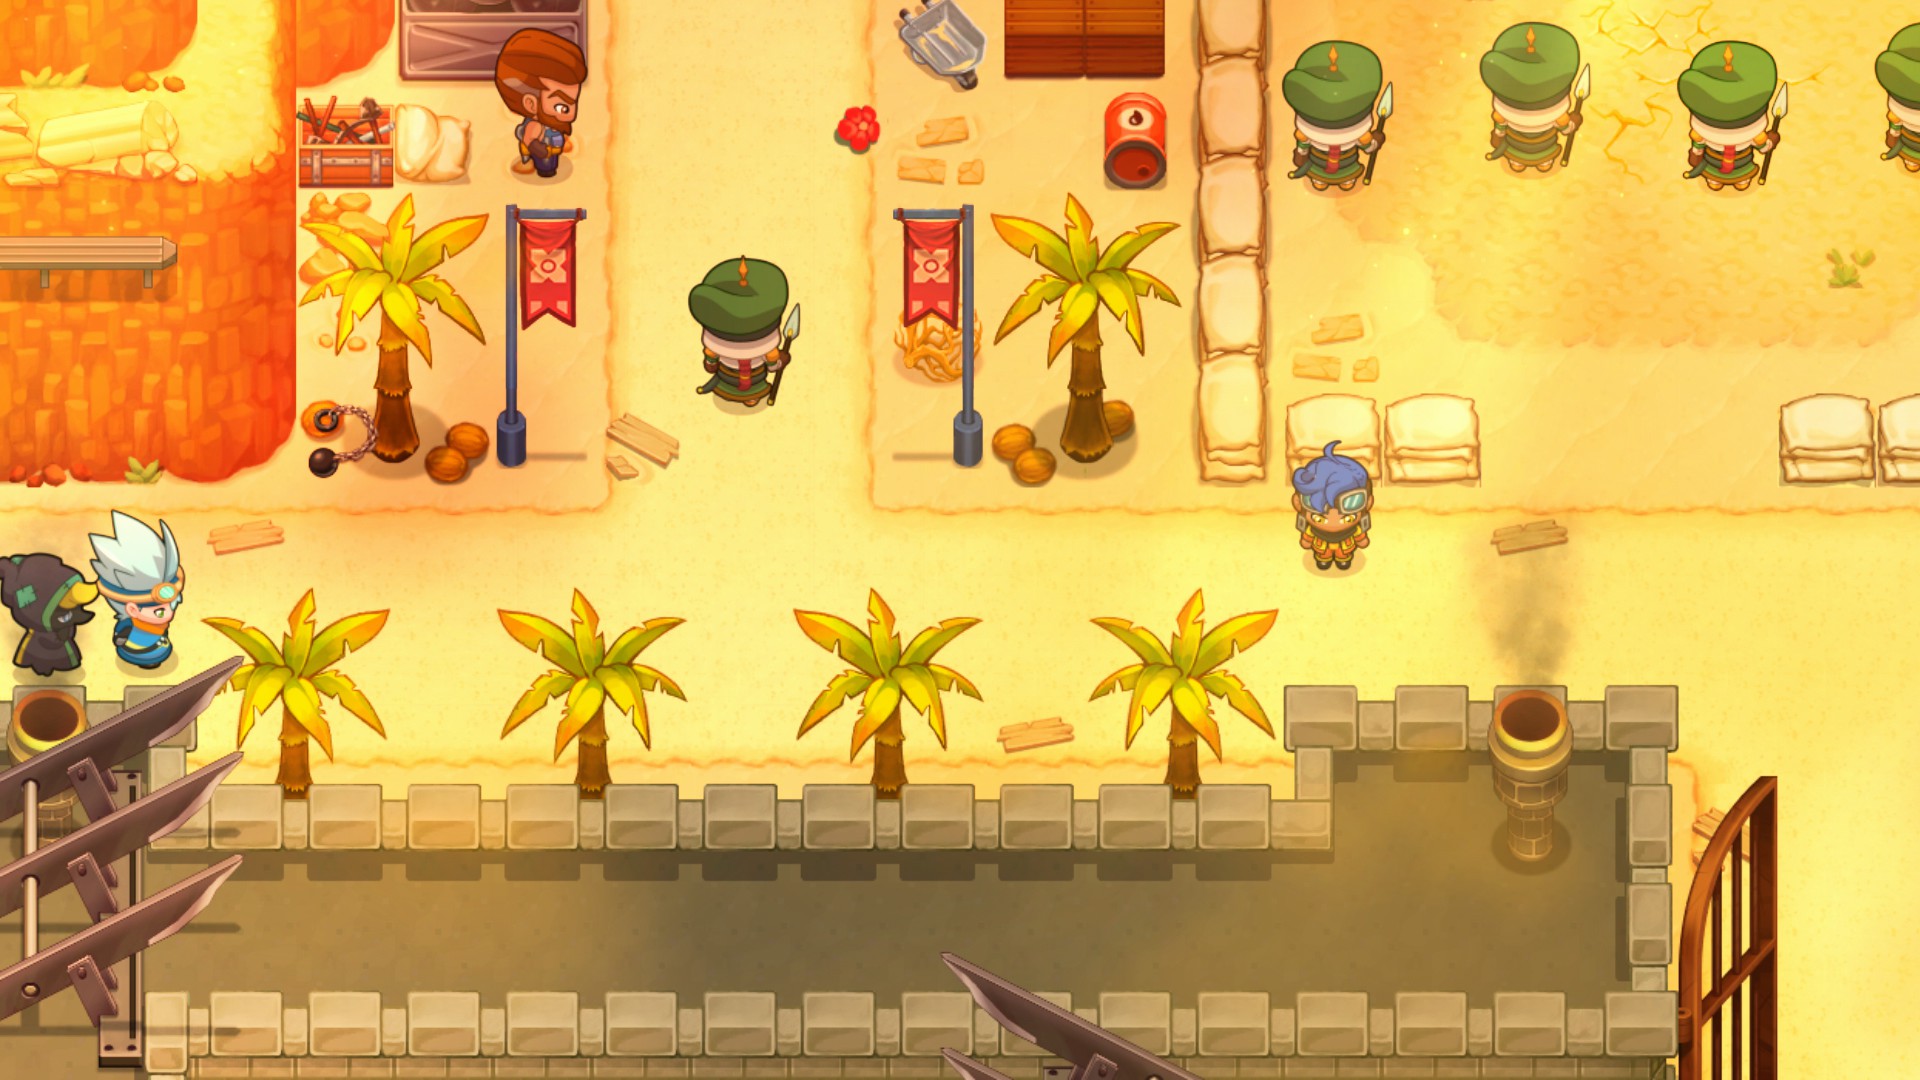
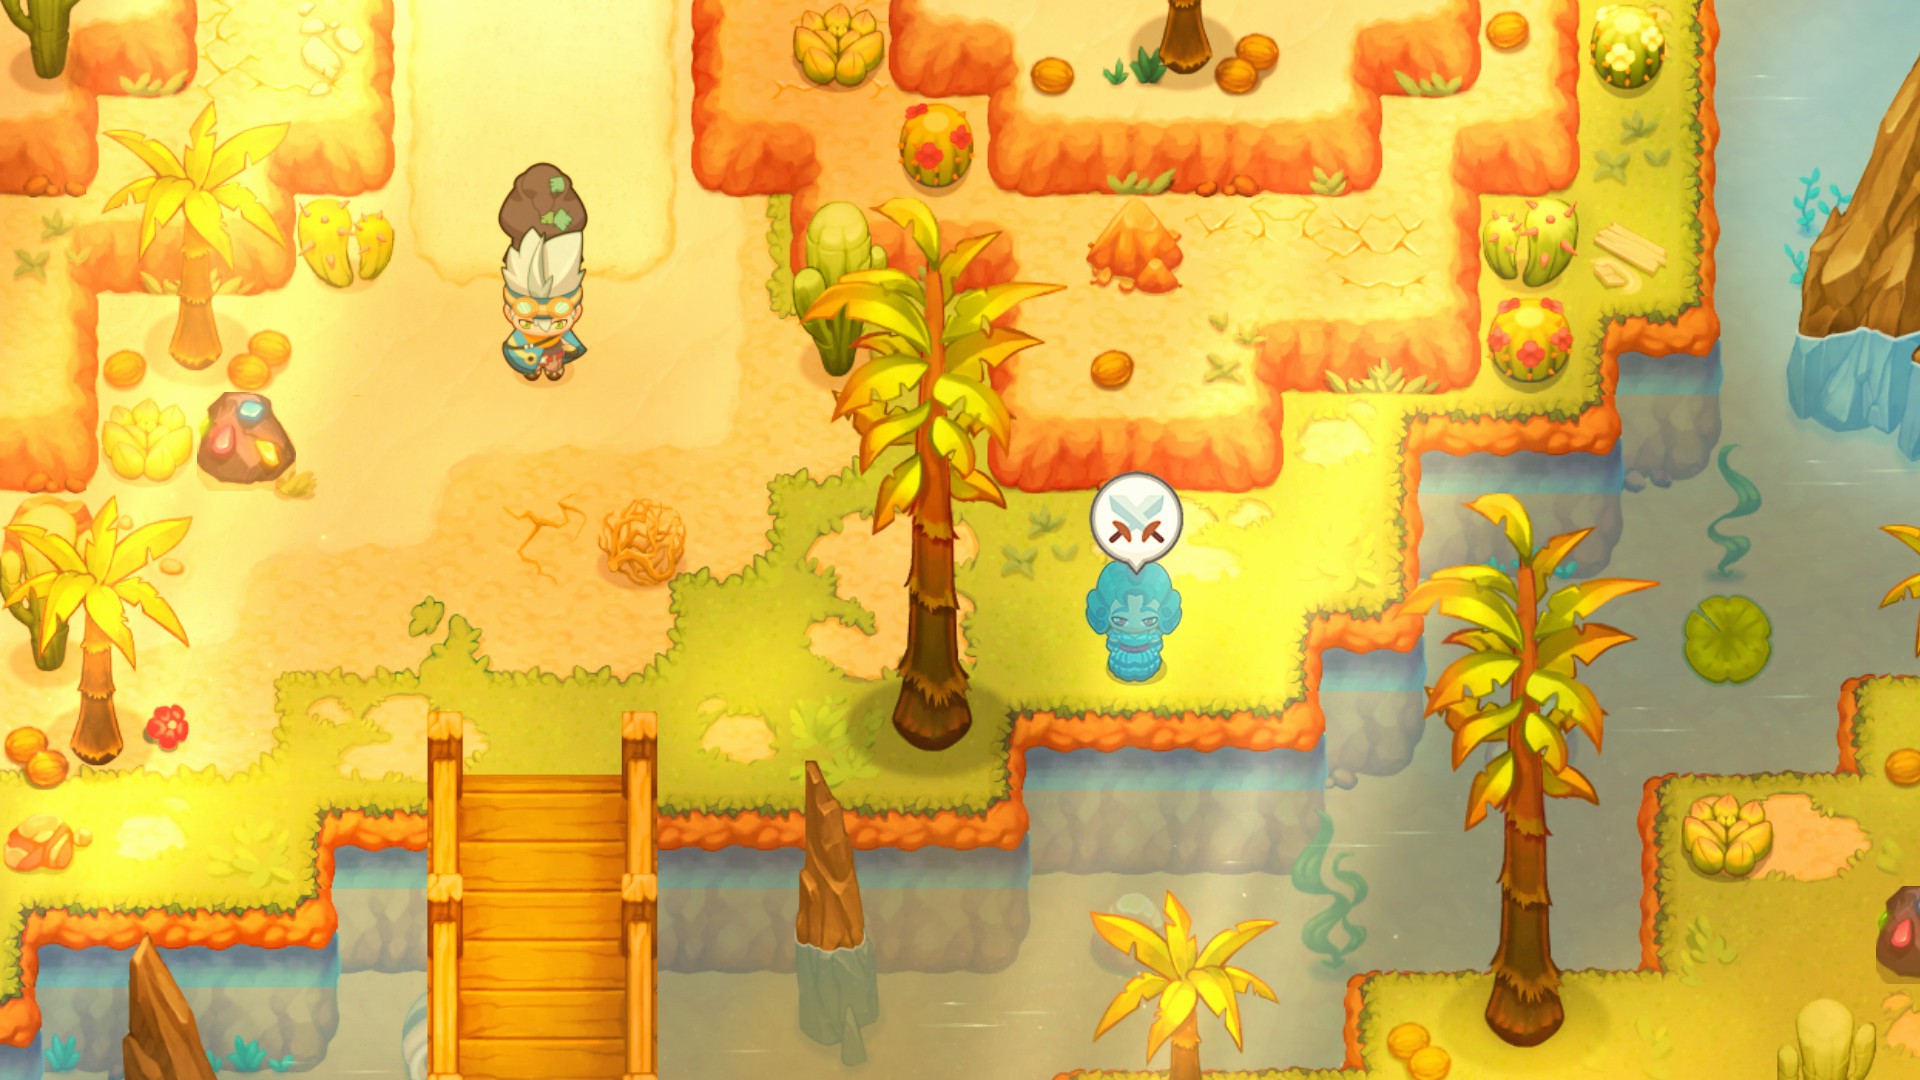
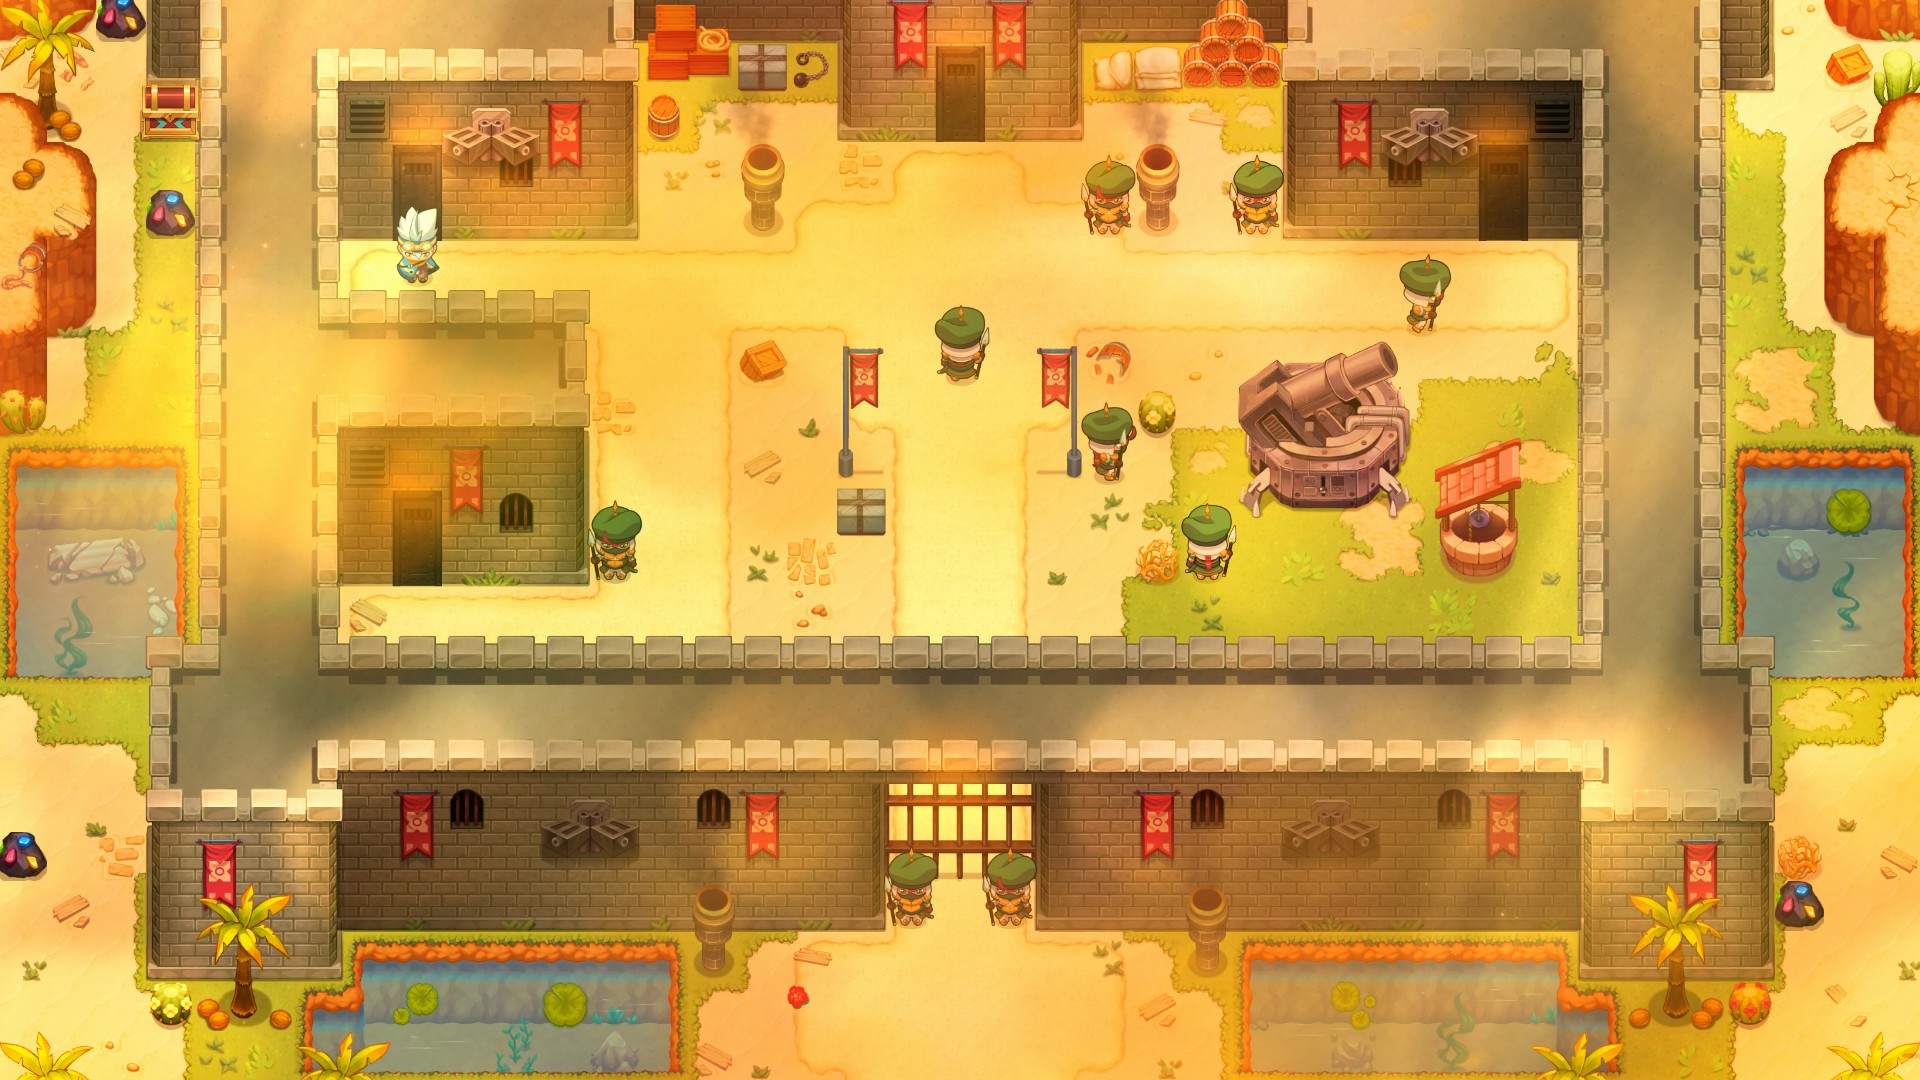
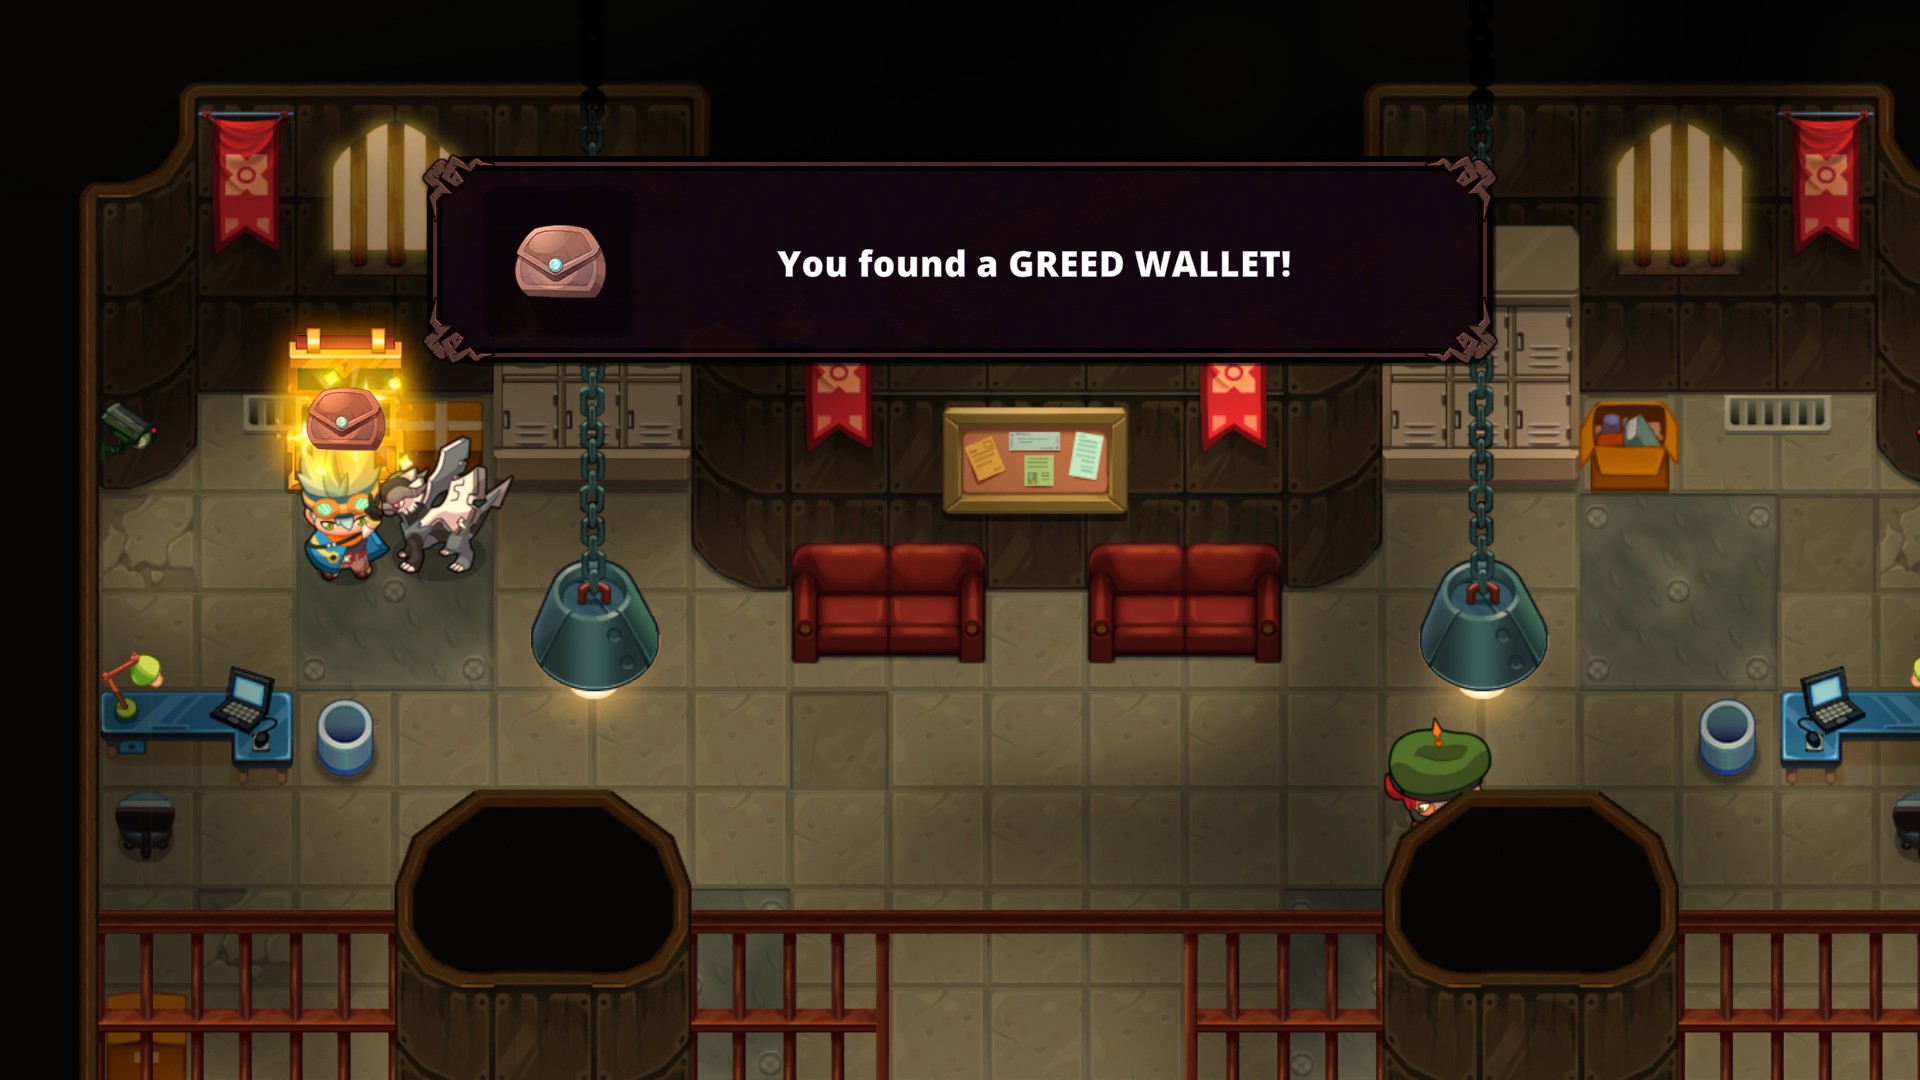
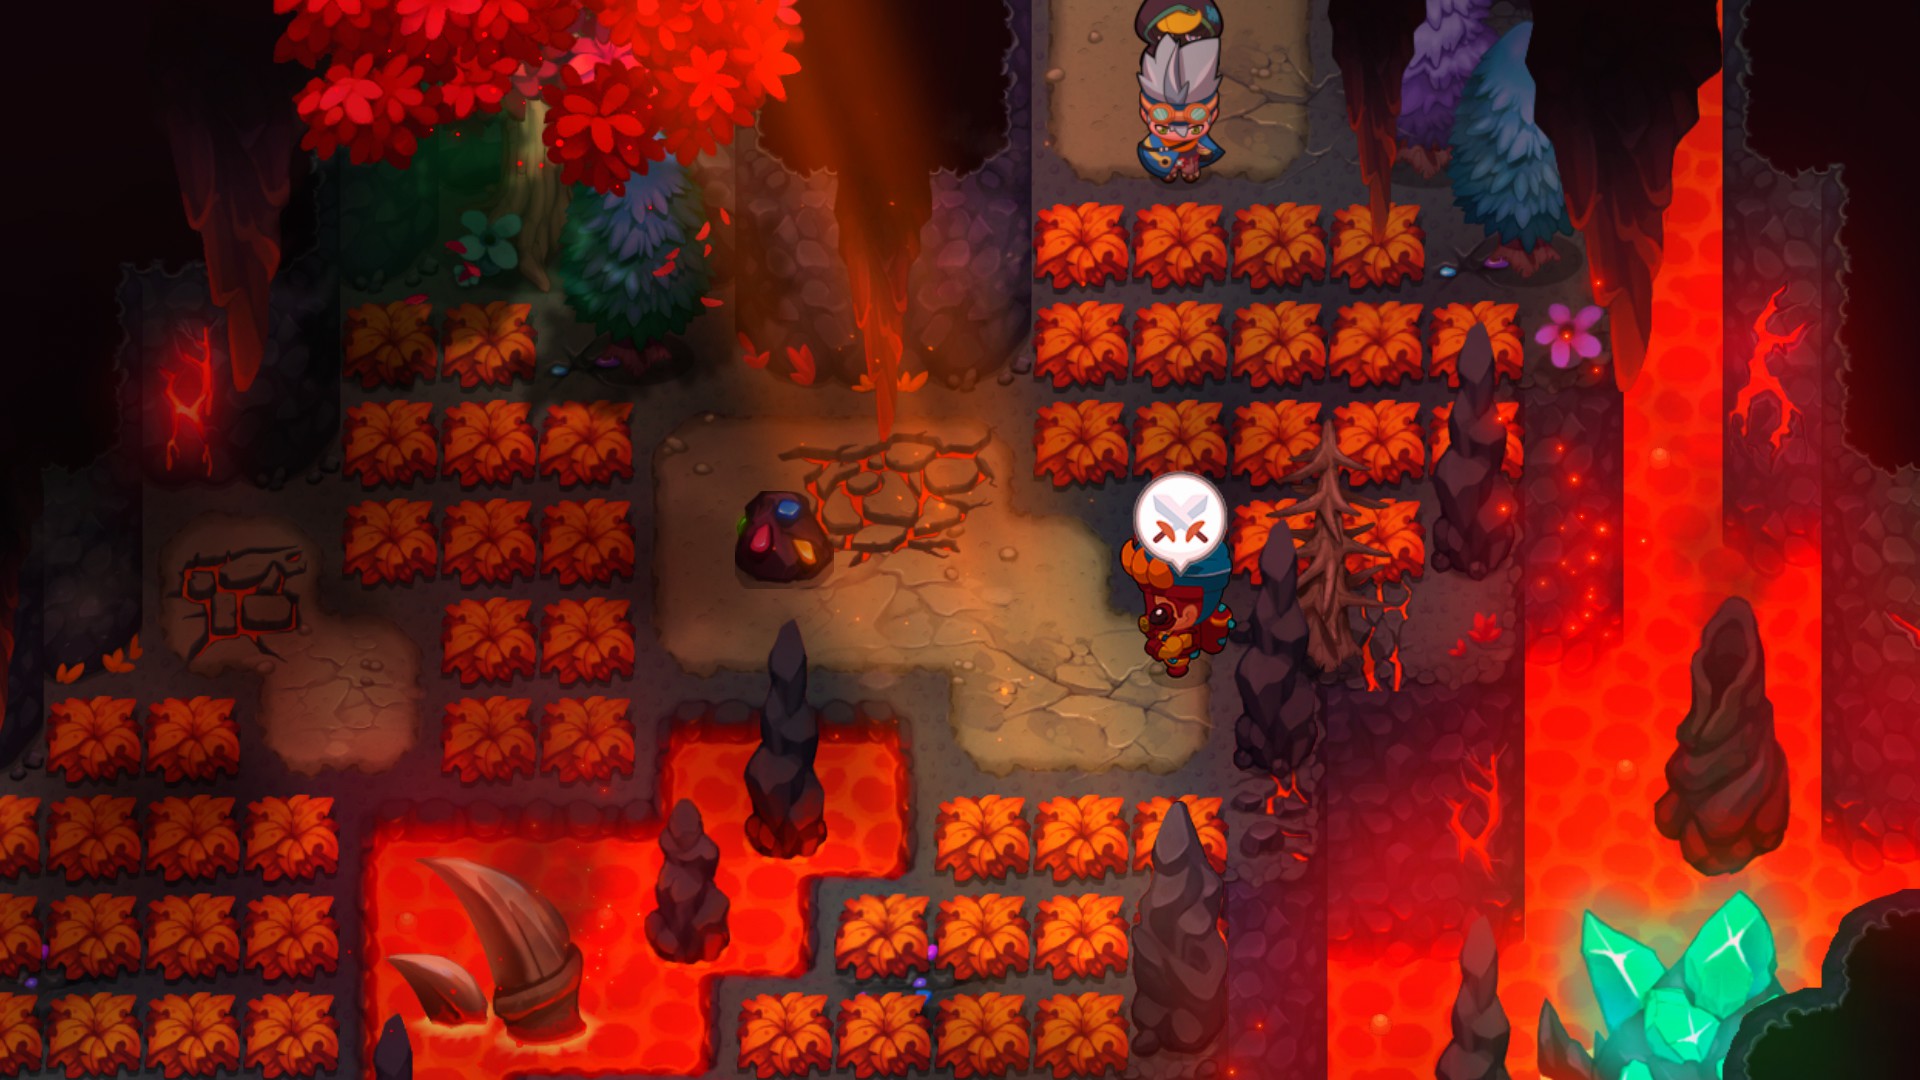
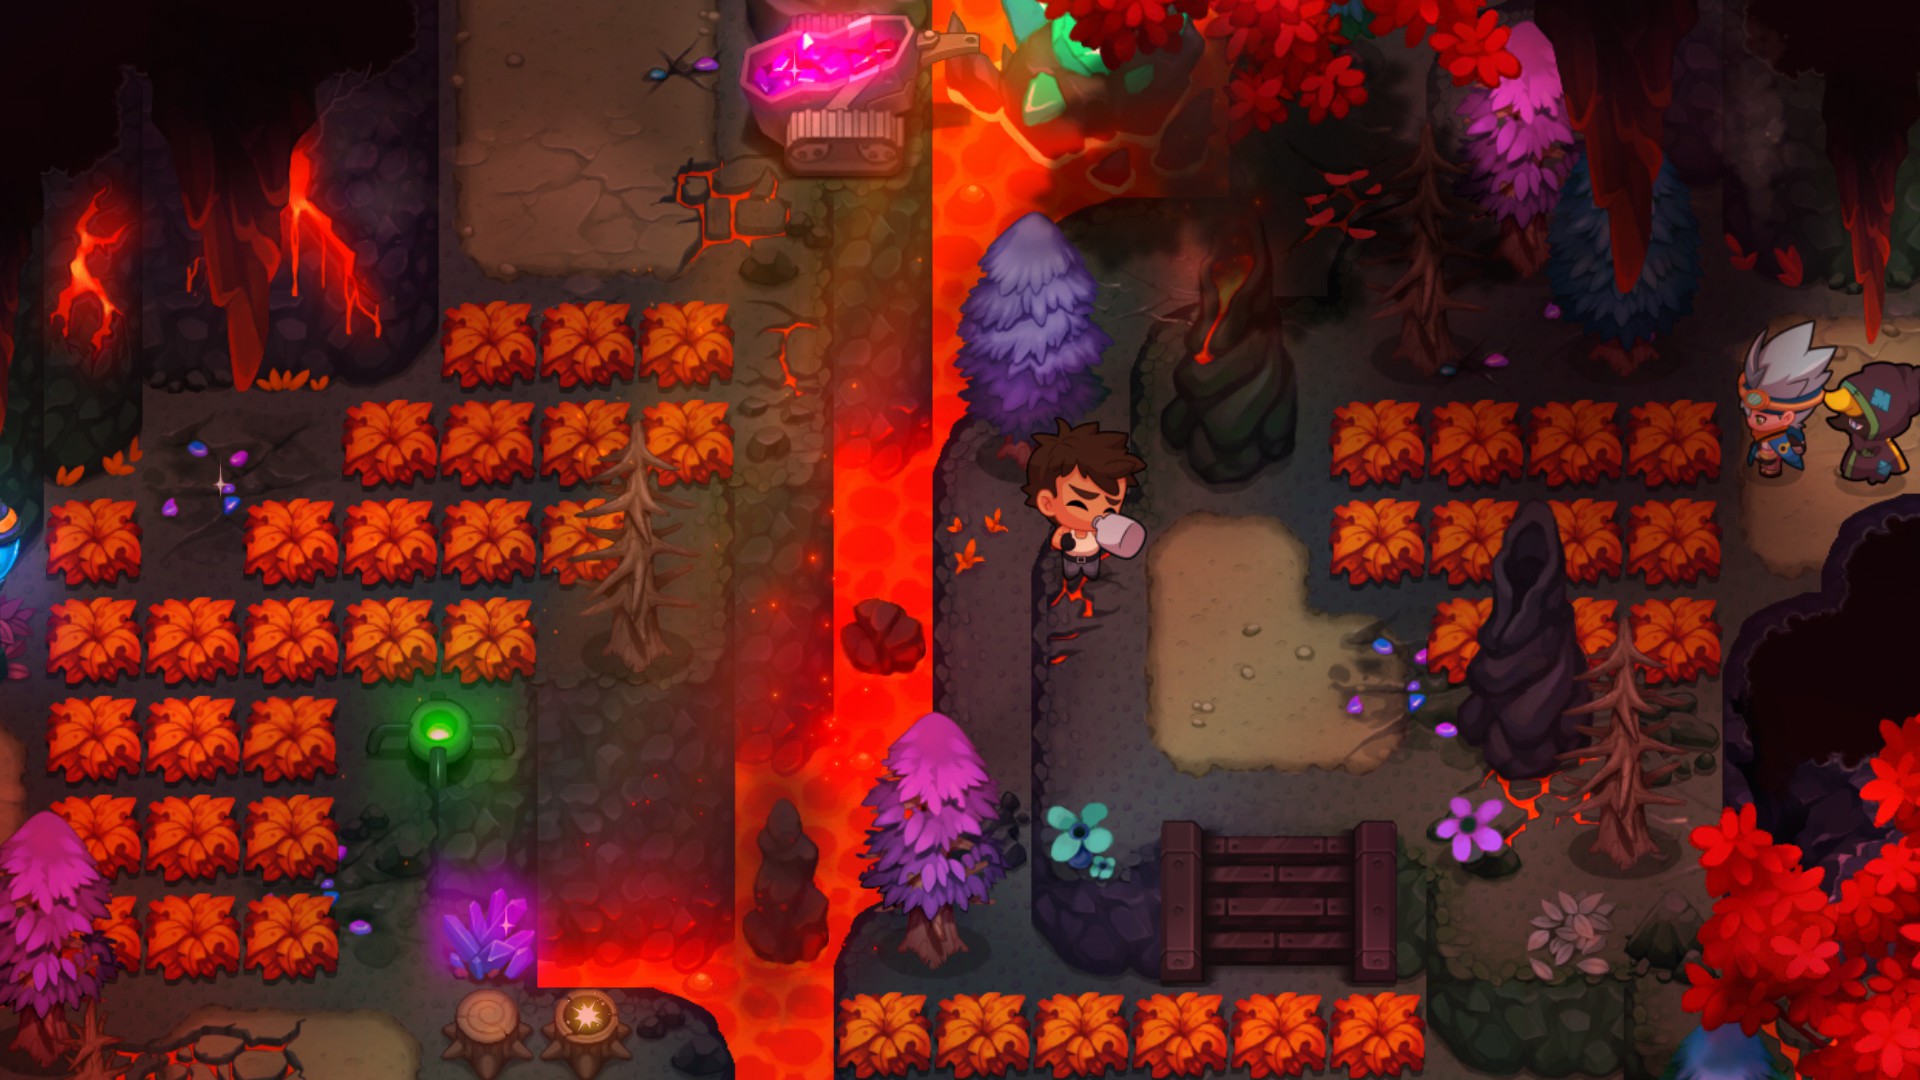
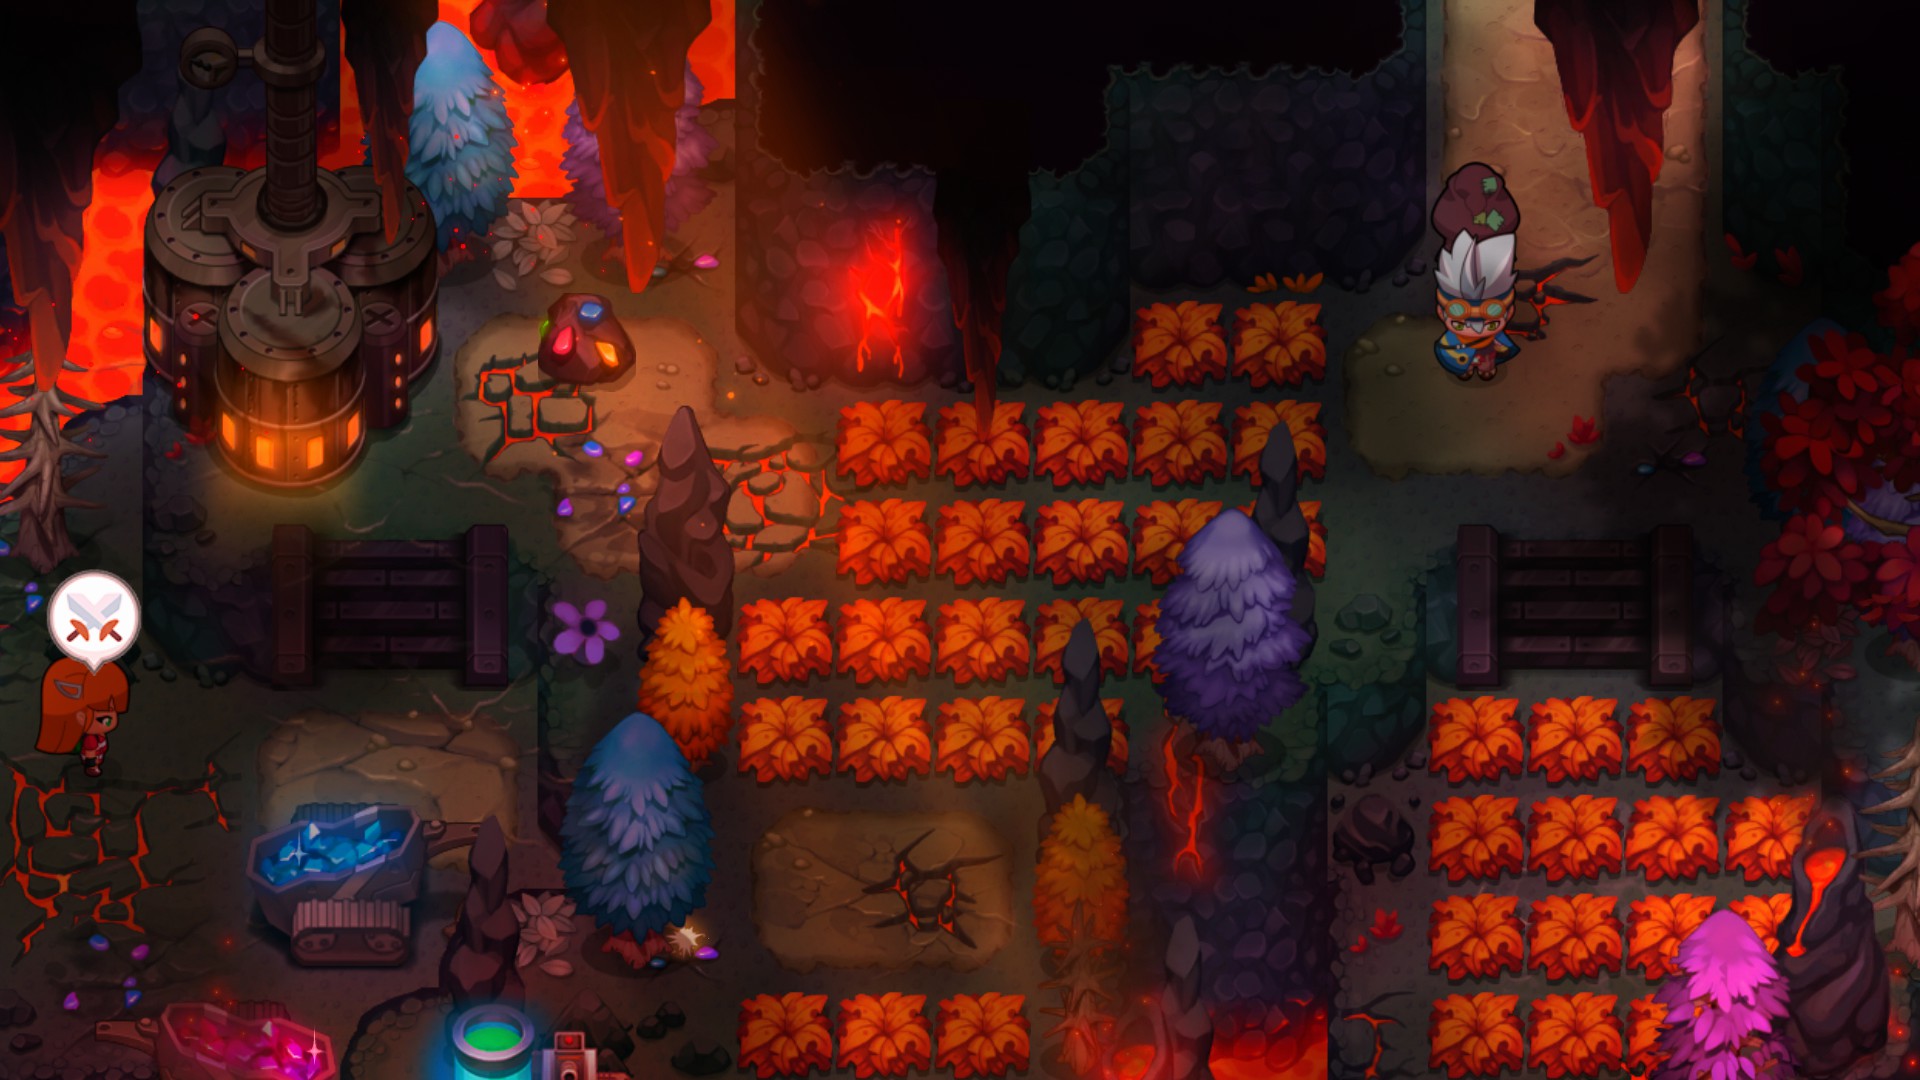
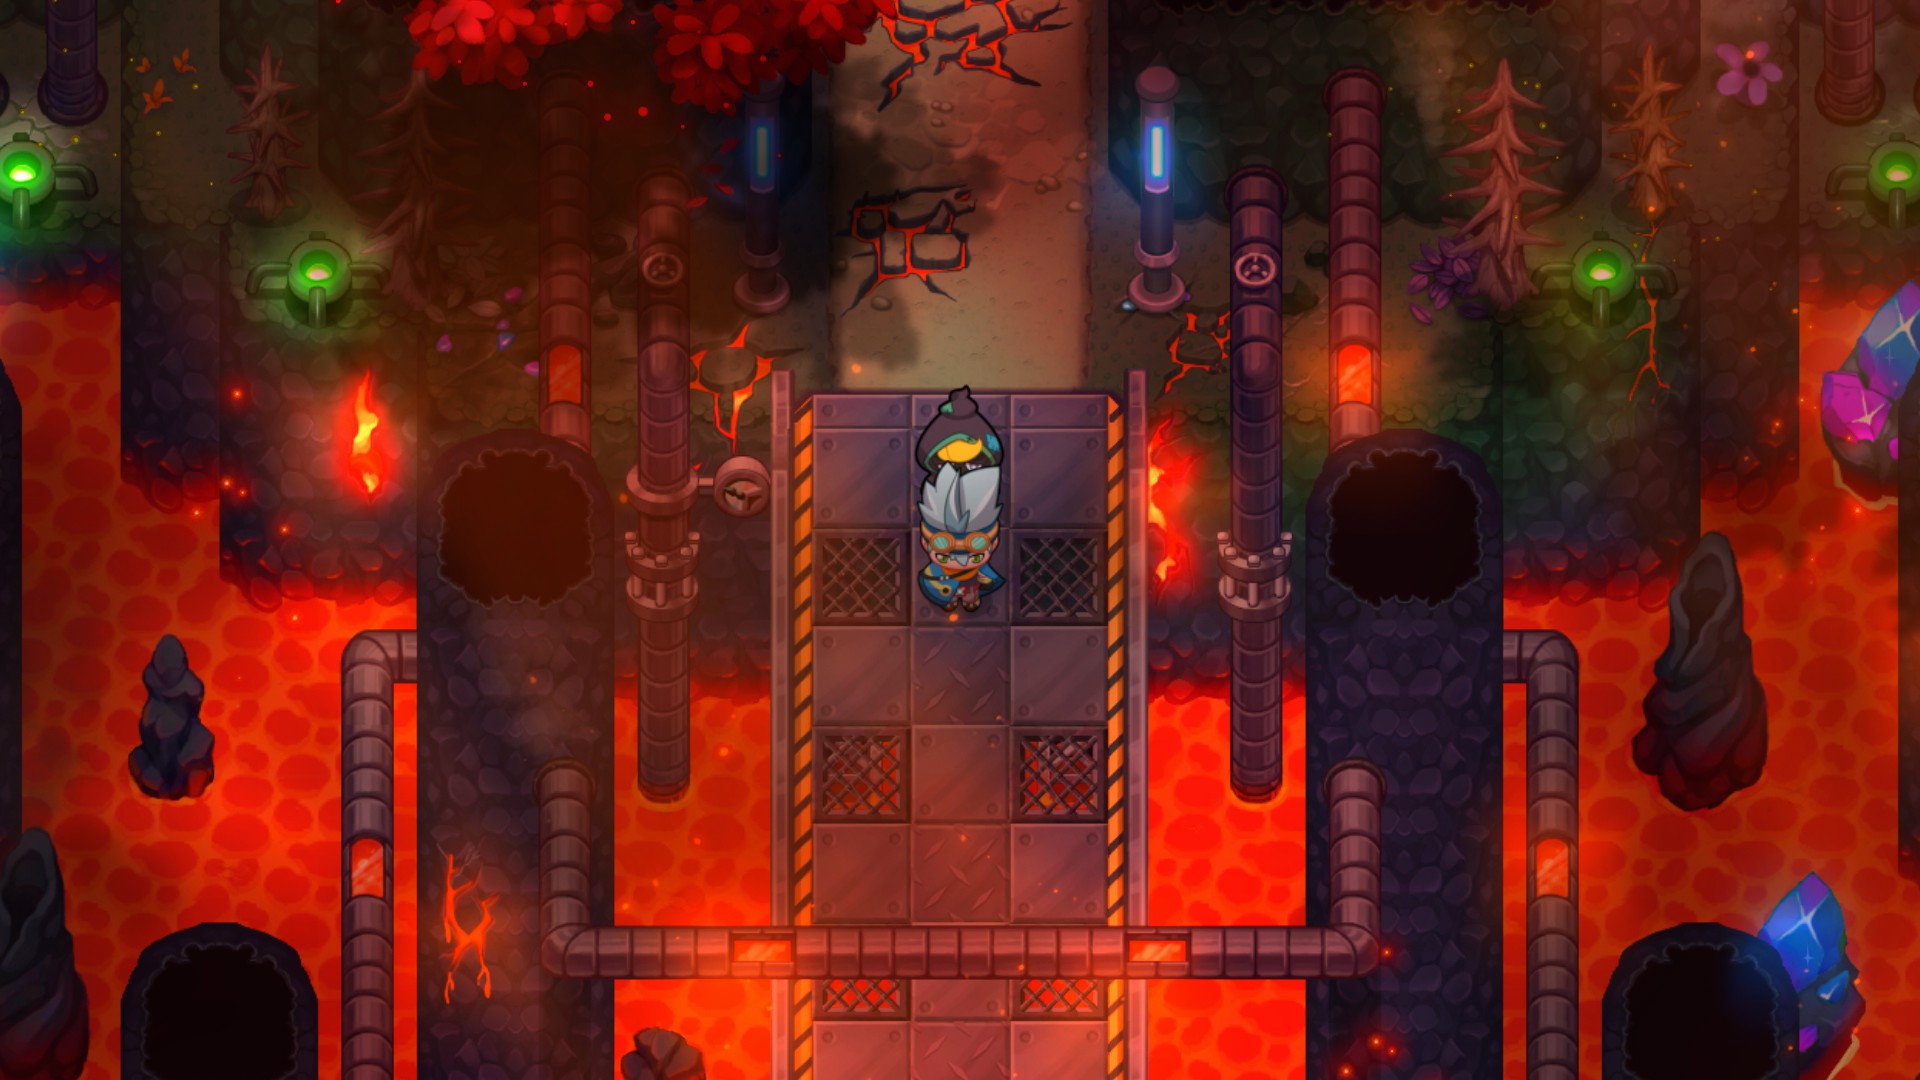
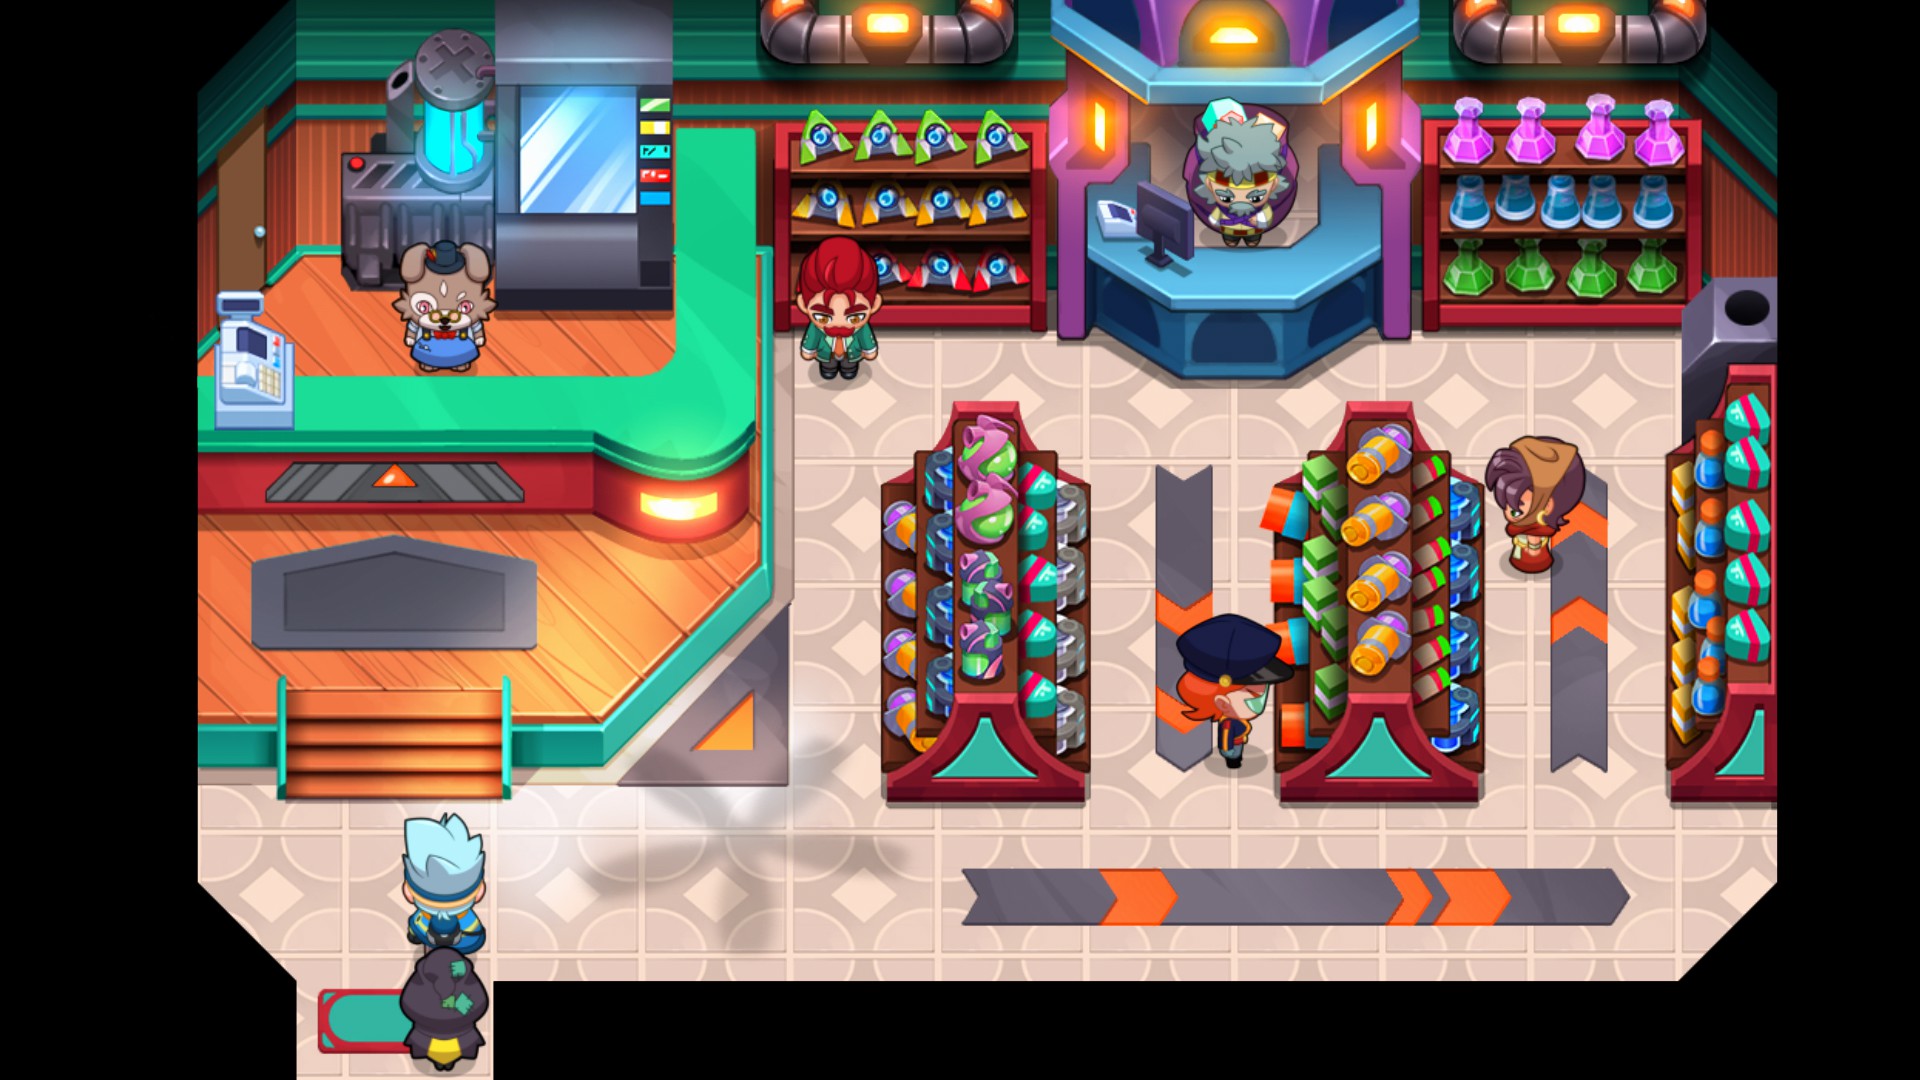
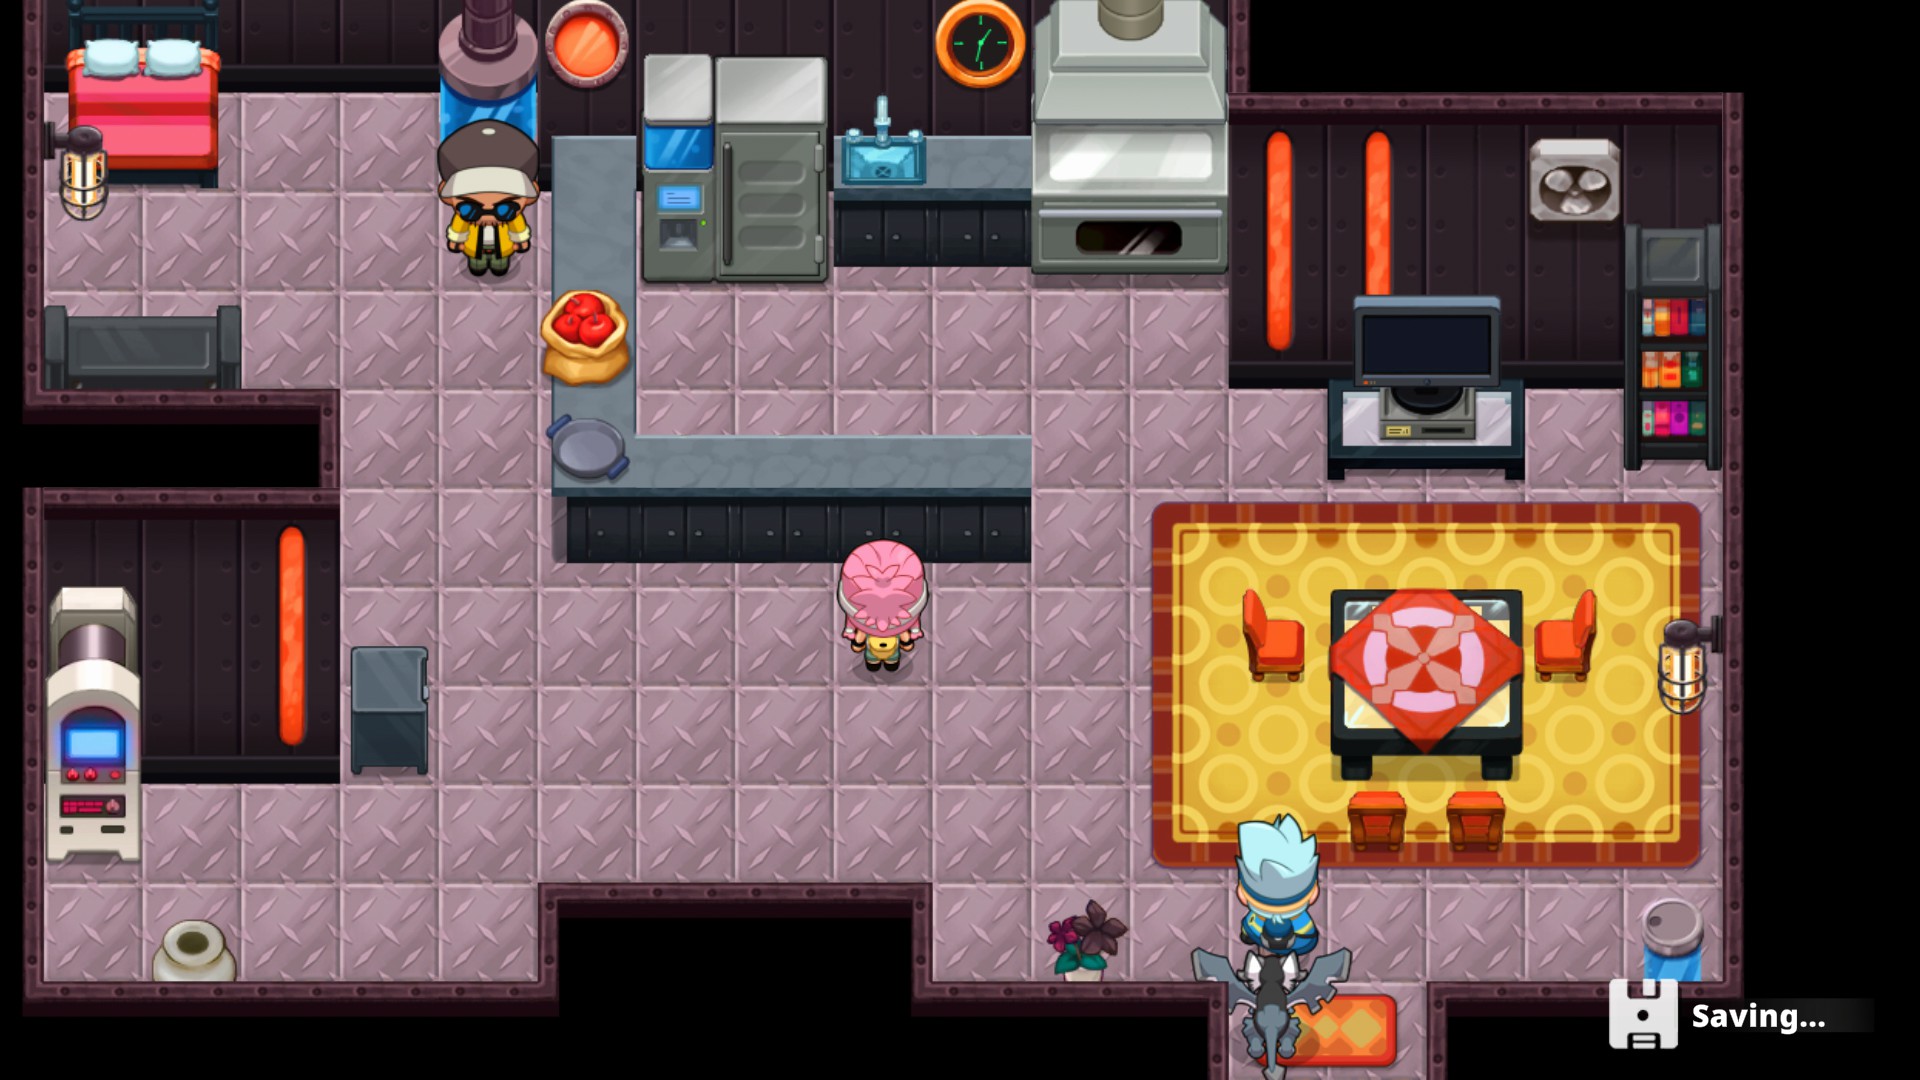
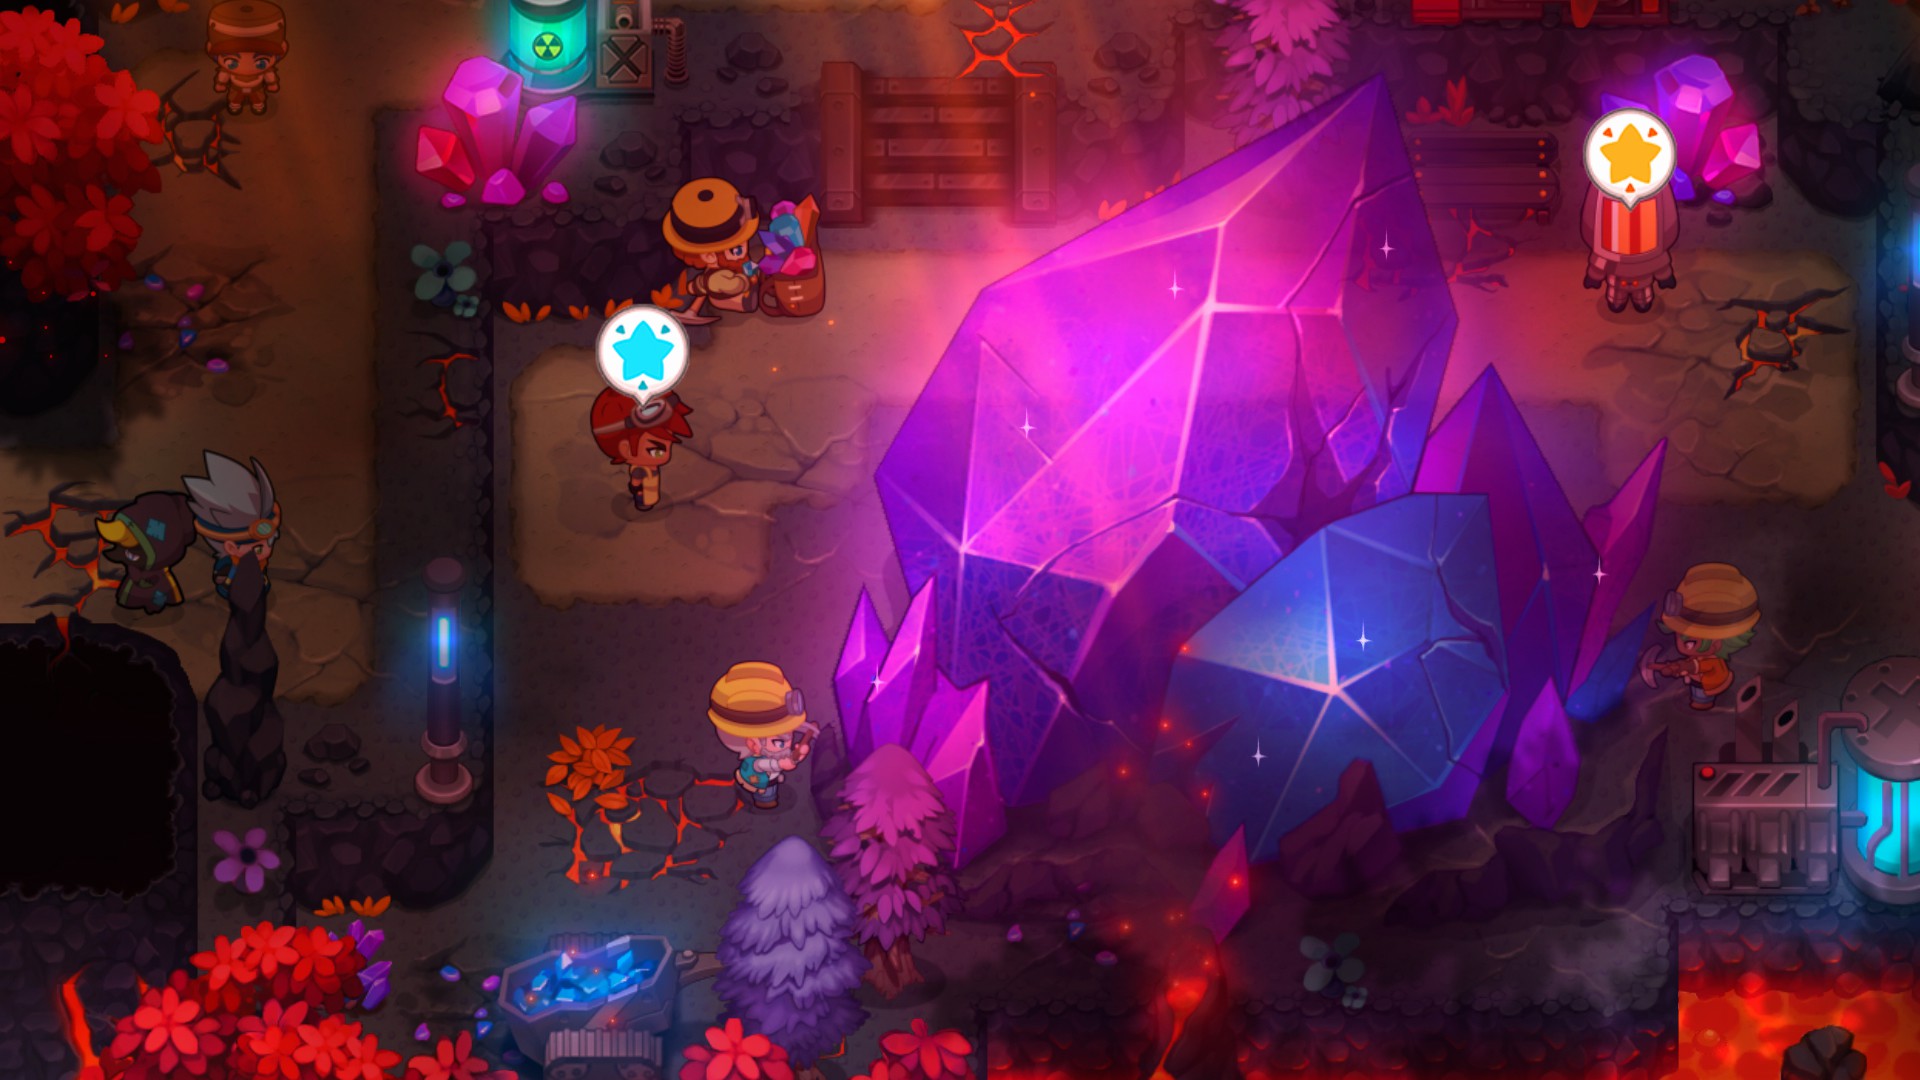
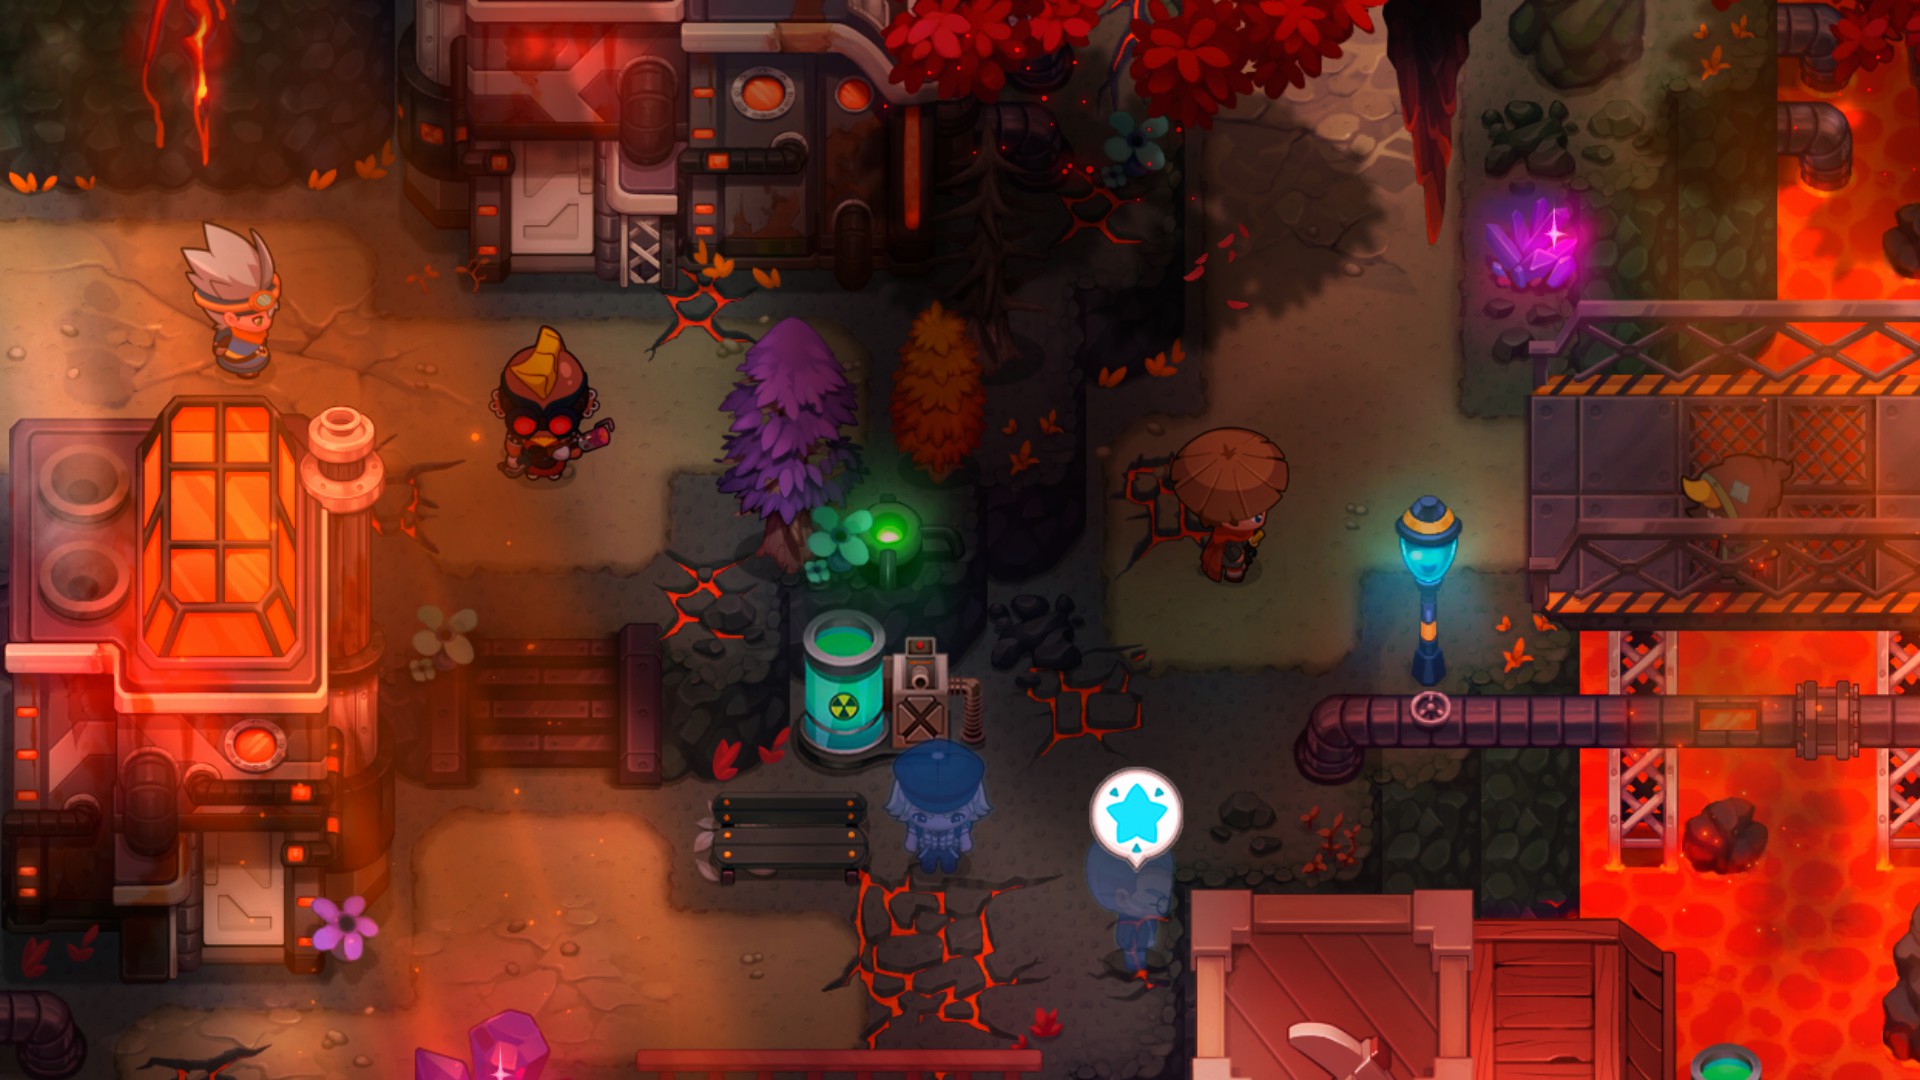
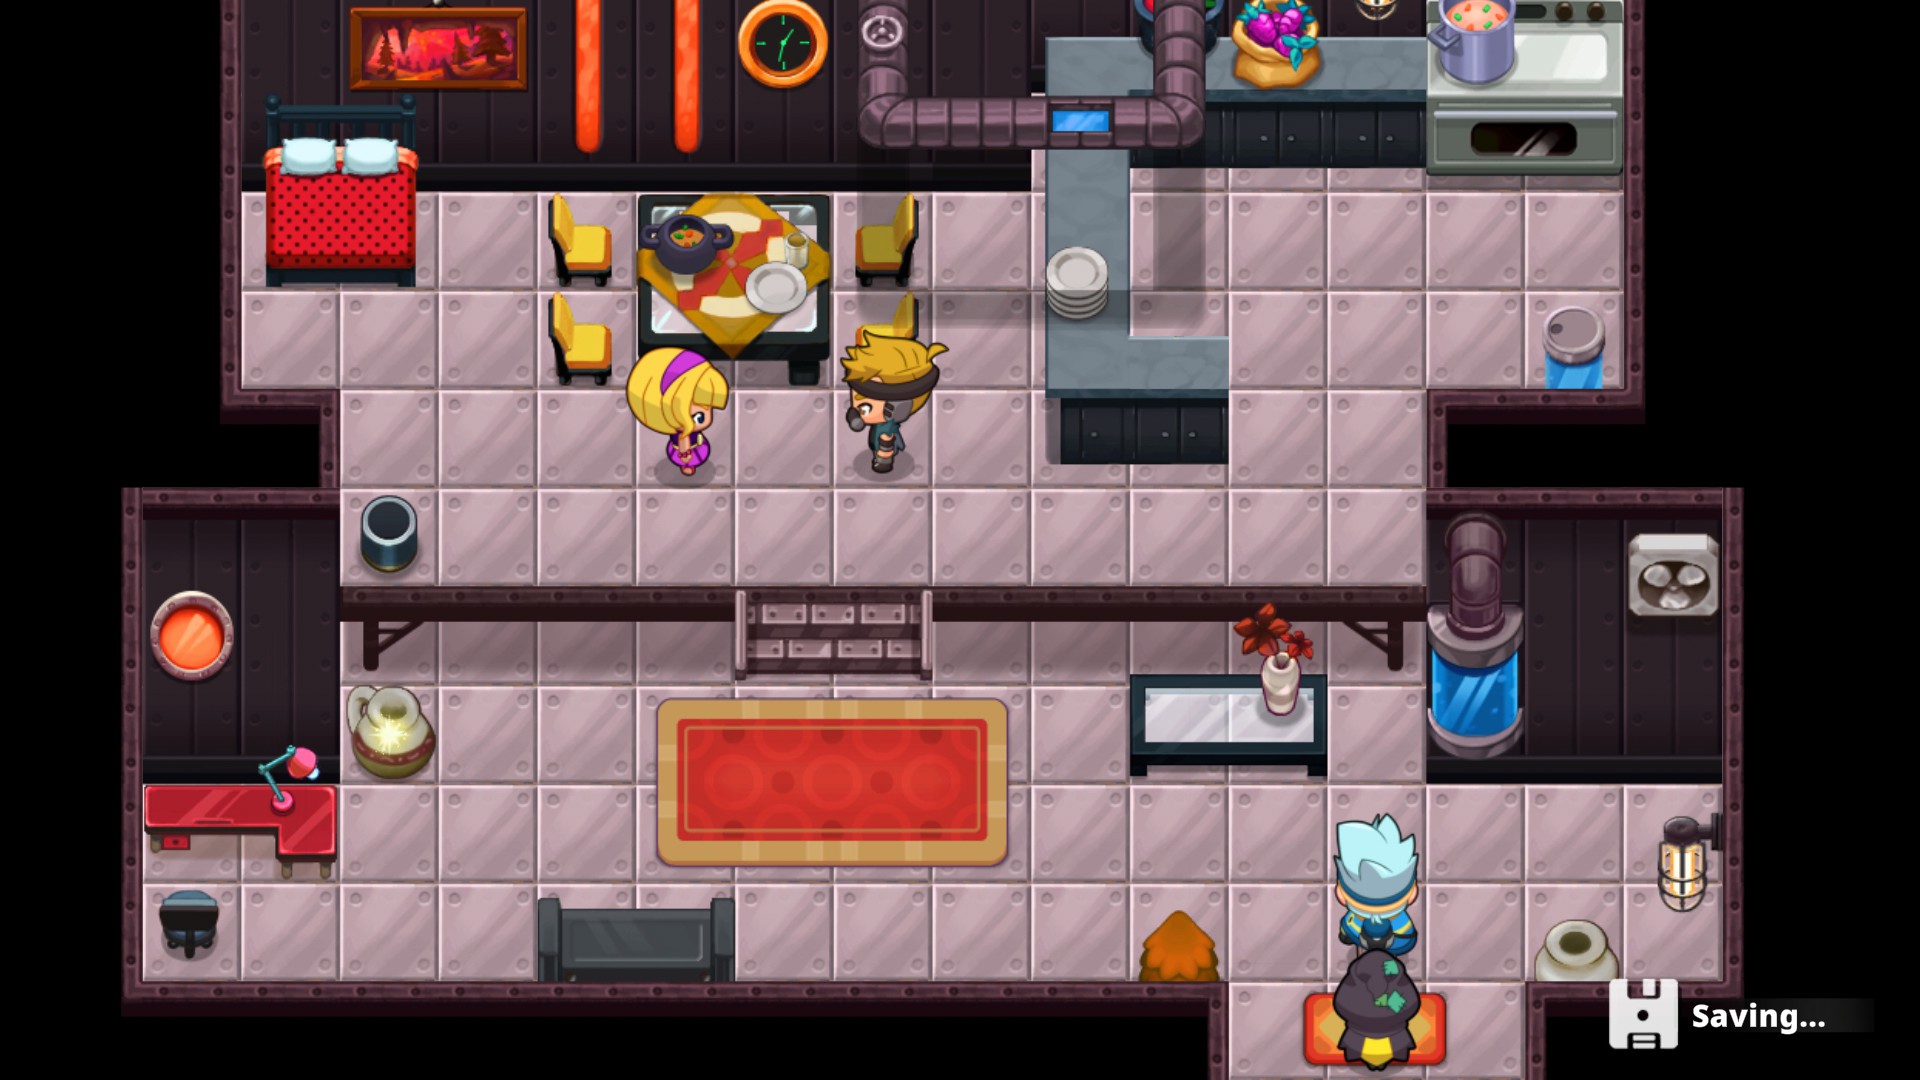
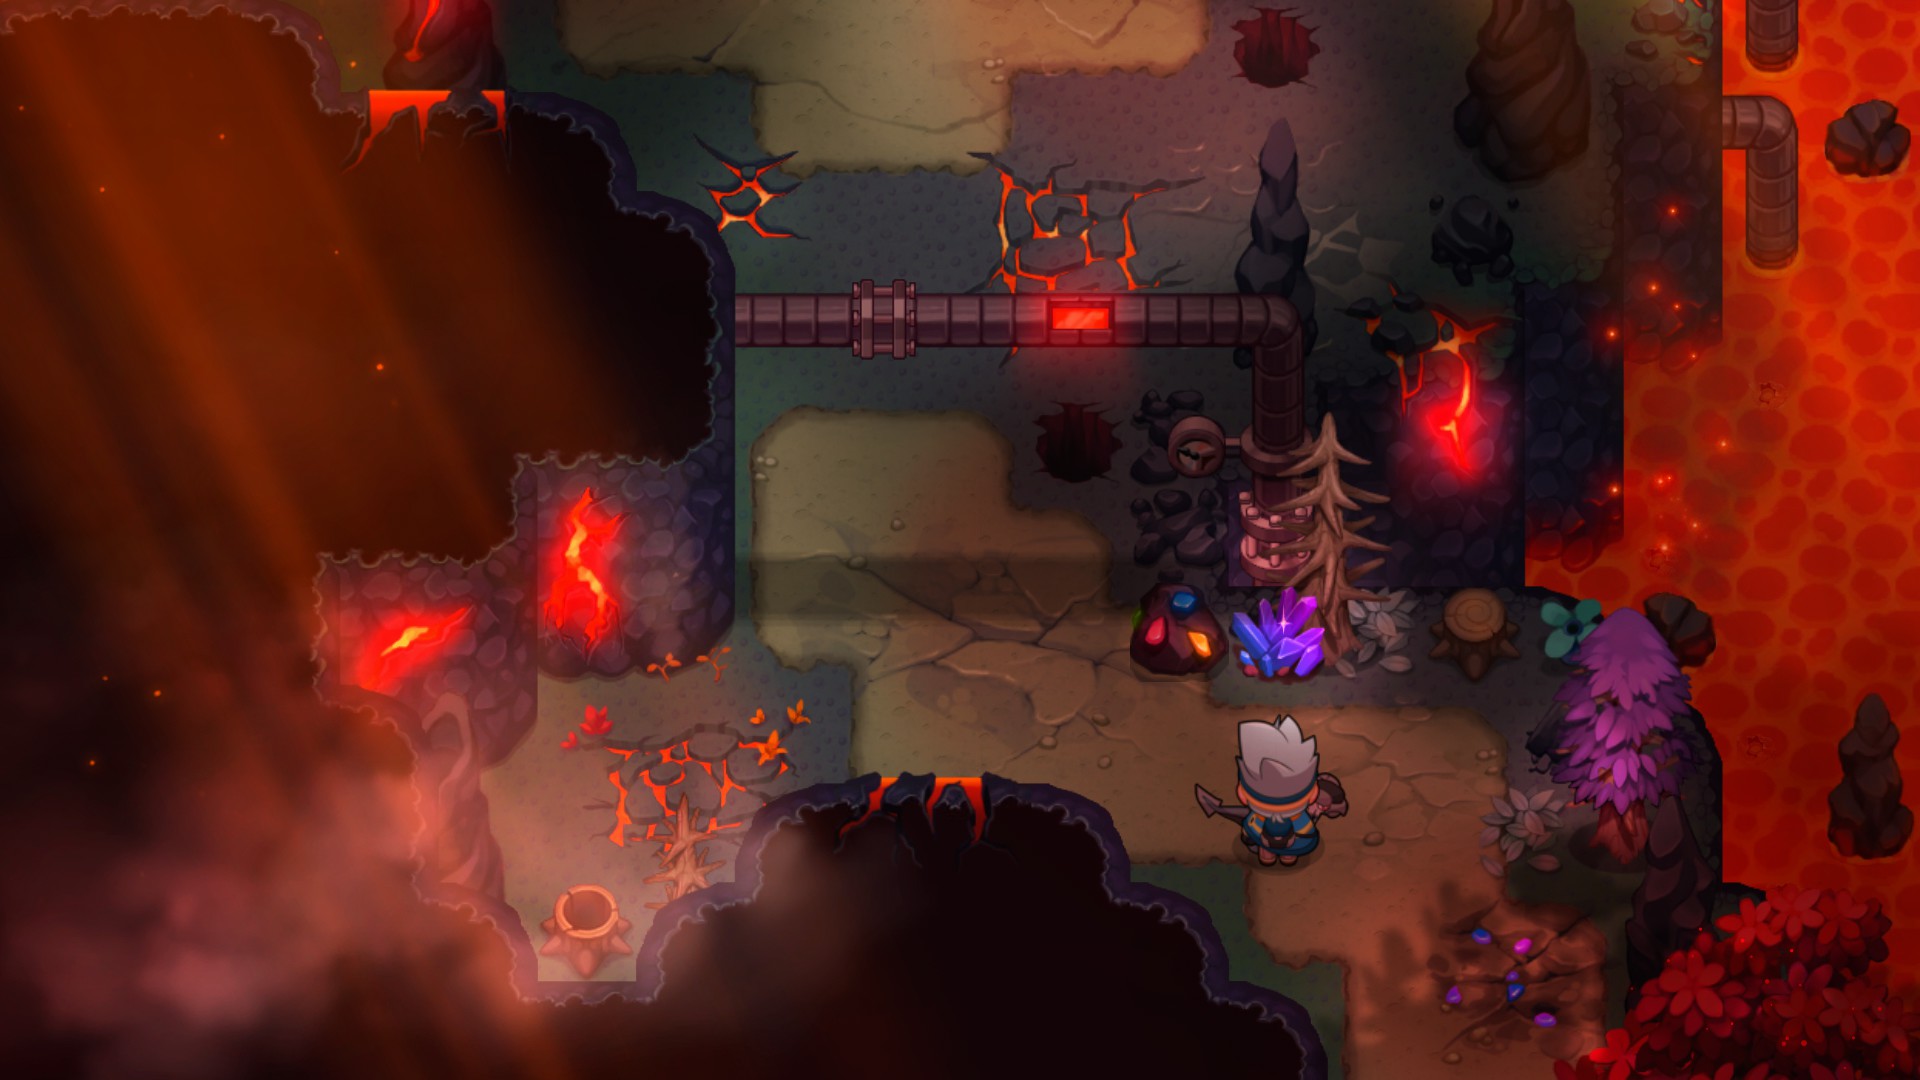
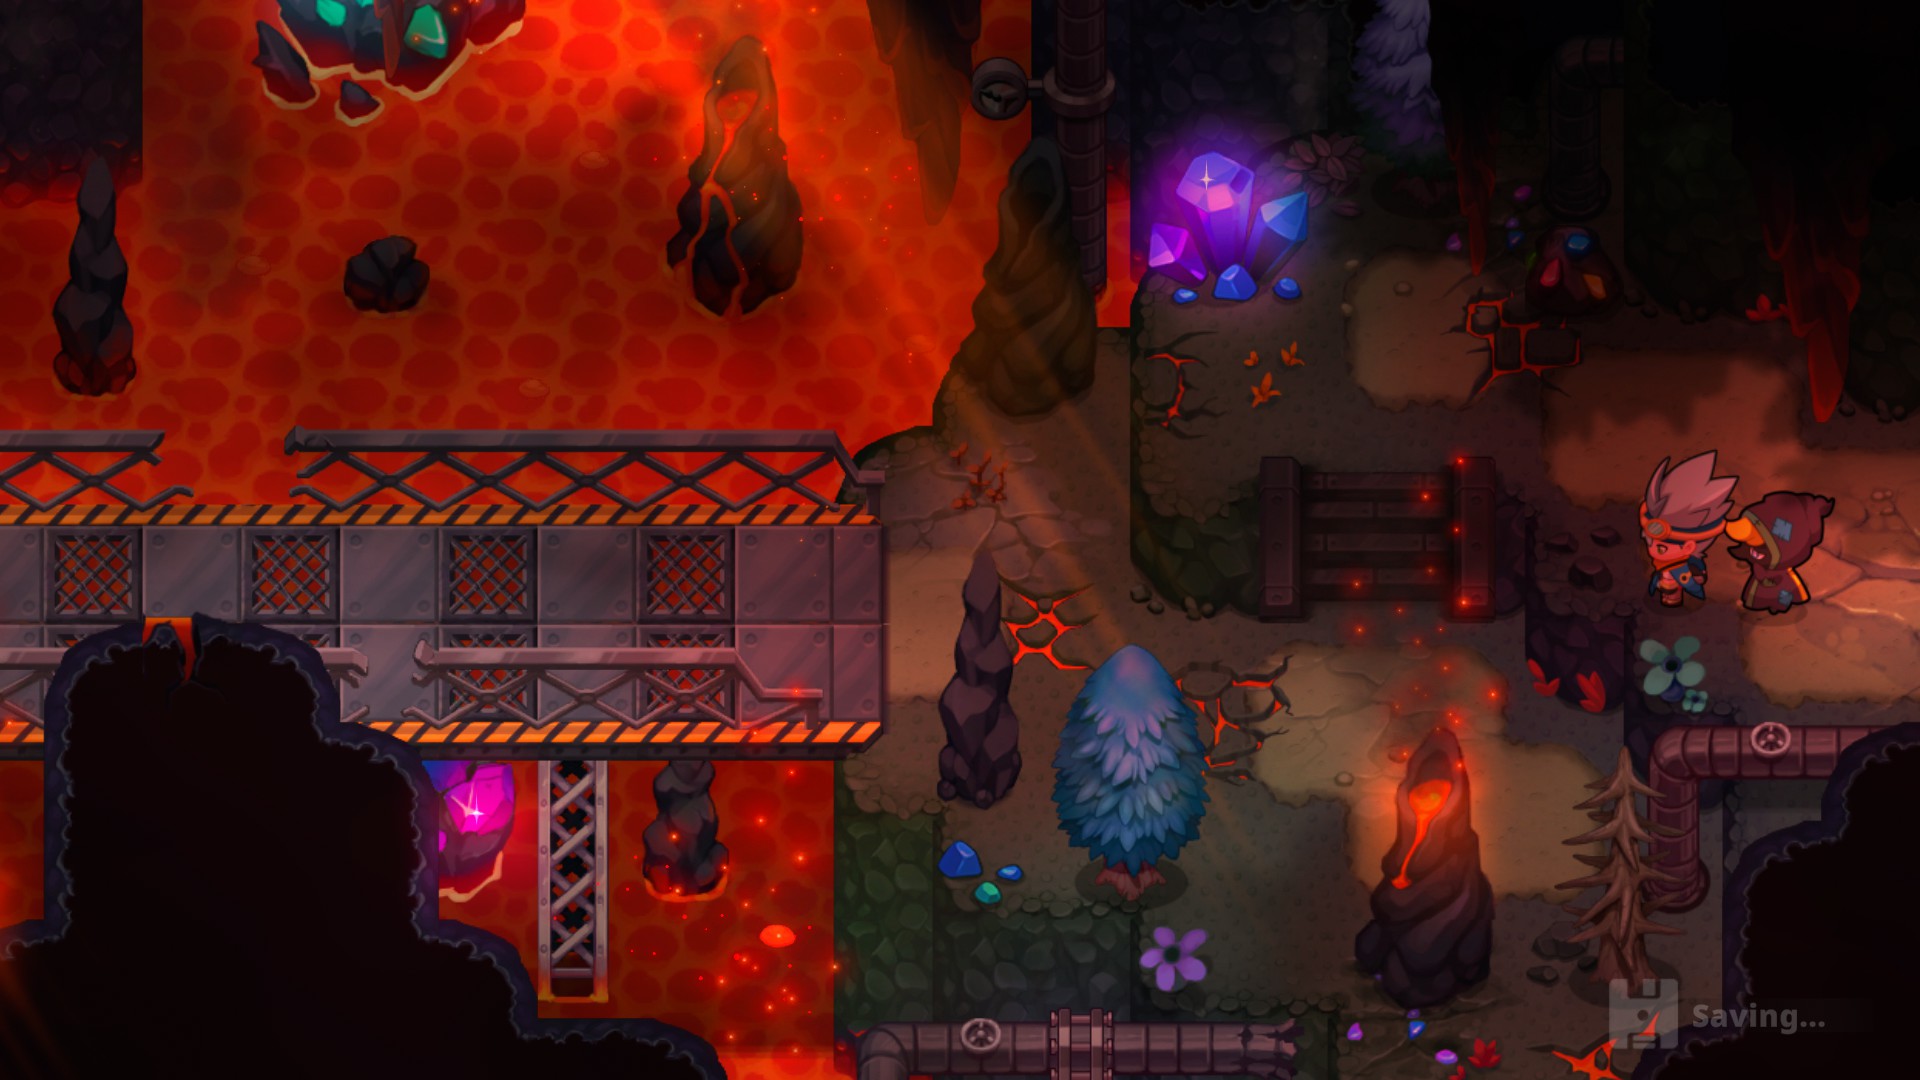
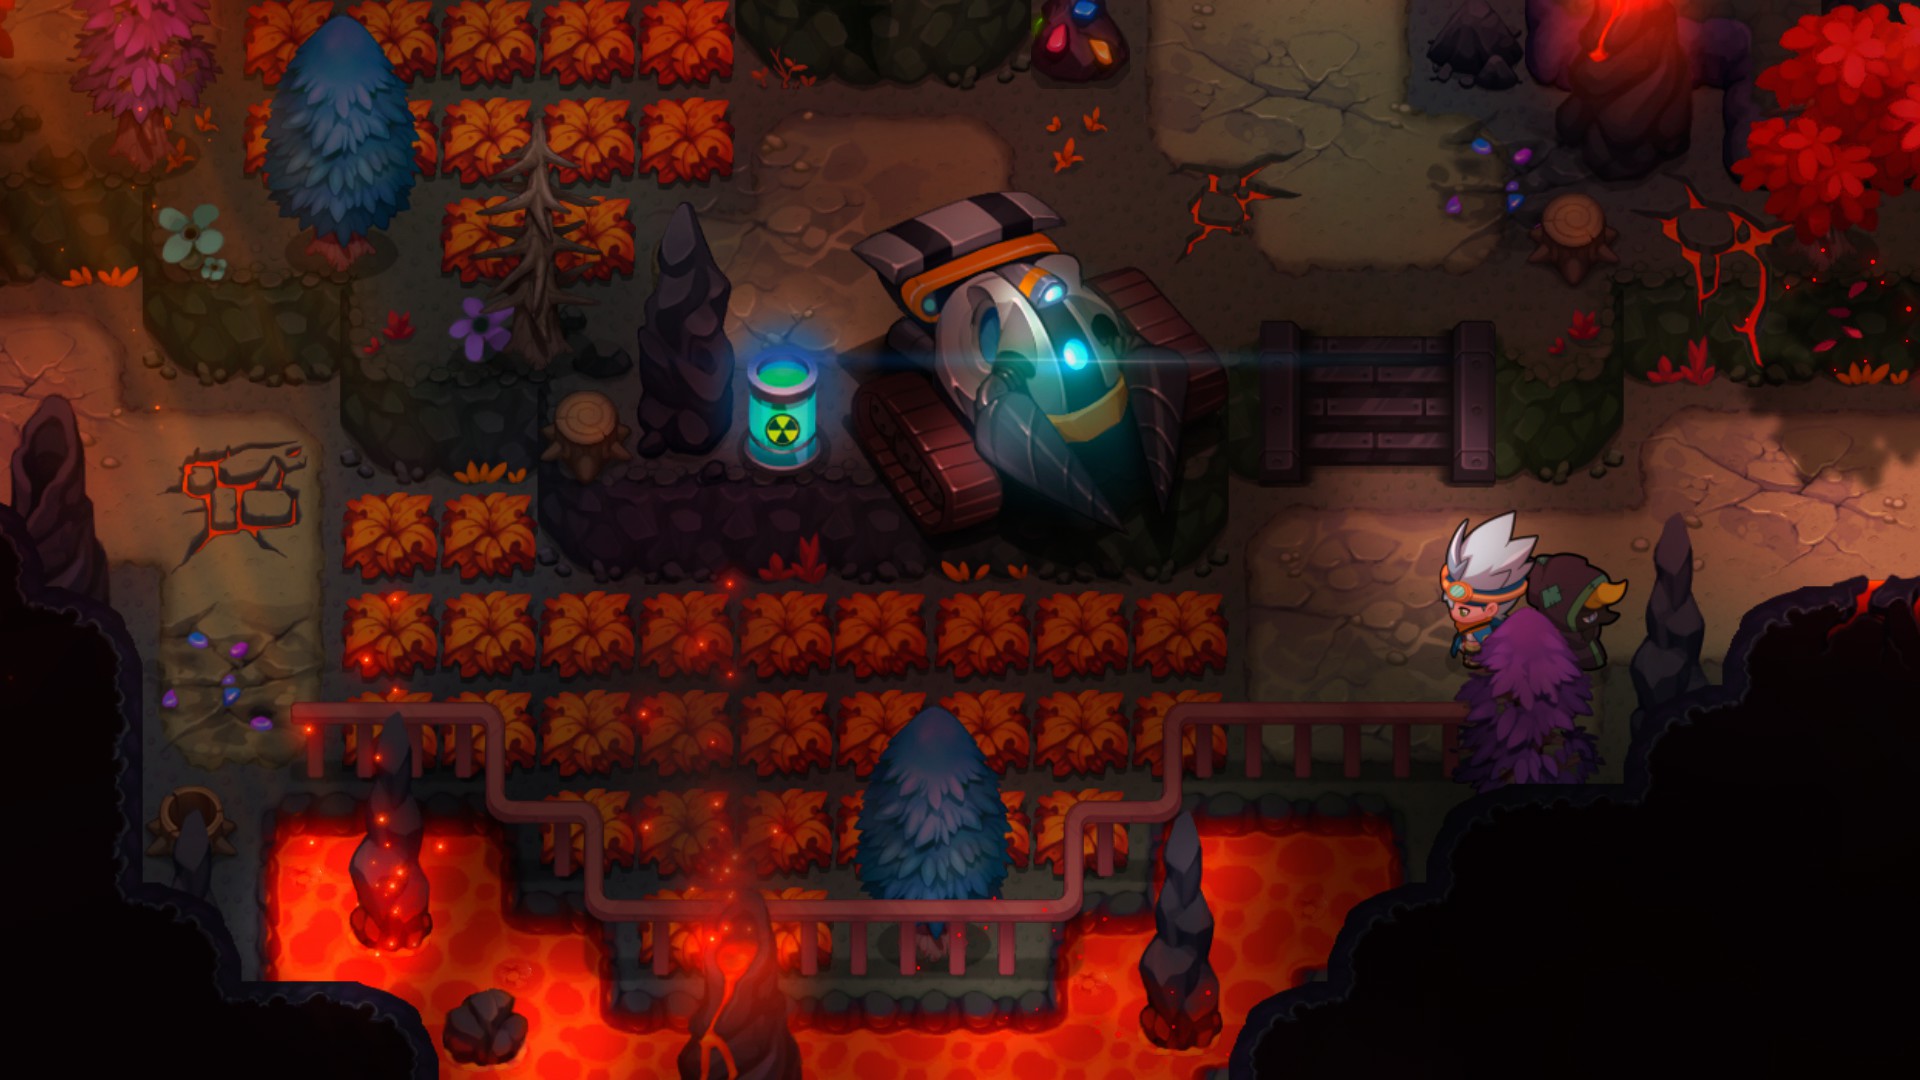
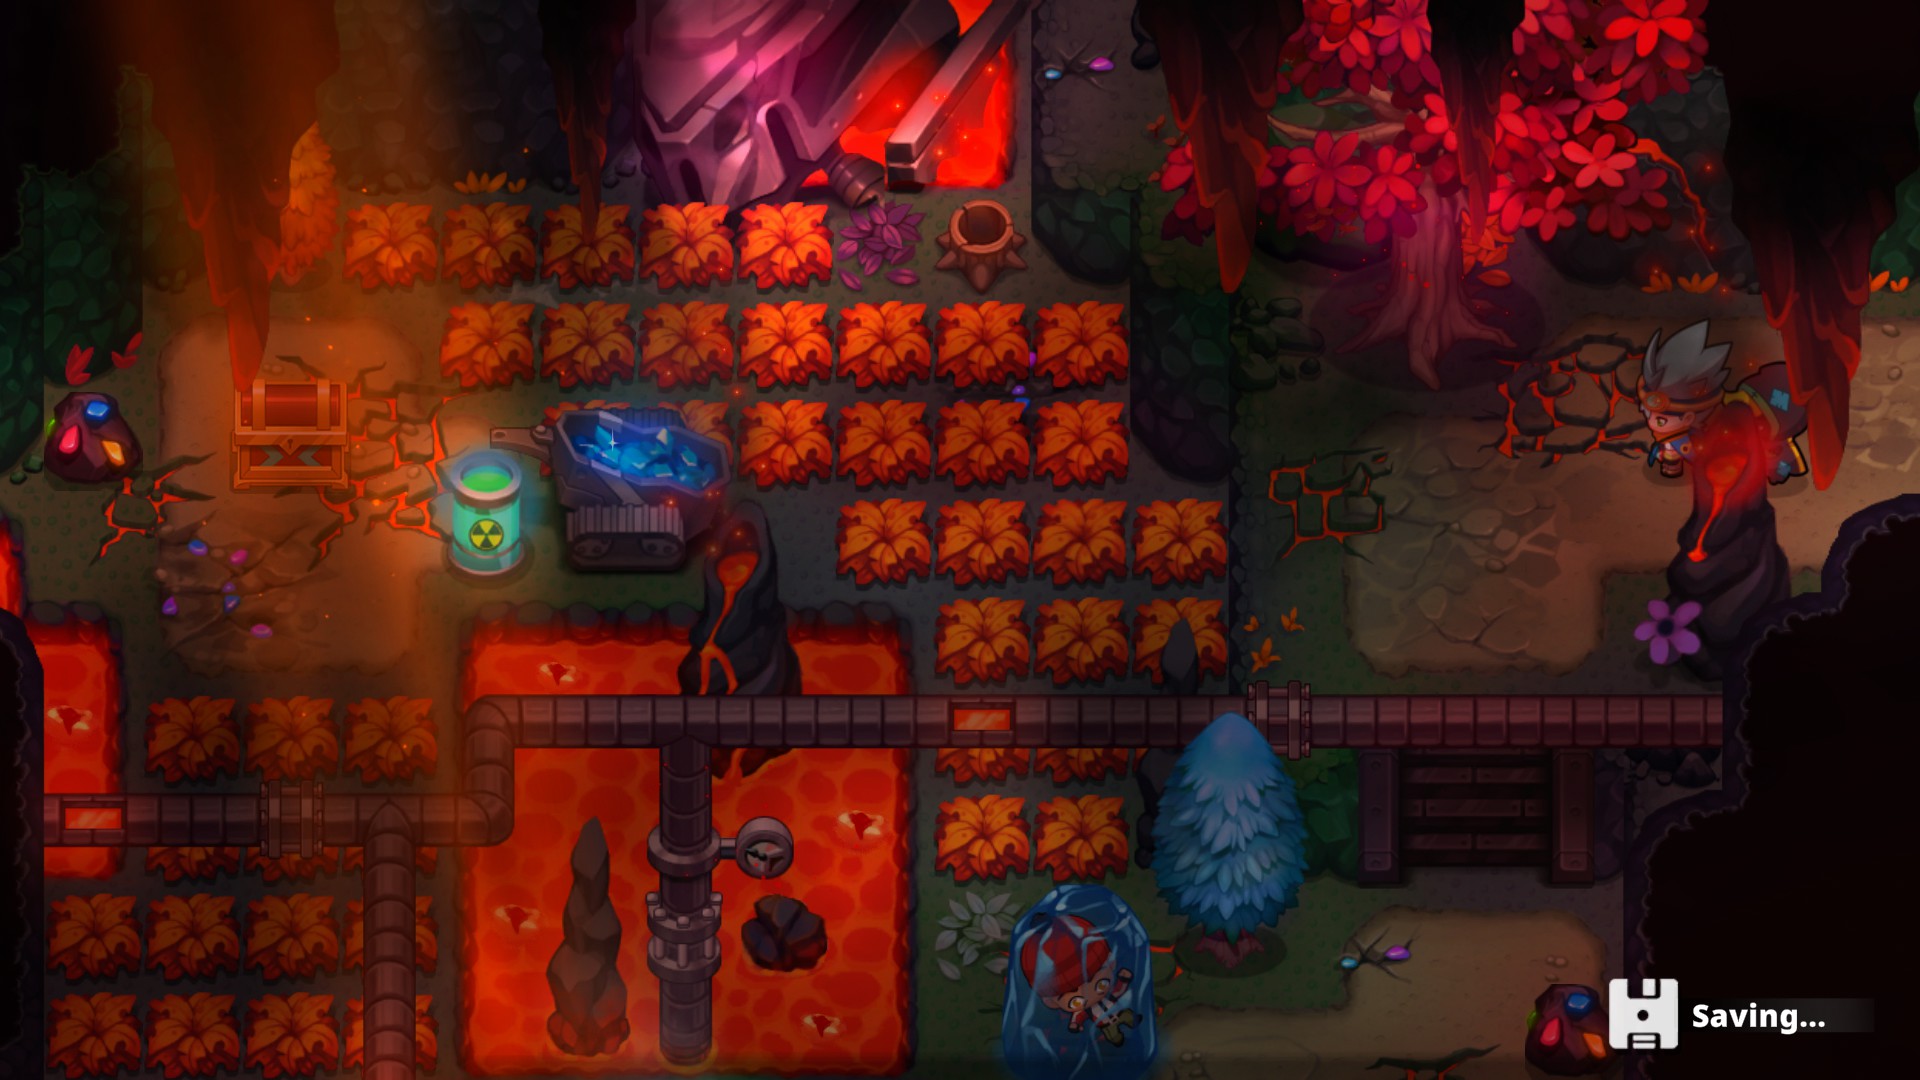
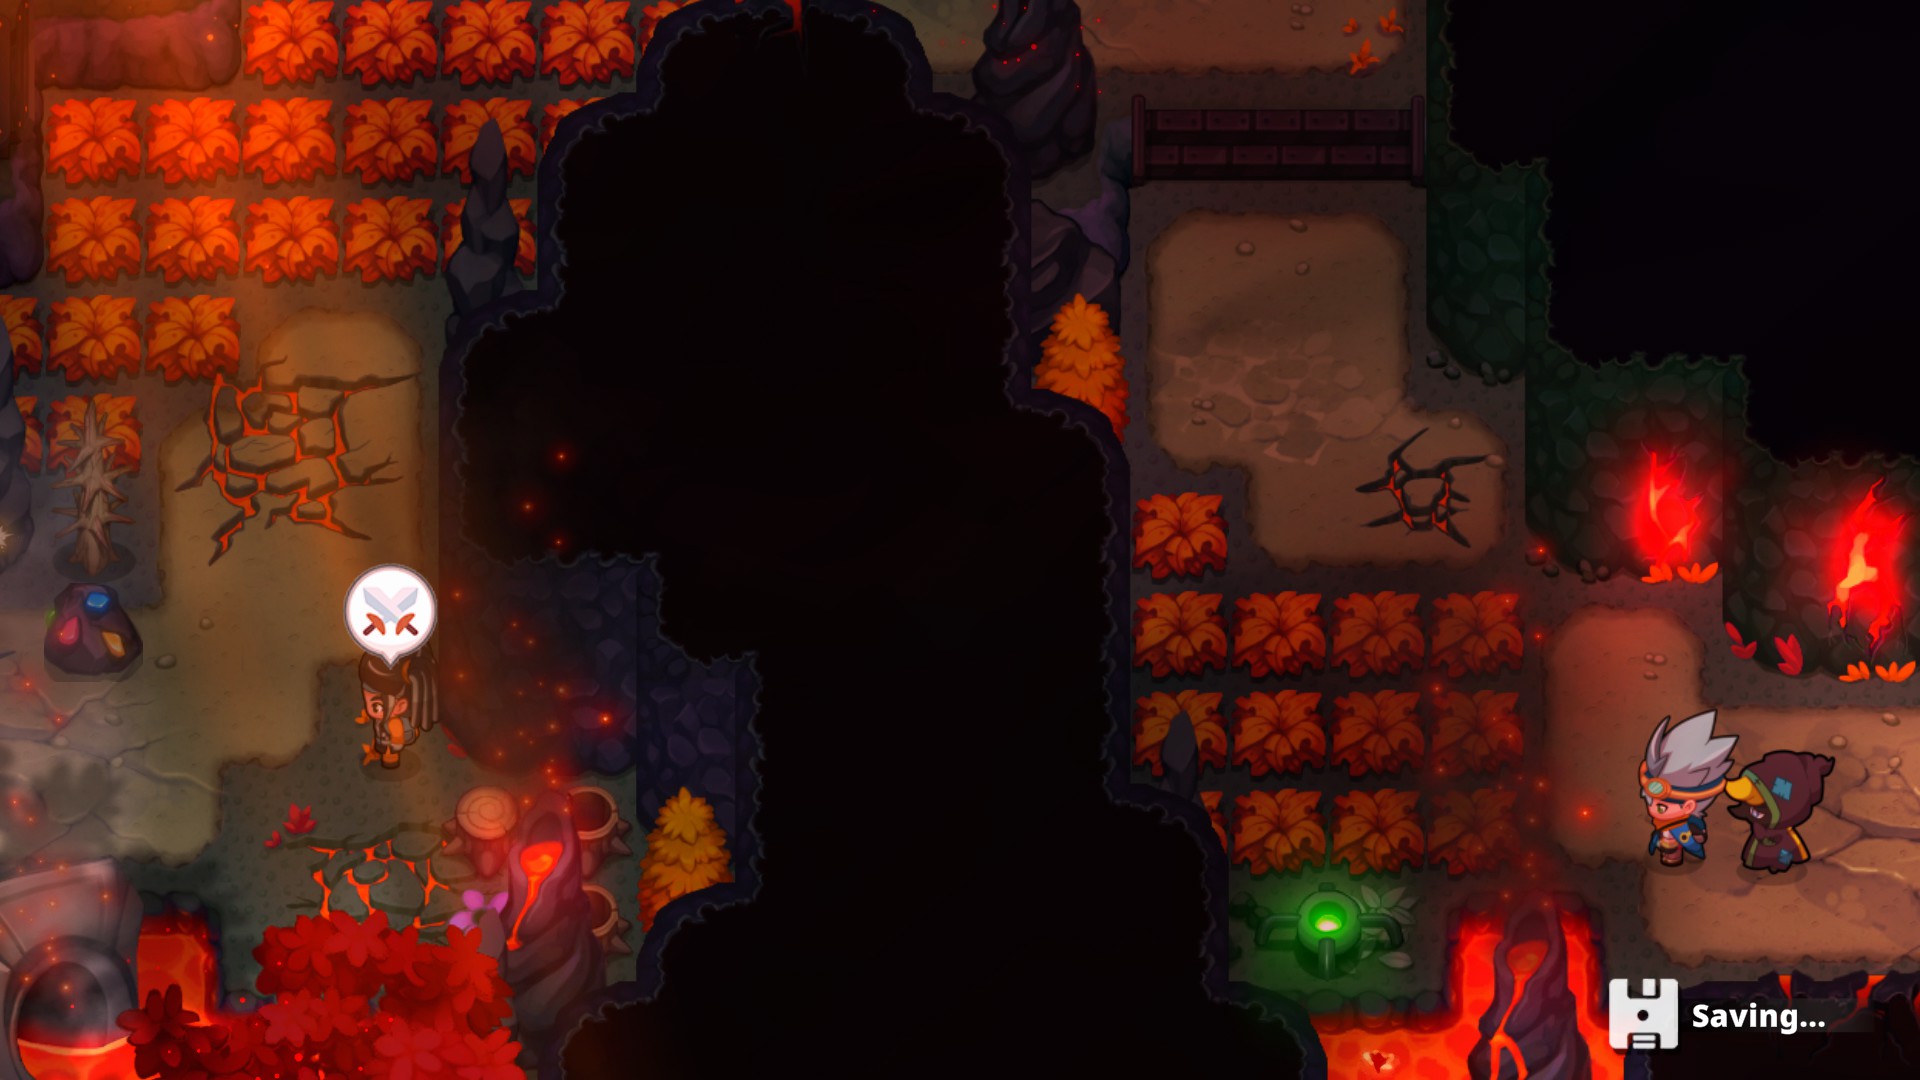
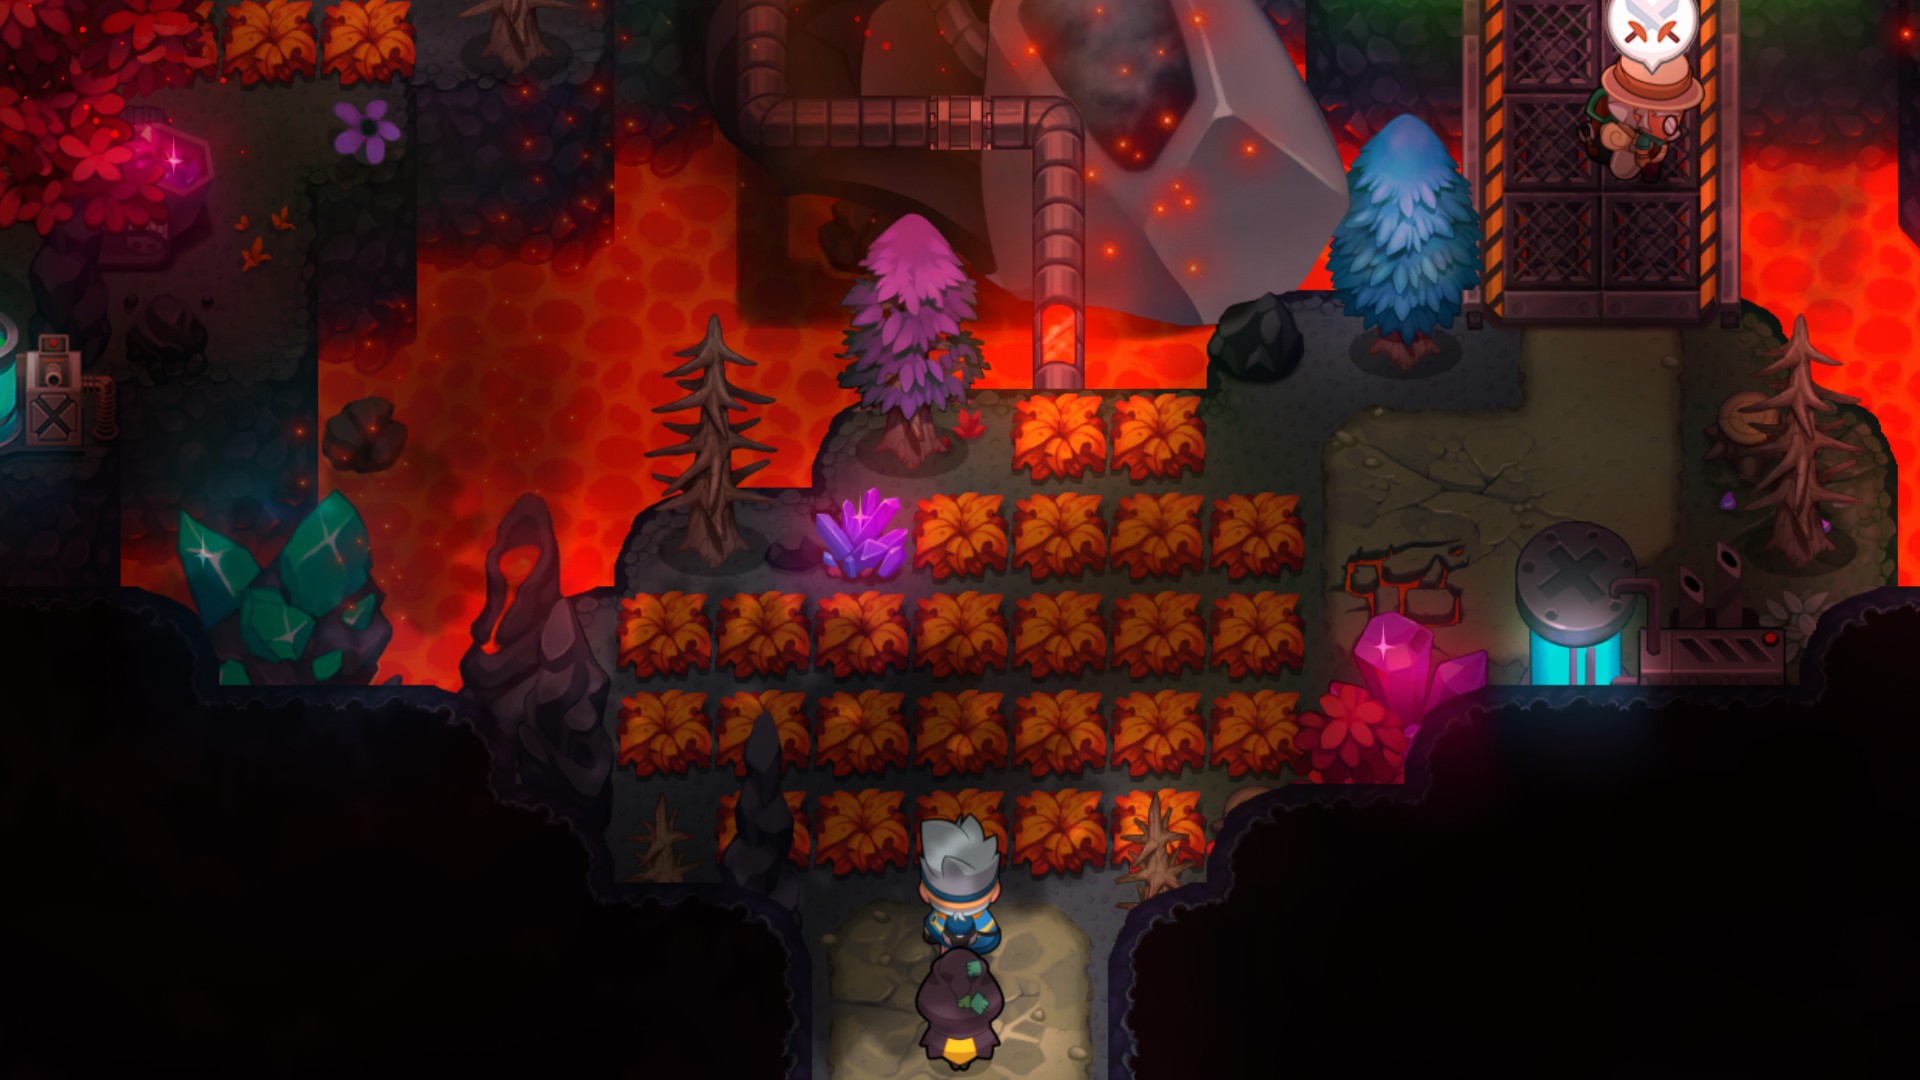
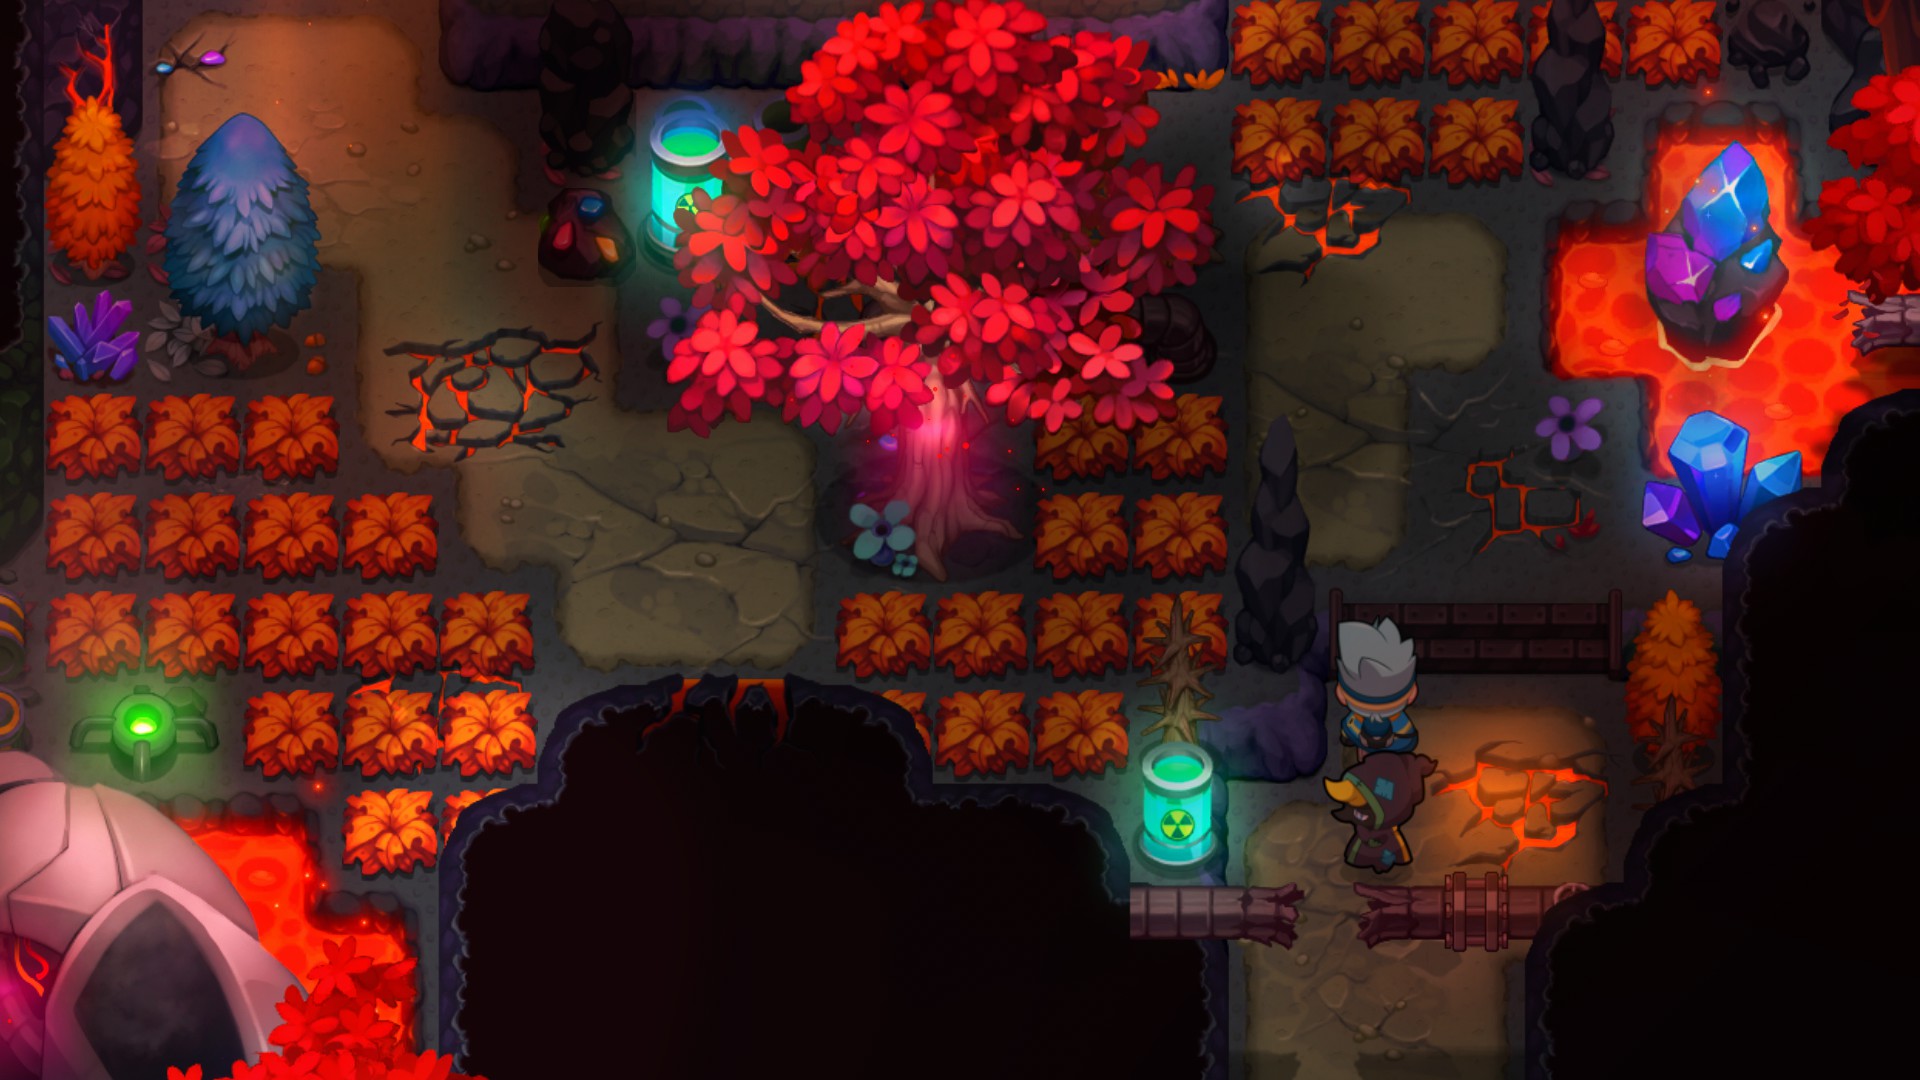
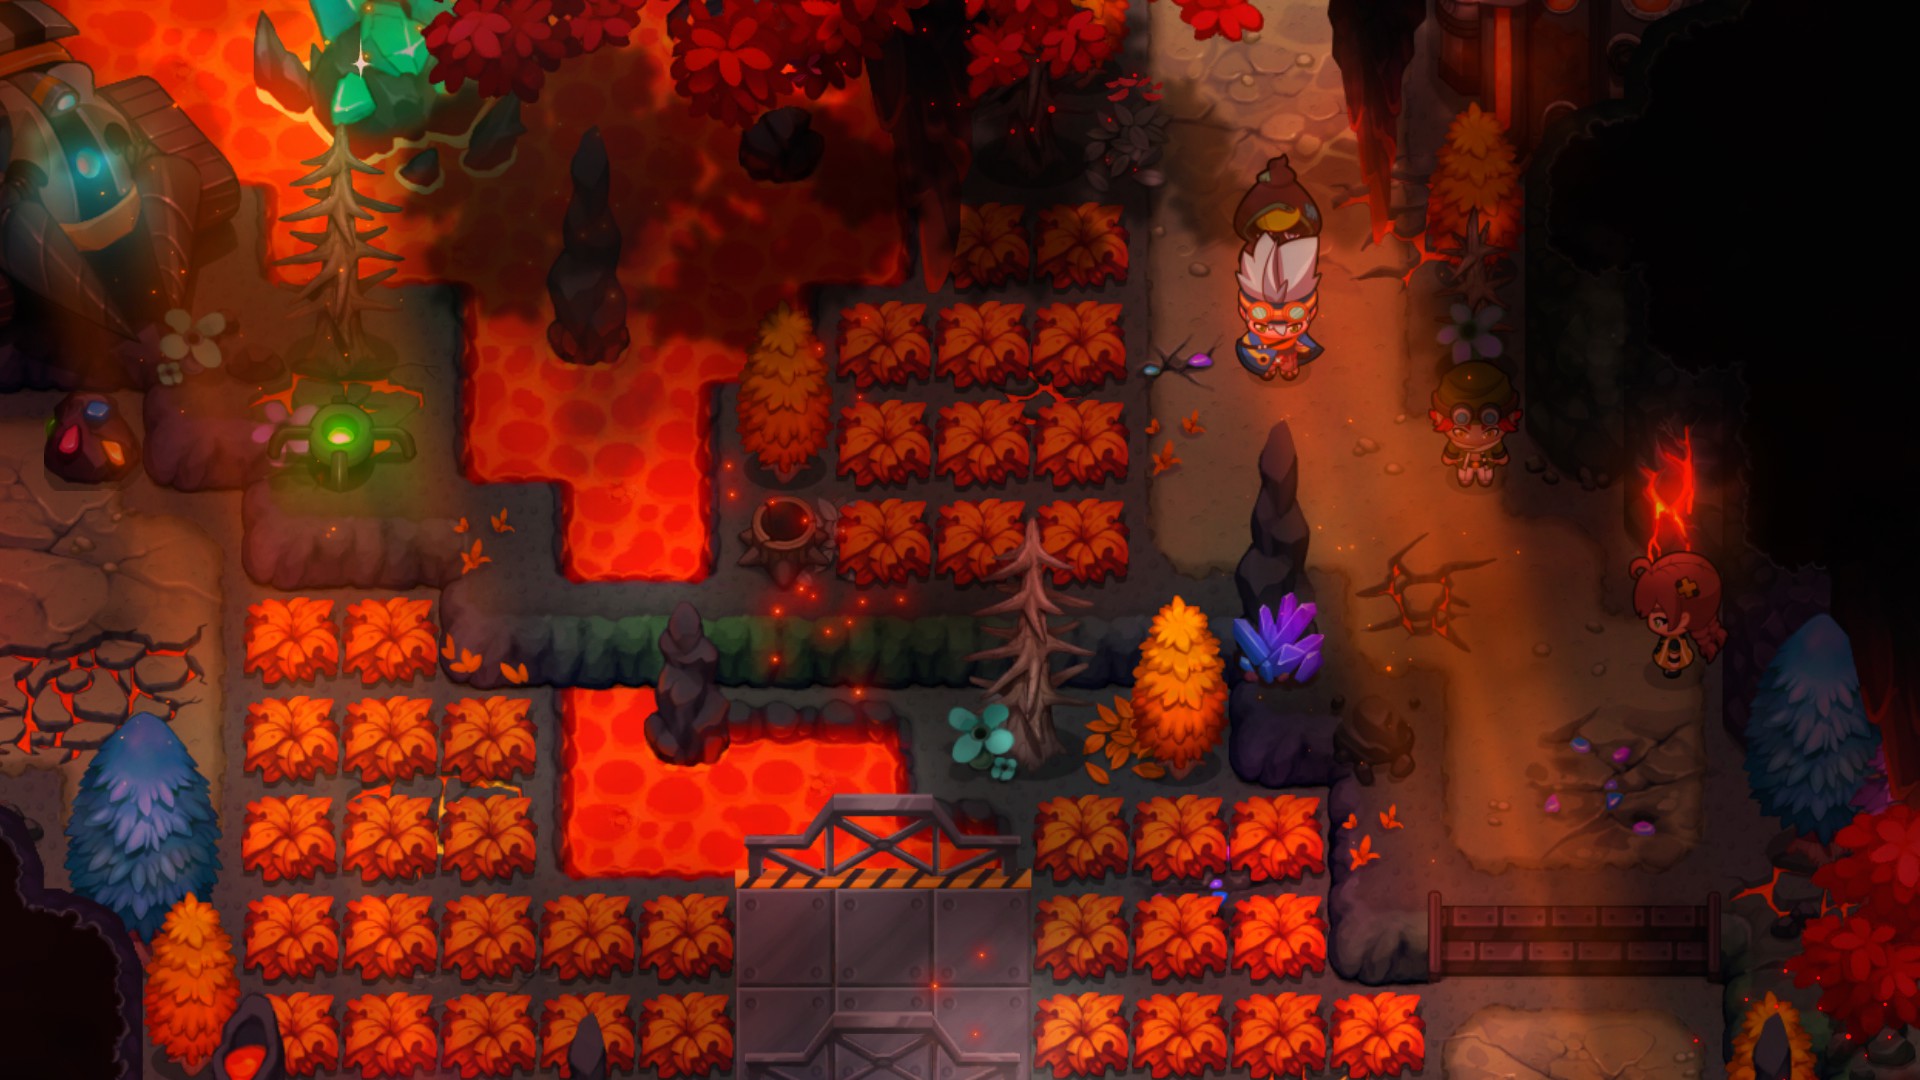
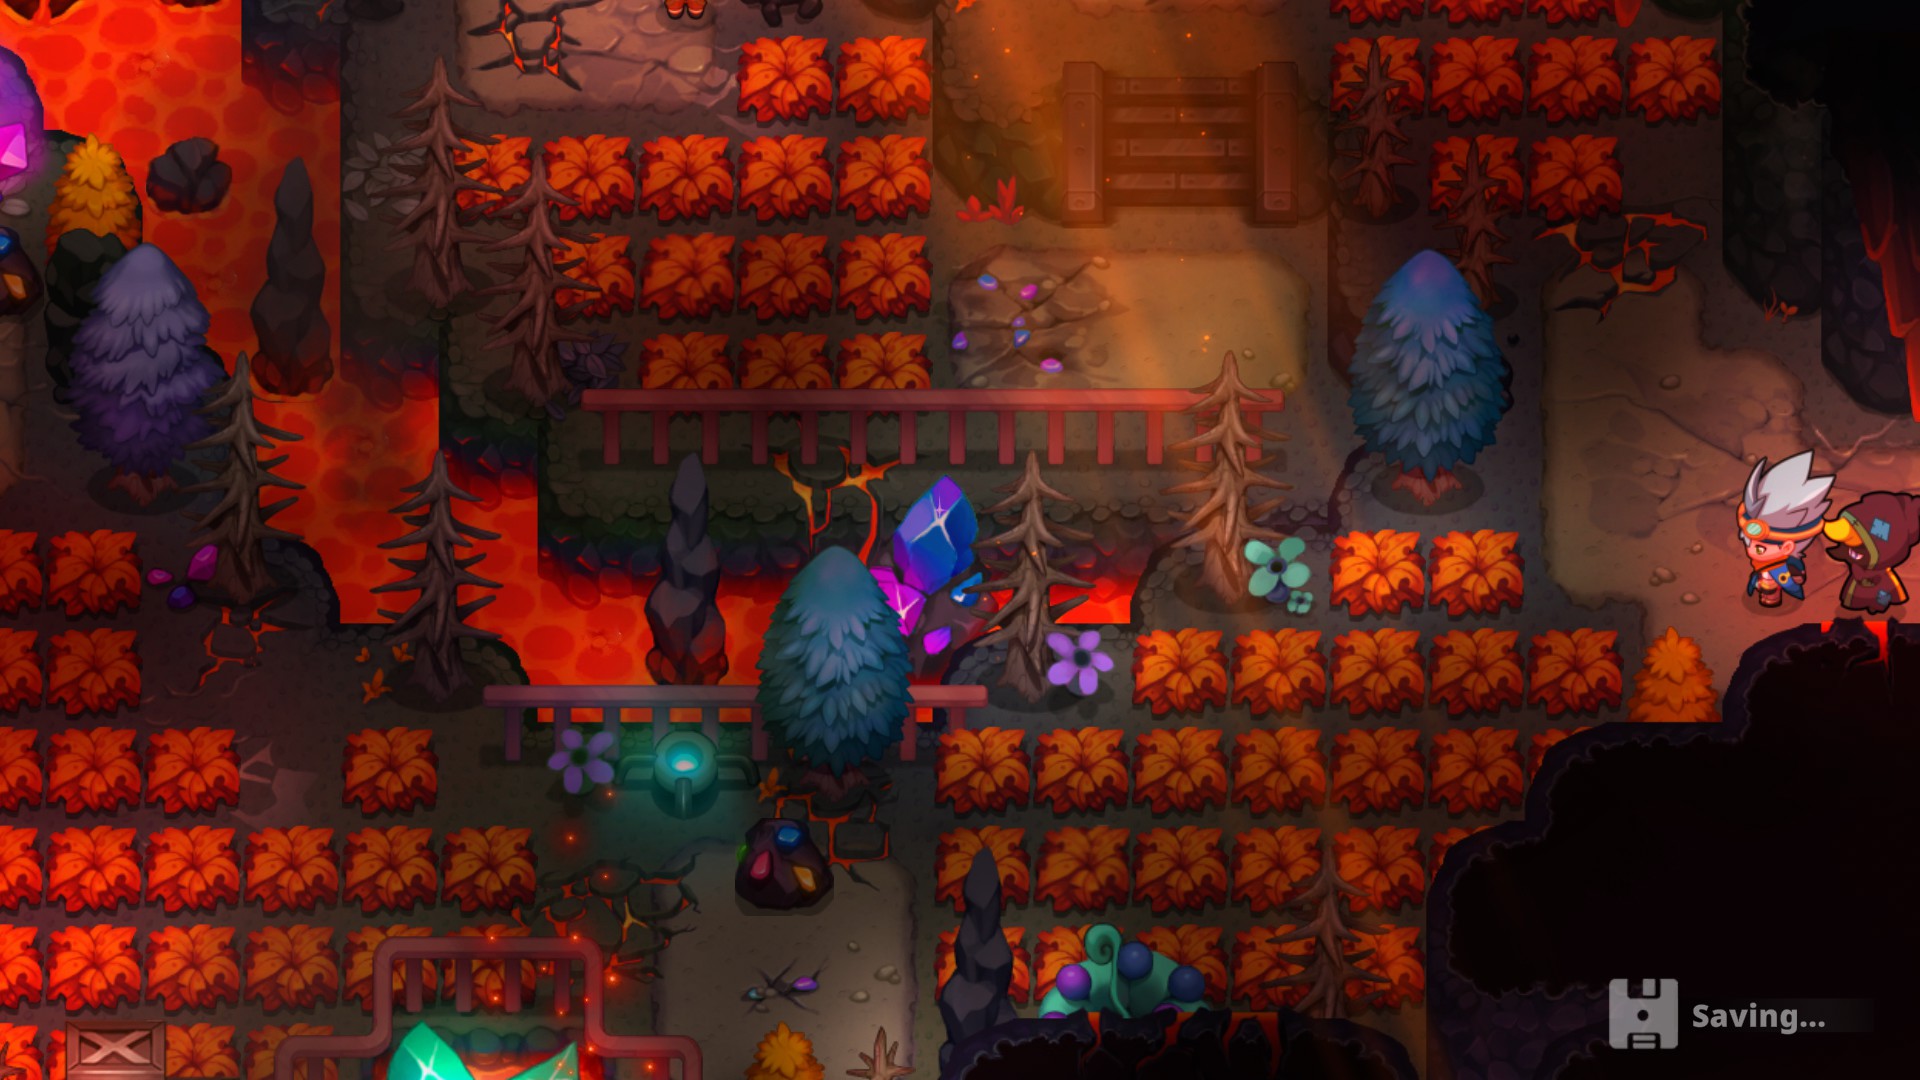
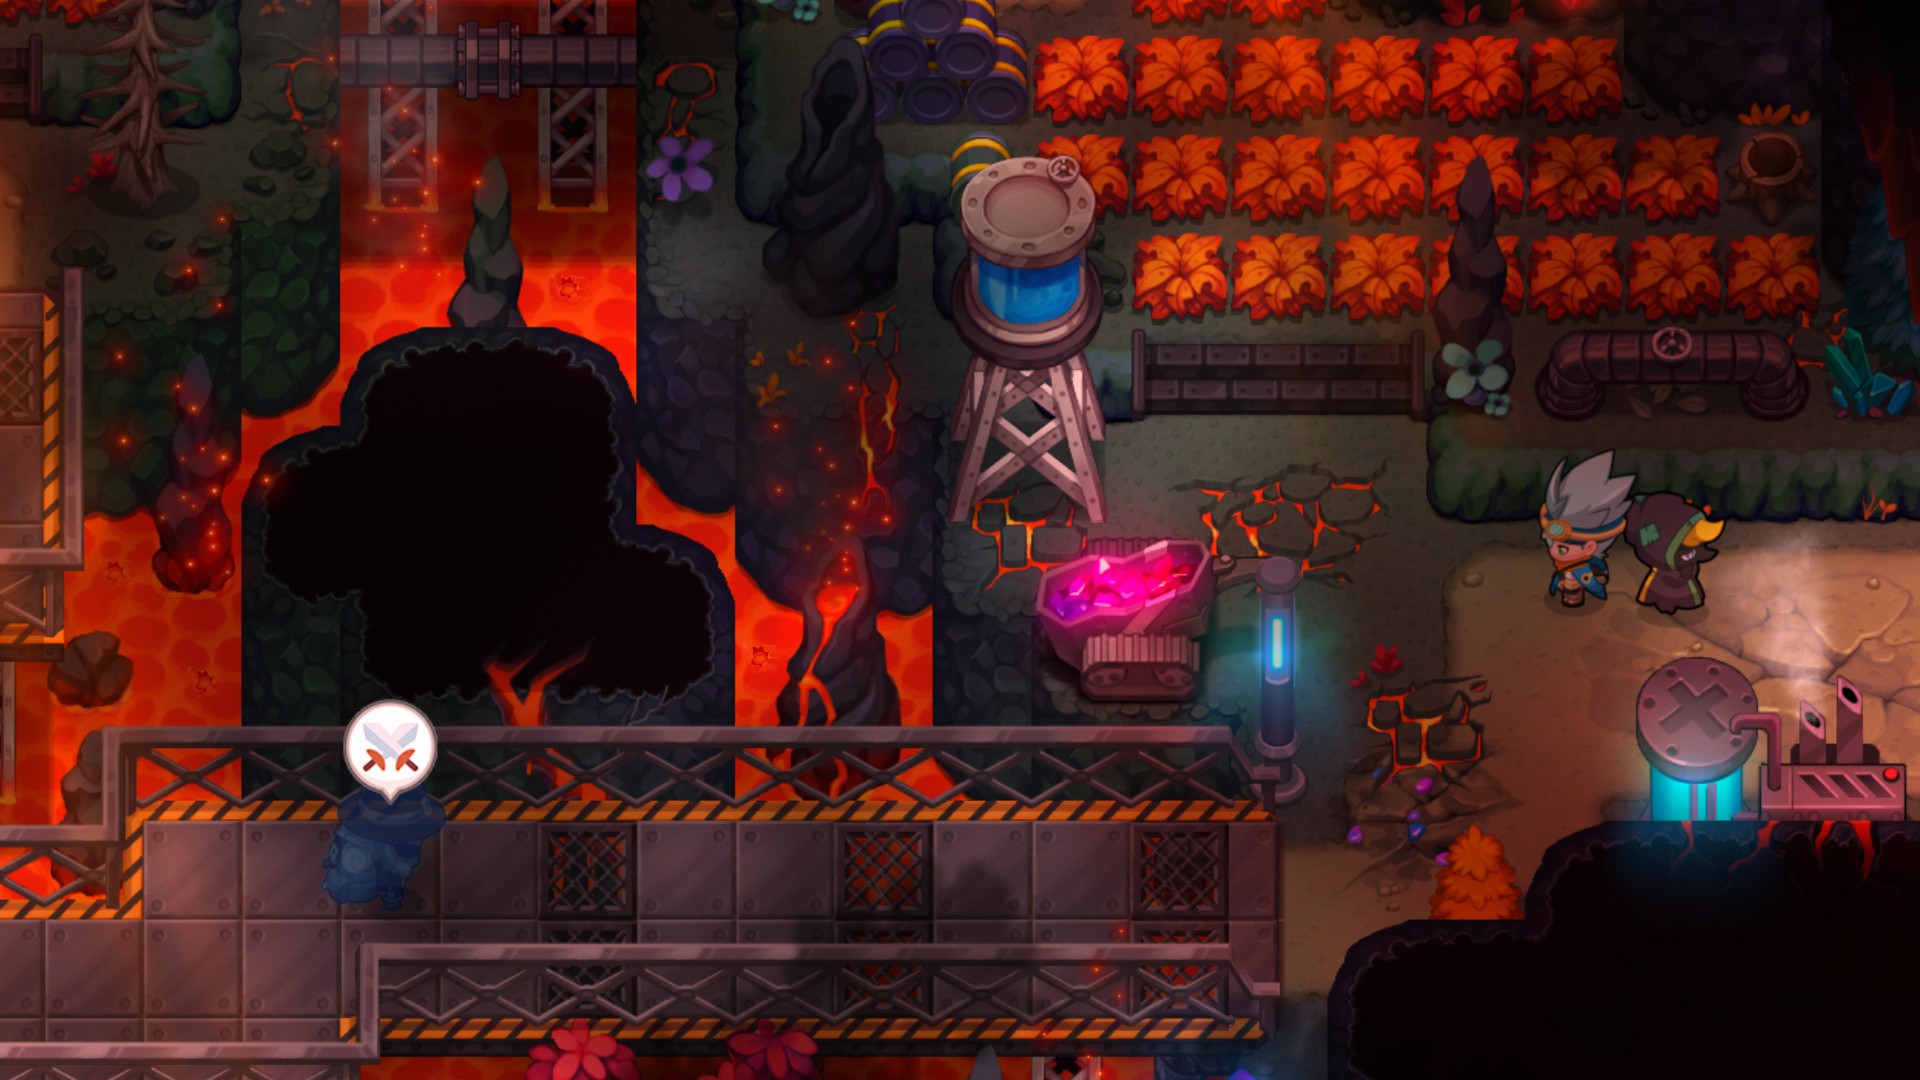
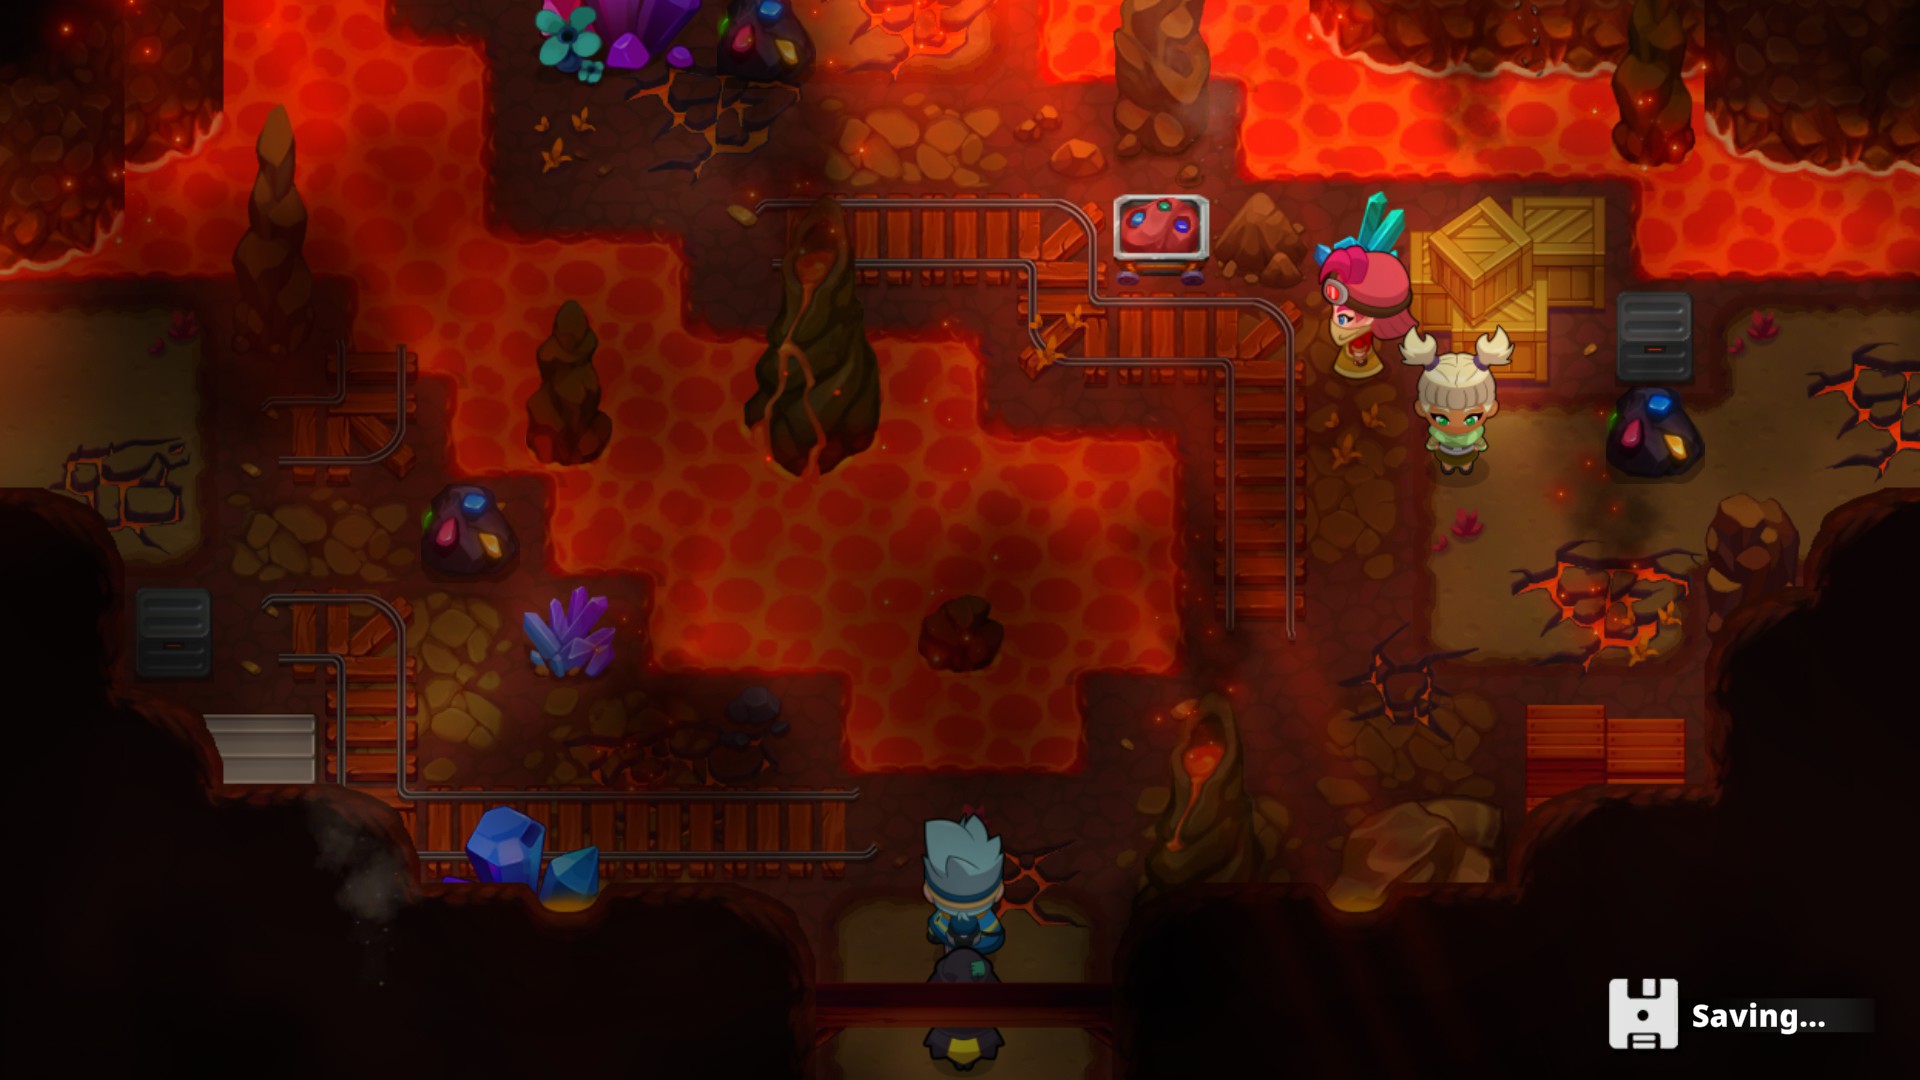
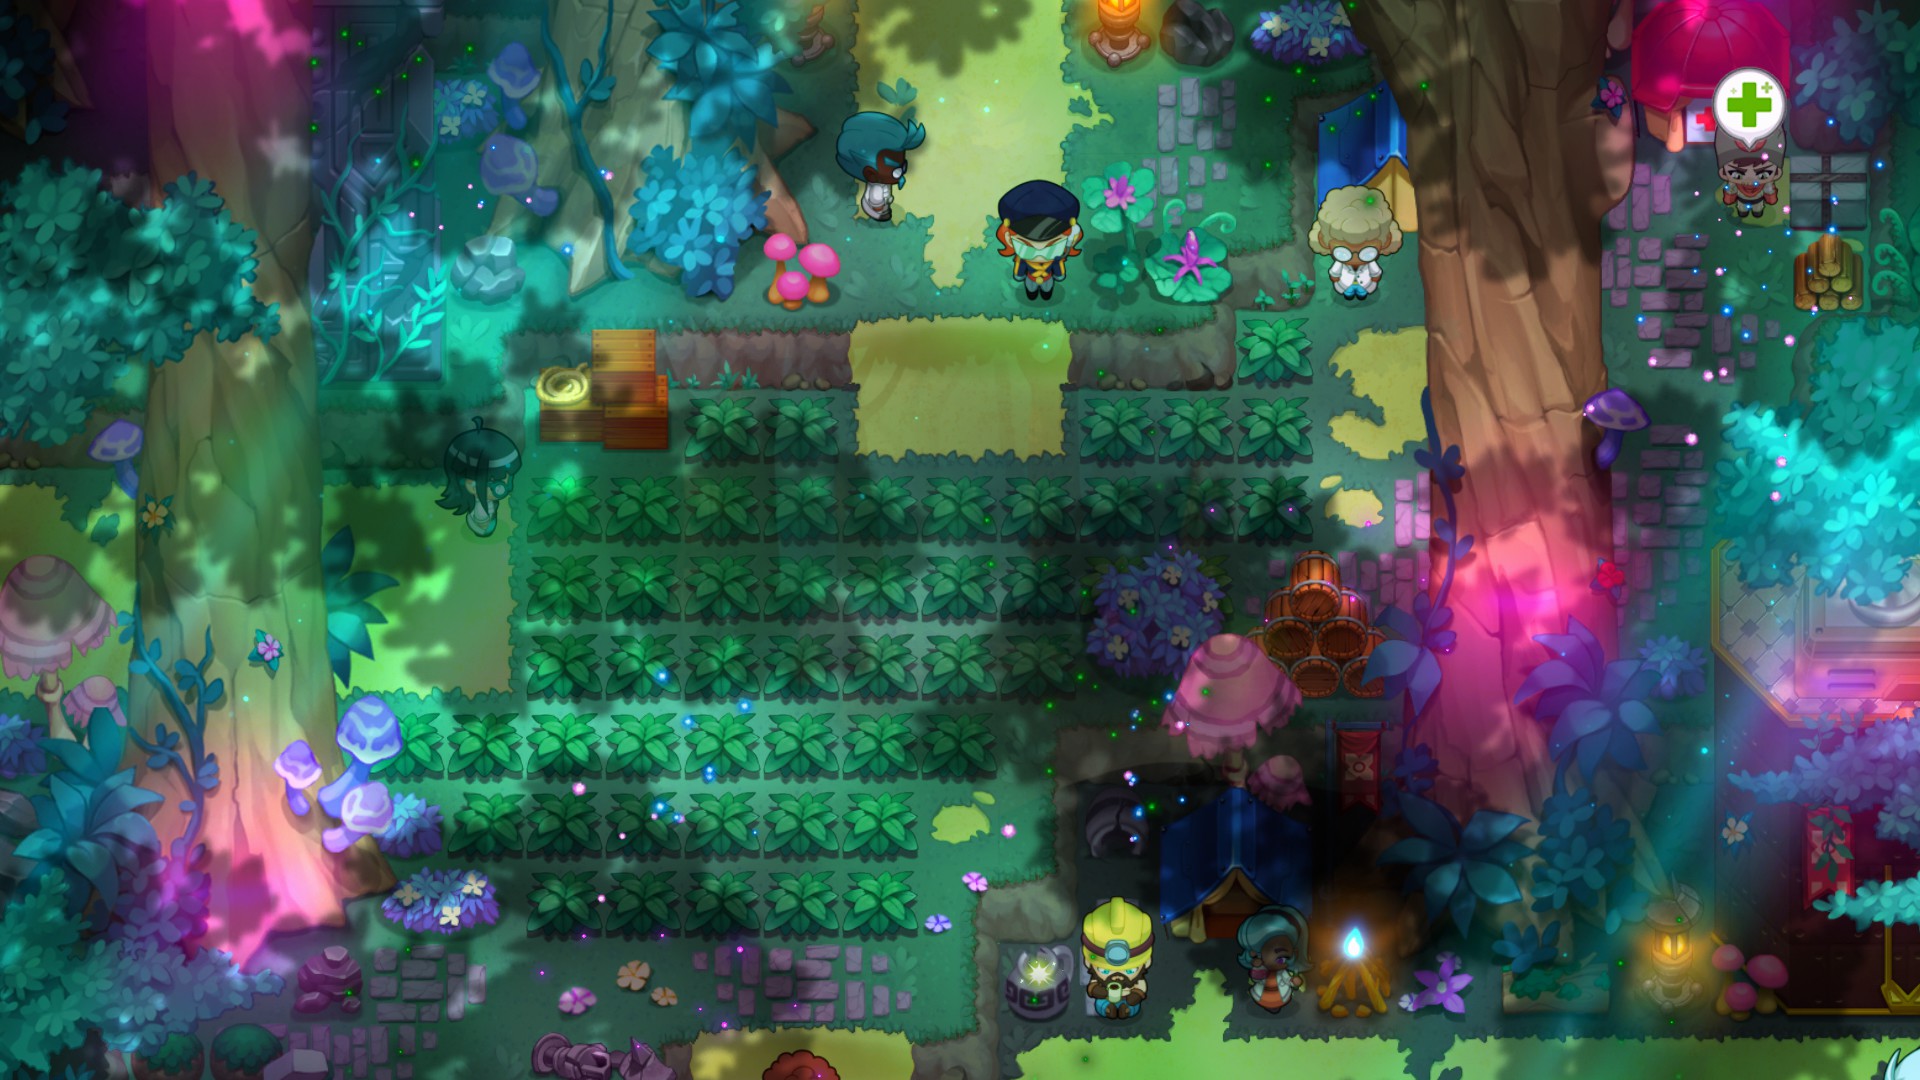
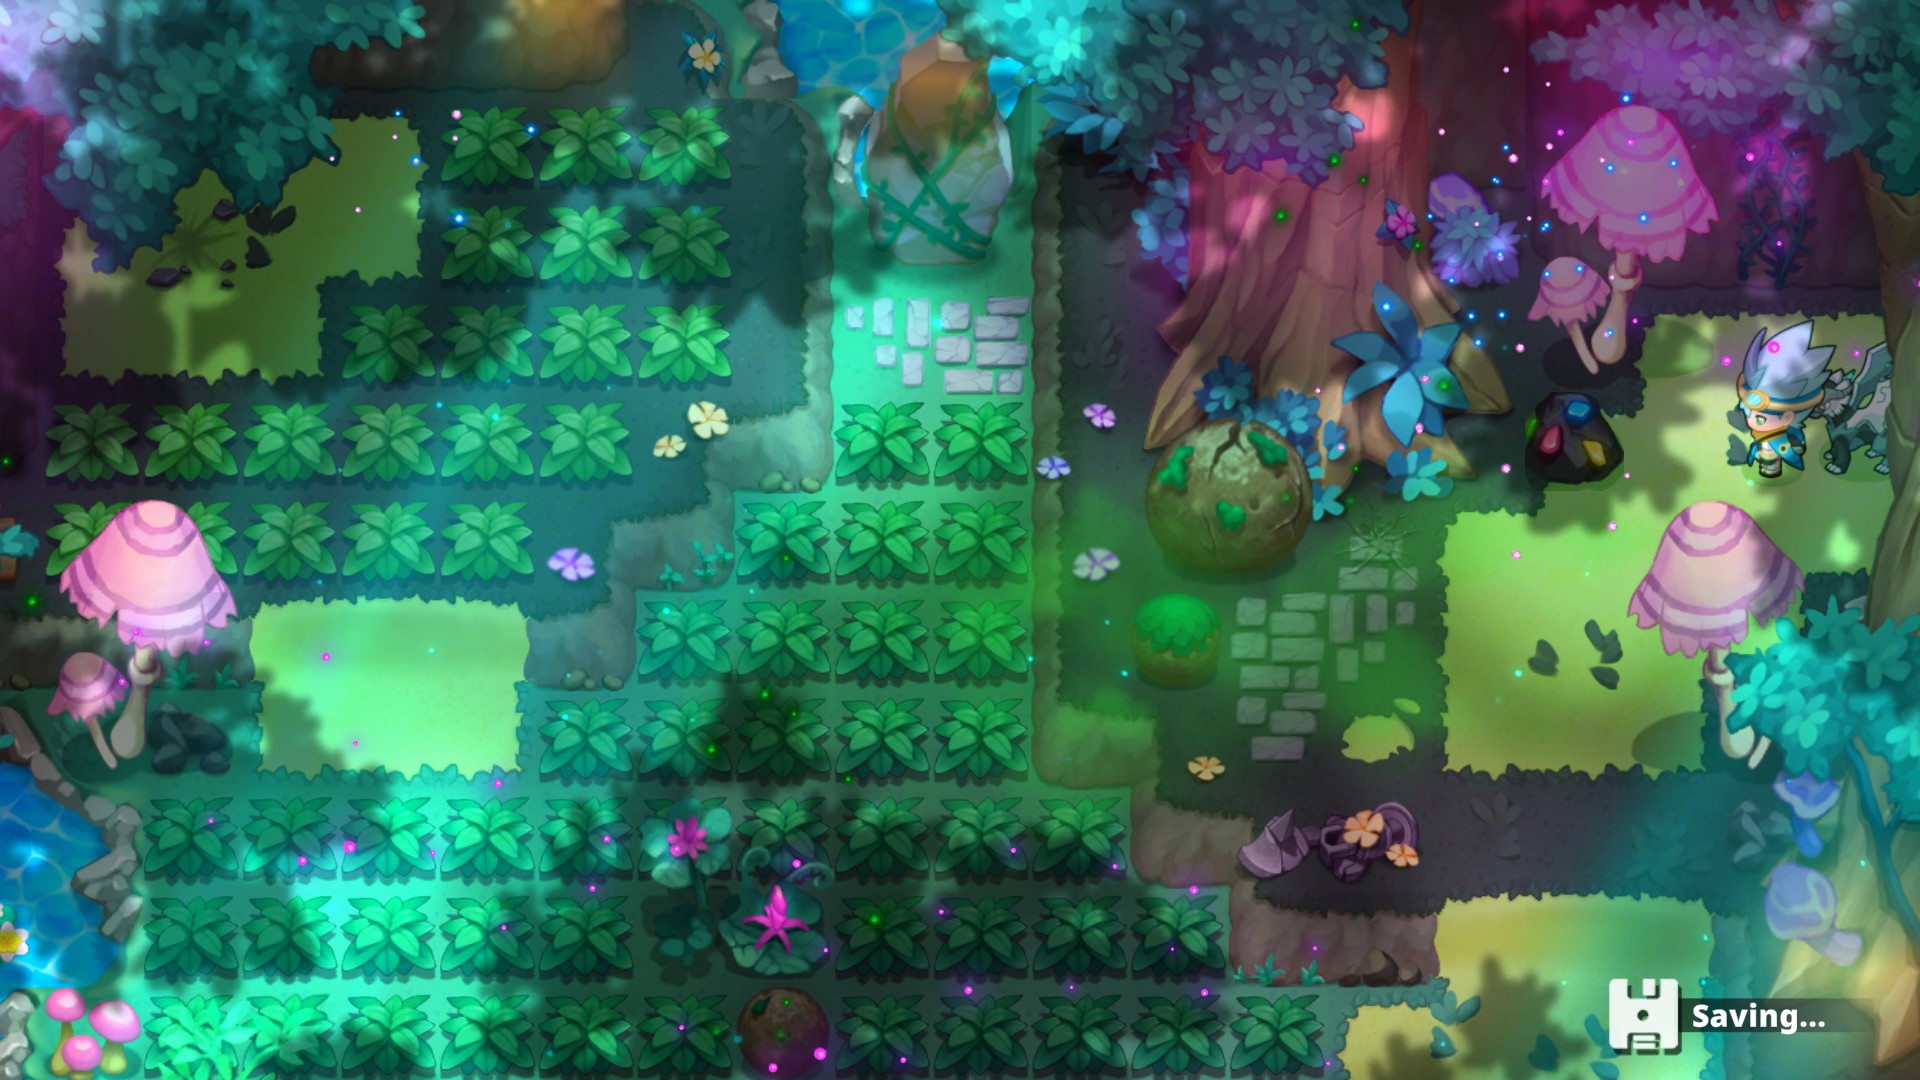
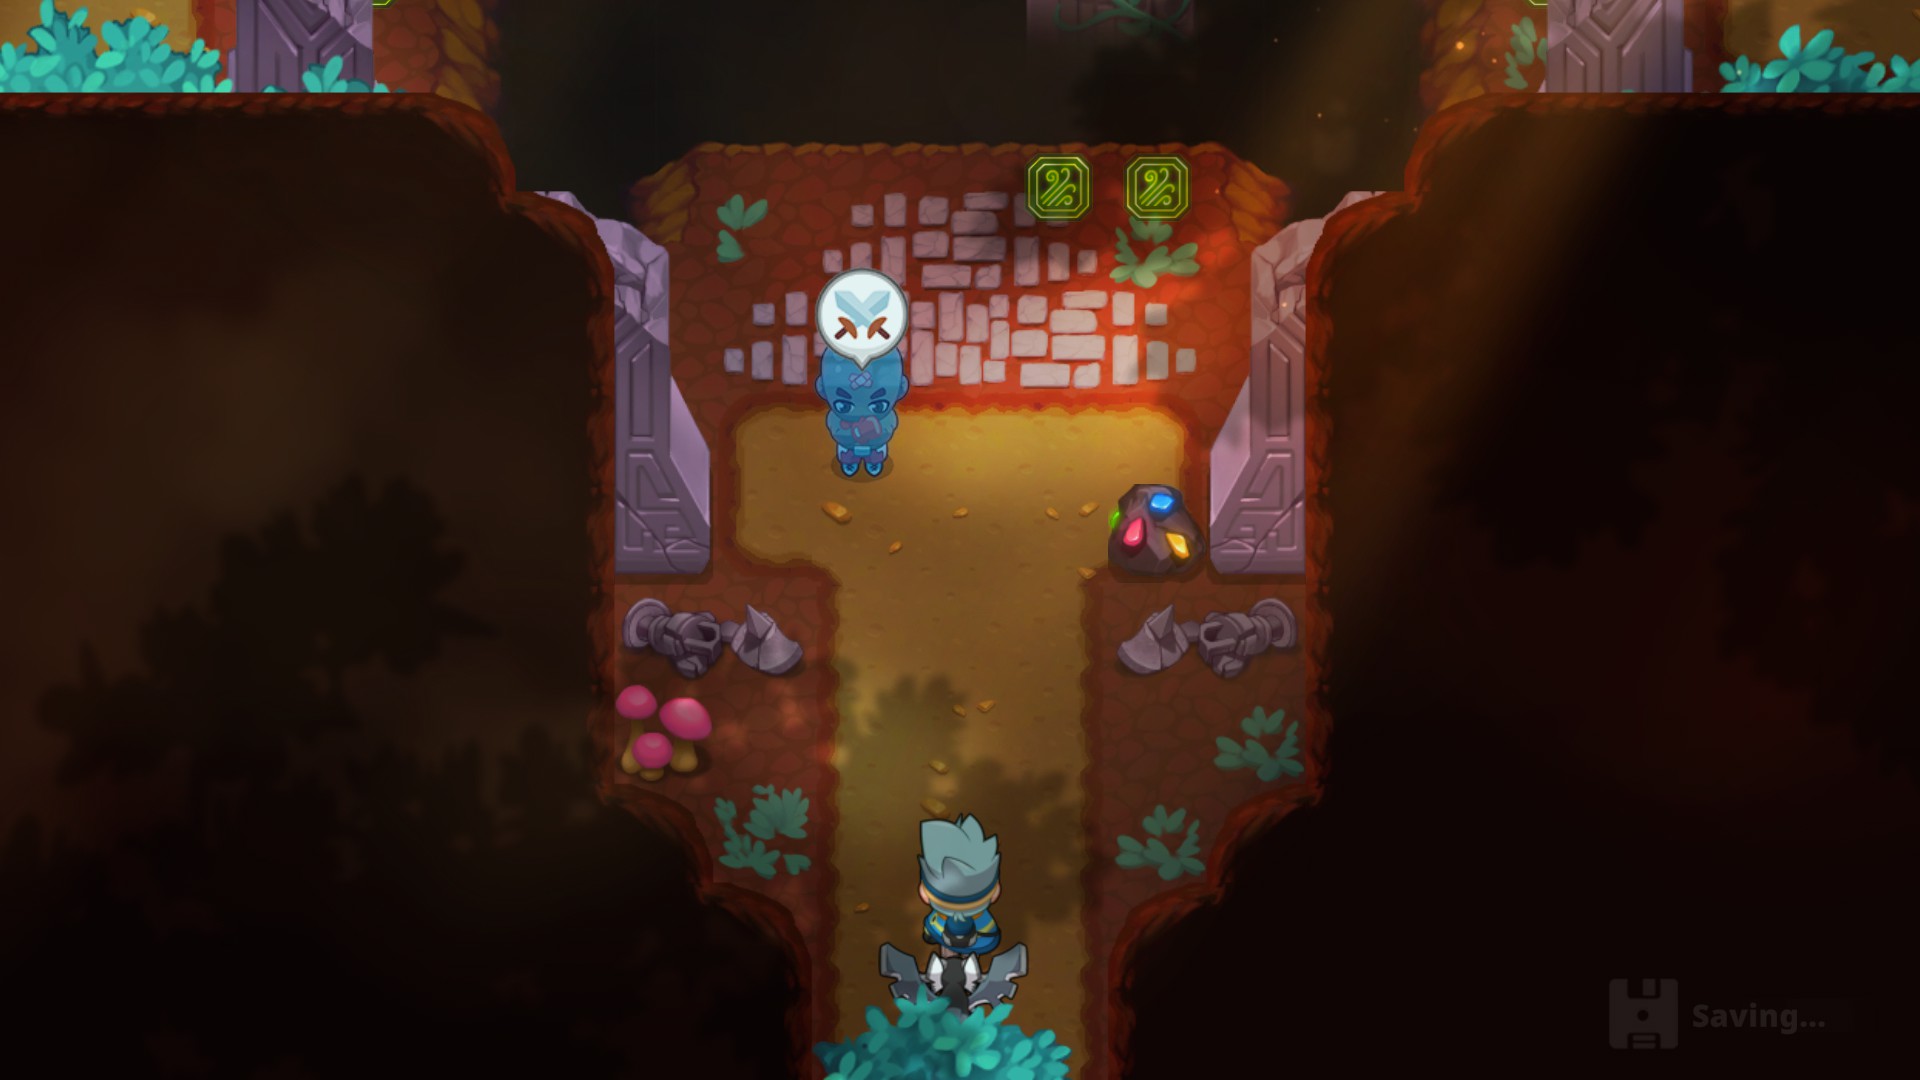
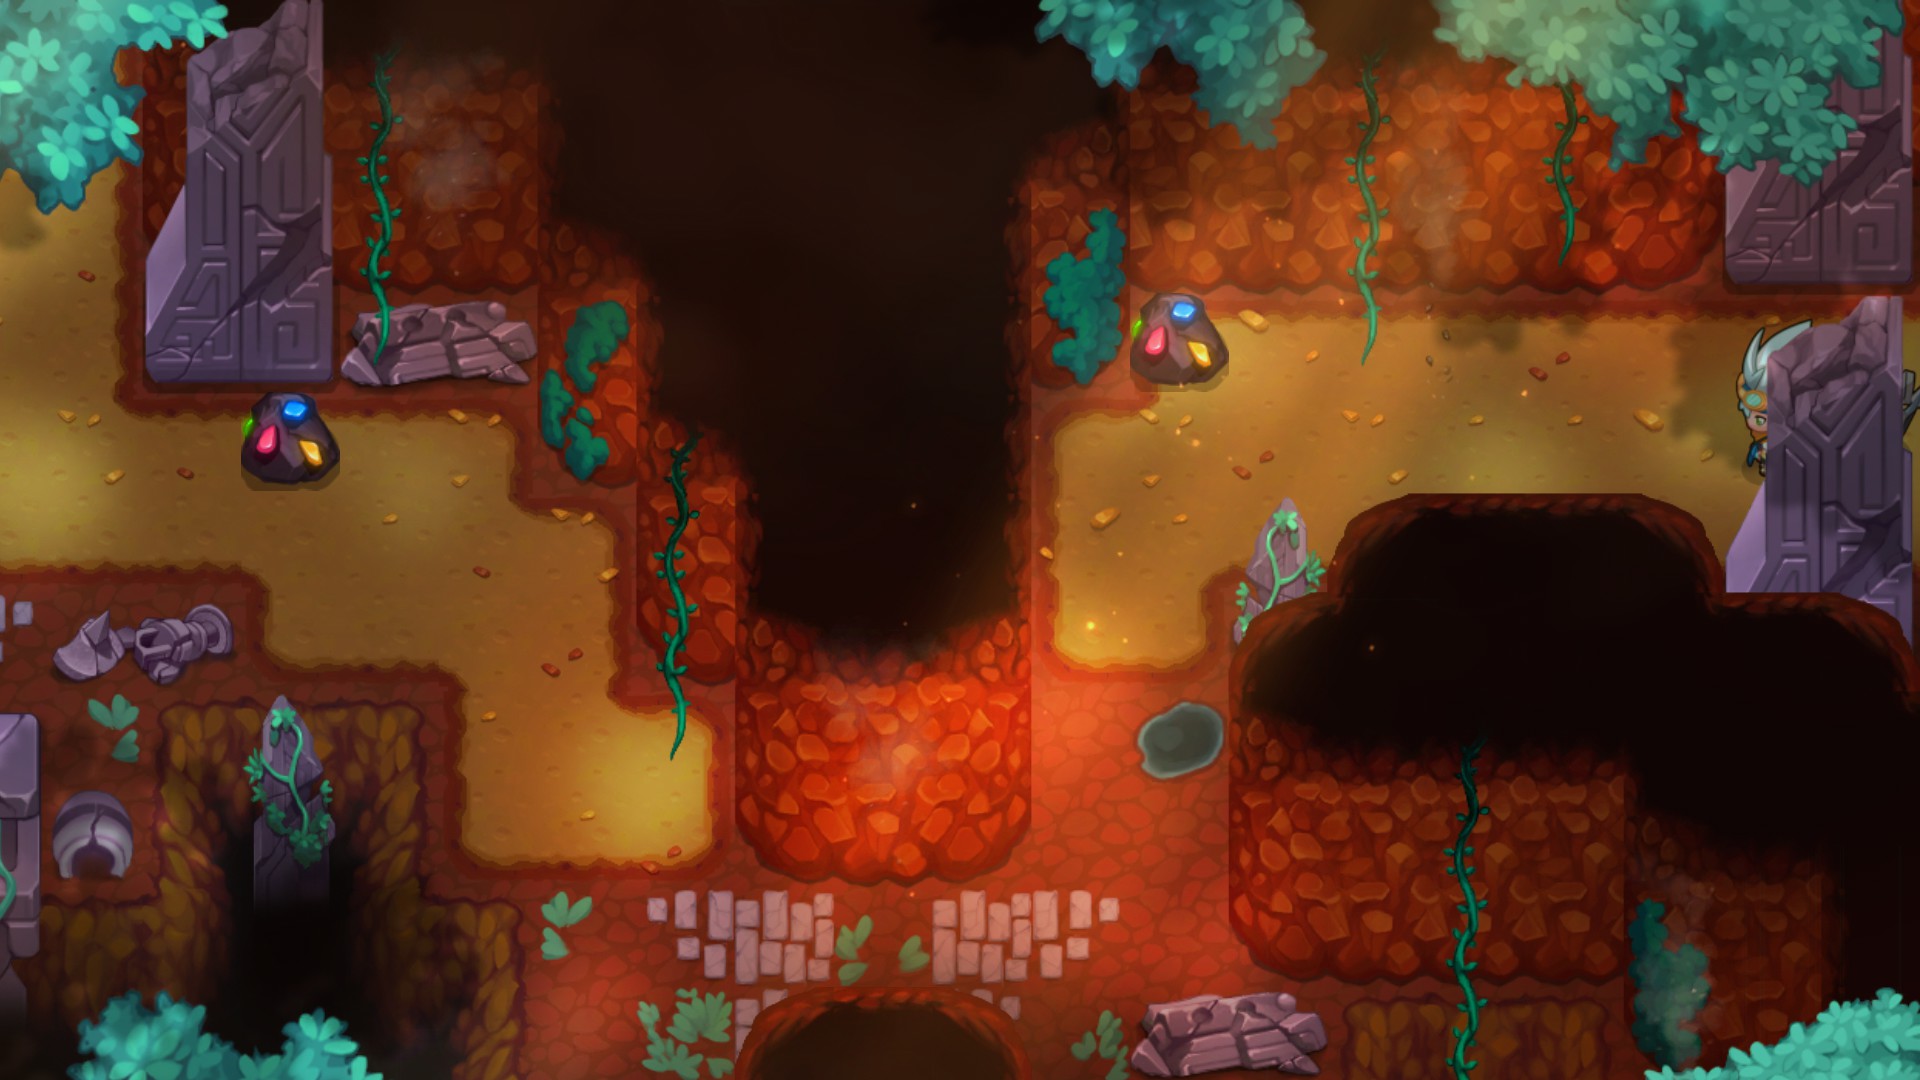
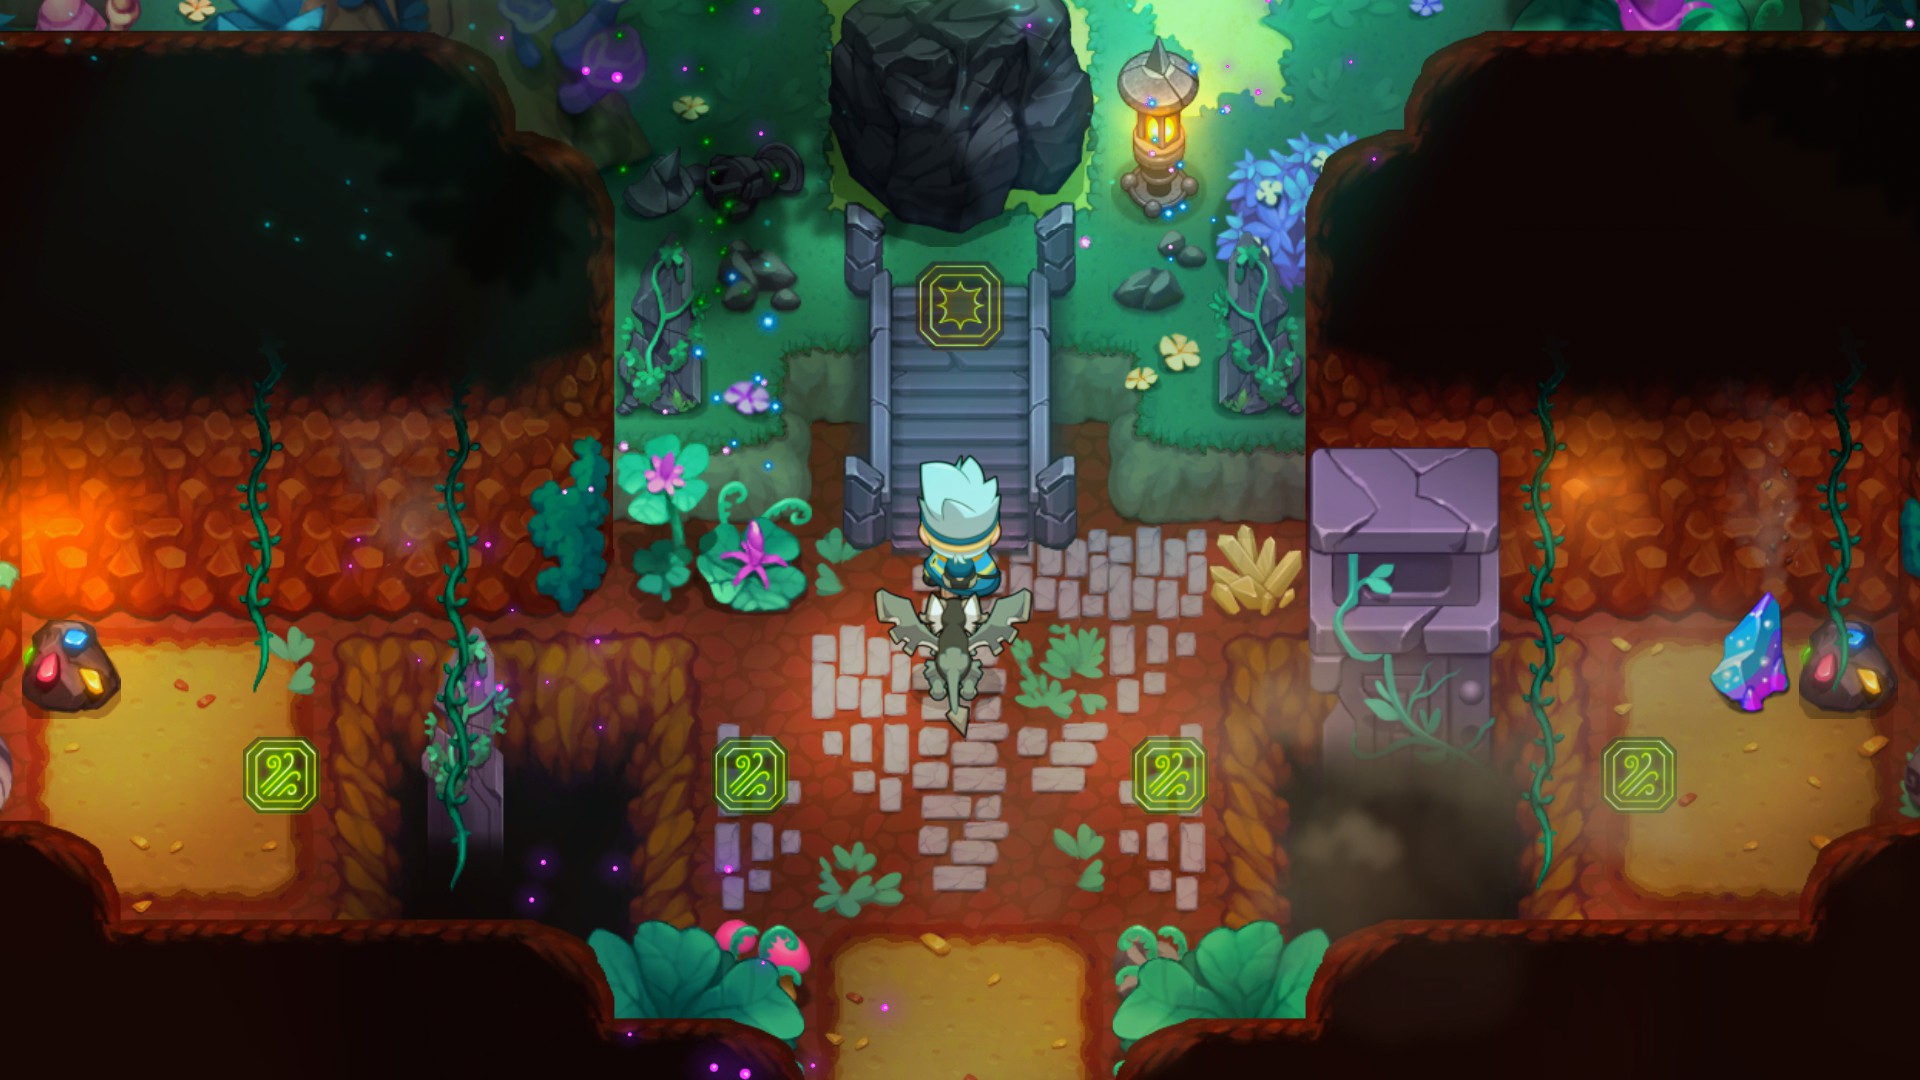
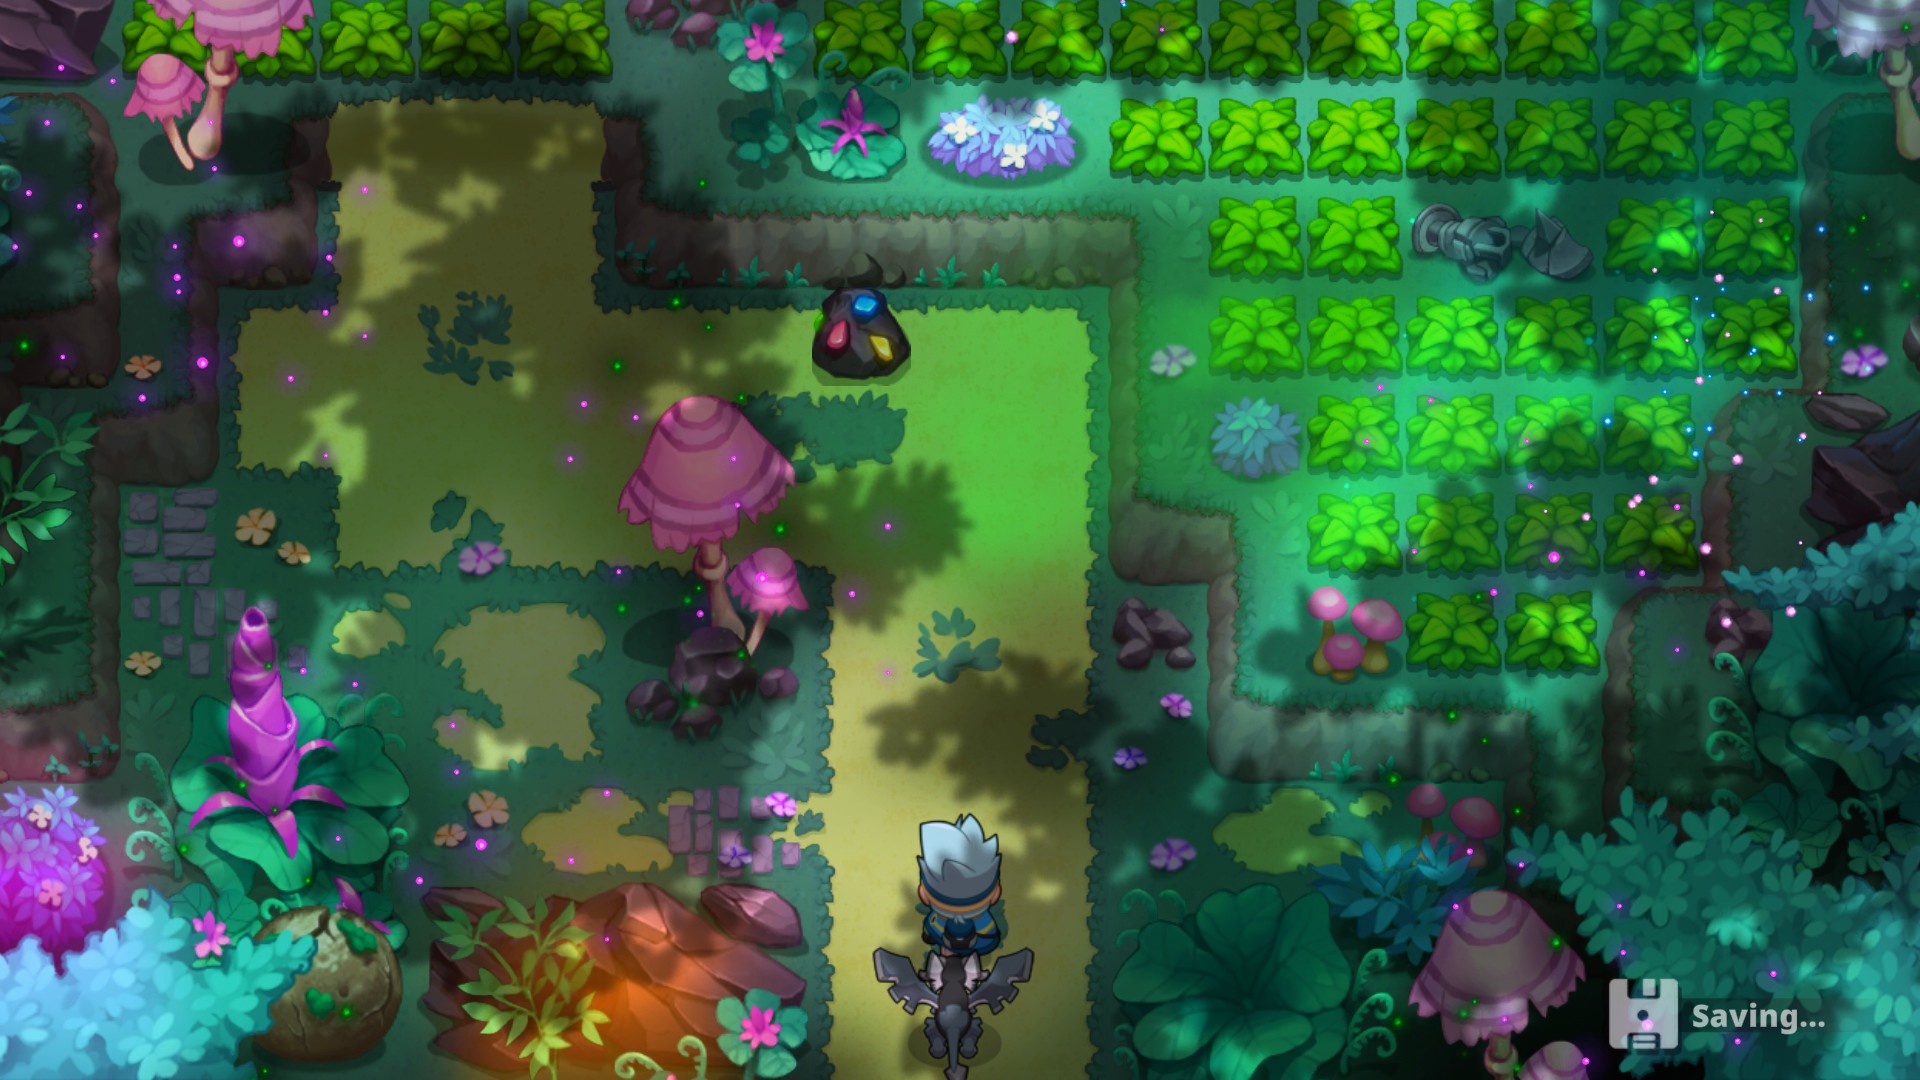
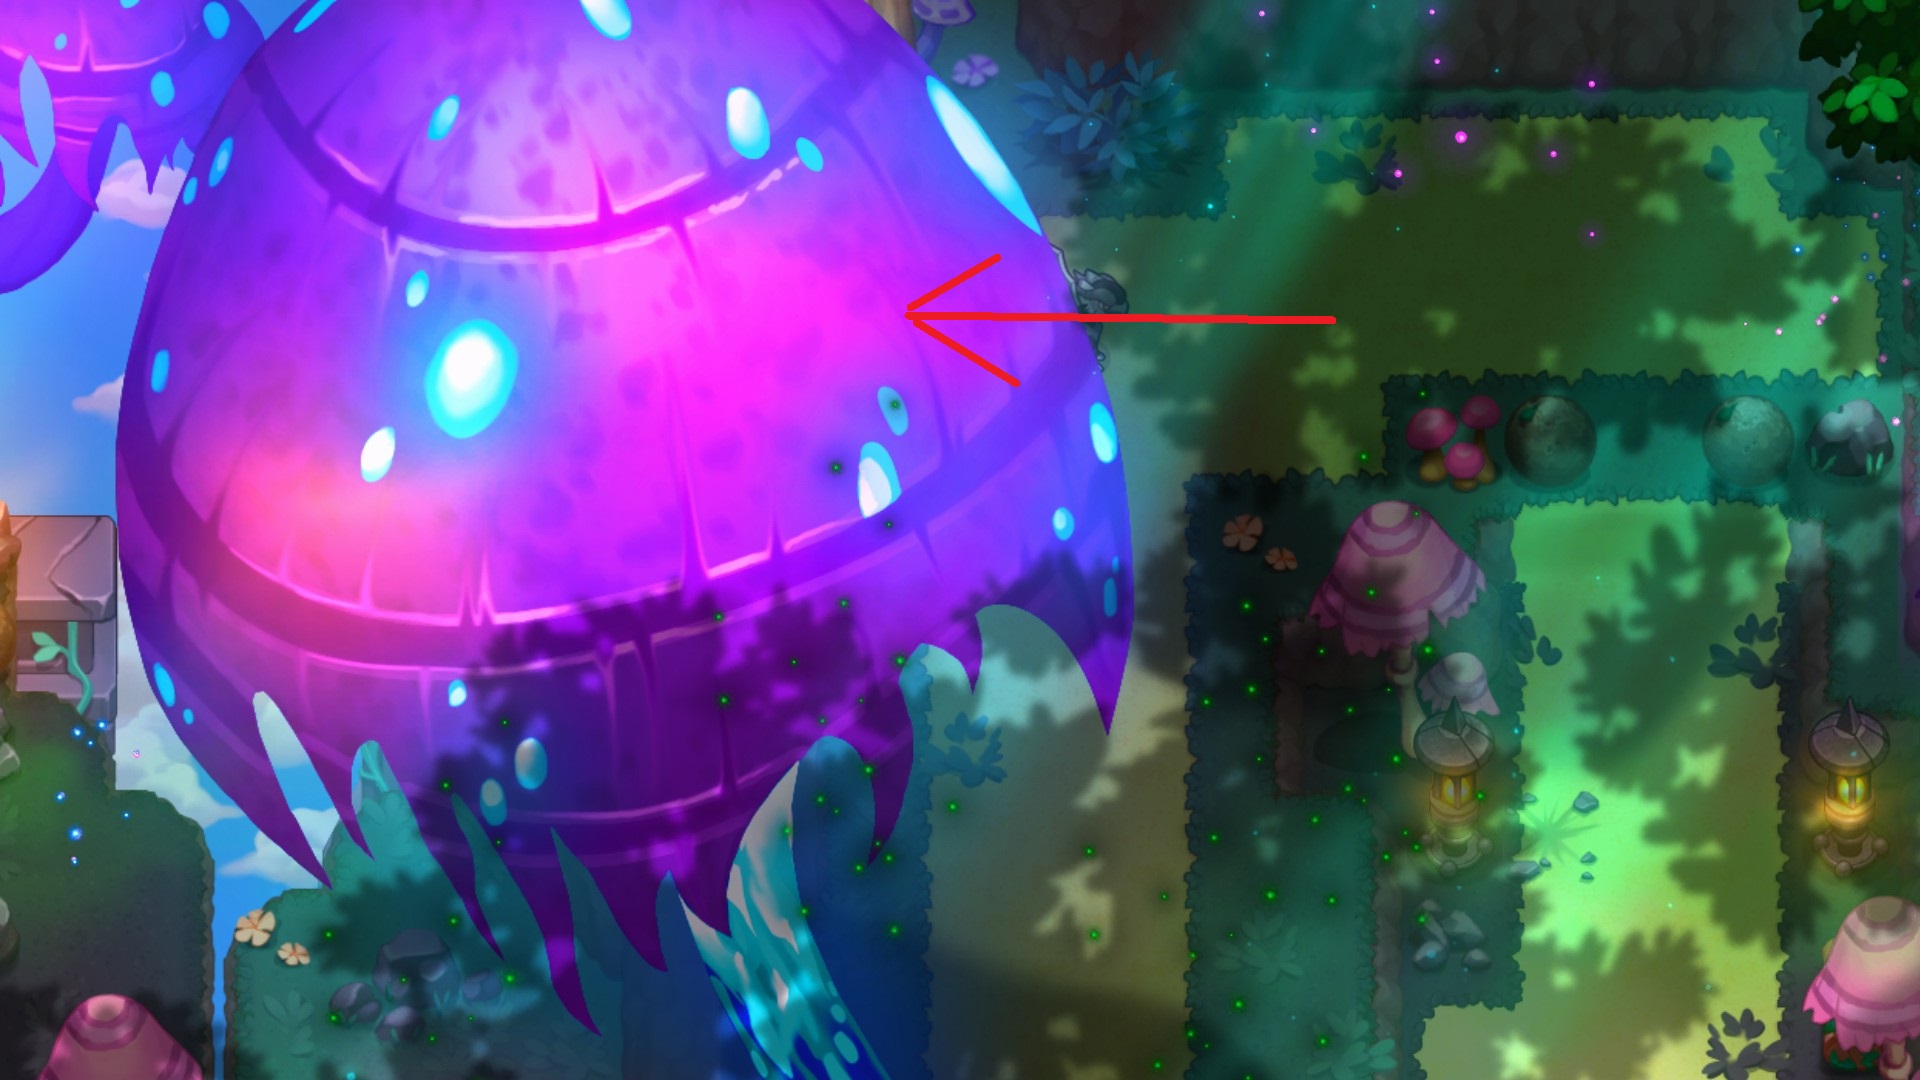
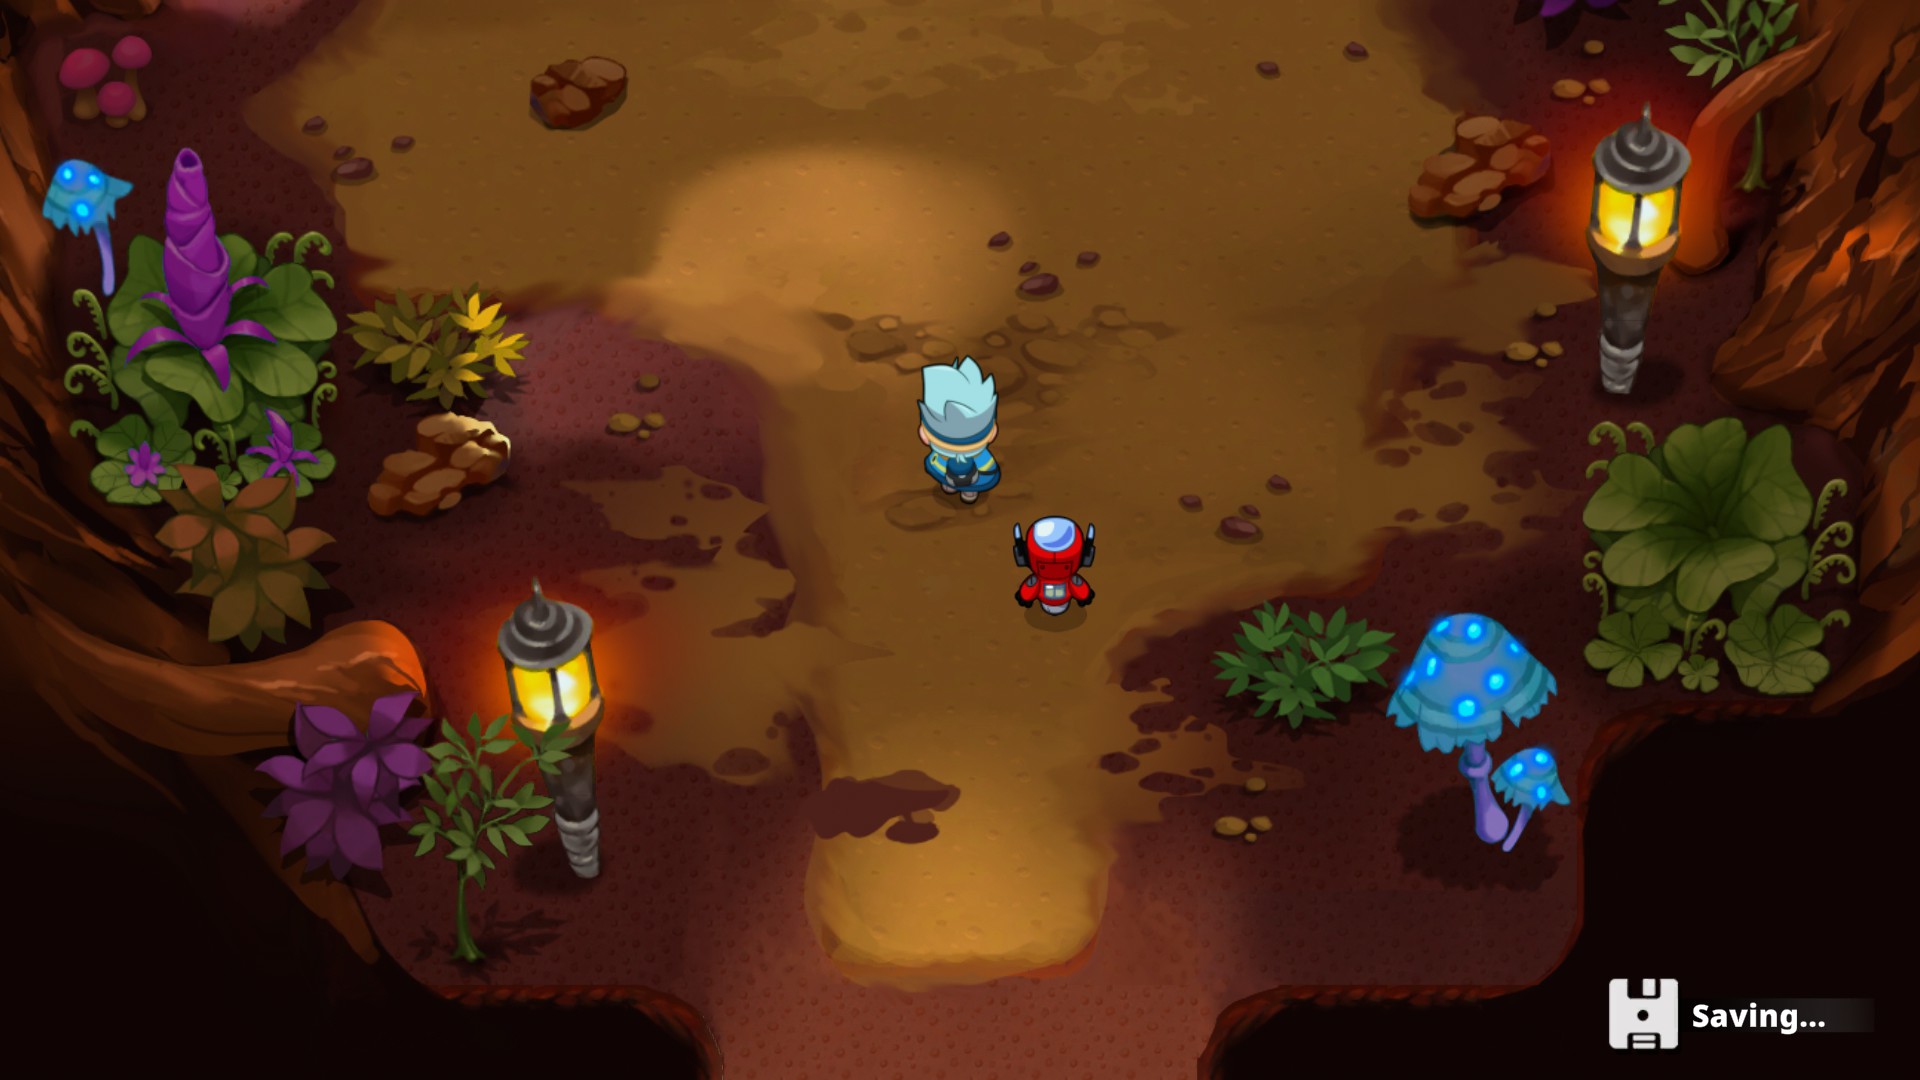
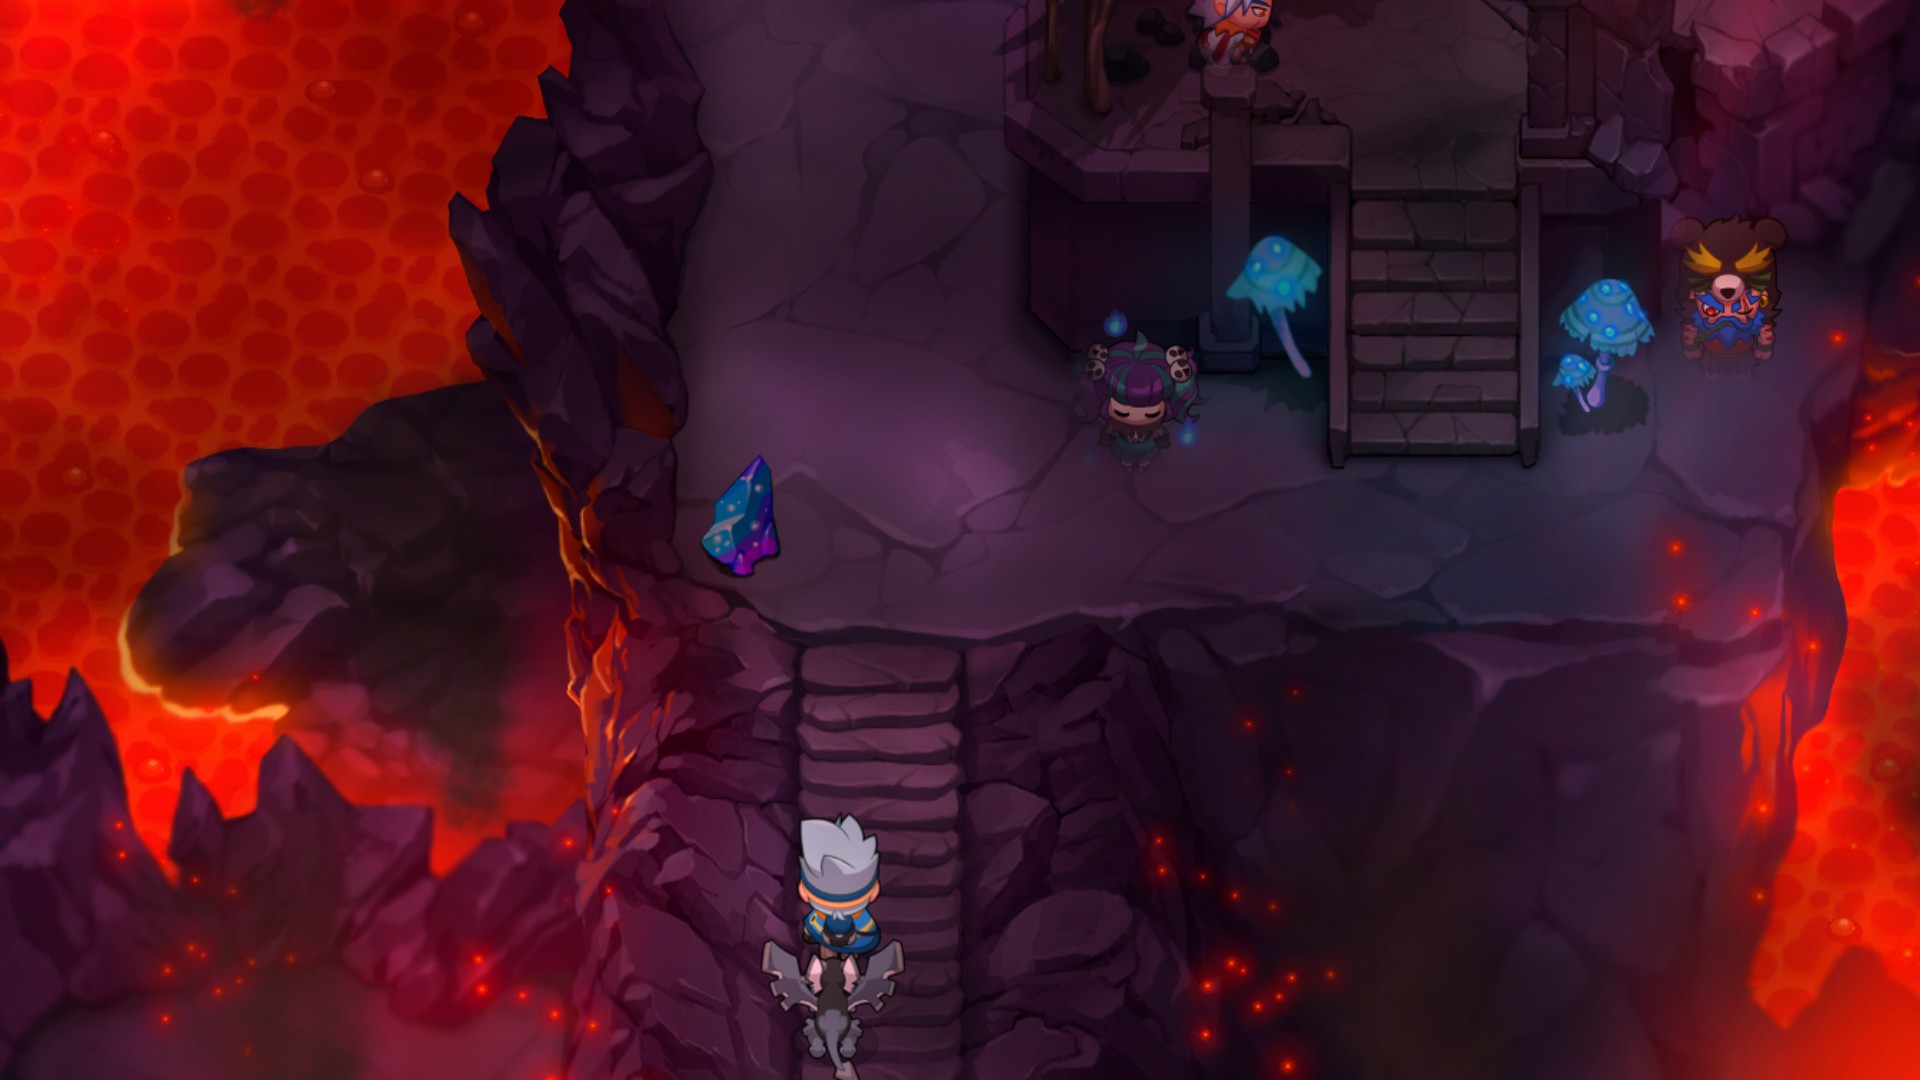
#081 - Ploriol can be caught as well!
Darlot  [author] May 7, 2024 @ 6:58am 
@lazulix tbh i dont know. I never really felt the rarity.
lazulix May 5, 2024 @ 3:07pm 
what about tiers? i mean is ultra rare better than mega rare?
Darlot  [author] Mar 5, 2024 @ 10:09am 
True, but I just took the official one from the games discord. At least they said which color was what :D
martingolding96 Mar 5, 2024 @ 2:36am 
The Elemental chart was confusing at first as normally people do it left to right as offense
Darlot  [author] Feb 20, 2024 @ 6:49am 
That was the number they had ingame. Dunno if that changed, since I didn't play the game lately.
martingolding96 Feb 20, 2024 @ 6:33am 
Why are Sidequests given a 3 digit number when in game they are only 2 digits with a blue star to diffrentiate them?
demonlady84 Apr 2, 2023 @ 9:53am 
Hey, I encountered a Tantrunt at Desert East - Southeast of Bridge - that's where the Camp is.
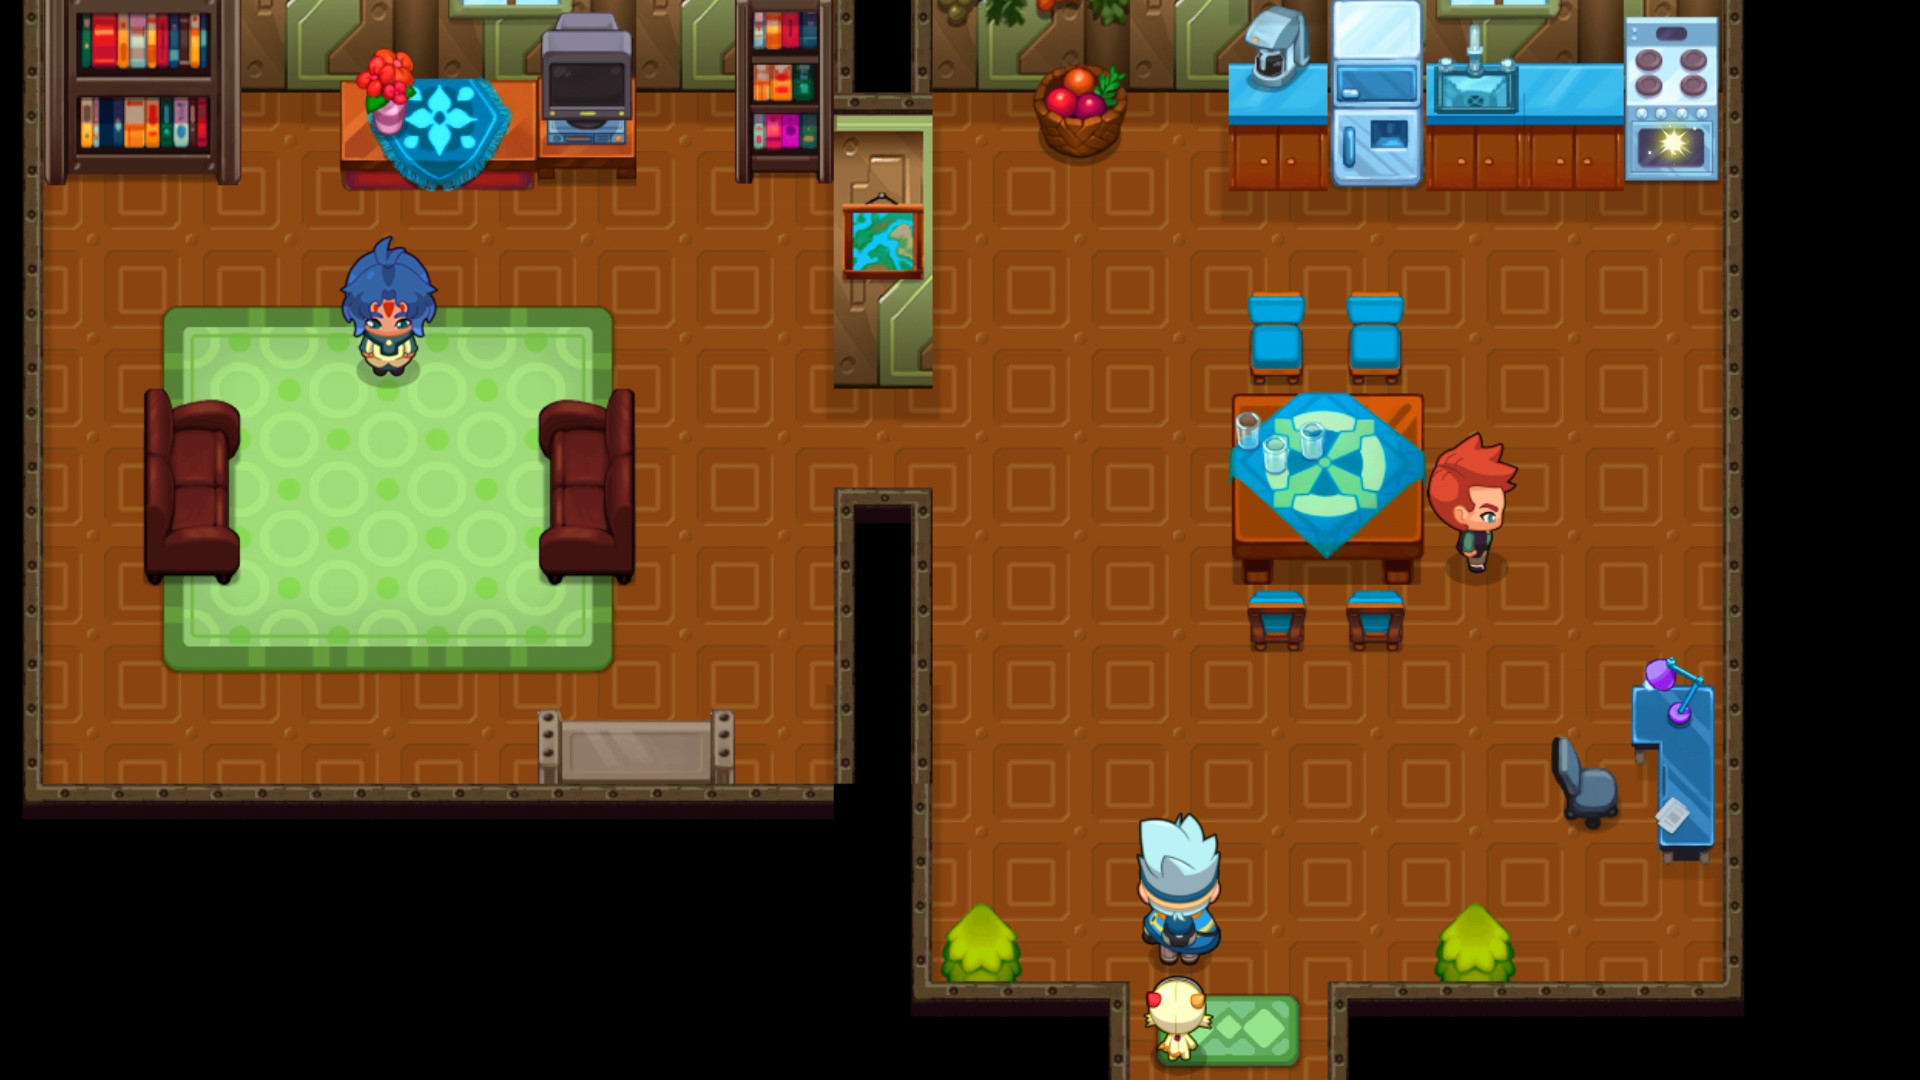
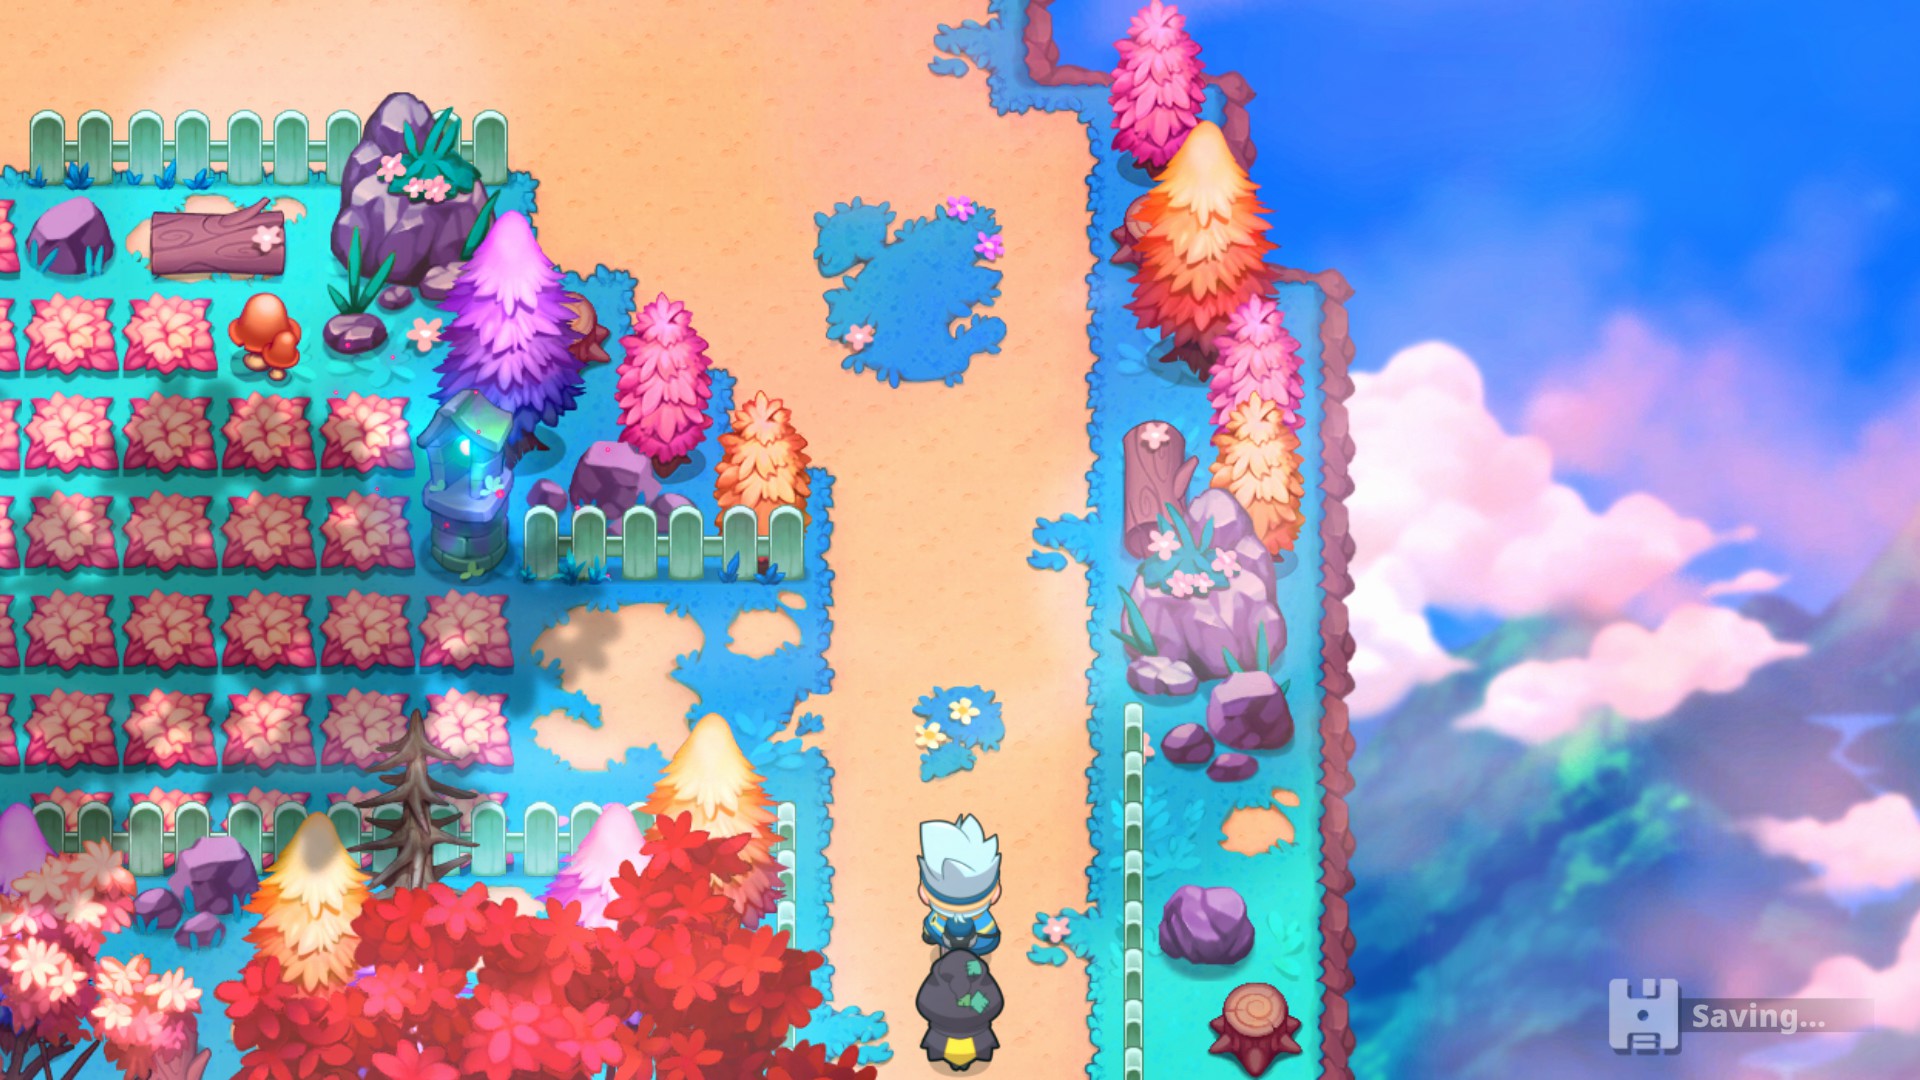
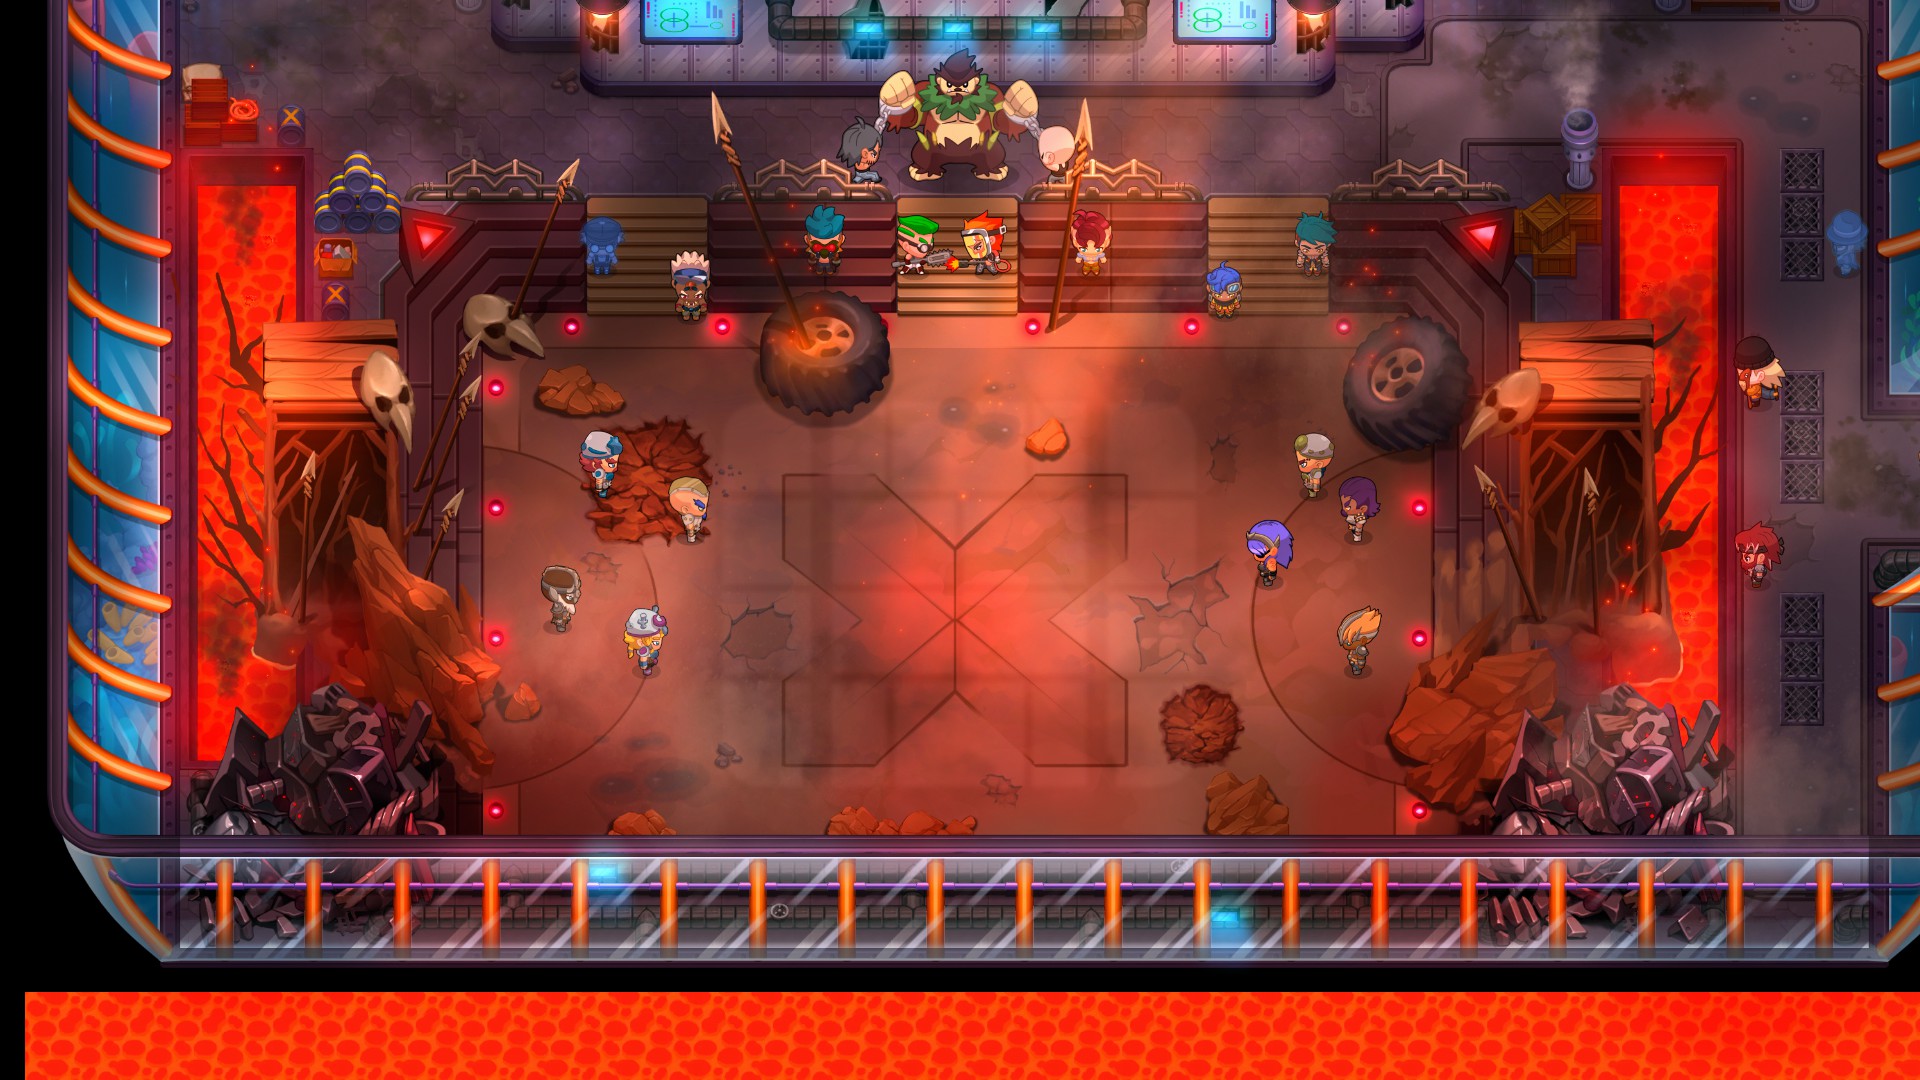
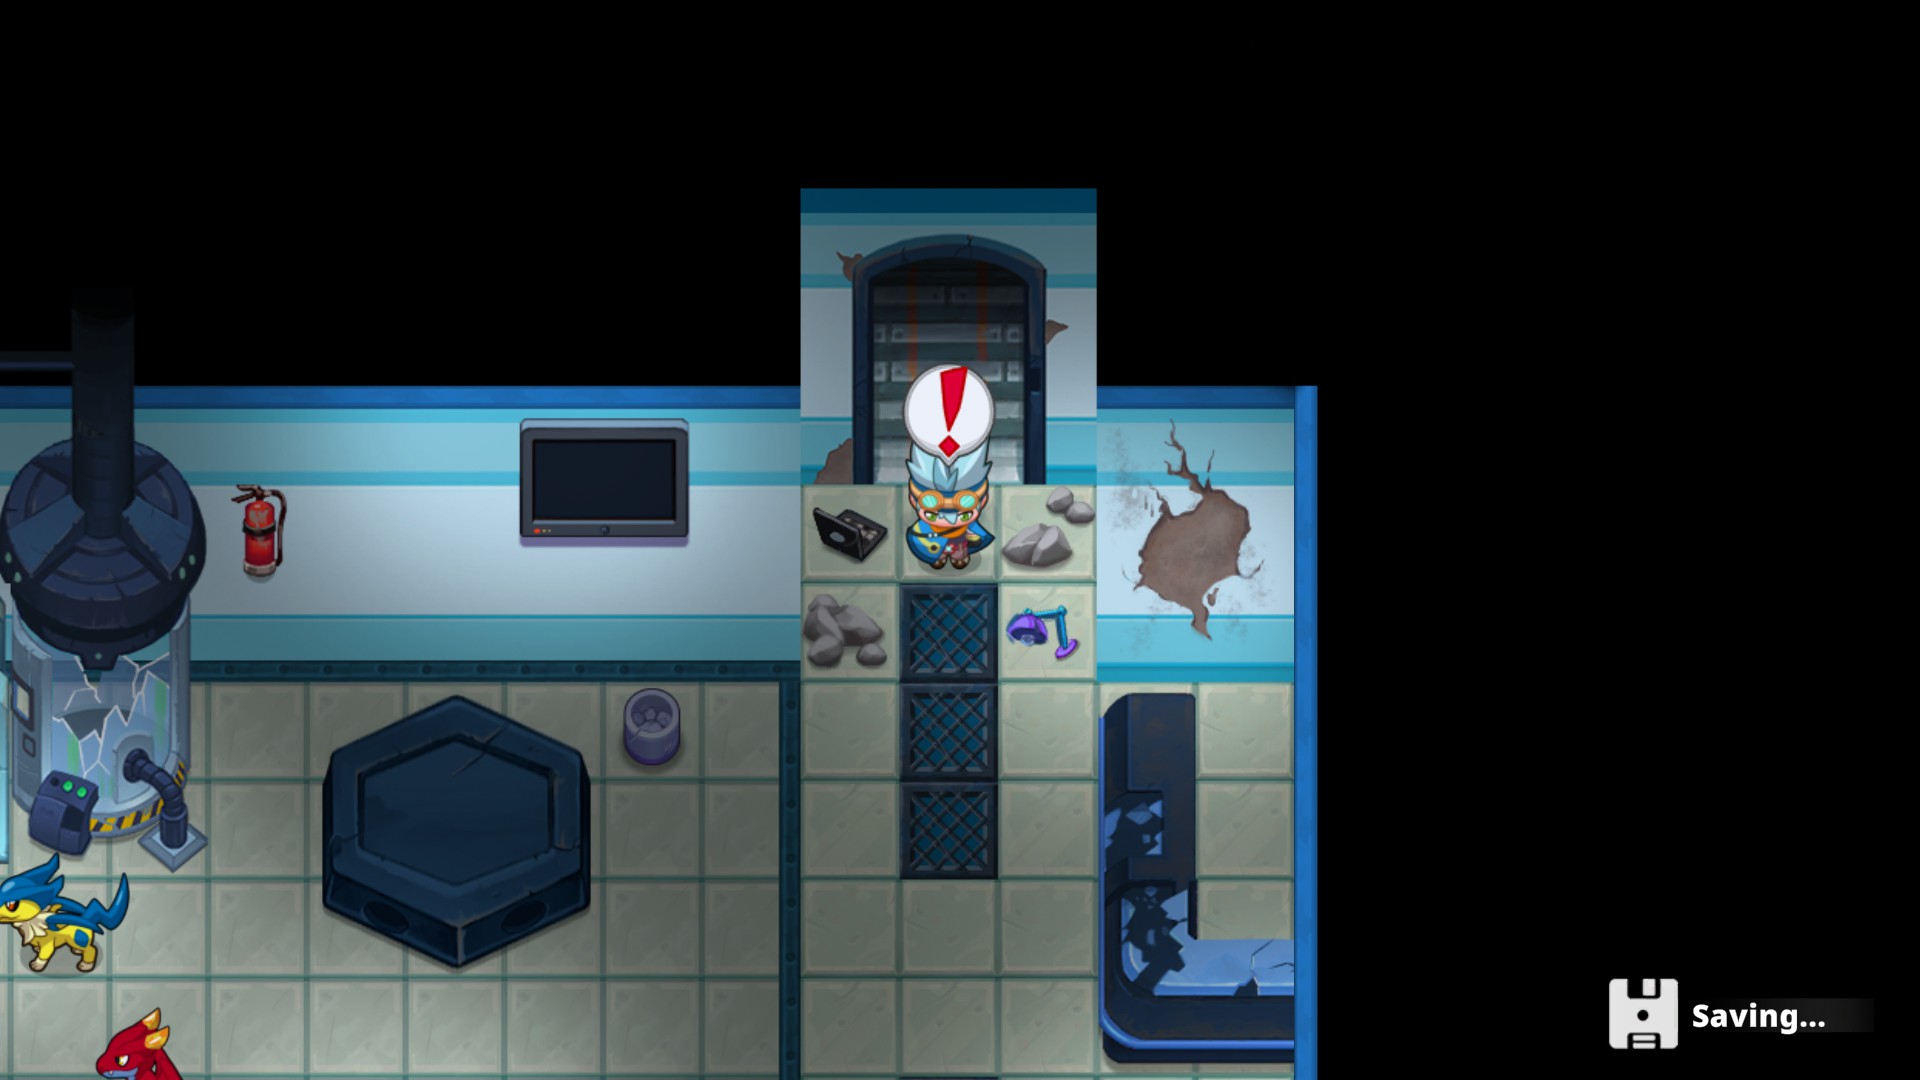
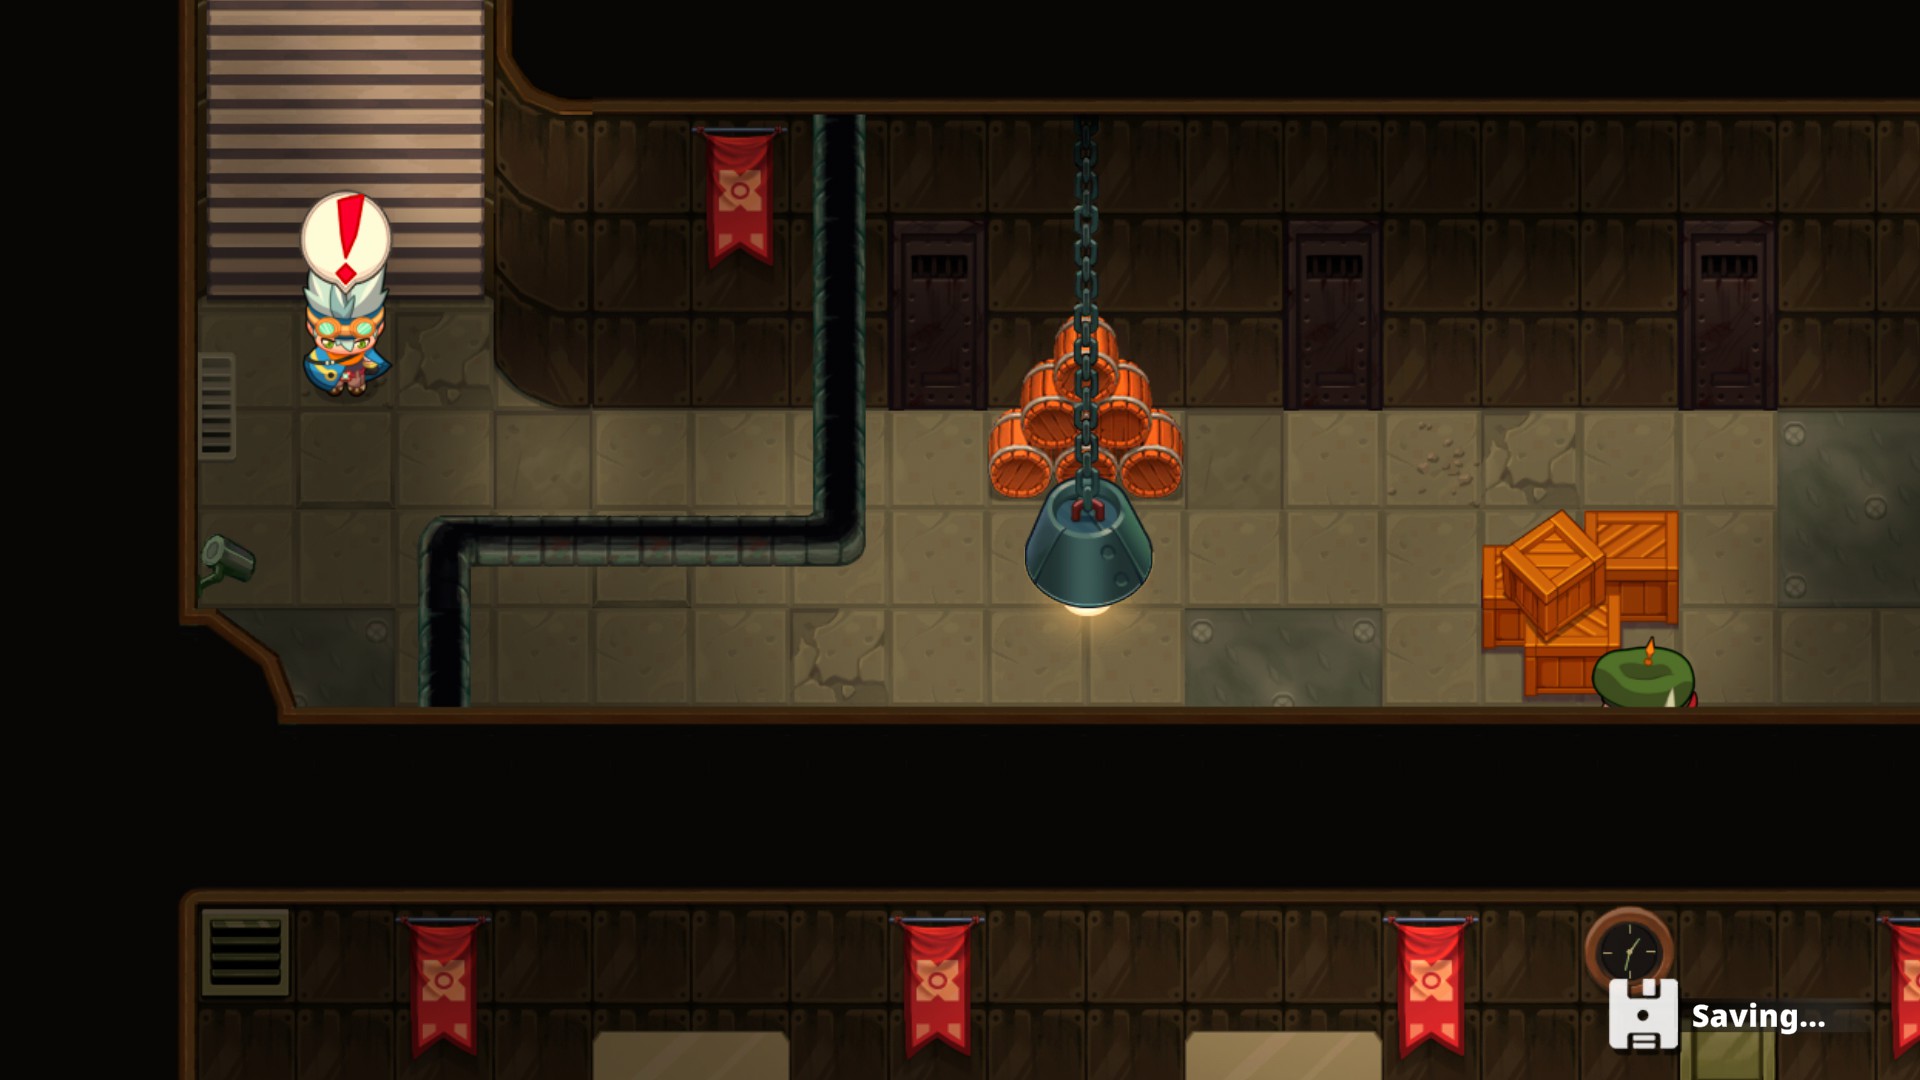
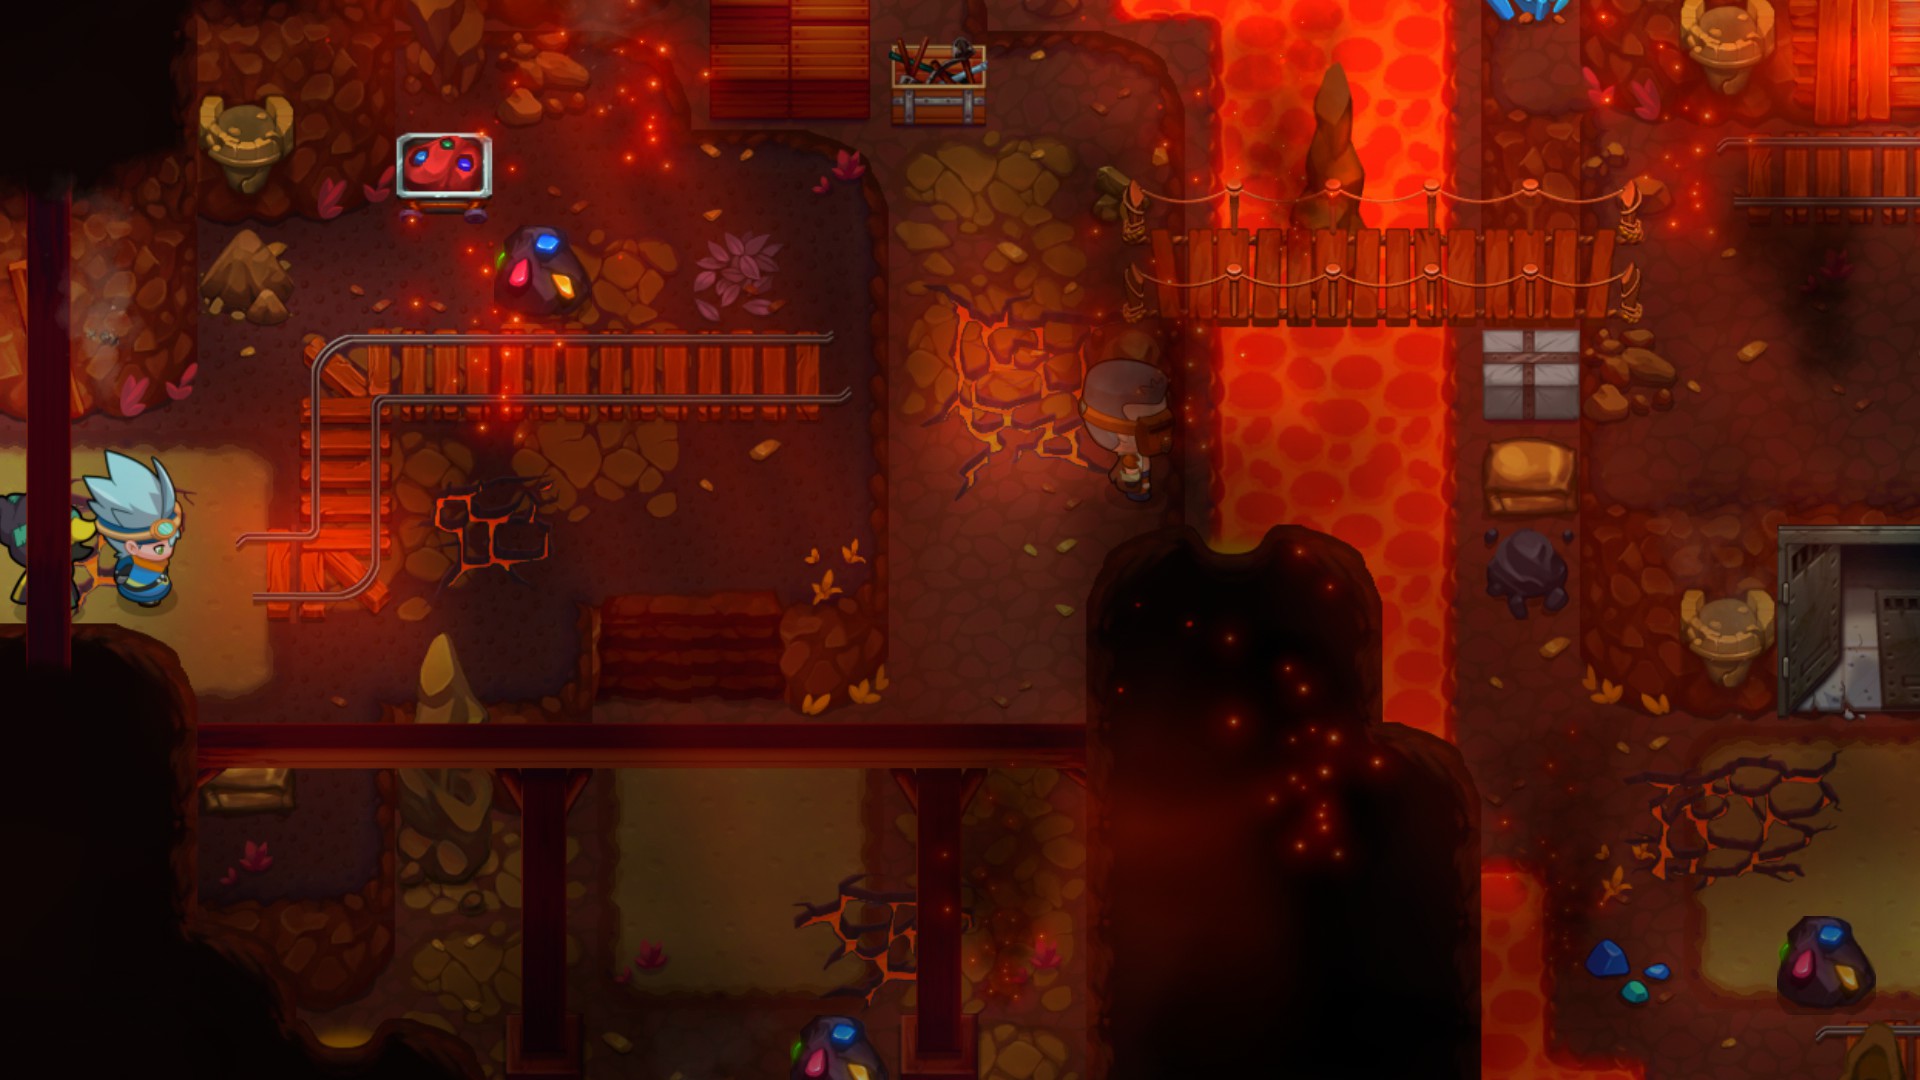
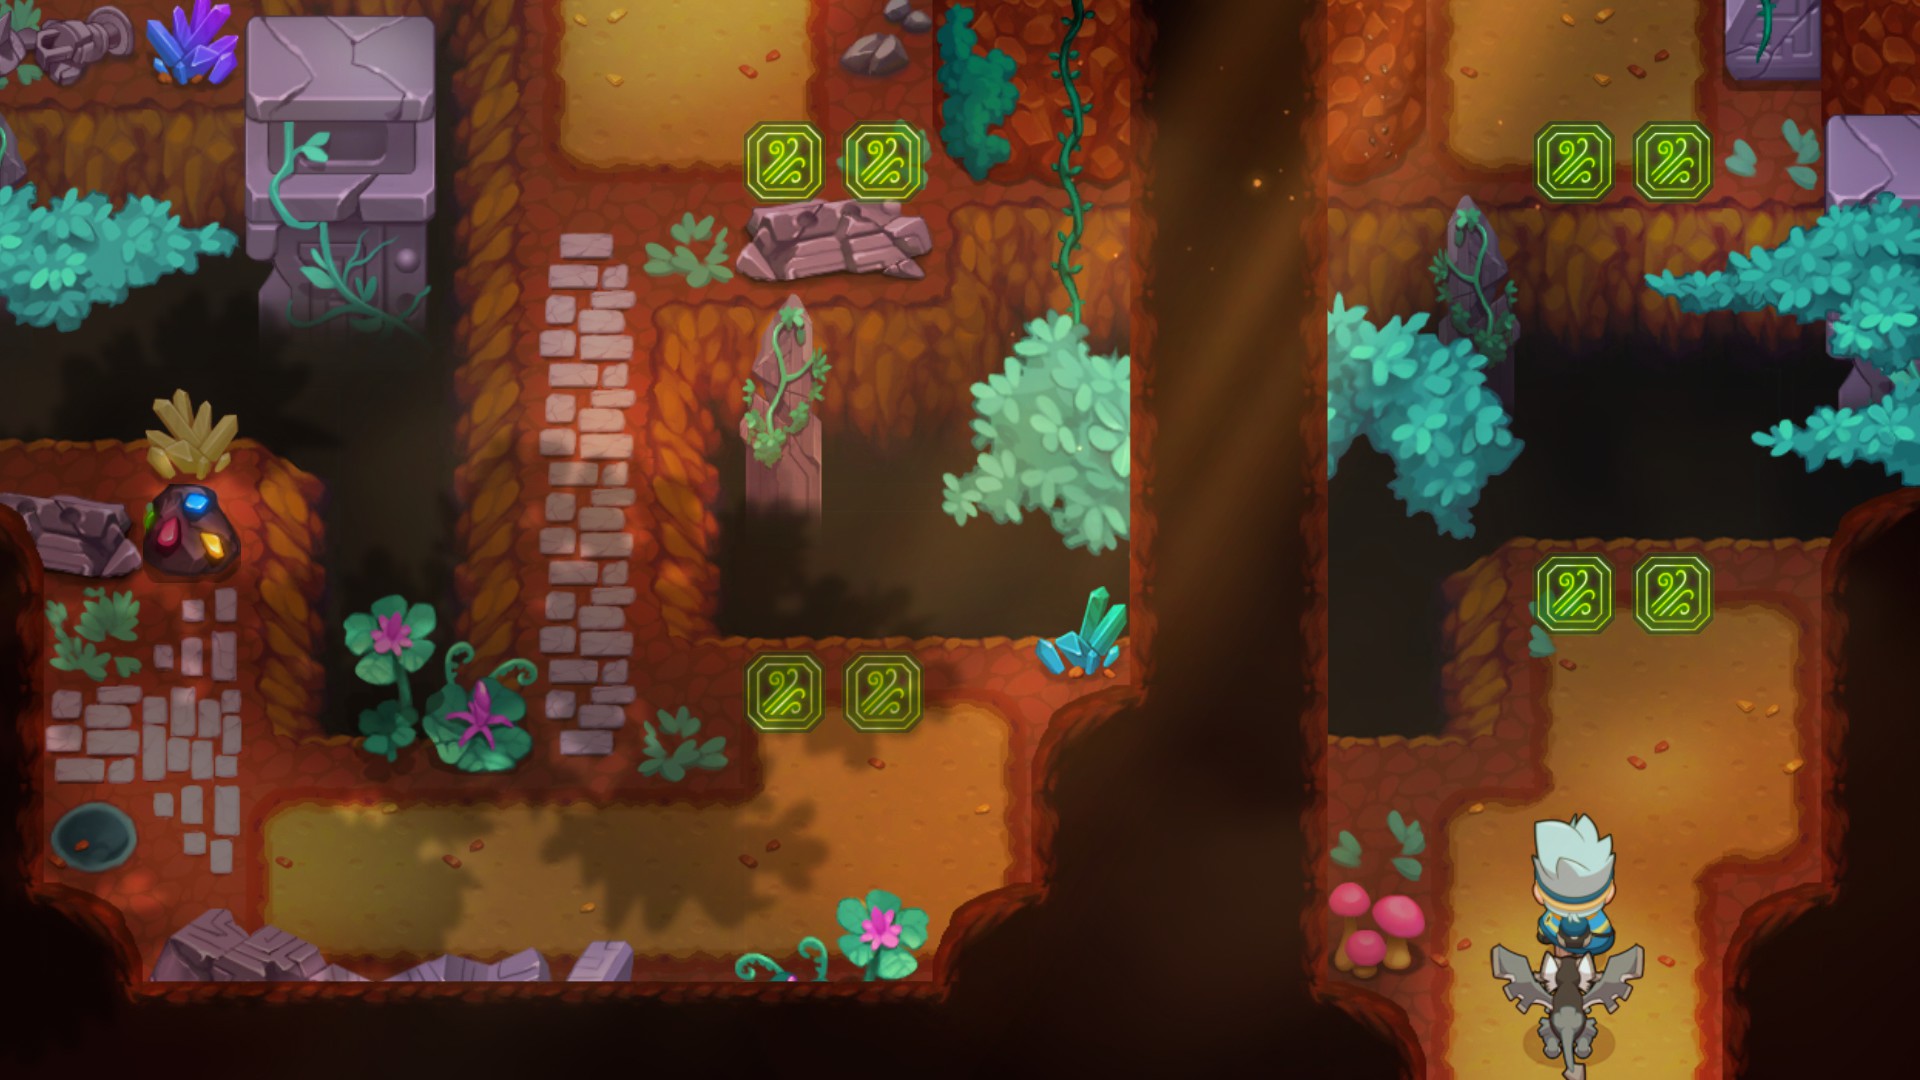
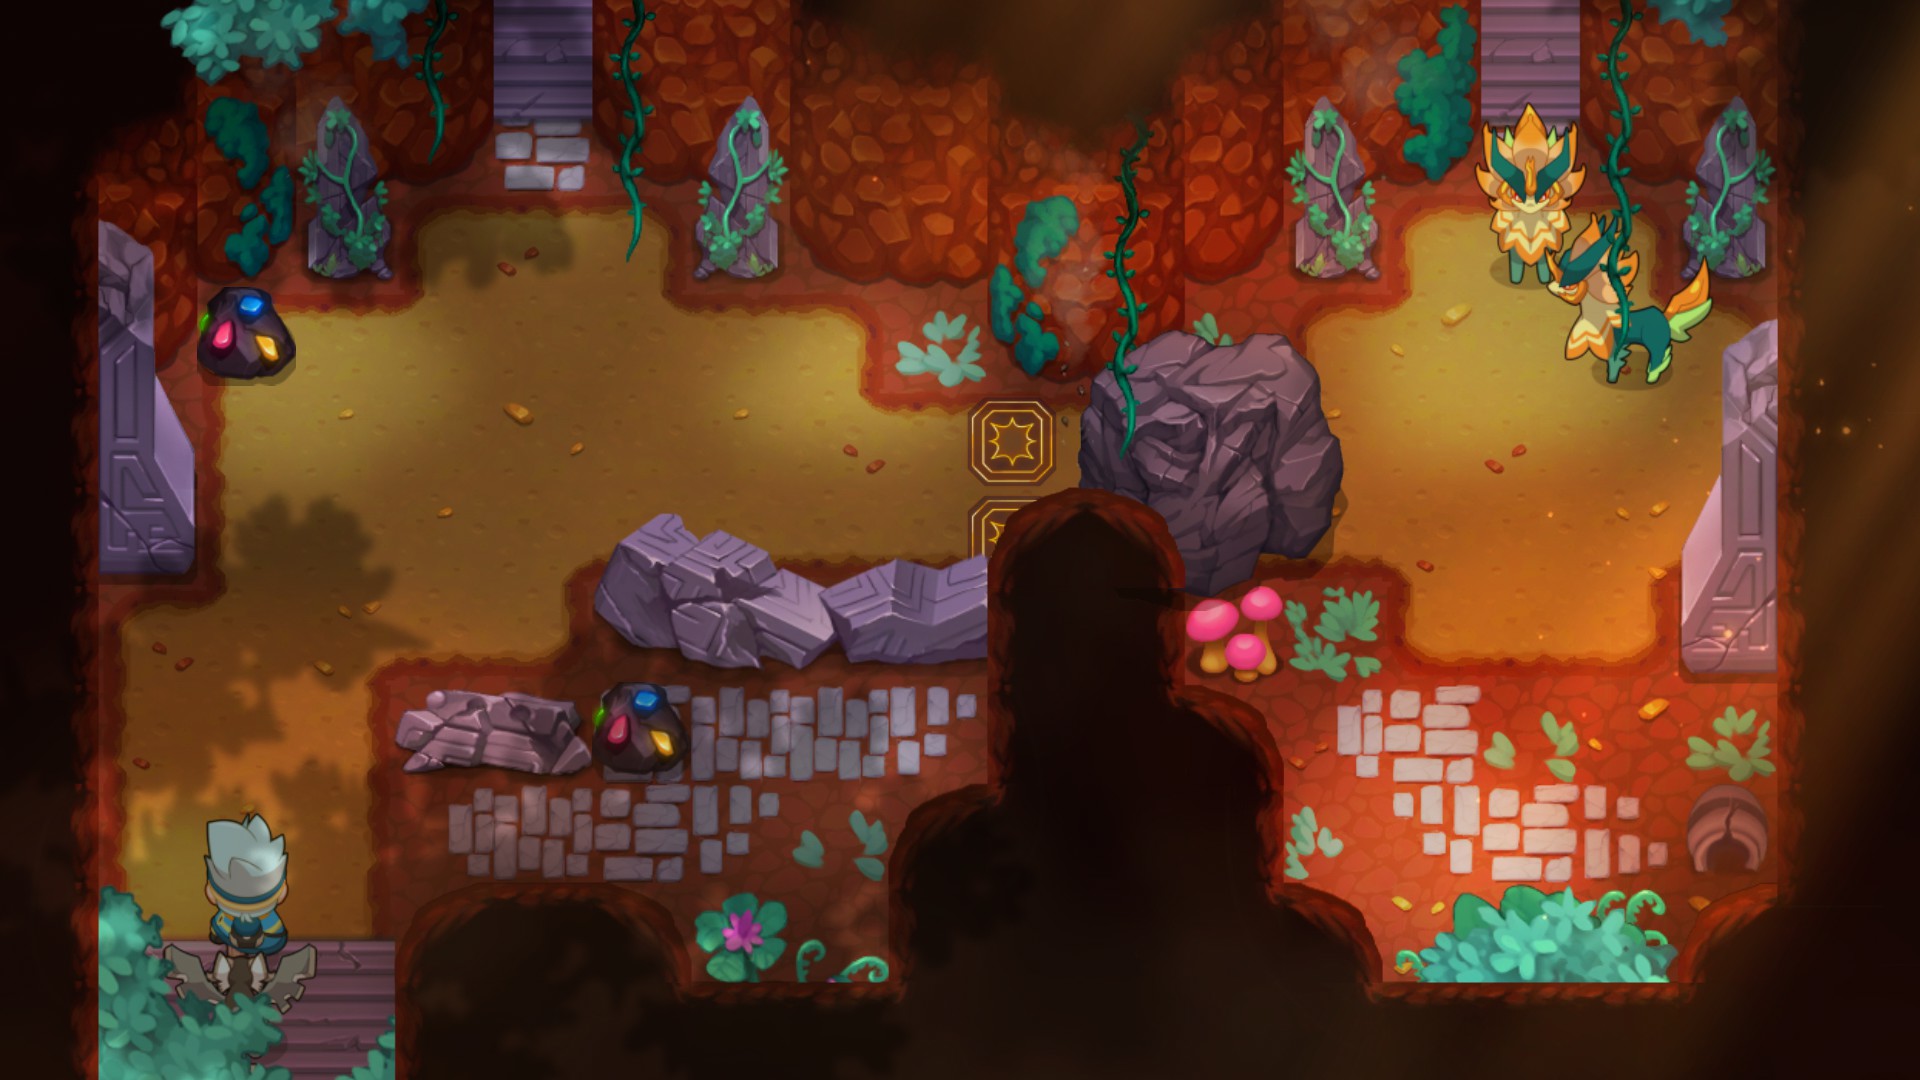
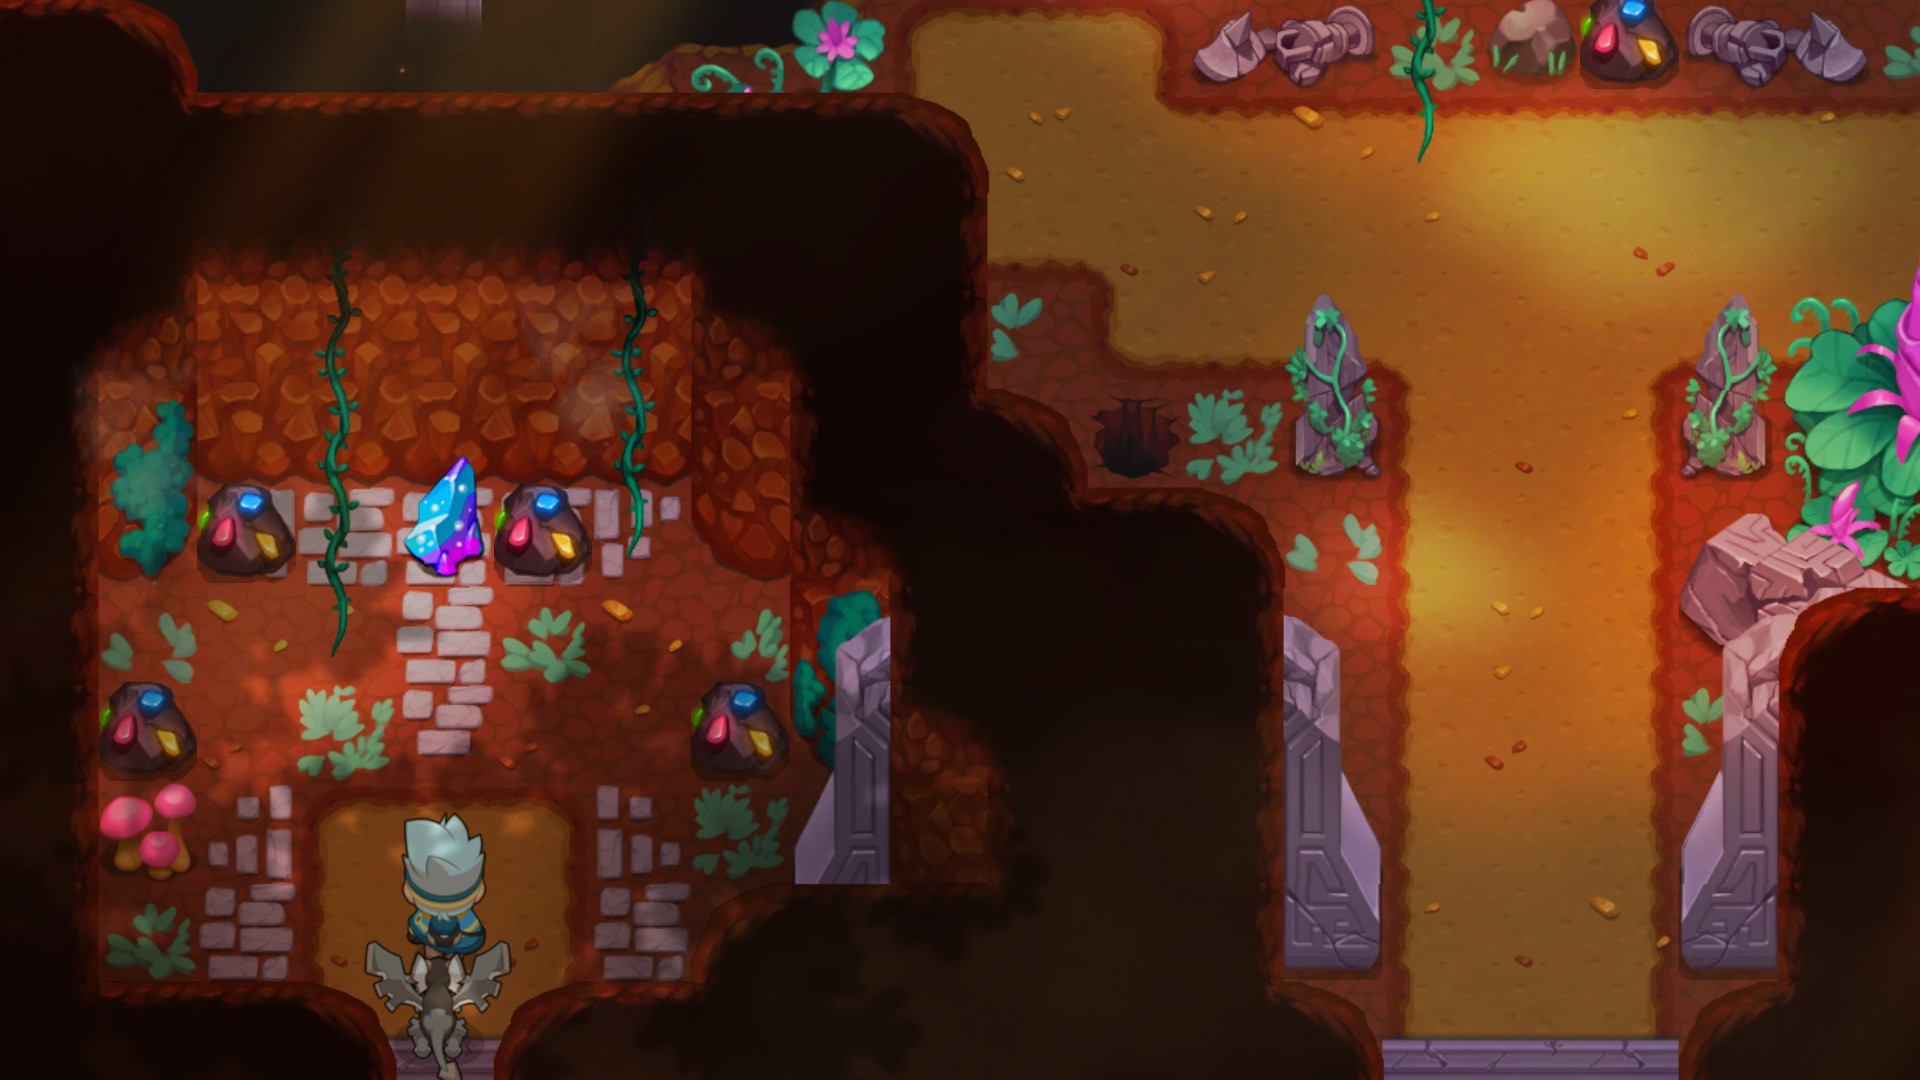
I've beaten the game already and don't know if it's there before the Camp is destroyed.
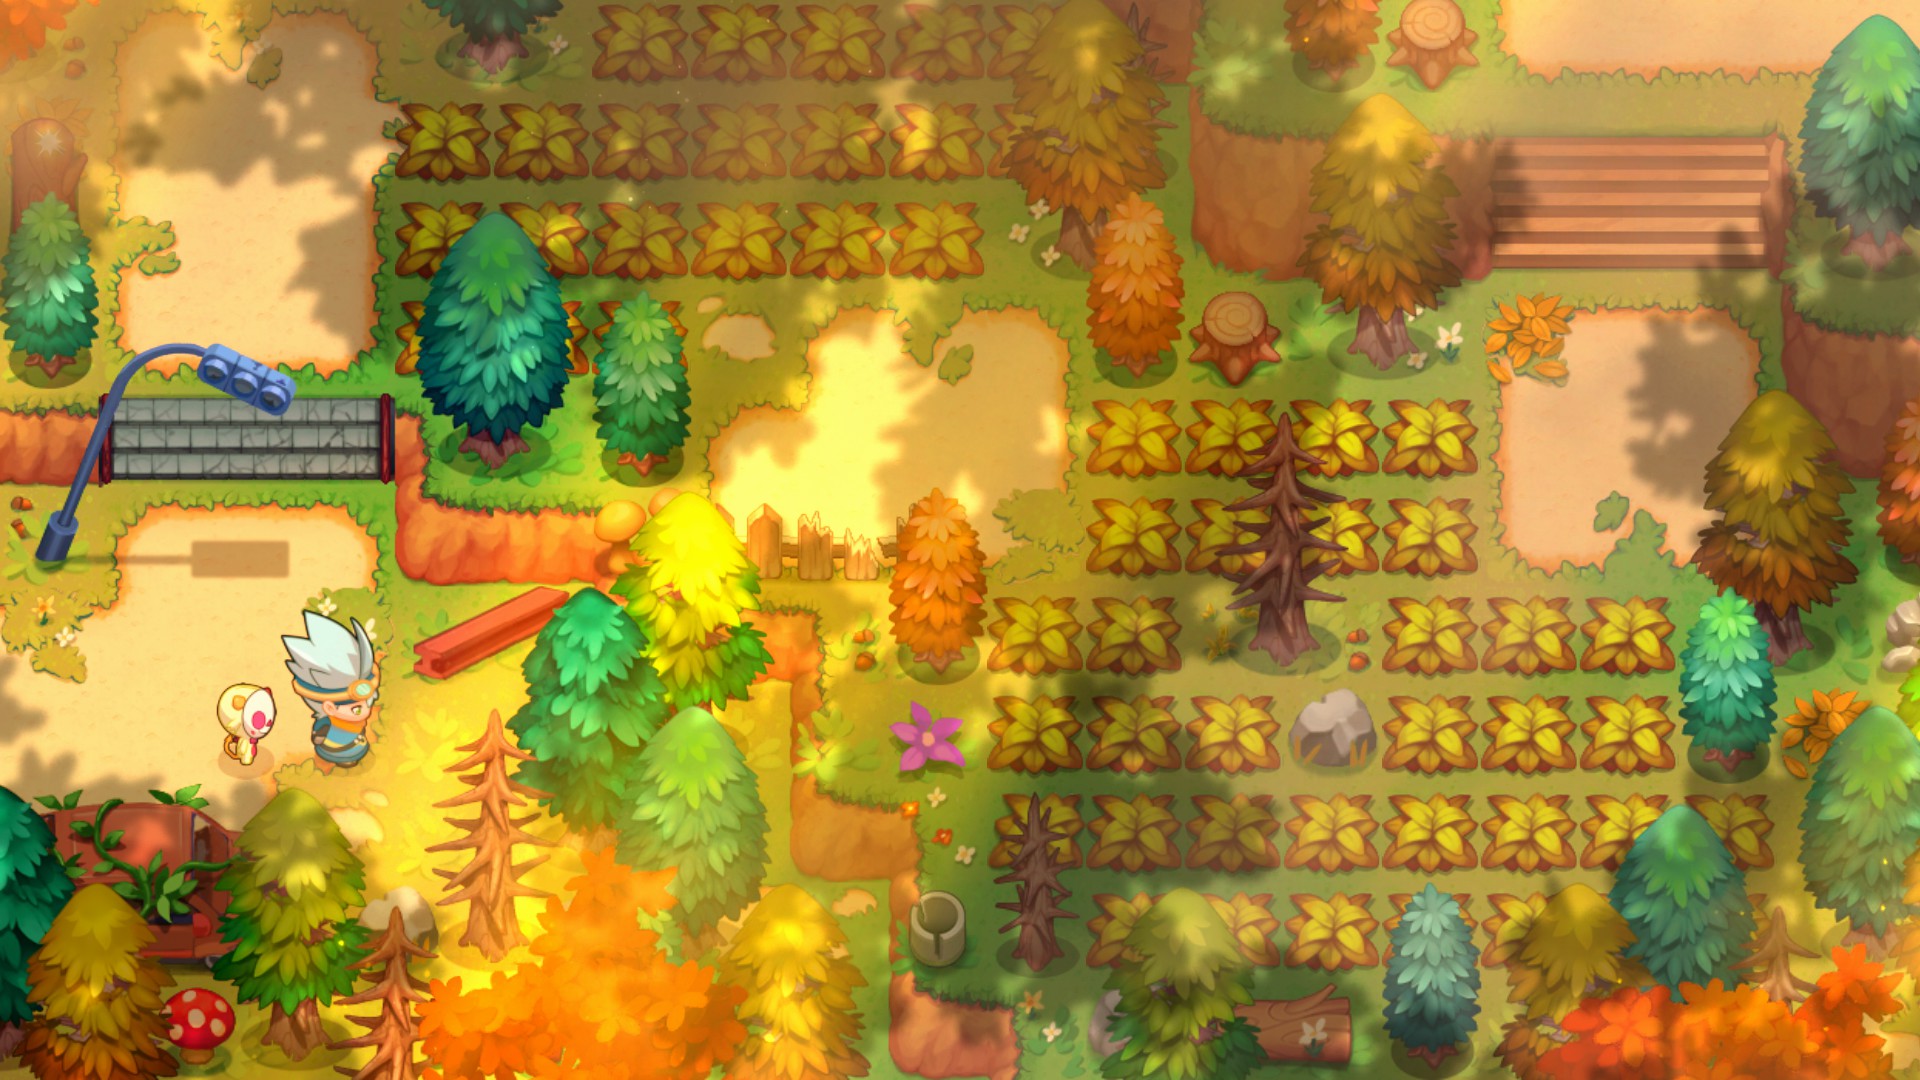
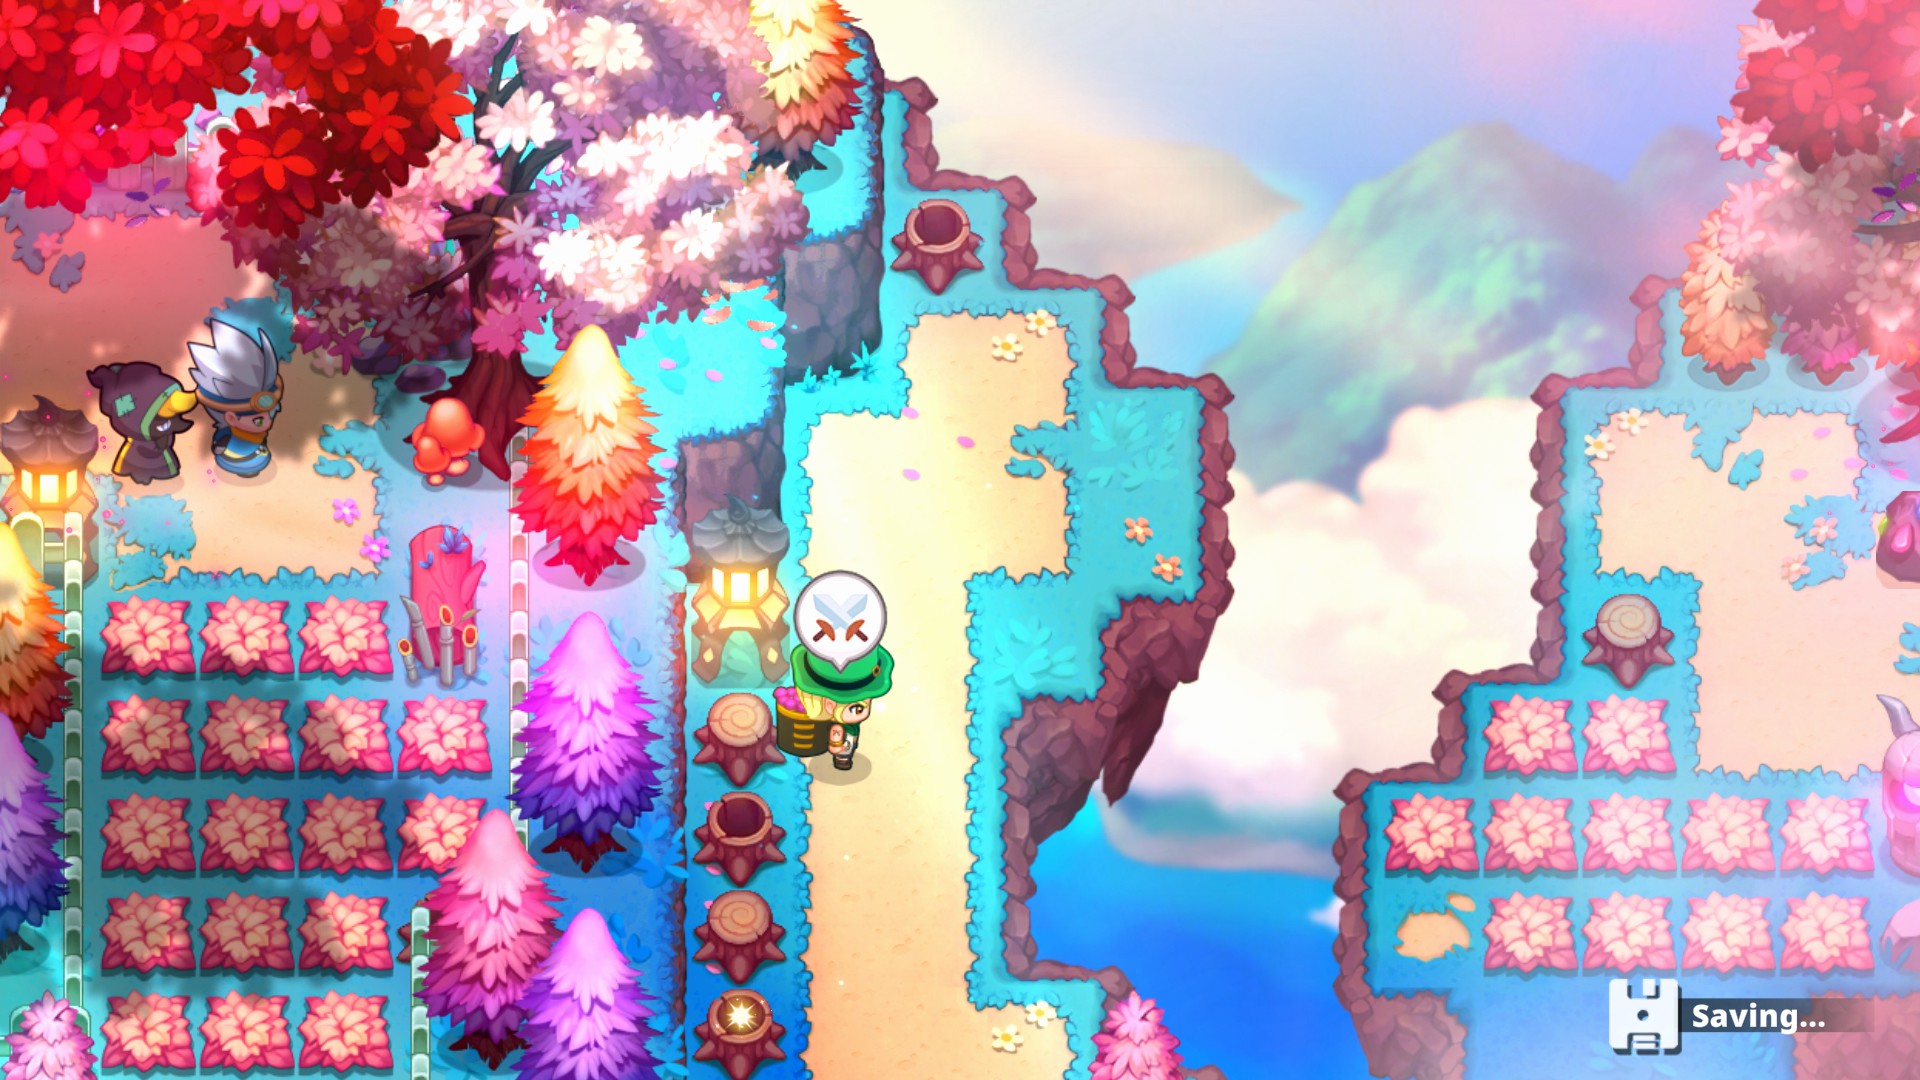
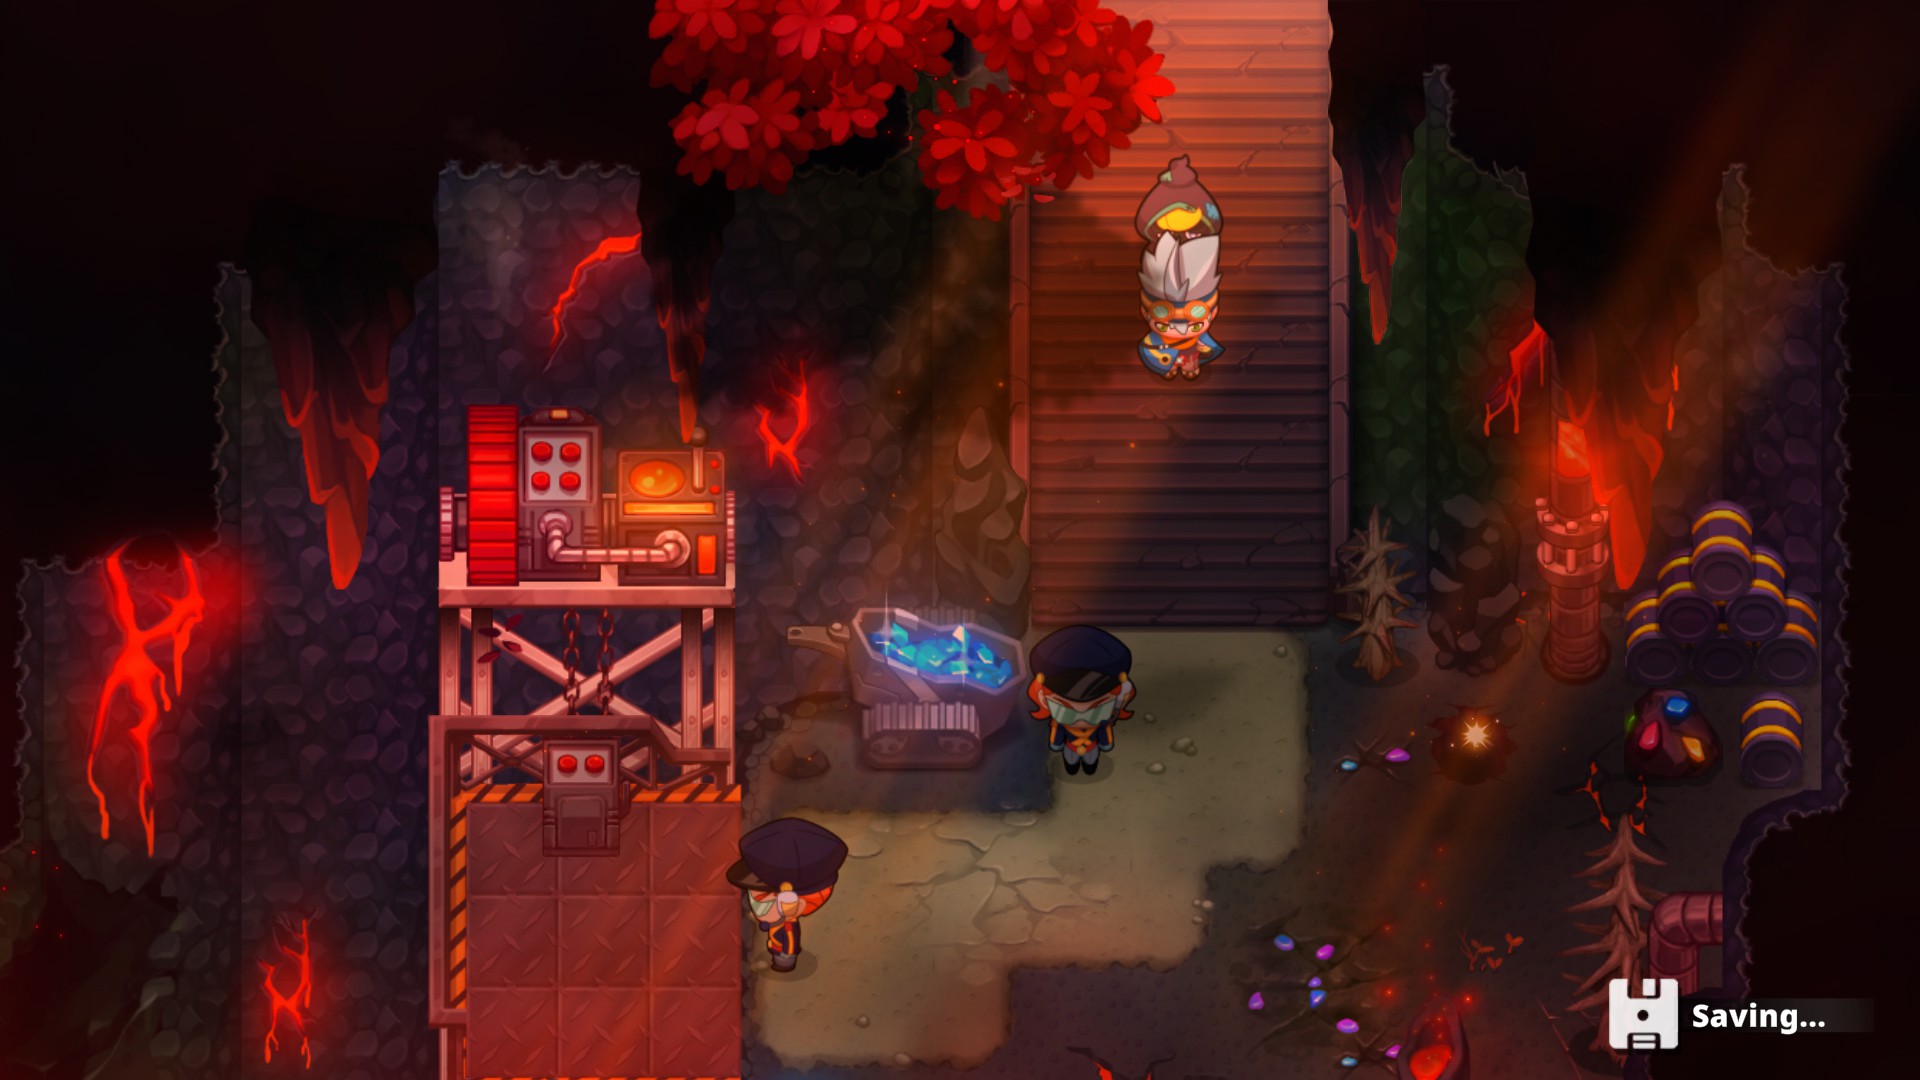
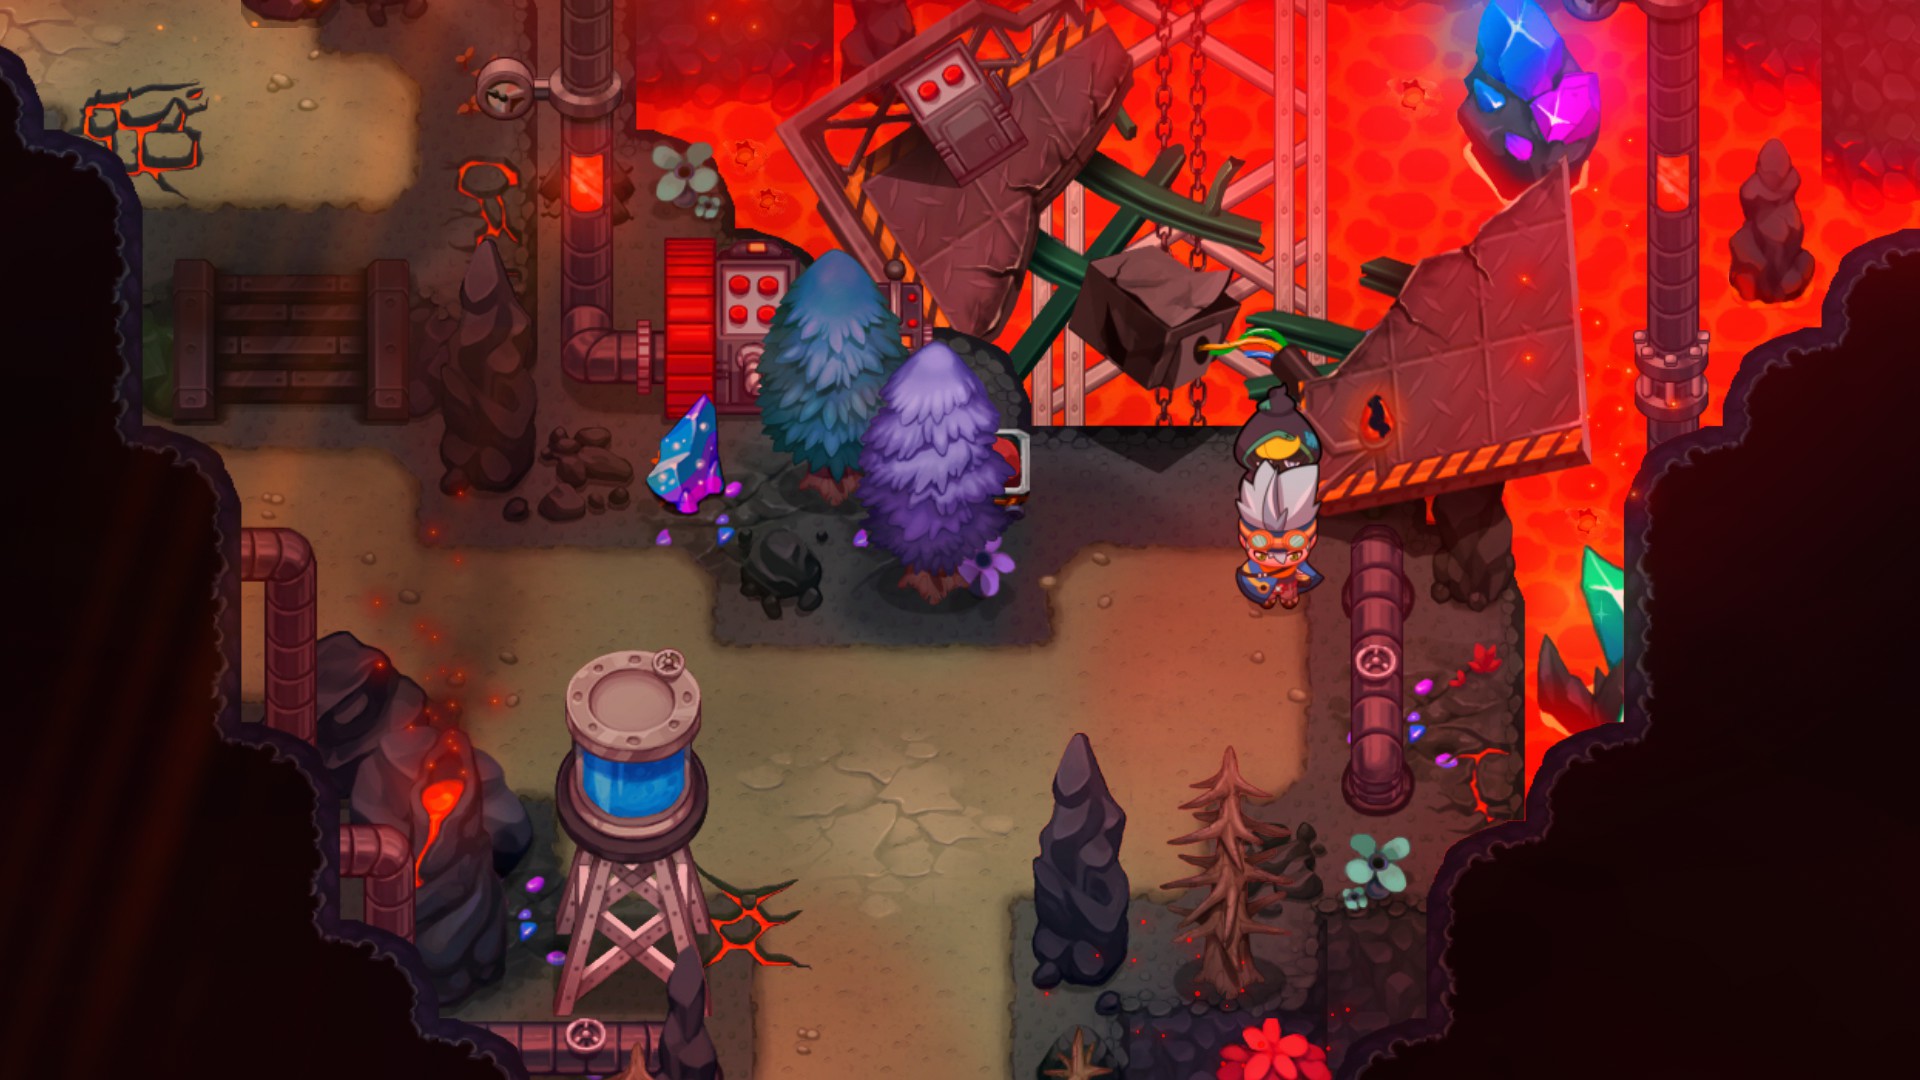
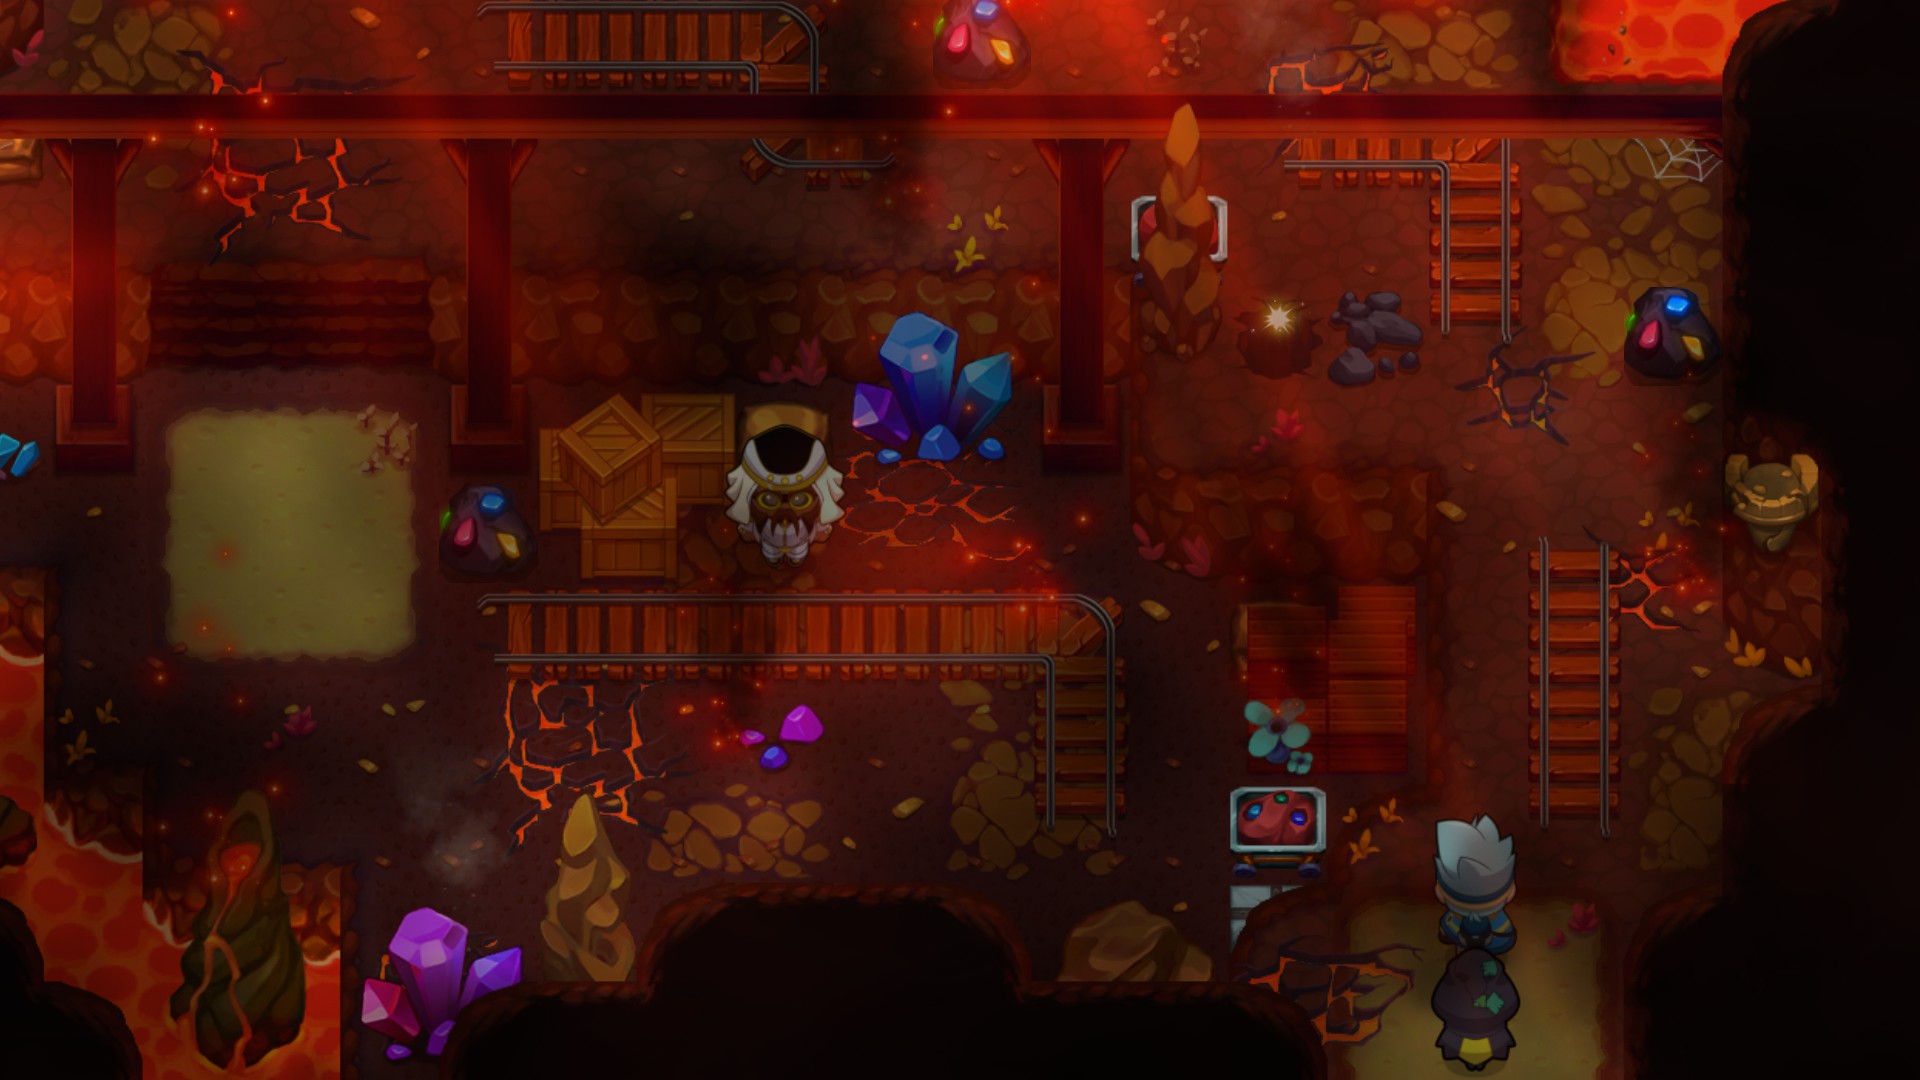
It was easier to get it there than in the caves.
X3nophiliac Jul 21, 2022 @ 11:48am 
fun quirk with Monkapow, located at North of Intersection (West of City), you have to go in the LEFT patch of grass not the one on the right side, maybe a good note to add!
Daruolc Jan 20, 2022 @ 2:05am 
This is definitely only a 99% guide. Information about Nexomon have been narrowed down a lot, but as discovered by one of the commenters, Nexomon don't seem to be divided just by area. After wandering for 20+ minutes on the same patch of grass on the right side of Palmaya - East of Intersection, I was wondering why I didn't see half of the Nexomon (Like all of the 'mon of the Sae evolution). I wander to the other patches, and then I start seeing the other ones. I only saw Palsae in the top left patch. It seems that Nexomon are also divided by the several sections of grass in the area. If you don't start seeing the Nexomon in the areas found in this guide, check all of the patches of grass, not just one or two patches