
Instale o Steam
iniciar sessão
|
idioma
简体中文 (Chinês simplificado)
繁體中文 (Chinês tradicional)
日本語 (Japonês)
한국어 (Coreano)
ไทย (Tailandês)
Български (Búlgaro)
Čeština (Tcheco)
Dansk (Dinamarquês)
Deutsch (Alemão)
English (Inglês)
Español-España (Espanhol — Espanha)
Español-Latinoamérica (Espanhol — América Latina)
Ελληνικά (Grego)
Français (Francês)
Italiano (Italiano)
Bahasa Indonesia (Indonésio)
Magyar (Húngaro)
Nederlands (Holandês)
Norsk (Norueguês)
Polski (Polonês)
Português (Portugal)
Română (Romeno)
Русский (Russo)
Suomi (Finlandês)
Svenska (Sueco)
Türkçe (Turco)
Tiếng Việt (Vietnamita)
Українська (Ucraniano)
Relatar um problema com a tradução


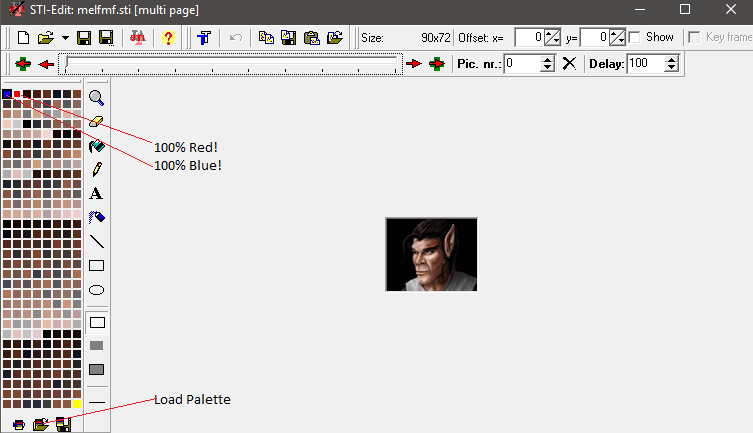


Further, I tried saving as TGA from clipstudio, I even tried opening the TGA from the wizardry portrait file in clip studio just like irfanview lacks some sort of setting so it is incapable of saving it while retaining the same pallet settings that Gimp/photoshop can which makes it unusable. there may be other programs that work, but clip/irfan do not. So I basically just did my animation edits in clip and then converted using Gimp if that makes any more sense.
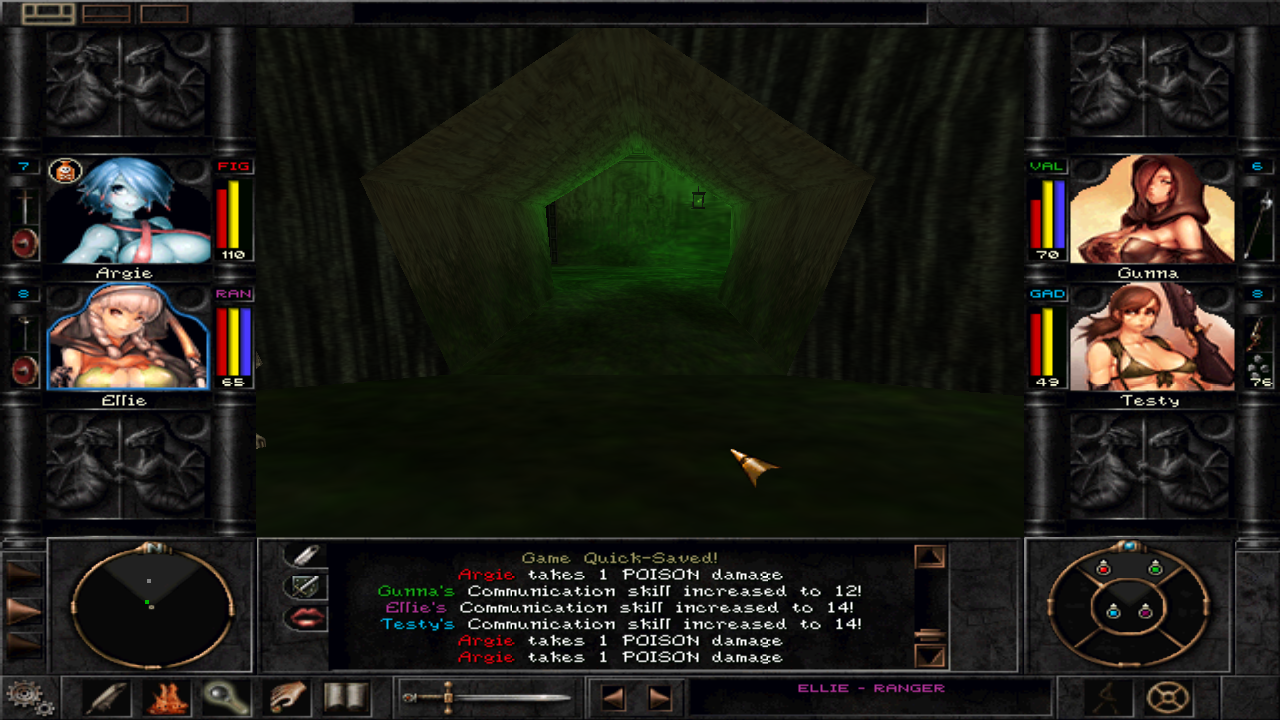
only thing I noticed is 2 of the profiles are backwards when loading into the game, (the bottom right 2) but it's not a huge issue unless you're doing 'side viewing characters'. Might be because I'm using White Wolf Mod.
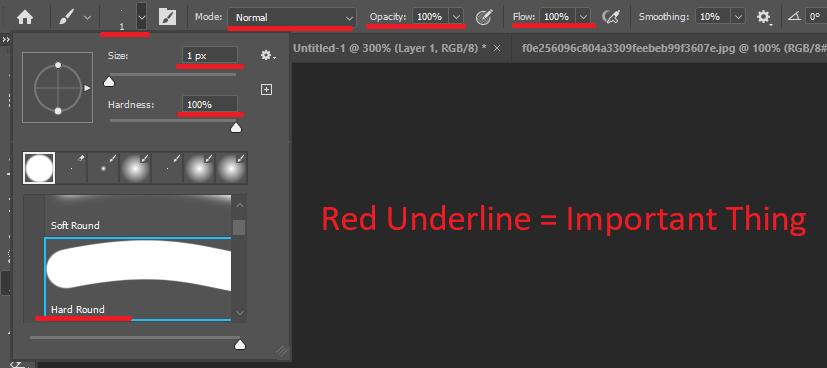
Download Gimp if you don't have photoshop. Irfanview didn't cut it.
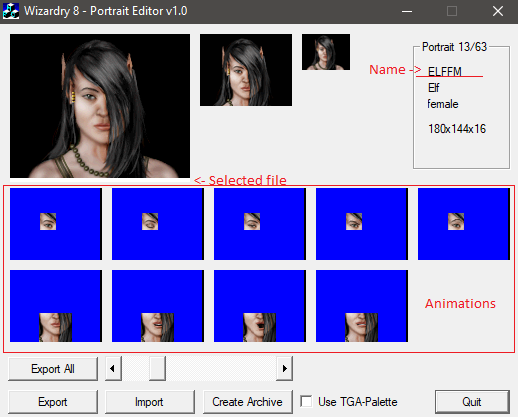
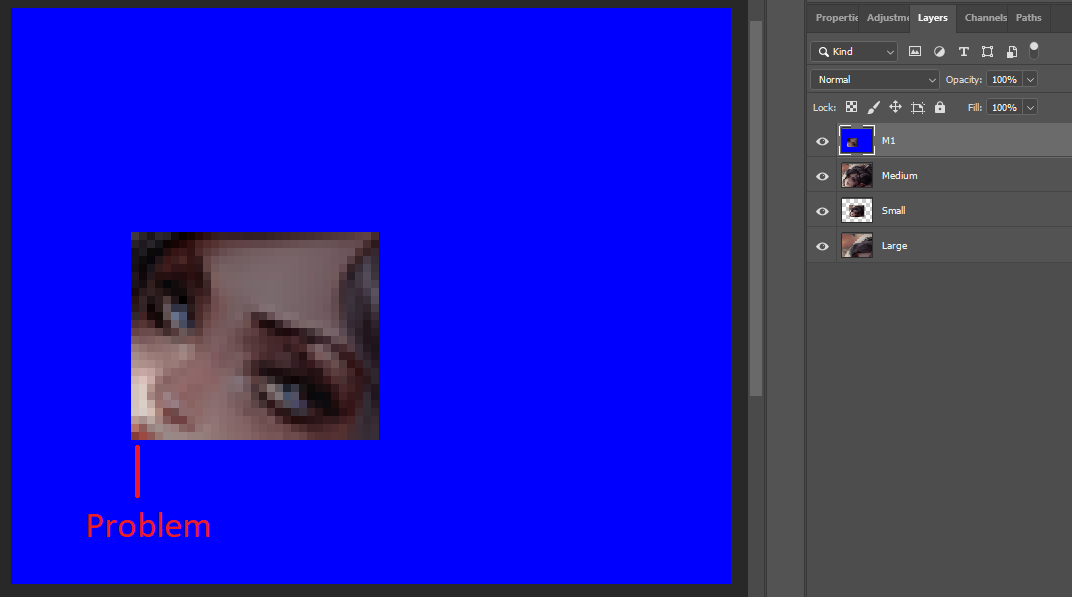
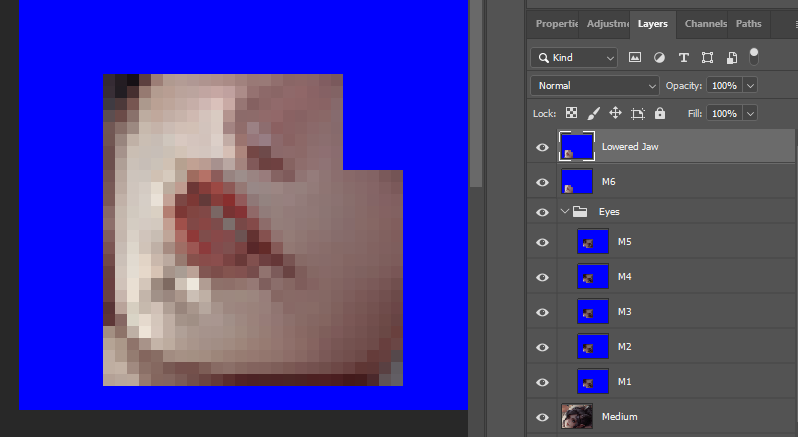
Make the Large, Medium and Small icons, then all the M1-9 as he suggested.
Then open up say... DwarfMF profile in the portraiteditor and export. Those files will be in portrait.
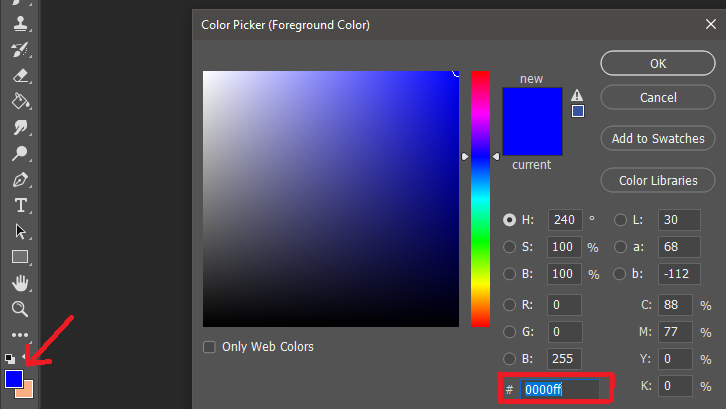
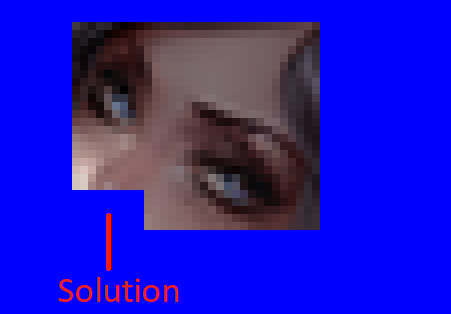
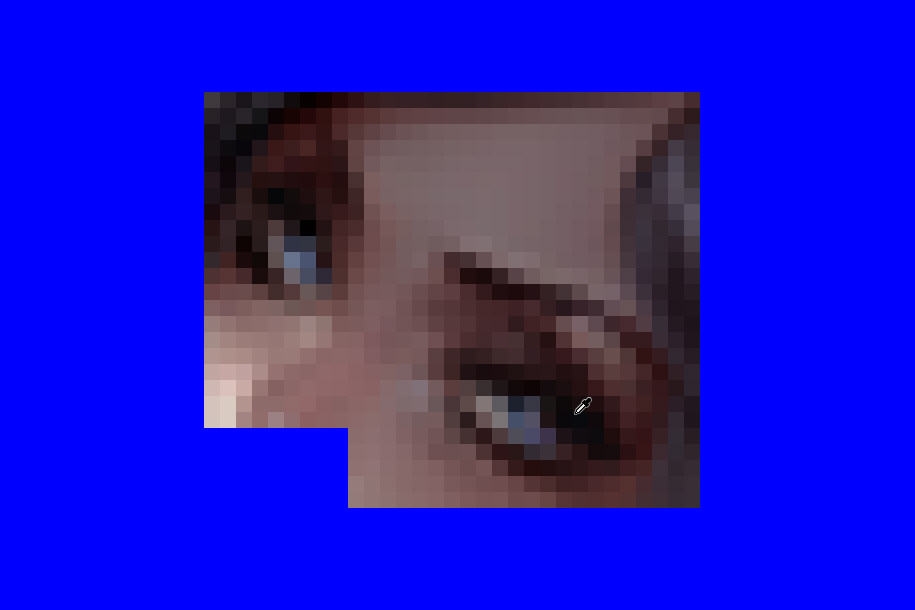
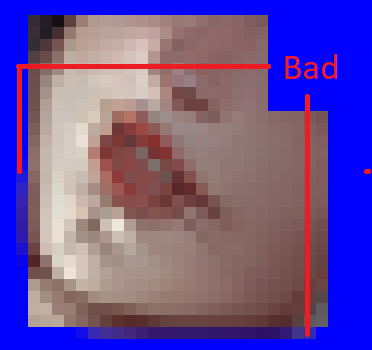
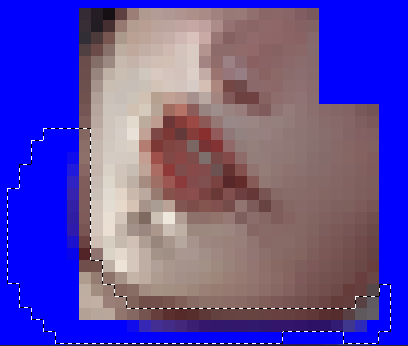
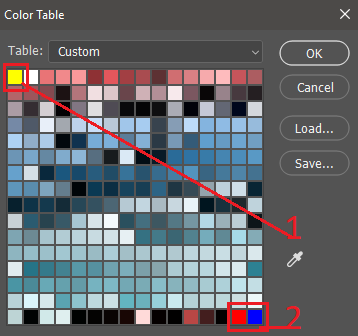
Open up Gimp and open up the DwarfMF Large/small and then copy/paste your large/small over that and then export as TGA. Simply saying as TGA doesn't do it, there's some weird settings and pallet issues so as long as you save it over a TGA that's extracted from Wizardry itself it will work.
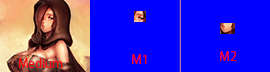
Then do DwarfMF_M and then copy over your image onto it in gimp. Export as TGA. Then put all your M1-9 over that DwarfMF_M and export them.
These all should work.