Eldritch

Eldritch

449 ratings
Wazat's Eldritch Survival Guide
By Wazat1
This is a general strategy guide to surviving the horrors of Eldritch. It's intended for your first playthrough -- New Game+ is a separate challenge.

This guide includes very minor spoilers (types of enemies, items, and spells you'll encounter), but I try to keep them minimal. I'll cover several strategies I recommend you use in the game (and when to NOT use them), and explain how different items and spells can be used to the greatest effect.

I can't give a complete walkthrough of each area since they're randomly generated, but with the information I do provide, you'll be well-prepared for them.
2
2
2
   
Award
Favorite
Favorited
Unfavorite
Introduction and Gameplay Basics
Eldritch is a survival game that takes a page from the rogue-like genre. Levels, enemies and loot are randomly generated, and when you die you lose everything except which books you've unlocked. This will feel brutal for players new to the genre, but I hope that this guide will be useful to even the greenest of players.

The game is divided into several areas, each with its own unique threats. What works in one area could be lethal in another. In this guide I'll cover each section of the game in some detail, and go over the types of helpful loot you'll find on your way. The game is randomly generated so I cannot tell you exactly what you'll encounter around every corner. I do believe the information contained here will serve you very well all the same.

However, in doing so it will be necessary for me to spoil a few minor details of the game: the types of creatures you'll face, for example, will be listed plainly and without subterfuge. I'll try to keep spoilers minimal, but you've been warned.

Gameplay Basics

Your activities are simple and limited. You can move and jump, sprint, attack with your equipped weapon, and cast a spell (if you have one). I recommend increasing your mouse speed a bit in settings -- being able to whip around a little faster helps a lot... but pick what you're comfortable with.

Movement
The character can sprint indefinitely, but it makes a lot of noise. Use it to get out of hazardous situations, or make long jumps. You can crouch while sprinting to perform a slide, which is useful as a fast-moving crouch (to dive under tripwires, escape enemies by sliding under a low ceiling, etc).

Climbing: Jumping has an important feature in this game: hold jump near a ledge to pull yourself up. This combined with elevated launch points can get you to some surprisingly high places.

Sneaking
Crouching will go into sneak mode. You move slower, but make less sound and are less likely to be seen. This is the main skill to master in Eldritch: when you're good at stealthing around and avoiding trouble in the first place, you avoid a lot of unnecessary deaths and expenditure of resources.

The Q and E keys let you lean left and right and look around corners. Enemies will never see your head poking around the edge, so it's a fantastic way to look ahead safely. Much of the time you can even shoot around the corner, but be careful -- you'll sometimes hit the wall instead.

Health
You have 3 HP. Early on most enemies do 1 damage, but later you'll face threats that deal 2 damage (or maybe more) with an attack.

Your HP can be increased by finding water fountains. You'll know them by their gurgling sound and vibrantly blue water. Interacting with a fountain increases your max HP, and heals you by two. Find as many as you can -- they're one of the few upgrades you get.

Money
Money in this game is in the form of what appear to be round blue clay tablets called artifacts. You'll find them everywhere, frequently looting them from bodies, banks, etc.

The obvious use for money is to buy items in a shop. Hoarding a bit of cash in hopes of finding something good for sale is a good idea -- you never know when you'll see a pair of boots or a backpack you simply must have.

Most spells and many items (specifically backpacks) cost money to use as well, and this will probably be your main use for cash.

Gear and Items
You can purchase gear and other items in the shop, and occasionally find something nice lying around in the world.

The gear you can carry are very limited: 2 weapons, 1 spell, 1 backpack, 1 pair of boots, and one accessory. You will also find water fountains to increase your health, and "money" (blue clay tablets) to spend on items in the shop. I don't know of a practical limit to the amount of money, bullets or keys you can carry.

Really that's it: you don't have a character level, and you don't gain experience. It's you against the world, and those are the tools you wield against it. Part of the fun and challenge of Eldritch is this small but refined set of tools: it's more fun, IMO, not less.

Shopping
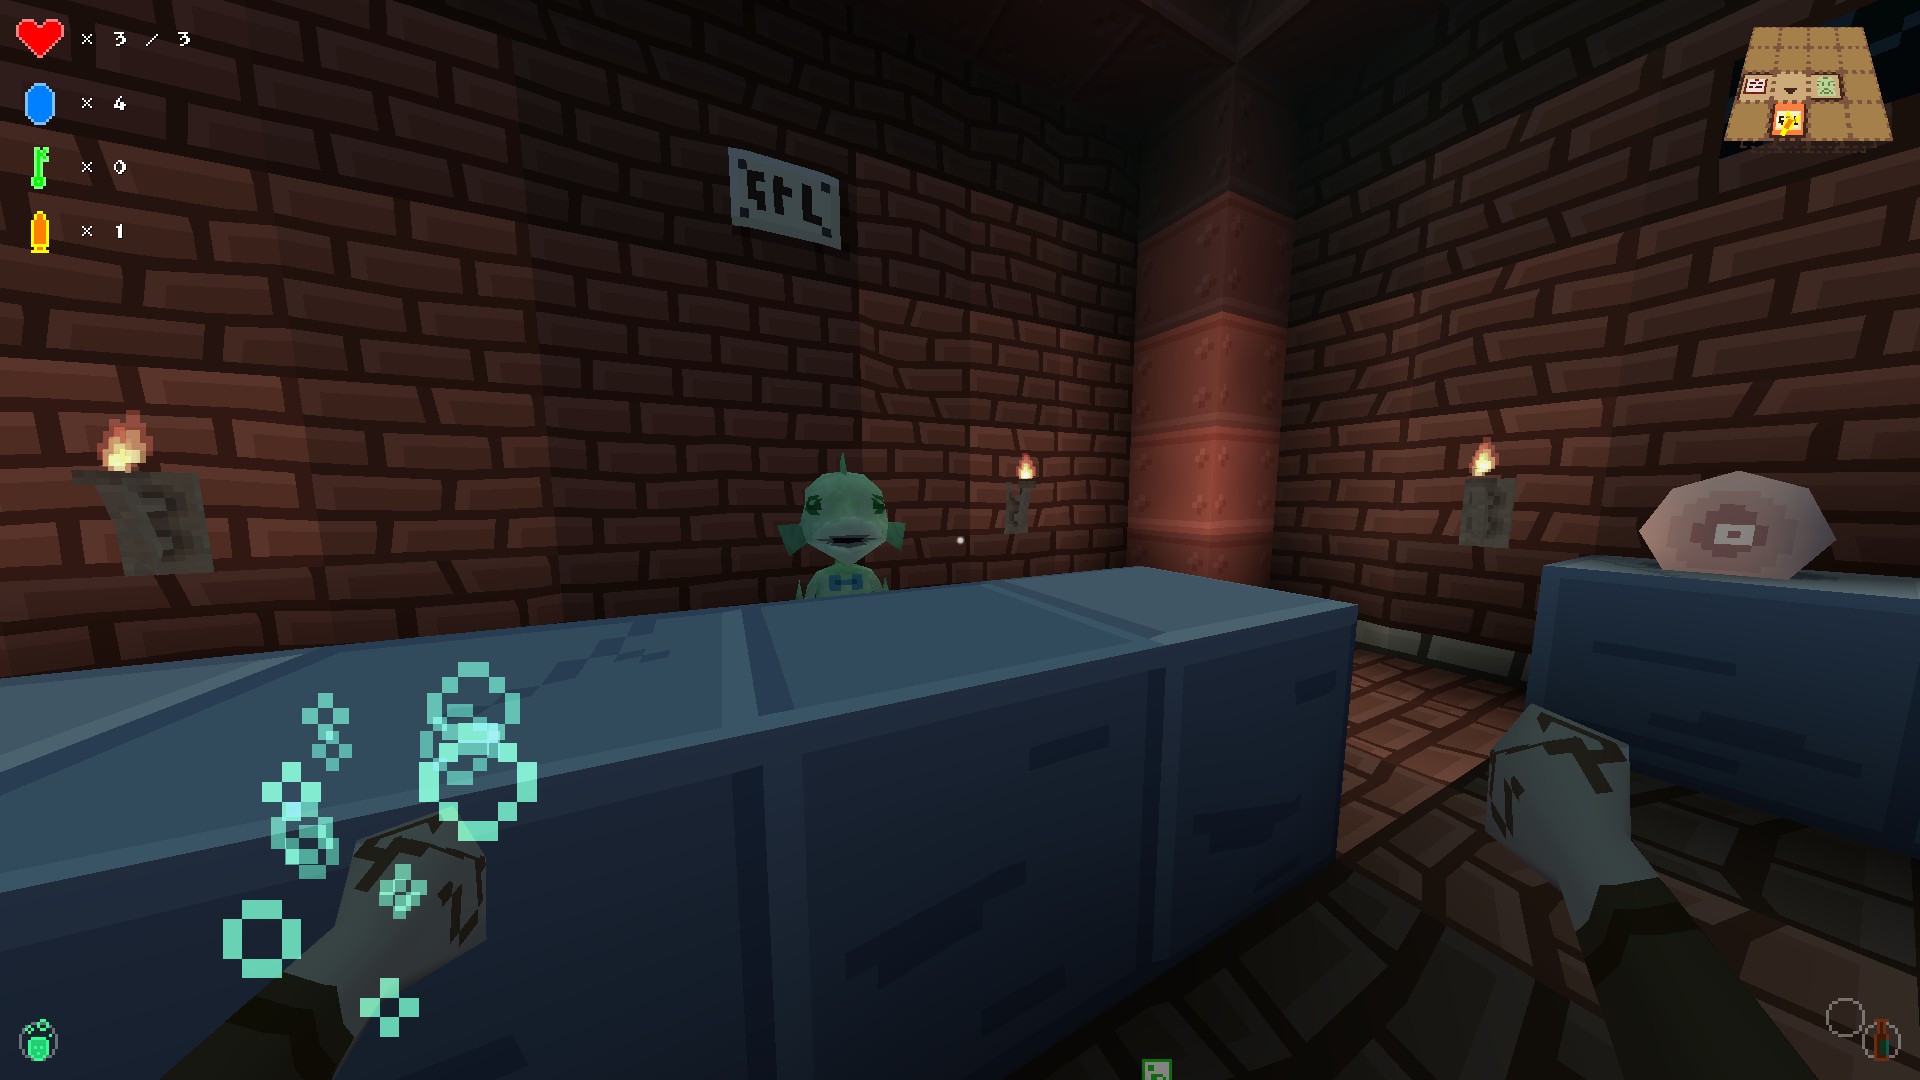
There's usually multiple shops per book, if not per section of the book. They're always worth checking, just in case they're selling the valuable equipment you want. Shops also sell food for healing, keys, guns (and hence ammo), etc. If you can find it, you can usually buy it.

Note that you cannot sell items for cash -- money can only be found.

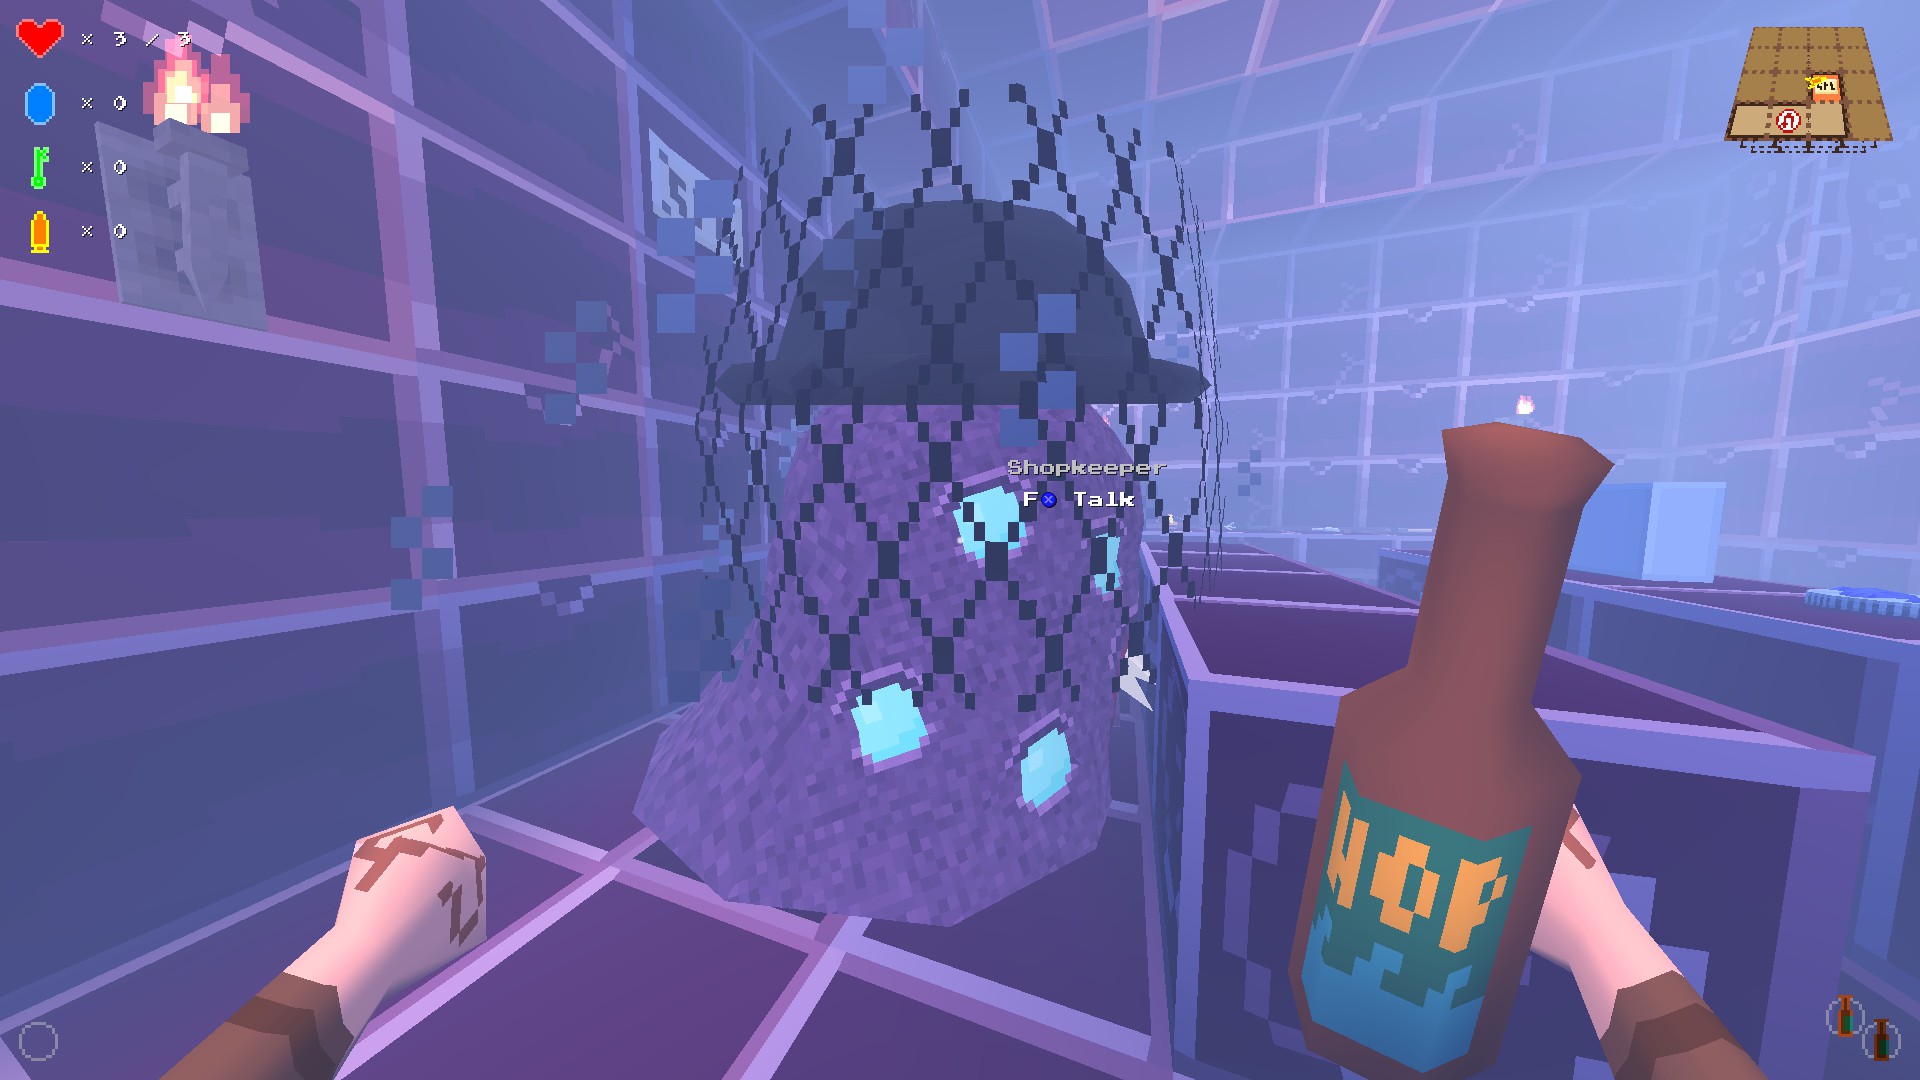
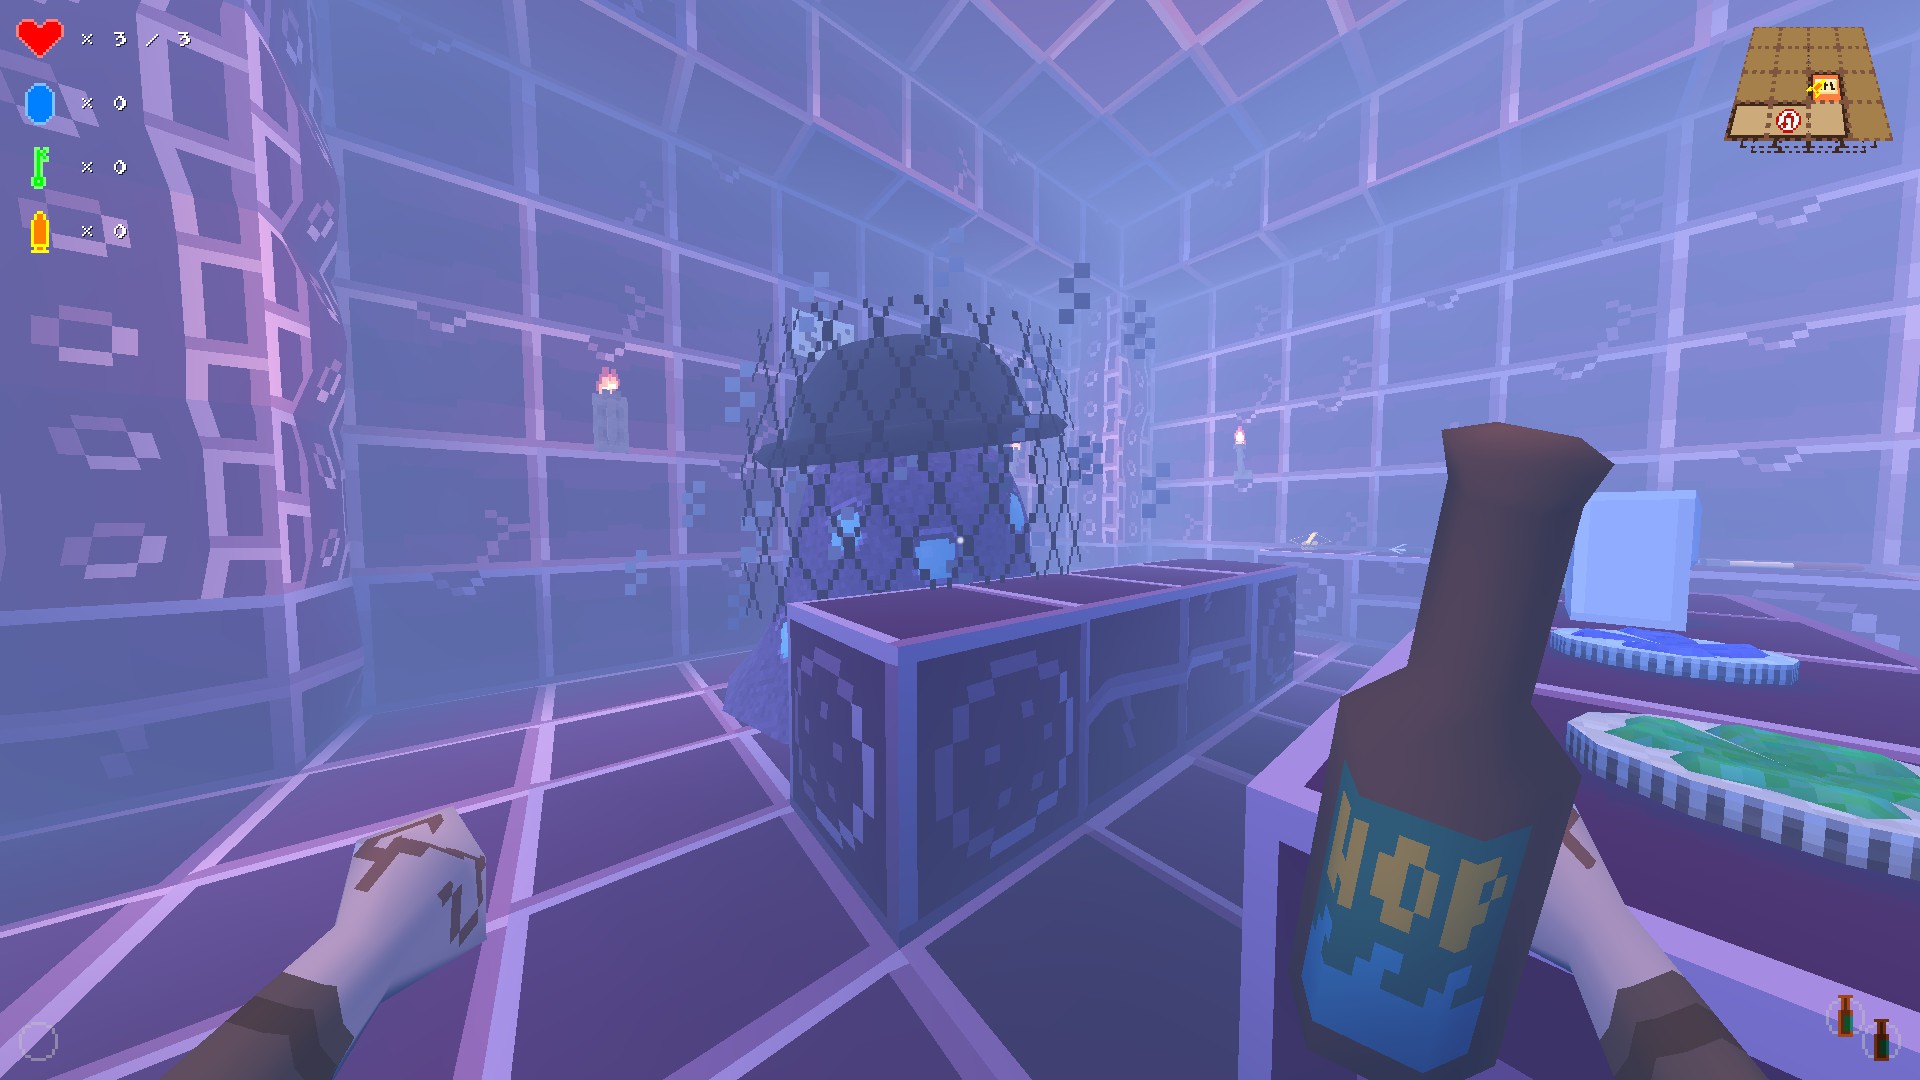
If you steal from the shop, or accidentally break something there, the shopkeeper will attack you. You can also pick a fight by attacking him. Expect a tough fight -- he has a lot of health, and a dangerous rapid ranged attack. If you kill him he can be looted, often for lots of money. And then you can pilfer everything in the shop for free! However, the injury or death you risk in fighting him may outweigh the benefit, particularly if you're hurt and vulnerable.

The easy way is to use the destruction amulet to burrow a hole in the wall behind him or to his side, giving you a low-ceiling escape point to avoid his attacks. Pop out and stab him a few times, then hide until he stops attacking. Repeat until he dies.

Alternatively you can use the conjure blocks spell to wall him off, then rob him with impunity. I've not yet tested whether being hidden or cloaked while stealing is safe.

Death
Death is tragic: you lose everything and the world resets and re-randomizes. You lose any orbs you had already unlocked, any health upgrades, etc. Only three things remain: the money you stored in the bank chest, the books you've unlocked, and access to the New Game+ orb.

It's a good idea to open the bank chest and make deposits from time to time, so you have a rainy day (death) fund to fall back on. In your next playthrough you may find a valuable item in the shop and need some cash to afford it, and it's good to have some starting cash for whatever spell or backpack you find first.

I should also note that you need the orbs to beat the game, so you'll have to collect them all with a single life, then beat the final level. This is doable though -- that's why you have this guide!

New Game+
Should you beat the game, you'll be granted access to the savage beating that is New Game+. As of this writing I haven't put a lot of time into it, but my backside still stings from the thrashing I received on my first attempt. It's a great challenge for those who were looking for more than the game threw at them on the first run.
General Strategies
Movement
Sneak
You will spend most of your time sneaking around carefully, looking around corners, avoiding enemies or waiting for the right time to strike. This becomes mandatory in Book 2, where lizard statues tear to pieces anyone who is careless.

Stealth attacks deal bonus damage. Once an enemy is alert, it will take more hits to kill.

Stealth also lets you safely approach some of the more dangerous opponents safely to deliver a melee kill. You're simply not given enough ammo to mow down every enemy with your gun, so expect to need to get close often. Enemies with ranged attacks are challenging to rush head-on.

There are also enemies you literally cannot kill, and you'll have to sneak or rush your way past them.

Rush
The rush strategy says simply barrel through the area without regard for enemies that may see you. You can outrun enemies with ease and dodge most attacks with enough skill and distance. Often you'll fight aggressively and charge an opponent head-on, even though it's sighted you.

The rush strategy is loads of fun in the first book, but come Book 2 it will be time to put it away and revert to sneaking. If you try to rush the second book, the lizard statues will END YOU. That book puts a heavy focus on situational awareness, stealth, and limited exposure.

On occasion you'll find yourself in a very dangerous situation, no matter how sneaky you were. The shuggoth is on its way to your position, or you're surrounded by enemies, or you accidentally attacked a piece of TNT. Sprint away. Even the foxiest of the hounds has to rush from time to time. Even in the later areas, occasional aggression can be effective.

Note that you can run right through nearly all enemies, even the shuggoth. Unless they're in the middle of their attack animation while you're close, you'll get through unharmed.

Just remember that you don't have anywhere near enough bullets to fight everything like you're playing a shooter.

Scope
Explore
It often behooves you to explore large swaths of the level, in search of more money and bullets, a health item or shop, another health fountain, or the rare piece of free gear. This game rewards exploration, but it's also dangerous to expose yourself to more threats than necessary. It's a calculated risk. Remember, you don't gain XP for kills, and you can only carry so much gear.

Once you have all the gear and cash you feel you need, it's a very good idea to move on before you lose several points of HP to a mistake, or have to spend too many bullets taking down a threat. Then again, in the easier areas (especially the first book) it's a good idea to explore the level as completely as you can, just in case it rewards you with something wonderful.

The destruction amulet helps with exploration, allowing you to burrow through walls with your pistol. You can reach some areas much more easily this way, and you'll likely find bullets to spare to make up for the expense.

Quick Cut
The quick cut strategy is to explore as little as possible: your goal is the next exit, nothing more. When exploration is simply too dangerous or you stand to lose more than you gain, it's time to leave by the safest, most direct route possible. This can become your goal once you have all the gear you need, or your health is dangerously low and you need to escape the threat zone.

The destruction amulet helps a lot here. You can simply burrow through the walls and floors that stand in your way, so long as you have the bullets.

At least as useful as the destruction amulet is the compass. It's a shame you cannot carry both. The compass lets you see the direction of the exit at all times, and labels the room once you reach the same floor. You'll have to take a more round-about route because you cannot burrow through walls (save for the odd dynamite), but it's worth always knowing where you're headed, especially in the final area of the game.

Locked Doors
A locked door requires a key to open, but keys are a limited resource. When able, try to bypass locked doors. You'll be surprised at how often an unlocked door leads into the same room, or a clever jump will allow you to bypass the door entirely. TNT and the destruction amulet are also handy.

That's not to say you should never open locked doors with keys. That's why you collect the keys after all, and some locked rooms hold very useful loot.

Robbing Banks
You'll find various banks inside the books as you explore them. You can use a key to enter the locked gate(s), but sometimes you can enter without a key. There's something perfectly natural about using TNT to blast a hole in the bank wall and clean it out. A few bullets while wielding the destruction amulet also works well. For a bank that has an open-topped area, jumping with the jump boots/spell will usually get you inside. Sometimes there are elevated blocks nearby that will let you jump in there without the boots or spell. The conjure blocks spell will also let you build a platform to jump in.

Banks usually hold ~80 to 120 artifacts (I think), making them well worth infiltrating. And the bank chest is right there, ready for you to deposit your well-earned profits if needed.

Loot or Depopulate
There's something you need to understand about looting bodies: enemies don't respawn until you loot their corpses. If you leave the corpses alone, those enemies don't reappear elsewhere in the level. If you need money, keys or bullets, loot. If you're flush with those things and safety is imperative, don't loot.

You can also acquire some very helpful items early in the game by robbing the first shopkeeper you find. Beware though... they're the toughest enemies in the game. In NewGame+ they are so fast, you tend to die before you can sprint away. But if you do get away (sprint to cover, or cloak) or kill the shopkeeper, it's a big opportunity. See more in the enemies section.

Enclosed Secret Areas
Eldritch holds a number of secret areas in its levels, many of which have no natural entry point. Dynamite and the Destruction Amulet are the only ways inside. A common strategy is to search for large cubes that are 4x4 or larger, for example, and burrow through with a destruction amulet + revolver. Often you'll find a cache of items inside, sometimes really valuable ones. Such caches can also be found in the floor/ceiling/walls between rooms. This makes the destruction amulet an extremely valuable asset that keeps paying itself off throughout the game.
The Library
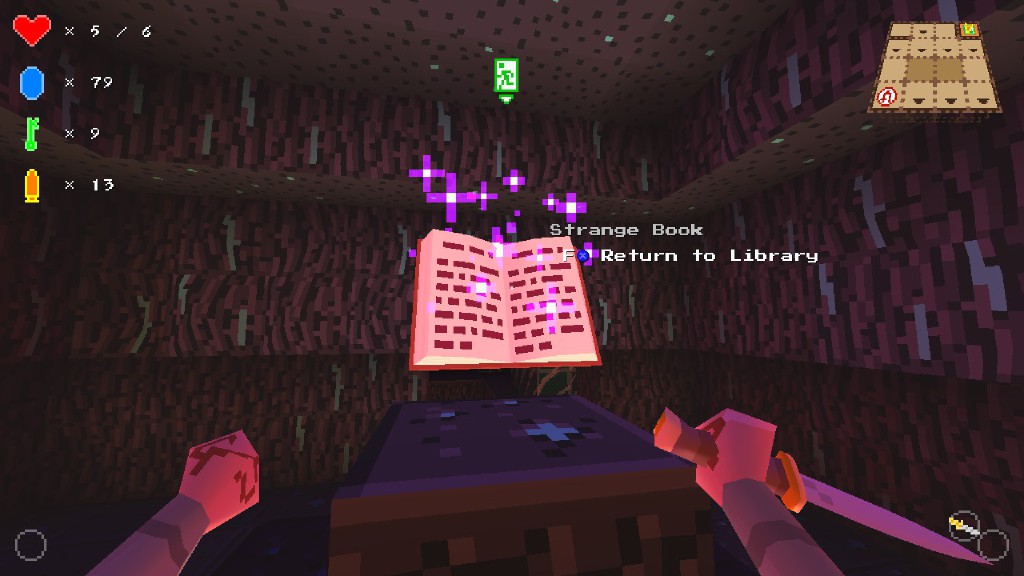
This is the starting area, and central hub you use to access the other parts of the game. You're locked in, but you have these fascinating books, one of which is open...

Before diving into the first glowing book, you can explore around the library a bit. Various items are available, including meat for healing, bottles as weapons, a few coins, and lots of fruit trees. There are several (non-glowing) books to read to learn about the game's story, and the mirror lets you customize your character (though you never see yourself).

There's also a bank chest, which you can use to deposit and withdraw money. This is useful for when you die -- assuming you've put away some cash for just such an occasion. You'll find similar bank chests in other levels, usually connected to a bank you can rob for tons of cash.

There's not really anything threatening here in the library, other than very dangerous falls. Don't fall too far, or the library will be your first lesson in shattered limbs and egos. Exploring the library's upper levels can reveal more fruit, if you're hurt. Unfortunately that's about it. There's nothing exciting happening here, and all the books you find are repeats of the four you can find on the bottom level.

You can practice sprinting, jumping, climbing, sliding, etc while here. When you're ready to proceed, walk forward and interact with the blue sparkling/glowing book.

I should note that any time you interact with a glowing book while inside a book, you will return to the library. The one exception is the secret books that lead to the holy items (see the items section for more info).
First Book
The first book is a relatively easy challenge once you've mastered how to play. It may seem difficult and intimidating to new players, but it's the perfect playground to try out your skills. Combat, stealth, sprinting, navigation, and hazards are all demonstrated here, but with a much lighter touch than what's to come.

Do not worry: You are safe. But be afraid: You are in constant danger.

Enemies
You can find details on each creature in the Enemies section of the guide. I'll also describe them a little in this section.
  • Fishman
  • Cultist
  • Pinser
  • Worm
  • Floating Eye
  • Shuggoth

Hazards
  • Spikes
  • Long Falls

Recommended Strategies
If this is not a New Game+, you'll have a compass in front of you when you start the level. Take it, it's your first item and it just may serve you throughout the entire game.

This is a good place to practice your sneaking. Try to explore extensively, and collect gear for later levels. Health fountains are a nice find. Should you find a medkit, stealth boots, or jump boots in the shop, take it. Kill with a knife as often as possible -- it's good practice, and you'll conserve resources like bullets for harder areas.

Once you've mastered stealth, if you're feeling adventurous, try a melee-only Rush strategy: running around and slashing enemies without taking injury. It will be good practice for emergencies.

Secret: Make sure you search all around and inside the pyramid on the final floor. You'll usually find one or two very nice items in there.

The shuggoth is the only real threat. Stealth when you can, and once sighted make sure you sprint away or get up high. The shuggoth will mercilessly kill other monsters just as eagerly as it kills you, so expect lots of free bodies to loot (assuming you don't die in the process).

Shuggoth is kind of like "Cuddles, the Mass-Murdering Grizzly Bear Who Only Wants to be Loved" (one day I will make that into a real thing -- you watch). He eats when he's sad, and he's sad when he eats. The best thing to do is get out of the way and let him play out his sad life at other monsters' expense. In fact, luring enemies and a shuggoth into proximity can be a nice way to collect corpses for looting, or eliminate the monsters in the area. A shuggoth does a fantastic job of cleaning up its current floor. If you find one on the upper floor, blow a hole under its feet to put it to work down below.

If you need to deal with the shuggoth more permanently (say, for your own survival), try trapping it. TNT can drop it to the floor below, possibly somewhere it can't escape. Even better: with the conjure blocks spell or a locksmith kit, you can run into an enclosed room (with the shuggoth in fast pursuit), circle around, and seal off the door behind you. Note that the shuggoth can't pass through metal bars or locked doors, so any block that blocks you will block it. But just like a velociraptor, it knows how to open doors once you go and unlock them. And it can crouch or otherwise squeeze through 1-block-wide/tall holes.

But back to business...

Like all the books, the first book has 3 stages to it, each of with has 3 floors. The stage exit is a wooden trap door somewhere on the bottom floor of the first two stages. On the third stage, you'll instead find an orb and a book. Grab the orb, then dive through the book. If you skip the orb, or if you die, you'll have to play through the book again to get it.

Try to be in a good condition when you grab the orb and leave. You're at the mercy of random chance to a degree, but the more prepared you are for book 2, the better. Remember that you can revisit old books, whether you've died and need to build up again, or you just want to come back for something in the shop or explore more thoroughly.
Second Book
This book is substantially harder than the first, and surprisingly harder than the book that follows. There are two more-or-less invincible enemies, and sprinting around heedlessly can be suicide. You'll probably want to get through this book in the shortest time possible to avoid an unfair statue-induced death, but if you want to explore fully and carefully to find fountains and gear, it's not impossible.

Enemies
  • Cultist
  • Pinser
  • Red Pinser
  • Floating Eye
  • Elder
  • Lizardman
  • Lizard Statue

Hazards
  • Tripwires
  • Spikes
  • Cracked Floors
  • Long Falls

Many of the enemies here are repeats from before, or trivial. The elders can't harm you unless they get in melee range, and they're too tall to follow you into many areas. The main problem is they cannot be killed, only disabled for a short time. Punch or stab them in emergencies, but you should rarely waste ammo on them.

The lizardmen are a dangerous enemy. In addition to a ranged attack, they also dodge away from you and lunge at you with a melee attack, so fighting them is tricky. As always, the best way to take down a threat like this is in stealth -- they go down quickly with a few stabs, or less with the destruction amulet. When one sights you, you can either sprint away into cover and hide, or sprint toward them and slash them to pieces before they can respond (though this is risky).

The true threat here though is the lizard statue. They look like simple decoration, and bullets and stabs don't seem to do anything to them. However, once you wake them up (by letting them see you), they're a serious threat. An awakened statue will teleport to you and deal 2 damage any time you turn your back on it. You have to keep the statue on screen (TODO: exact fov angle) until you can put a wall or other obstacle between you and the statue.

So how to deal with this threat? It's not easy, but it's entirely do-able. The first line of defense is to not be seen. While a statue is asleep, it's not particularly aware of its surroundings and you can stealth past it fairly easily as long as you're far enough away, or behind it. The cloaking spell helps a lot too (TODO: do statues care about footstep sounds or combat?). Once a statue sees you, don't turn your back on it until you have some cover blocking line of sight. An awakened statue will see you even while you're behind it.

Destroying or removing a statue is tough. Sometimes dynamite will destroy one, but it's inconsistent, often leaving the statue unharmed. At the very least, you can drop the statue to the next floor below to get it out of the way, though that means you might encounter it later. The destruction amulet can also allow you to drop a statue down a floor.
TODO: does destruction amulet increase dynamite damage and make the difference? Or is it distance from the dynamite? Or is the damage in the explosion simply random?

The Conjure Blocks spell is a great way to seal off a troublesome statue: encase it in enough blocks to sever its line of sight and you're safe. It's a surprisingly cheap way to wall off a very serious threat.

Beware of two bugs. First, statues sometimes see you in situations that you don't expect, e.g. through a wall or around a corner when you were sure you had cover. I've seen people complain that being on a ladder causes vision issues with statues as well (e.g. letting them see through walls).

Second bug: teleporting statues have an unfortunate bug where they like to pin a player against a wall, or pin a crouching player against the ground. The player cannot move, cannot simply stab or shoot the statue to escape it, and probably has no recourse except to Resurrect from the game menu (losing all progress!). There are two possibilities that may save you. The first is the destruction amulet, which may allow you to burrow a hole under you or the statue, or through the wall blocking your path. I haven't tested yet whether you're able to drop once you overlap with the statue though. The second option is to use the teleport spell to escape.

Lizard Statue sight ranges are listed in the Enemies section.


The final stretch in this level is wicked: a long hallway lined on both sides by statues. To reach the orb and exit point at the end, you'll need to sneak past the statues, or come from above. Sneaking can be made easier by the cloaking spell or stealth boots, but I've found they're unnecessary: if you sneak on one end of the hallway, the statues on your side cannot see you (you're behind them), the other side won't see you either if you're slow and quiet (crouching outside their vision range). You can also make sure you're facing them as you sneak, just in case one sights you. Make sure no enemies are nearby that you'll have to fight, as your combat could wake up the statues as well.

To approach from above (bypassing the statues entirely), you'll need either dynamite or the destruction amulet. Figure out the corner of the map where the statue hallway leads, then find the room directly above and blast your way to freedom.

This is not a book you need to explore fully -- it's better to get in and out as quickly and safely as possible. Exploration simply increases the chances of an accident cutting your ventures short. However, if you really need to hunt down that last piece of gear you need (or a holy item) and you just have to find every fountain the game has to offer, then explore carefully and make good use of the stealth spell or other tools at your disposal.
Third Book
We're back to an easier environment where rushing through areas is appropriate again. There's nothing like the lizard statues. There are new enemies and traps here, but nothing you can't handle.

Safe at last.

Enemies
  • Star Spawn
  • Eye Cluster
  • Cultists
  • Fishmen*
  • Red Pinser
*Fishmen are not a threat in this book, preferring to insanely smack their heads against the walls. They do not have a good existence... Stab 'em for mercy and free loot.

Hazards
  • Tripwires
  • Eyes
  • Floor Spikes
  • Wall Spikes

Recommended Strategies
If you don't have all the gear you want (say... a medkit, proper boots, destruction amulet/compass, etc) or you need to stockpile ammo and artifacts after the last book, this isn't a bad place to do it. Compared to the second book, it's a lot safer to explore here and exploring the entire area is a good idea.

The enemies here have high HP and can dish out lots of damage, but they're not particularly terrifying once you learn how to fight them. They're actually pretty easy, compared to the lizard men, statues, and elders of the last book. What a relief! There aren't even any invincible foes here -- first area so far where everything you meet can die.

There are new traps though, which can make running around with impunity slightly dangerous. Don't accidentally slam into wall spikes, floor spikes, tripwires, and eyeballs in your haste to outrun enemies. But in the absence of lizard statues, there's nothing keeping you from sprinting around and rushing past foes, other than waking enemies up and needing to dodge their attacks.

The squid are often asleep, so sneaking past them is very easy. Even stealth killing a nearby foe will wake them however, so beware. Though their eyes are on the sides of their heads, I don't believe this gives them much of an advantage in detecting foes. I still haven't decided -- sometimes they've walked right past me, while others it seemed like their field of view was perhaps slightly larger than that of other foes...? (I still need to do more testing -- posting your own experiences in the comments below would be appreciated!)

A destruction amulet is still extremely valuable for exploration and bypassing obstacles. Be aware though that you'll often have to spend extra bullets burrowing through the thicker-than-normal walls in some areas.

I saw several areas filled with toxic-looking green gas. Exploration resulted in no damage or injury, so apparently you can inhale it without threat. From what I could tell, these areas marked some valuable treasure nearby (e.g. stealth boots).

Banks and shops will be as common as ever, and you'll likely find a few exciting secrets if you explore enough.

There are some areas in this book with lots of doors, often locked doors that you won't need to unlock -- whoever built these living quarters should be shot... Would you like to do the honors? ;) But seriously, the randomly generated levels often produce areas where you shouldn't need to spend a key, so check around before wasting one.

Once you find your way to the orb and exit, make sure you heal up and have all the gear you'll want. The final level is plenty hard. If you don't have a medkit or tinning kit yet... may I suggest one? If you did not find one because of randomness... ouch. Make do with what you can. I also recommend you have either a destruction amulet or compass for the challenge to come.
Final Level
Once you've faced the horrors of all three books and collected the orbs, you're ready for the final level. Once you're back in the library, interact with the three white pedestals to place the orbs and open the library door. Make sure you're ready, as the final level is tricky.

There are two things to note. First, you're traveling up instead of down. A compass or destruction amulet will help immensely here, as the terrain is hard to navigate and you want to find the exit as soon as you can. Second, almost every enemy is represented in this level. I used to believe you wouldn't find lizardman statues here, but I've recently encountered one in another playthrough, so beware. You will also have to deal with shuggoths, eye clusters, and all manner of other horrors found in the previous three levels.

The main hazard here is height. You're usually climbing upward, and this environment has a some particularly tough falls waiting for you if you're not careful.
TODO: are spikes, tripwires or eye traps found here?

Exploration is reasonable, as there are still some items to be found (though hopefully you have accumulated all the gear you could ever want by now). You should be primarily concerned with finding the exit though, since enemies are swarming and nowhere is safe.

All your sneaking and fighting techniques will come into play here, and it's perfectly valid to sprint past threats when you don't want to tango.

In my playthrough, the final area had some tricky platforming. Useful spells and gear include the conjure blocks spell (build a path to the destination), jump spell (rapid-tap to simply fly there), climbing boots (to avoid falling damage), medkit (to recover from lethal falls), and destruction amulet (to blow away obstacles or carve your own path).

Hopefully I've avoided spoiling too much. Enjoy this final challenge!
Mountains of Madness
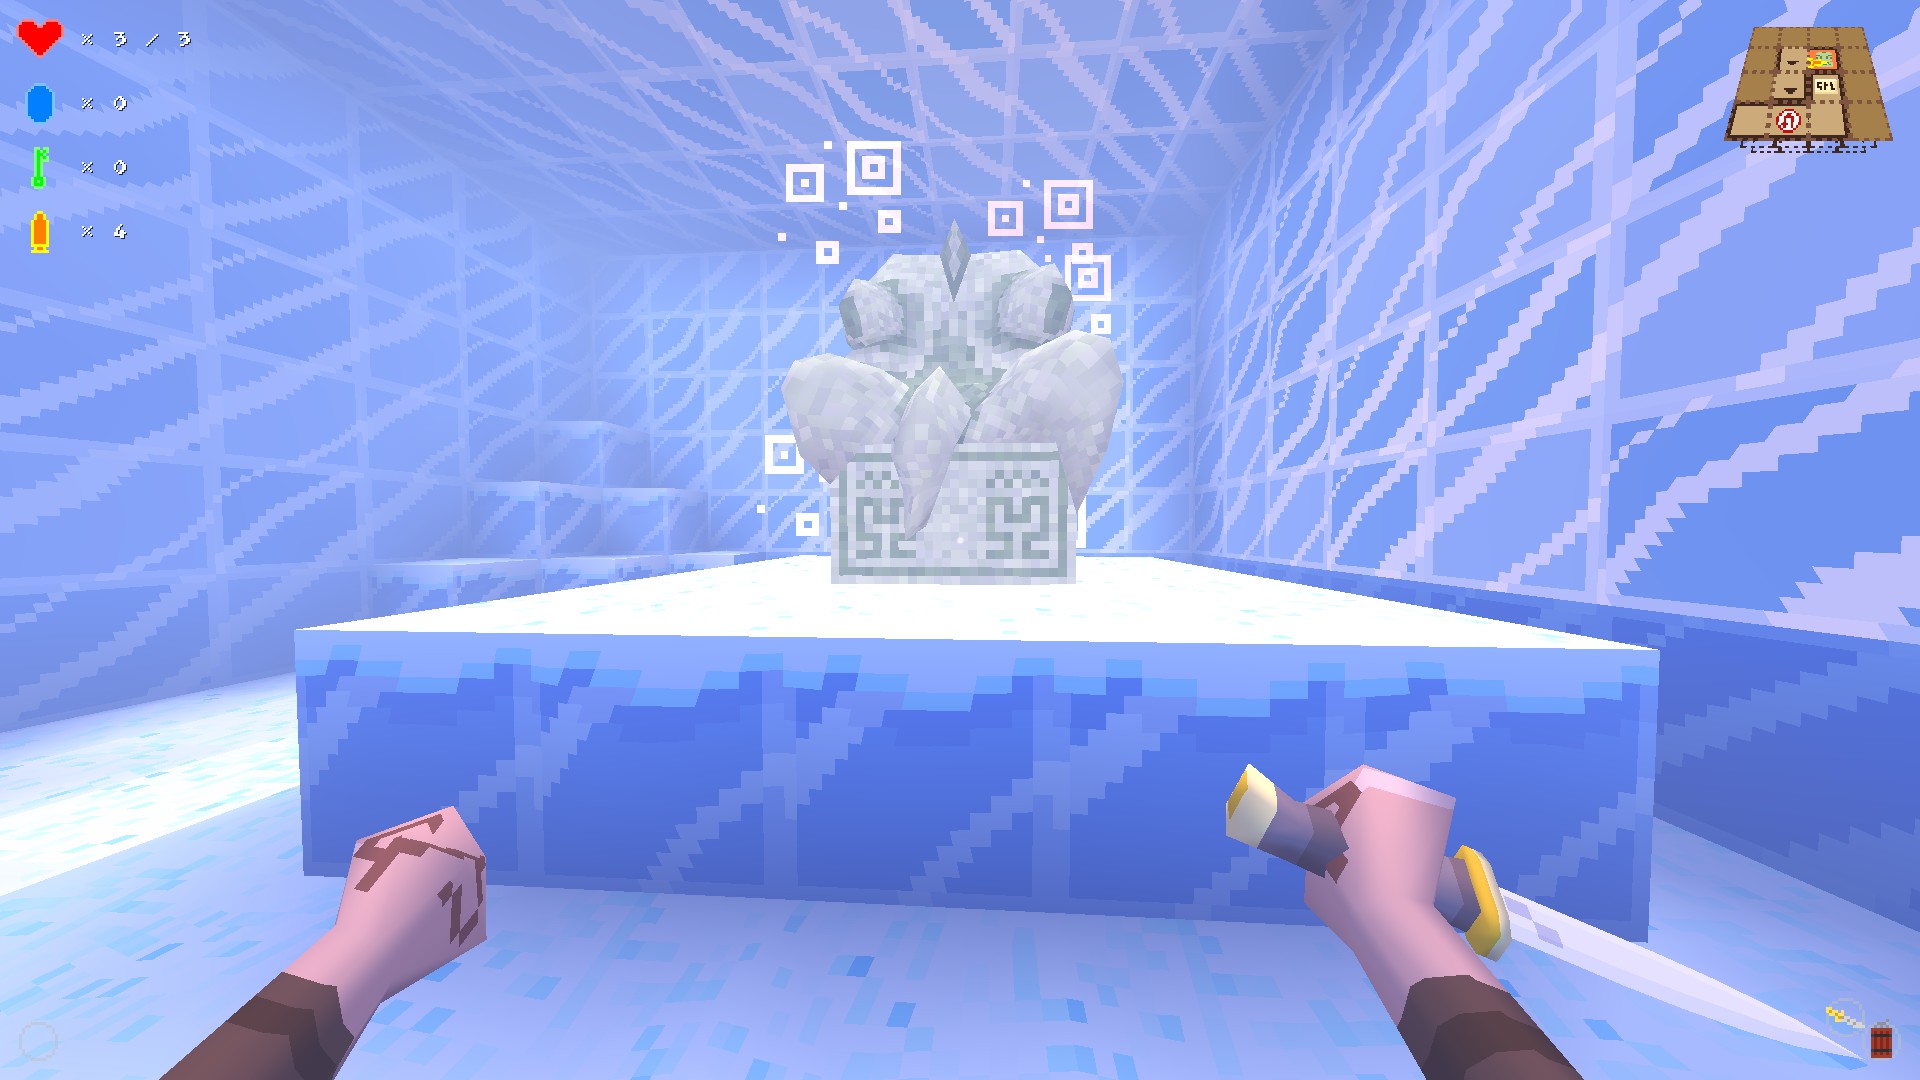
The MoM expansion can be accessed through the frosty-blue book behind the three books of the normal game. Beware that if you enter it, you're probably not going to be able to return to the normal game again until you die or beat MoM. In either case you lose all your progress in the normal levels (if any). There is a book at the bottom of MoM that will let you return to the library (if you have the need), but you have to reach it.

MoM is particularly hard if you're used to the main book where sneaking is a fairly safe way to get around. Icicles make this a major challenge, and you may find yourself sprinting everywhere you go for the first while. The hazards, enemies and items of MoM require a change in tactics, so hopefully I can help with that.

Enemies
Floors 2-4
  • Penguin
  • Elder Thing
  • Pinser
  • Floating Eye
  • Shuggoth
Floors 5-7
  • Cultist
  • Elder Thing
  • Pinser
  • Eye Cluster
  • Shuggoth (many)
Floors 8-10
  • Cultist
  • Mi-go
  • Pinser
  • Gray Penguin (appears to have no difference except appearance)

Hazards
Floors 2-4
  • Spikes
  • Icicles
  • Long Falls
Floors 5-7
  • Spikes
  • Wall Spikes
  • Icicles
  • Tripwires
  • Long Falls
Floors 8-10
  • Pinser
  • Mi-go
  • Gray Penguin
  • TODO

You will start in a safe place by the airplane. There's a trap door leading down, and a soapstone (see below). There's nothing else to see on the first floor.

Recommended Strategies

Your first choice is whether to enter MoM as a fresh character (no items etc from previous travels), or to go build up in the first book beforehand. Since Book 1 is so easy, it may be extremely tempting to gear up there, return to the library, and then enter MoM. It's a matter of how much of a challenge you want, so I'll leave it up to you. My first few tries were fresh, but eventually I geared up after dying cheaply too many times and wanting to reach the end... a medkit, for example, makes a huge difference. ;)


The first area (floors 2-4) is caked with icicles. They line the ceiling in various places, and will rapidly deplete your health if you're not careful. They drop when you move under them regardless of whether you're sneaking or cloaked (TODO: fully verify w/ cloaking), so stealth players will have a hard time in this section. If you find climbing boots, grab them; they will be immensely helpful in this area.

The creatures here can be avoided through careful use of terrain: stay out of reach and the pinsers, penguins, mi-gos and shuggoths cannot harm you. Beware though that shuggoths and penguins are tall, and have a tendency to hit players that are too close to an edge 2 blocks above them. You can also keep penguins away by punching or stabbing (with the knife) rapidly, and strafing around elder things can keep you out of their line of fire.

Useful weapons are an axe or knife for melee fighting, a pickaxe for bypassing walls, a grappling gun for reaching high places, and the tried and true revolver. The axe is more powerful but extremely slow -- I prefer the knife unless I'm short on keys for unlocking doors. The pickaxe only works for a few uses, so don't rely on it... and it's crap in combat (better to drop it with the Z key and resort to punching). The problem with the grappling gun is it does nothing in combat -- it can only be used to climb. Granted, you can climb to safety from many enemies with it, but you cannot do damage. Expect to need to drop it and resort to punching fairly often.

Floors 3-7 are an interesting mix of mushrooms and ice. Note the addition of the odd tripwire (and fewer icicles), and many more shuggoths. They were everywhere when I visited. Luckily for me nearly all of them were clustered around a gap they couldn't cross, screaming at a pinser they couldn't kill. There was an elder thing firing at it too, but to no avail. This kept them fairly bottled up in one area, roaring loudly and incessantly, but harmlessly so long as I stayed out of the way.

By this time you'll probably have noticed that pickaxes are terrible. They break too soon, are cumbersome and weak in combat, and you have better options for your limited item slots. I recommend buying or robbing from one of the shops a destruction amulet, to go with your nice pair of climbing boots. Pick up a revolver and hoard ammo so you can burrow your way through walls. It's much more effective than trying to rely on pickaxes.

If you have a medkit, use the next bank to fill up on any money you've stored up to now. You may need it terribly.

Floors 8-10 are dark and filled with mi-gos, penguins, and lots of rapid-firing cultists. The mi-gos and cultists together actually constitute a fairly serious threat, and you should be prepared to sprint to safety fairly often. They don't do a lot of damage per hit, but it's easy to get hit often and this is not a place where health is restored easily. Again, a medkit and destruction amulet + revolver are extremely helpful here.


Once you find the keys to the airplane, you now have the exciting task of climbing all the way back up again, while being chased by a murky black cloud. The cloud cannot hurt you, but it obscures your vision when it reaches you (until you move again). It's a good idea to finish any exploration you wanted to do before grabbing the keys.


It might be helpful to pick up a grappling gun now, to ease the climb back up. More useful is a revolver and destruction amulet, since you can use that both as a weapon and as a climbing tool. The Materialize spell is also ridiculously effective here.

Hidden somewhere in the final level is a book that will transport you back to the safety of the library. You'll get to see the MoM ending only if you go back to the airplane with the keys, but if you want to take your items with you into the normal game, this is your only chance.

I should note that if you use the book to exit back to the library, you can return to MoM. It seems to deposit you on the bottom floor if you have the keys, so you do have to climb all the way back up. However, if memory serves, if you DON'T have the keys, it may put you all the way back at the top of MoM when you re-enter. This warrants further testing to see when or why it puts you on the top floor (and my experiences may cross different versions and fixes).
Gear and Item List (part 1)
The items you can find throughout the game are limited, and you won't be able to carry everything you want with you. You can carry unlimited artifacts, keys and bullets, but you can't carry food around with you. You can only have one amulet, one backpack/kit, one type of boots, up to two weapons, and one spell. The limited inventory is core to the challenge of the game -- you don't carry 10 weapons and a full spellbook; instead you have to make hard choices on what you bring with you, and what you leave behind.

Note that some items are only found in Mountains of Madness, so I list them separately.

Consumables
These are items that either don't take up inventory slots, or cannot be carried with you.

Meat and Fruit
Shop price: 15
Baked Meat and the Yellow Fruit bushes will heal a single HP when you eat one. You cannot carry this around with you -- you will eat it when you press the interact key.

Rotten Meat & Toxic Fruit
Rotten meat is a slightly different color from cooked meat, and toxic fruit is purple. Hover over them with your mouse and read the label before you eat, or you could be in for a surprise (rotten meat in darkness can be particularly deceptive).

Eating these appears to have a chance of either healing you or harming you. I'd guess the ratio is 50%, but I've made it a point to avoid ingesting potentially lethal objects. ;) Someday I should run around the map eating all the rotten and toxic food in the name of science.

For now? If you're desperate for health and willing to gamble, you might as well try eating these. They may help you or kill you.

Keys
Shop price: 5
Each key will open one locked door. They're useful but you don't need many of them, particularly once you acquire jump boots, a destruction amulet, or other way of bypassing many doors. Wooden doors can be unlocked with just 8 slashes of the knife (except in NewGame+), so once you have a knife, a key is most useful for the occasional metal door. Early game they'll be in short supply, but it's easy to stockpile loads of them as time goes on. If you're using a destruction amulet, you should probably use keys to open areas instead of bullets when able, since ammo is more valuable.

Bullets
These are used by the revolver and crossbow. They're important for combat, and for digging with the destruction amulet. You can acquire bullets by picking up a revolver, looting corpses, or disarming tripwires.

Weapons

Fist
Damage: 1
When you have no weapon equipped, you'll punch. Punches deal minimal damage, but you'll still be able to take down most enemies in the first book with your fist of fury.

Knife
Damage: 2?
Shop price: 5
The staple melee weapon, and a notable improvement over punching. Knives are plentiful in the game, and they deal decent damage. Note that any melee attack hits multiple enemies, and the knife is by far the best melee weapon (even in MoM), so groups can be hurt or killed with a single slash. There's no reason not to stab rapidly either -- with no ammo cost and reasonable damage, it's an effective way to kill most enemies before they can harm you.

The knife is also extremely useful for tearing down wooden doors, reducing your need for keys (which you can save for metal doors, or moments where you don't have time to cut through, or when you need to leave a door intact for hiding and safety). About 8 slashes will open any wooden door, locked or not, and knives never wear out. They're also plentiful throughout the game, so you're likely to be using one fairly early. Unfortunately, you cannot cut open locked wooden doors in NewGame+, so you'll need keys when you take on that challenge.

Note that the knife, like all weapons, is affected by the destruction amulet. It's also very fast at attacking, making it an extremely efficient way to dish out tremendous amounts of damage to even the burliest of enemies (e.g. starspawn, elder things, penguins, etc).

Bottle
Damage: 2
Shop price: 2
A one-time use ranged attack. Bottles break on impact when they are thrown, or when you attack them. The also shatter if they fall too far a distance (e.g. when swapping for a new weapon). Be warned: breaking a bottle on sale in the shop will cause the shopkeeper to attack you.

Rock
Damage: 2
Shop price: ?
The rock is a reusable ranged attack. It deals decent damage and bounces off surfaces. You can then pick it up and reuse it. Also distracts enemies on impact.
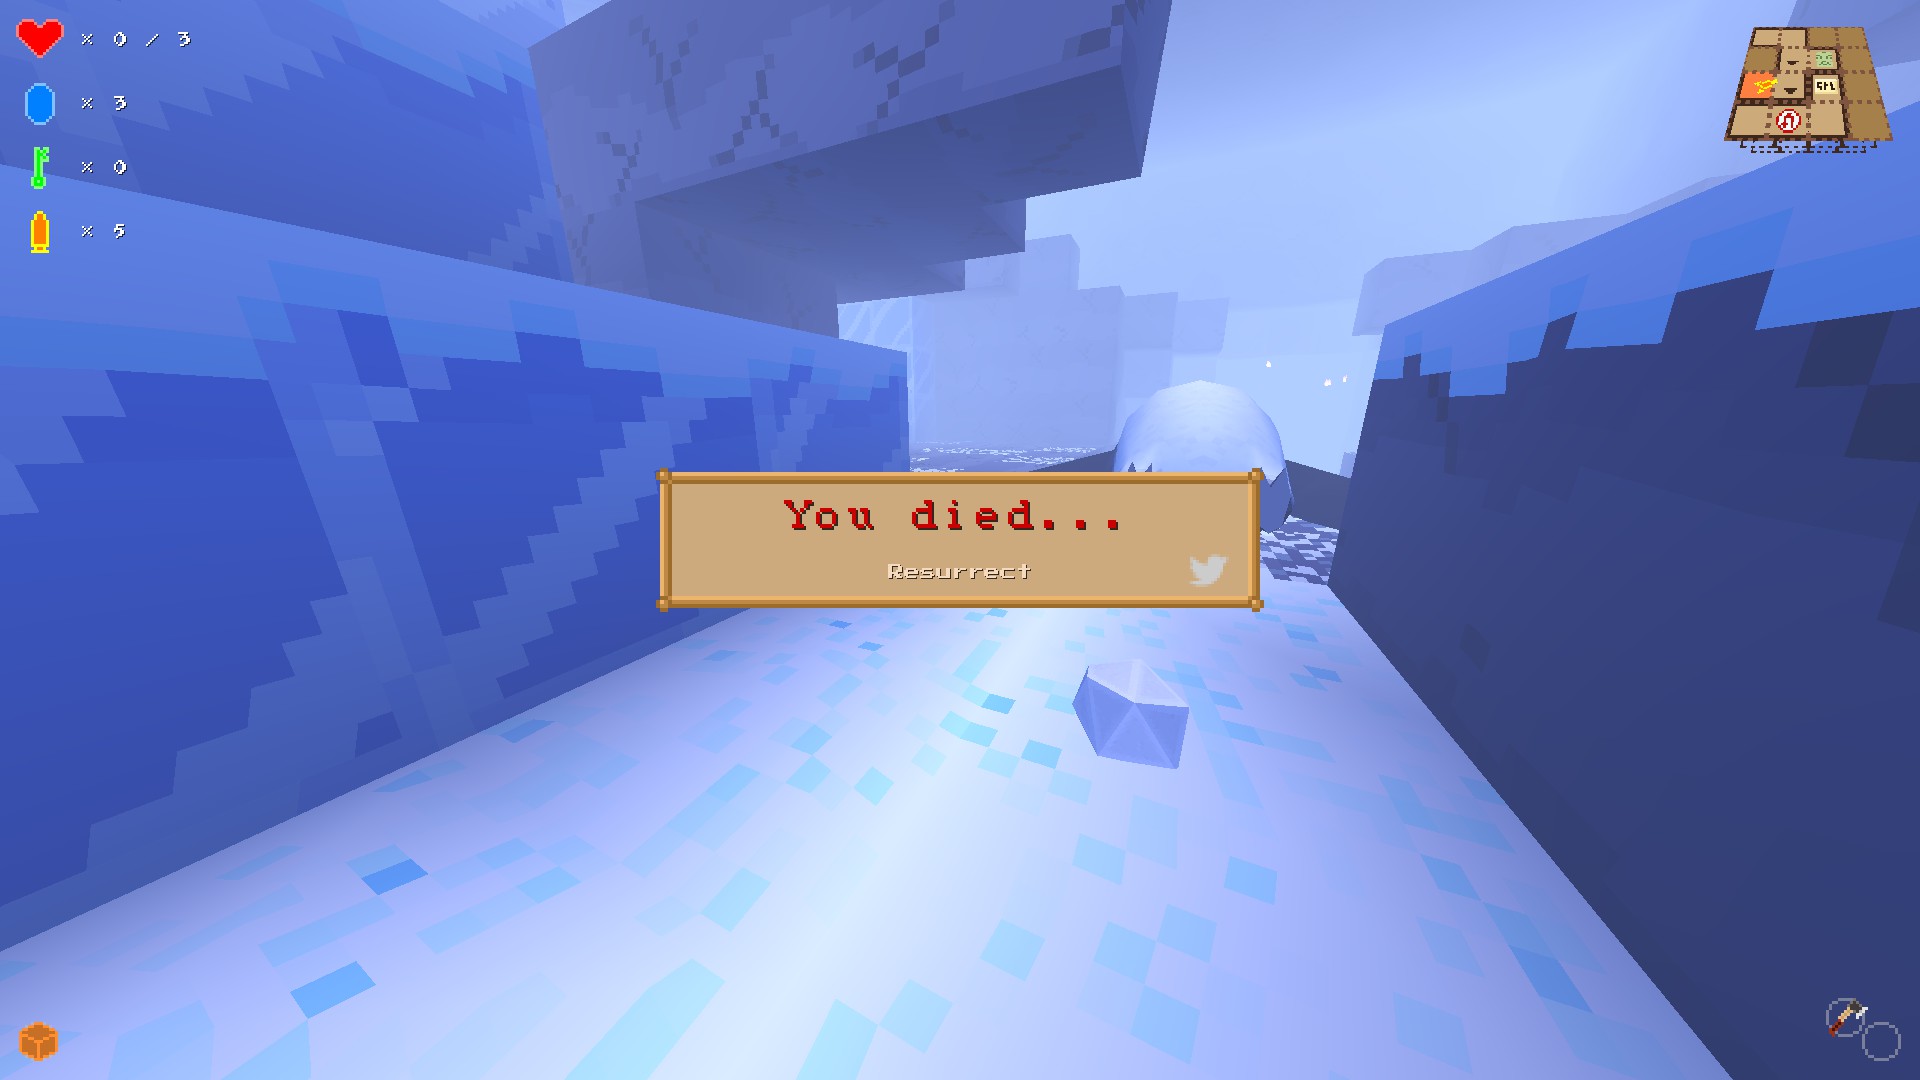
Just be careful -- if it bounces off of a wall or enemy and hits you in-flight, it will hurt you. You can, in fact, kill yourself with your own pebbles quite easily.... as seen below. Laugh it up penguin, laugh it up.
Death by my own pebble...

Pistol
Damage: 2
Shop price: 10
The pistol is a ranged weapon that uses bullets. It deals decent damage, and you'll throw it like a bottle when you run out of ammo.

If you have the destruction amulet, the pistol will break wall/ceiling/floor blocks you shoot, allowing you to make short-cuts through the level.

Picking up or buying a pistol you haven't picked up before also gives you 3 bullets.

Crossbow
Damage: 2?
Shop price: 10
The crossbow fires tripwires that injure enemies who cross them. Shoot a wall to create a horizontal tripwire directed away from the wall. You can also shoot enemies directly as with the pistol, but this doesn't create a tripwire. Each shot takes 1 bullet, whether you create a tripwire or shoot an enemy directly. You can recollect the ammo from the trip wire with the interact key, just like any tripwire.

It's a slightly more awkward weapon to use than the pistol and I get the impression it's also weaker (or doesn't get a damage bonus with the destruction amulet?), but has its strategic uses. Unfortunately the tripwire is good for only a single use and disappears as soon as it deals its damage. The crossbow also cannot dig through walls with the destruction amulet.

IMO, it's not as good as the pistol, but better than nothing for a ranged weapon. Curiously it doesn't appear until later in the game (book 2 is the earliest I've seen it).

Picking up or buying a crossbow you haven't picked up before also gives you 3 bullets.

TNT/Dynamite
Damage: ? (at least 2)
Shop price: 15
A one-time use explosion that deals a lot of damage, and destroys terrain. Once thrown or attacked, it hisses for a moment then goes off (do don't be close when that happens or you'll take 2+ hearts of damage and be thrown a long distance) It's is a great way to open paths through walls and the floor, and occasionally kill enemies.

Beware that attacking TNT causes it to activate. I suspect this will generate a similar response from shopkeepers as breaking their bottles. Thrown TNT also explodes as soon as it hits a hazard, such as spikes or eyeballs. This will often make it detonate in your face, so use with care!
Gear and Item List (part 2)
Kits/Backpacks

Tinning Kit
Shop price: 60
For 20 artifacts you can eat a non-human monster to recover 1 HP (corpses can be found plentifully, and it's only 5 artifacts more expensive than meat in the shop). It's an expensive way to survive, but extremely useful when you find yourself struggling to stay healed.

Note that eating a foe still counts as looting the body (so the monster will respawn, but you also get its stuff).

Medkit
Shop price: 45
When you die, you can come back to life with 3 HP for 50 artifacts. Compare this to the Tinning Kit which requires 60 artifacts and 3 corpses to heal that much, and won't save you if you die by accident. This makes the medkit perhaps the best item in the game, in my opinion.

Locksmith Kit
Shop price: 75
I've played around with this and it appears to open doors without removing the lock, at no cost. You can then close the door behind you and keep it locked, so enemies cannot follow you in there. Hold the action button when facing an unlocked door to lock it for 5 artifacts.
I prefer the medkit once I can find one, but the locksmith kit is a great way to stay safe (since you can easily enter or create safe areas in any room with a door) and ignore the need for keys while you have it.

Boots

Stealth Boots
Shop price: ?
Your footsteps make no sound, even while sprinting. This is a useful item whether you're sneaky and careful, or you like to sprint everywhere. Enemies pick up on the sounds you make quite often, but silent footsteps mean the only giveaways are attacking or being visually spotted.

When combined with the cloaking spell, you have total non-detection while cloaked even at top speed. I've also noticed shuggoths and other enemies have trouble following you around corners/doors with these boots, making evading pursuers much easier.

Speed Boots
Shop price: 30
Whether you want to sprint everywhere or sneak faster, these boots give a nice little burst of speed.
I personally don't see much value in them -- another pair of boots is a better choice IMO. However, I may not be seeing their full potential.

Jump Boots
Shop price: 20
Don't underestimate the value of being able to jump 1 square higher: it rocks. This allows you to bypass many walls (including many bank walls), climb to high areas more easily, escape enemies by jumping out of reach, etc.

Climbing Boots
Shop price:
I've only encountered these rare boots a couple times in the main game; they are perhaps more common in MoM. They make you immune to falling damage, and walking under icicles will not cause them to fall. These boots can be mildly useful in the main game for the falling damage immunity. However, in MoM their worth raises to a five-star MUST HAVE item because they let you walk and sneak under icicles safely, and drop from any height.

Amulets

Compass
Shop price: 10
Shows an icon indicating the exact direction of the exit at all times. Useful throughout the game, because it allows you to find your way when you desperately need to get through an area with as little superfluous exploration as possible. Particularly handy both in the second book, and in the final level, IMO. Speedrunners love this item since it guides them to the exit of each level quickly.

Conjurer's Talisman
Shop price: 25
Reduces the artifact costs of casting spells, but not gear like kits. I need to do more testing to see how much it actually reduces the cost (flat 1 artifact, or a percentage?). Materialize and Lift, for example, are free with this item equipped. Materialize is a potent utility spell, and Lift basically lets you fly (albeit awkwardly), so they benefit a lot; however, they're cheap spells that you rarely have to spam, so you may get a lot more use out of a different amulet once you find one.

Destruction Amulet
Shop price: ?
This amulet has two effects. First, all your attacks deal more damage, allowing you to kill foes much more quickly. Second, your bullets break wall/ceiling/floor blocks, allowing you to burrow through obstacles. The extra damage is very nice, but the ability to burrow through walls is... amazing. This amulet lets you turn your bullets into keys (just burrow around doors), TNT (burrow through the wall blocking your path), and an all-around navigation cheat-o-matic. If you have the choice between this and another amulet, assume this is the better choice unless you have a very specific need from the other item.

Lucky Charm
Shop price: 20
Find more loot on corpses. If you're a careful player and you kill and loot regularly, you'll probably have all you need anyway. I prefer the other options.

My Favorite Gear
This has no bearing on what will work best for you (everyone's play style is different), but my method is to grab a medkit for survival, jump boots for easy access or stealth boots for less harassment, and either the destruction amulet (carve paths and stronger combat) or a compass (zip straight to exit). I wield a pistol and knife, and have the cloaking spell for strategic use and emergency response or materialize for its amazing utility (climb freely, seal away shopkeepers and statues, etc).

Is that the hands-down best loadout? Nah, but it worked well for me so I thought I'd share.
MoM Gear and Item List
Mountains of Madness has its own unique selection of equippable gear, weapons, tools, and so on. I wanted to keep its list separate from that of the main game, since most of these cannot be found anywhere in the main game.

Objects

Boon: Campfire
These work just like yellow fruit trees: interact to heal 1 HP. They're not particularly common, so remember their location and revisit when you need healing. You can re-ignite the flame with a camping kit for more healing.

Boon: Pottery
These can be broken to find artifacts inside, either 1 or 5. They may also contain a pinser, so beware. You can still kill and loot it though.

Gear

Weapon: Grappling Gun
Shop Price: 20
Usage Price: free
Damage: none
When fired at a wall or the ceiling, produces a rope that can be climbed like a ladder.
Does not appear to harm enemies. Given that it's infinite use, it can be a god-send for climbing high walls. You can also shoot at the ceiling in an emergency and climb up out of the reach of melee enemies, or enemies that cannot fire upward (Elder Things).

Weapon: Hatchet
Shop Price: 10
Usage Price: free
Damage: 3?
Good for chopping down locked wooden doors, but it doesn't work against metal bar doors. Very slow attack speed, but good damage.

Weapon: Pickaxe
Shop Price: 30
Usage Price: eventually breaks after some use
Damage: 3?
Able to chop through wall blocks, as though you were using a destruction amulet + revolver. Doesn't require ammo but soon breaks.

Backpack: Camping kit
Shop Price: 30
Usage Price: 10
Lets you stoke a campfire as you use it to receive 3 HP instead of the normal 1. To do this, hold down the use button.

Boots: Climbing Boots
Shop Price: ?
You can find these (rarely) in the main game, but they're far more useful to you here. They basically negate both falling damage and icicles (because icicles won't fall when you pass under). Particularly in floors 2-4 where icicles are everywhere, these are very helpful to both stealth players and speedrunners.

Accessory: Soapstone
Shop Price: n/a
Usage Price: n/a
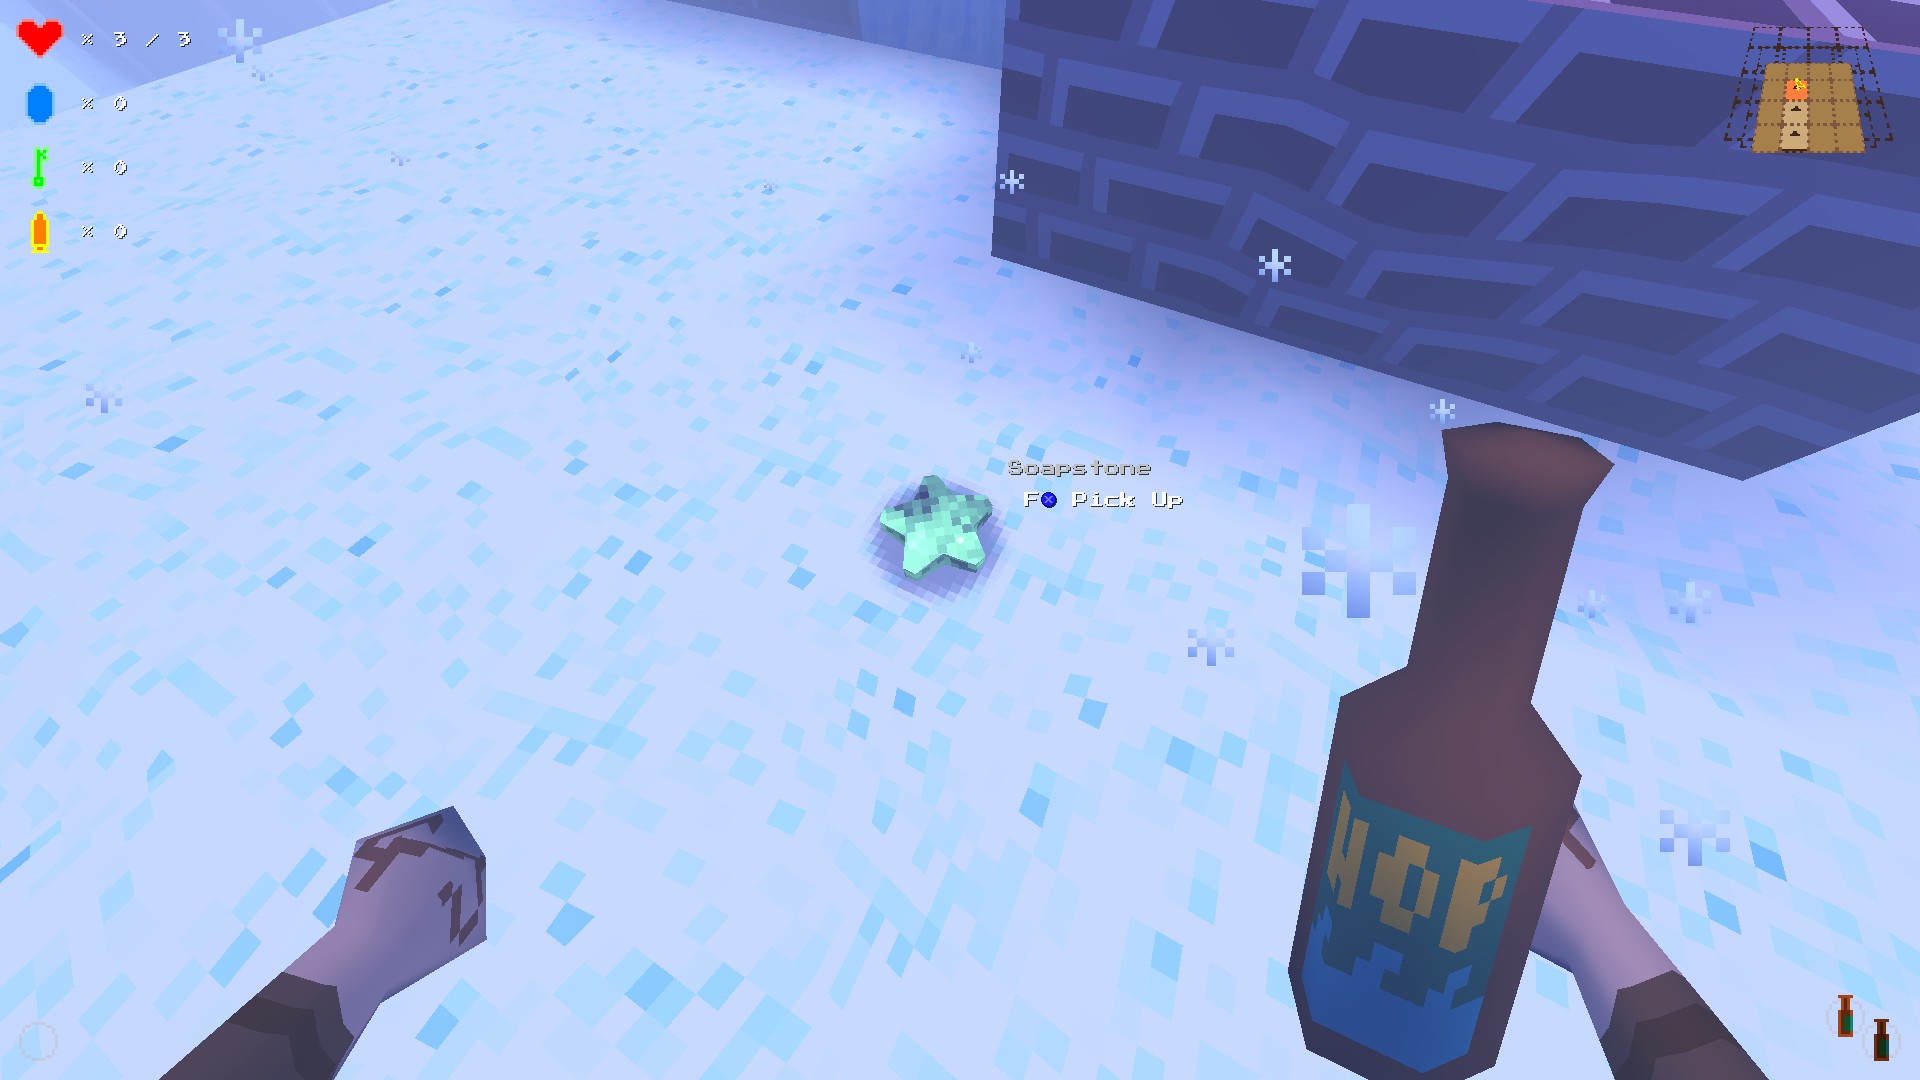
You'll always find this item on the top level of MoM, as you leave the airplane. Don't bother taking it, as it's a worthless joke item.
People were troubled and baffled by the soapstone's purpose for a long time until we got to look through the source code. Now we know its entire purpose: Take it all the way to the bottom of MoM and use the book to return to the library, you can then go to the third (green) book and talk to the Star Spawn shopkeeper. Because you're carrying the soapstone, he will give a friendly response instead of cold. That's it -- no discount at the shop or ability to safely steal from the shop, nor any other practical benefit. It simply changes the text you see if you interact with the shopkeeper. The dev says it's a joke inspired by the Pendant in Dark Souls.
Holy Items
There is one hidden book in the second level of each book, which leads to a strange purple misty room with no music, no enemies, but lots of artifacts lying around. At the other end of this room lies one of the three holy pieces of gear.

These items literally grant no immediate benefit. Their only use comes in when you are wearing all of them when you beat the game. If you do this, you'll be going without any useful gear (making you weaker and more vulnerable), and first you have to track these items down (requiring lots of exploring of each book -- often using TNT or the destruction amulet to find hidden spaces).

Why would you do this? Because beating the game while wearing all three gives you a better ending, though it's still just an anti-climatic text message.

  • Holy Symbol
  • Sandals
  • Consecration Kit
Spell List
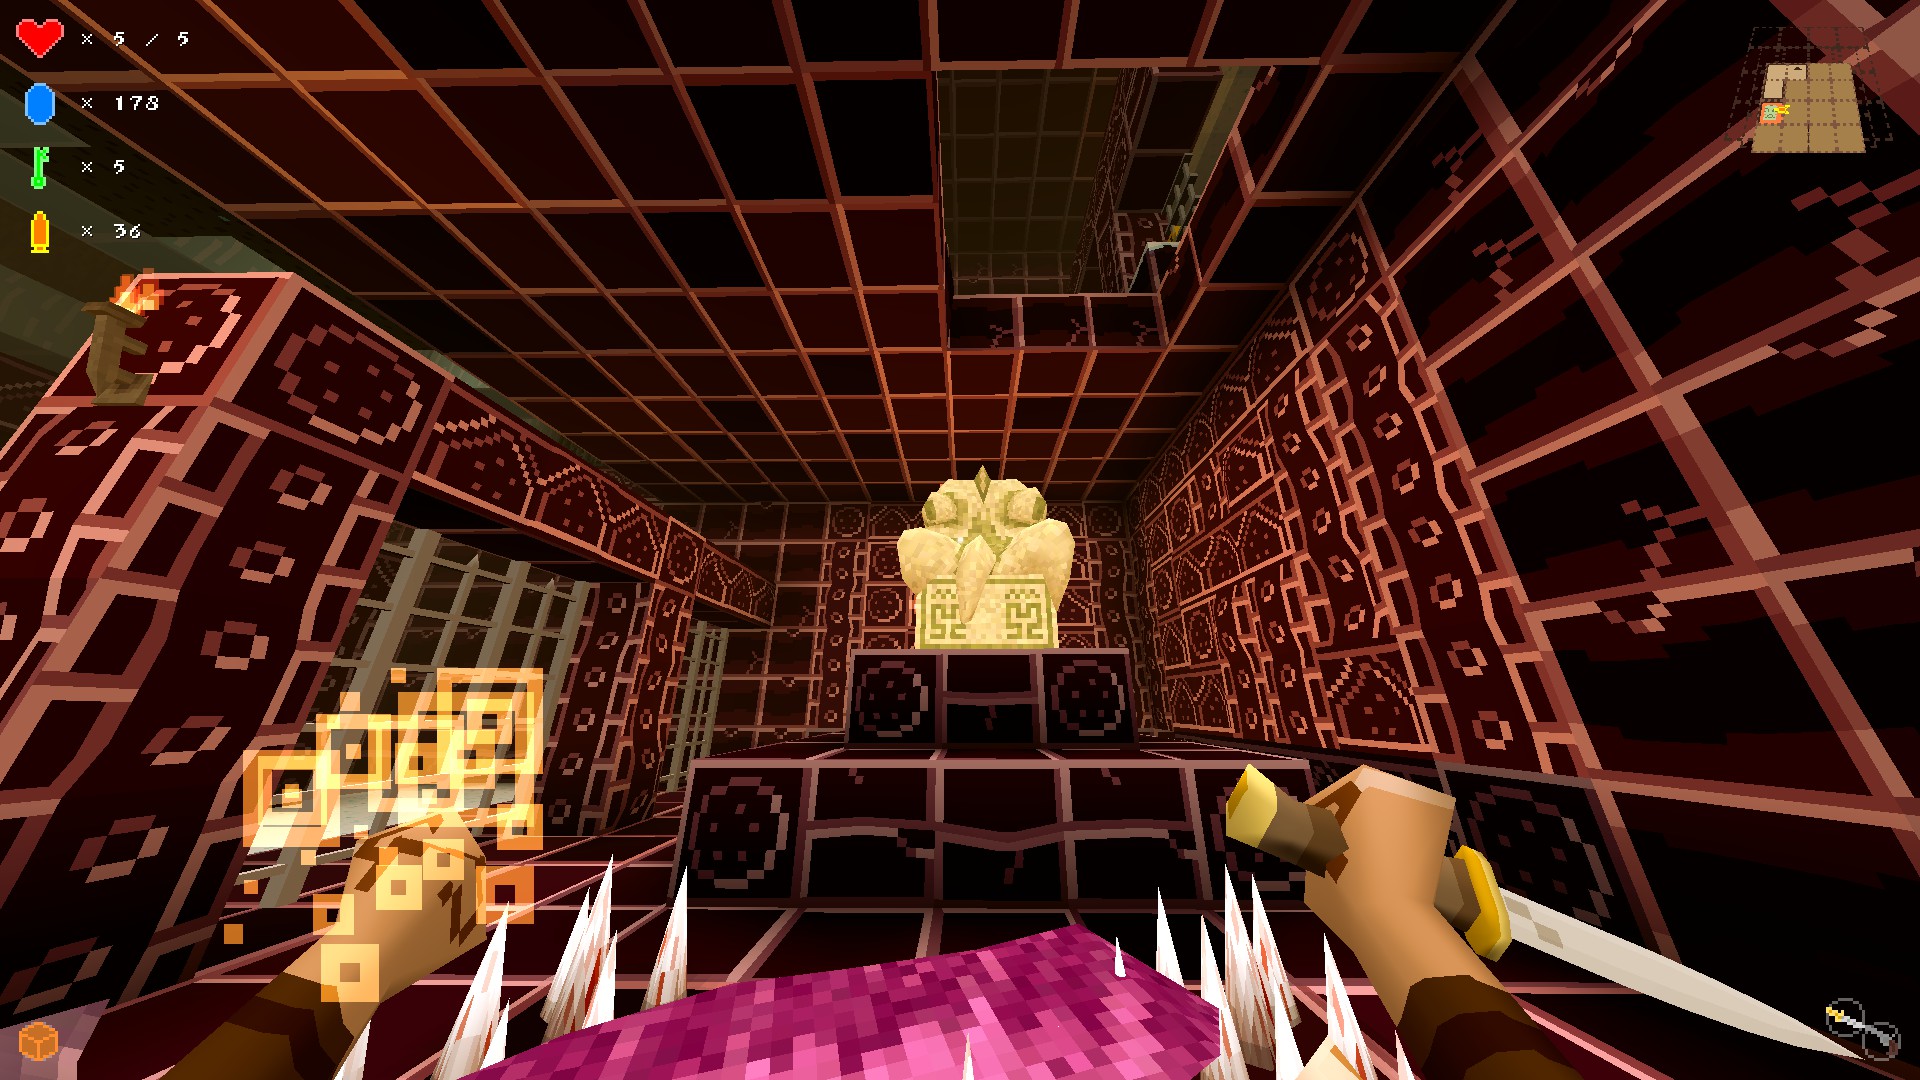
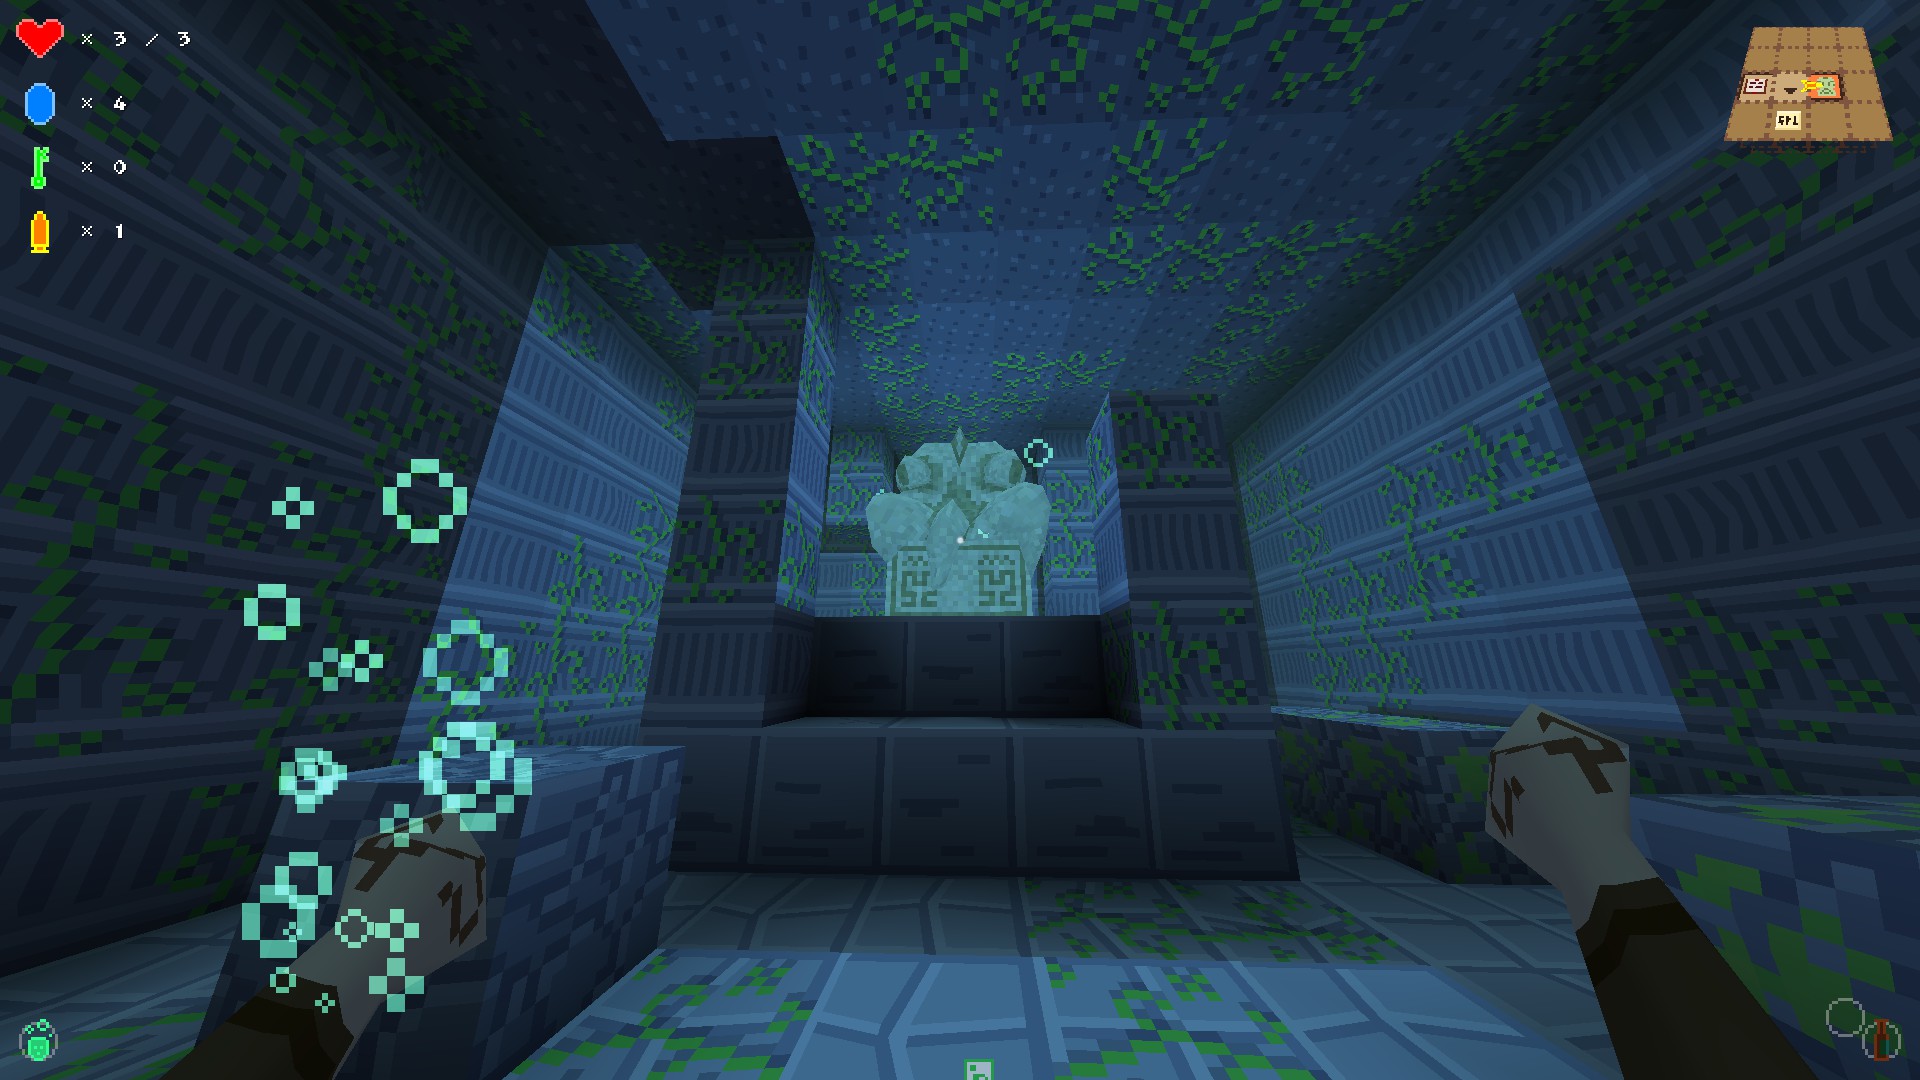
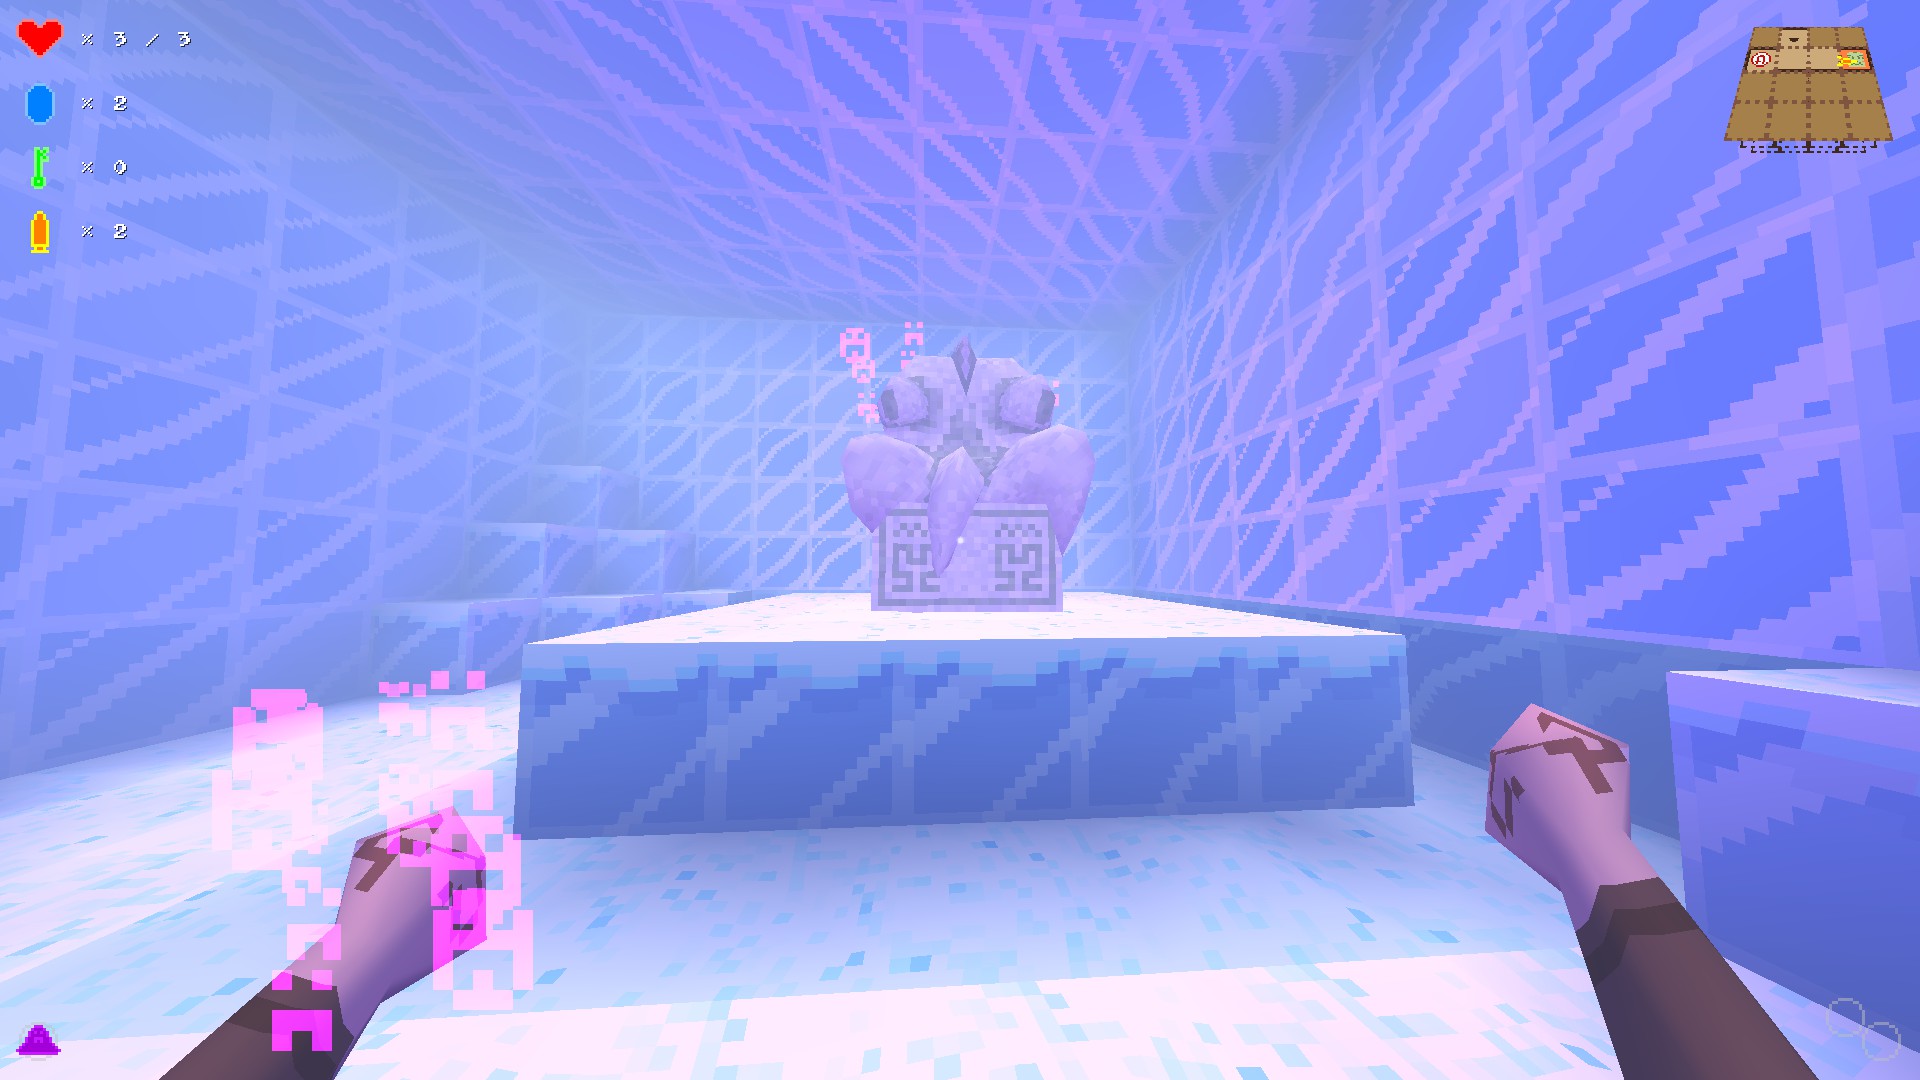
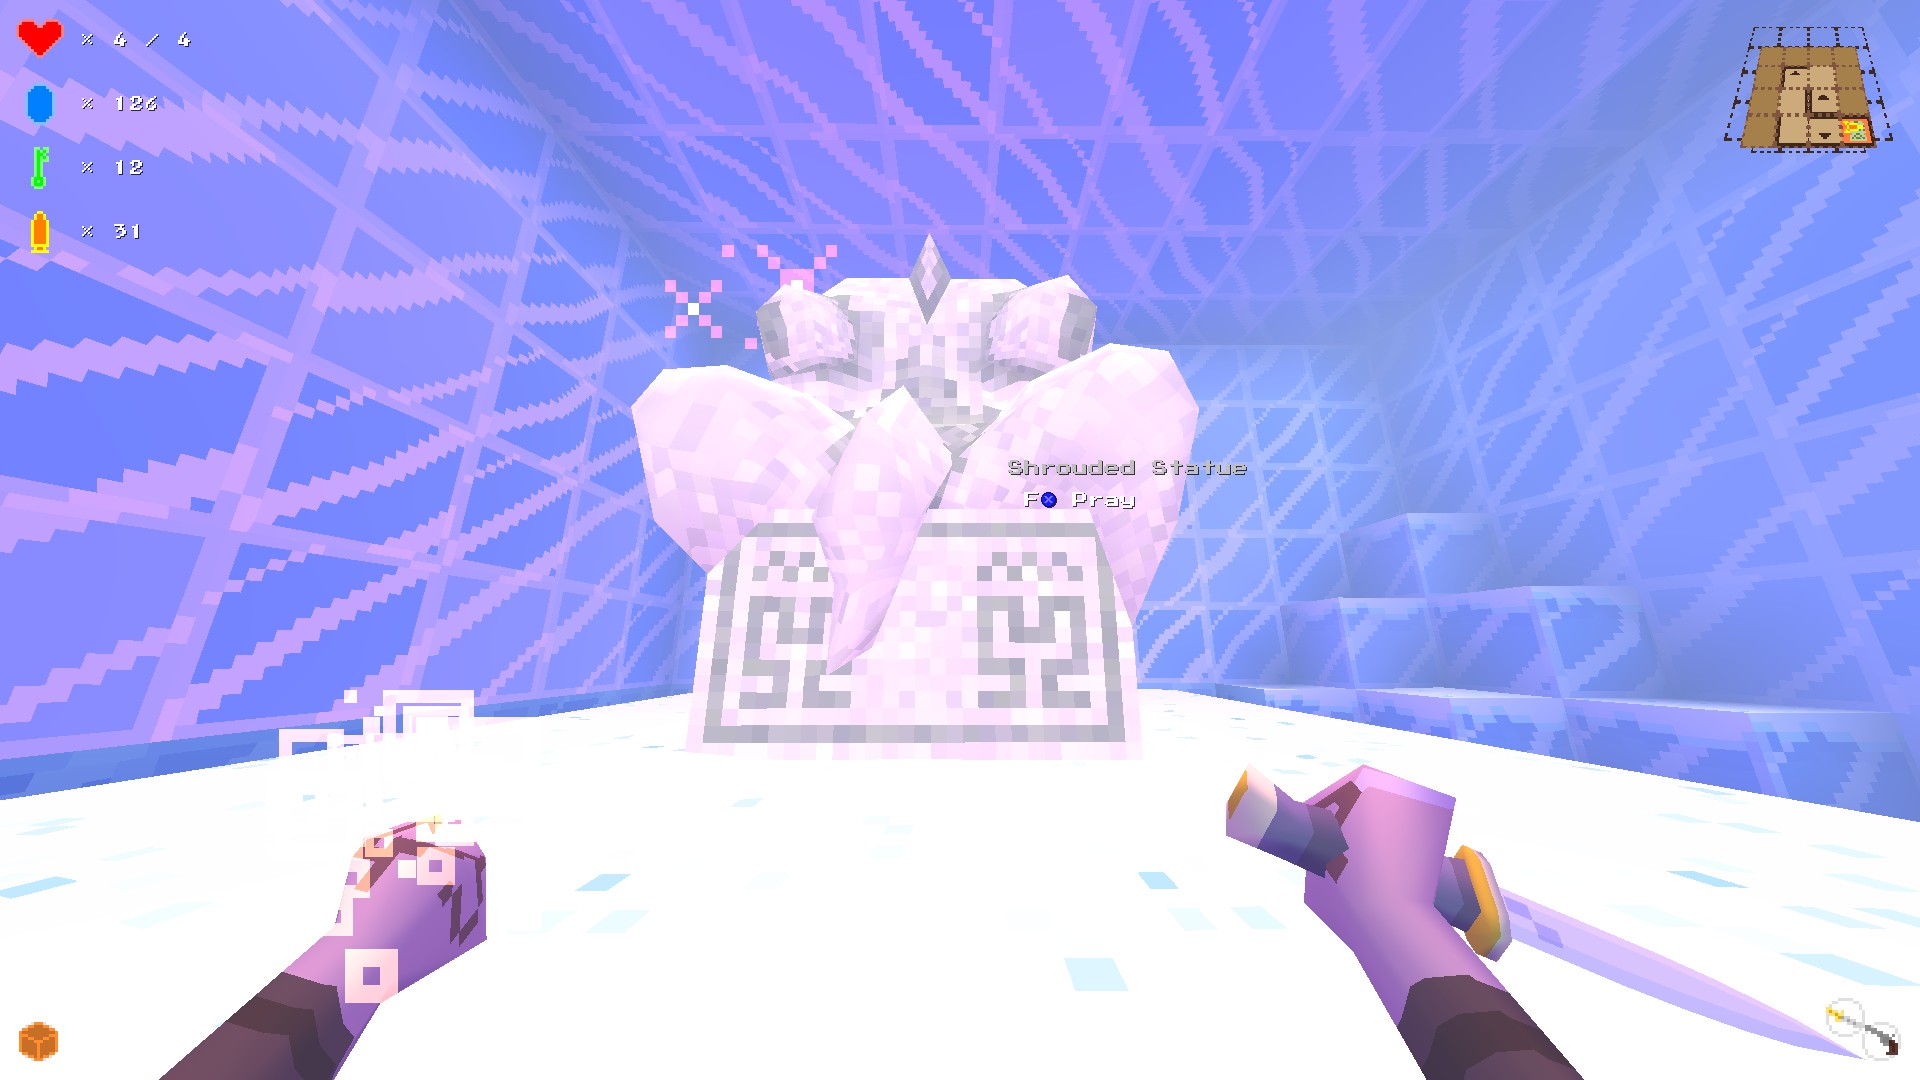
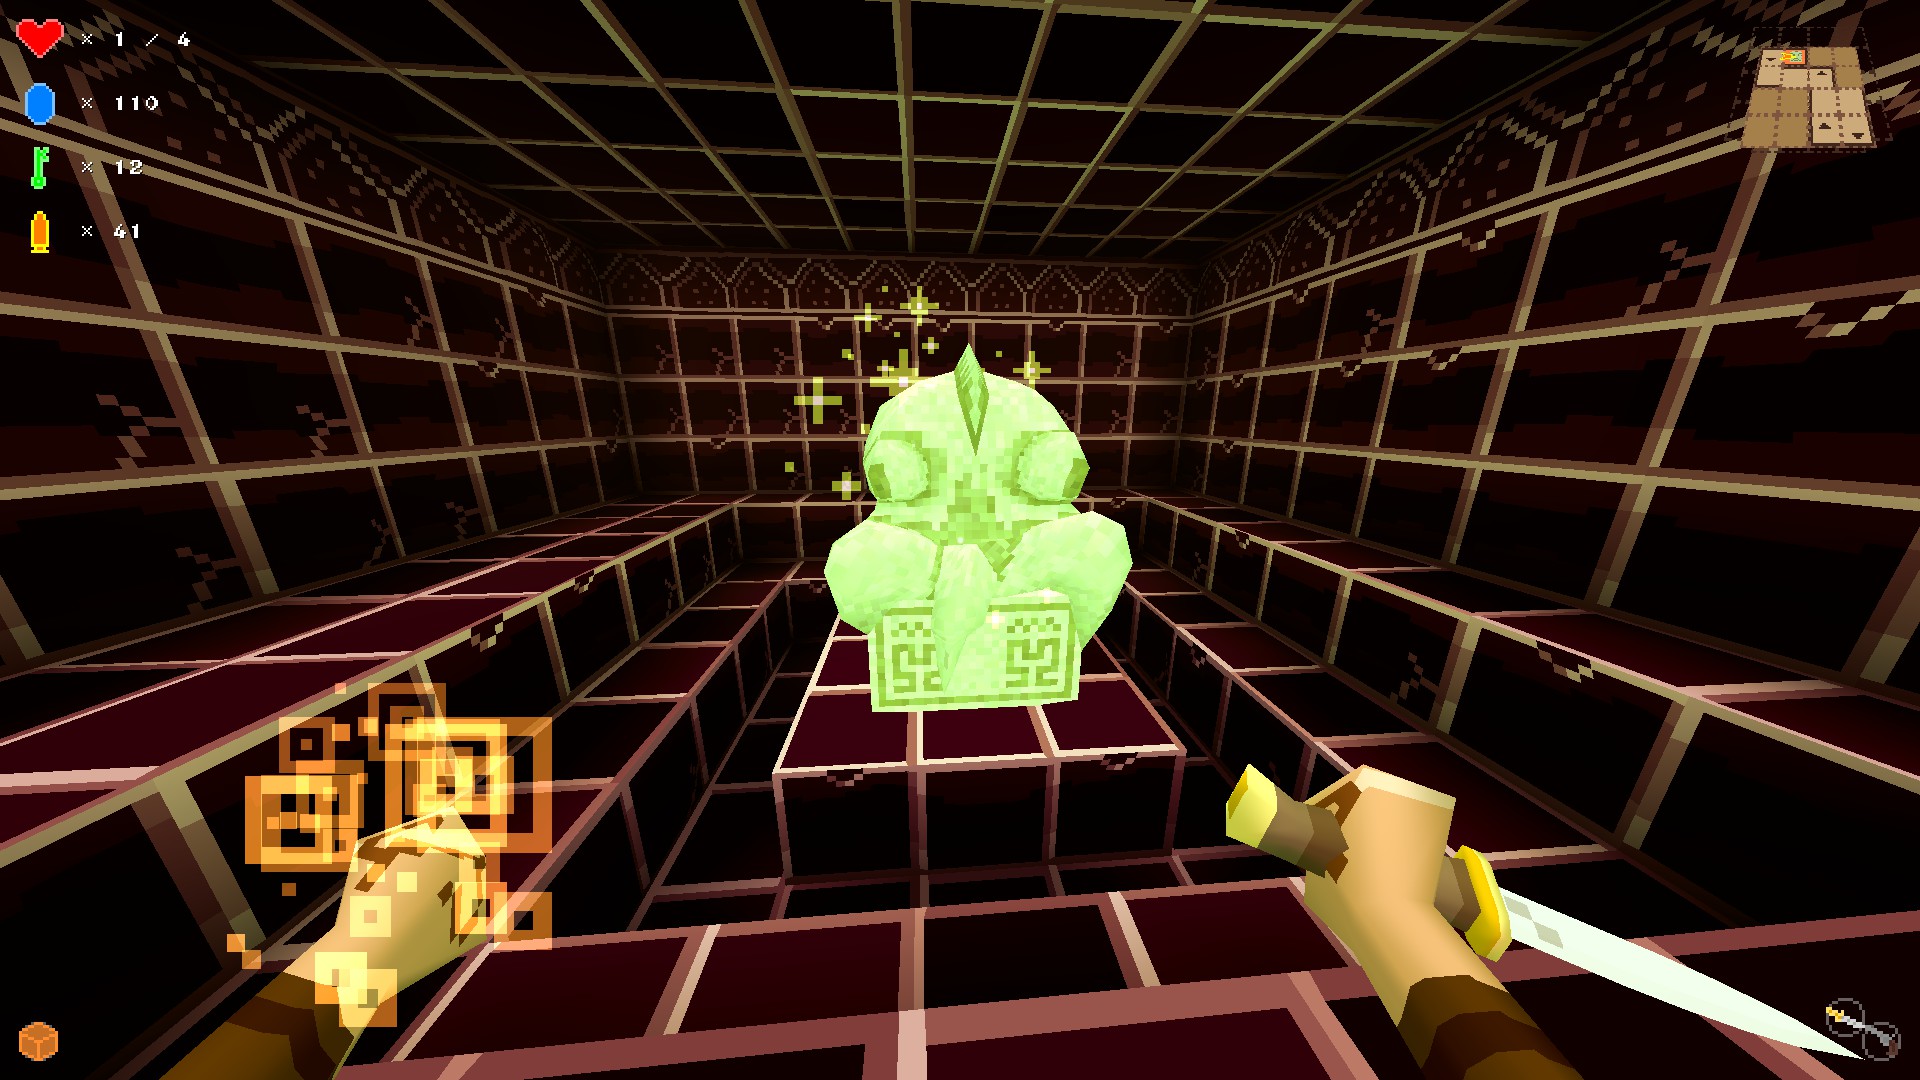
Spells are acquired by finding a glowing statue and interacting with it. These statues (which are different from the lizard statues) each have a distinct name, glow color, and particle effect to indicate which spell they grant.

You can only carry one spell at a time, so you'll want to choose carefully whether to replace what you have or keep it. Spells also have an artifact cost to use them, so don't spam them needlessly.

Note that the Conjurer's Talisman lowers the cost of all spells, even making some of them (Materialize, Lift, possibly others) free.

Those tagged with MoM-only are found exclusively in Mountains of Madness. Most spells appear in both the expansion and main game.

  • Cloak: Become invisible for 6 artifacts. The effect lasts 10 seconds, allowing you plenty of time to escape a threat or sneak past a dangerous area. Whether you like sneaking or want an emergency button for dangerous situations, this spell is a fantastic choice. Note that your footsteps still make noise, so enemies will have a general sense of where you are moving unless you have stealth boots or are crouched.
  • Materialize (aka Conjure Blocks): Create a block on the surface in front of you, at a cost of 1 artifact per block. Useful for blocking paths, climbing, enclosing lizard statues and shopkeepers, etc. Beware that you can trap yourself with this spell -- if you don't have the destruction amulet or another way out, your only recourse is to Resurrect from the pause menu (losing everything). The ability to climb any height for cheap makes this a really desirable spell. Also... the Conjurer's Talisman makes casting this spell free.
  • Flare: (MoM-only) Light your way for a brief time and distract enemies, for a cost of 1 artifact. I believe this is free to cast with the Conjurer's Talisman.
  • Hypnotize: Aim at a creature to hypnotize it, causing it to fight for you. Strong creatures shake it off faster. Costs 7 artifacts per use.
  • Lift: Leap into the air for 1 artifact. You can use this repeatedly, even while airborn, meaning you can essentially fly with it (though awkwardly) and reach any height, so long as you can pay its cost. A conjurer's talisman removes the usage cost.
  • Knock: Costs 4 artifacts to use. If you aim at a door, it unlocks it. Aim at any other surface to make a noise to distract enemies. Great for access and stealth!
  • Summon: (MoM-only) Summons a shuggoth for the price of 7 artifacts. It's indestructible, and will attack everything in sight, including you! Useful for eliminating foes and producing lootable corpses, and a melee-only shuggoth is easier to dodge than some enemies.
  • Teleport: The first press of the button will fire out out a teleport beacon for free. It will travel in the direction you pointed until impact. You can then press the button again to teleport to your beacon for 4 artifacts, even while the beacon is in flight. You can throw a replacement beacon (also for free) by holding down the teleport button. Walking on your beacon or teleporting to it removes it as well.

Statues
This is a list of spell statues and their pictures, so you can tell what spell you'll get before grabbing it. It's important to check when you already have a spell you like, because the new spell may not be as good.
TODO: need to confirm I've tagged the right statues with the right pictures -- I may have gotten a few mixed up.

Incandescent Statue: Flare Power

Hypnotic Statue: Hypnotize

Oily Statue: Summon

Resonant Statue: Knock
TODO: Picture

Shrouded Statue: Cloak

Springy Statue: Lift
TODO: Picture

Unstable Statue: Teleport

Sturdy Statue: Conjure Blocks/Materialize
Enemy List Part I
TODO: Creature pictures, and use correct names listed in source code (pinser=bug, etc).

Fishman
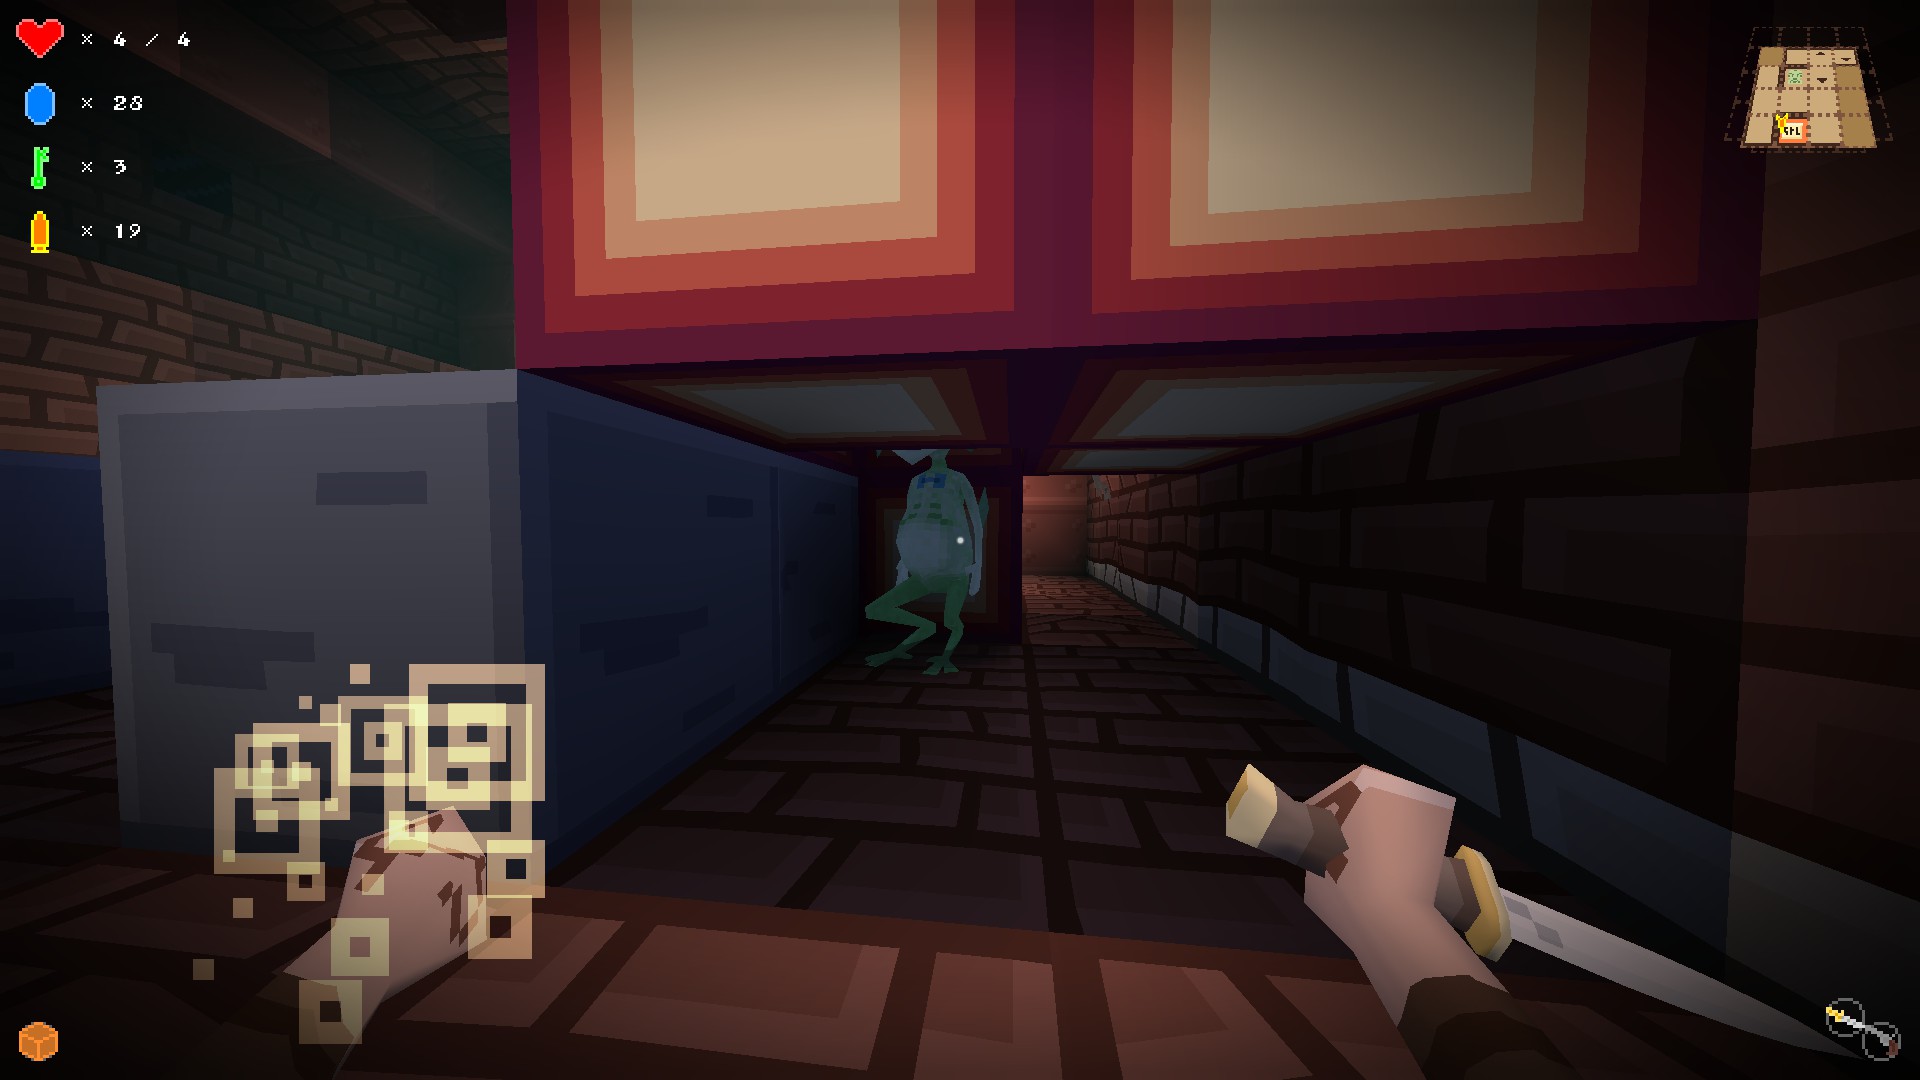
Not much of a threat. Their attack is weak and slow, and they cannot harm you at long range. They can still hurt you though, so don't get too careless.

Cultist
Hooded figure that fires ranged magic. This makes them much more dangerous than fishmen, but they still die easily and they don't cause much damage if you make a mistake. You'll see these throughout the game, and their ranged attack is all that makes them threatening. In later books they change cloak colors, and I suspect they increase in aggression and attack rate but nothing more.

Floating Eye
Flying enemy that fires ranged attacks. It's not too hard to kill -- a couple knife stabs should be sufficient -- but its ability to fly and attack from a distance can be trouble.

Shoggoth
This enemy cannot be killed, no exceptions. Not even TNT will end it, though you can drop it down to the floor below. It has excellent sight, movement speed, and navigation... and its attack hurts (2 damage). However, it cannot jump any higher than anything else and it only has a slow melee attack. In the first playthrough you'll first see these in the deeper levels of the first book, and again in the final level. In MoM they can actually be summoned with a spell, though they're still hostile to you.

Worm
These scream when they see you or die. They're not especially dangerous, as they're easy to kill. However, they do get into low areas easily.

Pinser
Tiny little insect or scorpion-like critter. They're small enough to be found in tight spaces where fishmen and cultists cannot follow, so be careful. Can be tricky because it's down low and it attacks quickly, but easy to kill once sighted. Unable to jump or climb, so if it's below you then you are usually safe.

Red Pinser
They were trouble in the first book, but the red variety is just plain sinister. They fire very rapid ranged attacks, and can kill foes quickly. But thankfully they also like to hunt and kill everything else in the world, so they'll serve as very effective allies as long as they don't see you. Expect to walk into corpse piles from time to time, with a pinser corpse in the middle somewhere. They're more common in the third book, but they make their debut in book 2.
Enemy List Part II
Elder
These tall, slender beings cannot be killed. Ever. If you injure them for any amount of damage, they fall for a few seconds, then get back up again to continue about their business. Their attack hurts for 2 damage, but they cannot follow you into crouching areas or climb any better than most enemies, so they're not hard to evade. When needed, you can just punch or stab them and run. Note that their bodies can never be looted. Don't bother shooting them or otherwise wasting resources except in emergencies.

Lizardman
One of the more dangerous enemies you've met so far, lizardmen are fast, wily, and painful. They have a ranged attack that deals 2 damage, making them a threat from a distance. When they're close they like to make a lunging melee attack, and leap backwards to dodge your aim.

Lizard Statue
I classify these as enemies, but you might choose to see them as hazards. Whatever the case, these look like statues of lizardmen, and they are THE reason book 2 is so difficult. Once they notice you, you'll hear a rumbling sound. After that, the statue stays aware of you. Don't turn your back on an aware statue that can see you. Once it exits your field of view, it will teleport to you and deal 2 damage to you. This makes it very difficult and dangerous to sprint in book 2. The statues have a surprisingly long sight range once awakened, so awareness is very important. Know that these enemies are also very buggy, often seeing you in situations where it seems like they shouldn't, or teleporting onto you while you're crouched so you're pinned down or against a wall and can do nothing to get away (unless you have a teleport spell etc). If you get pinned, give up. It's game over -- use the menu to resurrect.

Use TNT/Conjure Blocks to destroy/disable them, or just move carefully. If you wake up a statue, don't let it out of your field of view, and carefully maneuver until you can put a wall between it and you. Blocking its vision with Conjure Blocks works well, and TNT usually kills them (but not always). Note that you CAN jump on a statue's head and even climb it as though it were any other block, which can help you reach high up areas.... this actually means if you're willing to take the damage, you could use a statue to get to a high place this way.

Lizard Statue sight ranges:
Inactive: 5 meters, 120 degree arc
Awake: 12 meters in all directions (statue's facing no longer matters)
(where a meter is the width of one cube in this game)
Originally posted by Saicotic:
Tip for dealing with the statues, if you wake one up and manage to maneuver yourself so that when you turn away, your back is against a corner, the statue will teleport into the wall and get stuck. You'll be uninjured and free to move around and the statue is gone (not sure if it reappears if you blow up the wall).

Star Spawn
These squid-faced enemies are nothing but friendly and fun-loving, until they see you (then they want to kill you). You'll most often see them sleeping -- loud noises like combat tend to wake them up. Even stealth attacks, actually. They fire multiple energy shots at you in rapid succession, dealing 1 damage per hit. They have a lot of HP and can hurt you bad in a frontal assault, so stealth killing them is a good idea. Don't be afraid to sprint away if you get into a bad situation.

Eye Cluster
This floating sentry is the Floating Eye's evil dad. Or maybe the floating eye evolves into it in one of the Pokemon games? In either case, these guys can mess you up bad if they attack, since they fire rapid attacks just like their squiddy pals, and tend to hover out of reach. They are sometimes on patrol (particularly after they are brought out of their torpor), but are often seen staring in a particular direction intently, never moving (sometimes staring at a wall).


Shopkeepers
HP: 20
Damage: ?
Shopkeepers are friendly so long as you don't attack them, steal an item, or damage an item in their shop. Once they turn hostile, expect a difficult fight. They have both melee and ranged attacks, and attack and move very quickly (especially in NewGame+).
The most effective way to deal with them is to kill them cheaply by getting into a low-ceiling area and attacking them at an angle where they cannot retaliate (e.g. a hole you dug in the wall with a destruction amulet). This lets you kill and loot them, usually for a high reward. Another method is to encase them in blocks with the materialize spell before aggravating them. You might also run away and let them follow, then lose them and sneak back to the shop.

You only need to place 5 blocks around a shopkeeper at eye level to imprison him; this even applies to the MoM shopkeeper. This nicely allows access to the shopkeeper from a safe angle (below) for safely killing him with melee, as he cannot see you at that angle to retaliate. Then you can loot his body and the shop, having spent only 5 artifacts materializing blocks.


You can also use the cloak spell -- the shopkeeper still turns hostile when you steal from him and will follow you around, but won't attack until you decloak. You can also usually attack with impunity while cloaked.

The shopkeeper you'll face differs by area. The first three books have a fishman, lizardman and squid running the shop. MoM has a shuggoth, which to my knowledge cannot be killed (only evaded or contained).
A shopkeeper can occasionally be killed (or partially injured/distracted) by luring an aggressive enemy into the room with them. A wandering shuggoth is the most effective threat (e.g. in Book 1), allowing a new player to kill a shopkeeper fairly early in the game with some clever maneuvering. Once the shuggoth is lured away again, the player can loot the shopkeeper corpse and the shop itself with impunity for a huge early-game boost.

Strategies for dealing with the MoM shopkeeper are in the MoM enemies section below.
MoM Enemy and Hazard list
MoM's hazard and enemy list are different from the main game, and you won't see any of MoM's new enemies in the main game. Thus I list them separately here.

Hazards

Icicle
Icicles hang from the ceiling and fall on you if you move below them. If you sprint under them they'll usually miss. Otherwise they land on you and deal 1 damage. They're perhaps the most punishing new element of MoM for new players, responsible for many deaths.
Strategies: Sprinting past icicles is a good way to safely bypass and remove them. You can also attack them with either a ranged attack, or punching if you can reach them. Beyond that, just make sure you're aware of what's above you at all times.
Note that icicles are always dangerous when they fall, whether because you attacked them or ran under them. This means they can harm you on the way down... or an enemy. You might use them as a free damage source as you rush past a foe.
Low icicles, 2 or fewer blocks above you, can still hit you as you sprint under them.

Creatures

Penguin
HP: 11
Damage/Attack: 1 (melee)
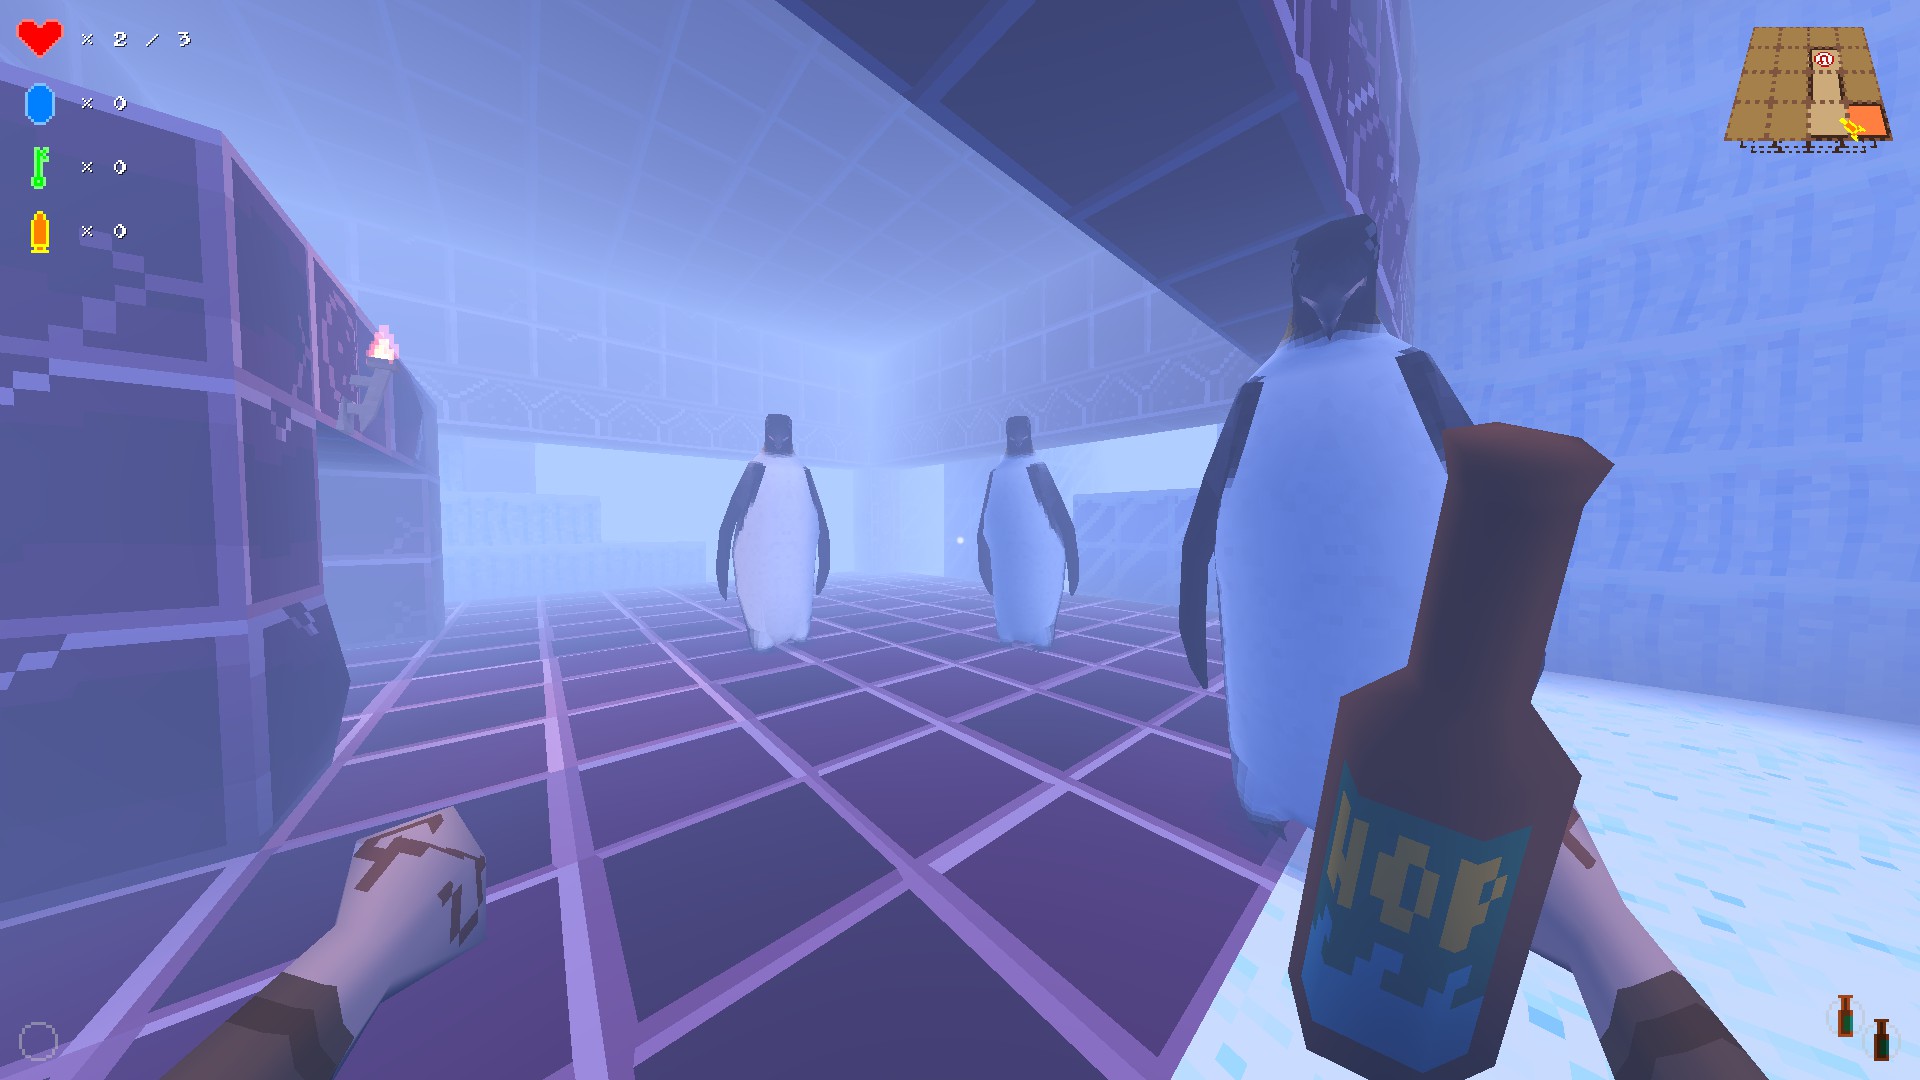
The penguins want my beer... they're not getting it!
A relatively non-threatening enemy. It can take a beating, but you can stun-lock it if you just keep punching and stay out of its range. It's slow-moving and not necessary to fight, but killing them is an easy source of loot. They like fighting the moth creatures and tend to win by toughness alone.

Beware: I've noticed penguins sometimes leap at me with an attack, particularly in cases where they can jump up or down a height difference in blocks. I've taken surprise damage that way.

The albino penguins deeper in the mountain are visually different, but I didn't notice any change in their health or damage.

Cultist
HP: 3
Damage/Attack: 1 (ranged)
Mostly unchanged from the main book, the cultists have new robe colors and take a while to show up. I noticed yellow- and purple-robed cultists, one of which was firing a darker red fireball. Unfortunately I didn't stop to take a hit and find out if it did more damage than normal, but I'm assuming it did not.

Shuggoth
HP: Indestructible
Your friendly neighborhood shuggoth remains unchanged. Always a charmer!

Elder Thing
HP: 8?
Damage/Attack: 2 (ranged)
This freakish enemy is slow and cumbersome, but it has a ranged attack which it will fire repeatedly on sighting a target. Luckily it's very slow at turning, and you can kite it effectively by strafing around while punching or stabbing it. Its ranged attacks always fire forward, so its slow turning will allow you to avoid harm fairly effectively with practice.
I've also found their ranged attack doesn't move vertically, so if you're above or below the enemy you should be safe (needs confirmation).

Gray Pinser
HP: 3
Damage/Attack: 1 (melee)
Like its kin in the normal game, you hear a skittering sound as these move and have to look low to notice them. They're small low, so be careful when engaging because you'll have to get close. They will attack and kill almost anything they see, sometimes producing piles of moth bodies.

Mi-go
HP: 10
Damage/Attack: 1 (melee charge and gas cloud)

You'll meet these in the deepest floors of the mountain. They're a particularly difficult foe not for how much damage they do per attack, but for how easily they get those attacks in. They charge the player once they line him up, and have a somewhat large area of damage during this attack animation. While you can normally run right through many enemies in Eldritch, Mi-gos are dangerous to blitz through because they're damaging for long periods of time (during the full charge). The mi-go's love of charging is amusing when combined with the wall spikes that litter its den, though arguably it can take it, given how much health it has.

Upon death, it releases an area-effect damaging poison gas cloud exactly 1 second later, covering approximately melee range. The gas only deals damage the instant it's released, despite visually lingering after that. It's also only 1 damage, but this deep in the mountain it's hard to get that health back. Make sure to always step away from a newly killed mi-go to avoid its last, post-mortem stab.

MoM Shopkeeper

How does one slay a shuggoth? Well, one doesn't. You cannot kill him, ever. You should also know that he (she?) runs incredibly fast (particularly in NewGame+), and has an easy time keeping up with a player. But... there's no need to lose hope -- there are still options. For all its movement speed, the shopkeeper isn't any faster at attacking AND it has no ranged attack, which oddly makes it an easier foe than ranged shopkeeps. And if you can lead it away from the shop and return for looting, that's almost as good as killing the shopkeeper. So let's go over the possibilities.

First, consider the time-old tradition of encasing the shopkeeper in blocks with the Materialize spell. For the cost of a few artifacts, you can loot his shop in total safety. I've had experiences with normal shuggoths squeezing through some small spaces, but the shopkeeper appears to be much more limited -- the normal 5-block prison should hold him.

Second, you can always anger him, run like a rabbit, and lure him far away from his shop. At some point you should stealth to sneak away, or find a nice yummy penguin for him to chew on. An interesting bug I observed is that the shuggoth shopkeeper sometimes appears unable to damage or kill other monsters, so if he starts attacking one he will continue attacking indefinitely (allowing you to return to the scene of the crime for a more thorough looting). Just remember that he won't attack just any enemy -- I got the impression that he actively ignores Elder Things, for example.

Third, you can dig under him or blast him with TNT to drop him to the next floor down. Then loot the shop. He'll still be angry and you may meet him down there later, but that's your future self's problem.

Infighting Factions
Below are my observations on which enemies will not attack each other... I suspect there are factions defining this (elder creatures vs natural, for example).

Pinser, mi-go and Penguin appear to like each other. This may also include the cultists.
Flying Eyeball and Elder Thing (and possibly Shuggoth) appear happy together.
Monster Infighting
You'll often come across corpses of enemies that you didn't kill. Some die by spikes, tripwires, or other hazards, but the majority of the time they die by each others' hands.

Some monsters will tolerate each other happily: fish men and cultists, for example. Others will fight furiously against anything that isn't their own kind.

The following monsters will usually attack or be attacked by other monsters.

  • Pinser of all varieties
  • Worm
  • Shuggoth

These monsters are useful because they will often provide free corpses to you for easy looting (either their own, or corpses from everything that fails to kill them). The shuggoth, for example, is relatively easy for the player to avoid, and will provide a constant stream of lootable bodies for the player if he visits and re-visits the same room. If you need to farm for money, keys and bullets, this is one reasonably effective way to do it.

Such aggressive enemies can be deliberately lured by the player into rooms with other monsters, and one side or the other will initiate hostilities. Just keep in mind that all these monsters are dangerous to the player too, and the player is often more skilled at killing foes than other monsters are. Don't get too carried away trying to initiate infighting when you can simply kill everything yourself.
Hazard List
I label any threat that isn't sentient and vision-based as a hazard. For example, spikes are a hazard but statues are not.

  • Falls: Falling too far causes injury. Even the library is dangerous for this reason. TODO: exact distance you can fall before taking damage? Or formula for damage?
  • Floor Spikes: These look like they'll kill you if you so much as touch them, but you can actually walk or sneak through them just fine. They will deal 2 damage to anything airborn or moving through them too quickly. Don't sprint through them or fall onto them. For extra safety, sneak through and you'll be fine. You can also drop down onto them from 1 block higher (than their floor) and be safe, unless you're sprinting of course.
  • Wall Spikes: Found only in Book 3, these work the same way as floor spikes, but they cover a larger area, don't animate, and are mounted vertically. Stabbing enemies so they fly backward onto the spikes should presumably deal damage to them. TODO: do they do the same damage? Just don't get thrown into them by exploding eyes, or that has bad day written all over it.
  • Cracked Floors: Stepping on these causes them to make a cracking sound and then fall out from underneath you. You can sprint and sometimes even walk over them safely (fully crossing before they fall), but crouching is too slow. Expect to find spikes below them... I recommend sprinting across, jumping over, traveling at an angle, or simply avoiding them.
  • Tripwires: These are just like the tripwires you fire from the crossbow, and can be harvested for 1 bullet. They'll trigger for enemies just as well as for you, and they stick around even after dealing their 2 damage. In the second book elders tend to walk through them and waste the tripwire (as elders cannot be killed), denying you the harvesting opportunity.
  • Eyes: These freaky looking eyes behave more like a hazard than monster, so I list them here. Touching, shooting, or otherwise interacting with these causes them to explode for 2 damage in a small cloud of green gas. Even tapping them with an item (thrown TNT, dropped item, etc) or tricking an enemy into touching them will set them off. You can actually push foes into them with your attacks, so it's a potentially useful hazard against the tougher enemies found here.

Non-Hazards
If it looks dangerous but isn't, it gets listed here.
  • Myst or Shimmer: You'll occasionally encounter a room with mist, gas or other particle effects. I've never encountered problems in these rooms, but you get the impression on first entering that they're hazardous -- e.g. poison or insanity gas. I've yet to go crazy and start murmuring or banging my head against a wall, but if I've gone crazy how can I trust my own memories?
New Game+
Once you beat the game, you unlock the New Game+ orb, which sits in the main room of the library by the bank chest. While you hold the orb, the game becomes substantially more challenging. Whenever you die, you can simply pick up the NG+ orb again and retry. Expect to die a lot. >:)

The whole point of NG+ is to challenge you with a much more brutal experience. I haven't noticed whether enemies deal more damage, but they move and attack more quickly and there's lots more of the really wicked ones like shuggoths.

Book 1
More shuggoths... lots more. They're everywhere and you'll just have to learn how to outrun them and shake them off your trail. Occasionally they're very useful for killing other enemies and shopkeepers, but they also basically encourage you to sprint more than sneak much of the time because it's just more effective.

Also I've noticed enemies attack faster (e.g. fishman arm flail happens faster) so you can easily be taken by surprise by the timing. Ranged attackers, particularly shopkeepers, are very dangerous and often fire many shots. Last of all, enemies walk faster. Especially the shuggoths -- beware the shuggoths.

Book 2
Faster enemies, as per above.

Book 3
Faster enemies, as per above.

Final Level
TODO: I haven't actually tried this yet. I have no reason to believe it's different though. There's likely to be many, many shuggoths, you lucky player, you! :D

Mountains of Madness
As with the other books, enemies are faster at moving and attacking. The shuggoths (including the shopkeep) travel quickly, but you can still out-run them. The MoM shopkeeper is actually significantly easier than others in NG+ because of its total lack of a ranged attack. He's actually easy to rob and outrun once you know what you're doing.

NG+ Easy Mode?
Note that you can cheat NG+ by not grabbing the white orb until you've found all the gear, fountains, artifacts, keys, etc you could possibly need. Once you're as geared up as you could ever want, return to the library, grab the orb and proceed with each book. This significantly decreases the difficulty. Carrying the destruction amulet + medkit + gobs of bullets and artifacts means few challenges can ever really threaten you. Grabbing materialize or stealth as your spell is also a winning strategy.

Of course, given that the purpose of NG+ is to challenge you, you're sort of cheating yourself of that intended challenge. It's your call.
Guide Credits
This is a list of people who helped me with this guide, or from whom I've taken information. I've tried to include everyone; let me know if I forgot you.


I chose to write this guide not with the idea that I'm incredibly good at this game. In fact, I'm not. Instead I wrote it because I believed it would be helpful. I hope I've succeeded!

If you would like to contribute, send me a message. I can include your information, and might be willing to add you as a direct contributor (so you can make edits yourself). Likewise, if you want to make your own guide, I encourage it! The more the merrier. A guide dedicated to mastering New Game+ would be welcome... as of this writing I don't think I have the time, talent or will to tackle that right now. ;)

-Wazat
174 Comments
tzer Sep 9, 2023 @ 4:12pm 
There is a jack o lantern and another book as well.
Blehh..... Nov 17, 2022 @ 6:18pm 
lol
Rabidboxer Nov 17, 2022 @ 3:26pm 
I went to knife a eye on the wall and instantly lost 4 life.. not sure what did it but stay away from the eyes I guess.
Wazat1  [author] May 14, 2020 @ 11:26am 
Thanks! I'm always delighted when I learn the guide has been helpful!

Unfortunately I probably won't be updating the guide unless someone wants to write up all the entries for me so it's a simple copy-paste. I don't have enough time to dive in again.
eternityreaper0 May 12, 2020 @ 4:43pm 
I really enjoyed this guide! however, I was wondering if you'd be considering going back and adding the newer features? I know that there are a bunch of new items like the smelting kit, the Flintlock Pistol (Which I am genuinly confused what the difference between the two is. I think Flintlock deals more damage but fires slower?) And this guide is already fantastic, I'd love to see it 100% complete with all the new stuff, but even if you decide against it, you still did a really good job here!
Barrelmaker Feb 11, 2020 @ 4:50pm 
Starfish aliens that puke fireballs? Not a problem. Bald naked penguins? That shit ain't right
Wazat1  [author] Feb 11, 2020 @ 4:00pm 
Penguin: "You didn't see anything..." *drops to lower level*
Barrelmaker Feb 11, 2020 @ 12:05am 
THE CAVES WERE FILLED WITH THE MOST HORRIFYING BALD NAKED PENGUINS I HAVE EVER SEEN
lepidolitemica Apr 26, 2019 @ 6:20pm 
There's a lot in this guide that, though not wrong, seems to be setting you up for a tougher time. By far the most important thing to note is that enemies don't have player collision boxes; this means that running through or jumping over them is easy and often the best way to deal with them. Granted, playing that way does tend to look more like Unreal Tournament than anything scary, but sometimes you WANT to be in the Endless Library forever.
Wazat1  [author] Apr 21, 2019 @ 8:57am 
Yea, the randomly-generated library can have sections closed off. I think I never found anything, or maybe I just don't remember. Good for you!