
Install Steam
login
|
language
简体中文 (Simplified Chinese)
繁體中文 (Traditional Chinese)
日本語 (Japanese)
한국어 (Korean)
ไทย (Thai)
Български (Bulgarian)
Čeština (Czech)
Dansk (Danish)
Deutsch (German)
Español - España (Spanish - Spain)
Español - Latinoamérica (Spanish - Latin America)
Ελληνικά (Greek)
Français (French)
Italiano (Italian)
Bahasa Indonesia (Indonesian)
Magyar (Hungarian)
Nederlands (Dutch)
Norsk (Norwegian)
Polski (Polish)
Português (Portuguese - Portugal)
Português - Brasil (Portuguese - Brazil)
Română (Romanian)
Русский (Russian)
Suomi (Finnish)
Svenska (Swedish)
Türkçe (Turkish)
Tiếng Việt (Vietnamese)
Українська (Ukrainian)
Report a translation problem


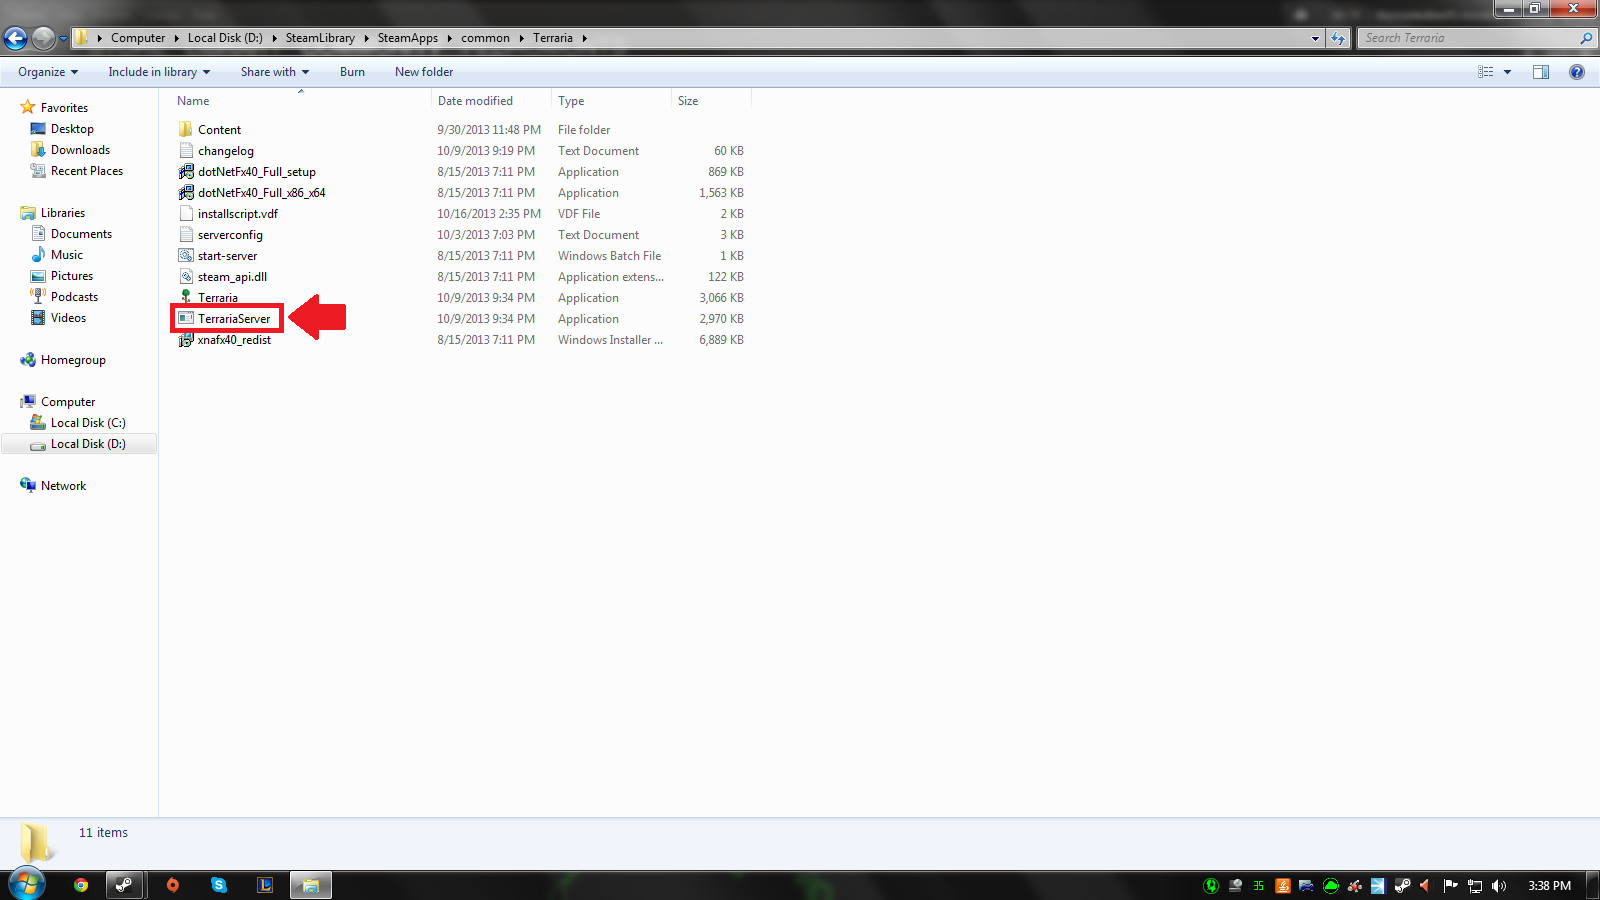


Do the following:
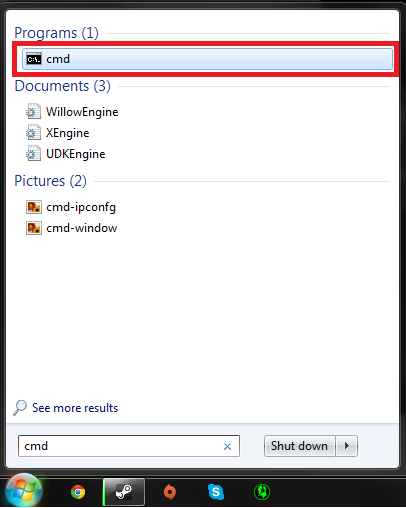
(1) Go to 'Start' and search 'cmd, then press enter.
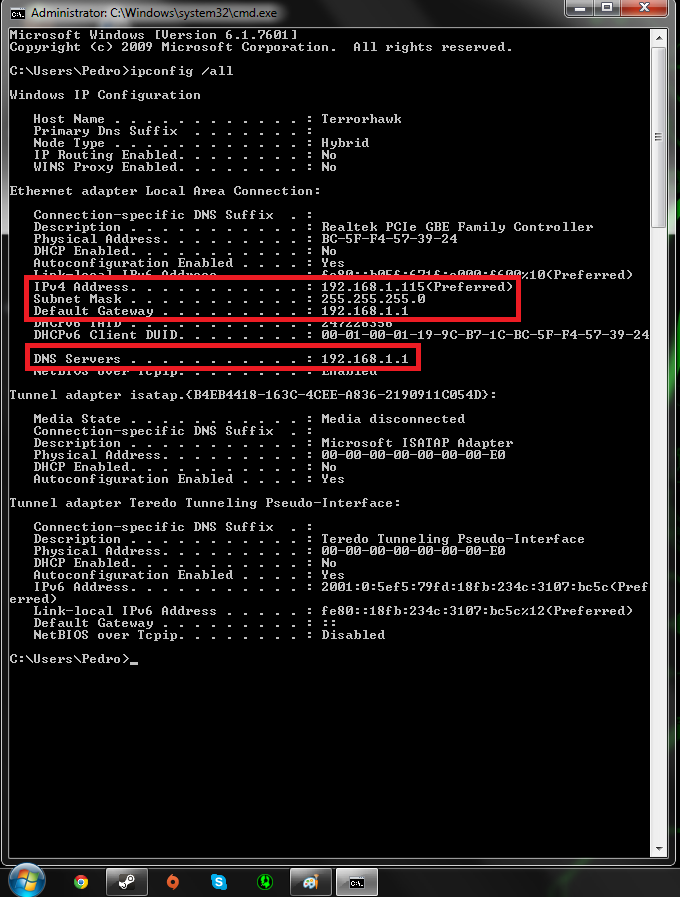
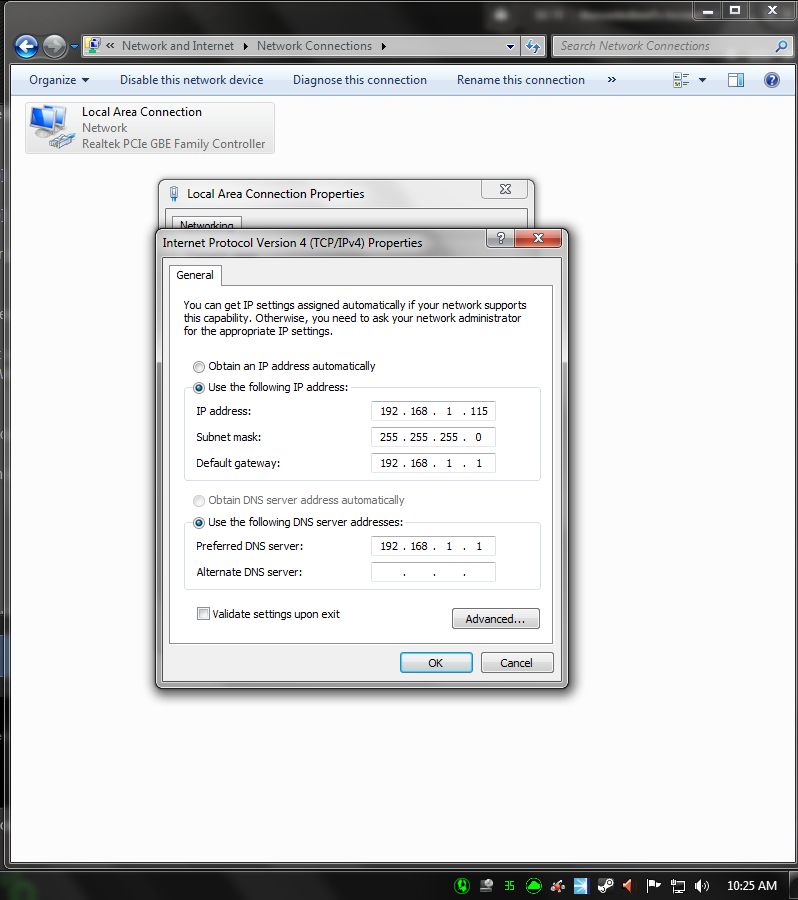
(2) Type in 'ipconfig /all' and search for your 'IPv4 address' and it should be a series of numbers (nothing too complicated); generally like this '192.xxx.x.xxx', if next to it it says 'Preferred', then that is the static IP that you set up.
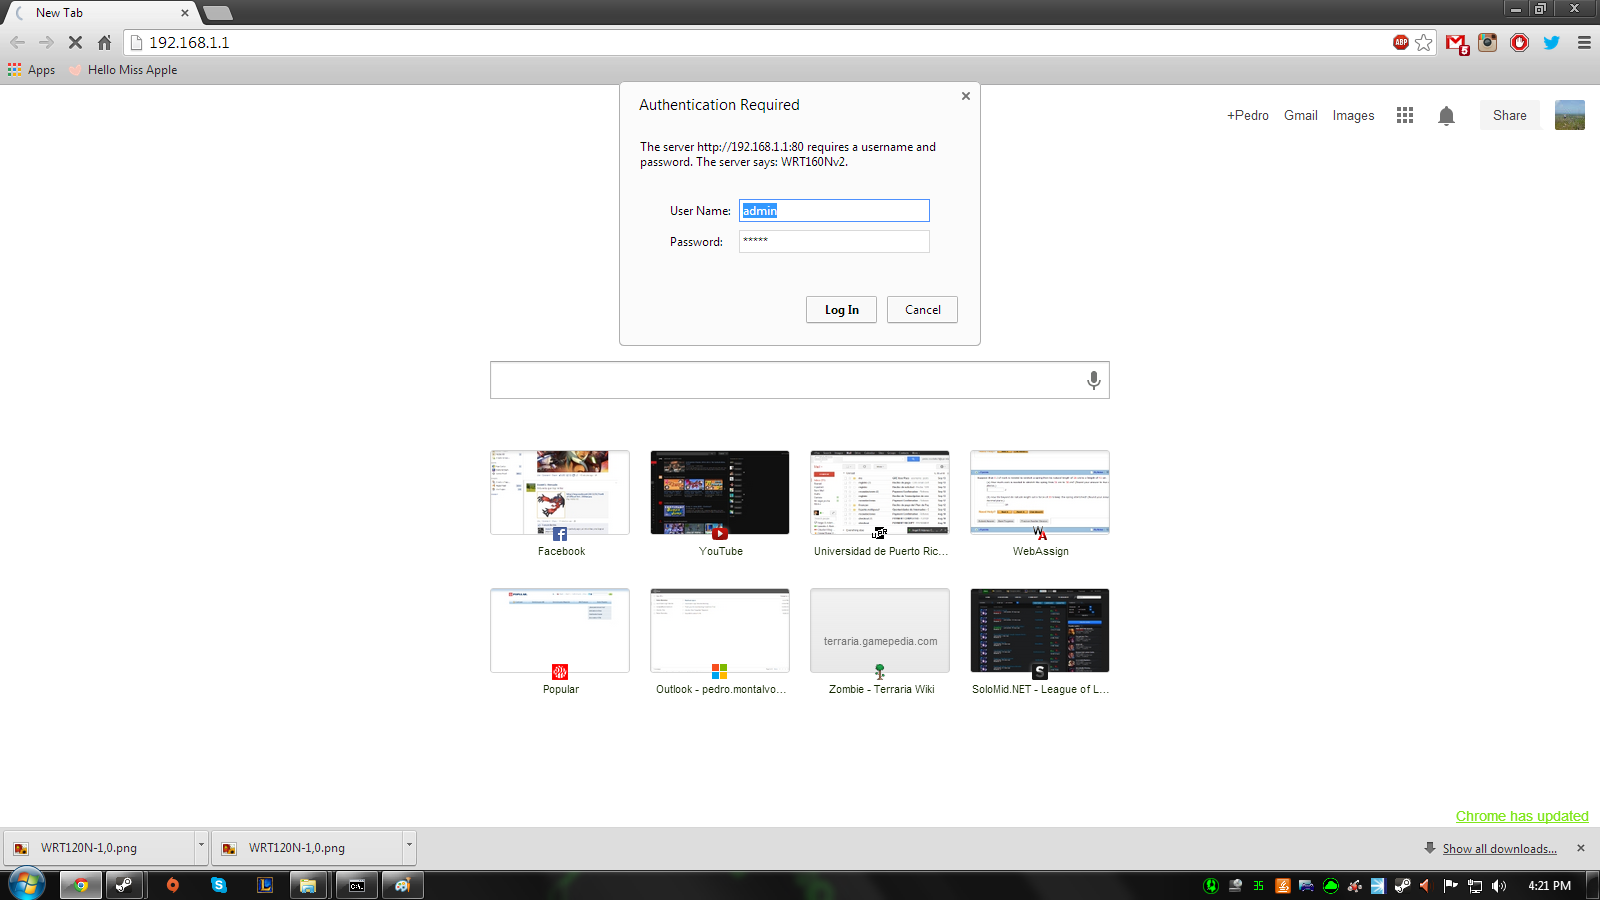
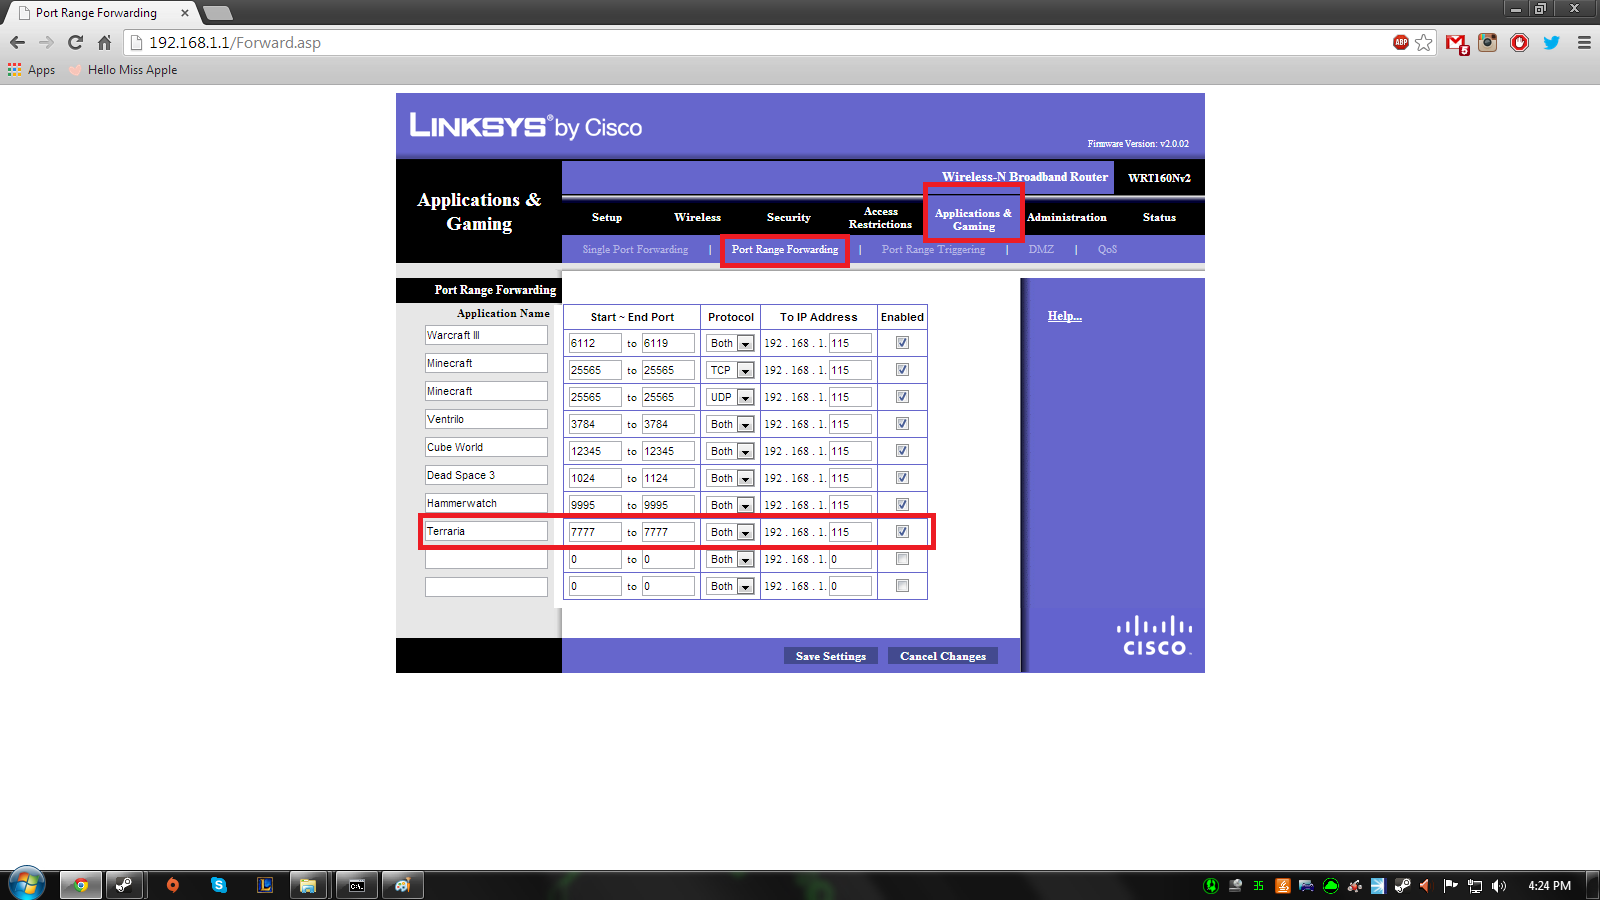
Question: Did you change your router by any chance? If you did, then you need to do these steps again (the ones in the guide) but according to your router (the port forwarding part).
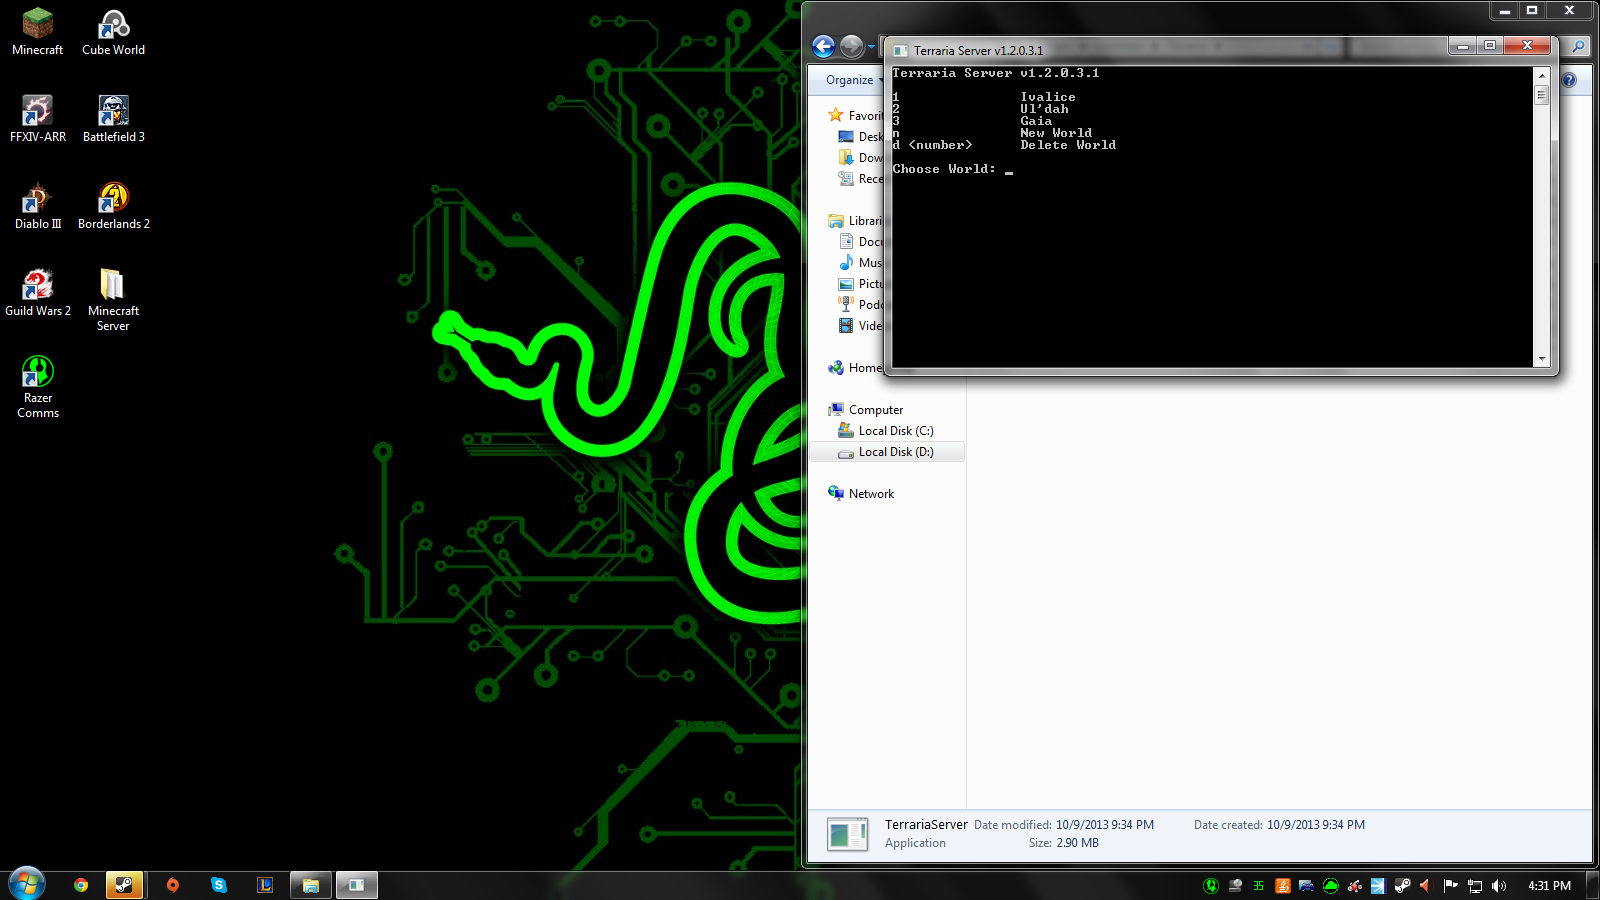
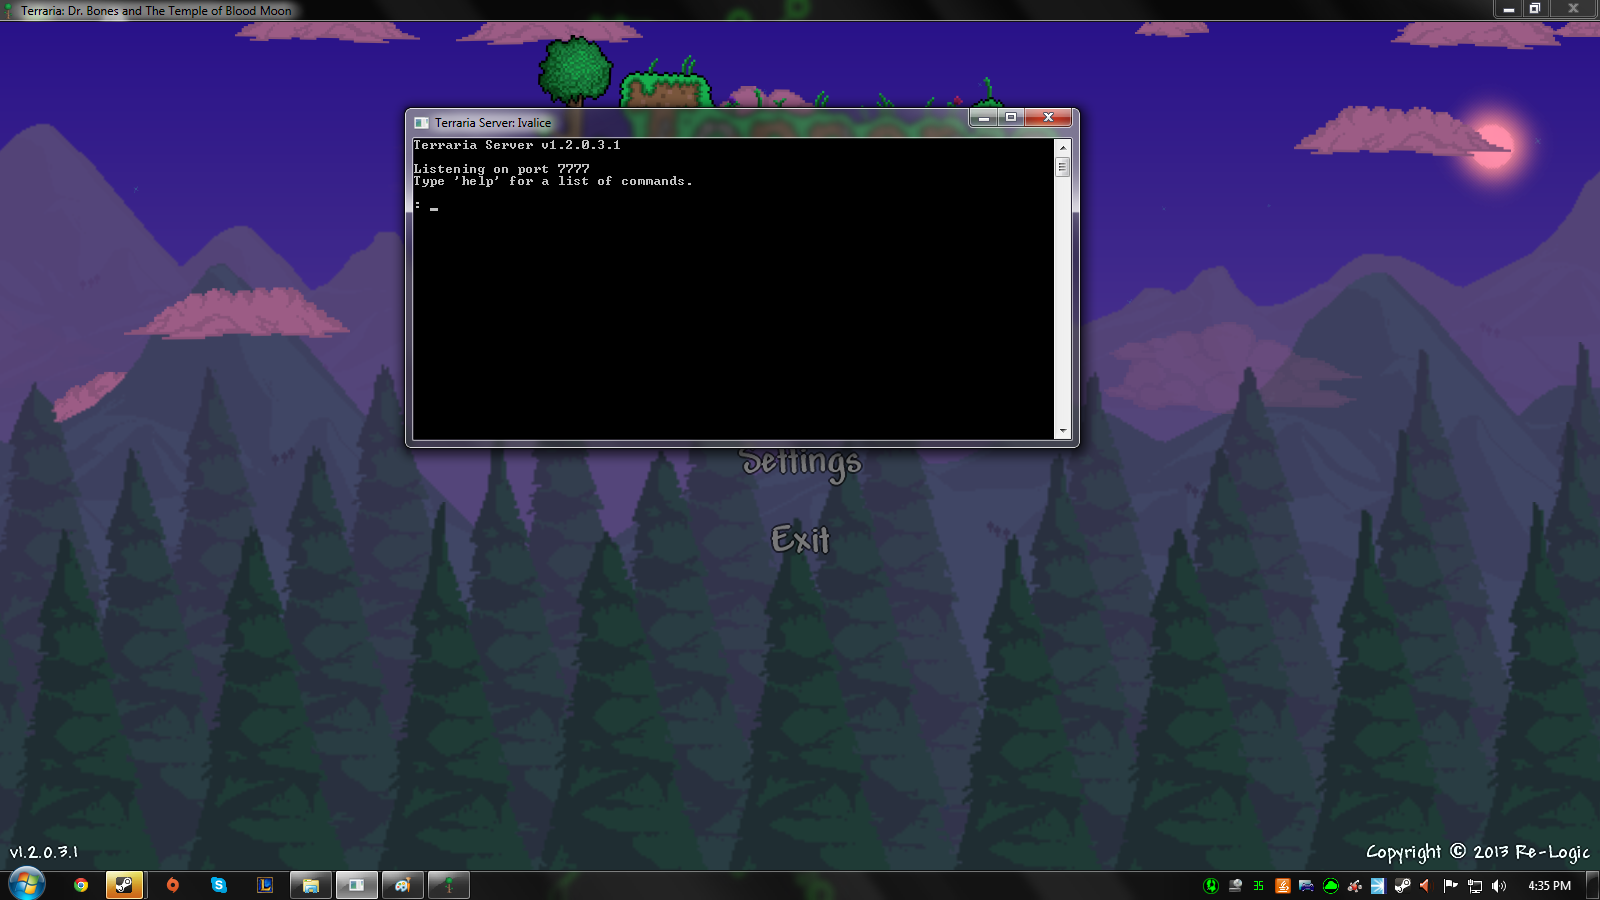
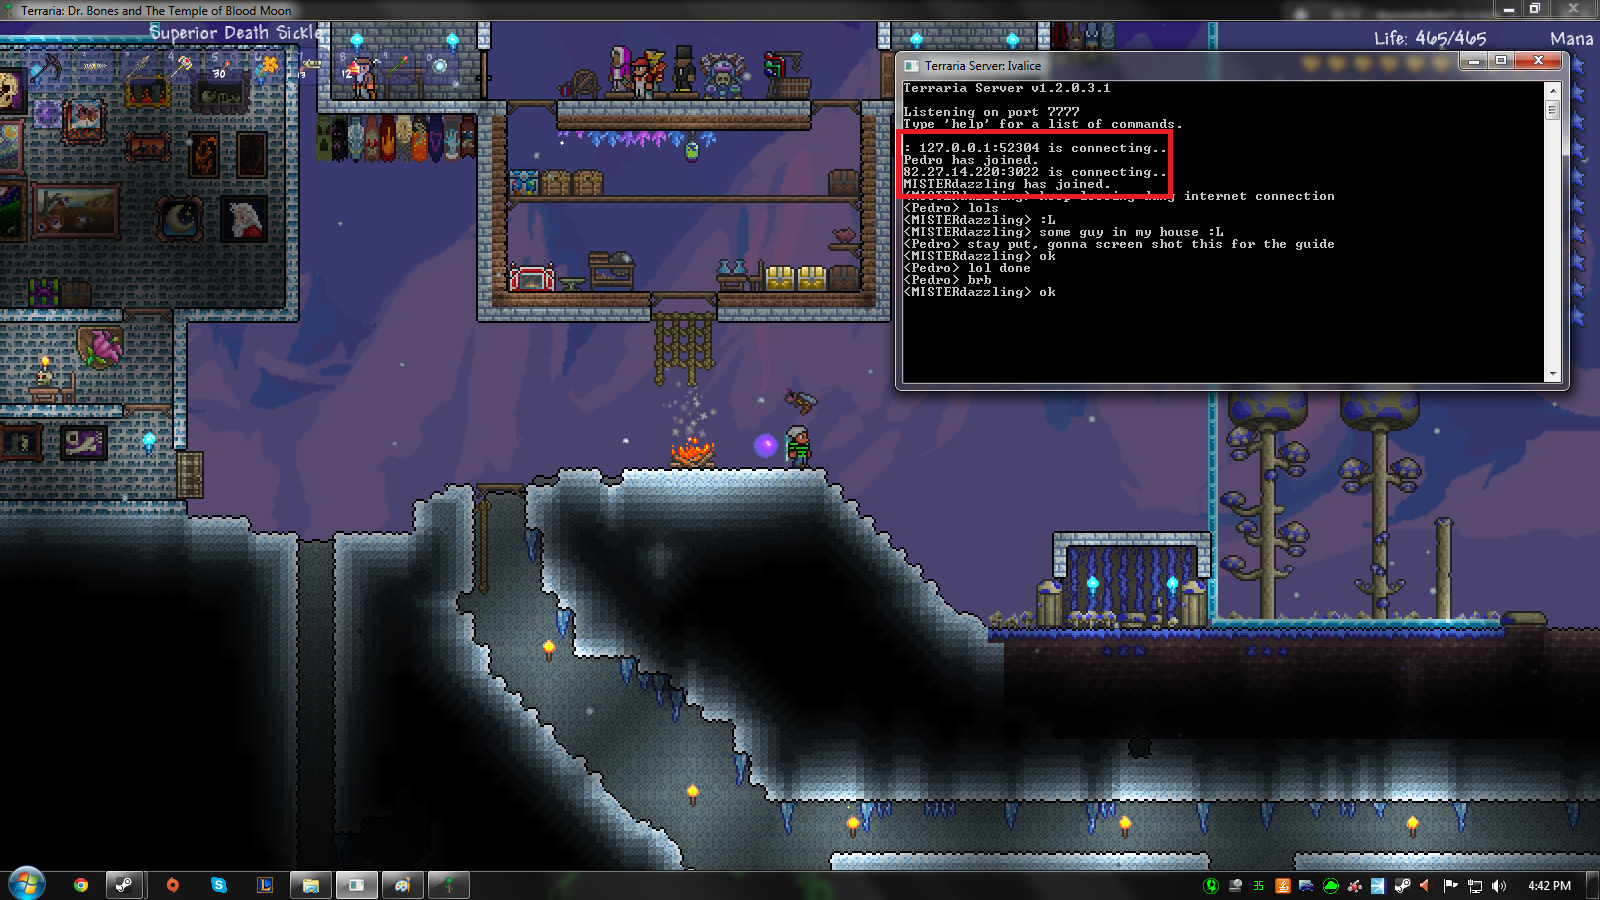
When you host and play, do you have a command prompt window running the server or is it all via the game? In the past, if you had that window open, the server would be running, and you could switch out characters without restarting a world.
Hope this helps, and I'm curious also on what the answer to this would be.