
Install Steam
login
|
language
简体中文 (Simplified Chinese)
繁體中文 (Traditional Chinese)
日本語 (Japanese)
한국어 (Korean)
ไทย (Thai)
Български (Bulgarian)
Čeština (Czech)
Dansk (Danish)
Deutsch (German)
Español - España (Spanish - Spain)
Español - Latinoamérica (Spanish - Latin America)
Ελληνικά (Greek)
Français (French)
Italiano (Italian)
Bahasa Indonesia (Indonesian)
Magyar (Hungarian)
Nederlands (Dutch)
Norsk (Norwegian)
Polski (Polish)
Português (Portuguese - Portugal)
Português - Brasil (Portuguese - Brazil)
Română (Romanian)
Русский (Russian)
Suomi (Finnish)
Svenska (Swedish)
Türkçe (Turkish)
Tiếng Việt (Vietnamese)
Українська (Ukrainian)
Report a translation problem


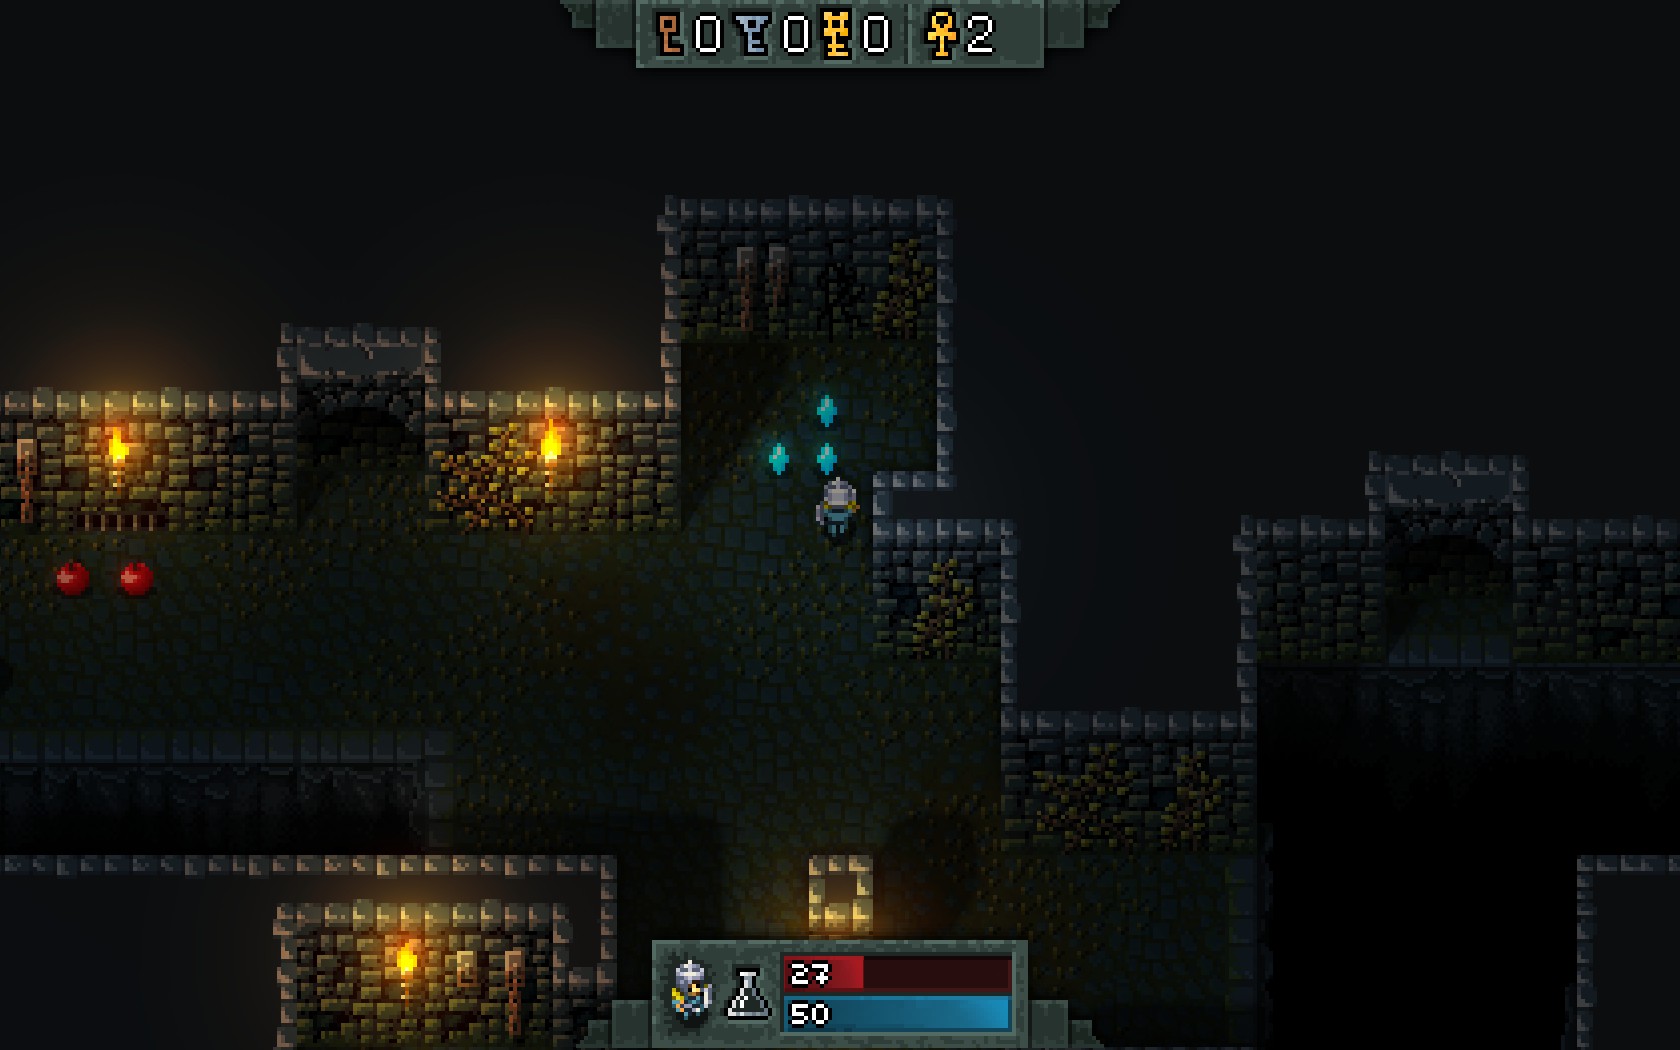
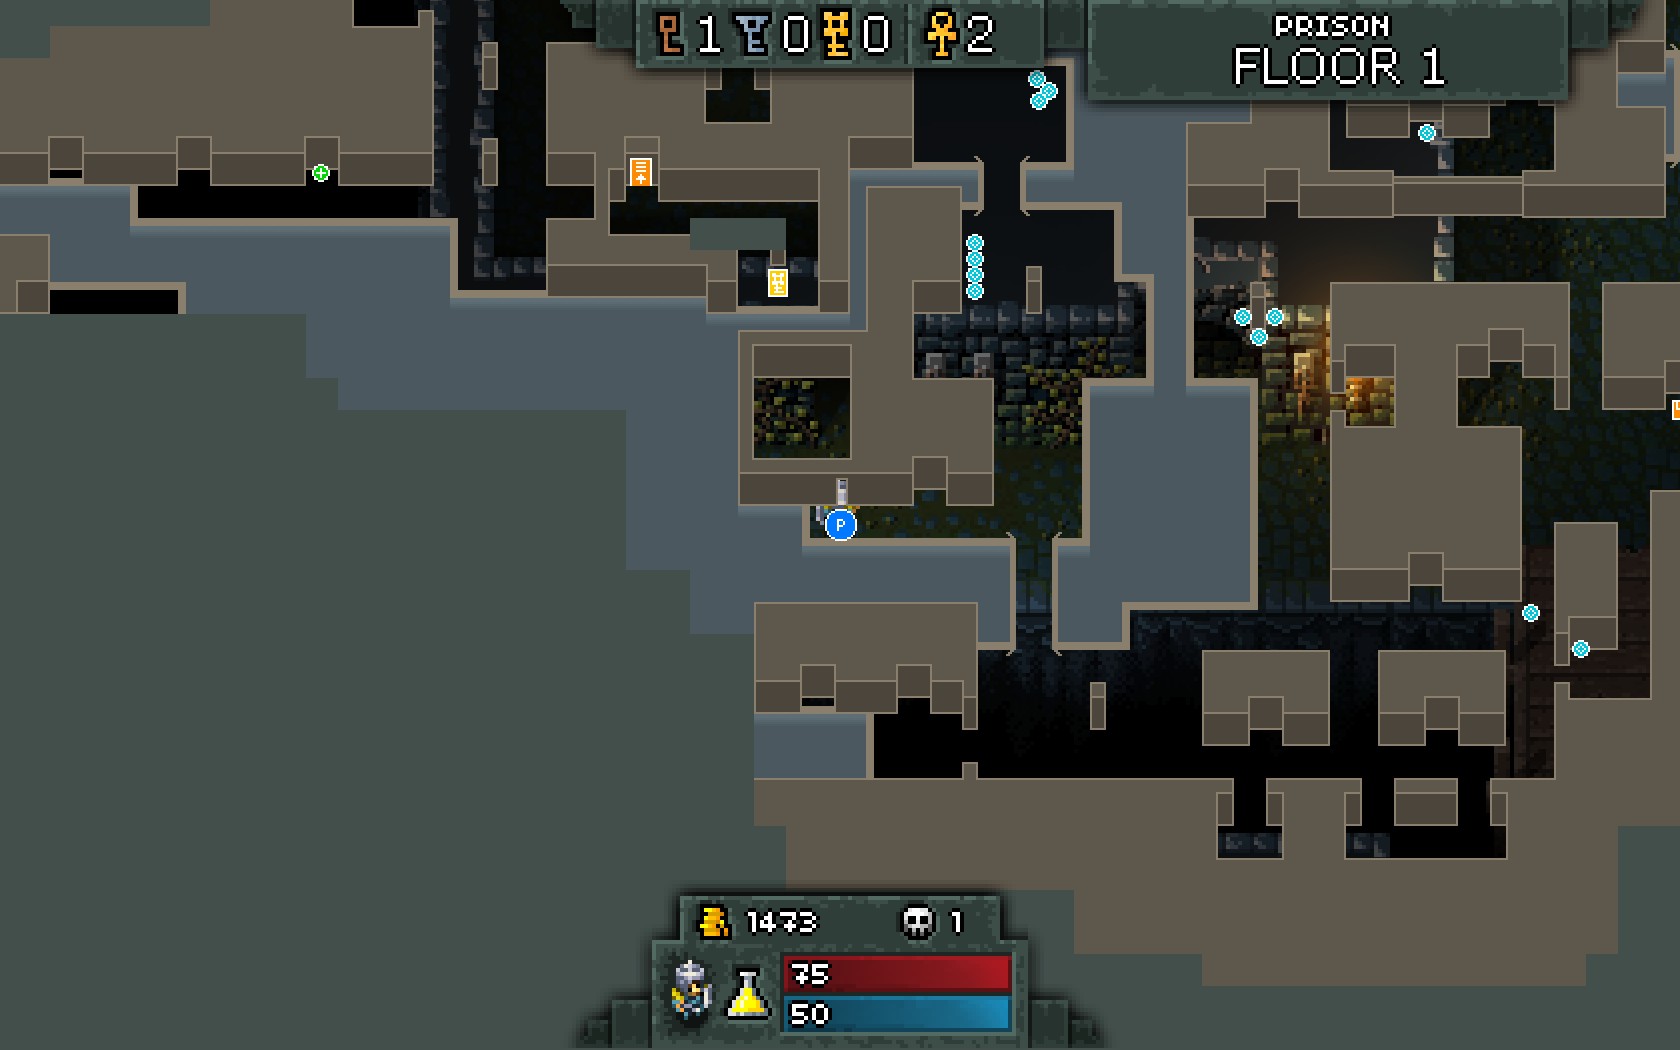


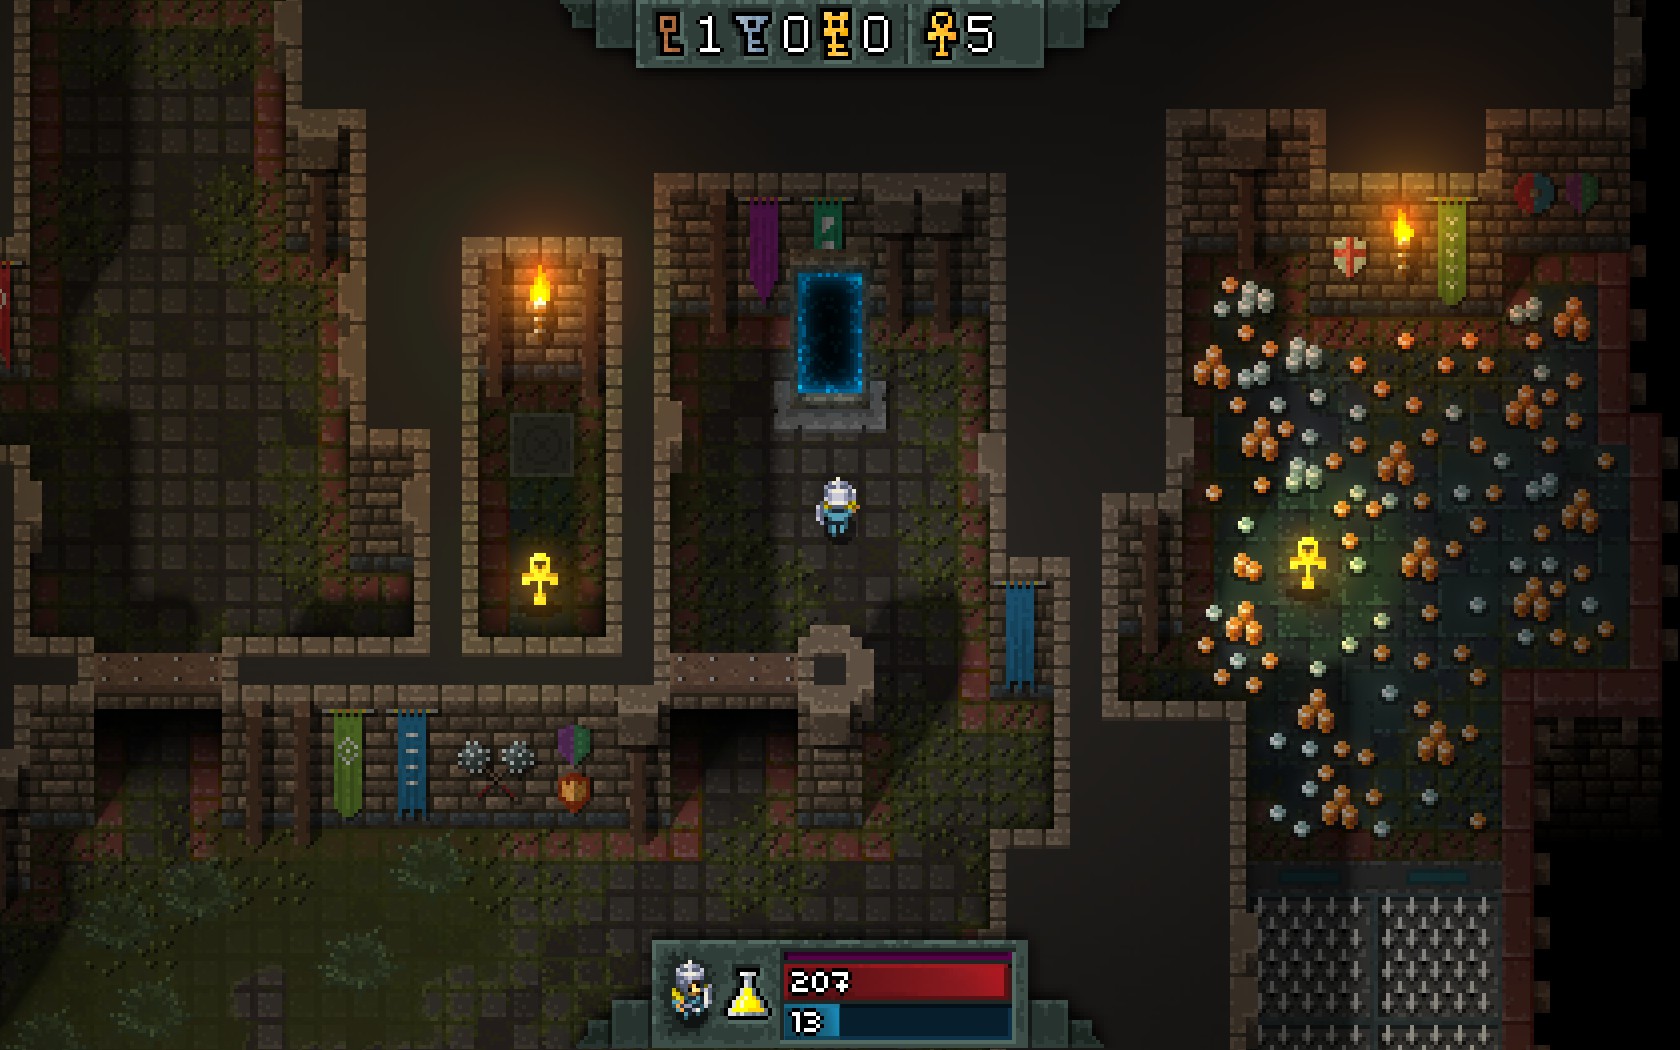
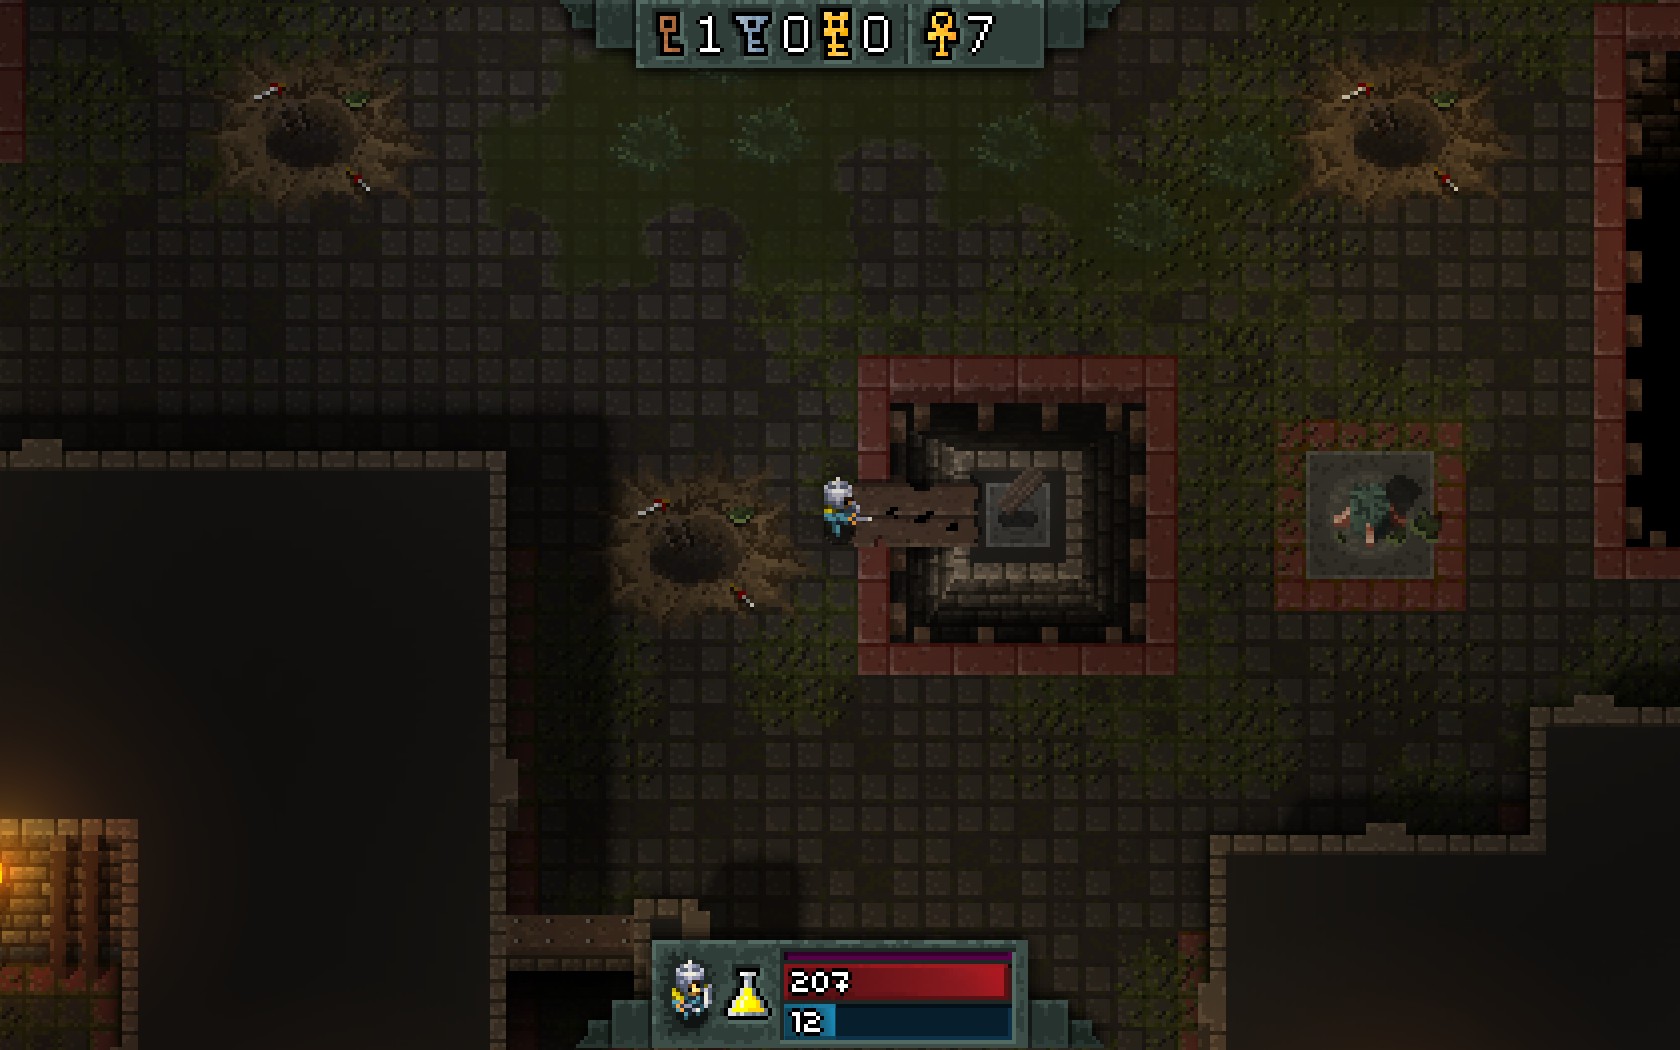


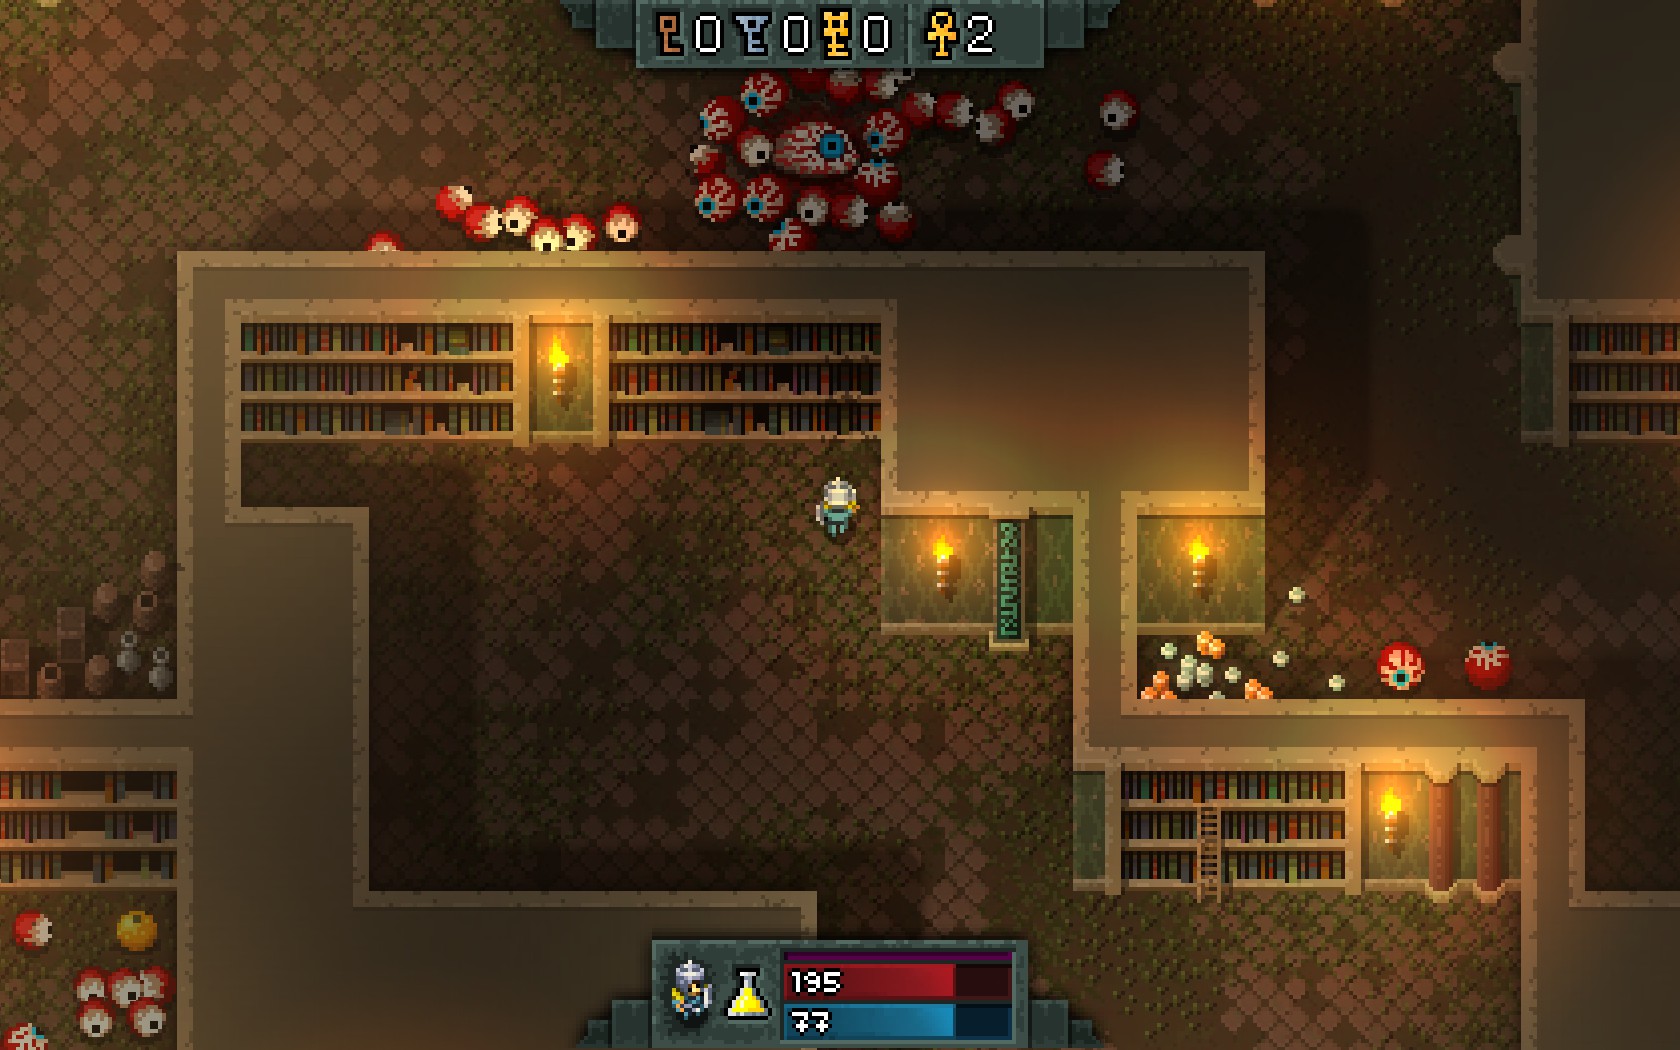
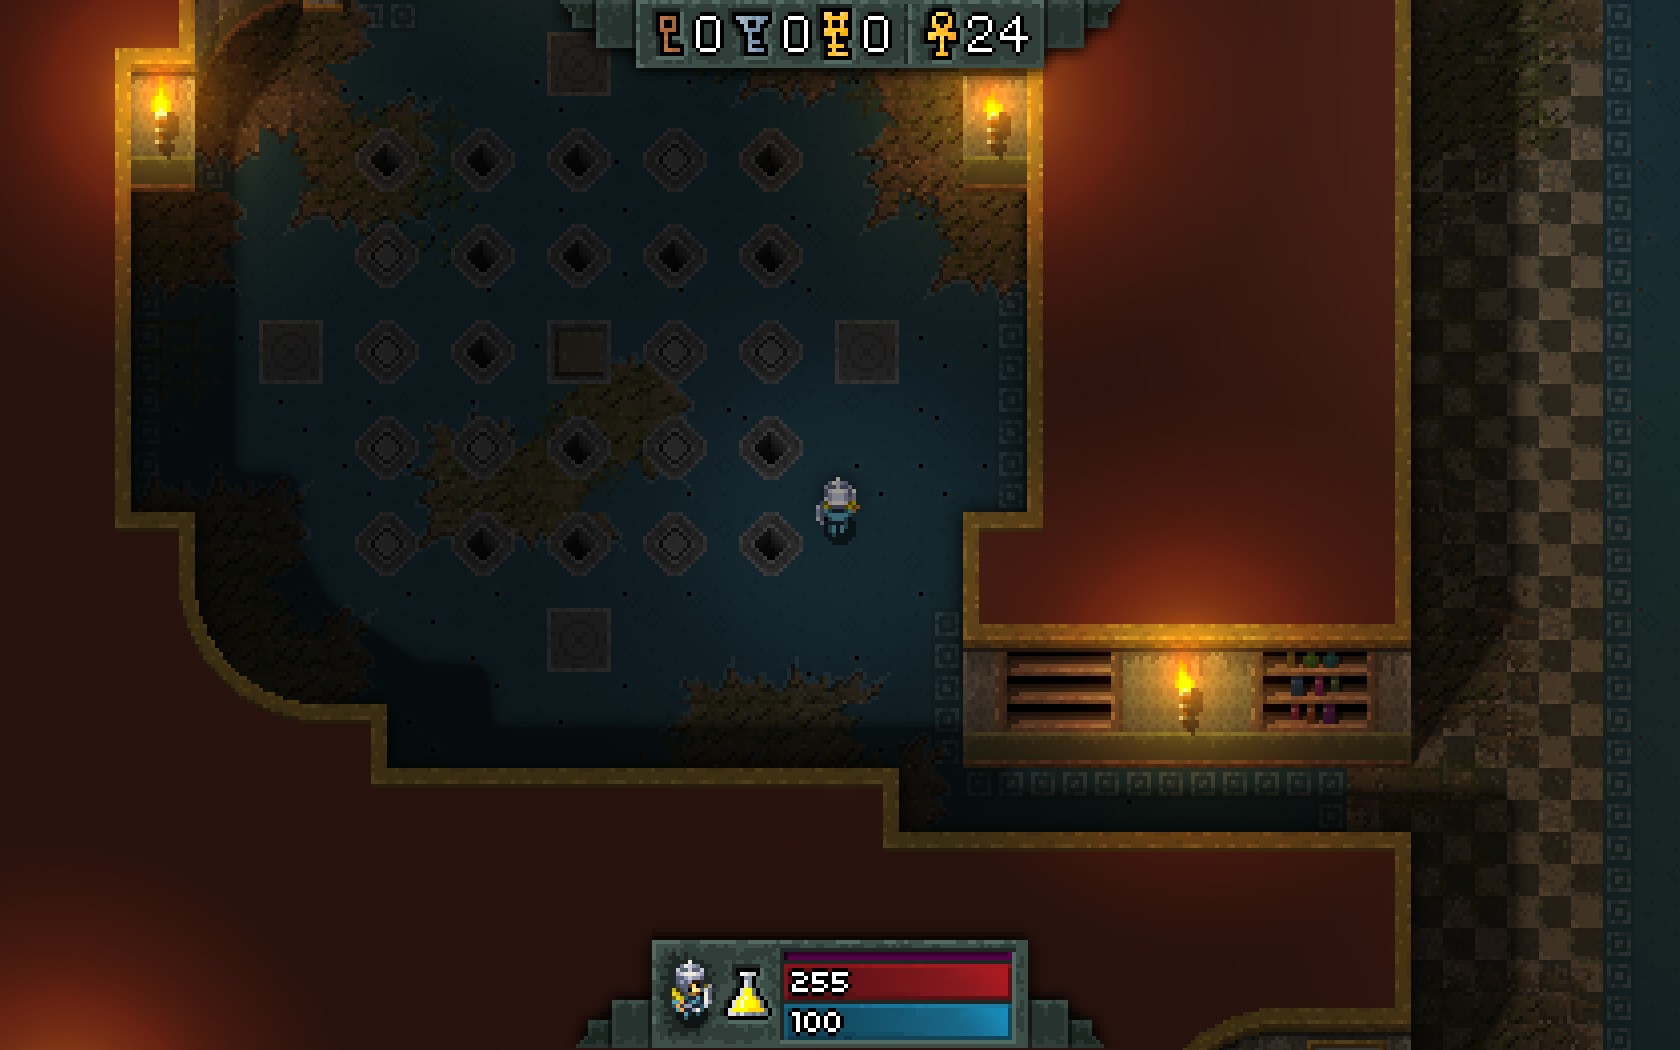
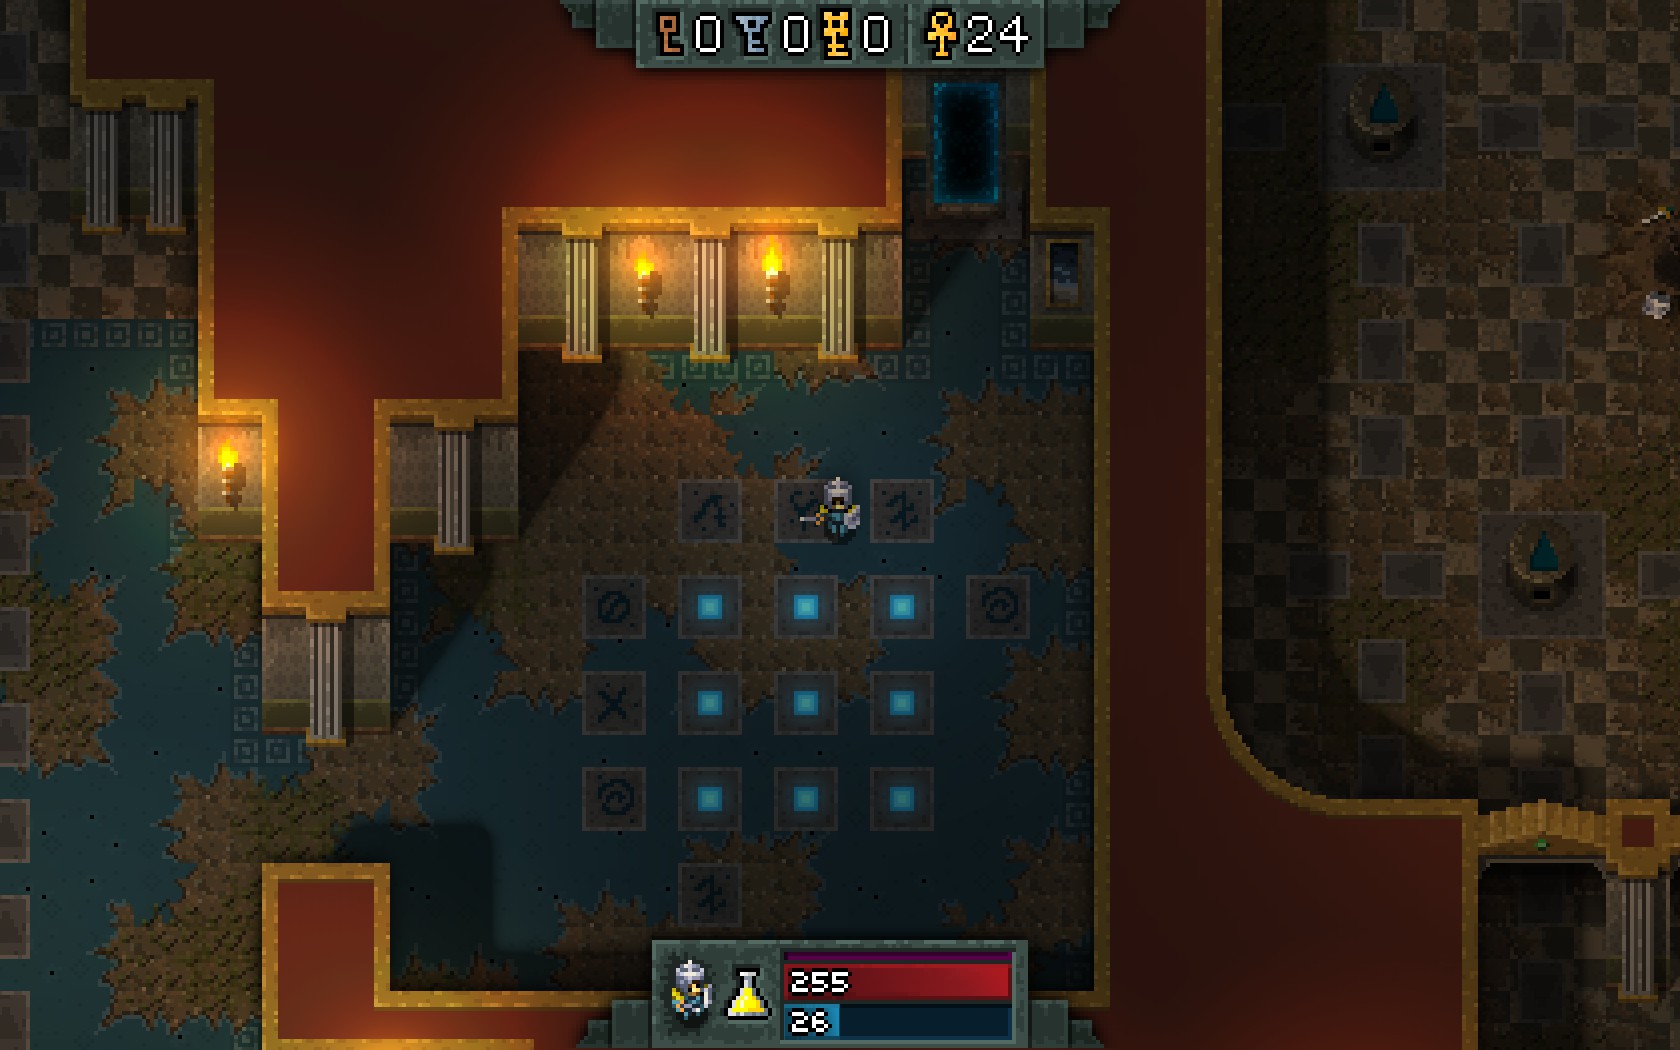
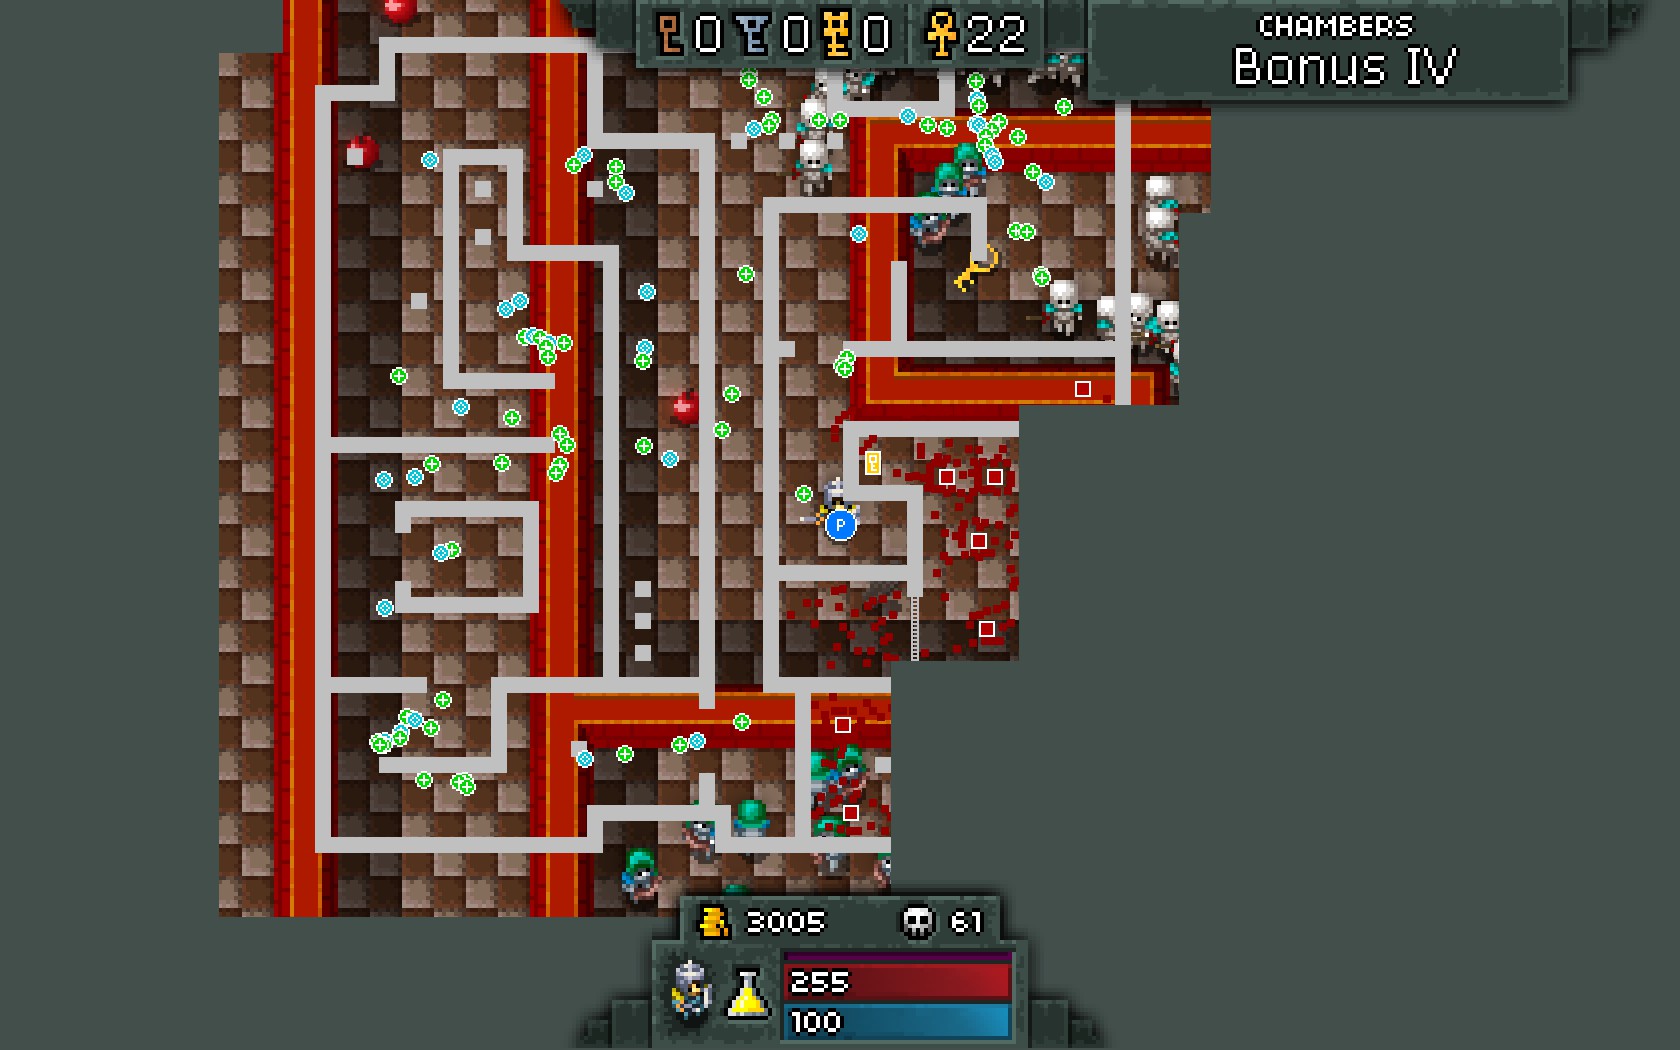


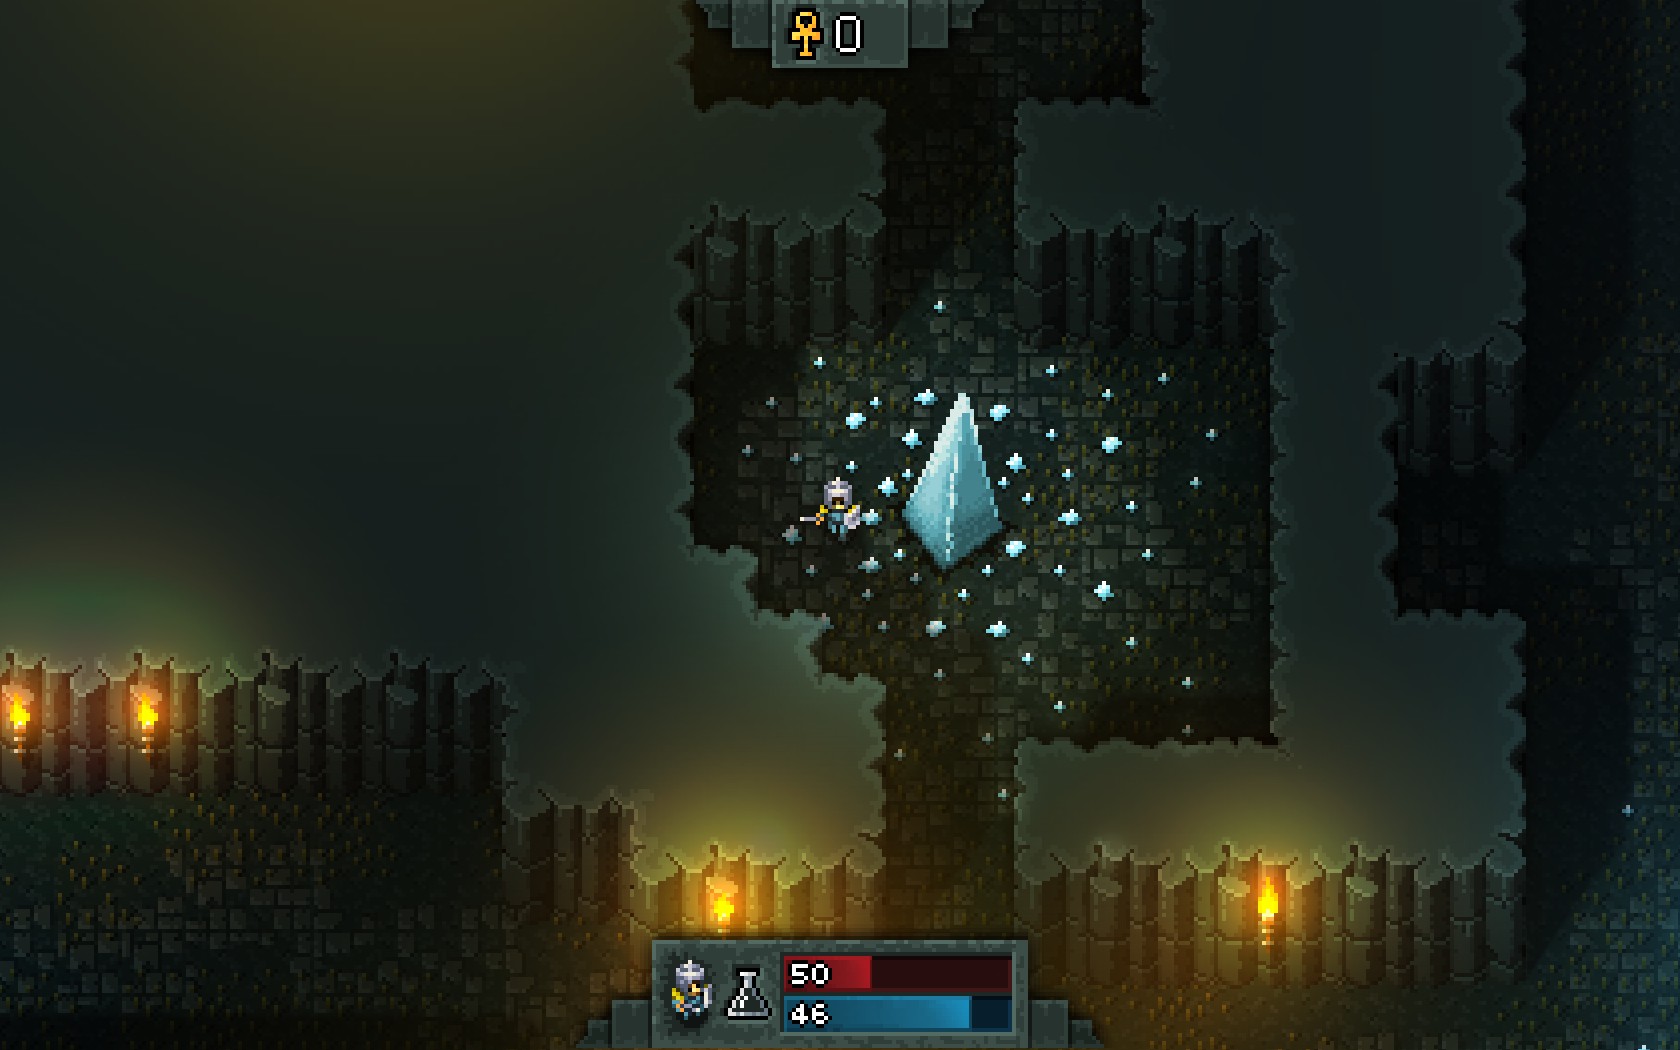
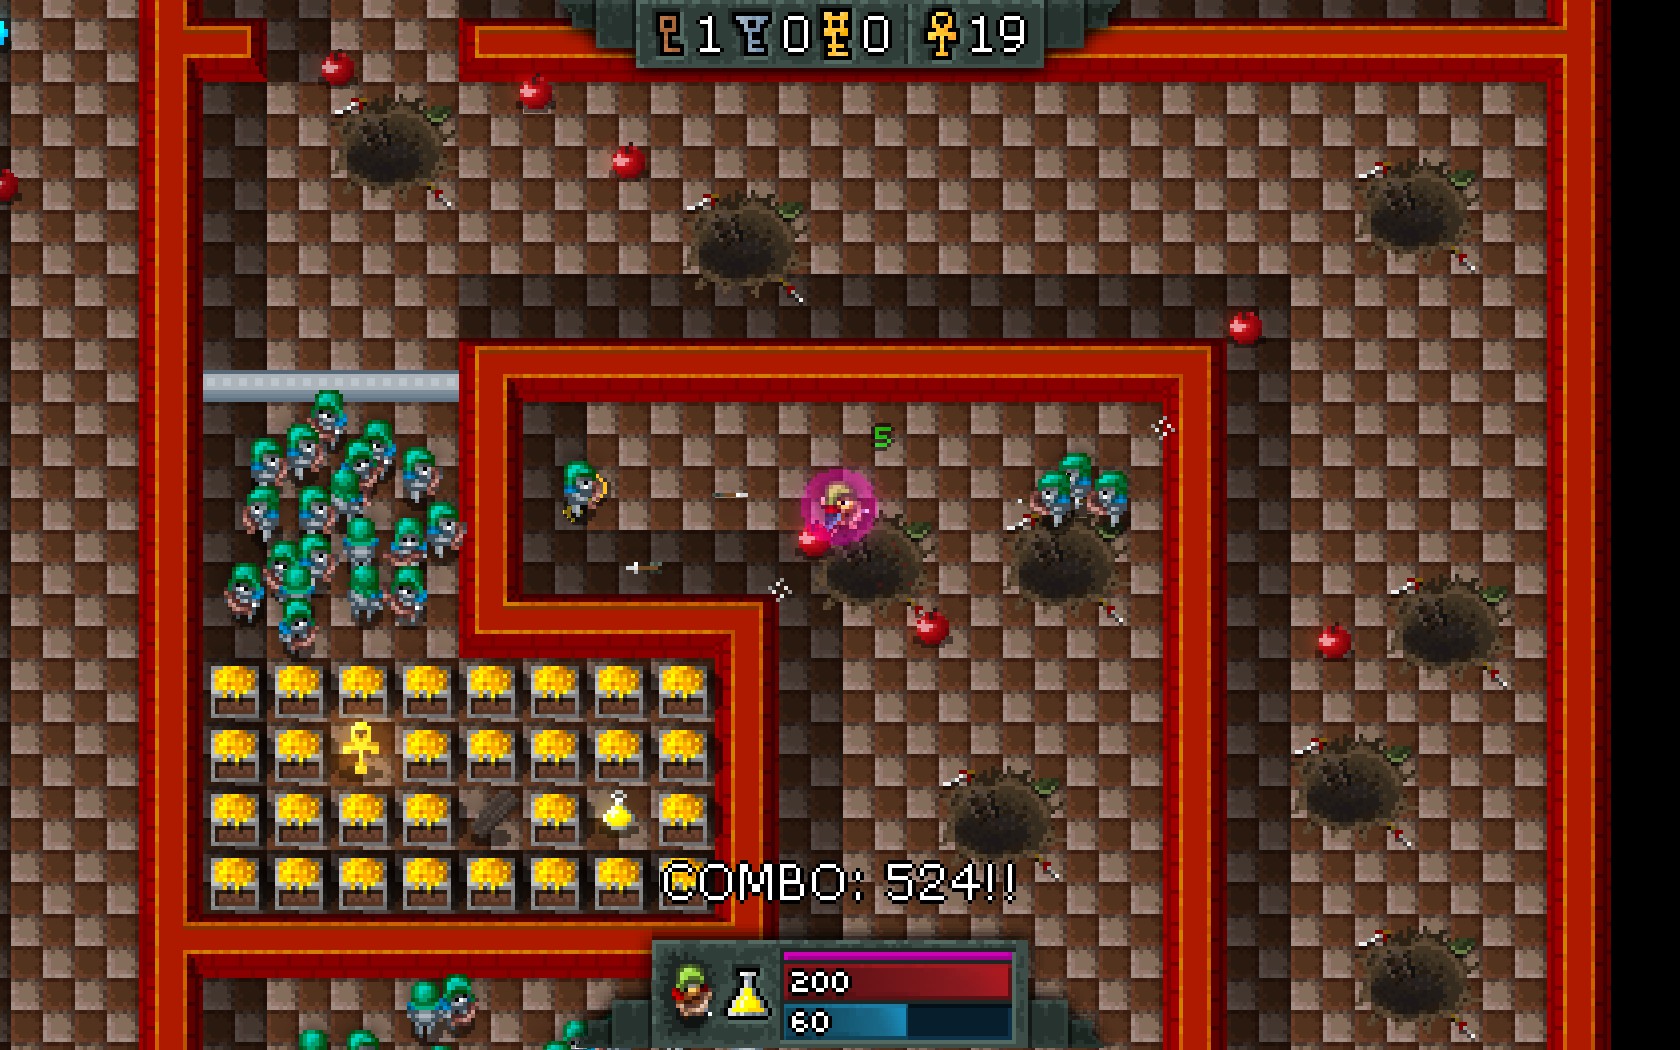


>A new cristal to farm!
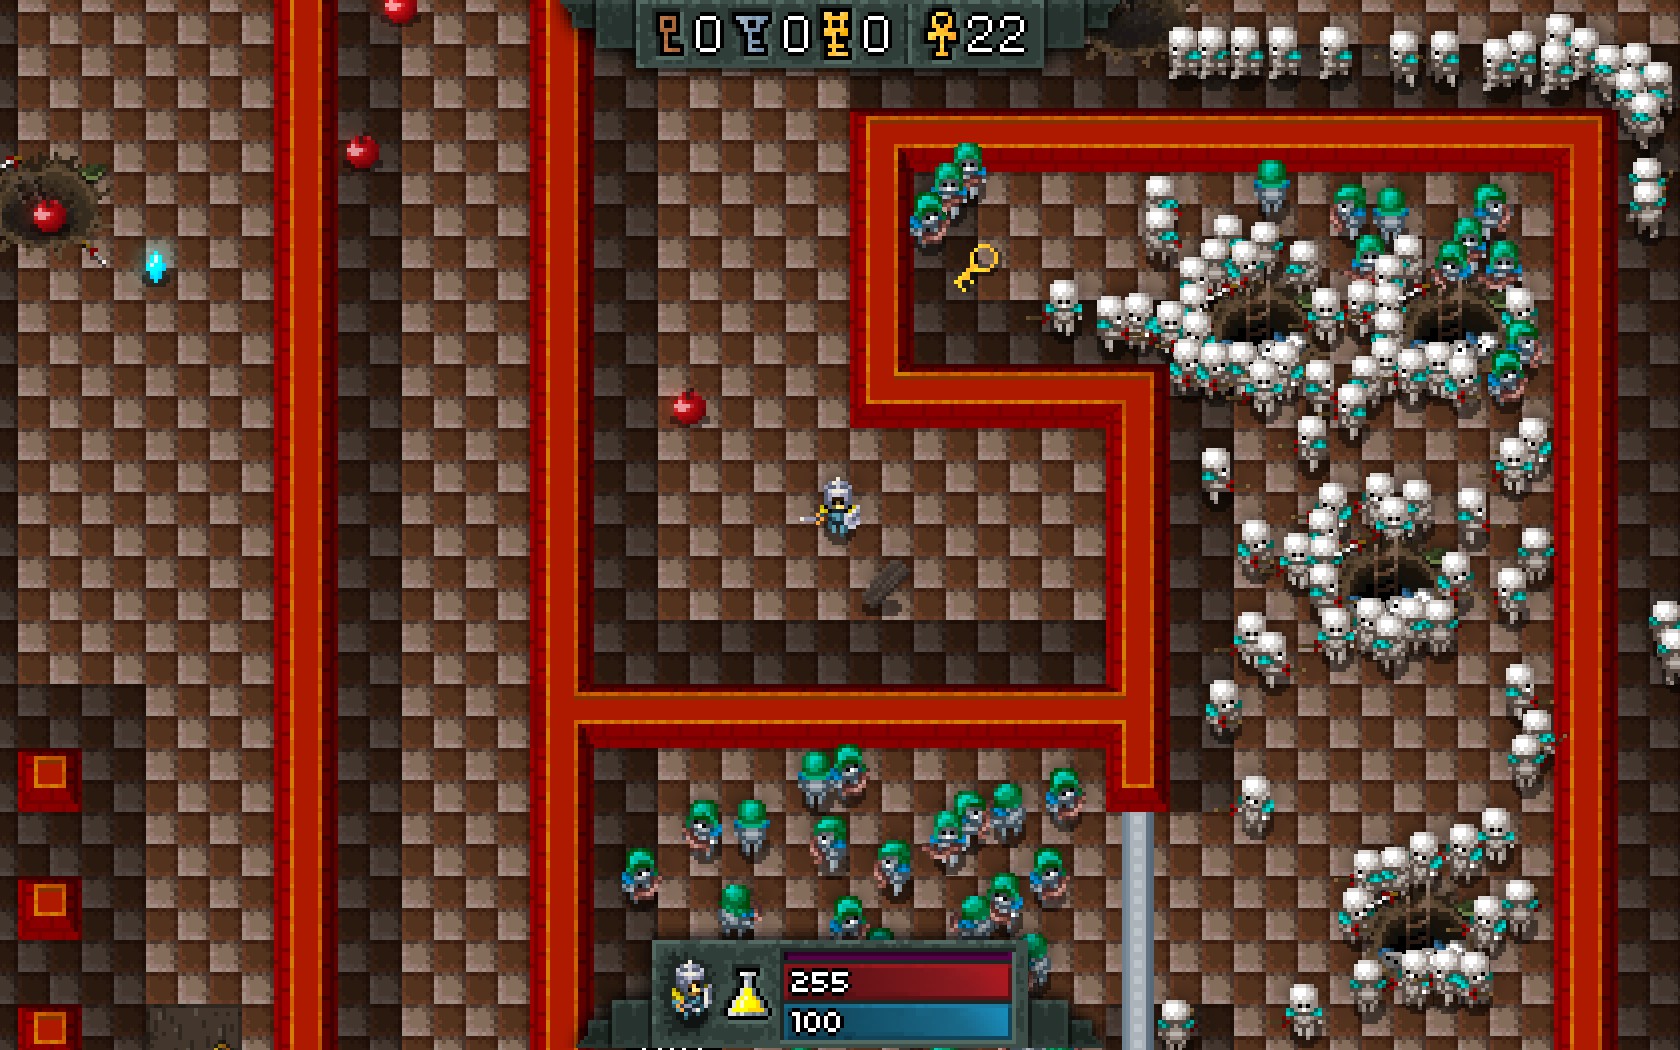
There are some spelling errors here (Survival section) as well as some factual errors. (Should be "skeletons" and "crystal" instead of "scelettons" and "cristal") The bottom crystal actually appears after the eyes start spawning, not right after the skeletons.
I believe the Daniel The Traveler achievement was removed also.
Thanks for the guide!
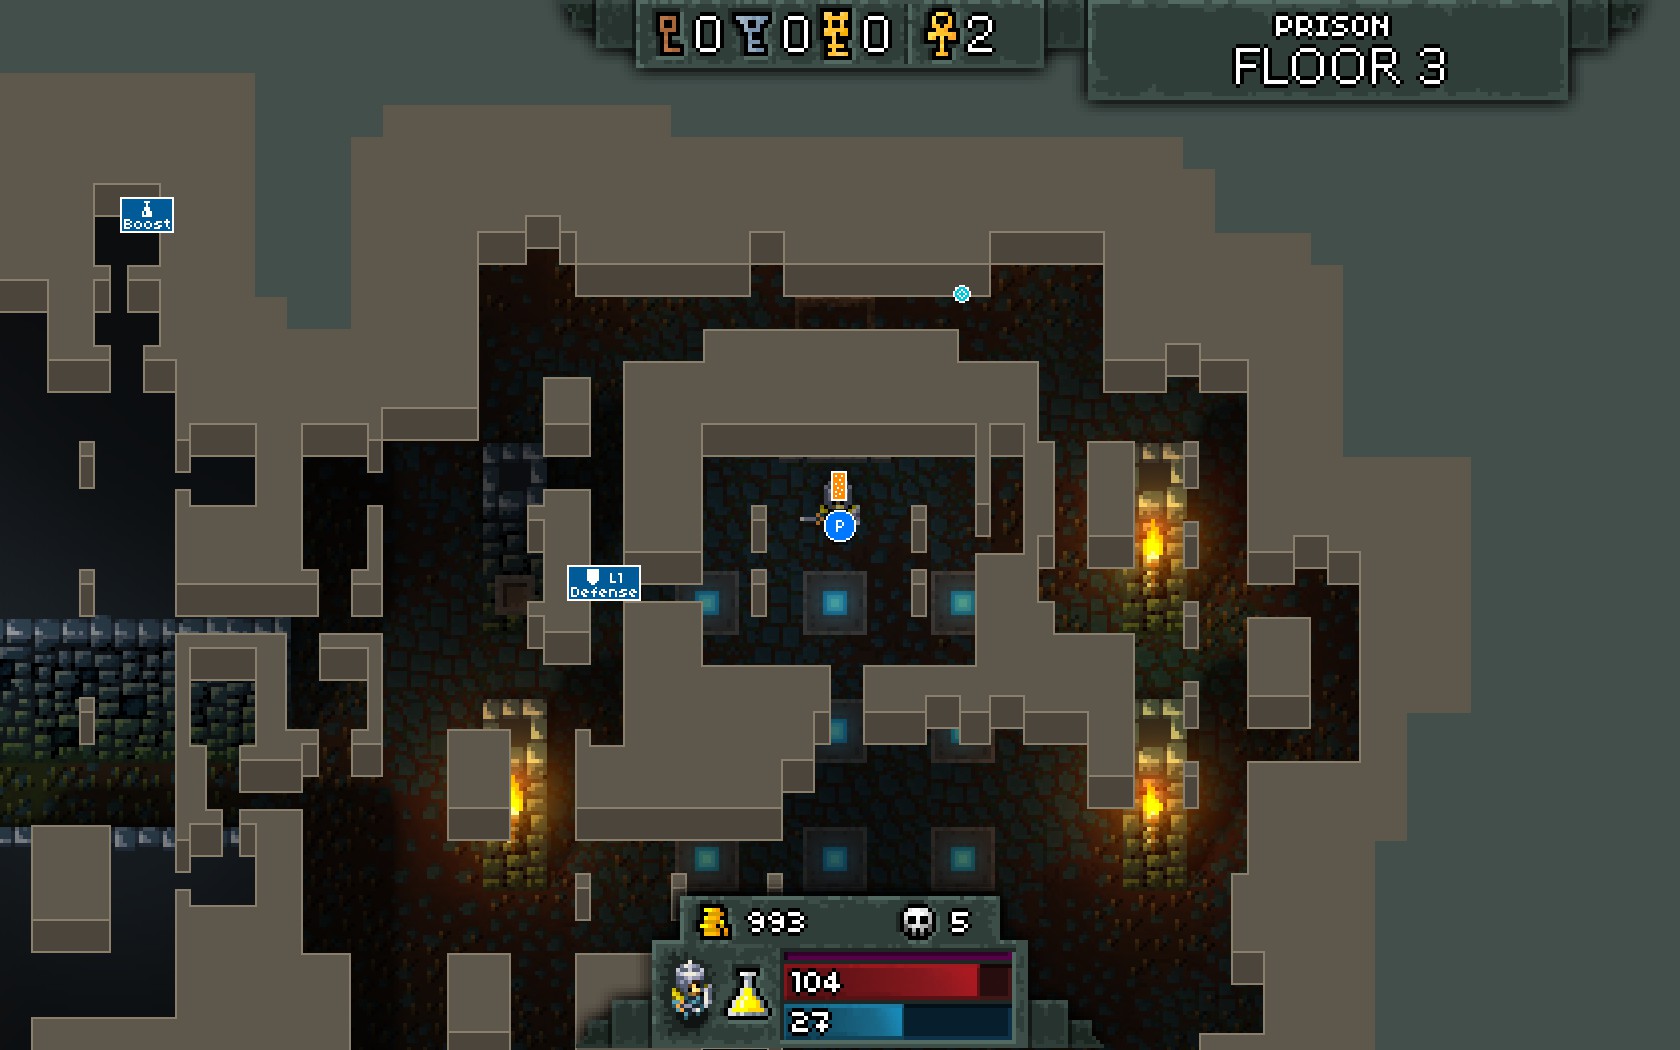
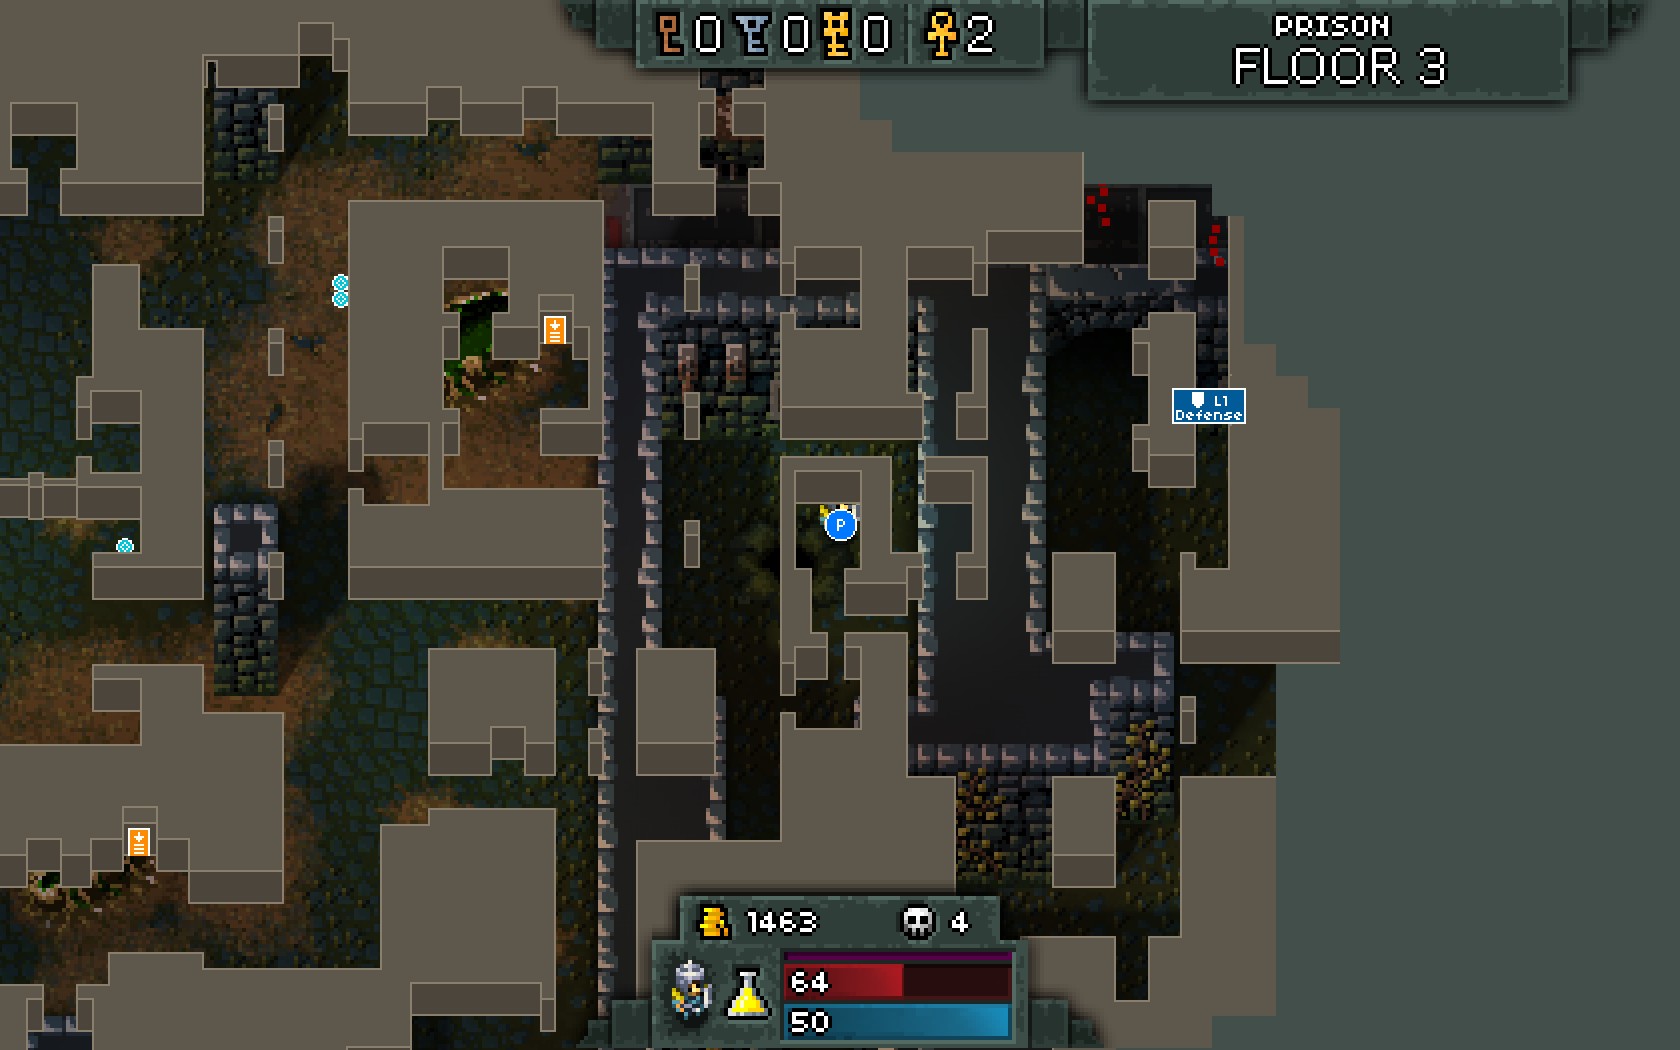
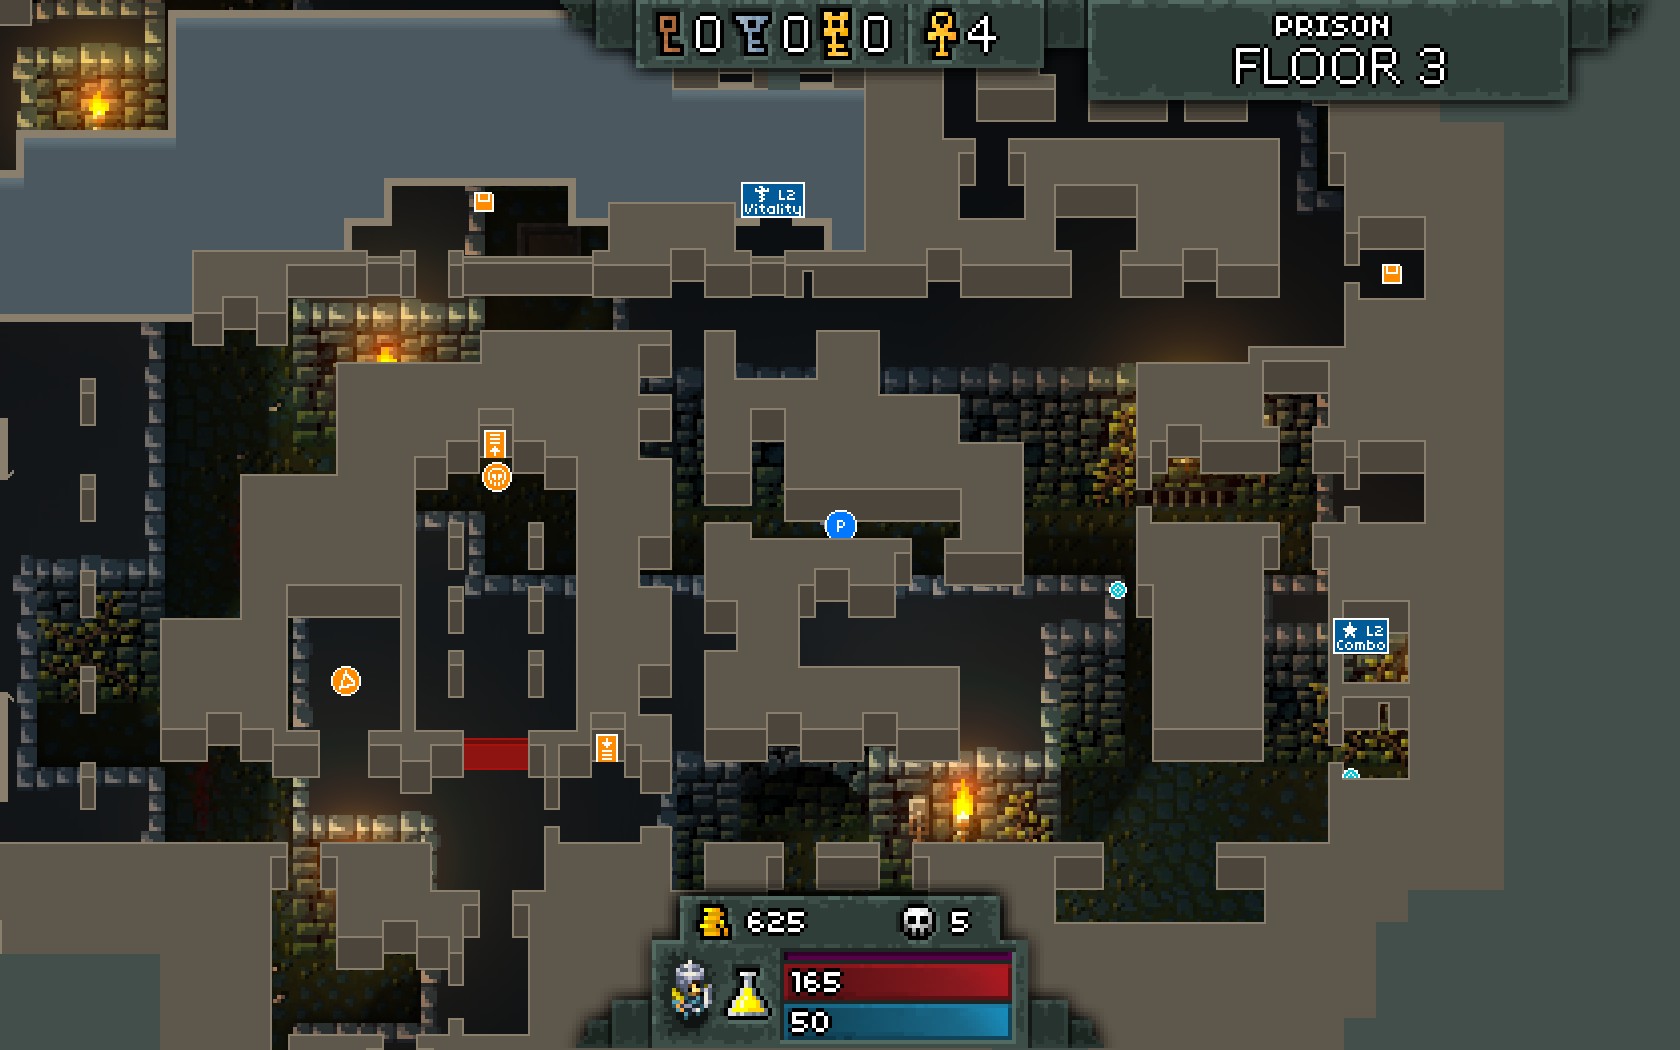
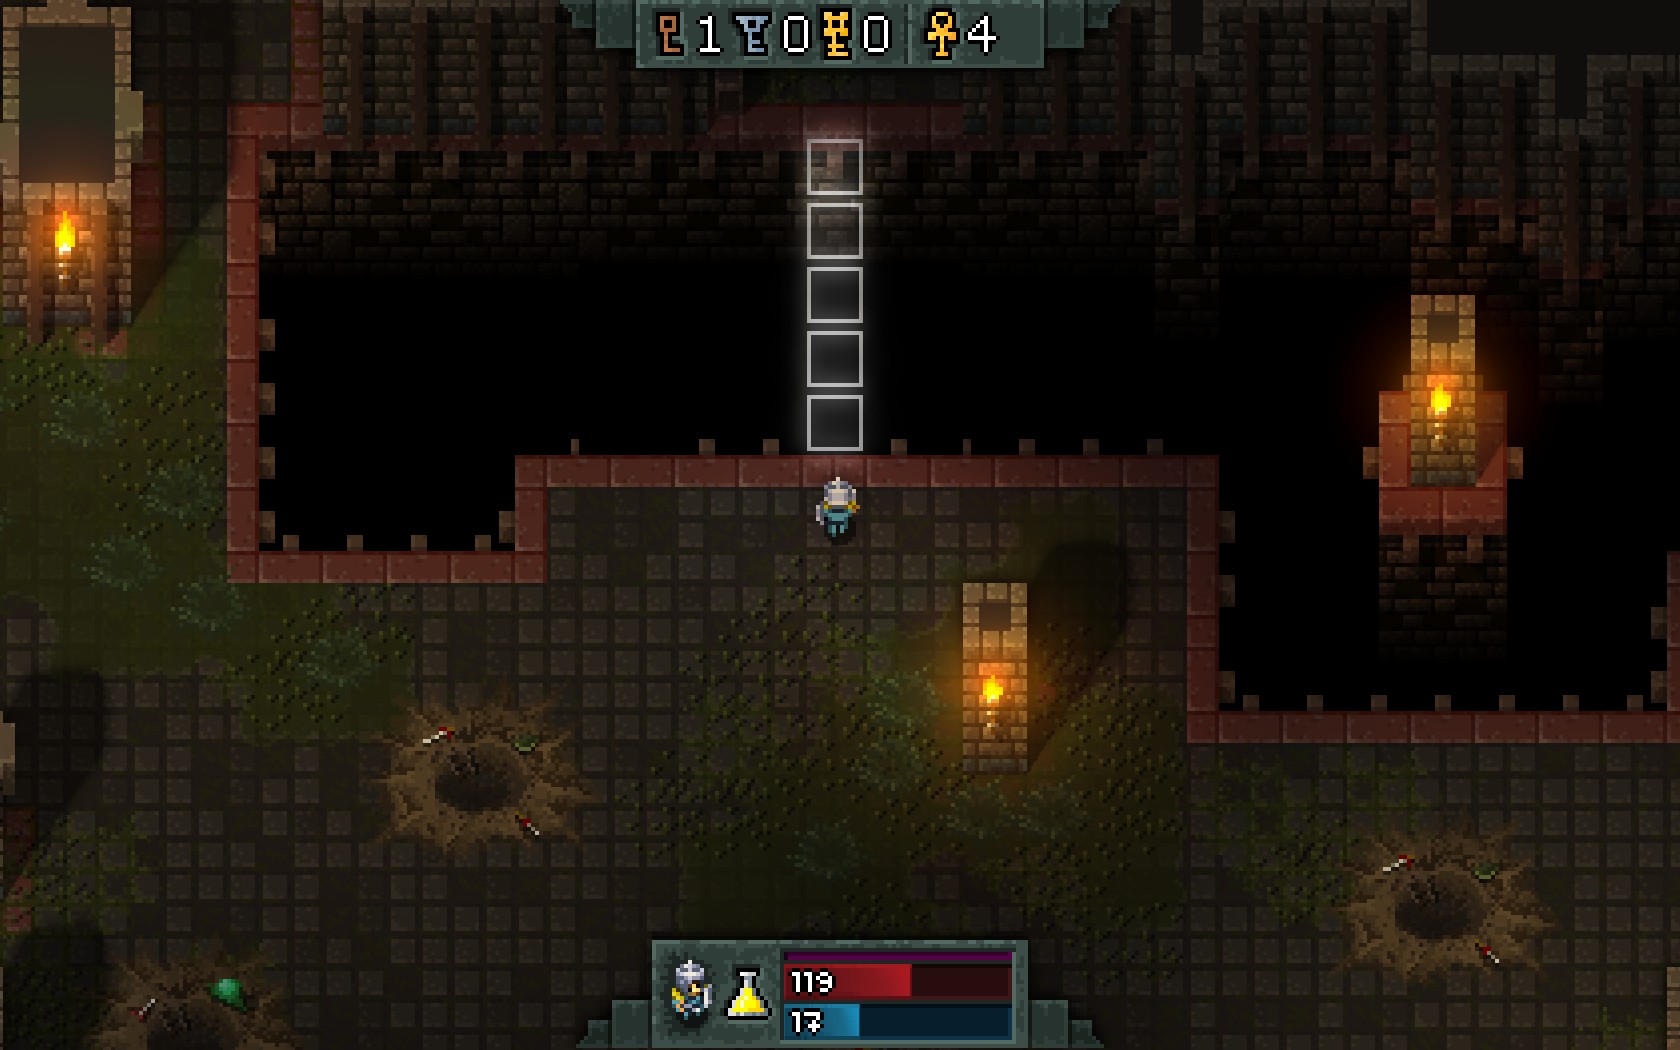
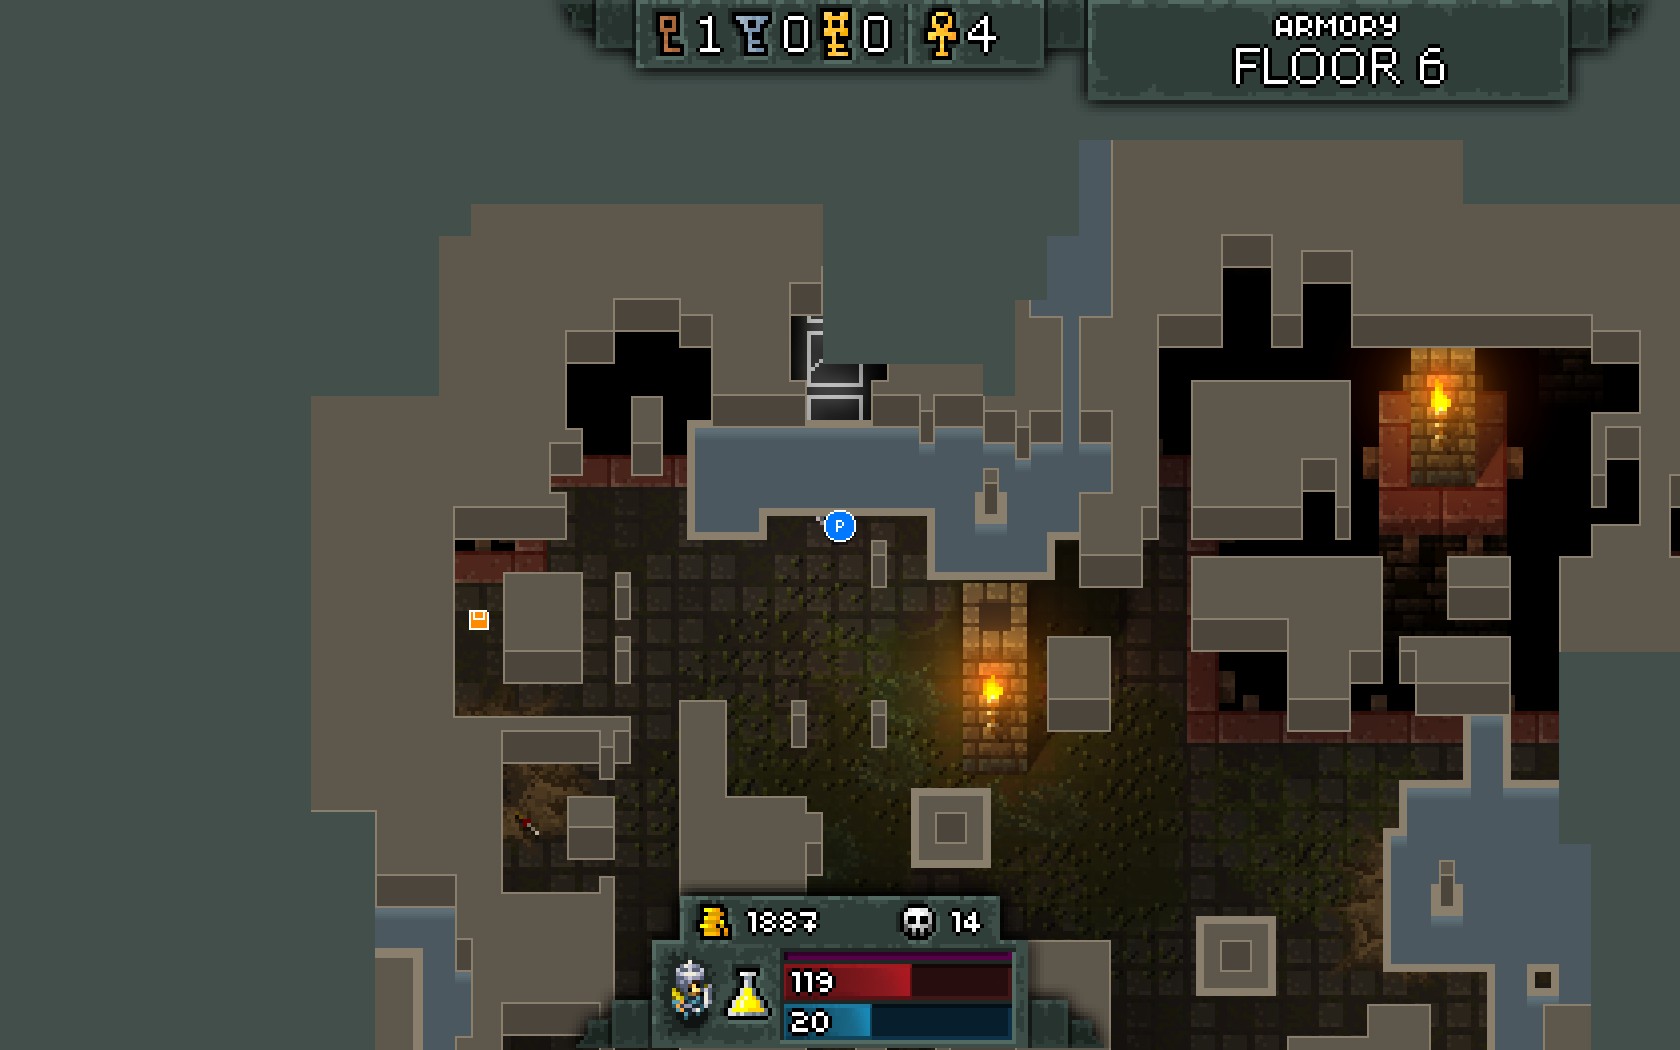
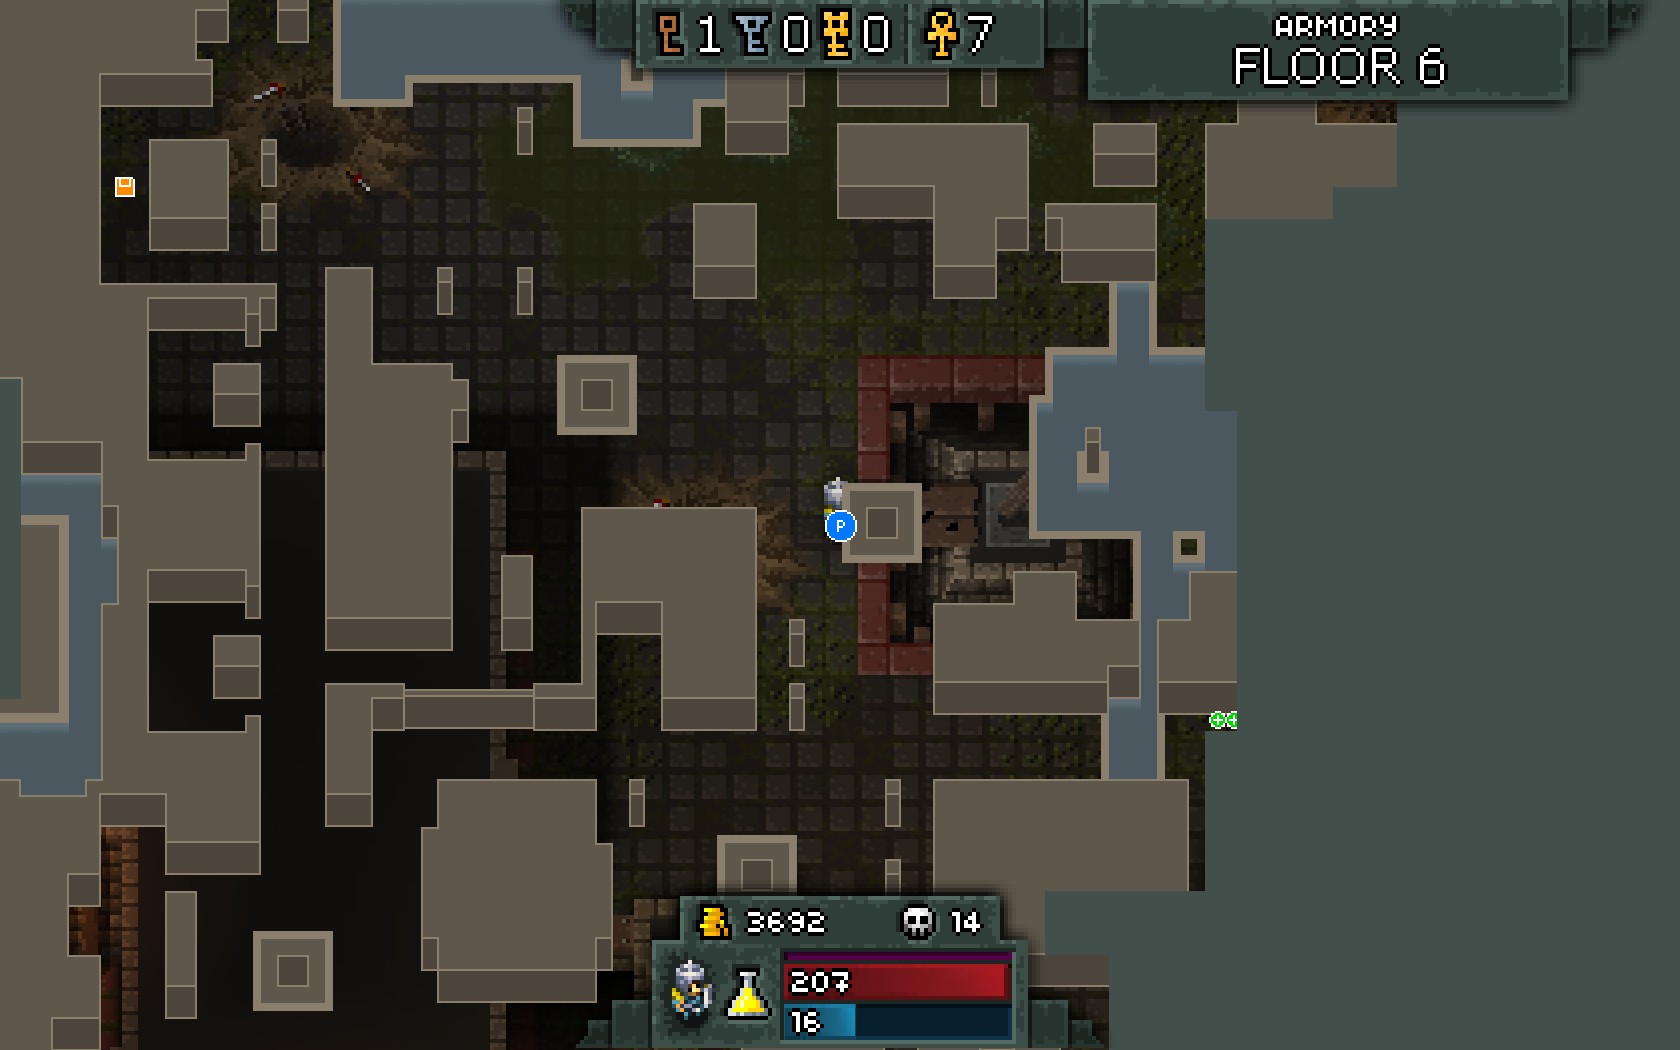
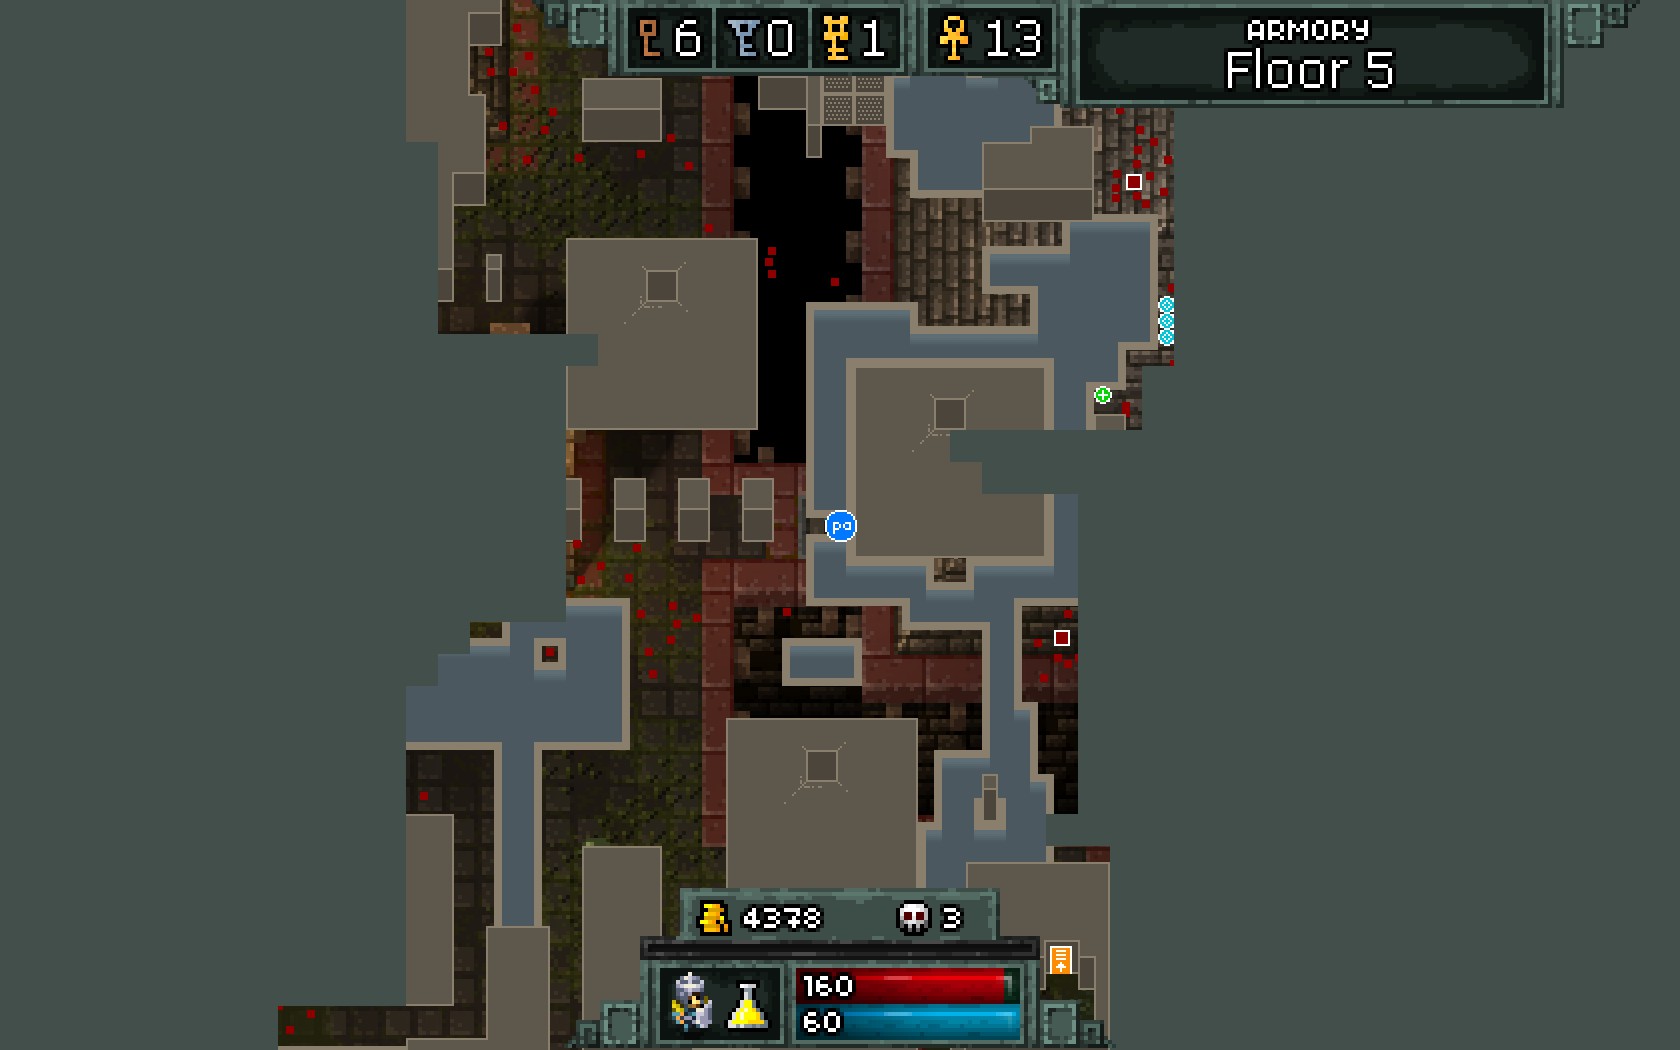
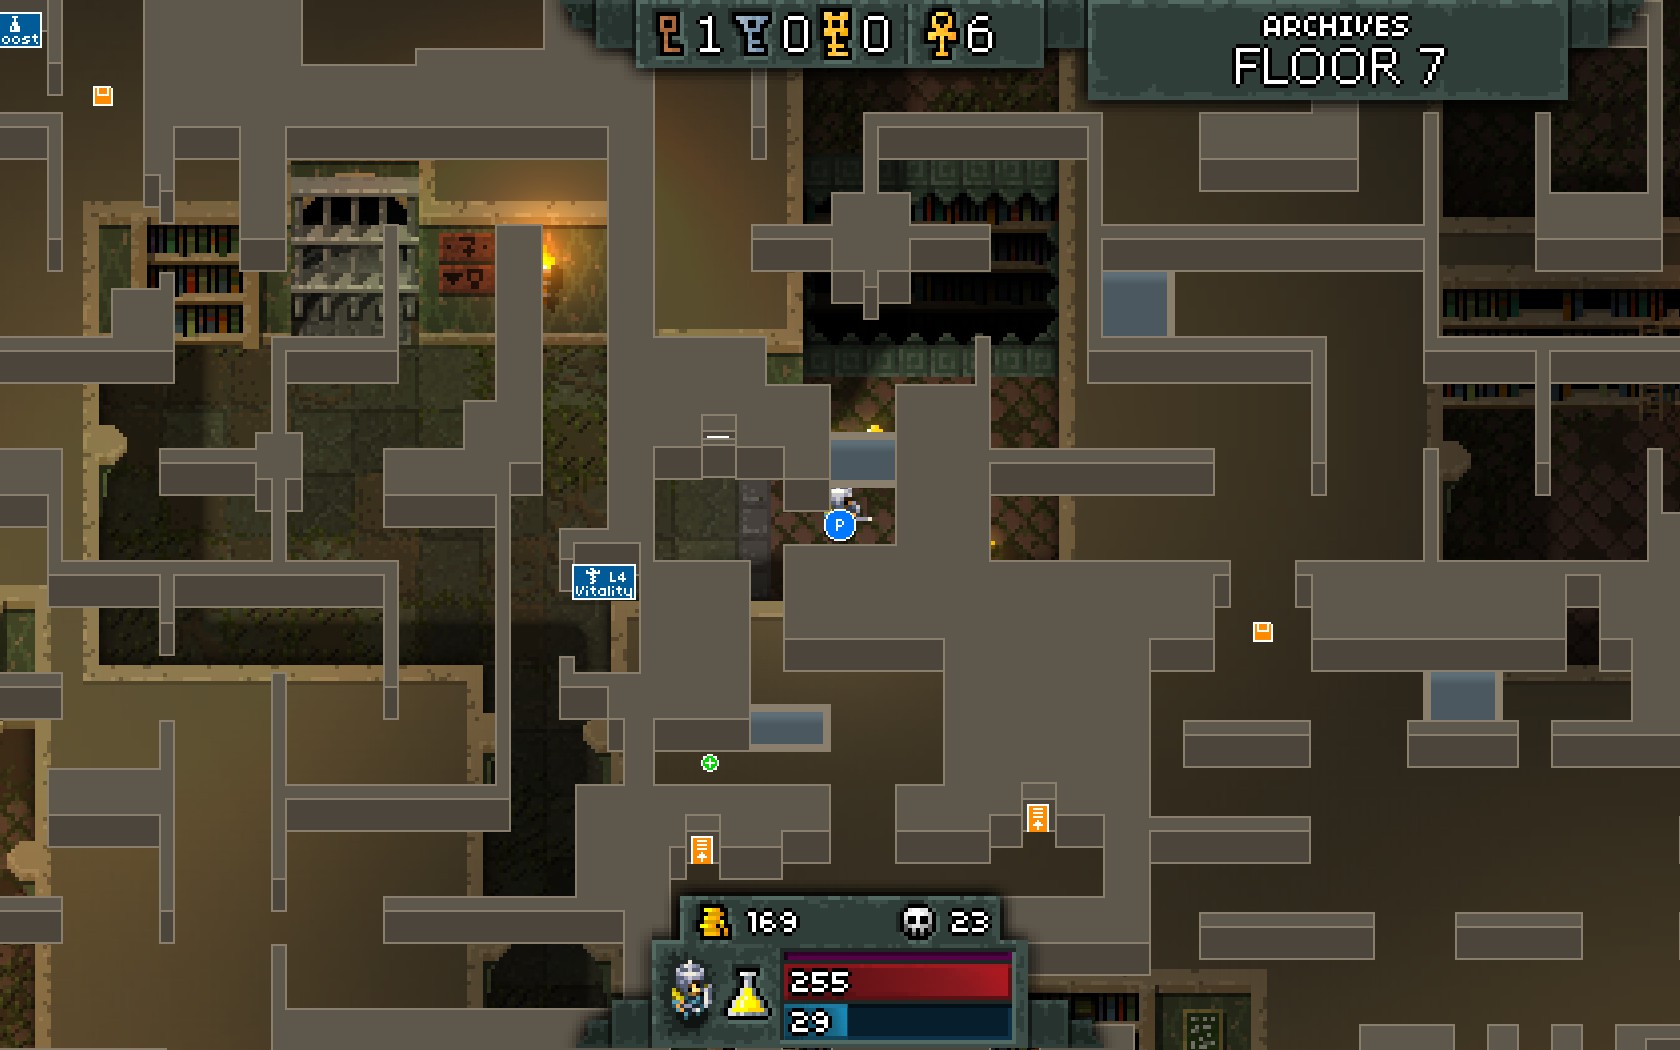
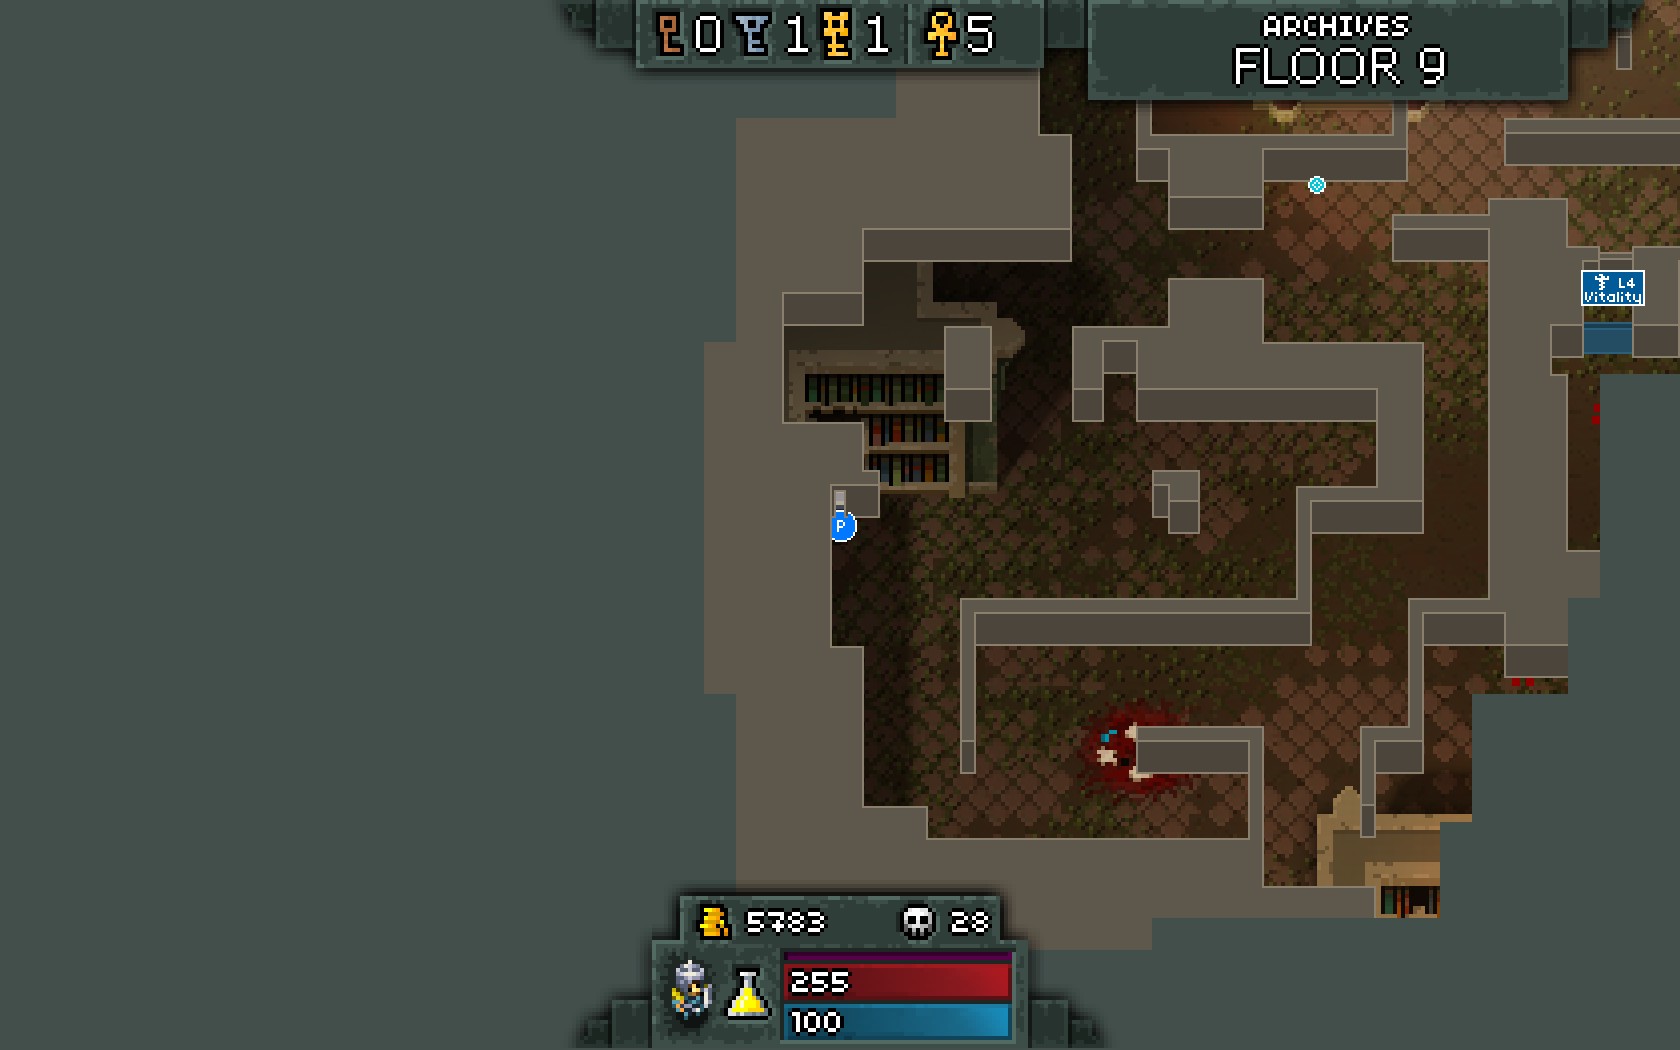
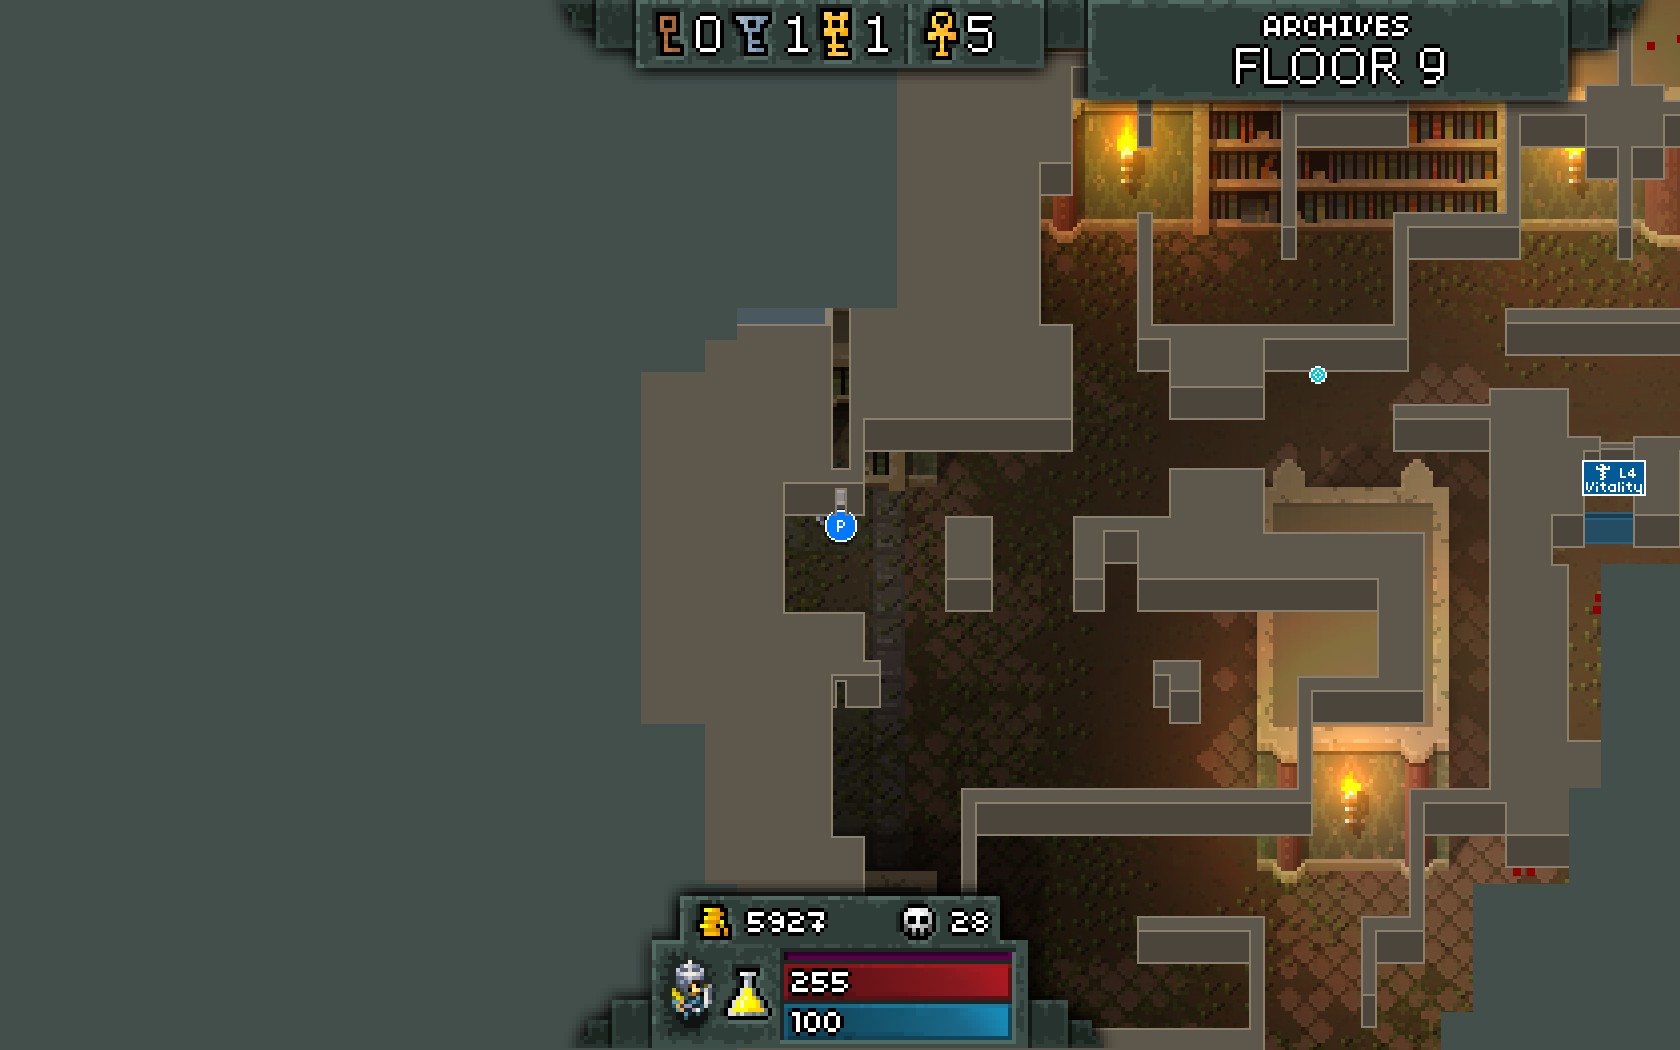
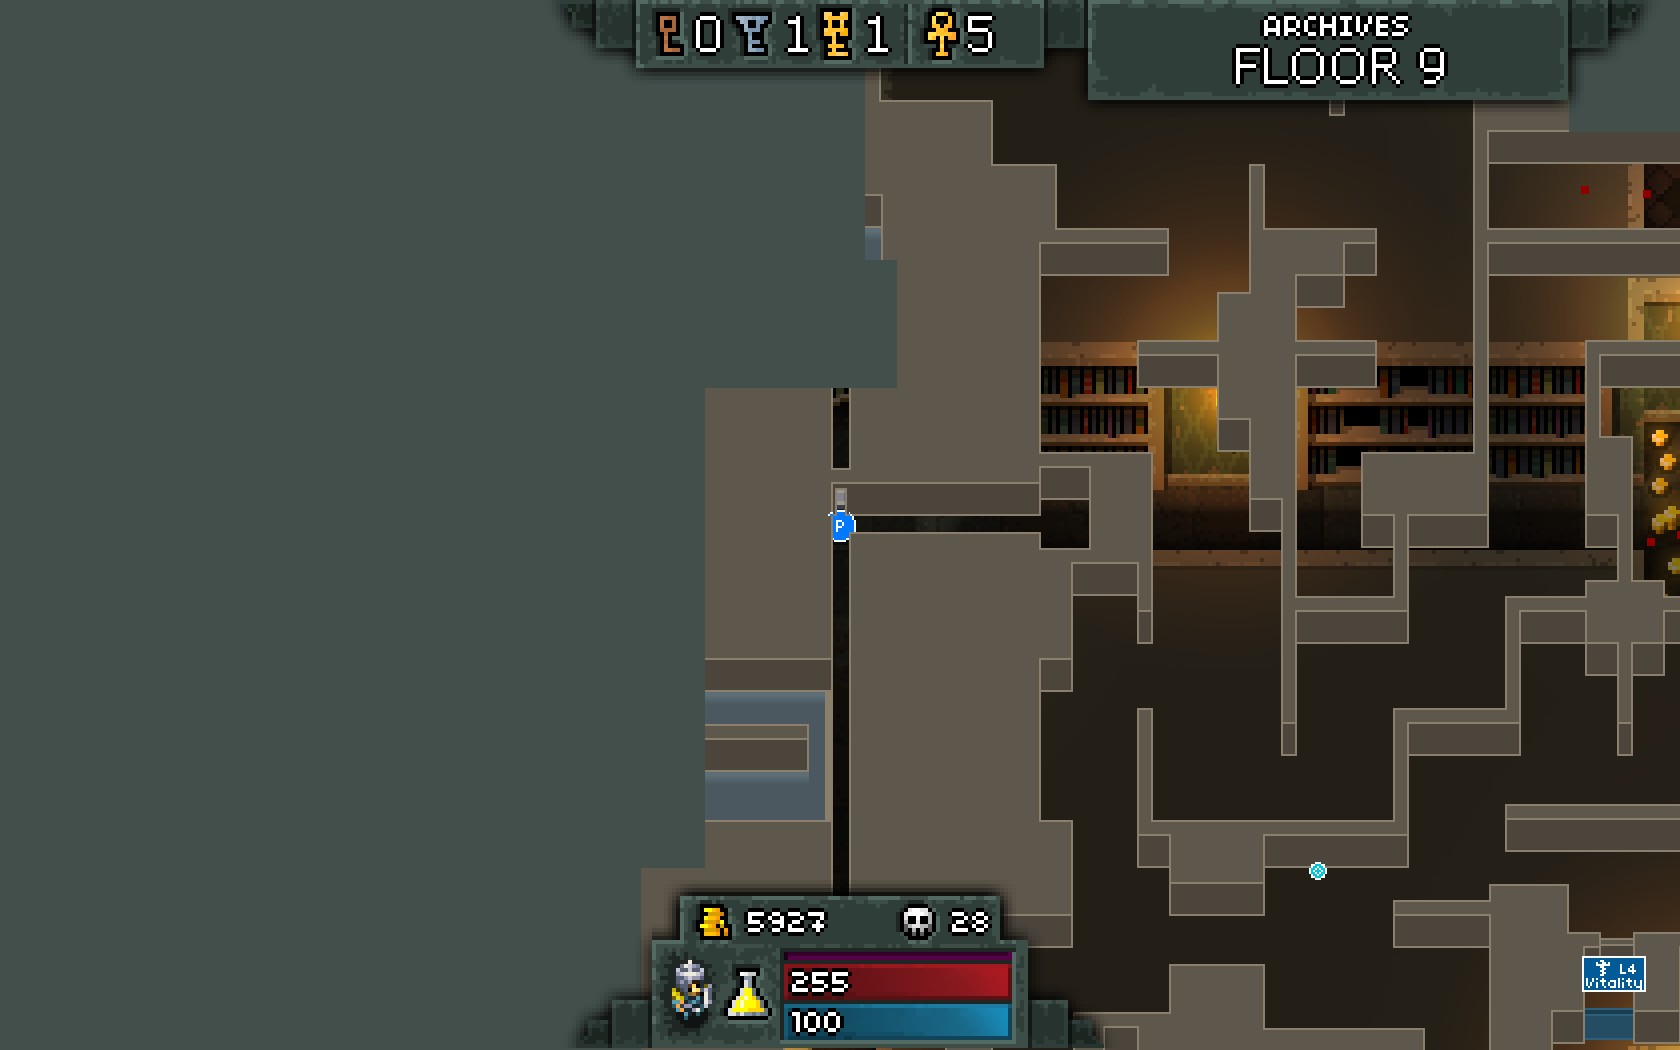
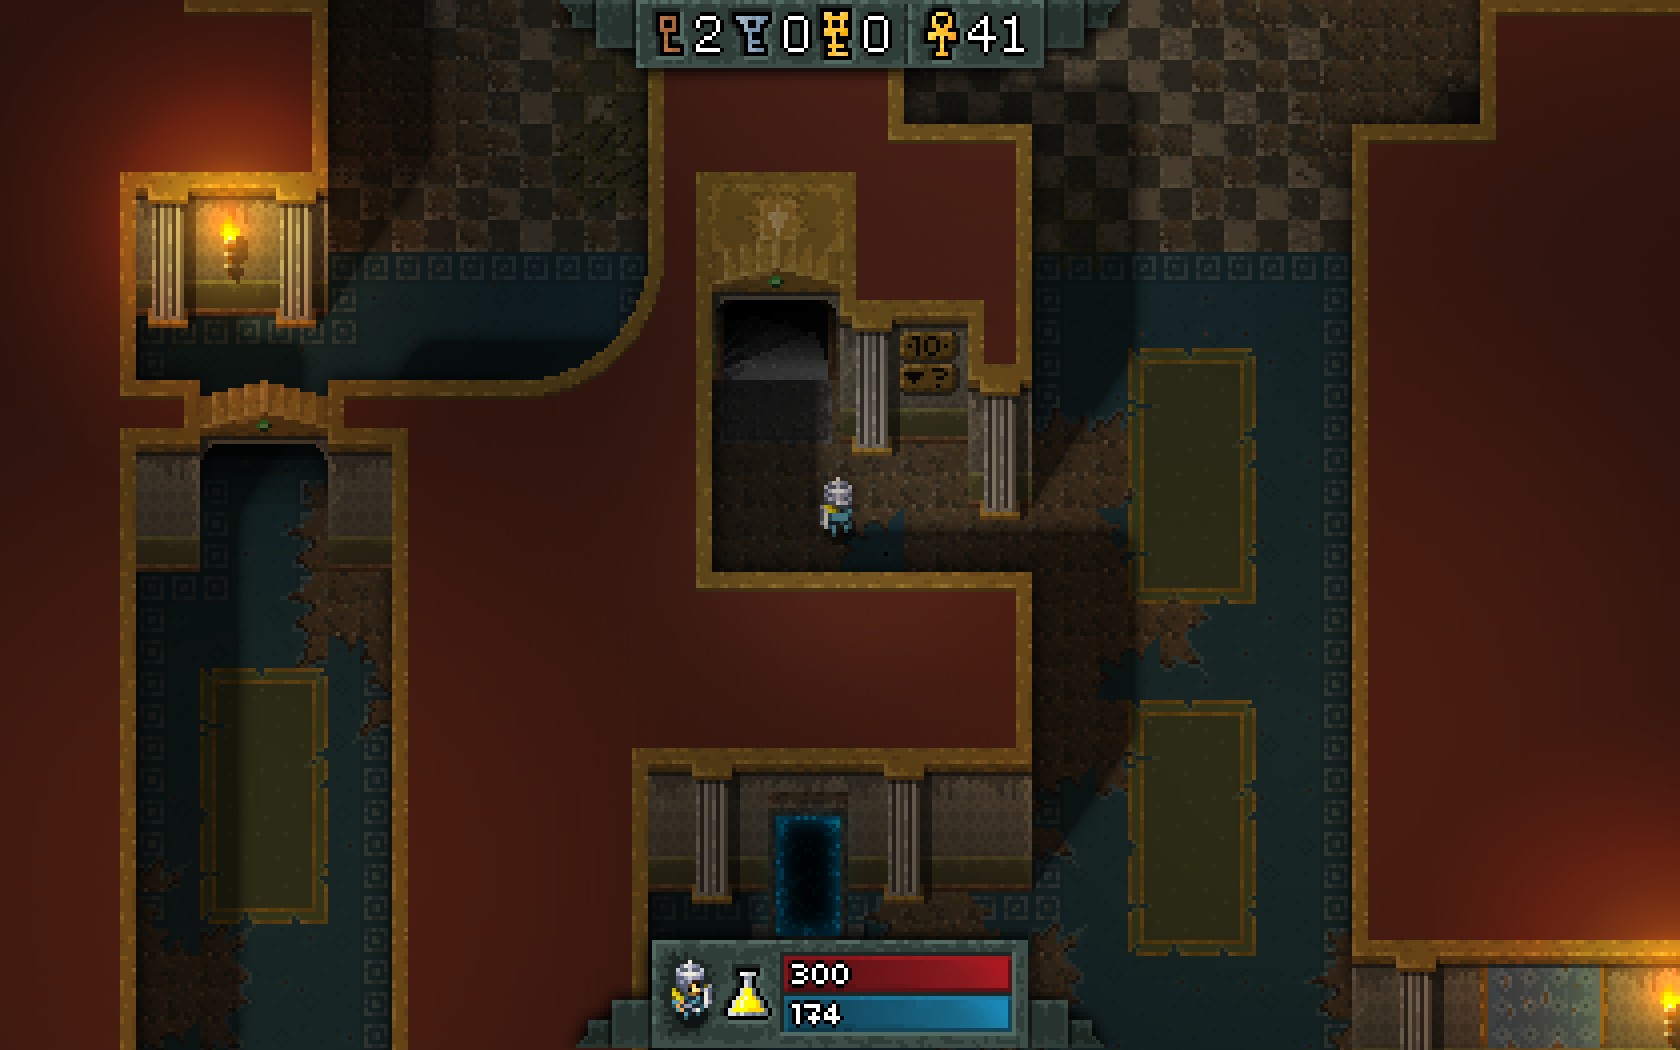
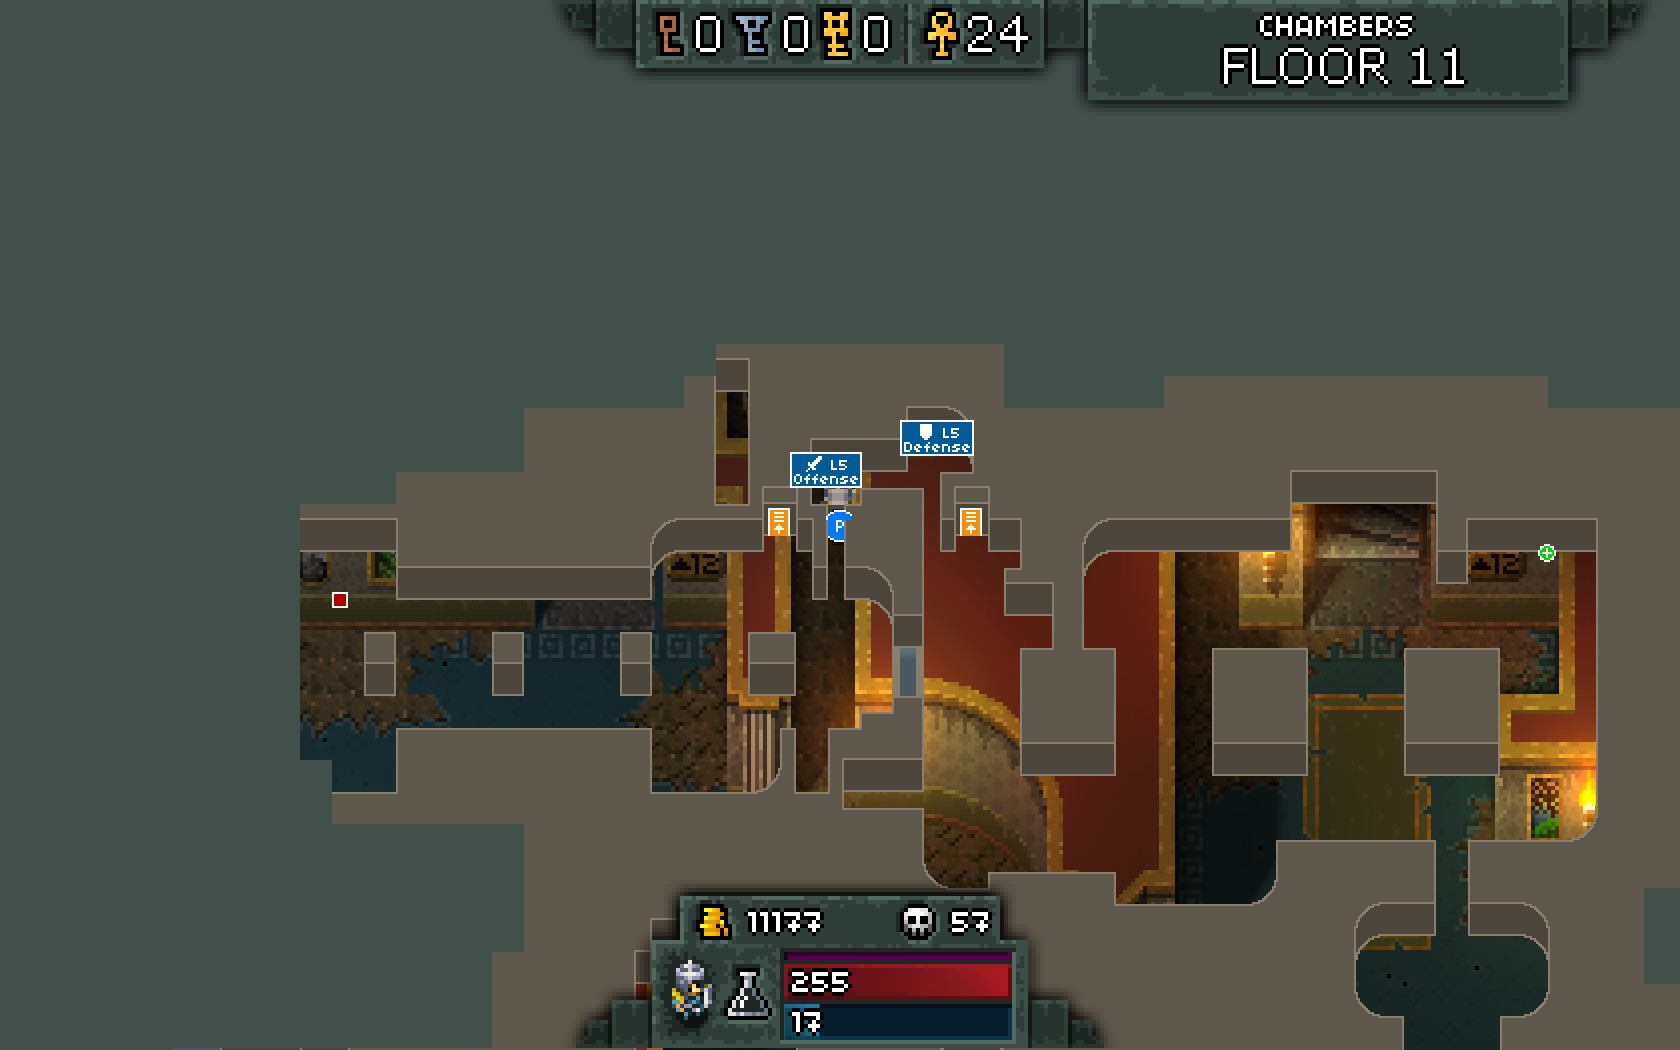
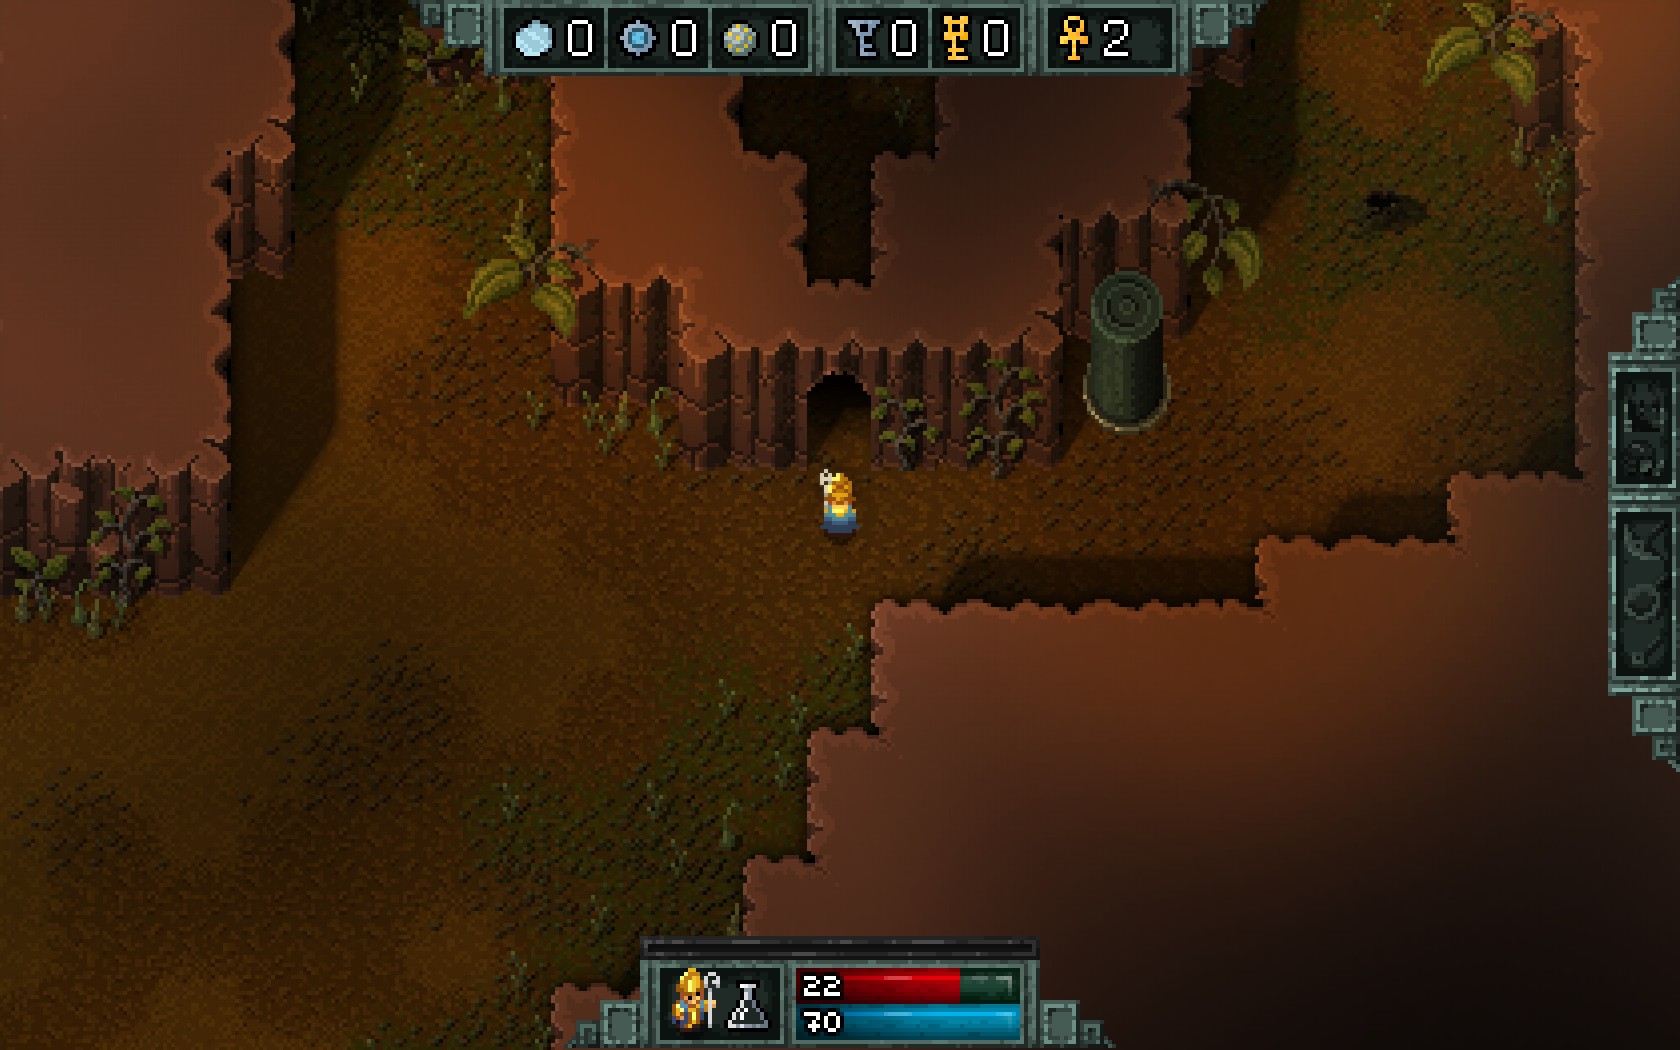
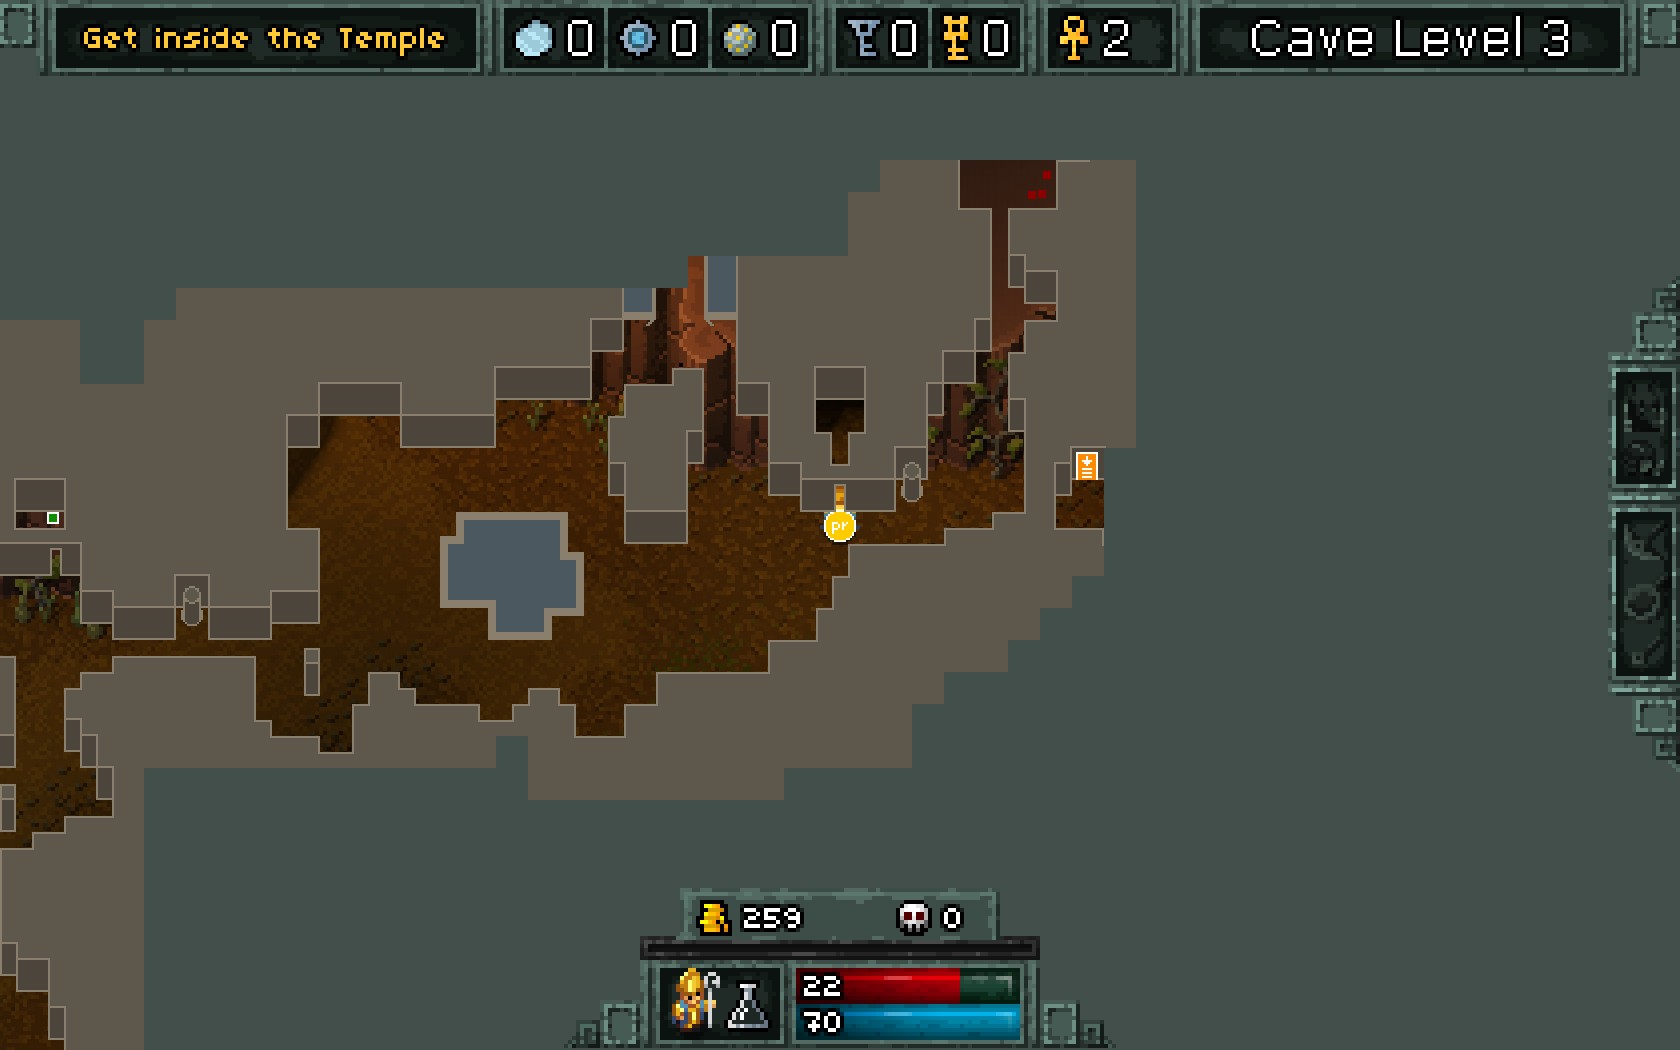
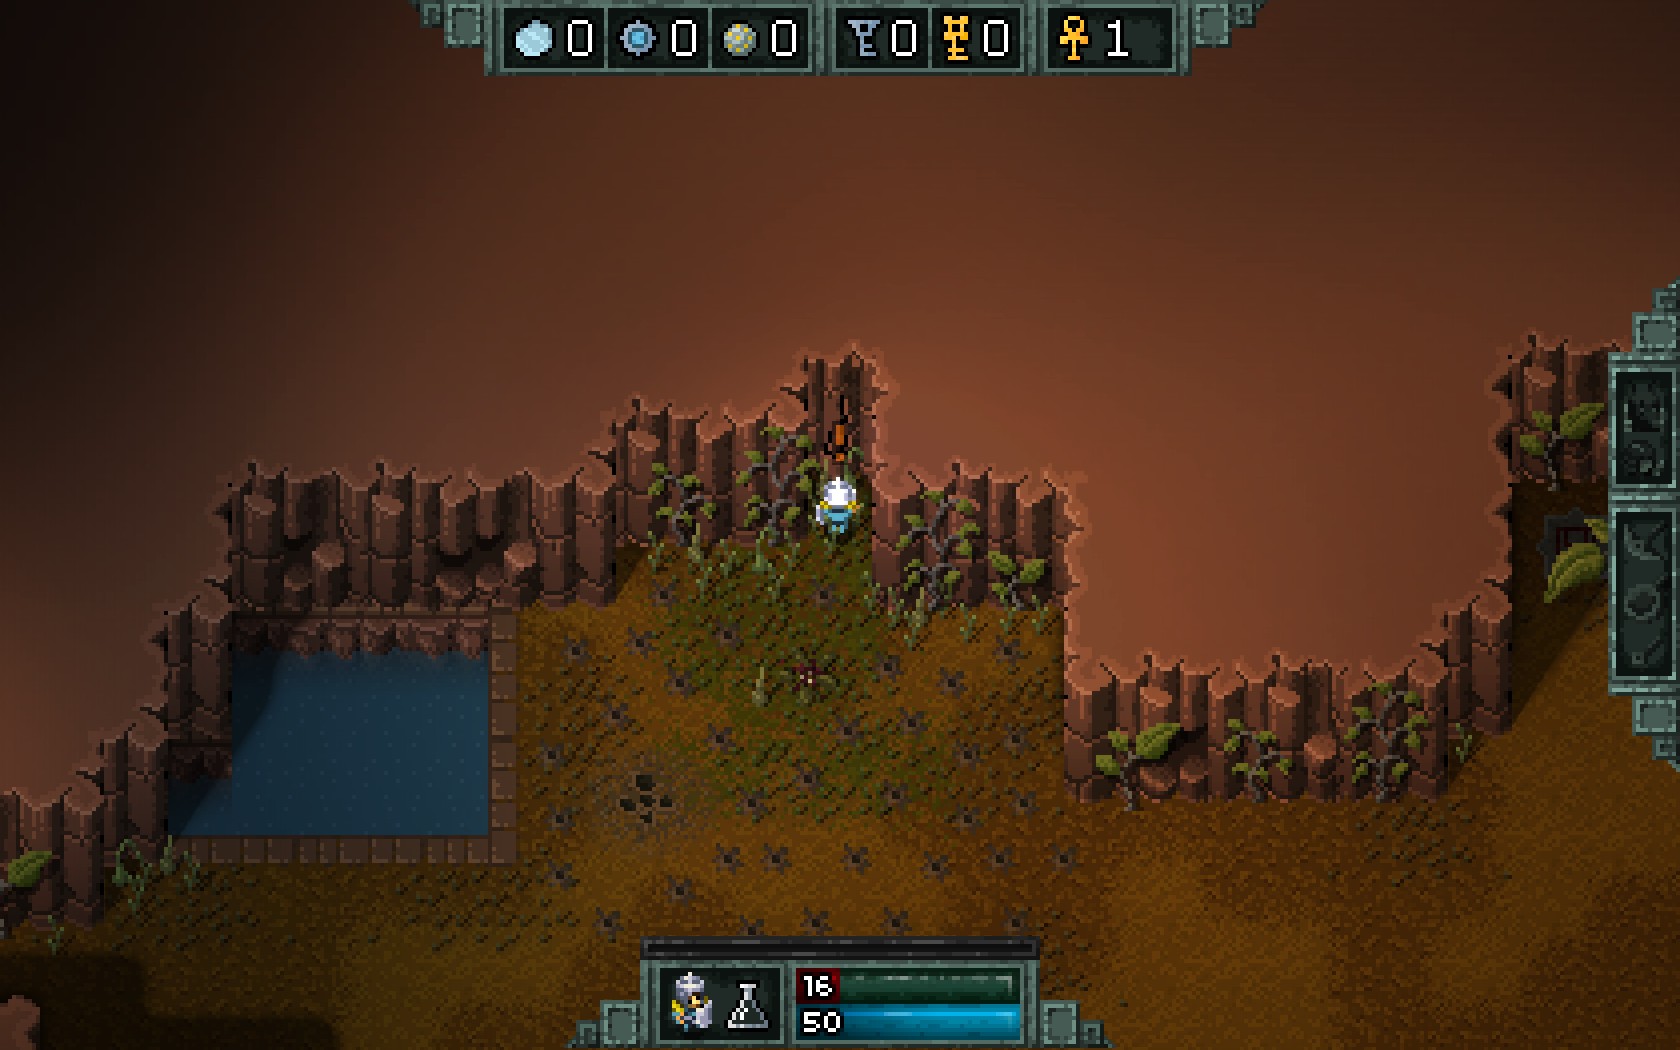
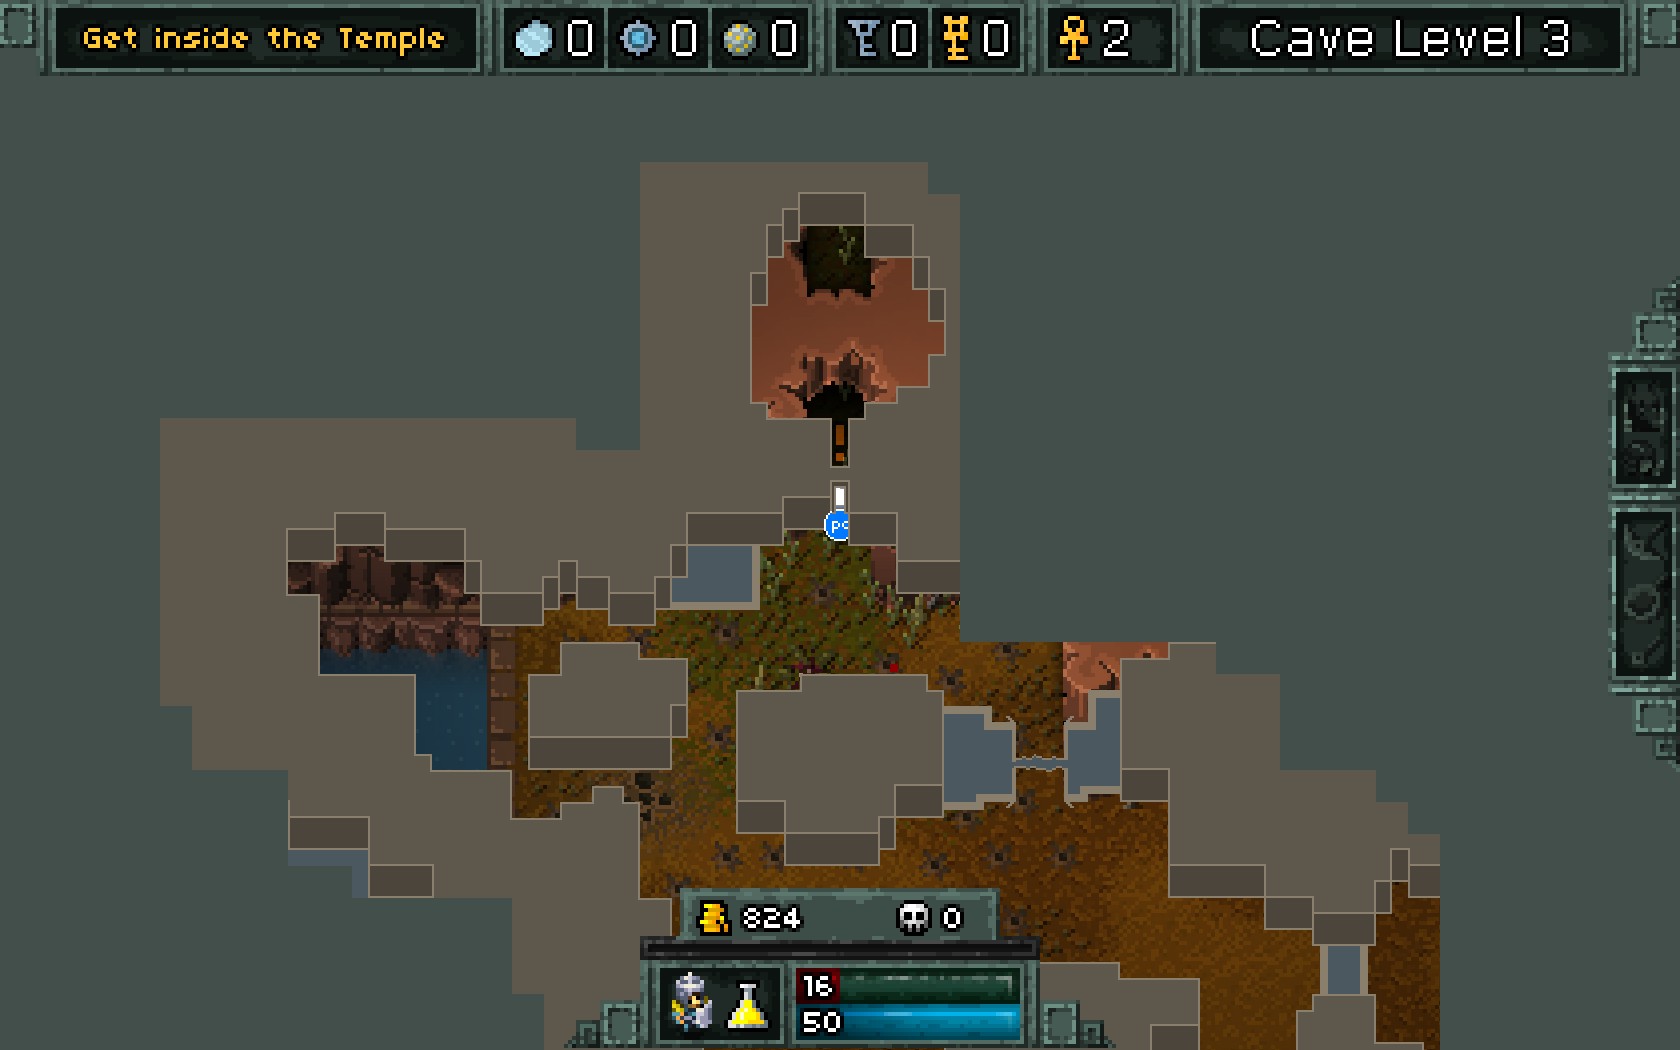
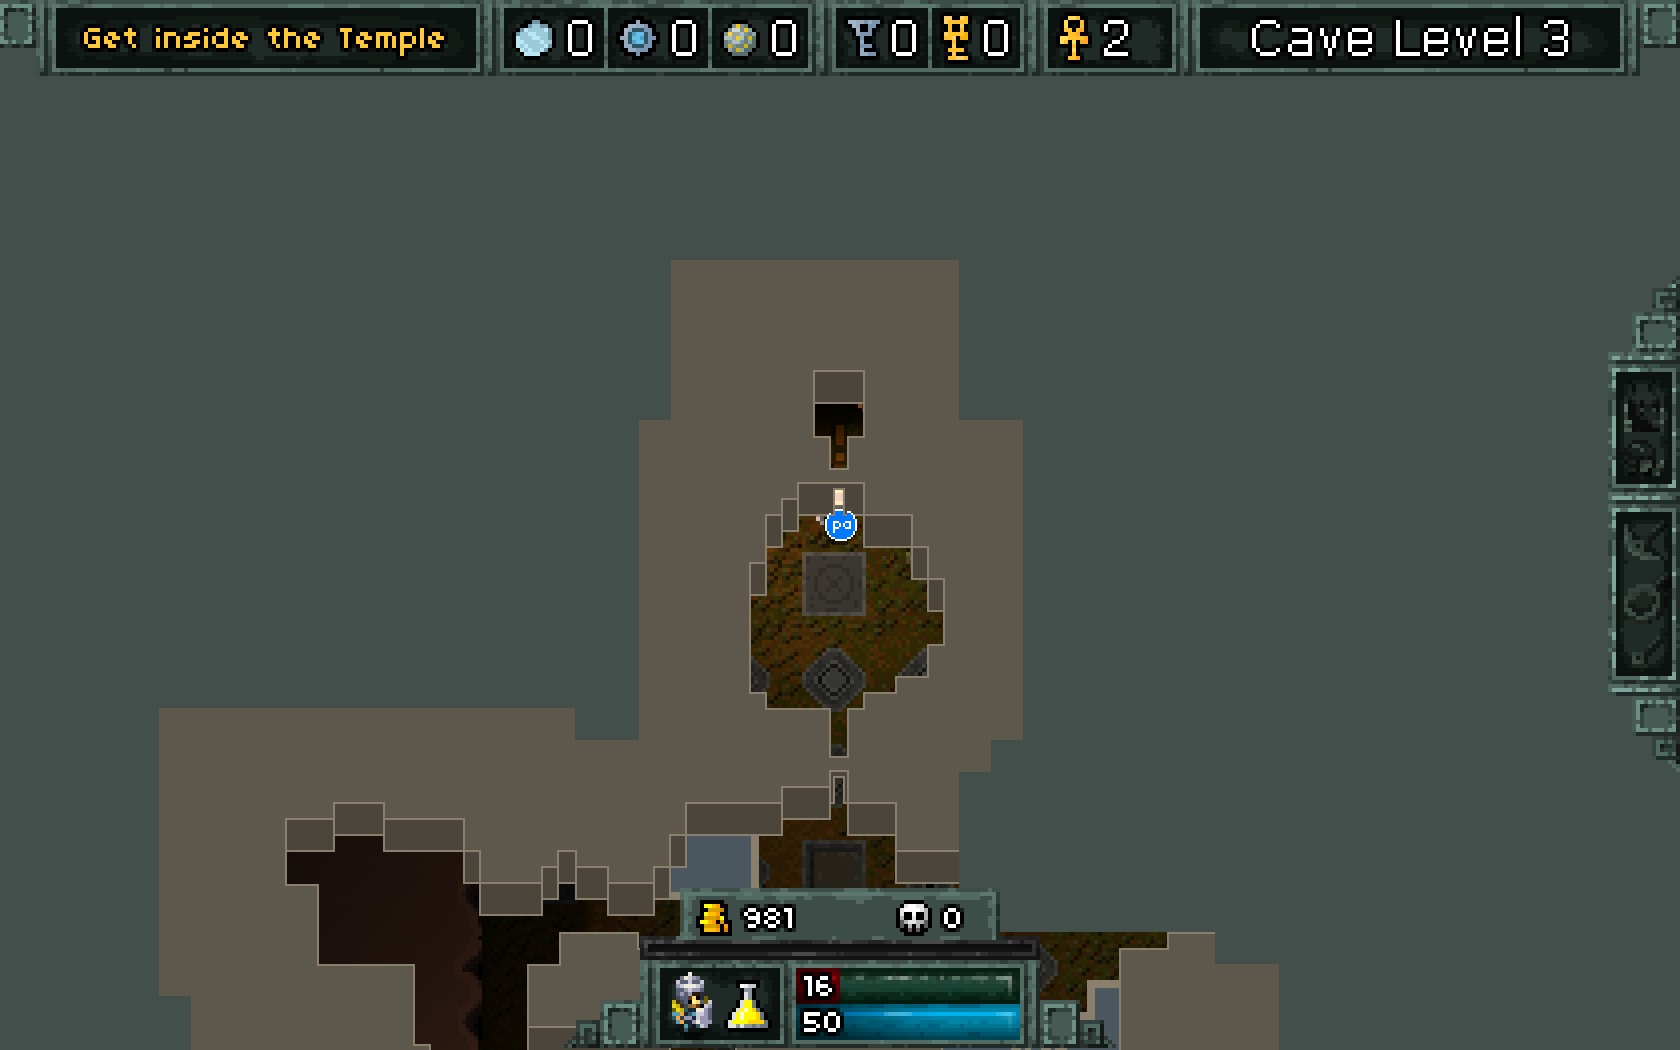
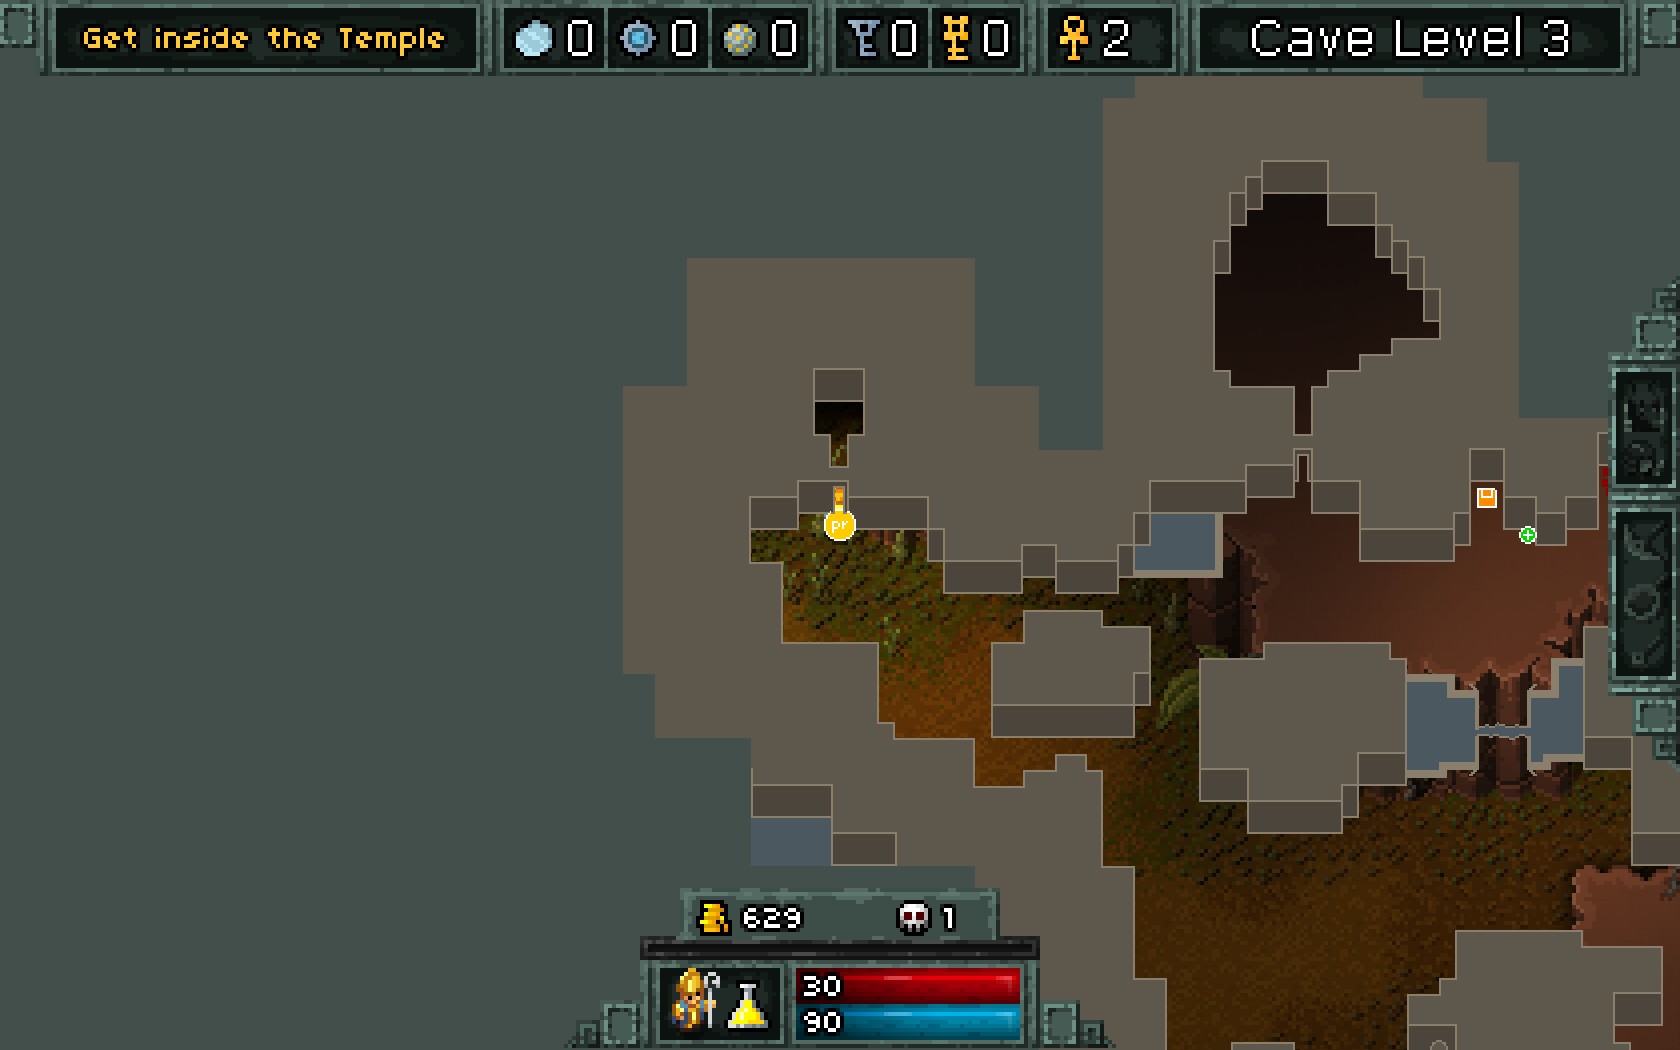
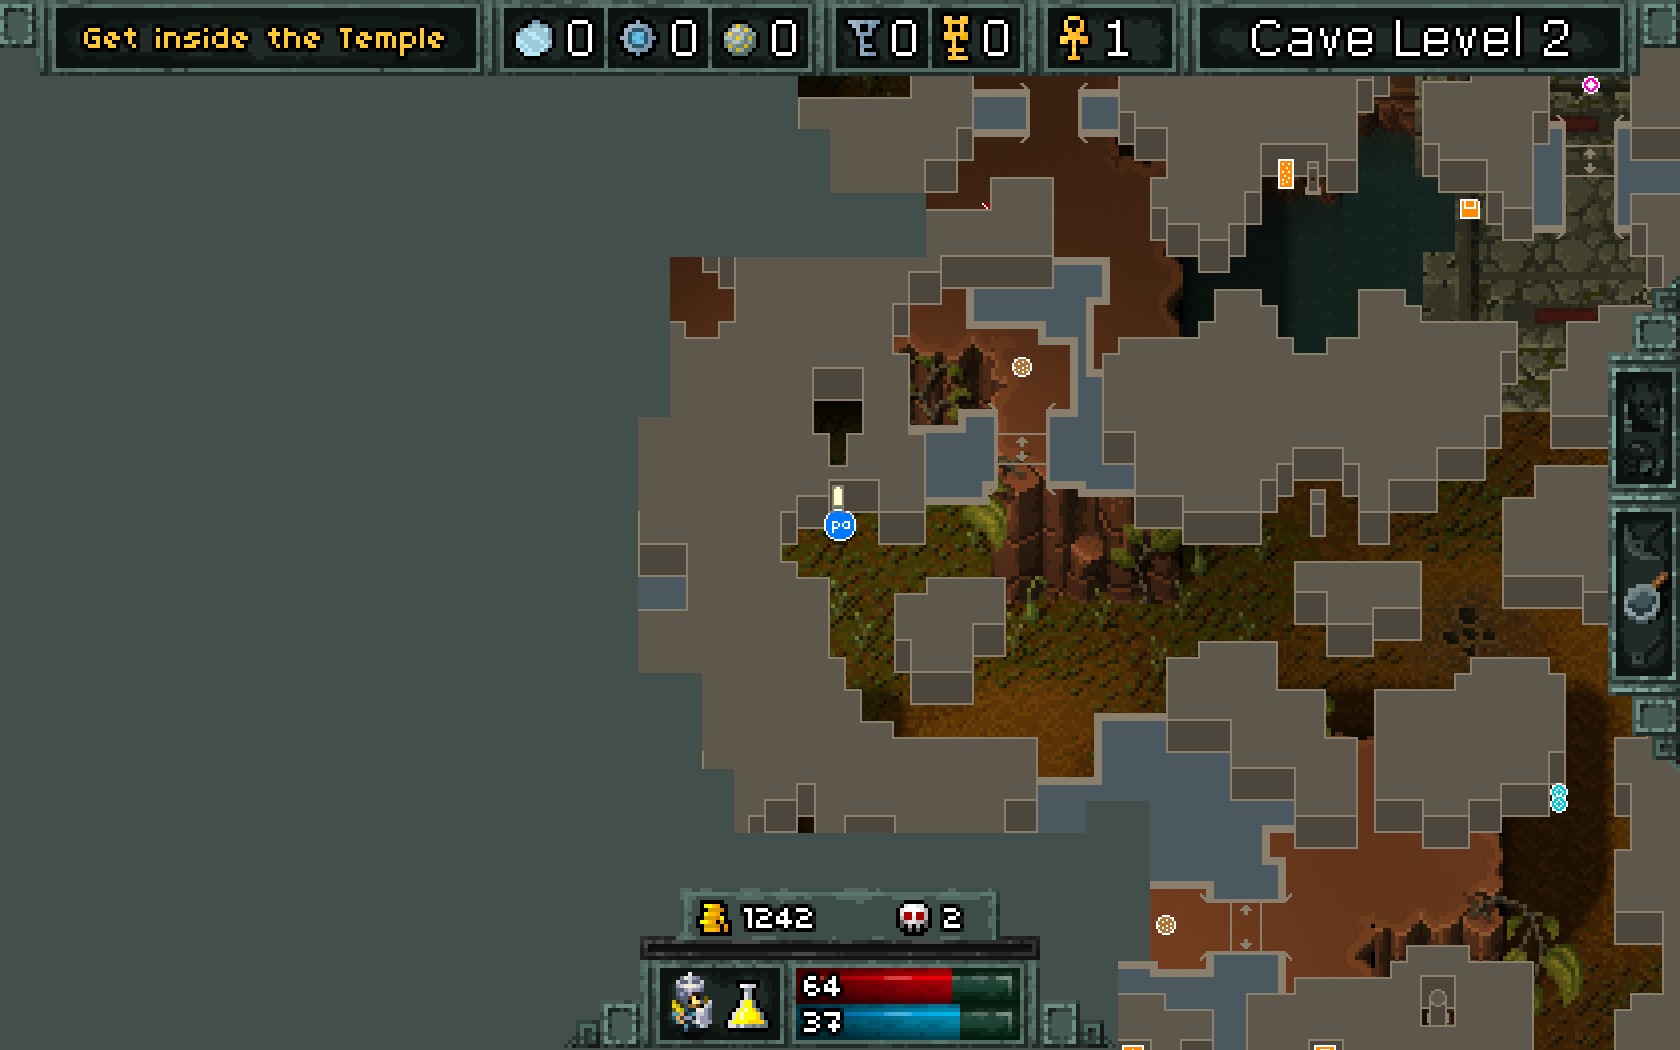
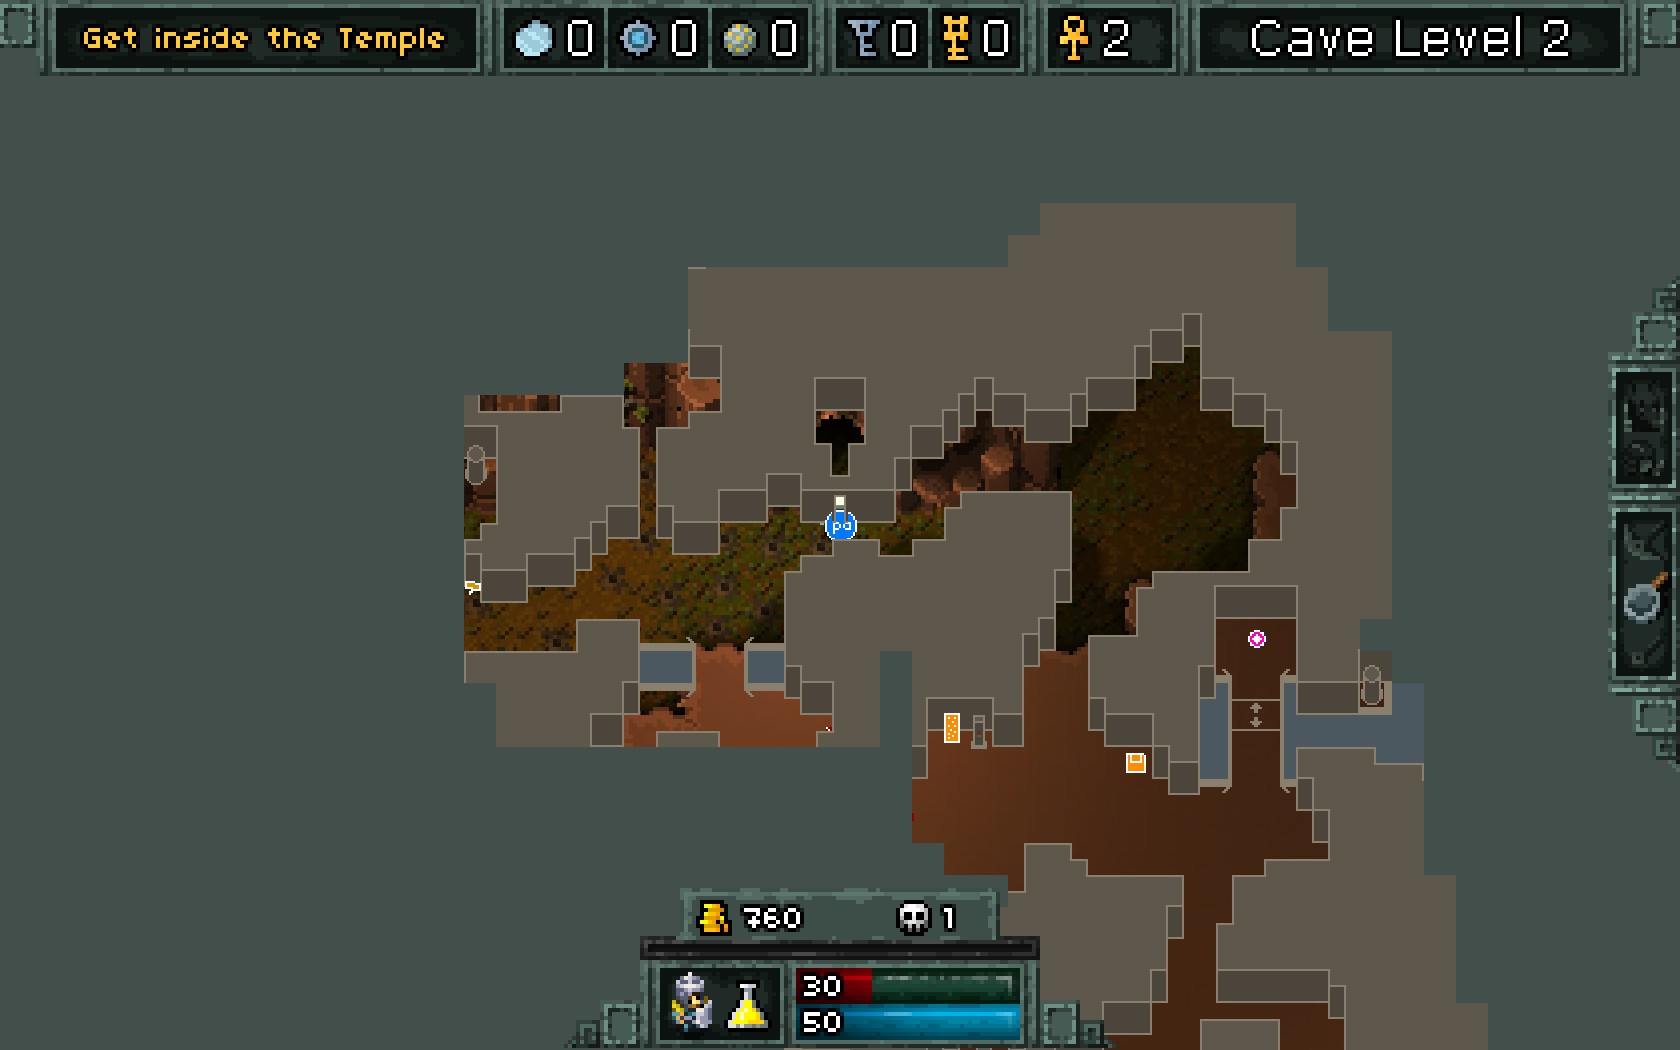
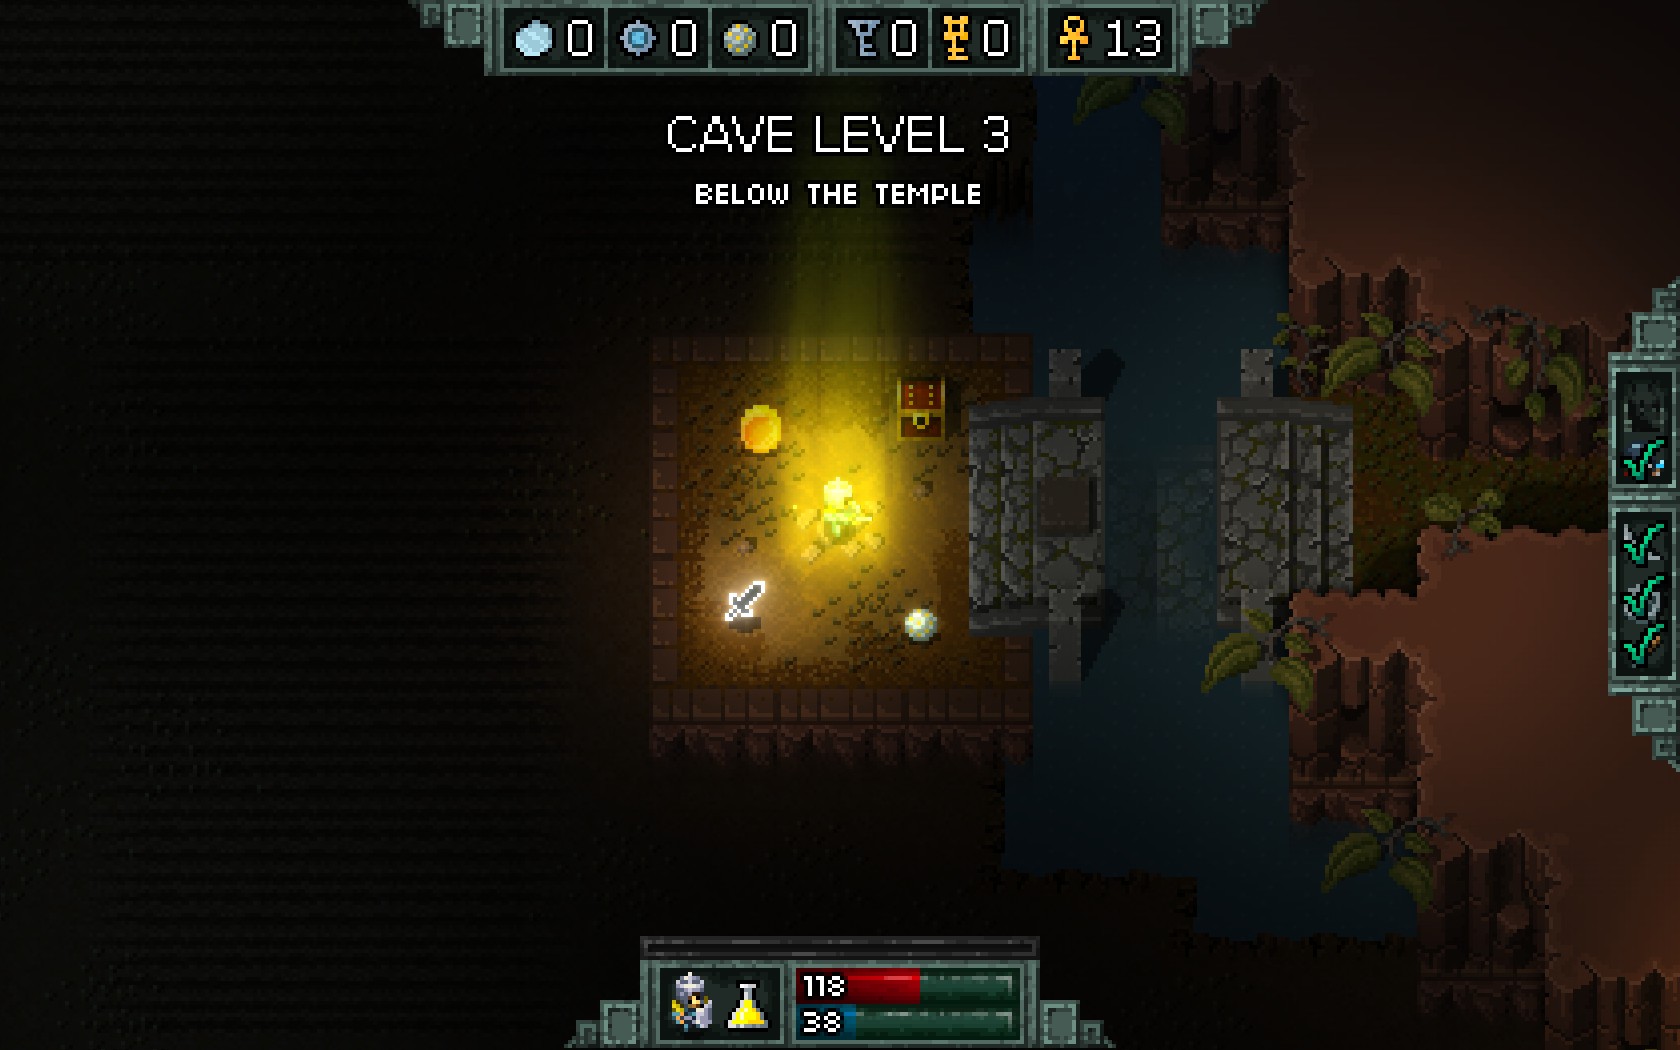
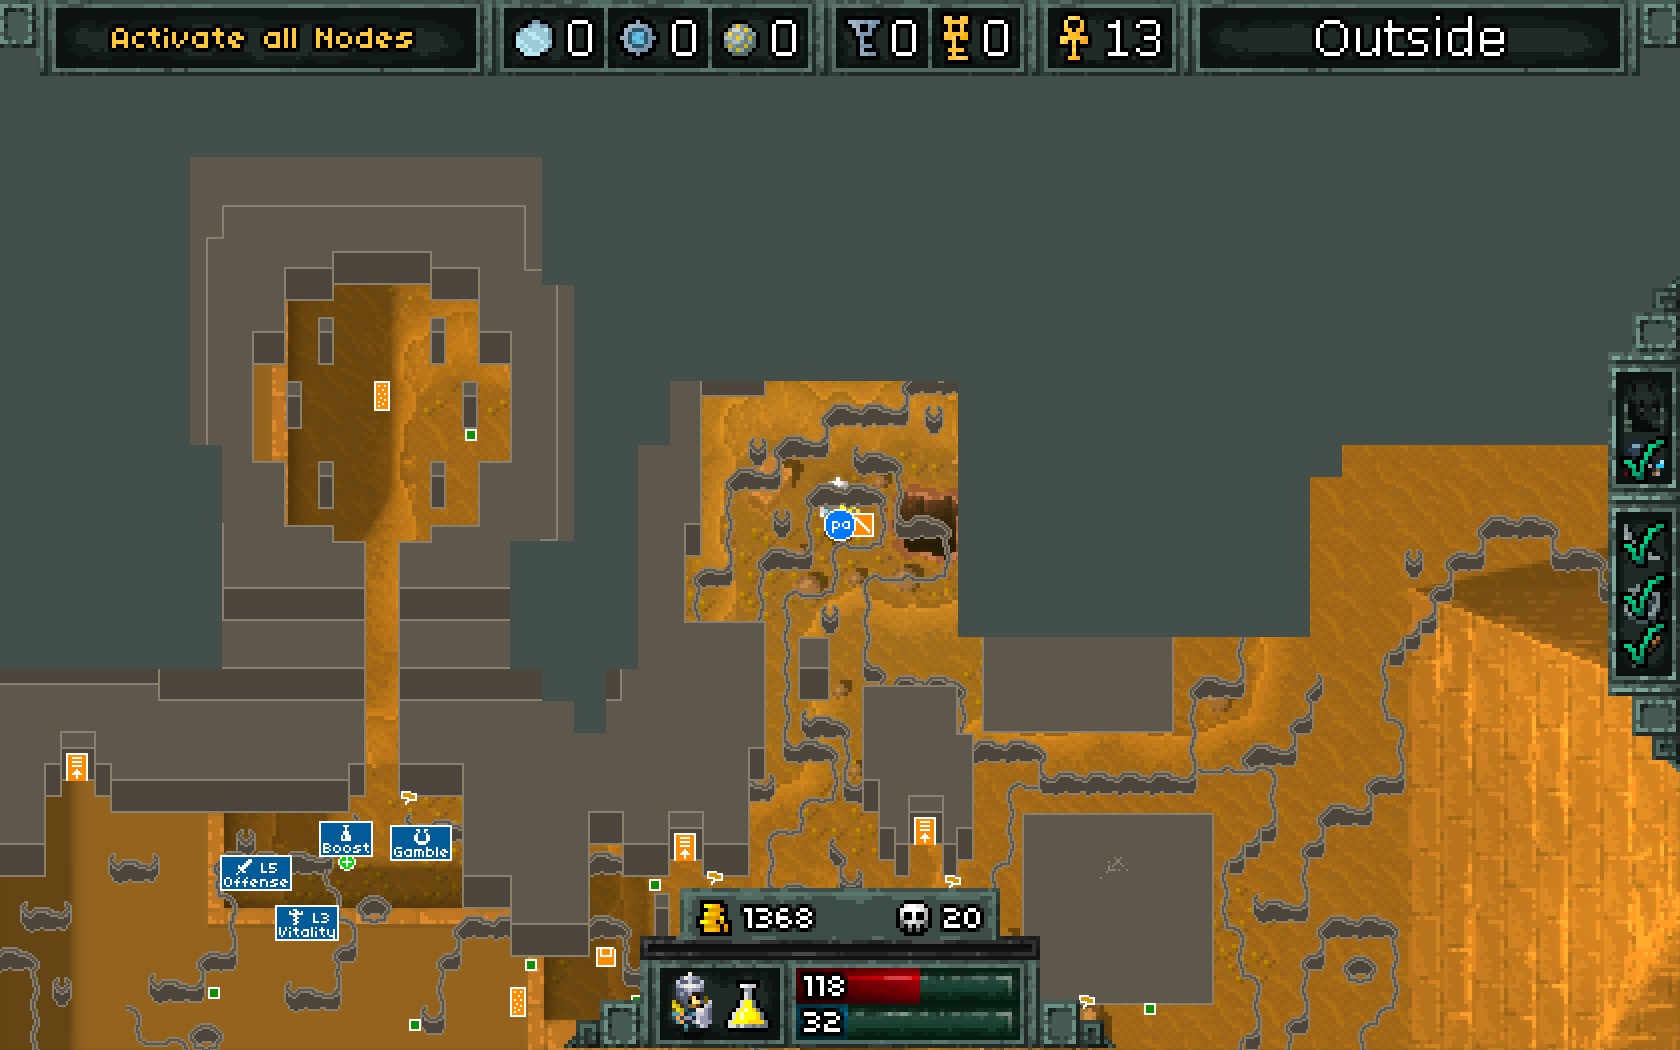
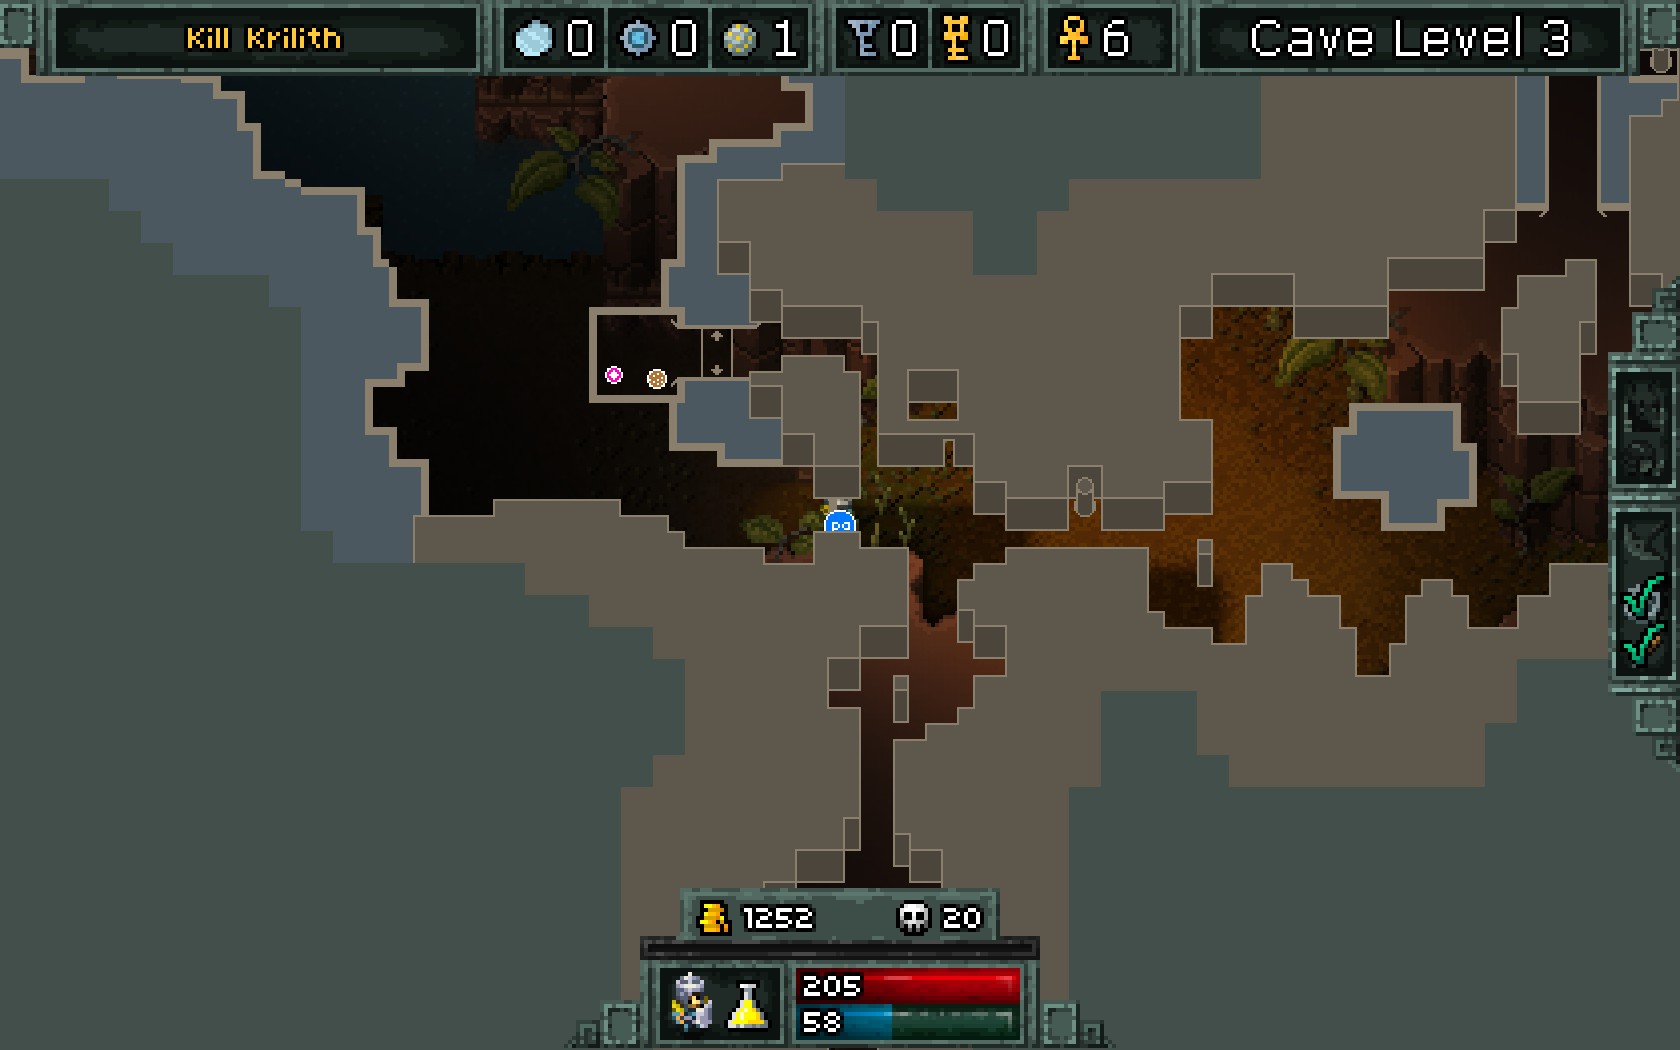
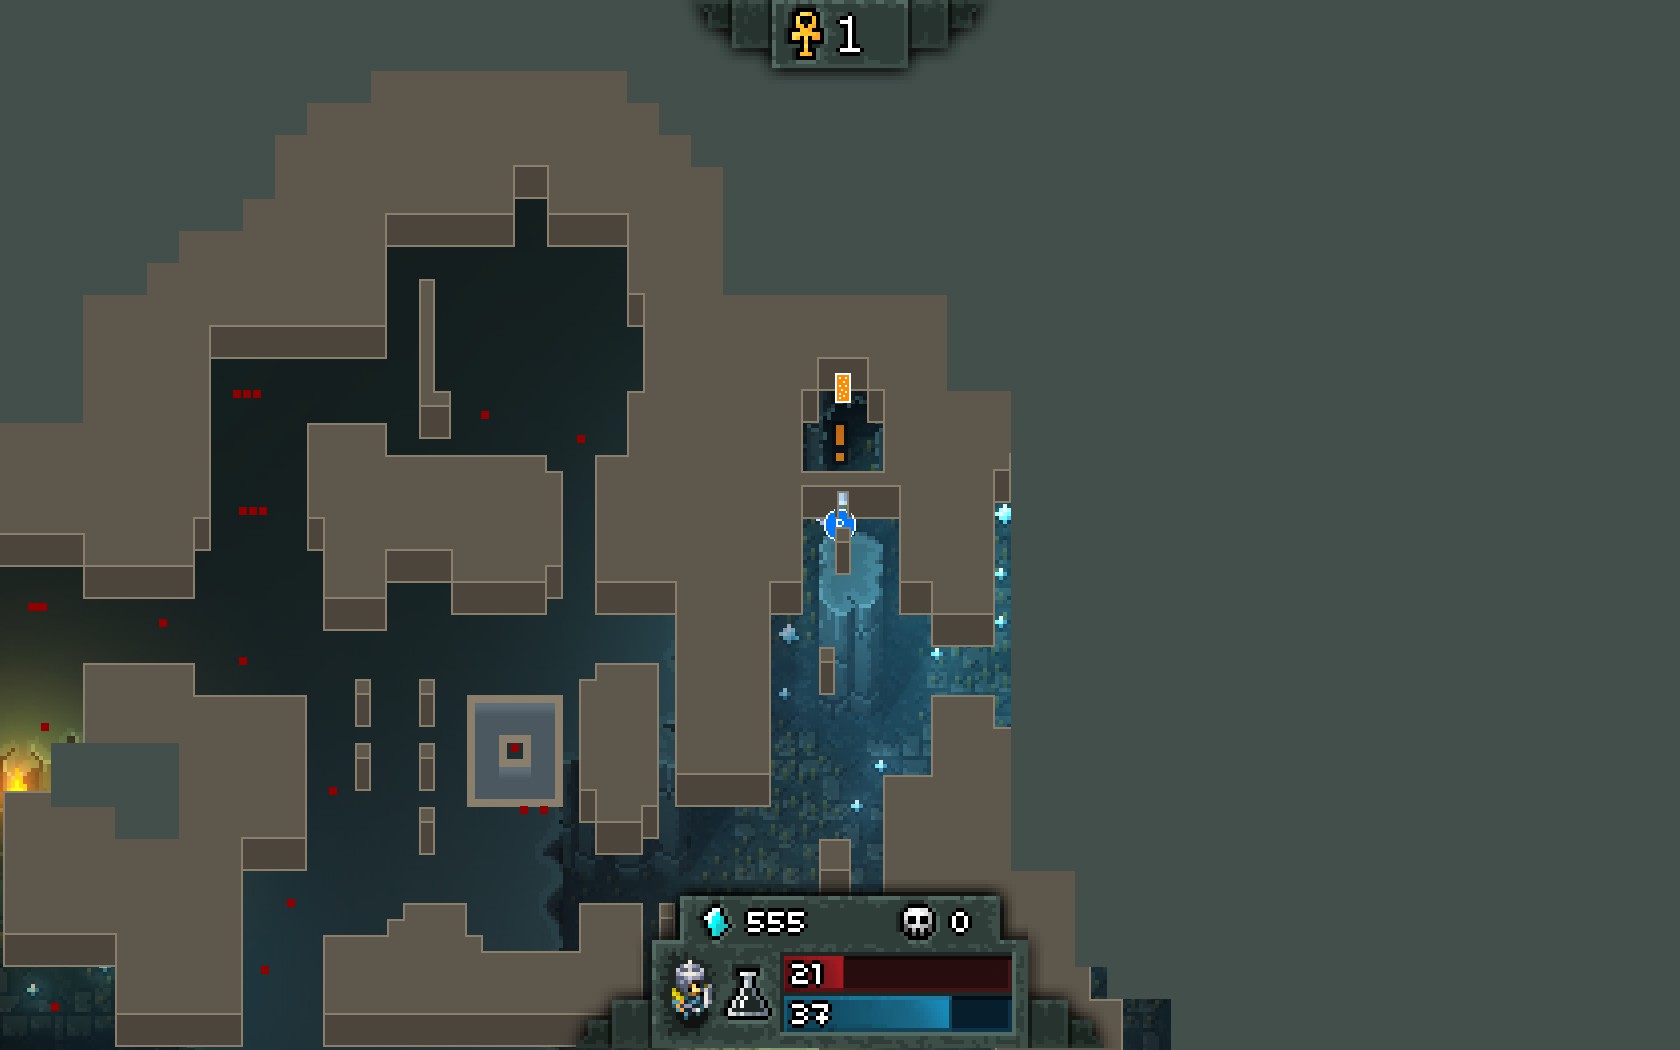
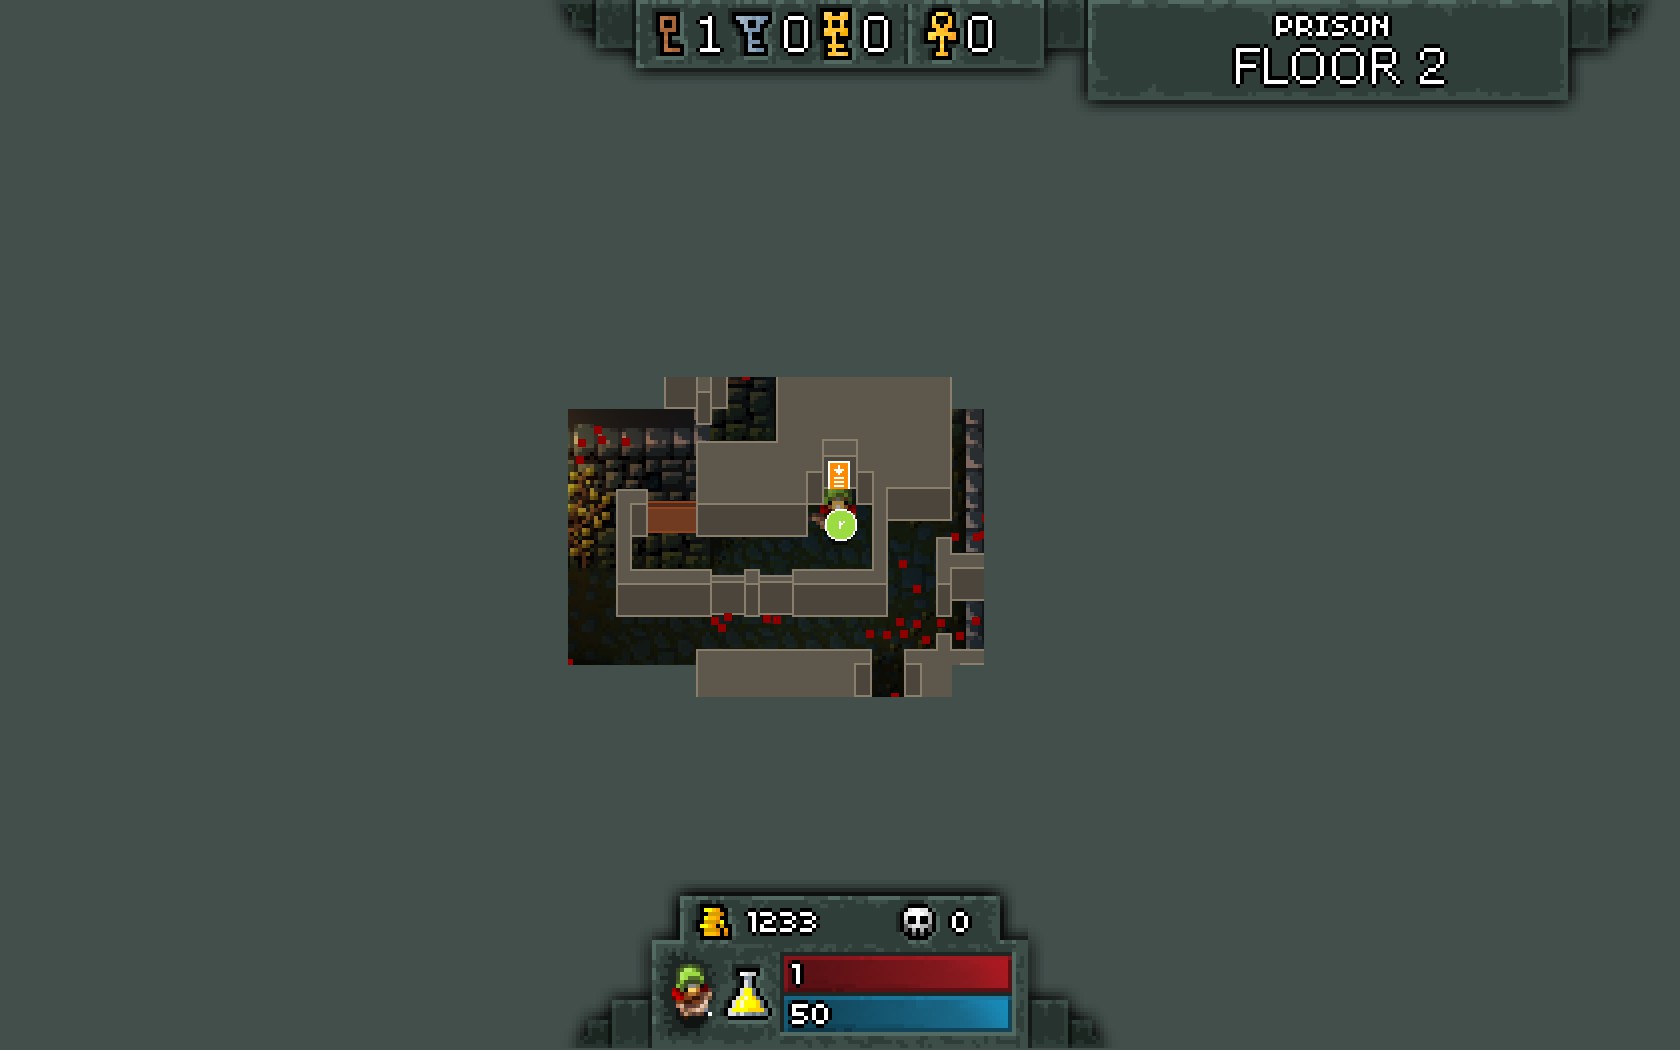
What I didnt get, its how I can get to area with a pyramid at CAve Level 3 ...
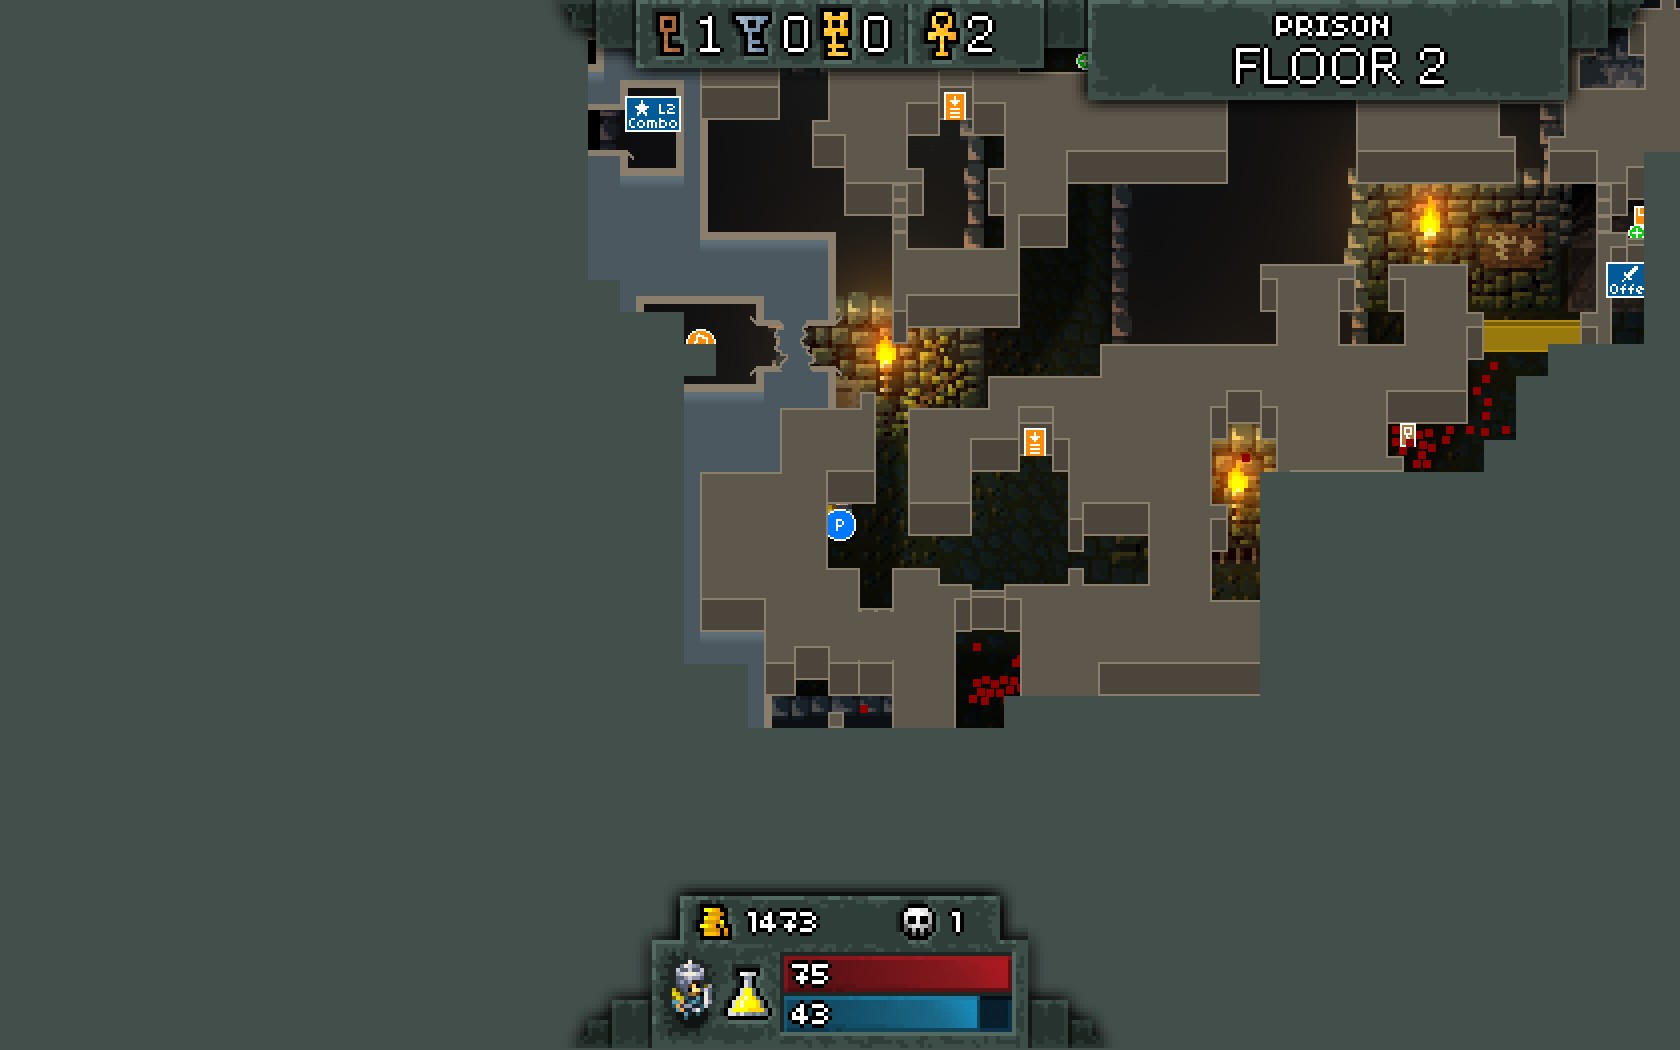
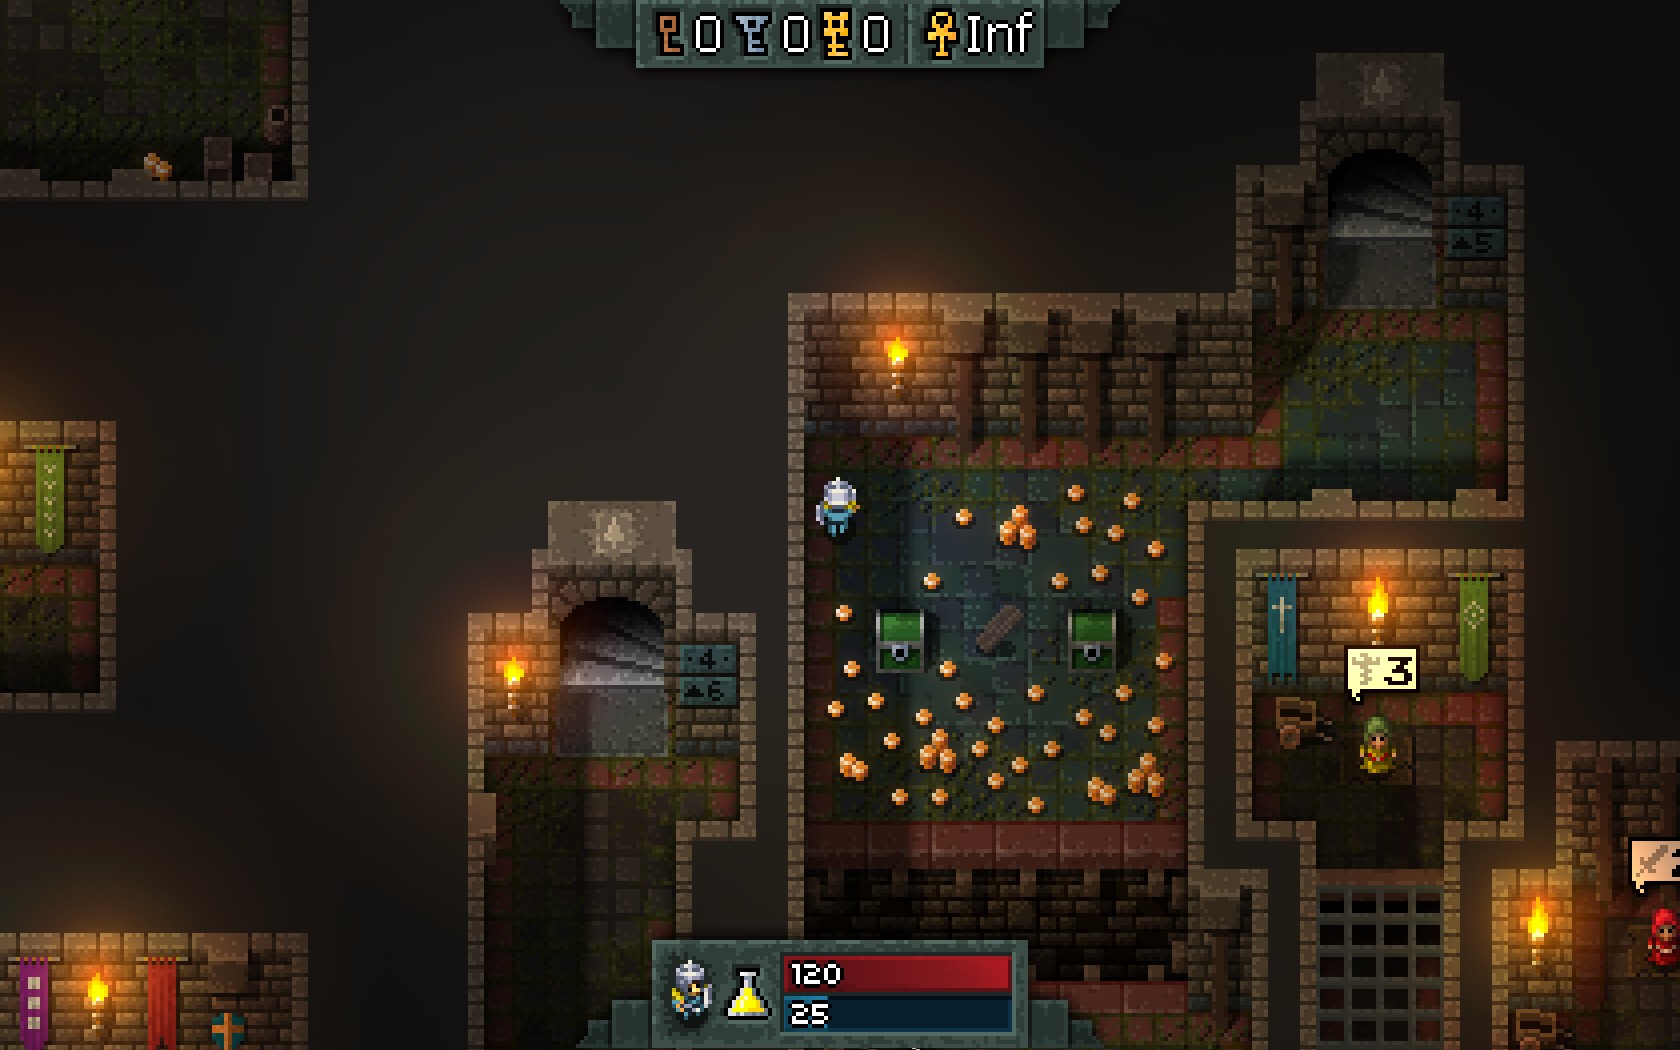
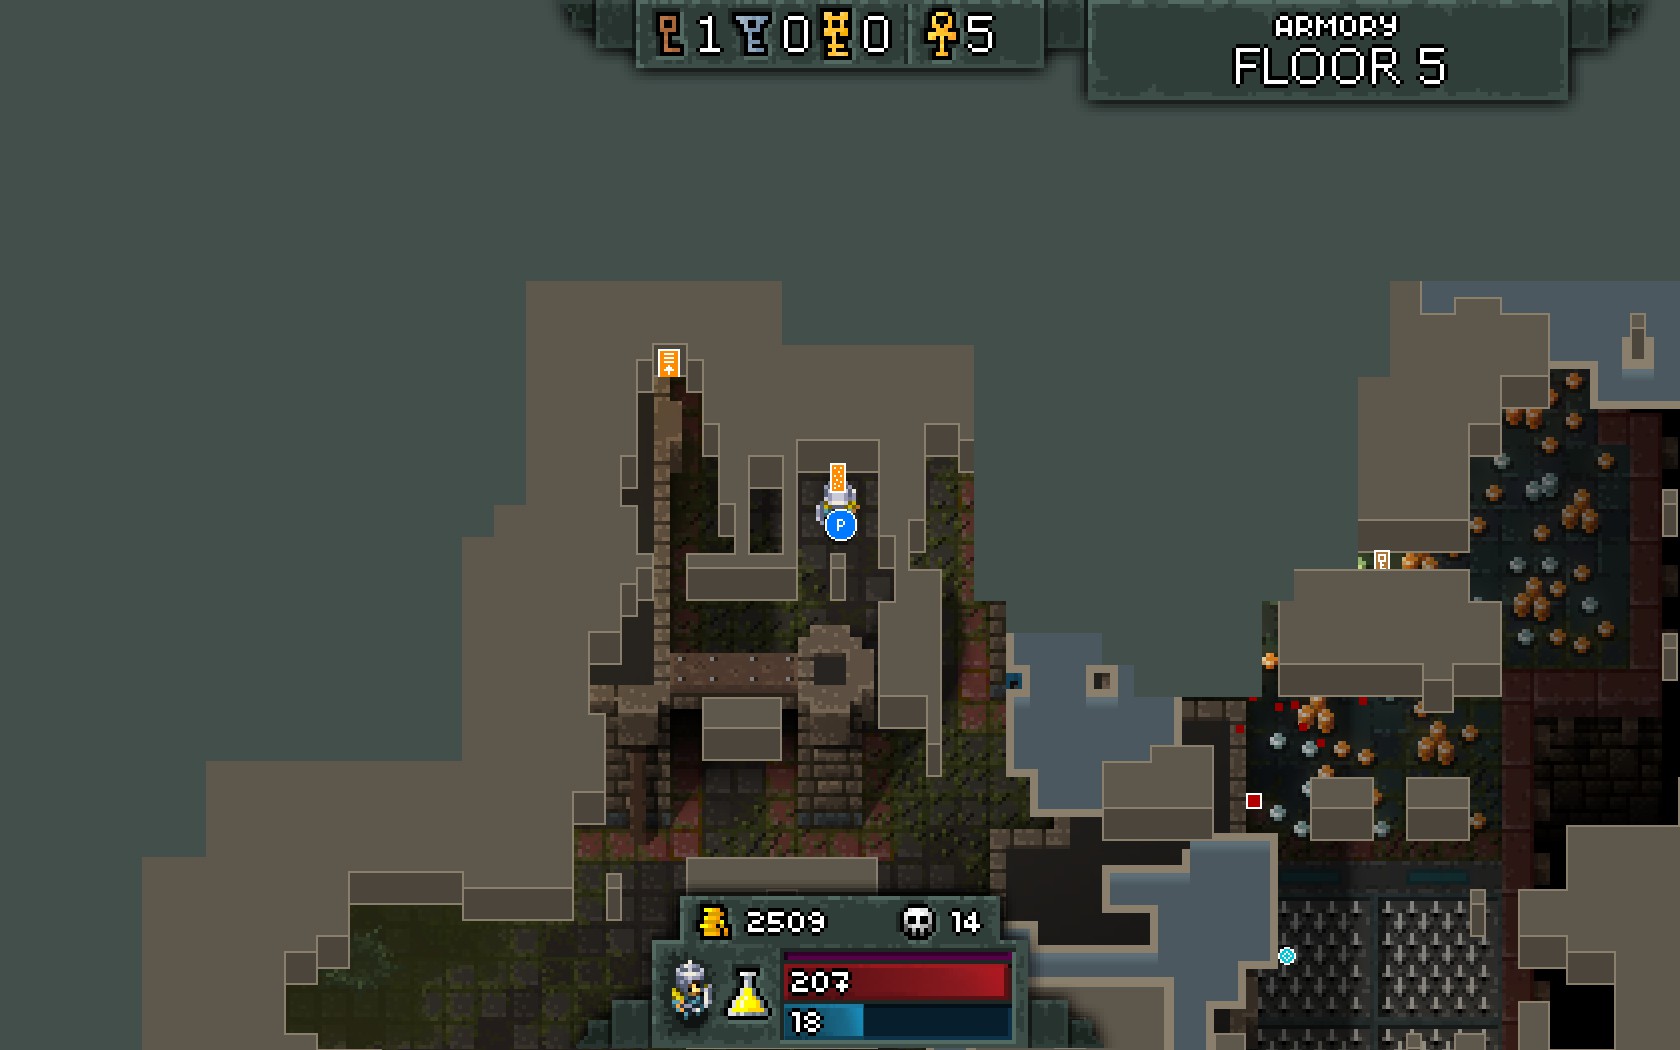
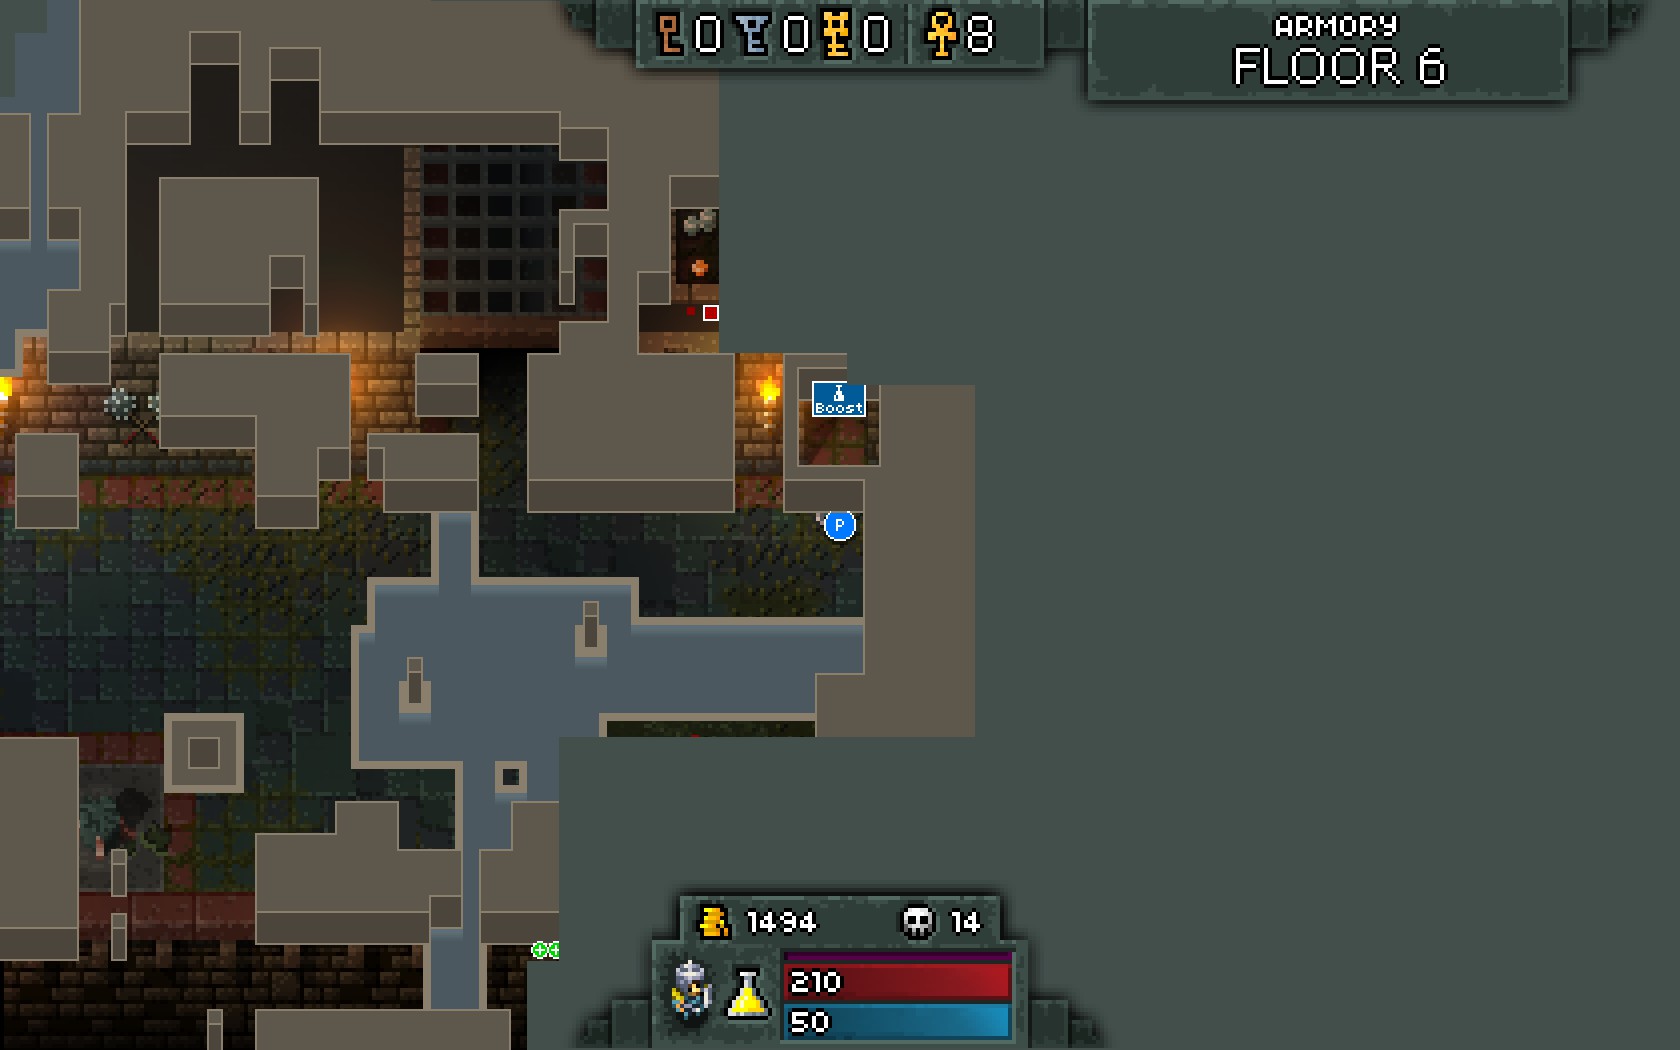
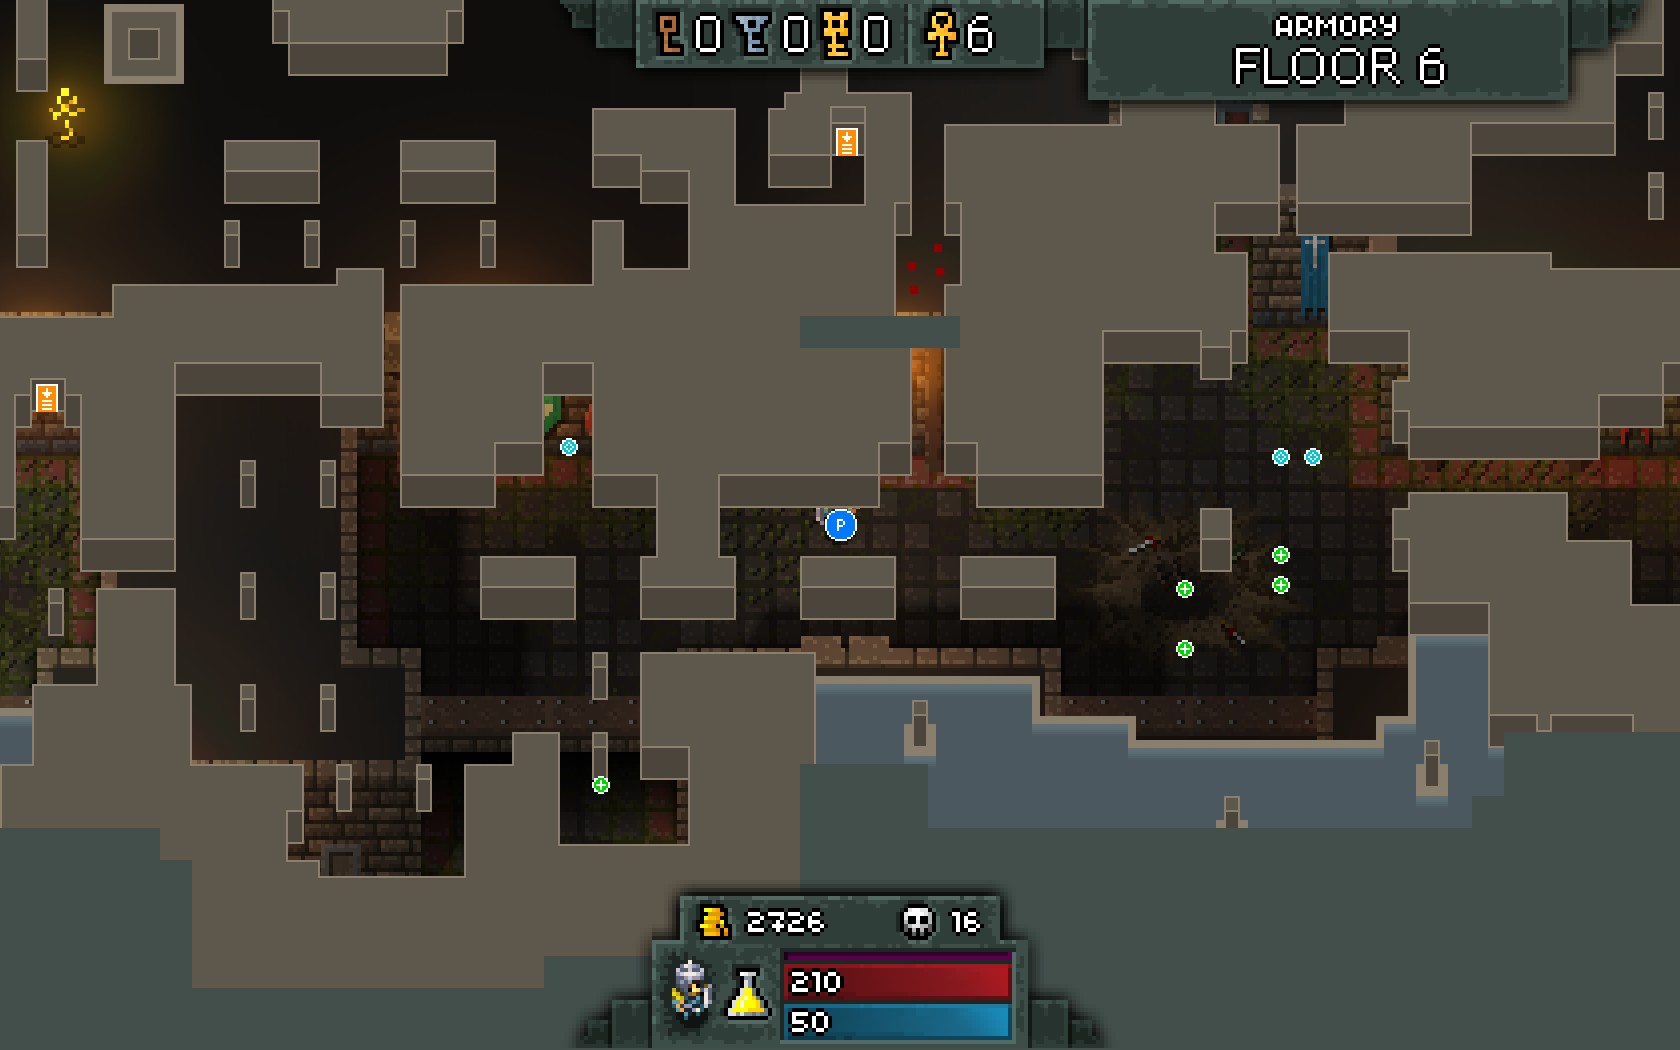
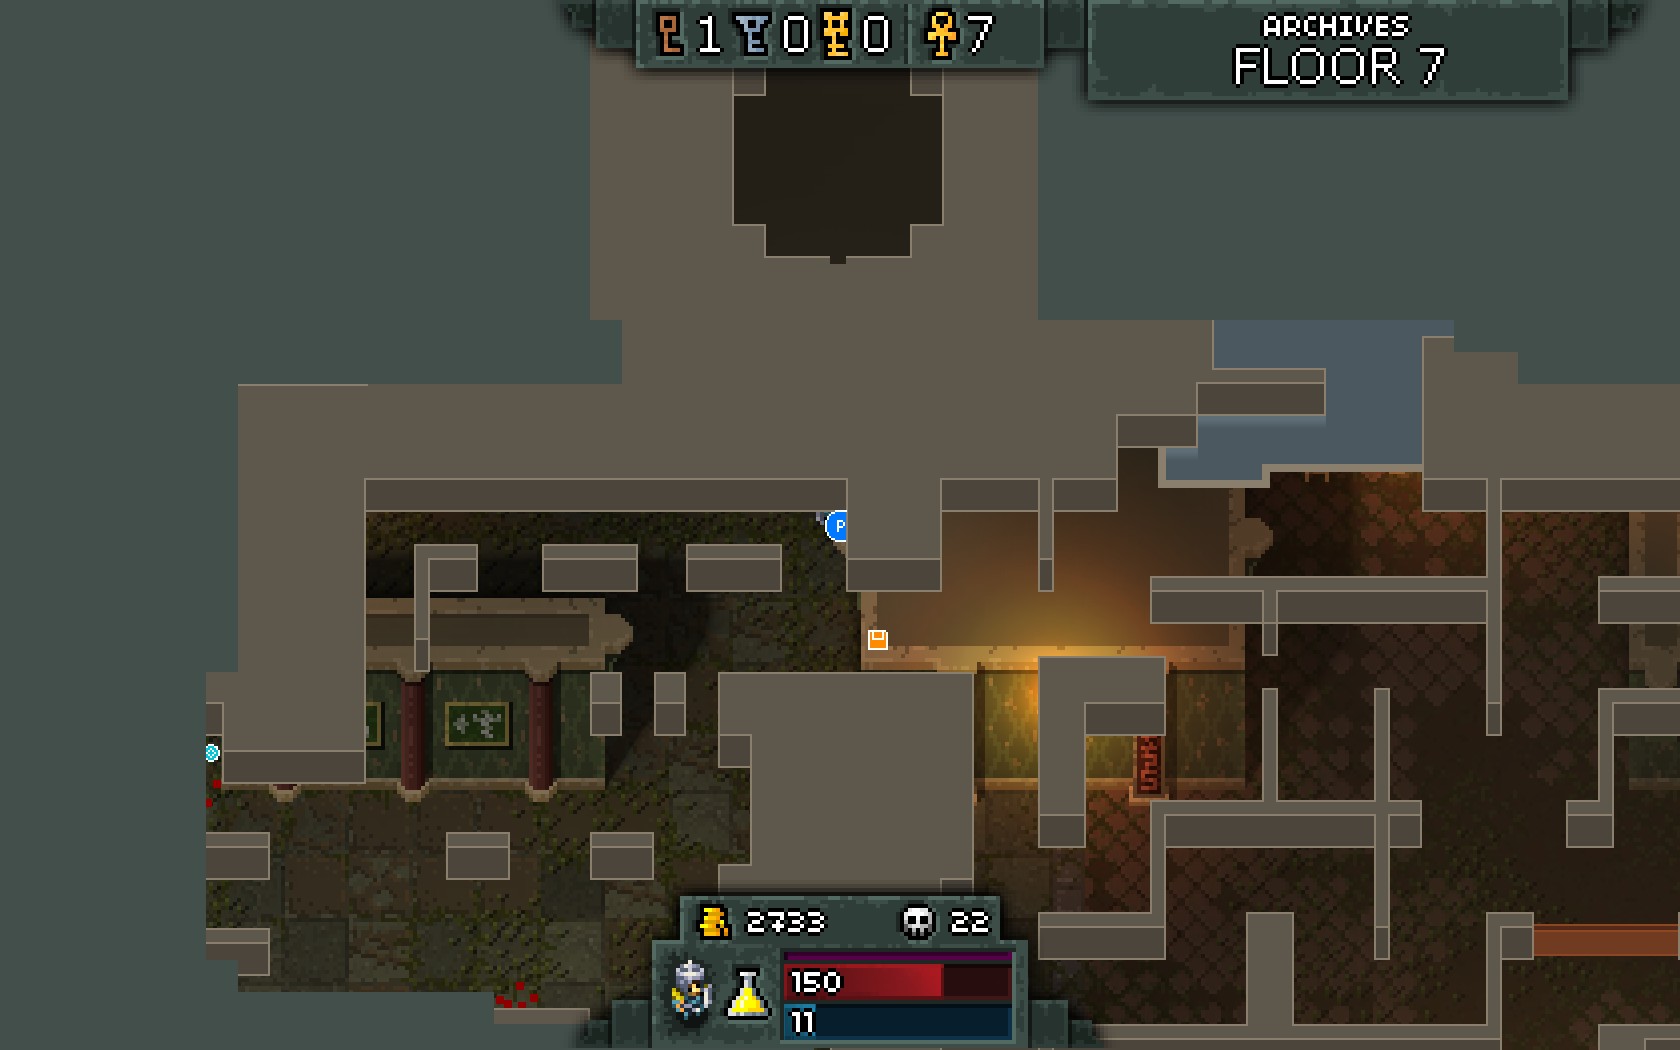
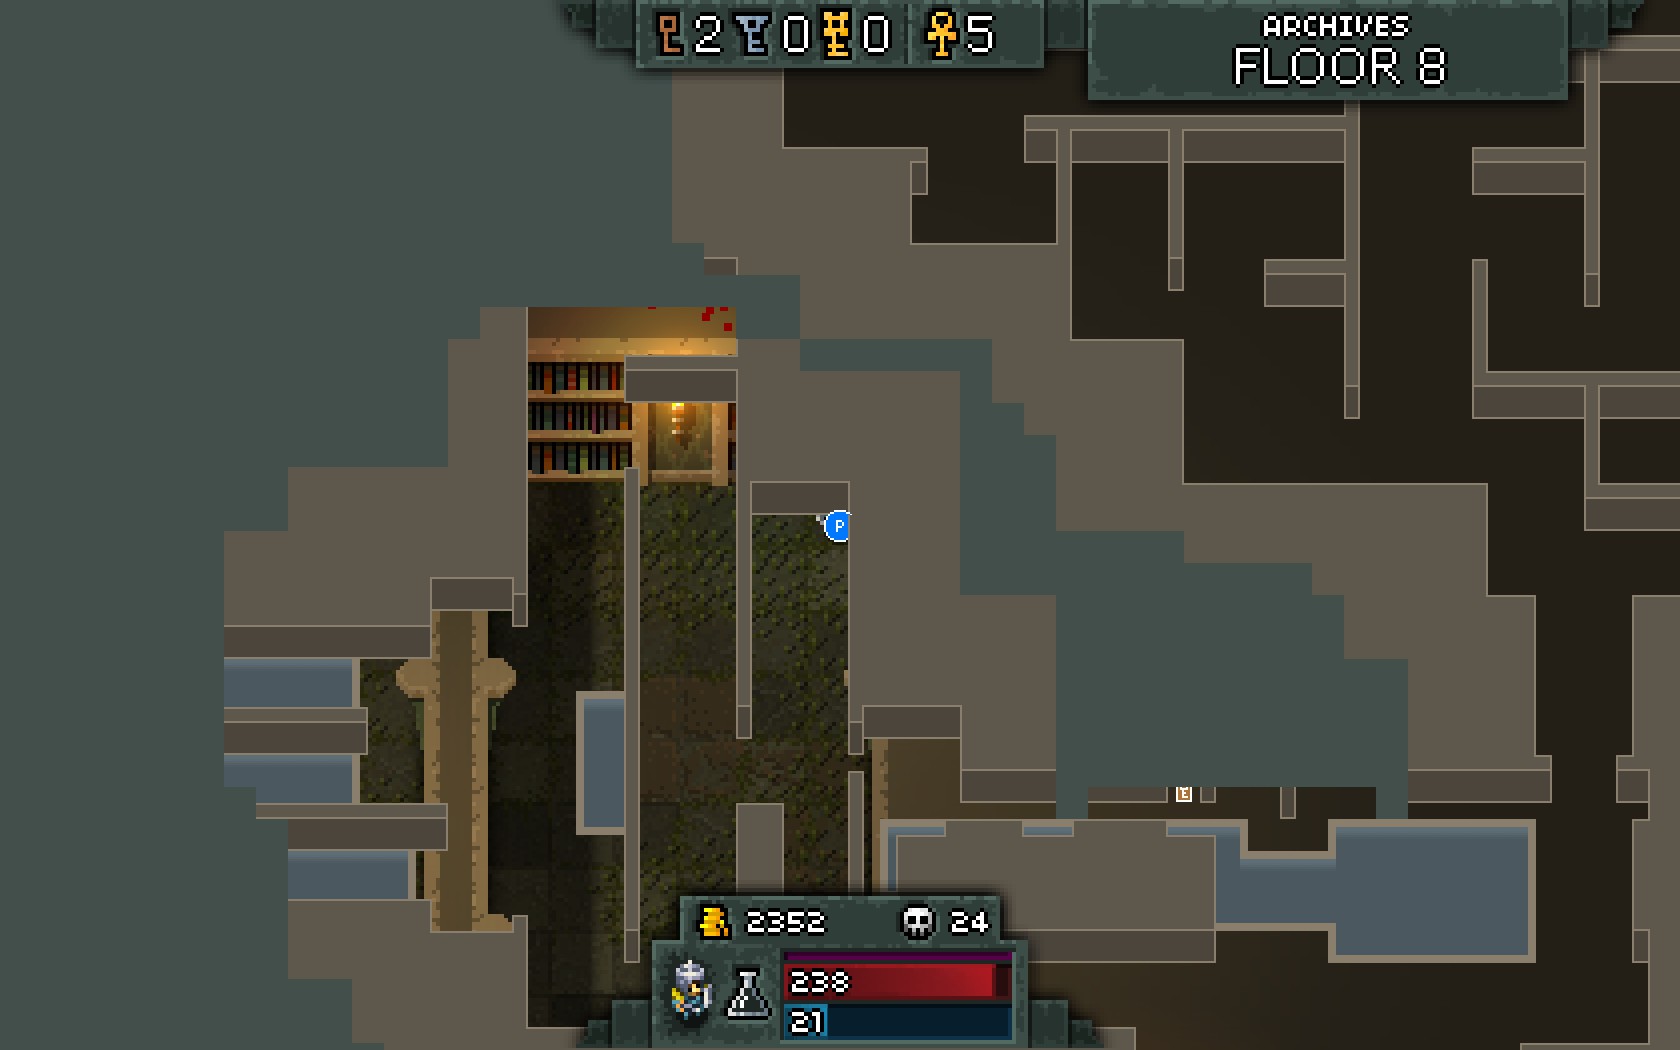
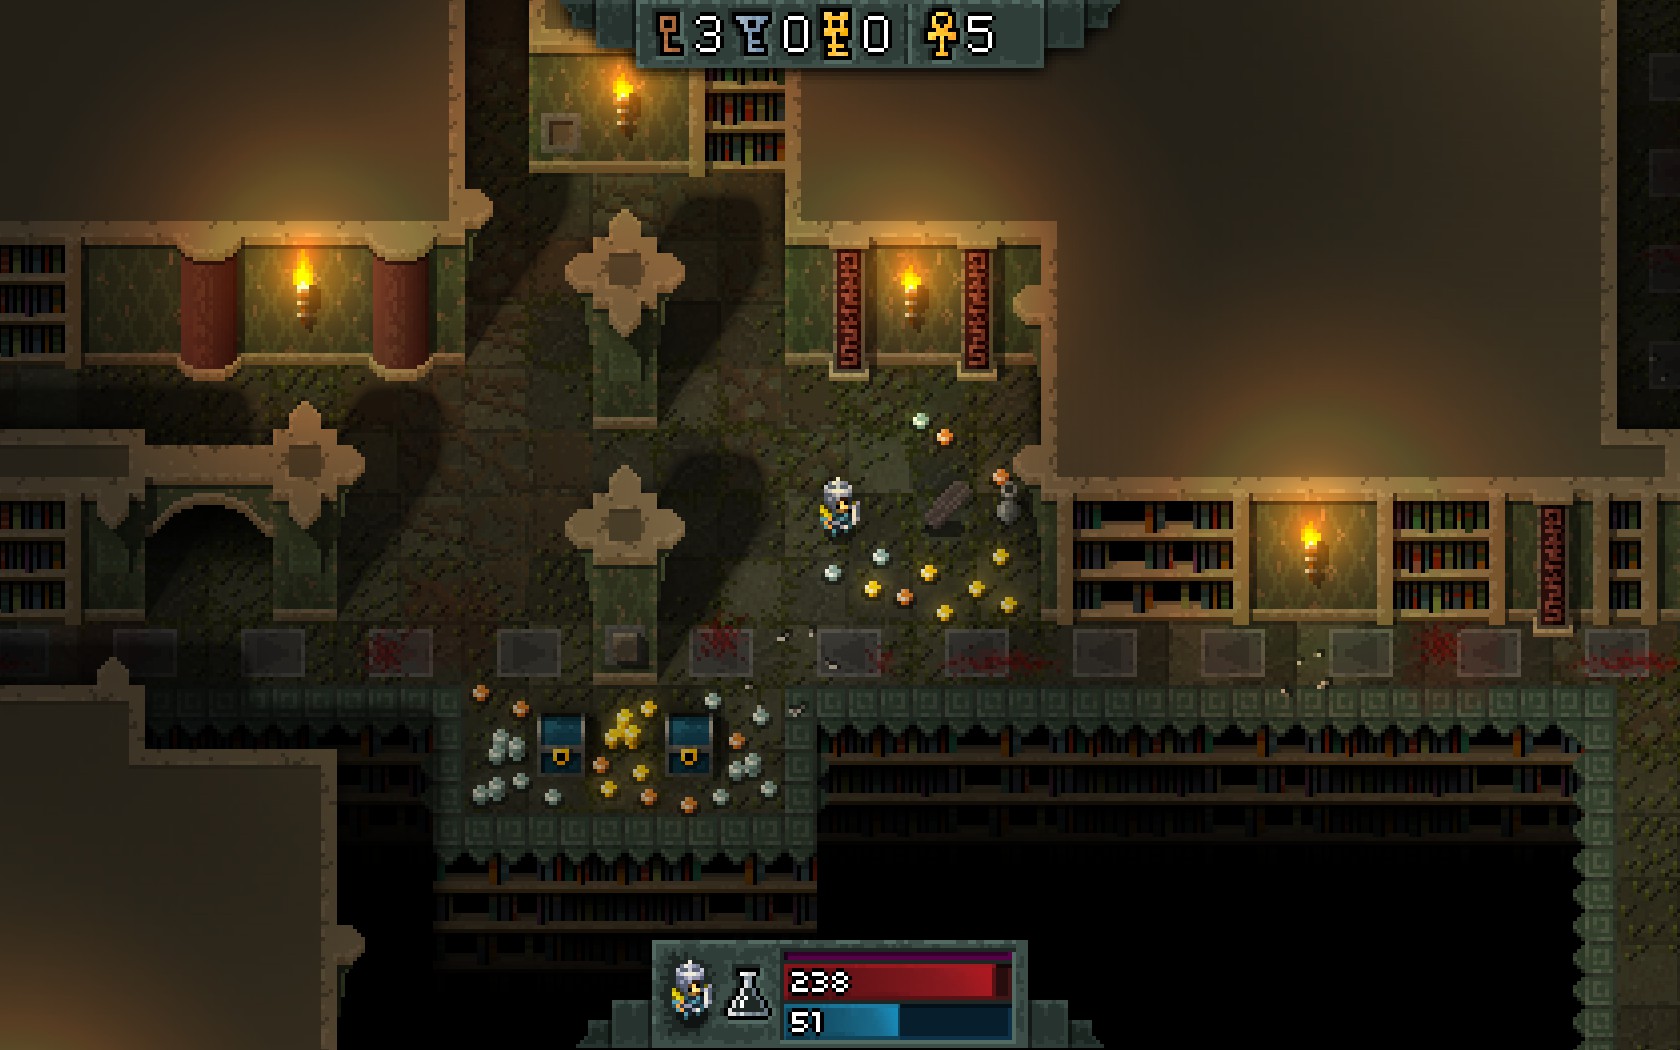
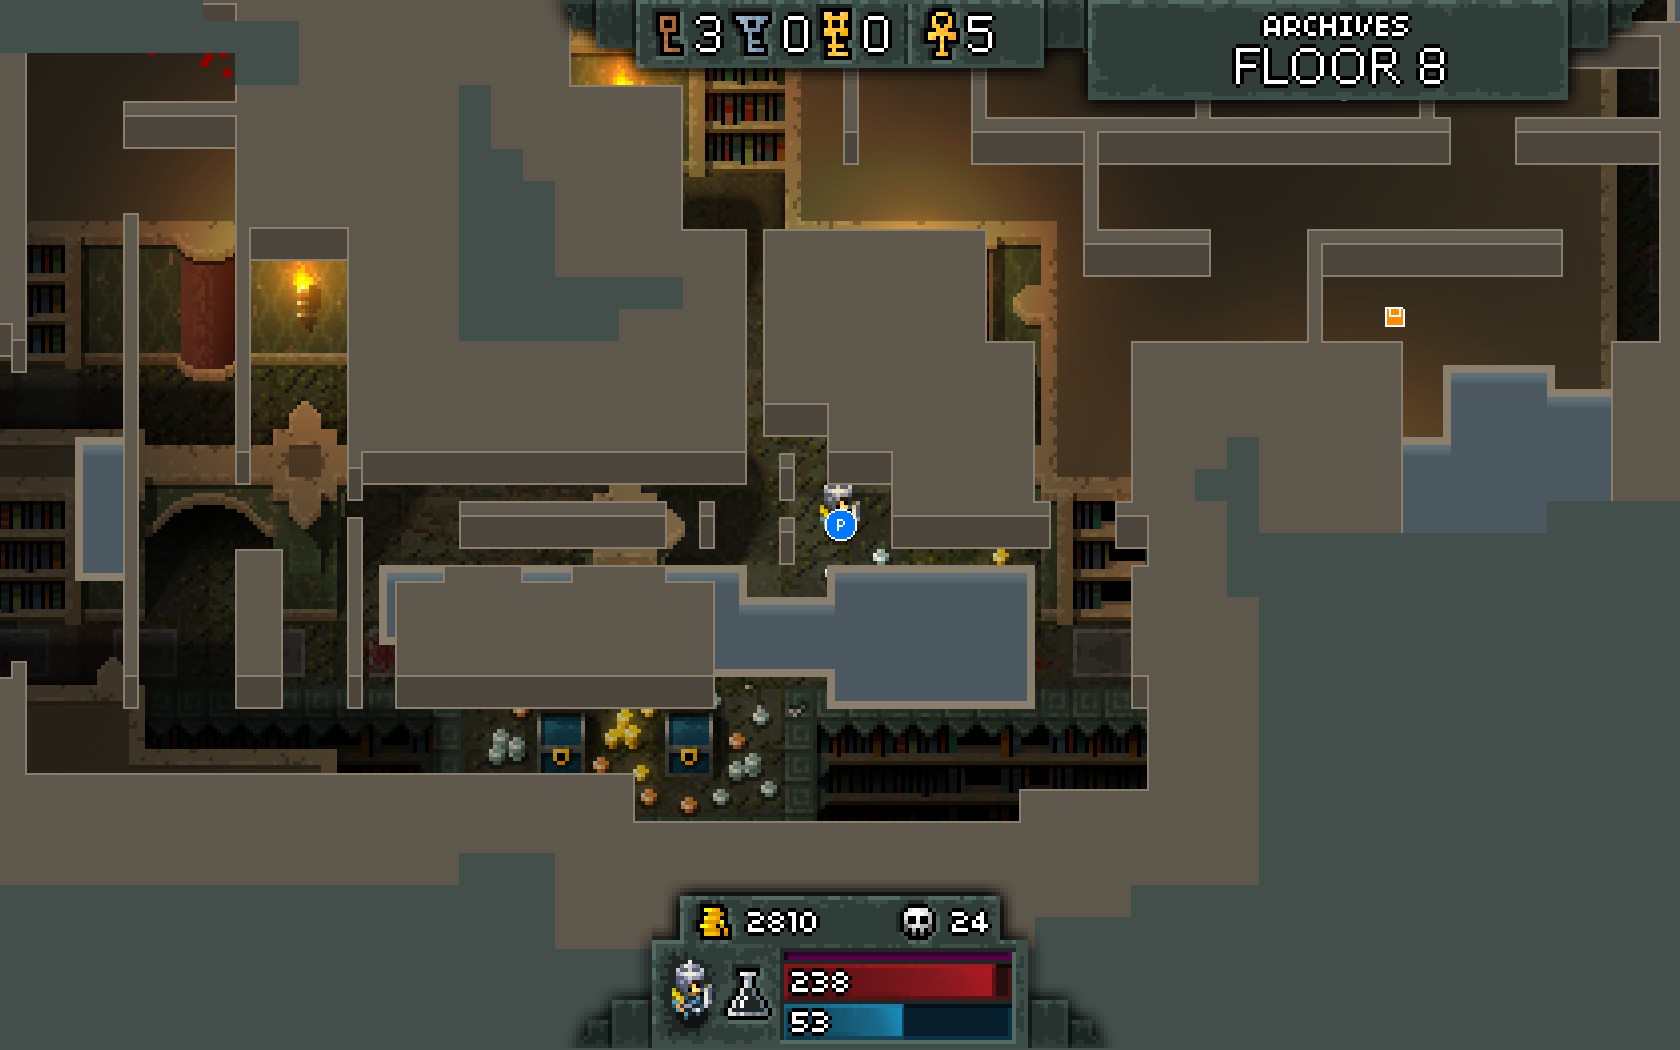
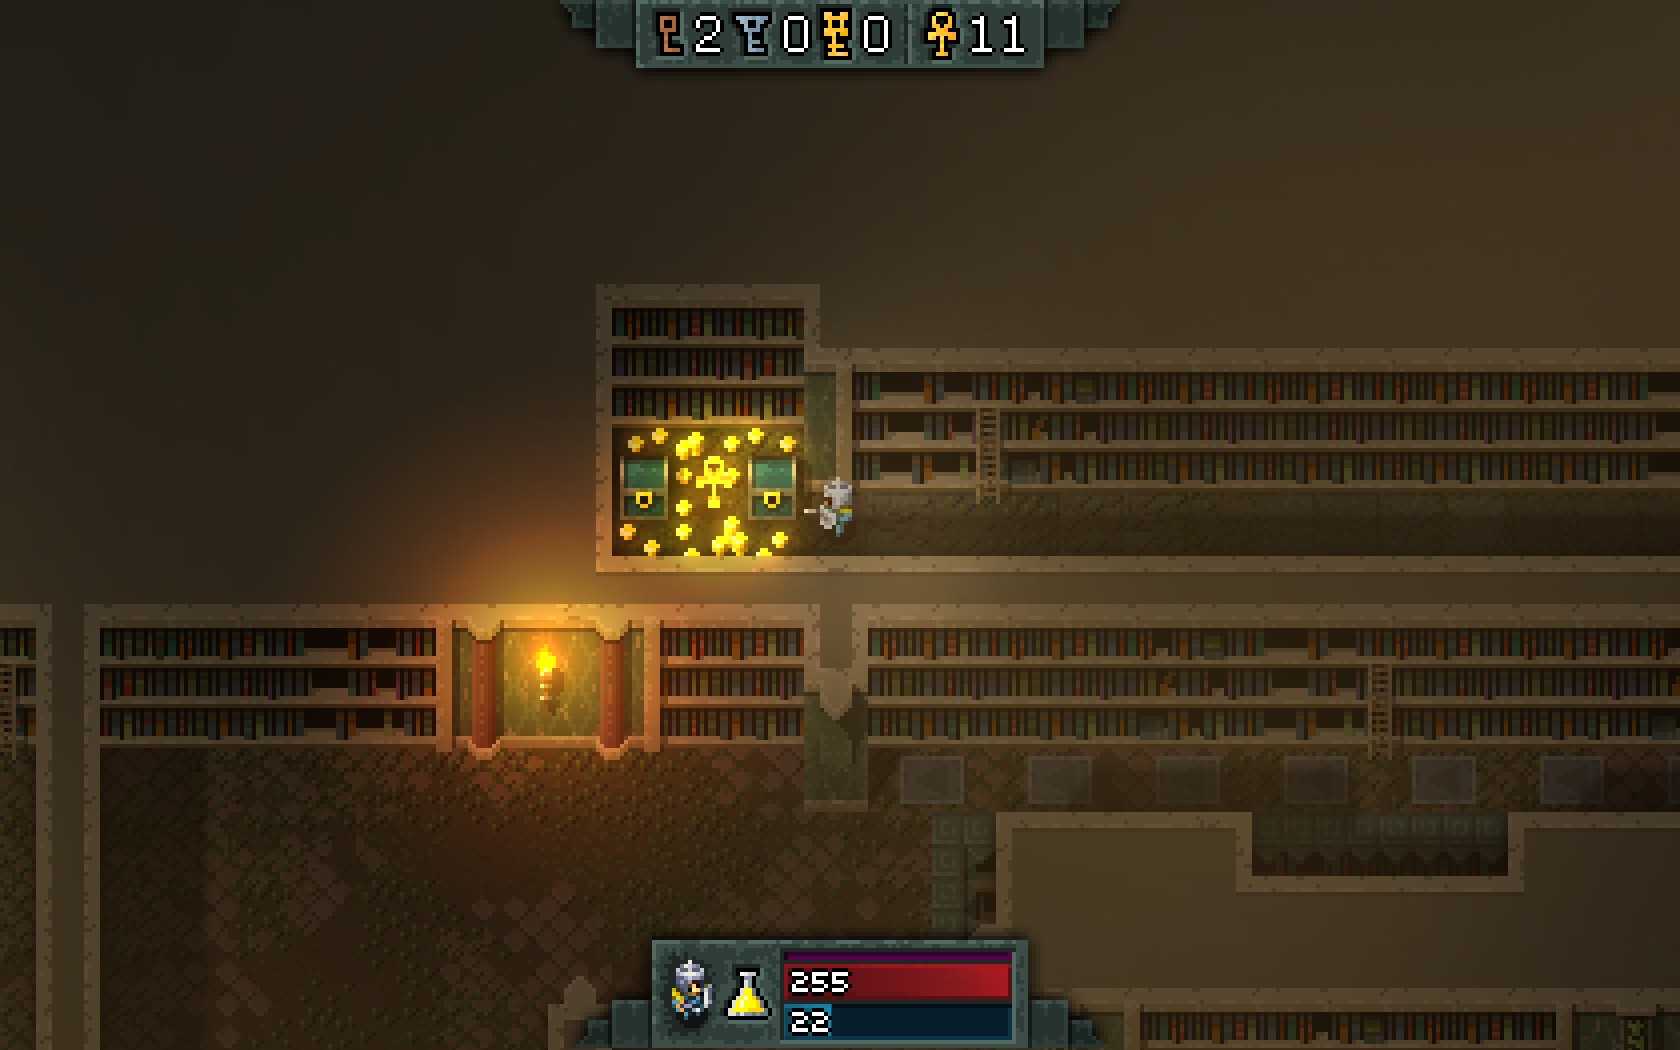
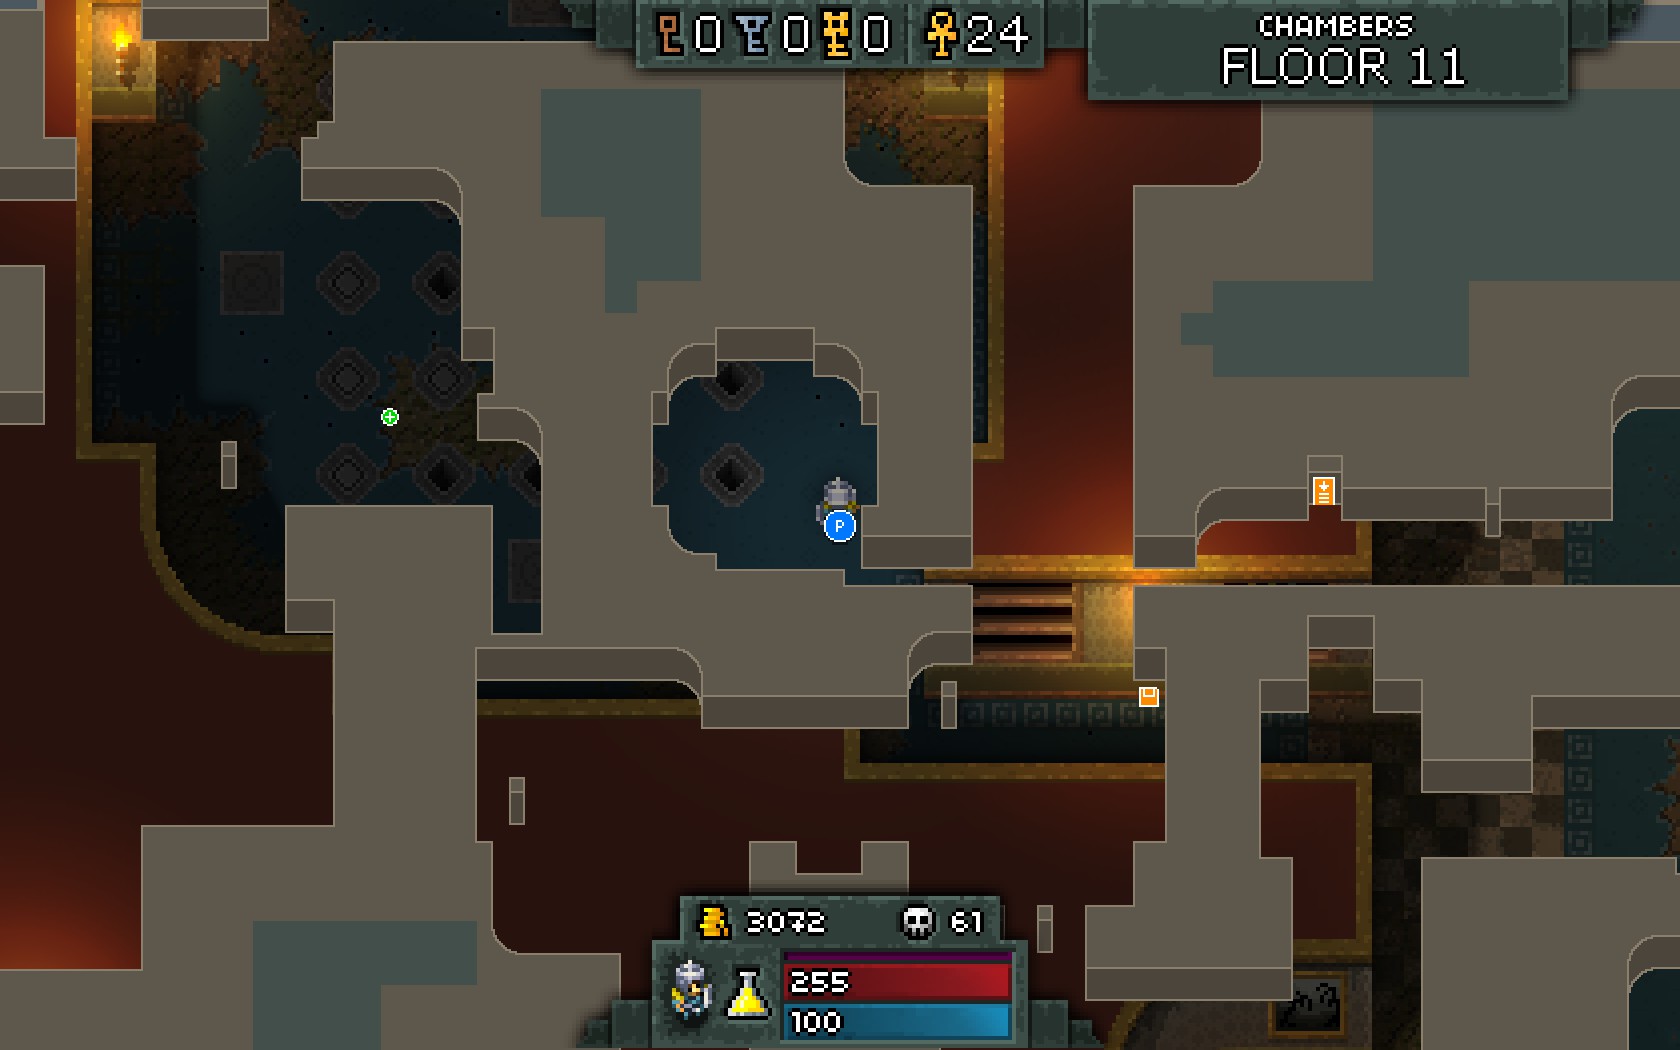
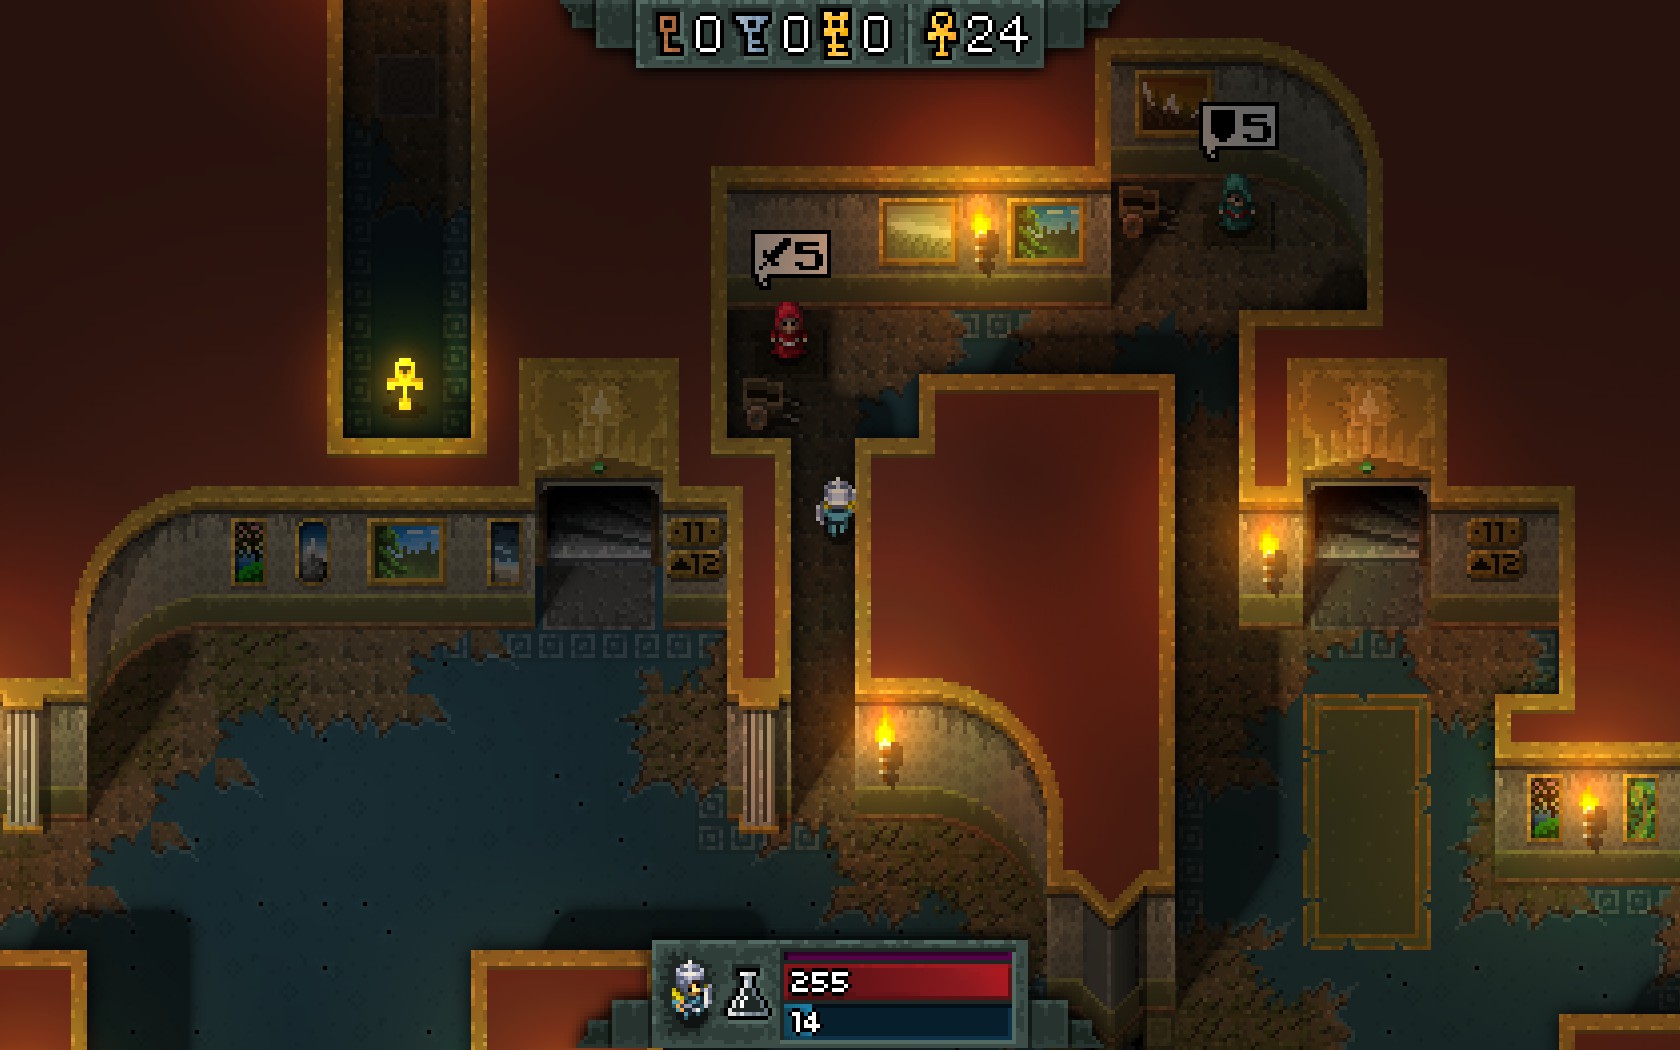
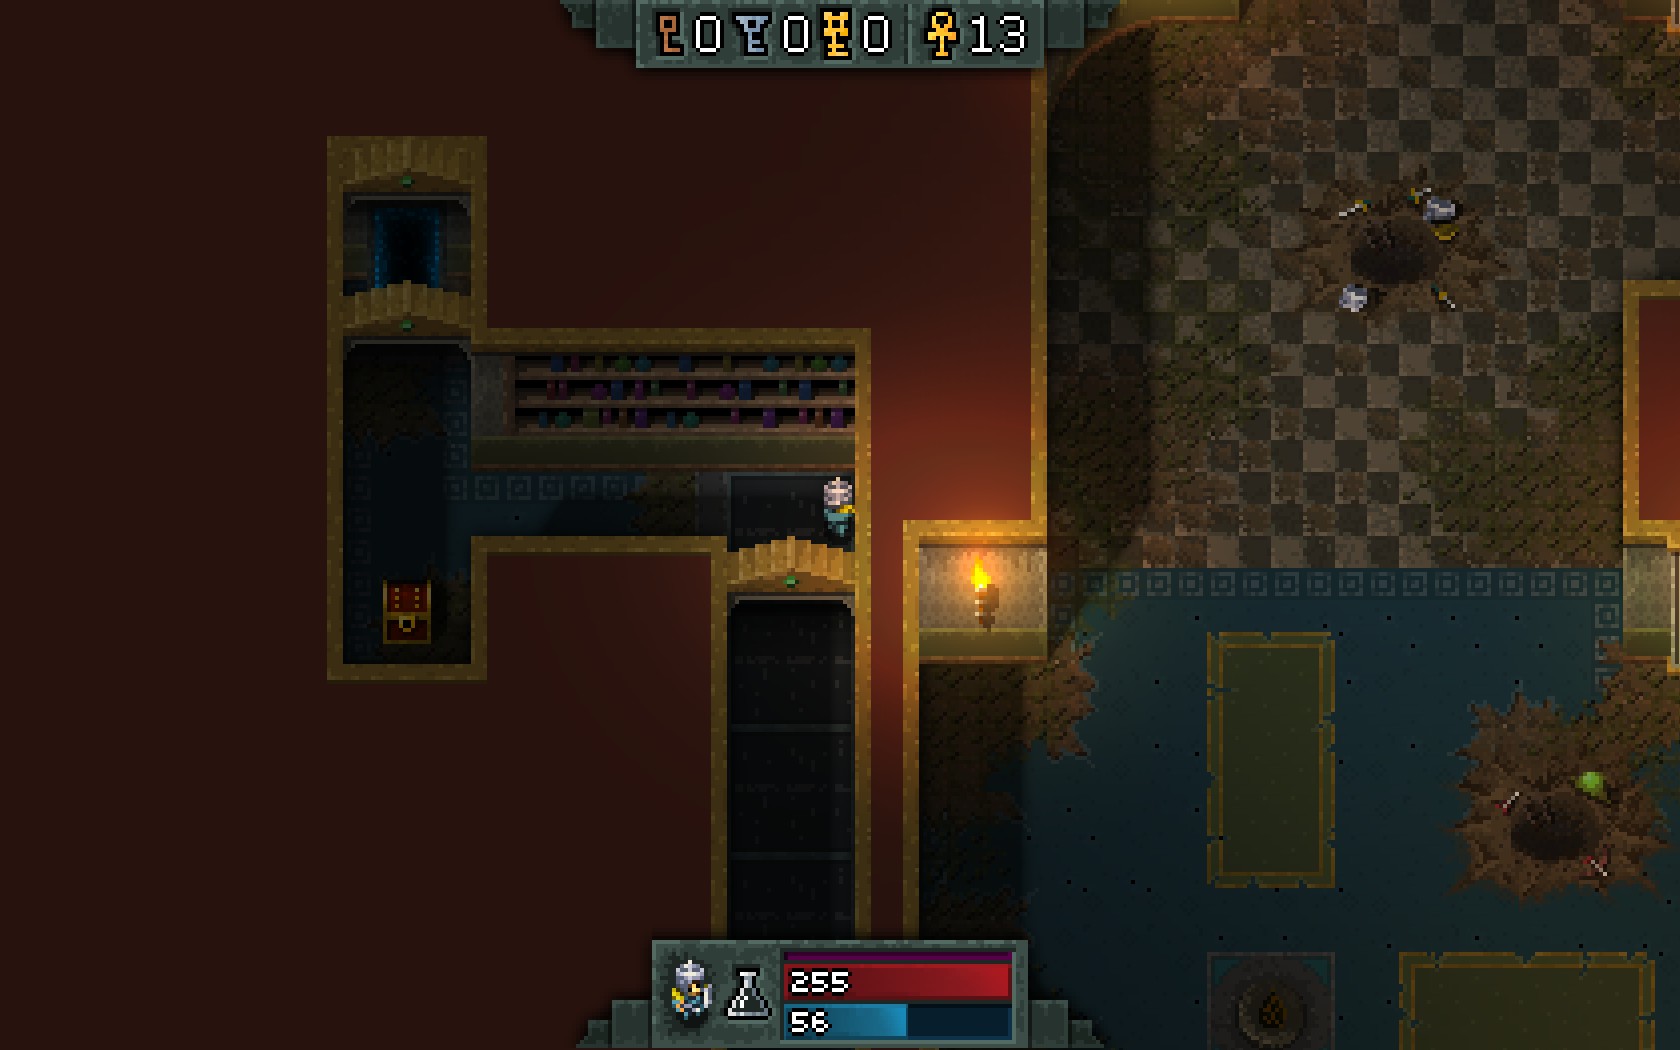
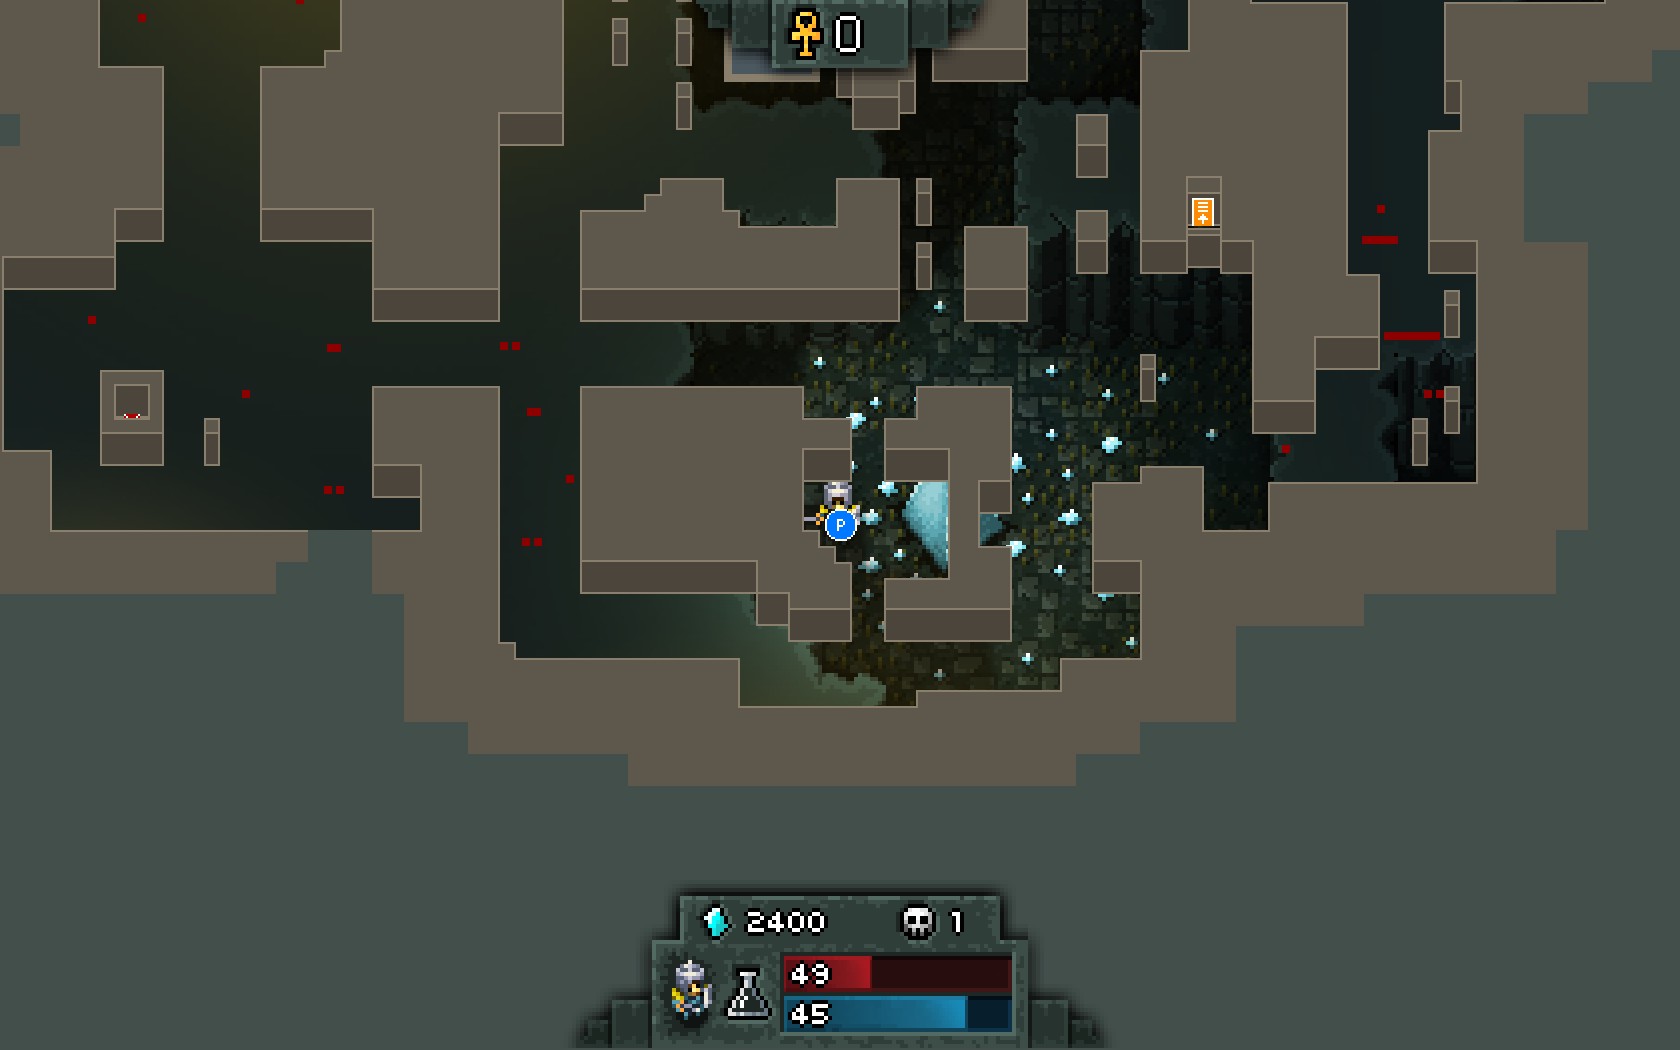
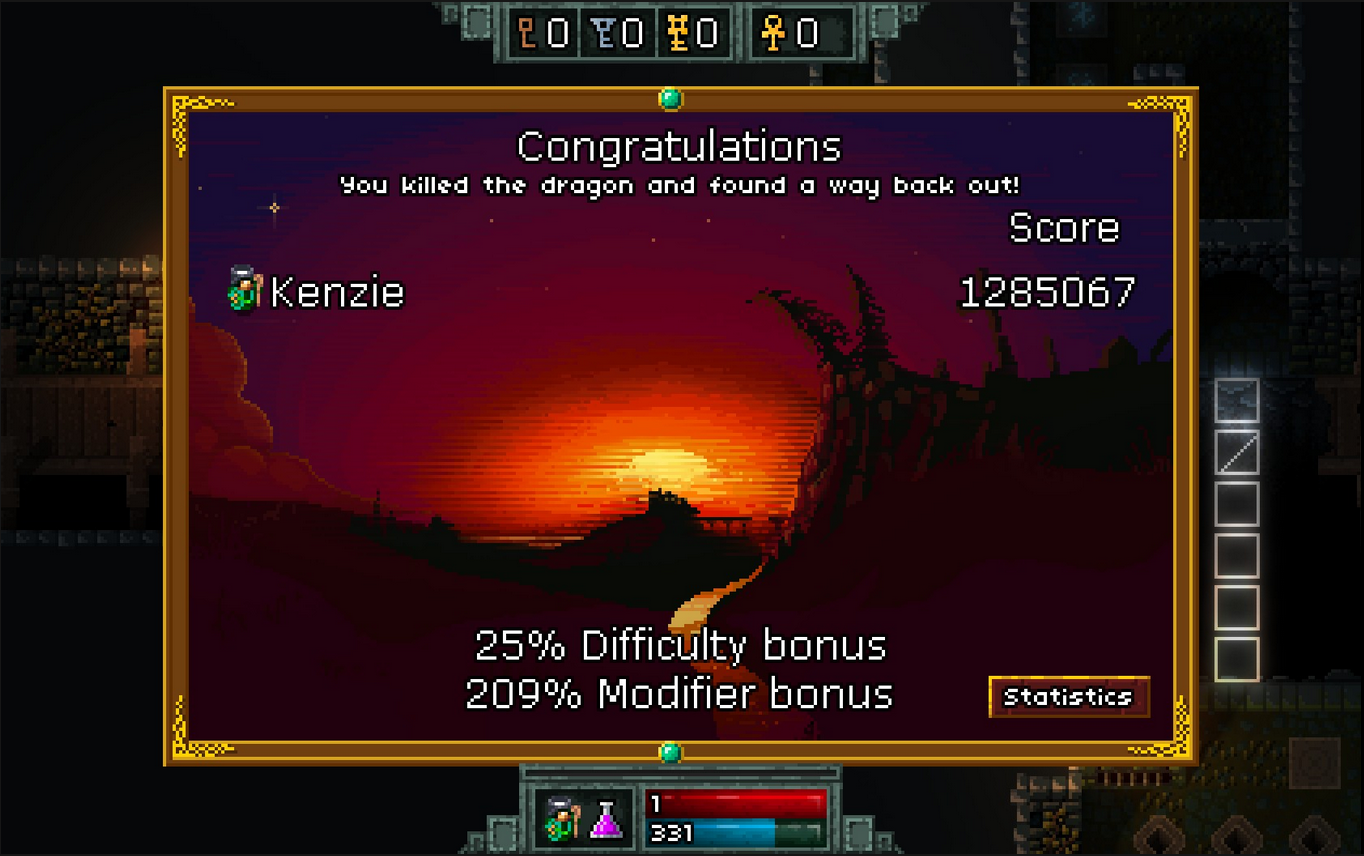
If you have the DLC, during the final boss, drop down to the left-most hole. You'll create a save point in the middle of gold, getting 2.7k gold in 10 seconds. Quit, reload, repeat.
With some patience, you can get a million within 2 hours. Even shorter if you did two full games before this....
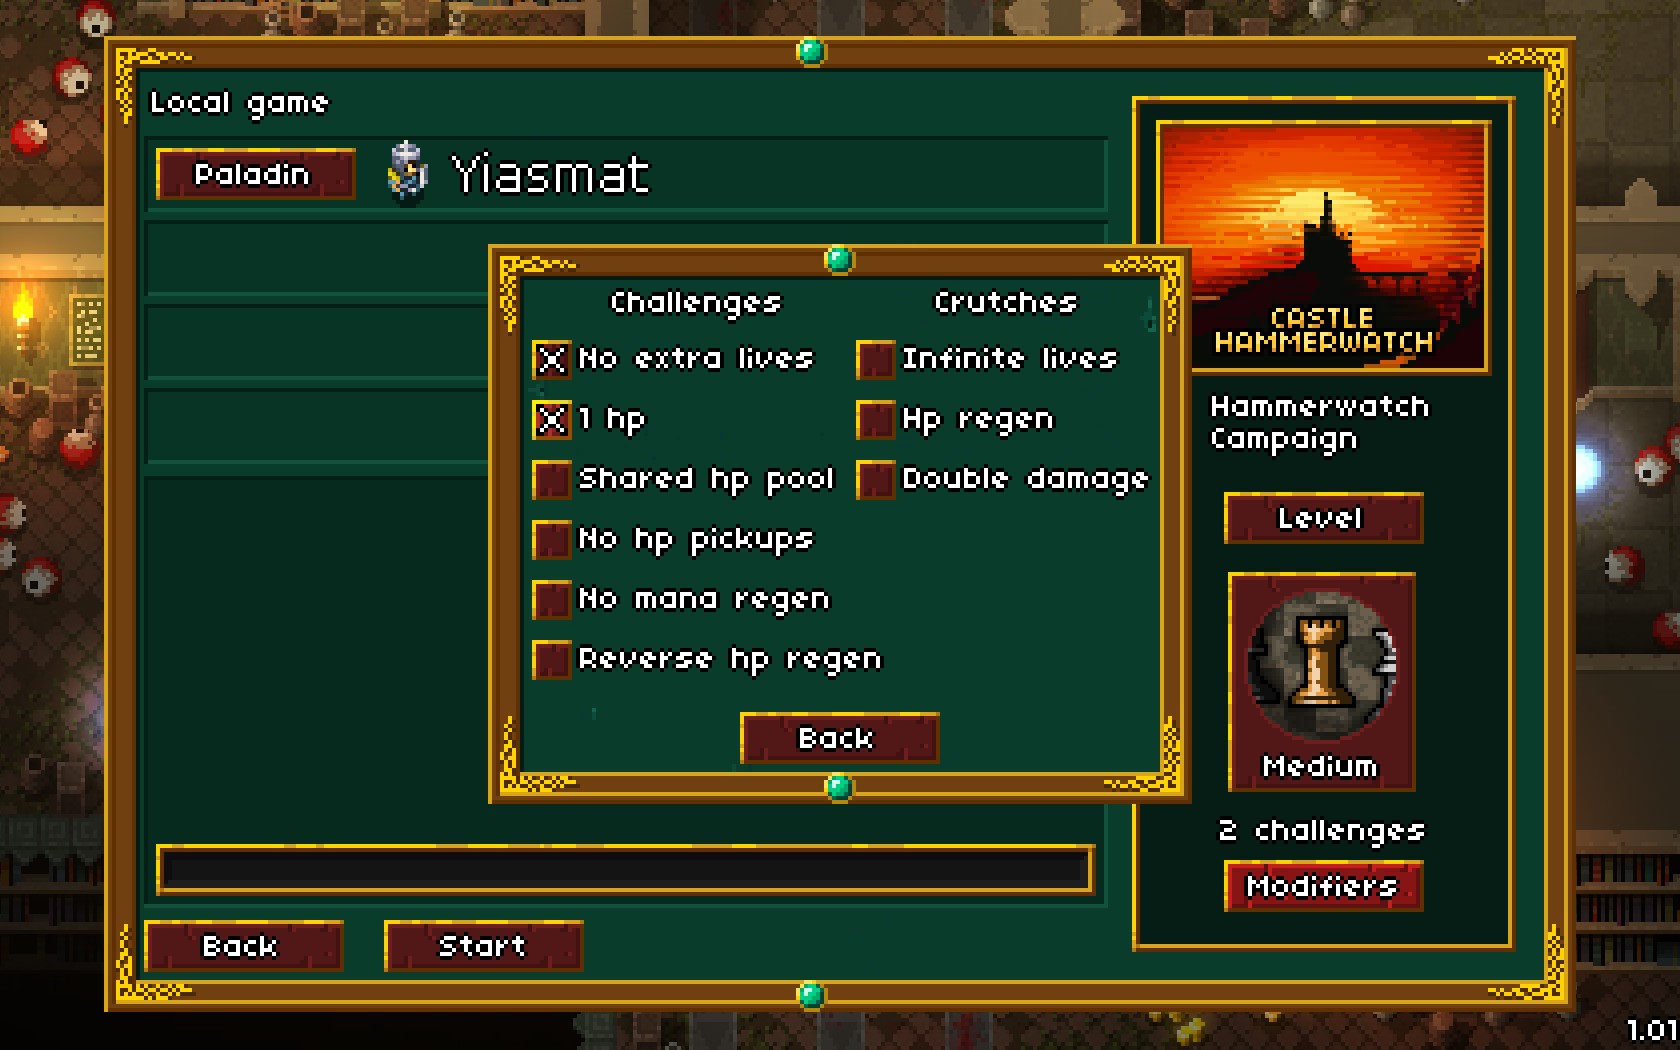
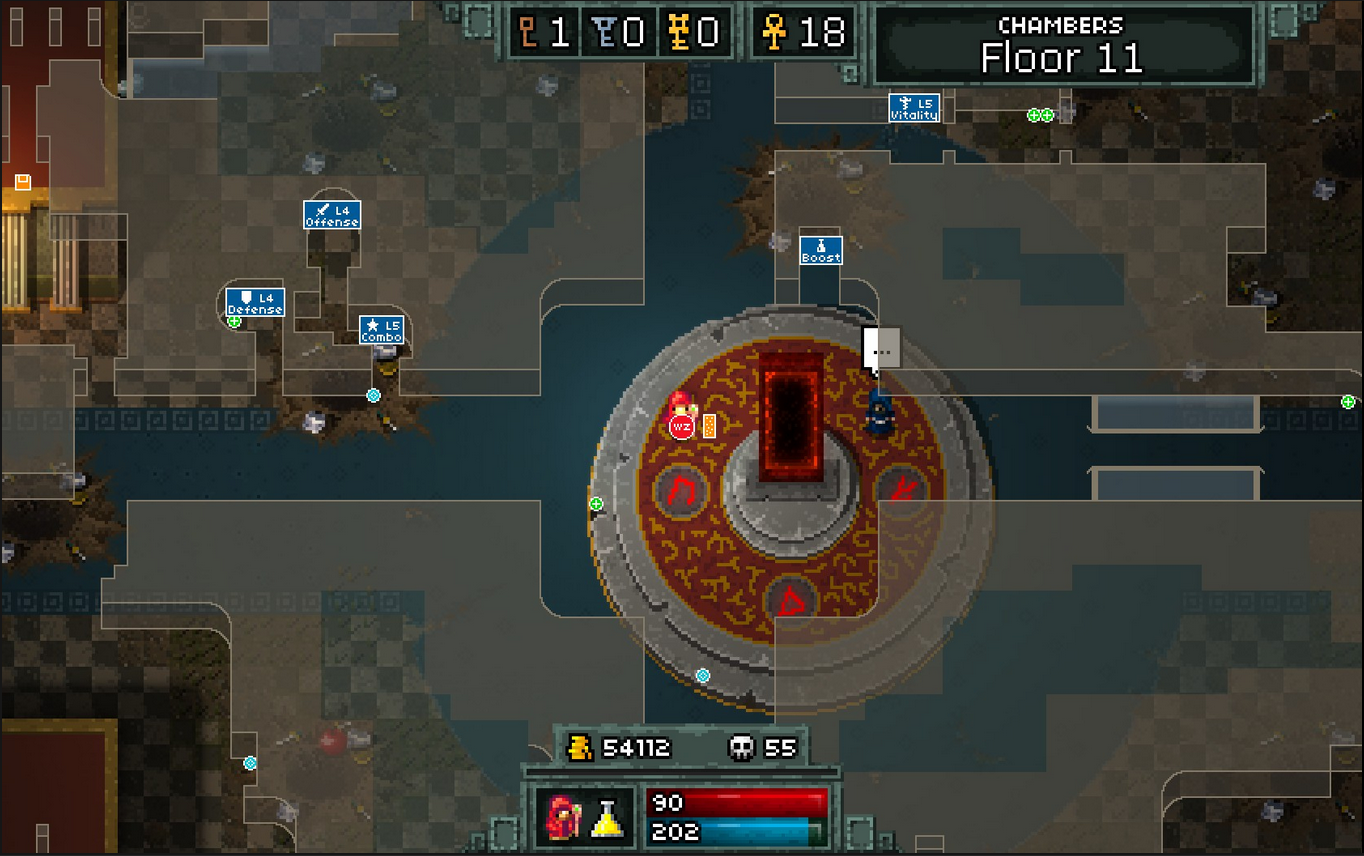
There's a few 'sneaky' things you need to do to get 100% achievements, such as making copies of your hard save file before fighting a boss, so you can quickly change it to medium and fight the boss on both difficulties to save time.
Then there's the achievement which requires a specific amount of planks to get...
Just requires a little grinding I suppose for the gold related achievements.