
Install Steam
login
|
language
简体中文 (Simplified Chinese)
繁體中文 (Traditional Chinese)
日本語 (Japanese)
한국어 (Korean)
ไทย (Thai)
Български (Bulgarian)
Čeština (Czech)
Dansk (Danish)
Deutsch (German)
Español - España (Spanish - Spain)
Español - Latinoamérica (Spanish - Latin America)
Ελληνικά (Greek)
Français (French)
Italiano (Italian)
Bahasa Indonesia (Indonesian)
Magyar (Hungarian)
Nederlands (Dutch)
Norsk (Norwegian)
Polski (Polish)
Português (Portuguese - Portugal)
Português - Brasil (Portuguese - Brazil)
Română (Romanian)
Русский (Russian)
Suomi (Finnish)
Svenska (Swedish)
Türkçe (Turkish)
Tiếng Việt (Vietnamese)
Українська (Ukrainian)
Report a translation problem


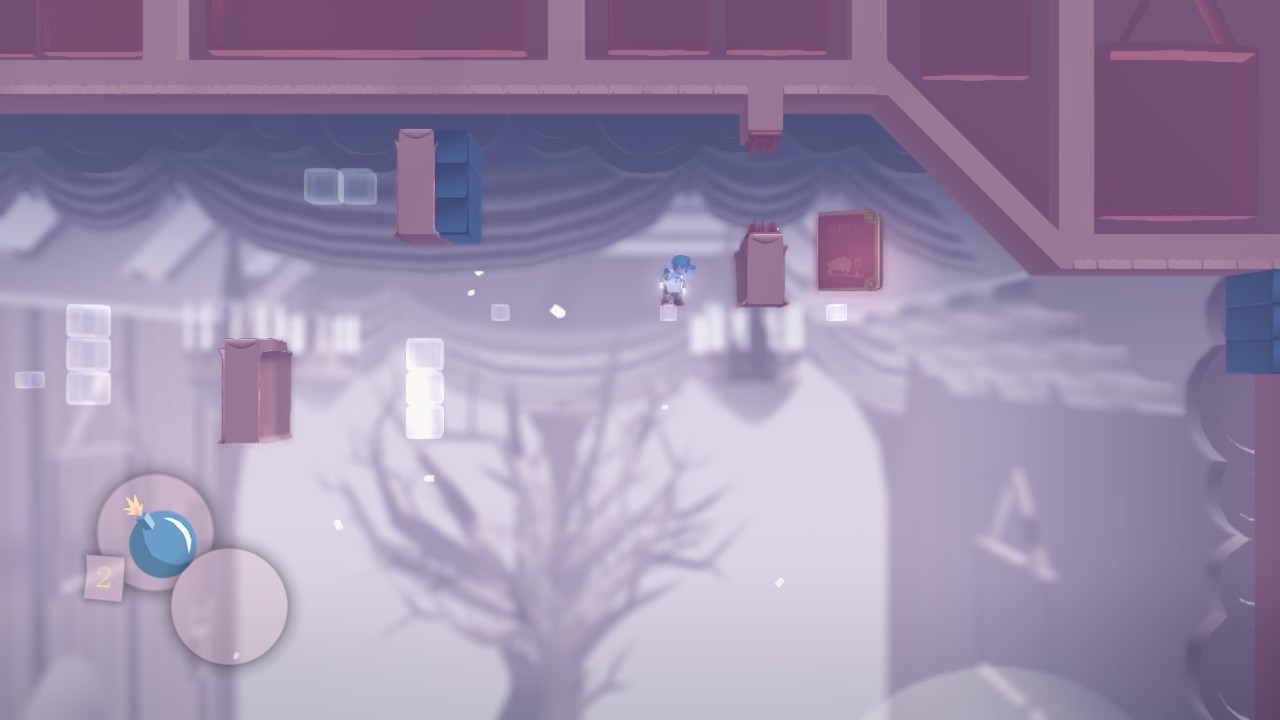

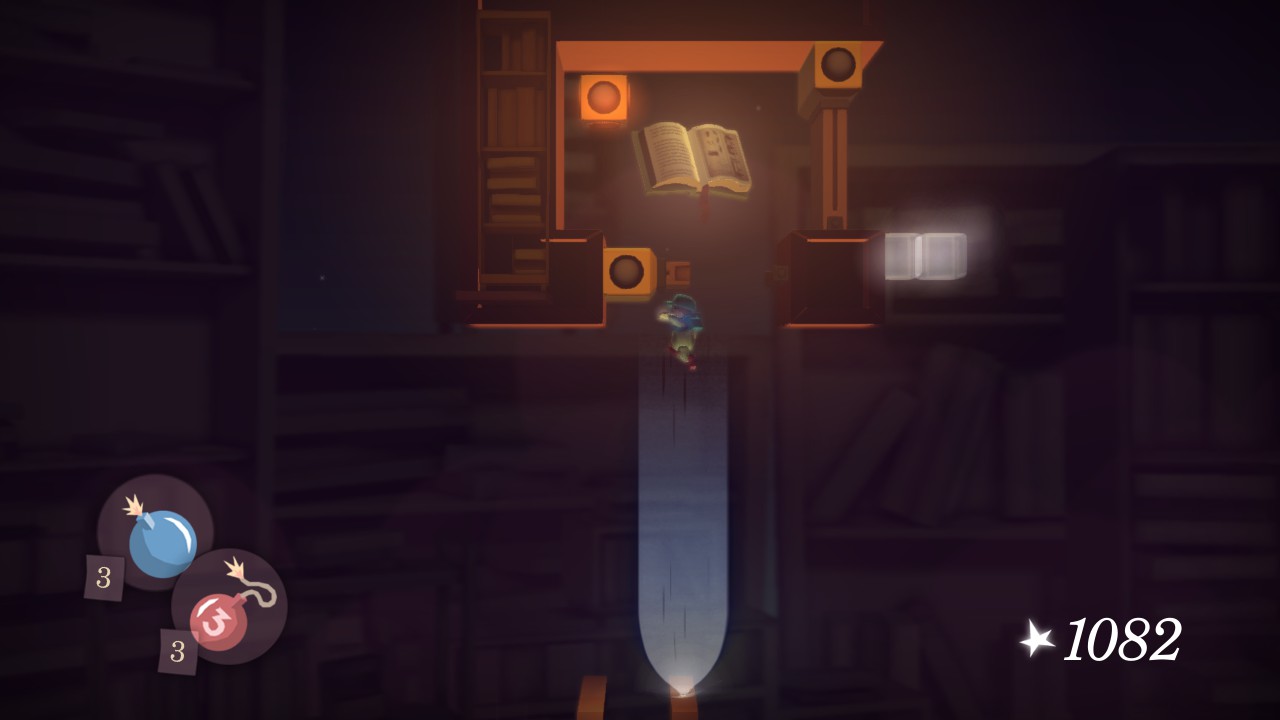
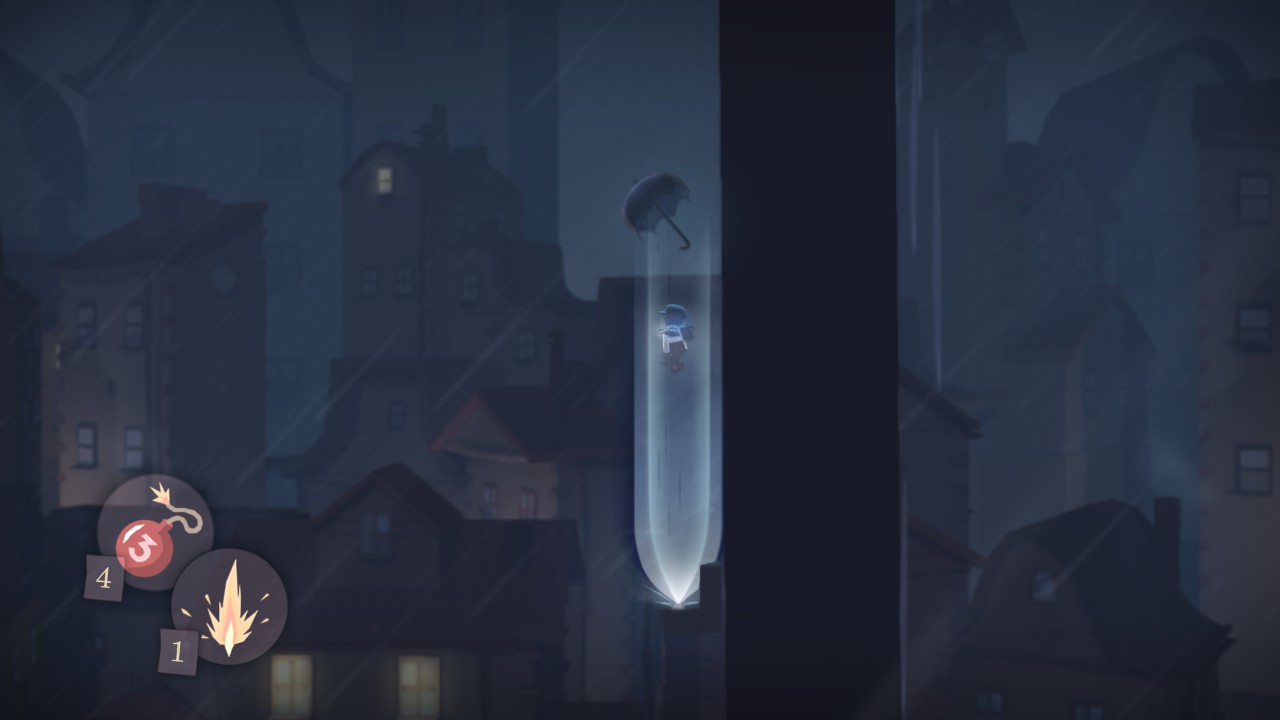
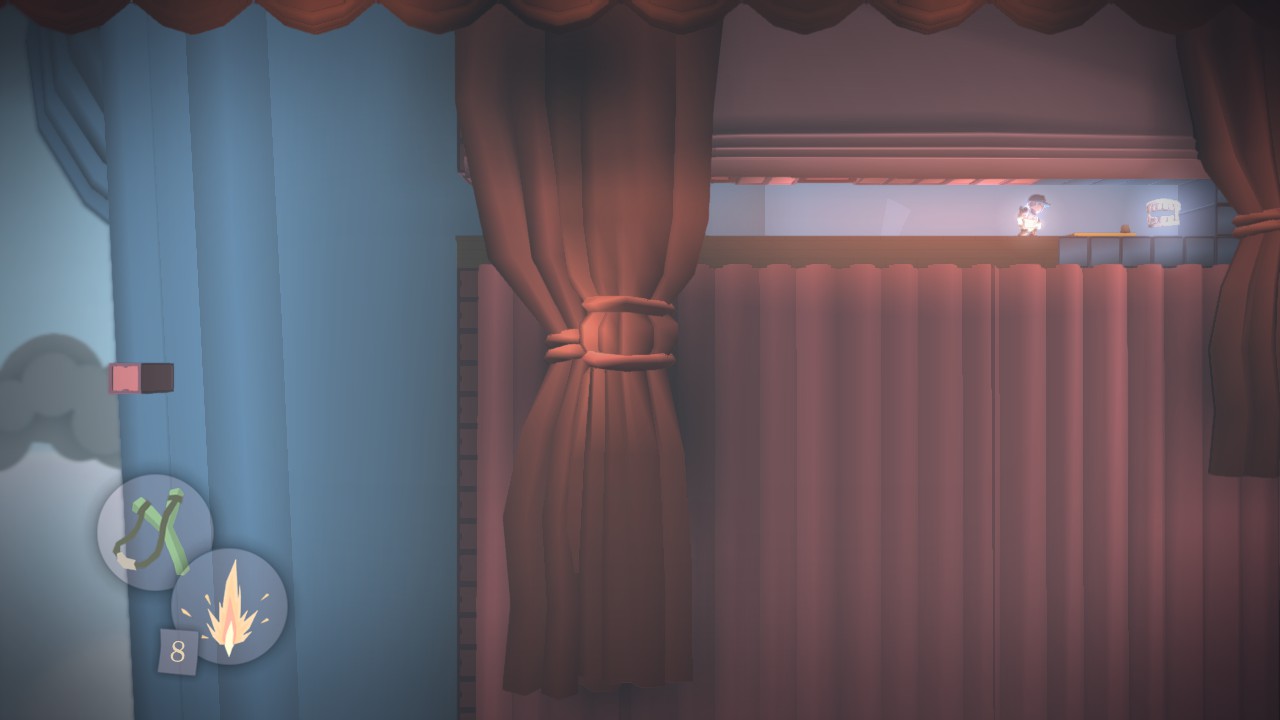
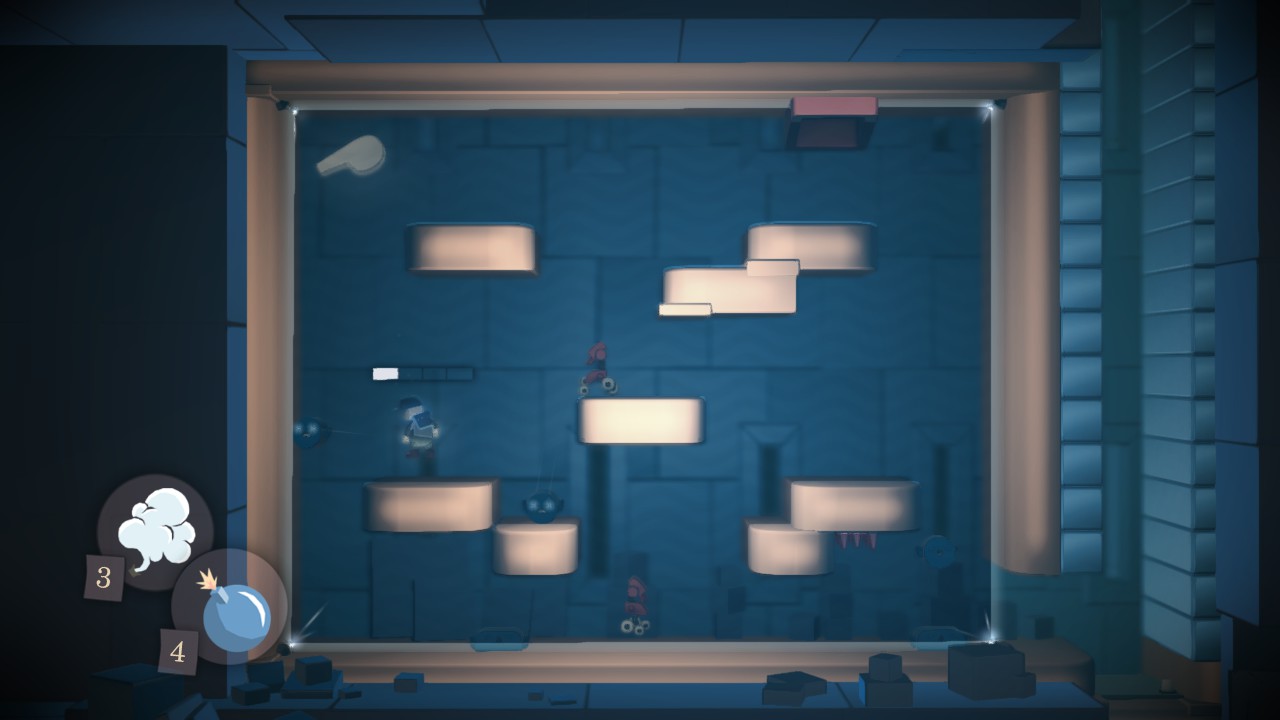


- Souvenir #4 - Children's Book
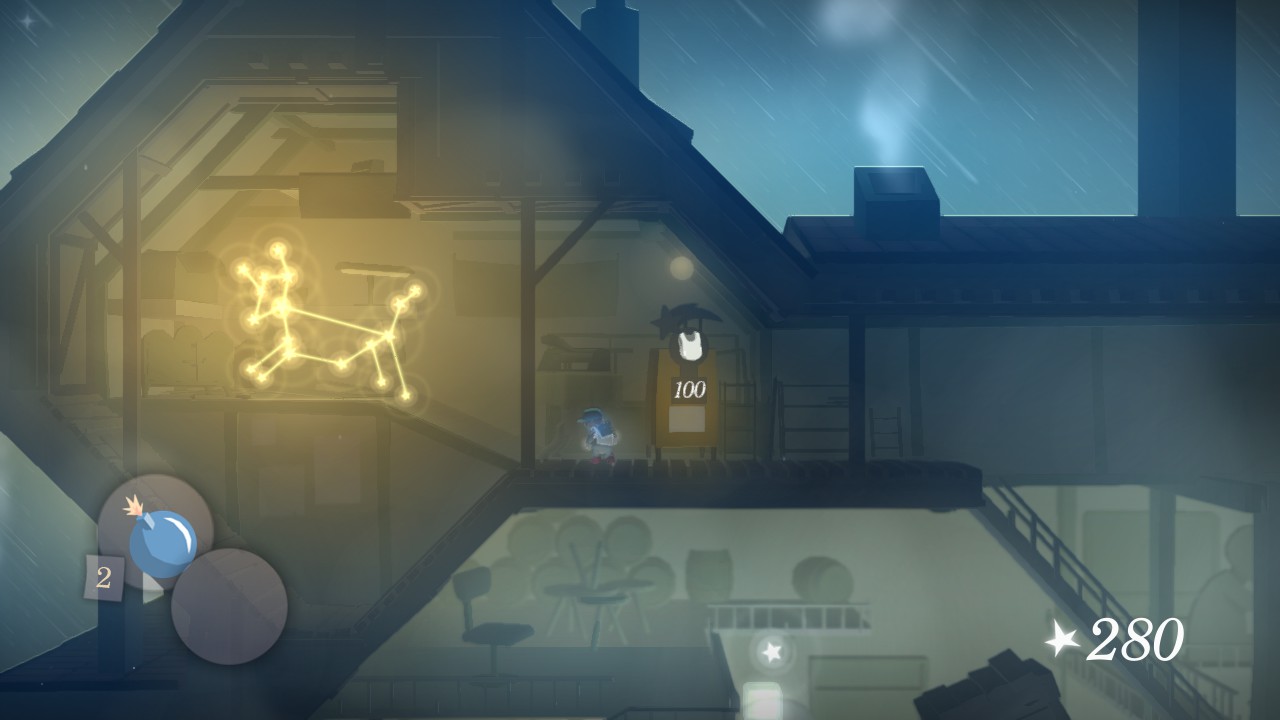
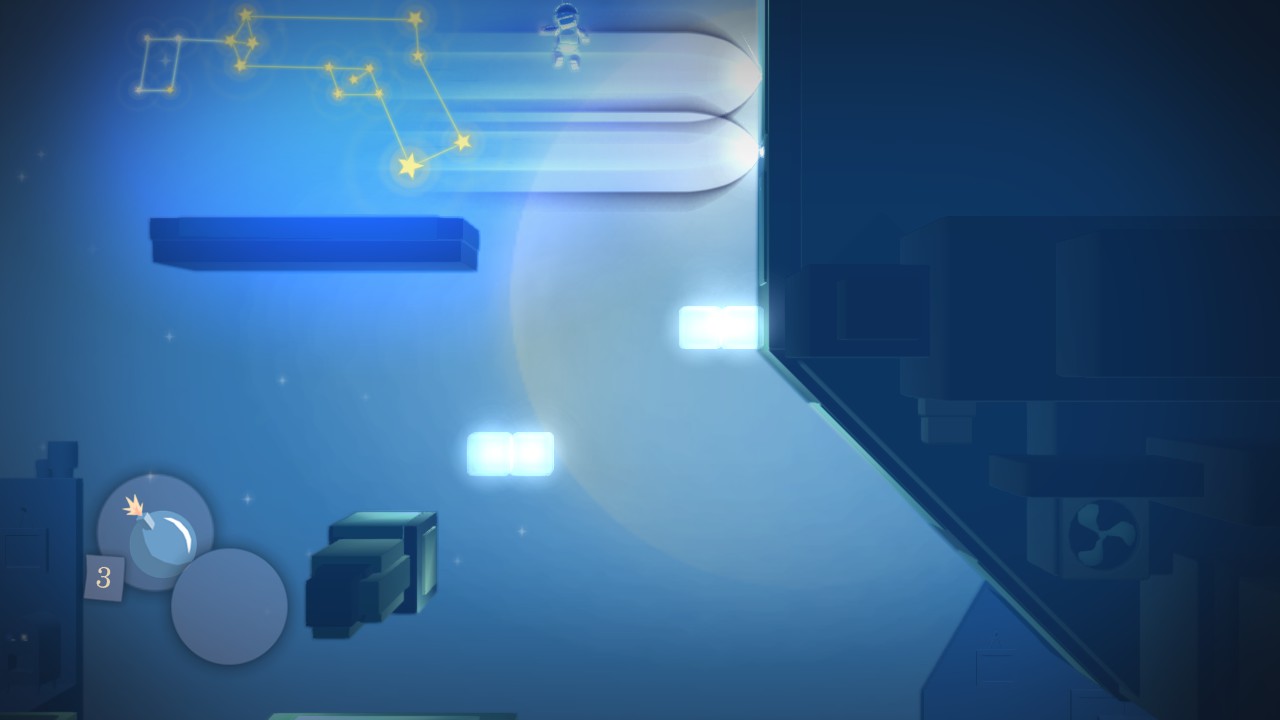
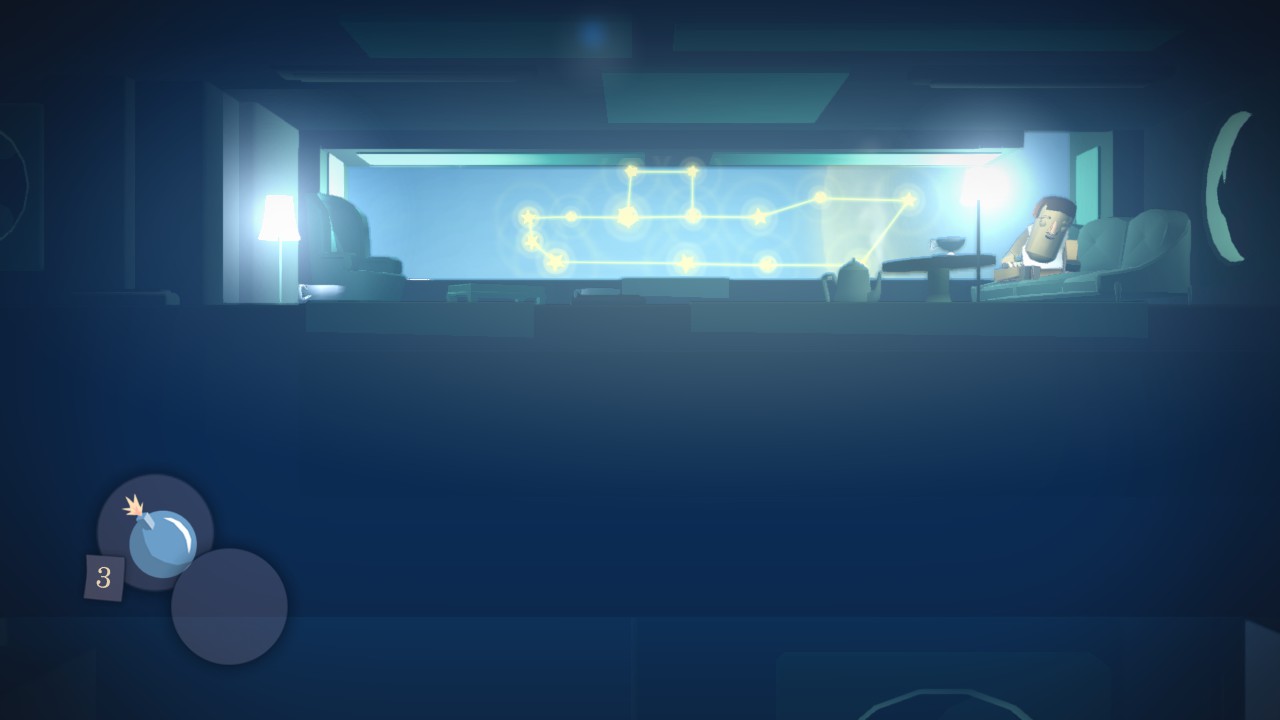
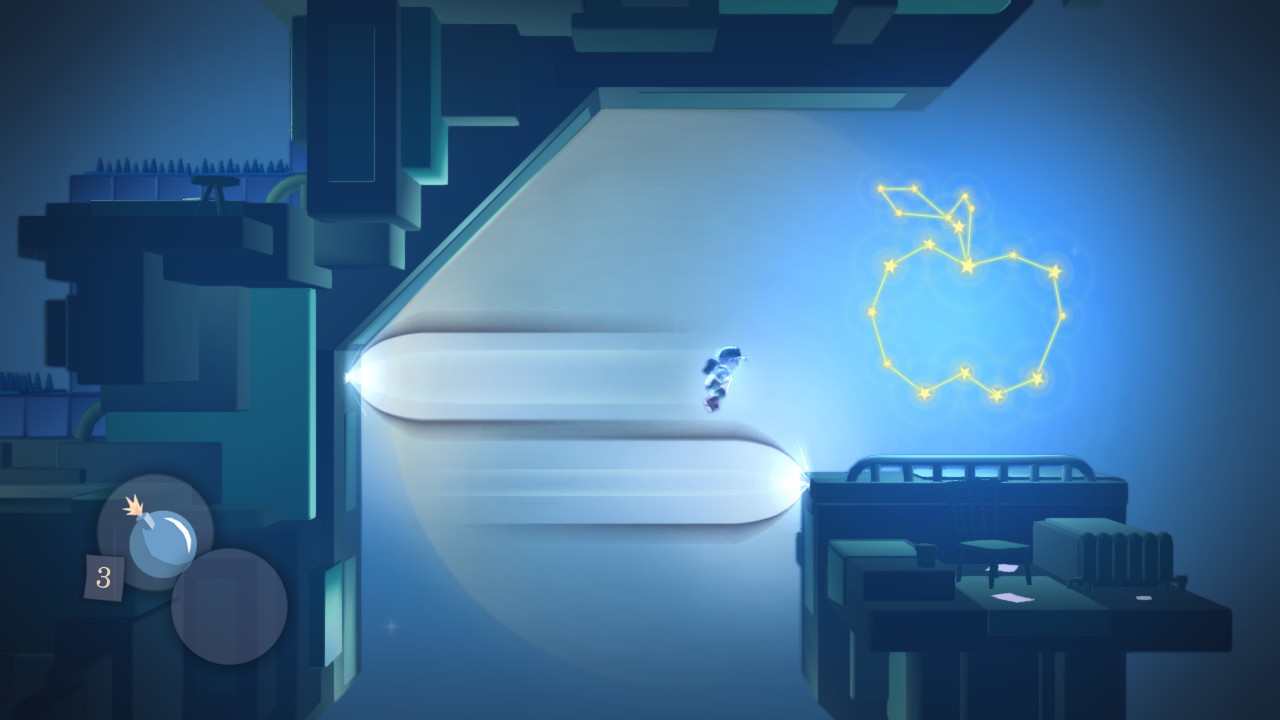
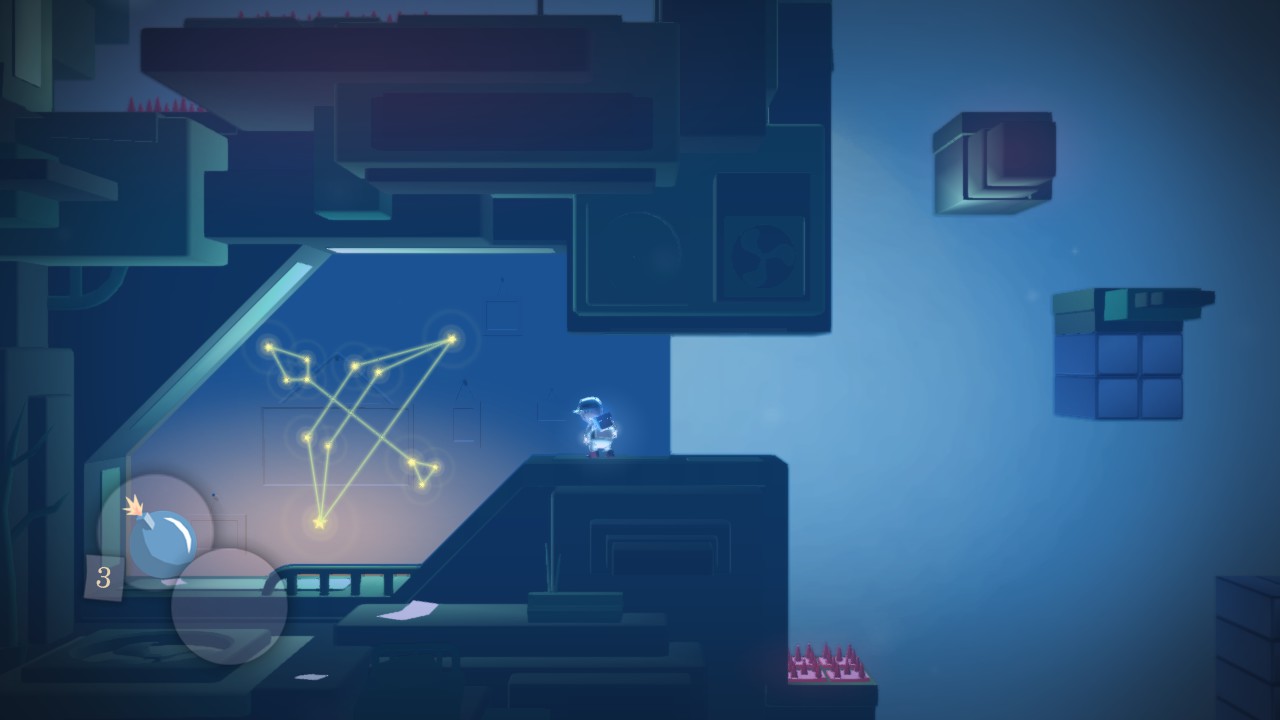
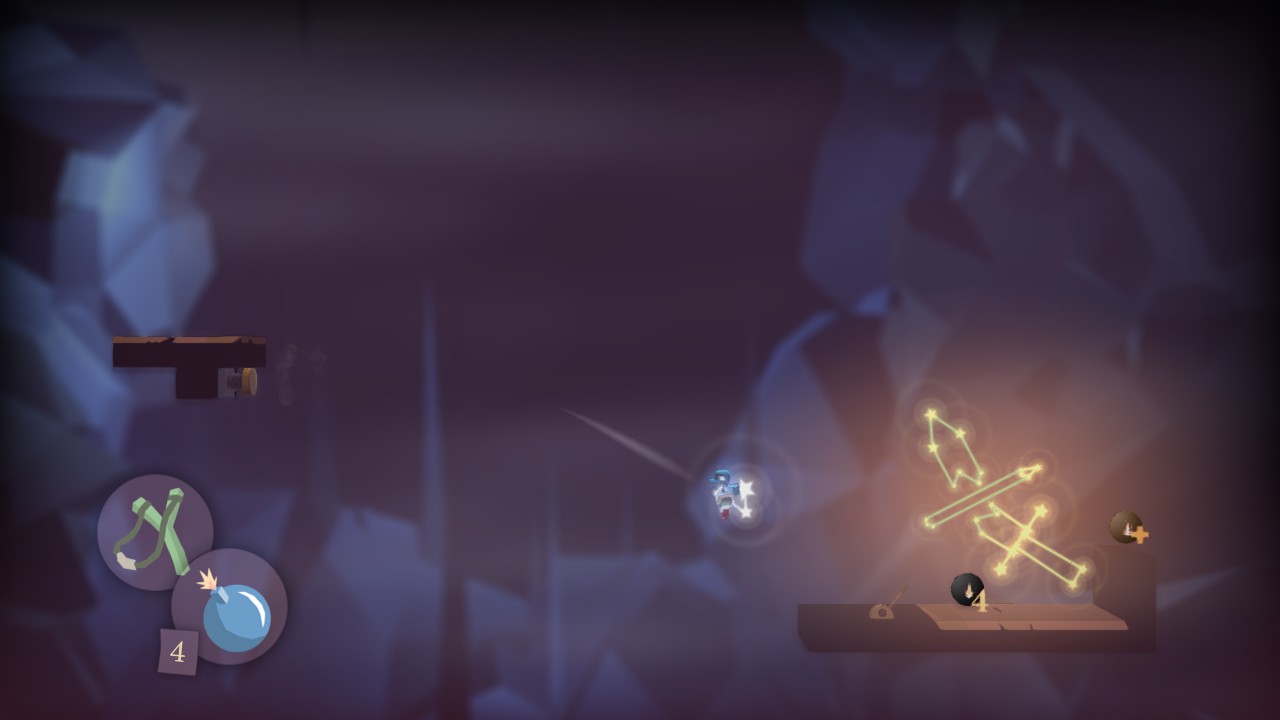
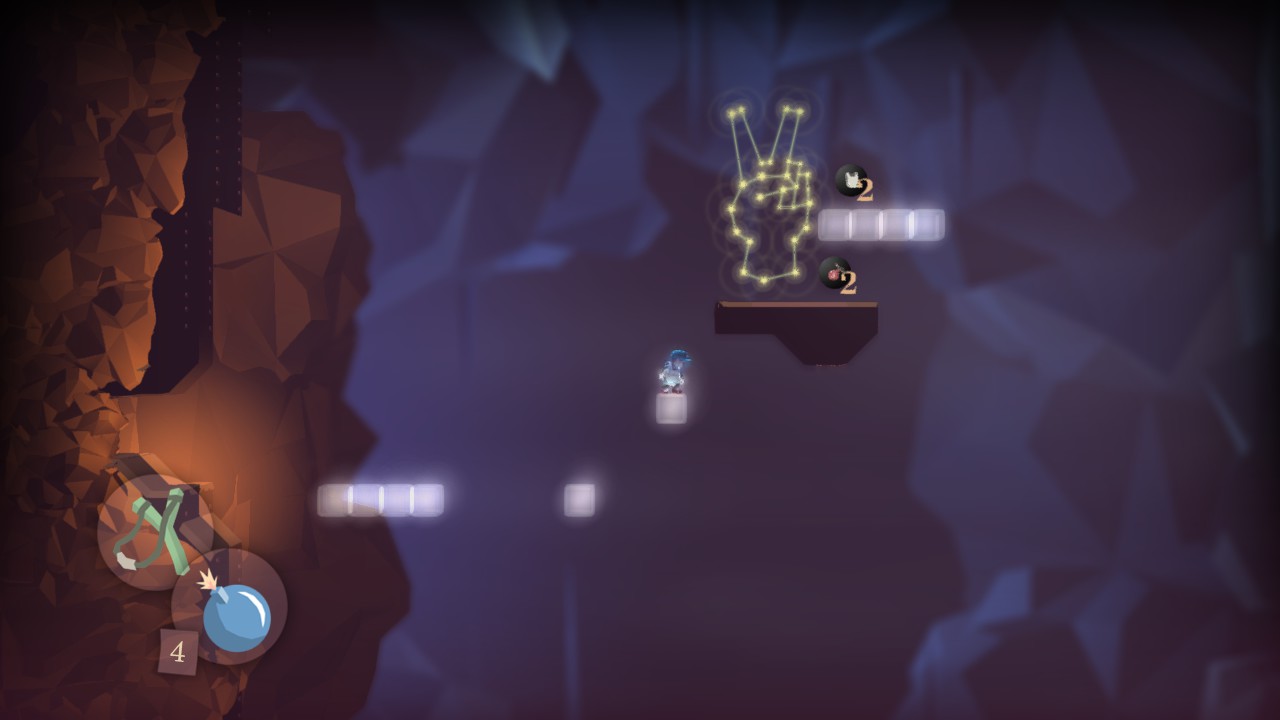
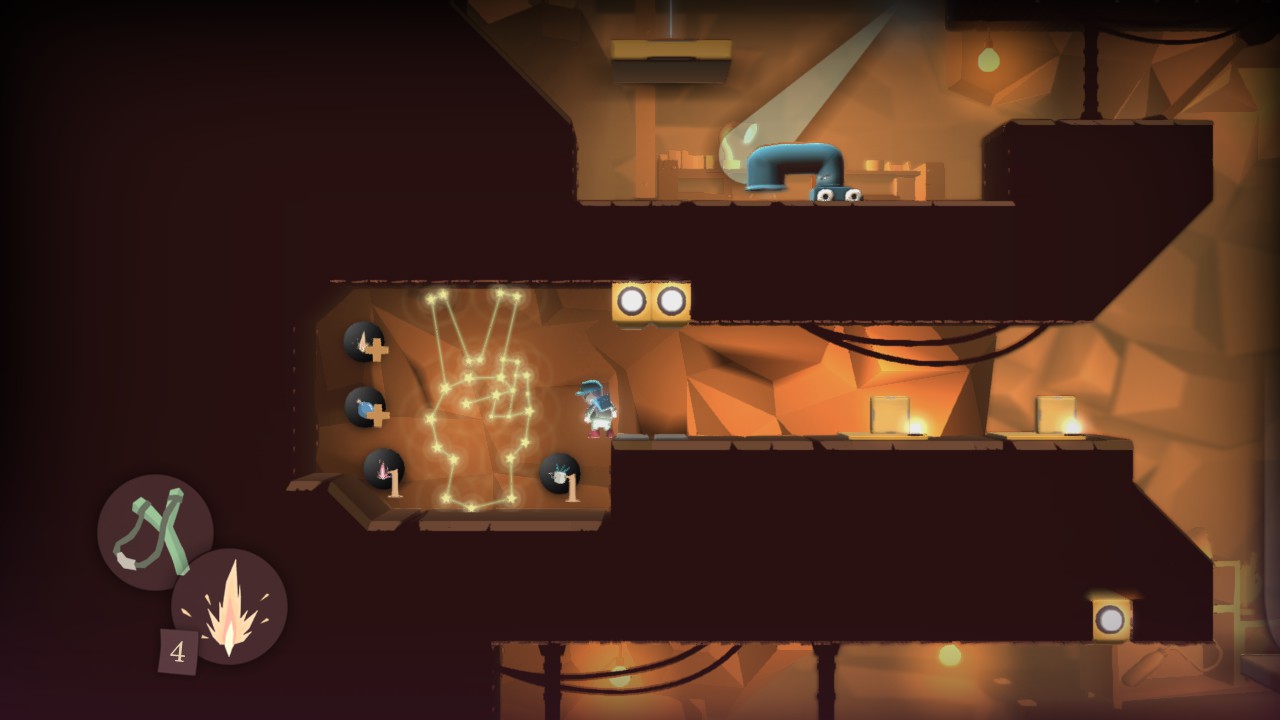
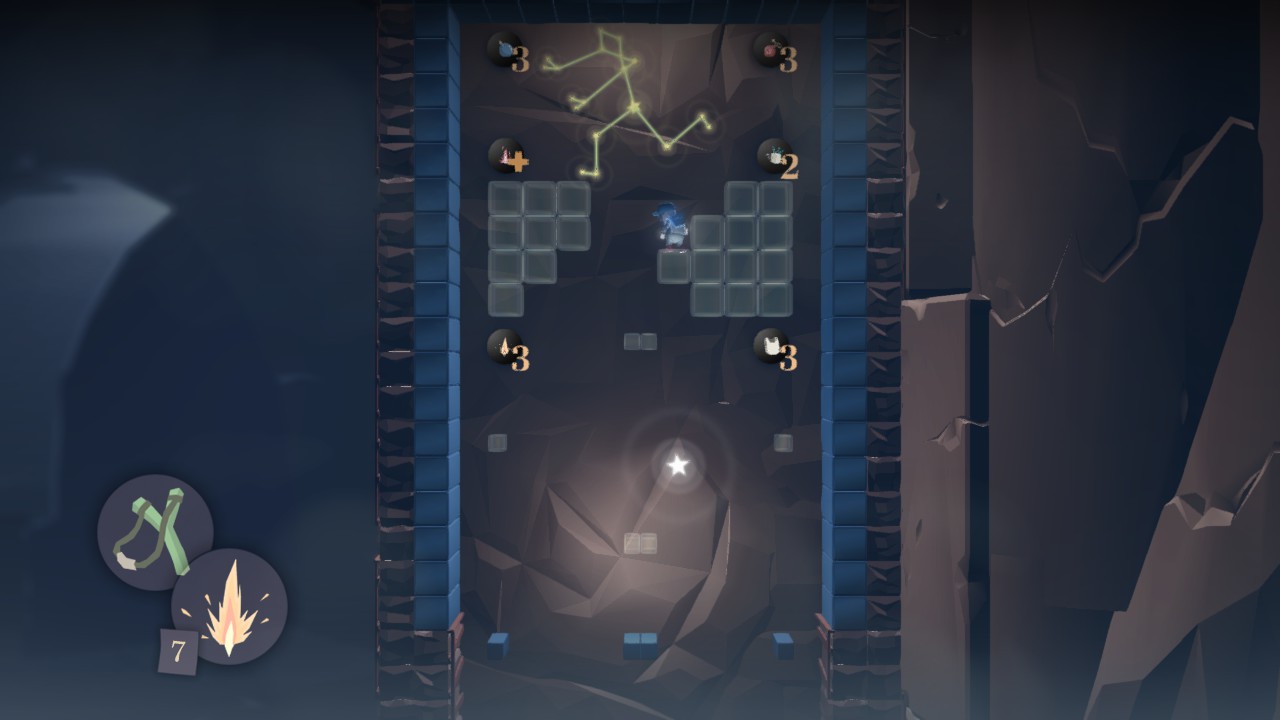
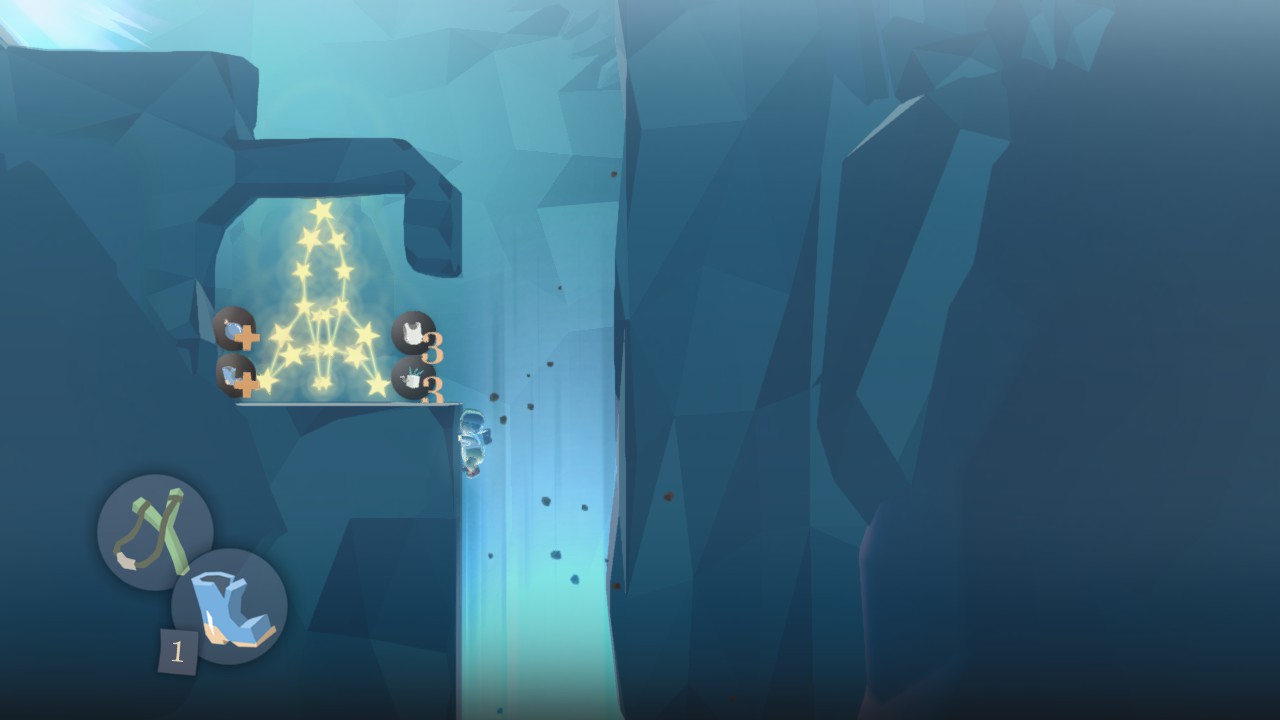
- Constellation #14 - The Telephone (for example, to make it easier to get to the phone, just hold the arrow down and to the right, when you land there, use the burst not to fly out)
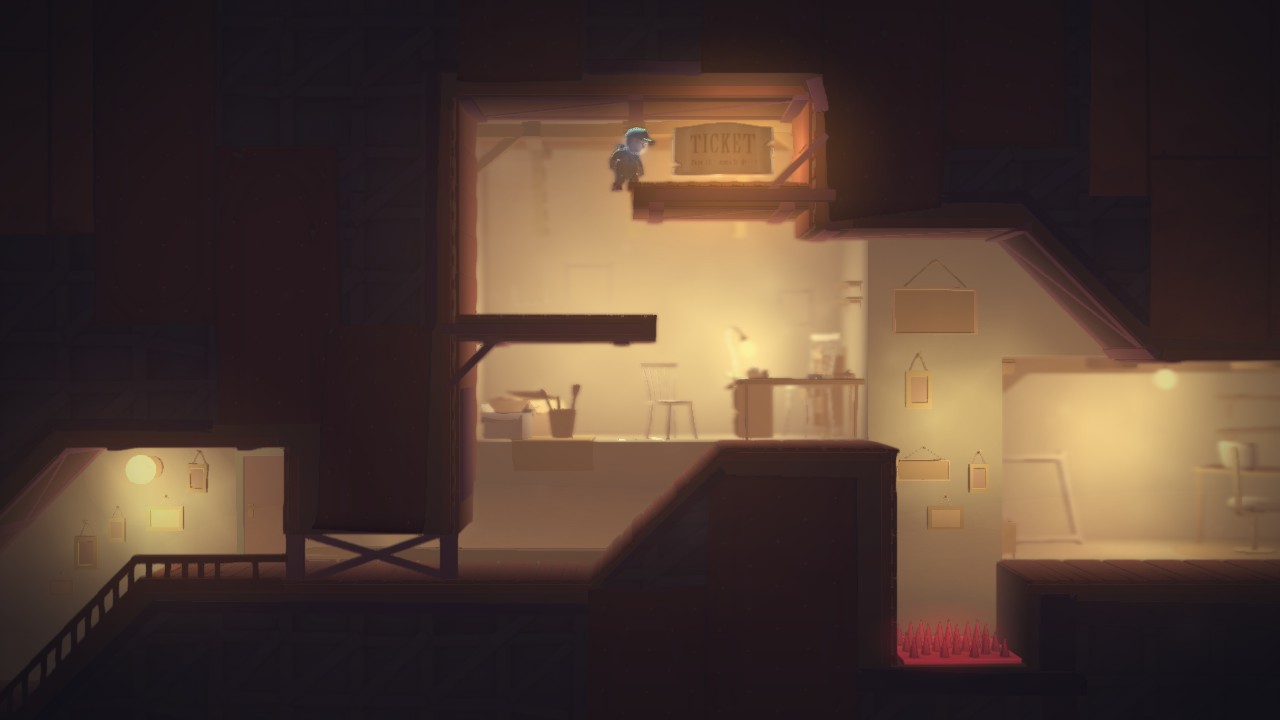
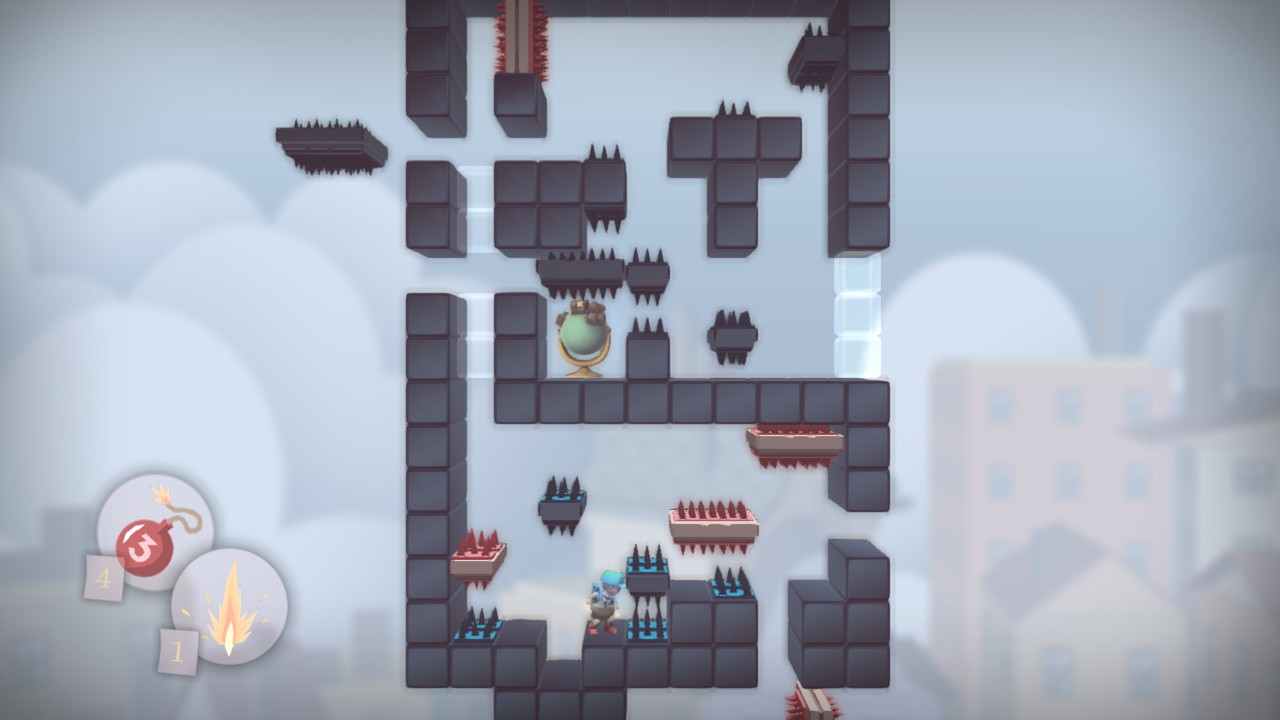
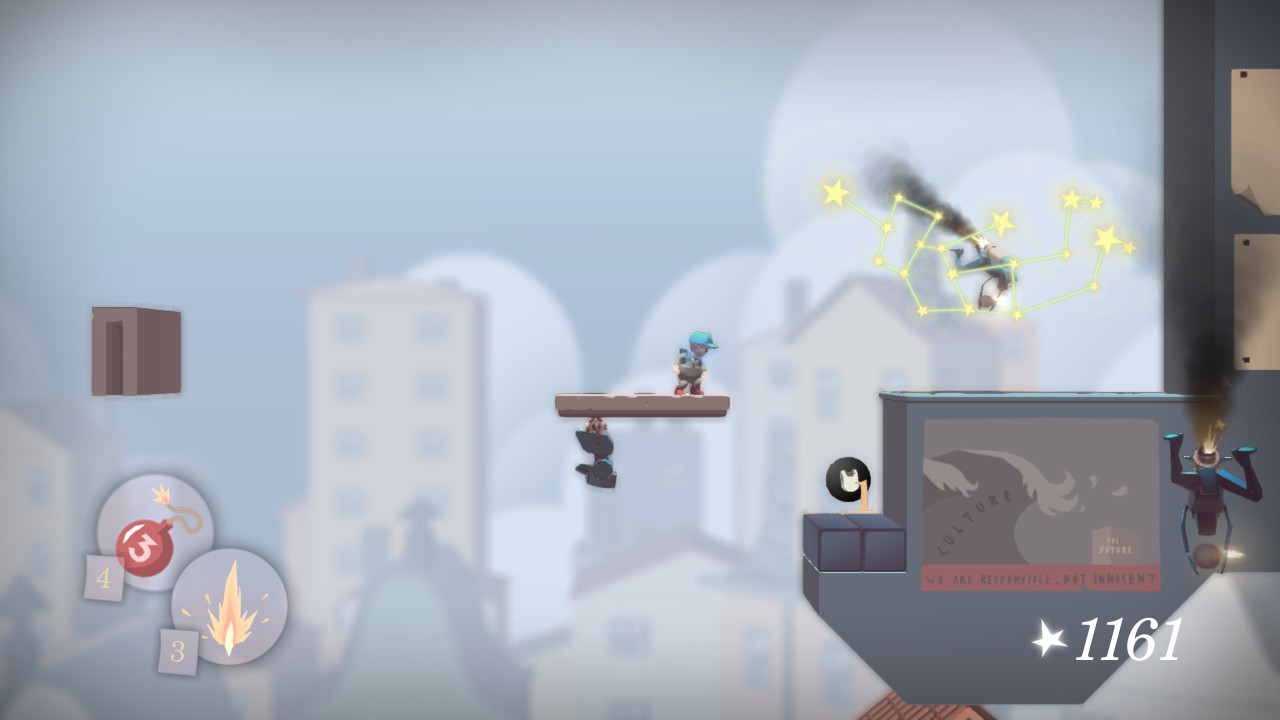
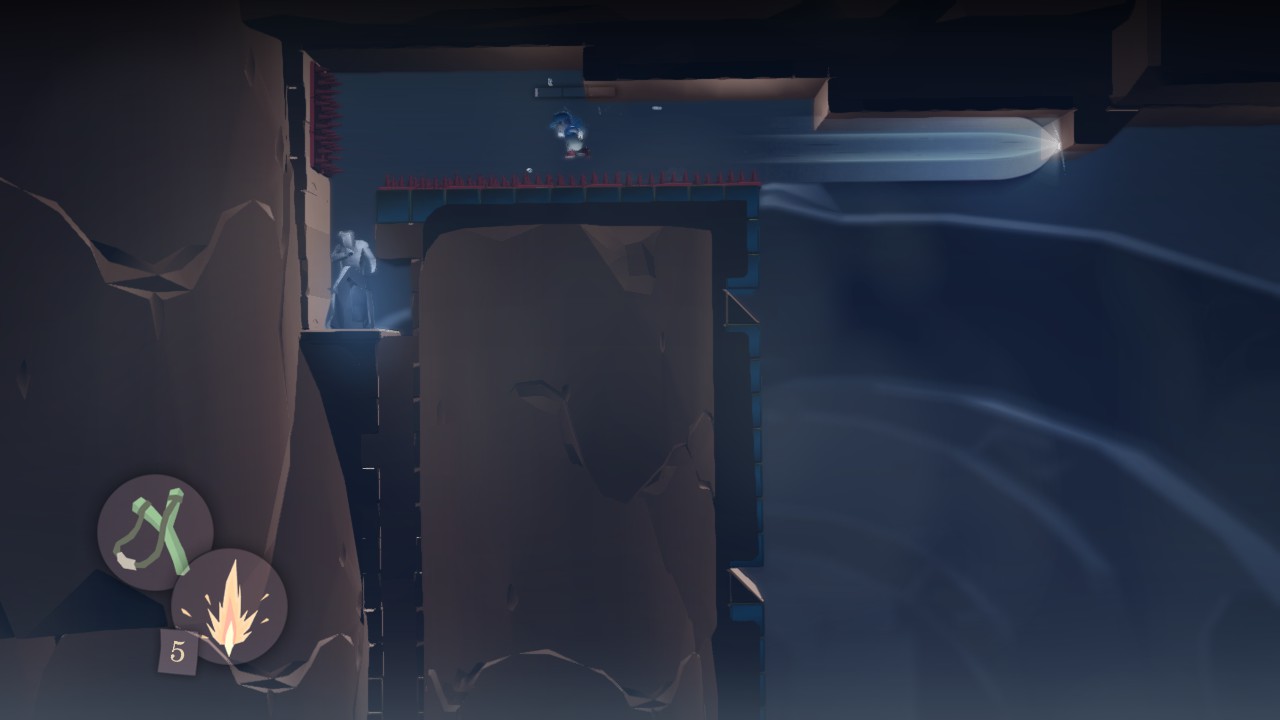
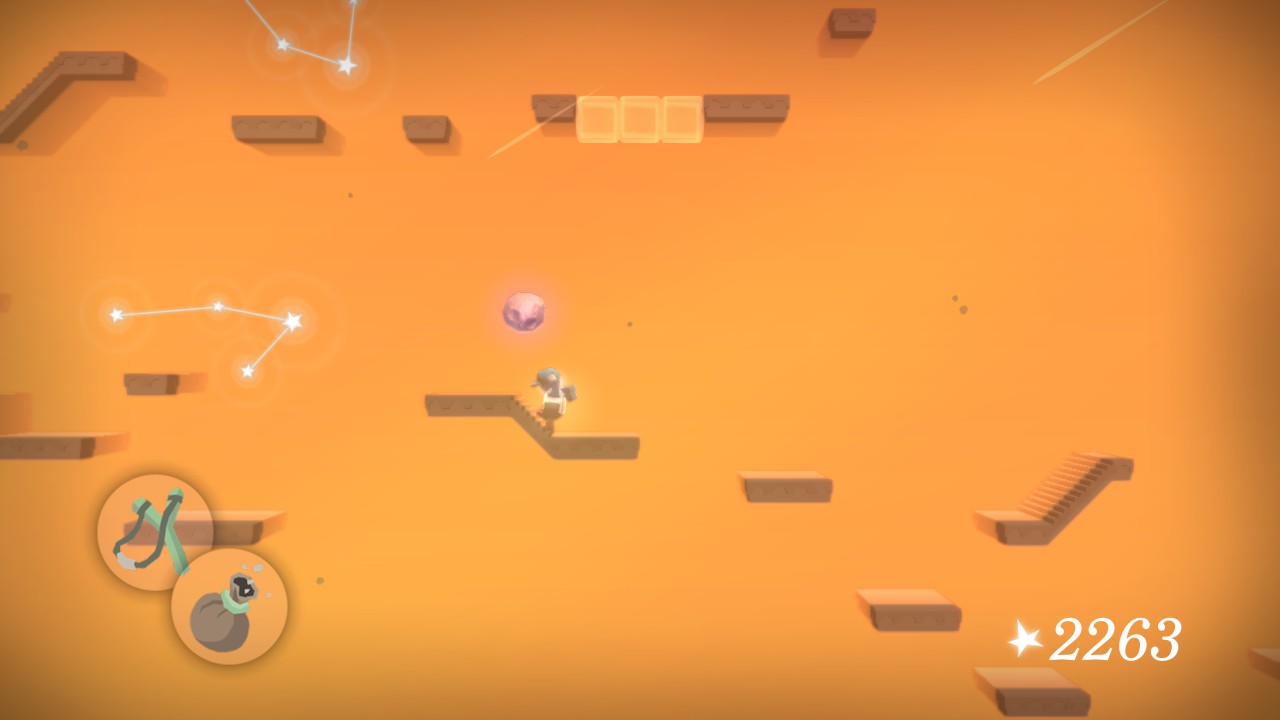
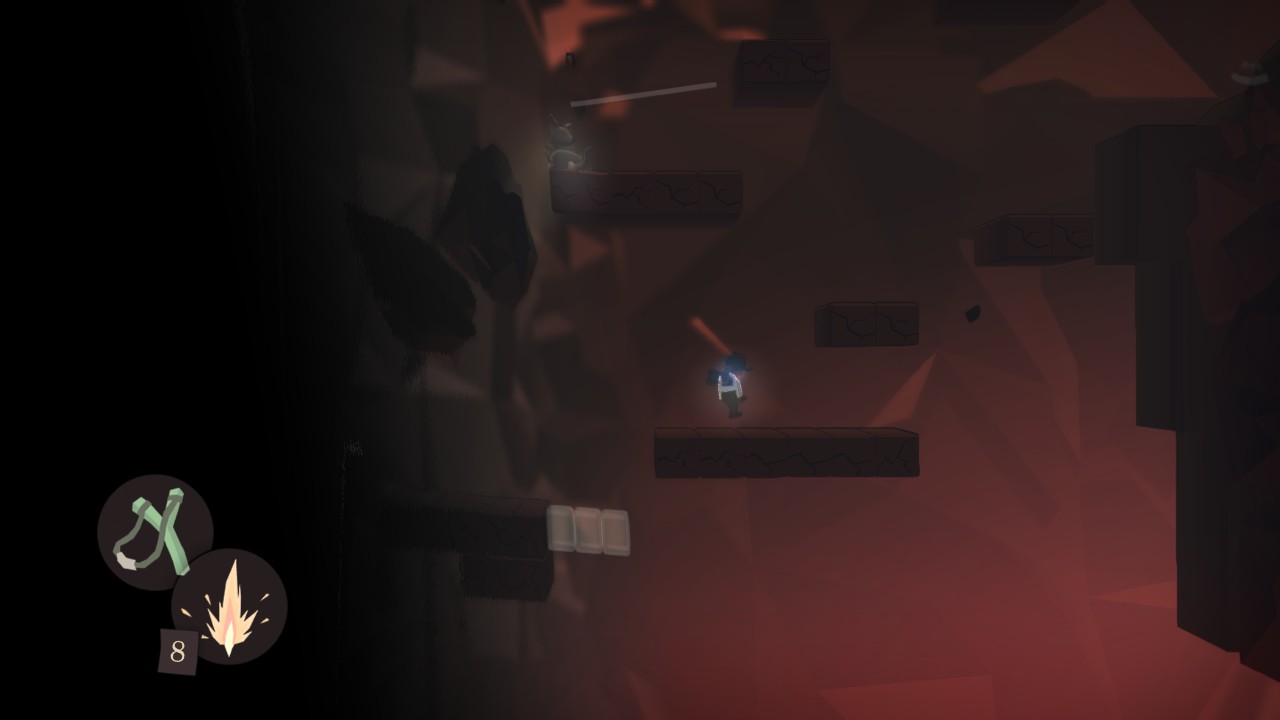
- Souvenir #8 - Stone Statue
There is a way to get them all easily.
PS.
Thanks for the guide. I helped myself to remember their locations.
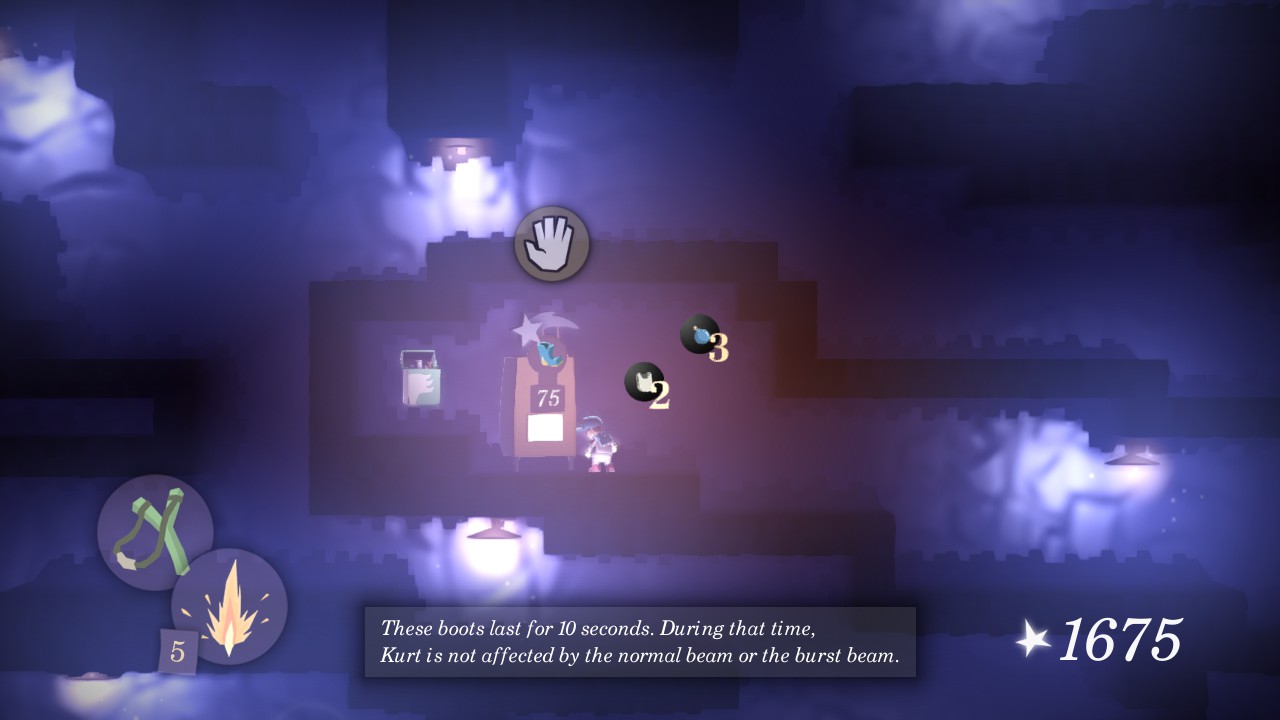
the music box is stopping the timers.
so instead having to race, sometime, use your music box to give you a few more time to achieve your goal.
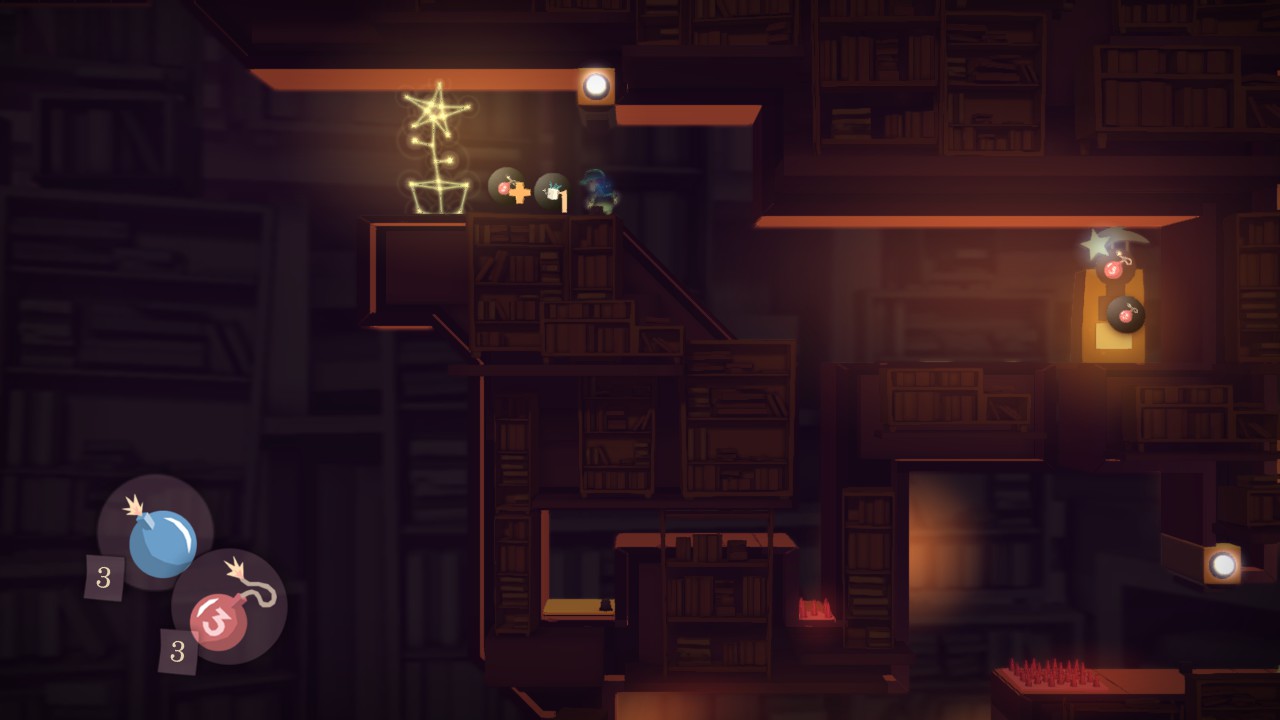
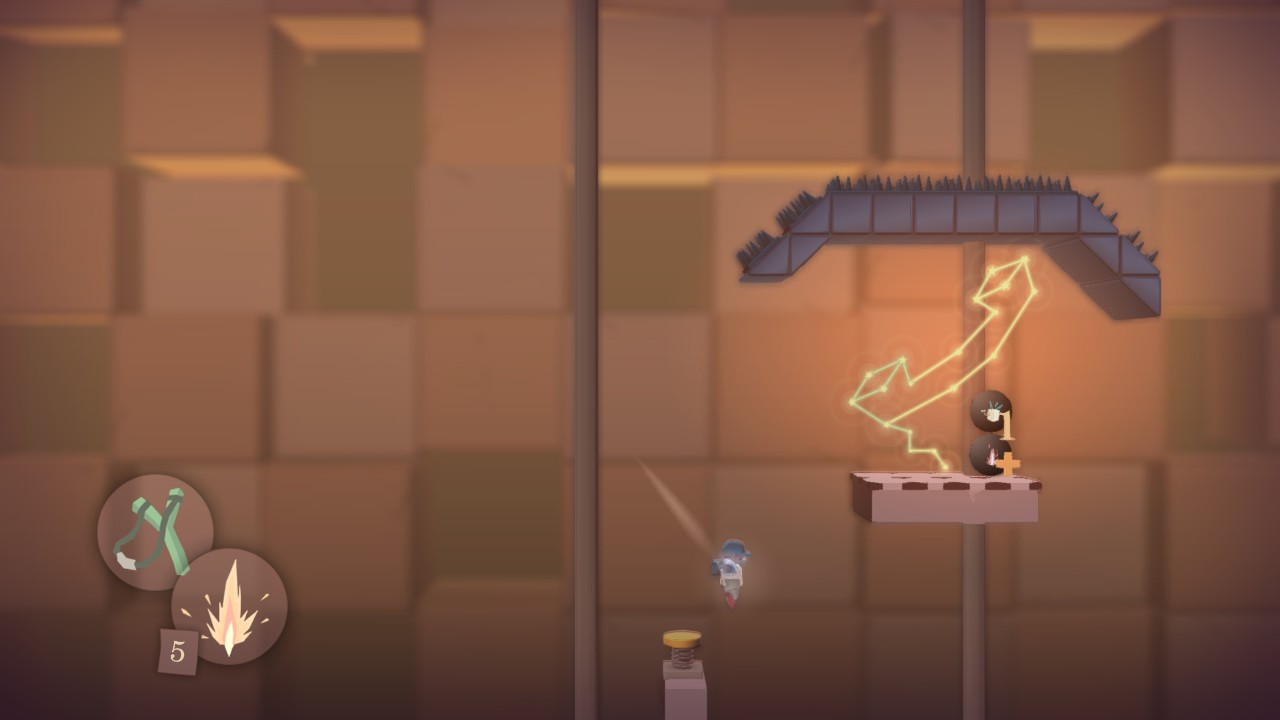
Efficient for me with the plateform part of library souvenir...