Rising Storm/Red Orchestra 2 Multiplayer

Rising Storm/Red Orchestra 2 Multiplayer

64 ratings
An Idiot's Guide To the Knee Mortar: By Killed Alive
By KilledAlive
This is a guide to help new players of Rising Storm with the knee mortar, includes basic walkthroughs of its use and tactics.
   
Award
Favorite
Favorited
Unfavorite
Introduction
A Yankee dog would often view the knee mortar lying next to the corpse of a Japanese soldier who has misused it and perished horribly, saying, “Ha! What’s that little tube he’s carrying! A mortar launcher for Ants!? Why isn’t it made out of bacon or Apple Pie?!”

He will not say the same as he and his comrades are reduced to flying, limbless torsos moments later.

The Knee Mortar, when used effectively, is a devastating addition to an Axis team. It can serve as both an offensive and defensive weapon, and a long or short range attacker. But, if mishandled, the knee mortar is a team killing, suicide causing bundle of trouble. So, this guide has been created in the hopes that it can be used properly and safely.
Extreme Basics
As a Light Mortar class, you can switch to the knee mortar using (4) on the numeral pad. Like all weapon switches, you can only successfully swap weapons when you are not sprinting or changing postures. Be sure to allow yourself to complete the switching animation to bring the mortar out.
In order to use the knee mortar at all, you must be staying still in the crouched or prone position. The knee mortar can only be fired while aiming, and when you aim with the RMB, your character will, if not in a prone position, crouch automatically to set the mortar onto the ground.

While aiming, use your mouse wheel to change the range of your mortar. From spawning or after a weapon switch, the mortar will automatically be in Direct Fire mode. Scroll up with your mouse wheel to set the mortar more traditionally.

While aiming with the RMB, press the LMB to fire the mortar. Then, hit R to load the next round. Like weapon switching, you must wait for the reloading animation to complete in its entirety to actually reload. There has been countless times where I have stopped my own reload animation moments before its completion, leaving me to awkwardly reload again right after I had begun dropping the round into the tube.

Remember, you have only 5 rounds at your disposal, so use them carefully. The only ways to replenish these are through ammunition stations.
Direct Fire Mode
Direct fire mode puts the round at a very low angle, which allows for very precise aiming. Direct Fire mode does take some time getting used to, as there is no assist to help you place rounds other than your own judgment.

Through my own experience, if the target is a good distance away, say 30-50m, cover your target completely with your mortar while in direct fire mode. For long-range direct fire, say, 80 or more meters, on level ground, fire the mortar when your target is overlapped by the upper center of your mortar. Otherwise, take note of where every mortar round lands, and aim higher or lower depending on the situation. I would recommend finding what exactly to use as an aiming reference is up to you.


A good vantage point, but the railings could be very deadly.

Despite needing much closer contact with the enemy to be effective, the direct fire mode has its advantages of being able to place mortar rounds that arrive at their desired target much faster than ranged fire, due to their low firing angle.

Here is an example of what I am saying.


Cover the target with your mortar and fire.


Enjoy the results.


On another note, here is an early reference photo from MS paint detailing close range tactics.


Ranged Mode
Personally, I have not found this mode all that useful, although I have seen others be very effective while using this. While aiming, scroll upward with your mouse to set it to this mode. There will be a helpful guide for you to use that will show the arc of the shell and its approximate landing area. Note that the area is approximate, NOT exact. An advantage to the Ranged mode includes the downward trajectory. This can circumvent the difficulty of firing into a trench by placing a round straight into it.

While having the great advantage of being able to fire out of harm’s way while delivering devastation, and being able to house yourself nearby ammunition stations, this mode still has some large disadvantages.

First, most of the time, you cannot directly see what you are hitting. You can certainly look at the map and see if there are friends you might be endangering in your duty, but inadvertent team killing is a large possibility. With that, you also might be hitting empty pockets of ground, not filled with enemies. Also, you have to be careful as geometry can easily stop your round before it reaches its intended target.

Due to my preference to direct fire, I do not have any screens of myself doing so at the moment.
Tactics and Areas of Use
Some general areas where a knee mortar is effective include chokepoints and hiding spots. For example, a group of 3 or 4 Yankee dogs are whimpering behind a rock face, temporarily sheltered on Iwo Jima’s shore.

With a correctly placed knee mortar shot using either direct or ranged fire, you can kill everyone behind that rock through flanking them and firing from one of their sides, or placing a round on top of them with a ranged attack. Even If you do not hit them, the round can cause a great amount of suppression, and makes them tremble in their Yankee boots.

You will eventually begin to find areas on the map that are effective sites for removing the limbs that the Yankees do not deserve. Look for a site that allows basic cover from enemy fire, while still allowing you to fire your mortar with little risk of surprise self-amputations. Be VERY careful of even small trees and shrubberies, as for some reason, some of them have the Evil Yankee Voodoo Magic Powers of stopping mortar rounds completely.

It seems like an effective firing location...


But, it is not. Blasted Evil Yankee Voodoo Magic.


Etc.
Remember that the knee mortar make a very distinctive, “thuPING!” sound when fired, along with a bit of flash from the launcher. The Yankees will use that sound to hunt you down. If possible, move to different firing positions if you have expended all five rounds and are returning to the front.

On another note, the class itself allows for you to be akin to a rifleman even when you are out of mortar rounds. Be sure to employ yourself to other roles when needed by your peers.

Now, bring honor to the Emperor and fear to the Yankee Dogs!

For your viewing pleasure, here are some more comparison shots of myself: At the moment before Firing, and Post-Firing.


31 Comments
KilledAlive  [author] May 9, 2018 @ 10:19am 
@Kangaroo Thanks for the comment! Glad to know I'm still helping people out with this guide!
Kangaroo May 9, 2018 @ 10:12am 
Good guide, well written & humorous, i also like the Paint art... hilarious. Ignore the knockers, they dont know shit from clay. Cheers mate :steamhappy: :BalkanCross: :IS2:
Seamus Dec 21, 2016 @ 3:29pm 
Oh my god. I've been playing for years without knowing you can adjust the range on the mortar. I've had it in direct fire mode the whole time.
Ailes Dec 5, 2015 @ 2:48pm 
I cannot help but find your Paint art adorable.
Setamiesrautanen Oct 5, 2014 @ 2:34am 
You can get +1 suicide kill with knee mortar
罪xLegen'TnKillerX源 Jun 23, 2014 @ 5:09am 
It heavily relies on your practise. For me, i think there is no skill for this, i shoot it with only my sense
Praxius Jan 5, 2014 @ 9:34pm 
Use your Spotting Key. Spot the area where the enemy is to bring up that red dot at the top of the screen to note their distance.... the distance shows up for you.... range your mortar to that noted distance, fire into that direction and BAM.... they're dead.

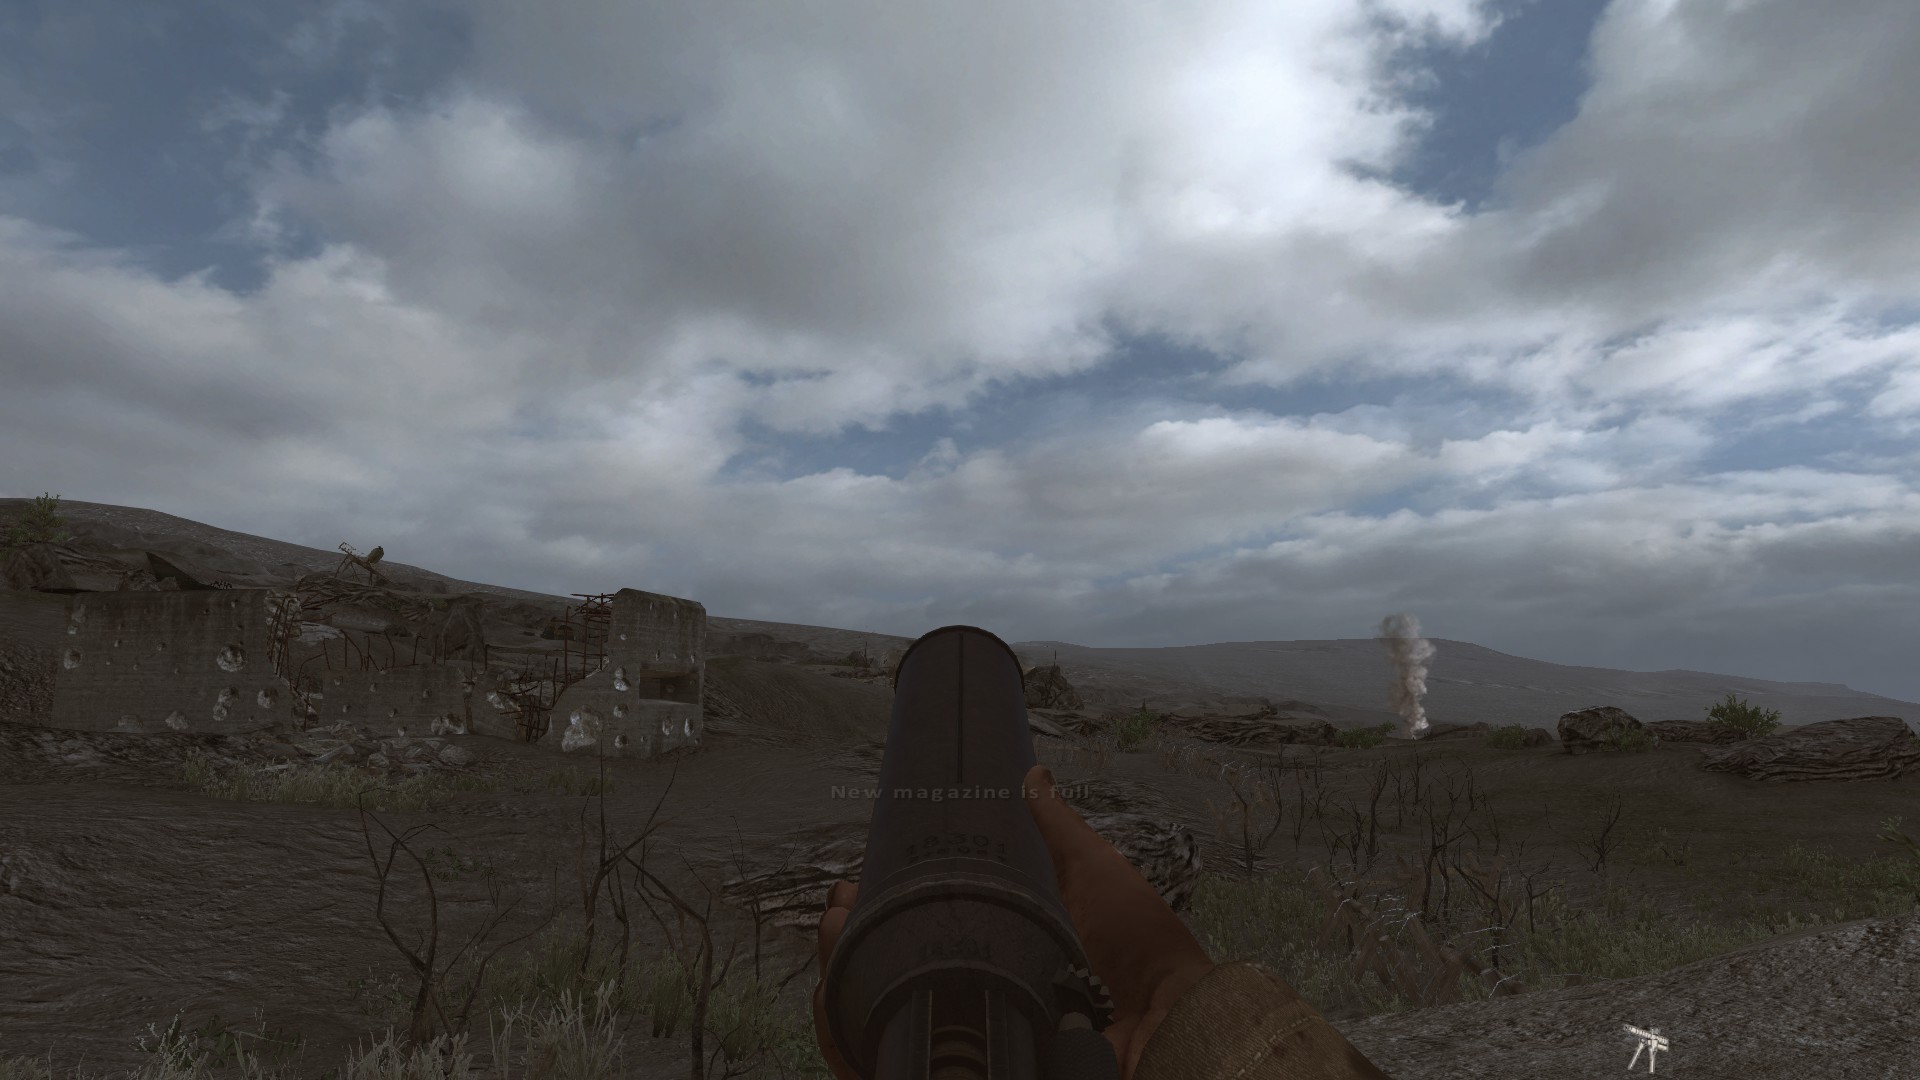
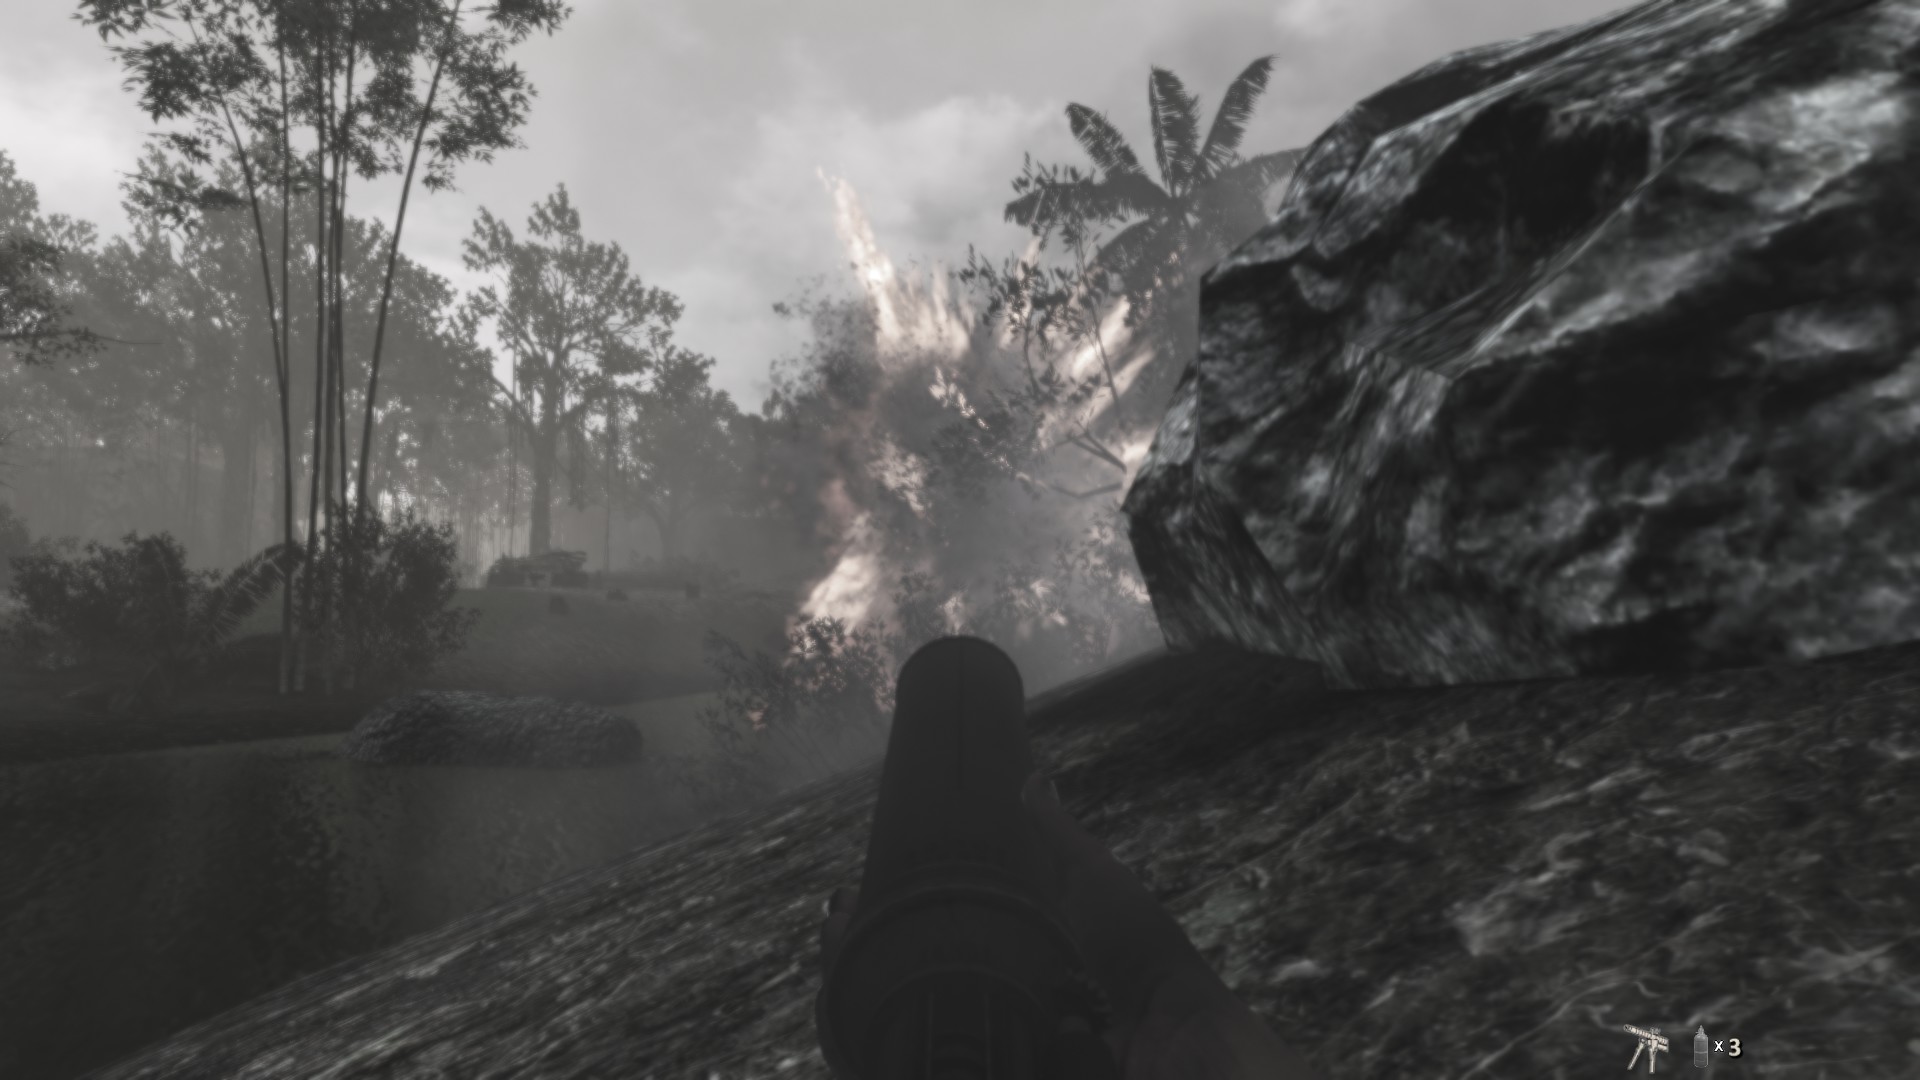
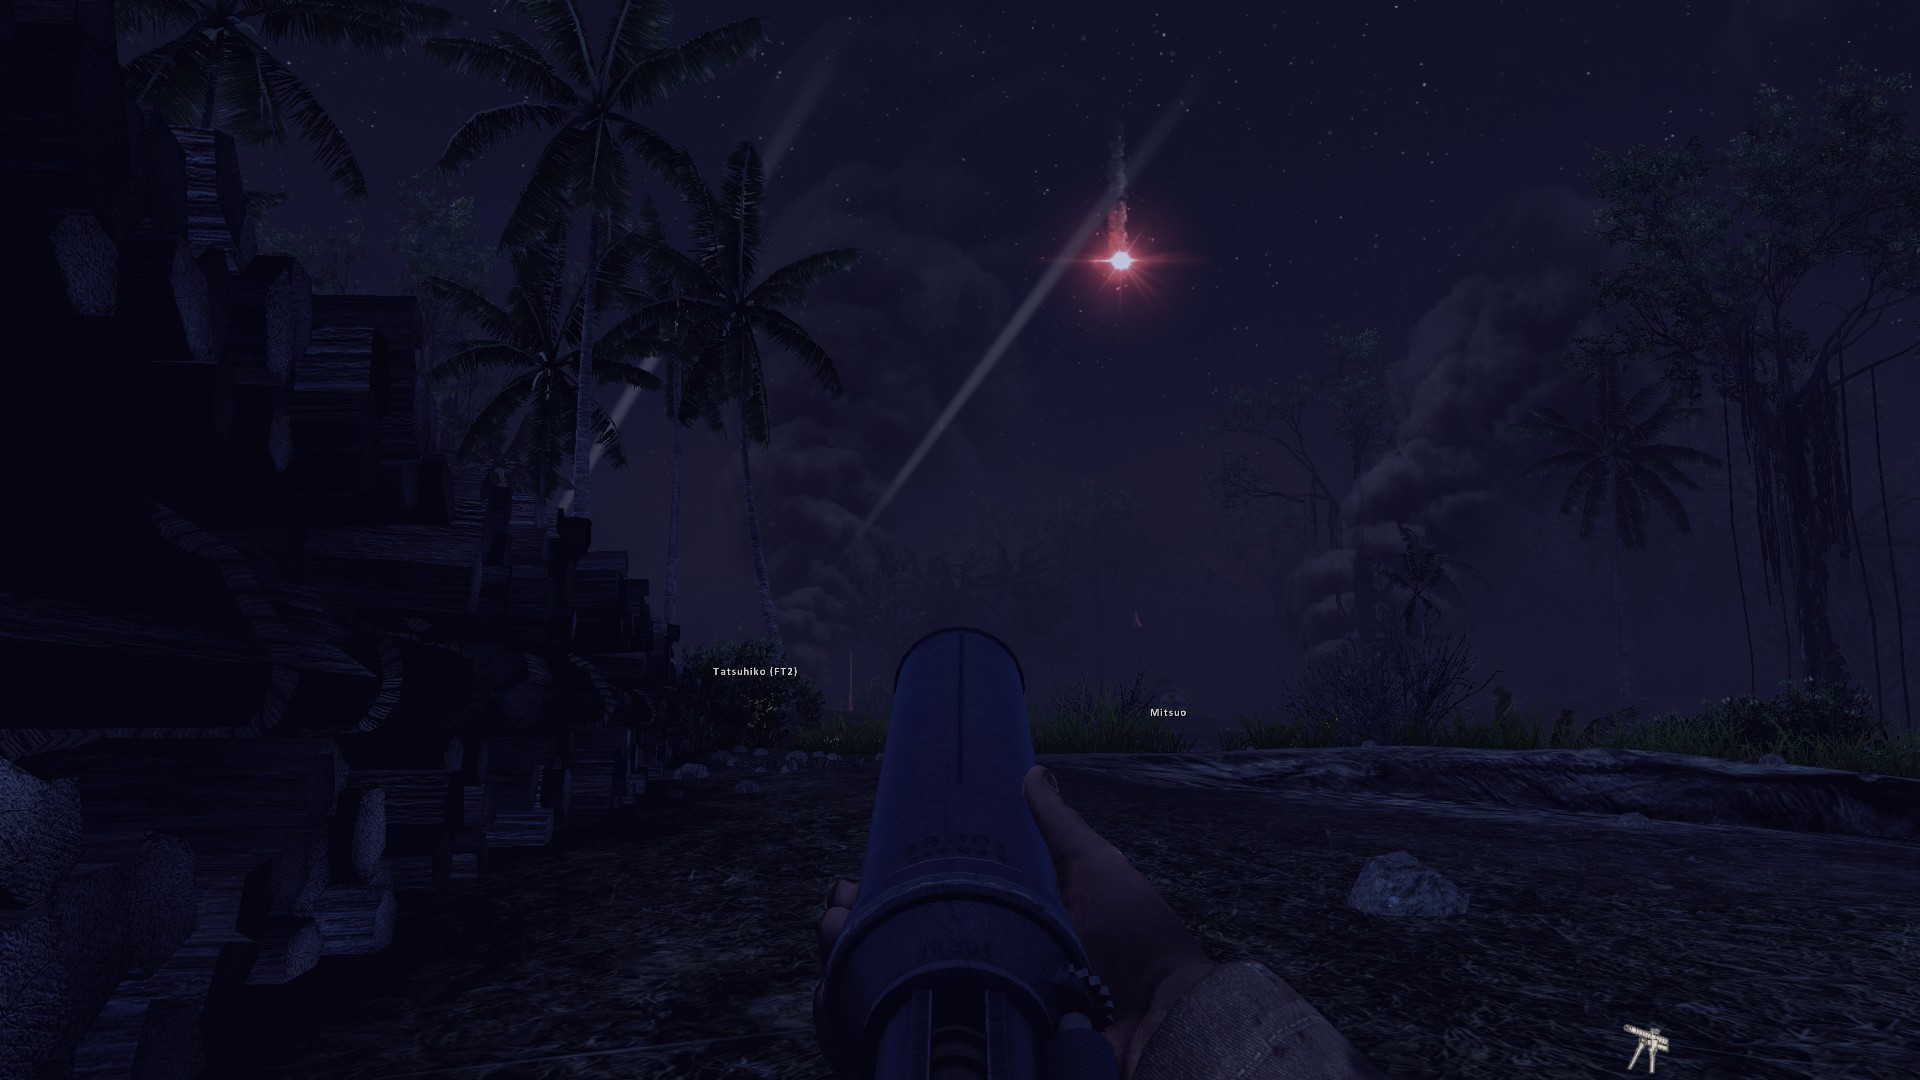
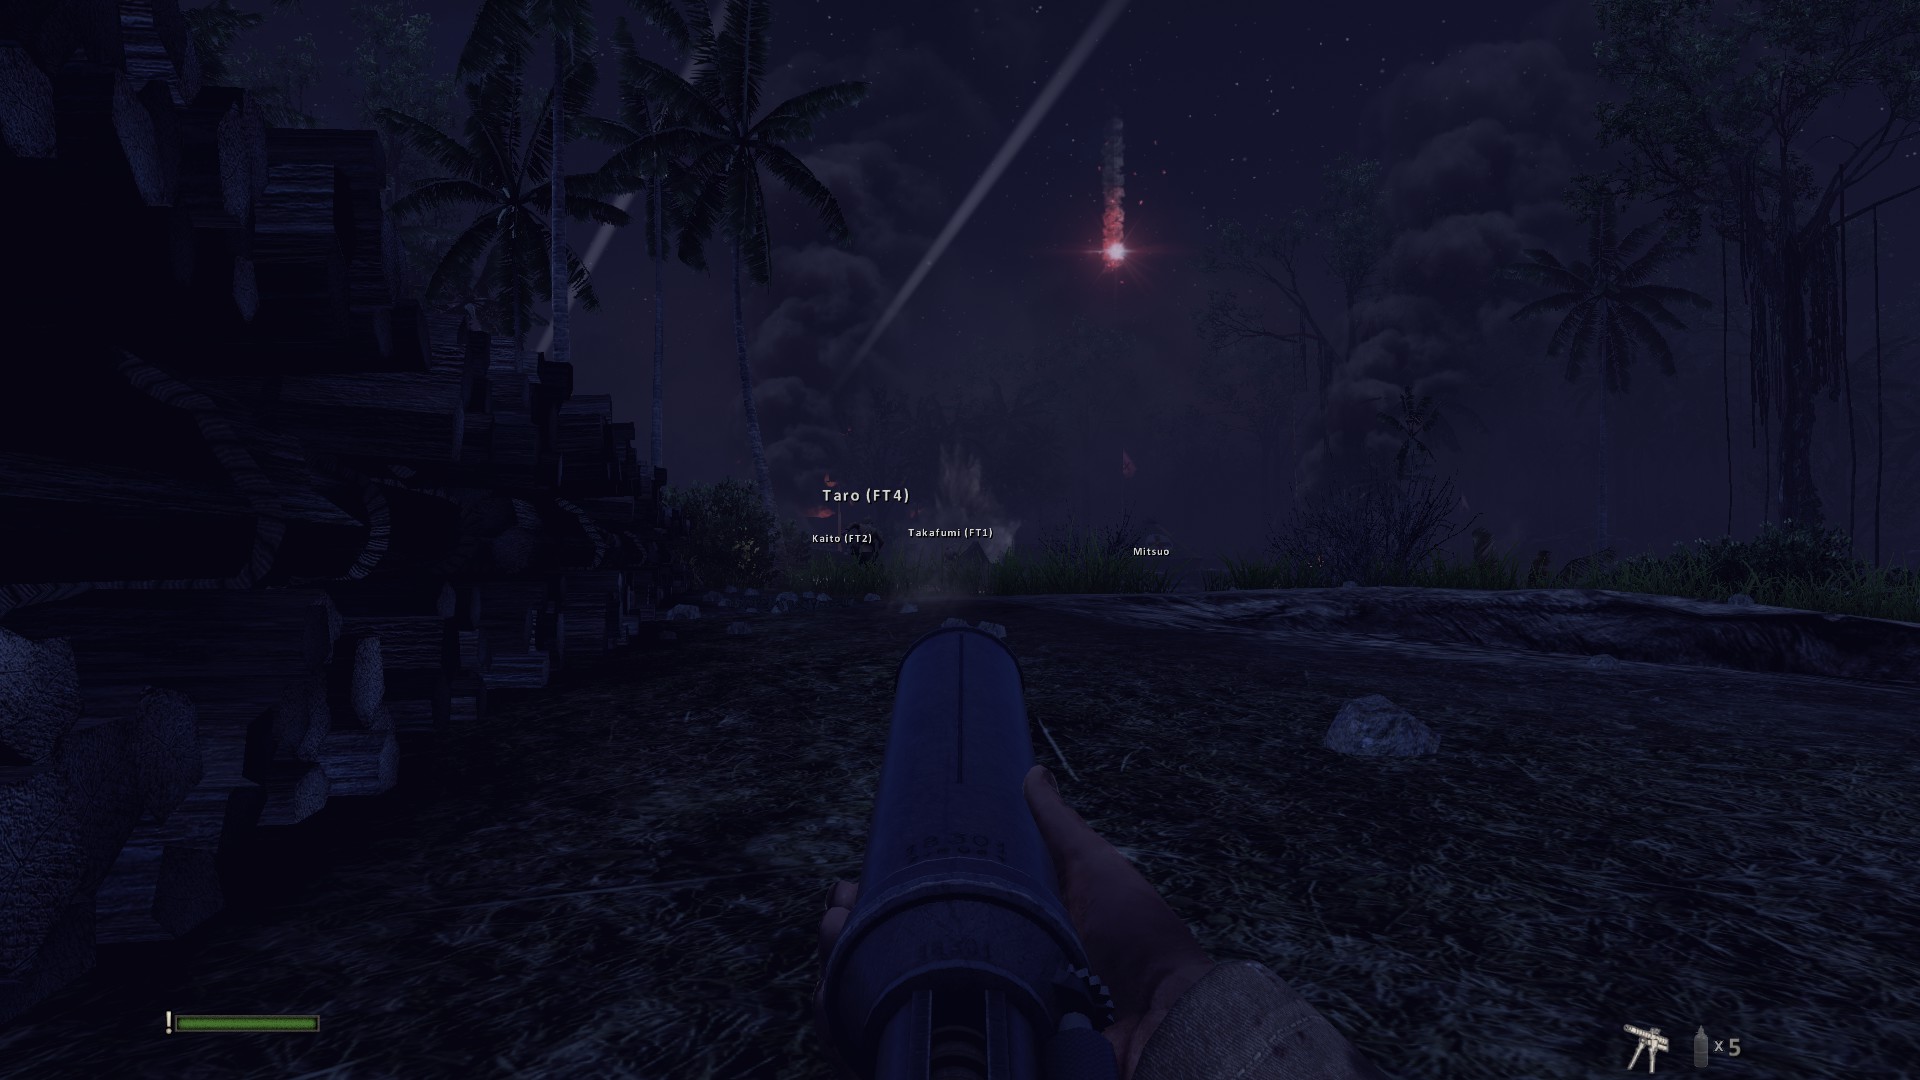
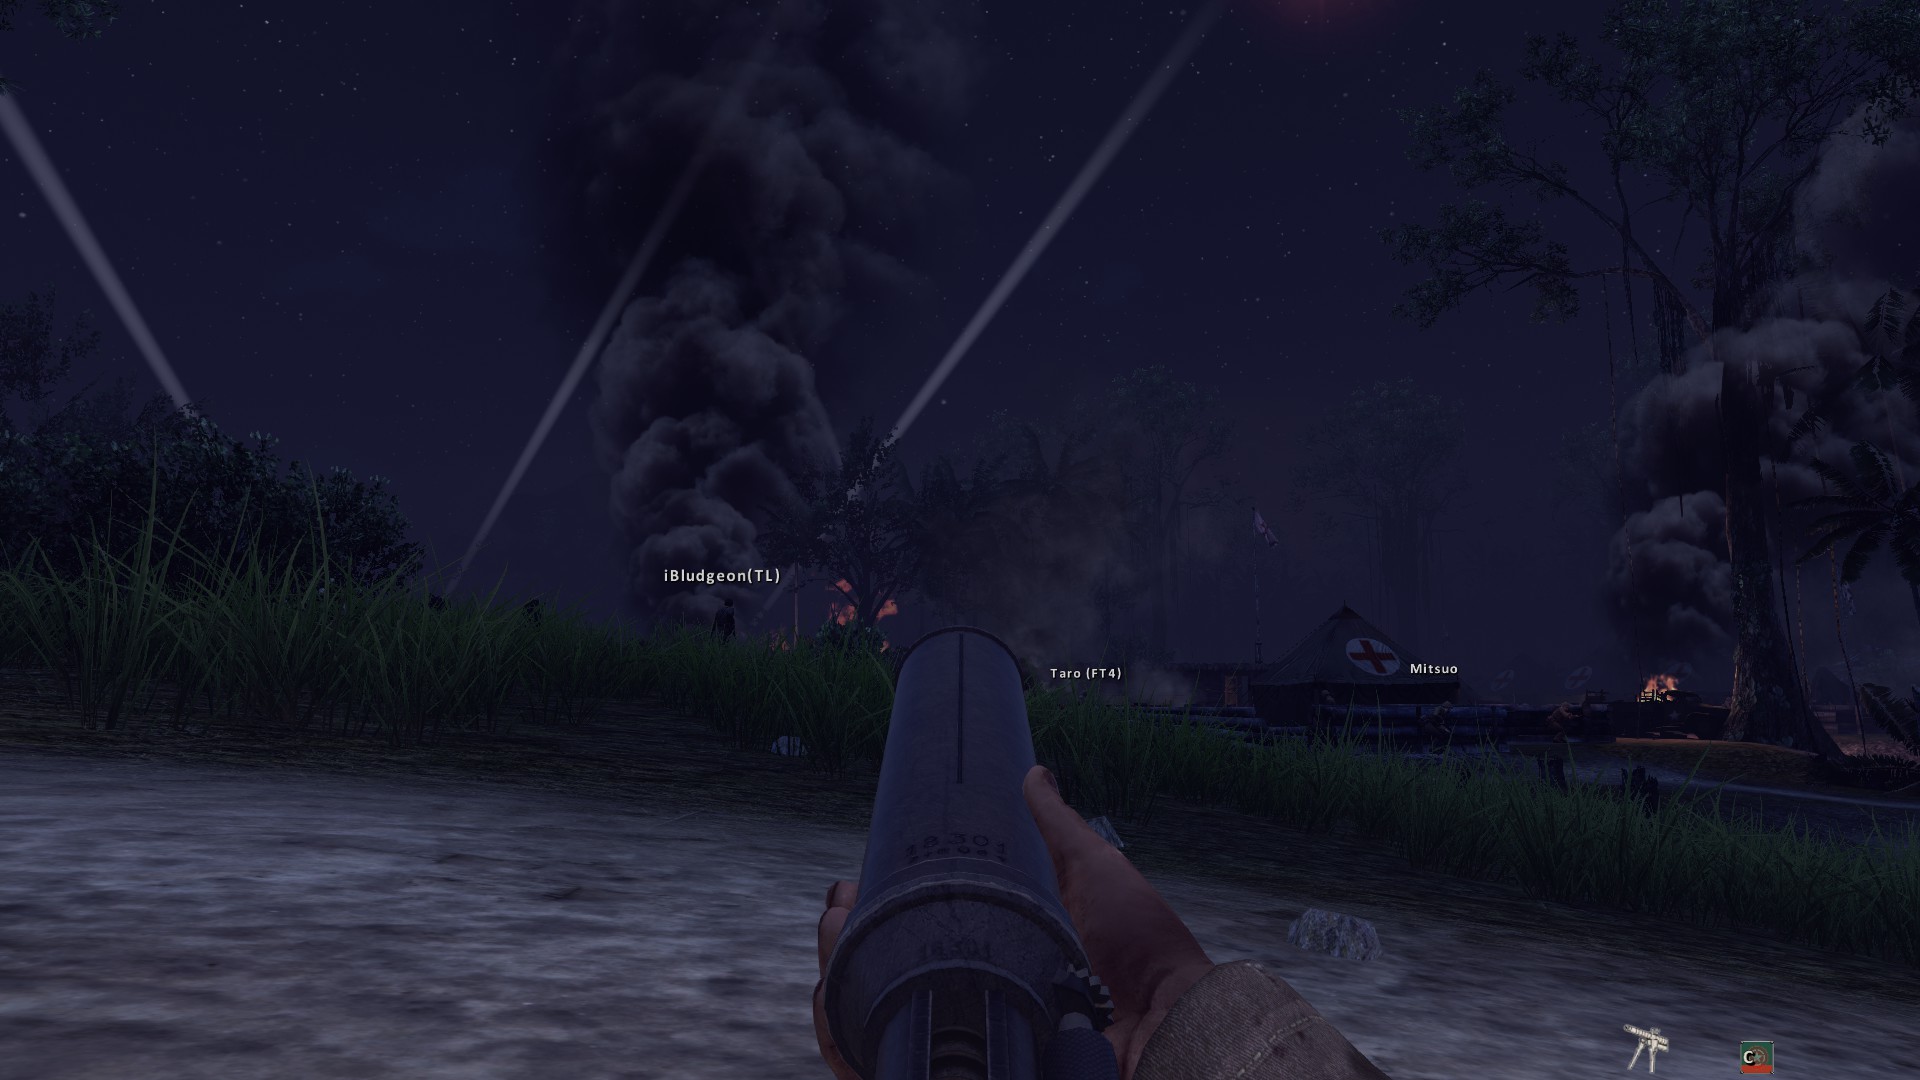
You can also use your tactical display for any other spotted enemies, be that by recon planes or by other players.... range in your mortar to the displayed distance, aim towards that area.... shoot.
Planet Smasher Oct 19, 2013 @ 4:30am 
There's another very helpful knee mortar guide on here mostly covering the indirect fire mode. Apparently, because of a bug the distance selected when firing is not the distance actually covered. If you want to hit a certain target, multiply its distance with ~8/7 and adjust your mortar accordingly.

Example: Your target is 100m away from you. 100m * 8/7 = ~114m

Keeping that in mind, the knee mortar is VERY accurate while firing indirectly and if someone provides you with a good target you can easily bombard it from almost any distance.

Look here: http://steamcommunity.com/sharedfiles/filedetails/?id=185385451

That said, this guide is great as well and I recommend reading both, as they focus on different fire modes and you shouldn't only use one of them anyway!
KilledAlive  [author] Oct 8, 2013 @ 6:10pm 
Thank you so much for posting that information!
SmaSh it Up Oct 8, 2013 @ 7:49am 
1) You have to be careful with indirect mode. It is an unusual mechanic because it does not fix the elevation of your view (you can look up and down with the knee mortar having set a range with the mouse wheel). I am unsure if this has any effect on the range of a mortar. I am also suspicious of whether Reconnaissance via plane or the spotting of enemies by team mates somehow "snaps" or pulls your mortar towards the enemy. In my experience, following the projected trajectory is a good visual clue as to where your mortar will end up, but, I have found that mortars will drop closer to the stated range (if you scroll to say 120 metres, it might drop at 100 metres). It is frustrating to teamkill when you assume you have provided more than enough of a gap between your frontline troops and the enemy.