
Zainstaluj Steam
zaloguj się
|
język
简体中文 (chiński uproszczony)
繁體中文 (chiński tradycyjny)
日本語 (japoński)
한국어 (koreański)
ไทย (tajski)
български (bułgarski)
Čeština (czeski)
Dansk (duński)
Deutsch (niemiecki)
English (angielski)
Español – España (hiszpański)
Español – Latinoamérica (hiszpański latynoamerykański)
Ελληνικά (grecki)
Français (francuski)
Italiano (włoski)
Bahasa Indonesia (indonezyjski)
Magyar (węgierski)
Nederlands (niderlandzki)
Norsk (norweski)
Português (portugalski – Portugalia)
Português – Brasil (portugalski brazylijski)
Română (rumuński)
Русский (rosyjski)
Suomi (fiński)
Svenska (szwedzki)
Türkçe (turecki)
Tiếng Việt (wietnamski)
Українська (ukraiński)
Zgłoś problem z tłumaczeniem


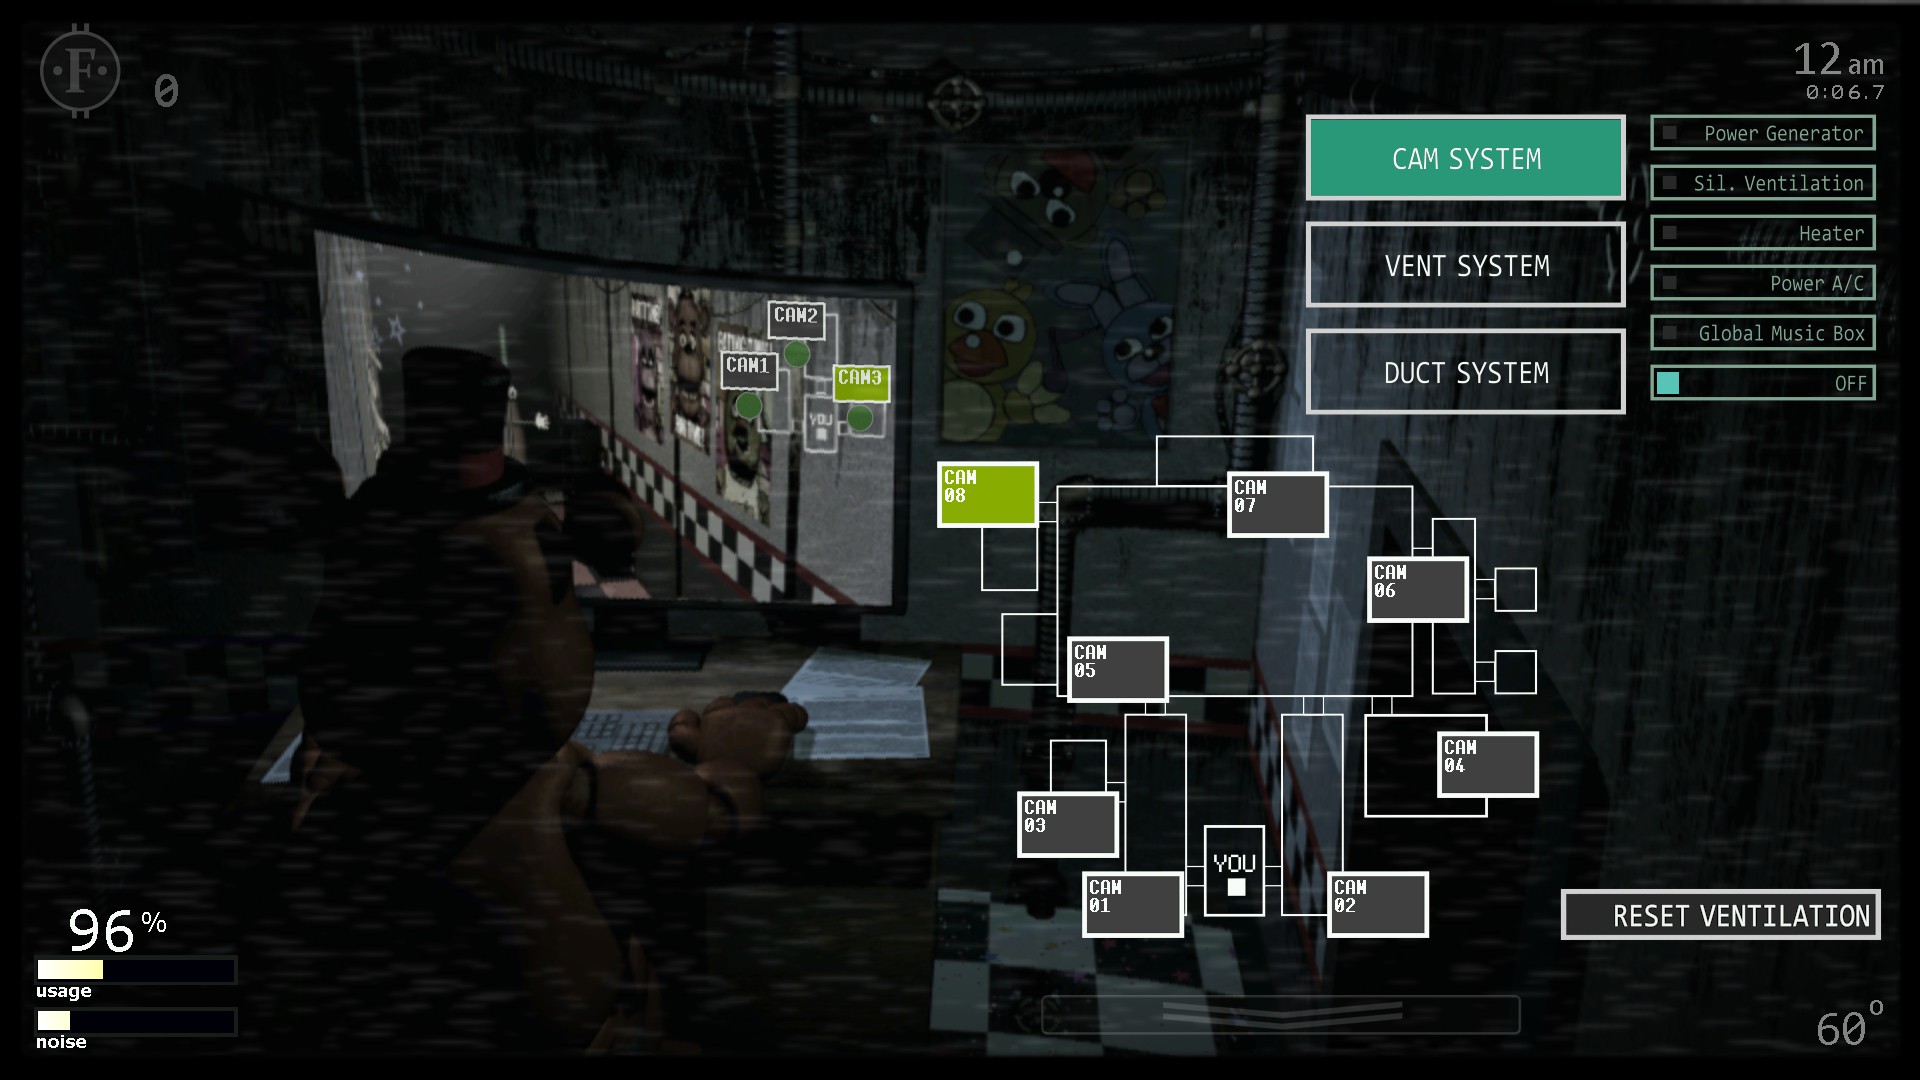


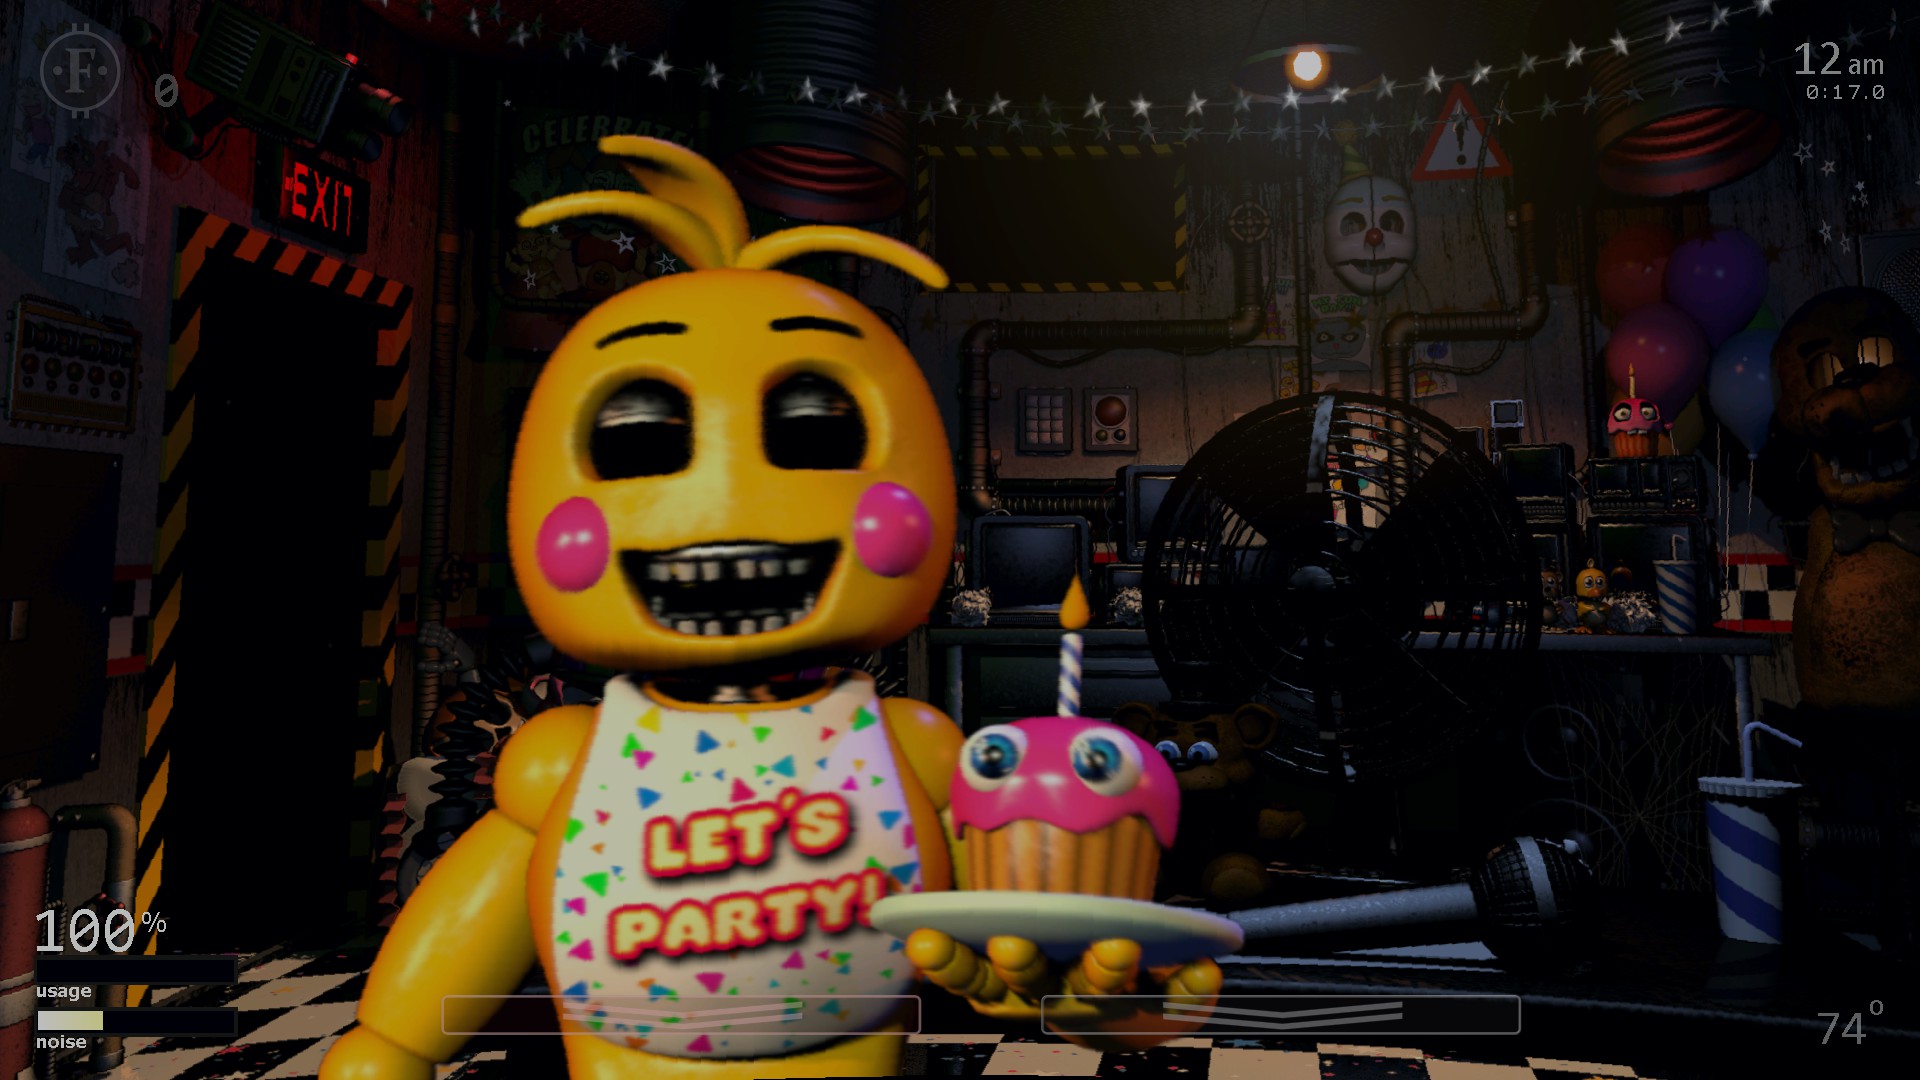


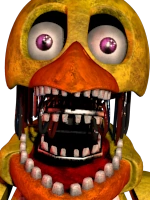
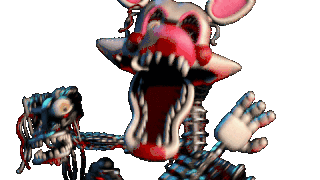


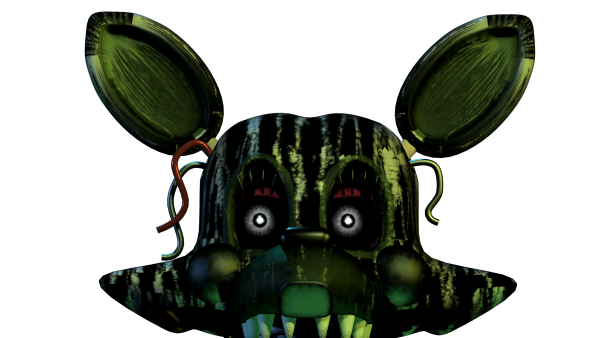
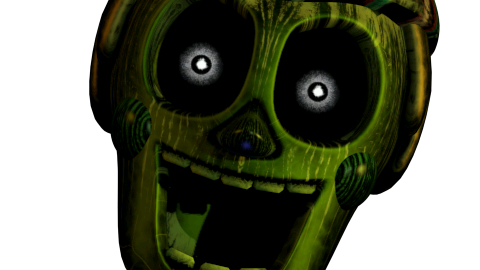
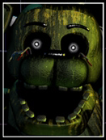


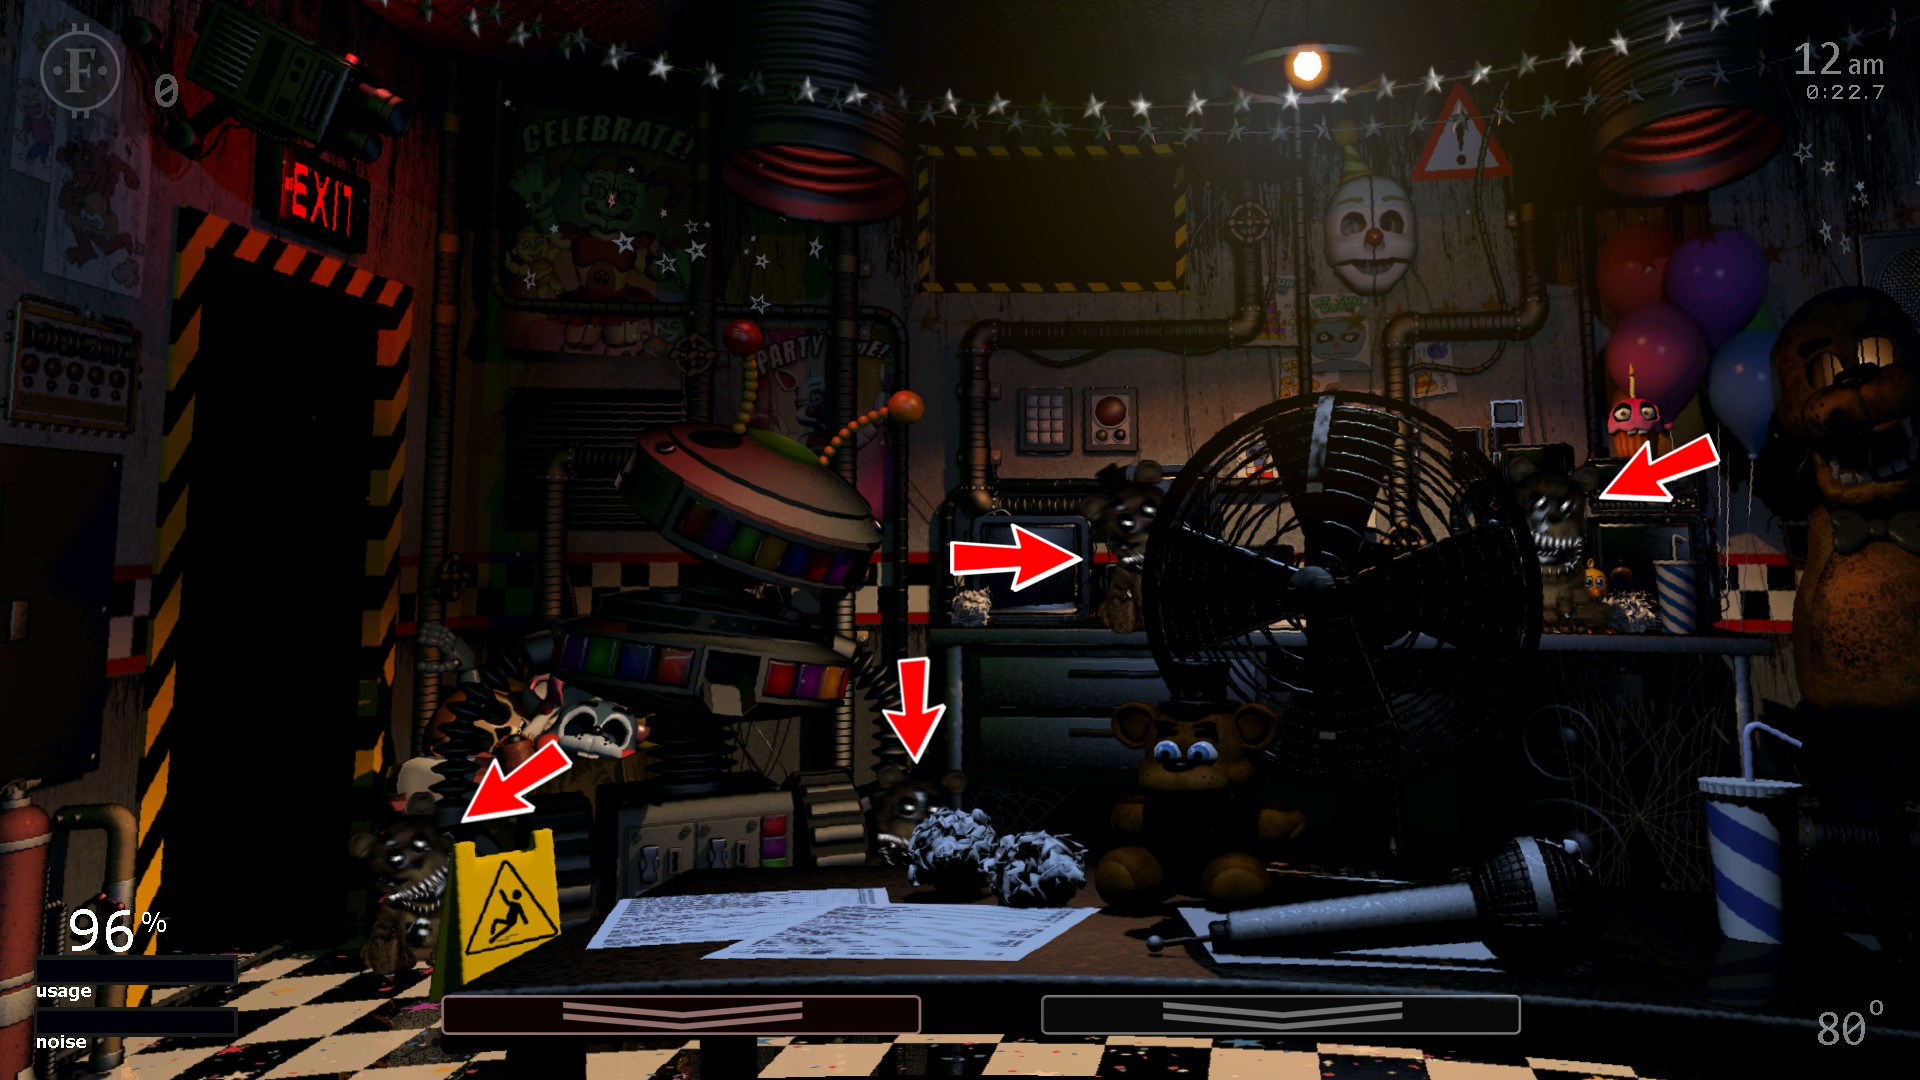
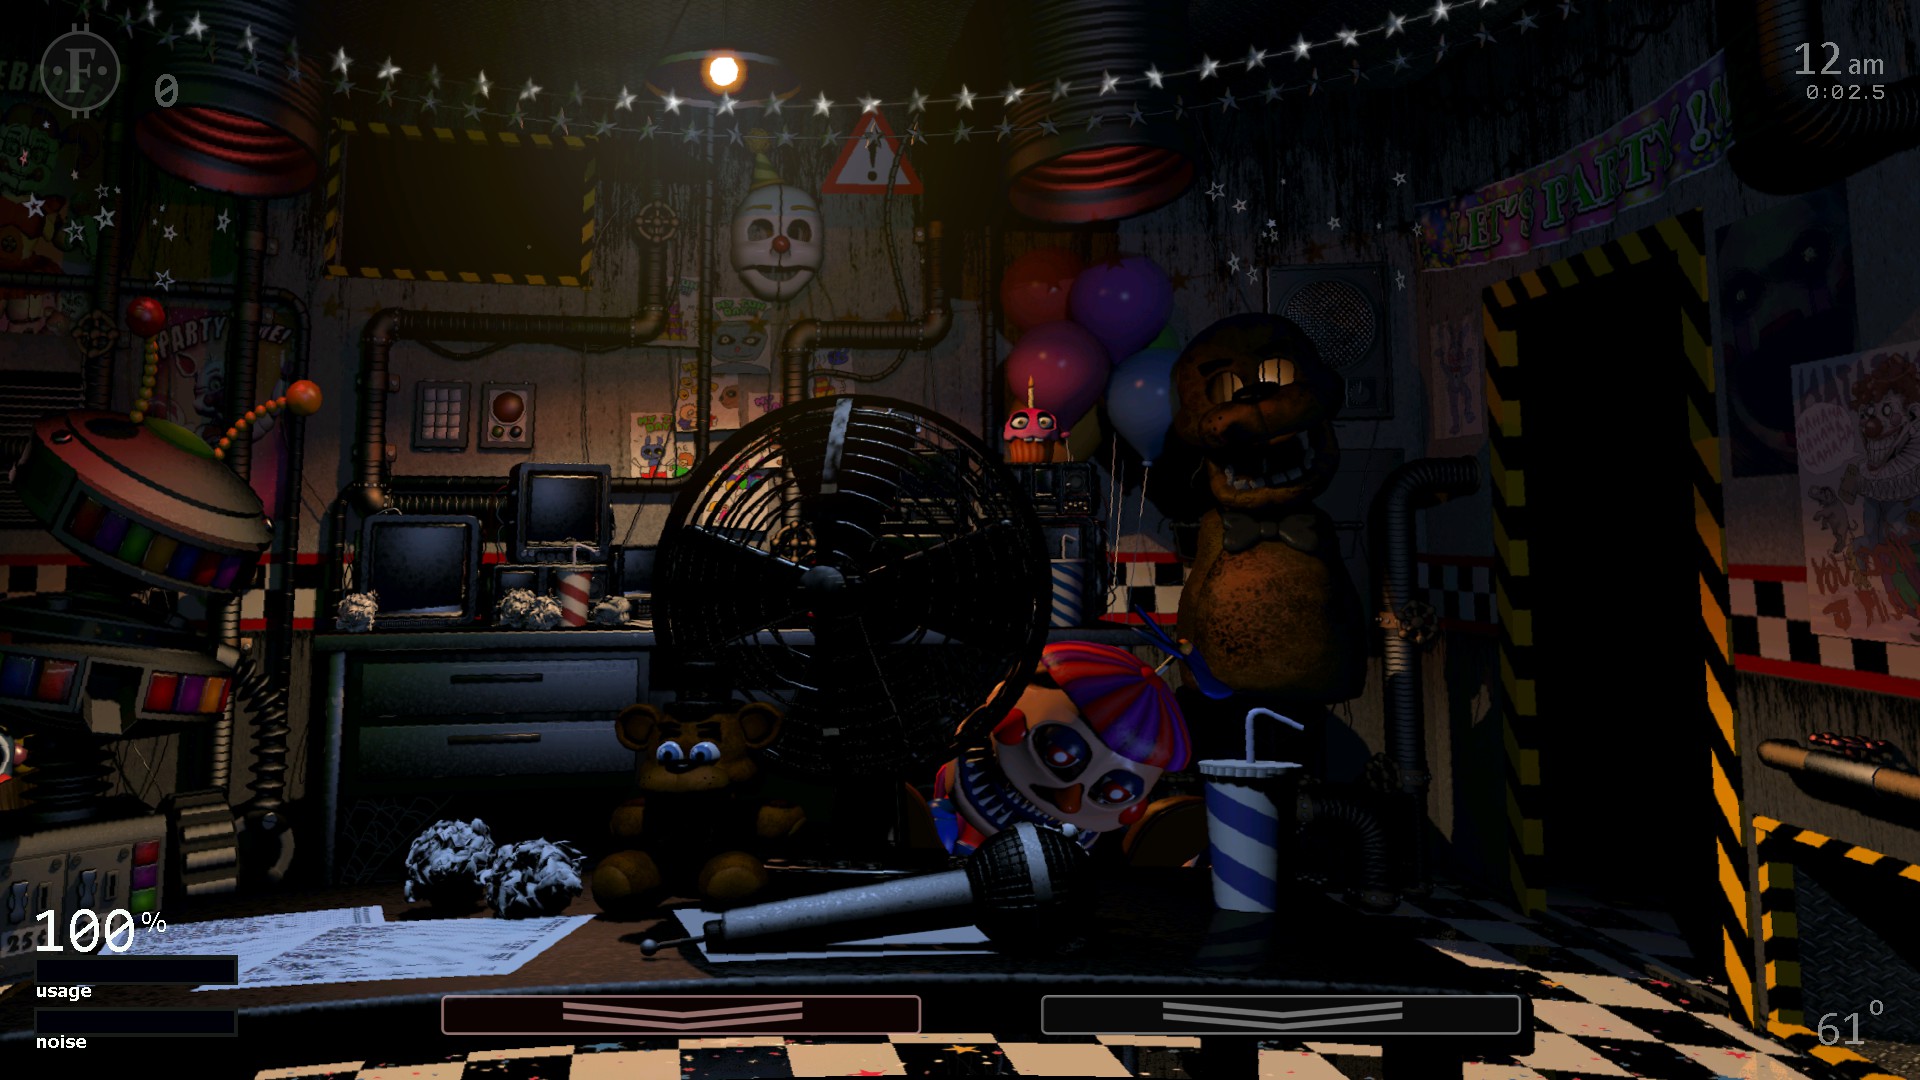
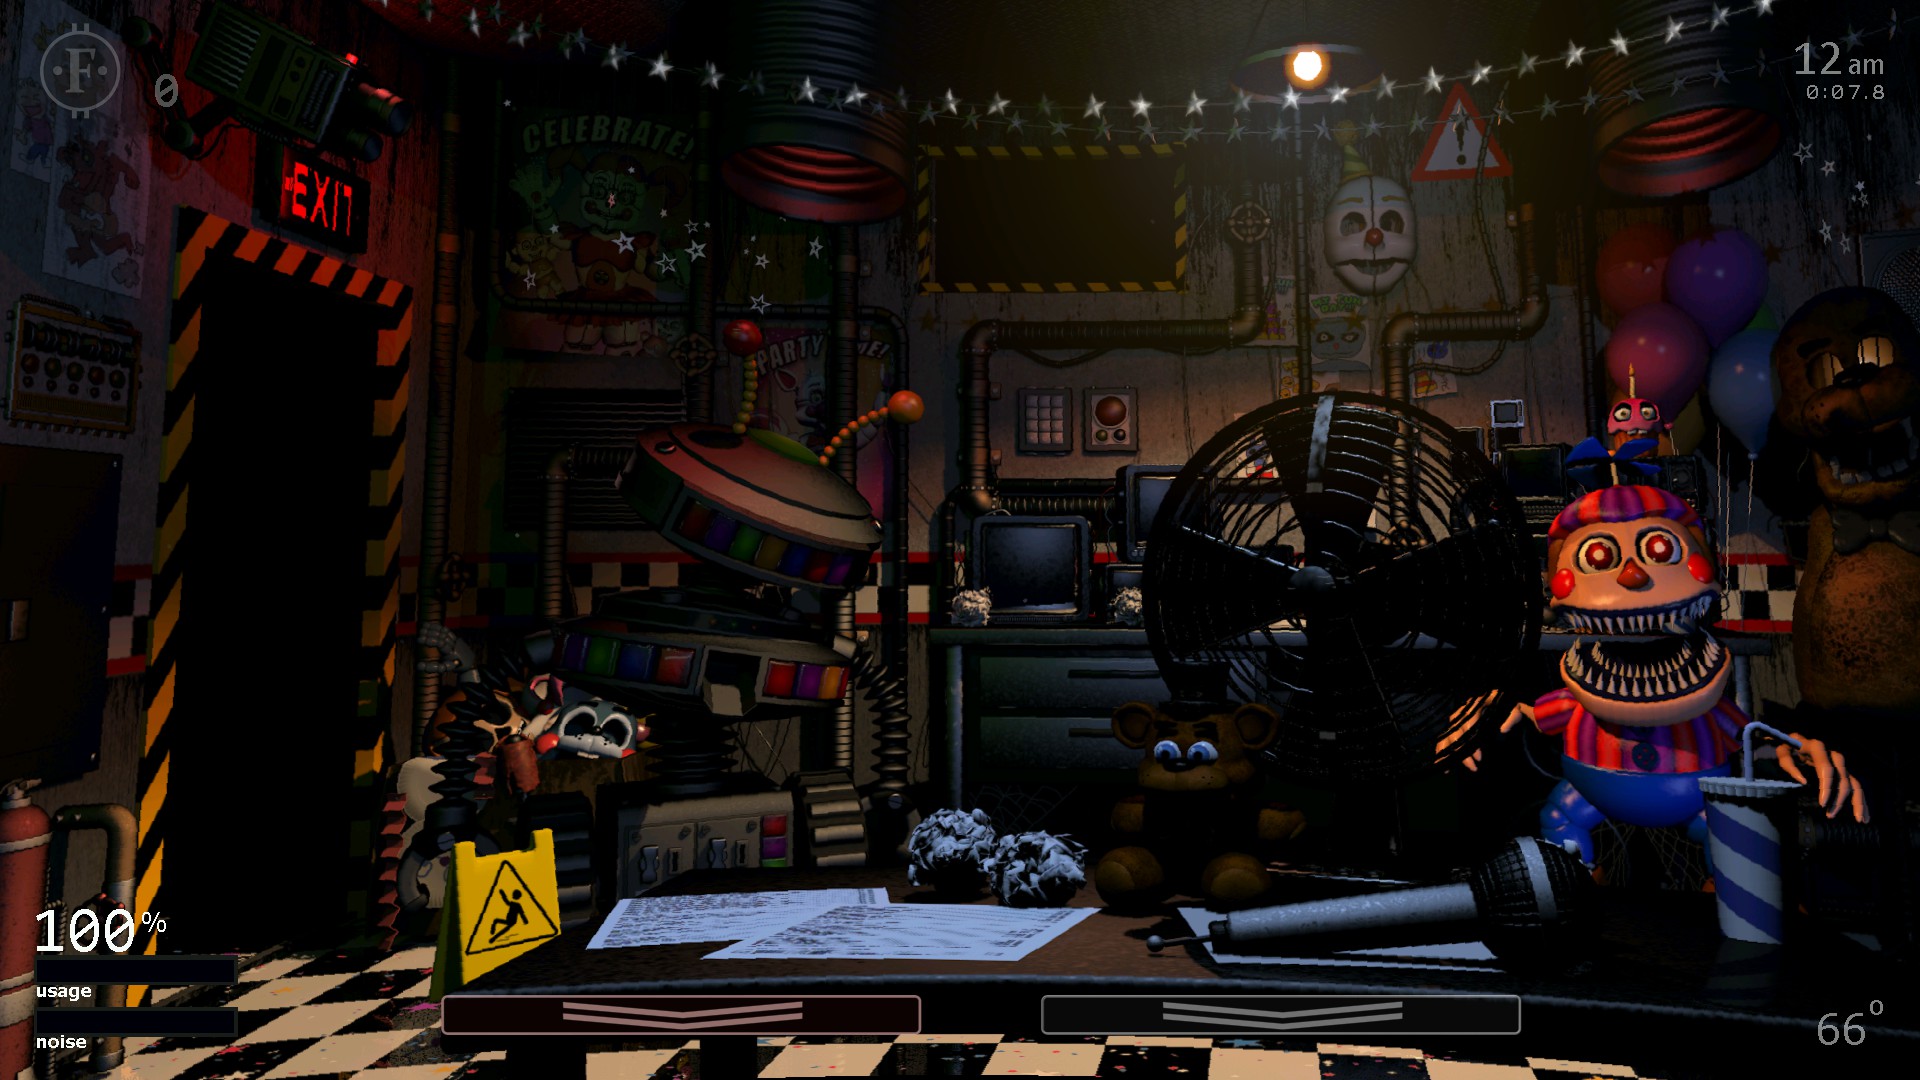
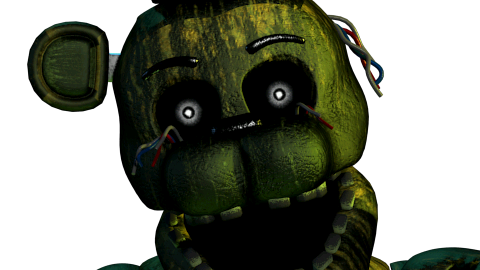
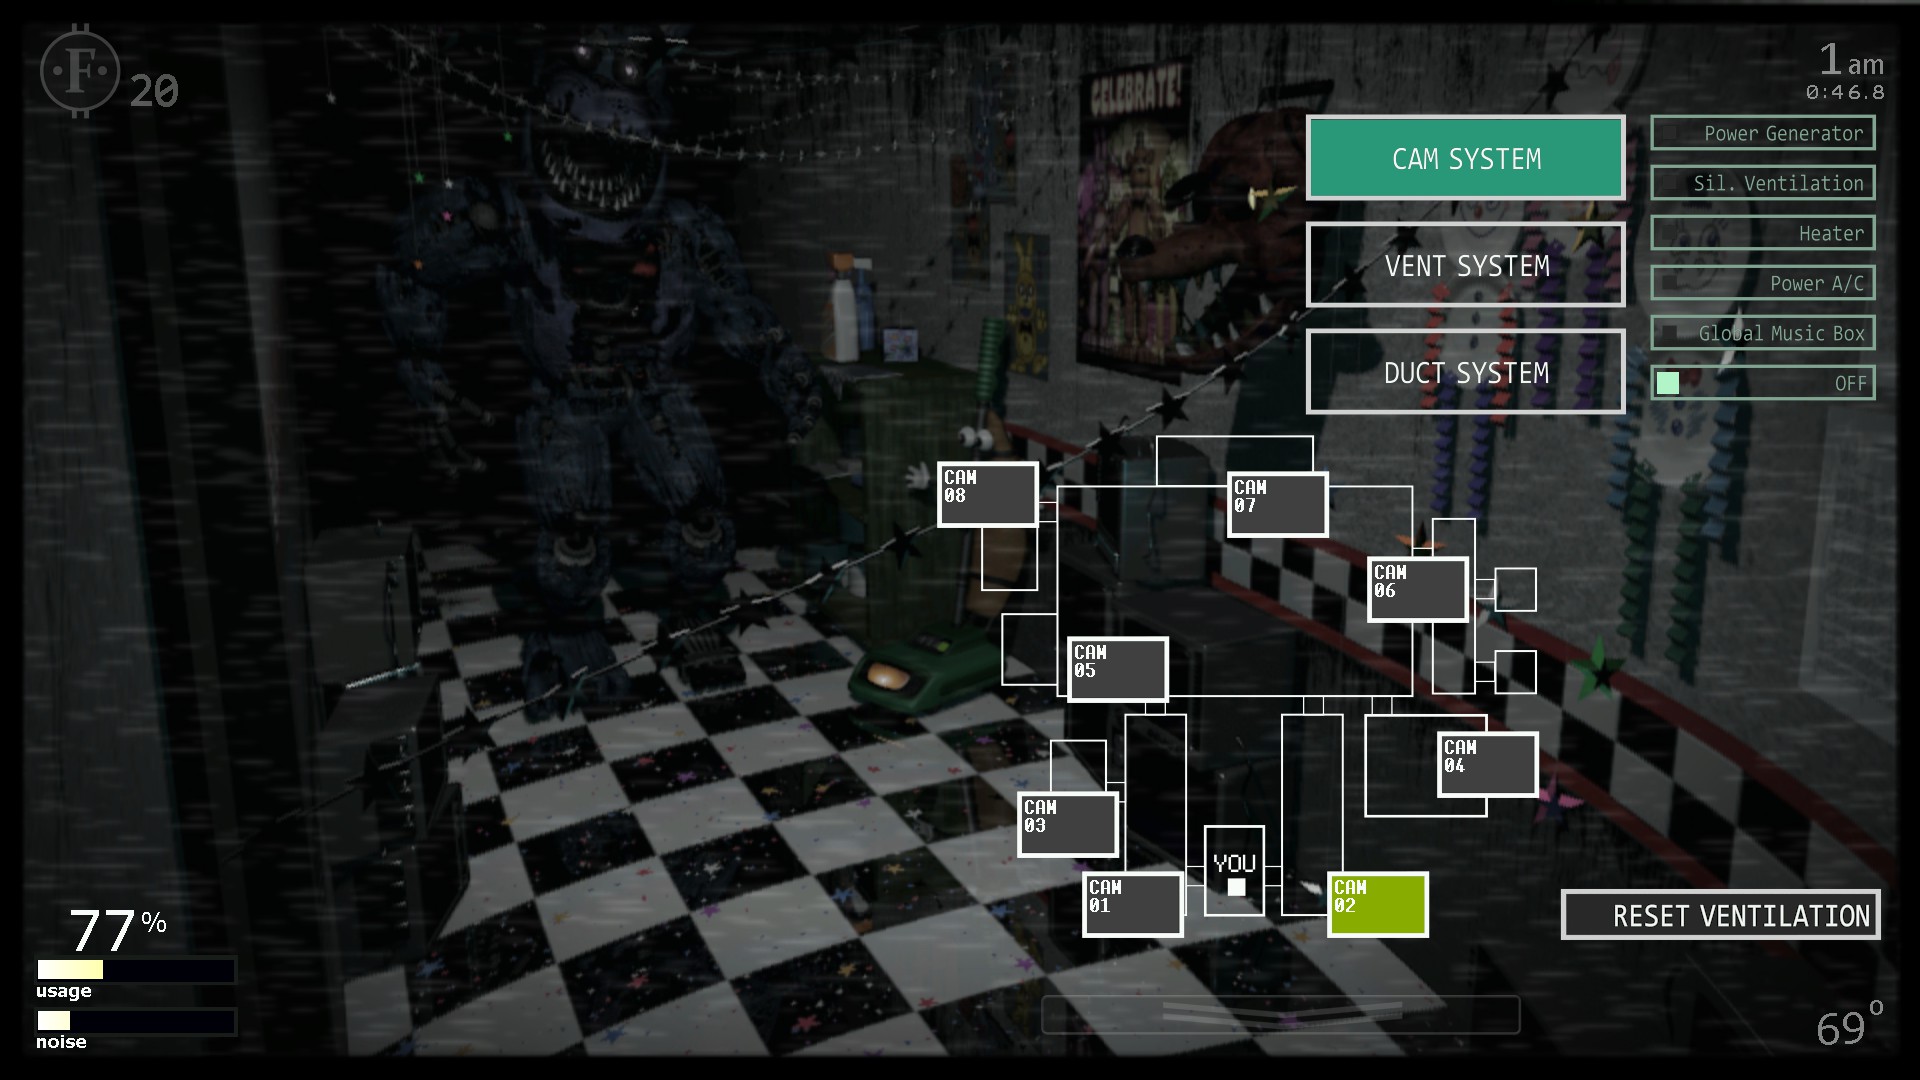
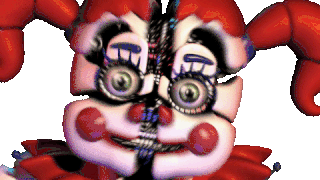
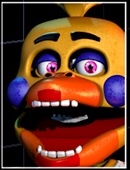
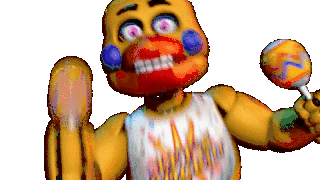
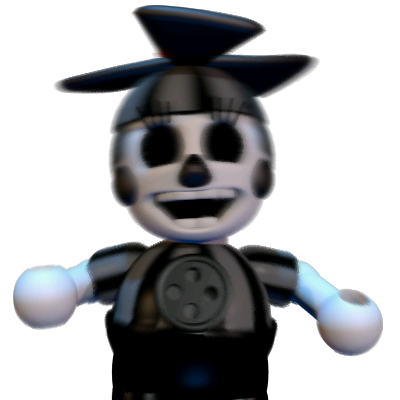
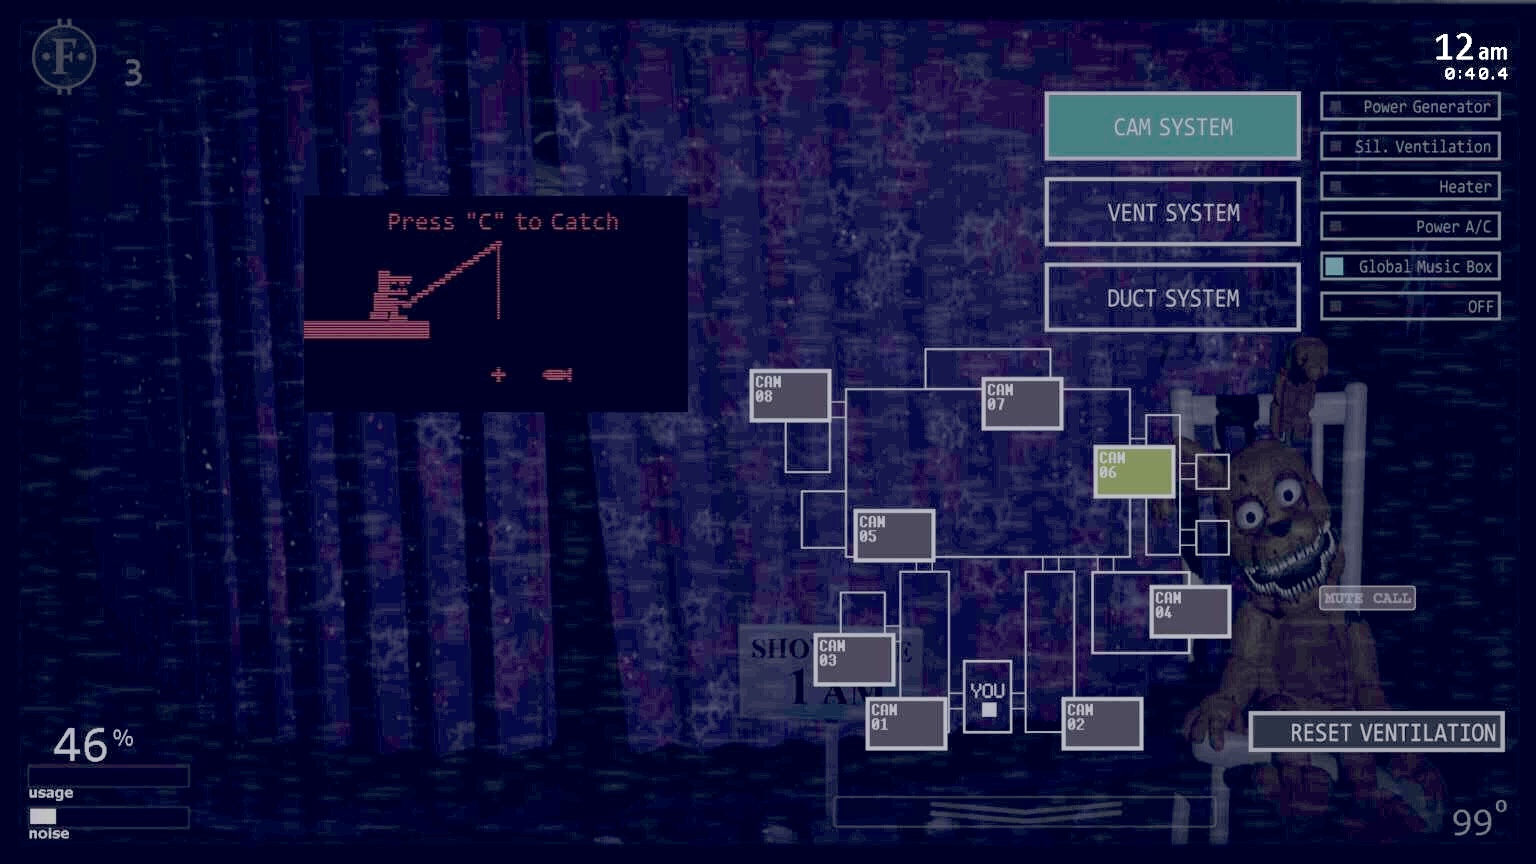
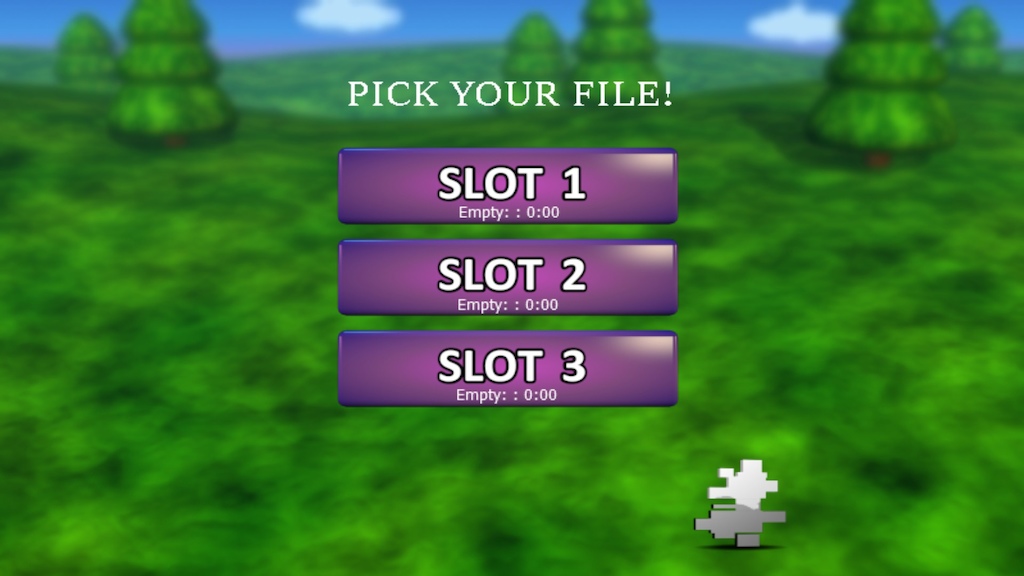
. The other is to purchase their plush toy from the Prize Corner. The Prize Corner has only three plush toys available to buy: Bonnie, Mangle, and Baby, and your funds will be very limited, so it's important to buy the characters in the order that they appear in the hall. You must use Faz-Coins to purchase the plush toys, and there are two ways to accumulate them throughout the night. One way is to block the attacks of other animatronics. Each successful block earns one Faz-Coin. The other way to earn coins is to find them on the cams and scan your mouse cursor over them to collect them. Increasing the difficulty of these characters will increase the price of their plush toys.
A.I.
Depending on the A.I, the plushies will vary in price.
1-9 10 Faz-Coins
10-15 15 Faz-Coins
20 20 Faz-Coins
Tips:
Remember to check the Right Hall before buying a plush.
Rockstar Foxy can give you 10 Faz-Coins, which can help you get a plushie.")


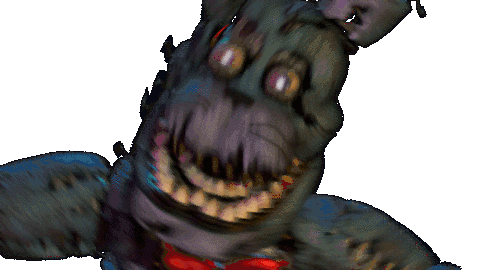
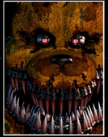
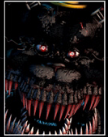


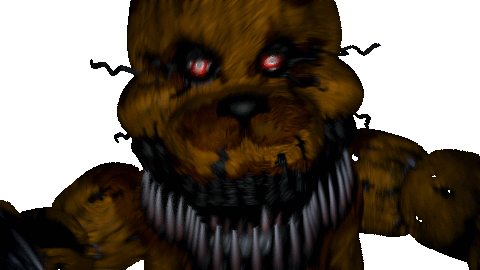


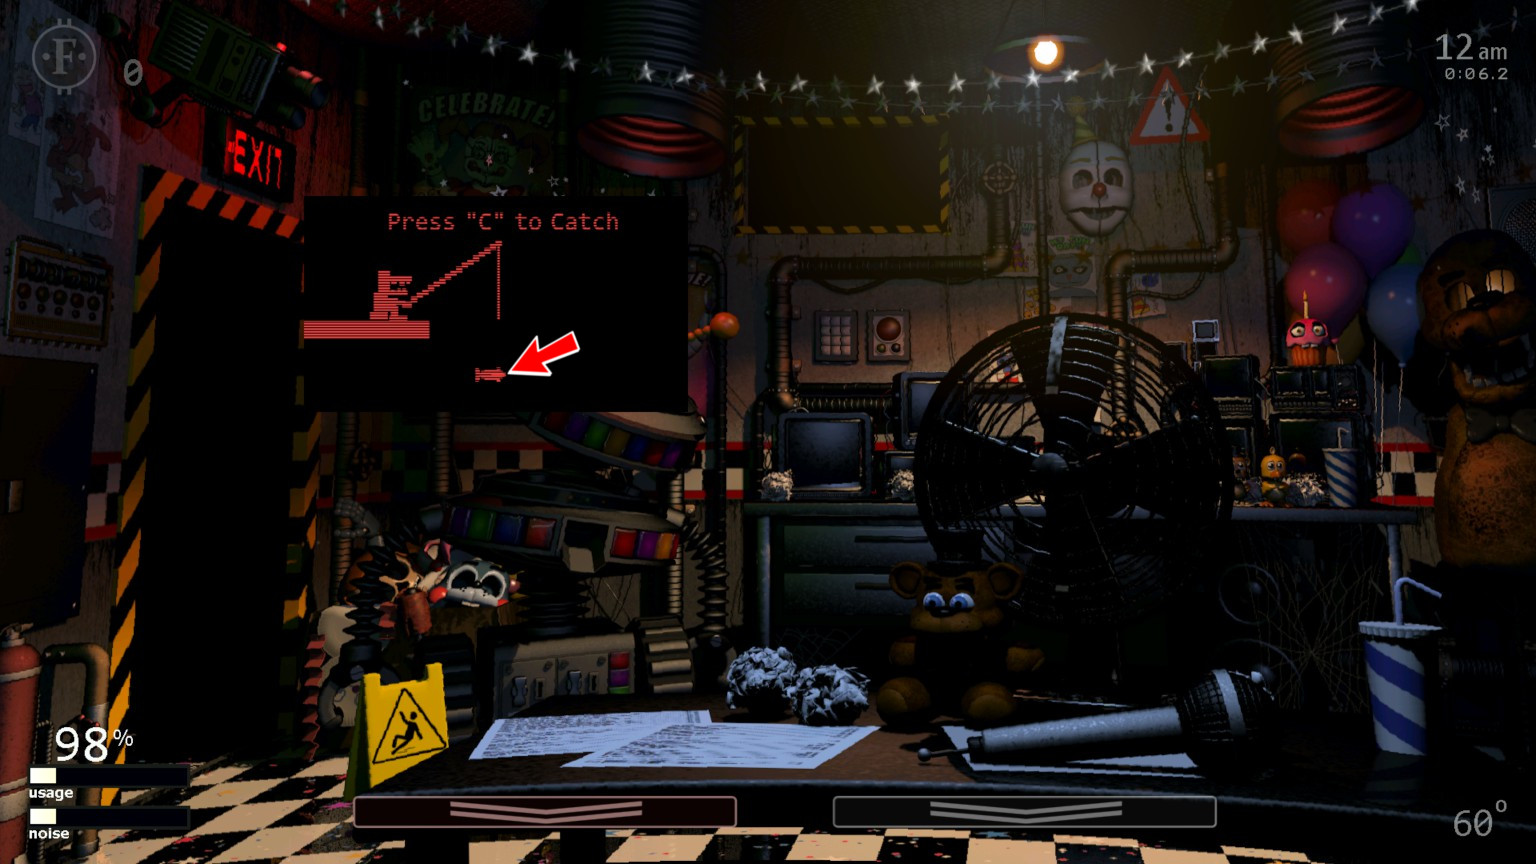
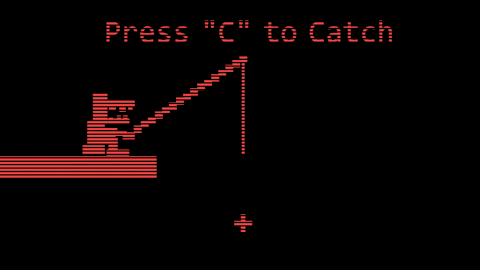


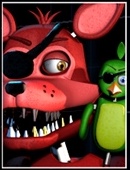


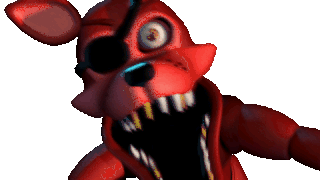


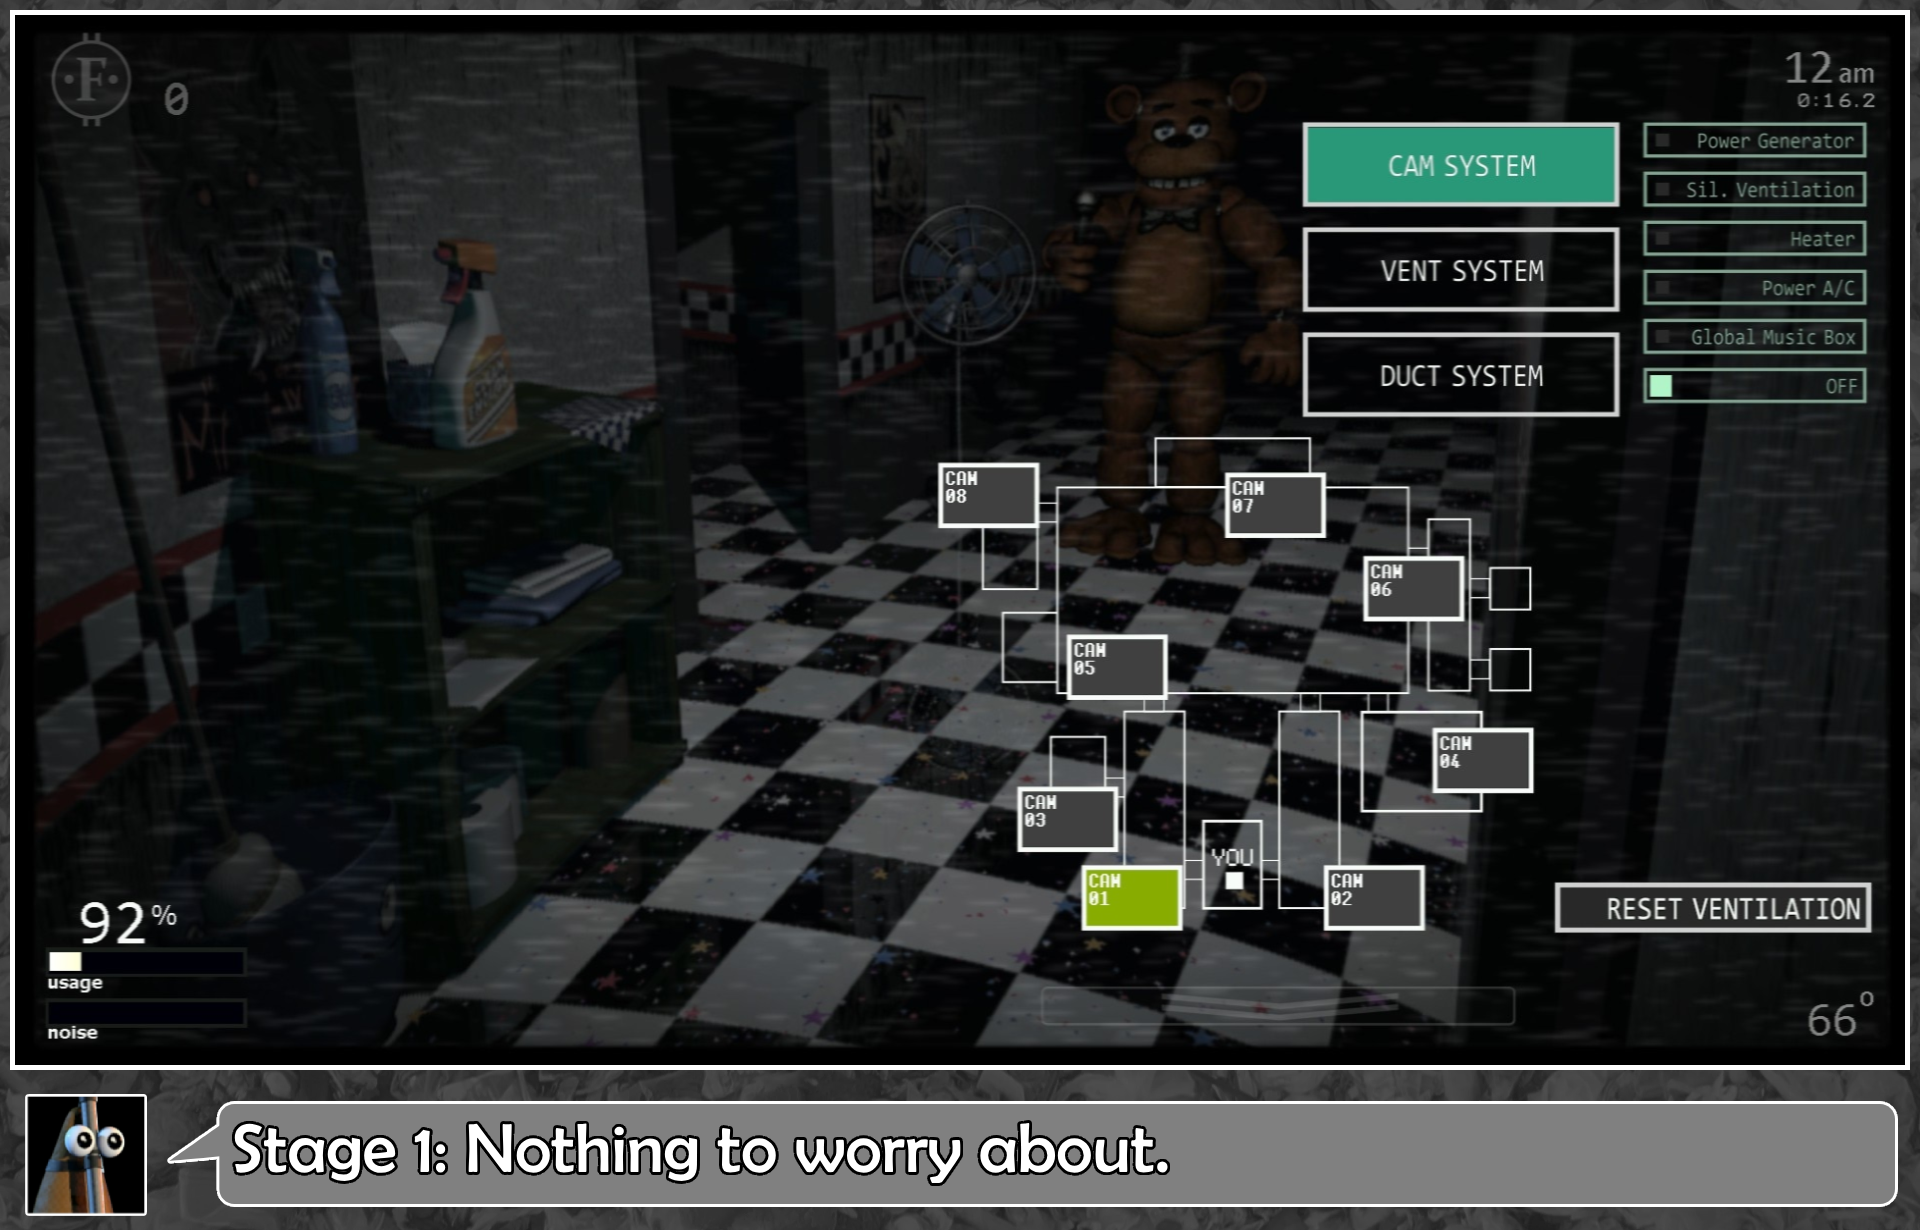
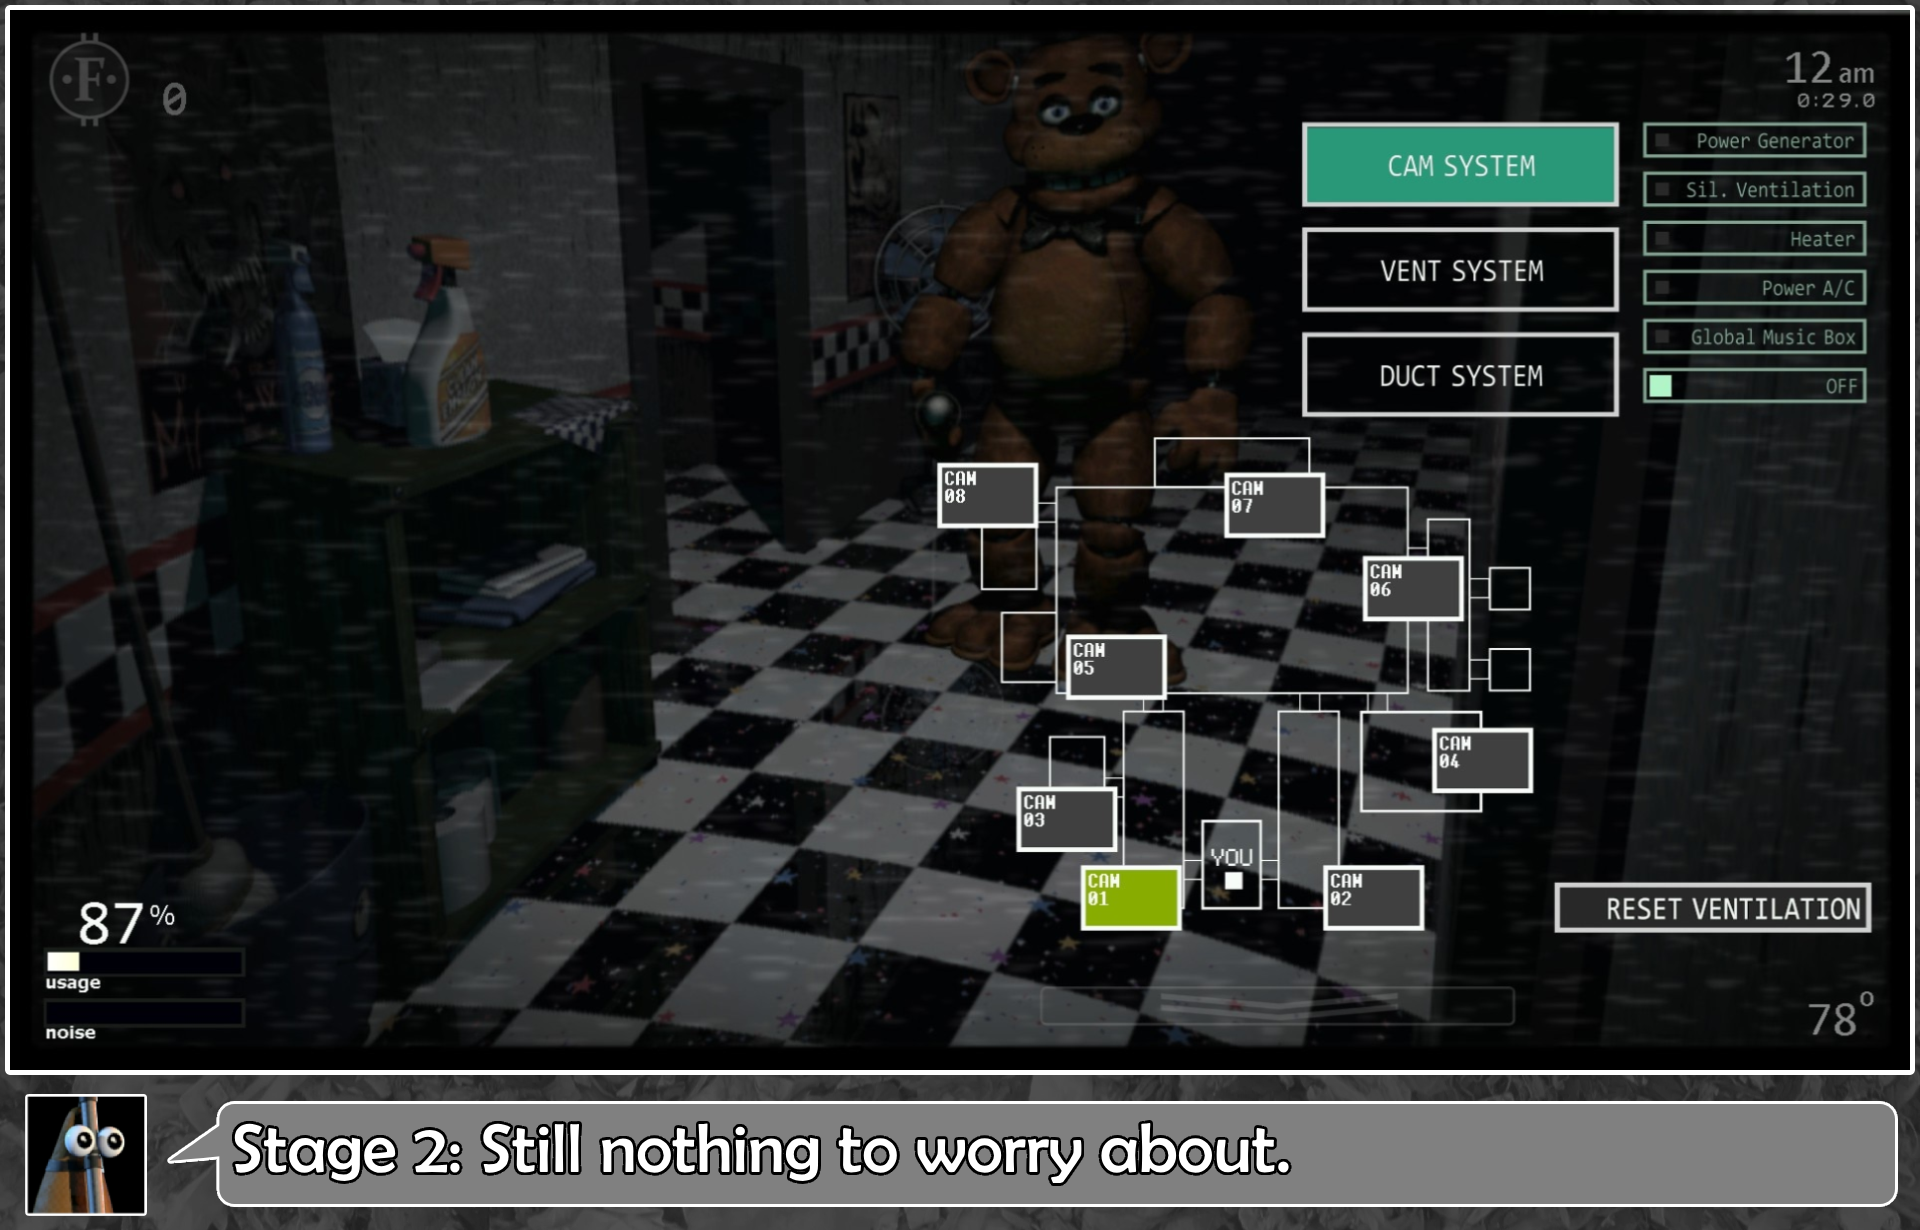
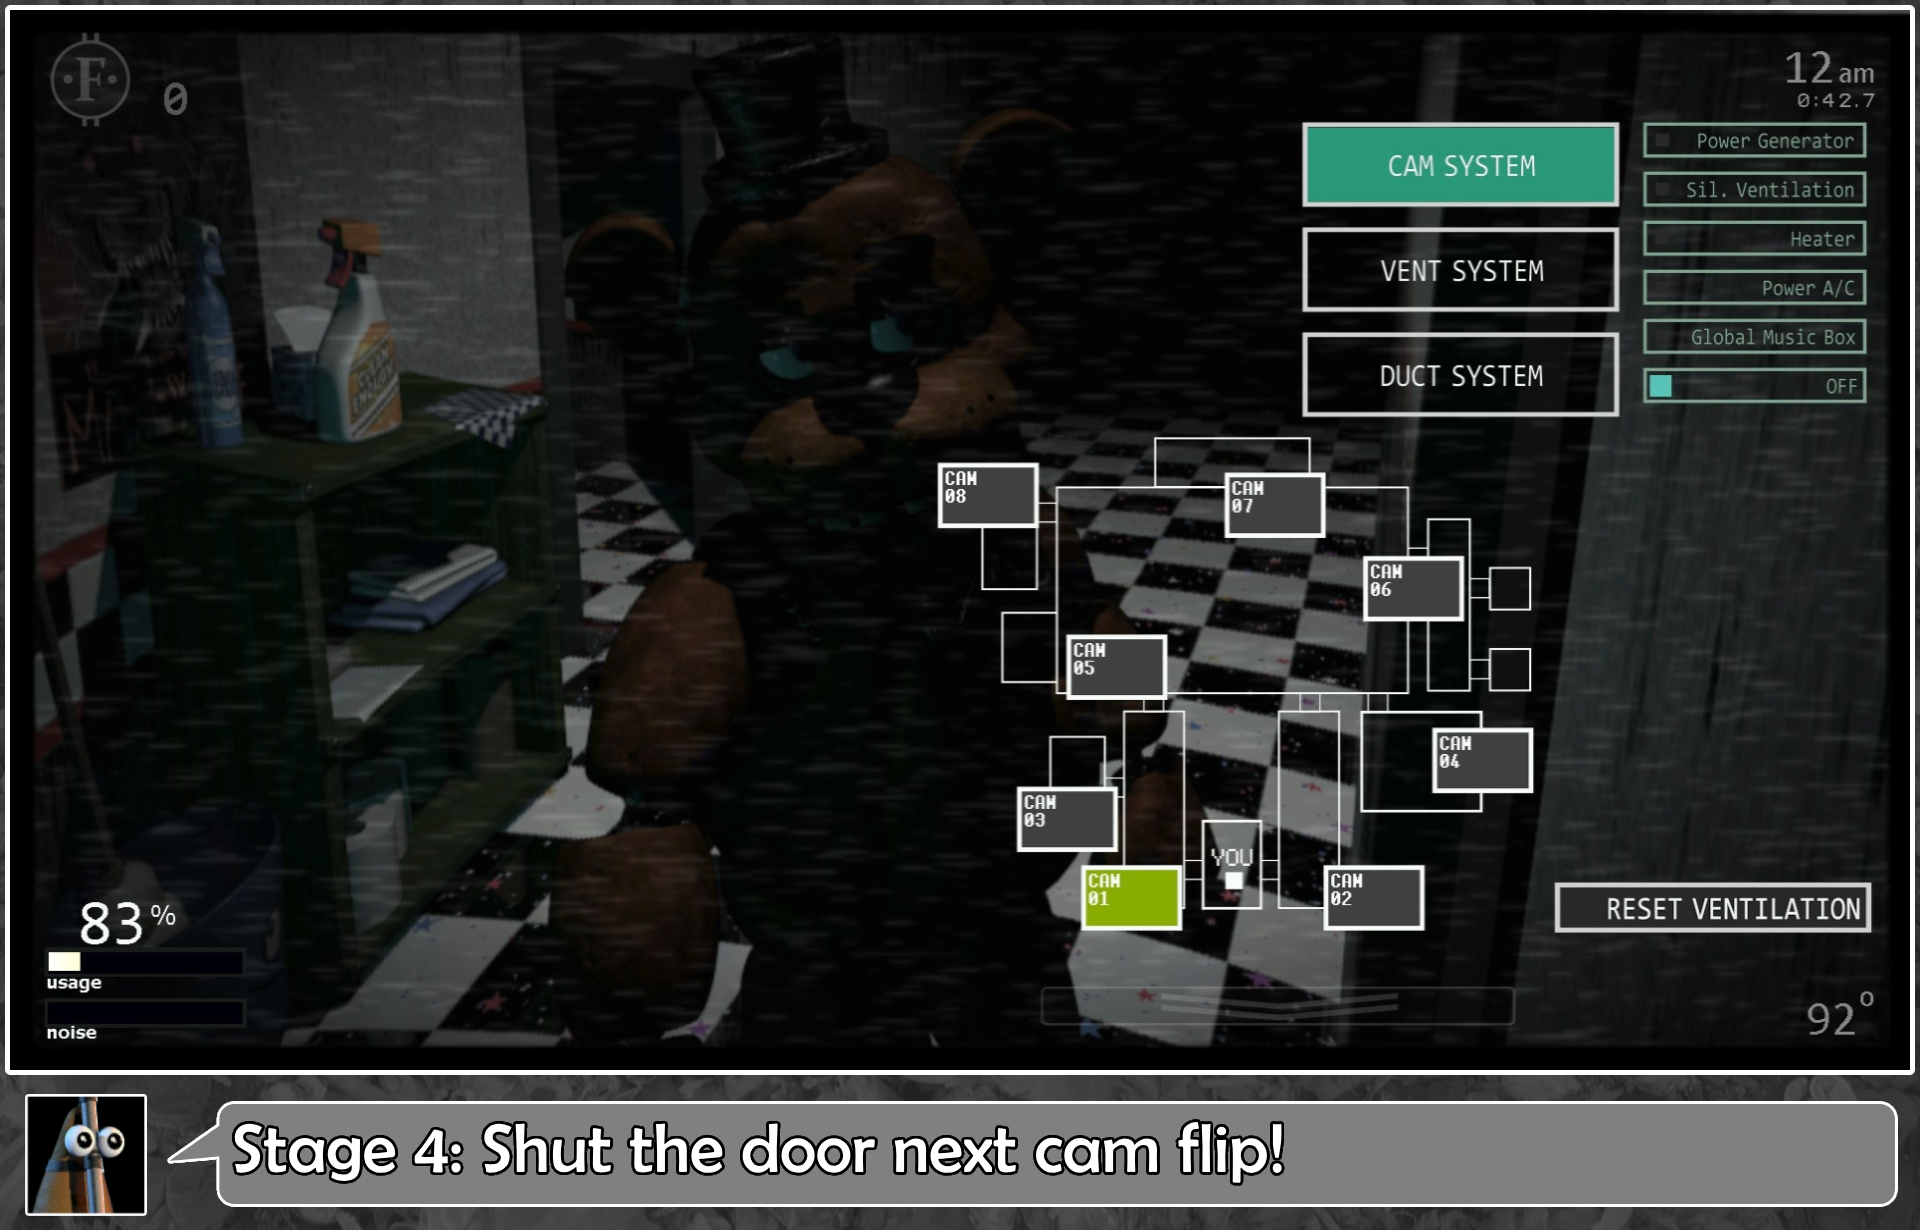
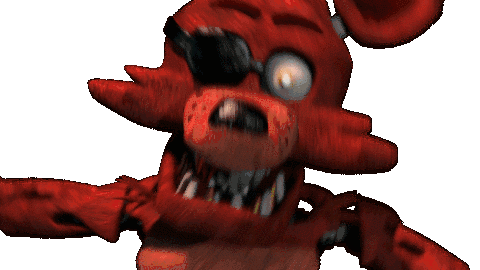
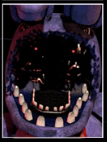
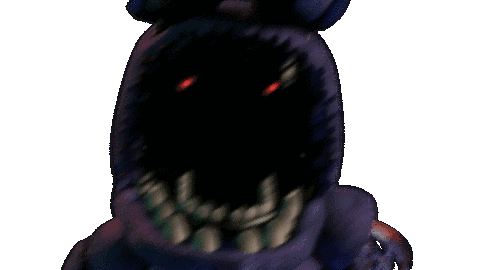
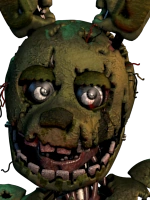
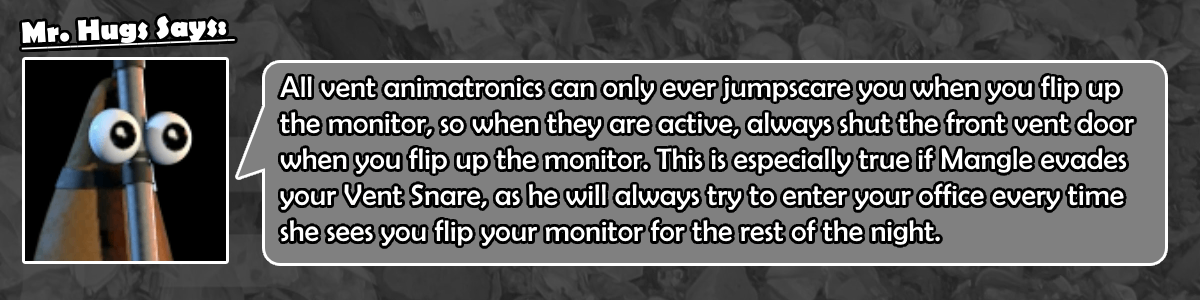
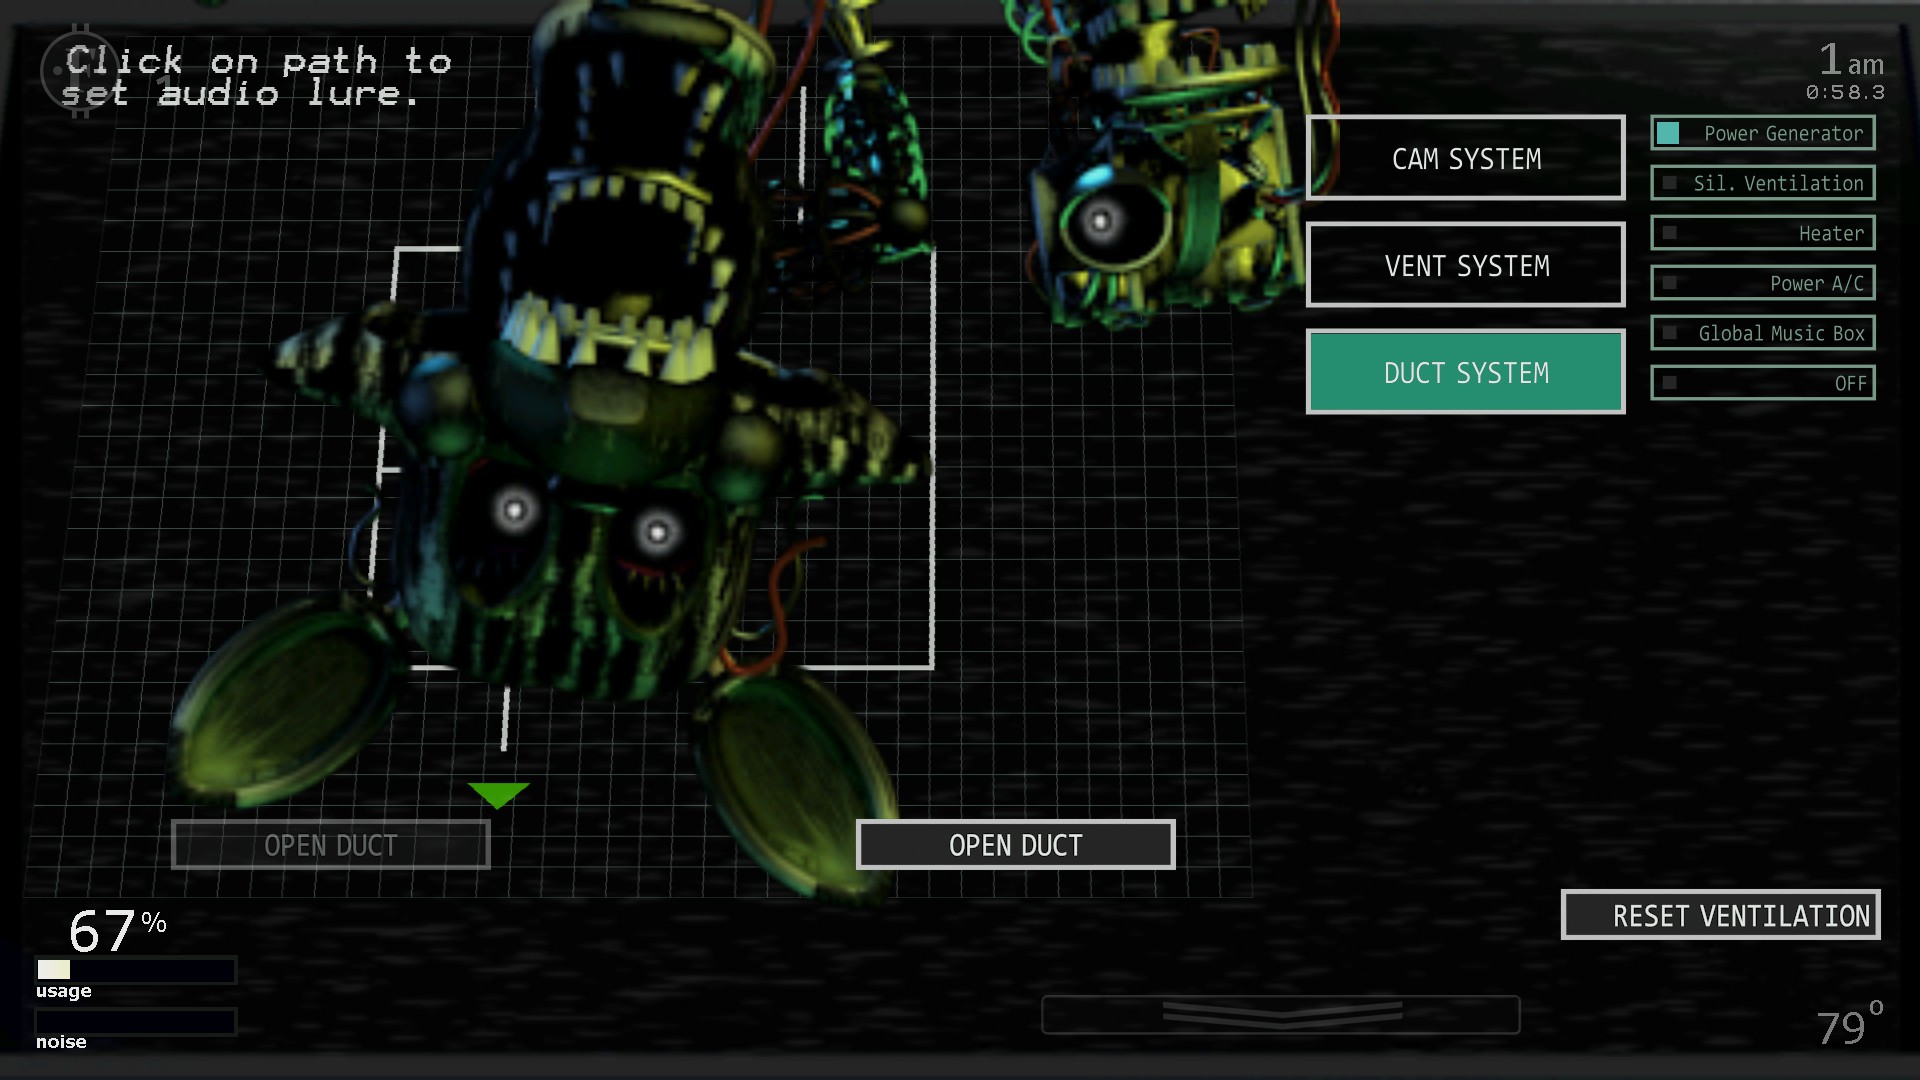
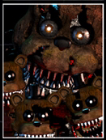
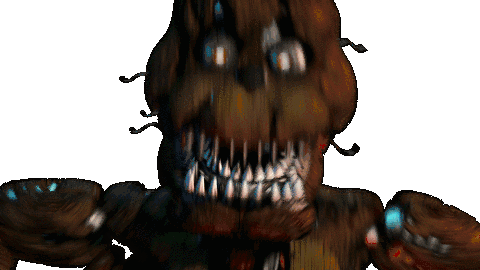
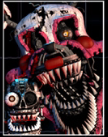
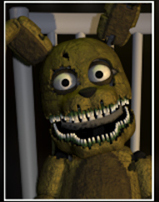
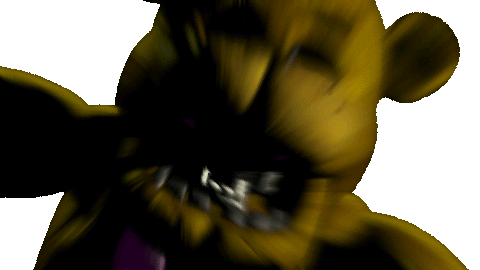
: Afton has the distinction of having the simplest mechanic in the game, but also possibly the scariest. He will only attack once per night, and there will be no way of knowing in advance when this attack will happen, or if it will happen at all. He will always attack from the vent on the right wall, and when he does, there will be a violent clamoring sound in the vent and the lights will flicker. When this happens, you will have only a fraction of a second to close the vent door or your run will end with Afton screaming in your face.
A.I.
The higher Afton’s A.I. is, the more likely he will attack, and the less time you will have to block him
Tips:")


One thing I think you could add, though it is a big ask, is adding the numbers for the AI. The summary of what the AI does is really good, but I think it would be good to show some exact calculations and statistics.
None of this was meant in a negative way, and i'm extremely impressed with this guide. The things i'm suggesting are only really useful for 40-50/20 players.
Great guide overall, and I love the sense of humour sprinkled in!
you are correct that it is probably better to death coin toy freddy (cam stalling wasn't super common knowledge when this guide was first written) but funtime foxy actually CAN kill you if their showtime is at 6am
video proof:
https://www.youtube.com/watch?v=OMPBzIVJuKg&ab_channel=Tru3P1ay3r