
Installa Steam
Accedi
|
Lingua
简体中文 (cinese semplificato)
繁體中文 (cinese tradizionale)
日本語 (giapponese)
한국어 (coreano)
ไทย (tailandese)
Български (bulgaro)
Čeština (ceco)
Dansk (danese)
Deutsch (tedesco)
English (inglese)
Español - España (spagnolo - Spagna)
Español - Latinoamérica (spagnolo dell'America Latina)
Ελληνικά (greco)
Français (francese)
Indonesiano
Magyar (ungherese)
Nederlands (olandese)
Norsk (norvegese)
Polski (polacco)
Português (portoghese - Portogallo)
Português - Brasil (portoghese brasiliano)
Română (rumeno)
Русский (russo)
Suomi (finlandese)
Svenska (svedese)
Türkçe (turco)
Tiếng Việt (vietnamita)
Українська (ucraino)
Segnala un problema nella traduzione


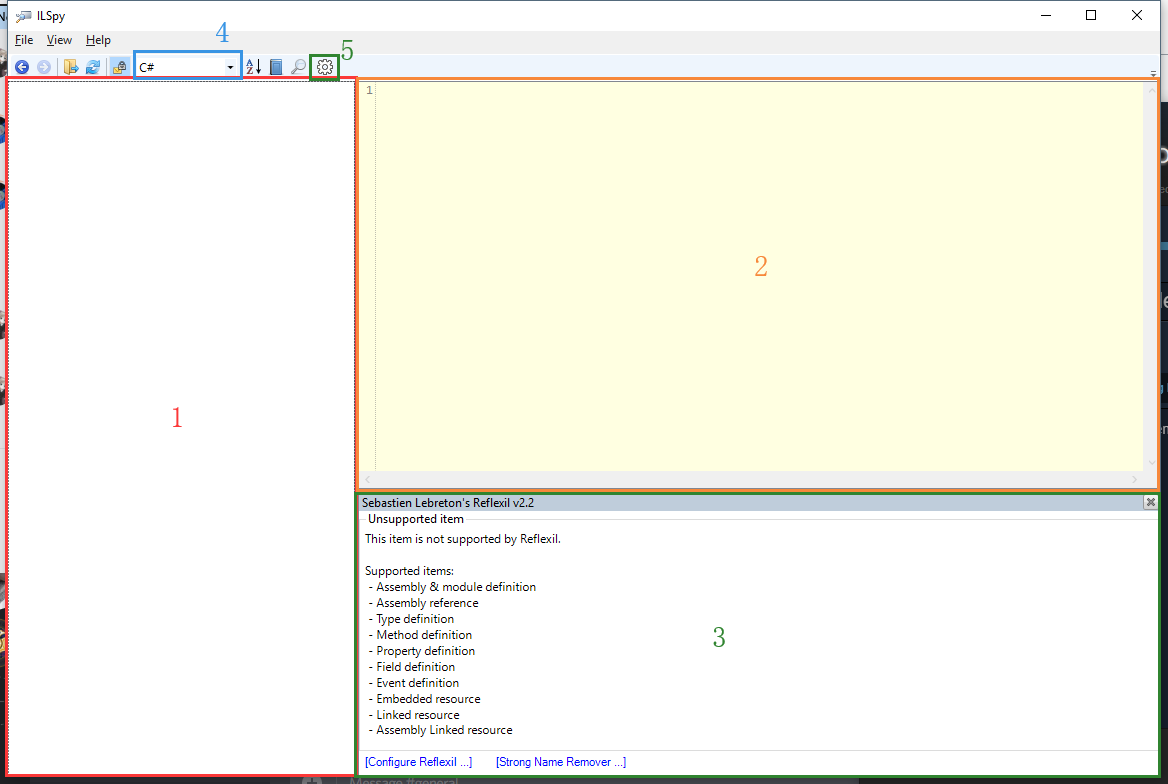
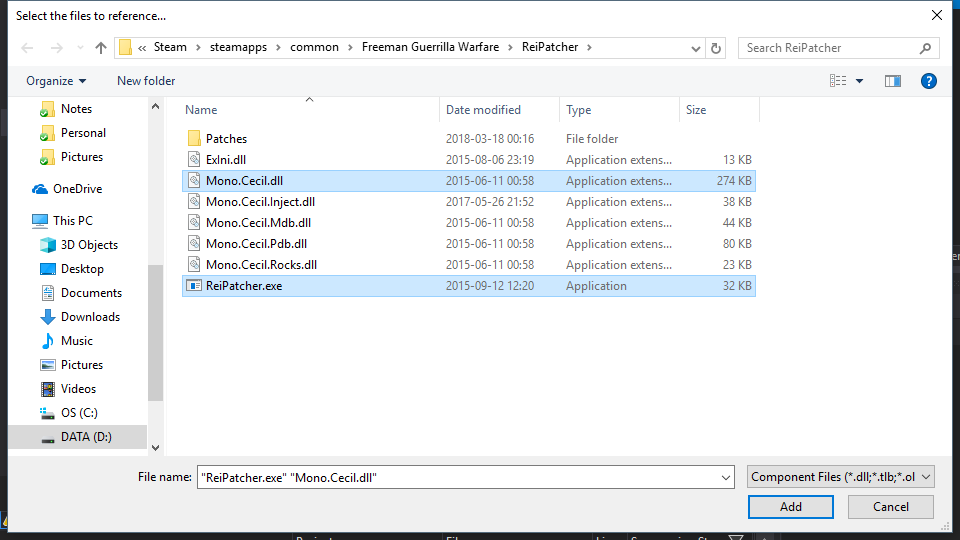
![`3_]6O.png]](https://images.steamusercontent.com/ugc/936059829186897071/915B1AD9717C13D3EC884653D1AF5F3599239526/ "`3_]6O.png]")


I guess I need to spend more time on hongfire :P Apparently it's full of all sorts of nifty tools.
Personally, I prefer dnSpy as an alternative to ilSpy+Reflexil duo. Has a nice IL and C# editors + allows to debug unity release builds.