Garry's Mod

Garry's Mod

67 ratings
Dedicated Servers: A definitive guide
By Dark and 1 collaborators
Want to host a Garry's Mod dedicated server? This guide gives step by step instructions for each step of the way.
   
Award
Favorite
Favorited
Unfavorite
Introduction
This guide is for anyone who wants to host their own Garry's Mod server. It is quite technical in parts but should be simple enough to follow.

I made this guide so there is a complete, start to finish guide, covering the entire process.

Any sections surrounded by angled brackets "<>" should be modified to suit your use-case / need.

YouTube Guide [Windows]
YouTube Playlist
Installation
SteamCMD
The first step of all Garry's Mod server installations is to download SteamCMD. SteamCMD is a command line utility program created by Valve to making downloading and updating servers and content easy.

Download SteamCMD:
Windows:
Download and extract

OSX
Open terminal and enter the following commands
mkdir ~/Steam && cd ~/Steam curl -sqL "https://steamcdn-a.akamaihd.net/client/installer/steamcmd_osx.tar.gz" | tar zxvf -

Linux (Ubuntu / Debian)
sudo apt-get install steamcmd
Linux (RedHat / CentOS)
yum install steamcmd

Other
SteamCMD Wiki

Writing a download / update script
Instead of having to manually type out each command when downloading or updating your server it is a good idea to write a update script.

Create a file with a name like "update_gmod.txt"

Inside write the following:
@NoPromptForPassword 1 login anonymous force_install_dir <Path to desired server location> app_update 4020 validate quit

Garry's Mod dedicated servers don't require you to own the game to allow installation. Therefore we get away with using "login anonymous".

Running the update script
Windows:
Open cmd.exe and enter the following commands:
cd <Path to SteamCMD> steamcmd.exe +runscript <name of your update script.txt>

OSX & Linux:
Open a terminal window and enter the following commands:
cd <Path to SteamCMD> ./steamcmd.sh +runscript <name of your update script.txt>

If successful you will see "Success! App '4020' fully installed.". Otherwise read the error, check the troubleshooting section and, if need be, google it.


Mounting Content
Downloading Content
To get content such as Counter Strike: Source you will need to download it through SteamCMD just like you downloaded the dedicated server.

It is advised that you make two different update files; one for anonymous downloads, and another for ones where login is required. See below for example layouts:

update_content_anon.txt
@NoPromptForPassword 1 login anonymous force_install_dir <path to server>/sharedcontent app_update 232250 validate force_install_dir <path to server>/sharedcontent app_update 232330 validate exit

update_content_login.txt
@NoPromptForPassword 0 login <your steam username> force_install_dir <path to server>/sharedcontent app_update 420 validate force_install_dir <path to server>/sharedcontent app_update 220 validate force_install_dir <path to server>/sharedcontent app_update 380 validate exit

You may need to own the game on the account you use for the login-required content items

App IDs and other information
Content
App ID
Requires Login
Counter Strike: Source
232330
No
Team Fortress 2
232250
No
Half Life 2
220
Yes

Half Life 2: Episode 1
380
Yes
Half Life 2: Episode 2
420
Yes


Mounting Content
Locate the mount.cfg file. It is located at <install dir>/garrysmod/cfg.

For each piece of content added you must add a new line with its path as shown below:
"mountcfg" { "tf" "<path to server>/sharedcontent/tf" //TF2 "episodic" "<path to server>/sharedcontent/episodic" //HL2 Episode 1 "cstrike" "<path to server>/sharedcontent/cstrike" //CSS "ep2" "<path to server>/sharedcontent/ep2" //HL2 Episode 2 "hl2" "<path to server>/sharedcontent/hl2" //HL2 }

IMPORTANT: Do not add slashes to the end of file paths


Adding addons
There are several ways of adding addons to your server and having it downloaded by players who connect; each has its strength and weaknesses. In order to be consise we will use the simplest method.


Collections (Steam Workshop)
  1. Before you make a collection you need to subscribe or favourite at least one workshop item so that you have something to add.

  2. Navigate to the Garry's Mod workshop page.

  3. Once there, from the browse dropdown select "Collections". In the sidebar of the collections page will be a "Create Collection" button.

  4. You will need to pick an image for your collection and add one item.

  5. Once it is created you can go to any GMOD workshop item, click "Add to collection" and select the collection to add it to.

Many collections already exist for server content. It may be that there already exists something which suits your needs.

Advanced Usage
If you plan on adding lots of addons of various types you can make multiple collections, each of a separate type then add each of those collections to a parent collection.


Registering an API Key
To load the collection for your server you will need to register an API key.

Get your key here

DO NOT SHARE THIS KEY


Startup parameters

Later, when you come to start the server, you will need to tell it which collection to load.

You will need the collection ID. You can find this in the page URL by looking at the URL bar or by clicking "Share" and copying the number at the end.

You will also need your API key.

These are the parameters you will need to add to your start script
+host_workshop_collection <Collection ID> -authkey <API Key>

Sending addons to clients

The easier way of automatically downloading addons for clients is to use this server addon. I cannot recommend it highly enough
http://steamcommunity.com/sharedfiles/filedetails/?id=309020990
You use this instead of a workshop lua file
Starting the Server
Creating a start script

Windows:

startserver.bat
srcds.exe -console -game garrysmod pause

OSX & Linux:

startserver.sh
./srcds_run -game garrysmod

Map is a required field unless you have config to tell the server what to load

More configuration flags:

Tag
Example
+map
gm_construct
+maxplayers
16
+gamemode
terrortown

You can also add the tags described in the "Adding addons" section.
Admin Tools
This section is pretty much a massive shout out to the Ulysses mod[ulyssesmod.net] (AKA ULX).

It is a super helpful administration and management mod which is lightweight, very configurable and extensible.


Add to your collection
ULX
ULib
Both are required.


If you'd prefer to have a downloaded version for ease of configuration:
Download here[ulyssesmod.net]


Becoming an admin
In the server console (not the client console unless you RCON), type:
ulx adduser <playername> Superadmin 1


TTT ULX Commands & Panel
If you plan on running a TTT server and want to have some more control over CVars, and have a few more commands, this addon is for you. It adds commands and a new panel to the ULX Admin Panel

Trouble in Terrorist Town ULX Commands
Closing Words
I hope that you have found this guide useful and informative.

If you have any issues leave a comment below and I'll try to get back to you.

If it has helped drop me a +rep on my userpage and leave a comment below :)

TL;DR Watch this
Debugging
[Linux] libstdc++.so.6: cannot open shared object file: No such file or directory
apt-get install lib32stdc++6

[Linux] WARNING: Failed to load 32-bit libtinfo.so.5 or libncurses.so.5.
apt-get install lib32tinfo5


15 Comments
TGravel  [author] Jun 6, 2020 @ 7:14am 
@RSun9th If you want to see all available maps just type maps * in your console or look at the addons you put in your collection? You should find gamemodes either in the gamemodes folder or as well in your steam workshop collection. The default one is "sandbox" or for TTT it's "terrortown" for example, if that's what you need. It would be easier to support you if your question was more specific, but I hope that helped out.

And @Damp Bees I am sorry we didn't see your question earlier. The console command is mem_max_heapsize “Put_MB_here” . And you can put that in the "autoexec.cfg". :lunar2019coolpig:
asatsune Jun 6, 2020 @ 1:59am 
How can I get a list of game modes?
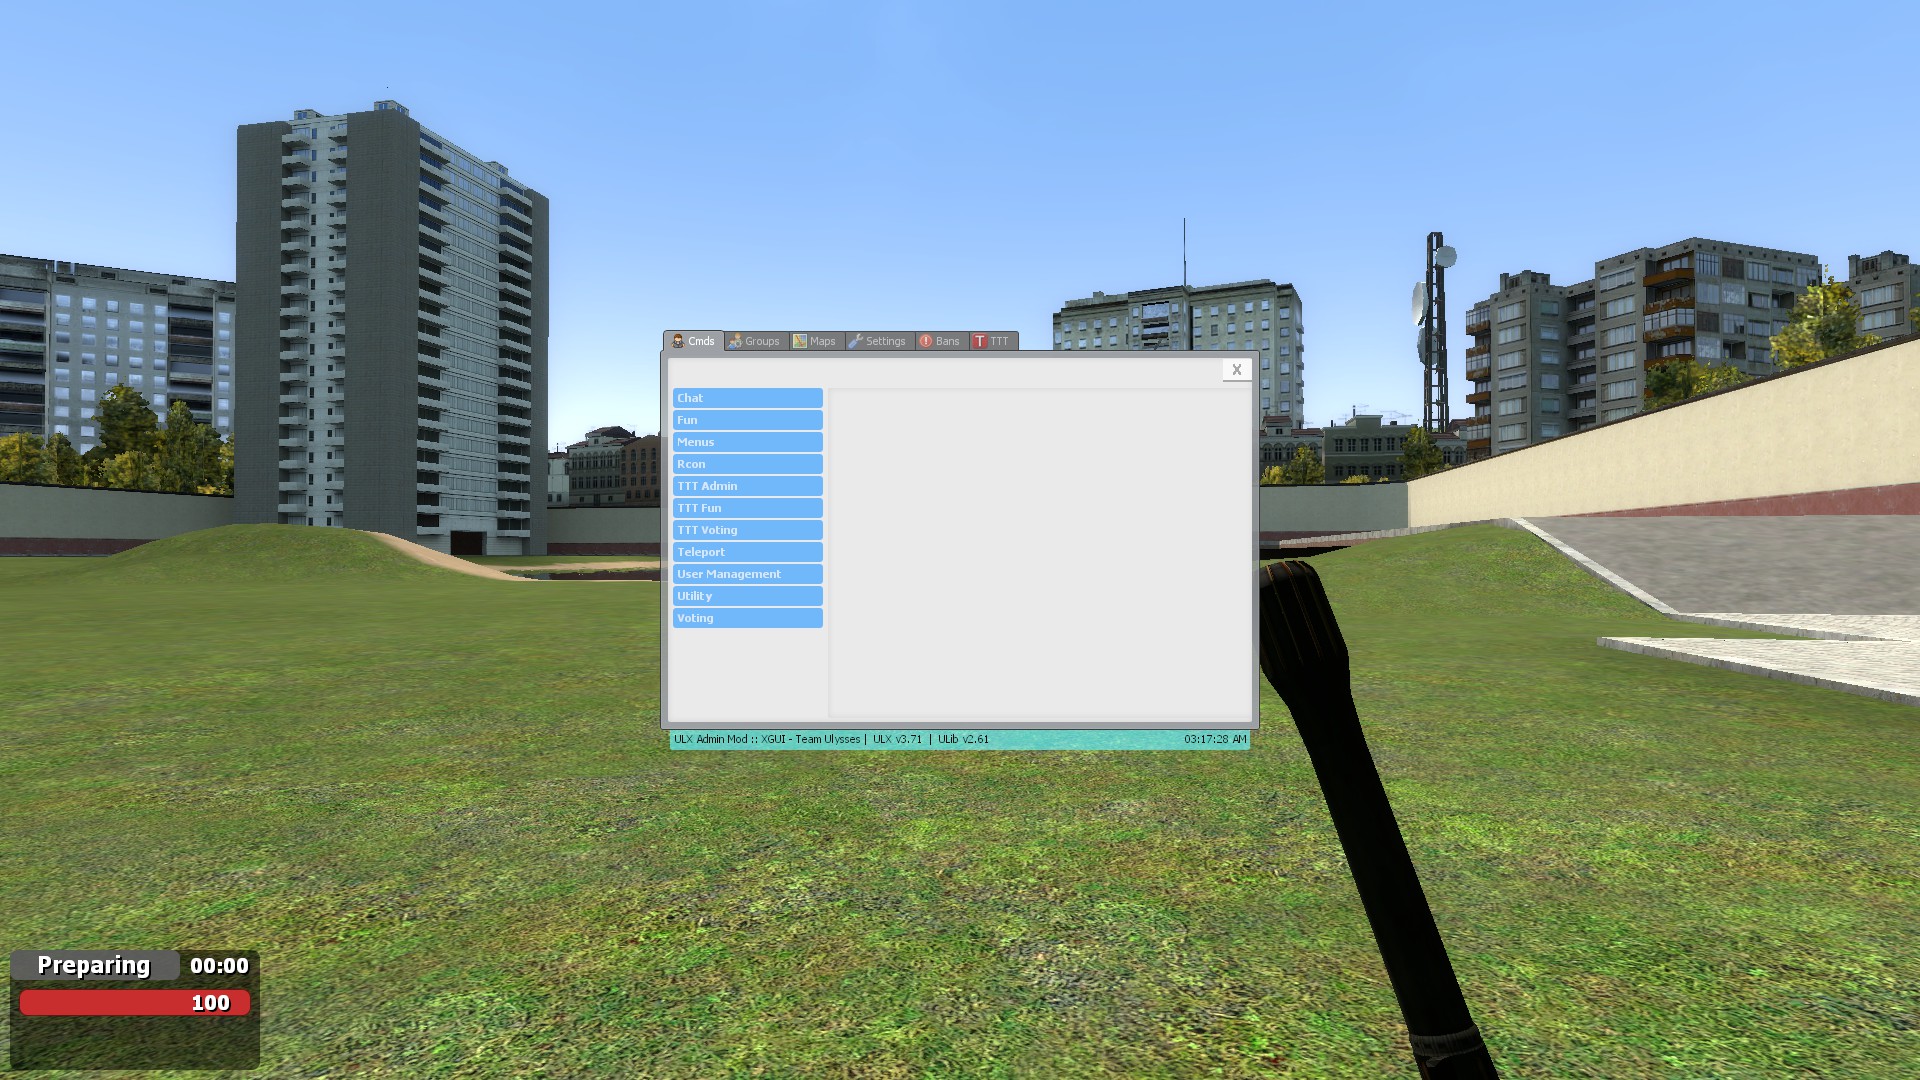
How can I list the maps?
Damp Bees Nov 1, 2019 @ 11:10am 
Where can I tell the server to allocate more ram for itself?
TGravel  [author] May 24, 2019 @ 9:00am 
Hi @Cluster, if you have followed the guide correctly, gamemodes should work like normal addons. So just add them to your workshop collection and you should be fine. You can select a gamemode via the "startserver.sh" or the ULX Panel. Most gamemodes are found in the workshop, nevertheless I don't know about deathrun. Since I only found it on GitHub, you will probably have to add and update it manually.
Cluster May 24, 2019 @ 8:25am 
Where can I download gamemodes for dedicated servers such as Probhunt, deathrun and others
Dark  [author] Dec 3, 2018 @ 4:03am 
Hi @virtual GaRy, for the ones which require you to login this is usually so it can verify you own the game / software. I'll clarify this in the guide
virtual GaRy Dec 2, 2018 @ 4:07pm 
so requires login also means that you need to have them in your library, correct?
It refused to download the HL2 stuff for me.
beaninator77 Oct 7, 2018 @ 11:54am 
Hey, that was an immensely awesome guide and video, if i wasn't poor I would donate to you for that shit or something. Thank you.
NoahZ Apr 13, 2018 @ 7:00pm 
Aliendude

thats for FRIEND servers not public, this guide is for public servers via dedicated

hosting your own server by just doing that easier way is not dedicated and only your friends can join.
Chancey Apr 13, 2018 @ 1:13pm 
of course your server wont be FAMOUS though..so dont get your hopes up.