
Steam'i Yükleyin
giriş
|
dil
简体中文 (Basitleştirilmiş Çince)
繁體中文 (Geleneksel Çince)
日本語 (Japonca)
한국어 (Korece)
ไทย (Tayca)
Български (Bulgarca)
Čeština (Çekçe)
Dansk (Danca)
Deutsch (Almanca)
English (İngilizce)
Español - España (İspanyolca - İspanya)
Español - Latinoamérica (İspanyolca - Latin Amerika)
Ελληνικά (Yunanca)
Français (Fransızca)
Italiano (İtalyanca)
Bahasa Indonesia (Endonezce)
Magyar (Macarca)
Nederlands (Hollandaca)
Norsk (Norveççe)
Polski (Lehçe)
Português (Portekizce - Portekiz)
Português - Brasil (Portekizce - Brezilya)
Română (Rumence)
Русский (Rusça)
Suomi (Fince)
Svenska (İsveççe)
Tiếng Việt (Vietnamca)
Українська (Ukraynaca)
Bir çeviri sorunu bildirin


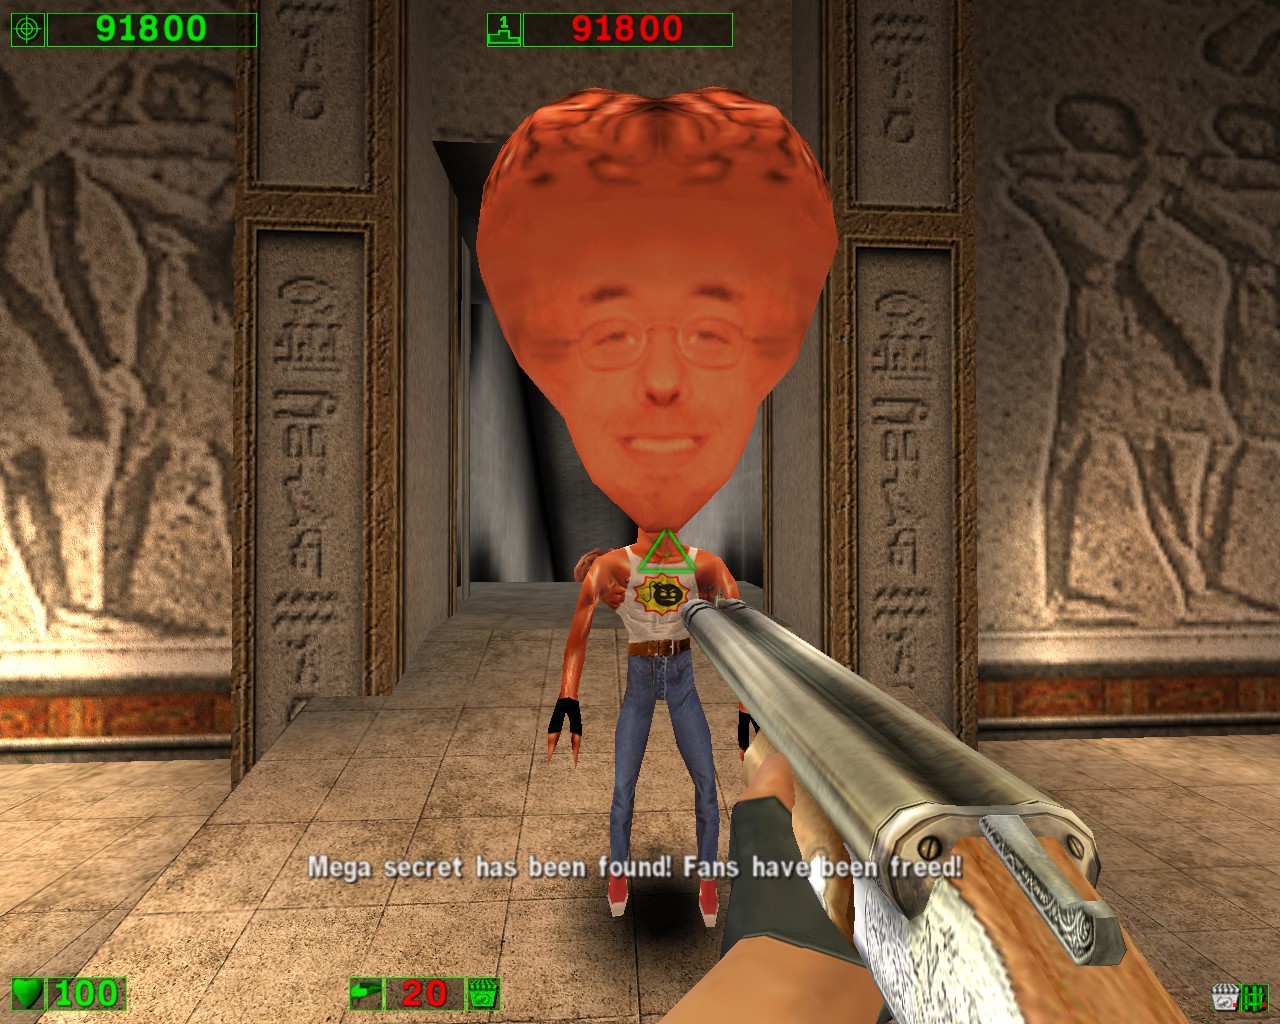


That's because said pill is actually not marked as a secret by the game.
However, interesting fact, if you manage to pick it up before any enemies spawn (by going for it the moment you exit NETRICSA), it will instead say "Silent-walk pill has been activated and enemies deactivated!" which, as you can see, will completely stop any enemies from spawning in the first area.
To add on, it is also part of a different type of secret known as the "Geek Secret", you can read on how to perform that here.