Left 4 Dead 2

Left 4 Dead 2

65 ratings
Dead Center (Expert)
By Nick930
This guide will describe how to make it through the Dead Center campaign on the "Expert" difficulty. It is highly recommended that you play with other players through the "Campaign" mode to do this as the bots have difficulty saving you when you get grabbed by a special infected. It is possible to survive in single player mode, but it will be more difficult. Please note that the screenshots are only used for reference, they are not taken in an expert game.
   
Award
Favorite
Favorited
Unfavorite
Dead Center: Map 1
HOTEL:

To start off this campaign, you're going to need to grab your medkit and a weapon. Chances are you'll be switching this weapon very soon as it's either a crappy melee or the weak pistols. Go with your team down the first staircase and open the door. There will be the first group of zombies. Take them out before proceeding into the hallway. Close the door on the left before any zombies see you and kill any through the door if they start to break it down. Be careful not to stand too close to your friendly players or you'll clip through them and cause some accidental friendly fire. In expert mode, friendly fire is dangerous. It only takes a few shots to incap your teammate.

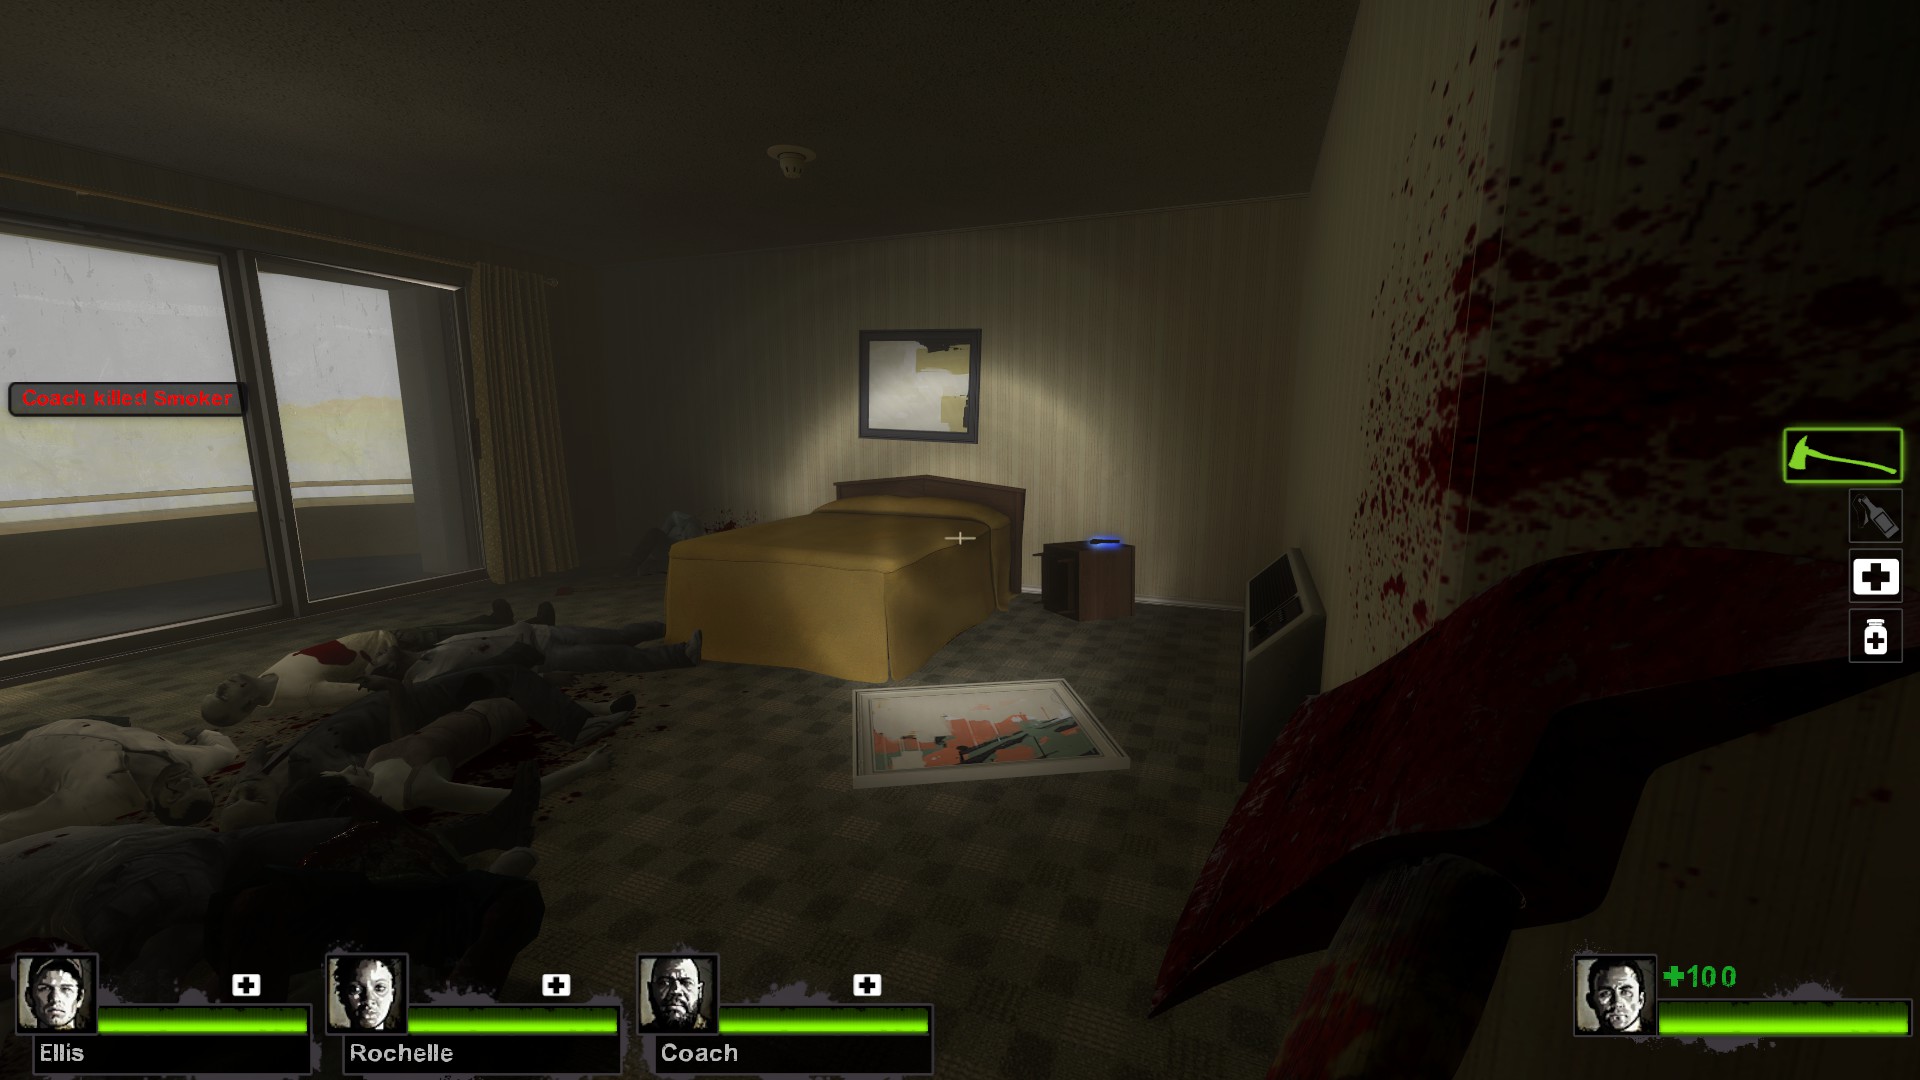
Go through the first double-door on the right of the hallway and enter the room with the long table and map. Clear this room and search for the Desert Eagle. If it's not in that room, open the back door into the bedroom and check the night stand to the right of the bed. It's almost always there. Remember that the Desert Eagle is a one shot kill no matter where you hit a common infected. It'll keep you alive if you're incapped and helps you conserve ammo while clearing out rooms carefully.


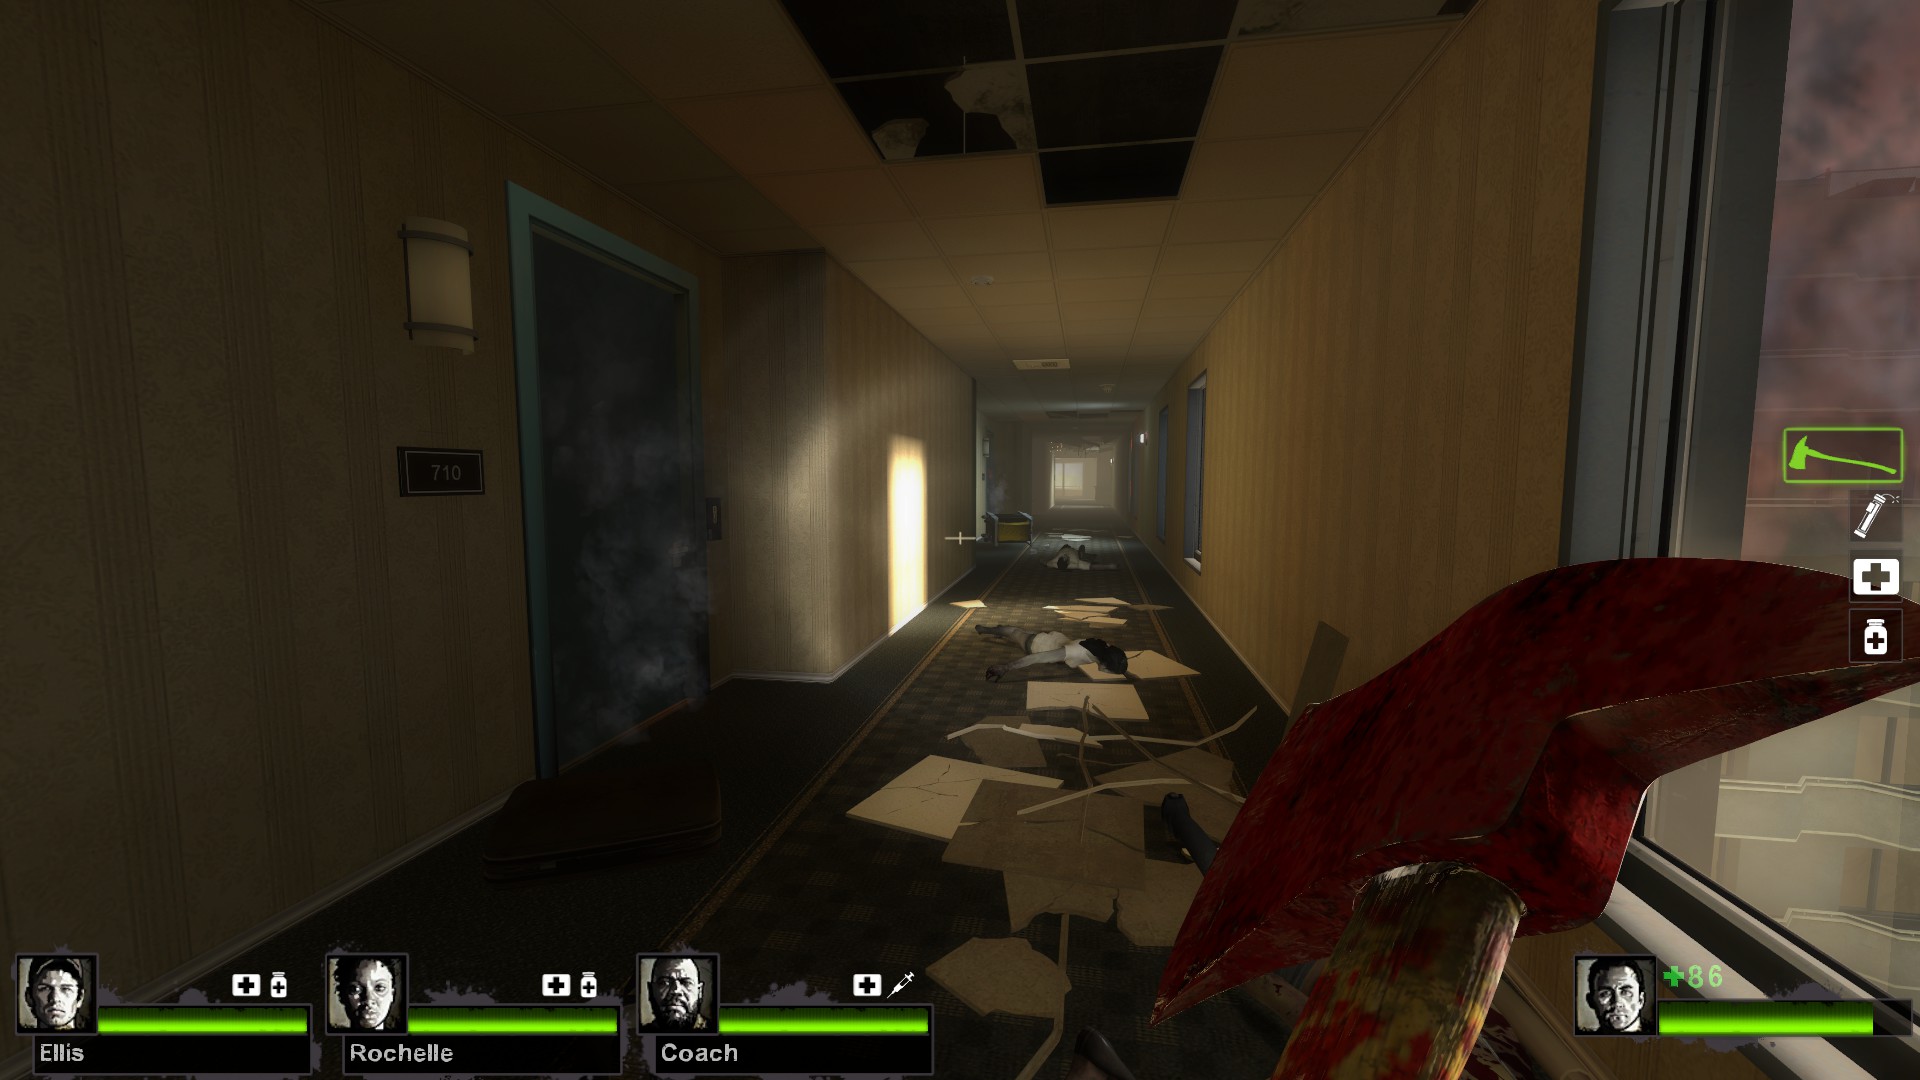
Once you've searched this room, head back out into the hallway and carefully make your way down the hall, clearing zombies and closing the doors as you go. It's not worth searching the rooms. The most you'll find are adrenaline shots, pills, and maybe some throwables, but the amount of zombies hiding around all the corners is not worth the possible damage hit.

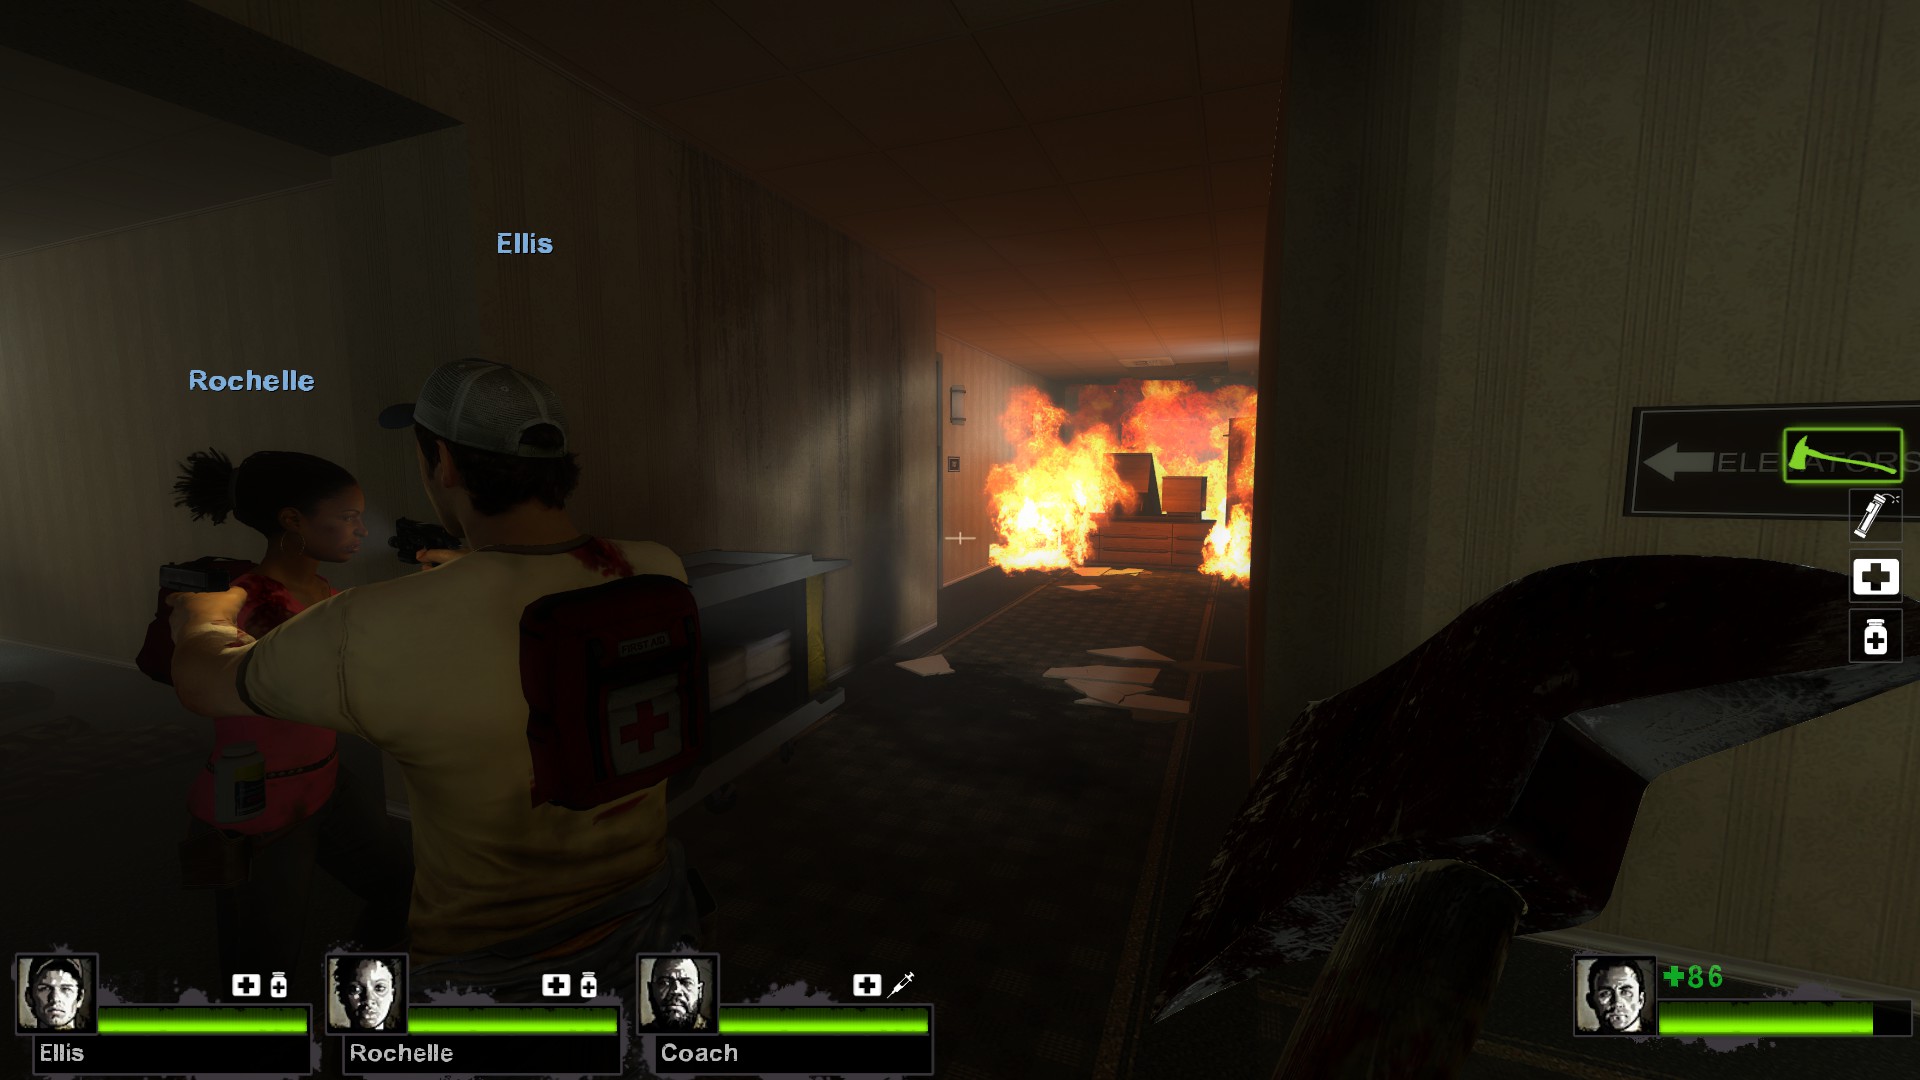
Make your way to the laundry room and clear the room out, check the shelves for equipment. Now be warned, if you hear a charger when walking out onto that ledge, get BACK inside the laundry room and kill it first. If it doesn't charge you off the building for an instant kill, it might hit you into a wall and knock a teammate off instead. Move along the ledge and go inside the second room on the left through the windows. Clear the room carefully and close any connecting doors to avoid getting attacked from random commons you missed from behind. Fight your way into the hallway and to the next stairwell. The next floor is the easiest part but there tends to be a lot of accidents here because of the fire. Do NOT open the doors with smoke coming out of them. Simply fight your way straight down the hallway and ignore the side bedrooms. Do not open any doors and move past the fire doors as fast as possible.


Ignore the laundry room and head straight for the large open room with the elevator. Clear this area out and be sure to check the ashtray and closet for equipment. If you have not found the Desert Eagle yet, it may be in the bedroom in the far right near the hallway blocked by fire. Carefully clear that room out if you need the Deagle, but don't bother if you already have it.


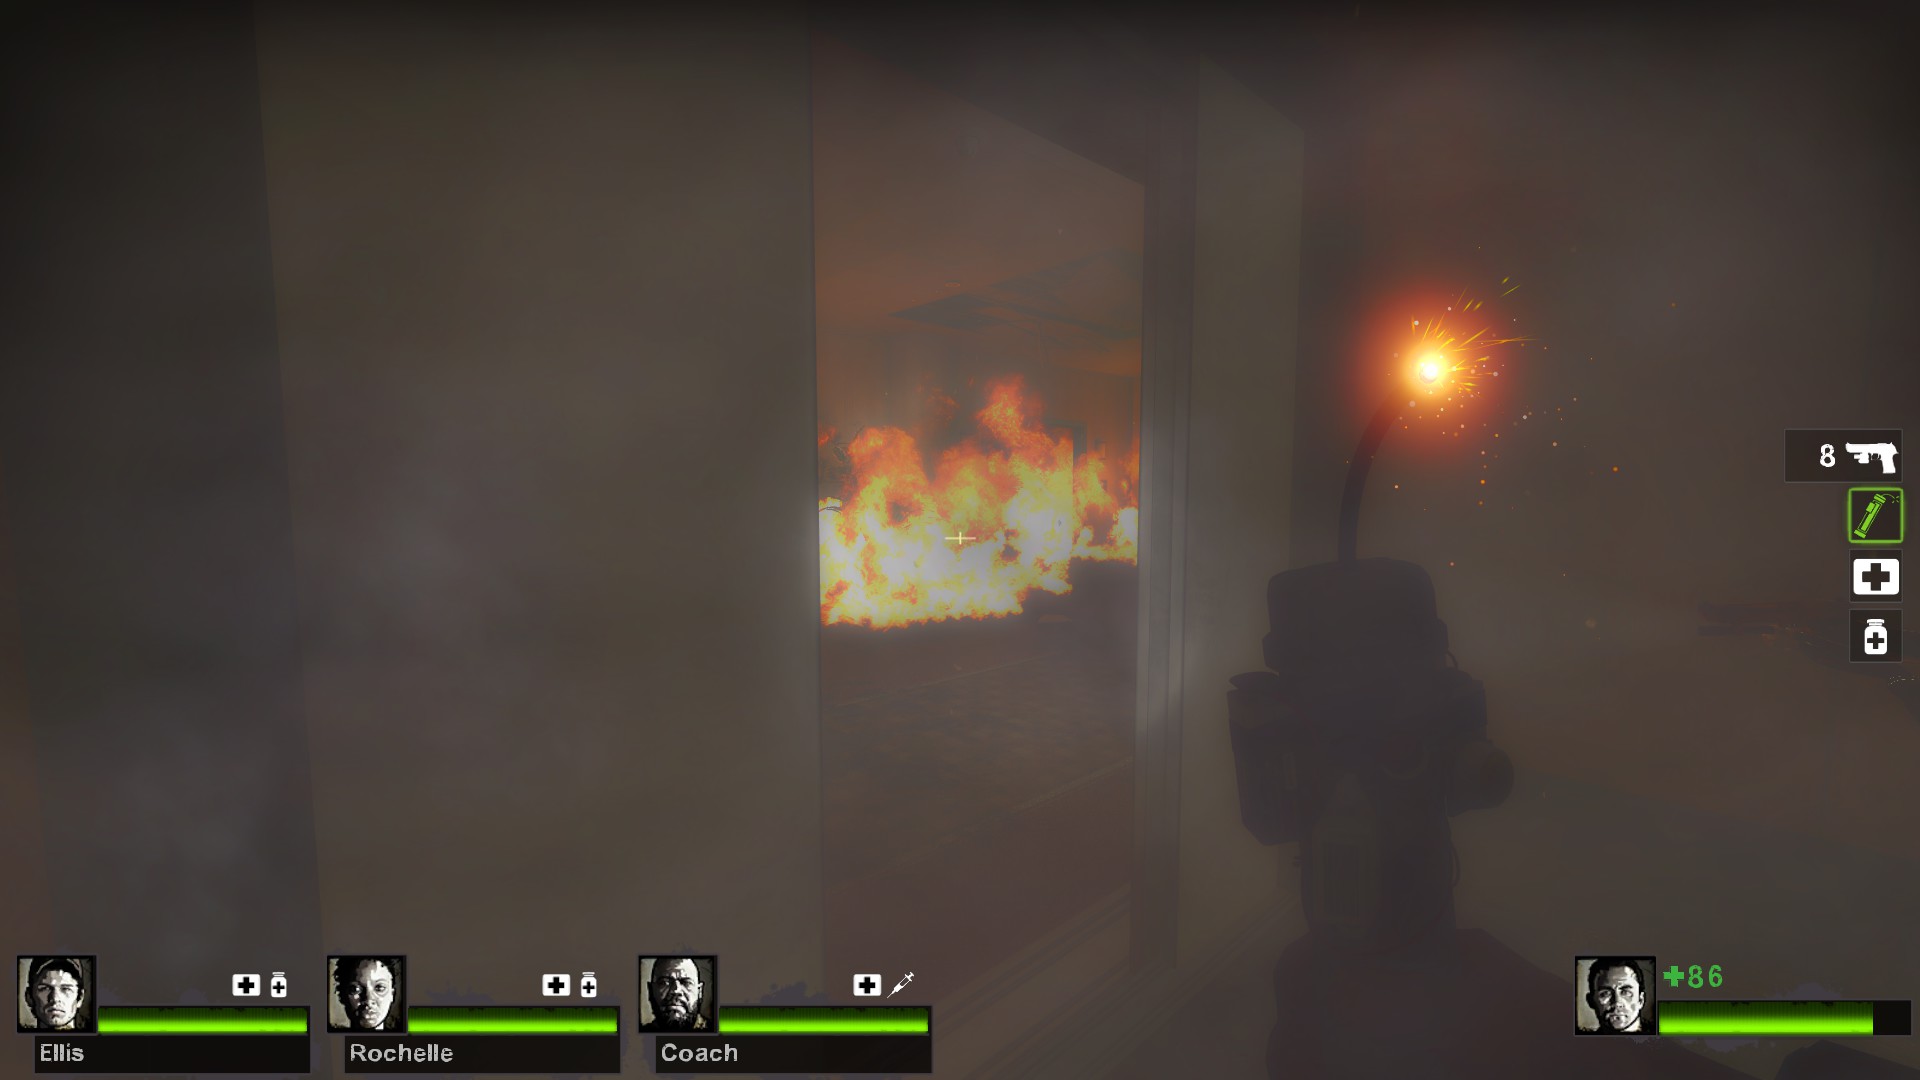
If all goes well, you should all be alive with 100 health in the elevator. But seeing as you're using a guide to figure out how to beat this, you probably will have been incapped several times by this point. So everyone heal up if you're not in the green. If someone picked up a boomer bile/pipe bomb, have them stand by the elevator doors ready to throw it in the fire when the doors open.


The inevitable horde on the bottom floor will kill themselves in the fire while you have a chance to run for the security room to the right. If you do NOT have a boomer bile, wait for the elevator doors to open, run out and grab the UZI and run back inside the elevator. Fight off the horde until it's over and then head over to the security room to grab a shotgun and health pack for anyone who needs it. The shotgun is far better than the uzi, with a chance for one-hit kills if you aim above the waist. Make sure when you fight using the shotgun to always shove the zombies back and then shoot. Do not sit there smacking repeatedly without shooting, your character will get tired and than the zombies will only need a few hits to incap you from full health.

Once your team is ready, head on over to the kitchen and be sure to take a quick glance at the shelves for any throwable items. Another bile bomb or pipe bomb will help with the next area. When entering the fire room, clear as many visible zombies are you can before entering. Remember that most zombies will have to stay on the main path to survive, but the "CEDA" suit zombies can run straight through the fire and sneak up behind you. If you have a pipebomb, throw it in here to some remote corner to avoid running into any scrambling zombies. Make your way for the corner room on the other side and fight off any zombies that run in after you. Check both the lobby and the fire room for any angry zombies running at you.

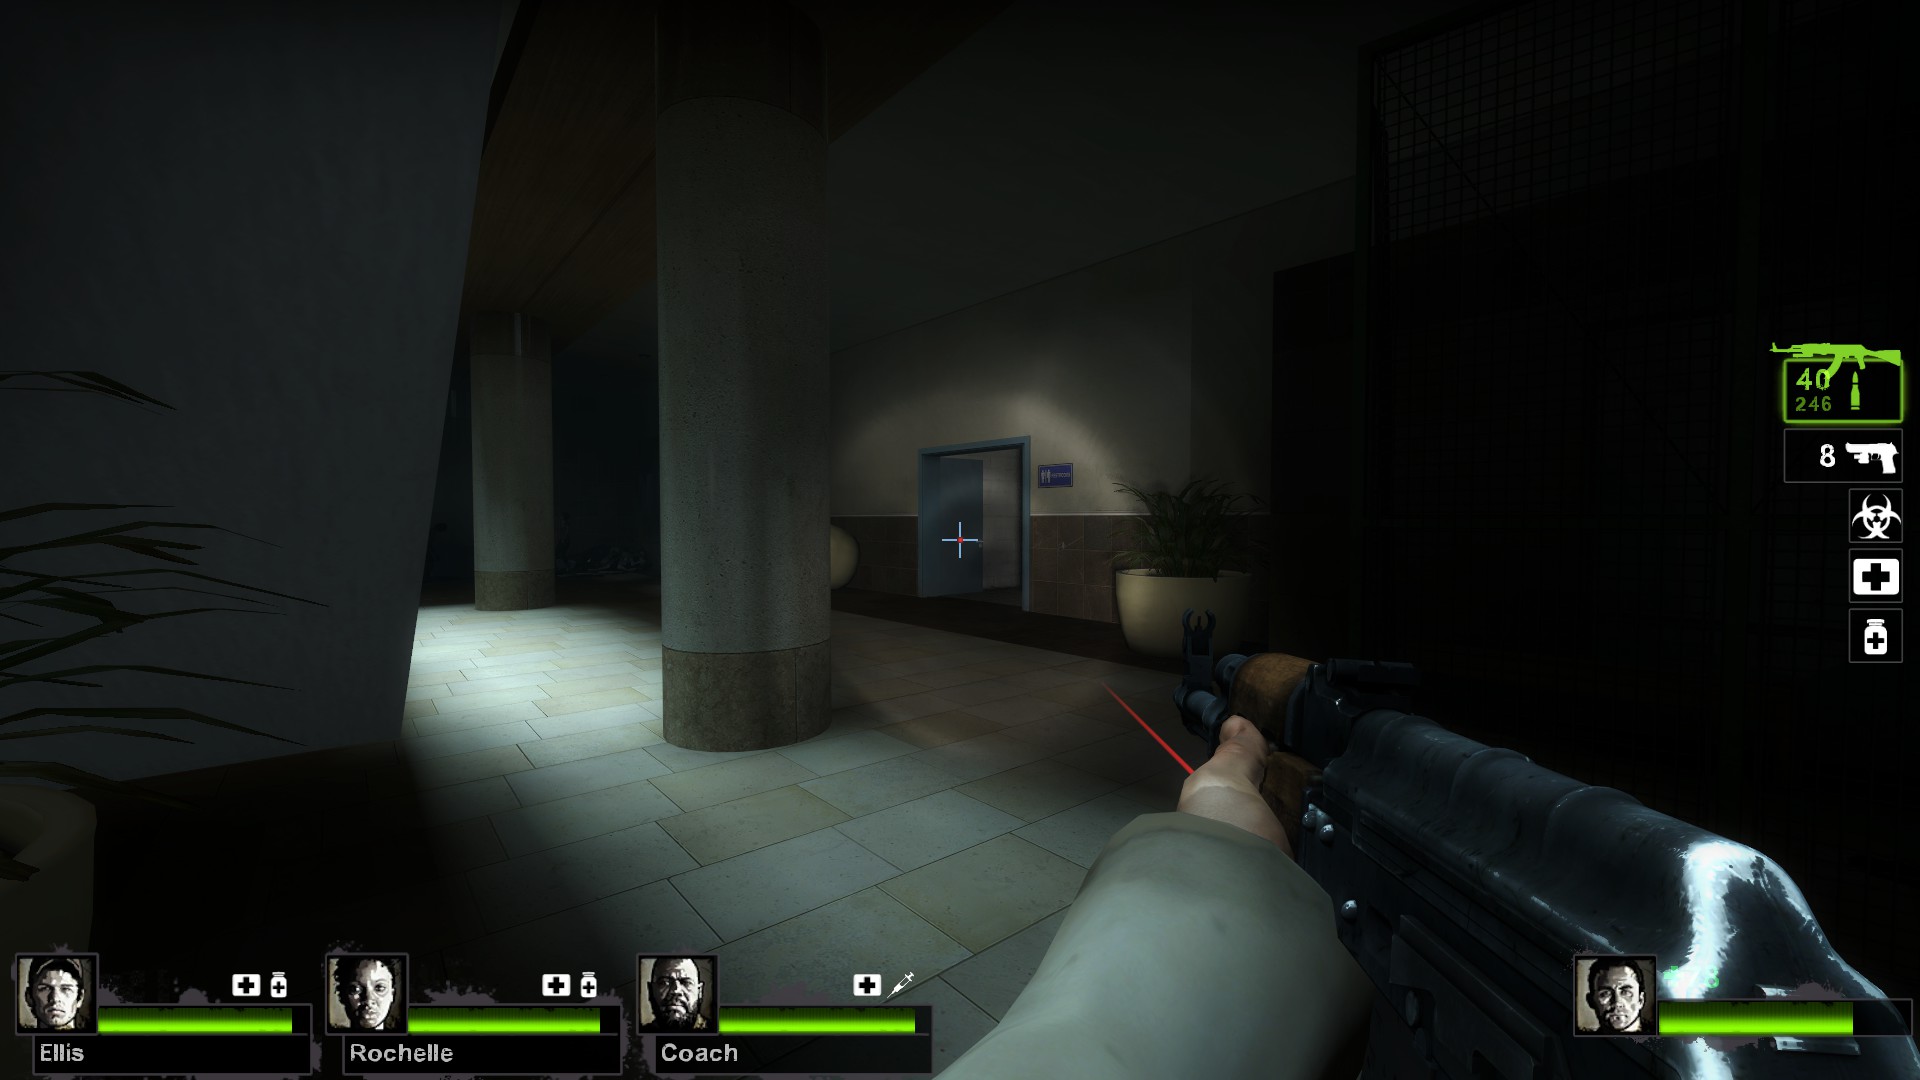
Chuck a grenade into this next large lobby to help make this easy. If you have none, carefully fight your way into the room and make your way to the left side near the counter. Special infected like to spawn behind the pillars in the shadows on the other side of the room so be careful. Once you think you're safe to move on, head into the safe room. Watch for any specials that may have spawned inside the saferoom though. It happens a lot.


NOTE: If you are stuck facing a tank at all in the upper area of the map, good luck. Chances are you'll have to fight it or die trying. Do not try and outrun it, specials and common infected are always waiting, and the elevator will only work if all living players are onboard. If you left a friend behind incapped, the elevator will magically decide NOT to work, leaving you trapped. So take that tank down together in a long hallway and don't stop shooting it. Be careful not to incap anyone while running backwards.

If you are leading the group, always stay crouched when shooting. Your teammates can't shoot through you if you're blocking their path, so CROUCH DOWN.
Dead Center: Map 2
STREETS:

This map requires a lot of teammwork to get through successfully. The most important thing to remember is never go anywhere without your entire group. If you wander off to check a tent for something you don't need, some zombie is going to run up and hit you even though you shot it in the head and there will be a lot of butt hurt and complaining to follow.

Grab some ammo and heal up. If there's an extra kit and everyone has green health, LEAVE IT. Chances are someone will screw this first part up and need the health anyway. Grab your shotgun and head through the saferoom door. Immedietly go right, underneath the roofed area.


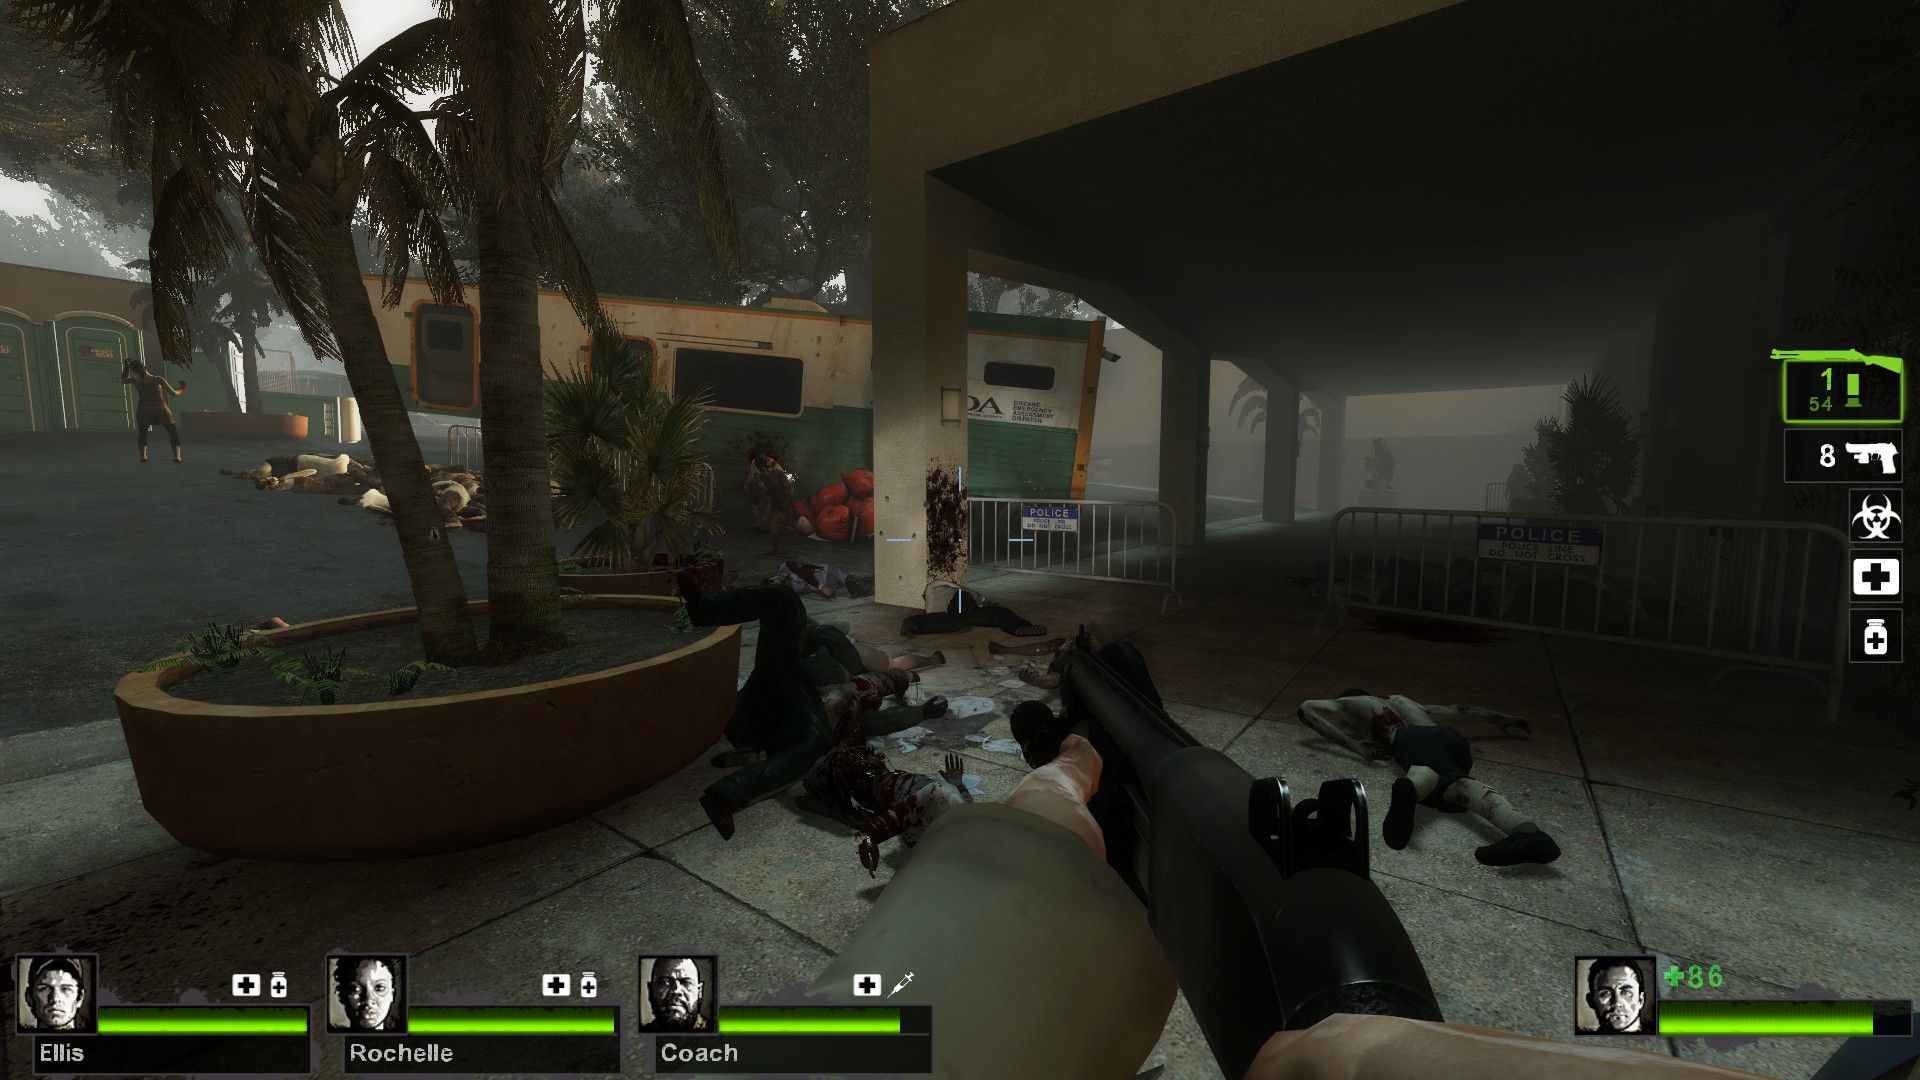
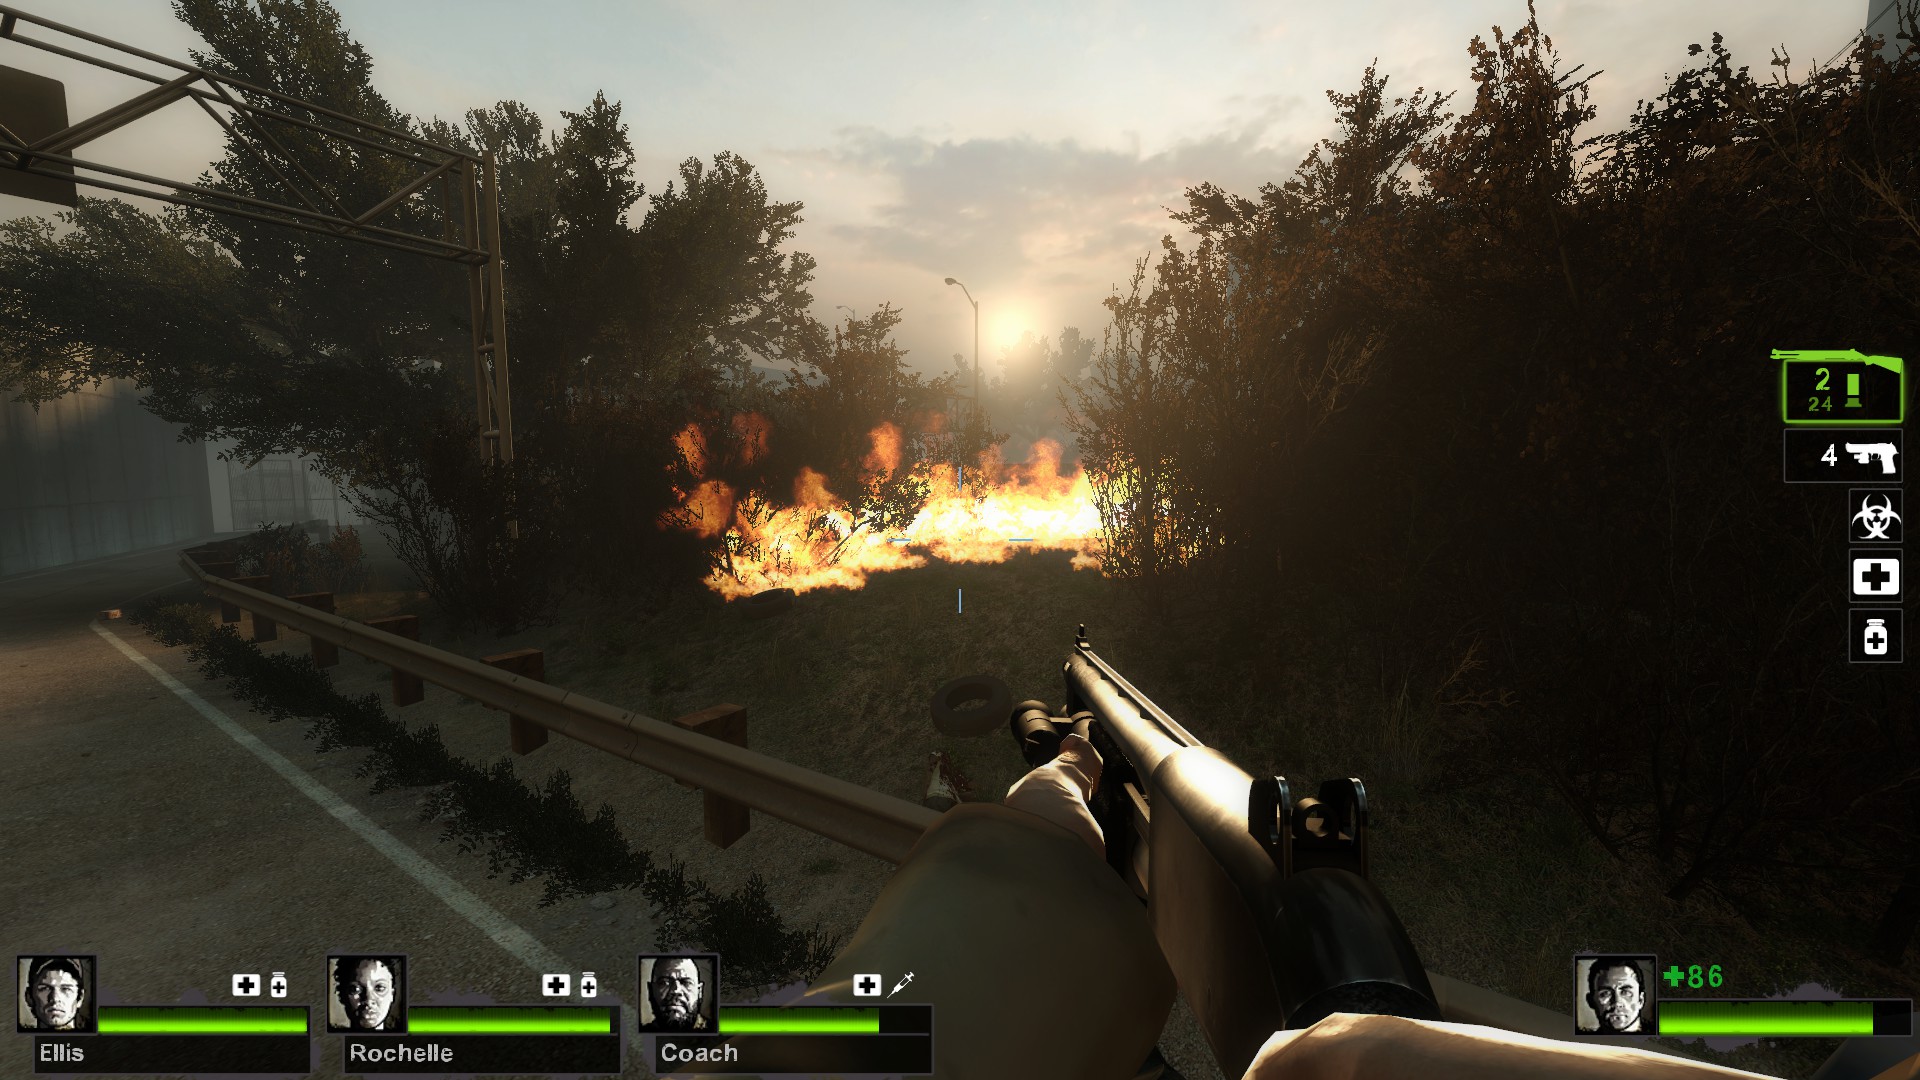
Kill the zombies hiding in these shadows quickly while hugging the back wall and keep an eye on the bus area and the large slope for incoming zombies. Have one player on your team watch the back for any zombies you missed when you ran out, they almost always try and sneak up behind you. If you can, try and shoot the gas can underneath the green awning near the back of the bus. This will create a firewall that will help prevent zombies from attacking you from all sides (sometimes there's no gas but only propane. Either way it helps), allowing you to concentrate on only the zombies on the far right side of the sloped street.


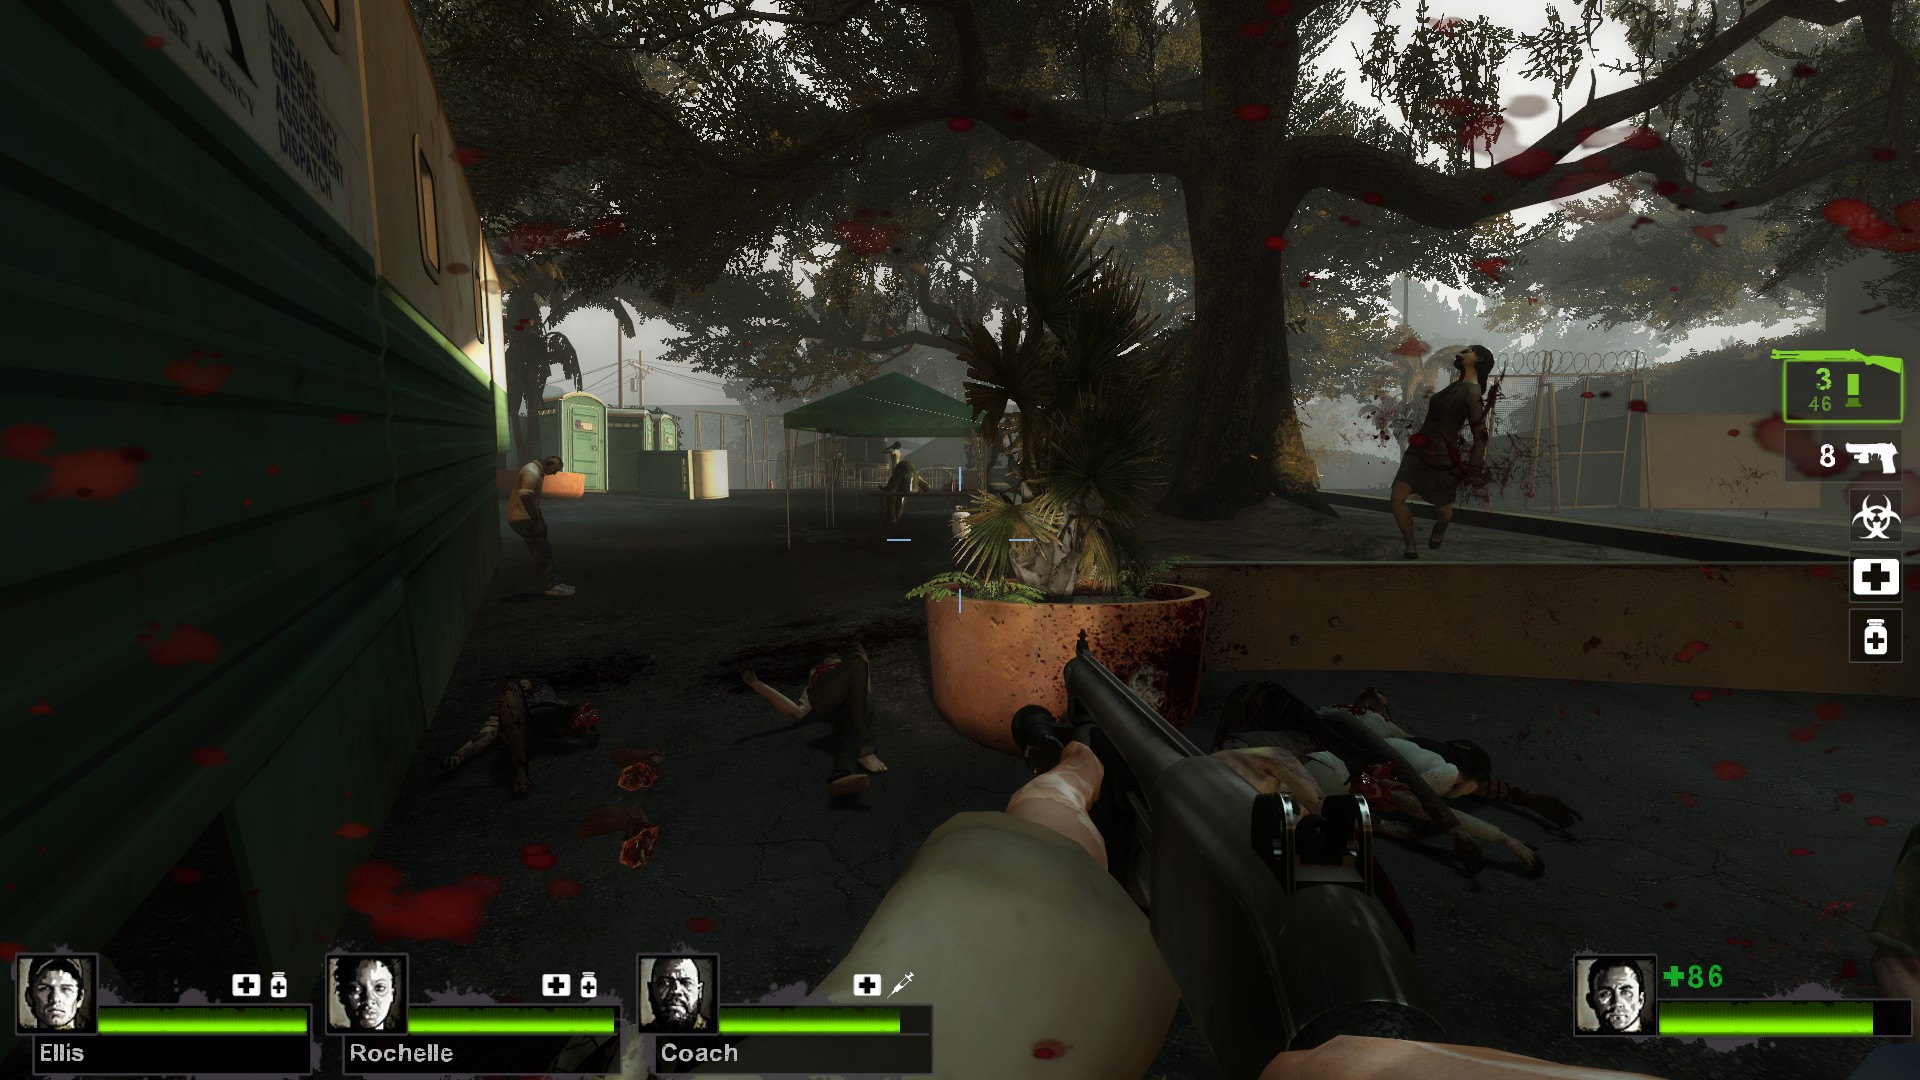
Once the area looks clear, move up the far right side near the wall and the barricade. Avoid the center planter, zombies like to jump from between the bushes and attack you from behind when you run past. Once you reach the top of the slope, stand there and fight off any zombies you see around the cop car, tent, truck, or bushes. Once the area looks clear, head down the street on the right. DO NOT search the tents. The tents are traps. They might have lasersights or a chainsaw, but they are not worth it. The tents are (for some reason) bulletproof and if your teammate get's grabbed inside, you have to run inside after them to save them. You can not shoot through the tent!

Head down the street to the door near the cop car. Have the first player take point crouching and go into the room clearing the few zombies that are inside. If you see a gas can inside, grab it and throw it at the door that you came in through. Close the door and leave the gas can next to it. If a horde spawns behind, you can shoot the gas can as they are banging on the door and take them all out at once. Move down the staircase and watch your corners in this dark storage room. Grab a new gun on the crates if you need it once the room is cleared and check the back closet for a throwable. You're going to need as many throwable items as you can find. When you're team is ready, open the door and head onto the street. Head directly under the bridge and grab the shotgun in the back of the pickup truck if you're low on ammo. Watch for any zombies running into the tunnel from infront or behind. Once you're clear, hug the left wall and move out of the tunnel to the left of the car. Some zombies may run at you from the grassy knoll, kill them and if you can, jump onto the car and shoot the red gas can sitting in the middle of the two bushes. This will block any zombies that want to try and cut through. Do NOT go through this shortcut. It is another trap. It may be shorter, but zombies can easily hide in the foliage and will attack you from all sides every single time. Not to mention there are a lot of zombies on the other side waiting.


Go all the way around the way around this area to avoid getting surrounded. You never want to be standing in the center of an open area, always stay close to a wall. Make your way to the U-Haul truck and grab a new shotgun if you need it. Carefully move with your team around the truck and fight your way to the shipping crate with the ladder attached. Be very careful here. This section is where a lot of people make mistakes. Climb up the ladder and make sure your entire team is with you at all times. Do NOT leave a player behind, if they get smoked, you'll have a hard time getting back to him if you had already dropped. Fight off all the zombies in the next area from ontop of the crate. Do not drop until the area is relatively clear. Once it's safe, drop down with your team and head for the building.

Note: It's very likely you'll be stuck fighting a tank or a witch here. For a witch, avoid trying to crown her unless you're very good at doing it with a pump-shotgun. Keep your lights off and move one at a time past her. Do not run past her unless she is crying. Also, do not shoot zombies while running next to her, even shooting next to her will set her off. If you are stuck fighting a tank, have one player bait the tank back outside and have your entire team light him up when he comes out. If he starts throwing a rock, jump down and hide from view completely. His rocks are heatseeking for some reason. Use any source of fire possible to light the tank and simply avoid him until he dies, taking shots at him occasionally to speed up the process. If you didn't have to deal with either.. well lucky you.

Search the dark building for equipment in the various rooms and gear up upstairs with new weapons, ammo, and two sets of pills in the medical cabinet. Walk out onto the balcony and use a throwable to clear out the street below. If you have nothing, remember that the zombies will all come up the same place to get you, over by the porta-potties, so just take them all out as they are climbing.

When the coast is clear, head down and fight your way up the street to the staircase and carefully make your way up the stairs. Be warned that the bushes at the top of the stairs have a secret path behind them. Zombies can and will hide behind the bushes and run out from behind you when you're moving on, so be sure to clear that out. This part is pretty easy so make your way to the stairwell and fight your way up to the looooong walkway. If you're stuck fighting a horde on the bridge, have fun. There's only two entrances so you'll get to take some easy collateral shots at large groups of zombies before they even get close. Make your way to Whittakers gunshop and stock up on medkits if you need them.

The best weapons for expert are easily the Desert Eagle, the AK-47, and the hunting rifle. Laser sight these weapons at the gunshop. If you want to use an Automatic-Shotgun, go ahead, but be warned. They are extremely dangerous when fighting closequarters next to your teammates. If you or your teammate move even close, they can incap themselves. So use the shotgun at your own risk.

Now the best method for this event is to stick together, using boomer biles to keep the common infected off of you. Have one person run inside to grab the coke while the teammates stand watch outside the main doors to the store. When the player with the coke arrives at the front door, have another player throw a boomer bile in the corner to the right, between the building and the large hedges out of the way of your path.


Follow the player with the coke to the white van, climb up the front of the van and hop over the fence onto the upper parking lot. Bring the coke up the stairs and to Whittakers door while your friends keep any infected off your back. This part is difficult, but as long as all four of you stay close you should have no problem. Stay by the door defending until the even is over. Then jump over the railing and continue through the debris. Move in the left entrance towards the mall and watch all the corners. Avoid tents and make a straight shot for the mall. You should have no problem making it into the saferoom, just watch the infected closest to you and fight your way inside without incapping eachother.
Dead Center: Map 3
THE MALL:

Oh the mall. The hardest level in this entire campaign. Beware of this level. It is dark, has plenty of hiding places for zombies, and lots of choke points where specials can really screw you over. The best trick to this level is to stick close and pay very close attention to anything running at you. Do not bother clearing out entire rooms because each room is massive in this level. By the time you clear one side, zombies will have respawned behind objects on the other side and hordes will randomly attack you.

Grab your weapons and head out of the door. Always head directly right and carefully move around each object until you reach the lit area in the corner. Avoid getting too close to the random objects in the level as they can get you stuck and cause zombies to get cheap hits on you. Clear the area at the bottom of the escalator and move up together as fast as possible. At the top of the escalator, get ready for an ambush. Zombies will run at you from all angles. You can always run up and back down to lure the zombies downstairs, but this will waste time and you'll probably be fine just fighting the zombies at the top as soon as you see them. Move as a group to either the left or right. Don't split your group up. The sides of this upstairs room are very dark and easy to miss seeing common infected or even specials grabbing your friends (especially on realism). Regroup by the lowered gate doorway leading to the atrium and fight off any remaining zombies. Pick up the deagle on the ground here if you haven't already. In the next large atrium room, move along the left side all the way to the back dark corner and look around for guns or equipment. Chances are you won't find any bile bombs in this map as there are no CEDA agents running around anymore, so any pipe bombs you find you might want to save for the finale.

When you've cleared the upstairs, head down either escalator together and head for the dark area with the flipped over pot and weapon on the ground. Stand off here against any angry zombies and move together into the food court area. Hug the far left wall as you make your way through the kiosk/table area towards the next set of escalators. Clear the entire downstairs together and be sure to investigate the long dark hallway leading to the bathrooms on the right side. It is common to find a health pack in one of the bathrooms.


When you're all ready, head up one of the escalators. Clear out the upstairs area and check the corners for weapons/equipment. Now be very careful here as this section is a "Death Pull." When you walk into the doorway over the ramp, there's no easy way to go back and save someone who was left behind. It helps to have the first player jump up to the left ontop of the table and wait till all of the players have safely dropped into the hallway.


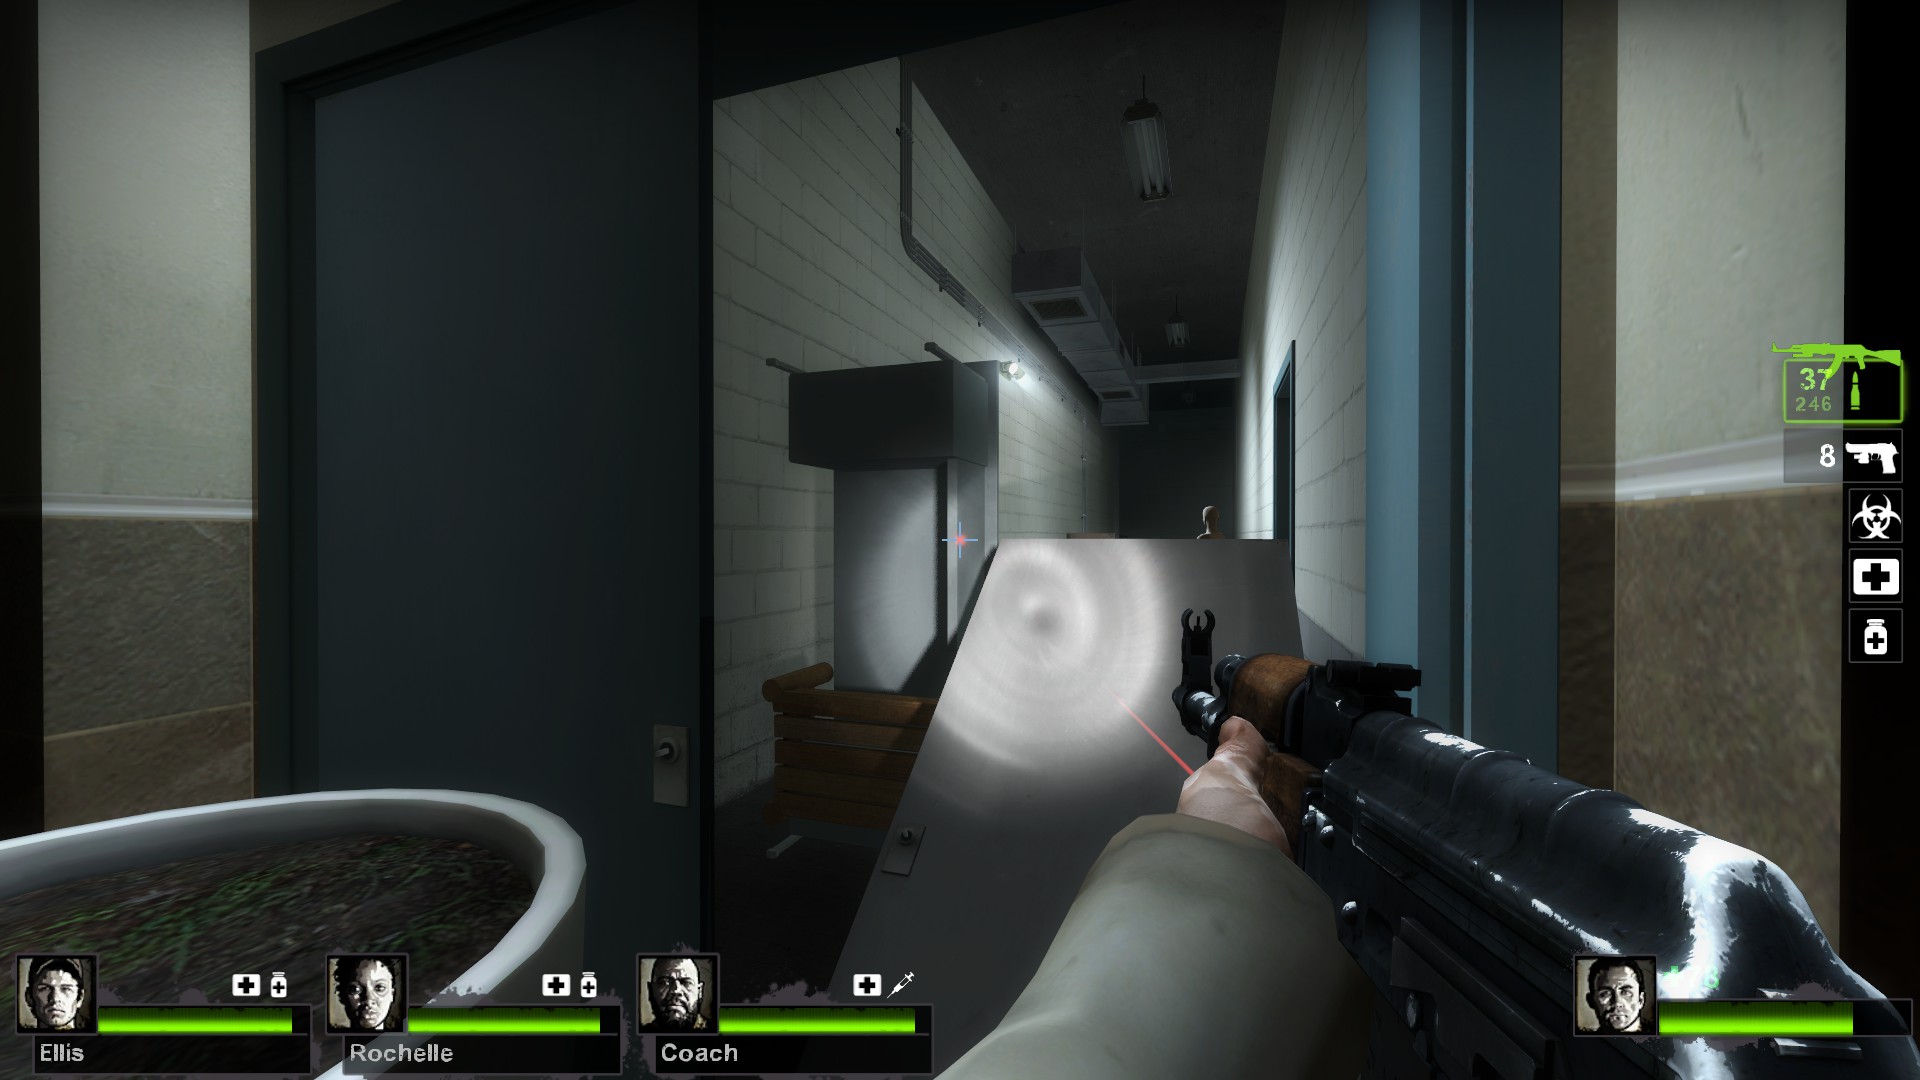
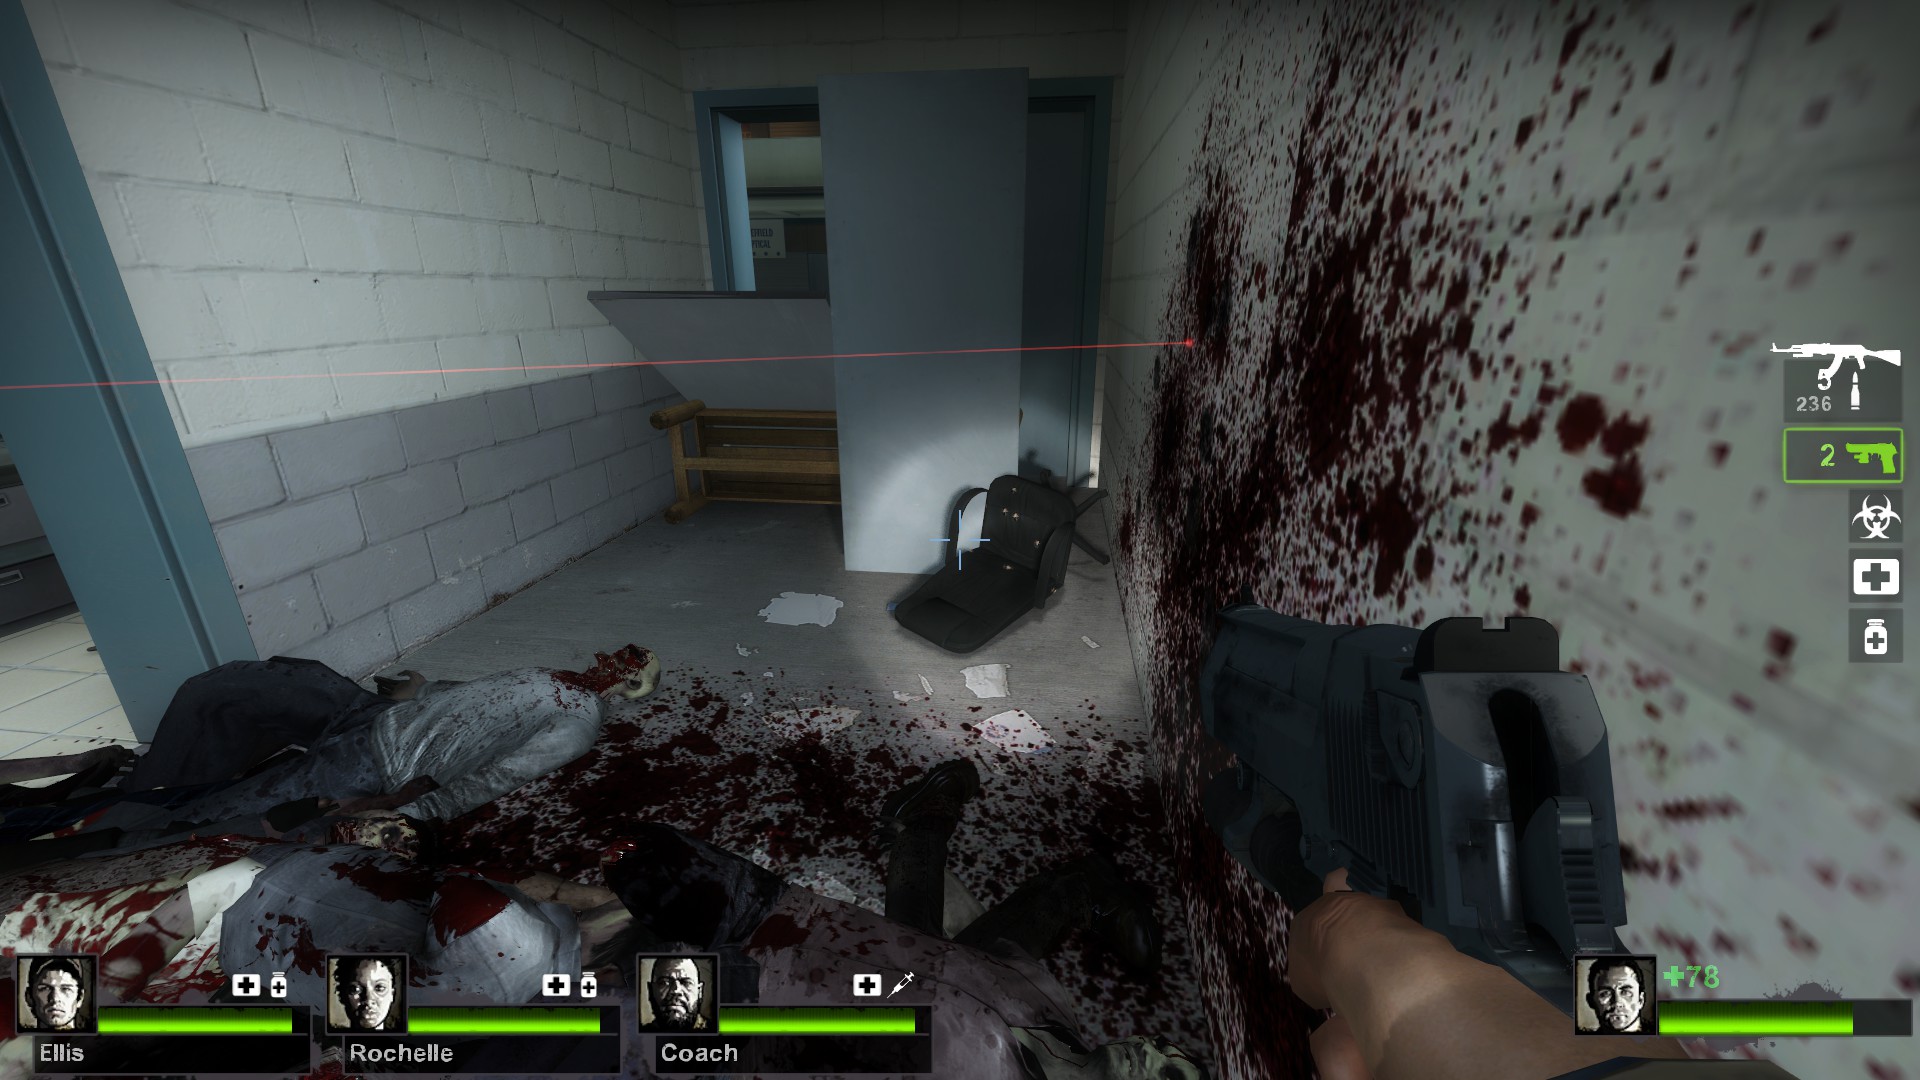
If you've been incapped and left behind, don't panic! There's a way to be saved! Have your teammates walk into the first room in the hallway. There is a black chair in the room. Shoot/Melee the chair so that it rolls out into the hallway. Use this chair as a platform to jump off of and go back to where you came from. This trick is not easy to pull off if time is a problem (EX: If a tank is coming), so even if nobody was left behind, me sure to set it up for an easy escape route in case you run into a problem.


Once you are all safely in the hallway, note that there are two possible paths. Normally you will be forced to take a left at the turn and follow the hallway to a toy store with security alarm rigged to the windows. But if you're team moved fast enough, you'll be punished by having to take the more difficult path on the right, forcing you to go down two stories and have to open an emergency door at the bottom of the event.

Situation 1:

Grab ammo, pills, and have your adrenaline/pills ready before you shoot the windows. Be very careful when clearing the Toy Store NOT to shoot the windows until you are ready. If there is a special infected waiting outside of the windows, throw a molotov at the middle between the two windows and it will burn anything outside of the store, giving you an easier escape. If you have a boomer bile or pipe bomb, be sure to use it as soon as you break the glass. I recommend throwing it at the very bottom of the atrium so that zombies will take a while to find you after the grenade wears off. Remember that the most important thing is to shut that alarm off. Do not try reviving a downed teammate in the middle of the event or you'll all die. Turn off that alarm as fast as possible!!! Once you reach the room, shoot through the zombies in your way and don't let them incap you on your way to the switch. Don't panic and start jumping up and down. You will not be able to jump over zombies. Once the alarm is off, shut the door to the right so that you block any more zombies from coming in, giving your team some breathing space. Corner up by the table in the corner and fight off the remainder of the horde. This section is only really difficult if you have no bile bomb to use.

Situation 2:

If you started at the bottom.. ha... good luck. Throw a bile if you have it and run like hell.

After the alarm section, it shouldn't be that difficult. Make your way through the back hallways downstairs and into the room under construction. Clear the room out completely and pick up any throwables in there. If you find a pipe bomb, use it to clear the final room and run for the escalator up to the top floor. Be aware that the escalators will be in a different spot sometimes, it can be facing towards the back wall or away from it. Either way doesn't really present any more of a challenge for you.

Dead Center: Map 4
FINALE:

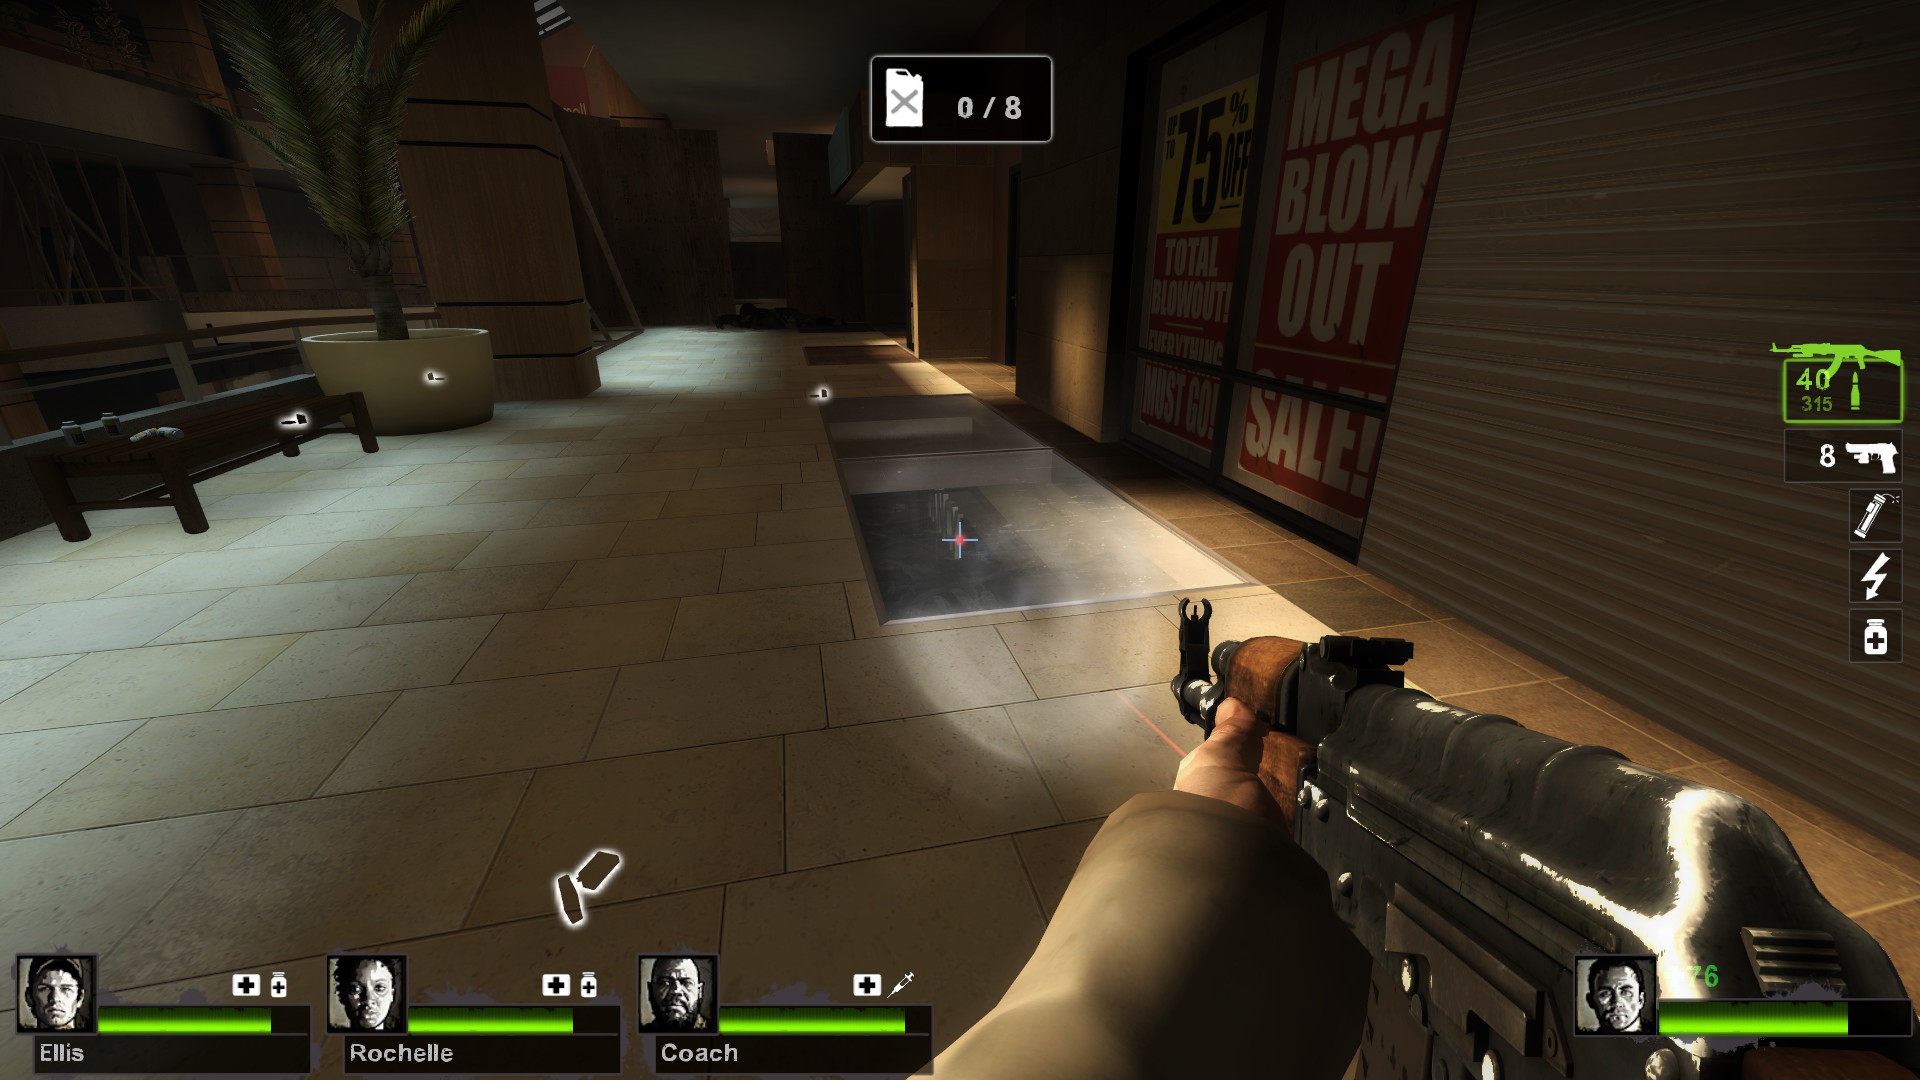
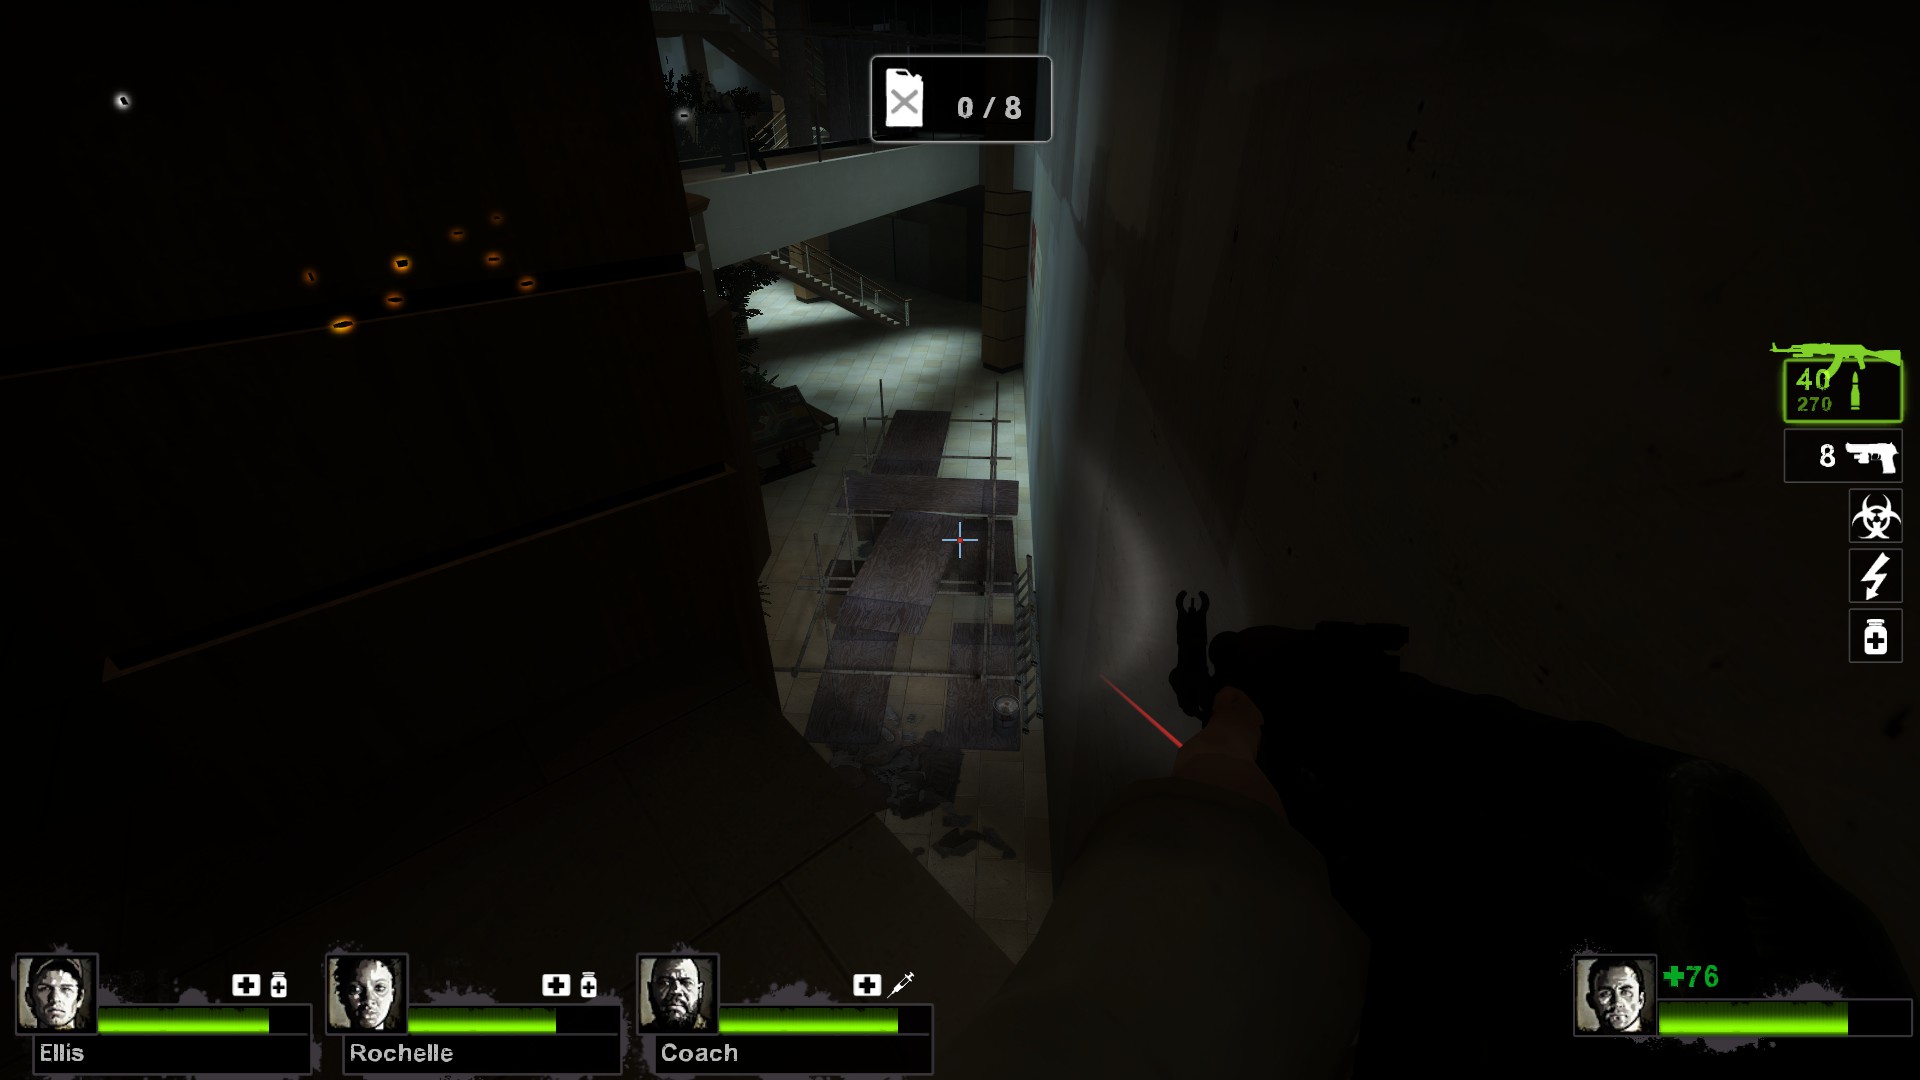
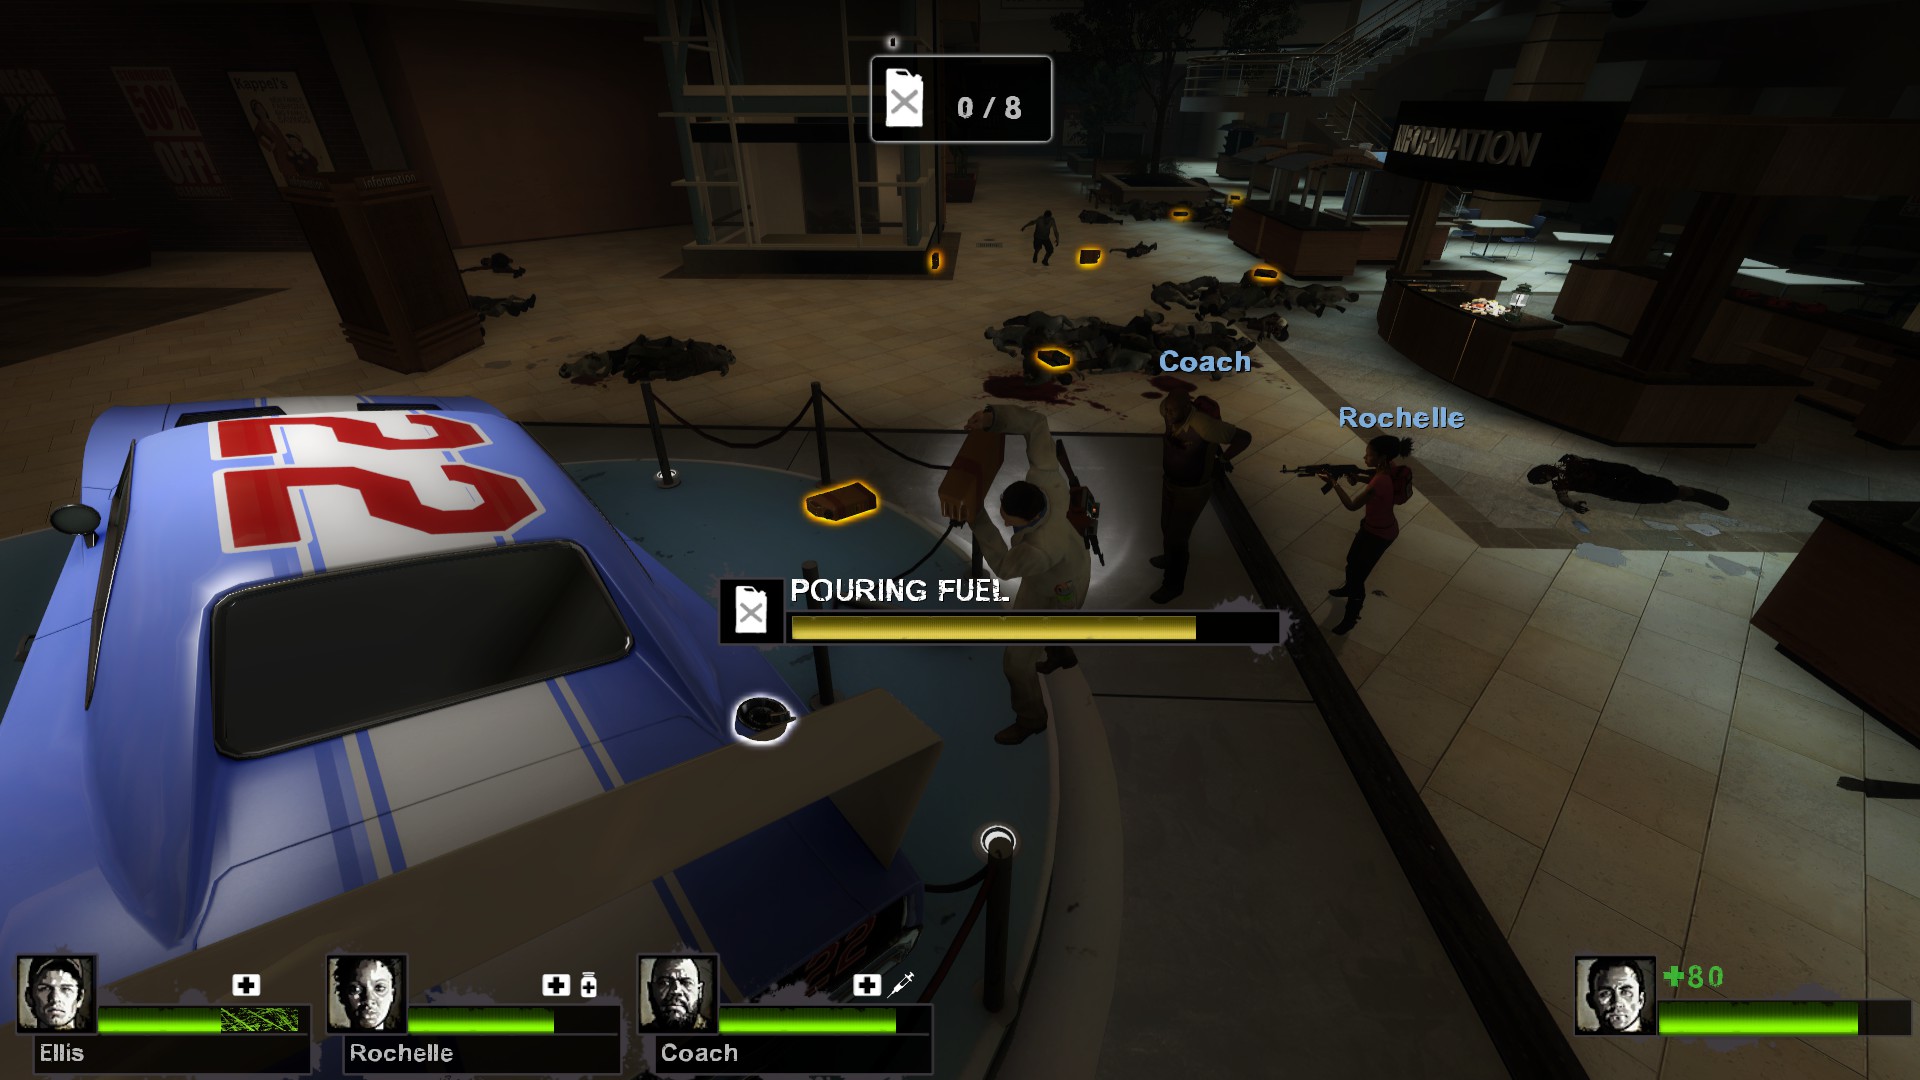
Alright, you made it this far. Now this map can either be incredibly easy or incredibly difficult. This finale is a real pain because you have to rely purely on luck most of the time. Check the bathrooms for pills on your way out of the saferoom, but don't waste health doing so. Zombies will hide in the bathrooms so be careful. When you're all in the elevator, you should establish a buddy system. Do not let your buddy get grabbed by a special. The worst thing that can happen in this finale is a single player getting incapped on a different floor than the entire team and delaying the entire timeline. You need to move incredibly fast to get the gas cans in as quickly and efficiently as possible. It is very possible to finish this finale without ever having to fight a tank.

As soon as the elevator door opens, grab the first can and throw it next to the car. Don't bother filling it up, the spitter in "Co-op" can NOT destroy your gas cans with spit. All four of you guys should head to the top floor using the spiral staircase near Jimmy Gib's car. Cross the bridge to the back left corner and grab the gas cans as fast as possible. Have your buddy grab the other gas can while your teammates kill any common infected breaking through the door or running across the bridge. If you're lucky, there will also be a pair of boomer biles in this corner. Make sure you get both of them! Throw them as soon and as far away as you can. Whoever has the other boomer bile needs to pay close attention to when the last one is going to wear off. The goal is to keep the zombies in a boomer bile cloud the entire time so that you grab every gas can in the upper levels without having to fight through the horde.

Now grab the other two cans on the 3rd floor all the way to the right side near the big windows and make sure you pick up the defib that usually spawns up here. It's helpful to have it and not need it than to need it and have to go get it. Throw all the gas cans over the edge as close to the car as you can. Don't spend too much time though, you shouldn't stop to line up your throws or anything, just do everything as fast as possible!

Now that this top floor is clear, cross the bridge again and shoot out the glass floor on the other side to drop down to the second floor.


Don't bother checking the other side of the 3rd floor unless there are gas cans there too. The second floor is where most of the trouble happens. The second bile has by now worn off and zombies are now coming at you from all over the place. Try and fight your way towards the gas cans and hopefully the director will grace you with some more boomer biles by the gas cans, or at least some pipe bombs. Keep the zombies off you as you collect the gas cans upstairs and throw them over the railings. Once you do this, follow the path around the elevator and past the large windows to the back corner of the 2nd floor walkway. If you notice below, there's a scafolding that you can jump down to and lose barely any health. Use this to quickly drop down and save time.


Once all the players are downstairs, have one player use adrenaline and stand by the gas pump and start pouring the cans in. The other three players need to throw all the scattered gas cans at him so that he/she can easily pour them in without having to run around at all. The tank usually spawns in by this time so take advantage of the lack of common infected to fill in as many as possible. You don't need to kill the tank if you can fill the car up in time.


BE CAREFUL! If you are incapped by a tank's rock after the final can is poured in, you'll be counted as dead and you will not survive the campaign. It happens all the time, so be aware of what the tank is doing and communicate with your team carefully so that everyone can survive.

If you end up getting the tank earlier (usually by the time you're throwing cans off of the second floor balcony), then fight him only on the second floor. Stick together and run around the large circle of the 2nd floor while you keep your distance from him. Fighting him anywhere else is dangerous because there's a lot of open space where his remote control predator missile rocks can hit you. Remember that normally during a tank encounter you should all stop what you're doing and fight him, the tank in this finale helps to give time to fill the gas cans into the car because it stops the zombies from spawning. Use this to your advantage or you'll have a rough time filling up ole Jimmy Gibs' car!


Good luck guys! Thanks for reading. If you still can't beat it, than play the lower difficulties until you are more comfortable with the games dynamics. One crappy player can really kill you all, so be aware of who your weakest player is and don't trust them with important roles. Have them carry the gas cans if it helps keep them from teamkilling you.
71 Comments
D. Nyflox Dec 1, 2020 @ 7:48am 
I didn't even know that I didn't survive, I got hit by a common somehow. I gotta do the entire map again.
MetaVandetta23 Nov 21, 2017 @ 2:18am 
K. Just said that its there
Nick930  [author] Nov 19, 2017 @ 8:10am 
I did not know. But I'd rather not post exploits. Exploits are lame mmmkay
MetaVandetta23 Nov 19, 2017 @ 4:07am 
Hey, you know there is a exploit on finale? The best way to do this exploit is doing alone, beacuse you will only need to fuel 8 gas cans. First your teammates must be incapited on saferoom. Just pick up shotgun, shoot them and move foward. But remeber dont kill them or you need to restart. Now go to elevator and activate. Now when you start event horde wont spawn, there will only be few zombies. Kill them. Now throw 9 gas cans near can. You will see near car a blue thing. That's enabler. When you have everything ready press e on this blue thing. Now horde will start, but you have enough time time to fuel gas can and end campagin.
DISCLAMIER: Well this exploit works sometimes, i am still figuring out how it works but anyway. IT WORKS 50% OR LESS.
Dibella Nov 13, 2014 @ 8:19am 
Thank you so much! We threw all the gas cans with 4 players, and then we fill them up. Really smart thing, first we tried 1 filling 3 throwing but that didn't work xd
Aug 17, 2014 @ 9:59pm 
On the Streets, instead of doing the white van shortcut, what I do is do it normally, but use the bushes and throw the cola up to the balcony (near Whitakers door). It works because you have four guns and somebody else can grab the cola and do the final stretch without having to go onto I-16 West/use the van shortcut.
Aug 17, 2014 @ 9:53pm 
Also, if you have the second floor battle with a tank, shouldn't you run down to the atrium to fight him? It's a bit open, save for a couple of booths and foilage, as when on the second floor, the Tank can break the glass there and incap/kill you.
Aug 17, 2014 @ 9:51pm 
Actually, you can do the trick to skipping at least 25% of the level. Over by the window, break the glass. On the next floor down, that's the elevator (this shortcut will be present on the 7th floor.). Break, the glass, and HOLD your W key, and break the glass on the sixth floor. This shortcut is high risk, and is not recommended unless you are rushing/want a quick campaign time.

Note: If you miss the sixth floor, or hit the ground, you will die/get incapped. If you are playing with bots, chances are they follow you. More people die, the harder it is.
Matremoon Apr 26, 2014 @ 4:18pm 
@ Dave i have one XD
Akantia Apr 23, 2014 @ 6:49am 
I luckily managed to make it through this campagin on expert just yesterday. It was tough though. Wish I'd seen this guide before attempting it. Would made things all the more easy haha ^-^