DARK SOULS™: Prepare To Die Edition

DARK SOULS™: Prepare To Die Edition

45 ratings
Fast Two-Bells Guide (with Dragon Avoidance)
By RETRON
This guide will walk you through fighting the Bell Gargoyle and Quelaag and ringing both Bells of Awakening while avoiding all other bosses (and most of Blighttown and all of the Depths).

It will also guide you to the Claymore and the Grass Crest Shield while entirely avoiding the Hellkite Dragon and even preventing it from appearing on the bridge that leads to the Undead Parish.

In all, it should take you an hour or less to ring both Bells using this strategy.
   
Award
Favorite
Favorited
Unfavorite
Introduction and Character Creation
This guide is intended for veterans who want a quick guide to getting through the early game, and grabbing some good loot on the way, not for newbies.

Taking your time to go through Dark Souls in the "proper" order is easier. What's more, by using a guide on your first play-through you will be missing out on a lot of the fun, which is exploring and discovering Lordran on your own and overcoming the seemingly insurmountable challenges it throws at you.

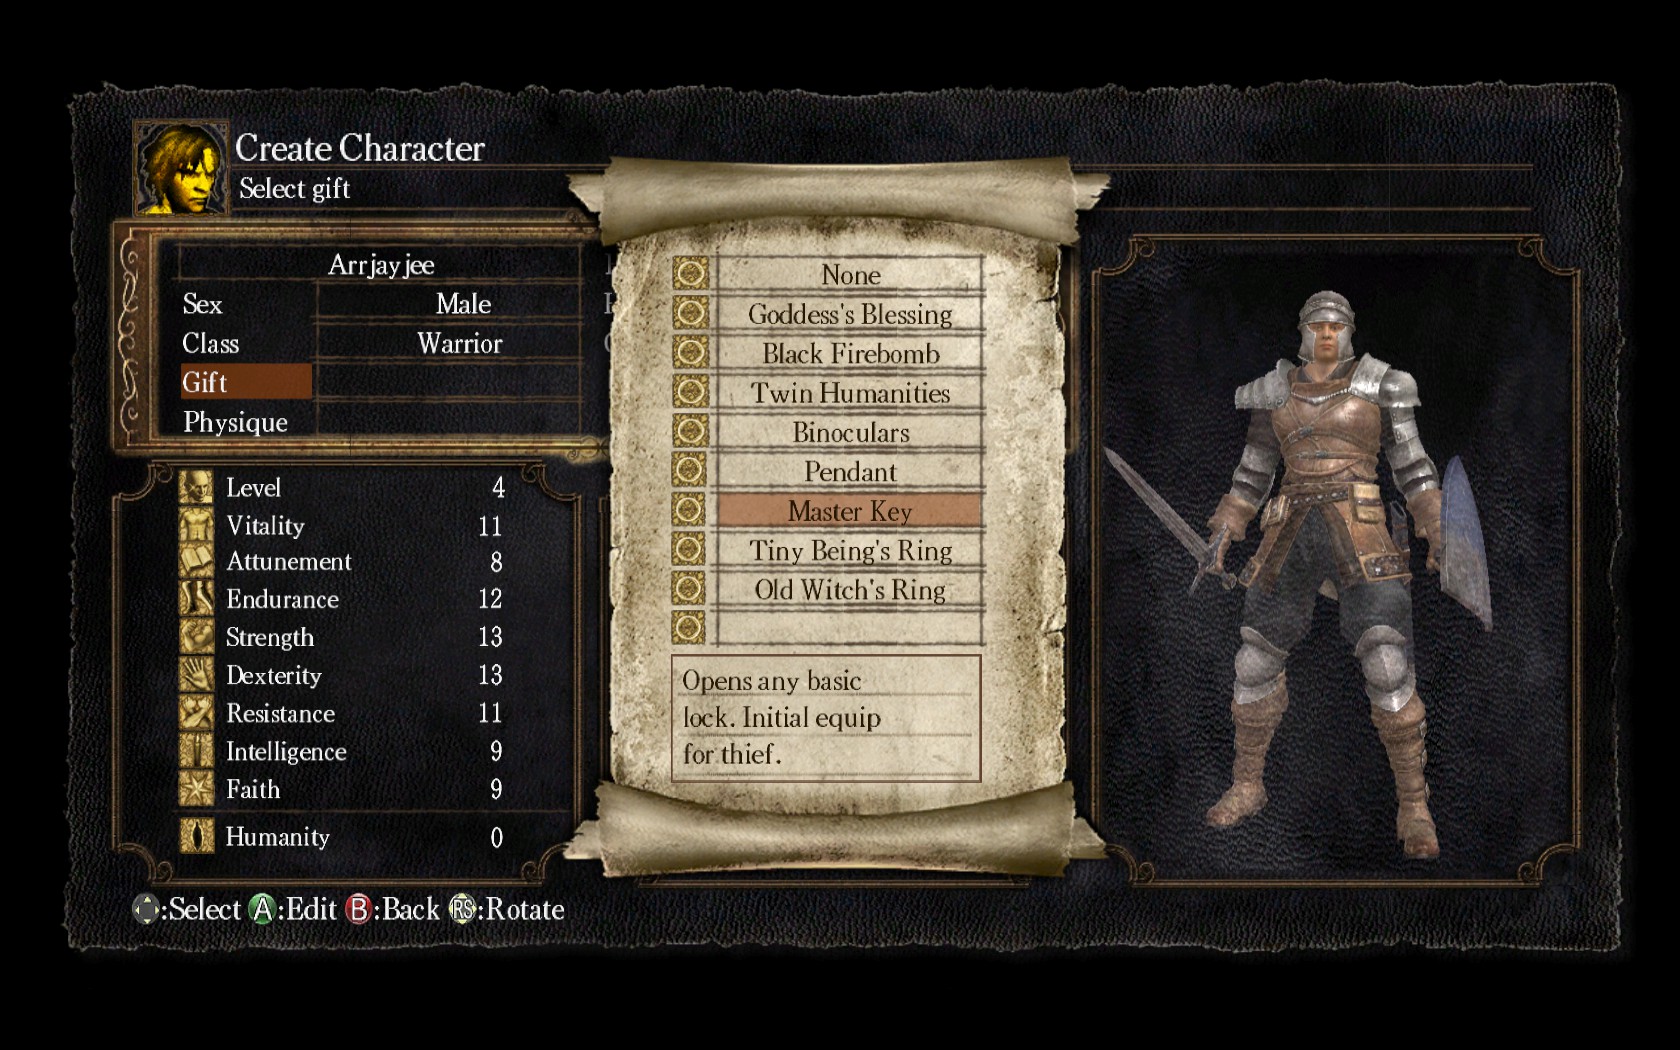
Make your character however you see fit. If you choose a Thief, all well and good. Pick whatever bonus gift item you want.

If you choose something other than a Thief (I have chosen a Warrior) take the Master Key as your gift.

Once your character is created, complete the Undead Asylum and head to Firelink Shrine.

(If you have trouble easily completing the Undead Asylum, you might not be ready for this guide.)
Firelink Shrine to Undead Parish
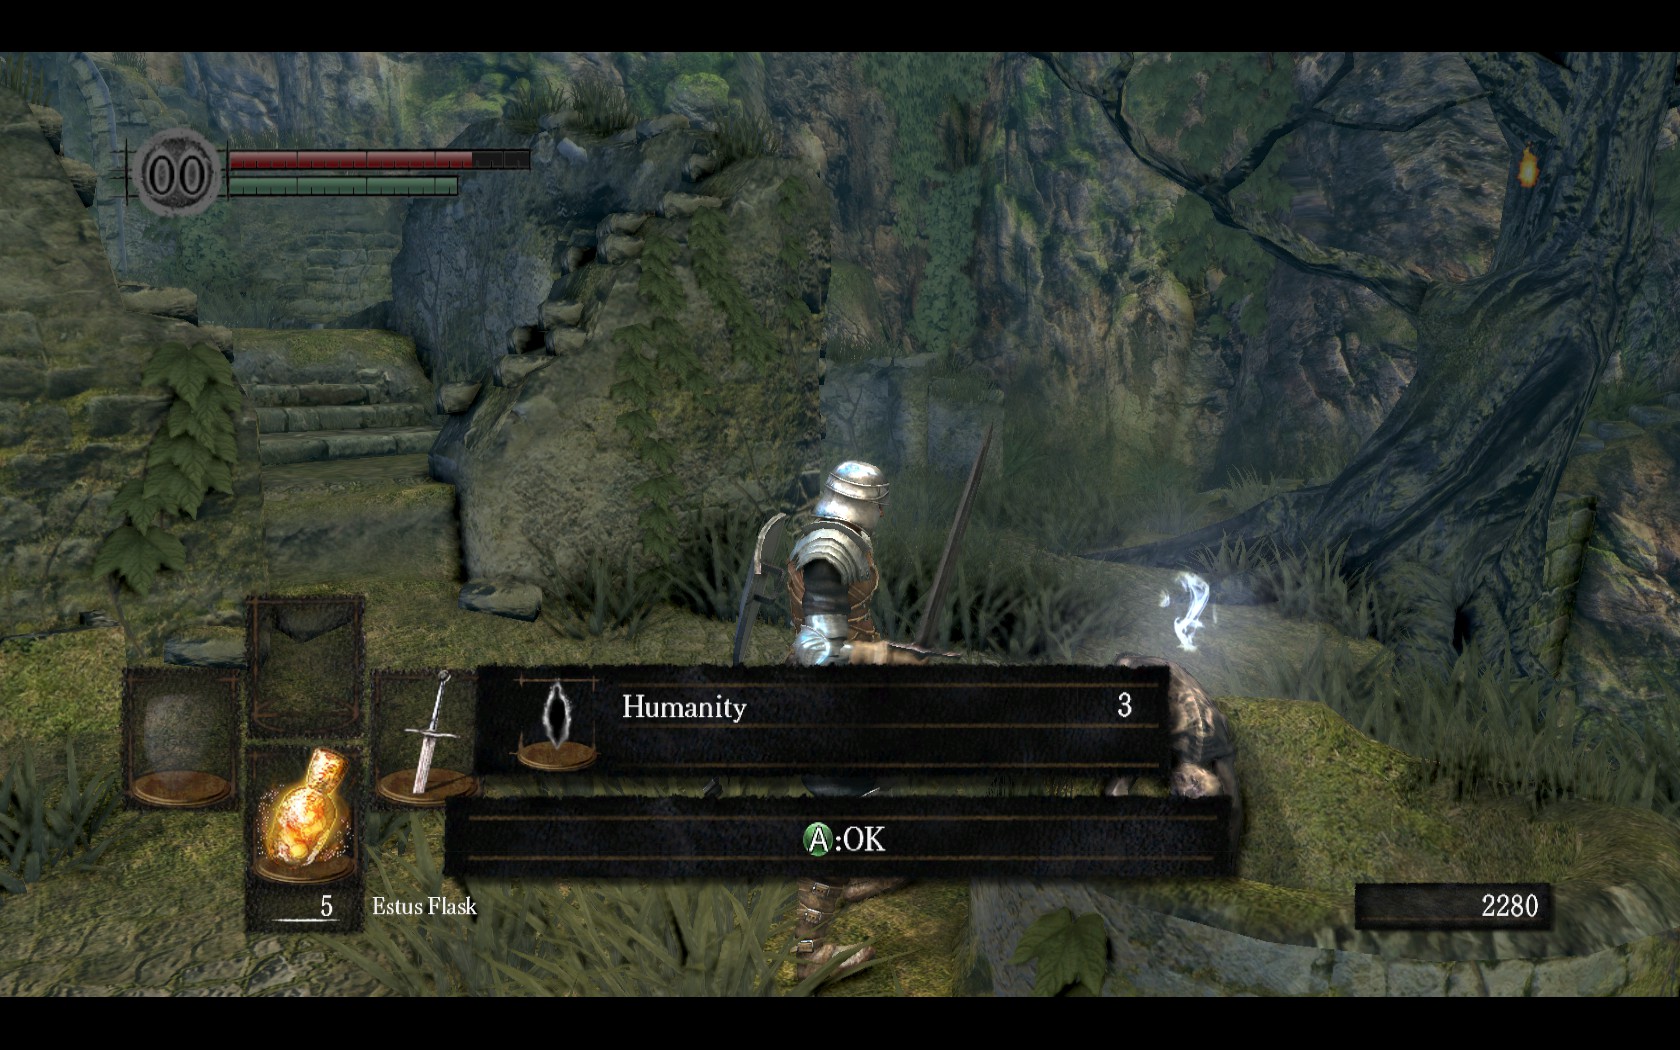
After arriving at the Firelink Shrine following completion of the introduction, immediately head over to the body hanging over the well and grab the Humanity, just in case you need it later.

Then head downstairs to the New Londo Ruins. Follow the stairs down and head right.

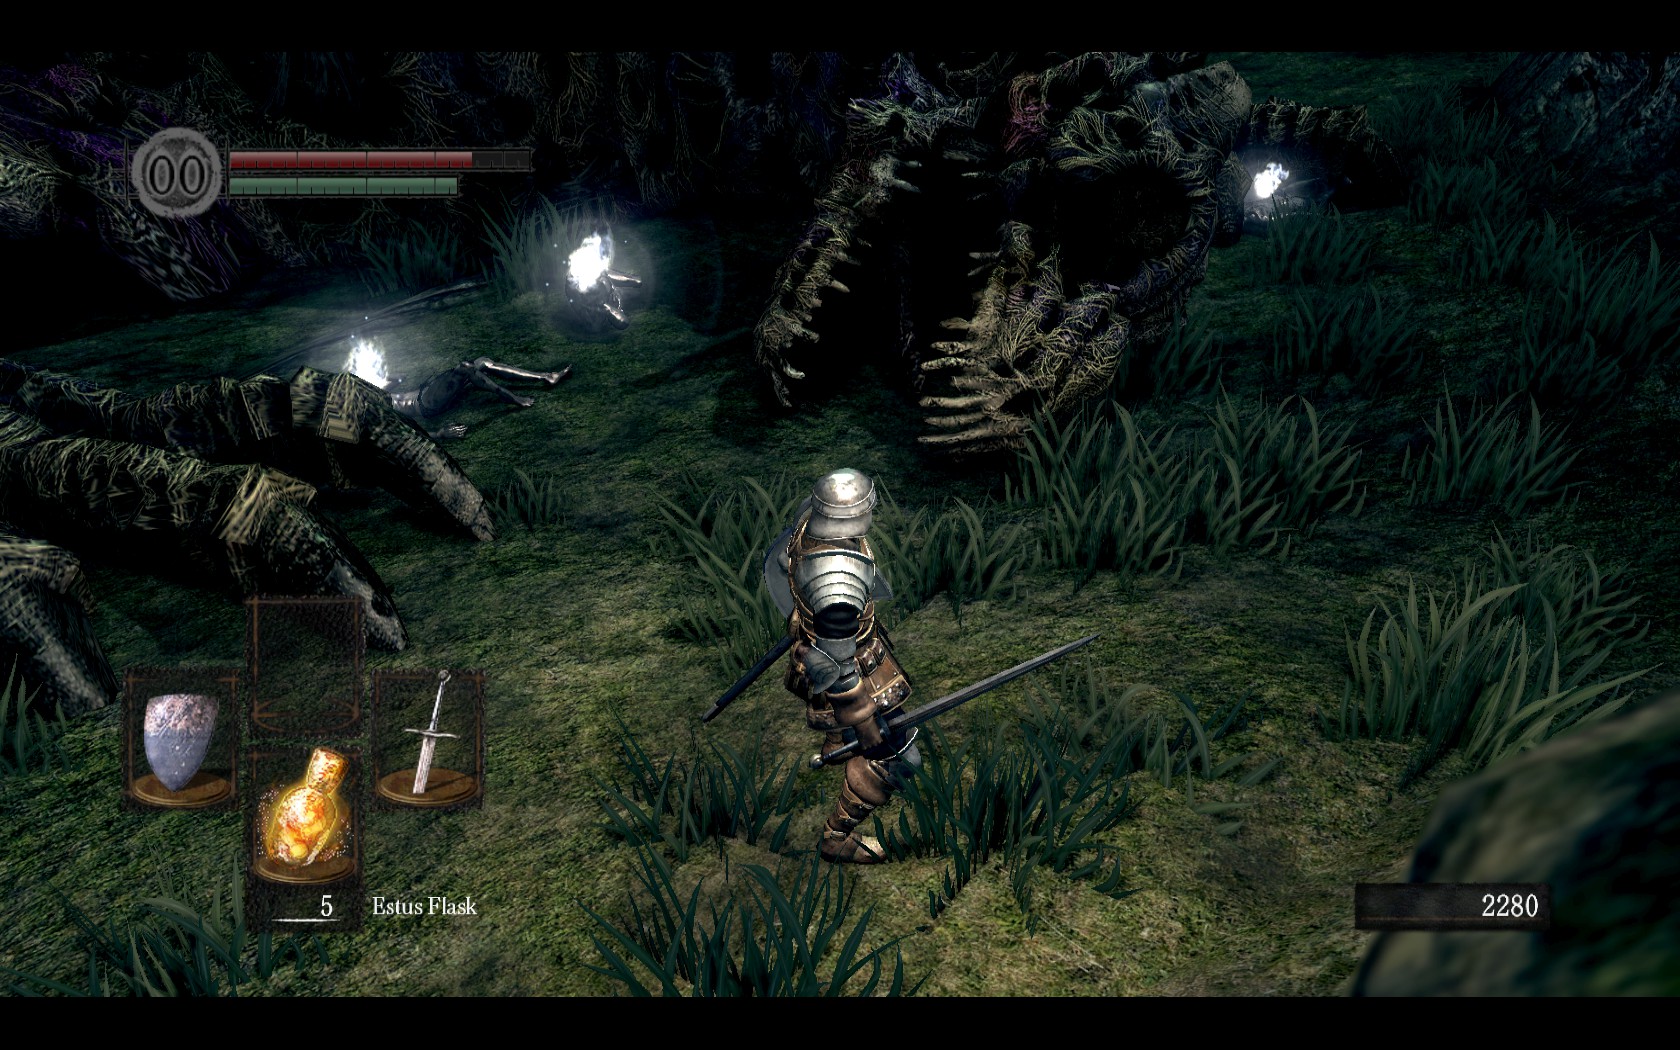
Using the Master Key, open the gate to the Valley of the Drakes. From here, head past the entrance to Blighttown (we'll come back later) and prepare to run past the sleeping Undead Dragon.

You can run right past him, he won't wake up unless you bump him or try to take the shield.

If you're careful and really want it, you *can* sneak in there and grab Astora's Straight Sword. It's on the first item you see nearby. Do NOT try and grab the second item, as that's a Dragon Crest Shield and 1) taking that shield will wake the dragon and 2) you're about to get an even better shield, so you don't need it anyway. There's also a soul on the other side of the dragon you can safely grab.

Once past the Undead Dragon, prepare to run past a couple of drakes.

Head to the right and up the pile of rubble past the second drake and on to the elevator that leads to Darkroot Garden.

Light the bonfire so you've got a close spawn point if something goes wrong, because there's a Black Knight up ahead armed with a Halberd.

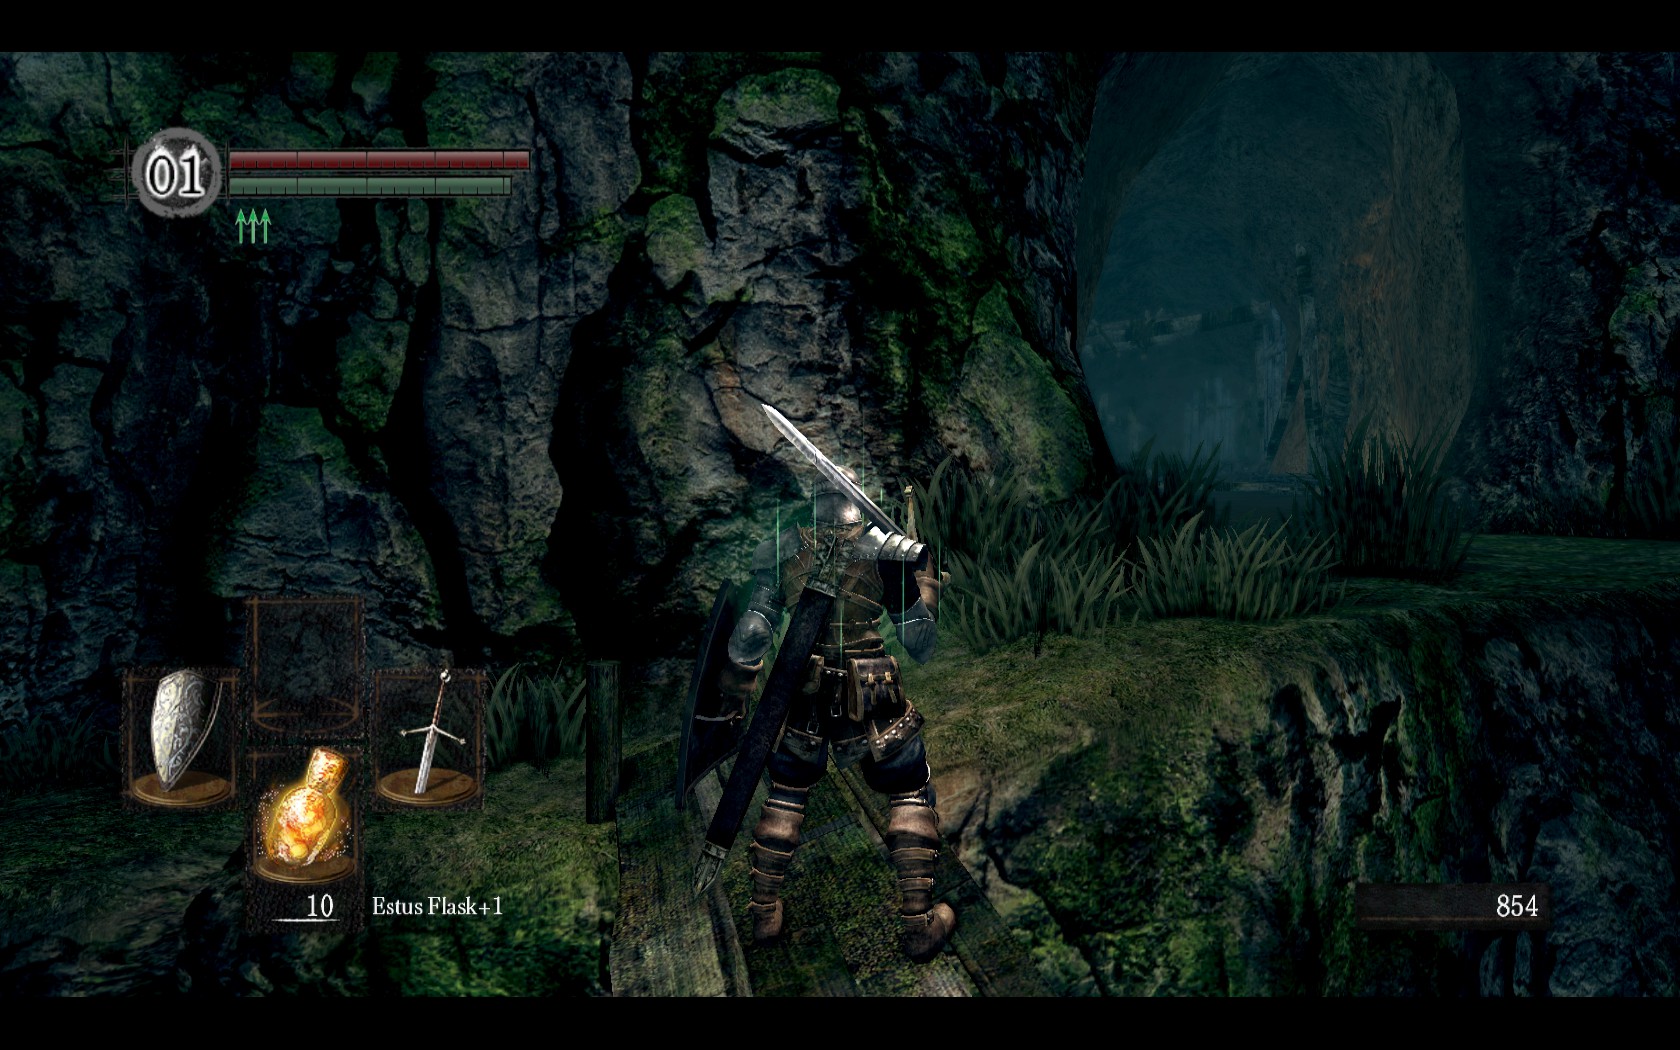
Upon exiting the cave head immediately for the Grass Crest Shield directly in front of you. You will be fast enough to get there before the Black Knight catches up.

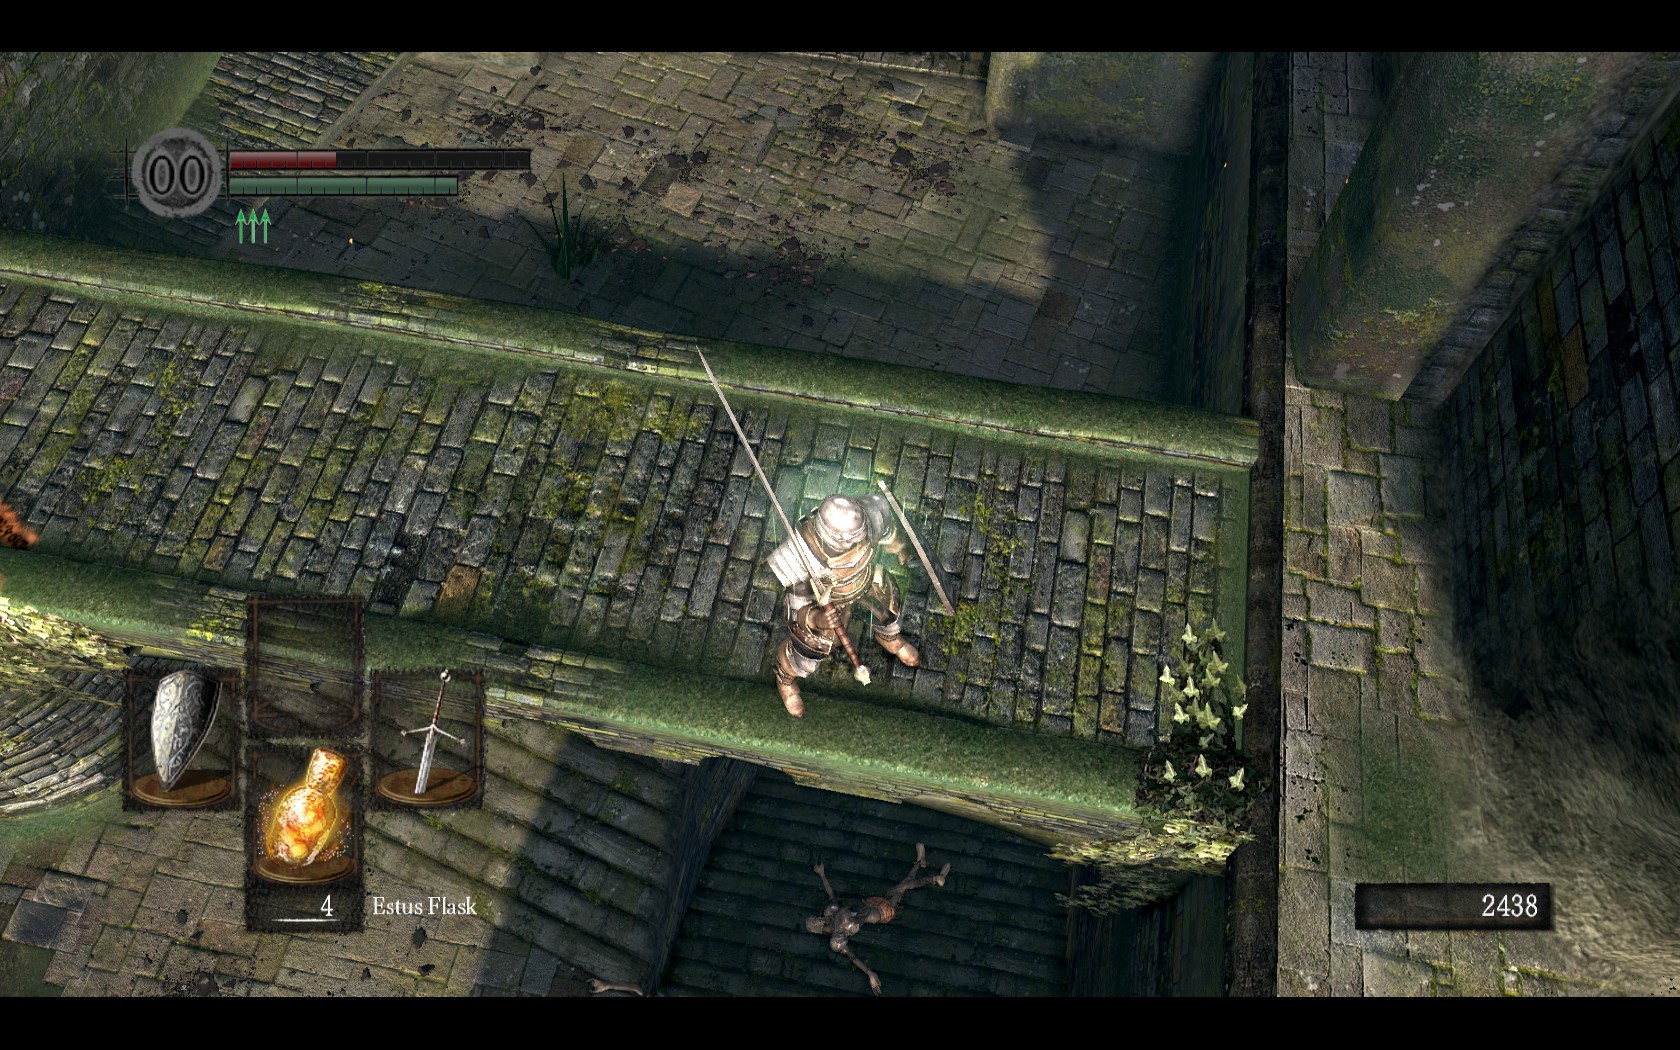
Once you've grabbed the shield, immediately hold up your shield and turn to face the Black Knight. As soon as you've got an opening, roll past him (being careful not to roll off the edge) and keep on running. He won't catch you.

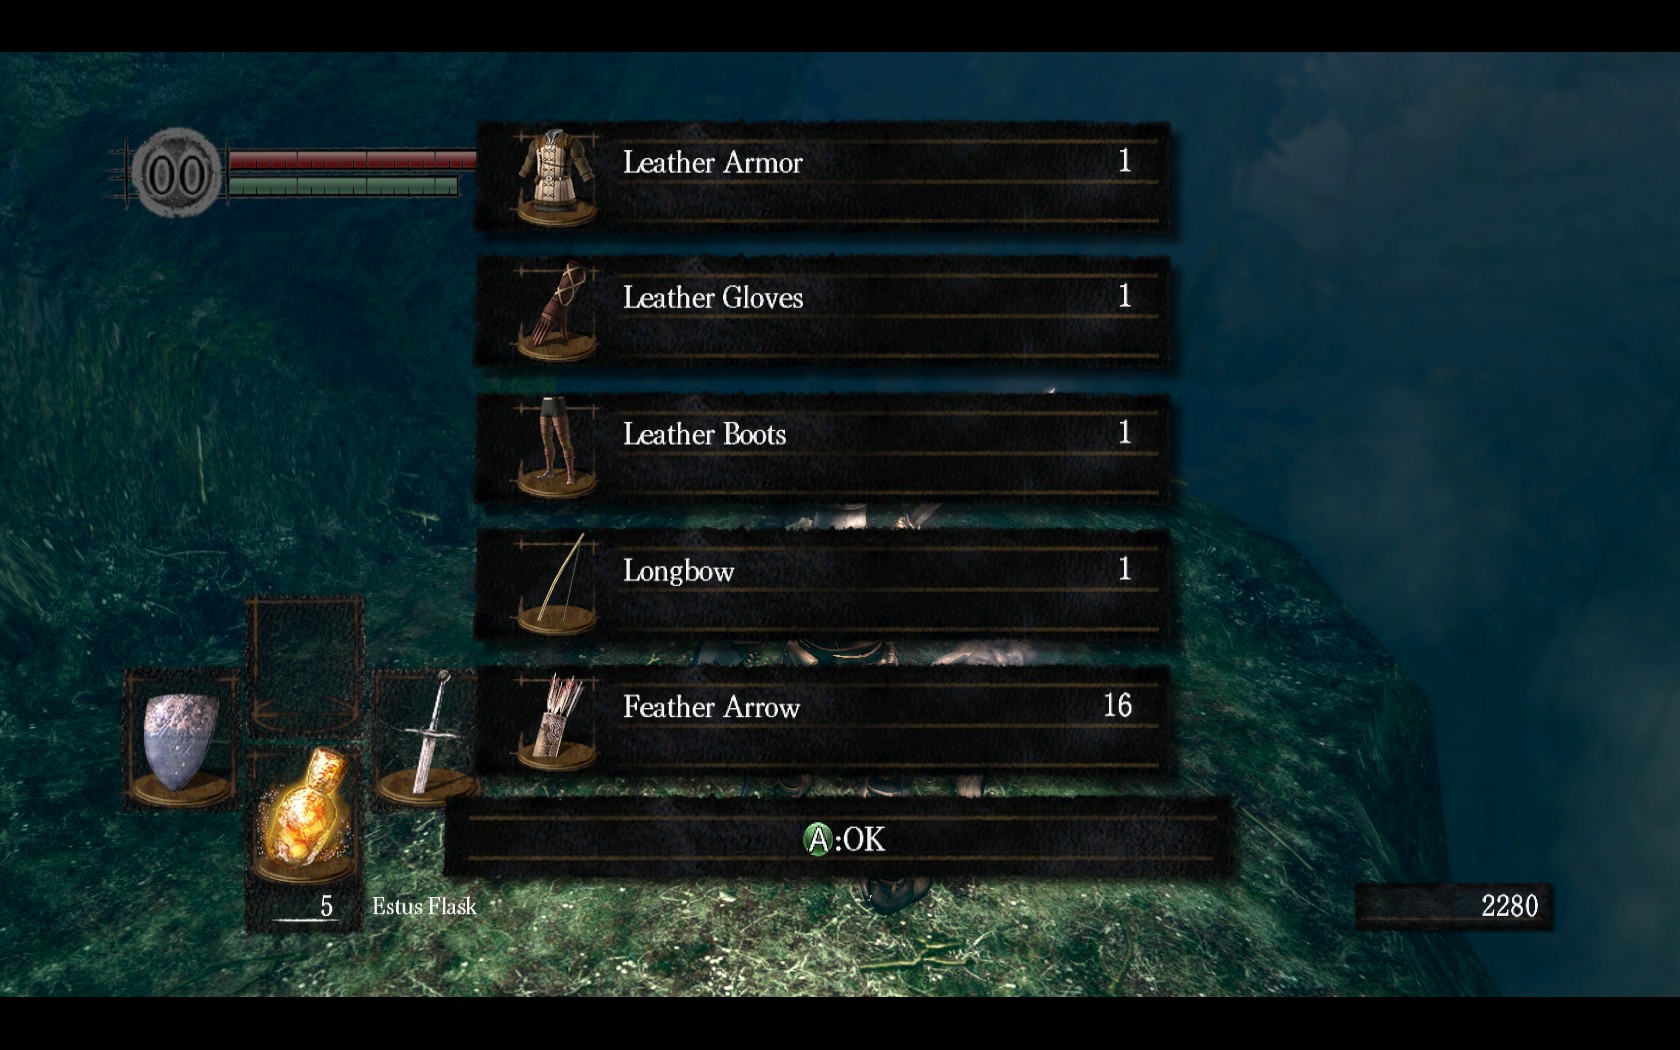
You can also grab the Longbow and Leather Armor set off the body halfway up the cliff-face. You can also take the time to equip the Grass Crest Shield here.

Keep heading up and you'll find a Crystal Lizard. If you're fast enough you can kill it and grab some easy Titanite.

Follow the path to the top of the cliff and keep on running. When you get to a T intersection, head left. A couple of shrubberies left behind by the Knights of Ni will attack you, but they are easily defeated. With any luck one will drop a purple blossom to cure poison. This will be useful later.

Head in through the hole in the wall to the Titanite Demon. Avoid it and just keep running, right in to the room with Andre of Astora, the blacksmith.

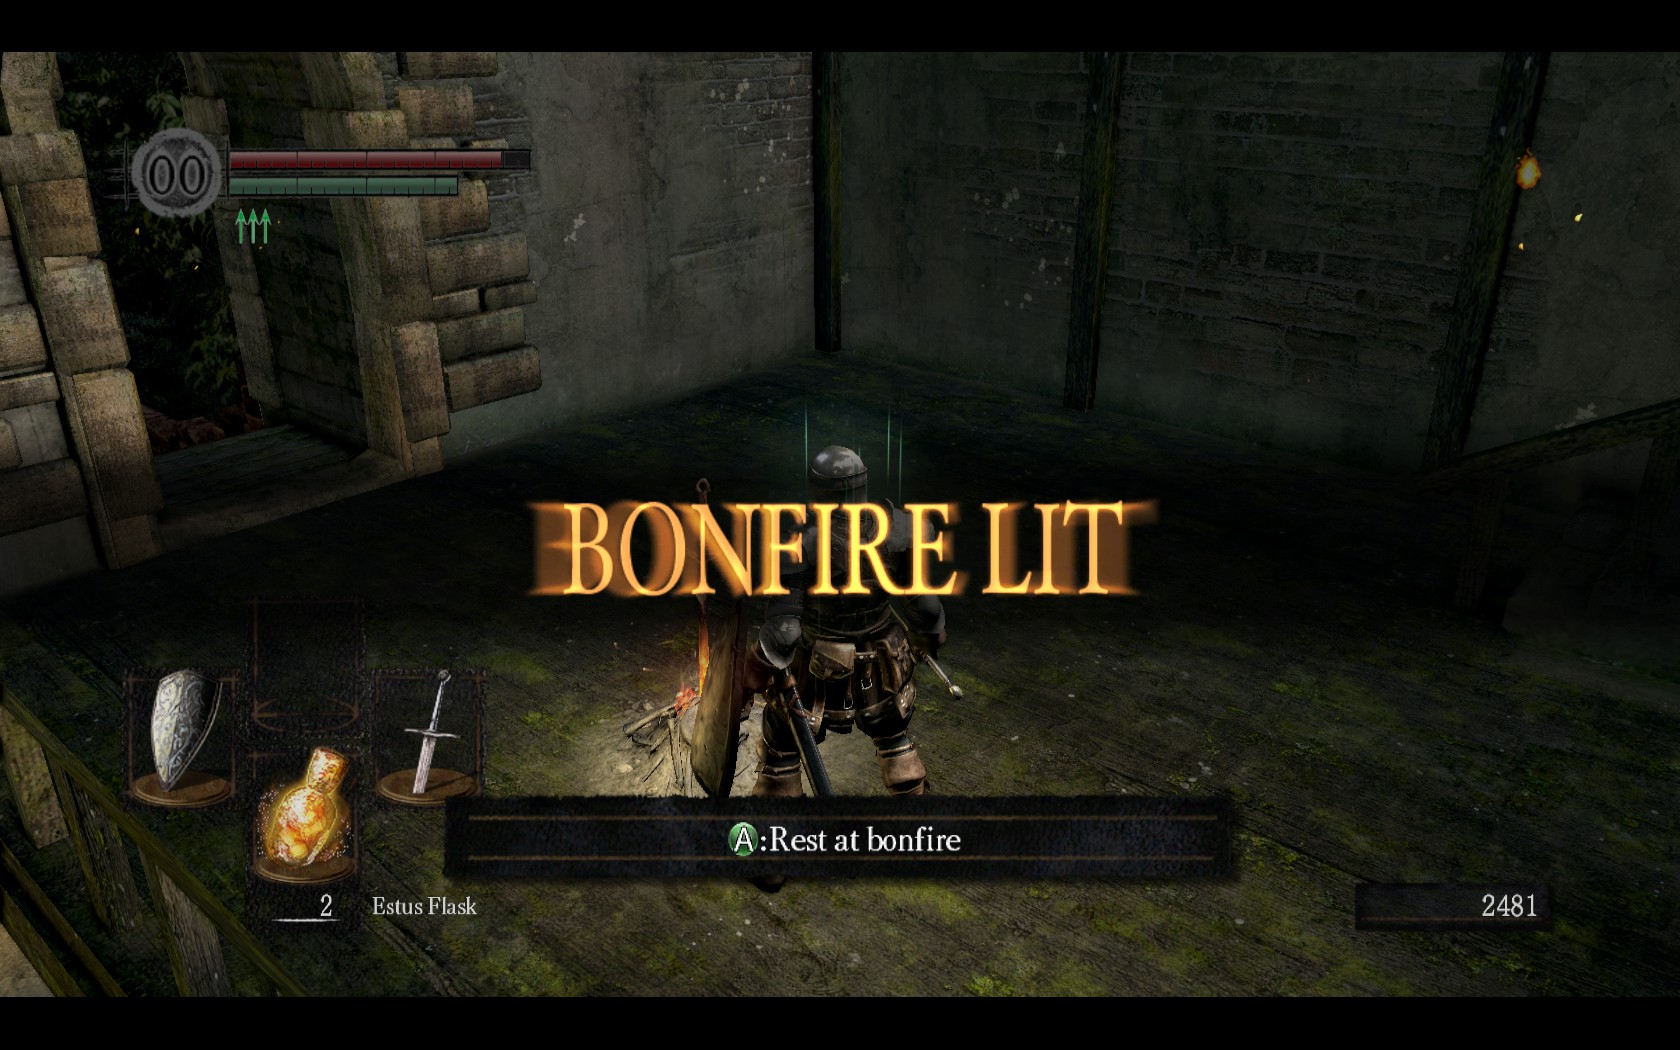
Head up the stairs and light the bonfire. So far so good.
Back Door to Undead Burg
From the bonfire above the blacksmith, head up the stairs and out in to the Undead Parish. If you want, you can defeat the crossbow Hollow and the two Hollow soldiers. With any luck they'll drop Titanite Shards and grant Humanity. If you're really in a hurry, you can avoid them altogether.

Do not enter the church just yet. From here, head left up along the catwalk. Sneak up behind the Balder Knight and backstab him. If that doesn't finish him off, use a two-handed attack as he gets back up.

Take a quick detour and go down the branching path near the Balder Knight. Down near the gate is The Basement Key. Grab it and double back to where you killed the Balder Knight, as running straight through from here can get you one-shotted by the Armoured Tusk. Straying too close to the church entrance will draw the aggro of another Balder Knight.

Back on the catwalk, you can avoid the Hollow soldier if you want. There's another Hollow soldier with a spear to your left as you climb the stairs.

Downstairs, and to your left, you will find another Balder Knight waiting to be stabbed in the back. He's guarding a Knight's Crest Shield. Not as good as the Grass Crest Shield so you can avoid him altogether if you want.

Follow the path out on to the bridge and you'll see a fog gate in front of you. Don't worry about it for the moment. Drop down from the bridge, defeating the crossbow Hollows and the spear Hollow to your left.

There are some Alluring Skulls on a corpse on the lower bridge section. You can use these to lure the Armoured Tusk, the giant boar in steel plate, in to the fire where he will take fire damage until dead. Just throw them in to the fire and let the fire do its work.

Head downstairs. You can avoid the Hollows and the Armoured Tusk altogether if you want.

Climb down the ladder and kill the rats. They have a good chance of dropping Humanity, which will be handy.

Sneak up behind the spear wielding Hollow and backstab him and finish off the other one nearby.

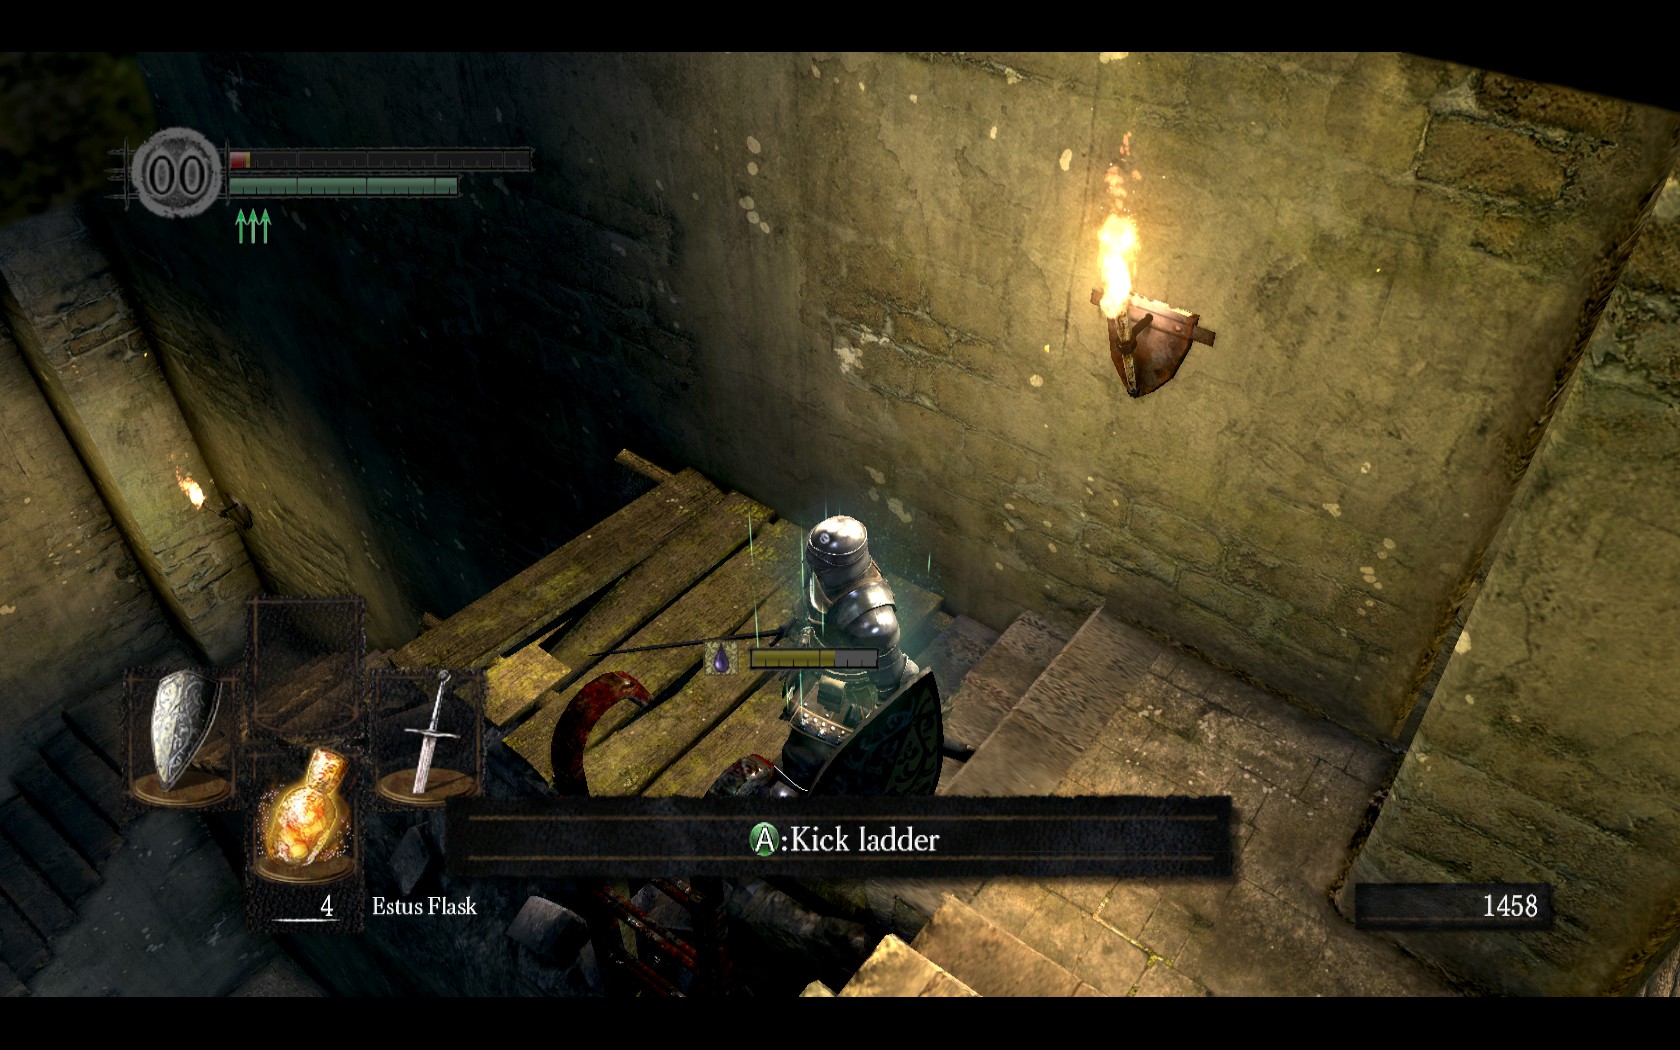
Continue on and head left in the room. Down the stairs you'll find a ladder. Kick it and climb down to light the bonfire in the Undead Burg.
Knight Solaire and the Claymore
Climb back up the ladder and continue up the stairs that lead up and on to the bridge.

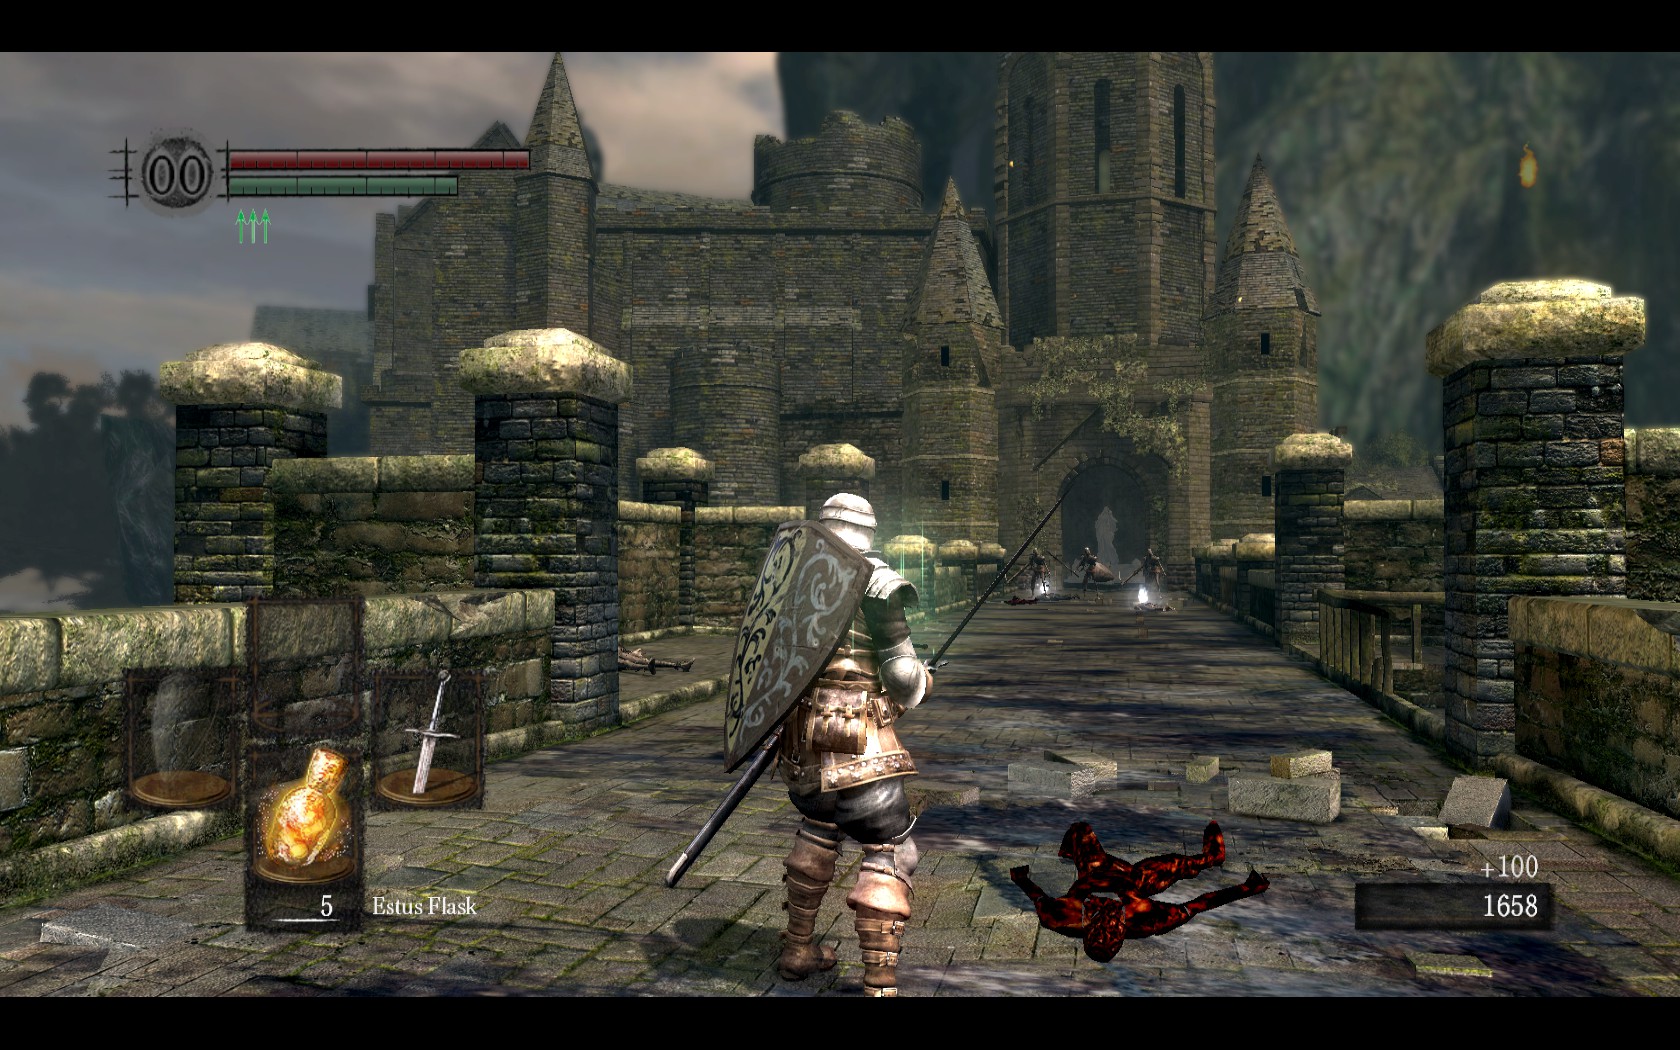
Not a dragon in sight. Because you did not initiate the original dragon encounter on the bridge leading in to the Undead Burg, the dragon never spawned and never landed on the bridge, meaning you've got it all to yourself once you kill the Hollows.

Defeat the Hollows here and loot the bodies on the bridge. One of them is holding a Claymore. Inside is a bonfire and a switch to open the gate, but we won't be using this gate.

Double back and head down the other end of the bridge to meet the Knight Solaire so you can recruit him for the coming boss fight.

Nearby is the Basement door we grabbed the key for. Unlock it and head down the ladder. Don't head in to Lower Undead Burg just yet, but climb the stairs and unlock the shortcut from Undead Burg. Inside are two axe-wielding Hollows with a sword-and-shield Hollow just outside. Finish them off and dash across the bridge across from the shortcut door, making sure to avoid the firebombs from the Hollows up above. You'll find yourself back at the bonfire from before.

Climb the ladder and head back on to the bridge. Now you can head through the gate opened earlier.

Make your way through, heading up the stairs to your right, the same ones you came down last time. This avoids the Armoured Tusk altogether which, unless you're a Pyromancer with a handful of Fireballs, is more pain than he's worth at the moment.

After defeating the crossbowmen, drop down in to the stairs that lead underground. Make your way through here, grabbing the Mystery Key, and through the fog gate and onto the upper bridge from before.

If you want you can take a quick detour and head back to the bonfire above the Blacksmith to rest up and spend any souls you've earned. If you lucked out and found some titanite, you can head down to Andre and upgrade your weapon.

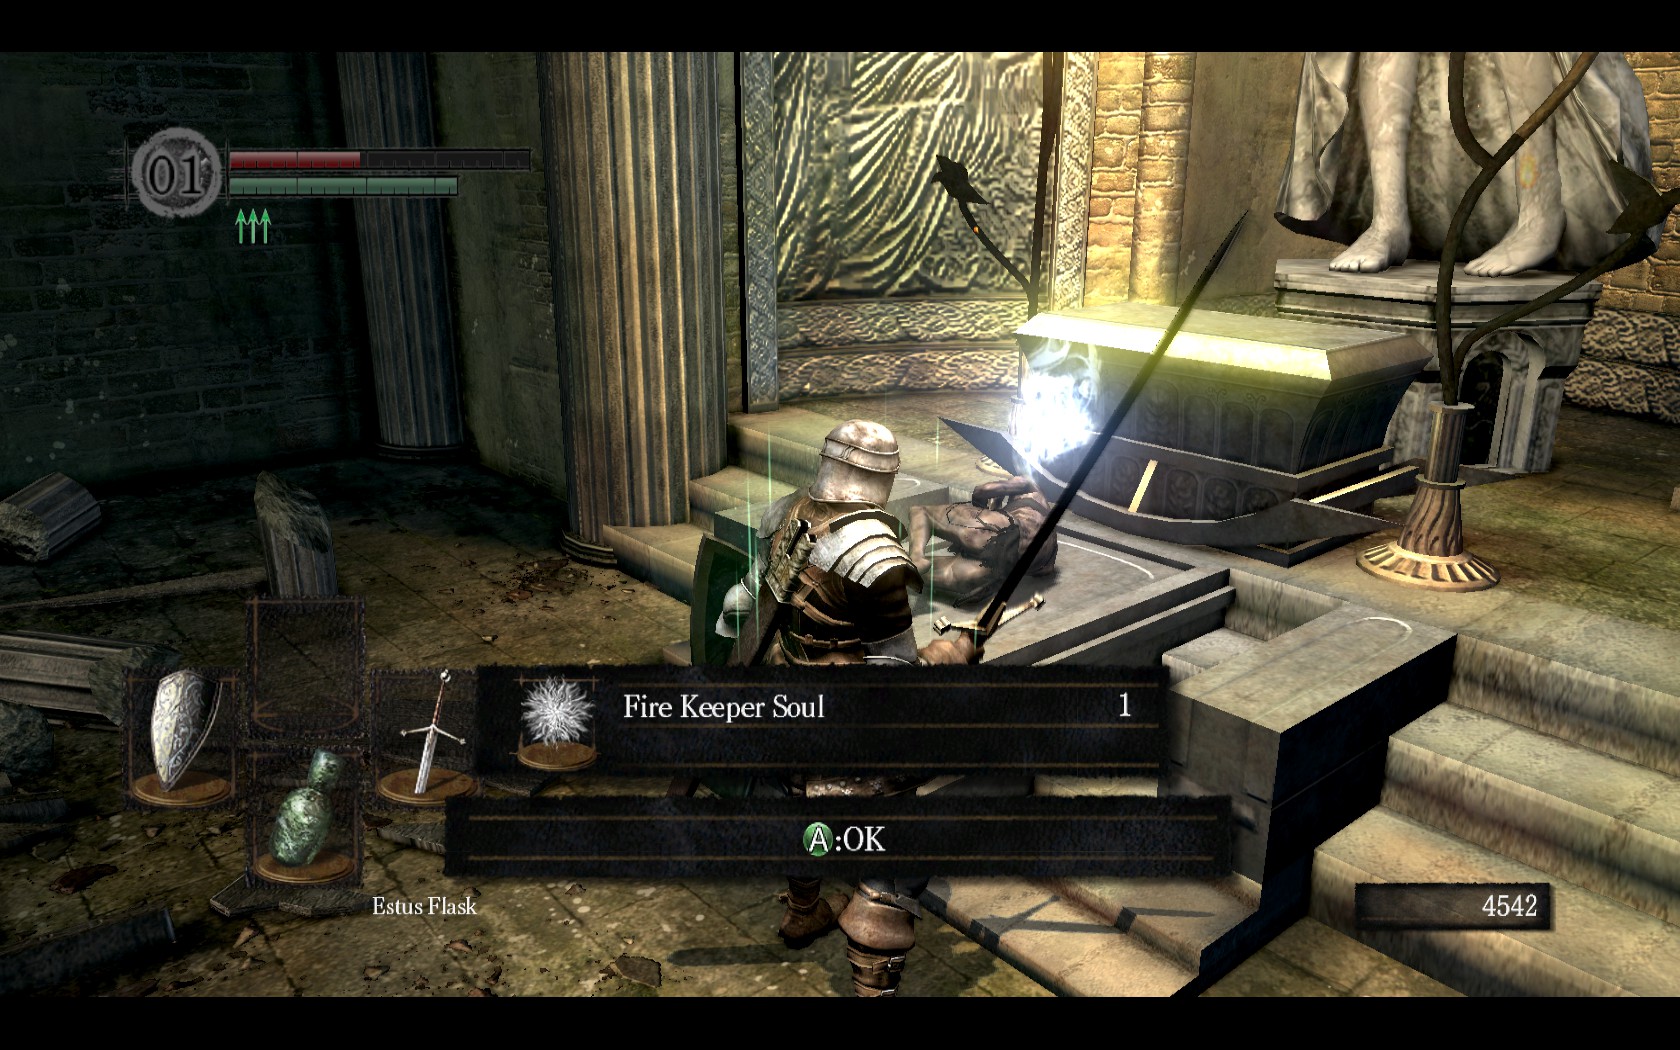
Head back up to the church. Opposite you is the elevator leading back to the Firelink Shrine and to your right there'll be a big guy near the altar guarding a Fire Keeper Soul. Kill him or avoid him, but grab the soul. Then step in to the elevator and activate the shortcut back to Firelink Shrine.

Head down the stairs again and talk to the Fire Keeper behind the grate. If you managed to nab the Fire Keeper Soul, she can use it to reinforce your Estus Flask.

Rest at the bonfire and use your humanity to reverse your hollowed form so you can summon the Knight Solaire for the coming battle.
Ringing the First Bell
Head back up the elevator to the church and up the stairs to your left.

Take out the Balder Knight and continue on. Prepare to be ambushed. My preferred strategy to dealing with these guys is to cross the threshold to draw their aggro and immediately double back around the corner, taking them out as they come by in ones and twos. Thrusting attacks work well in this tight space.

Once they're dead, continue on through and take out the Channeler.

Optionally, you can continue on up the church in to the steeple where the prisoner is located, and grab the extra humanity from the body in the barrel. There's also a soul in the small alcove nearby that you can grab.

Head up the ladders and summon Solaire (Remember, you have to be human to do this. If your "humanity counter" in the top left corner of the HUD isn't a bright white, you're hollow and need spend some humanity at a bonfire).

Alternatively, if you have rescued Latrec from the prison cell in the tower, you can return to Firelink Shrine to talk to him. You will be able to summon him to help with the battle against the gargoyles.

Head through the fog gate and battle the Bell Gargoyles. Remember that only one will appear at first, the other will come down once the first has been reduced to half HP. Also remember to aim for the tail on the first one to grab the Gargoyle Tail Axe weapon when you chop it off.

The best strategy is to let Solaire draw aggro while you circle it and chop from behind. If the Gargoyle is targeting you, just block and roll until it starts going after Solaire.

Once the Gargoyles are dead, climb up in to the bell tower and ring the first Bell of Awakening.

Oswald of Carim who appears at the bottom of the ladder after ringing the bell. If you want, you can buy a Poisonbite Ring from him for 15,000 souls but it's not necessary.

Head back to Firelink Shrine. It's time to get to Quelaag.
The Road to Blighttown.
Once rested at Firelink Shrine, head back down in to Valley of the Drakes via the New Londo Ruins.

Cross the bridge and head in to the back entrance to Blighttown. You can run past the Infested Barbarians here easily enough, or you can finish them off if you want the souls and dung piles they drop.

Once through, you can grab the now entirely useless Key to New Londo Ruins if you feel like it.

Head down the ladders and on to the water wheel elevator. Ride it back down.

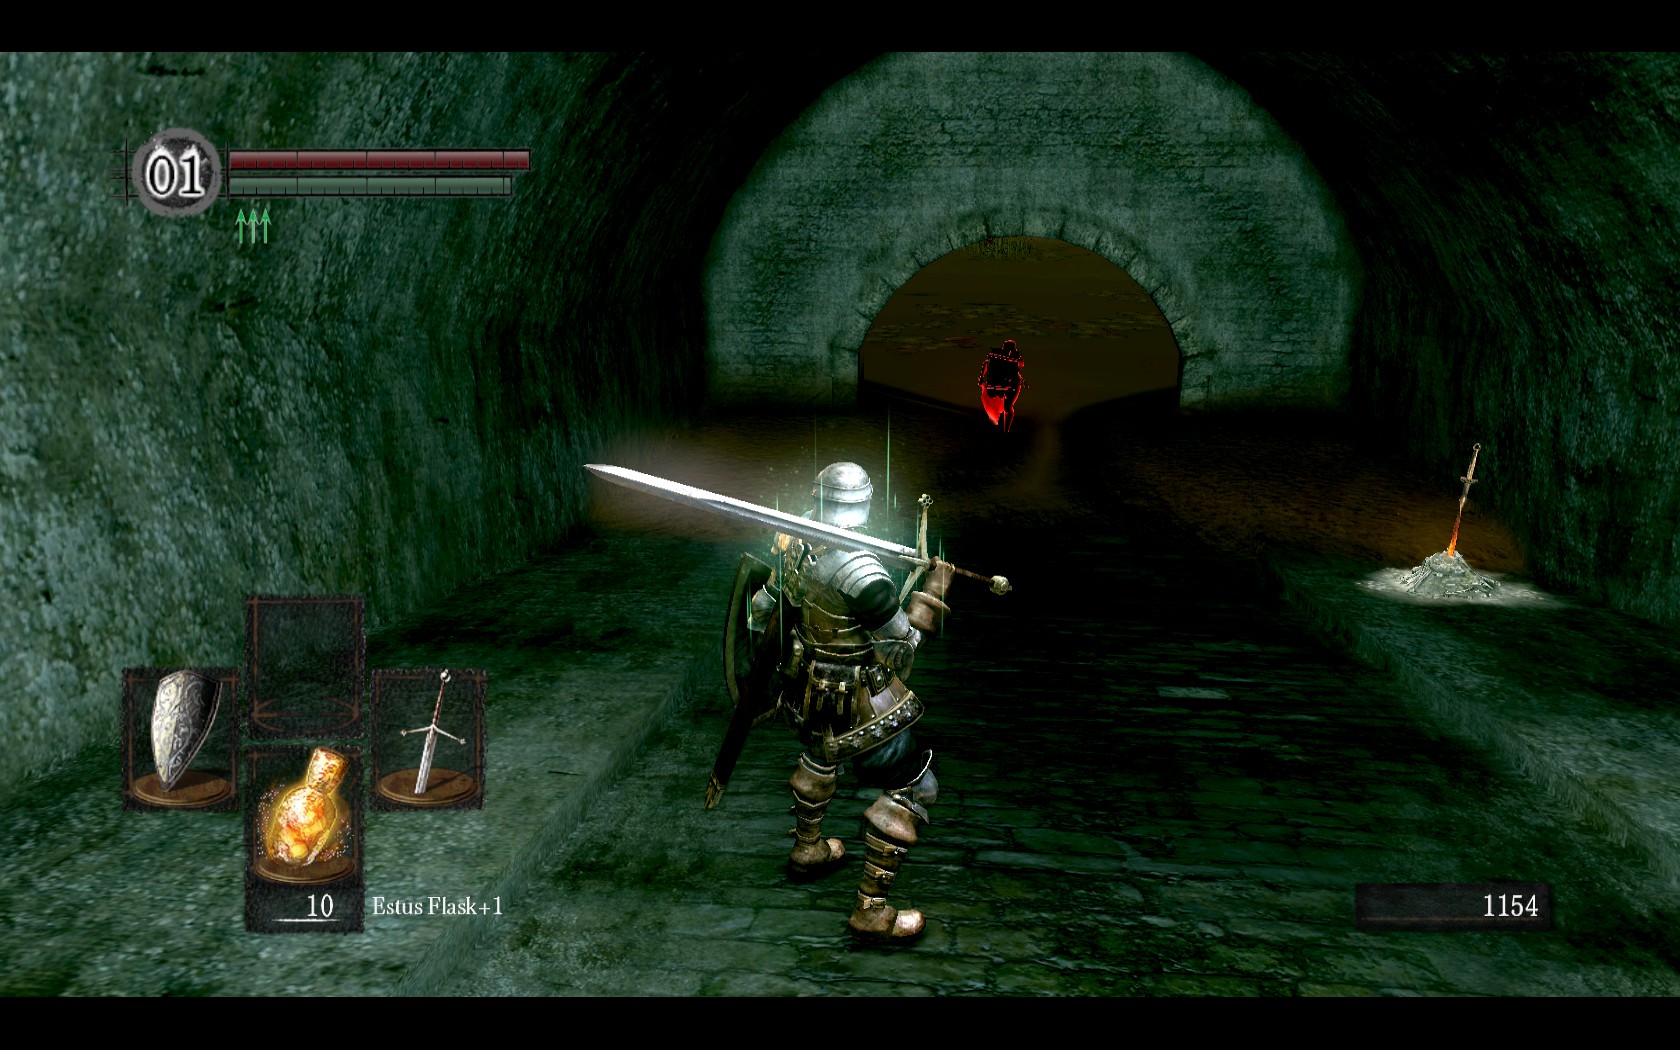
If you're still human, you should be invaded by Maneater Mildred any moment now. If not, you can do it at the next bonfire by following the wall on your left until it leads through in to the sewer-like area.

Wait in here for Mildred, as the terrain is good. Finish her off and rest at the fire, spending some more souls if you want. I recommend using humanity to kindle the bonfire here for the extra Estus Flasks. You can also spend whatever Lost Souls you have gathered for some extra levels.

If you managed to get some purple moss from the Demonic Foliage in Darkroot Garden, make sure it's equipped now.
Ringing the Second Bell
This next section is made easier with the Rusted Iron Ring from your return trip to the Undead Asylum, but it's not necessary.

Leaving the bonfire, head right. You will see the massive cob-webbed mountain that leads to Quelaag's Domain in the distance. At the base of it are a bunch of boulder-heaving Infested Barbarians. Just keep your shield up and run, and you'll avoid them easily enough.

You will become poisoned as you trudge through the sludge, but it won't kill you. Once you're inside the tunnel leading to Quelaag, use your purple moss (if you have any) to cure poison. If not, you can wait it out or forge ahead, but this fight can be tricky enough in good health, so be careful.

Don't attack the egg-infested things. They will unleash a torrent of maggots that are a pain in the butt to kill.

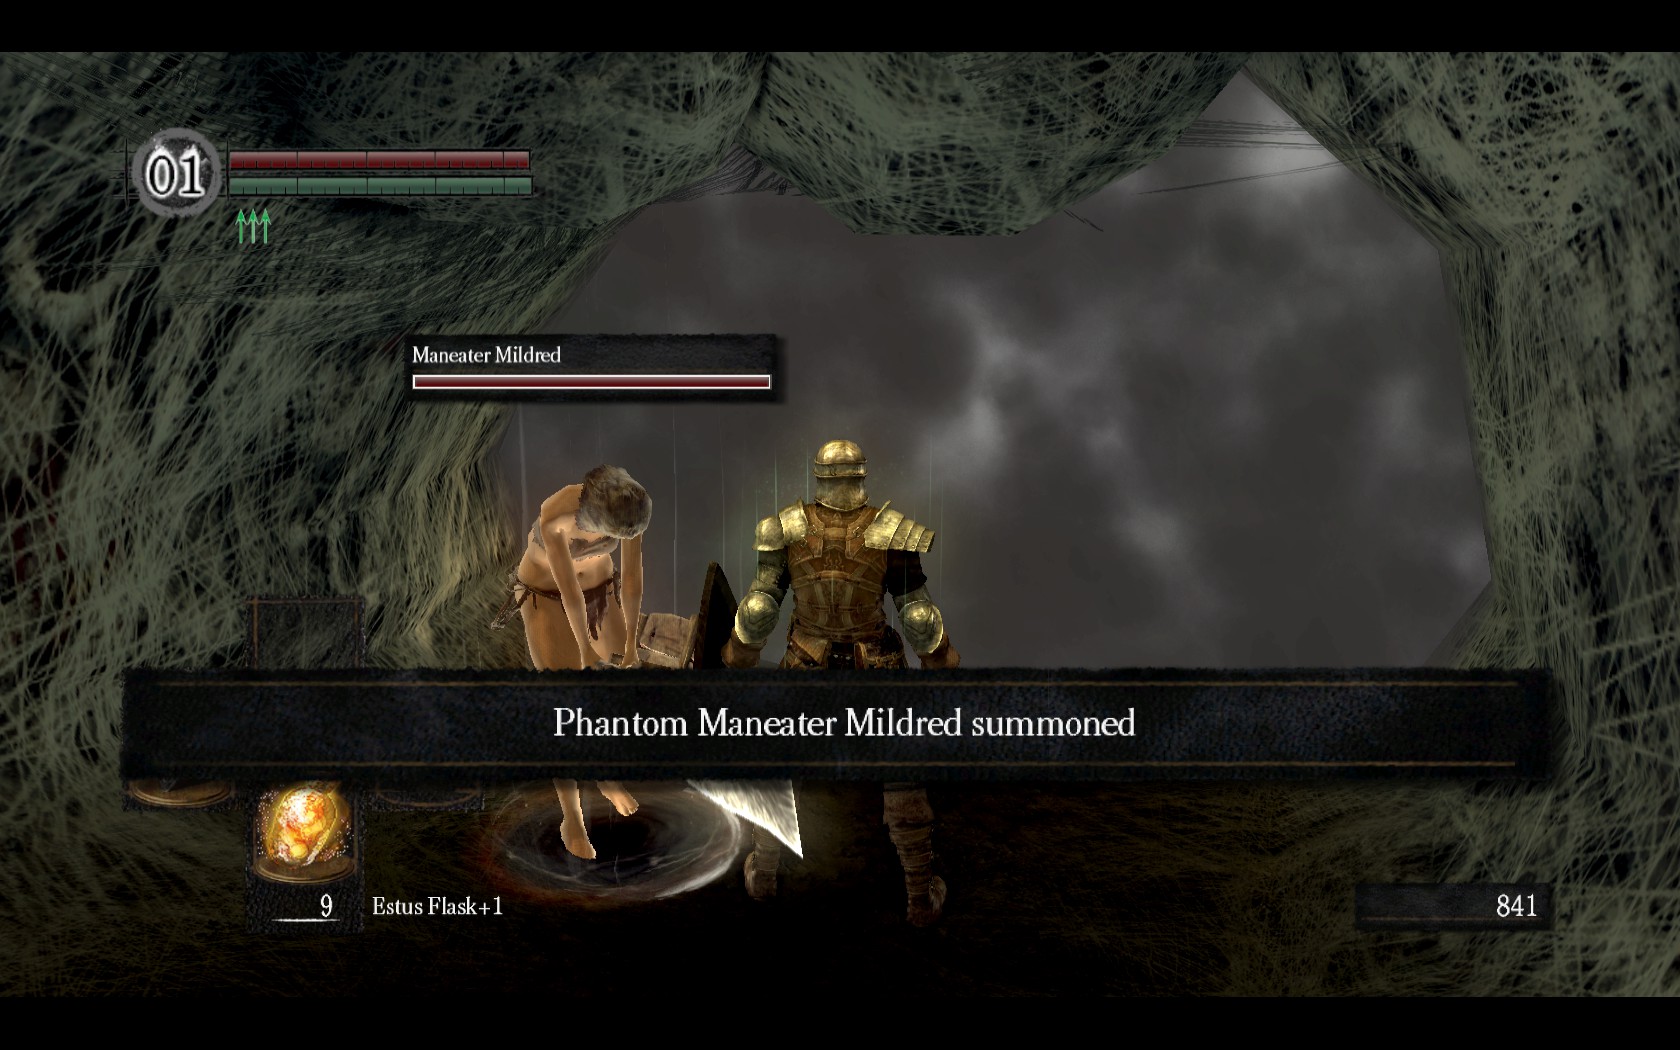
You'll see Maneater Mildred's summon sign on the floor near the fog gate. Summon her and head on through.

Once again, let Mildred draw aggro. If Quelaag is gunning for you, block and roll until she switches targets. If you see Quelaag stop and begin charging her area of effect fireball attack, block and back away, it can one-hit at such a low level if you're not careful.

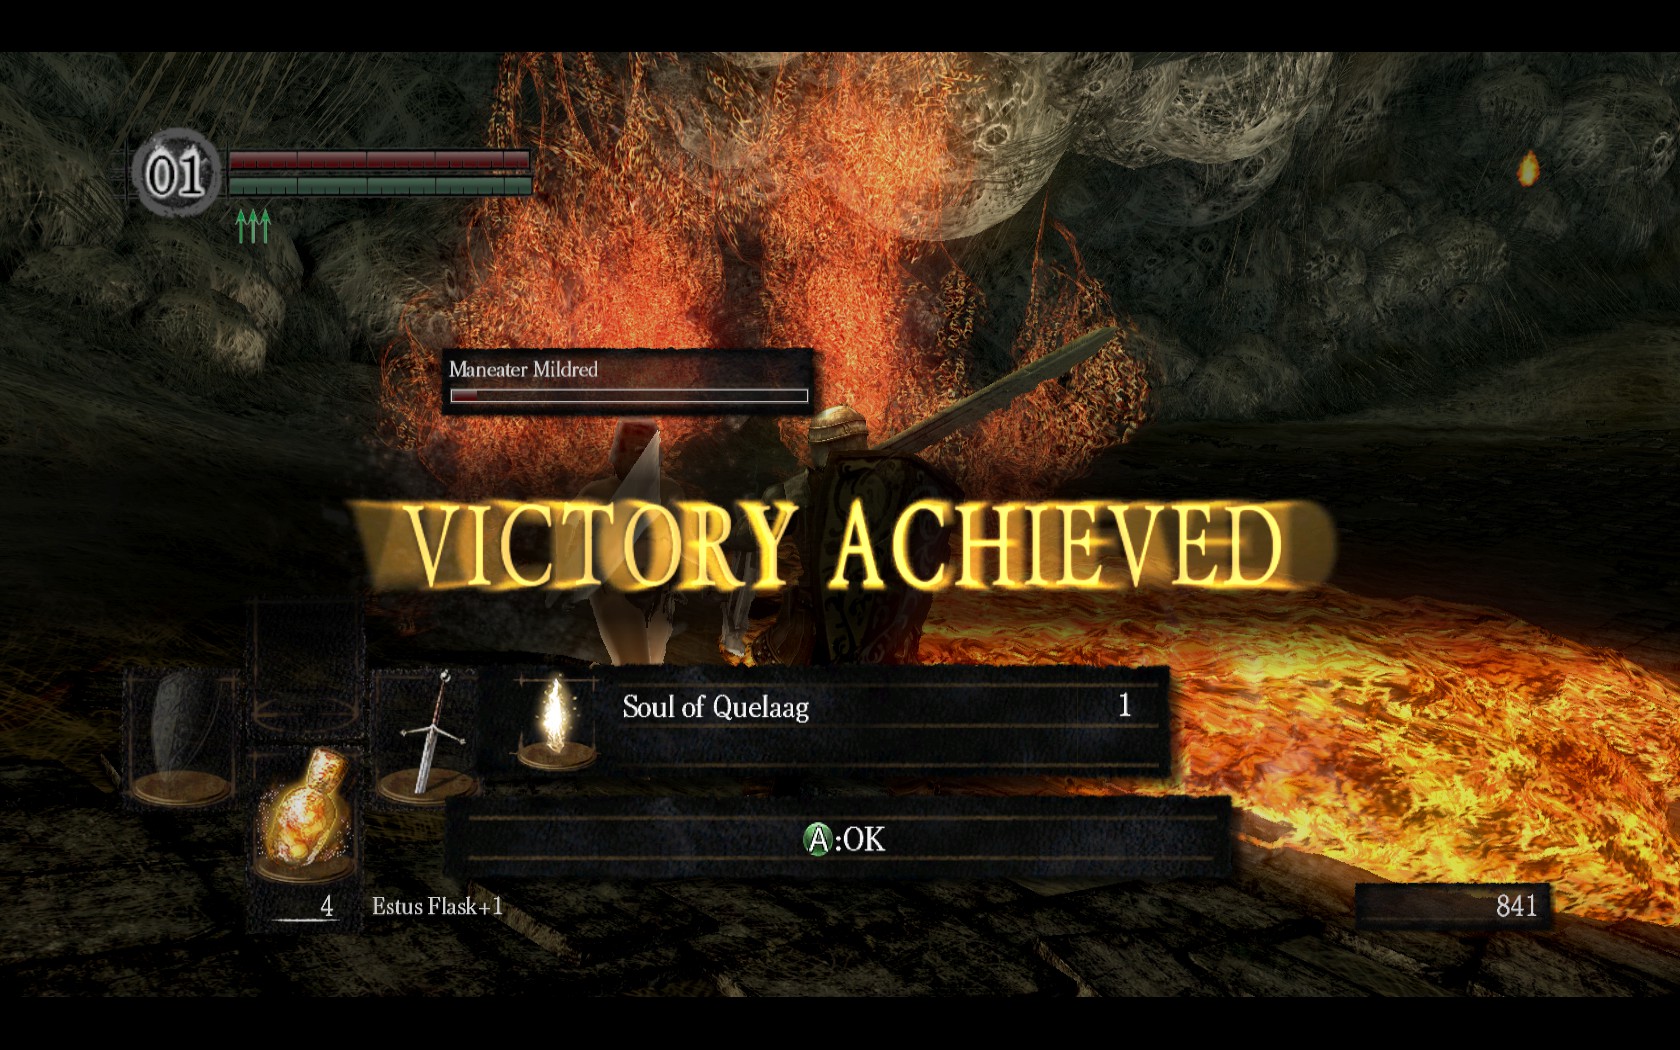
Maneater Mildred should have enough health to tank for you during this fight, while you harass Quelaag from the flanks with two handed attacks, switching in your shield to block when she turns to you.

Once Quelaag is dead, head on through and ring the second Bell of Awakening.

Mission accomplished.

If you've found this guide useful or even if not, please rate it as you see fit.

If you have any constructive feedback, questions or requests, let me know in the comments and I'll see what I can do.
32 Comments
Qyicksilver Apr 15, 2015 @ 1:14am 
Good guide, really helpful to those who want fast access to the crestfallen knight for unlimited large titanite, makes getting a plus 10 weapon early quicker then farming slugs or slime for hours
stryx Dec 22, 2014 @ 2:24am 
Good guide but it's really useless, going into Anor Londo underleveled is the most retarded thing ever. Good for speedrunners though
caded Dec 21, 2014 @ 6:57am 
Never mind, I went across the sludge and found it, i wasn't looking properly
caded Dec 21, 2014 @ 6:55am 
Hi, at the road to blighttown you say follow the wall on your left. I've gone down the wheel elevator and all there is to my left is poisonous sludge help
Hideo Kojima Apr 11, 2014 @ 2:27pm 
Thanks.
RETRON  [author] Apr 10, 2014 @ 2:30am 
Once you talk to him and agree to engage in some jolly cooperation, you will see his summon sign appear in certain places, in this case it will be a bright glowing sign right outside the door that leads to the bell gargoyles. You must be in human form to summon help for boss fights.

If you haven't played the game enough to be familiar with these mechanics you should probably play through the game first before attempting this run.
Hideo Kojima Apr 9, 2014 @ 8:54pm 
I'm having trouble with recruiting Solaire, he just keeps saying that he wants to stare at the sun all day and says nothing else.
RollPlayingGamer Dec 2, 2013 @ 4:53pm 
Very nice! works with ps3 too. Helped me make a co-op character. Thanks man
shadow milhouse Oct 30, 2013 @ 6:48pm 
Nice guide for noobs, would have helped me earlier :P
Icedfate Sep 25, 2013 @ 6:27am 
heh, i killed the halberd knight anyway...and yeah i misunderstood. I was stuck, i assumed i was supposed to go upward to undead burg first because those enemies are easier than the ones your way. i've been grinding on them for like 6 hours and i keep making it to the taurus boss and dying. i mainly looked in here to see if i was playing the game right and if that was the way i was supposed to be going right now. your way takes the player past some enemies impossible for their level and then you spend some time killing the balder knights which are harder enemies that the undead burg.

all i was trying to find out was where I "should" be right now and what level i should be.