
Installer Steam
connexion
|
langue
简体中文 (chinois simplifié)
繁體中文 (chinois traditionnel)
日本語 (japonais)
한국어 (coréen)
ไทย (thaï)
Български (bulgare)
Čeština (tchèque)
Dansk (danois)
Deutsch (allemand)
English (anglais)
Español - España (espagnol castillan)
Español - Latinoamérica (espagnol d'Amérique latine)
Ελληνικά (grec)
Italiano (italien)
Bahasa Indonesia (indonésien)
Magyar (hongrois)
Nederlands (néerlandais)
Norsk (norvégien)
Polski (polonais)
Português (portugais du Portugal)
Português - Brasil (portugais du Brésil)
Română (roumain)
Русский (russe)
Suomi (finnois)
Svenska (suédois)
Türkçe (turc)
Tiếng Việt (vietnamien)
Українська (ukrainien)
Signaler un problème de traduction


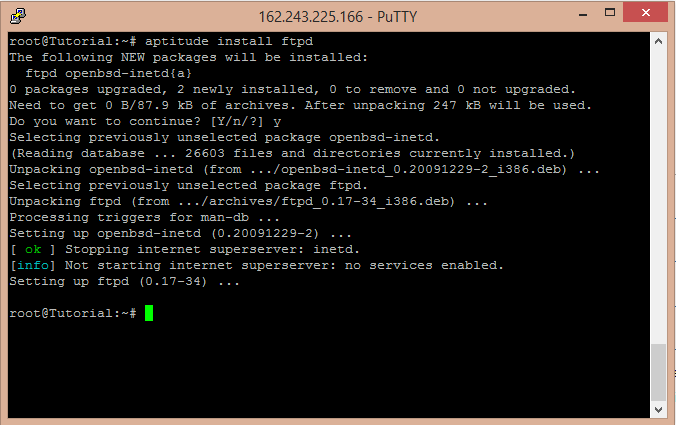


How do I fix this?
[CODE]./srcds_run -console -game garrysmod +maxplayers 16 +map gm_construct -debug
[/code]
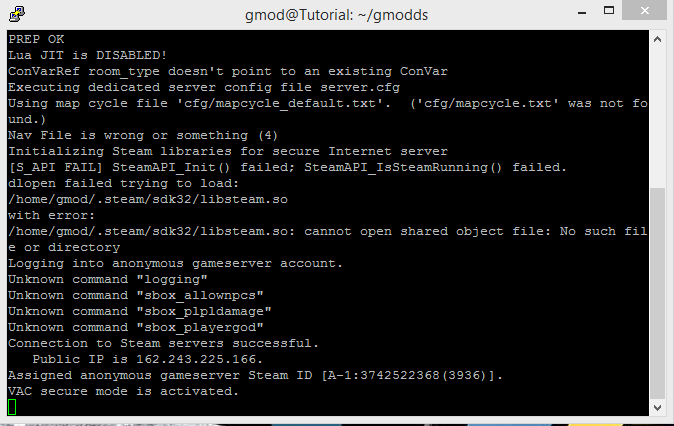
Voici ce que j'obtient :
[CODE]Using default binary: ./srcds_linux
Enabling debug mode
./srcds_run: ligne183: gdb : commande introuvable
WARNING: Please install gdb first.
goto http://www.gnu.org/software/gdb/
Server will auto-restart if there is a crash.
Failed to open dedicated_srv.so (/lib/i386-linux-gnu/i686/cmov/libm.so.6: version `GLIBC_2.15' not found (required by bin/dedicated_srv.so))
Add "-debug" to the ./srcds_run command line to generate a debug.log to help with solving this problem
[/code]