
Install Steam
login
|
language
简体中文 (Simplified Chinese)
繁體中文 (Traditional Chinese)
日本語 (Japanese)
한국어 (Korean)
ไทย (Thai)
Български (Bulgarian)
Čeština (Czech)
Dansk (Danish)
Deutsch (German)
Español - España (Spanish - Spain)
Español - Latinoamérica (Spanish - Latin America)
Ελληνικά (Greek)
Français (French)
Italiano (Italian)
Bahasa Indonesia (Indonesian)
Magyar (Hungarian)
Nederlands (Dutch)
Norsk (Norwegian)
Polski (Polish)
Português (Portuguese - Portugal)
Português - Brasil (Portuguese - Brazil)
Română (Romanian)
Русский (Russian)
Suomi (Finnish)
Svenska (Swedish)
Türkçe (Turkish)
Tiếng Việt (Vietnamese)
Українська (Ukrainian)
Report a translation problem


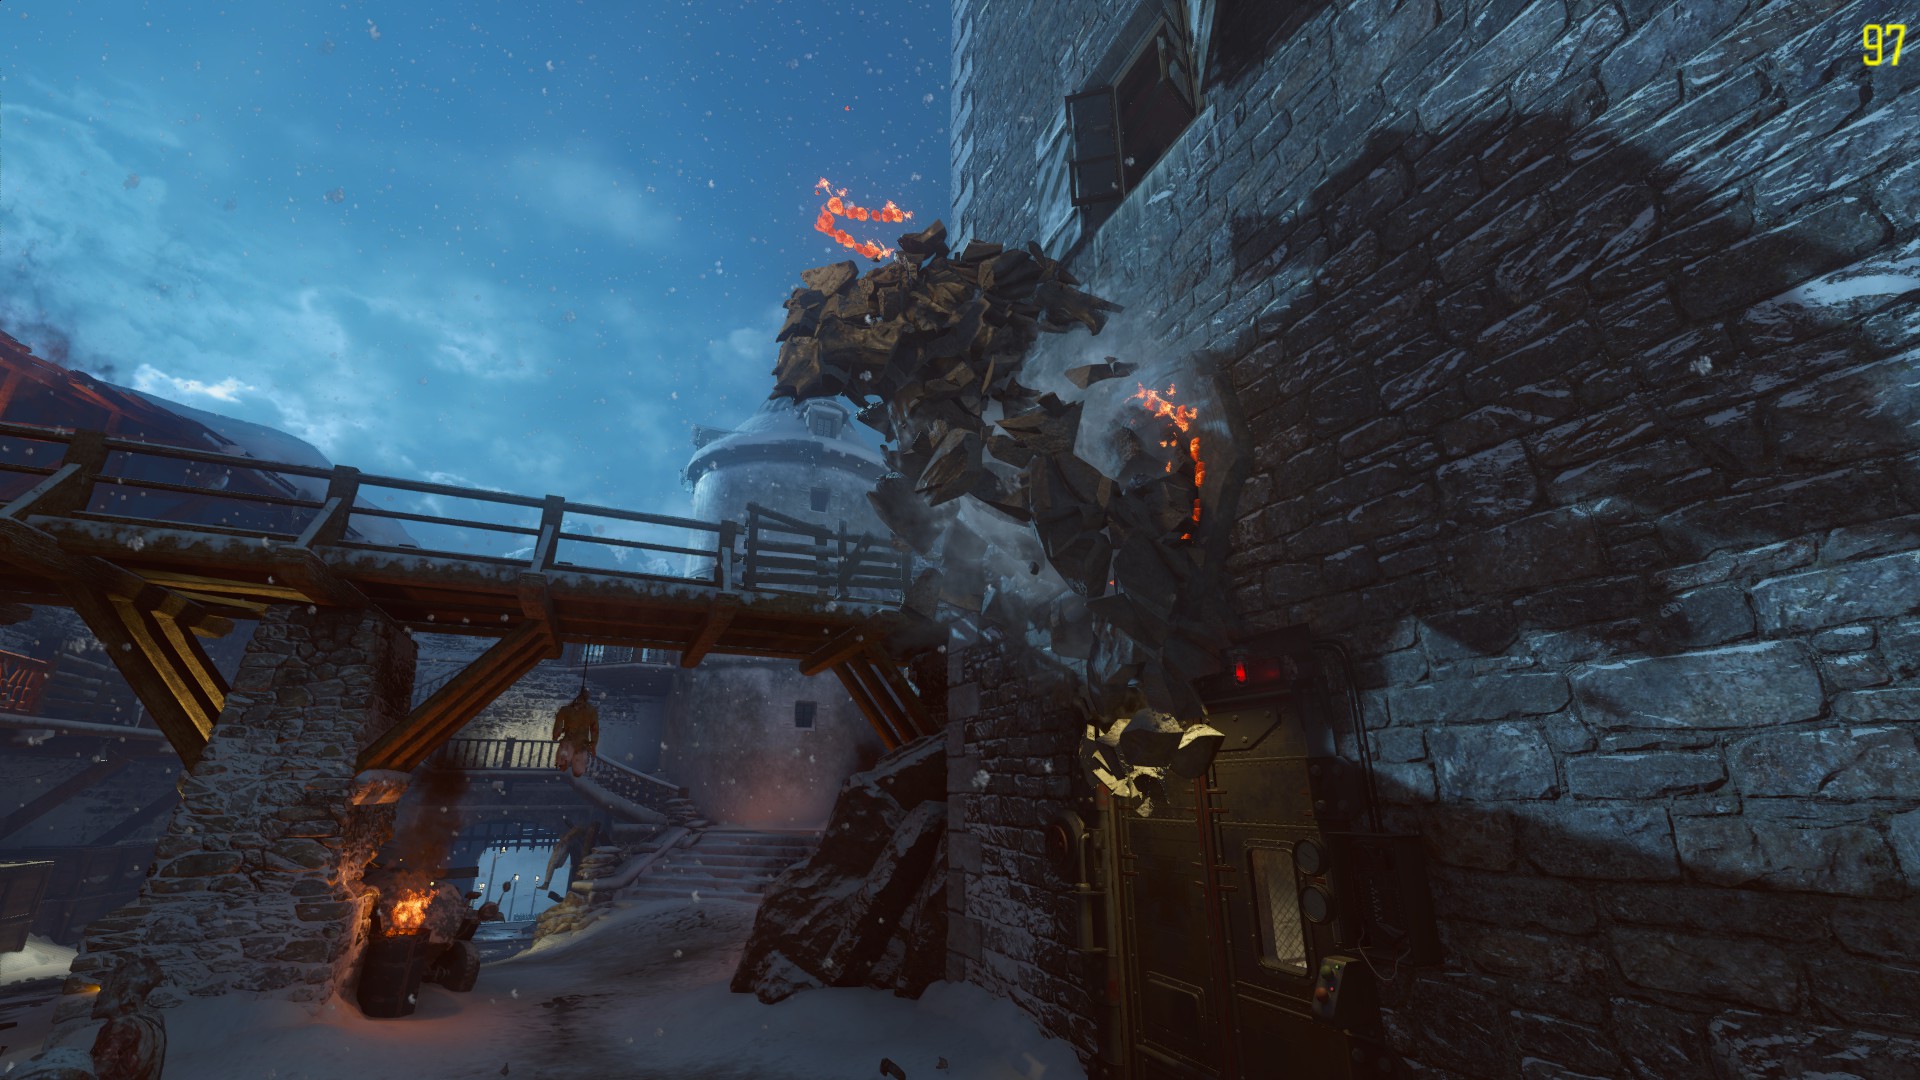


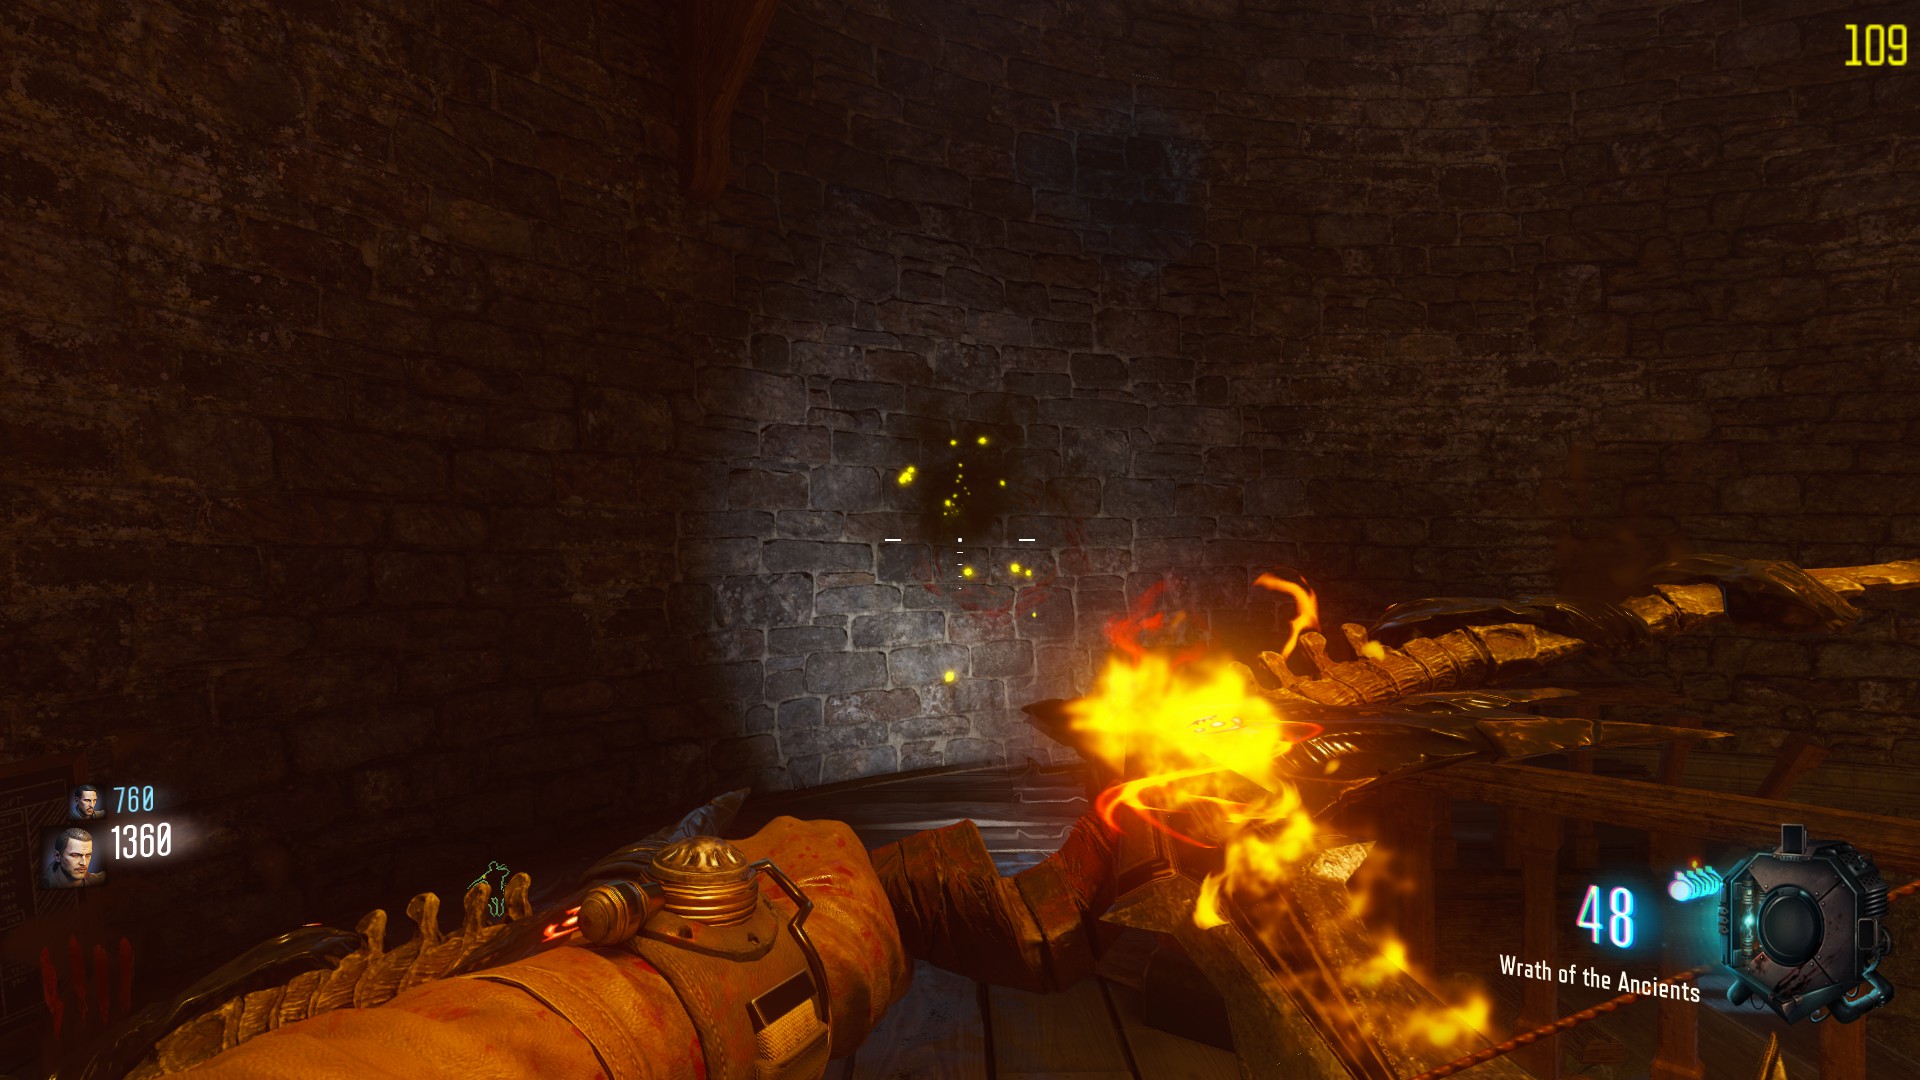
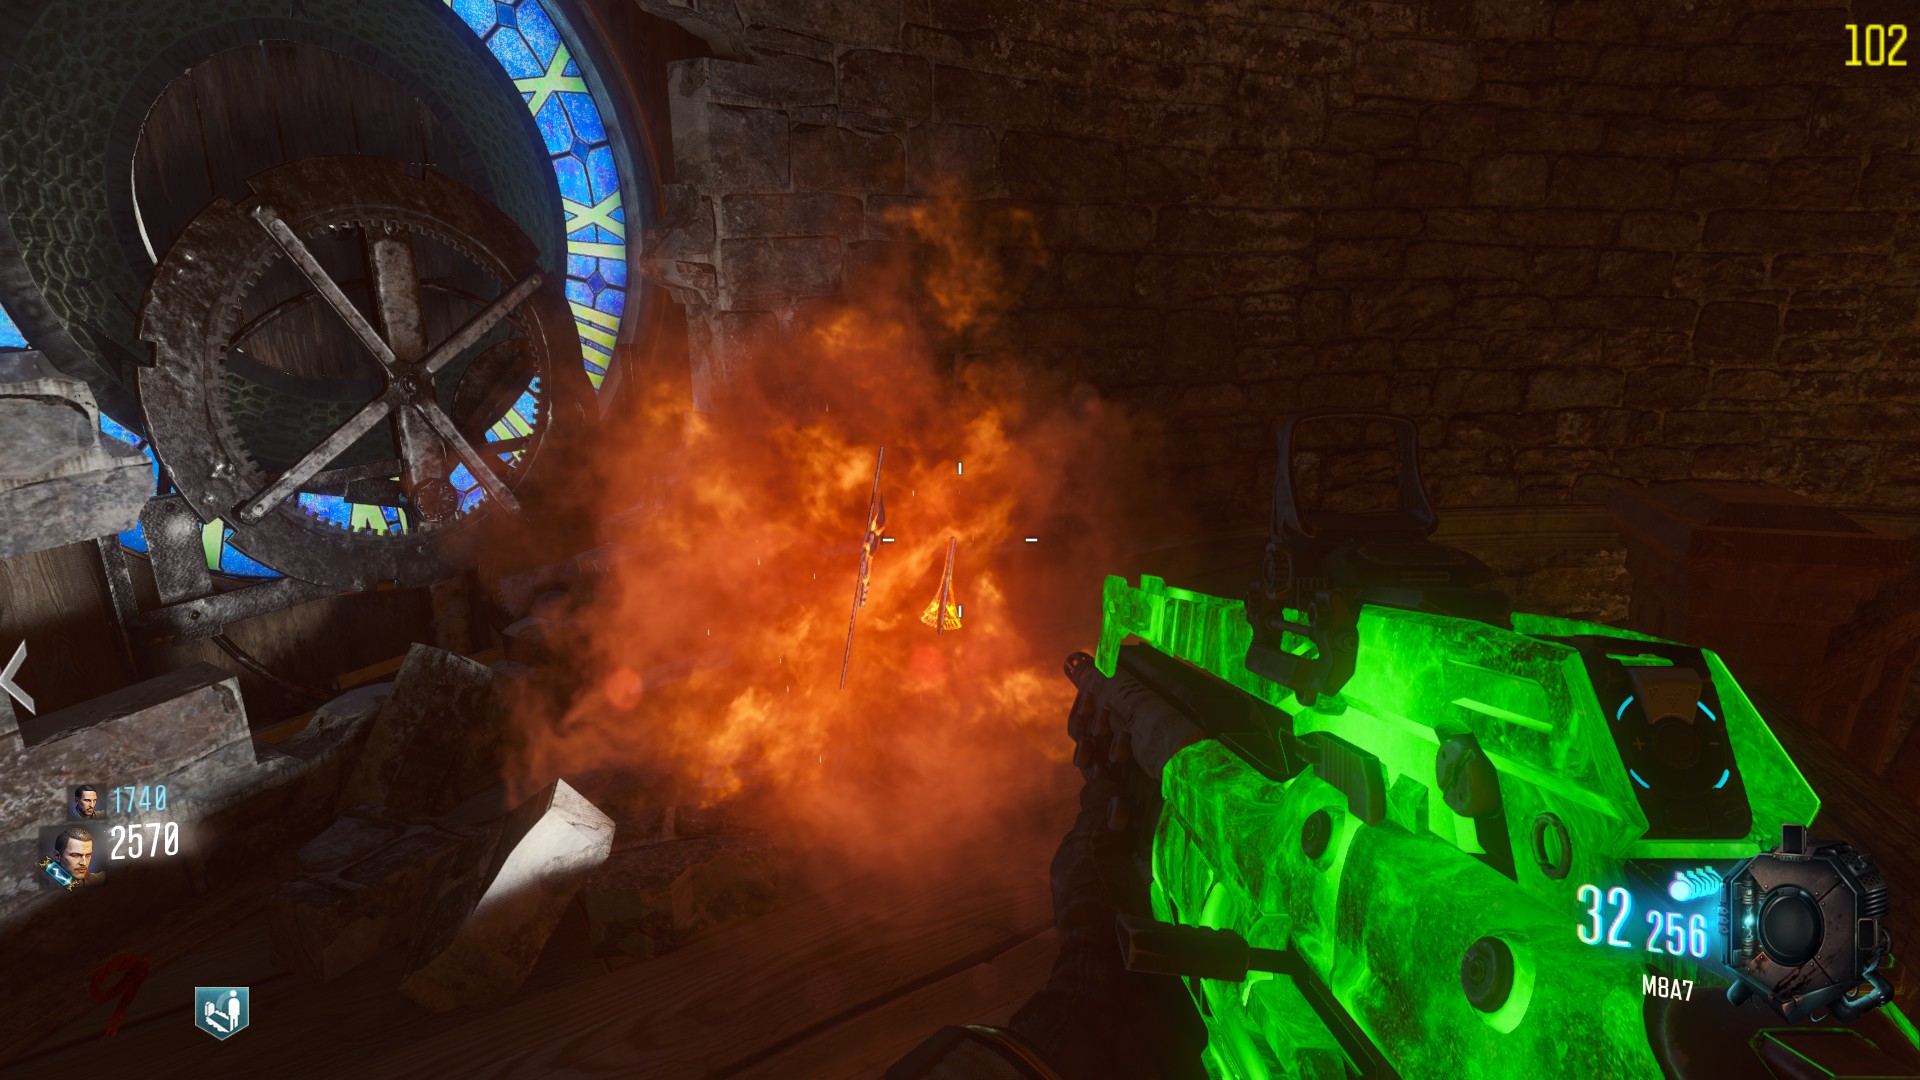
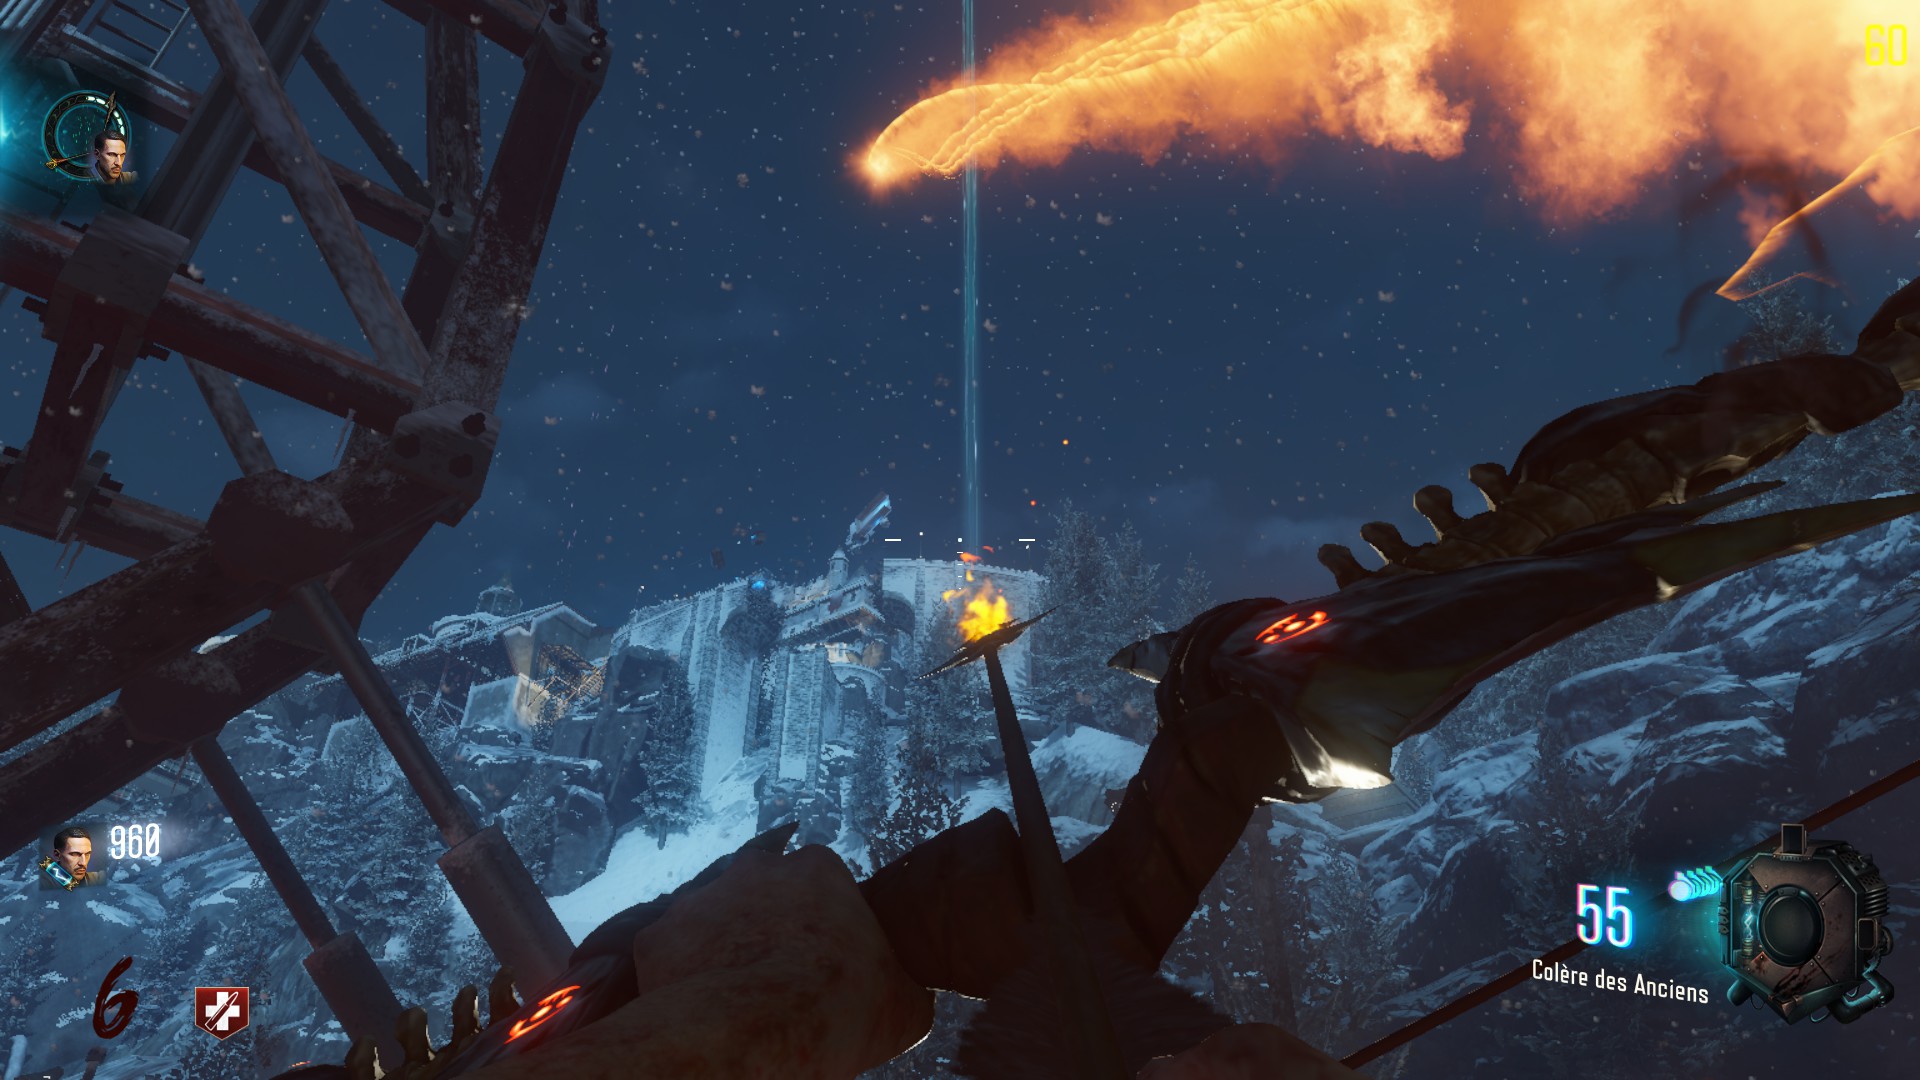
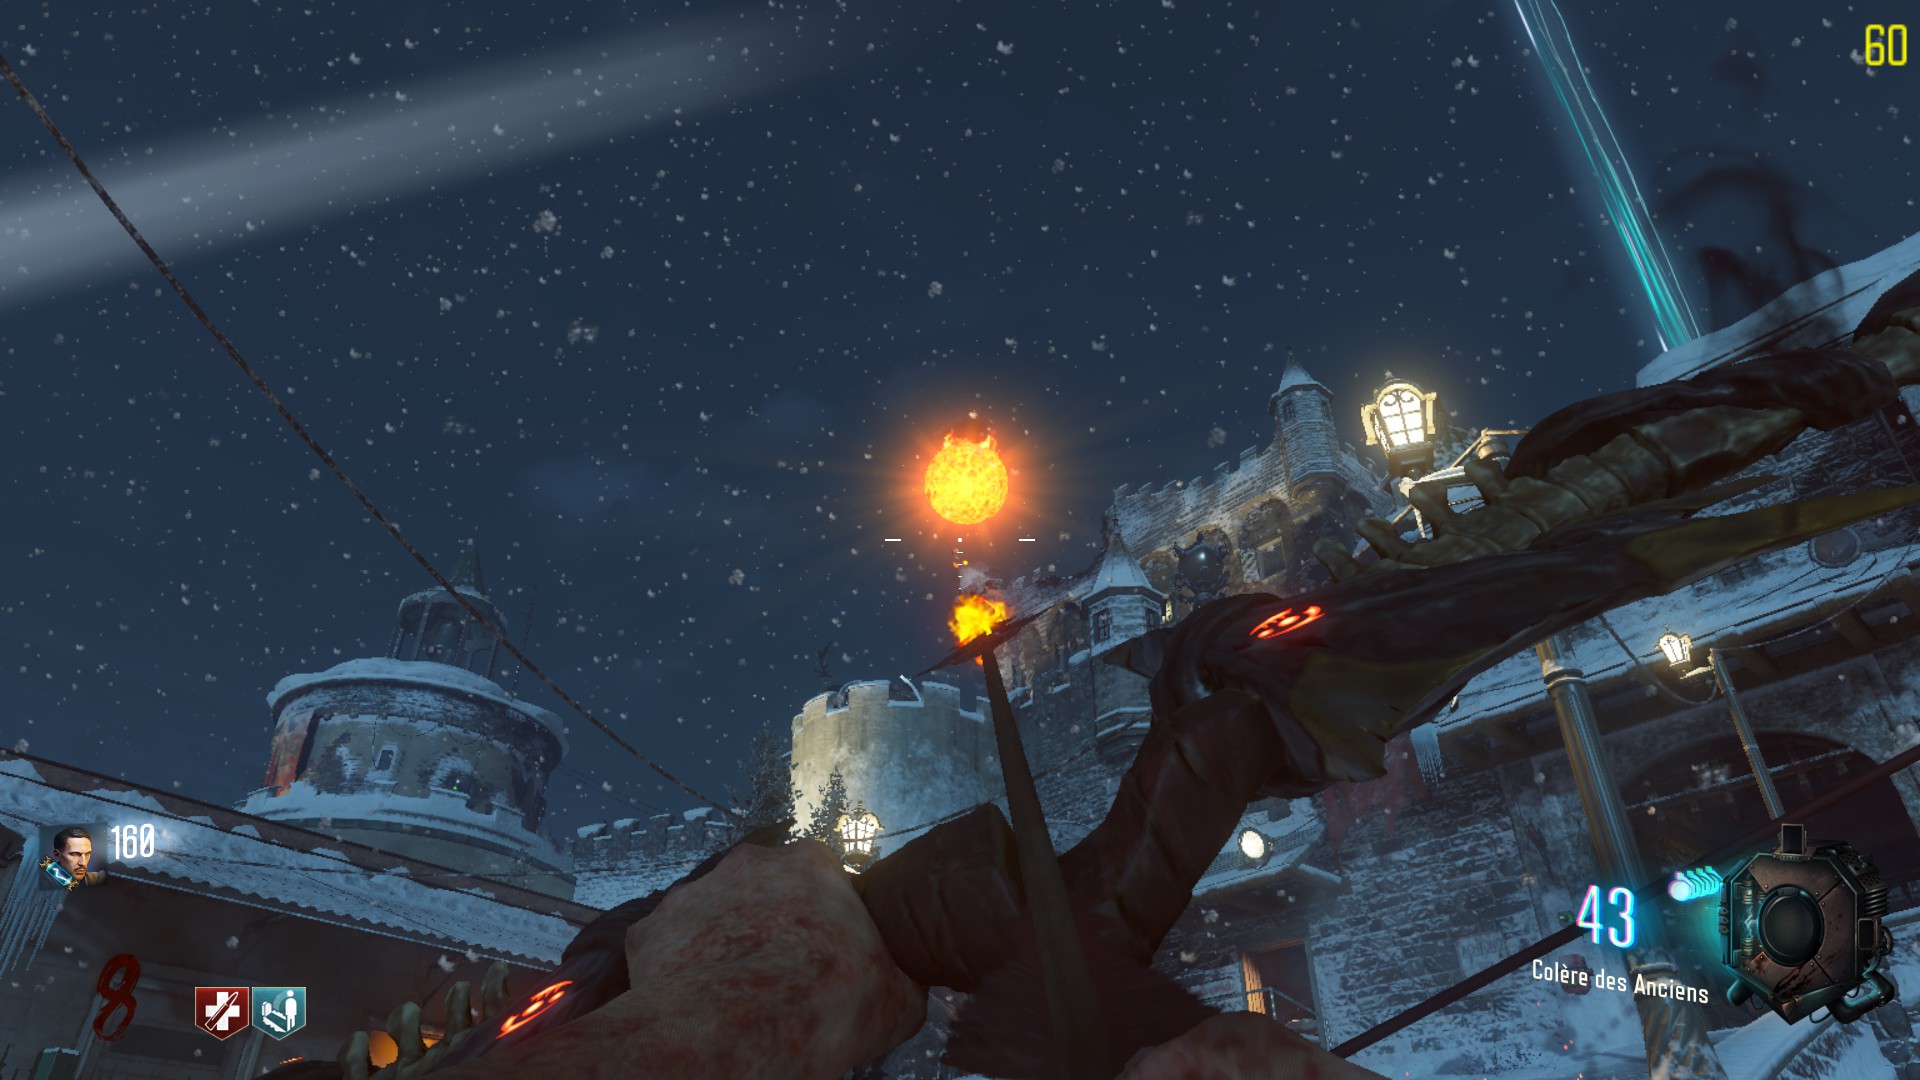

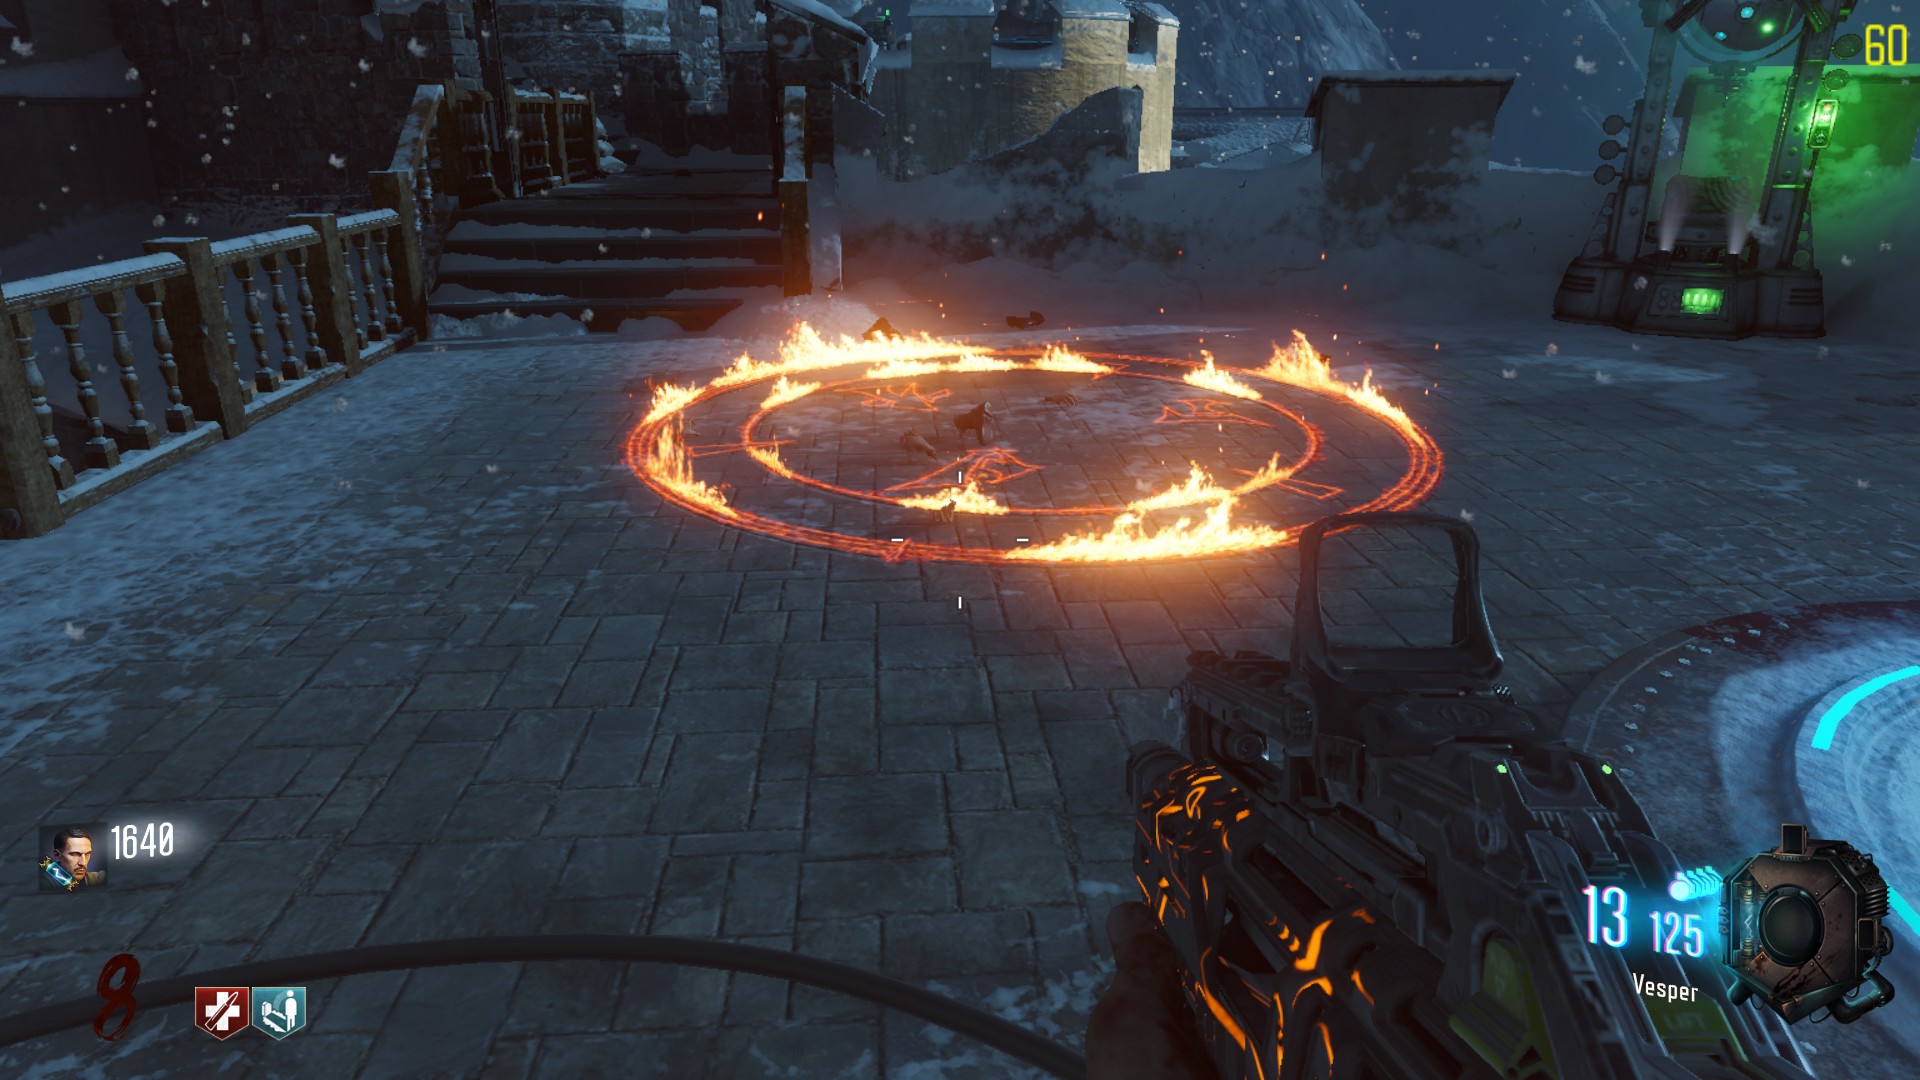
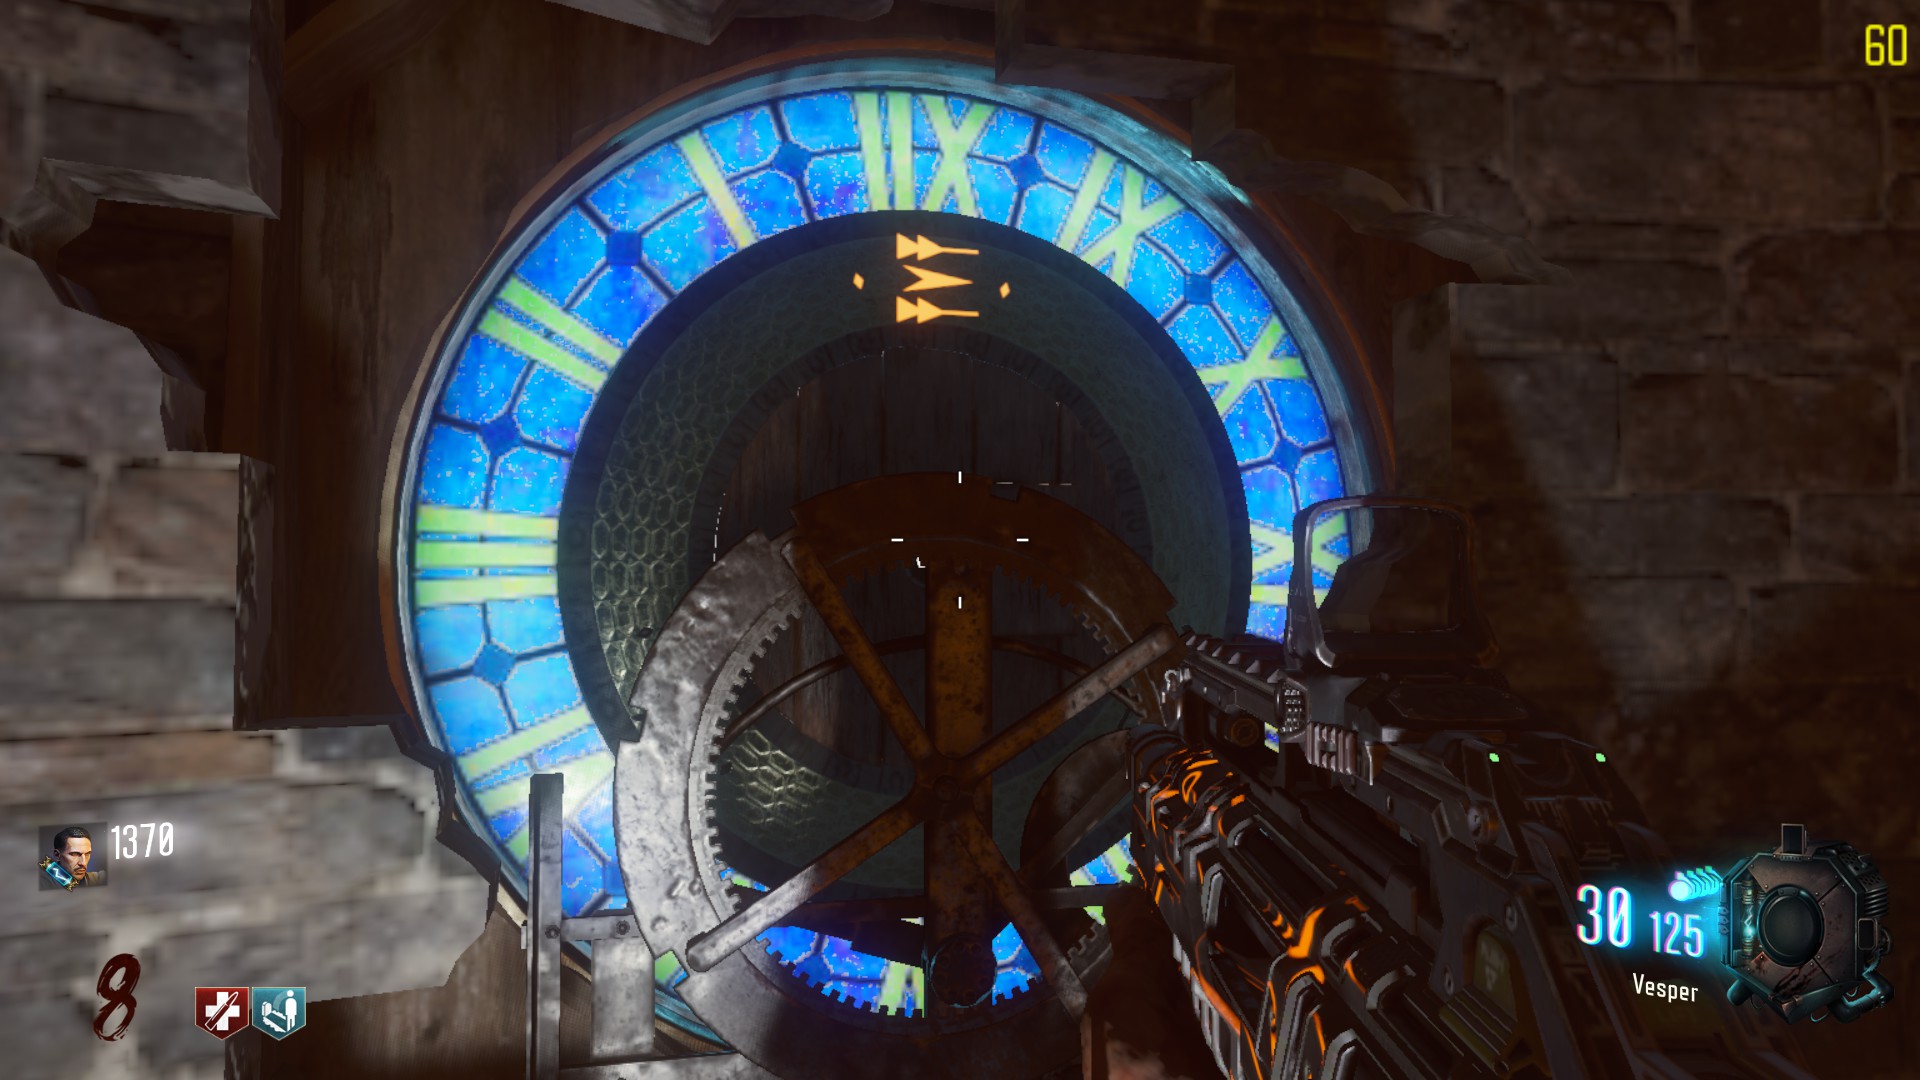
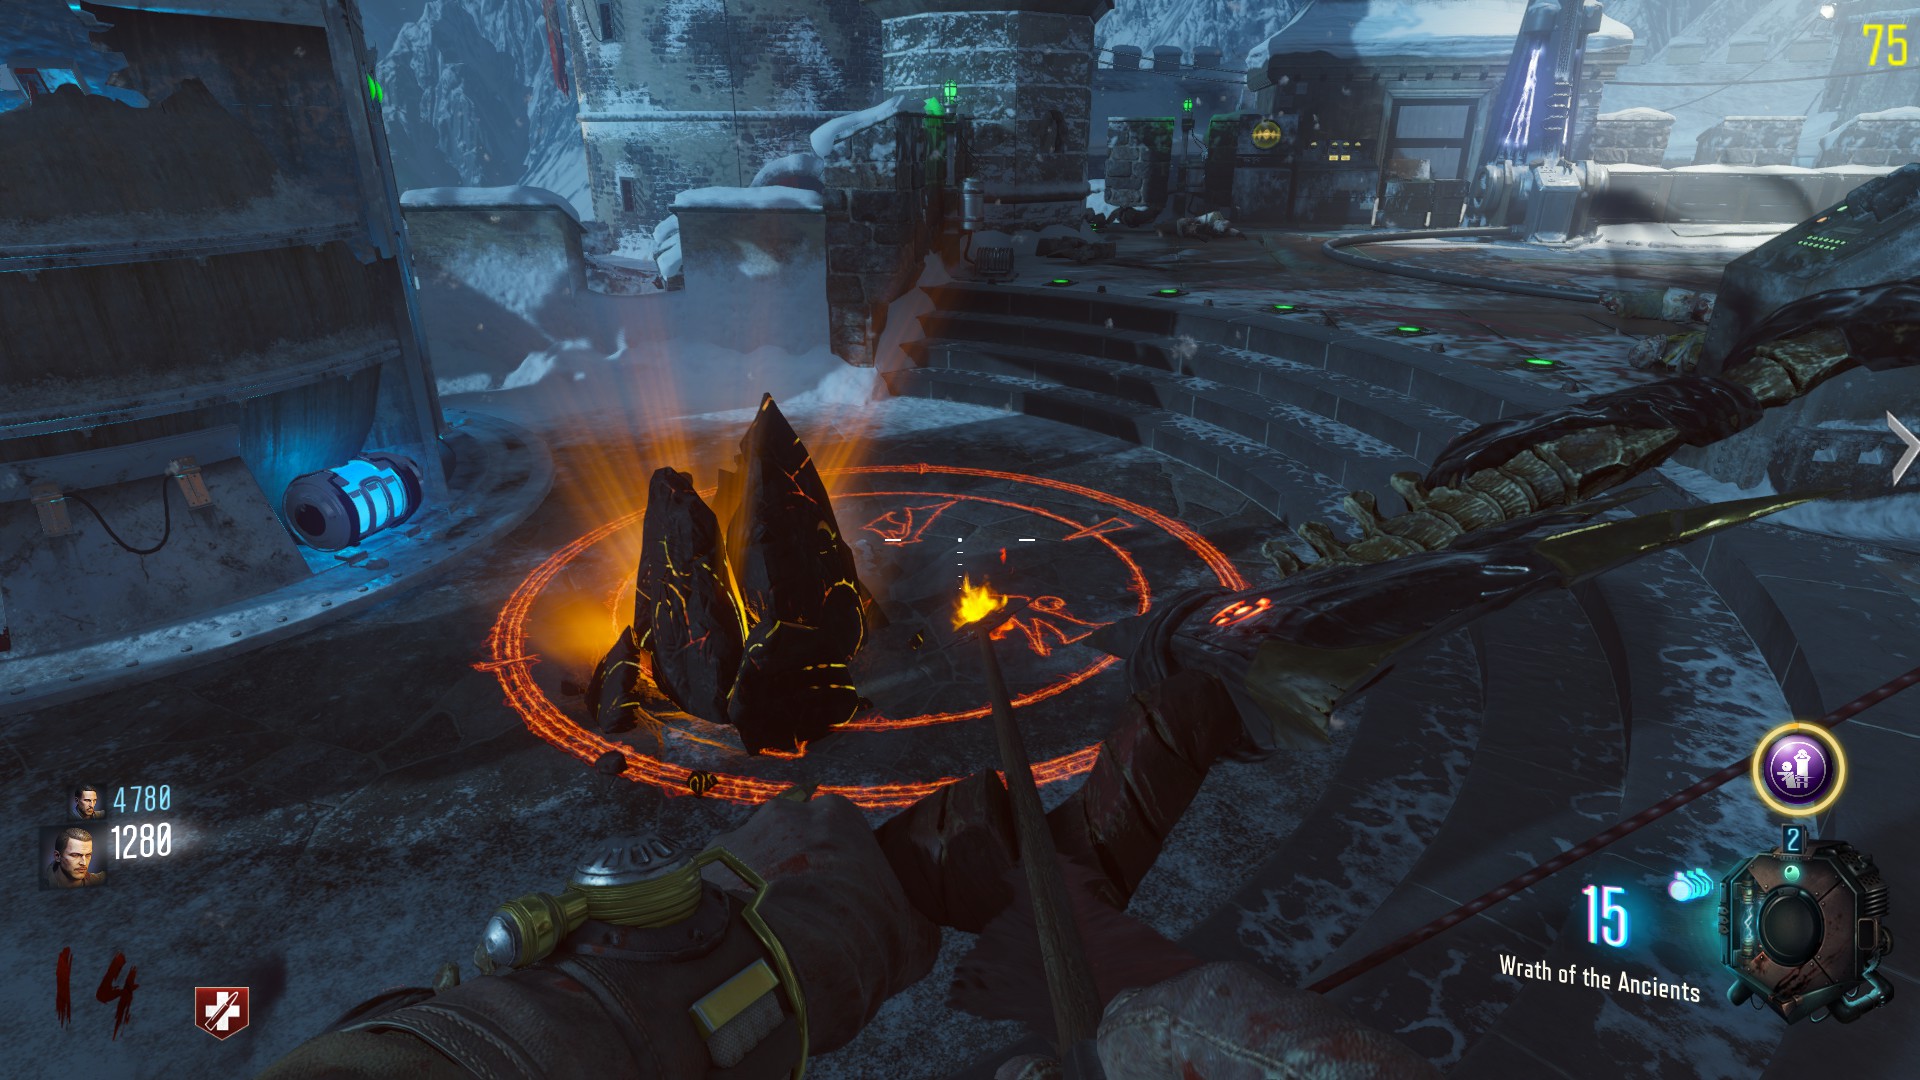
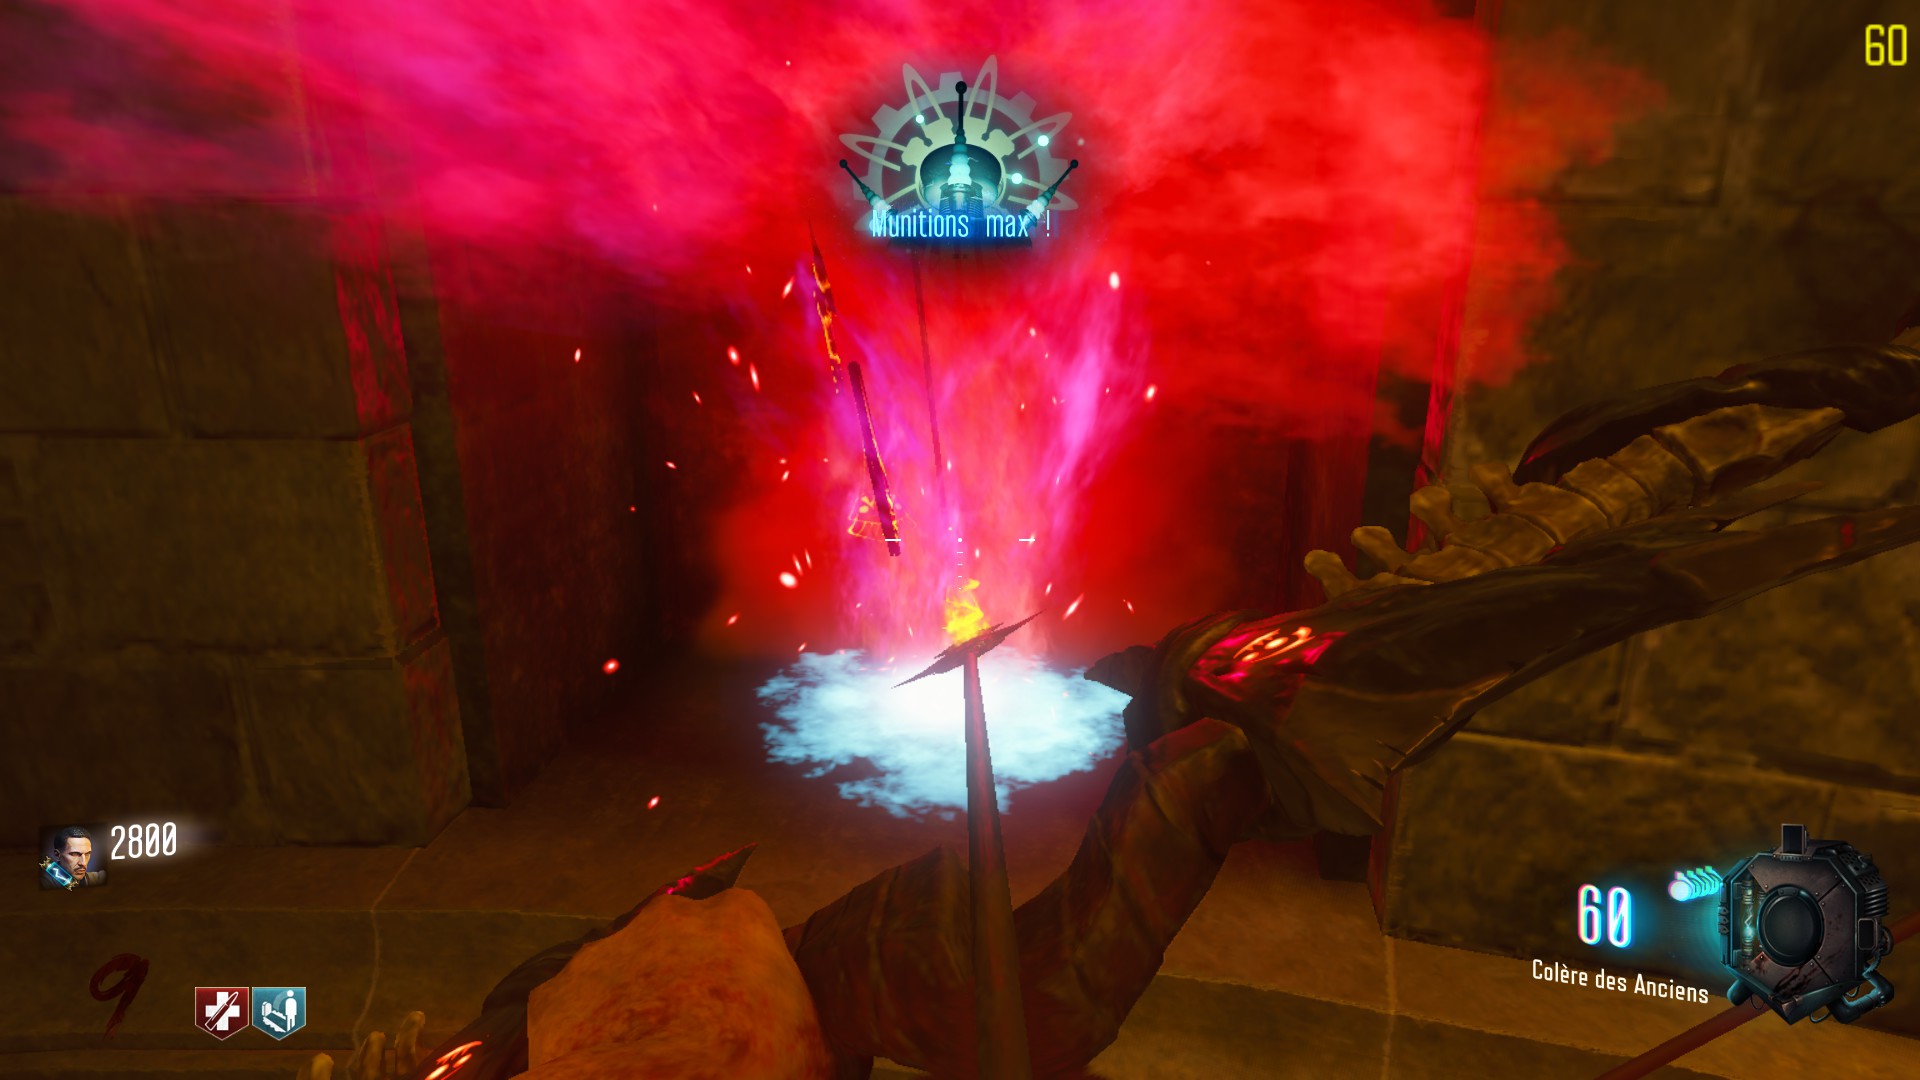
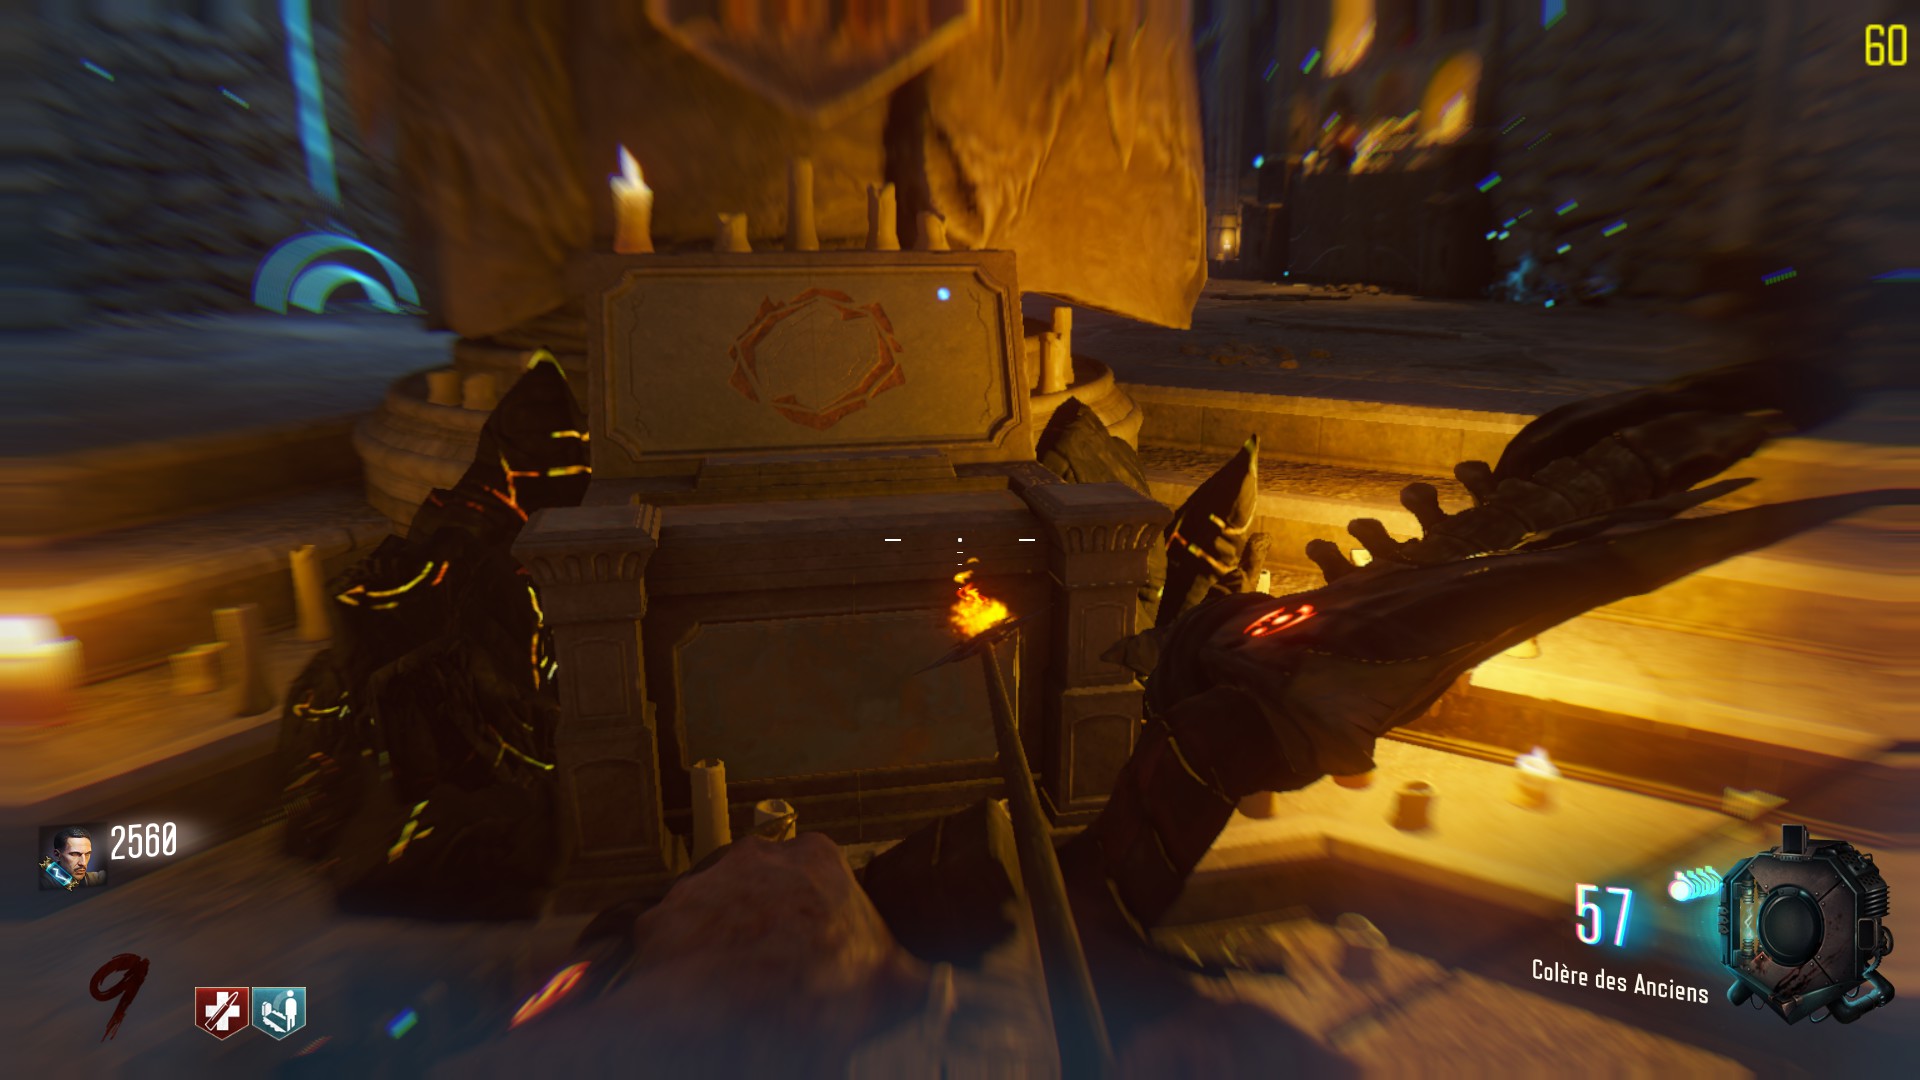

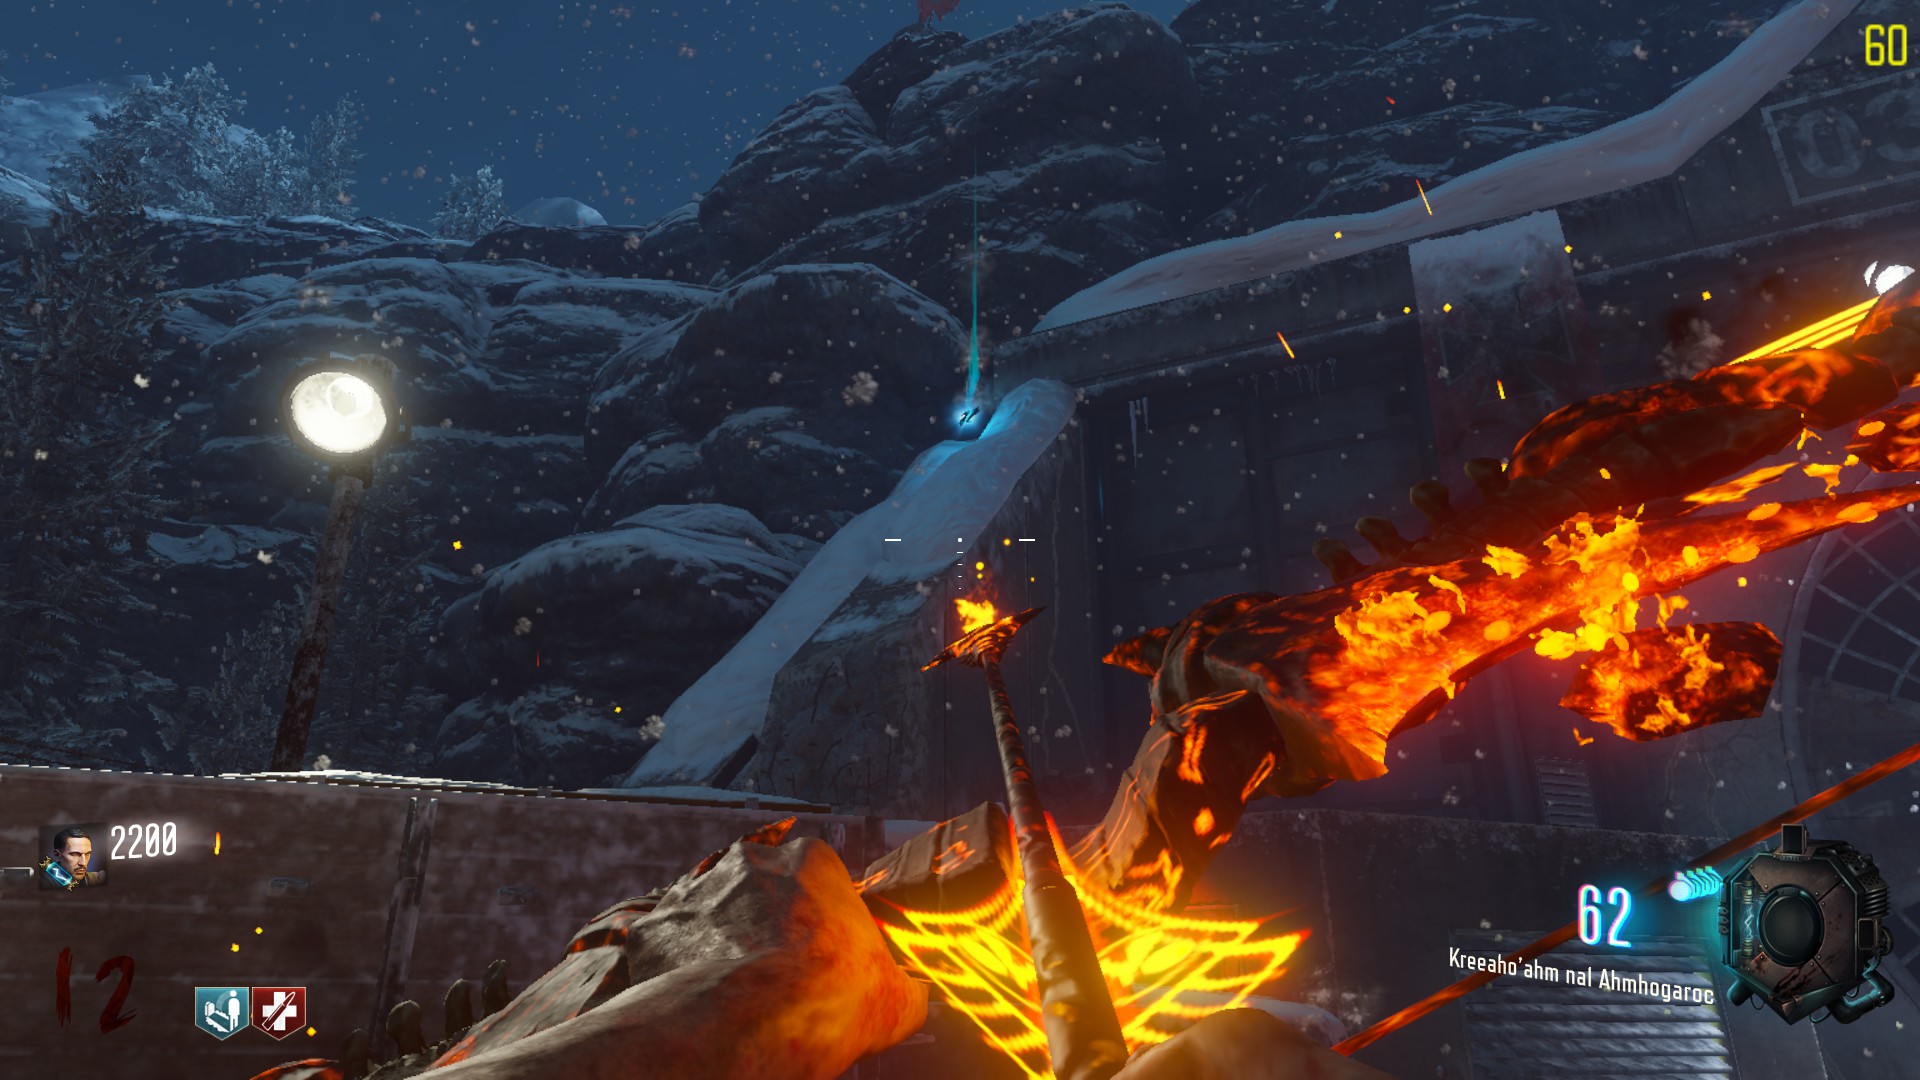
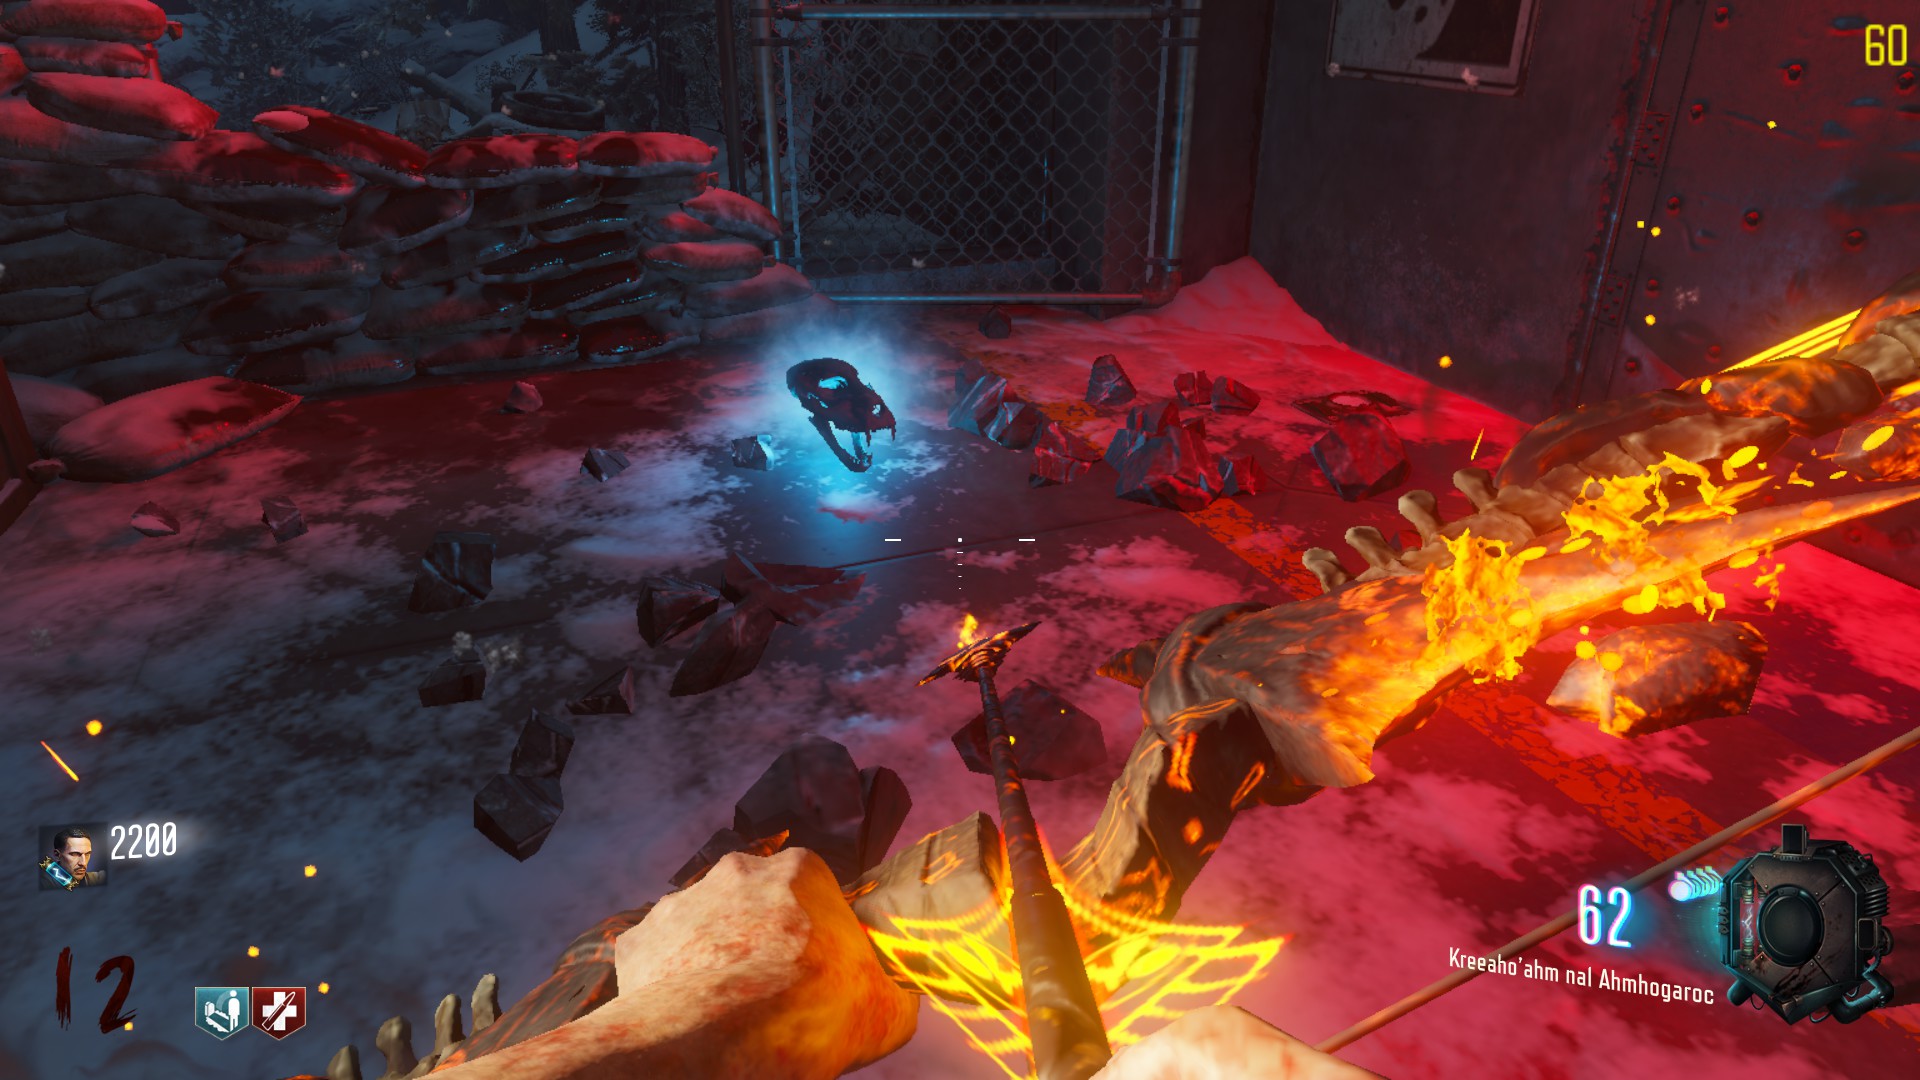

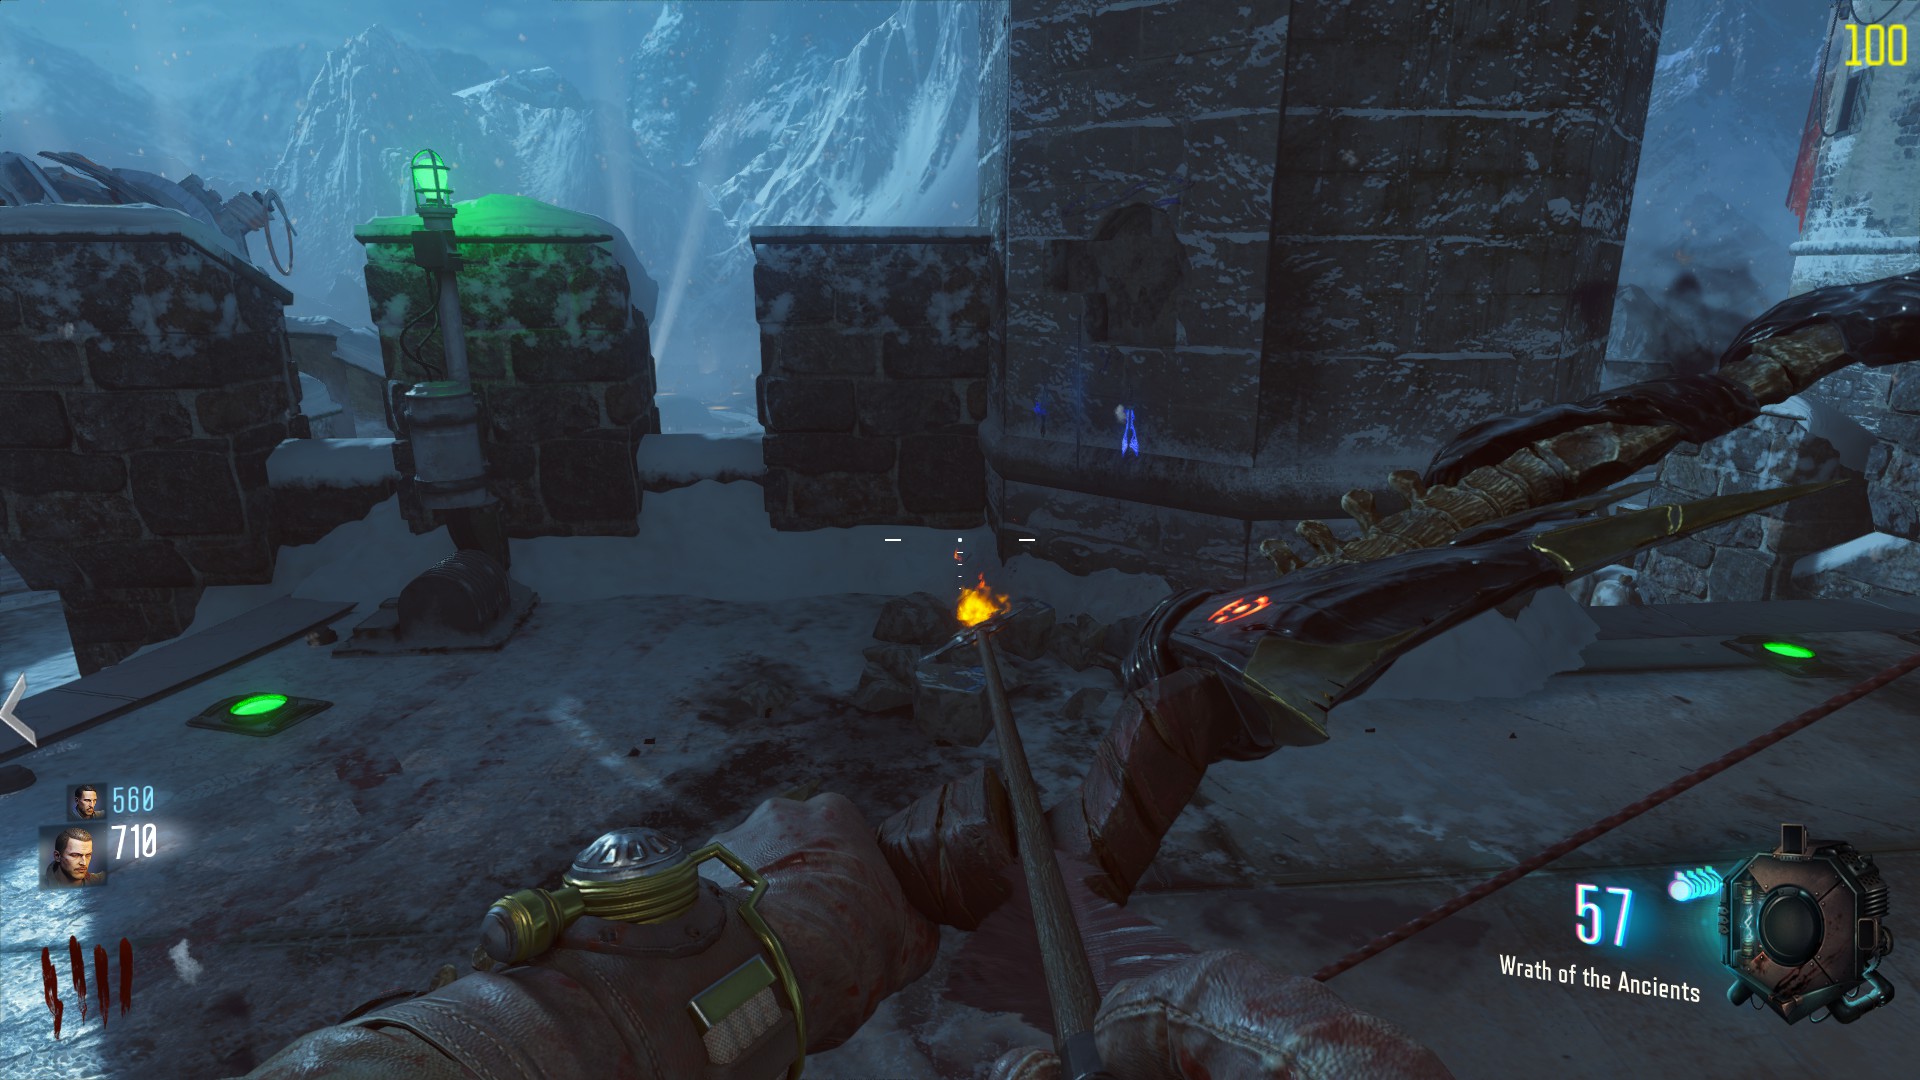
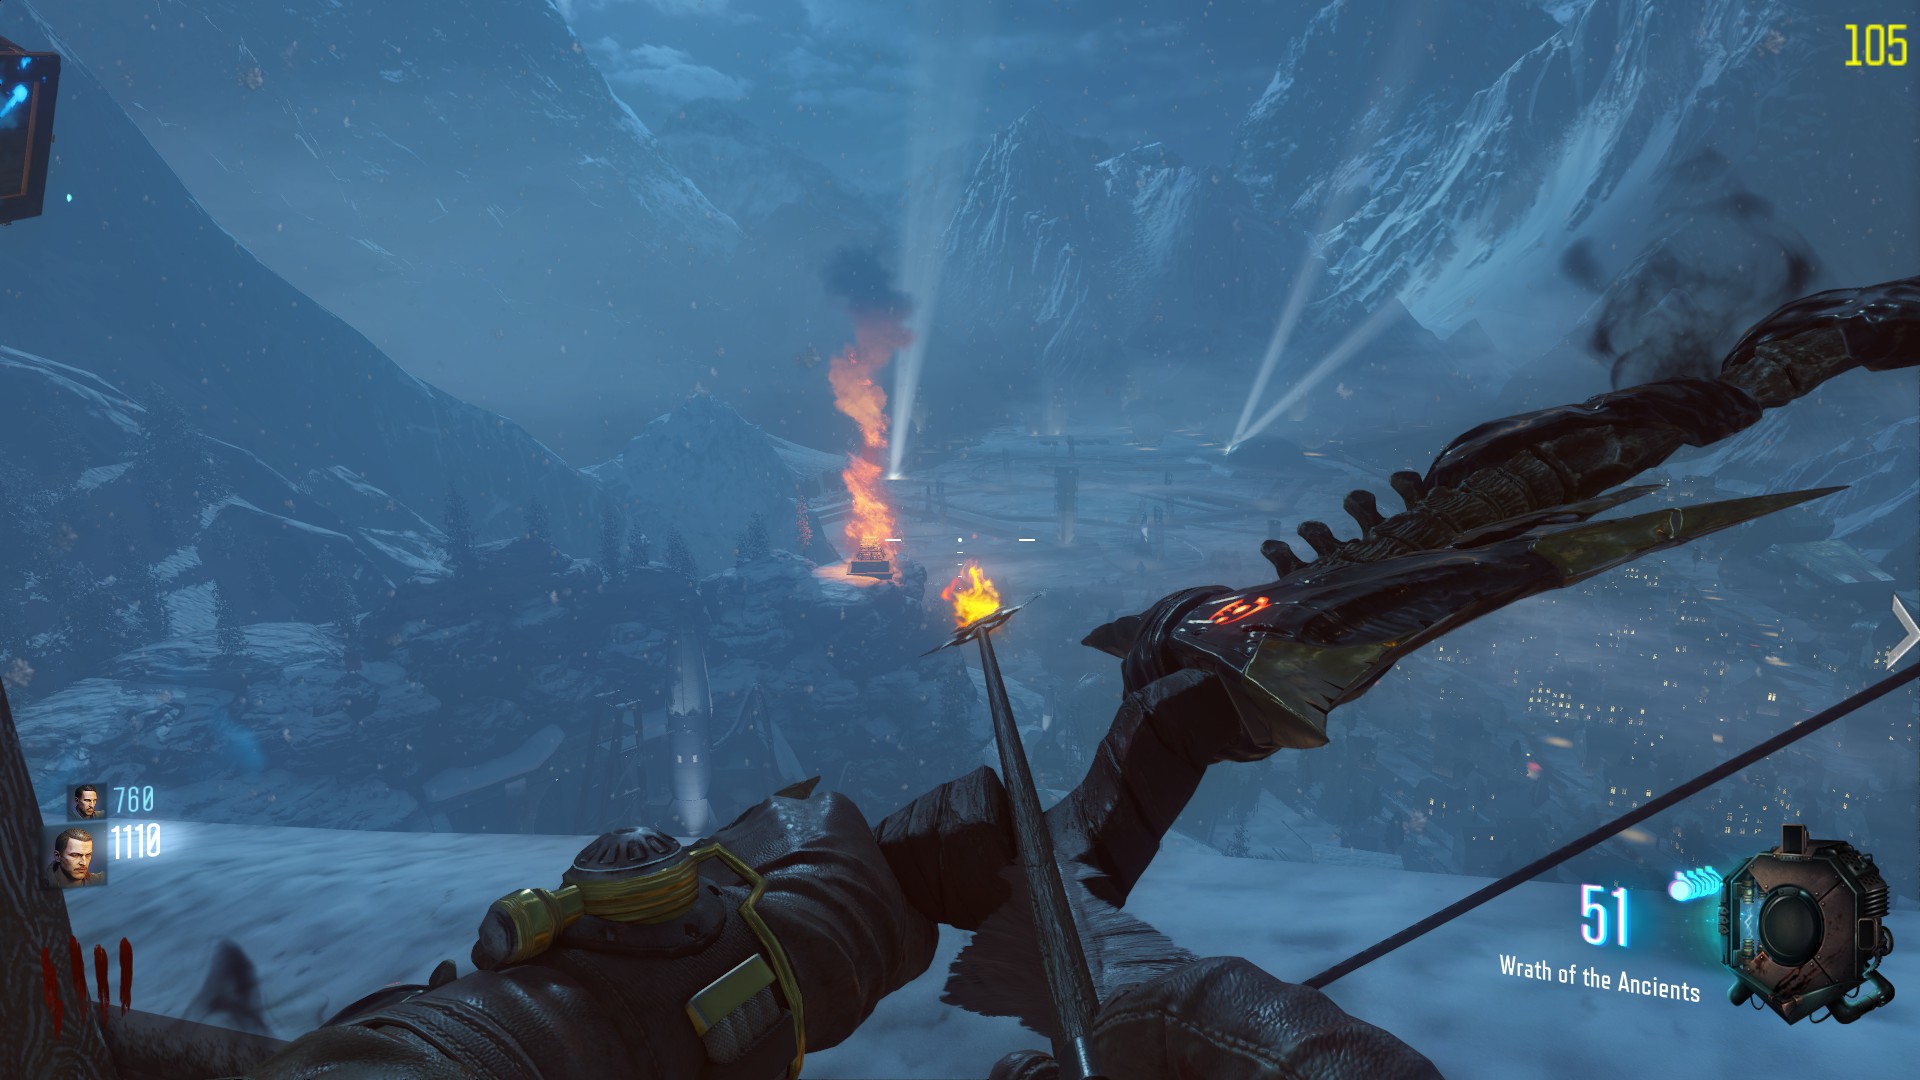
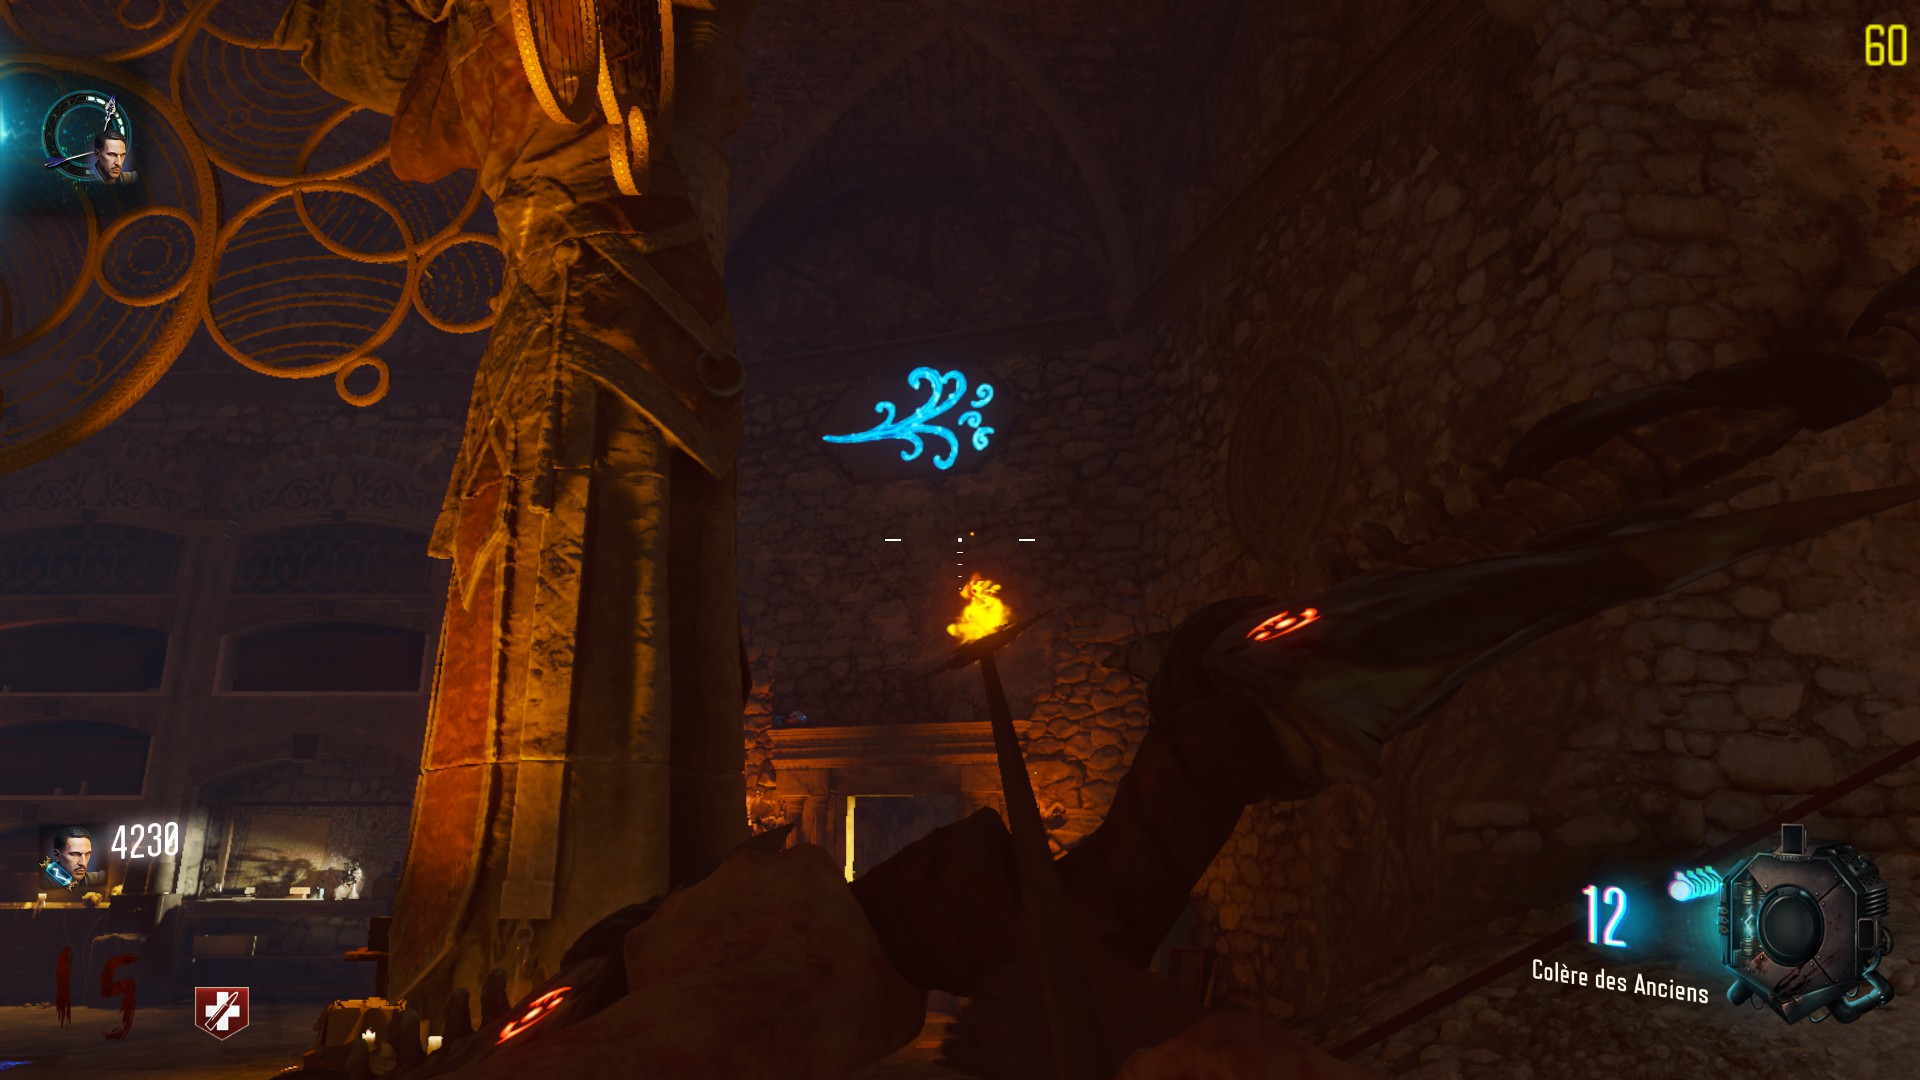

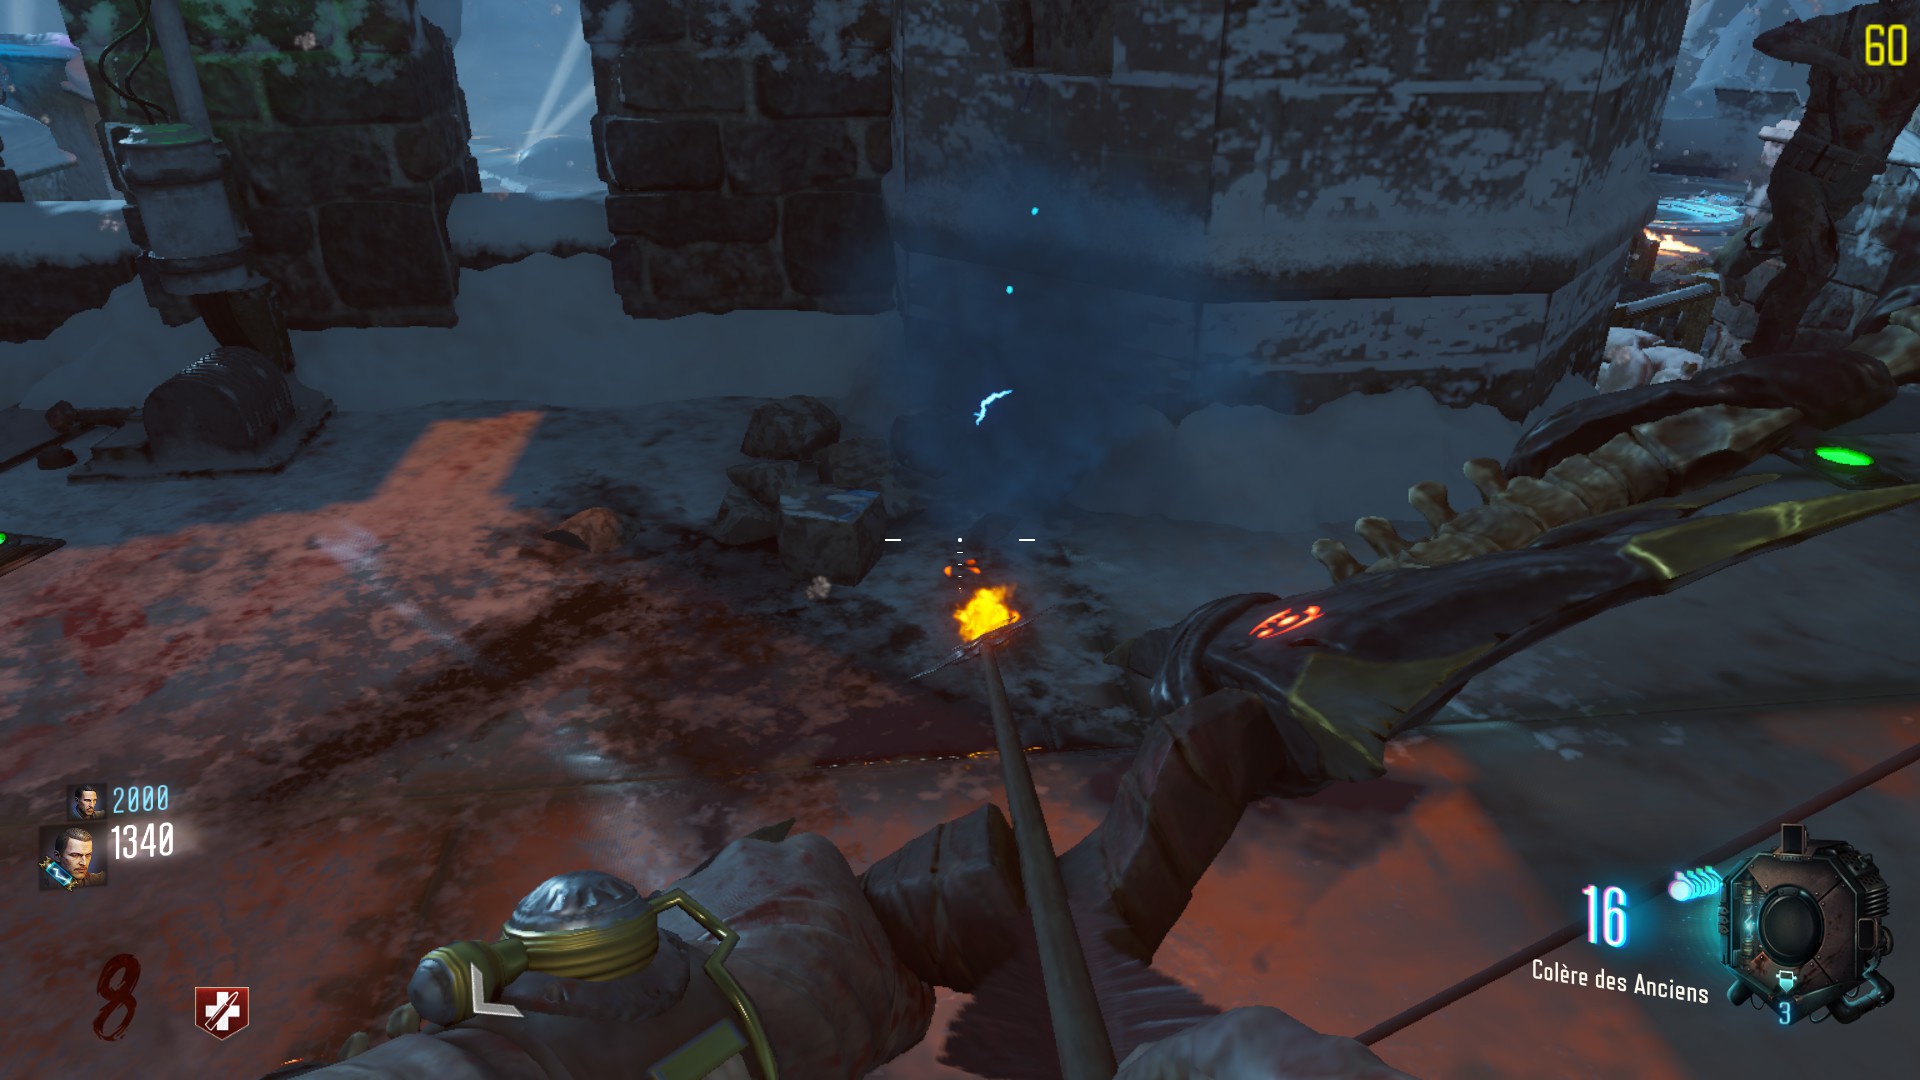
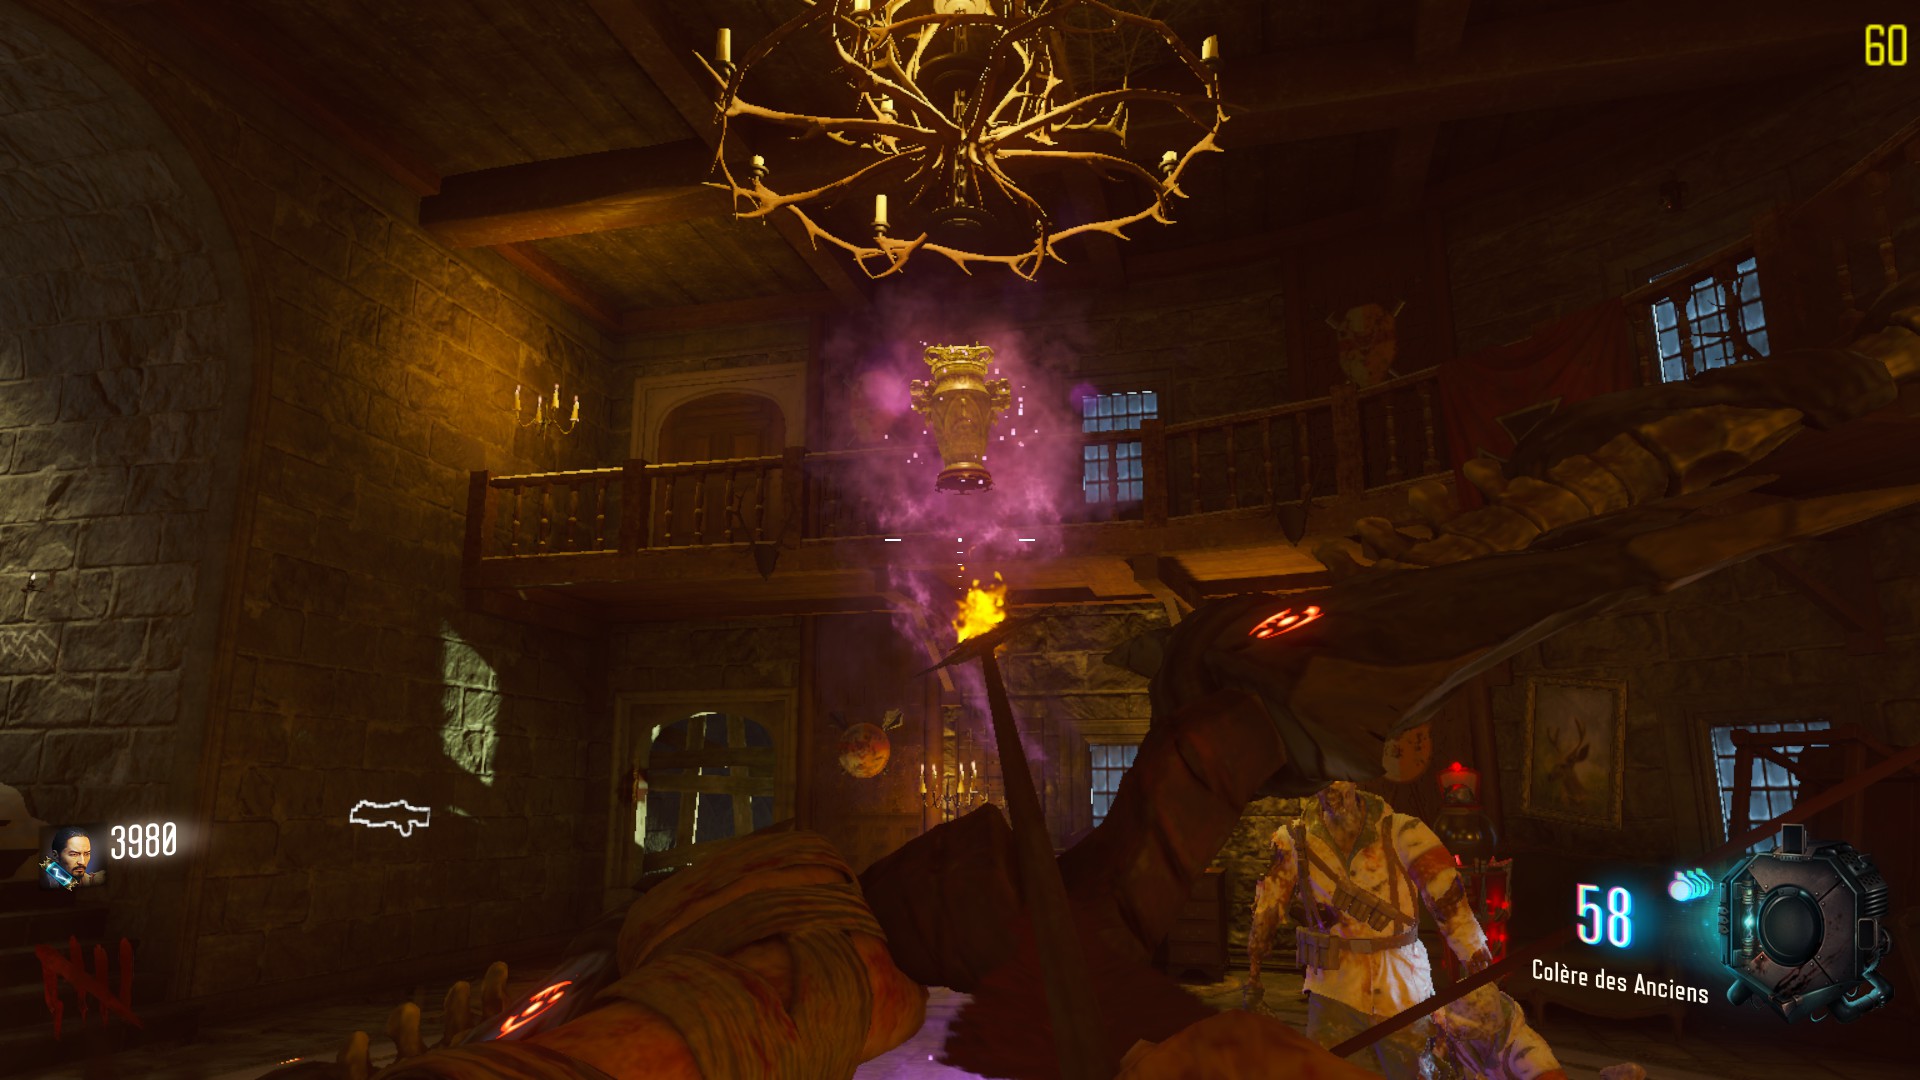
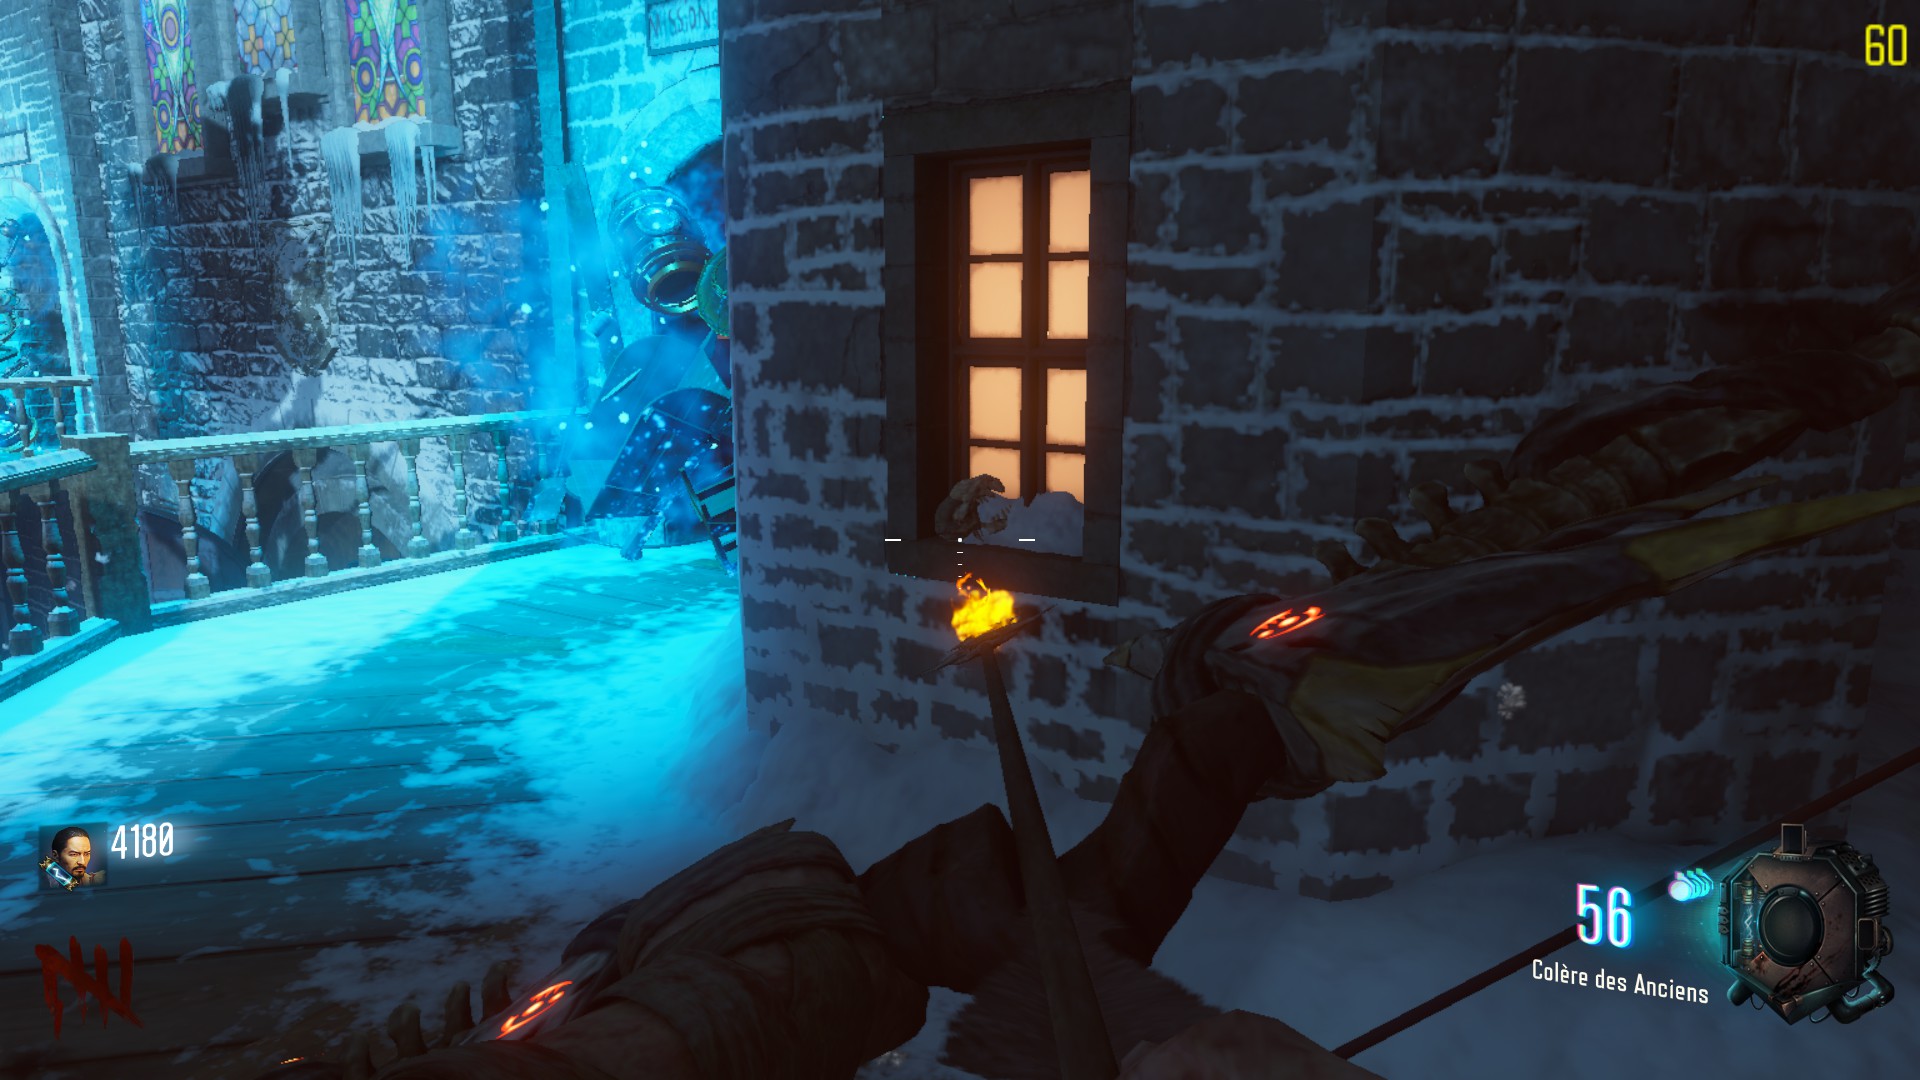
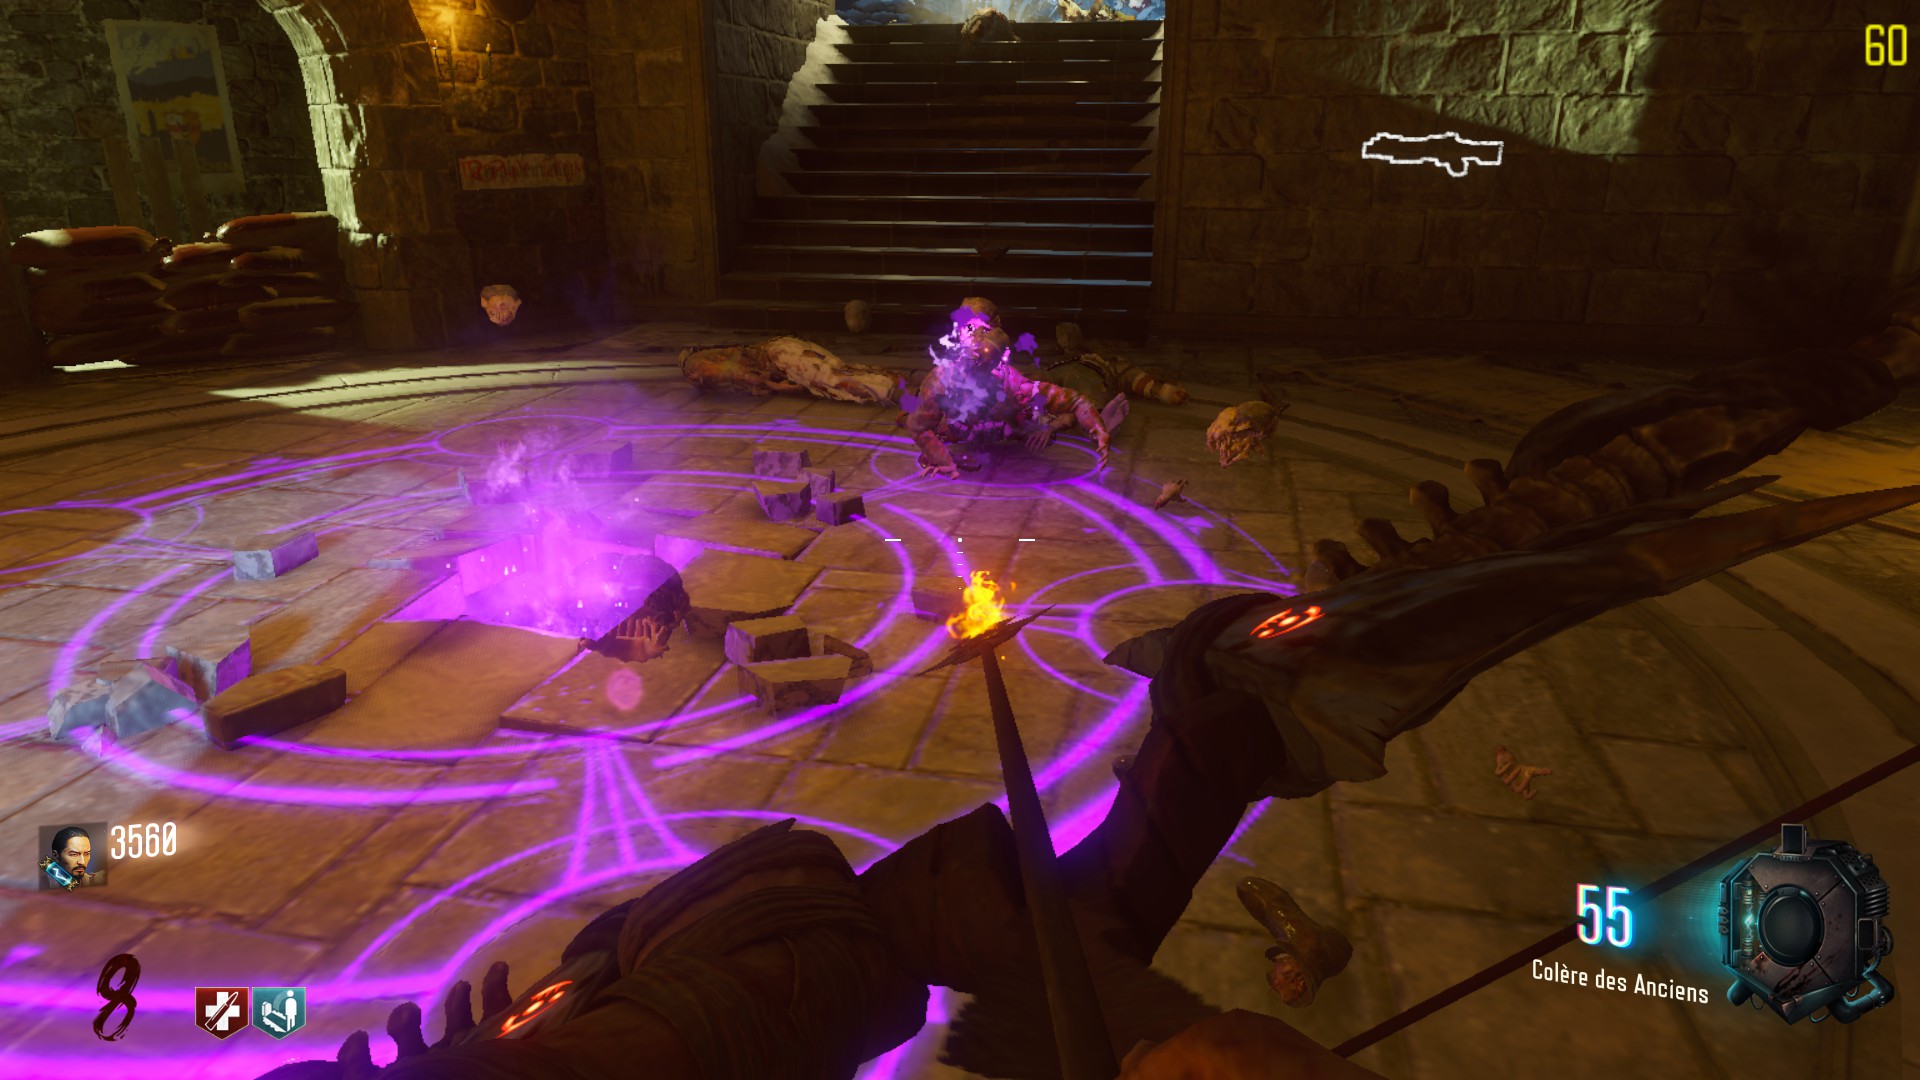
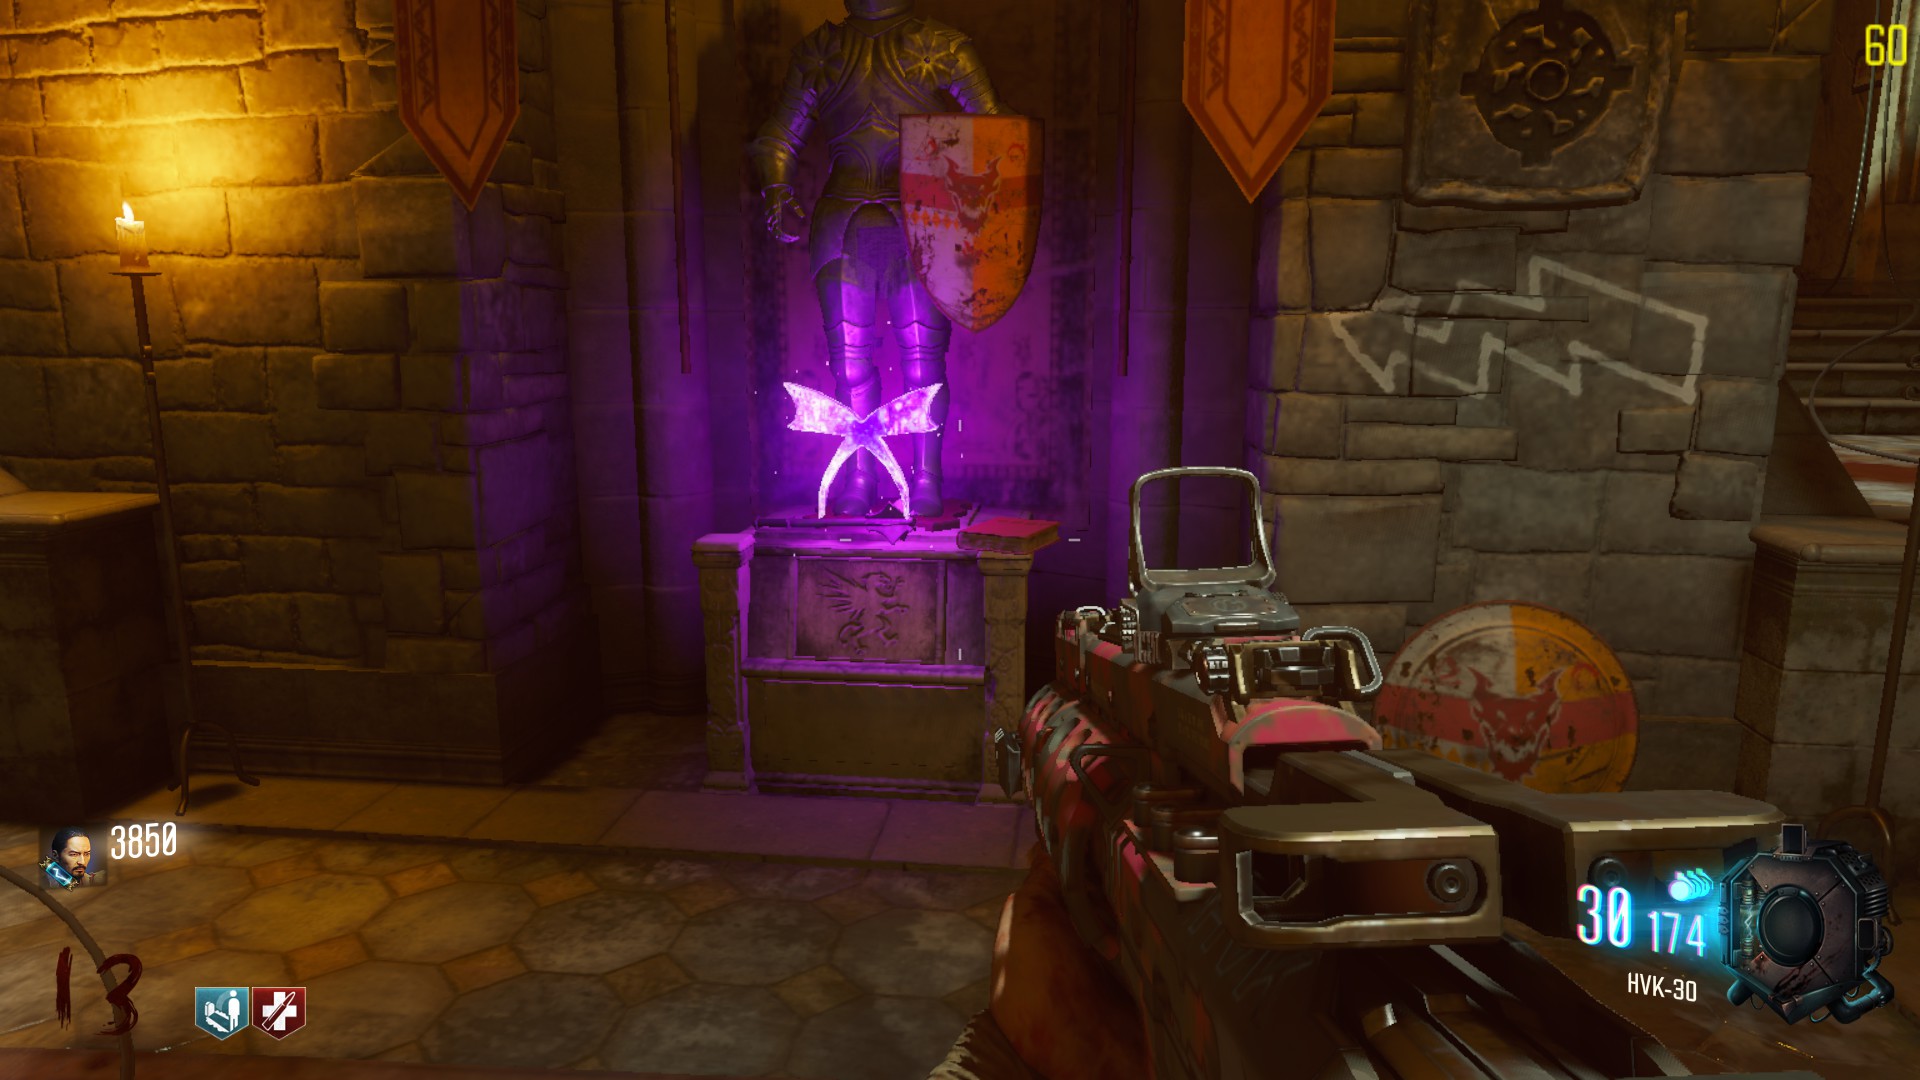
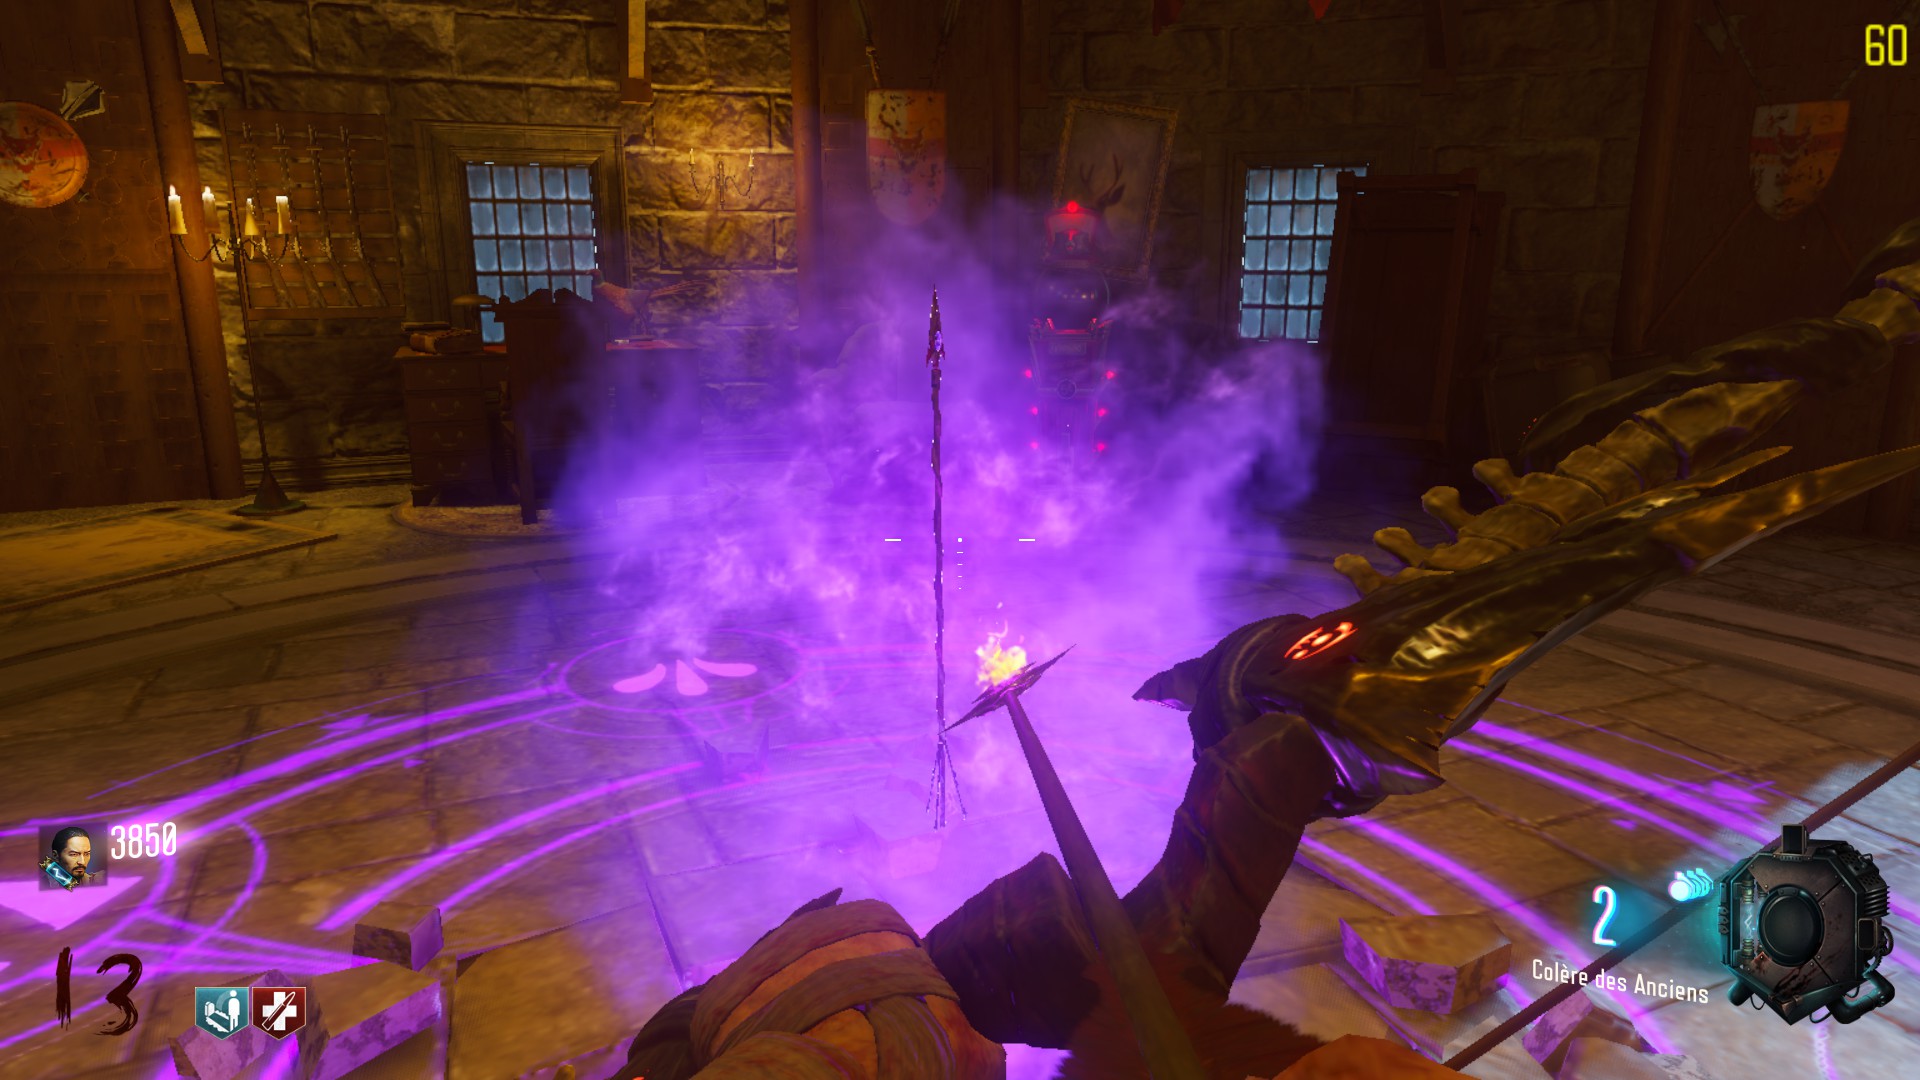
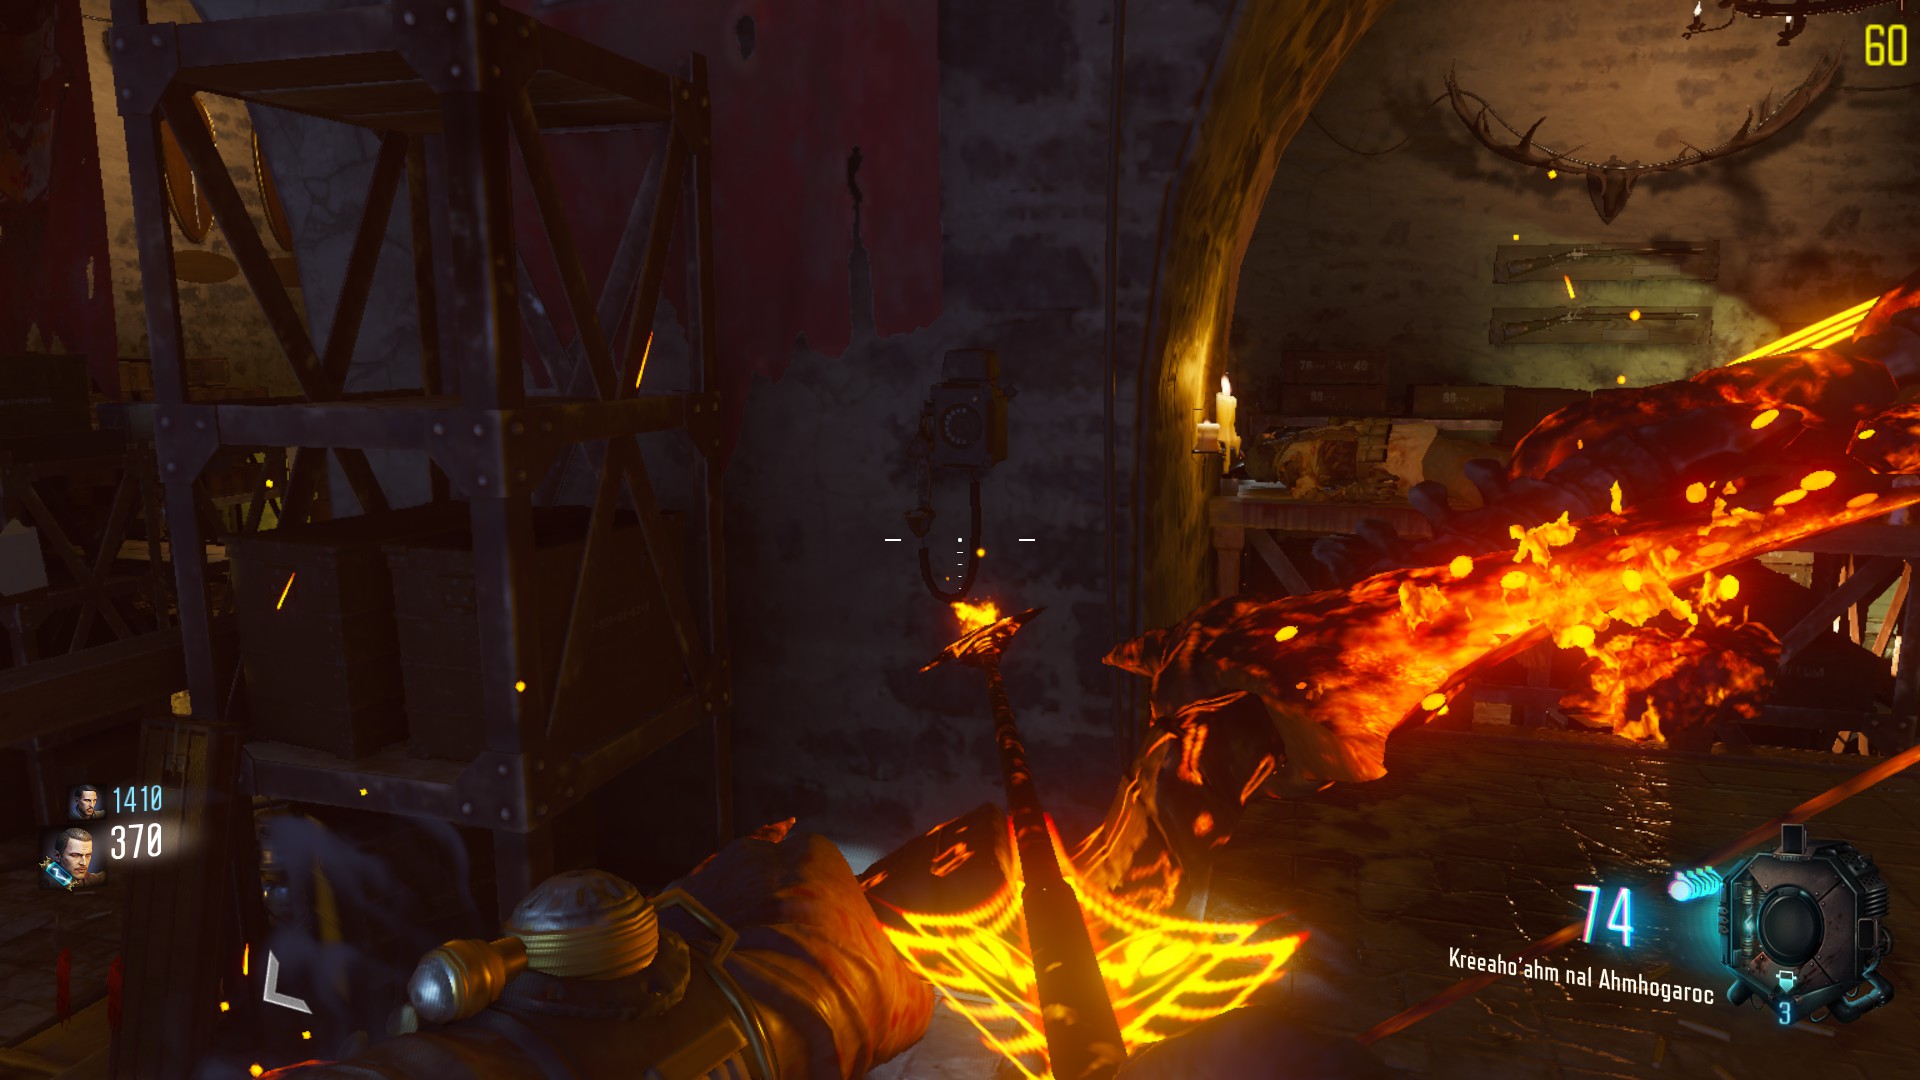
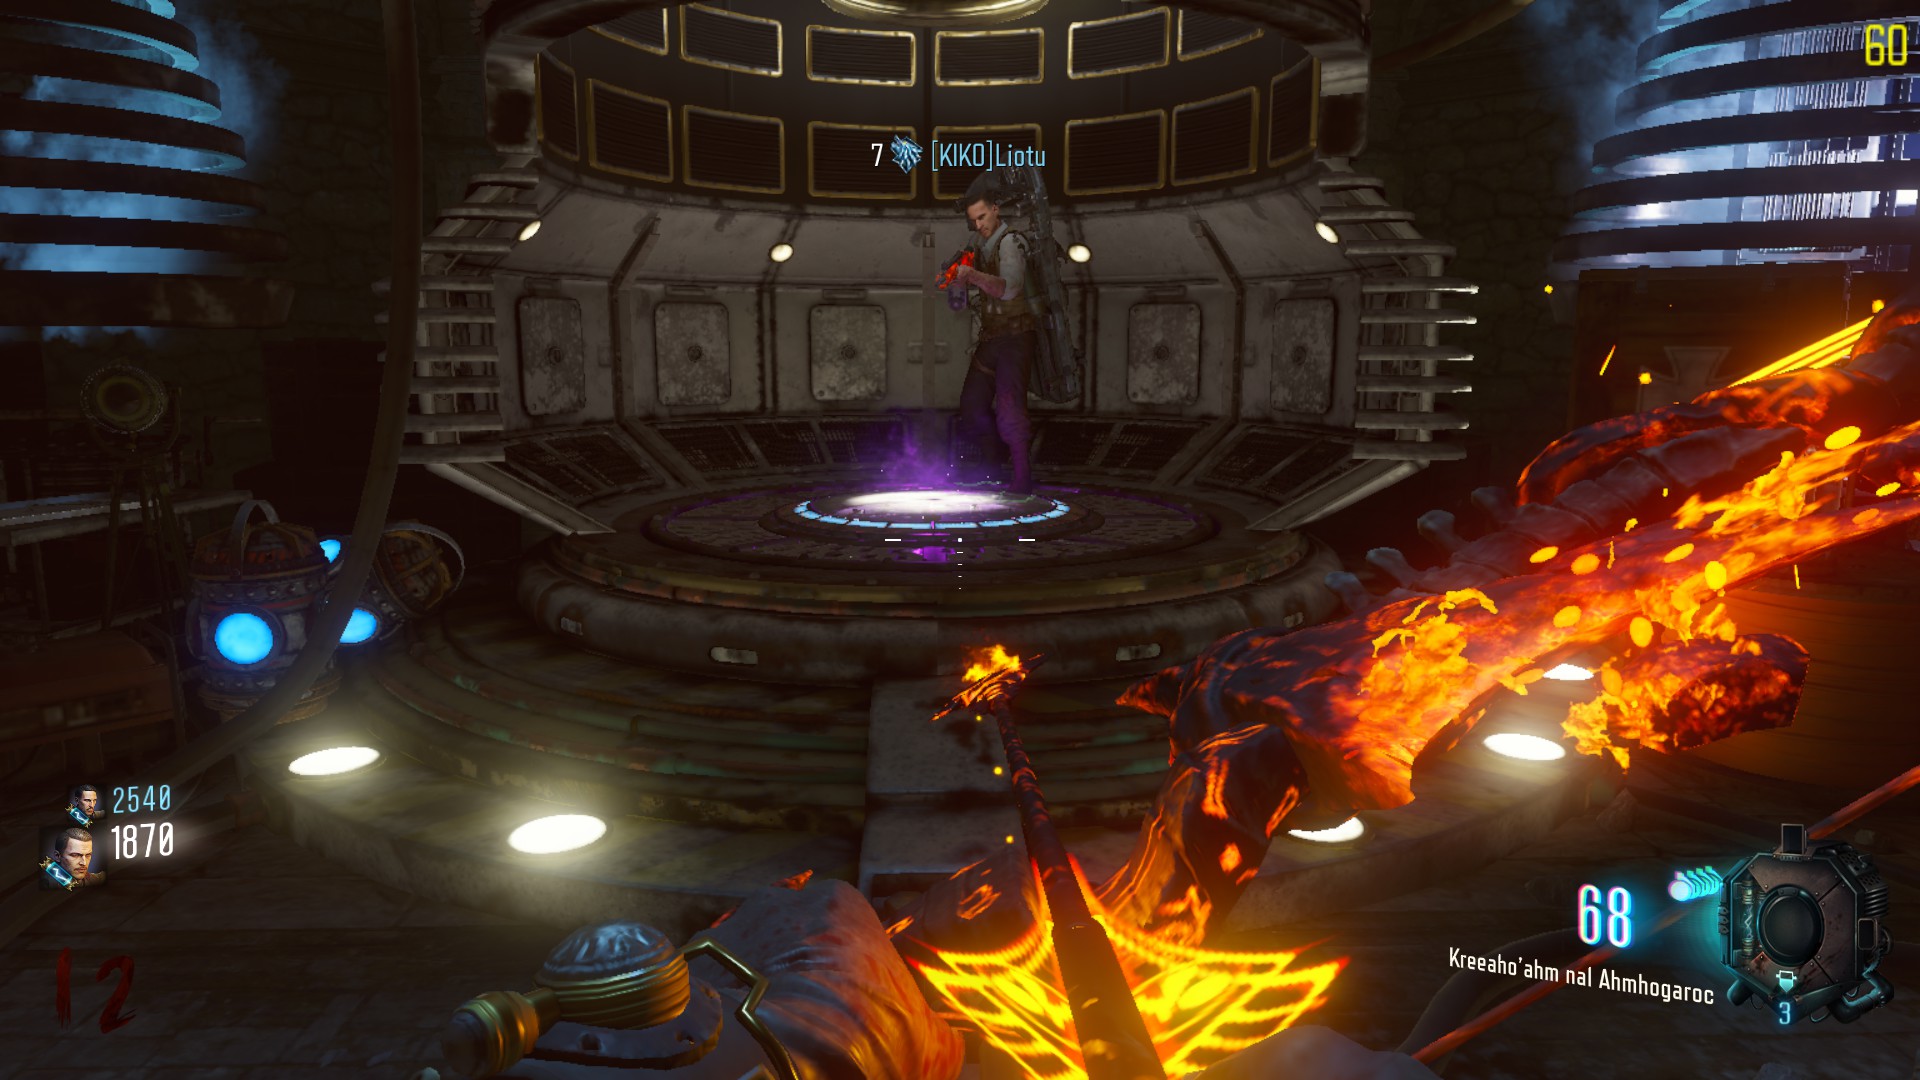


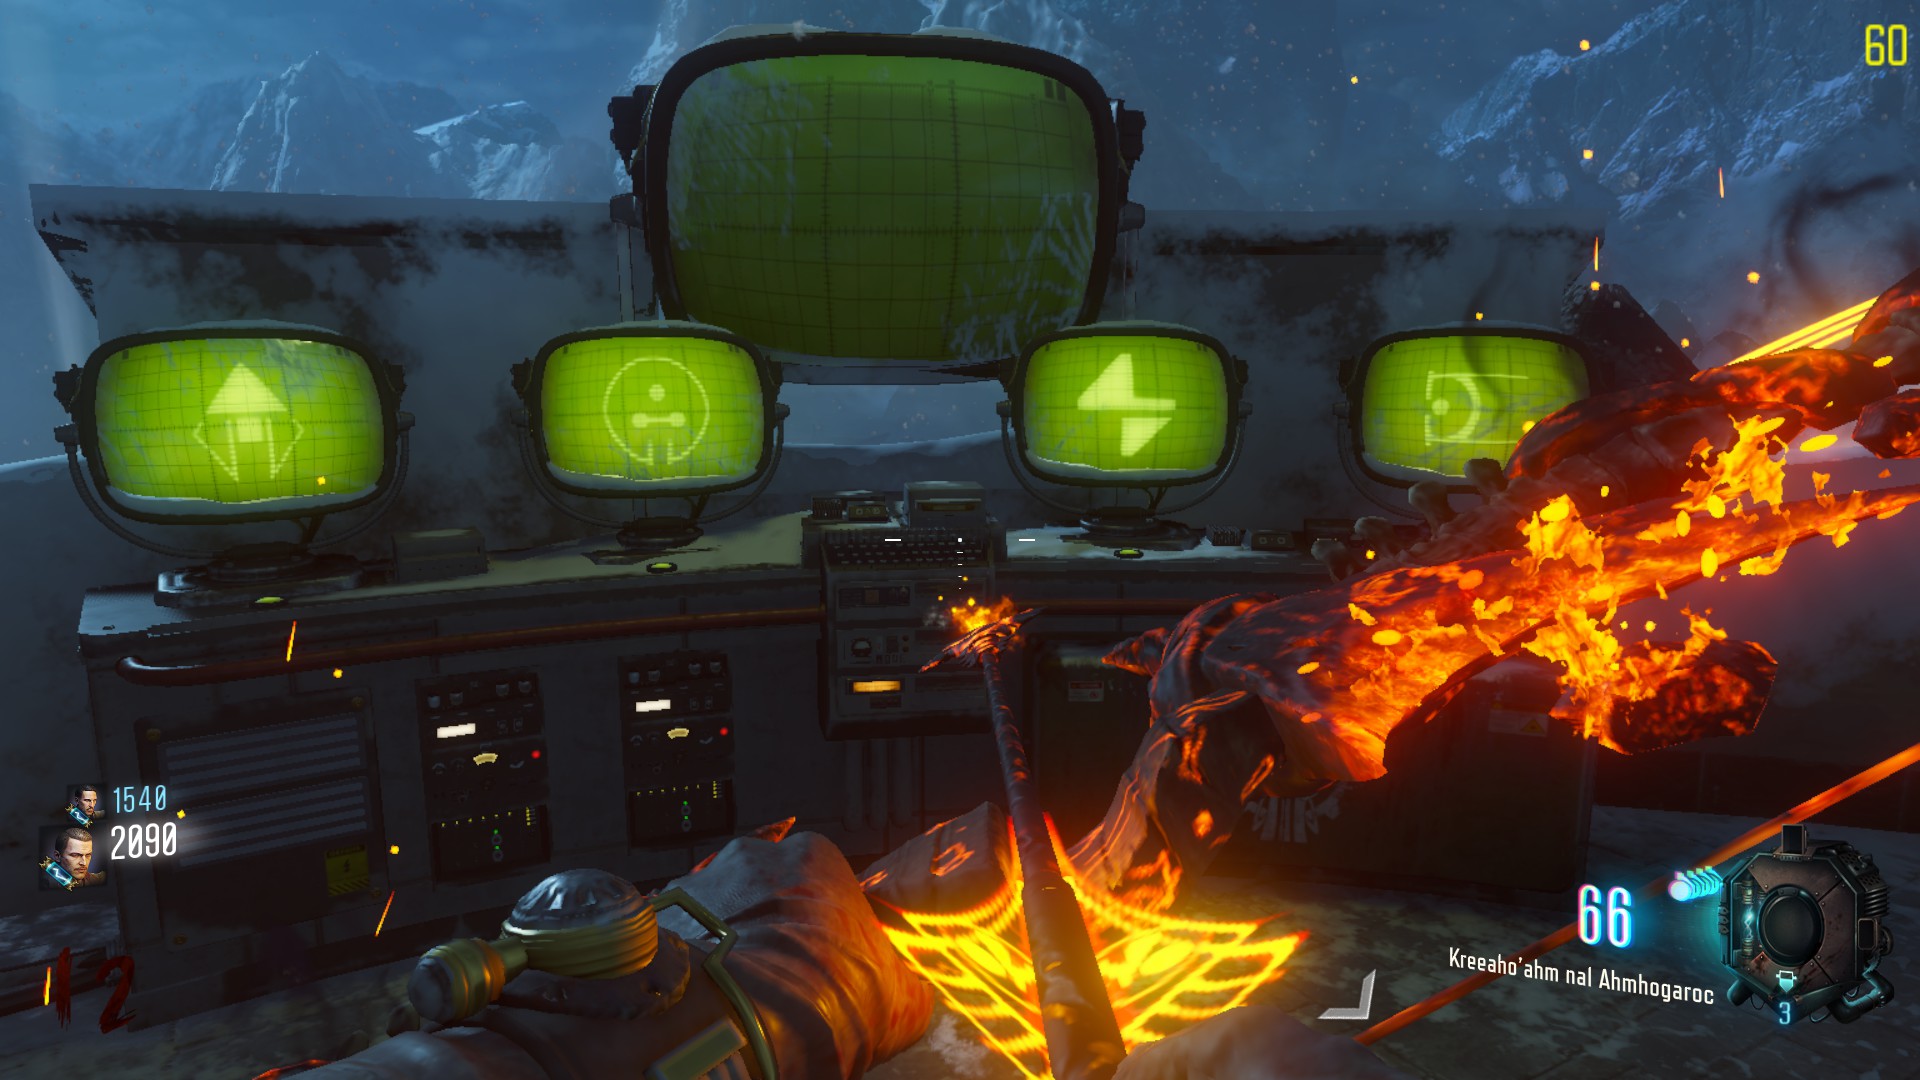
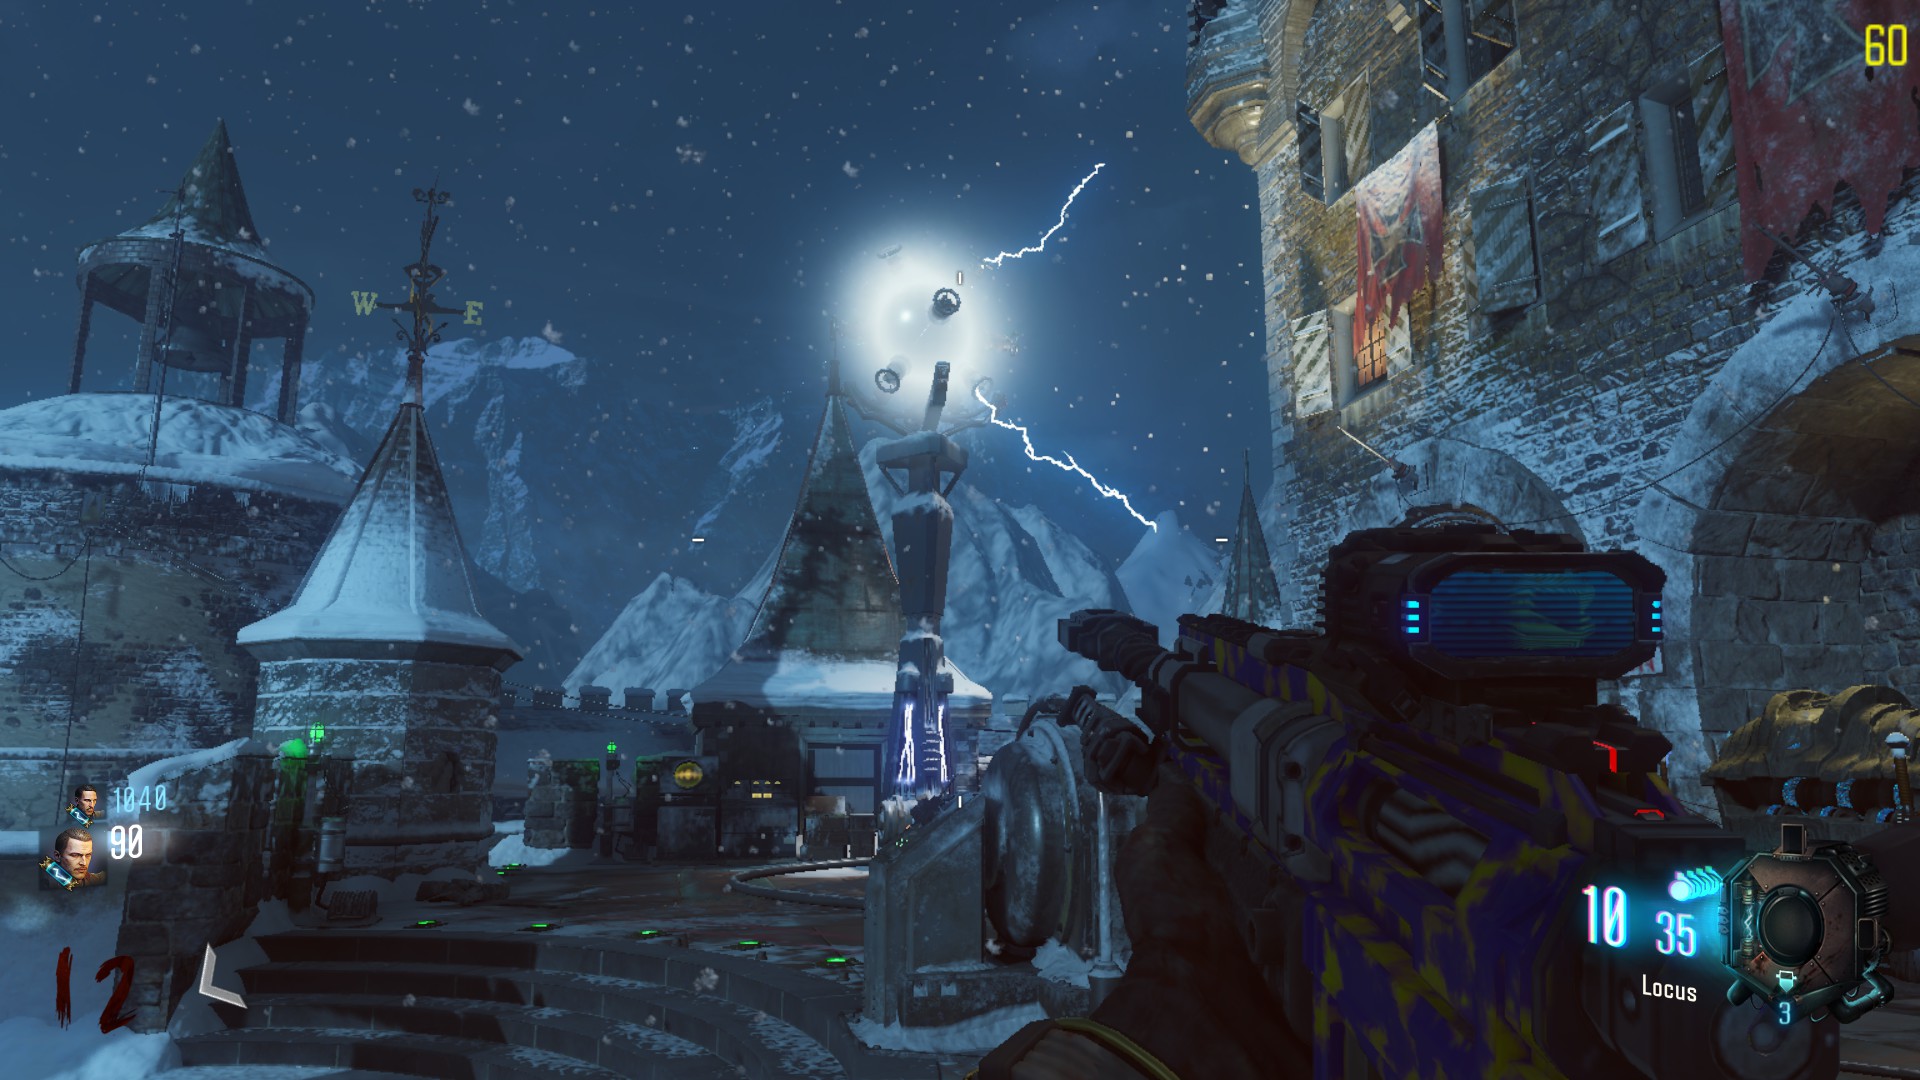
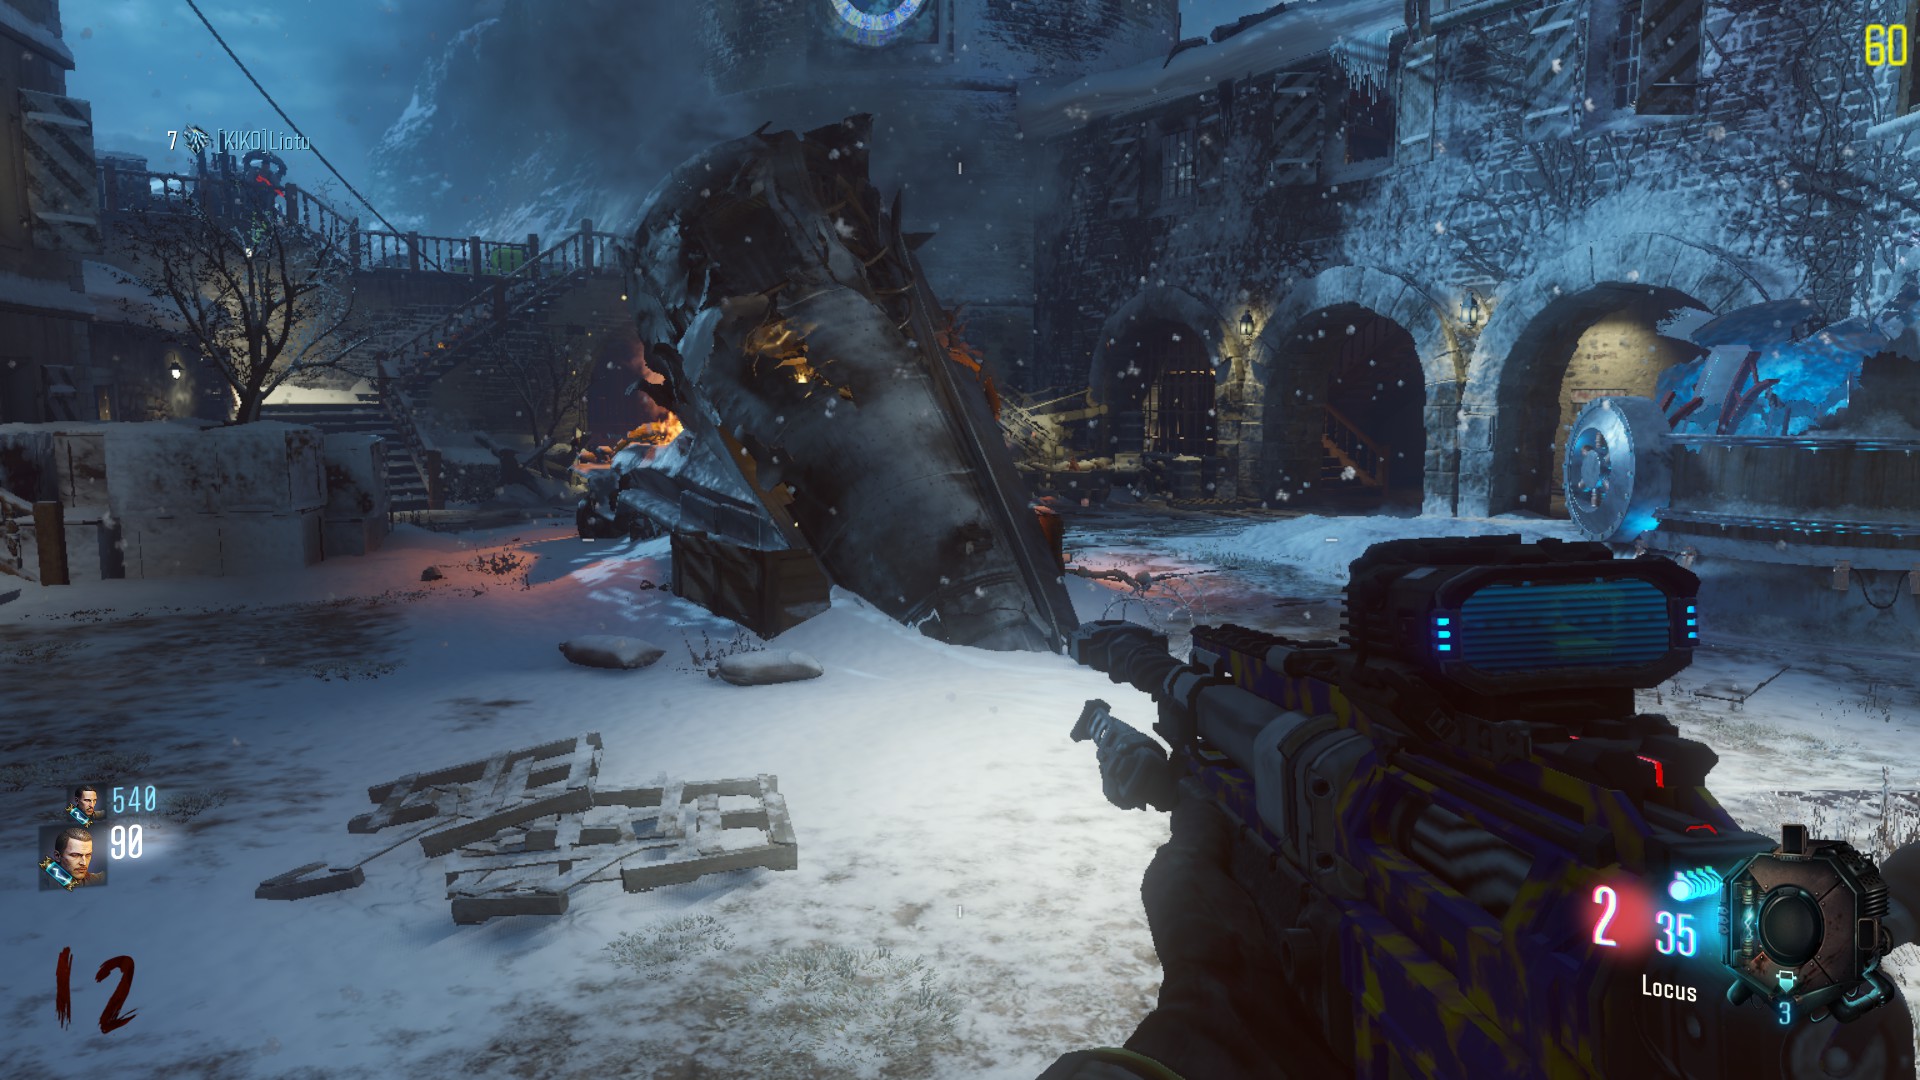
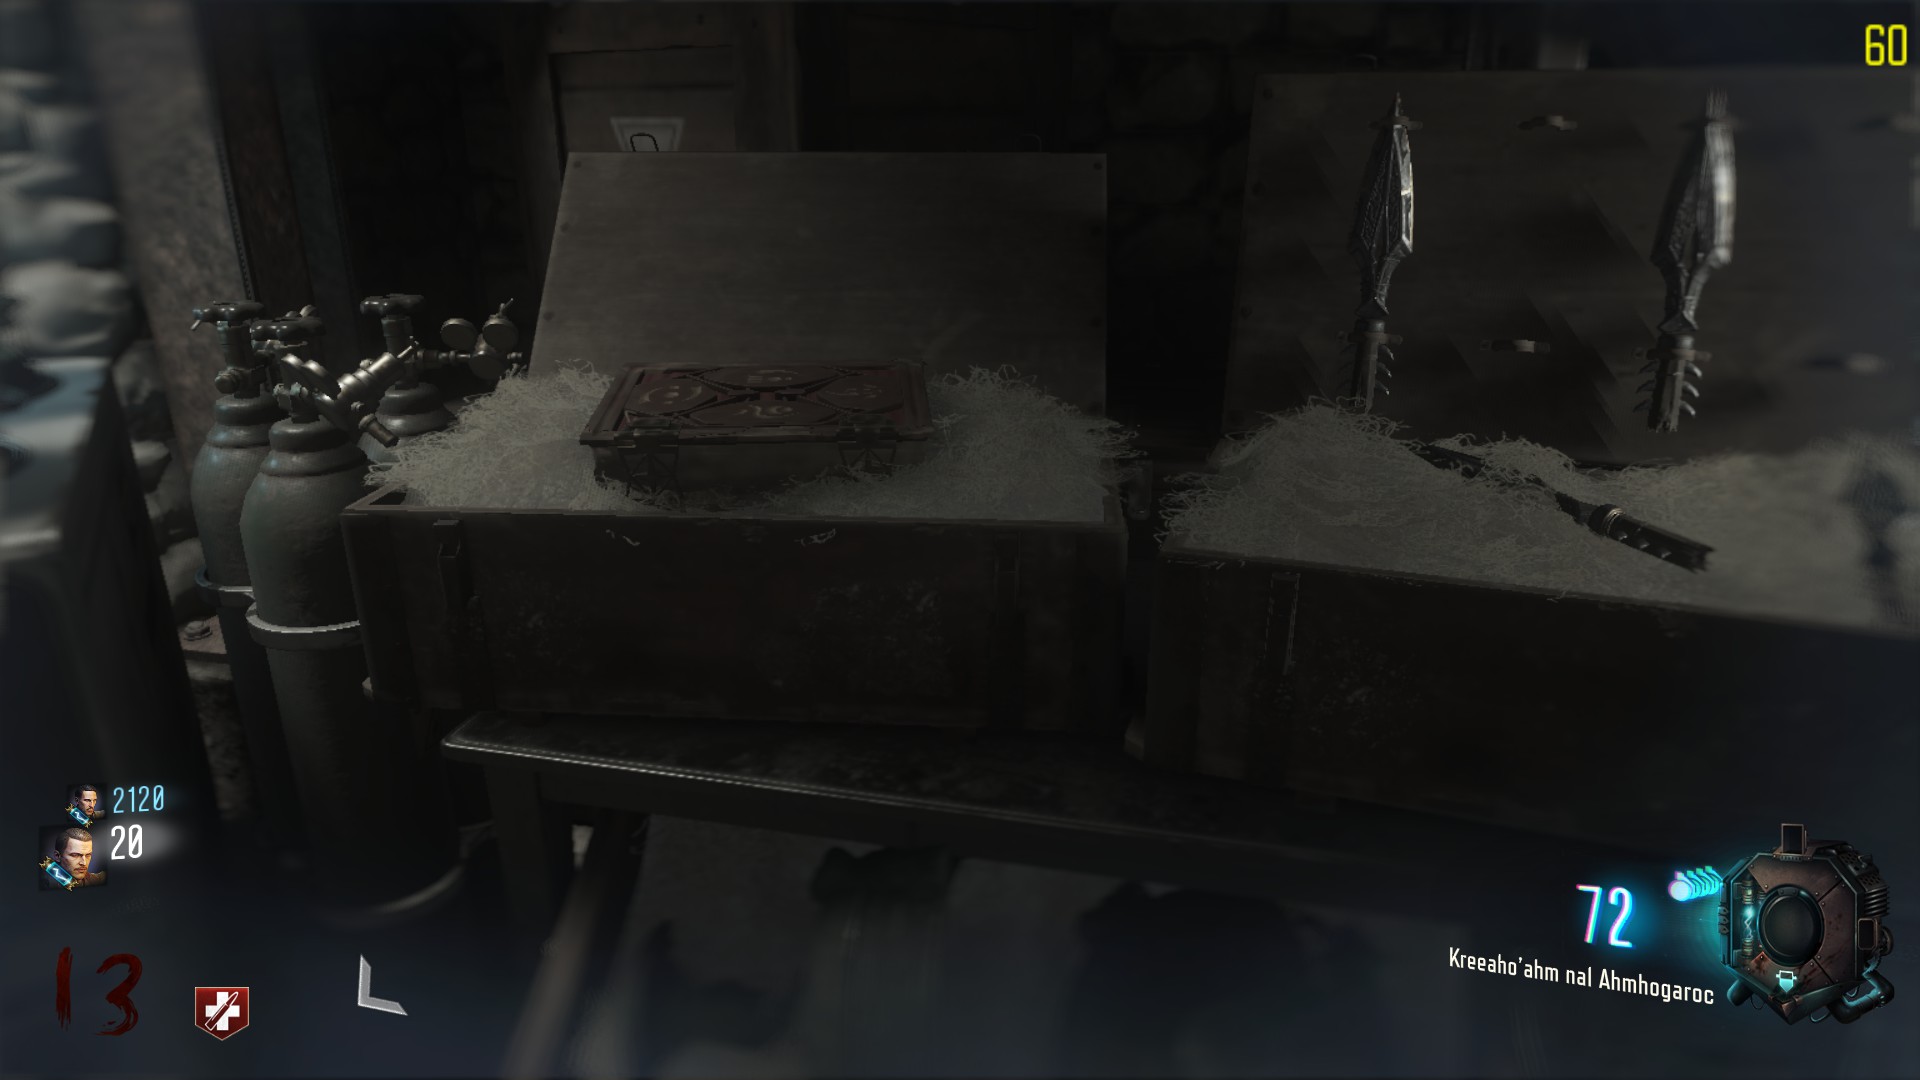
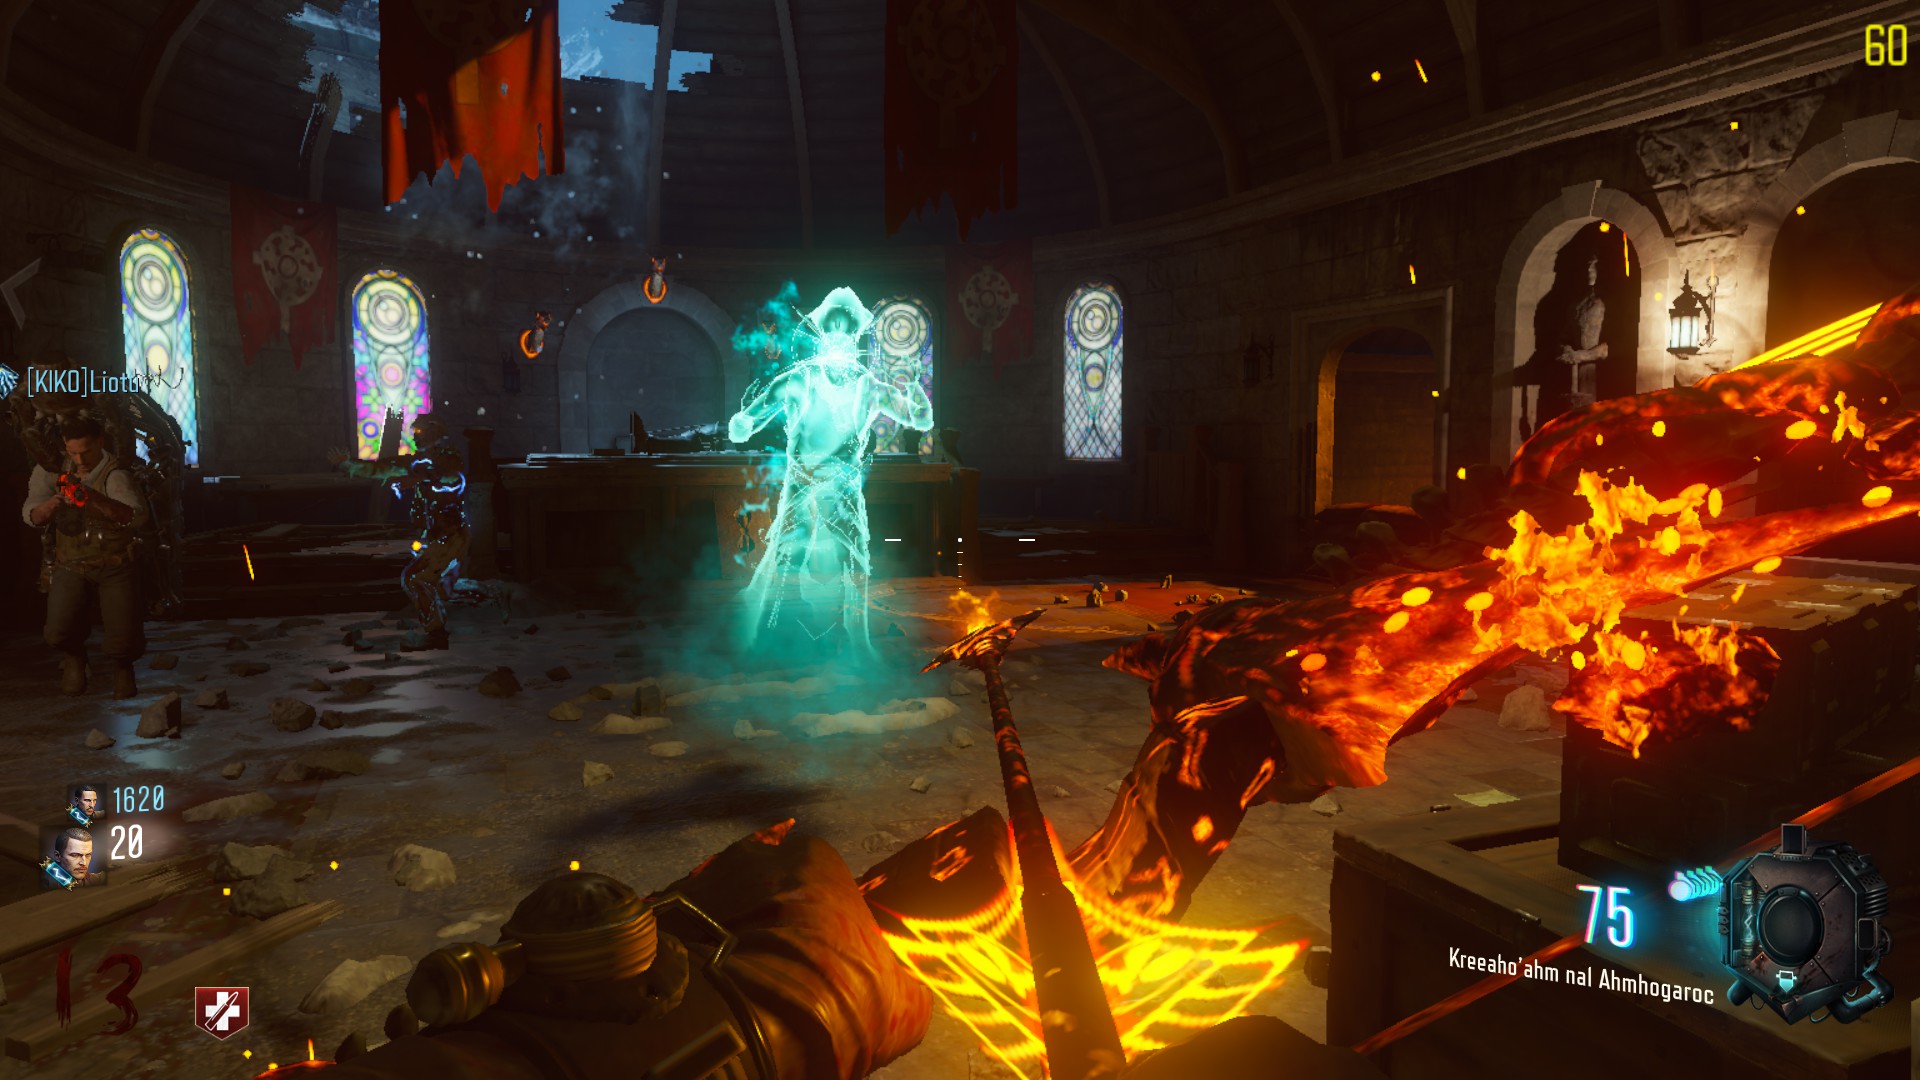
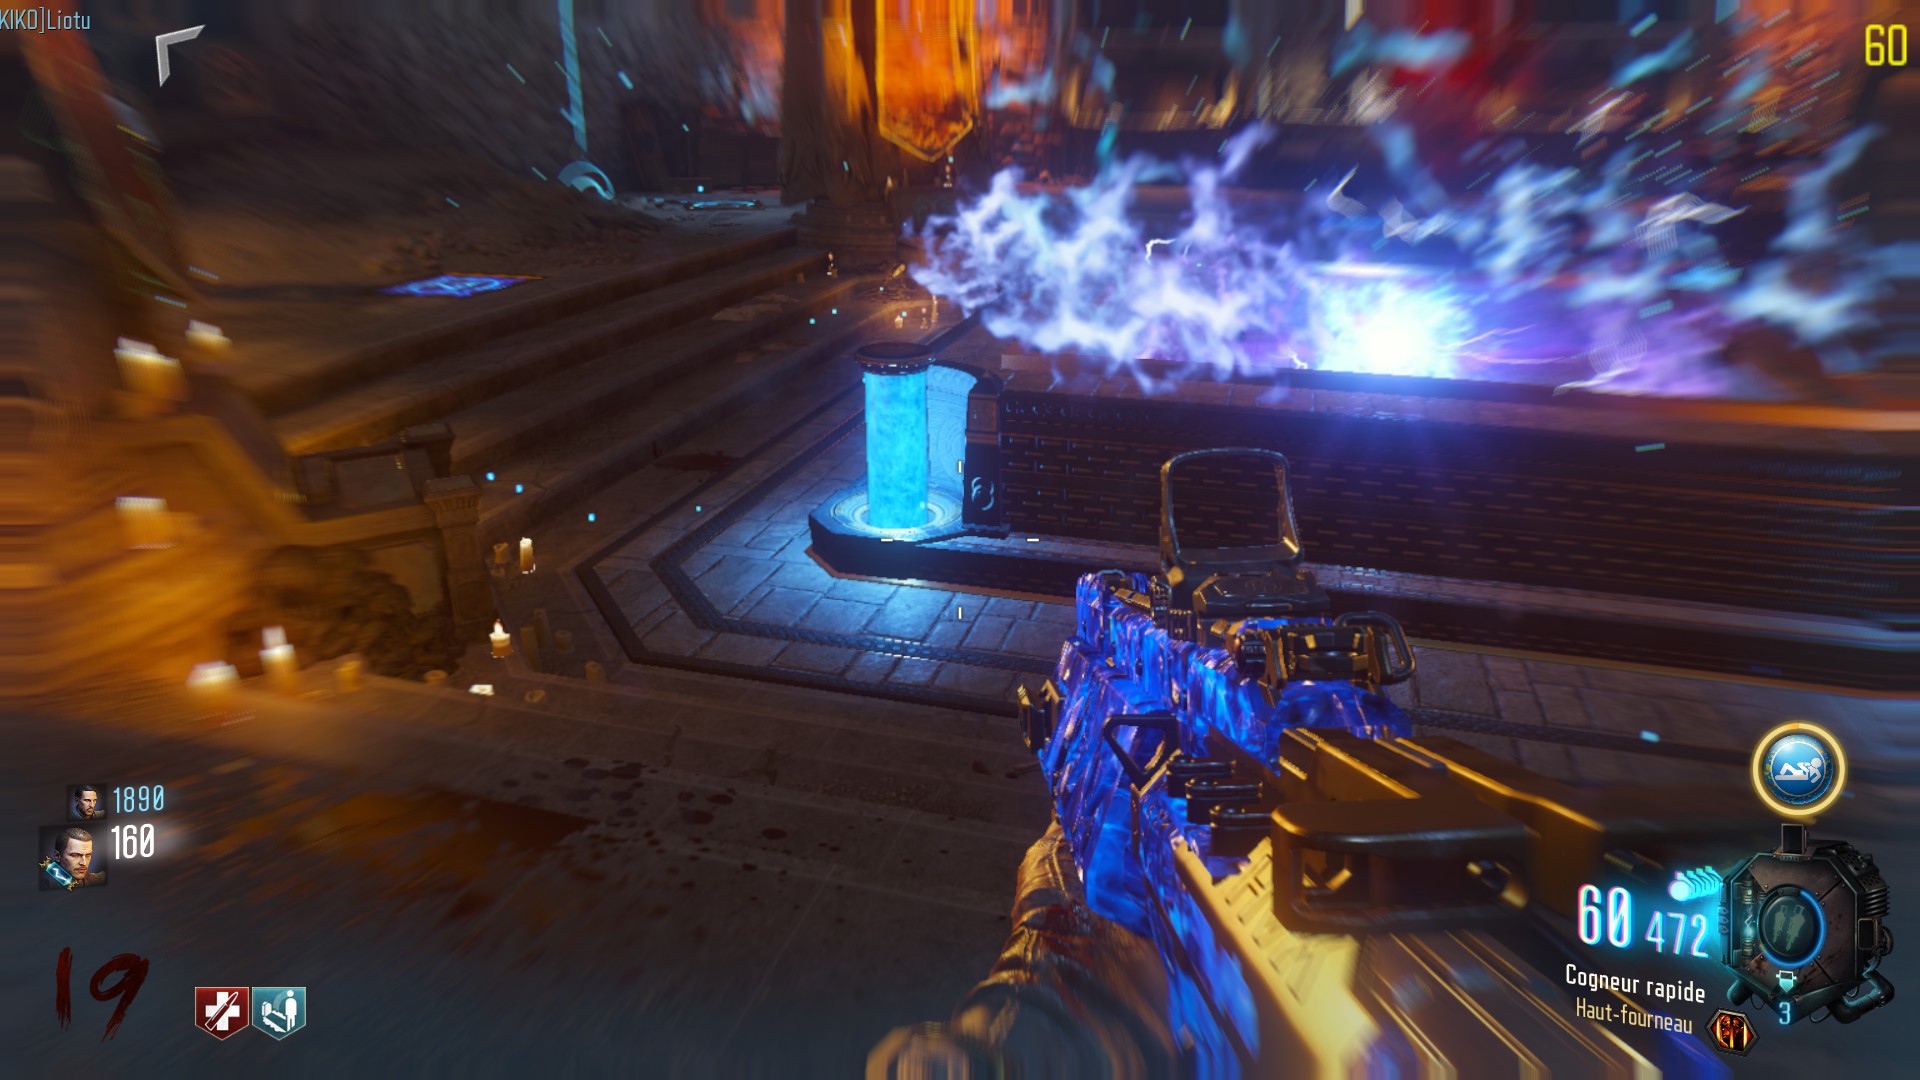

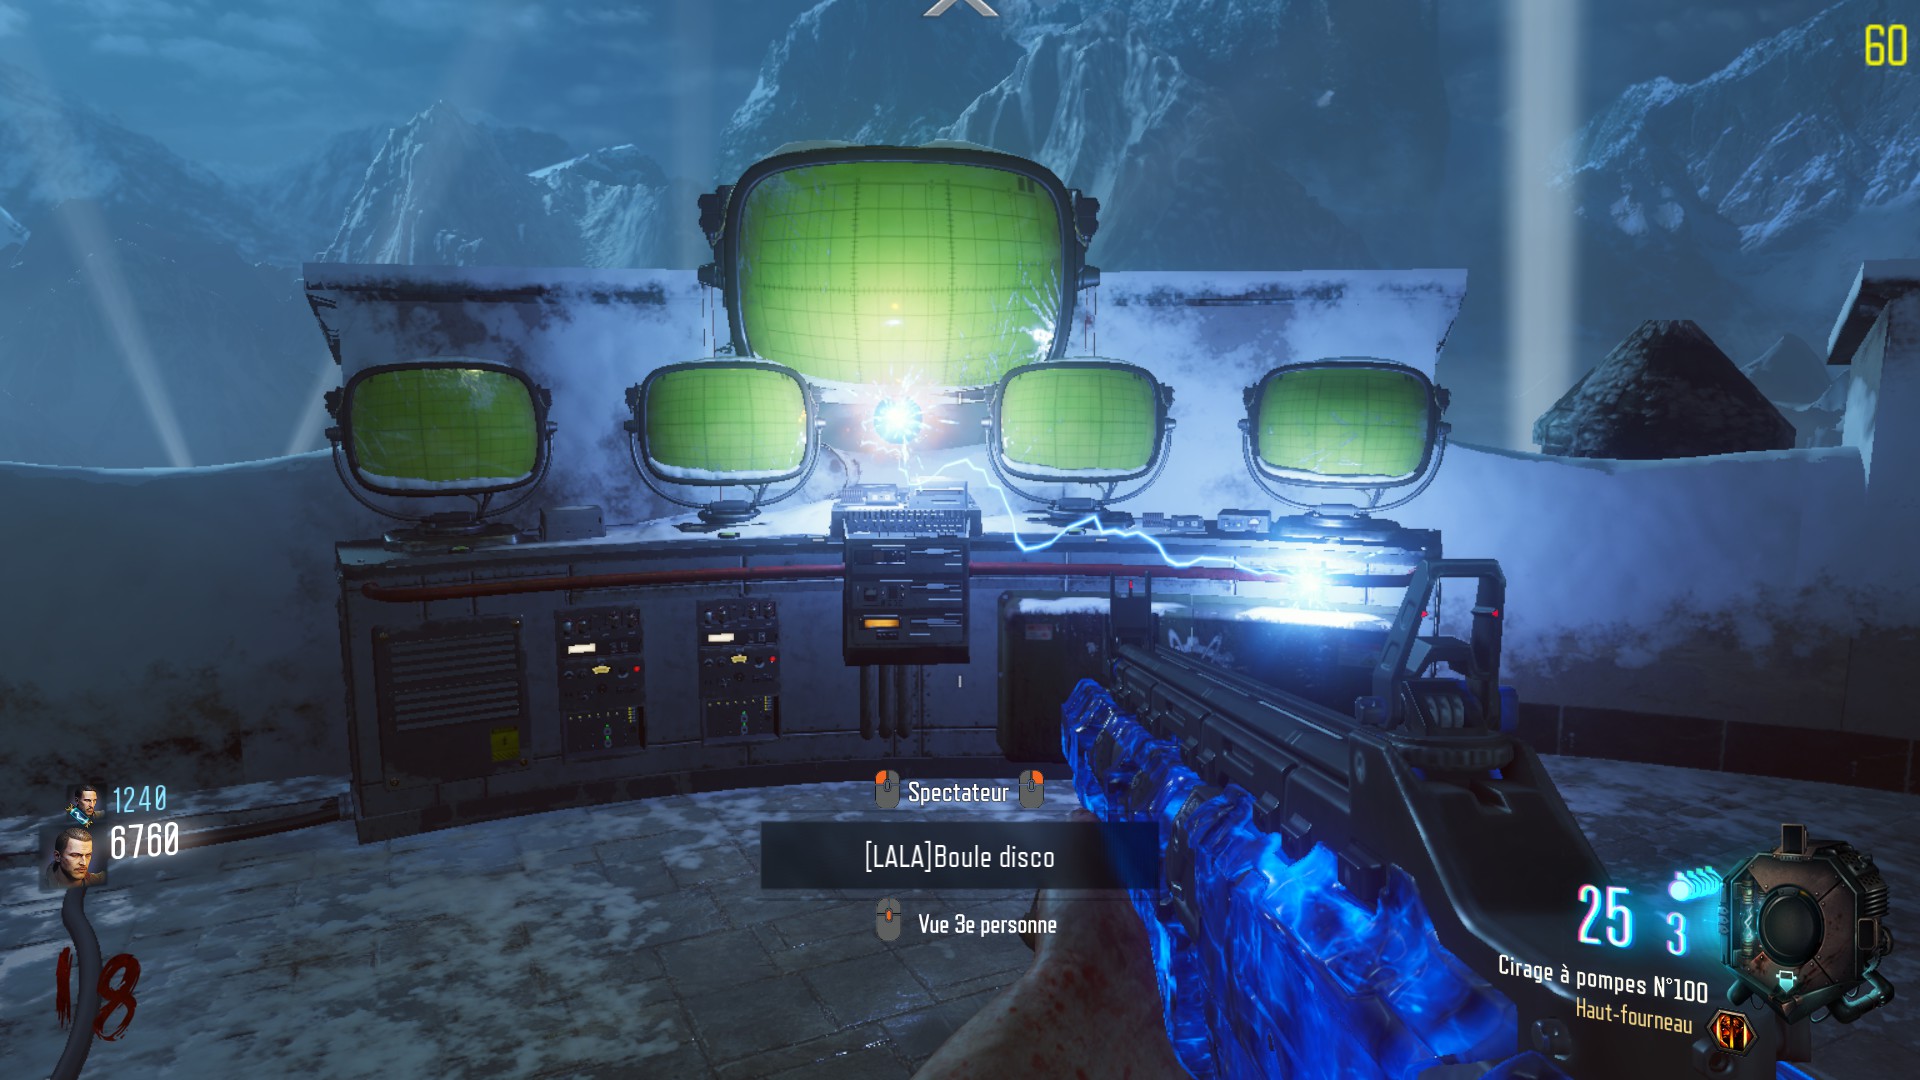


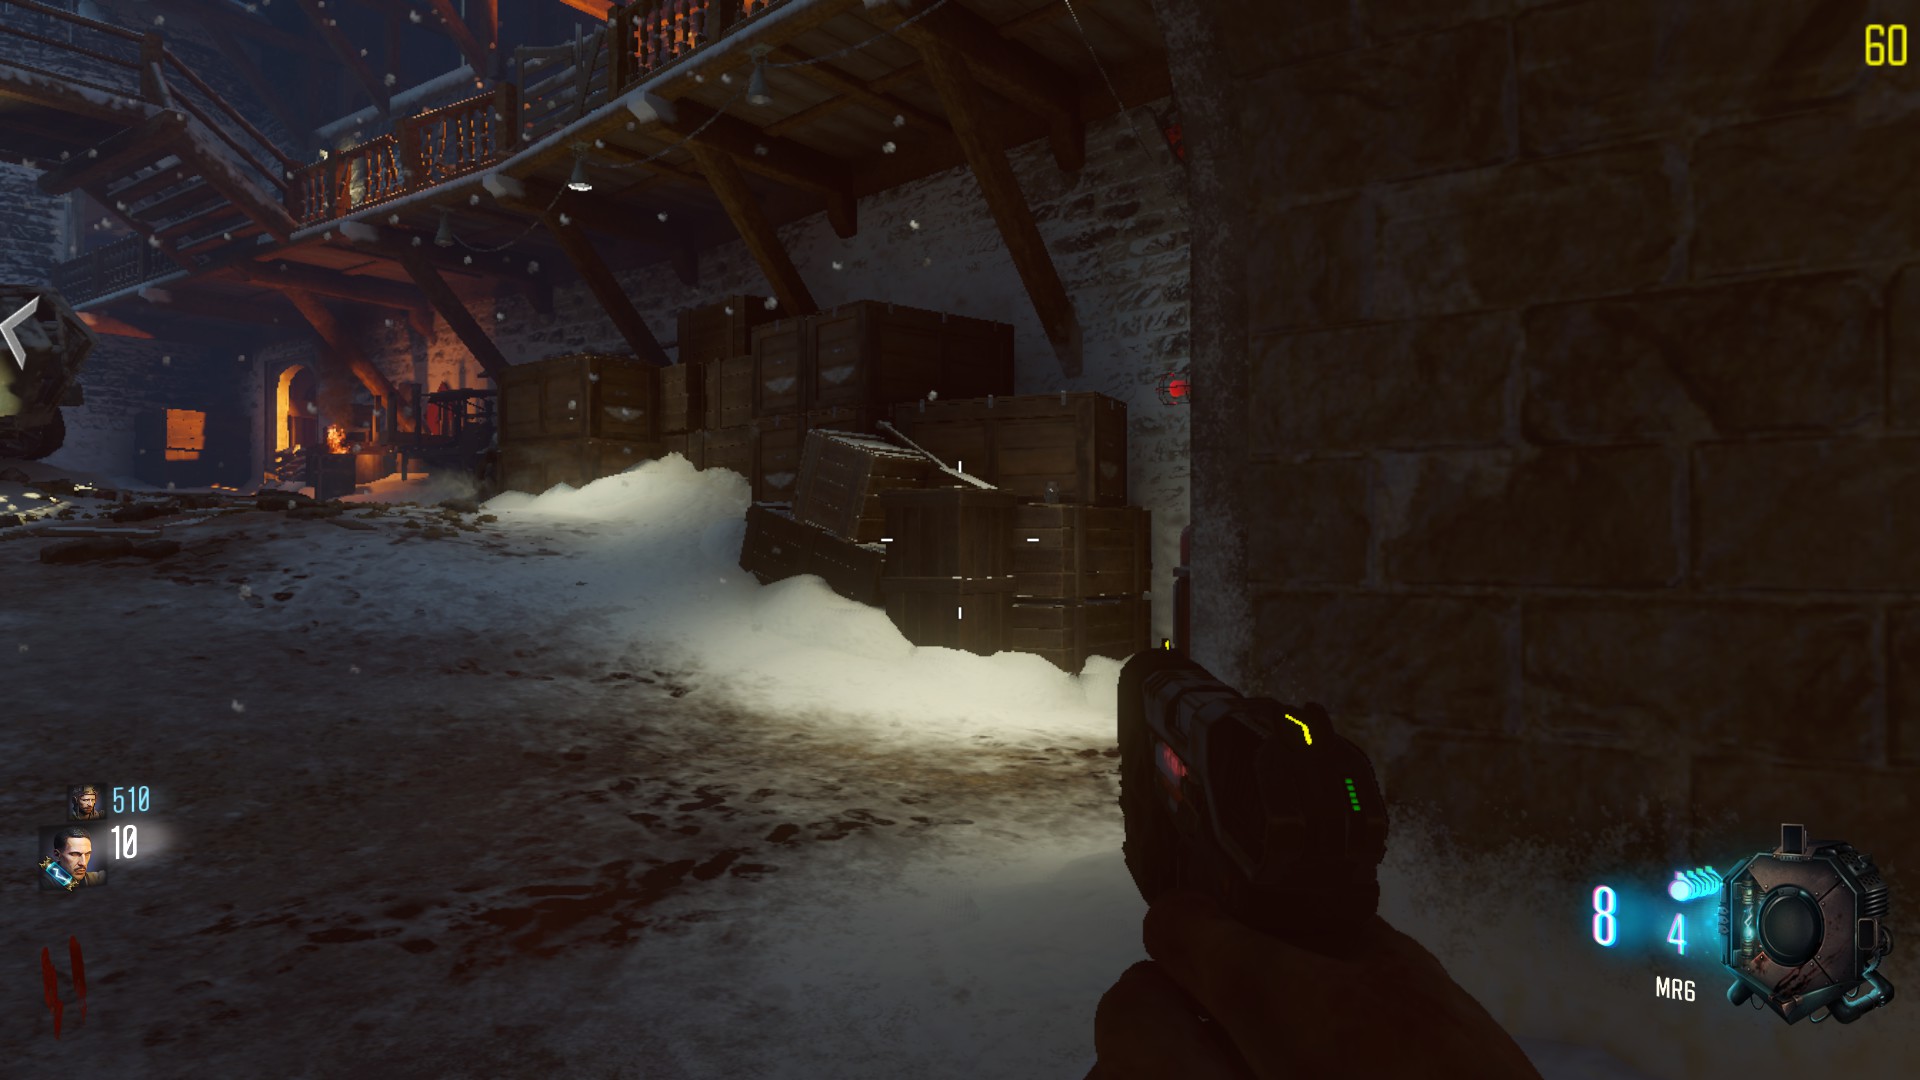
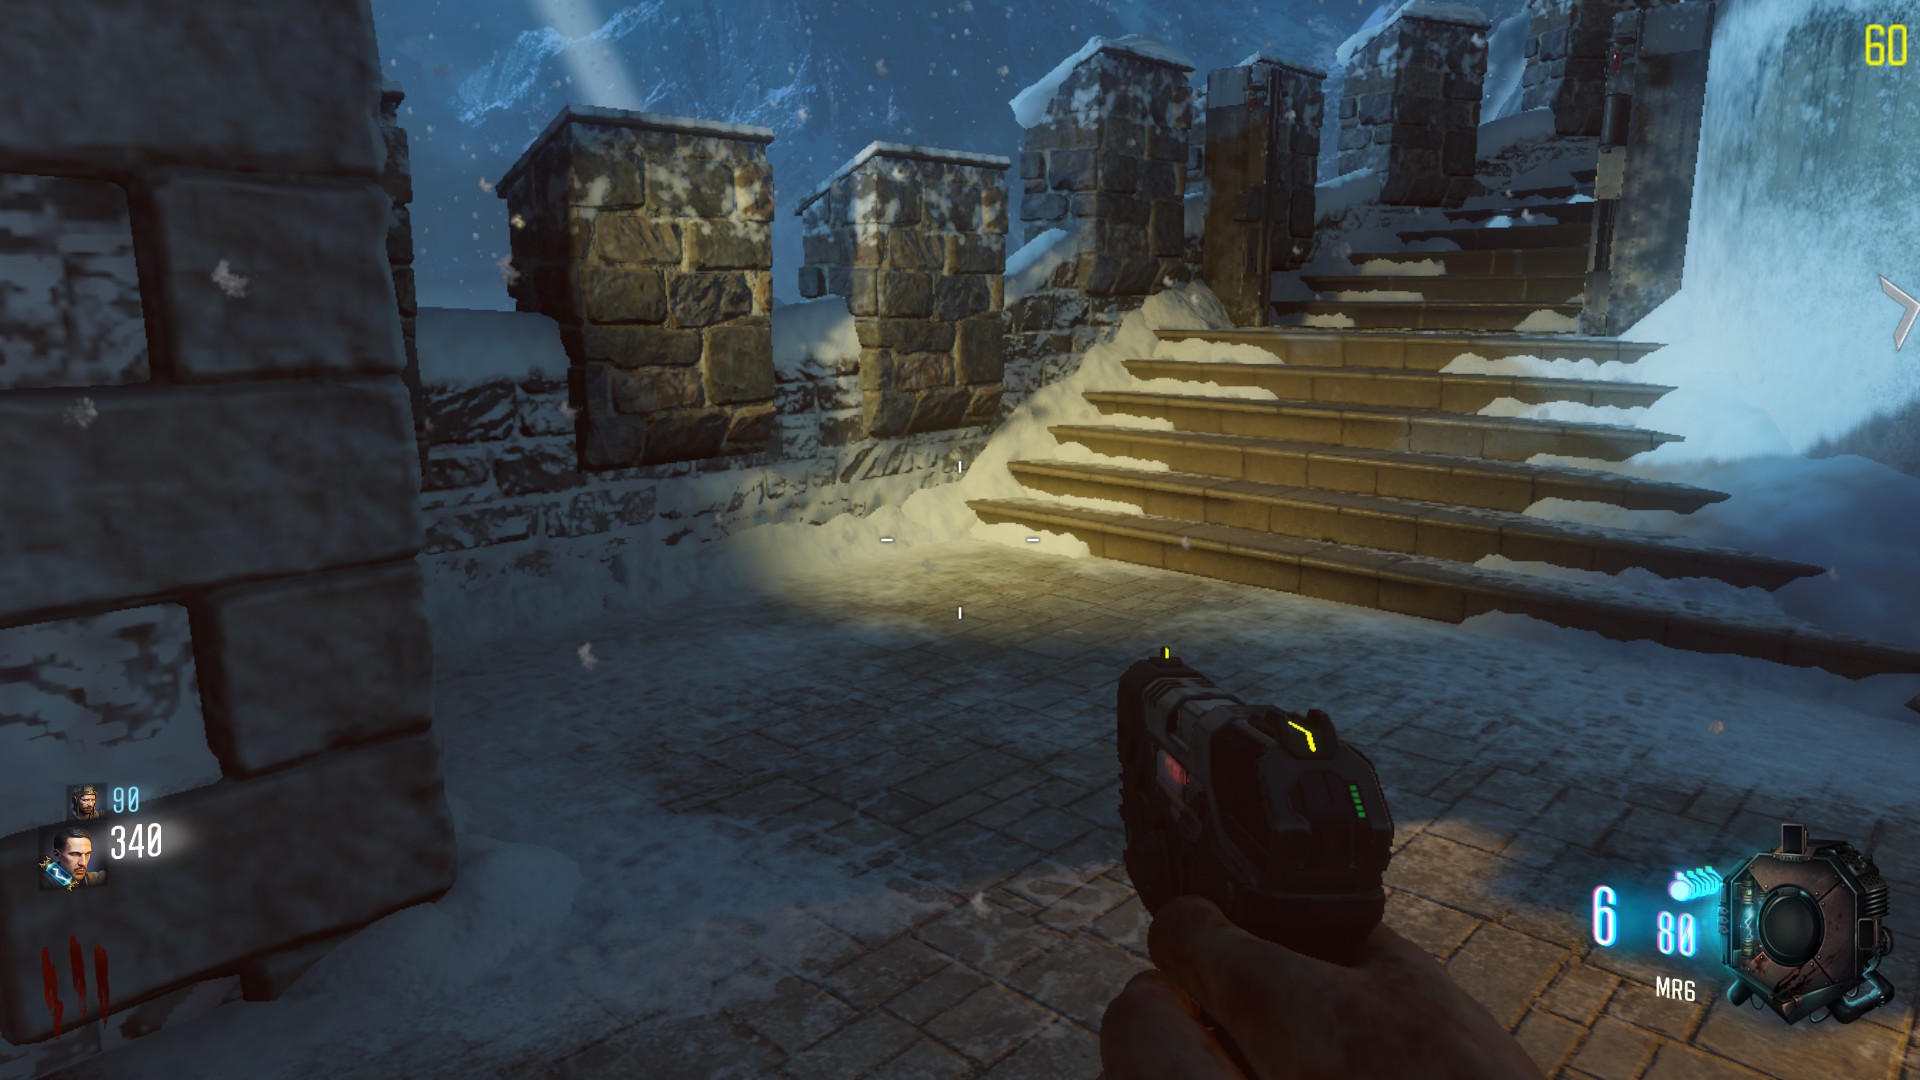


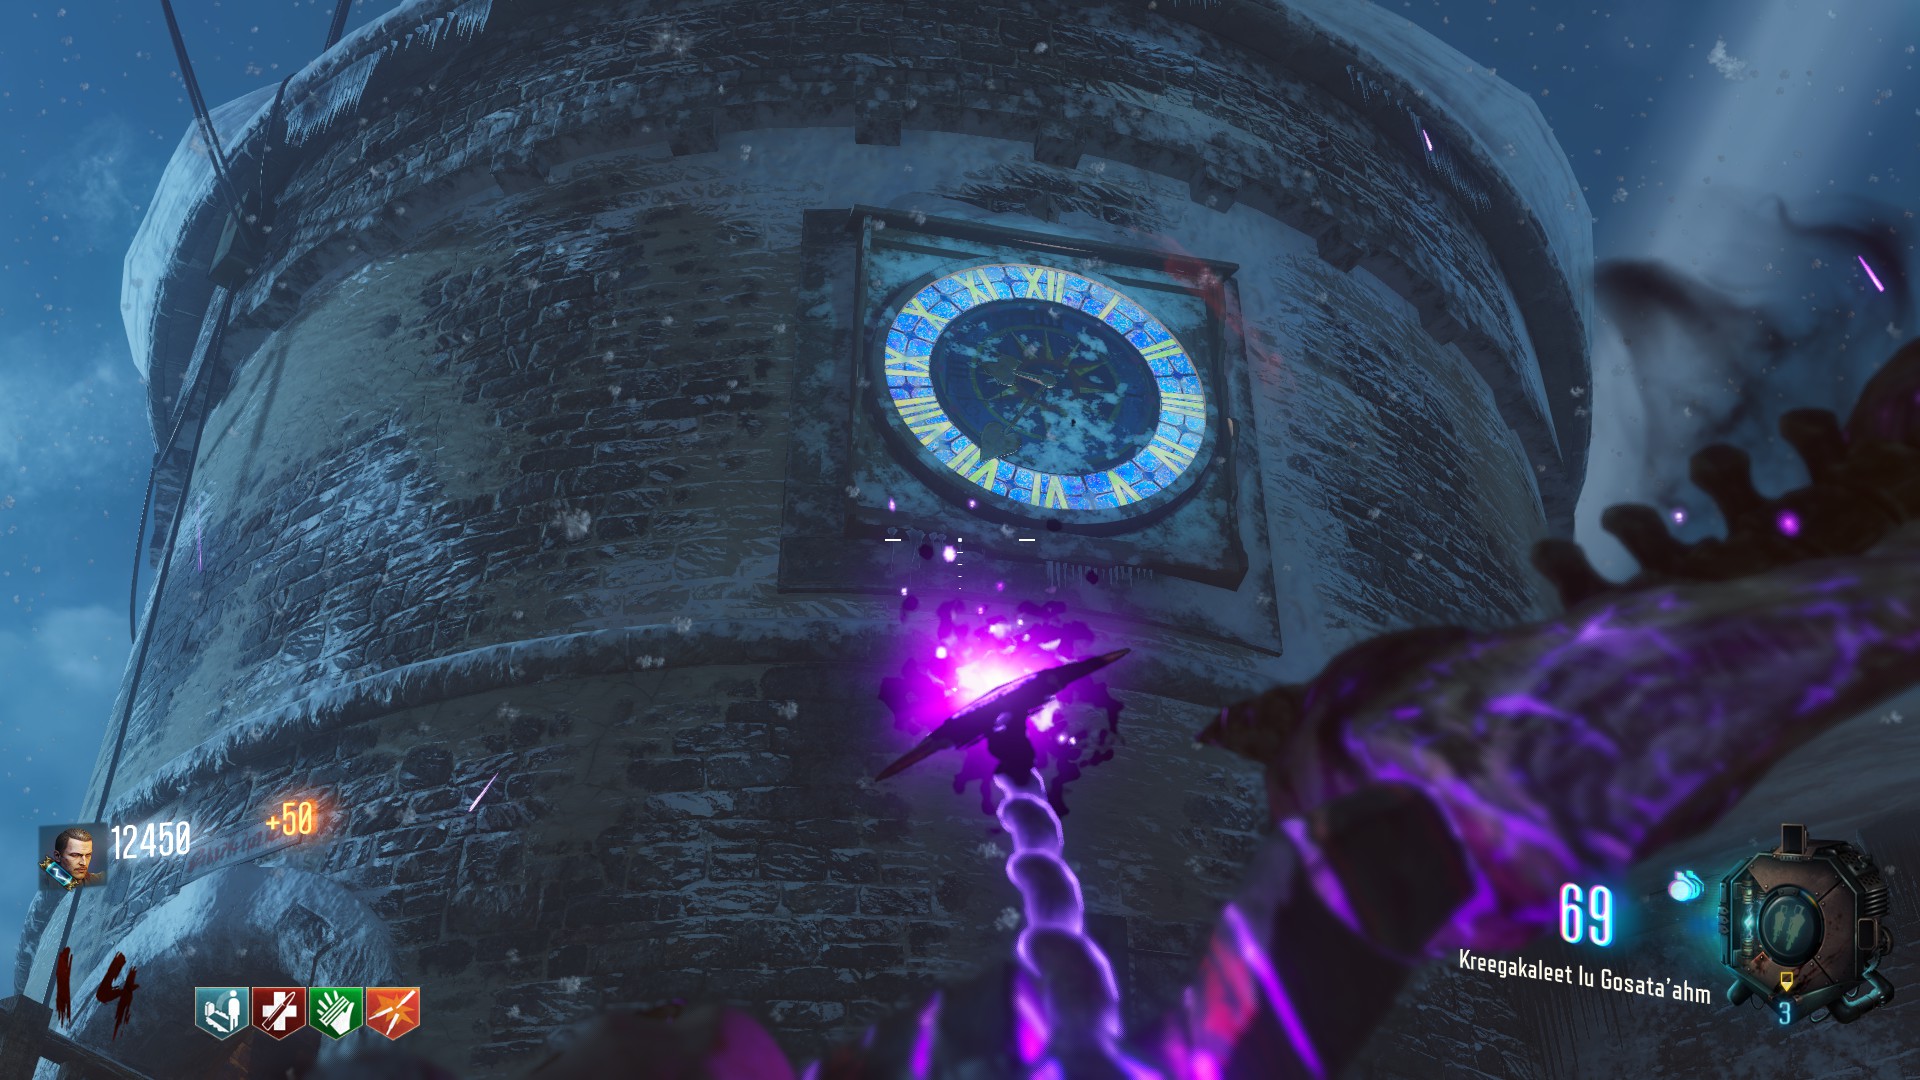


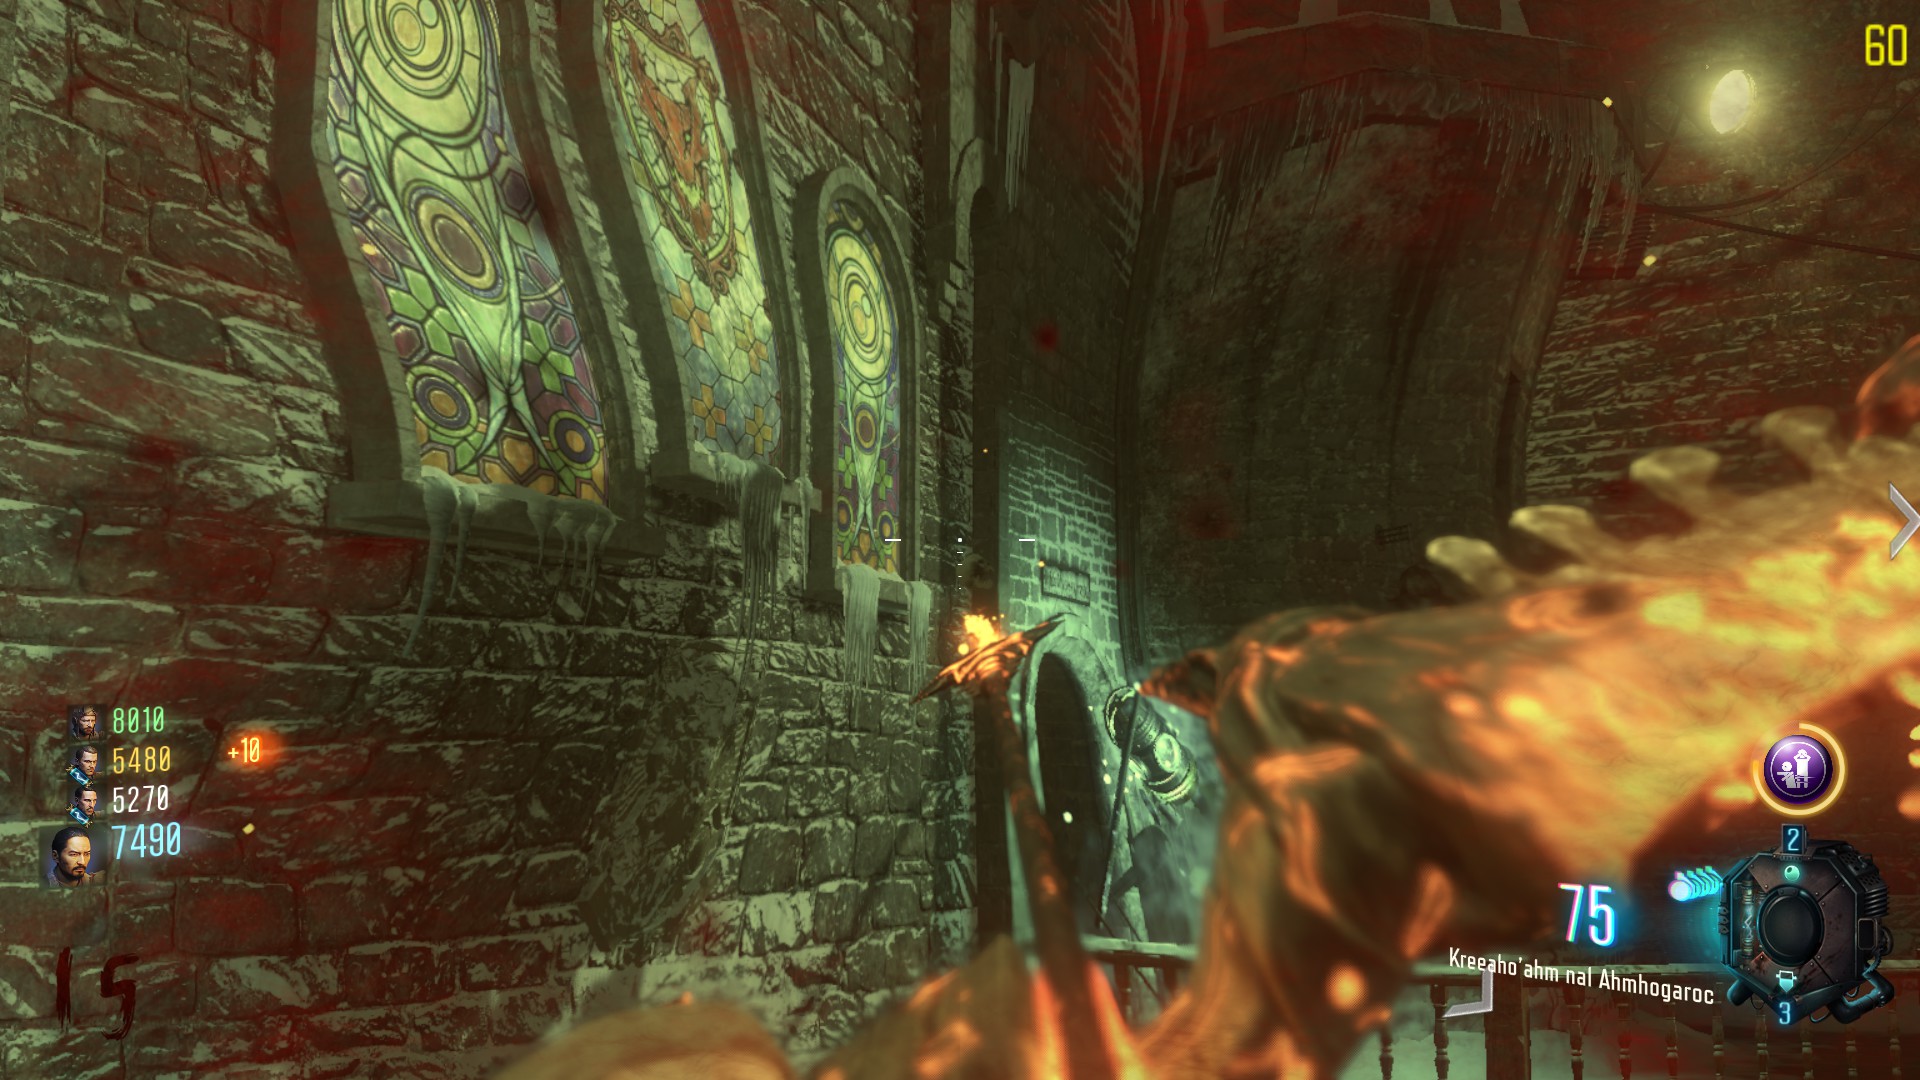


"The first console is near the clock tower:
<Picture>
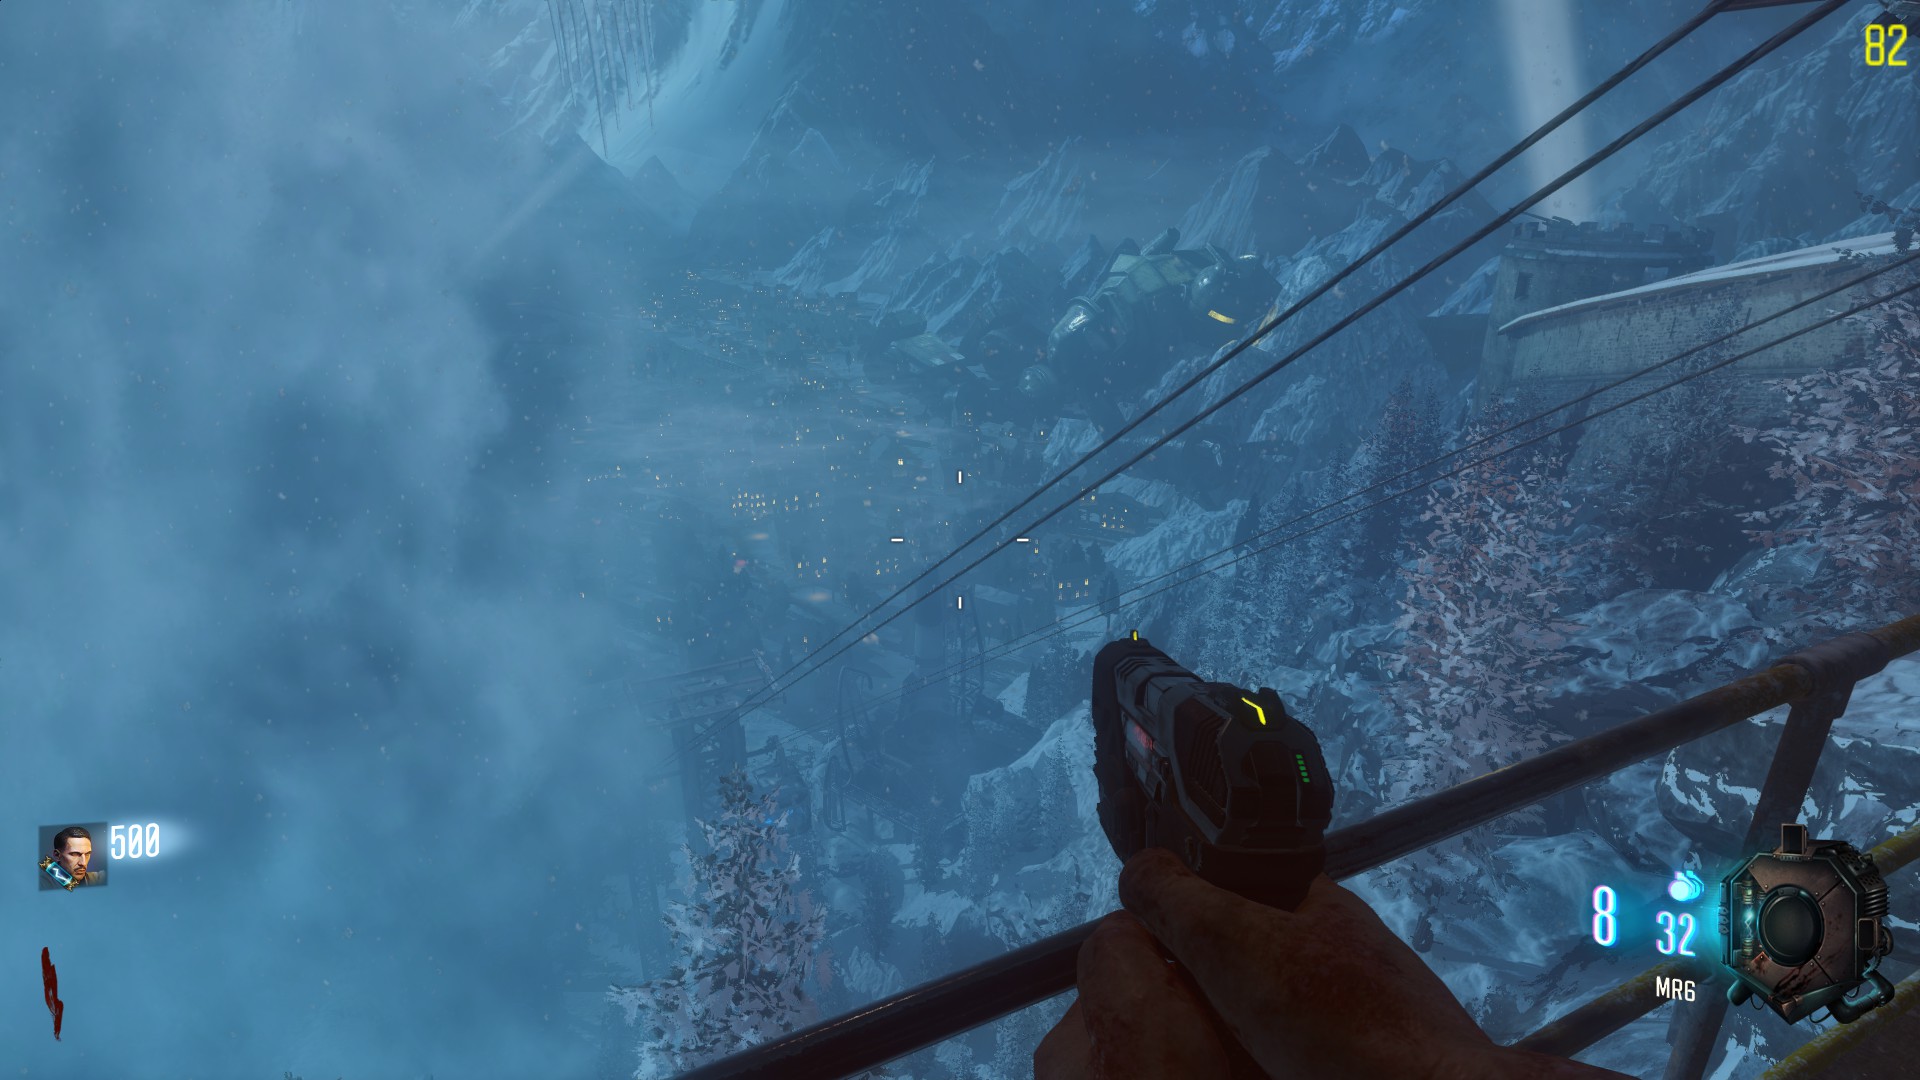
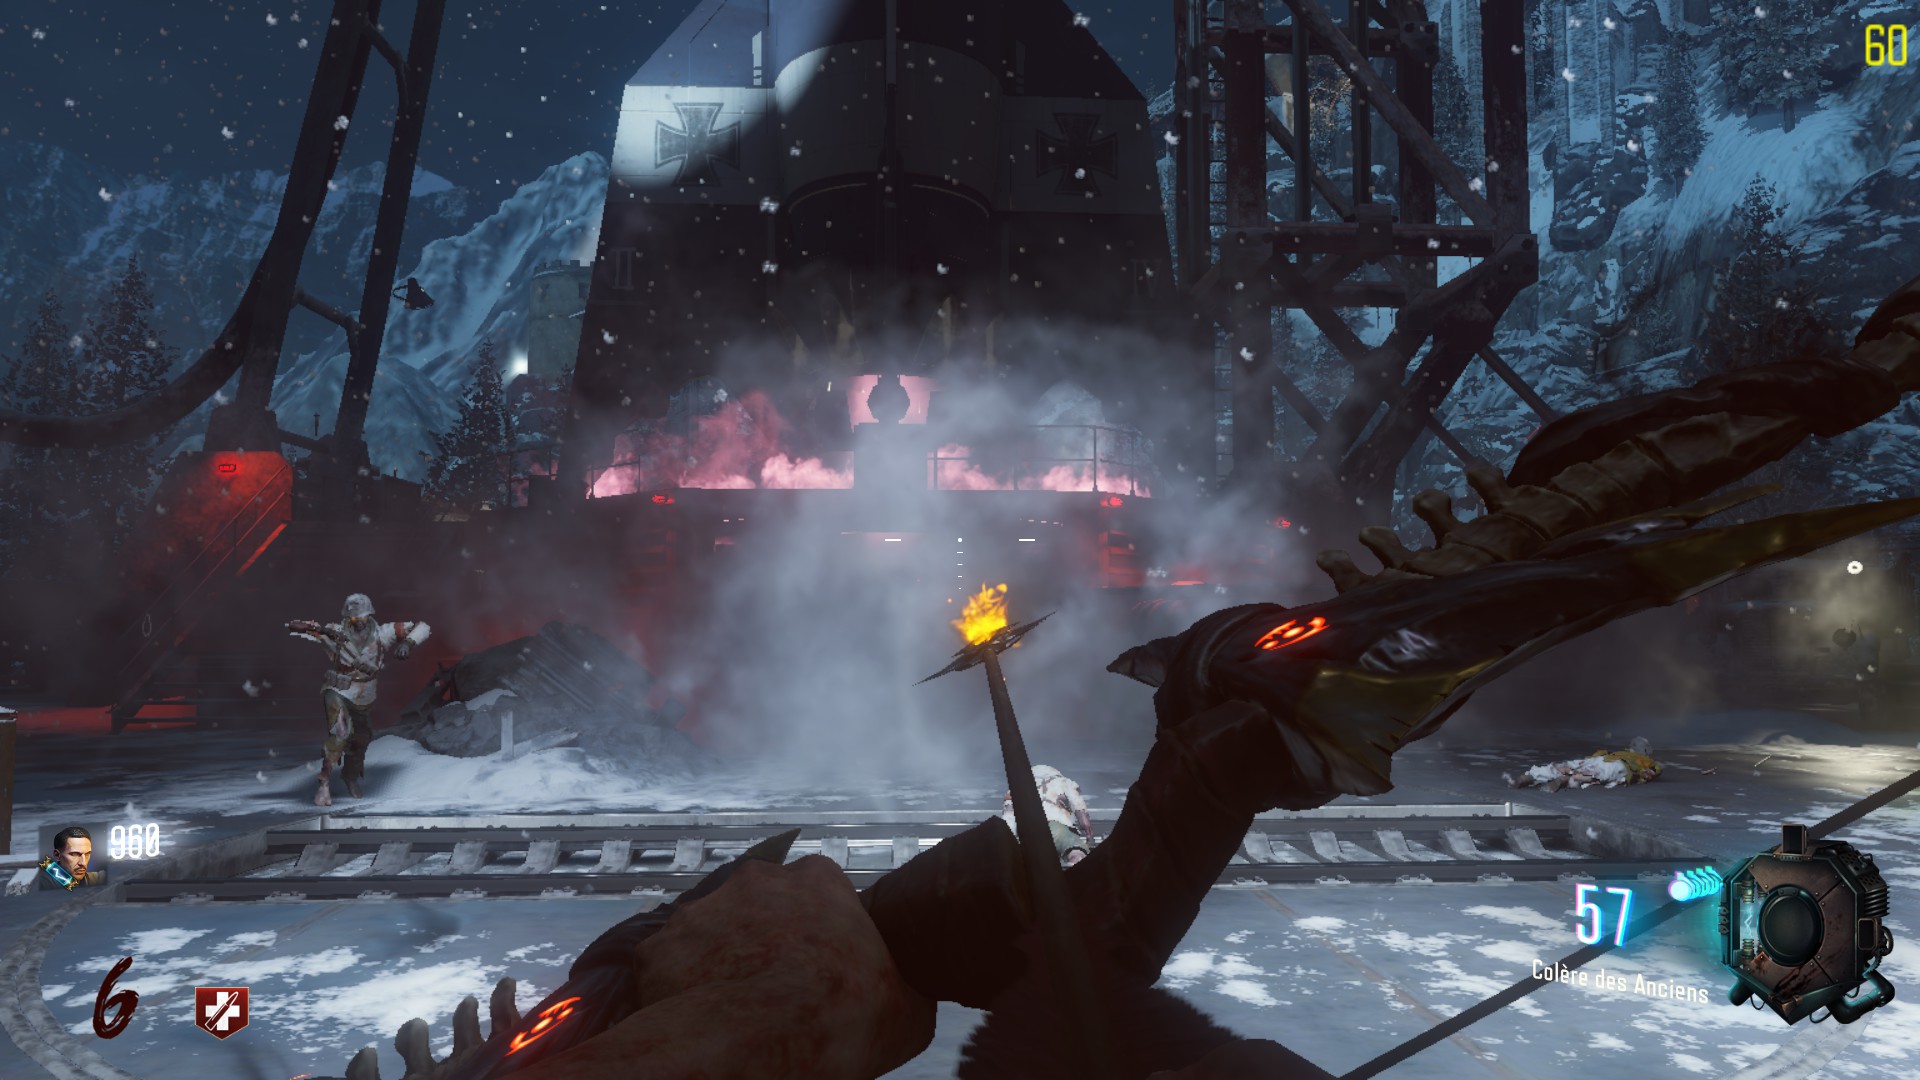
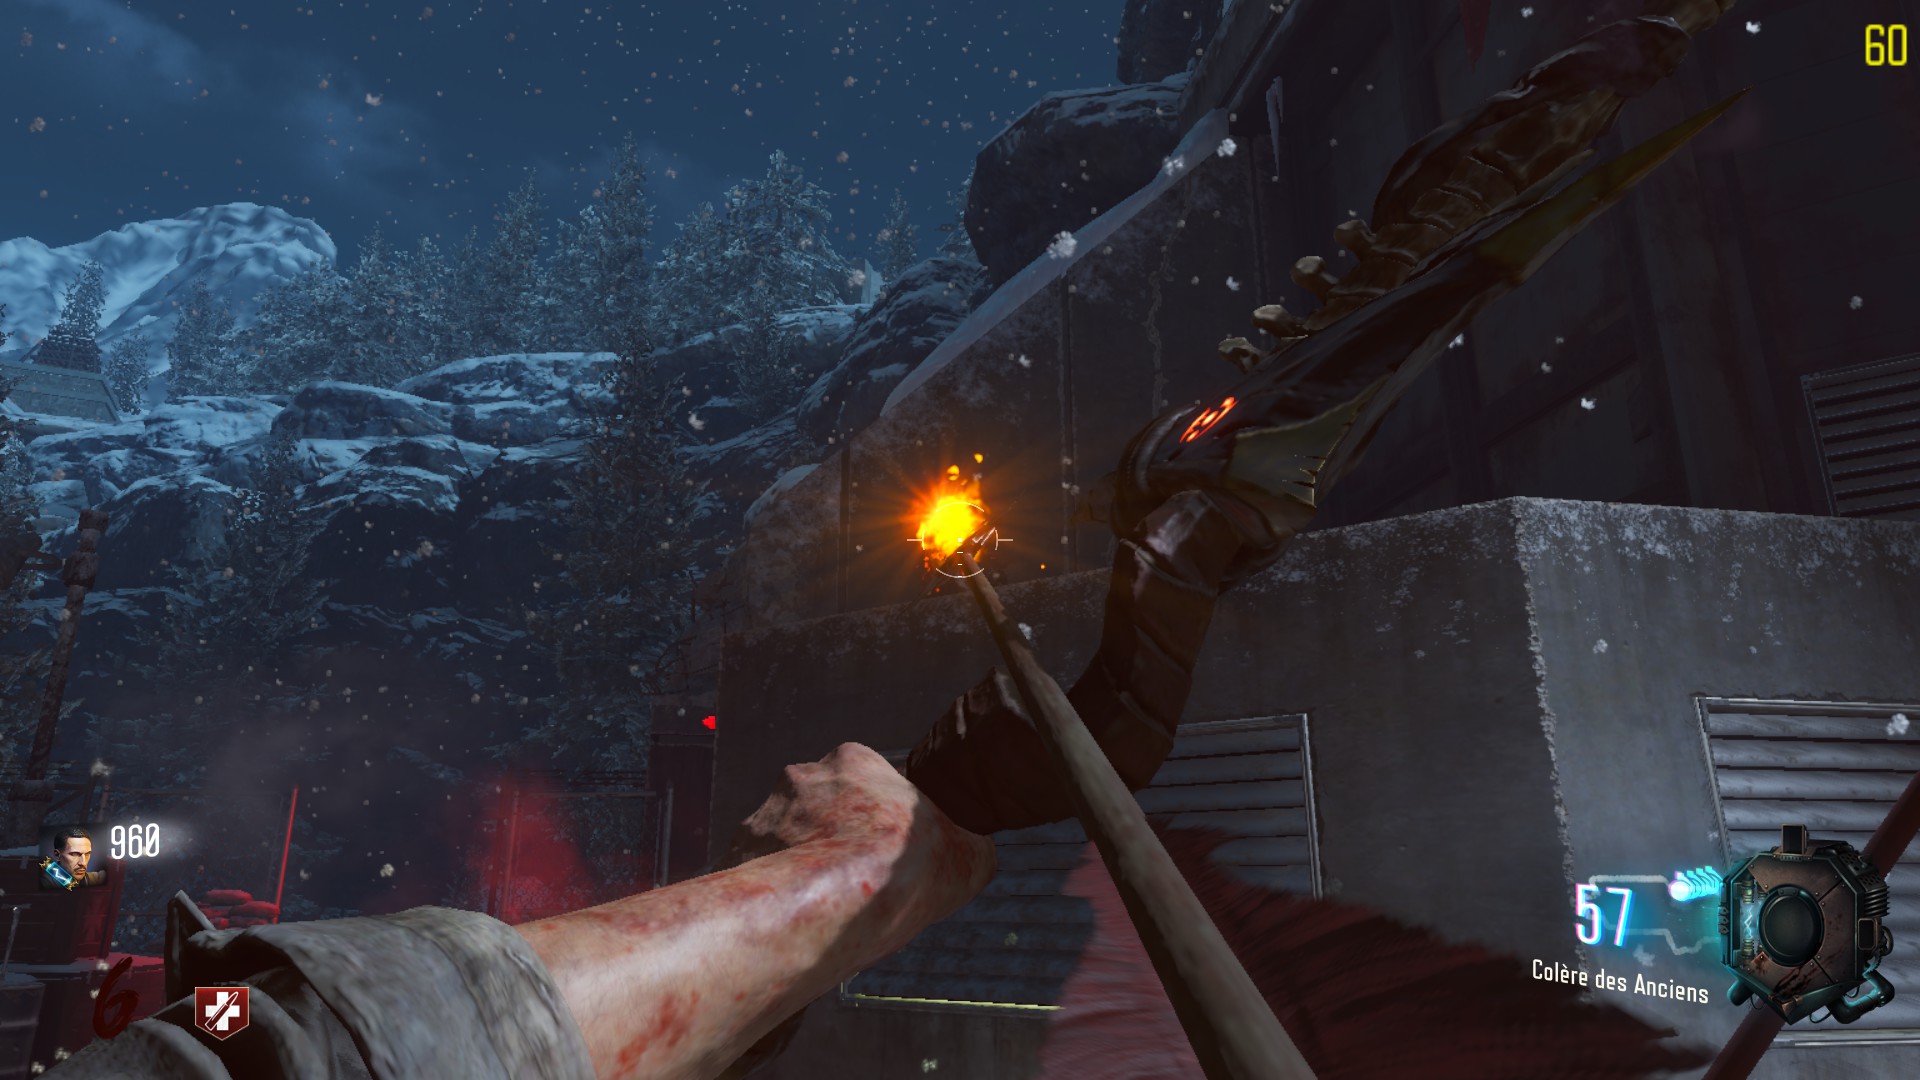
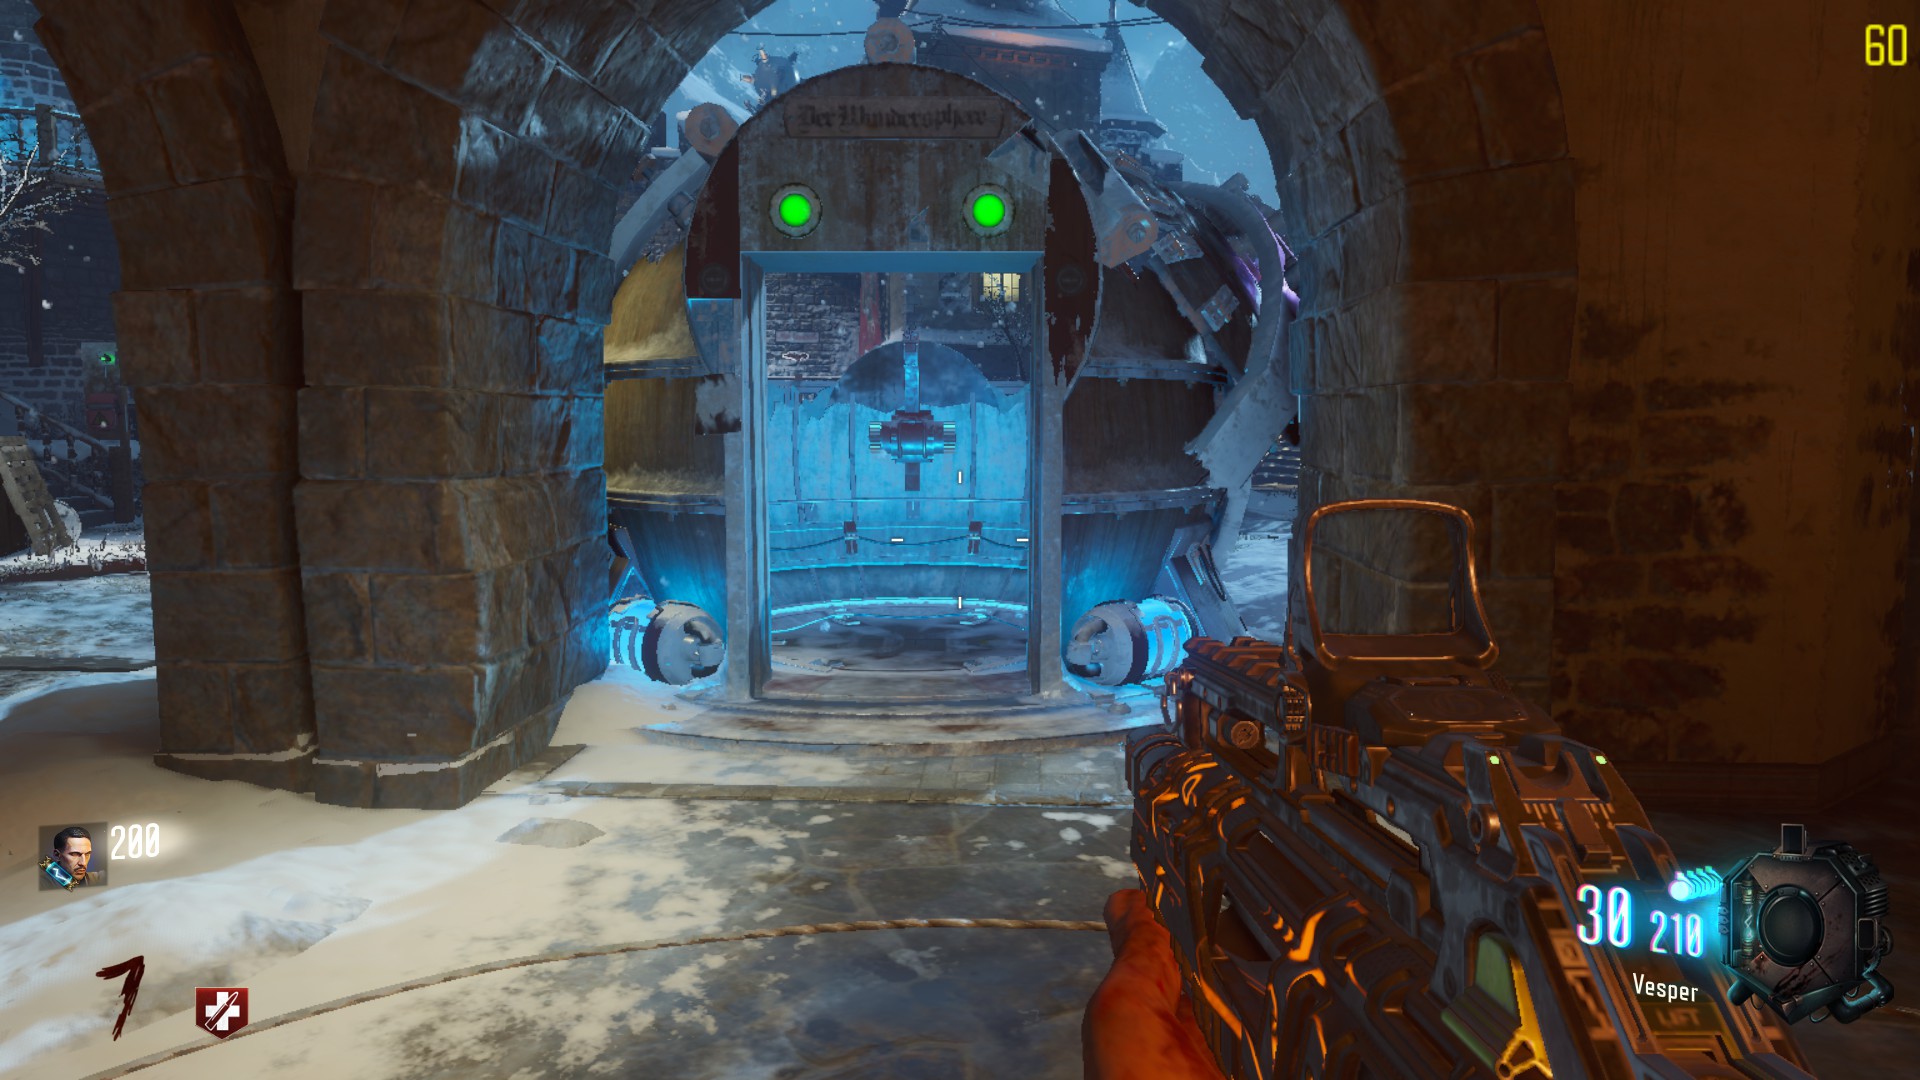
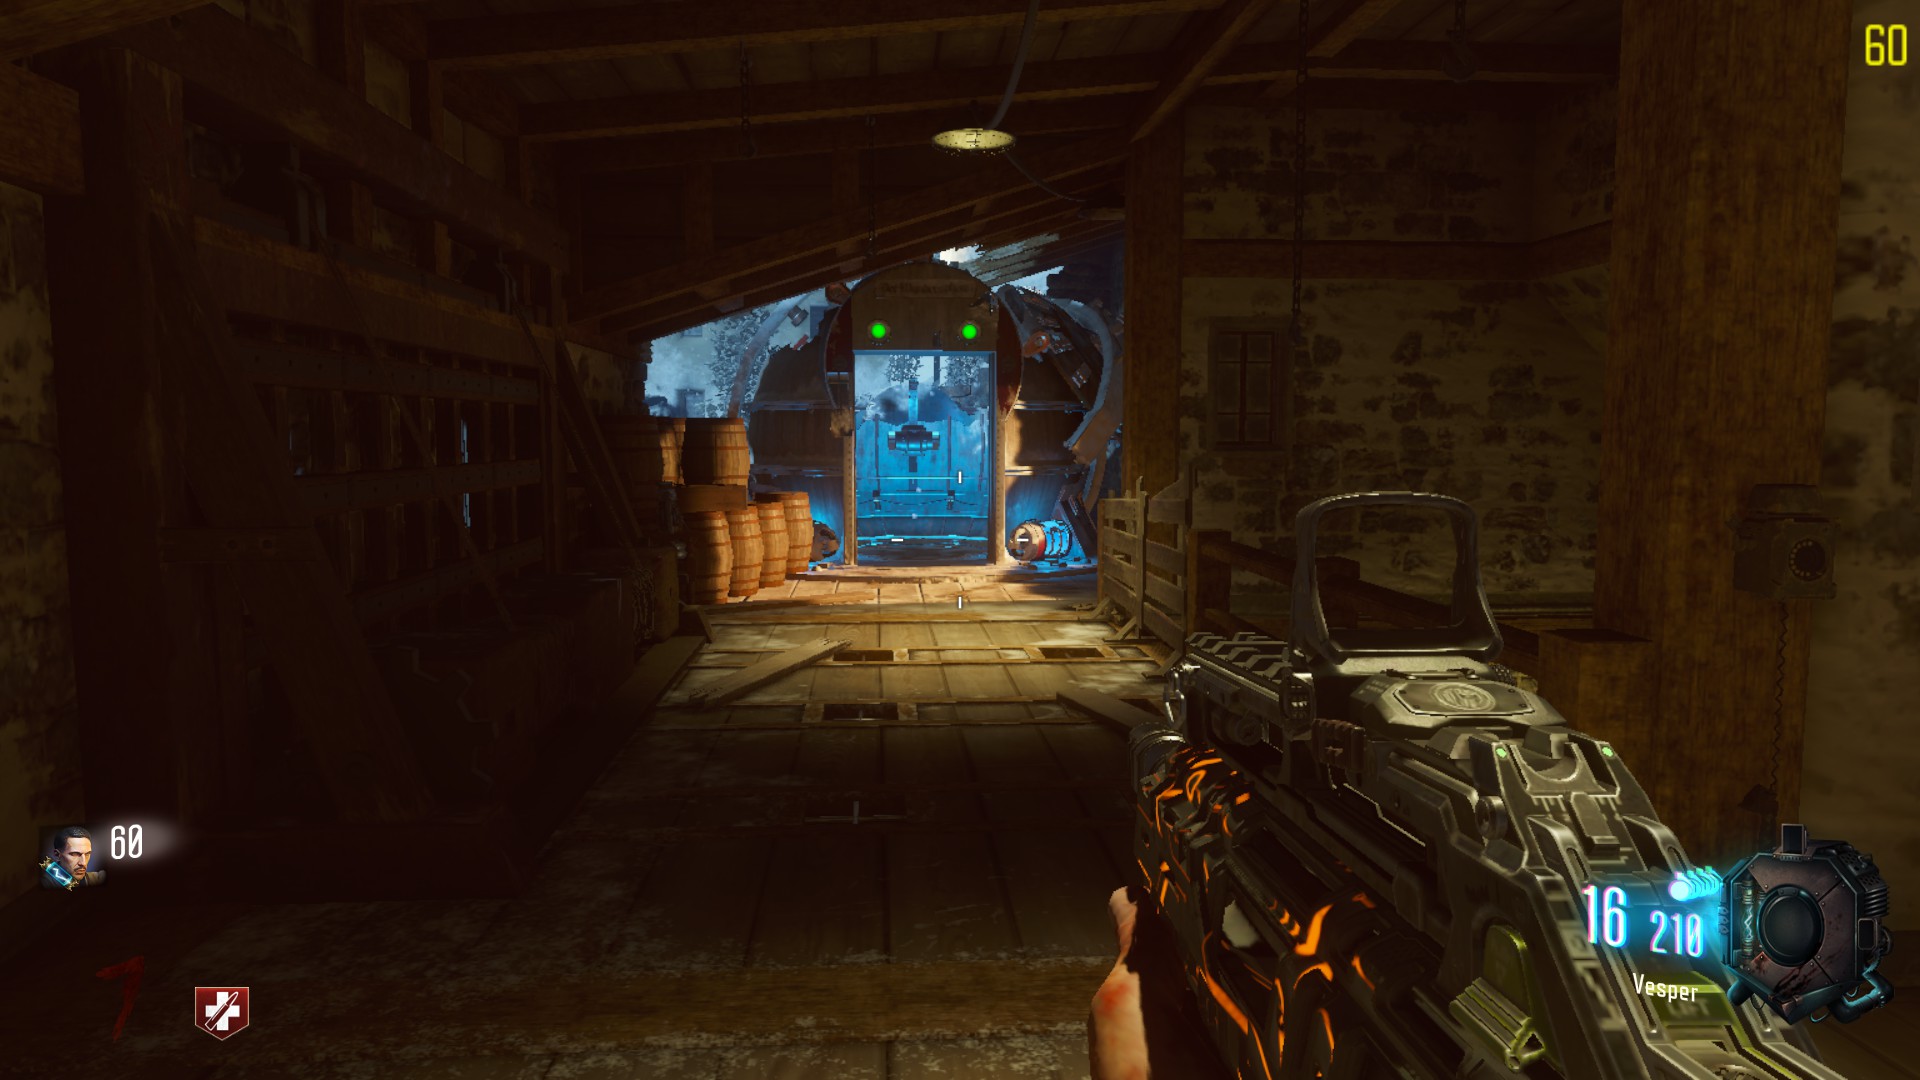
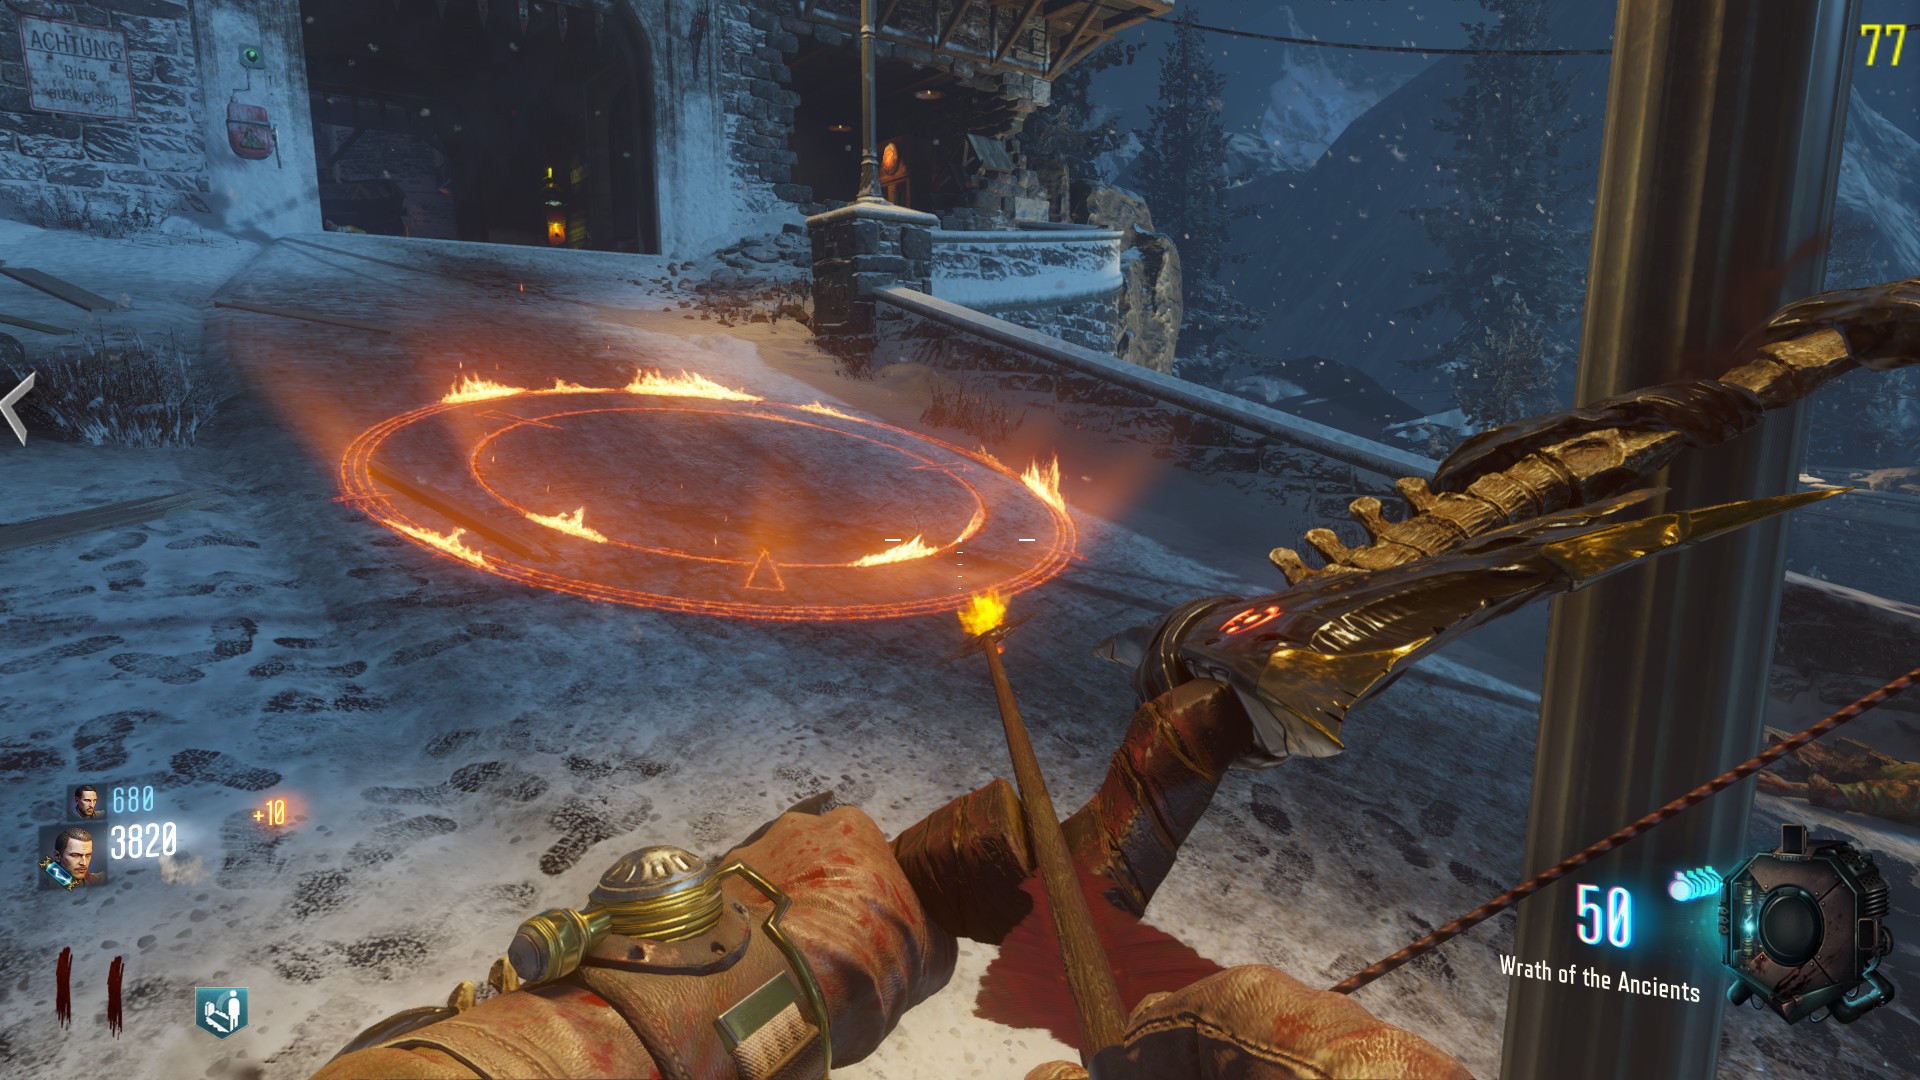
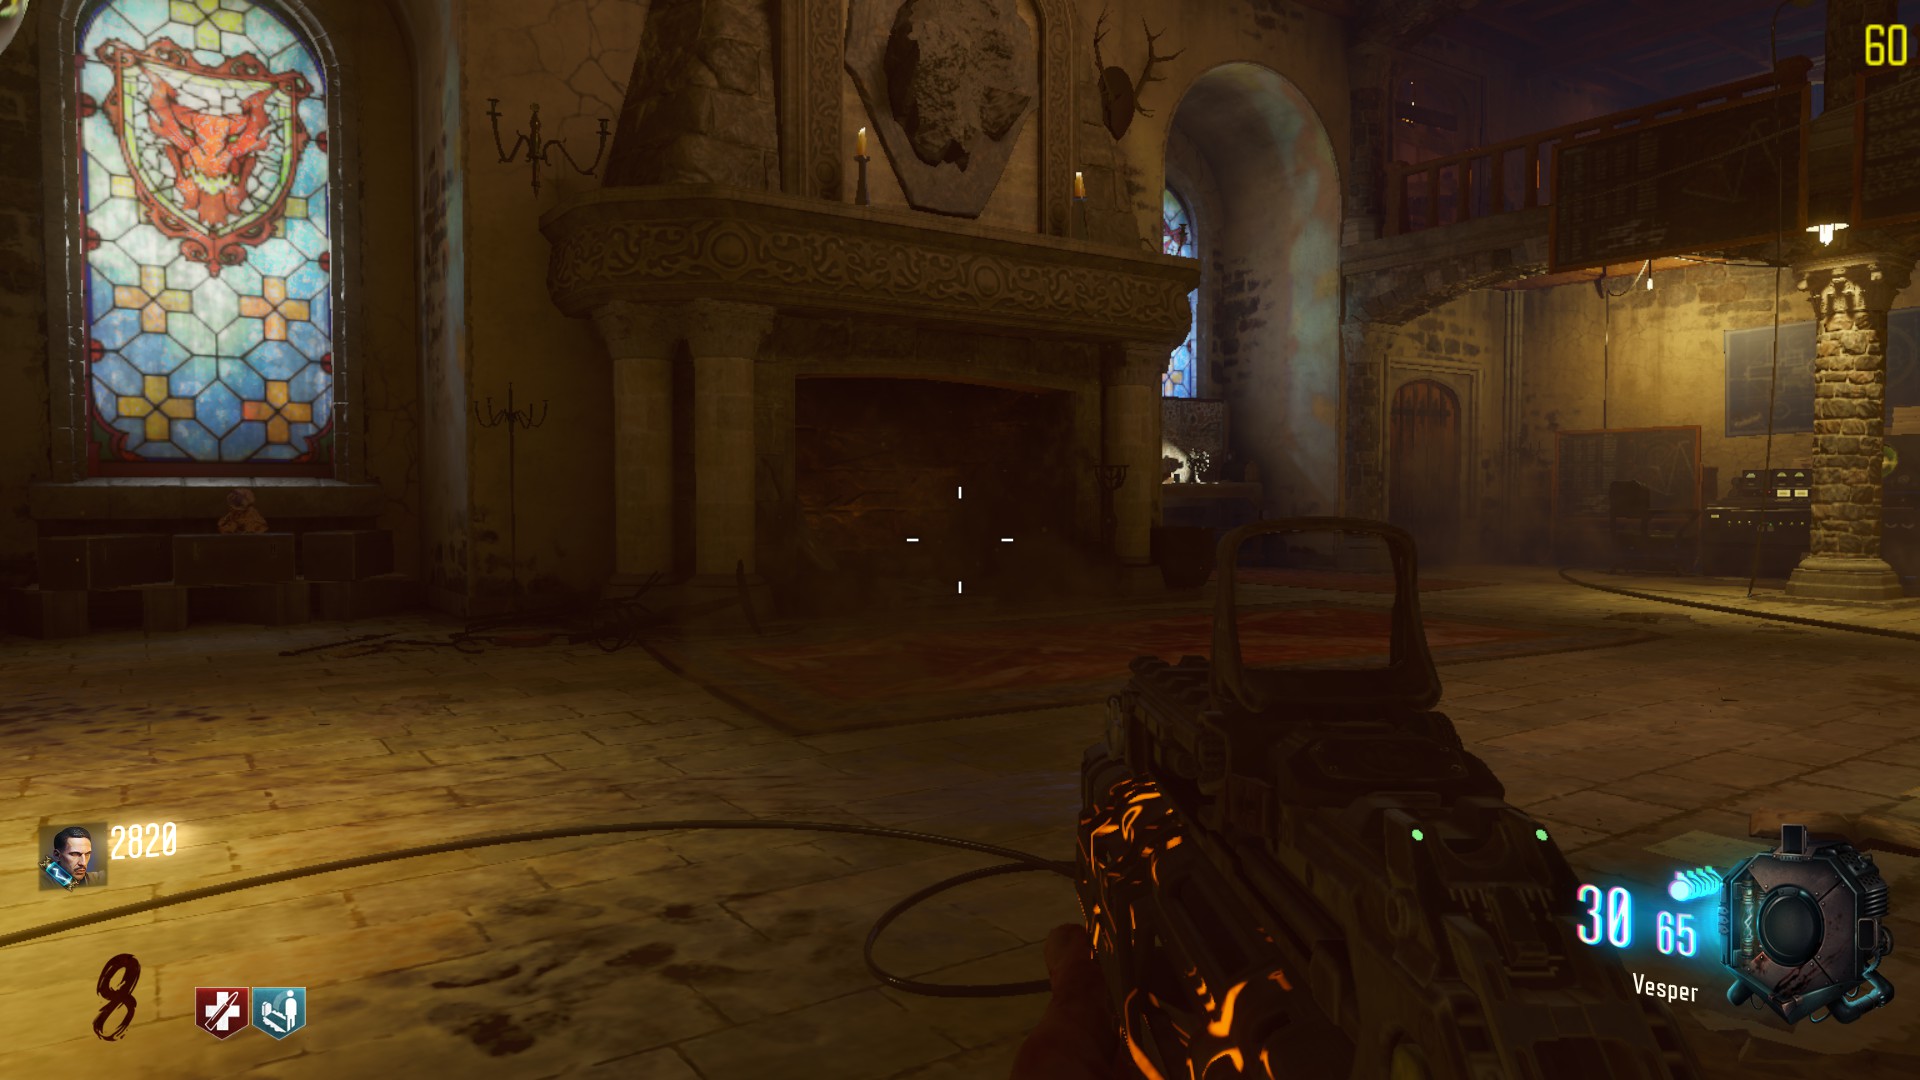
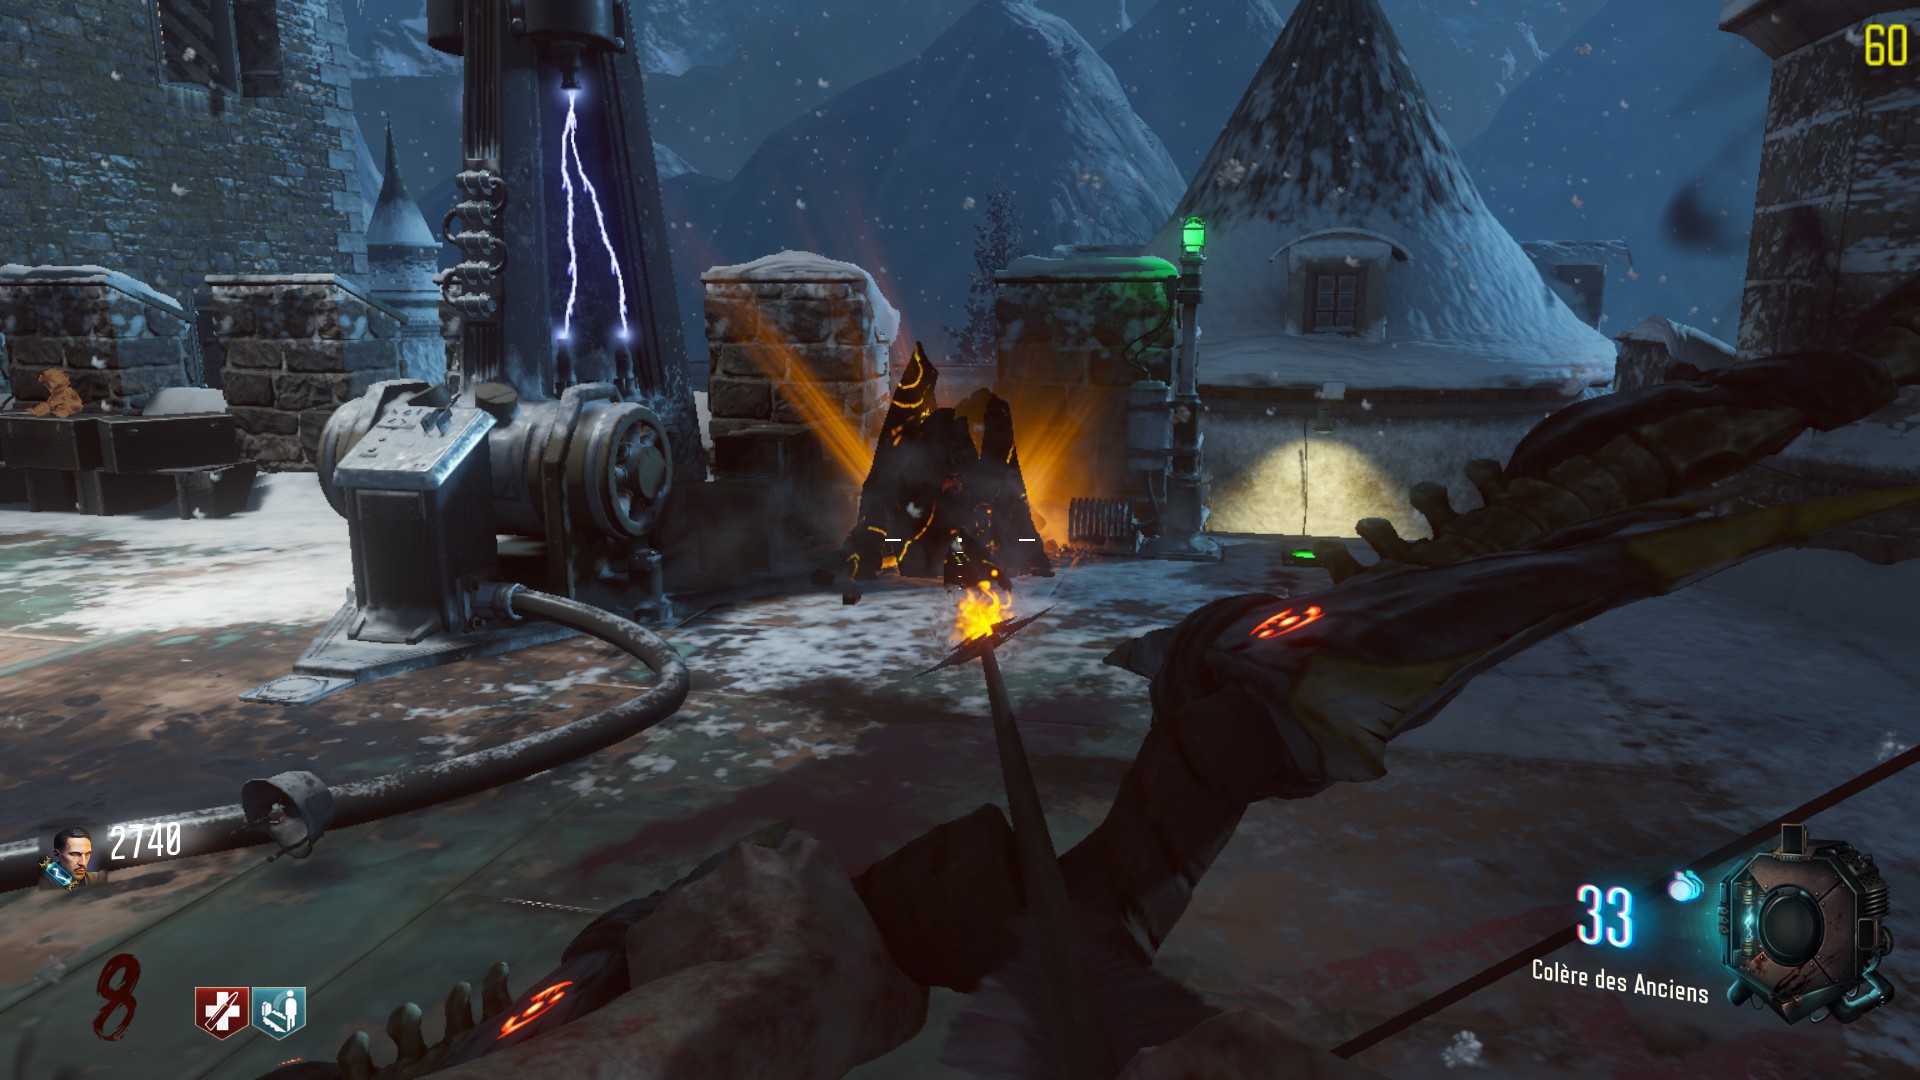
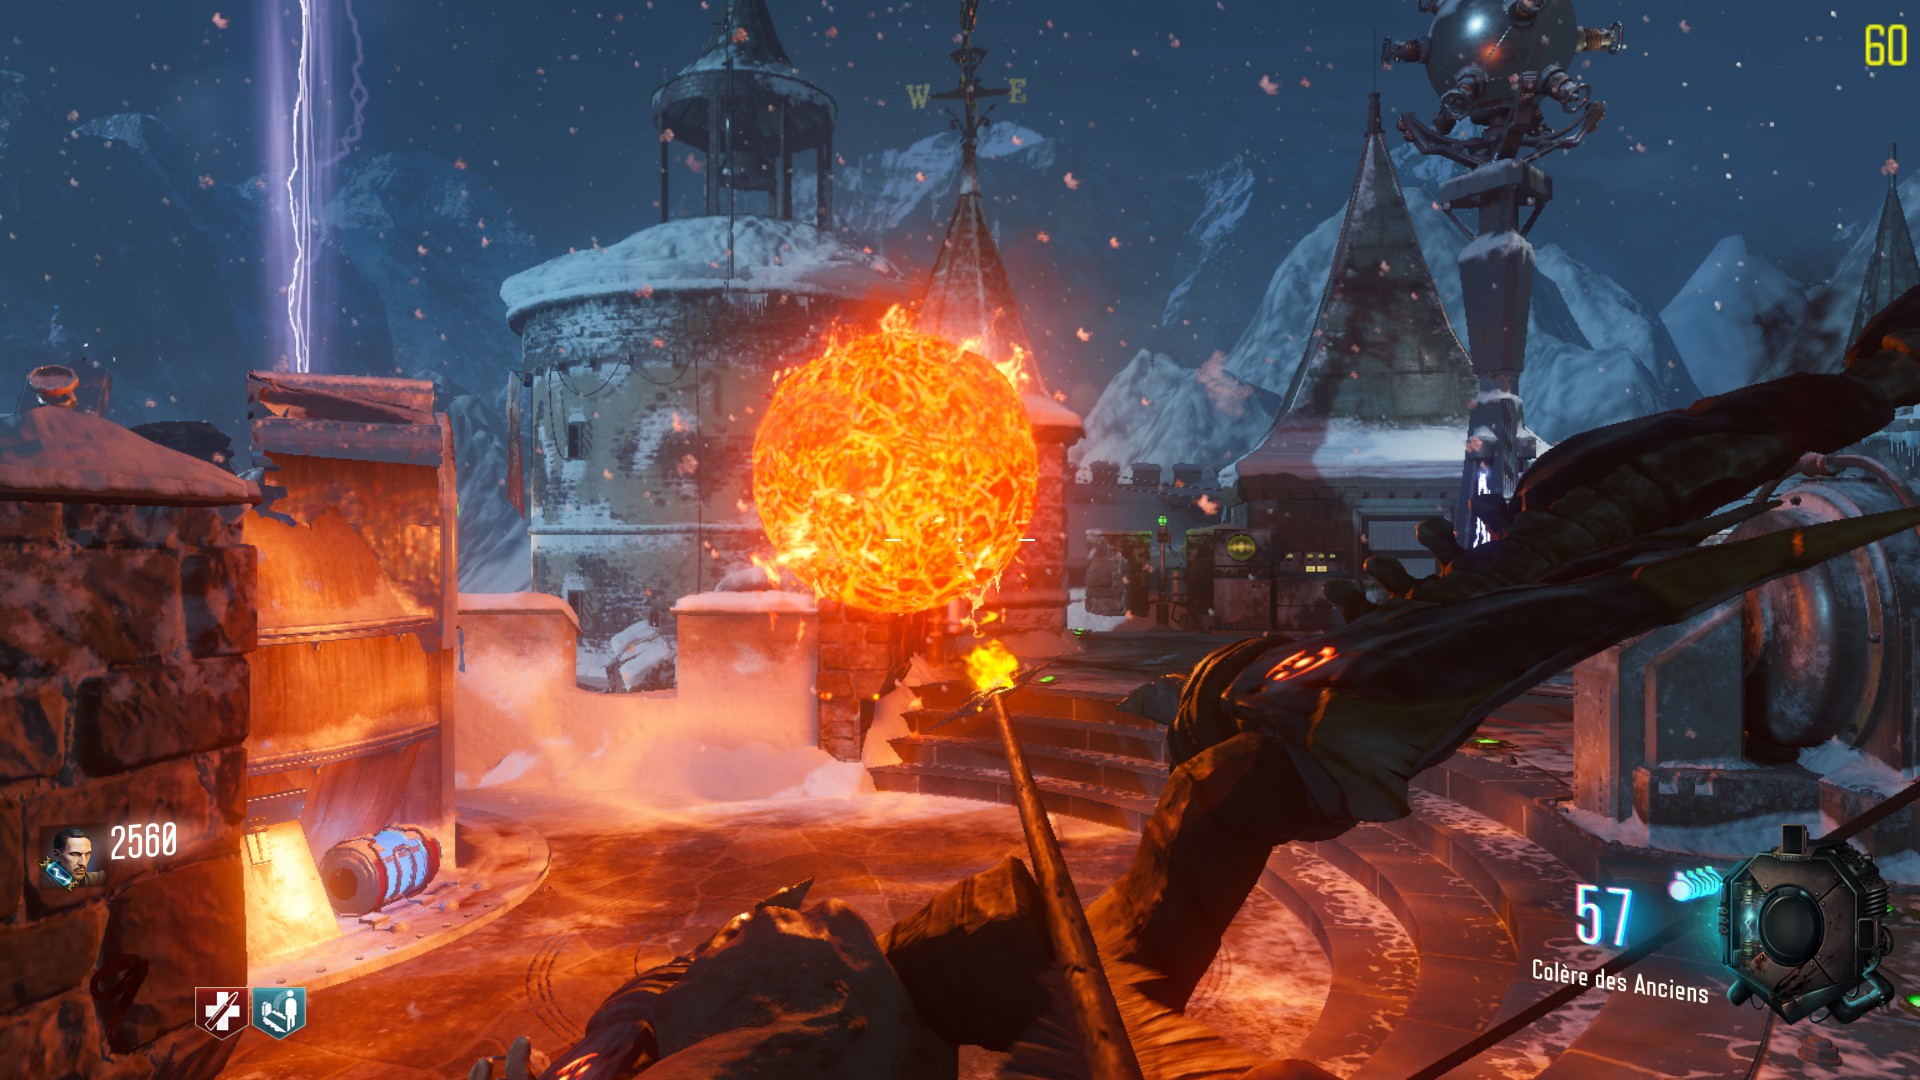
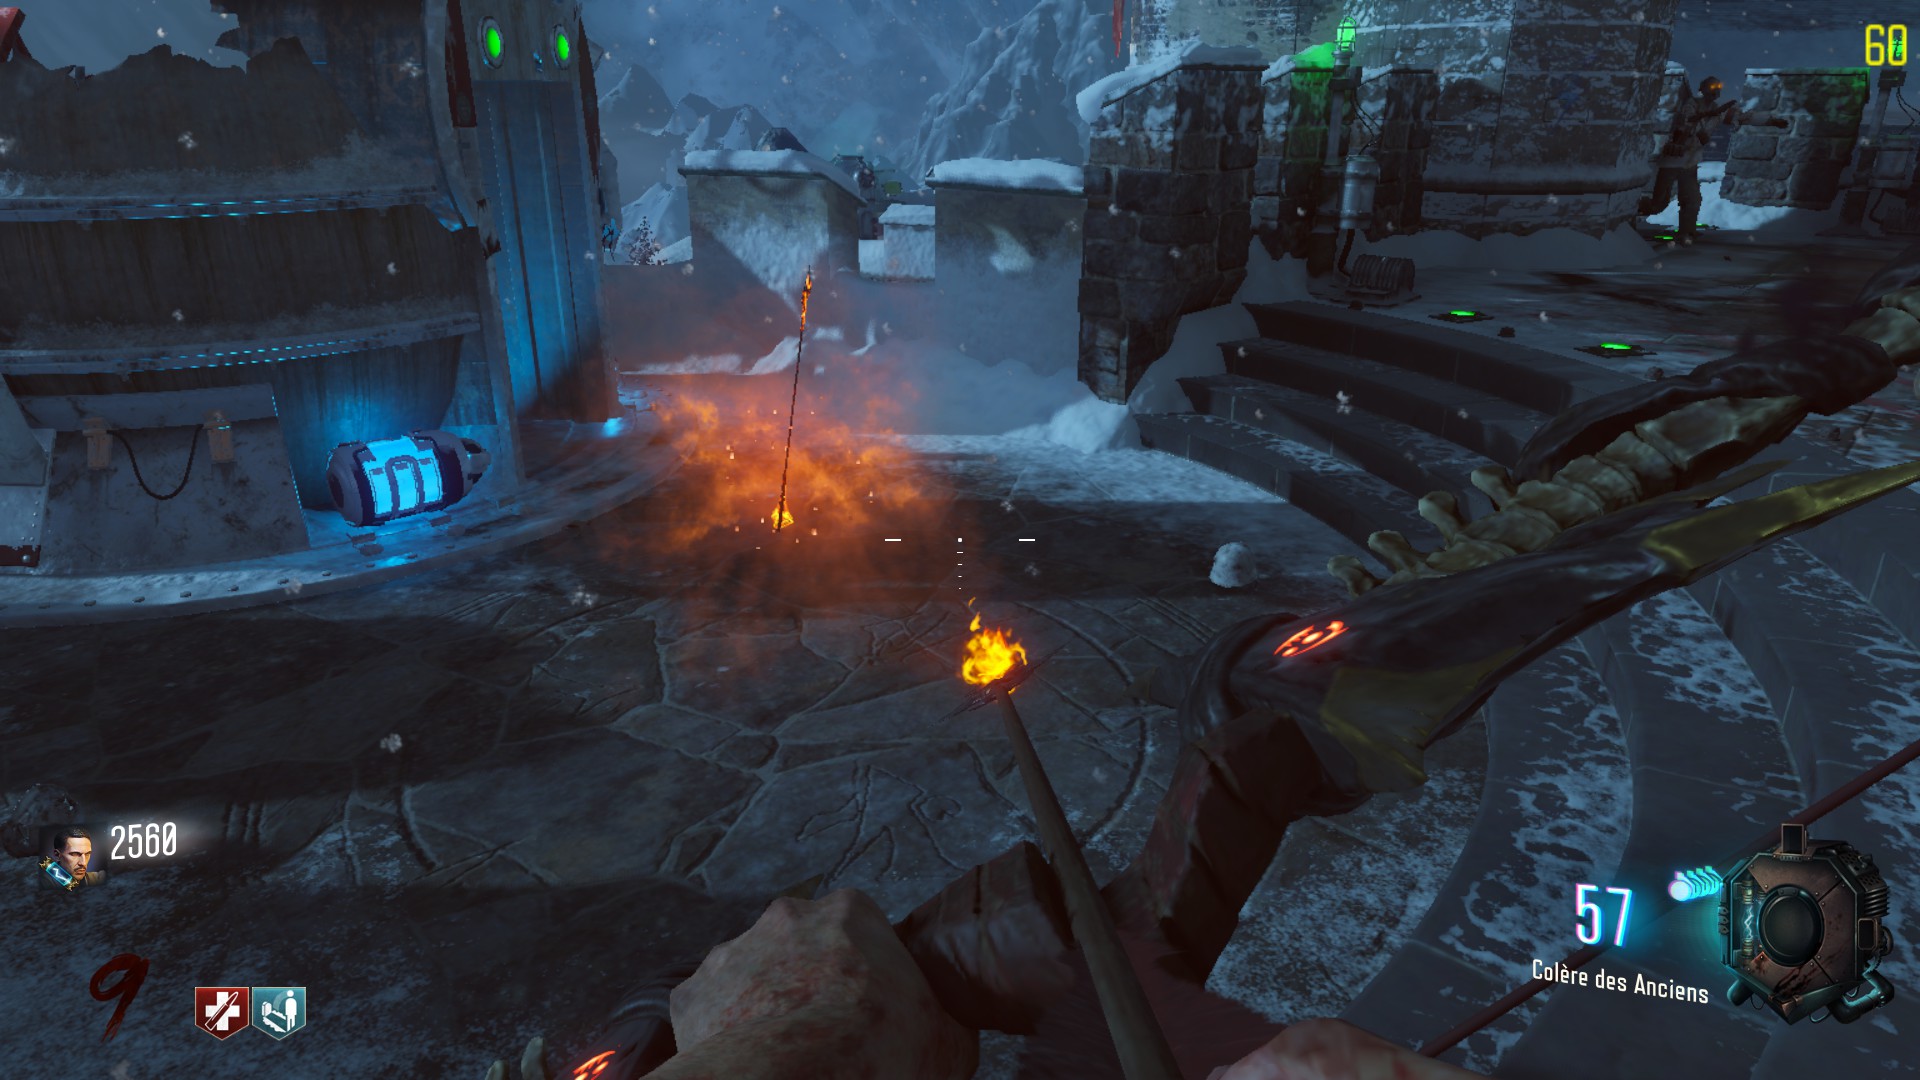
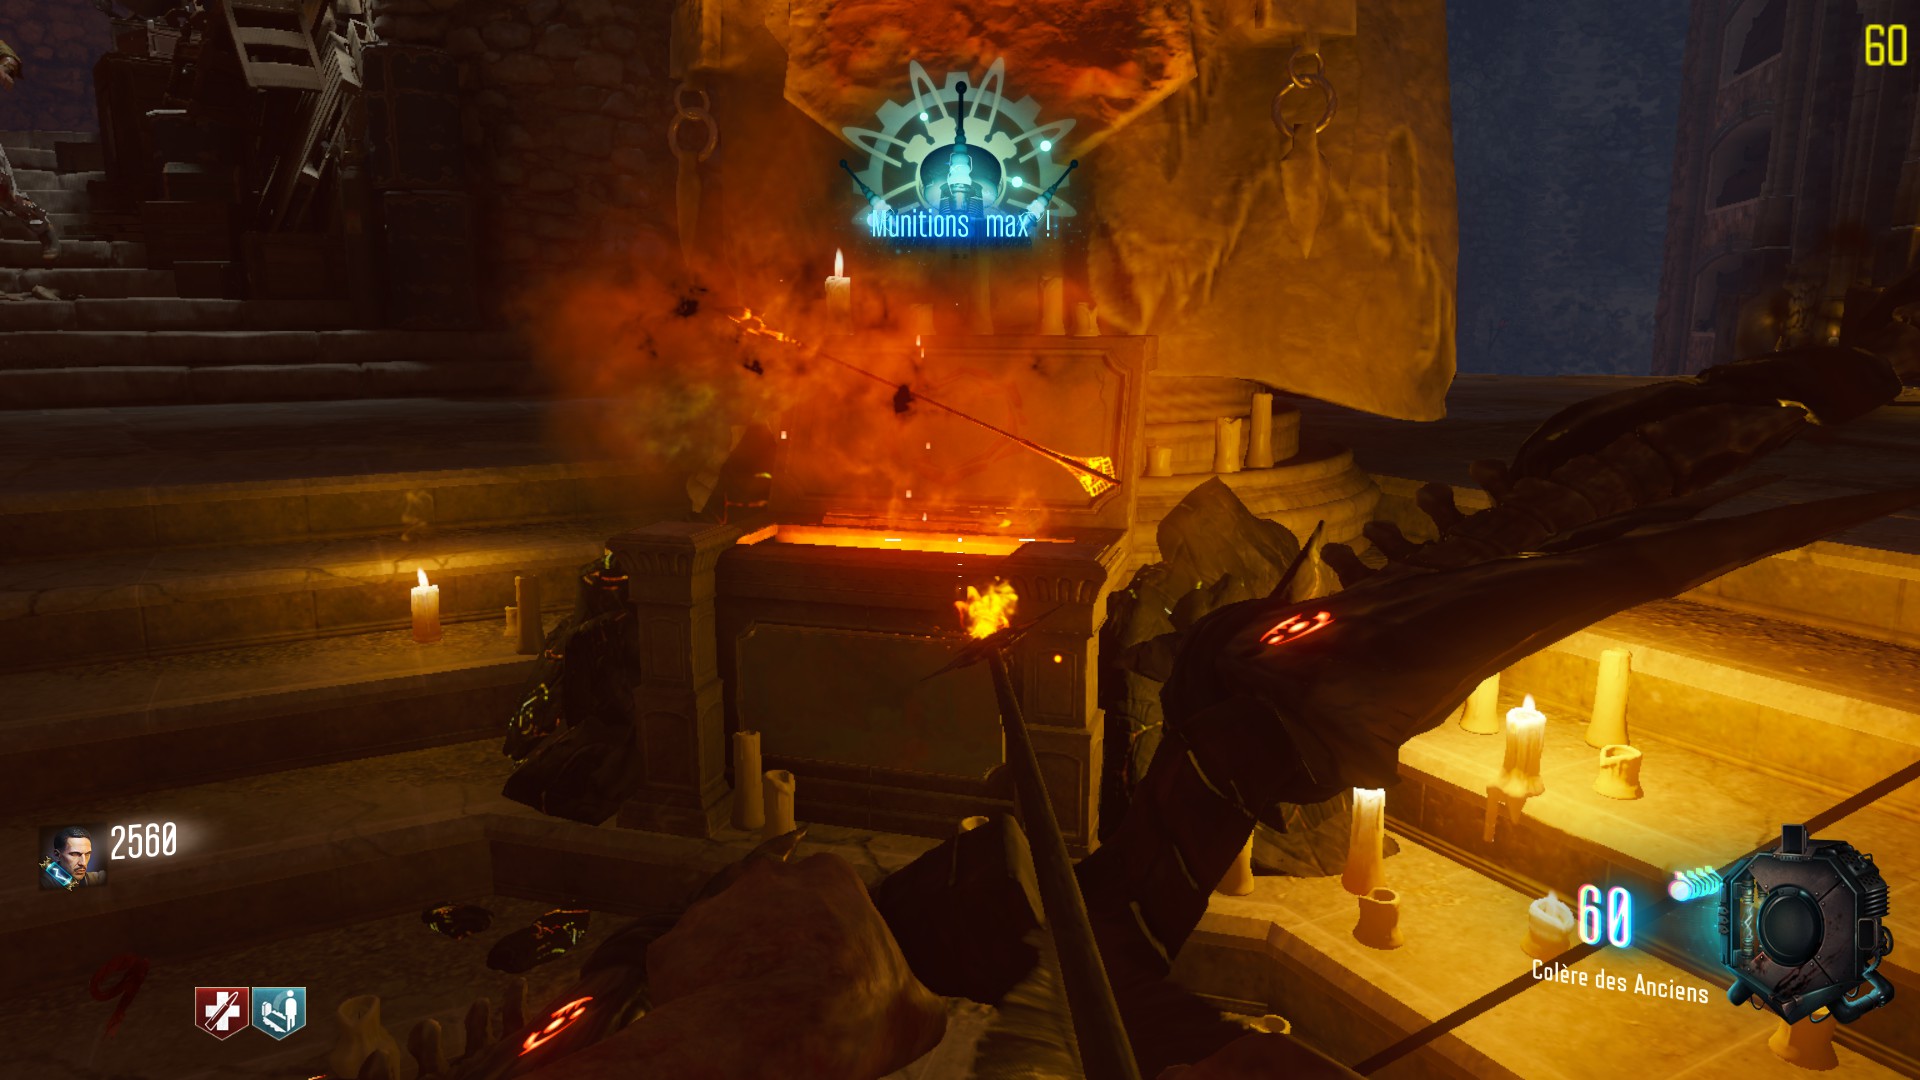
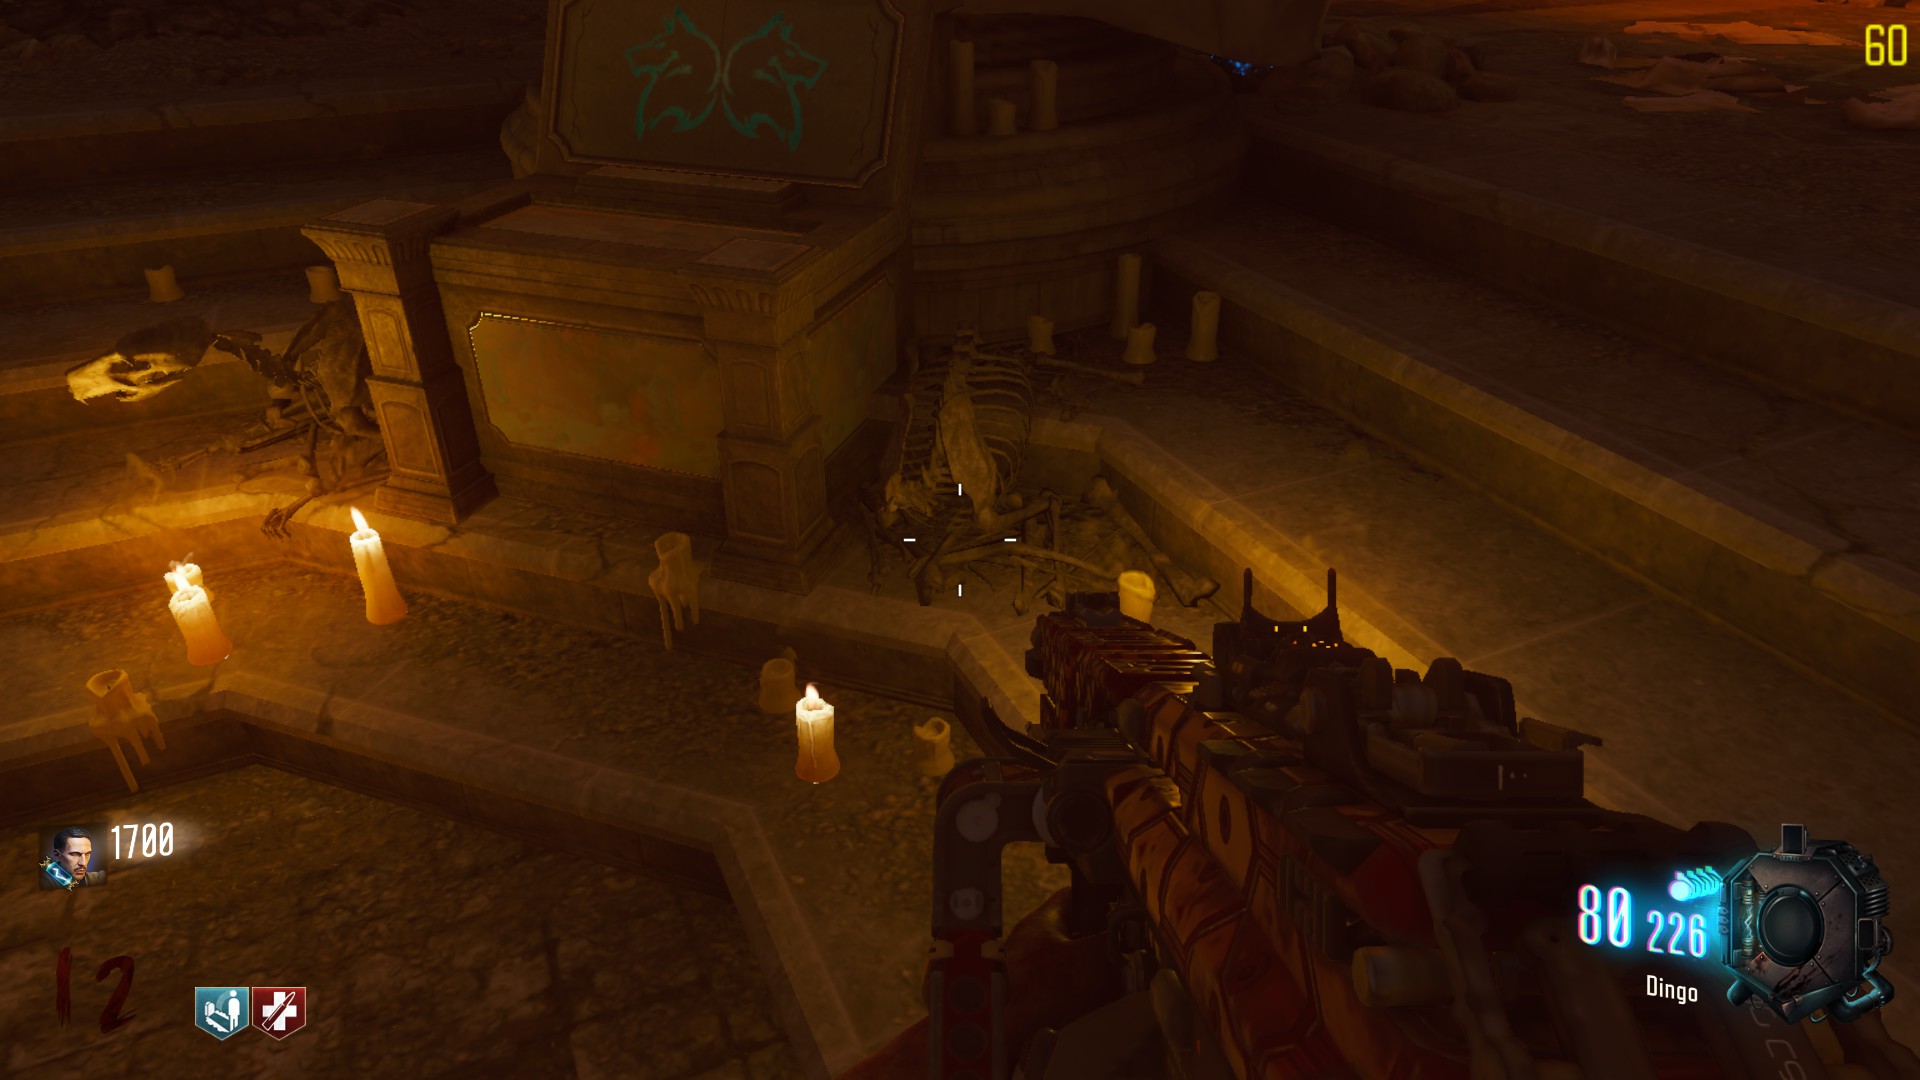
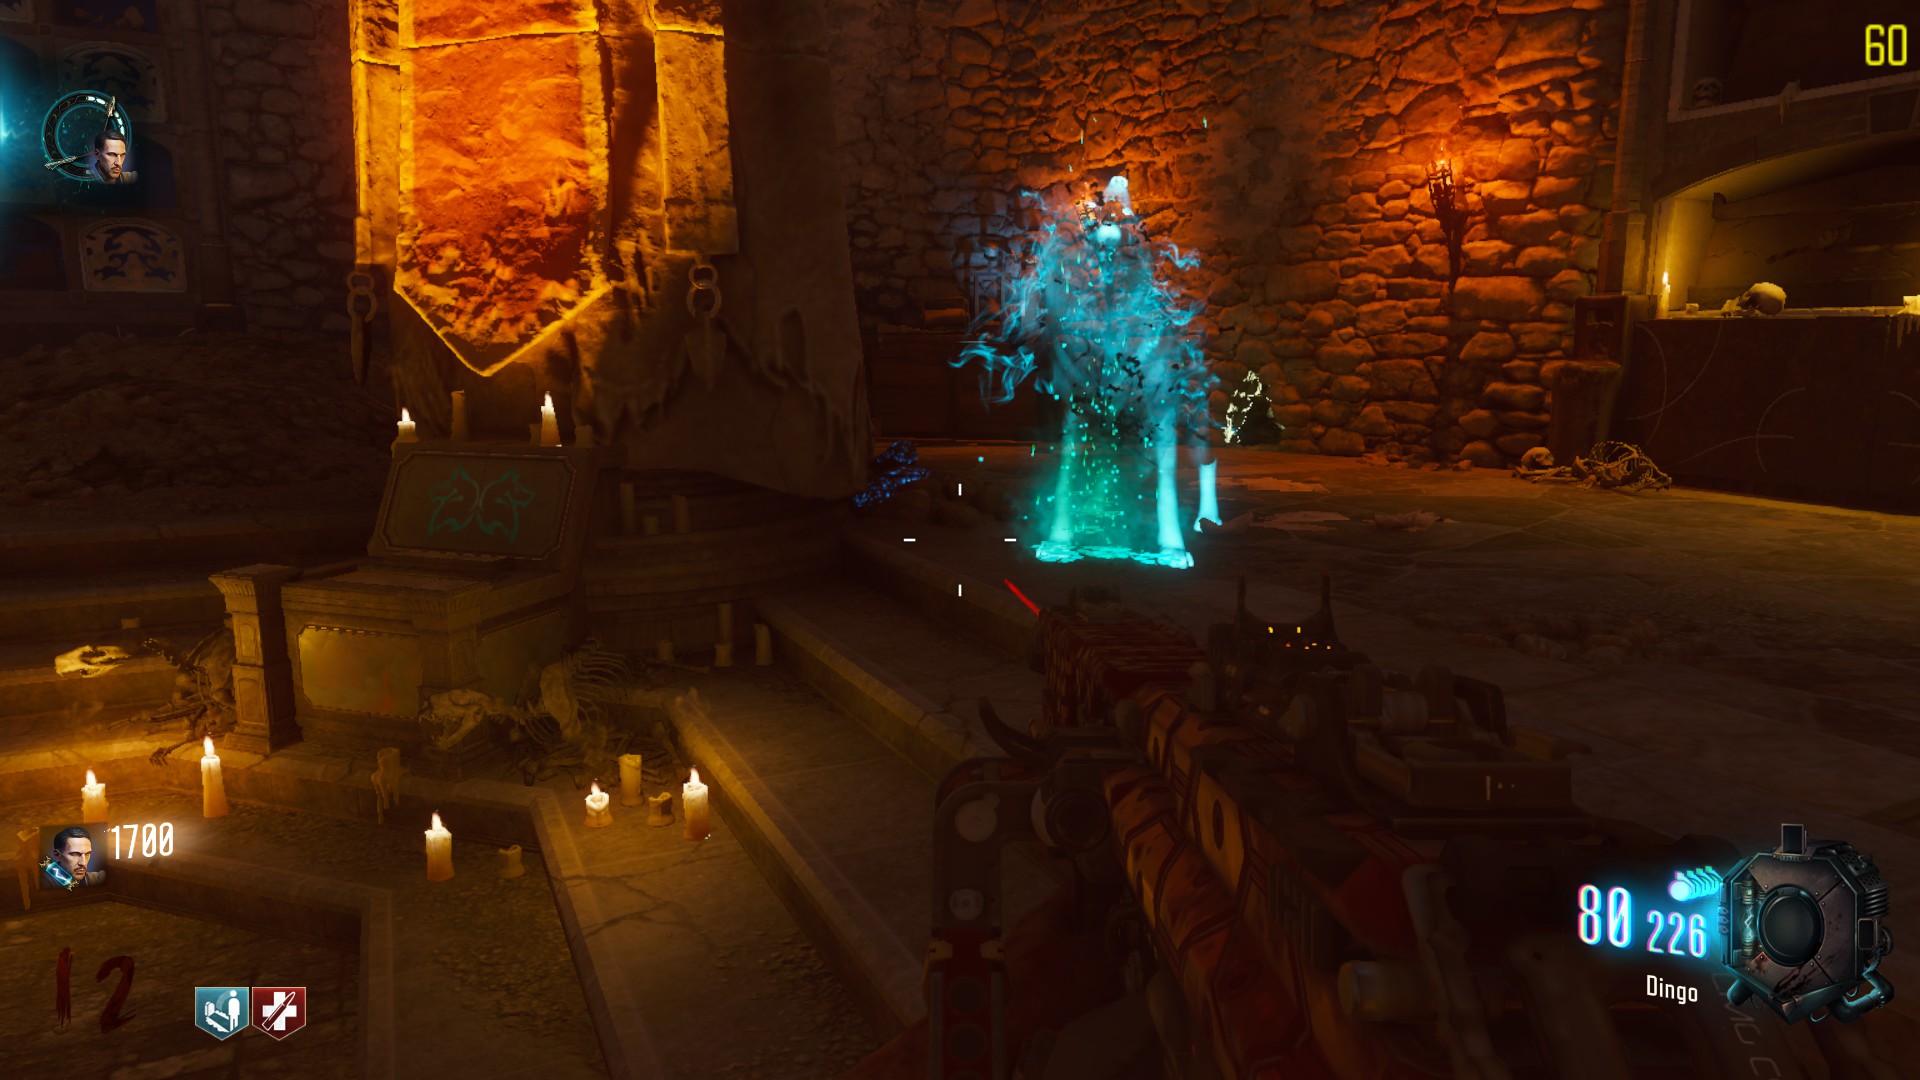
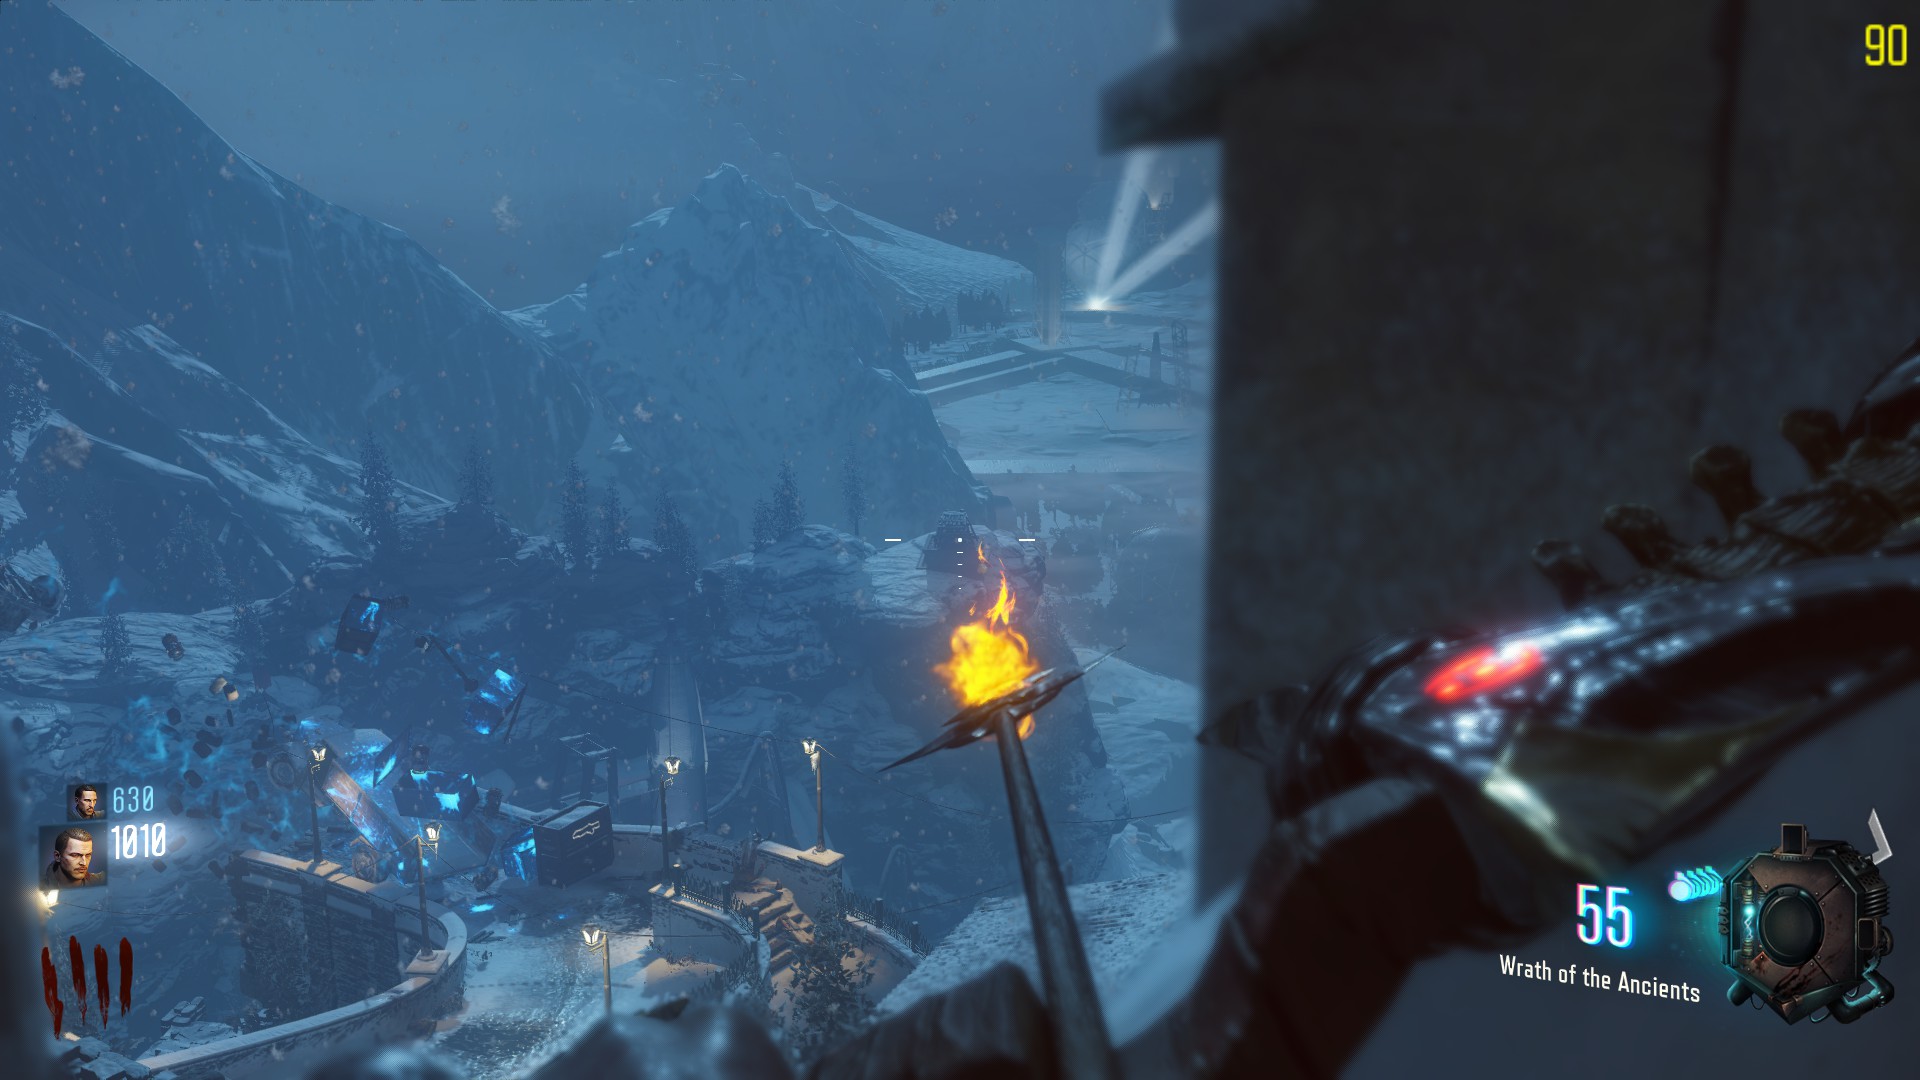
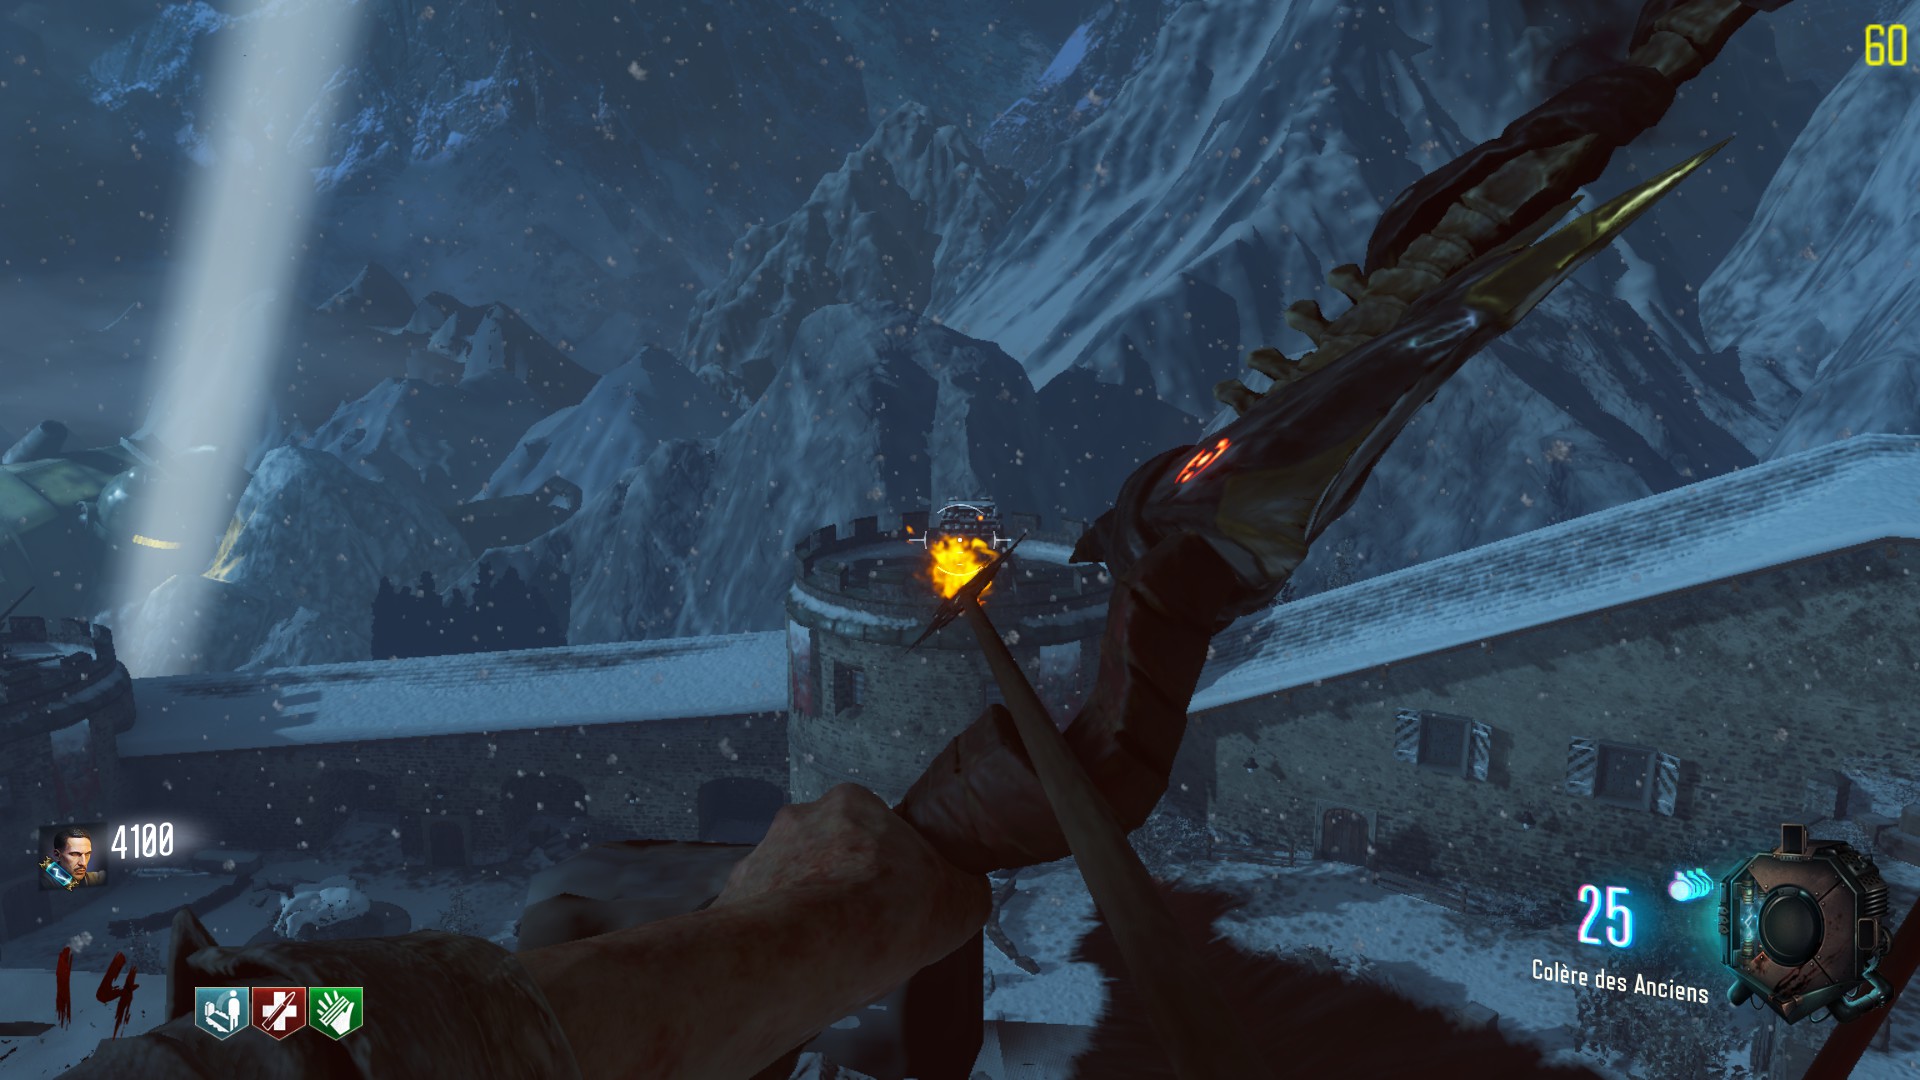
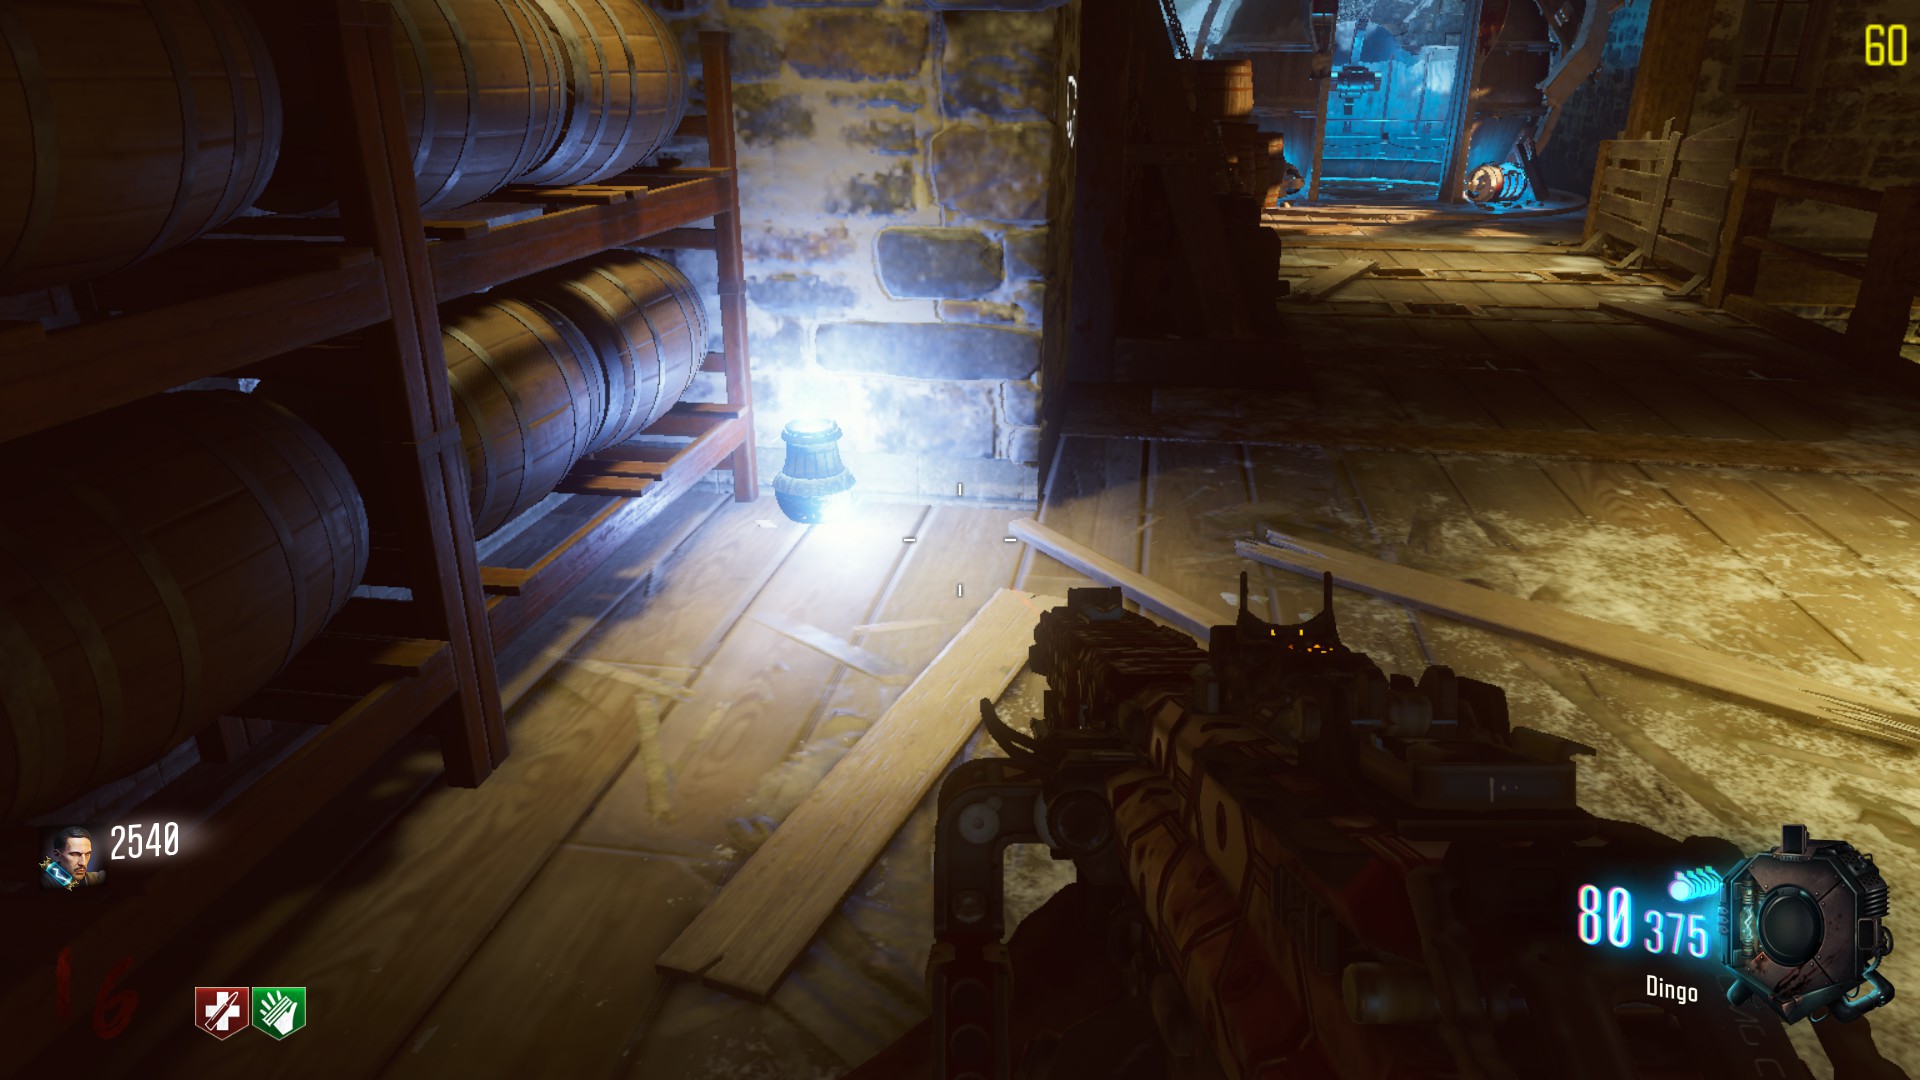
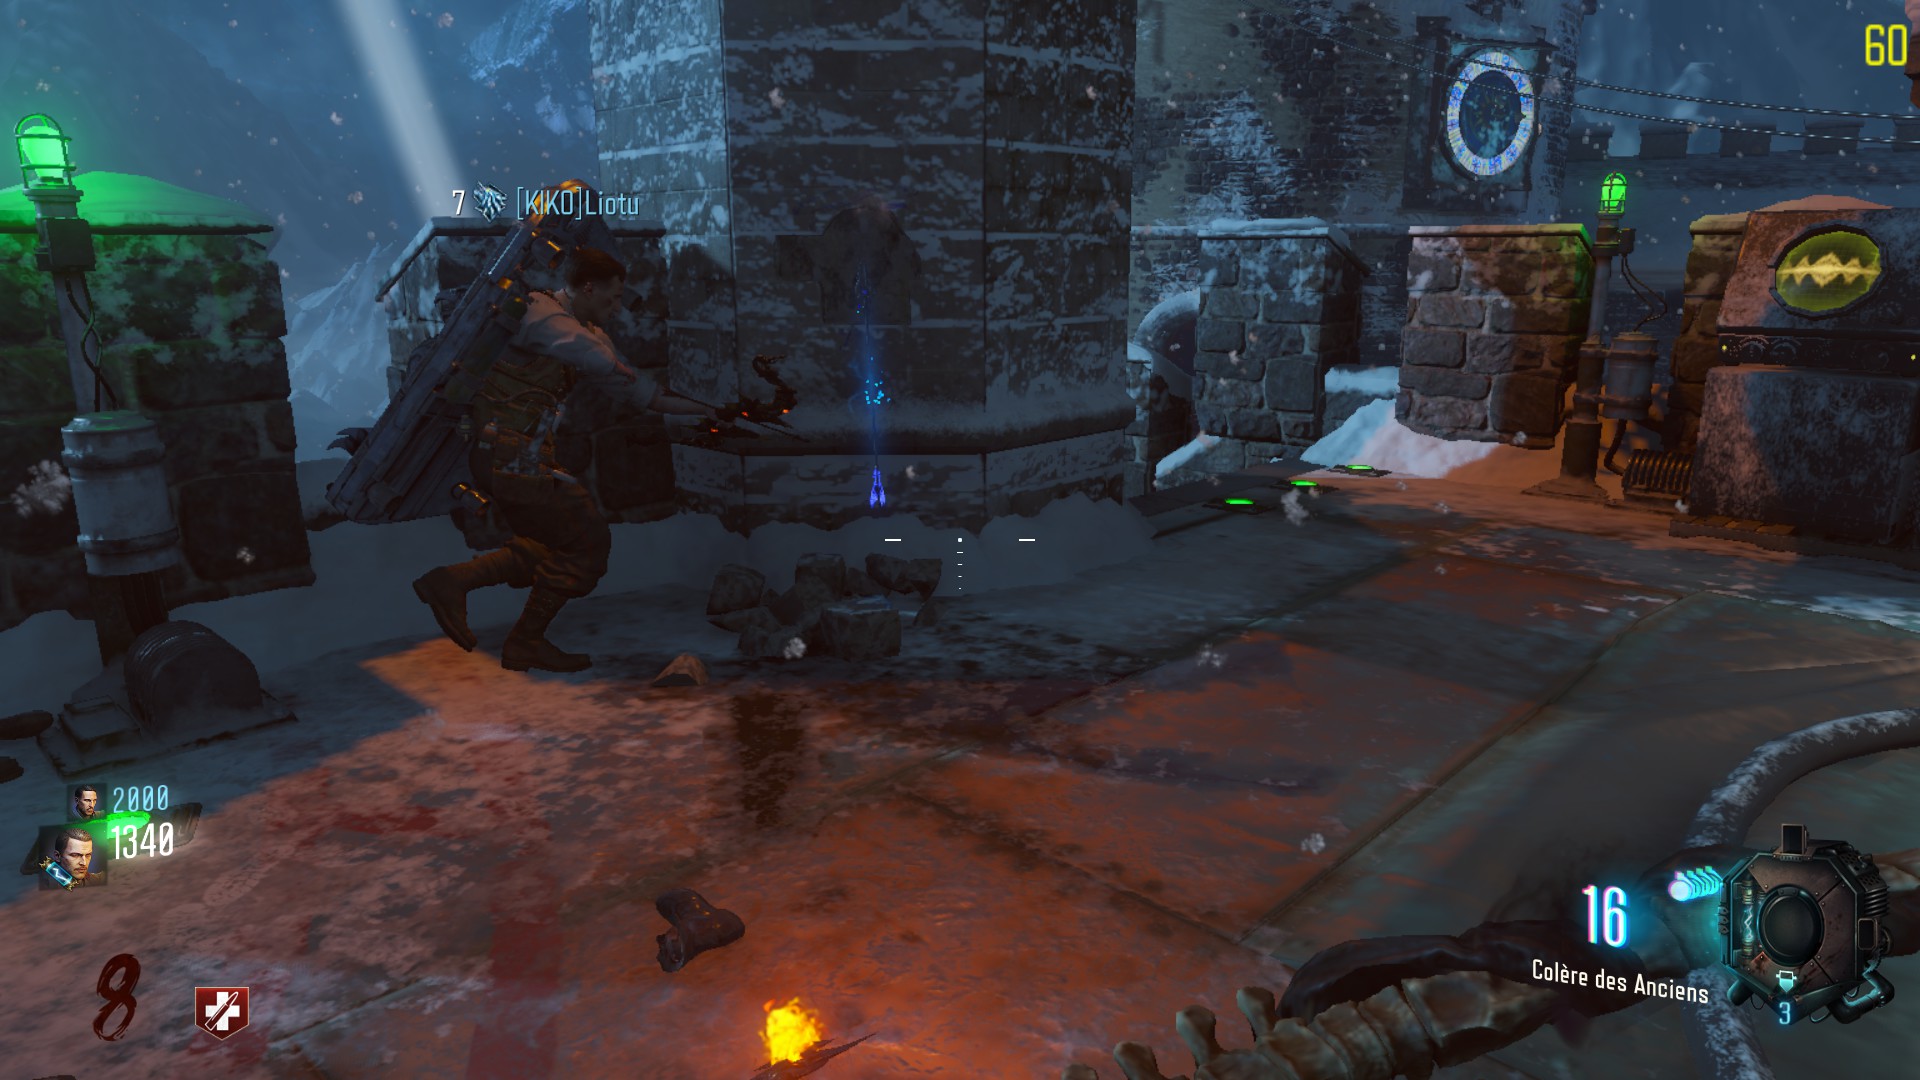
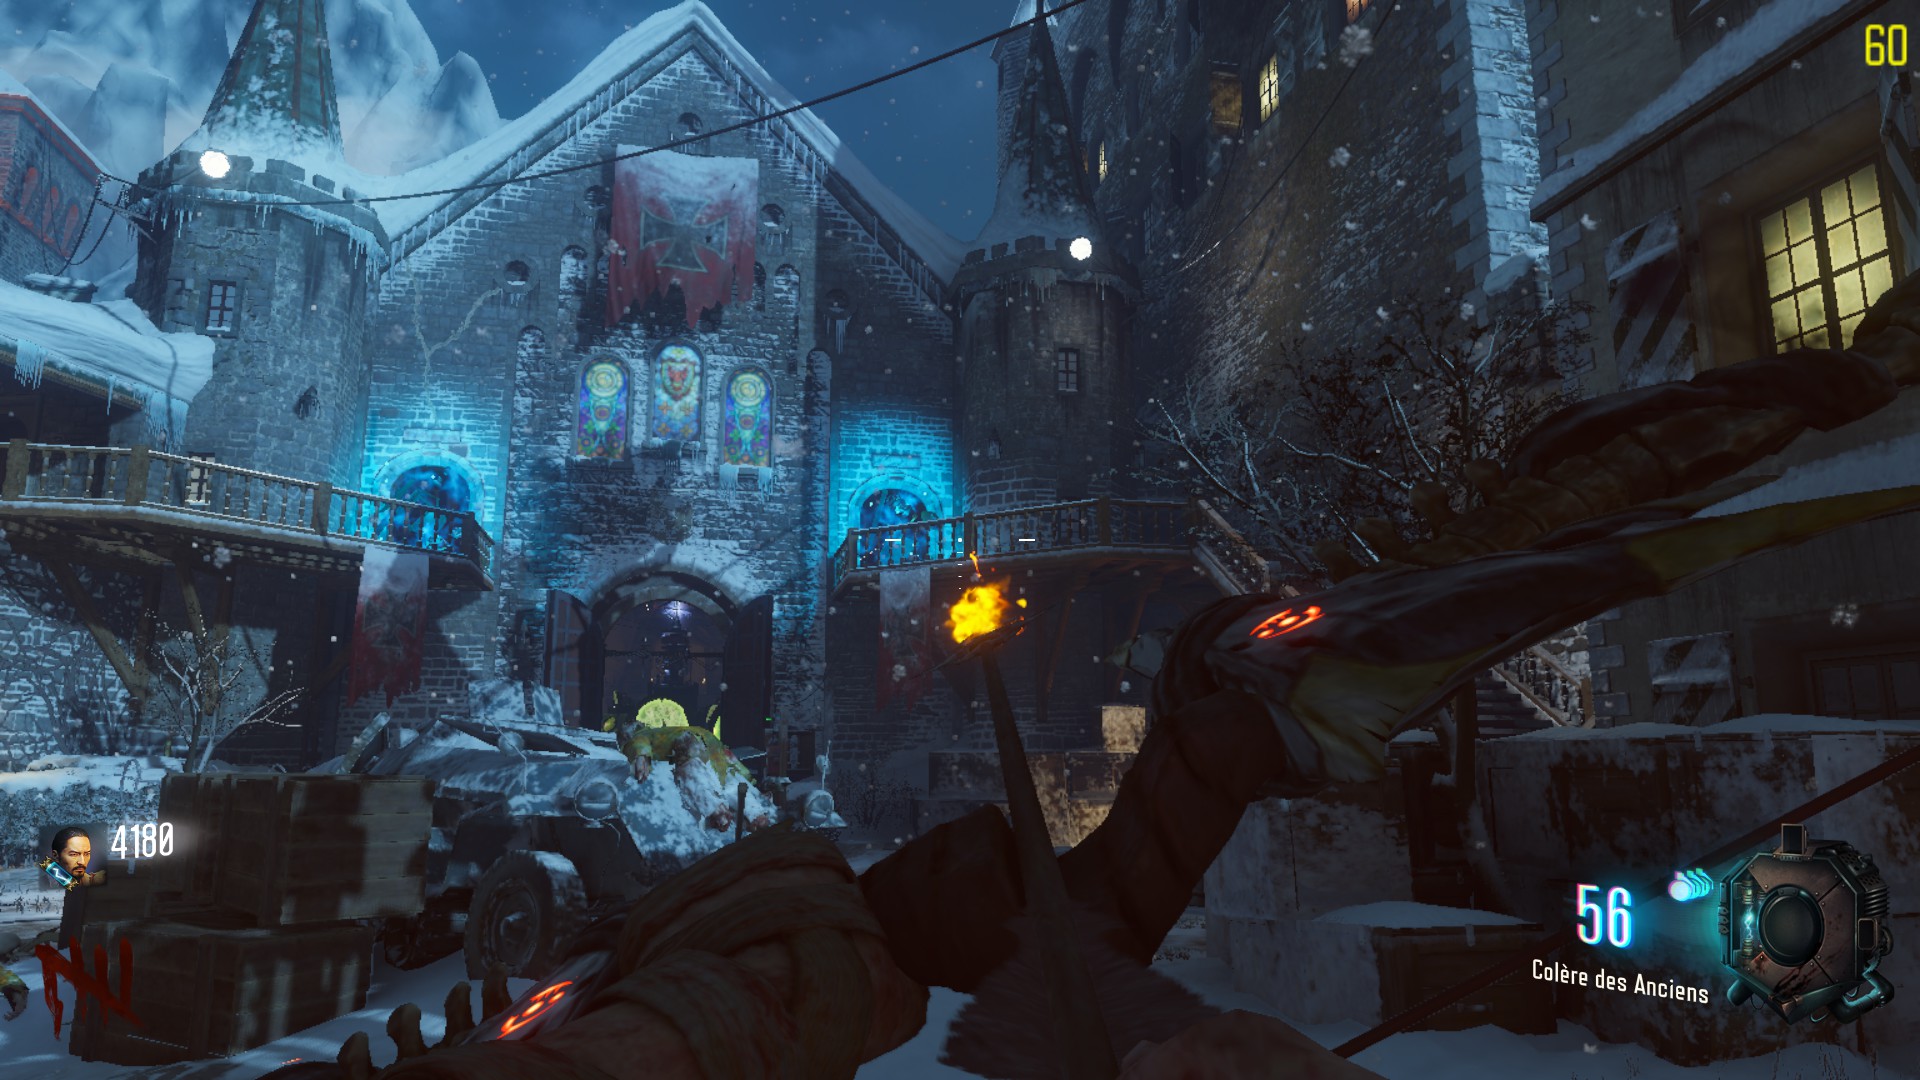
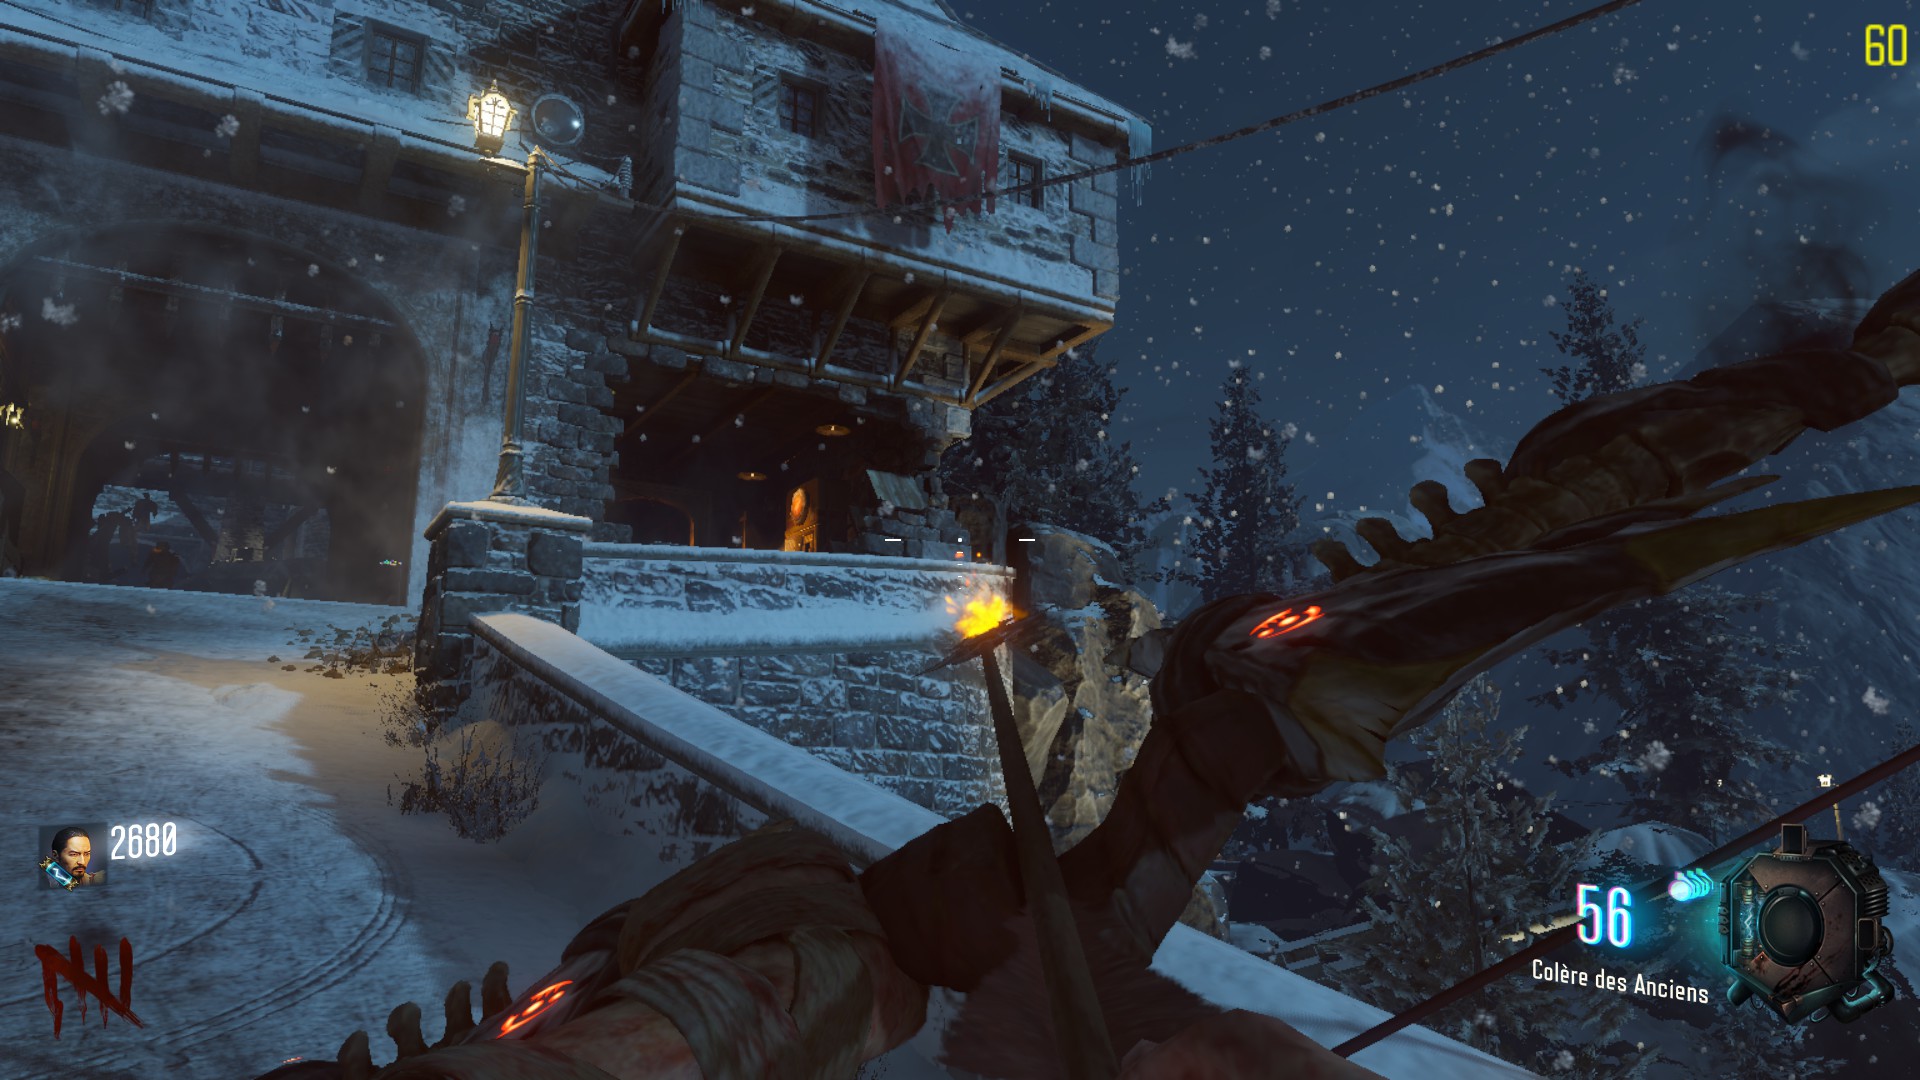
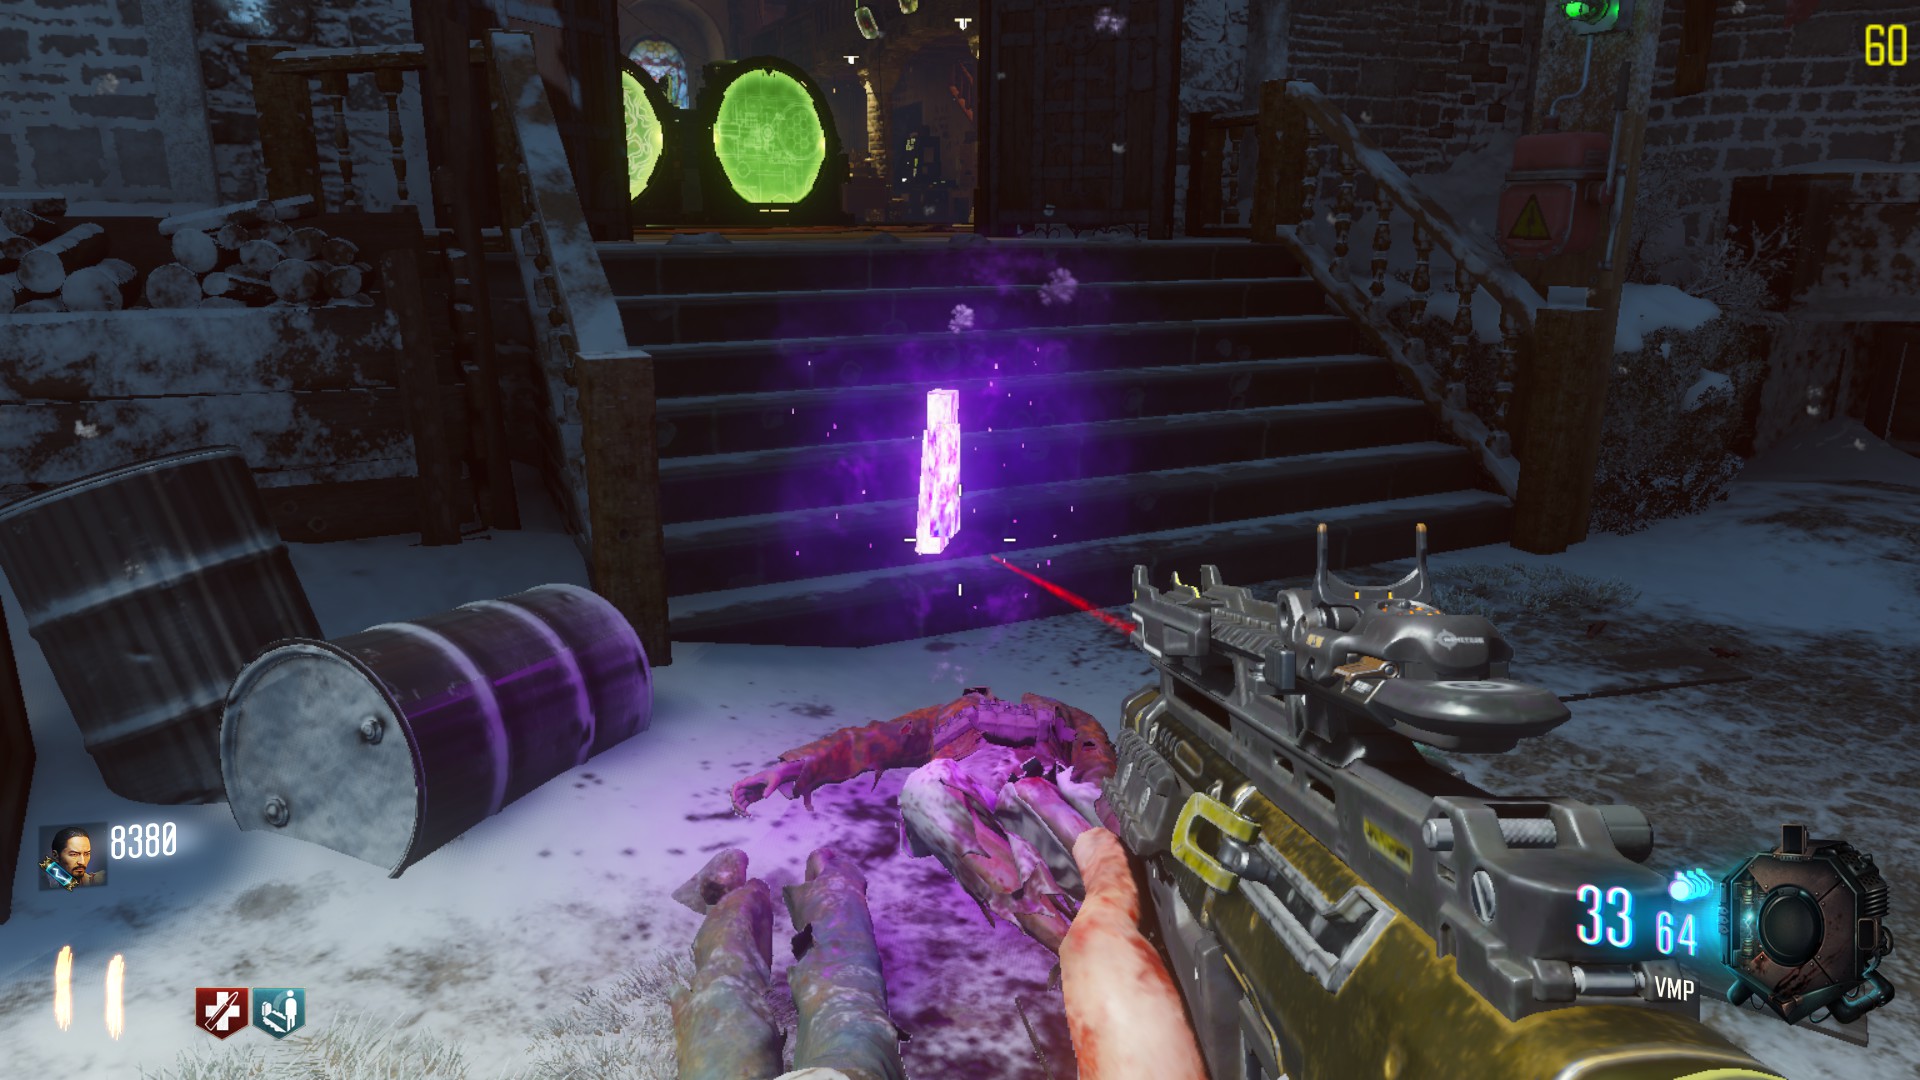
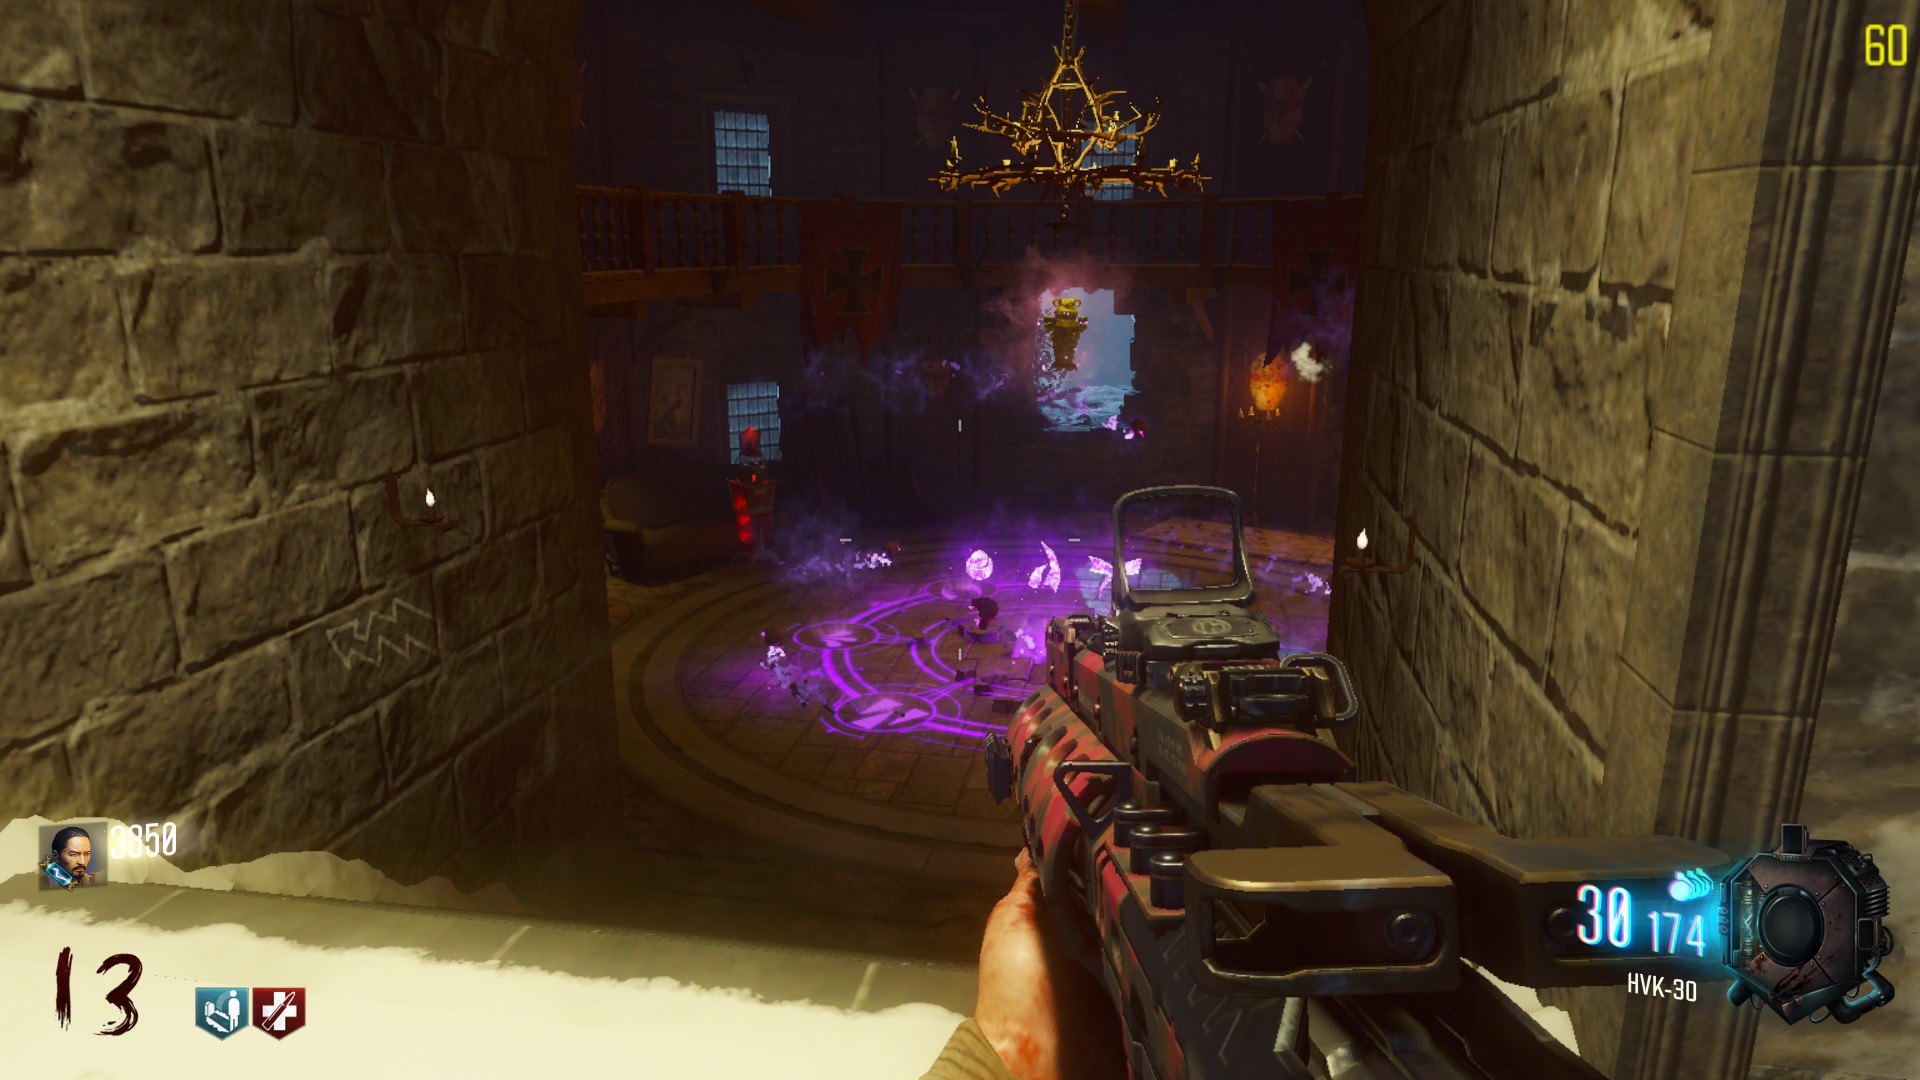
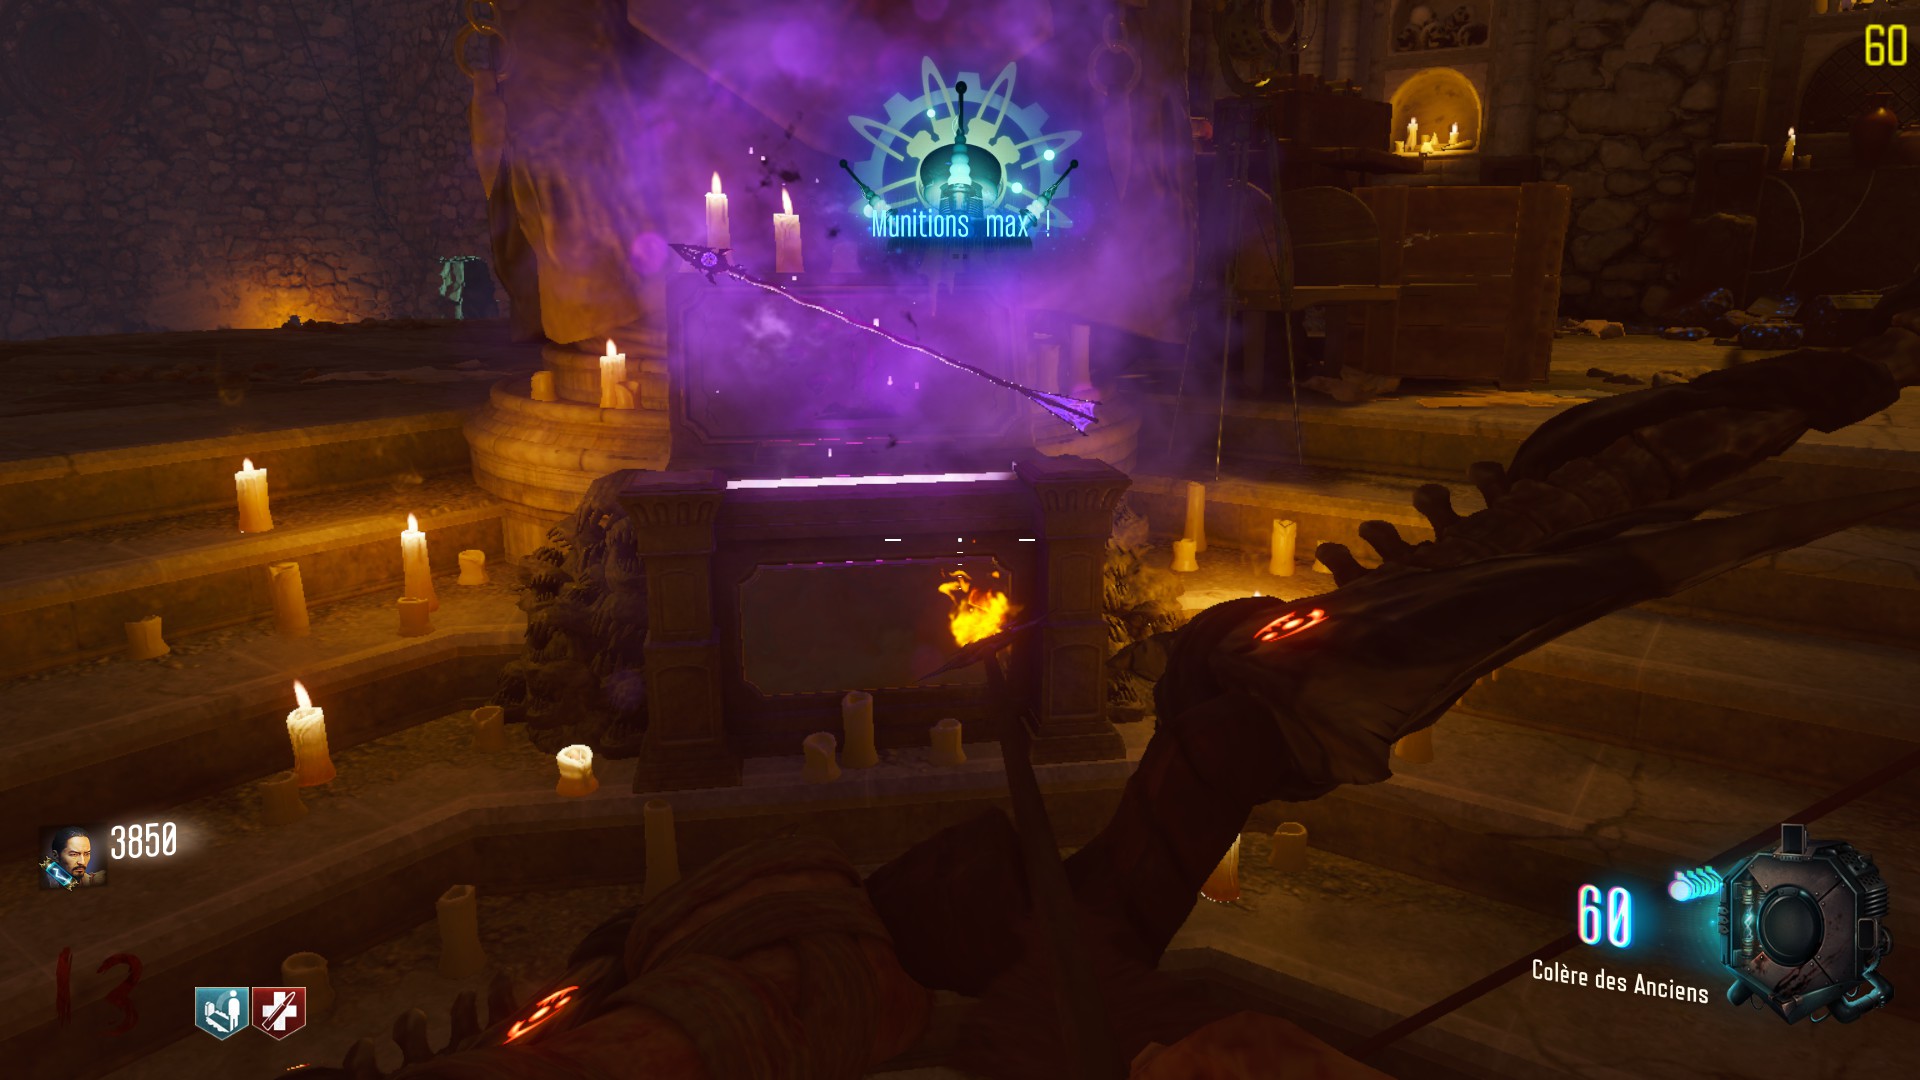
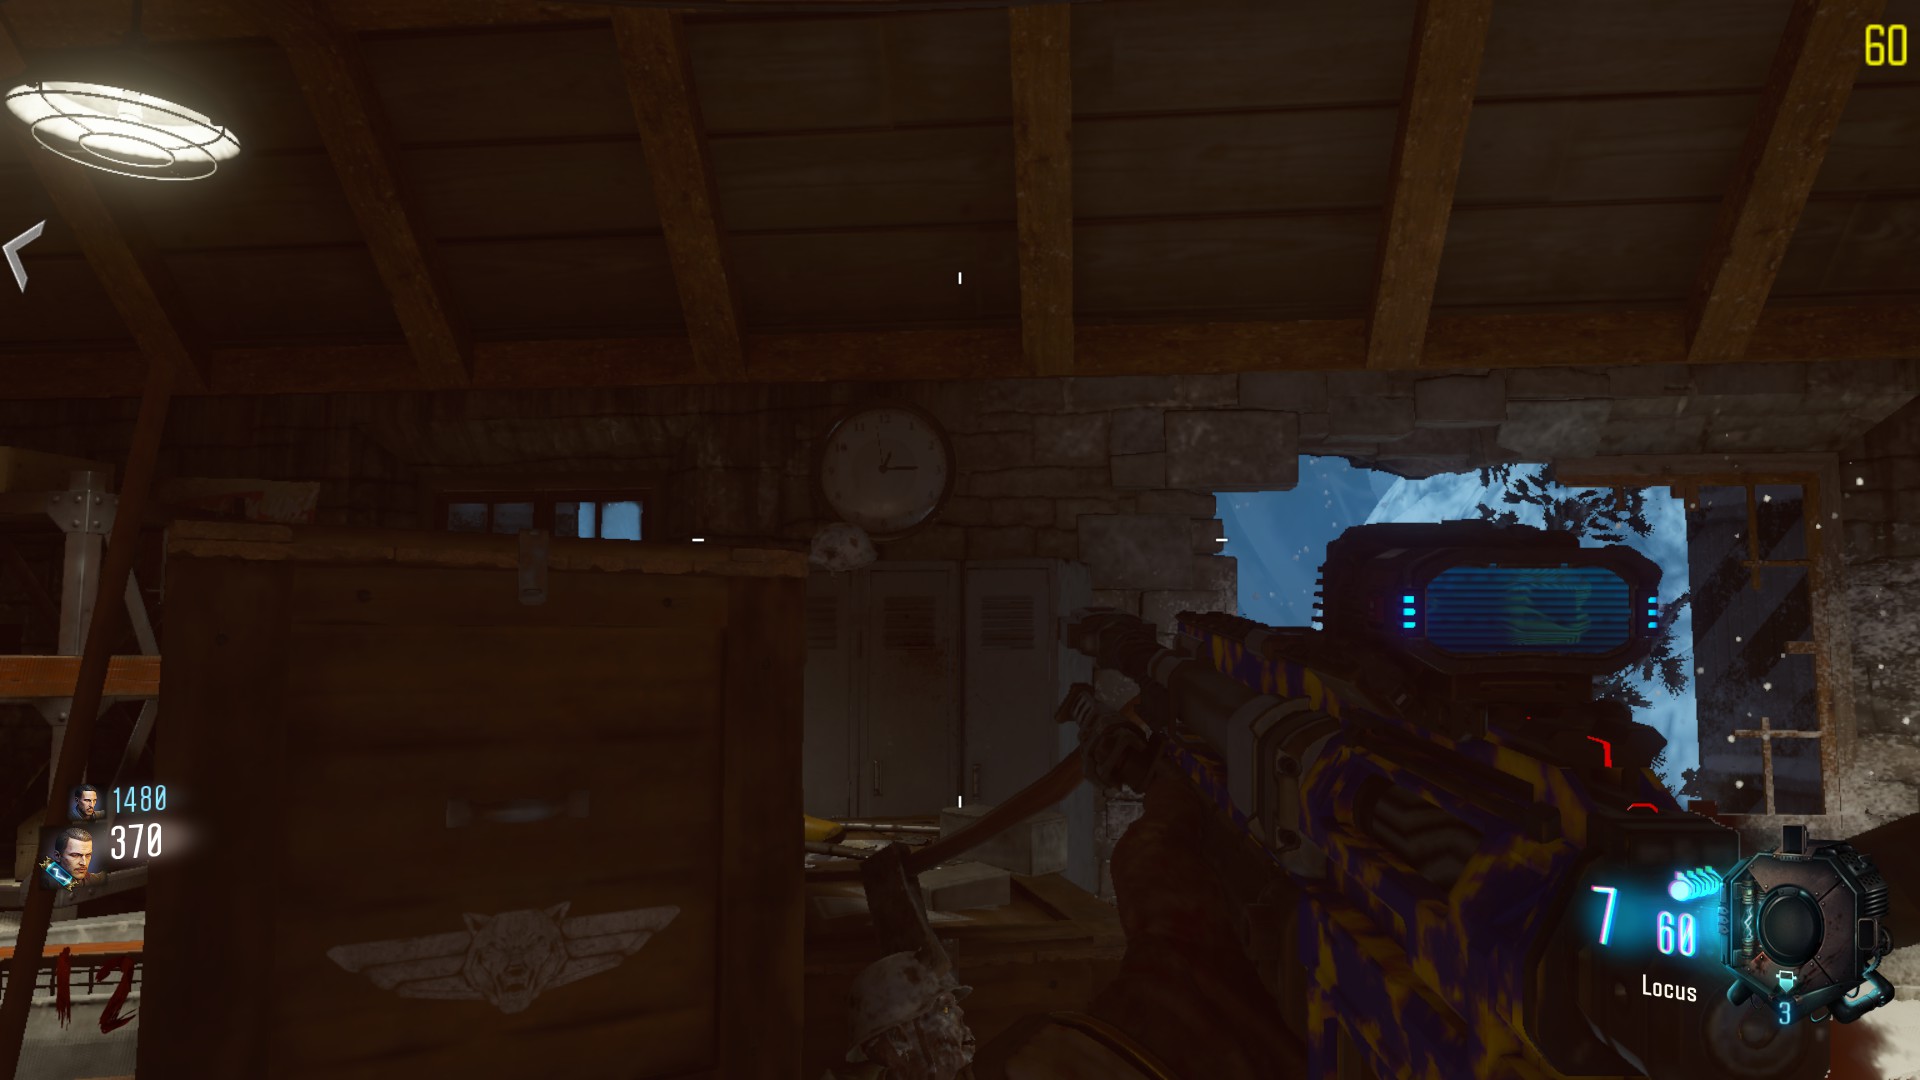
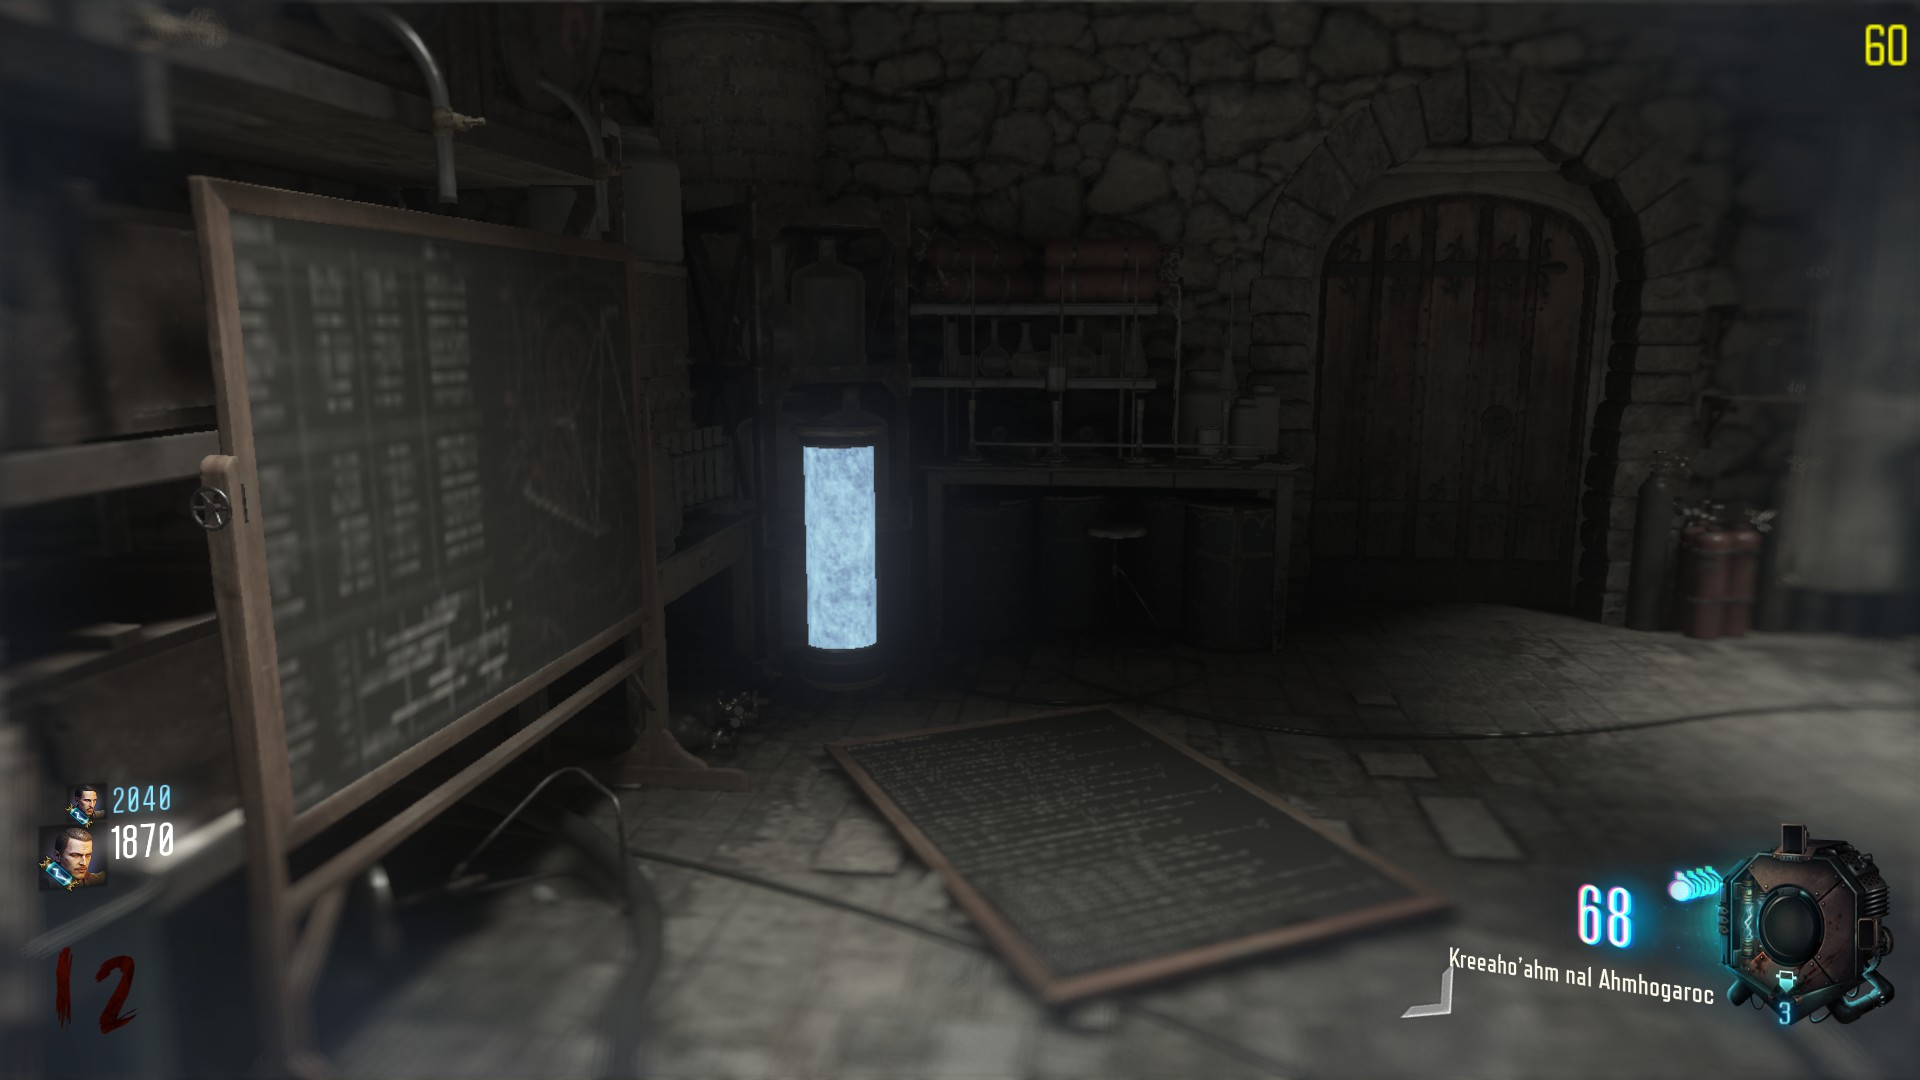
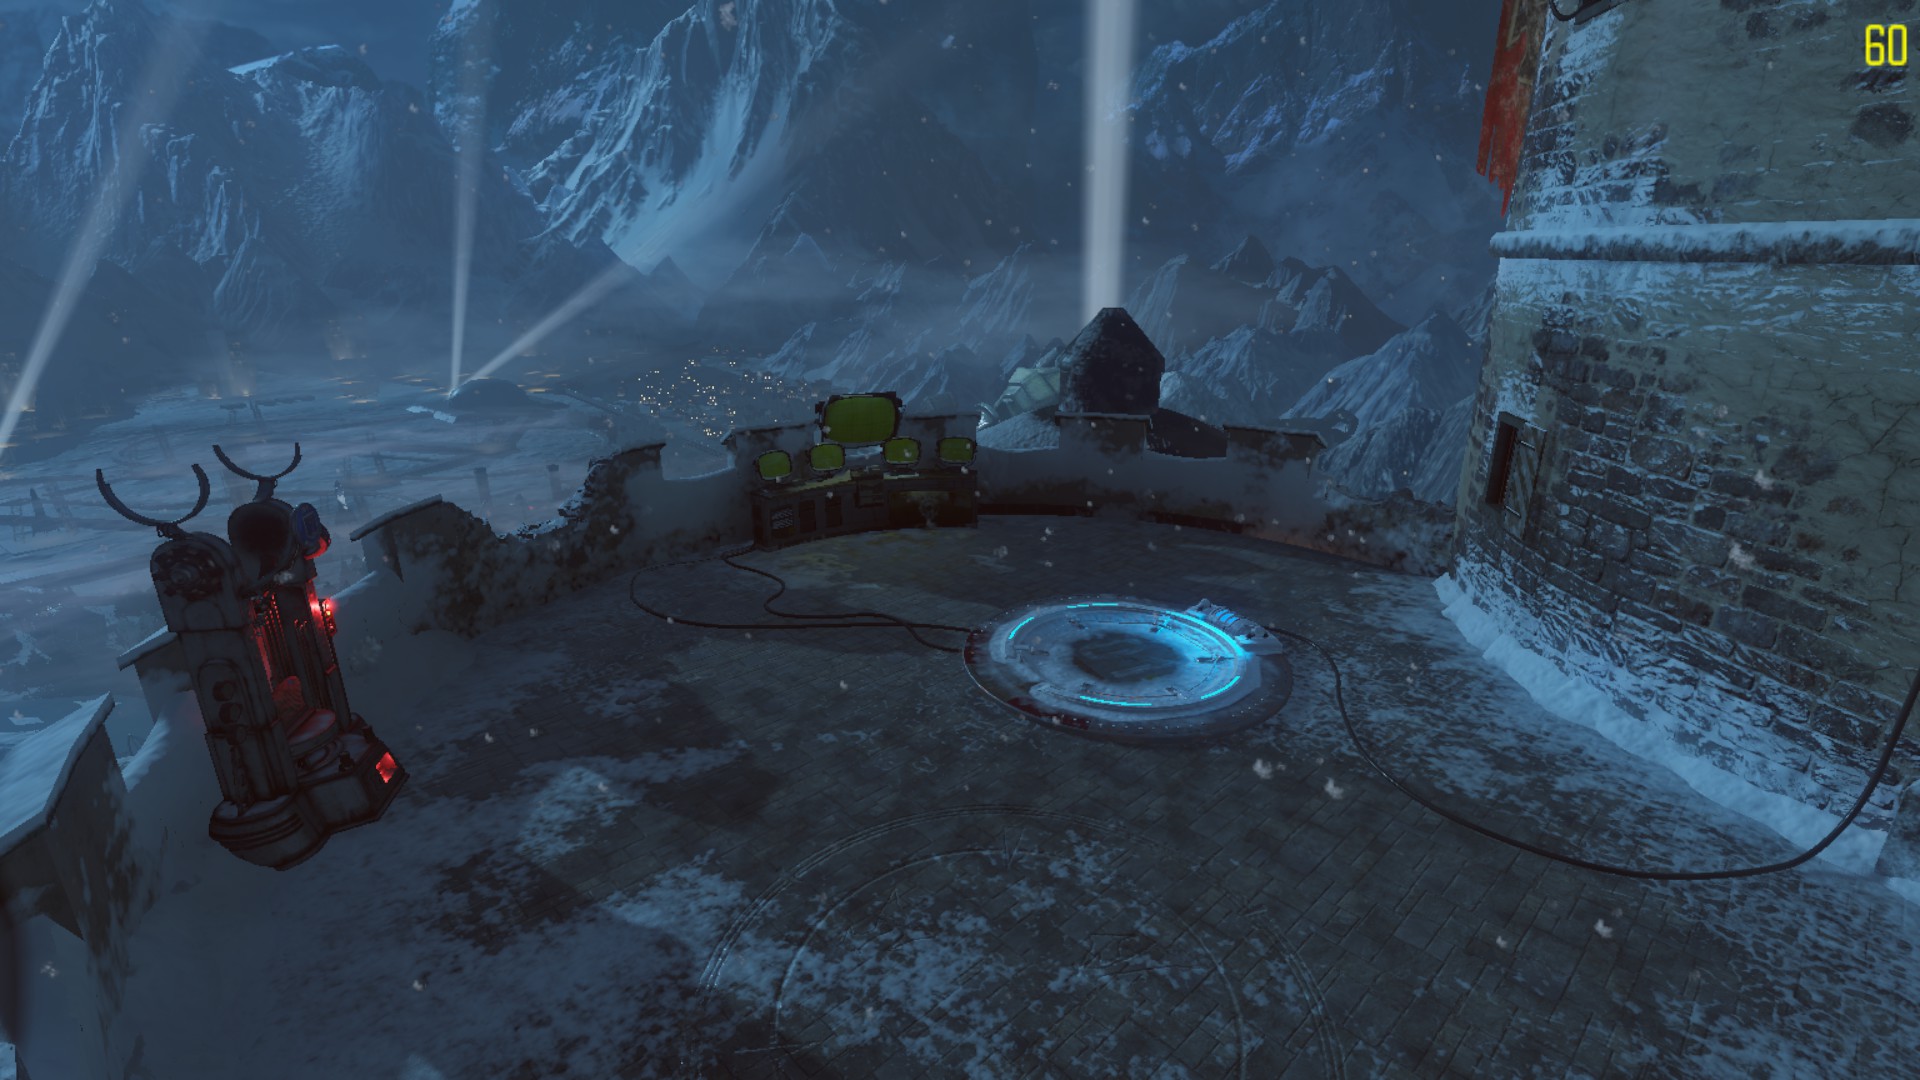
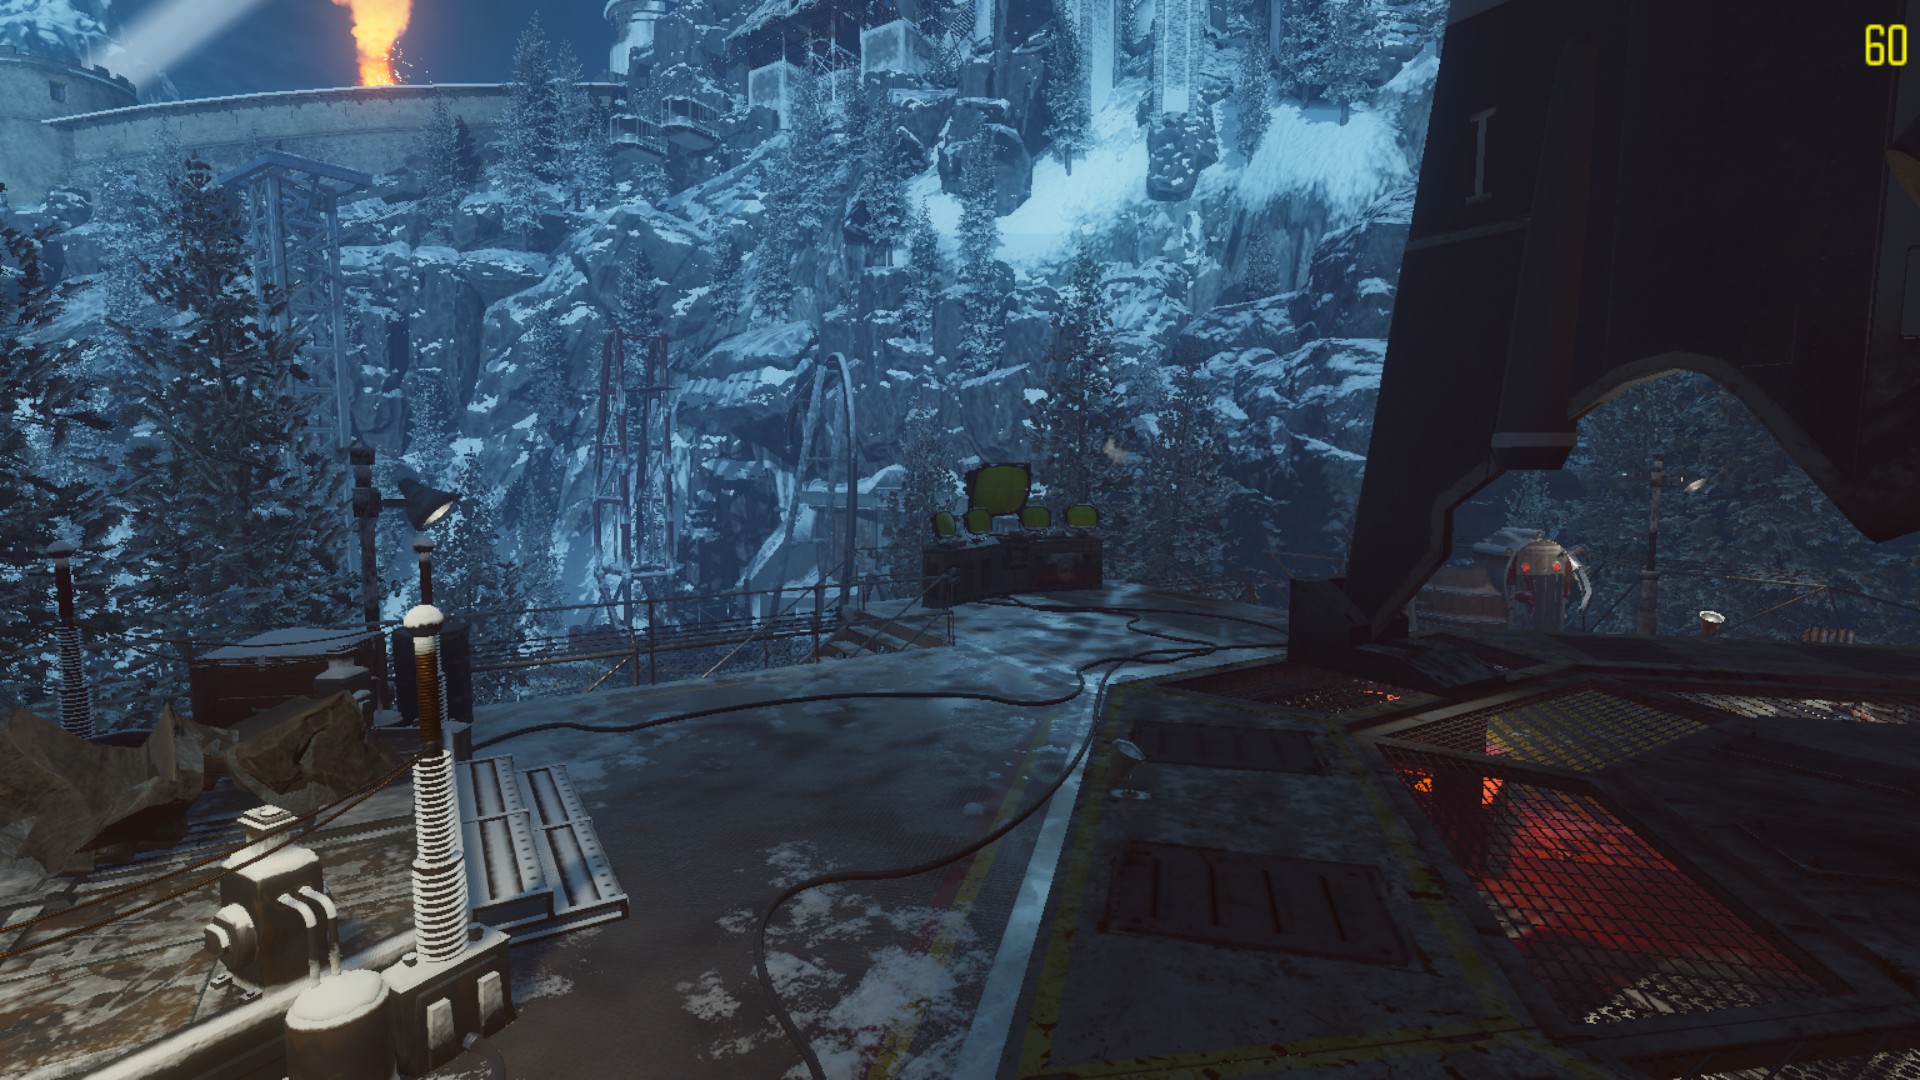
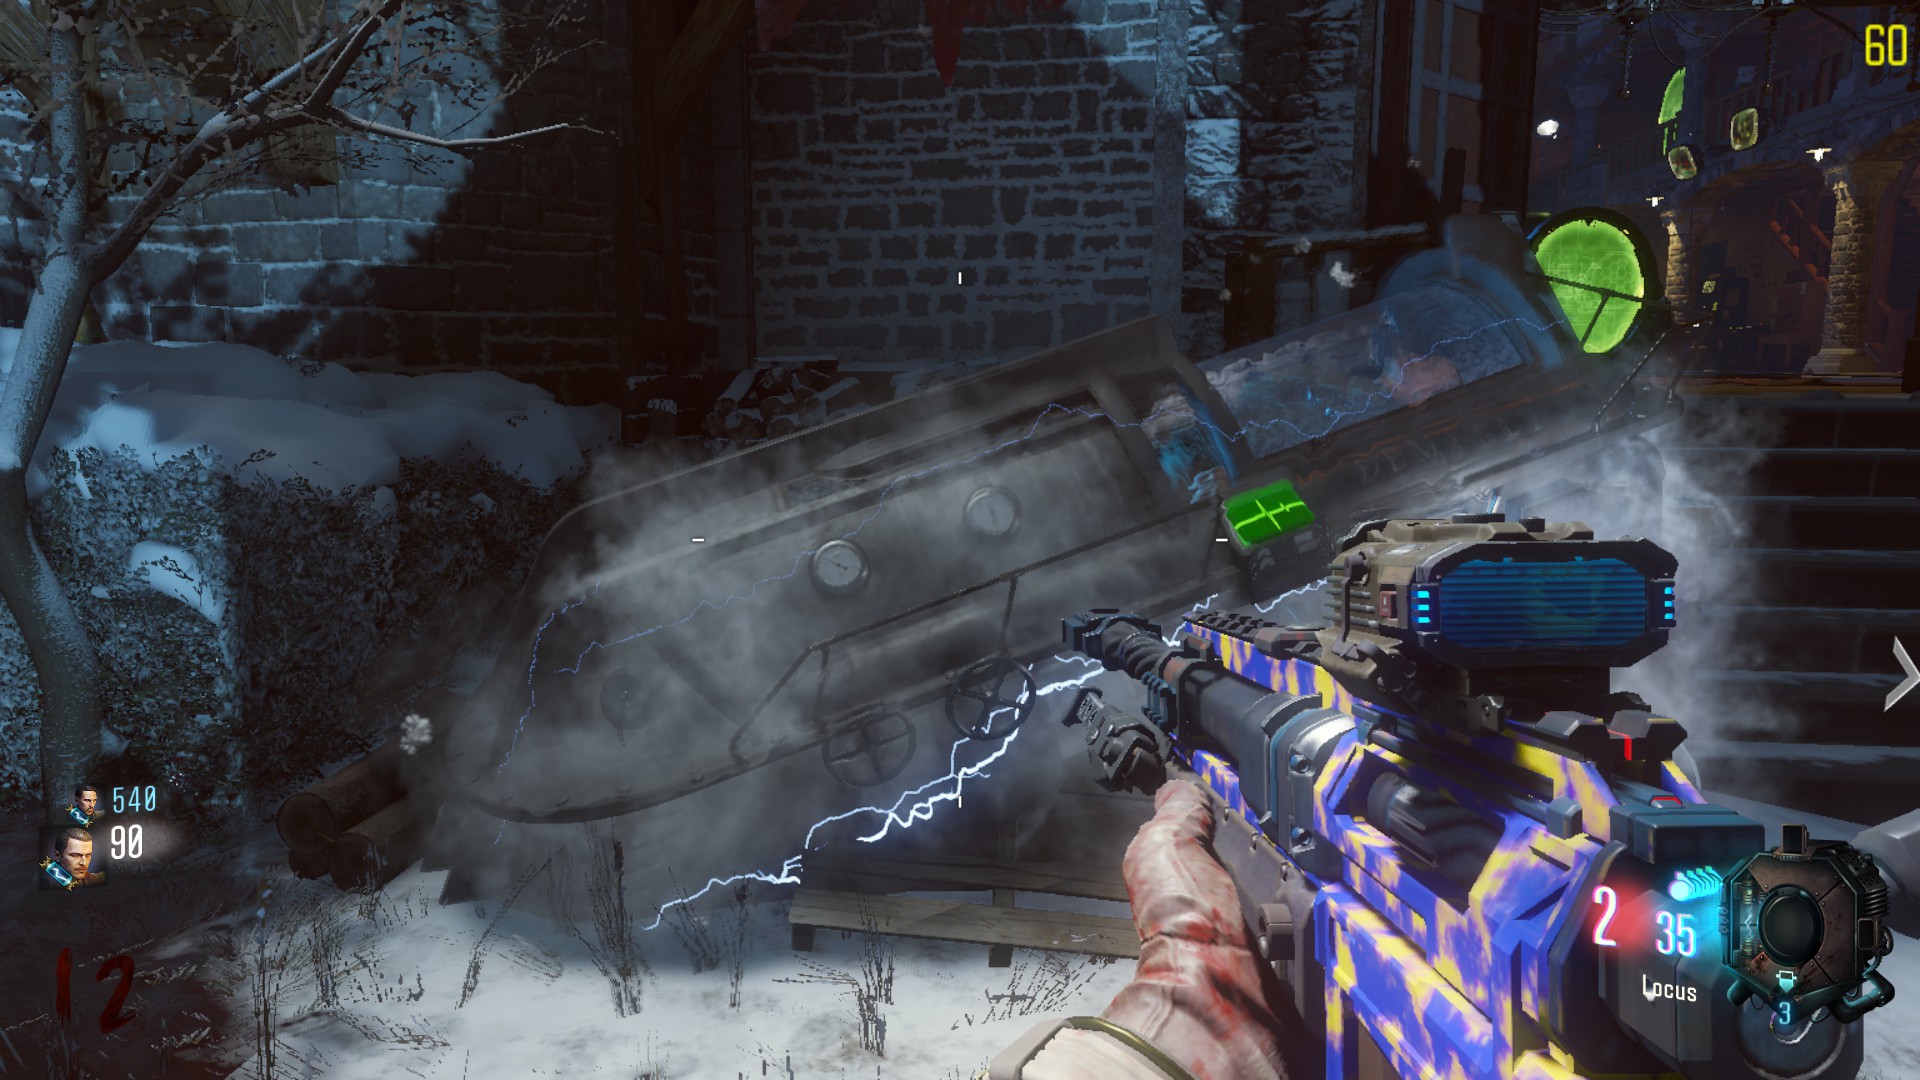
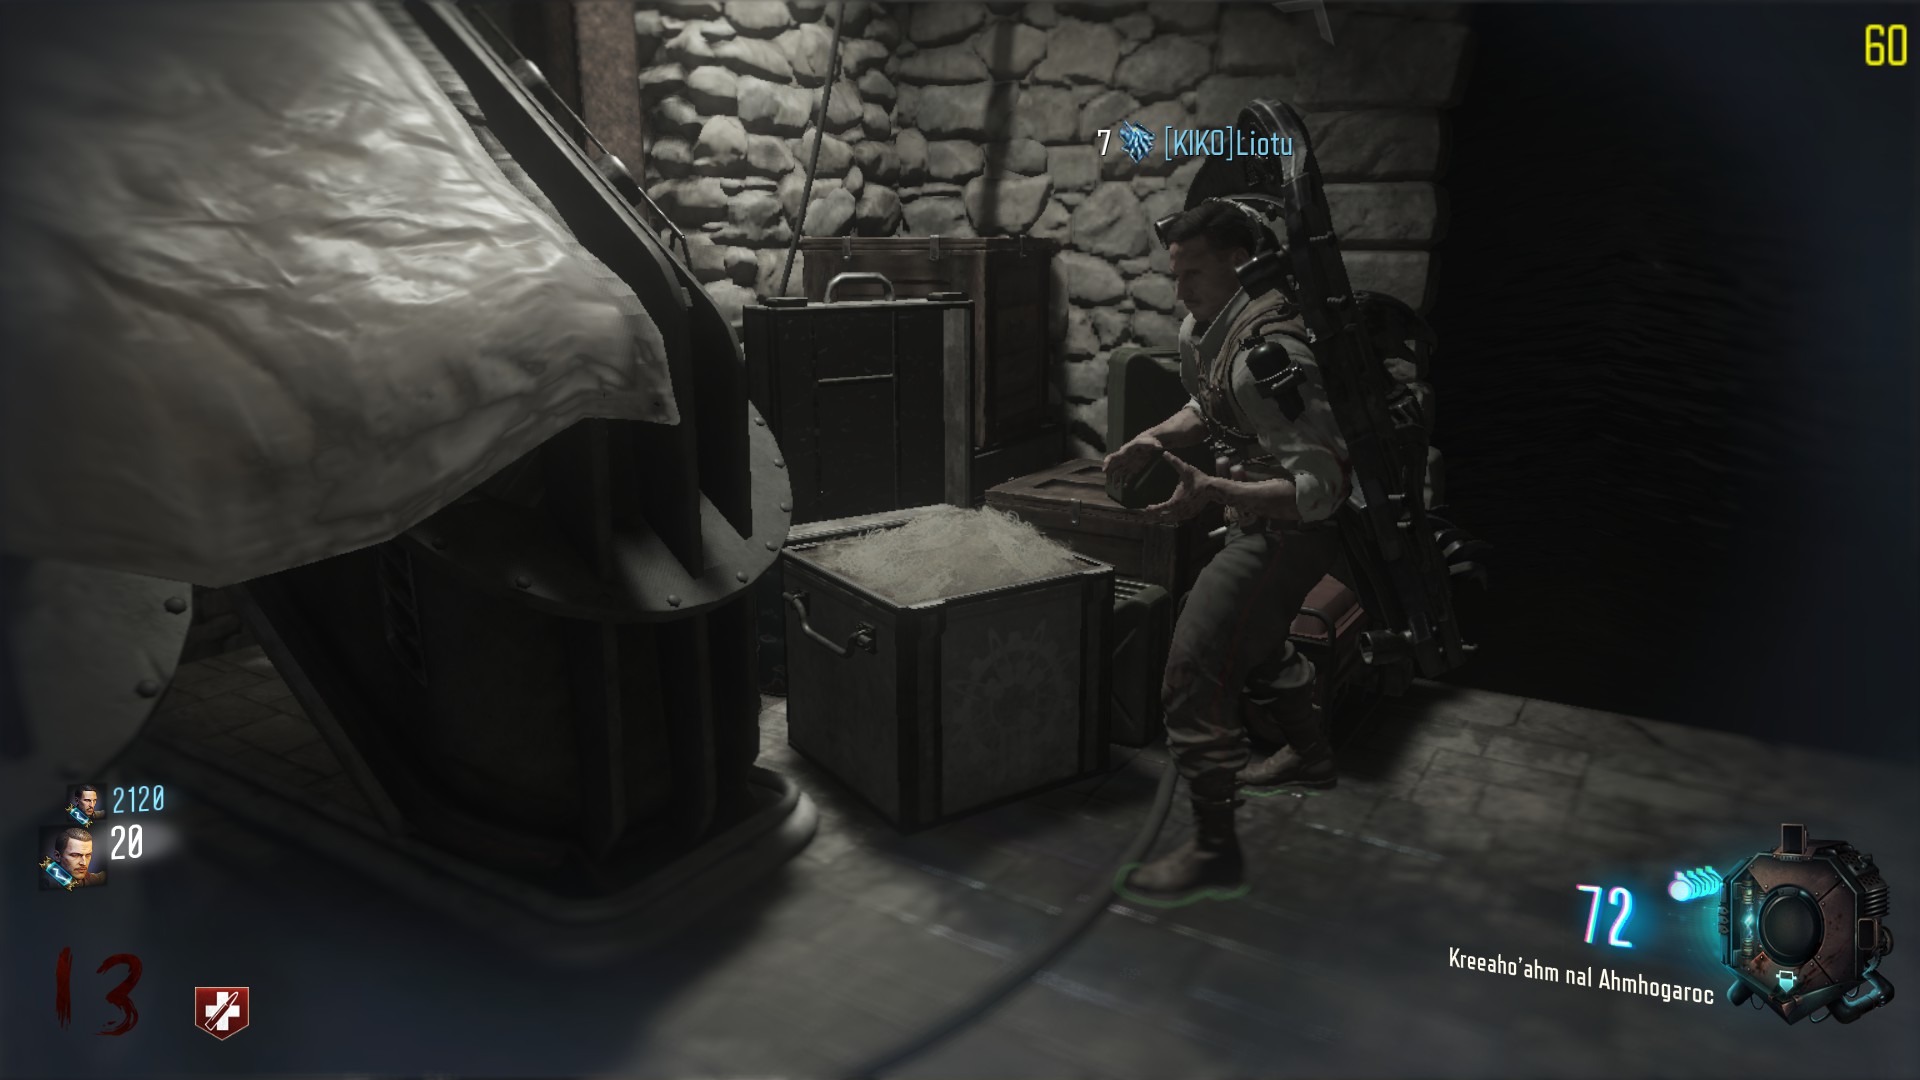
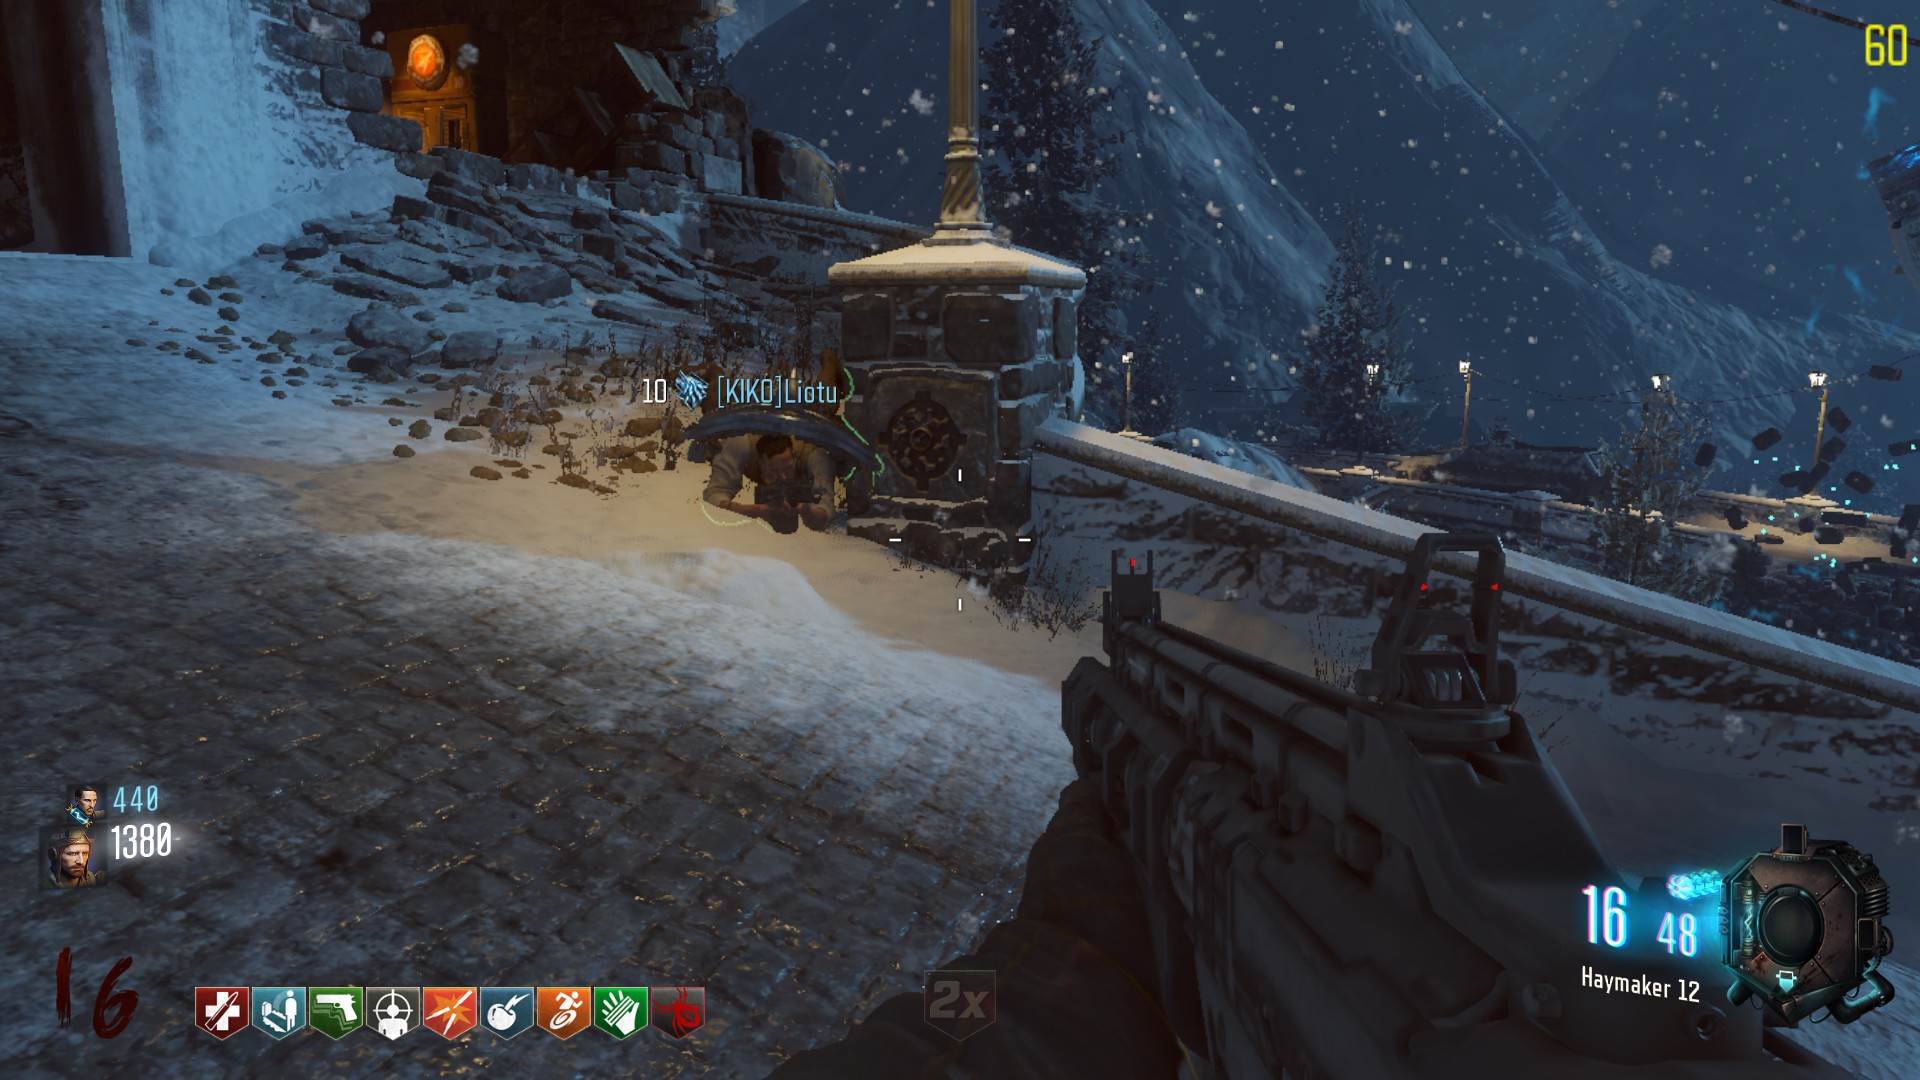
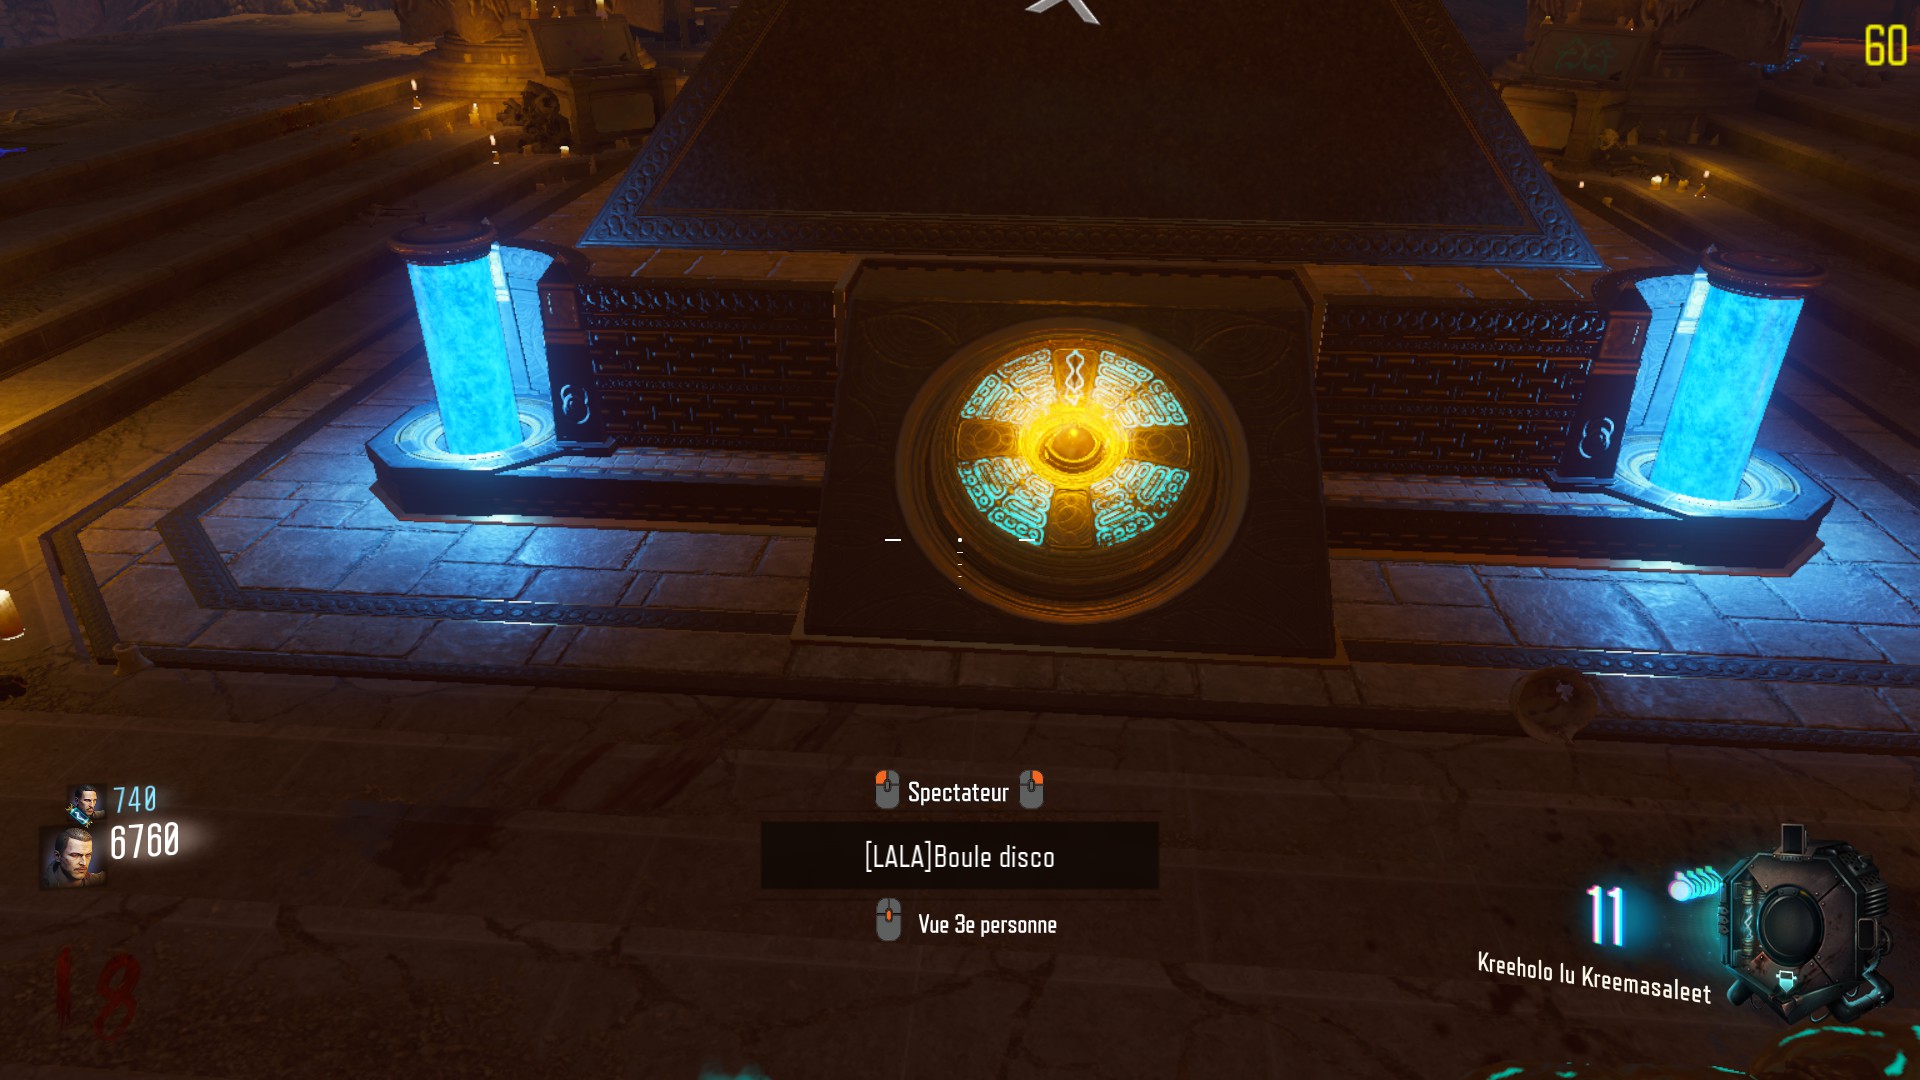
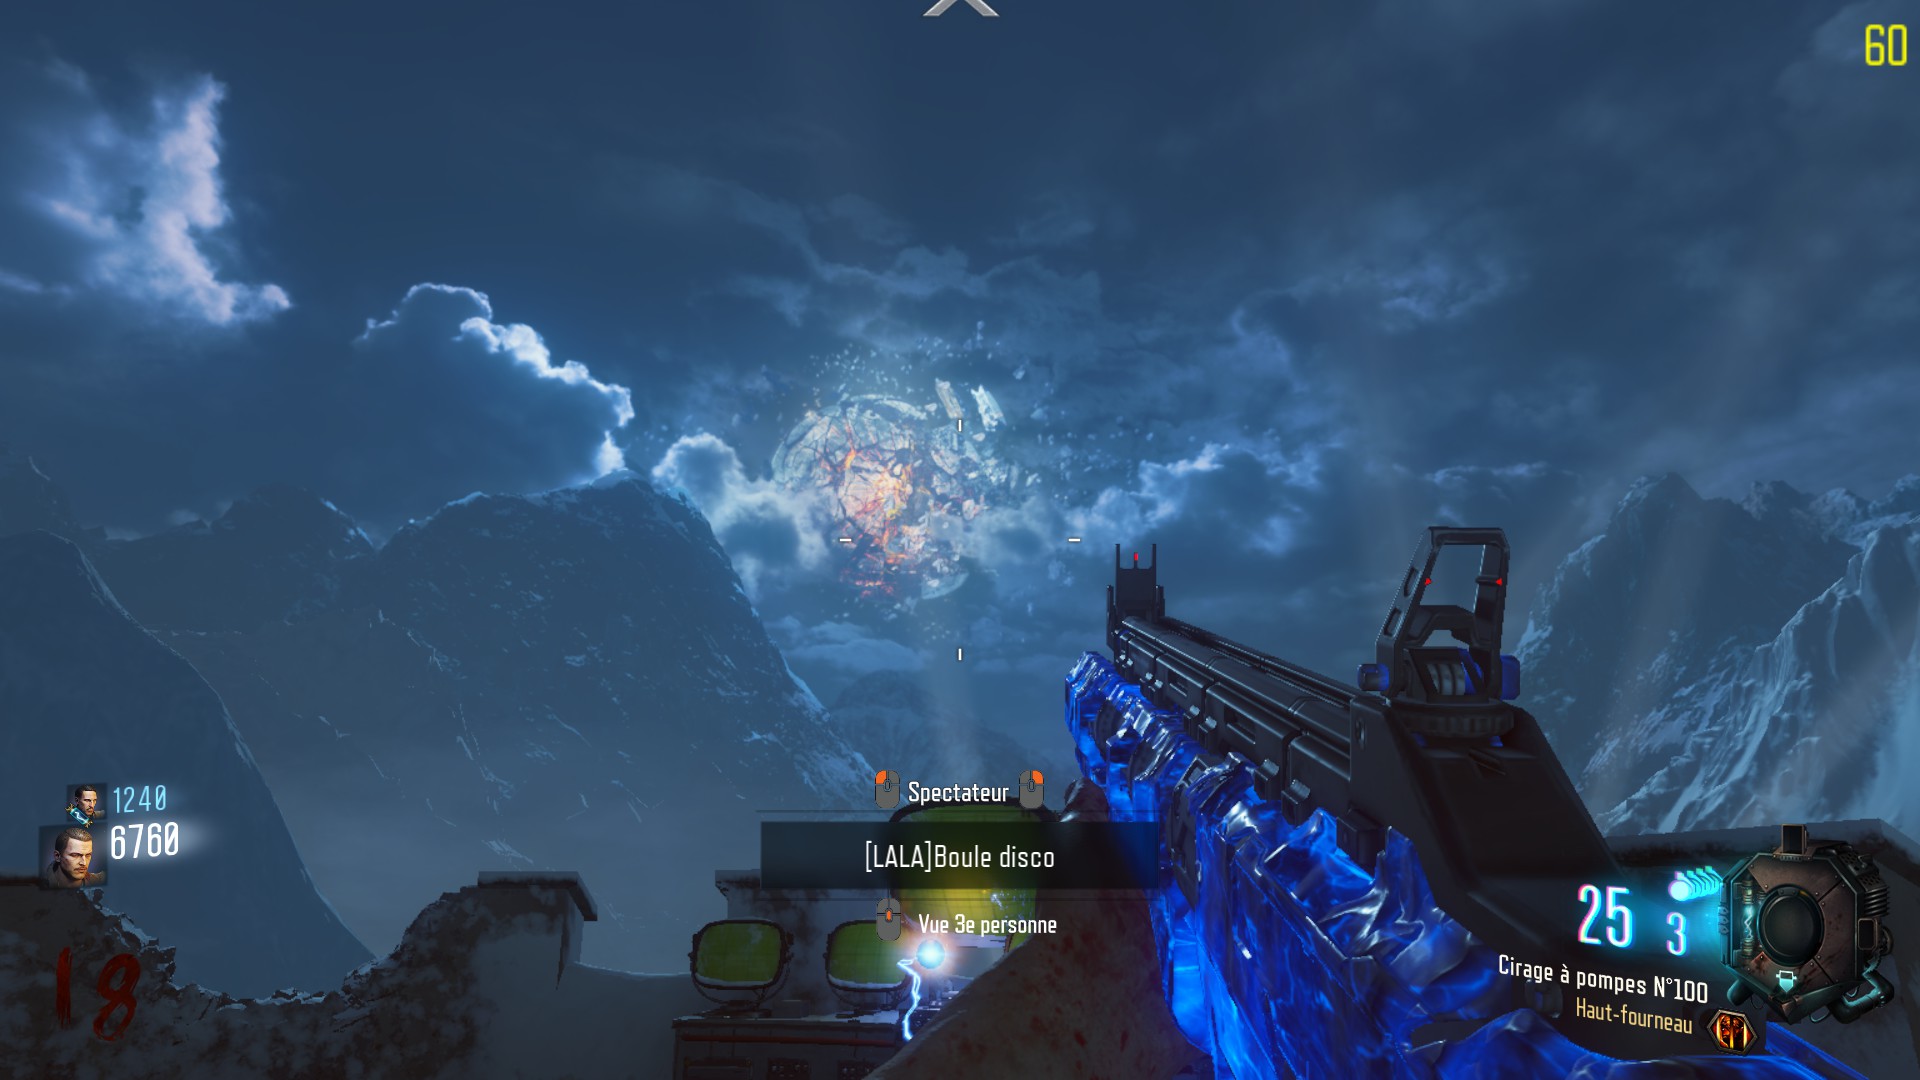
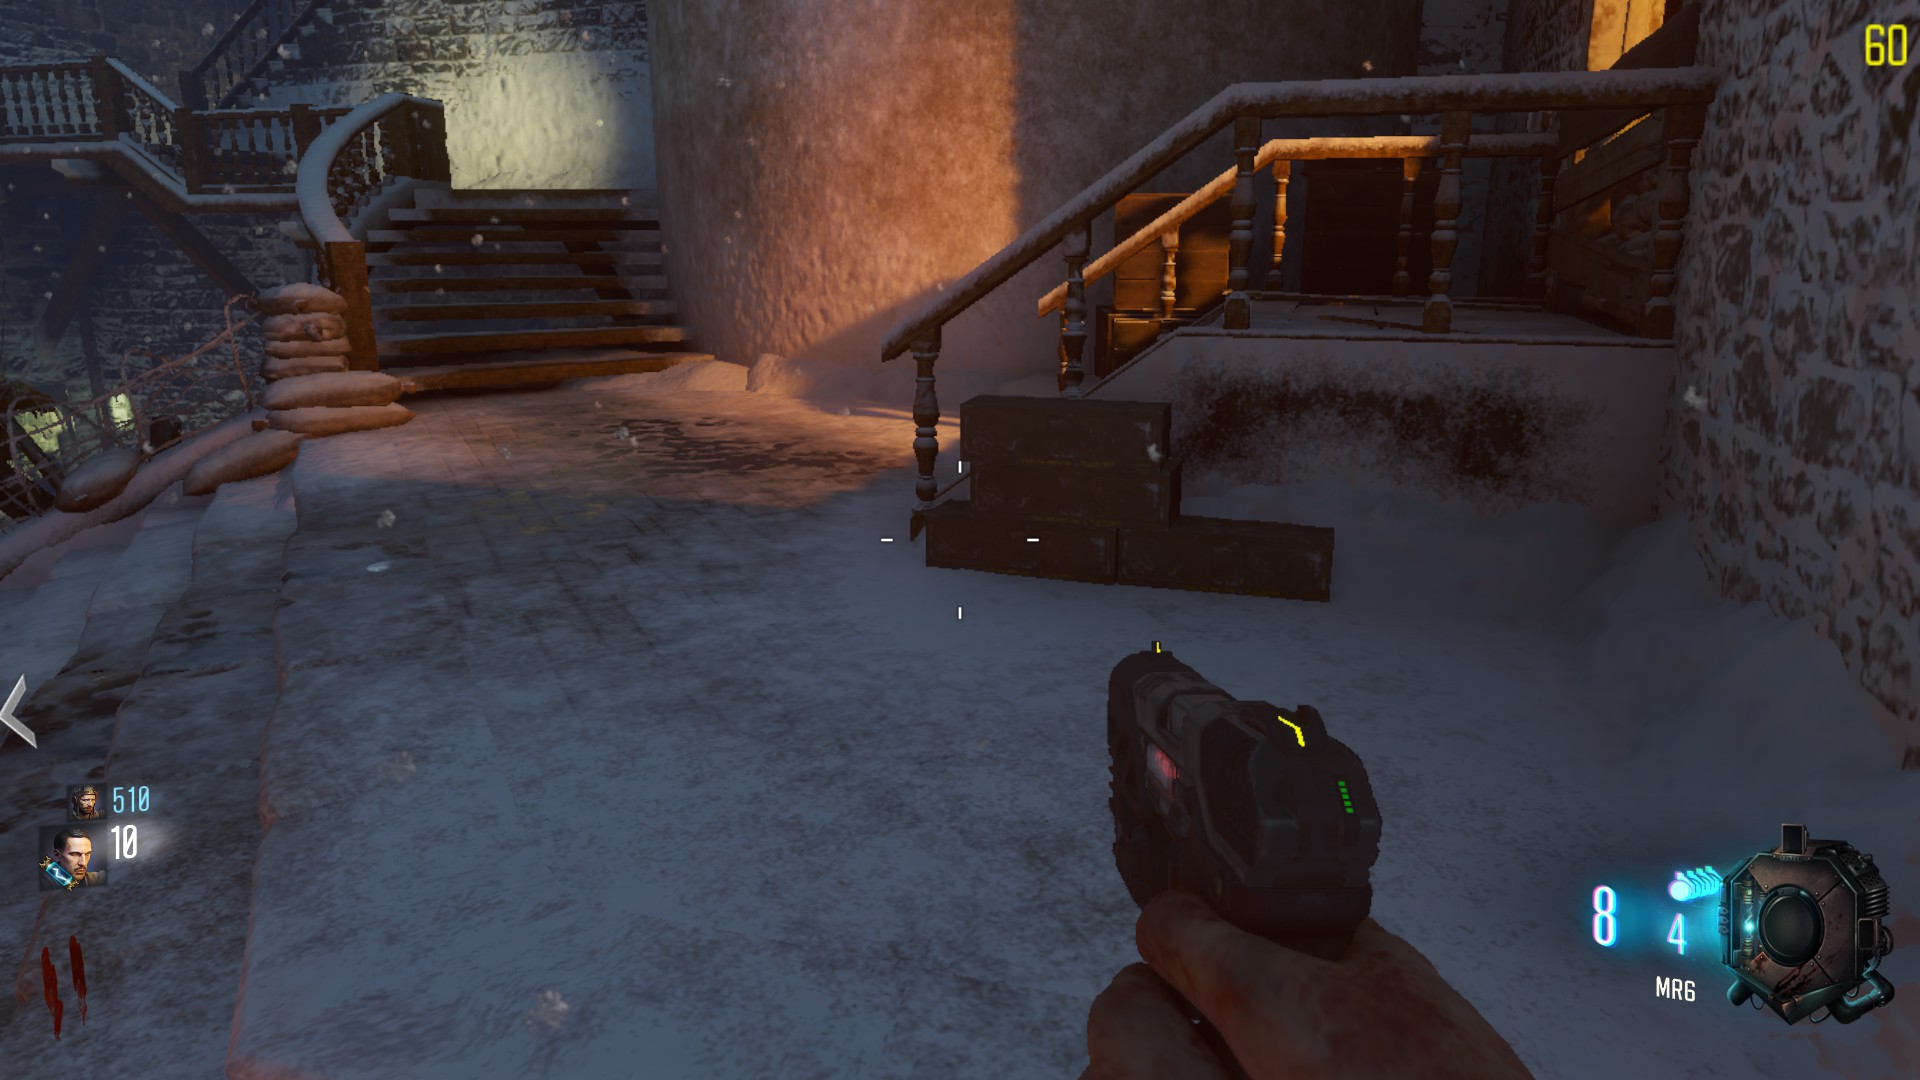
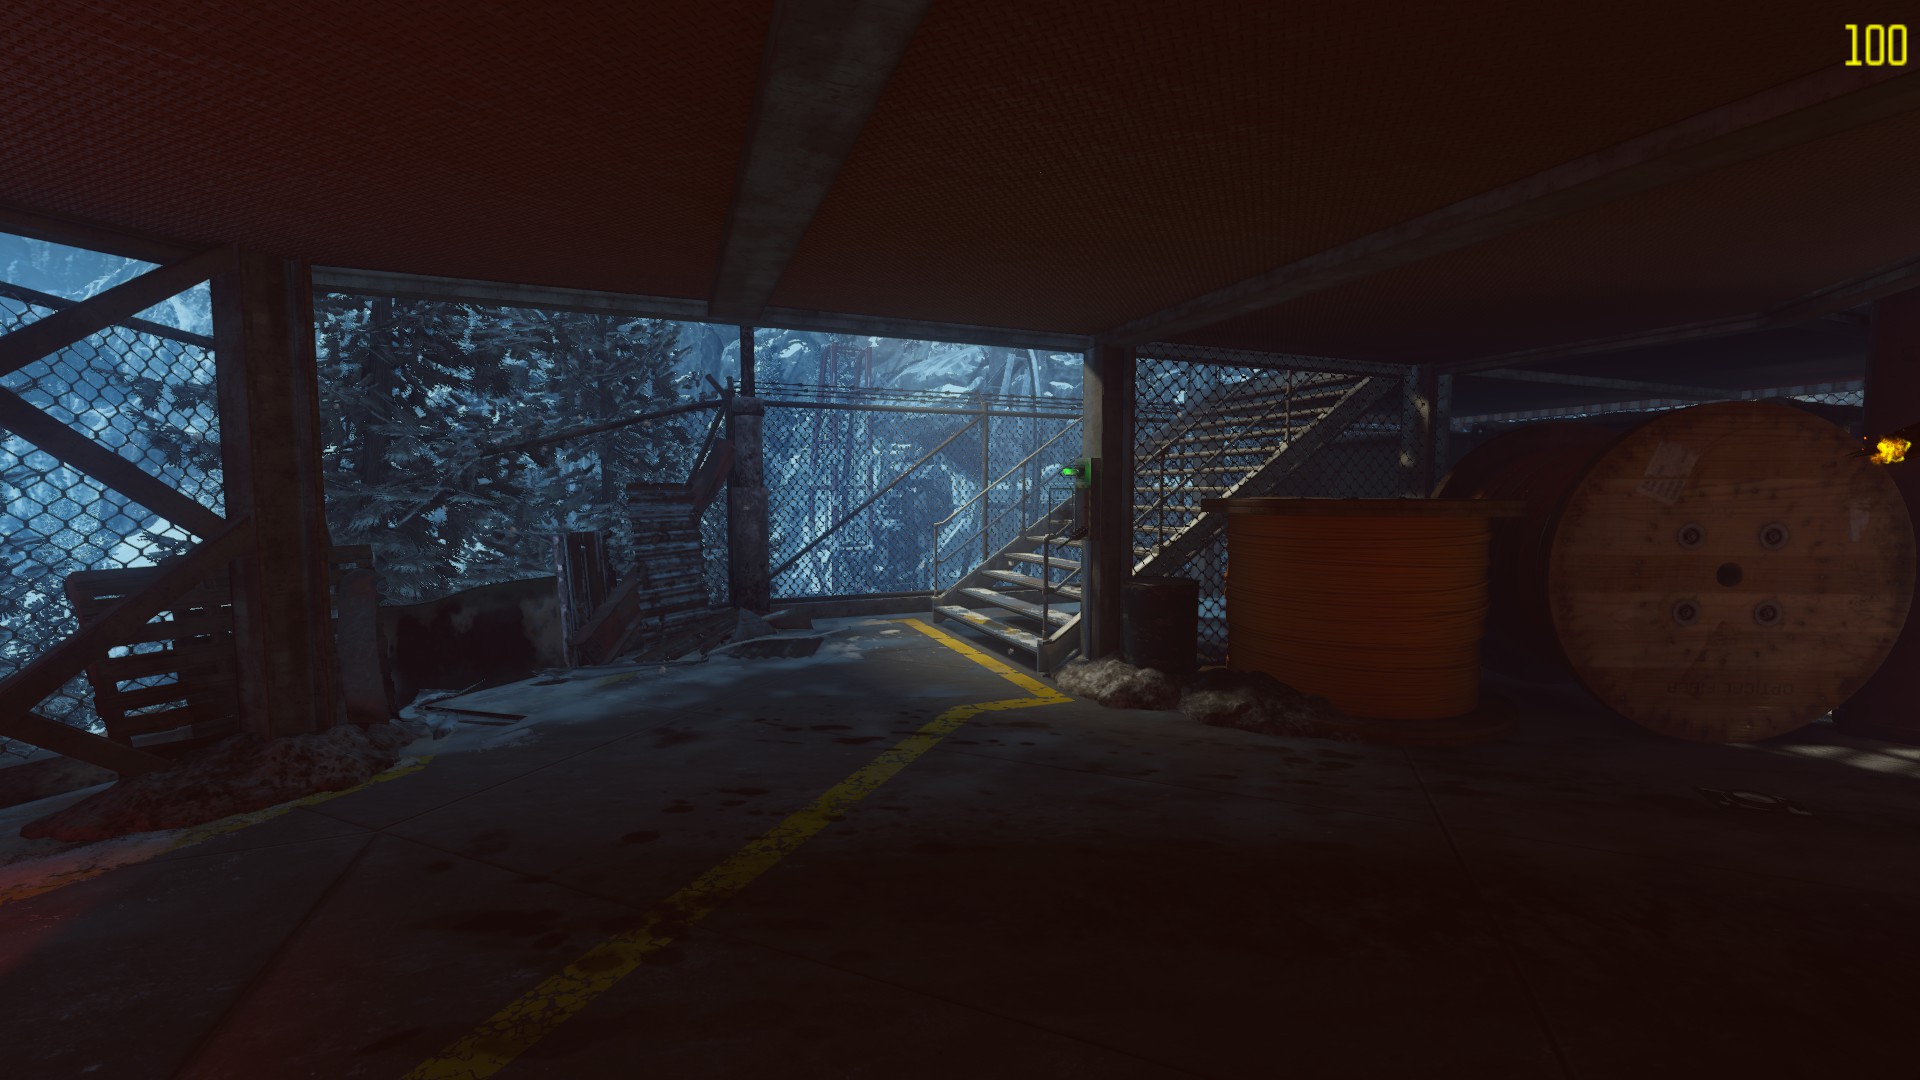
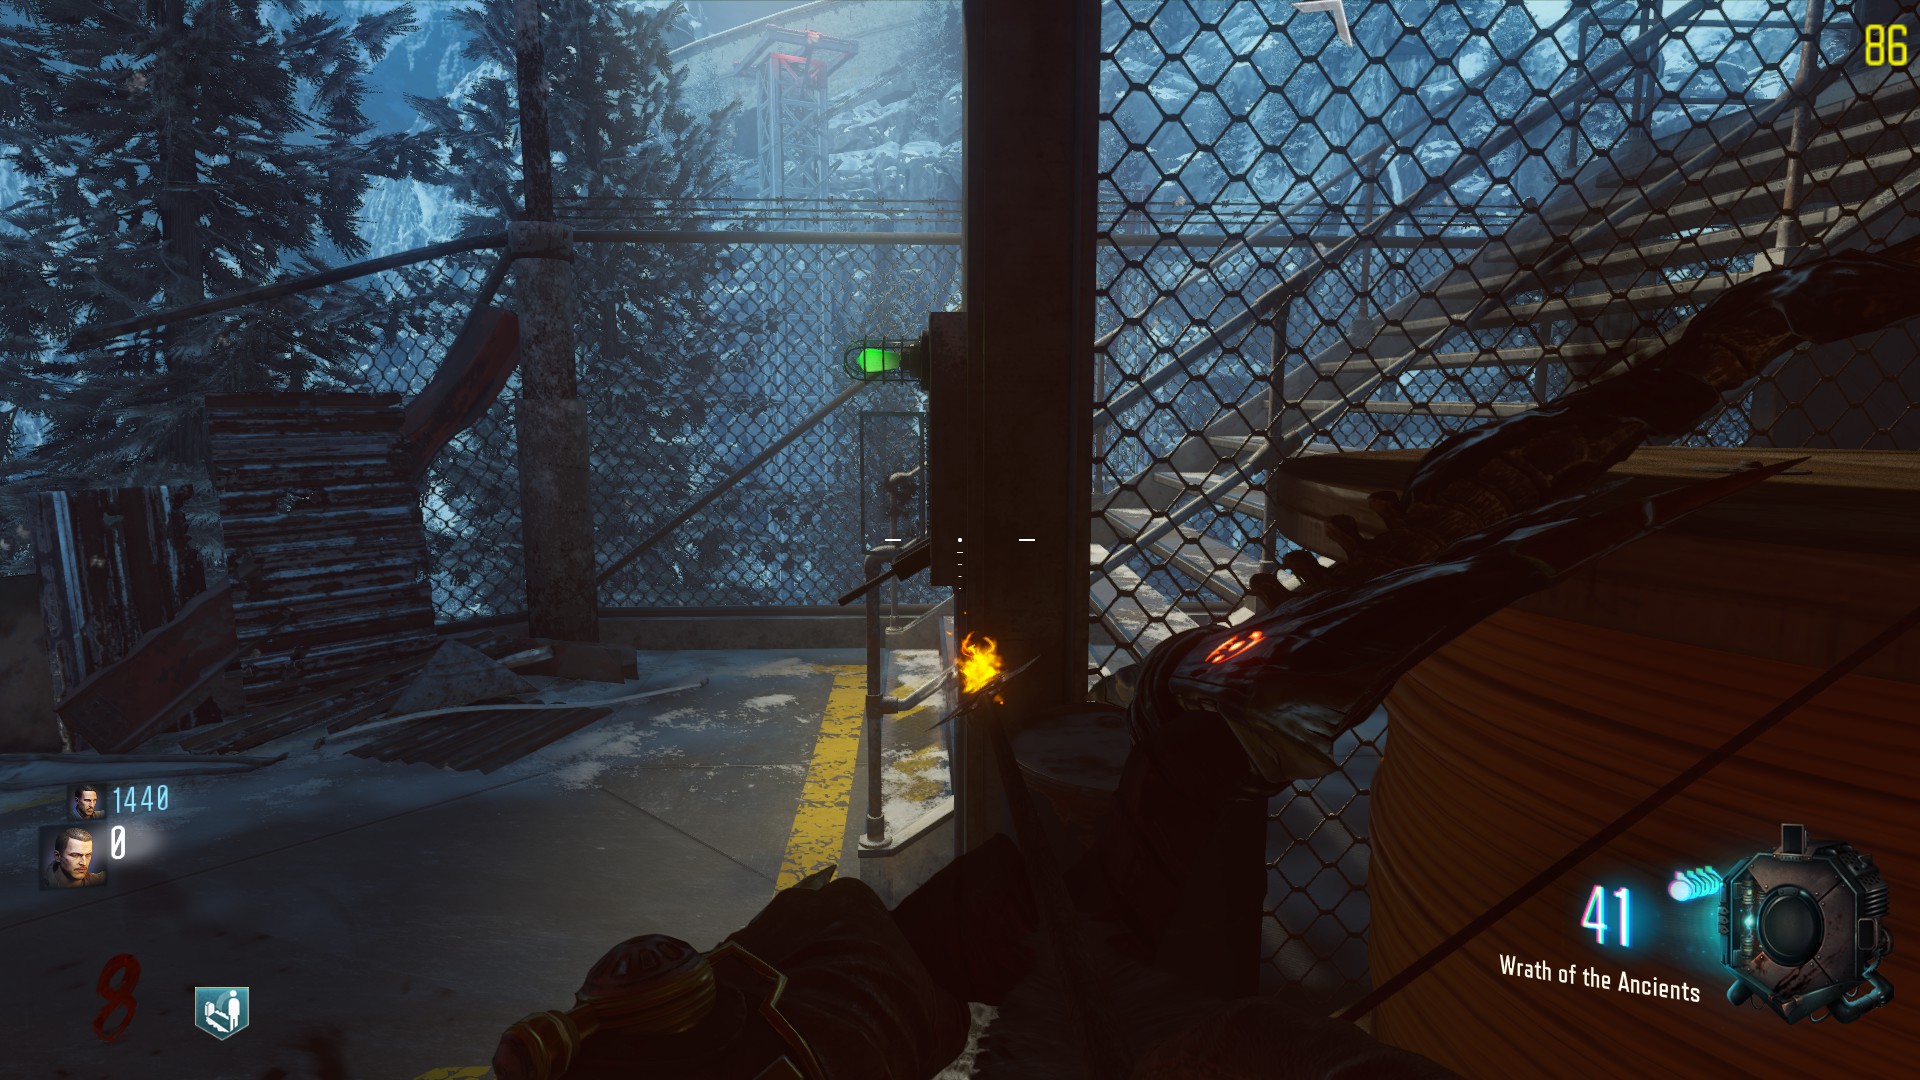
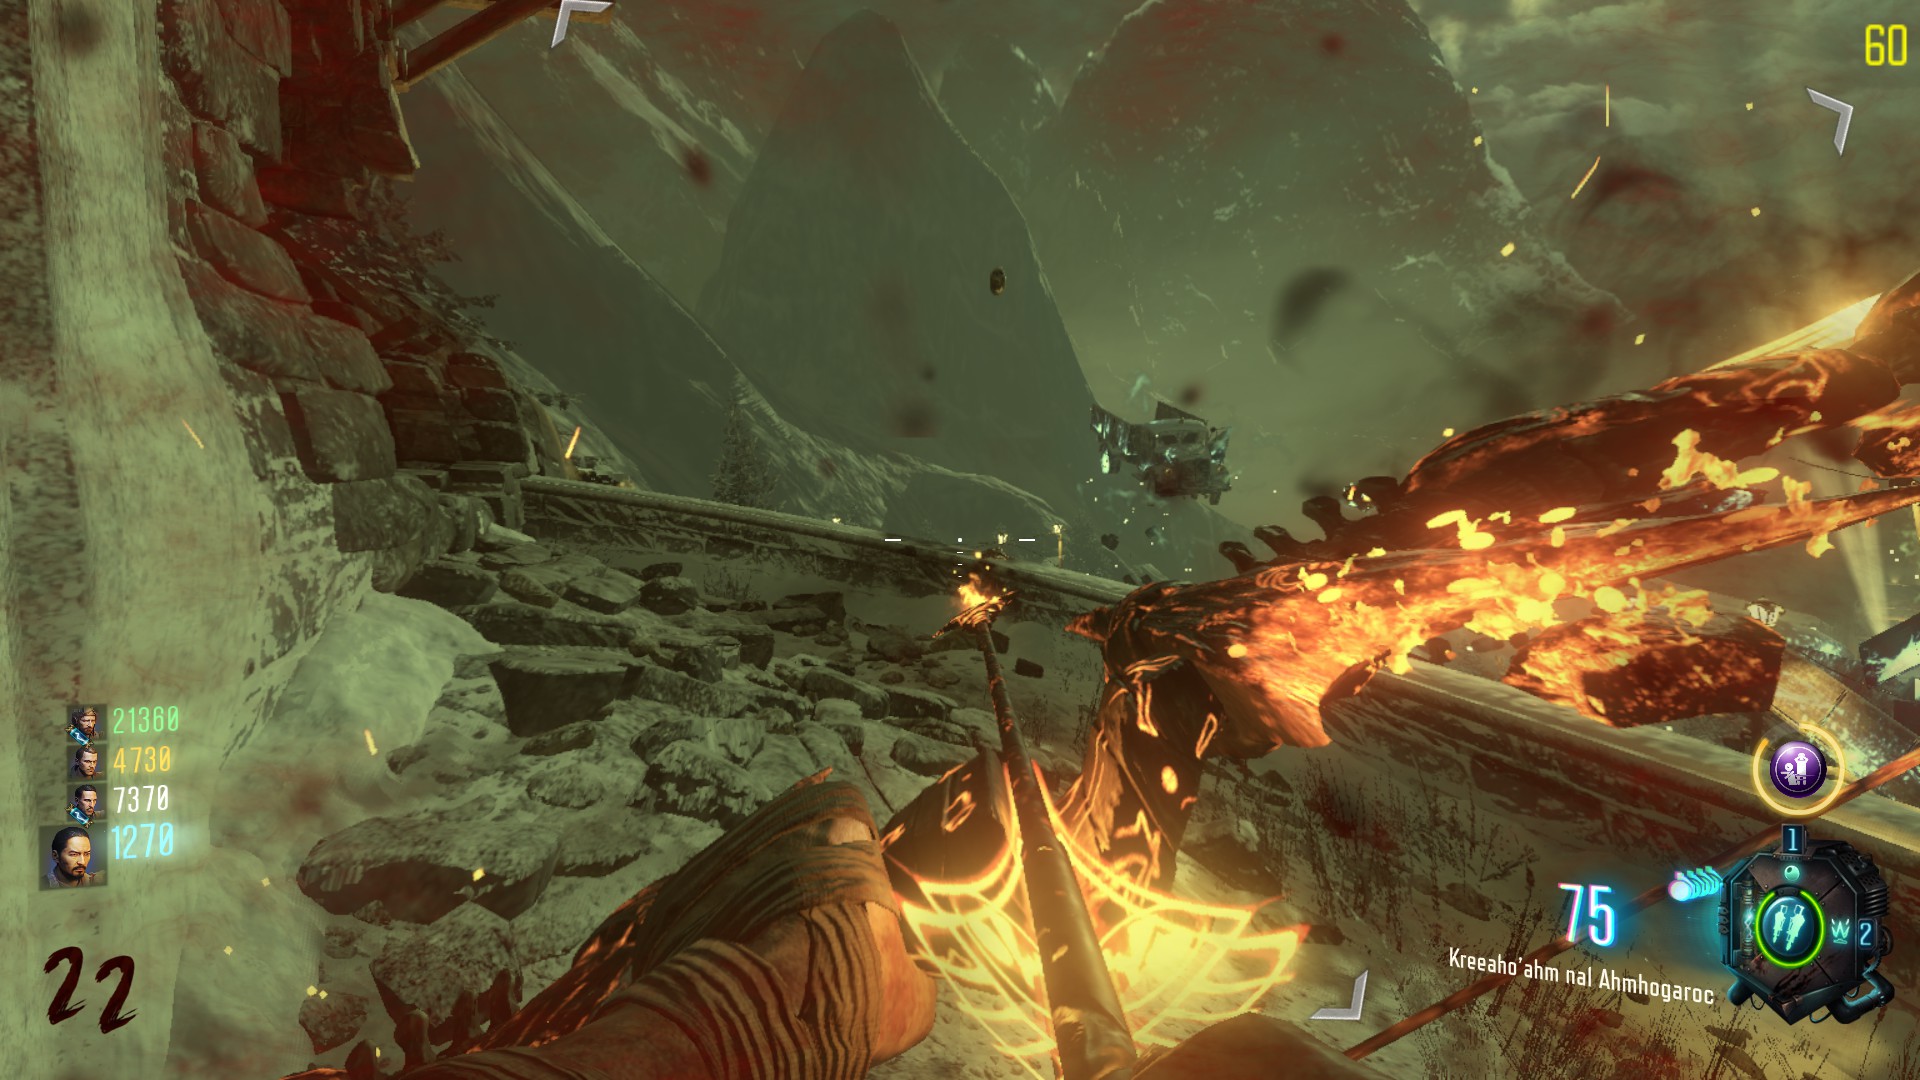
- The second console is on the landing pad:
<Picture>"
Good luck next time
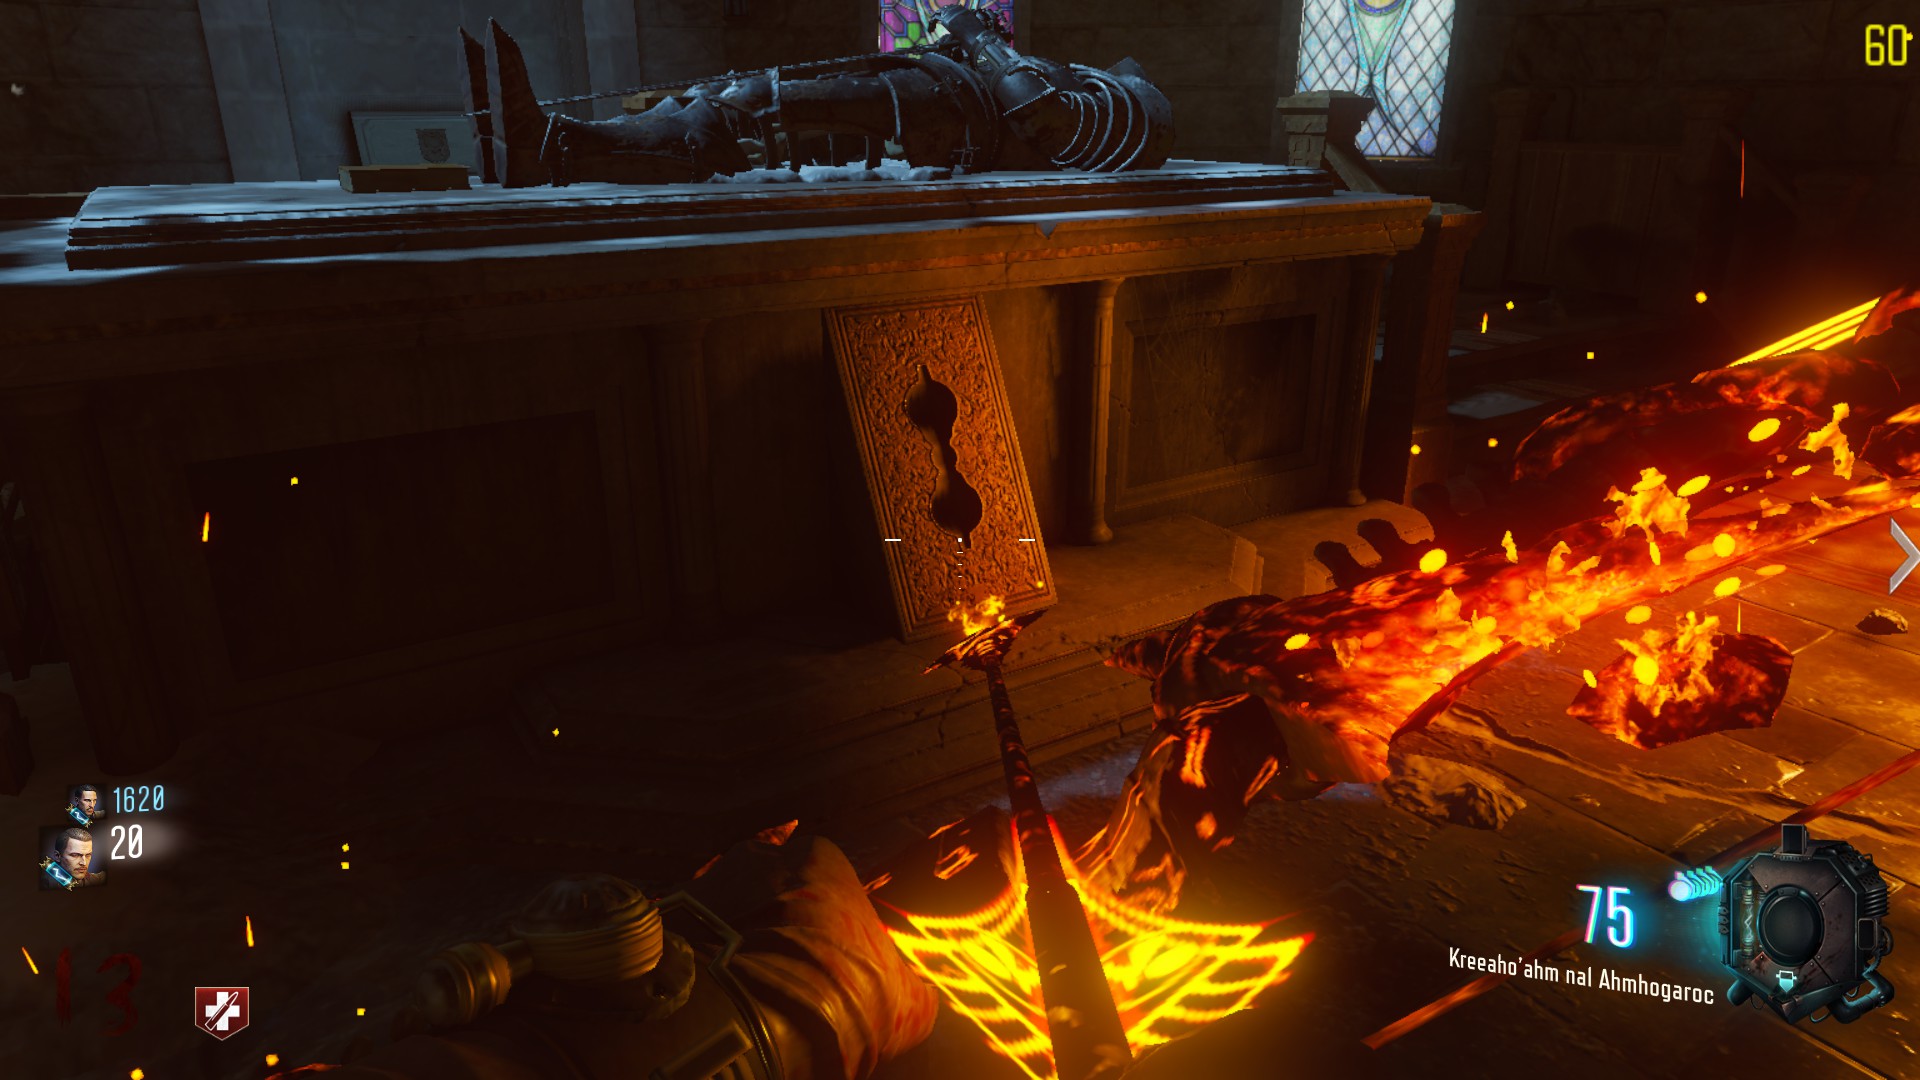
Uhh, first time mentioning a golden rod, or a rod at all... where?
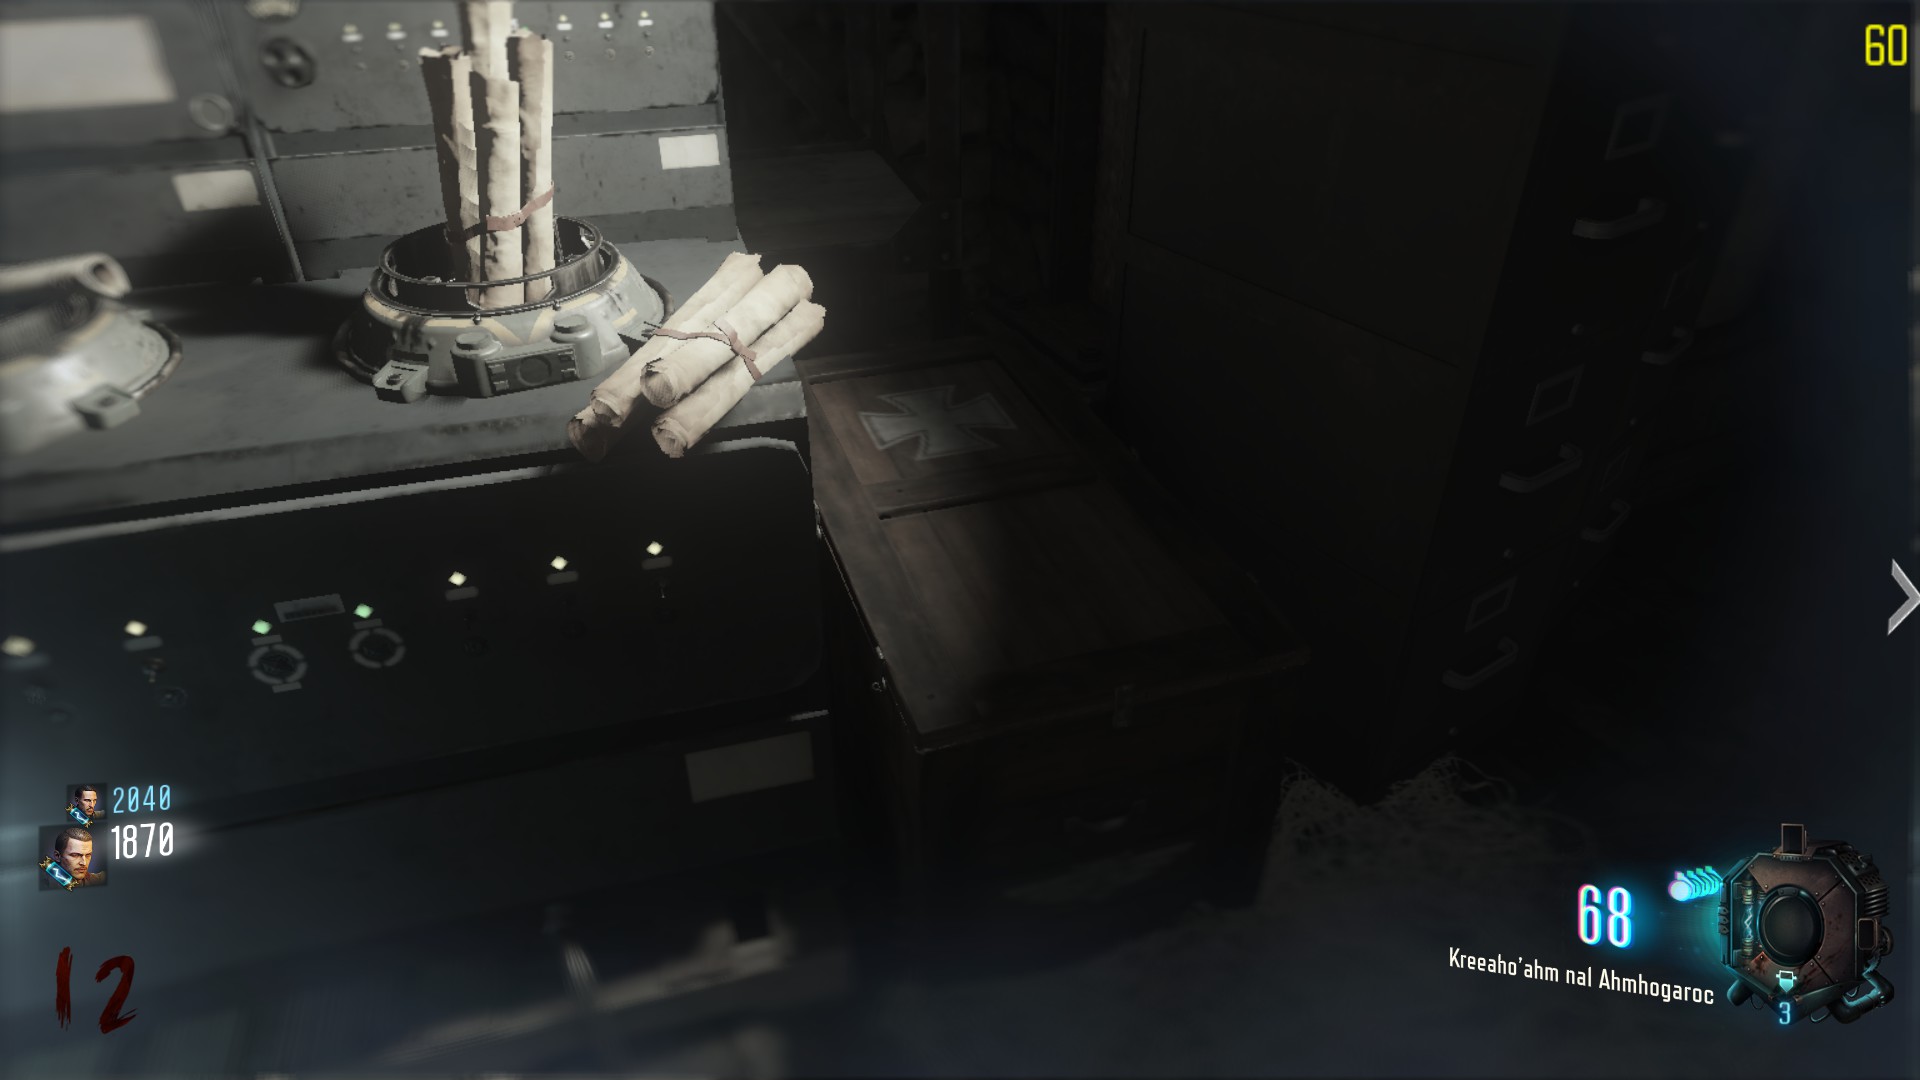
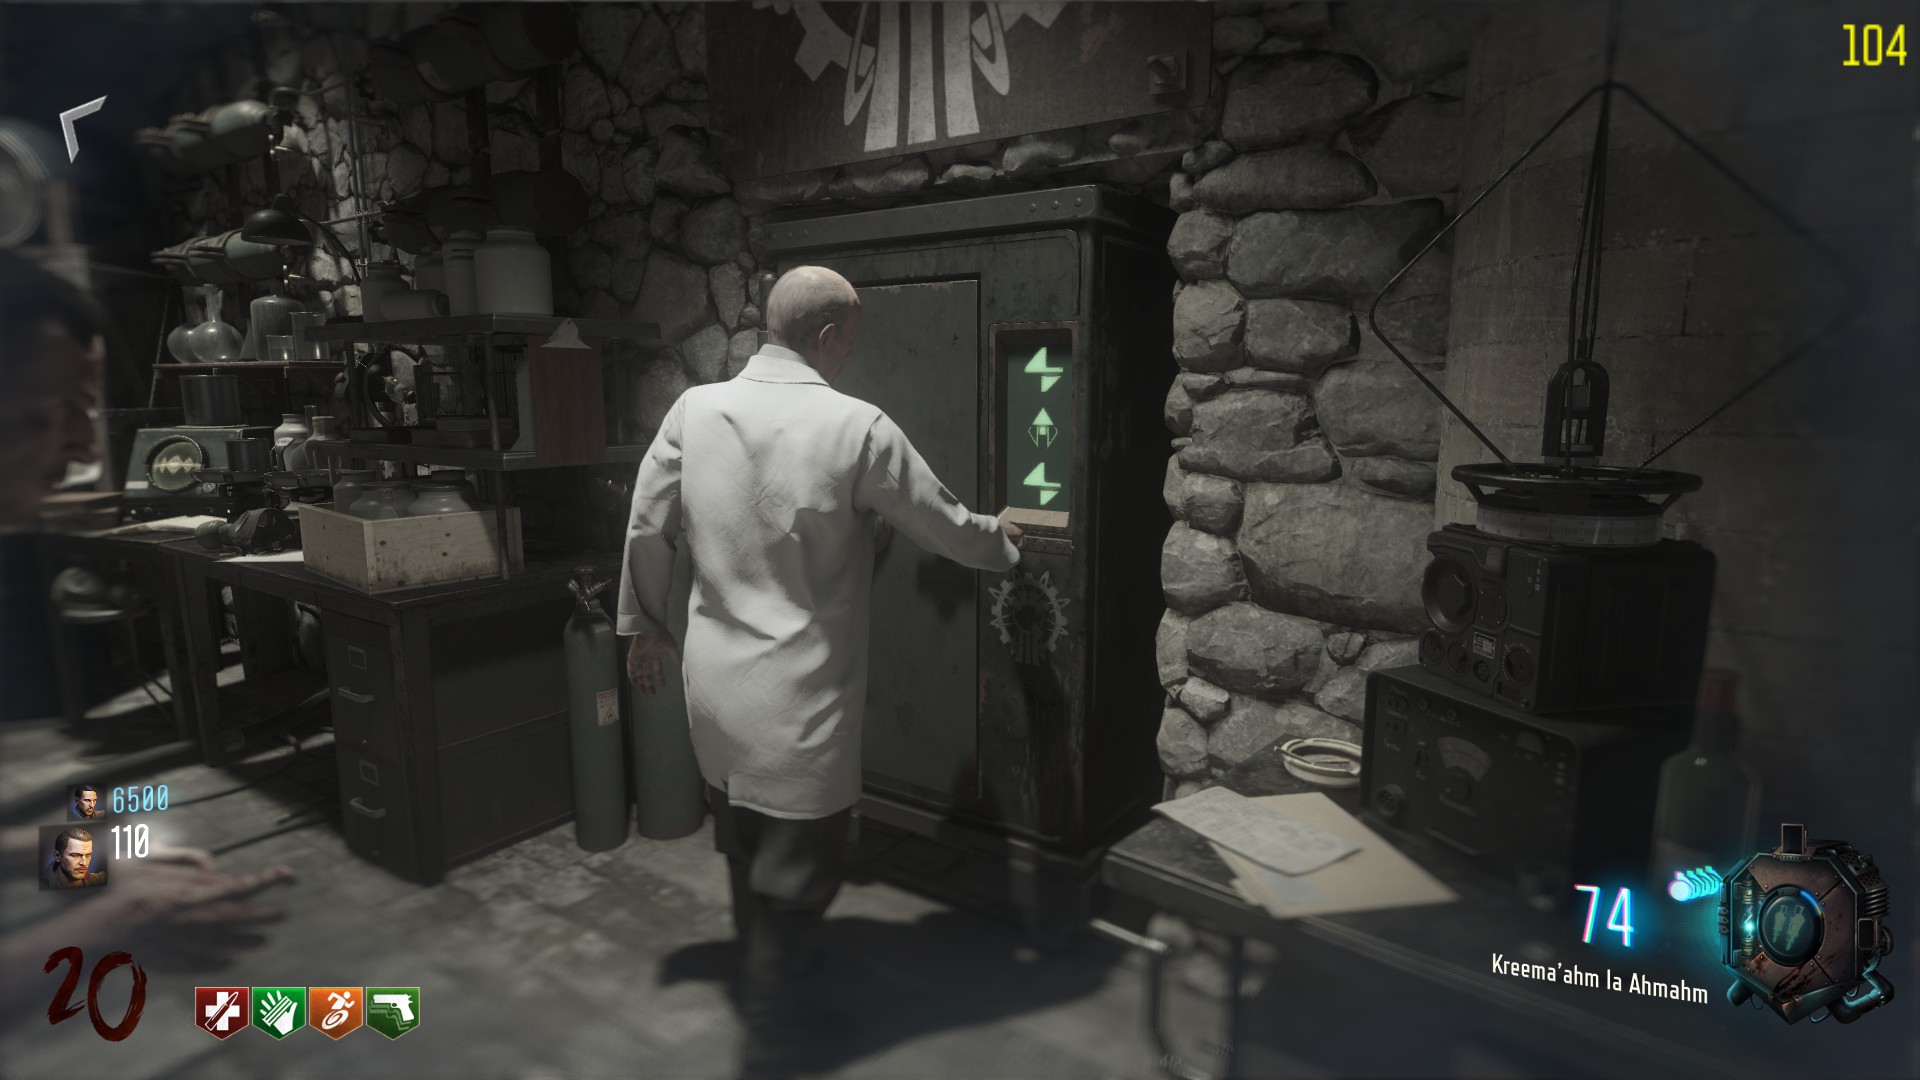
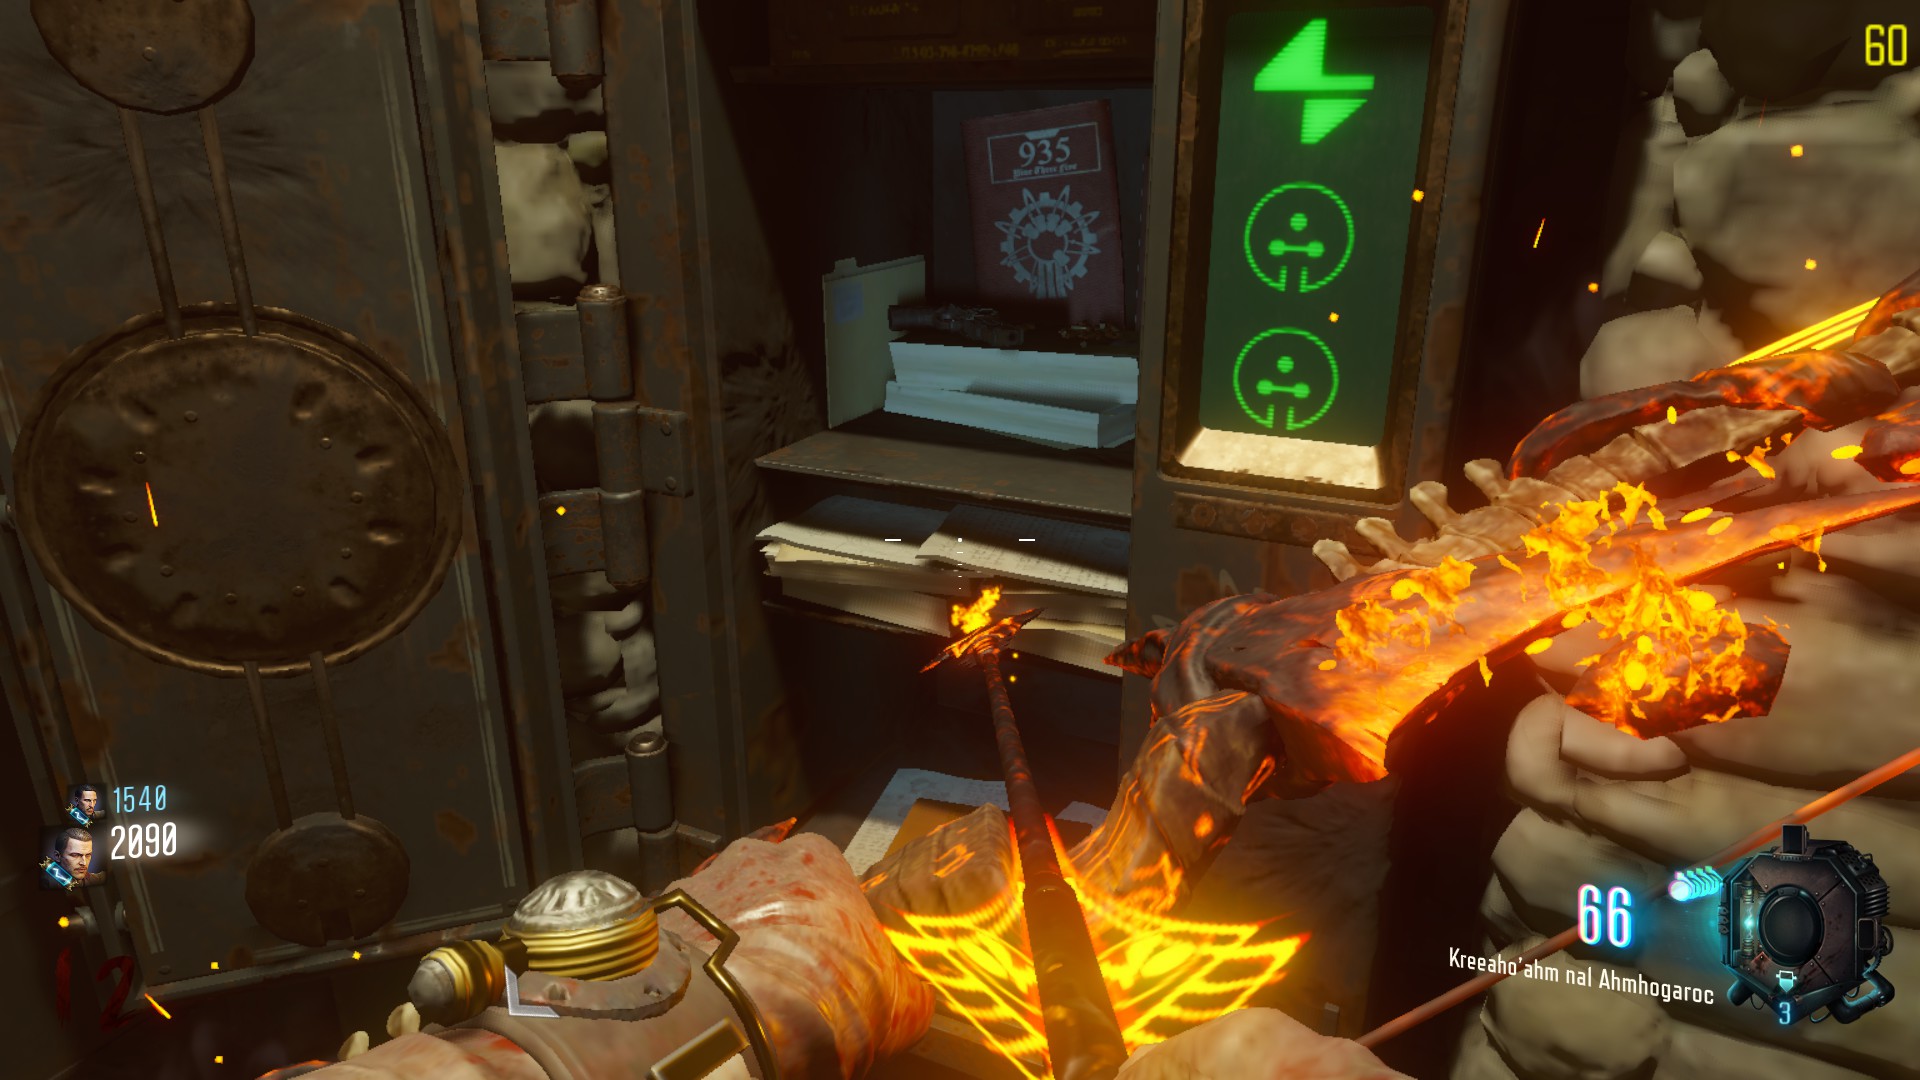
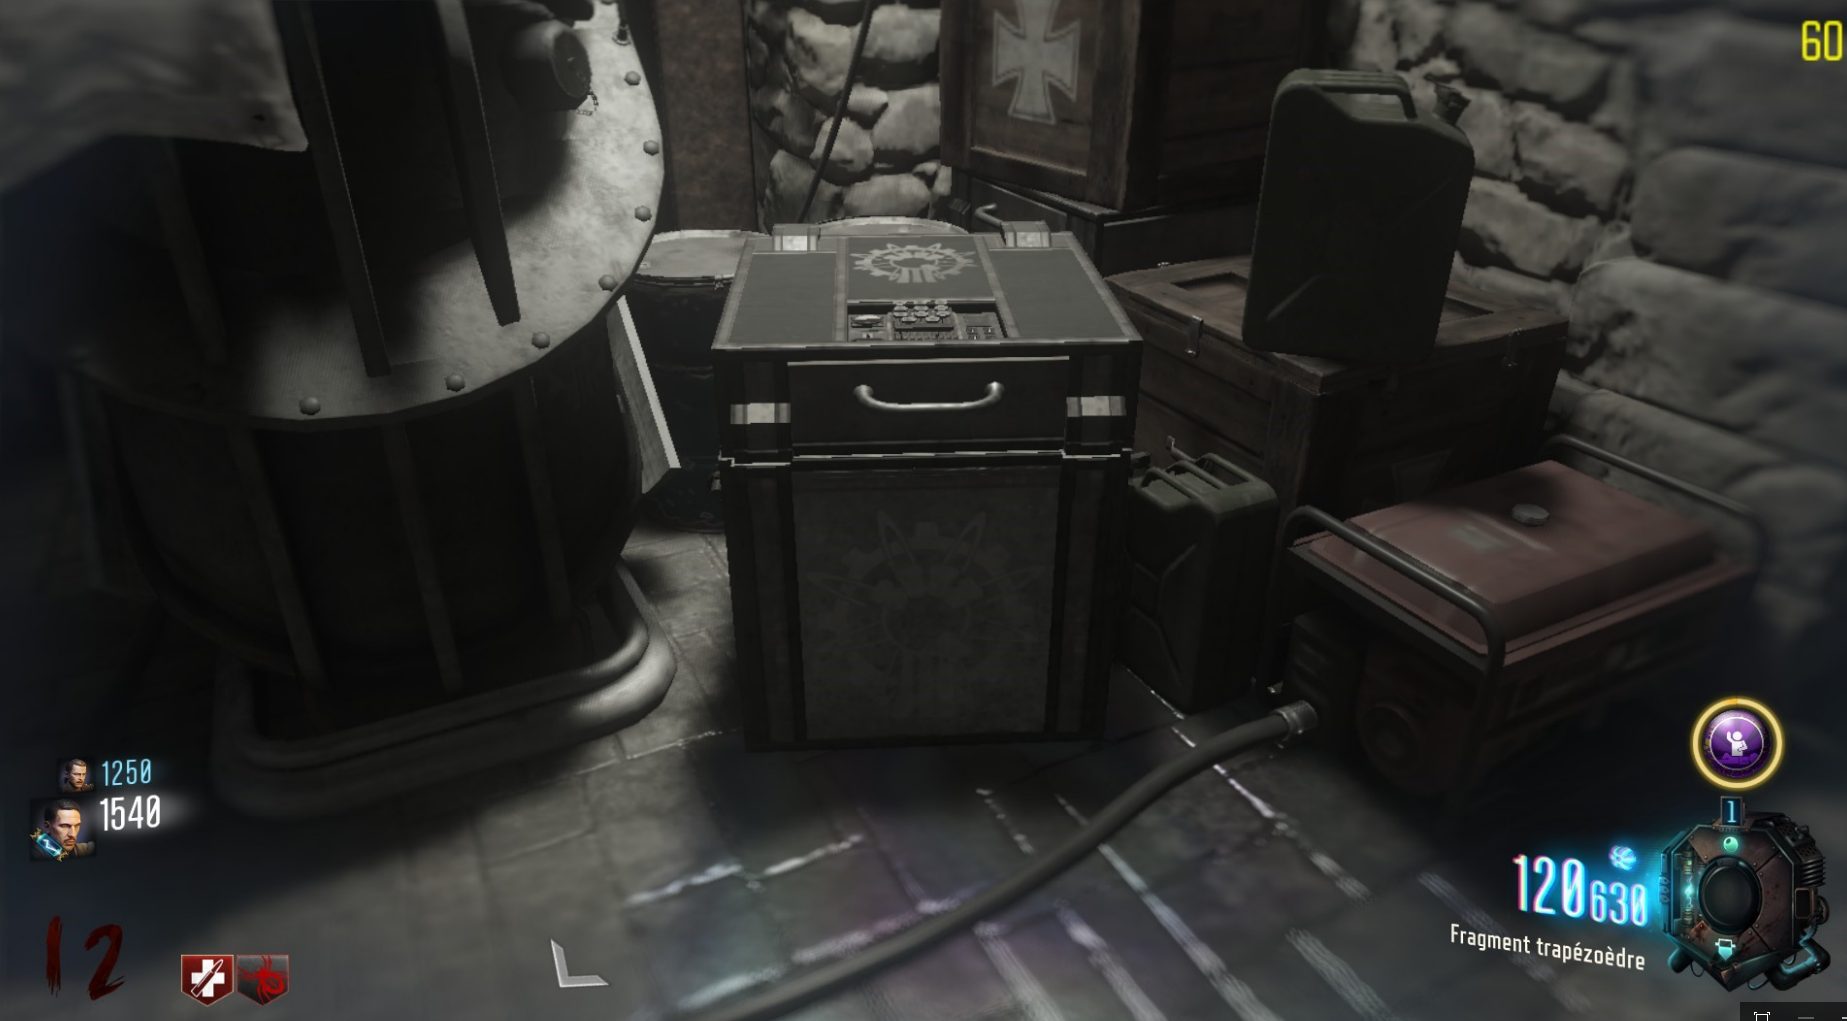
It's not the book that opens the crate, it's the computer to its left. You insert there the disc you get from the vault (this is why you can only open it in the second time travel) that you also insert into the computers at the memory step.
This is not necessary actually