From The Depths

From The Depths

45 ratings
Carmen's Pre-Dreadnought Guide to APS Turrets
By iSheep
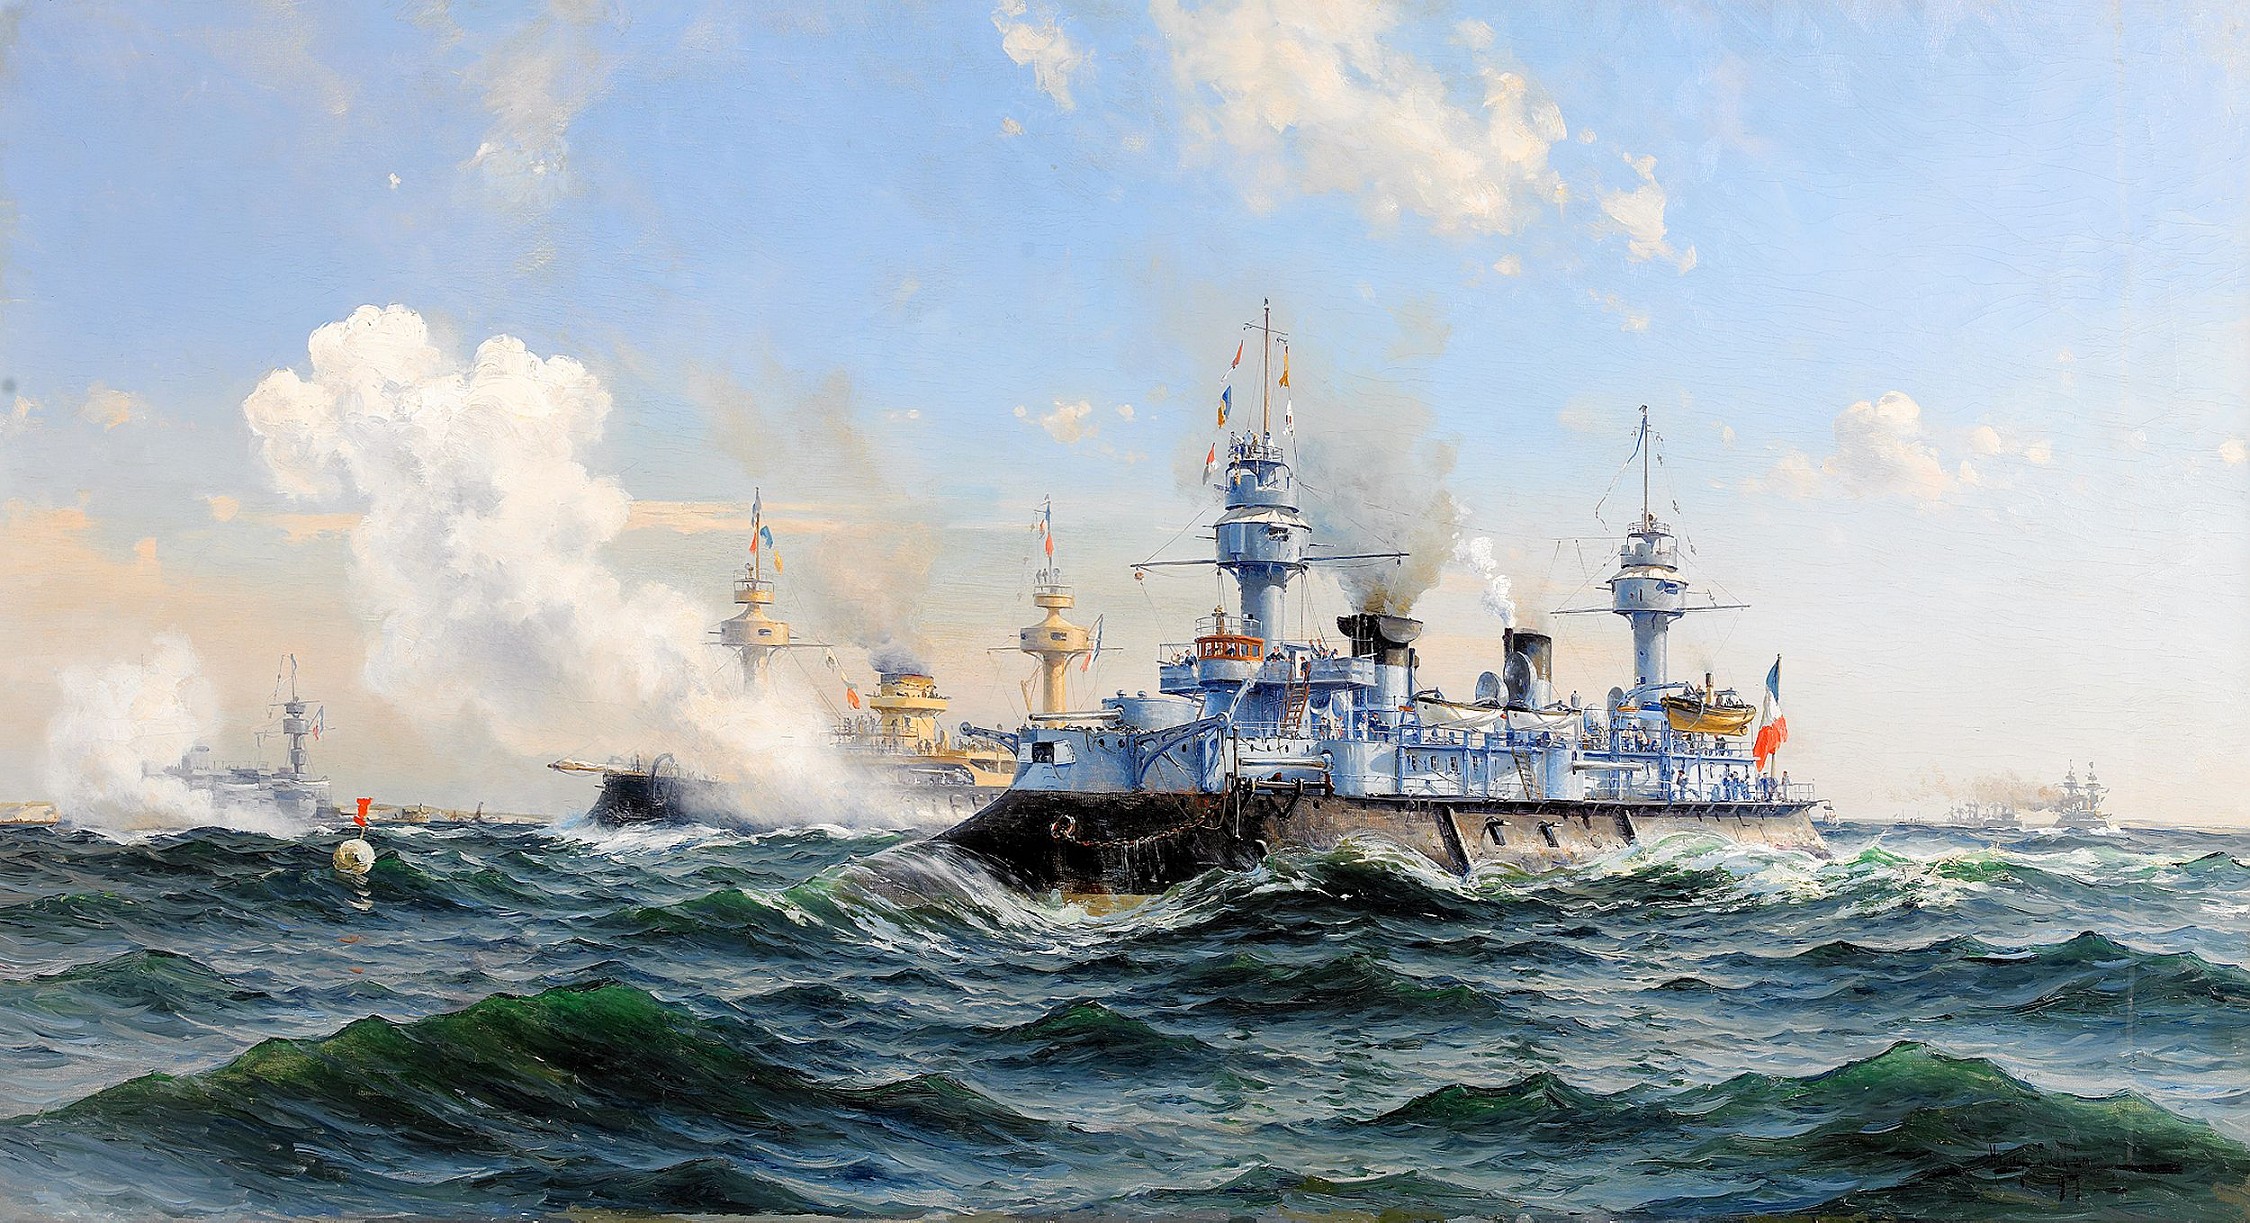
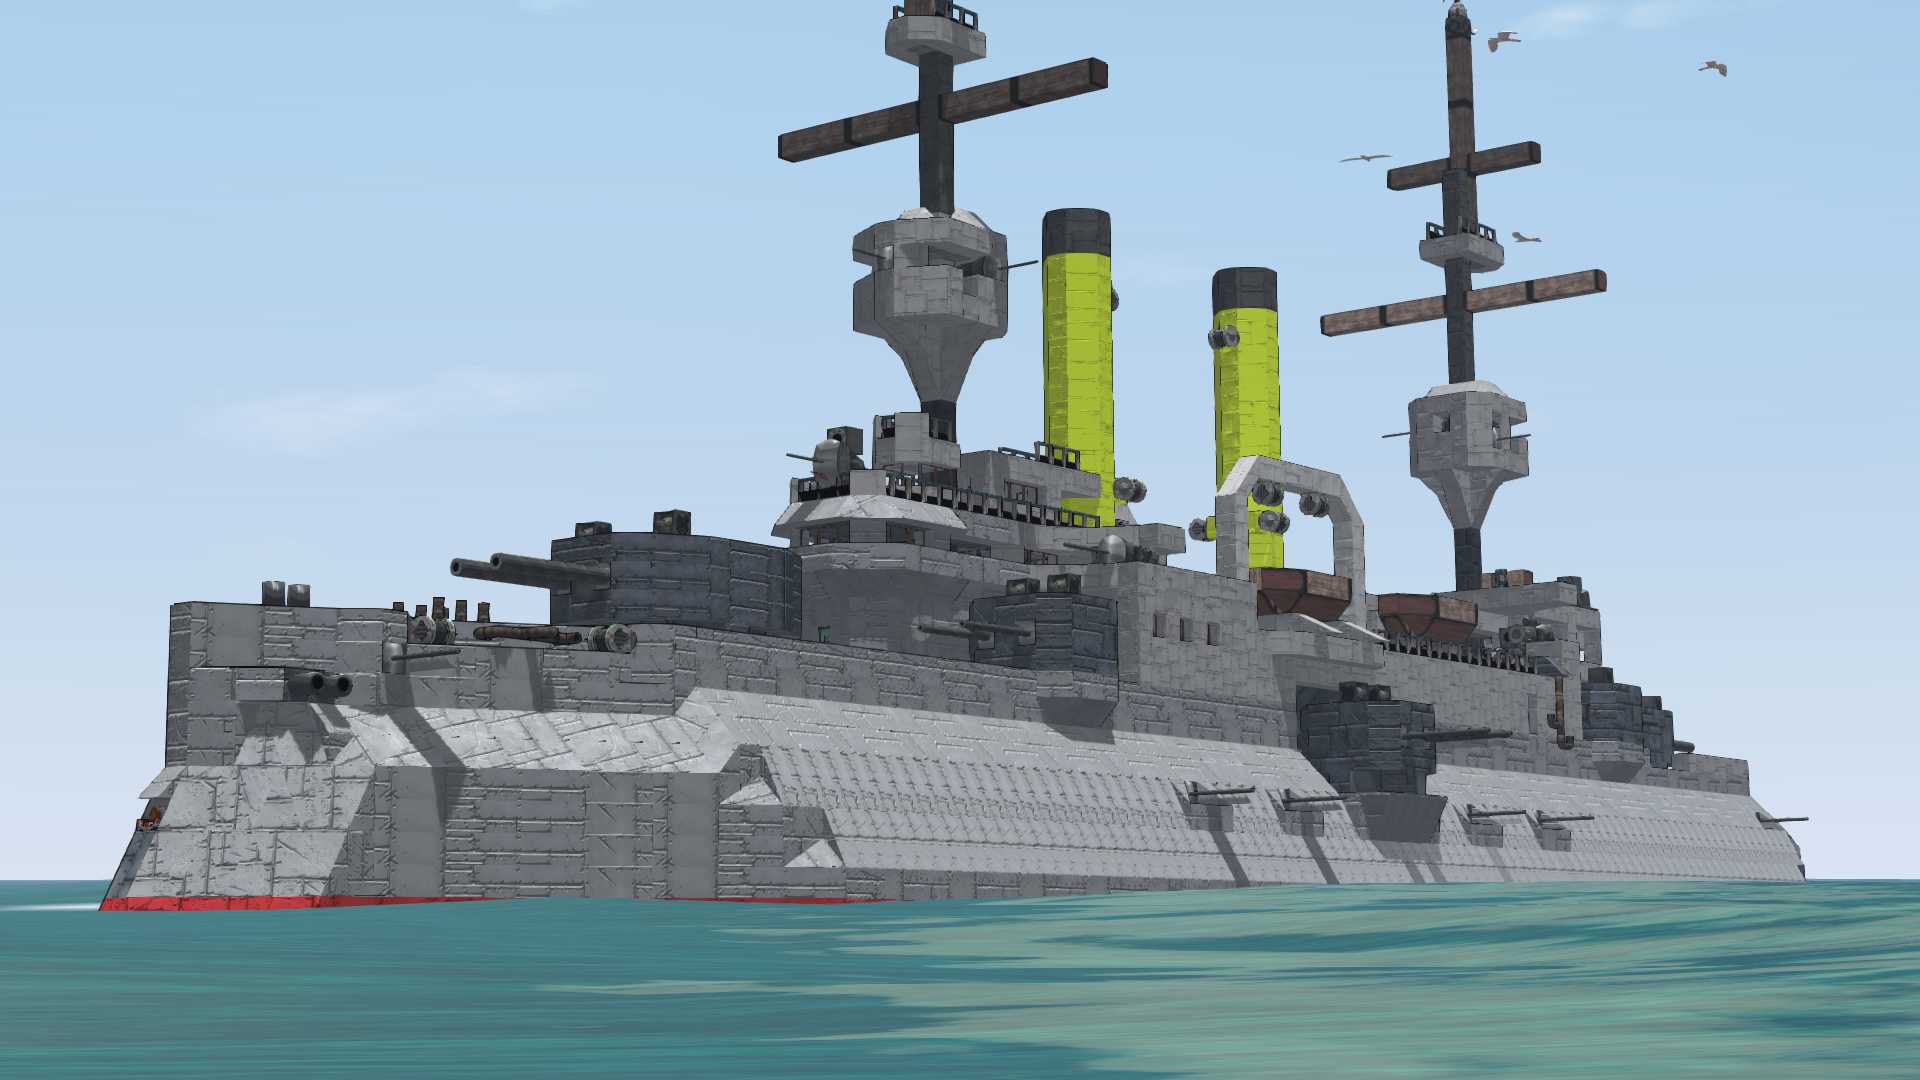
Hosted on the 1903 Russian Battleship "Tsesarevich", this battle-proven picture guide from Russia with Love will show you how to build a realistic heavy weapons turret. The subject weapon system is the 12" (305mm)/40 cal. Pattern 1895 main gun used by period battleships, constructed using authentic plans from the era obtained from the Service Historique.
   
Award
Favorite
Favorited
Unfavorite
About Pre-Dreadnoughts

The precursor to modern battleships, pre-dreadnoughts existed in the time period between the 1890s to just after the first World War.

As the most basic battleship type you can build in From the Depths, they are a great way to familiarize with basic capital ship design and engineering of ballistic weapons systems from 37mm to 305mm.

Simple to operate with near 100% AI autonomy, they are also very good platforms to engage conventional naval units with.

They also offer you numerous pre-existing historical templates with which to experiment with - from conventional British or US hulls to extreme designs like French tumblehomes with more compound curves than a supermodel.

Once you start building old battlewagons, you just won't stop! This guide focuses on showing you how to build a very durable and functional armored 12" main gun turret from historical French blueprints, and the same principles of engineering used here, will serve you well in constructing any modern or sci fi weapon system too.

Welcome Aboard "Tsesarevich"

Tsesarevich is a historical Russian Battleship which saw combat in the 1904/05 Russo-Japanese War and also in the First World War. She is armed with 4x 305mm main guns in twin turrets, forming the backbone of her anti-ship armament.

With unique tumblehome hull design derived from period French battleship design trends, she is also assembled using authentic deck and cross sectional plans of the time.

For the scope of this guide, we are most interested in how to assemble a battleship turret, and this extremely detailed French blueprint from Tsesarevich's French relative shows you just how extensive a complete battleship turret is.

French Battleship Jaureguiberry - Main Gun Schematics[i.imgur.com]
(Note: Image is too large to be displayed in Steam Guides)

Note the entire gun system is mounted directly on the keel - placing the turret rotation block this low in the ship makes it immune to the usual complaint of 'popping' turrets - having big guns dislodged by an errant enemy HE shell is bound to frustrate any attempts at decisive battle!

Over the next few sections of the guide, I will show you how to construct a replica main gun system on Tsesarevich. You may also view the completed battleship hull in Steam Workship using the link below:

http://steamcommunity.com/sharedfiles/filedetails/?id=619744227


Step 1: Main Battery Location


Siting the main guns is arguably the most crucial step of the build process, you cannot afford to make a mistake here. Doing so could cost you many minutes or even hours of your time as there is no way to physically move an entire subassembly in FtD without feeling like you're compromising the entire hull.

To be fair, minor subassemblies are easily handled by the Prefabs interface, but not when we're talking about a 2 to 3 storey high gun system that in reality weighs nearly a thousand tons!

For historical warships, I typically look up model builders' plans or illustrations showing the deck plan of the vessel. Since the ship's length and breadth should be well known to you (especially for a known, well documented historical type), it is elementary to estimate the exact position, and size of the main gun turrets, of which there are only two on most pre-dreadnought designs.


Tsesarevich's extreme tumblehome hull design means there is very little deck space. Lay down the big gun mounts, and the rest of the ship's layout should easily come together.

For this design, the size of the gun turret is also well known as the same French derived turret design was used in many Russian battleships of the period. However, it needs to be scaled to FtD's block size and other considerations, like game balancing (more on barrel lengths and gun system performance later).

For locating the crucial center point of the gun system, reference was made to the ship's bow detailing including the two large cutouts that served the warship as anchor shelves.


Once located on deck, a hole has to be punched all the way down to the lowermost deck of the ship. For structural integrity, the main guns have to be anchored directly to the keel. Doing this also means the turret can only be dislodged when the entire ship is cut in half!

Next, you may create an (optional) support structure for the gun system on the bottom deck (to spread out floor loading over a wider area, and add yet more protection to the turret rotation block). This 'cross formation' template is very useful to enable visualization on how wide the gun system is, so you may plan for additional clearance needed for smooth rotation of the whole structure later.


If you don't want the support structure you may simply remove or plate over it once the gun system assembly is completed. Once the turret rotation block (One Axis Turret) is placed, start planting metal beams on it vertically until the assembly sticks up on deck like this:


Note I built the same 'cross template' to visualize the size of the turret itself.

At this stage, the first task of siting the gun system is complete, and you may continue to build up the system around it.

Step 2: Turret Design

Good work in siting your main gun structure! Now, you need to build up the gun system, and the best way to start is to construct the turret itself. This is opposite in real life as there is currently no structure below decks to hold up hundreds of tons of armor and gun barrel, but in FtD this top down approach is usually much more practical as it gives you a hands-on feel for the completed product.

So go ahead to lay out the turret, starting from the faceplate, immediately behind it are mounted the firing pieces for the APS (Advanced Projectile System).


For less complex mounts like for armored cruiser 6" guns protected only with a gun shield, you could actually leave it as-is.

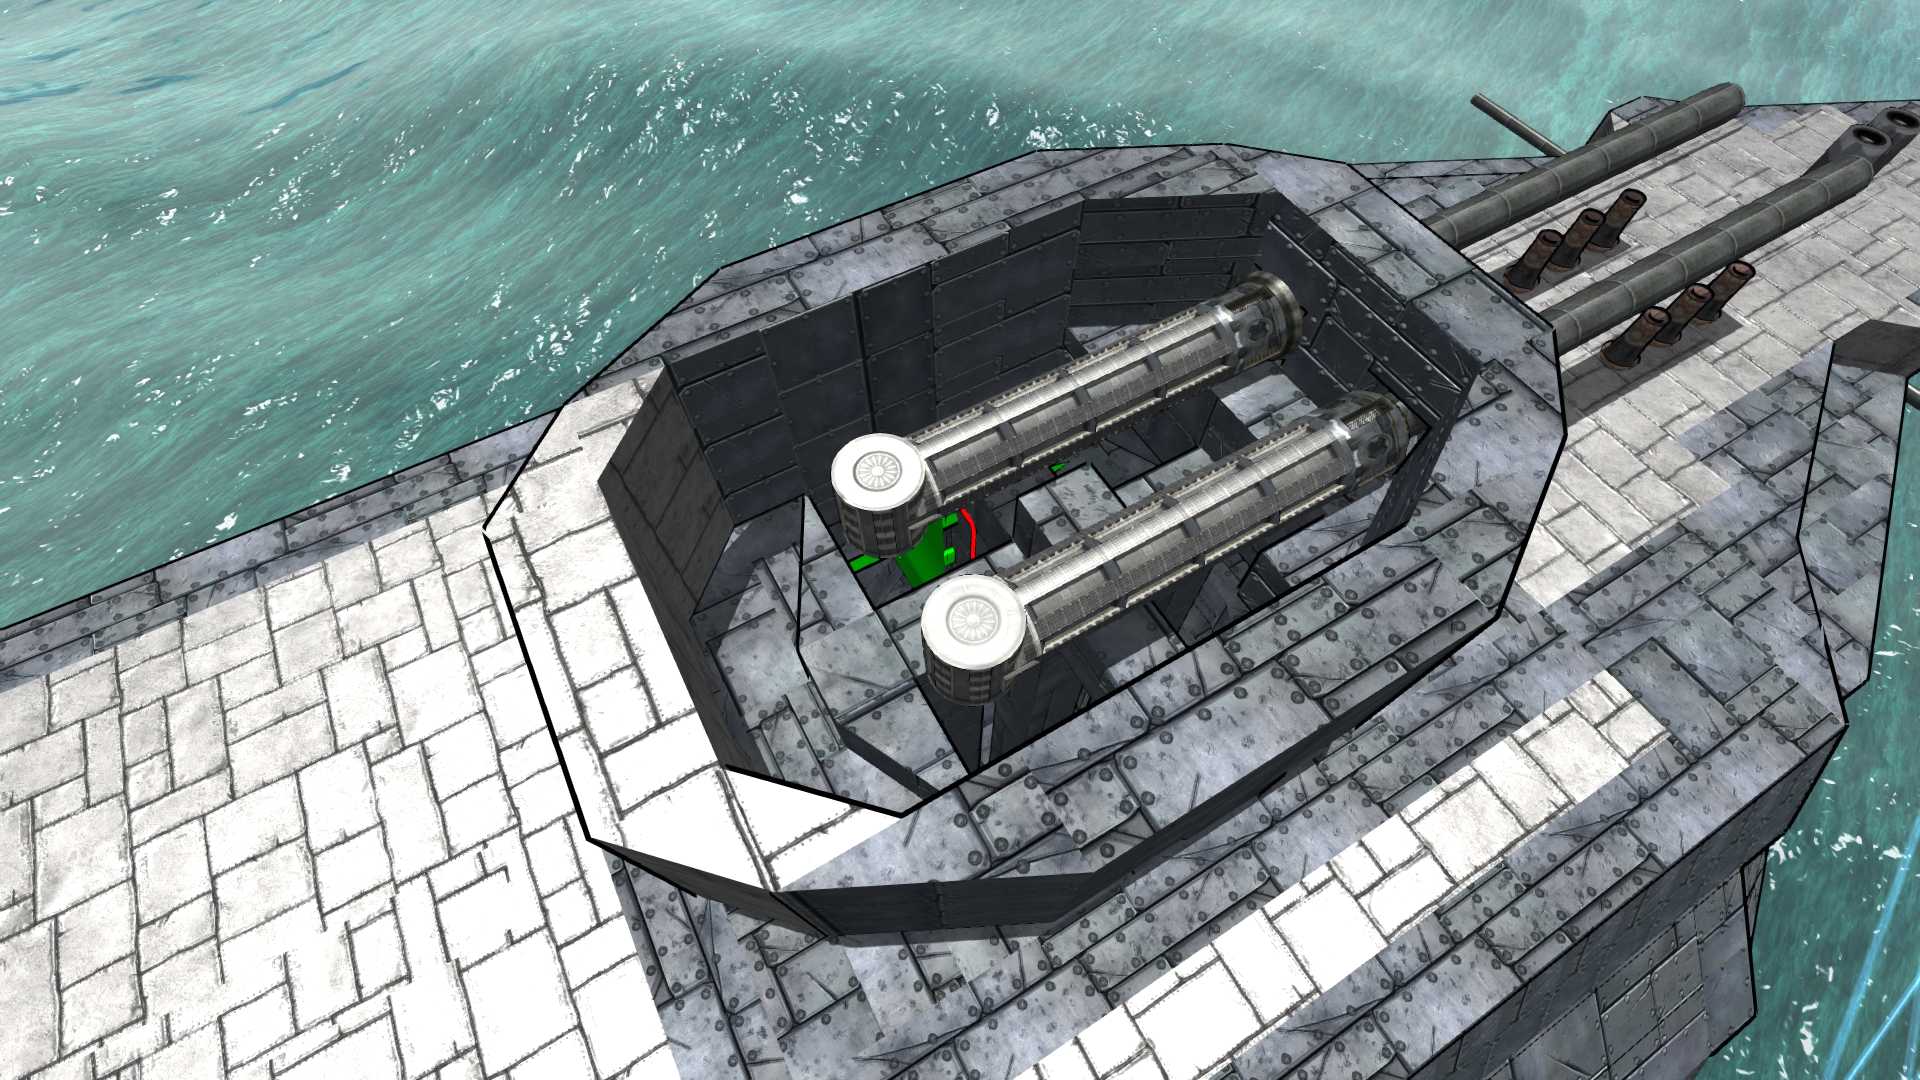
Tsesarevich of course, uses fully enclosed turrets in an oblong shape - it pays to lay out the entire circumference of the turret. Note the rear overhang that ensures the center of mass of the turret is somewhat over the middle shaft.


At this stage it is not necessary to completely plate over the turret roof. You may wish to make changes to the turret shape and configuration to best suit either your own aesthetics, or historical dimensions. The main parts of the APS may be assembled - mantlet, barrels, gauge increasers and the gauge splitter so the gun system may continue down into the hull structure. This is important, as this multi story turret design uses its height to hide the vulnerable autoloaders and ammo storage deep within the hull's protected sections.

Once at this point, you may wish to take a deep breath as next you're going to build up the gun system within the hull, the main bulk of the work to make the weapon both functional and aesthetically pleasing within the interior of the ship.

For a well designed gun system, it should be structurally strong and able to withstand a fair bit of battle damage due to redundant structure, direct keel mounting and strategically placed armored decks and casings around the central shaft.


Here's a pic of Tsesarevich's aft 12" main battery continuing to fire despite having one gun completely destroyed, and much of the surrounding hull structure blown away from a massive incoming round penetrating the deck. The entire turret support structure and its keel mounting template are visible through the hole.
Step 3: Support Structure
A great many FtD players construct turrets with a thin single-beam center shaft and while this allows the turret to 'poke' up though a tiny hole in the deck with all the soft vulnerable bits safely isolated dozens of meters away, it's unrealistic and looks flimsy.

Compare this to real world battleship design:
http://i.imgur.com/OOJJ0O2.png

Revisiting French Battleship Jaureguiberry's main gun schematic in the link above, we can see how robust and well supported the turret shaft and bearings are, while shell hoists are needed to raise ammunition from the magazines located deep inside the ship.


This is how a completed turret shaft looks in the released version of Tsesarevich. This is what we're going to accomplish in this section.

To start placing internal structure / support shafts, we need to go up topside to the turret you just built. Now you know why there are holes strategically placed on the deck template - they function as guides for you to 'drill down' into the bowels of the ship and hang down metal beams until they reach near to the bottom deck.


Now you're going to get your hands dirty in the innards of the ship - start hanging down metal beams from the bottom of the turret's structural template you saw earlier, until they come to the bottom of the ship.


The turret shaft structure is now complete, and you can start mounting functional modules to the gun system.
Step 4: Functional Architecture
A nice turret basket is not going to be of any much use shooting at the enemy - you need autoloaders and (imaginary) shell hoists to feed those gun breeches, and a local weapons control link to the AI mainframe for it to engage autonomously.

Notice those gaps in the turret shaft? That's where you hang down yet more gauge increasers and gauge coolers, you have a dozen meters of shaft space and plenty of cooling systems means greatly reduced cooldown for the weapon system.


Depending on the length of the barrel and the desired payload per round, you may elect to use different length autoloaders. As seen in the above picture, you can actually conceal everything beautifully within the shaft structure. This makes rotation very easy and prevents bits of the system from snagging neighboring parts.


Note how I hid the local weapon controller inside the structure? It just needs to be 1 block away from the turret rotation block in the middle.

Once I'm done with the loaders, ammo racks and placing the rangefinders (shot predictors) on the turret, I started to close everything up but left some suggestively exposed bits of machinery...


Step 5: Attractive Packaging
This section covers, well, covering up that huge sinkhole around the newly emplaced gun system, making sure errant sailors and enemy shells won't drop in there and mess things up.

Once you got the rotation bearings tested you can simply start closing up the hole, leaving 1 meter (1 block) space between the turret shaft and the side of the hole. You can then flex your interior decoration muscles and make an attractive package out of the enclosure like this.


You also need to seal up any gaps on the main deck (and forecastle deck, in this particular case) using the same principle and a combination of 1m and 2m sloped blocks until the contours of the hole matches the diameter of the turret ring perfectly.


Be sure to inspect from the exterior as well, and perhaps add some additional deck armor to prevent enemy plunging or high explosive shells from compromising the system easily.


Next up will be zeroing in the guns and finalizing the turret's configuration.

Step 6: Aggressive (and Loud) Marketing

This gun system is nearly ready to go out into the open world with a bang. We just need to mount some rangefinders, to make it look exactly like the real Russian gun turrets of the time. These APS shot predictors are extremely useful as for purposes of custom campaign balance, they are loaded with low velocity shells - being meant to engage the enemy at sub-2000m ranges just as 1900s naval planners predicted before the Russo-Japanese War.


Next, you need to use the "Q" menu to lay down traverse and elevation settings for the gun system then actually start loading shells into it. We'll switch to the completed Tsesarevich model to observe how this is done.

Gun depression limit, to prevent the cannons from shooting at 'ownship' will be controlled by the "Max Elevation" setting in the gun's quick menu ("Q" key), and traverse is kept as unlimited - the azimuth will be restricted at the turret block level. Be sure to copy and paste the settings to the other gun.


Note this is where you set the desired exact shell diameter as well.

For azimuth, go down under into the bowels of the ship, locate the turret structure base, and set the azimuth limitations there. You may either follow historical specifications or use your naval gun systems' design instinct - 135 degrees to port and starboard for total 270 degree coverage is considered very good.


As for loading and configuring the shells, I believe this is amply covered by the various APS tutorials out there. Note I am using very short shells to match the relatively short barrel length of the gun system here. A long shell in a short barrel would exact a hefty penalty in muzzle velocity!

Once you're done with configuration, test fire the turret making sure the rotation does not get snagged by any obstructions - make sure the AI can operate the turret as well as you do by pitting the ship through combat trials against the AI.


Conclusion: Delivery to Client
Congratulations for sitting through this lengthy guide! As a newcomer to the fascinating world of FtD I wanted to keep things simple but show great attention to detail as to how an idea is taken from a historical ship blueprint and converted into the format of a playable, fully operational unit in the game.

Once the ship is ready for sail she is put through acceptance trials for the client's review, in this case, Tsar Nicholas II's Imperial Russian Navy.


Engaging a variety of pirate / DWG faction warships of various size, Tsesarevich completed her trials with flying colors and will be joining the Baltic Fleet shortly. Historically, she will be assigned as flagship of the 1st Pacific Squadron and enter combat against the Japanese battle fleet in the Battle of the Yellow Sea, which you can read up on here[en.wikipedia.org].

Should you like to take delivery of an iconic Russian warship yourself, here are the vehicle blueprints:
http://steamcommunity.com/sharedfiles/filedetails/?id=619744227

If you're interested in, or wishing to contribute period ship designs to a future custom campaign featuring 1900s pre-dreadnoughts and vicious close range battles expected of the time, do hit me up on Steam anytime or seek me out in the following venues:

YouTube: http://www.youtube.com/baconspaceprogram
Twitter: @BaconSpaceProg
Email: carmen.les.toreadors@gmail.com

9 Comments
fuck_face_420 Dec 31, 2022 @ 6:48pm 
i still cant make a danm working gun... or ai
=WW= Rebel Jul 8, 2021 @ 9:18am 
@Enderminion New York class but refitted if I recall correctly
Emrule Oct 9, 2016 @ 3:38am 
*boom*
WhoopAss_McGue Sep 21, 2016 @ 3:35am 
Great guide, suddenly my turrets feel so very inadequate...
Enderminion Aug 16, 2016 @ 8:44am 
pre-dreadnaugts are called because they were before the HMS Dreadnaught, the only Dreadnaught battleship still afloat is the USS Texas, a Colorado class Dreadnaught (or was it New York class, I forgot)
Hesperia May 1, 2016 @ 5:08am 
Dear God. And I can't even make a gun that can leave a mark in a vanguard
ComStar Knight Mar 26, 2016 @ 4:16am 
Great guide!
7thfleet Feb 11, 2016 @ 7:31am 
"French Battleship Jaureguiberry - Main Gun Schematics[ i.imgur.com ]
(Note: Image is too large to be displayed in Steam Guides)"

Oh come on, how big cou-Oh. That's a massive image, my god.
Sir Noobcake Feb 11, 2016 @ 4:01am 
I want to say this is quite a excelent guide , And high props to the maker of it, i hope others would also be inclined to drop there opinion here!