Garry's Mod

Garry's Mod

182 beoordelingen
Hexing 101
Door The Freakin' Scout's A Spy!
Hexing has been around for years, and surprisingly without a proper Steam guide, so I'm here to fix that. For those new to the concept, hexing a skin or mod basically means to isolate the model as its own to prevent it from overwriting another, a helpful technique if you want to make sure your default files aren't tampered with and to give yourself more things to mess with aside from what the game gives you. This guide will explain the different ways to hex ranging from simple models to time-consuming ragdolls, using Team Fortress 2 for the examples.

Disclaimer: Items being used in these hexing examples do not belong to me, but to their respective creators. If you have intentions to upload a hex to the Workshop, contact the original author(s) for permission first and credit them and their item properly.
2
   
Prijs
Toevoegen aan favorieten
Toegevoegd aan favorieten
Verwijderen uit favorieten
Quick Info
Before getting started on hexing it's good to know the basics of how a model's textures work. Taking the Bonk! Atomic Punch/Crit-a-Cola for example, it has three skins which can be found through these file paths:

materials/models/weapons/c_items/c_energydrink.vmt materials/models/weapons/c_items/c_energydrink.vtf materials/models/weapons/c_items/c_energydrink_blu.vmt materials/models/weapons/c_items/c_energydrink_blu.vtf materials/models/weapons/c_items/c_energydrink_purp.vmt materials/models/weapons/c_items/c_energydrink_purp.vtf

Notice the different VMT and VTF files. The VMT files, in short, hold the materials to tell the model where to find the textures, which are the VTF files. Basically a chain that looks like this:

model → VMT → VTF

Incorrectly tampering with the path from the model to the VMT file or the path from the VMT file to the VTF file will cause a missing texture because it'll look for the files in a place where they don't exist. When you're hexing custom skins these are the areas where you'll be editing the most. To better understand how exactly everything works, follow the examples with the same models before attempting to hex on your own.
Required Programs

  • Hex Editor
    • Any hex editing program will be used to go inside a model's file and do the actual hexing. For these examples I will be using XVI32, but you're free to search up a different program.
    • Download[www.chmaas.handshake.de]
    • Direct Download[www.handshake.de]
  • GCFScape
    • This program is used to open up files such as GCFs, NCFs, PAKs, SGAs, VPKs, WADs. and XZPs. We will be using this program to open the VPK files found in the games to grab any missing and/or necessary files.
    • Download[www.nemesis.thewavelength.net]
    • Alternate Download[web.archive.org]
  • VTFEdit
    • This program is used to open up files such as VMTs and VTFs. We will be using this program to open the VMT files to edit the material and texture paths.
    • Download[nemesis.thewavelength.net]
    • Alternate Download[web.archive.org]

Optional
http://steamcommunity.com/sharedfiles/filedetails/?id=104603291
If you're not using it already, this beautiful tool makes it easier for you to keep non-Workshop addons grouped together instead of needing to use the search bar. This comes into play for when we're testing our hex so we don't have to go through the trouble of uploading to the Workshop and then reuploading/updating if there's a mistake.
Custom Models (Workshop, mods.tf, etc.)
Program(s): GCFScape
Example: Haunted Hoodie by NeoDement, JZeeba, Square, and Harry
http://steamcommunity.com/sharedfiles/filedetails/?id=532280643
Hexing custom models is typically the easiest to hex because they don't require the editor and take very little to no effort. The reason for this is because custom models usually come with their own materials and textures so we don't have to worry about them conflicting with default files, just the model files. For example, when you go to visit the Haunted Hoodie's mod page, here are the default models it can replace:


Installing the mod without any changes will cause it to overlap whichever cosmetic you got the download for due to the matching folder path for the model itself. To fix this, all we need to do is edit that folder path. Let's begin by downloading one of the mods (I'll be using the Sign of the Wolf's School) and then proceed to open it in GCFScape.


You should see something similar to this so far. What you'll wanna do here is create a new folder somewhere, either your desktop or inside Garry's Mod's 'addons' folder, and then drag the 'materials' and 'models' folders into it from the right window. With that done you can close out of GCFScape.

To double-check and make sure the materials and textures are alright, go ahead to the end of the 'materials' folder path (feel free to delete the 'backpack' folder, it's only for TF2 and useless here) and you should see something like this:


As you can see by all the 'haunted_hoodie' labels these files obviously belong to this model and reassure us that they don't already exist in the game. Nothing needs to be done here, so backtrack to the root folder and go through the 'models' path to the end. Now you'll see something like this:


Depending on which cosmetic you downloaded, you'll see a path that doesn't belong exclusively to the Haunted Hoodie. This is what we need to fix in order for it to not overlap the original cosmetic. You can do this in two different ways: change one of the folder names or change the name of all the model files. Preferrably I go for the folder name because changing the path will automatically make the model its own without overwriting the original. For this example I'll change the 'scout' folder to 'haunted_hoodie'.


And that's it, we're done 'hexing' this item. Move the root folder into your 'addons' folder and...


If done correctly you'll have both the Haunted Hoodie and the original cosmetic, excluding the purple paint. Congrats on your first custom model hex!
Custom Skins (GameBanana, your own, etc.)
Program(s): Hex Editor, GCFScape, VTFEdit
Example: Bonk! Dark by Zippy
http://steamcommunity.com/sharedfiles/filedetails/?id=140941096
Unlike custom models, hexing custom skins will require the use of all three programs and actual hexing because the download will most likely only have textures instead of a full package. To hex a skin we need to see what the download comes with, then go into the game files and fetch the missing files. For this we'll do a simple weapon reskin. Go ahead and download the files, then make a new folder on your desktop or 'addons' folder like before.


In this download we have only the 'materials' folder and an unneeded 'particles' folder. There's nothing we can do with that, so move only the 'materials' folder to your new folder and delete the 'backpack' folder inside if you want, then go to the end of the 'materials' folder. By now you should have something like this:


Here you'll see two texture files, which means we need to retrieve the matching material files along with the actual model files. This is where we need to open up GCFScape and head here:
Steam/steamapps/common/Team Fortress 2/tf
When you get here you'll see here that there's dozens of VPK files, but the only two we'll ever access for hexing are these:
tf2_misc_dir.vpk
    - Holds the VMT files and model files
tf2_textures_dir.vpk
    - Holds the VTF files
All games have similar VPK files where you can find the files needed for hexing and more, though TF2 is probably the only game with two main VPKs because it has too many files. The VPK files will always be in the same place and you'll always want the one(s) that end in "_dir". For example:
Counter-Strike Steam/steamapps/common/Counter-Strike/cstrike/cstrike_pak_dir.vpk Garry's Mod Steam/steamapps/common/GarrysMod/garrysmod/garrysmod_dir.vpk Left 4 Dead 2 Steam/steamapps/common/Left 4 Dead 2/left4dead2/pak01_dir.vpk Portal 2 Steam/steamapps/common/Portal 2/portal2/pak01_dir.vpk
Now then, since we already have the texture files, we only need to go into tf2_misc_dir. To find the missing VMT files, head through the same path from our downloaded VTF files and you'll wind up here:
If you remember what I explained in the Quick Info, these files are for the RED and BLU skins of the Bonk! Atomic Punch along with the third Crit-a-Cola skin. Since we only have the two texture files for RED and BLU, drag over only those matching files so we'll have this:
So far so good, but leaving the files like this will override the original Bonk textures, so we either have to change one of the folders or change the file names. Both techniques have their own pros and cons:

Changing a folder:
- Pro: Less files to rename.
- Con: Model will create a missing texture somewhere if not every VMT file for the model is together.

Changing the file names:
- Pro: Model will automatically cling to the default game files if needed to fill in missing texture spots.
- Con: More files to rename.

So all in all it comes down to how lazy you are, but personally changing the file names is my route. Another thing to note, unlike with the model path I explained in the first example, you need to stay within the exact character limits provided. You'll see why when we get to hexing the model, but for now let's change the file names from 'c_energydrink' to 'c_energy_dark'.
Notice how both file names stay exactly at thirteen characters. When it comes to renaming files in the 'materials' path, never be under or over the character limit. If you decide to change a folder name, like 'c_items' for example, make sure to keep it at seven characters and do something like 'c_darkb'. Now go inside both VMT files to change the $basetexture line accordingly:
If you went for the folder name, you'll change only 'c_items' to 'c_darkb' and leave the rest alone. With that done, we've now created our own unique textures and made it to the halfway point! The rest of the hexing is just as explained in Custom Models, only we need to fetch the missing model files and change the textures inside it.

Backtrack to the root folder of your textures and begin creating the 'models' folder path. Most of the time it's usually the exact same as the 'materials' path with the first folder missing, but the weapons are a bit different. In this example the folder path you'll want to create is this:
Now we need the model files. Go through the same path in GCFScape and you'll come to this:
All of these files need to be dragged over and we'll be making edits specifically in the MDL file. As a quick note not every model will have the PHY file you see here. This is the model's physics file, which in Garry's Mod will either make it a prop or effect. Removing the PHY file turns the model into an effect. To create a PHY file you'll need to make them yourself in a modeling program like Blender, but that's not something I can teach.

Back to the hexing, now that you have your model files together, it's time to open the MDL file into your preferred hex editor where you'll be assulted by numbers and letters. Once you have the file open, scroll down all the way to the bottom and you'll find the texture file names.
For those who've opted to change the folder name you'll want to edit what's highlighted in blue. For the file names, red. By default, typing over the letters will automatically overwrite them rather than adding; this is why we needed to stay within the character limits. If you make a mistake, do not backspace. Move with the arrows or select the space to type in the proper letter again.

Once you've made your proper edits, all that's left is to change the 'models' folder path and the hexing will be complete! For example I'm going to change the 'c_energy_drink' folder to 'bonk_dark'.
Not staying strict to the character limit is fine here because the model only wants it for the textures. When you're all set and ready, move the root folder to your 'addons' folder for testing...
Another successful hex if done correctly! The textures that were downloaded are the exact same, so that's why there's no difference between the RED and BLU skins. The Crit-a-Cola skin is unchanged because no file was provided, thus the game grabbed the default file since I changed the file names instead of a folder name. If you changed the folder name without grabbing the c_energy_dark_purp.vmt, then you probably got a missing texture. Congrats on your first custom skin hex!
Ragdolls (GameBanana, your own, etc.)
Will be made eventually. This area will cover how to properly hex ragdolls with multiple skins, including hardware morph.
Q&A
Can I hex items that aren't from TF2?
Most definitely! I only used TF2 items in the examples because that game has the most hexing traffic.

Will this guide also work for Source Filmmaker?
Yes and no. Hexing does work for SFM, however my guide specifically tends to Garry's Mod. To properly hex something for SFM, the model path needs to be reflected the exact same in the MDL file, which would require editing the very first line at the top and making sure to stay within character limit like you would for the textures.

It's not working! / I can't do it! Can you help me?
Yes I can! Rather than spamming the comments, I've made a group specifically to help you with your hexing trouble. Read the group's info, pop in a thread, and we can get started!
41 opmerkingen
Steve 29 jun 2023 om 15:37 
ragdoll plz...
waterfall166_77 8 apr 2023 om 17:58 
lol!
SquidMann 10 jun 2022 om 11:35 
Two years later still no section for ragdolls
aishaclanclan13 17 jan 2022 om 11:35 
Yeah so, I can't seem to get GCFScape VTFEdit to download on those alternate links. I've tried clicking thin Installer, and I've tried clicking the Archive, both just send me to a "Server Not Found" page. Am I doing something wrong?
markus100308 18 jan 2021 om 21:45 
The weapons physics don't match the weapon it replaces. Is there a way to fix that?
markus100308 18 jan 2021 om 21:20 
I managed to hex a weapon, but how do I have it in it's own reserved spot rather than it with the weapon it replaces it's model with if it's possible?
The Freakin' Scout's A Spy!  [auteur] 18 jan 2021 om 15:47 
@markus100308
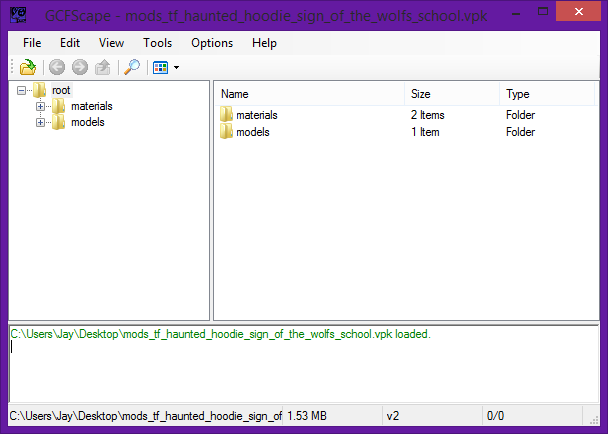
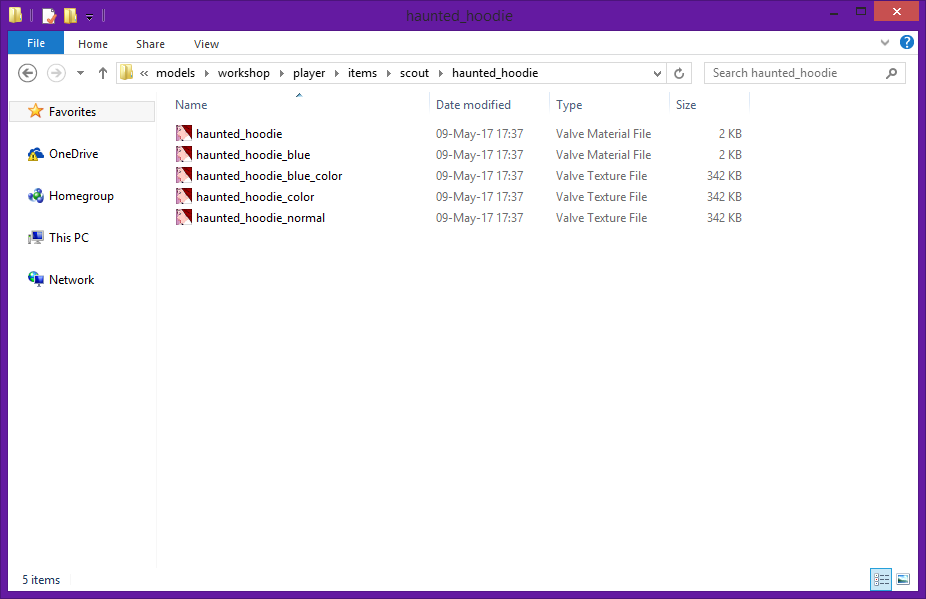
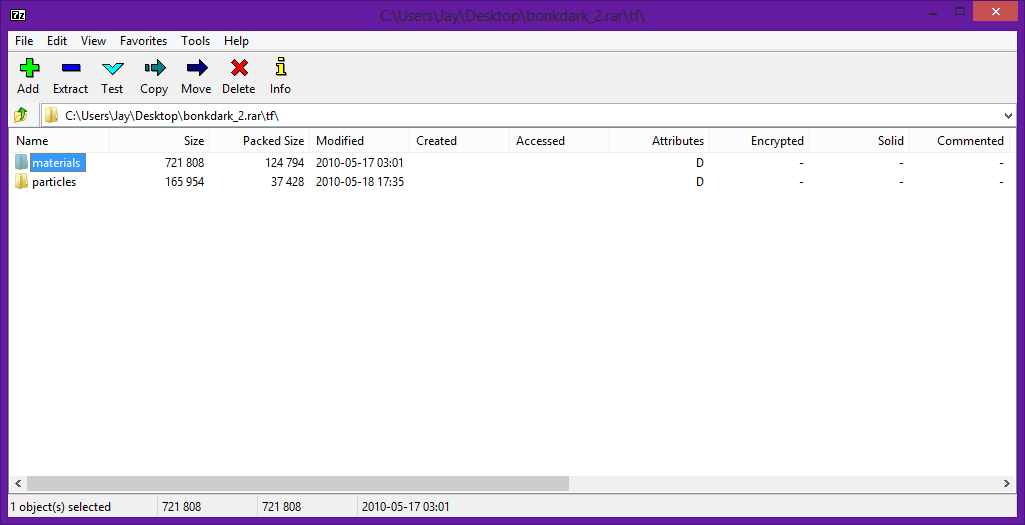
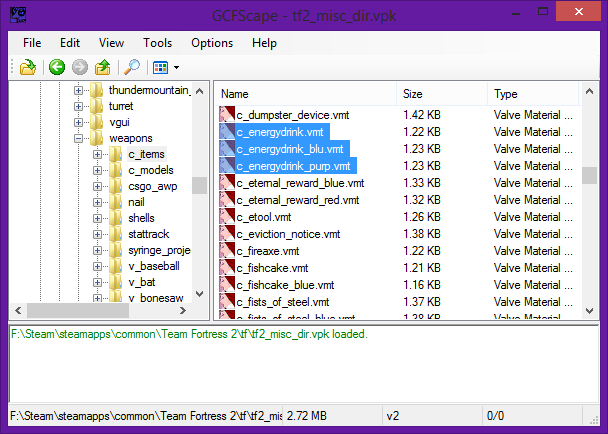
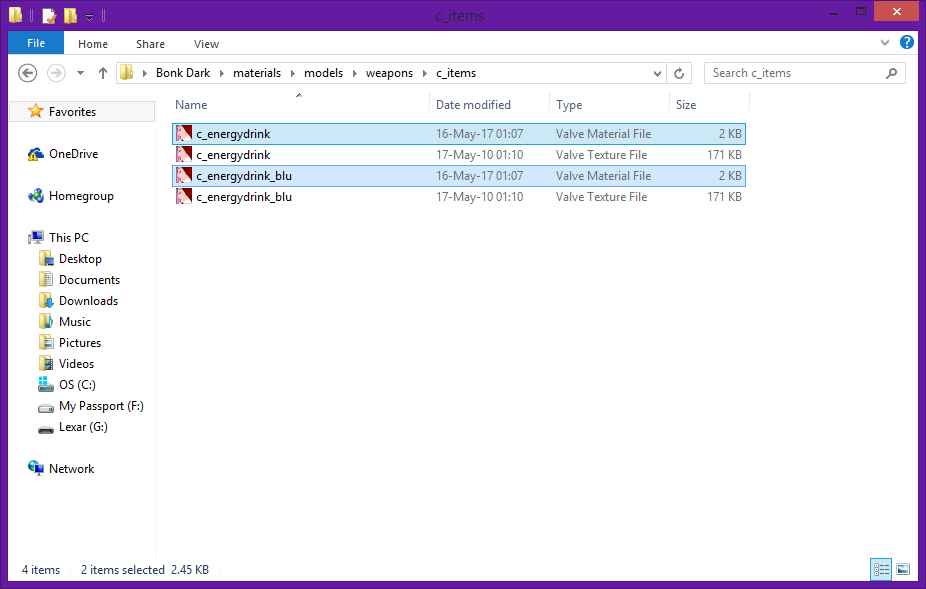
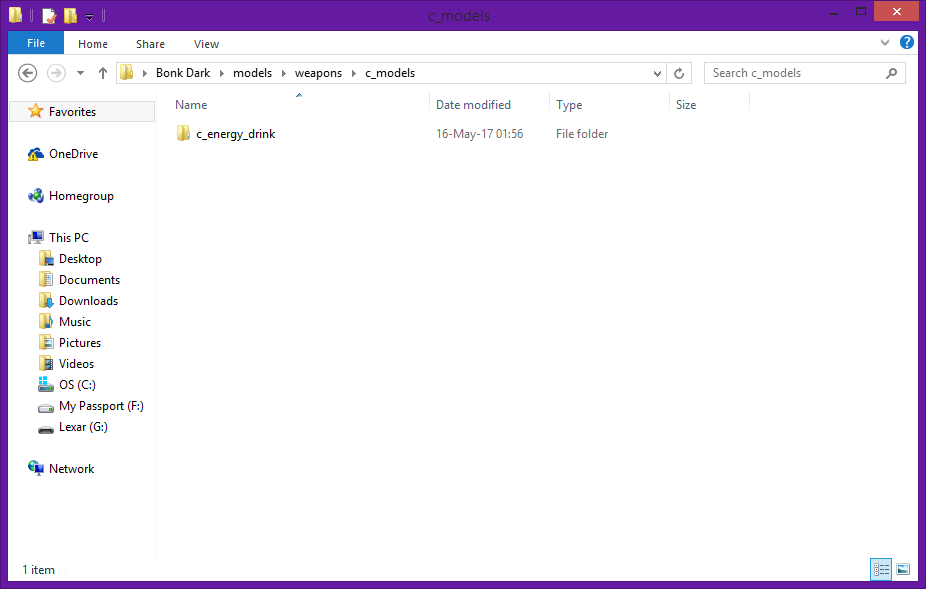
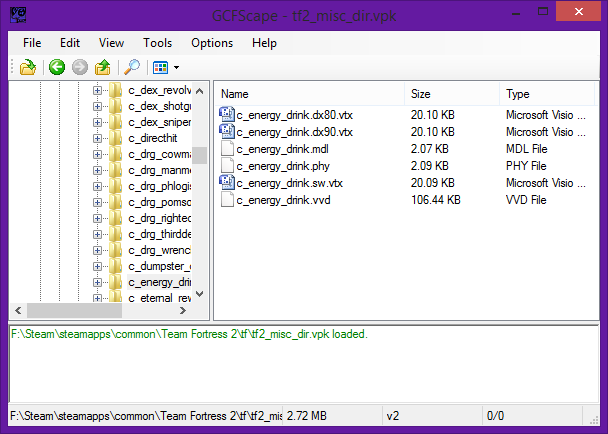
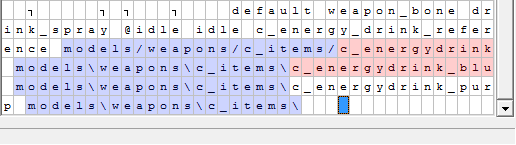
If it's a fully custom model and not just a reskin, following the "Custom Models" section should still be able to apply to it. Feel free to hit me up in the group linked directly above if you're still having trouble.
markus100308 18 jan 2021 om 14:47 
Could you add a section for hexing weapons in the "Custom Models" section?
Mothman 20 jul 2020 om 5:50 
it's also good to know for people hexing HL:2 skins that they auto hex, for example i have a hex installed that switches the default can texture to a 80's pepsi can, and i didn't have to do anything really, besides that this is a really good guide though and i wondered how hexes worked since i first heard about them, so thank you for the guide!
The Freakin' Scout's A Spy!  [auteur] 26 jun 2020 om 17:25 
@Rxvsnf
Thanks for pointing that out, I had no idea the website went down. Added alternate links from the Wayback Machine.