My Brother Rabbit

My Brother Rabbit

224 beoordelingen
My Brother Rabbit - Walkthrough + 100% Achievements
Door 🍒 Lilly (🌸◠‿◠)
8
2
   
Prijs
Toevoegen aan favorieten
Toegevoegd aan favorieten
Verwijderen uit favorieten
Chapter 1
Legend
Ladder pieces = brown circle (4)
Ropes = red circle (4)
Butterfly = blue circle (9)
Balloon = purple circle (9)
Duck = Yellow star (4): for the missable achievement "Quack Quack"
Icecream = Pink Star (3)
Red button = Red star (2)
Puzzle pieces = green circle (6)
Flower = dark blue square (5)
Bees = orange circle (7)
Triangle pieces = green triangle (5)

Achievement: A Friend in Need (story)
Achievement: Fever Stop (story)
Achievement: Color Separator (story)
Achievement: Fly Away (story)


Scene 1

Ladder pieces (2)
Ropes (4)
Balloon (1)
Icecream (1)
Flower (1): turn on the sink, take some water using the glass on the table and water the flower
Triangle pieces (1)


Scene 2
Blue plug:

Ladder pieces (1)
Balloon (1)
Icecream (1)
Bees (1)
Triangle pieces (1)

Pink plug:

Ladder pieces (1)
Butterfly (1)
Puzzle pieces (1)
Red button (1)


Scene 3

Butterfly (2)
Balloon (2)
Duck (1)
Icecream (1) - it's actually a coin that you will be able to pick up only after you complete the balloons quest; it should be used on the icecream machine
Puzzle pieces (2)
Flower (2)
Bees (1)
Triangle pieces (1)

Achievement: Sprinkler (missable)
-> After you fix the pipes, turn on the colored taps one by one, making sure that you have the RED one LAST.


Scene 4

Butterfly (2)
Balloon (5)
Duck (1)
Puzzle pieces (2)
Flower (1)
Bees (2)

Hit the left edge of the wall with the hammer; this will reveal a caterpillar (use it on the green leaf to uncover the snail entrance) and will result in rocks dropping on the floor; use the basket on the hook and fill it with the rocks.

Scene 5

Butterfly (3)
Duck (1)
Puzzle pieces (1)
Flower (1): can be obtained only after solving the jigsaw puzzle
Bees (1)

Scene 6

Butterfly (1): use the pump on the right on the uppermost pin and the collect the butterfly from the wooden box
Duck (1)
Red button (1): you can obtain it only after you complete the bees quest (it will drop on the floor from the projector)
Bees (1)
Triangle pieces (1)

Achievement: Pumped Out (missable)
-> Use the pump with every pin (move the pins with the arrows); each of them will produce a different object from the wooden box

Achievement: Quack Quack (missable)
-> Click on the 4 ducks from this chapter.

Scene 7

Bees (1)
Triangle piece (1): this appears at random points in time


Scene 8

Butterfly (1): obtained after the machine is fully built


Puzzle solutions
Ropes puzzle (Scene 1, after collecting the ropes)


Pipes puzzle (Scene 3, after collectiog the triangle puzzle pieces)


Snail entrance (Scene 4)
The solution can be found in Scene 6 (the screen shows a compilation of images, one of them is the solution to this)


Jigsaw puzzle (Scene 5)


Chapter's core device:
Chapter 2
Legend
Spiders = yellow star (10)
Bugs = red circle (5)
Keys = light blue circle (3)
Pipes = green circle (7)
Machine parts = purple circle (4)
Crystals = orange square (5)
Feathers = dark blue square (5)
Cables = pink star (6)

Achievement: Freedom (story)
Achievement: Itsy Birtsy Spider (story)
Achievement: Fingers crossed (story)
Achievement: Disappointment (story)


Scene 1


Spiders (3): the blue one can be clicked after the rabbit is freed; one of the pink ones require having two levers installed
Bugs (4)
Keys (1)
Pipes (1)
Machine parts (1)
Crystals (1): take the pickaxe from the bear’s backpack and hit the crystal with it
Feathers (2)
Cables (1)

Achievement: Curiosity (missable)
-> Uncork all of the test tubes on the tree.


Scene 2

Spiders (4): one spider appears when the radio button is pressed; another one is hidden under the bear’s hat; another one you will need to zoom in the poster
Bugs (1)
Keys (2): one key is on the poster; the other one is under the bear’s paw, use the pliers from the toolbox to cut the chain
Crystals (1): use the screwdriver from the toolbox to unscrew the radio
Feathers (1)
Cables (1)


Scene 3


Spiders (2): one spider is hanging from the ceiling at the start of the level
Pipes (2): the second pipe (the one trapped on the left side of the screen) is obtained at the end of the level, you’ll need to time your clicks on the levers so that the hook grabs it
Machine parts (1)
Crystals (1): blue crystal
Cables (1)


Scene 4


Pipes (2)
Spiders (1): click the penguin
Crystals (1)
Machine parts (1)
Cables (1)

One pipe element, the machine part and one cable can be retrieved by combining the arms of the submarine in different ways:


Scene 5

In order to make light, use the watering can from the cabinet with a glass door, fill it with water from the sink and click on the bio-luminescent flowers
Machine parts (1)
Pipes (1)
Crystals (1): take the shovel from the cabinet and dig the crystal
Feathers: (1)
Cables (1)


Scene 6

Pipes (1)
Feathers (1):
Cables (1): use the icepick on the cube.
In order to activate the button that allows rotating the middle shelf of the cabinet you need to have the right combination set for the submarine.


Achievement: Ice Sculptor (missable)
-> Use the icepick to carve the ice cube on the bottom left of the cabinet.


Puzzle solutions
Doctor machine combination


Pipes puzzle


Chapter's core device
Chapter 3
Legend
Birds = yellow star (11) - for the missable achievement "Startler"
Mushroom = red circle (5)
Swimmers = light blue circle (6)
Lotus flowers = pink star (7)
Seeds = Green circle (9)
Gears = brown circle (8)
CDs = grey circle (4)
Pills = black circle (5)
Keys = Orange square (5)
Tangram = dark blue square (6)


Achievement: Bring it Back (story)
Achievement Beanstalk Ladder (story)
Achievement: Programmer’s brain (story)
Achievement: Just Moo it (story)


Scene 1

Birds (3)
Mushroom (1)
Swimmers (2)
Lotus flowers (2)
Seeds (1)
Gears (2)
Keys (1)


Scene 2

Birds (1)
Mushroom (2)
Lotus flowers (2)


Birds (2)
Seeds (1)
Gears (1): use the knife (right side of the door, behind the small curtain) on the bag (left side of the door).
CDs (1)
Pills (1)
Tangram (2)


Scene 3

Birds (3)
Mushroom (2)
Swimmers (3)
Lotus flowers (2)
Seeds (3): the last seed (below the tree) can be taken only after you gather all the pills
CDs (1)
Tangram (1)


Scene 4

Swimmers = (1)
Lotus flowers (1)
Seeds (1)
Gears (1)
CDs (1)
Pills (1)
Tangram (1)


Scene 5

Seeds (2)
Gears (2)
CDs (1)
Pills (1)
Tangram (2): obtainable only after the robot goes down from the ceiling

For one gear and one CD: use the mushroom weights on the scales as in screenshots below:


Scene 6

Seeds (1)
Gears (1): obtained after putting half of the metal heart from the robot in the back to the one in the front
Pills (2)
Keys (1)

Achievement: Hand in Hand (missable)
-> After you assemble the robot on the rails, use the feather and the scissors first on the robot and only in the end the gear (click on his right arrow after each try, so that you can trigger the action).


Scene 7

Birds (2): one is clickable only after you get the keys quest
Gears (1)
Keys (2)

Achievement: Startler (missable)
-> Startle all of the signal birds.


Scene 8

Keys (1)


Puzzle solutions
Tree combination (Scene 3)


Matches puzzle


Gears puzzle


Tangram puzzle (Scene 7)
Chapter 4
Legend
Starfish = Pink star (5)
Clam shells = Yellow star (8)
Bones = red circle (6)
Bicycle parts = blue circle (3)
Turtle = green circle (3)
Crabs = orange circle (8)
Round tokens = purple circle (9)
Shells to inspect = red star (?) - for the missable achievement "Shell Inspector"
Pearls = White circle (10)


Achievement: Flying Machine (story)
Achievement: Befriend a Turtle (story)
Achievement: Bring It Up! (story)
Achievement: Pearl Collector (story)
Achievement: Wind Creator (story)


Scene 1

Starfish (2)
Clam shells (2)
Bones (2)
Bicycle parts (1): use the purple blowfish to blow air from under the cloth on the left of the screen
Crabs (2): the chest is opened with a fish that has the tip shaped as a key
Round tokens (2)
Shells to inspect (1)
Pearls (2)


Scene 2


Starfish (2)
Bicycle parts (1): move the purple blowfish under the purple tentacle of the 3 yellow vase-like structures; take the other 2 corks and cover 2 of the structure entrances
Crabs (1)
Round tokens (1)
Shells to inspect (1)
Pearls (1)
Bones (1): use the bone with the crab claws


Scene 3

Clam shells (1)


Scene 4

Starfish (1)
Clam shells (4): use the lever on the left to make the bicycle fall down; use the scepter to hit the vase; there’s one other clam shell on the background (you will see it after the bicycle falls)
Turtle (2)
Crabs (2)
Round tokens (1)
Pearls (2)


Scene 5

Clam shells (1)
Bones (1)
Bicycle parts (1): use the knife to remove the coral from the yellow control panel
Turtle (1): wait until the turtle appears in the window (you can also see how close it is by looking at the radar)
Crabs (1)
Round tokens (2)
Pearls (2): the one inside the chair can be obtained by cutting the small patch of cloth with the knife


Scene 6

Crabs (1)
Bones (1): arrange the leaves painted with fish parts correctly and a small door will open to reveal the bone
Round tokens (2)
Shells to inspect (2)
Pearls (2)

Achievement: Shell Inspector (missable)
-> Open all the clam shells.


Scene 7

Bones (1)
Crabs (1): can be obtained only after the bicycle is repaired and lifted.
Round tokens = (1)
Pearls (1)


Puzzle solutions

Crab puzzle


Pipe-like puzzle


Chapter core device
Chapter 5
Legend
Ladybug = red circle (6)
Soap = brown circle (5)
Stones = grey circle (4)
♥♥♥♥♥♥♥ = yellow star (4)
Hourglass = orange circle (5)
Egg = green circle (5)
Wheels = blue circle (4)
Stamps = dark blue square (6)


Achievement: Bubble passenger (story)
Achievement: Four wheels (story)
Achievement: Sickness is Gone (story)


Scene 1

Ladybug (2)
Soap (2): one is obtainable only after solving the ladybug puzzle
Stones (1)
Hourglass (2): behind the curtain; the symbols on the pipe represent the code needed in the next scene.
Egg (2)
Wheels (2)
Stamps (1)


Scene 2

Ladybug (3)
Soap (2)
Stones (1)
♥♥♥♥♥♥♥ (4)
Hourglass (3): for the hourglass in the tube, you will need to set the right combination on the vertical pipe (light orange middle, dark orange middle, dark green top, light green top).
Egg (3)
Wheels (1)
Stamps (2)

In order to trigger the hourglass quest, use the shovel on the X spot.

Achievement: Jolly ♥♥♥♥♥♥♥ (missable)
>Interact with all the ♥♥♥♥♥♥♥.

Achievement: Where Are They Going? (missable)
In order to get the soap locked in a tube, you will need to time your clicks so that the 3 ♥♥♥♥♥♥♥ fall on the paper plane. Right after the tube is unlocked, they will fly towards the right. You need to follow them immediately by clicking on the right arrow that leads to the other scene.


Scene 3

Ladybug (1)
Soap (1)
Stamps (1)


Scene 4

Stones (1): obtainable only after the wheels quest is completed.
Stamps (1)


Scene 5

Stones (1)
Wheels (1)
Stamps (1)

Solution for the puzzles

Clock puzzle (Scene 1)
Green: 6:15; Blue: 3:00; Red: 12:15

Ladybug puzzle (Scene 1)


Stamps puzzle (Scene 4)


Chapter's core device

25 opmerkingen
darkly77 26 dec 2022 om 20:09 
Oh nvm 🤦‍♂️ It's on the paper in the sleeping bear's office
darkly77 26 dec 2022 om 20:07 
How did you figure out the combination to the Doctor machine?
Aurum Seeker 15 jan 2022 om 1:16 
Thank you so much.
Amorph Lex 24 nov 2021 om 21:48 
Why yamyam is censored?
Double Dark 26 mei 2021 om 1:05 
Good thing you can Chapter Select... cuz I missed an achievement in Chapter 5. Thanks for the guide!
Queen Of Game 2 jul 2020 om 7:23 
Great guide, Lilly, thanks a lot :D
GamerBEAT 23 jun 2020 om 0:42 
love u
midnight sky 22 dec 2019 om 3:04 
...I did not notice the borders at all. Oh geez haha. I must've been too preoccupied by the colours and symbols
🍒 Lilly (🌸◠‿◠)  [auteur] 22 dec 2019 om 2:58 
@sensorium: for the stamps puzzle, a curly border indicates that the edge must be connected to something; based on that, there's only one placement possible.
midnight sky 21 dec 2019 om 23:20 
@Lucky Thirteen, thanks for that! I had no idea what to do either.

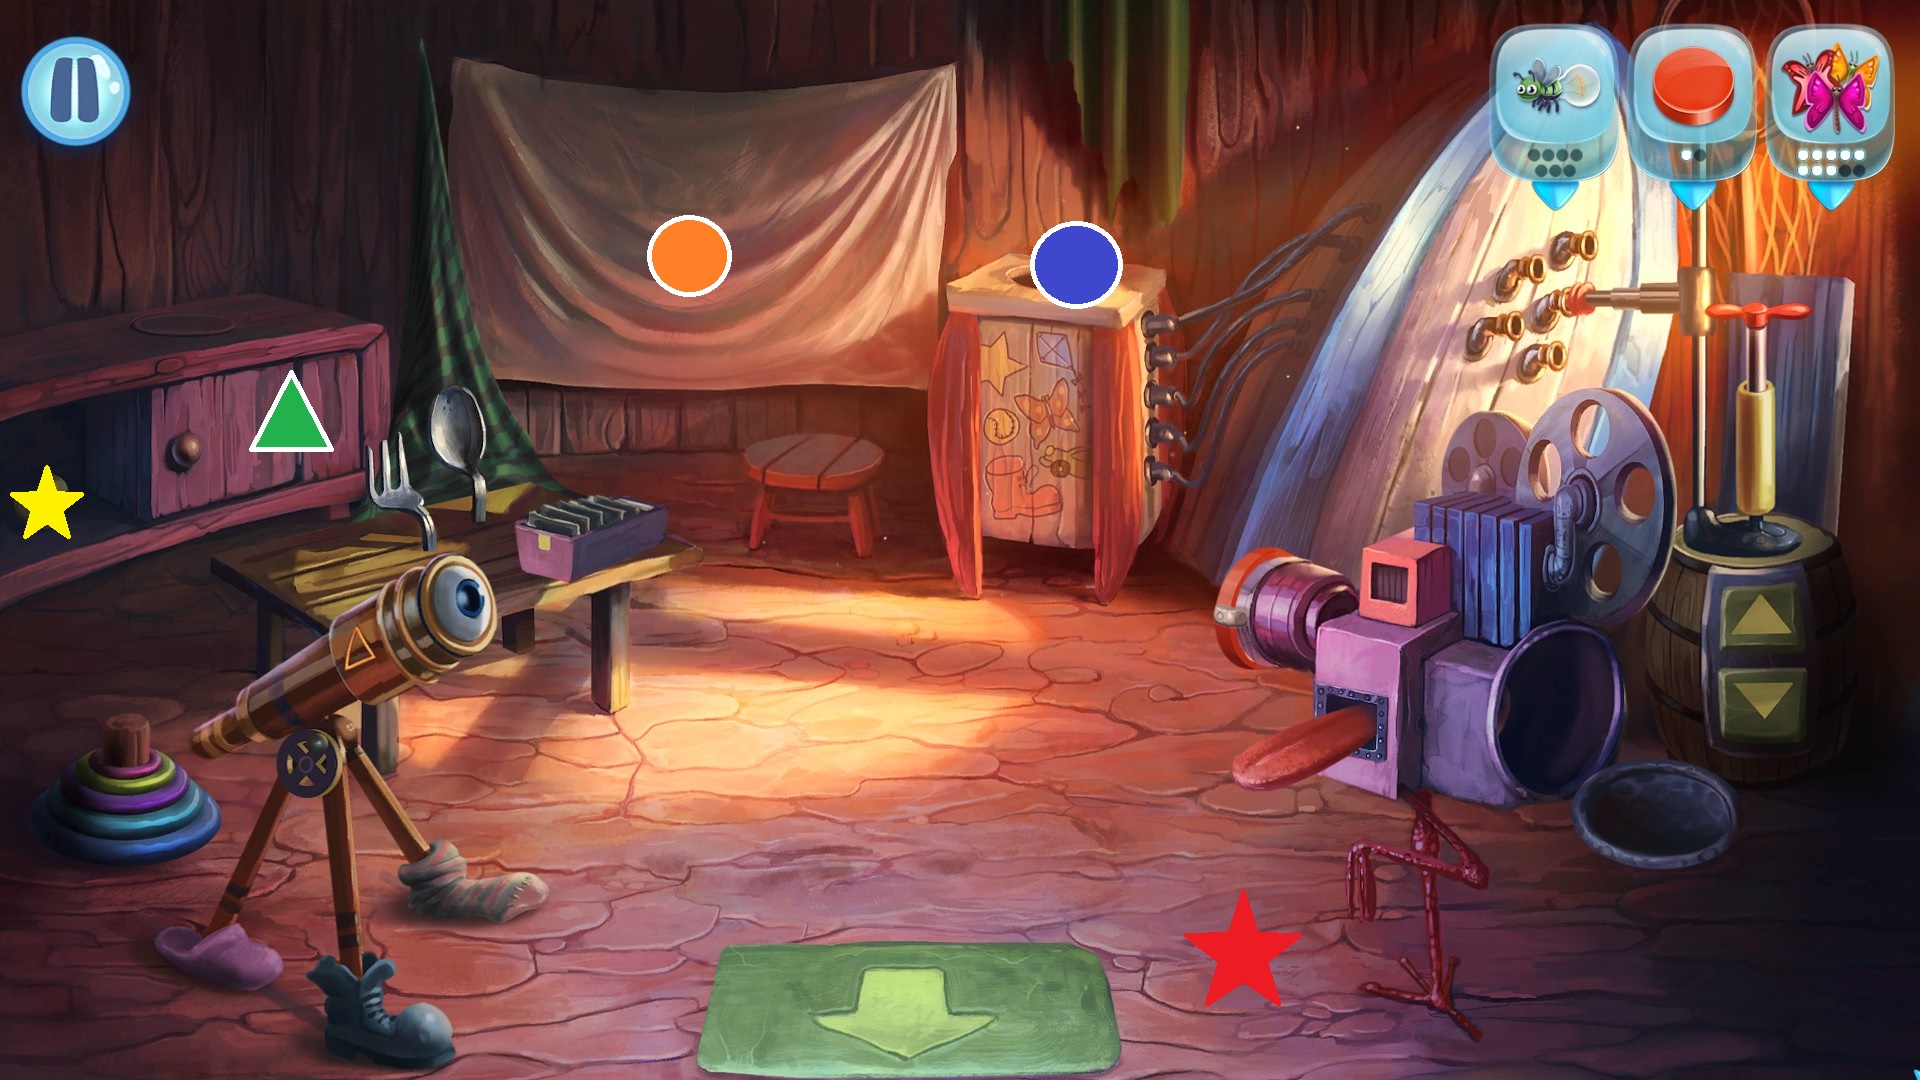
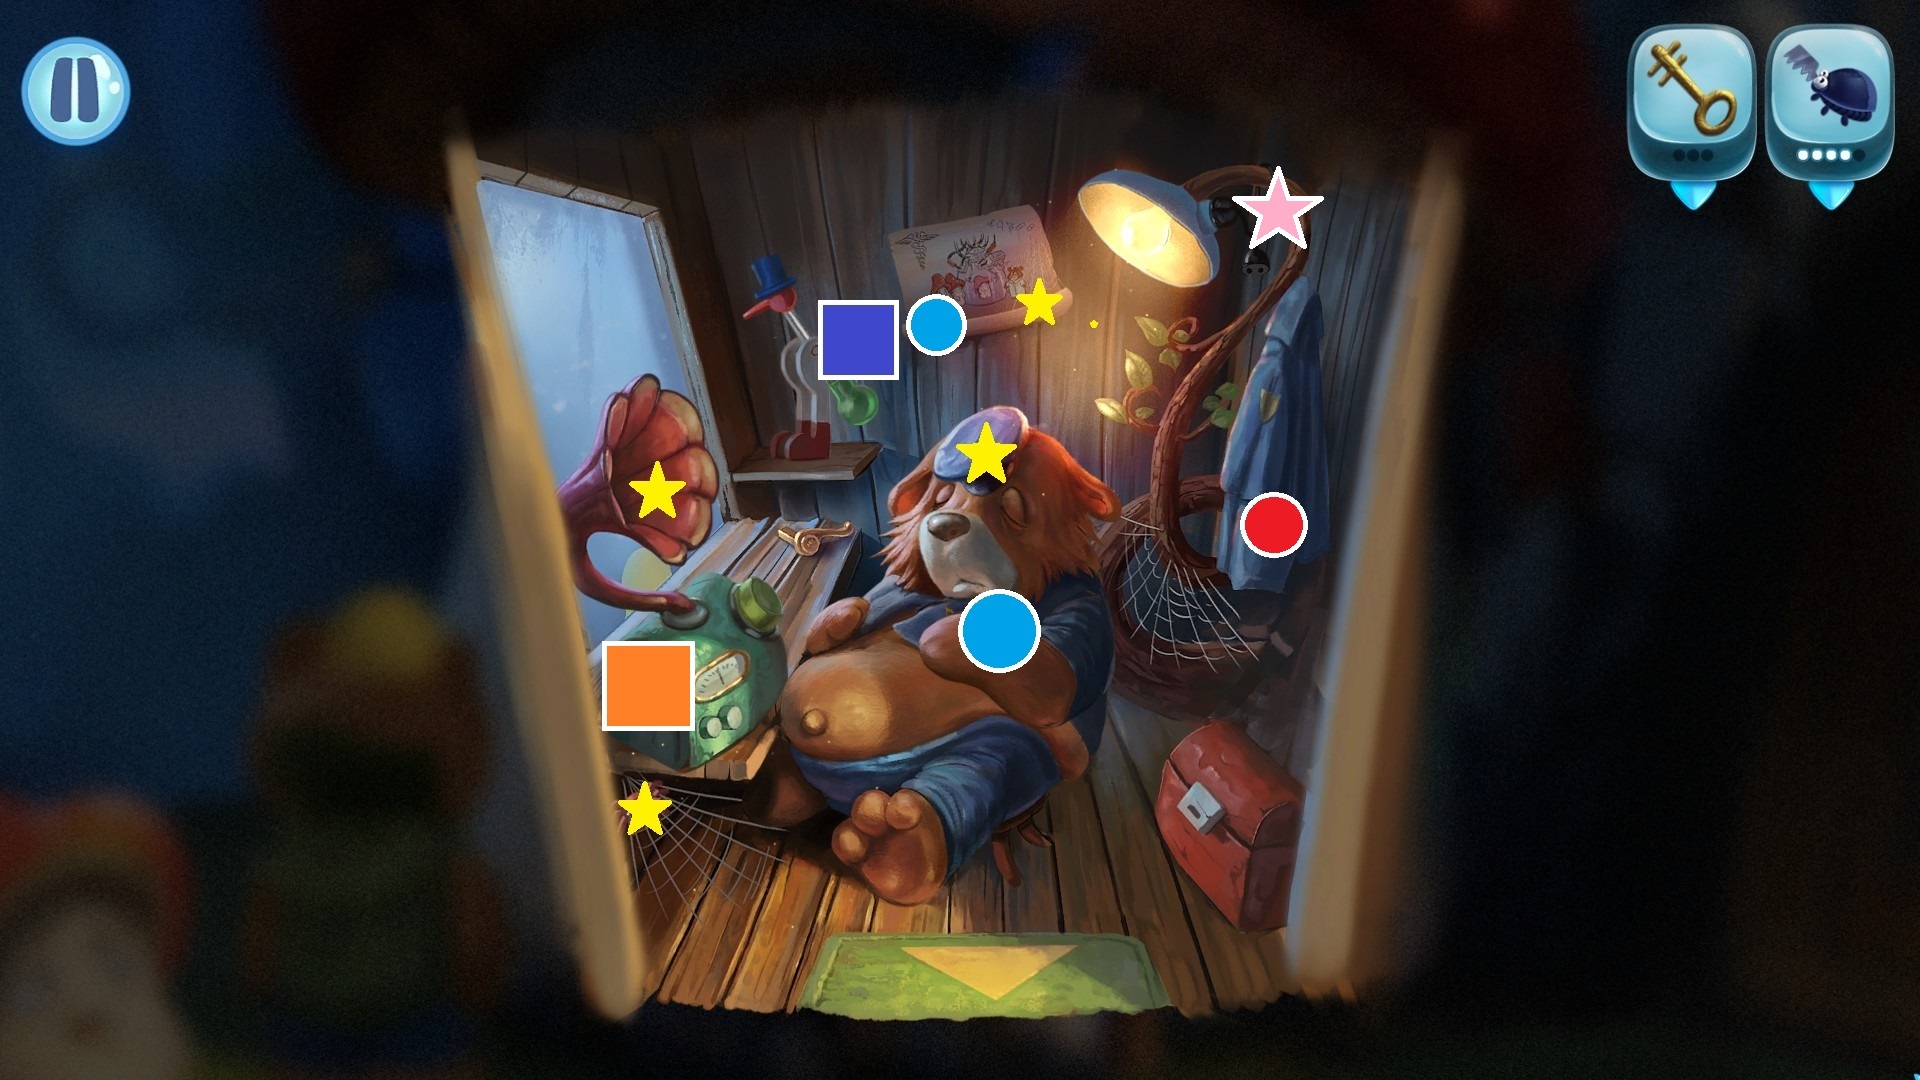
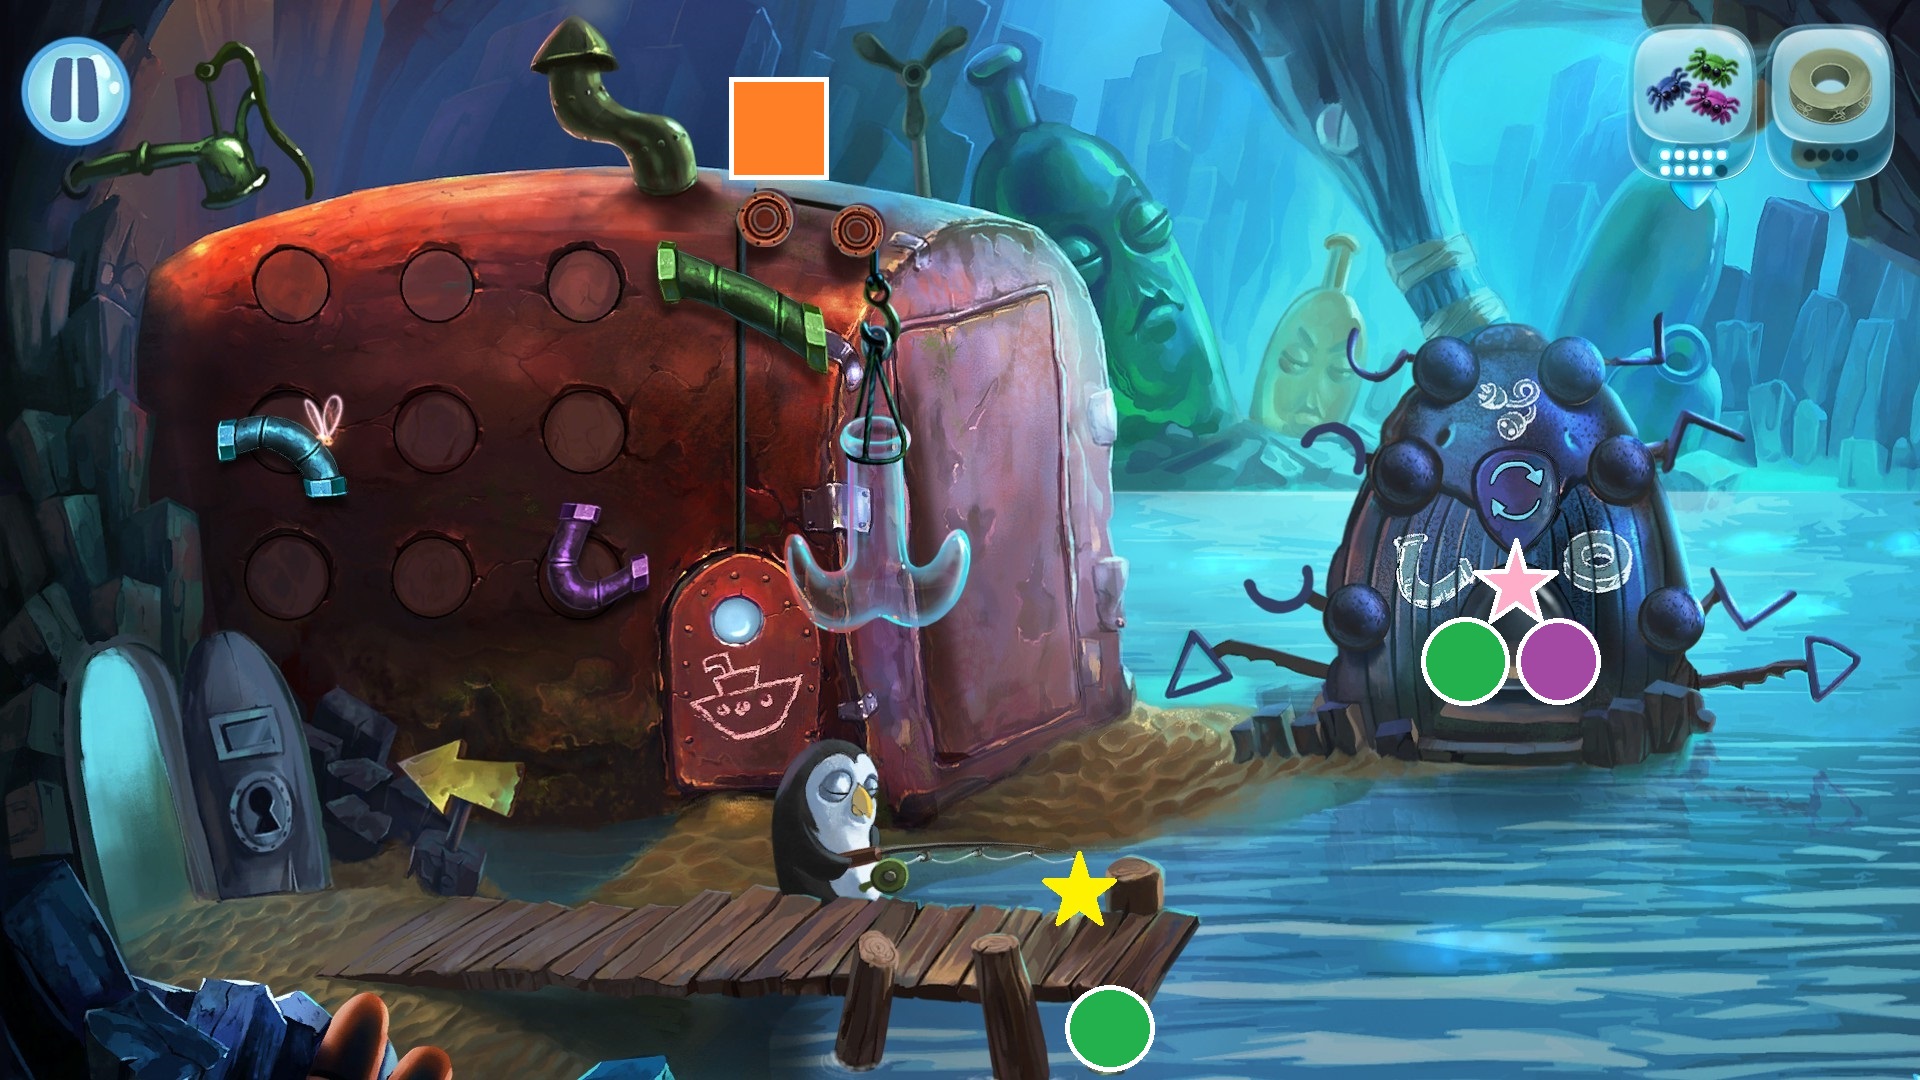
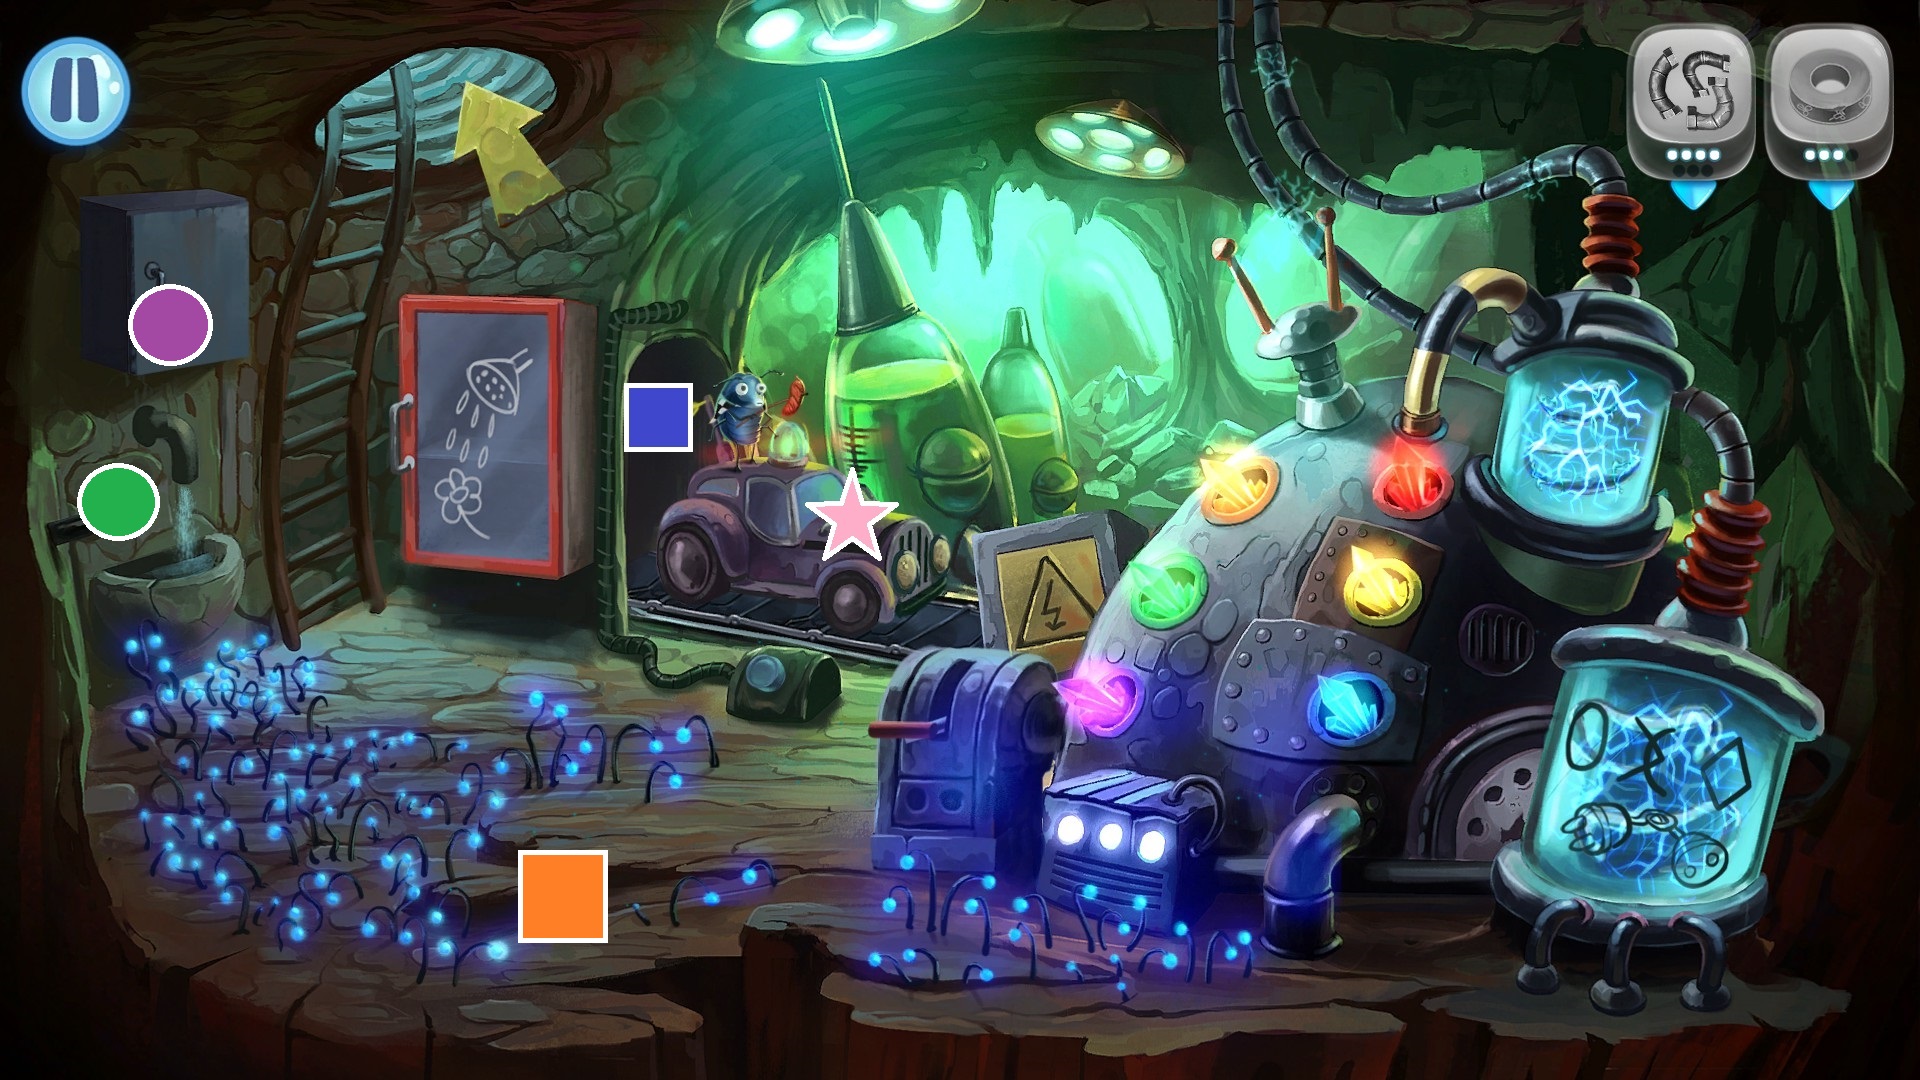
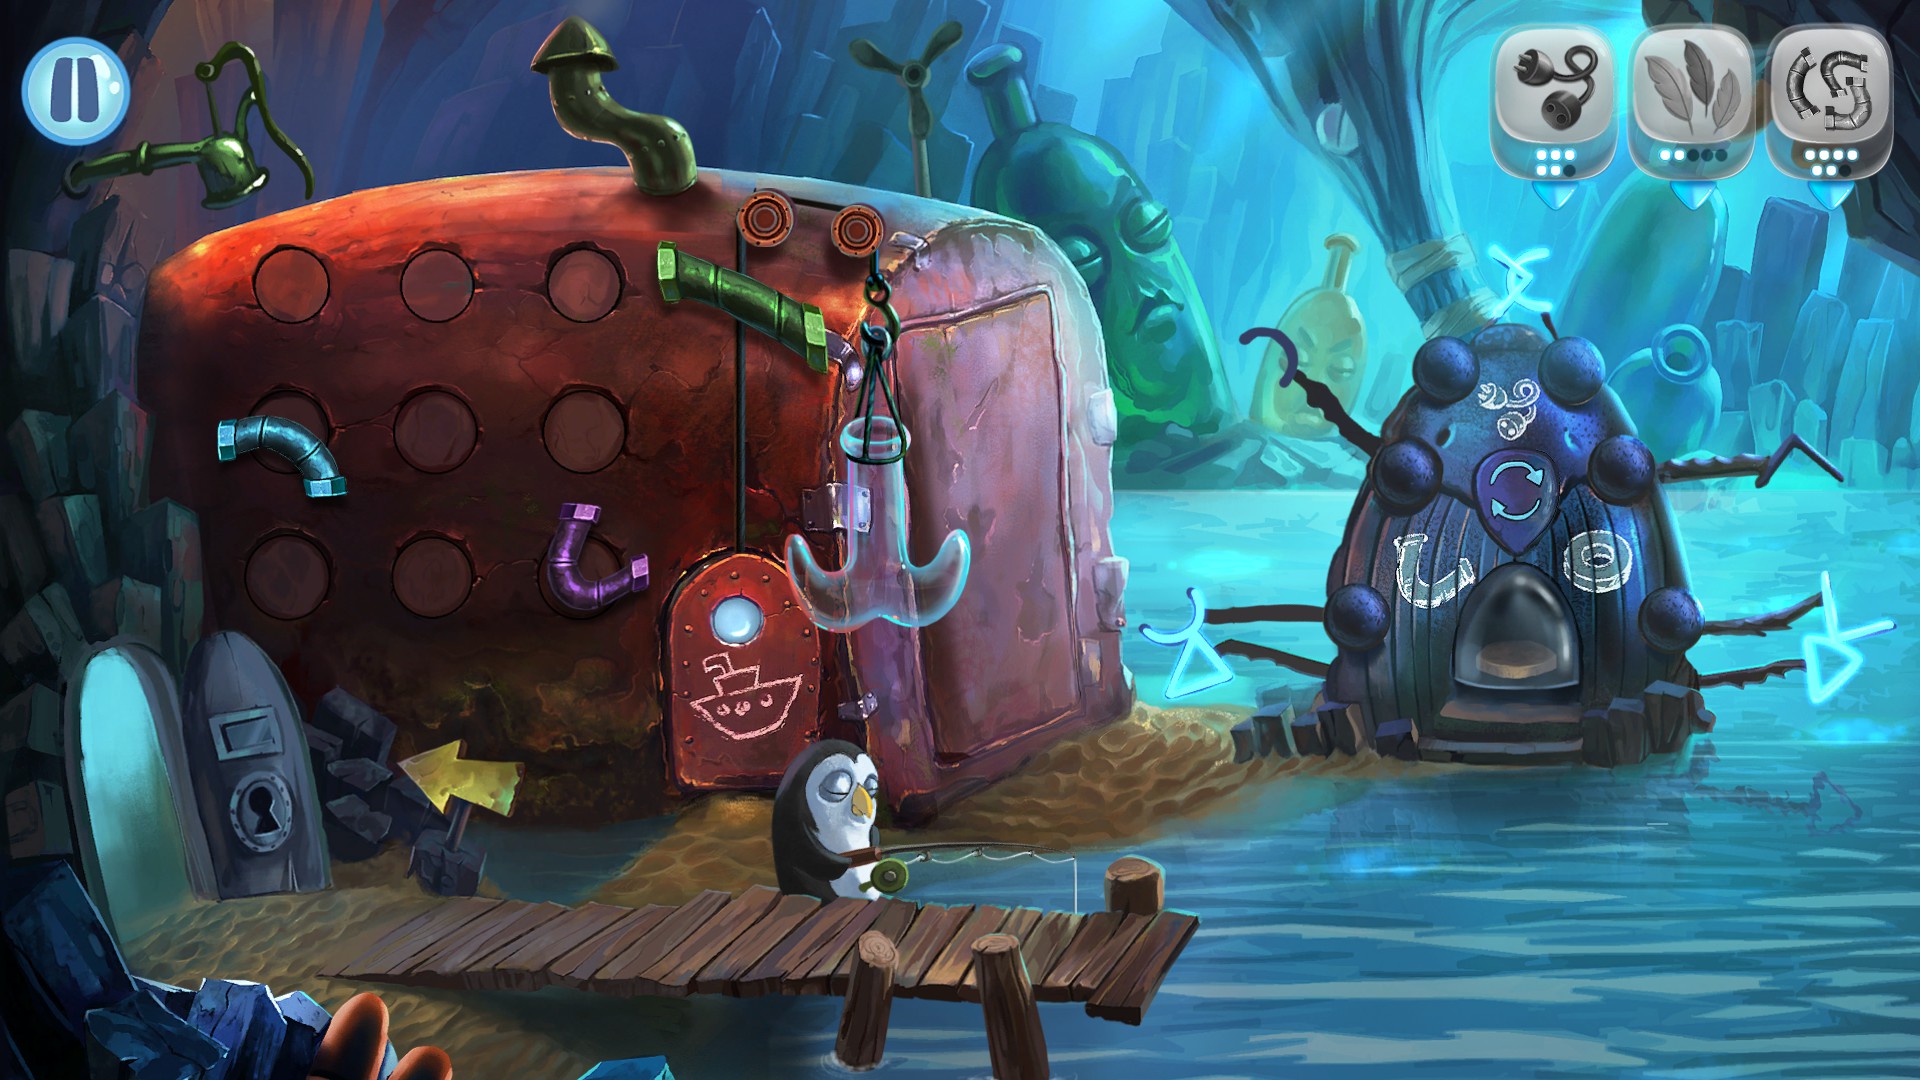
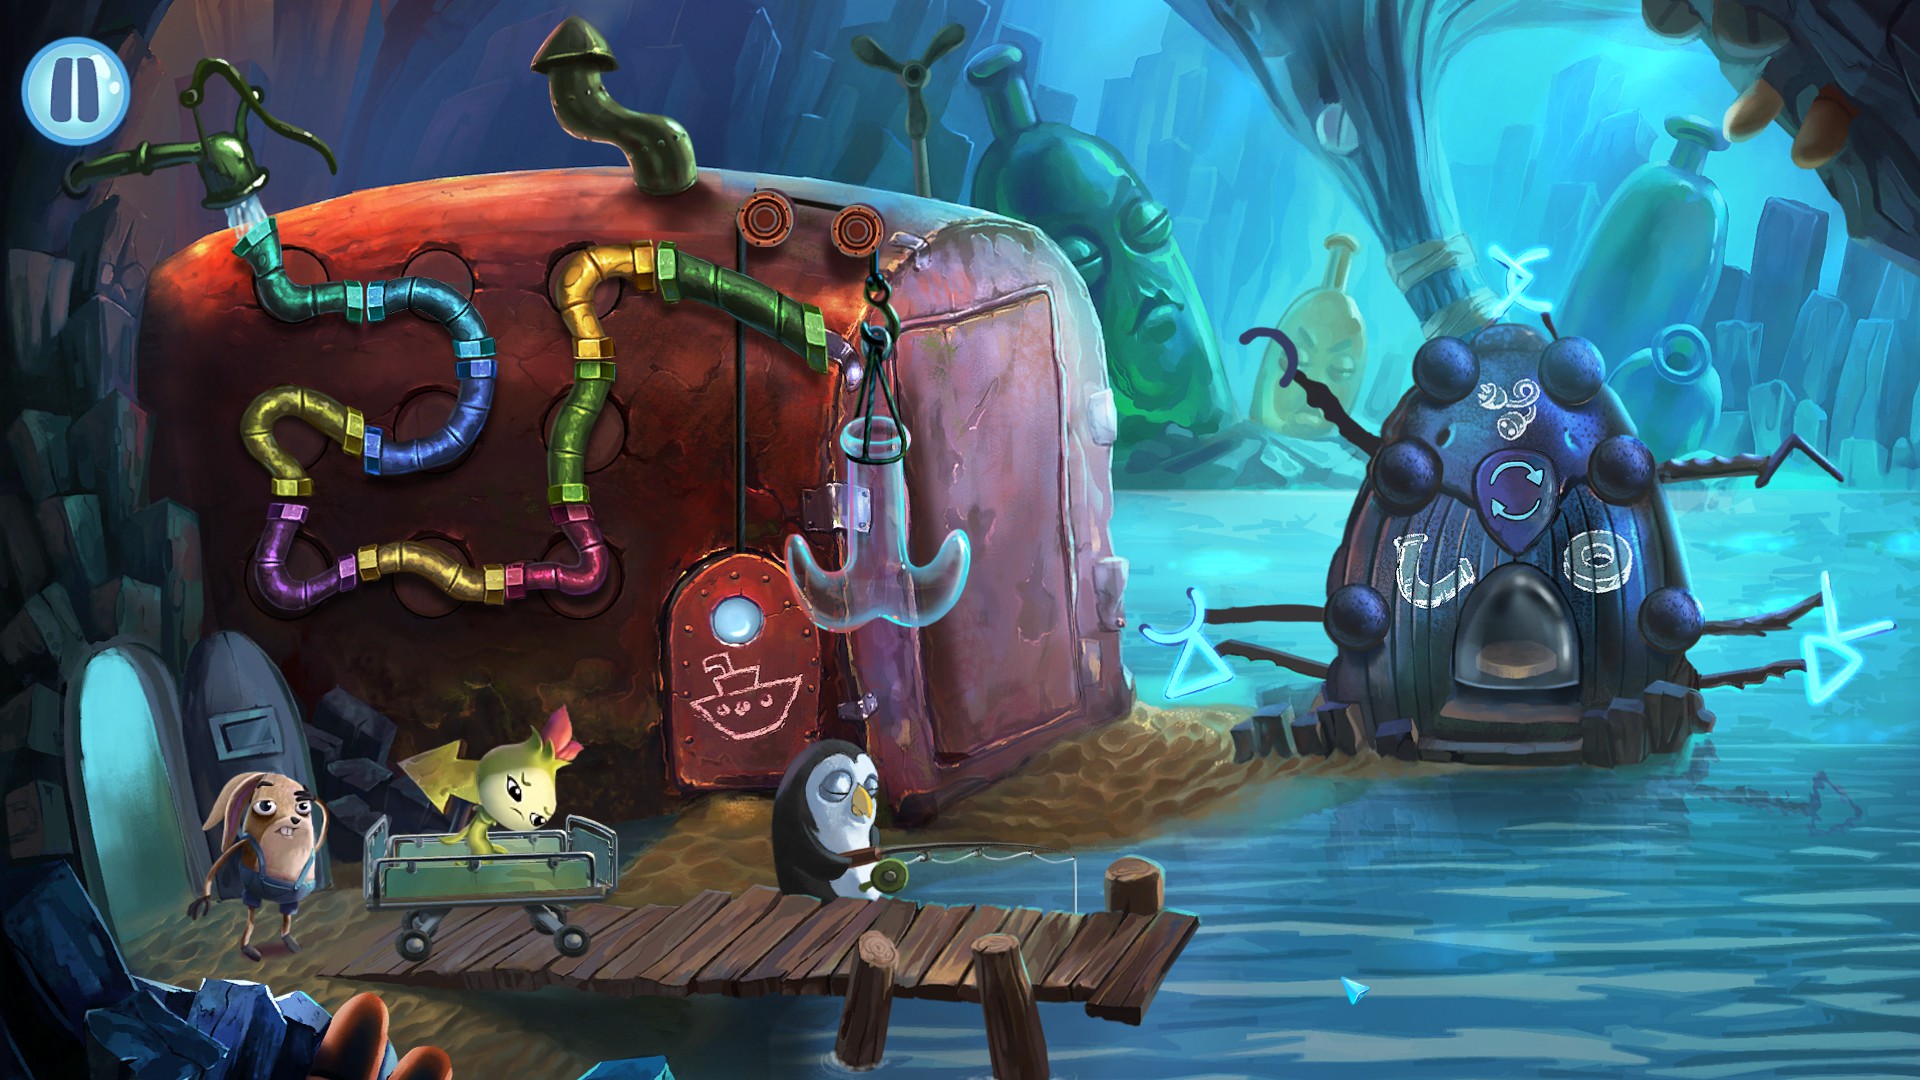
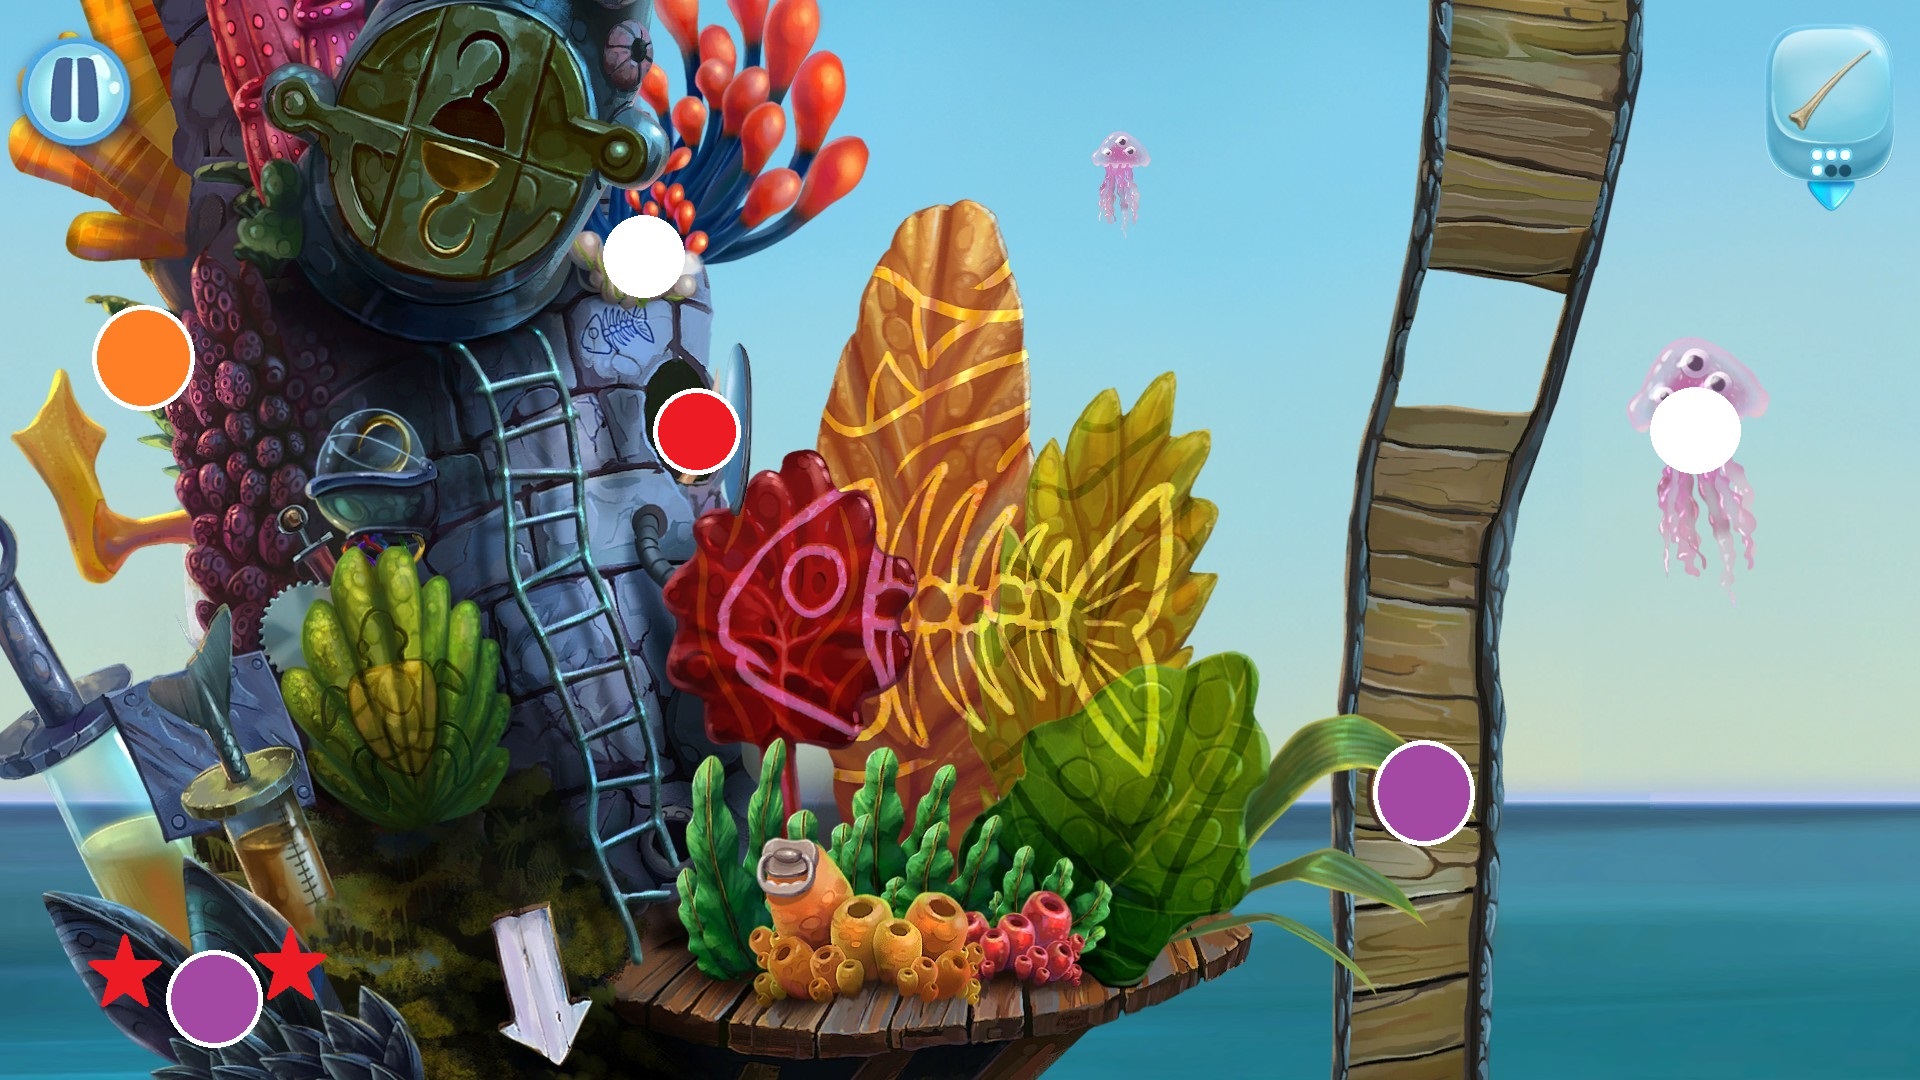
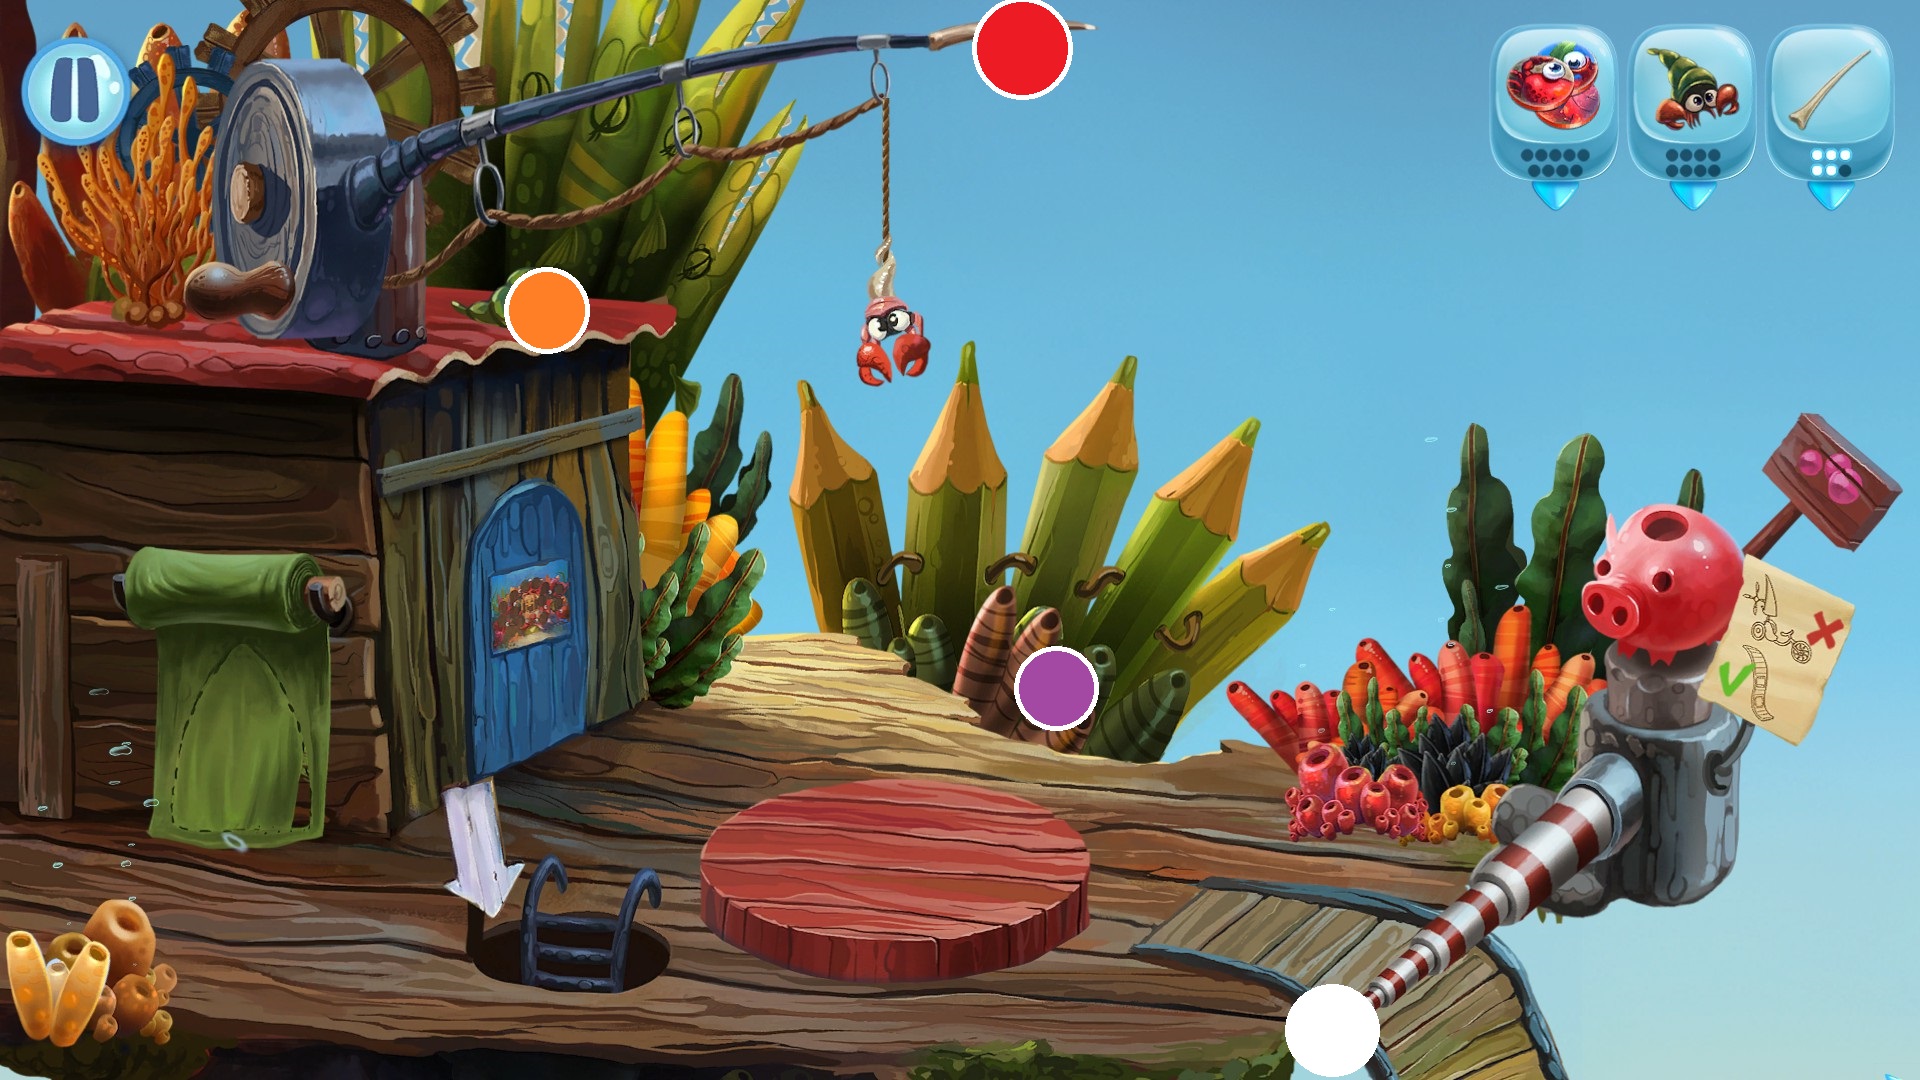
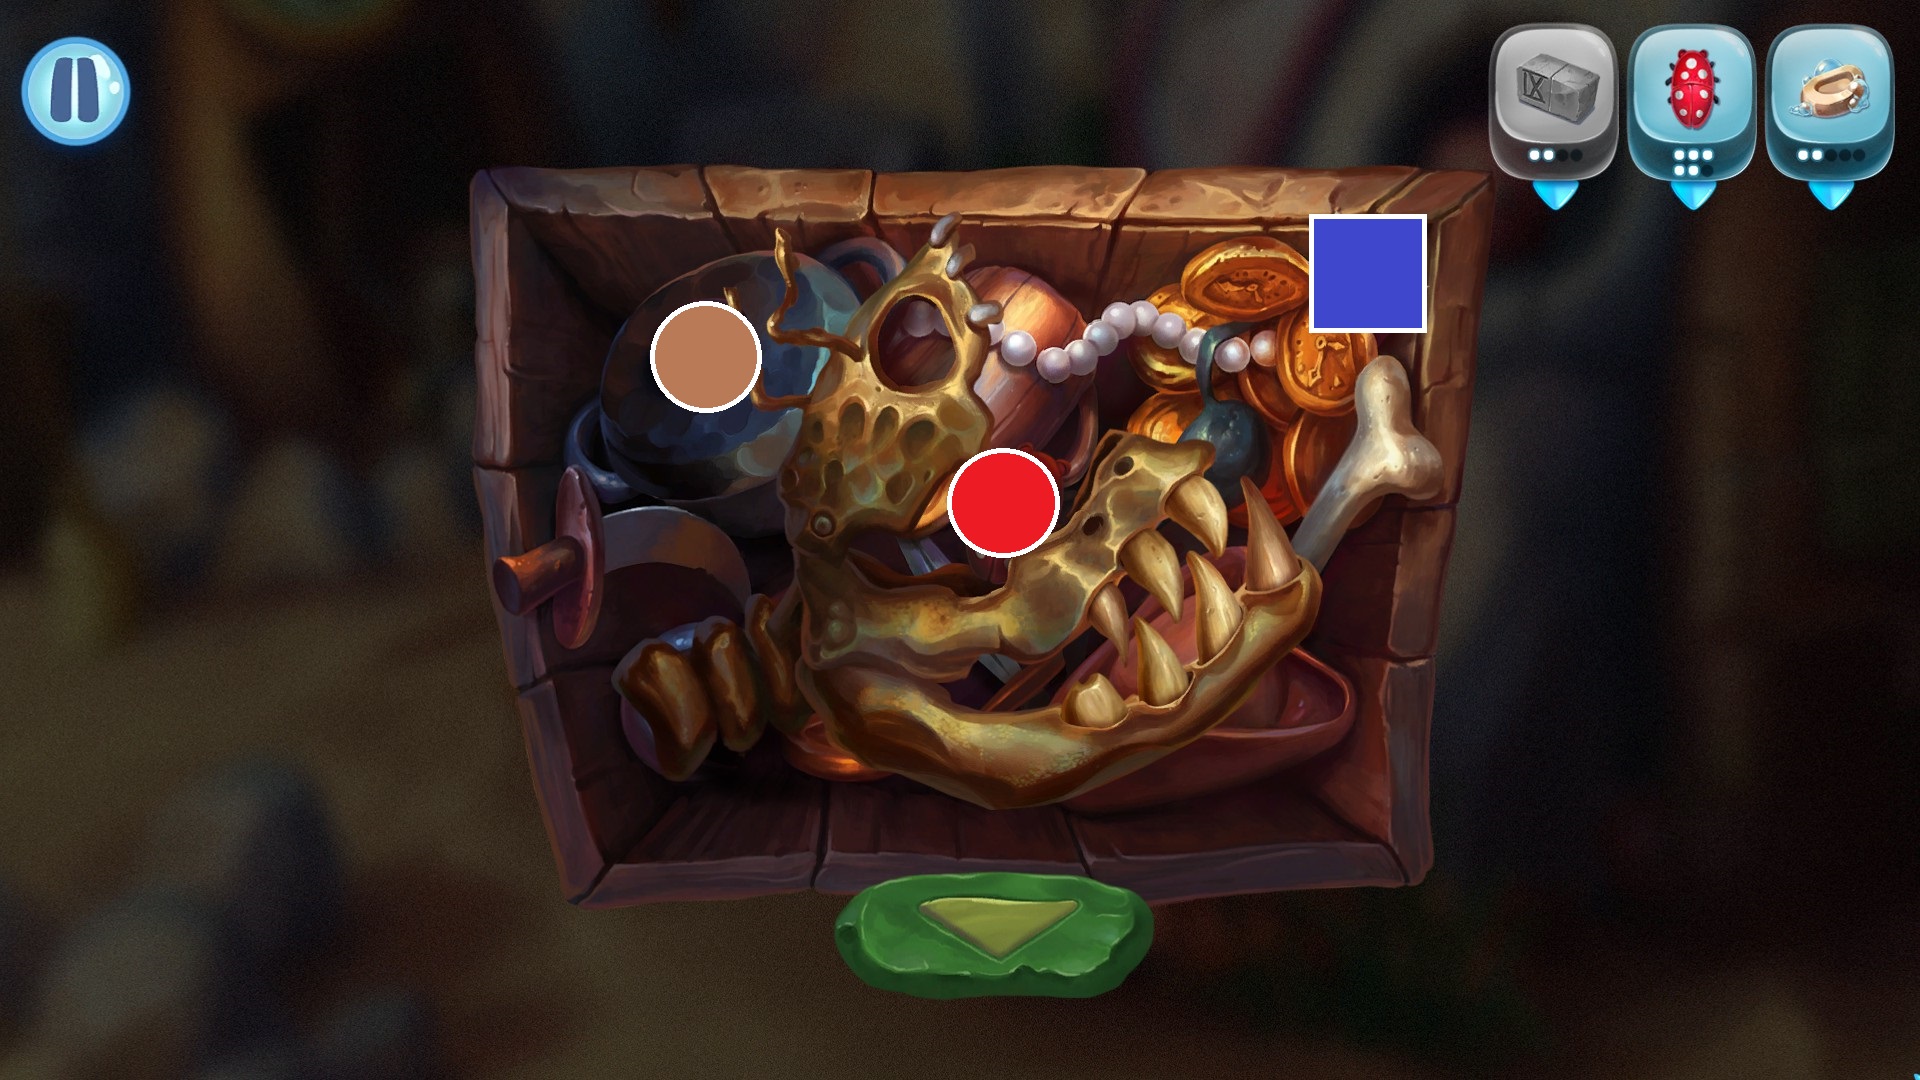
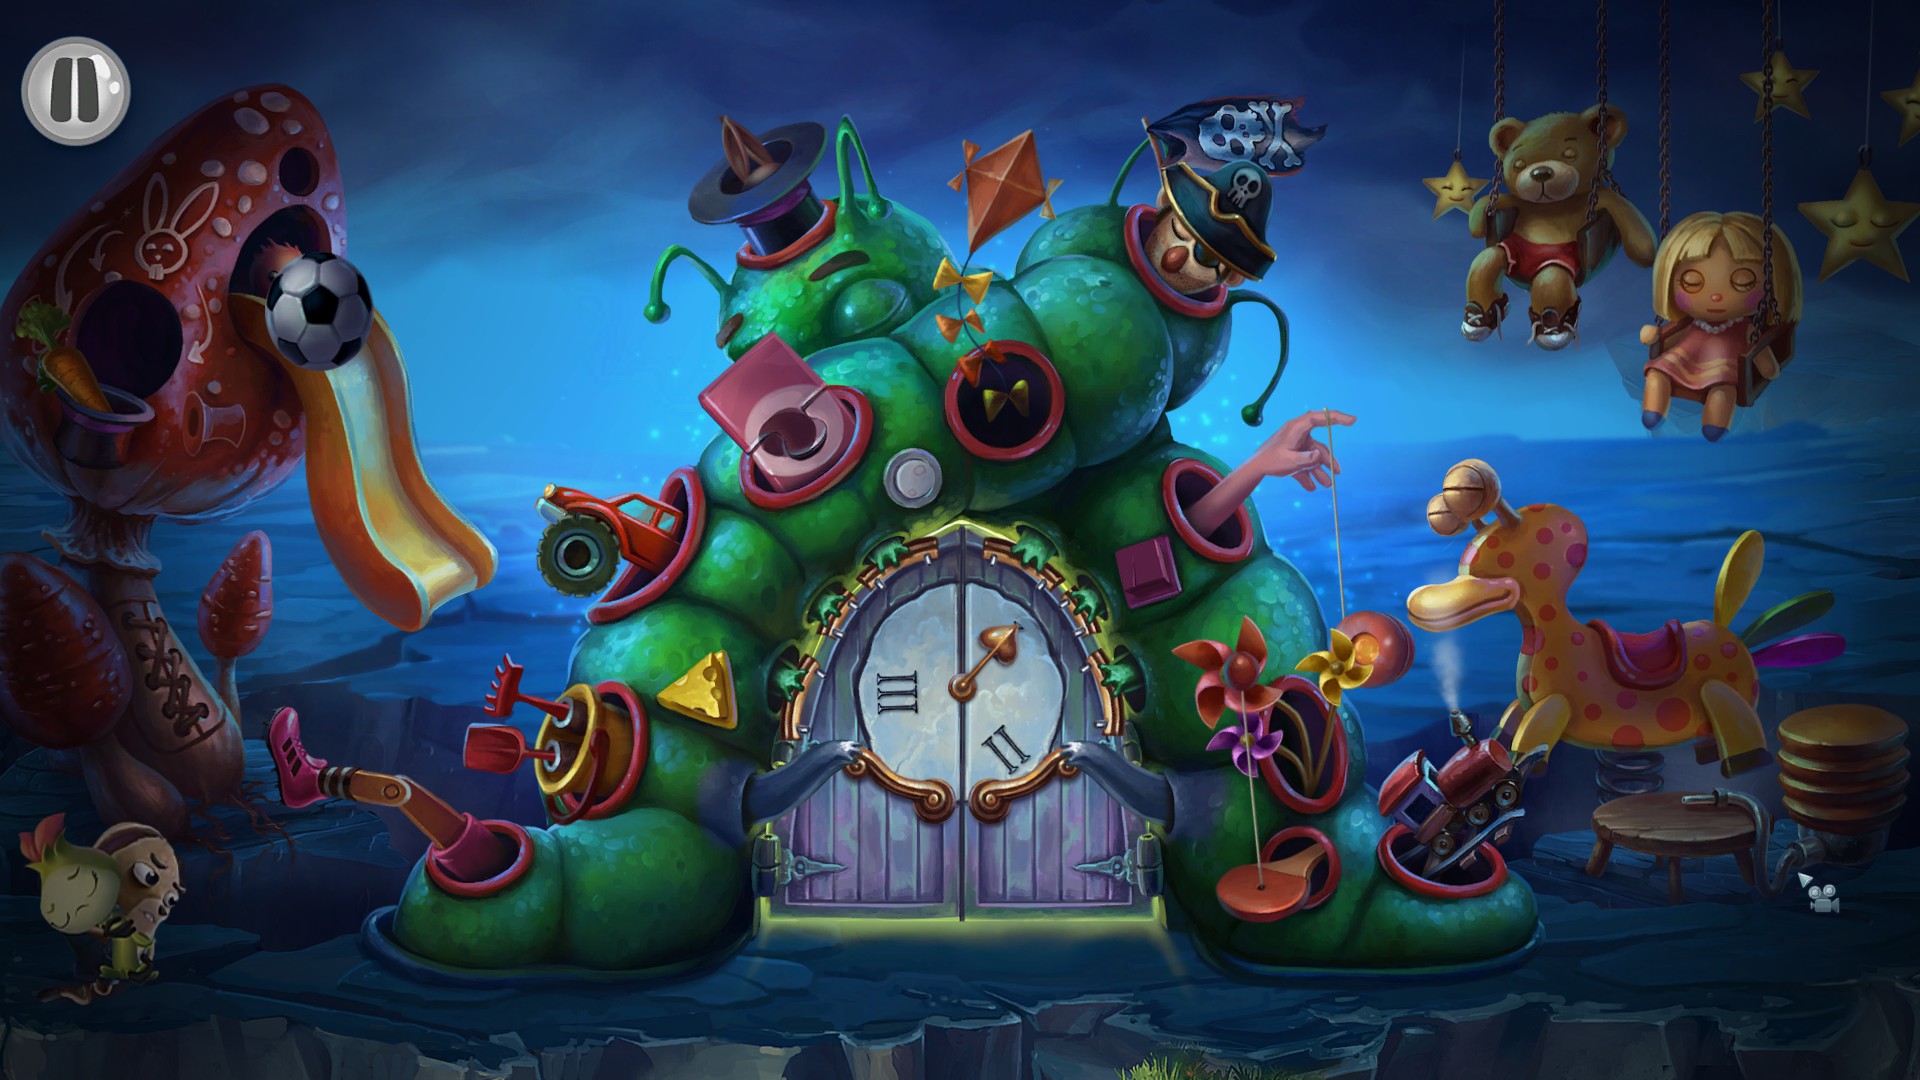
Thanks for the guide Lilly. I definitely wouldn't have been able to find all the collectables without your help.

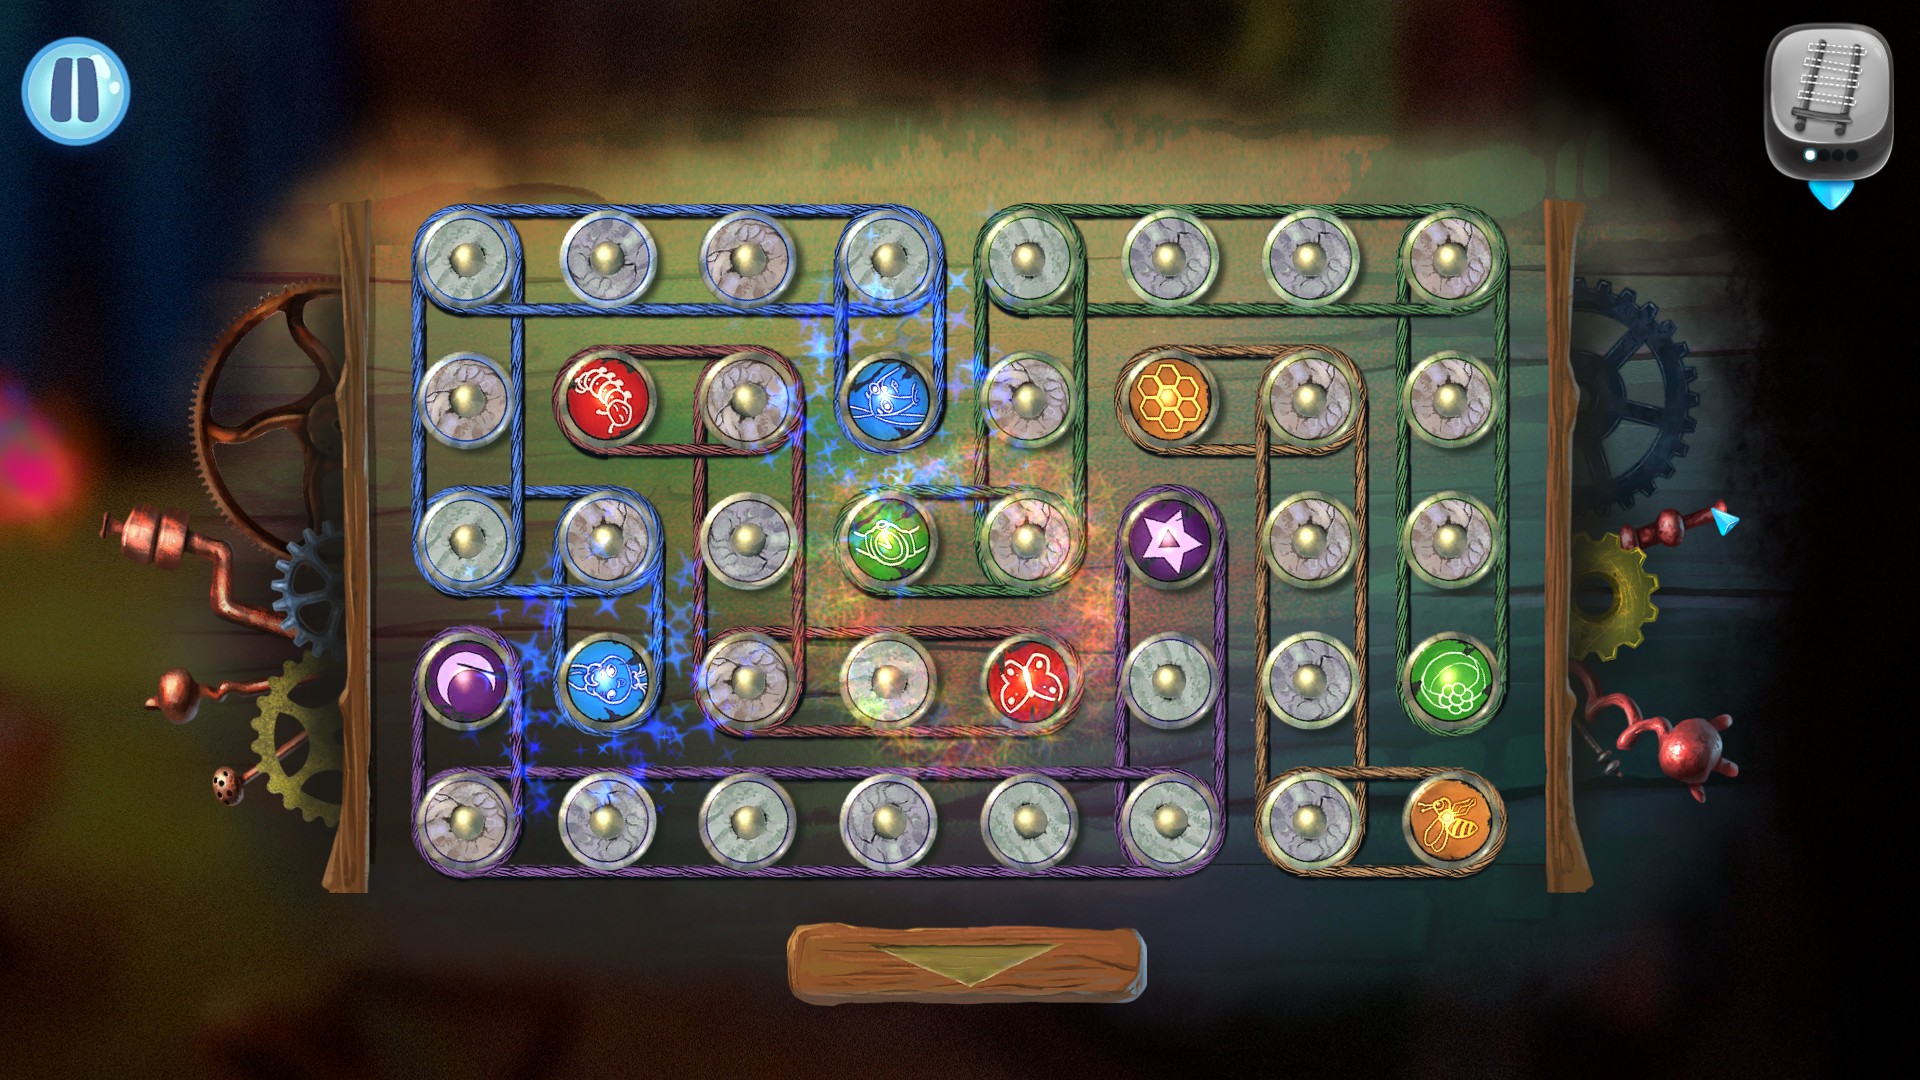
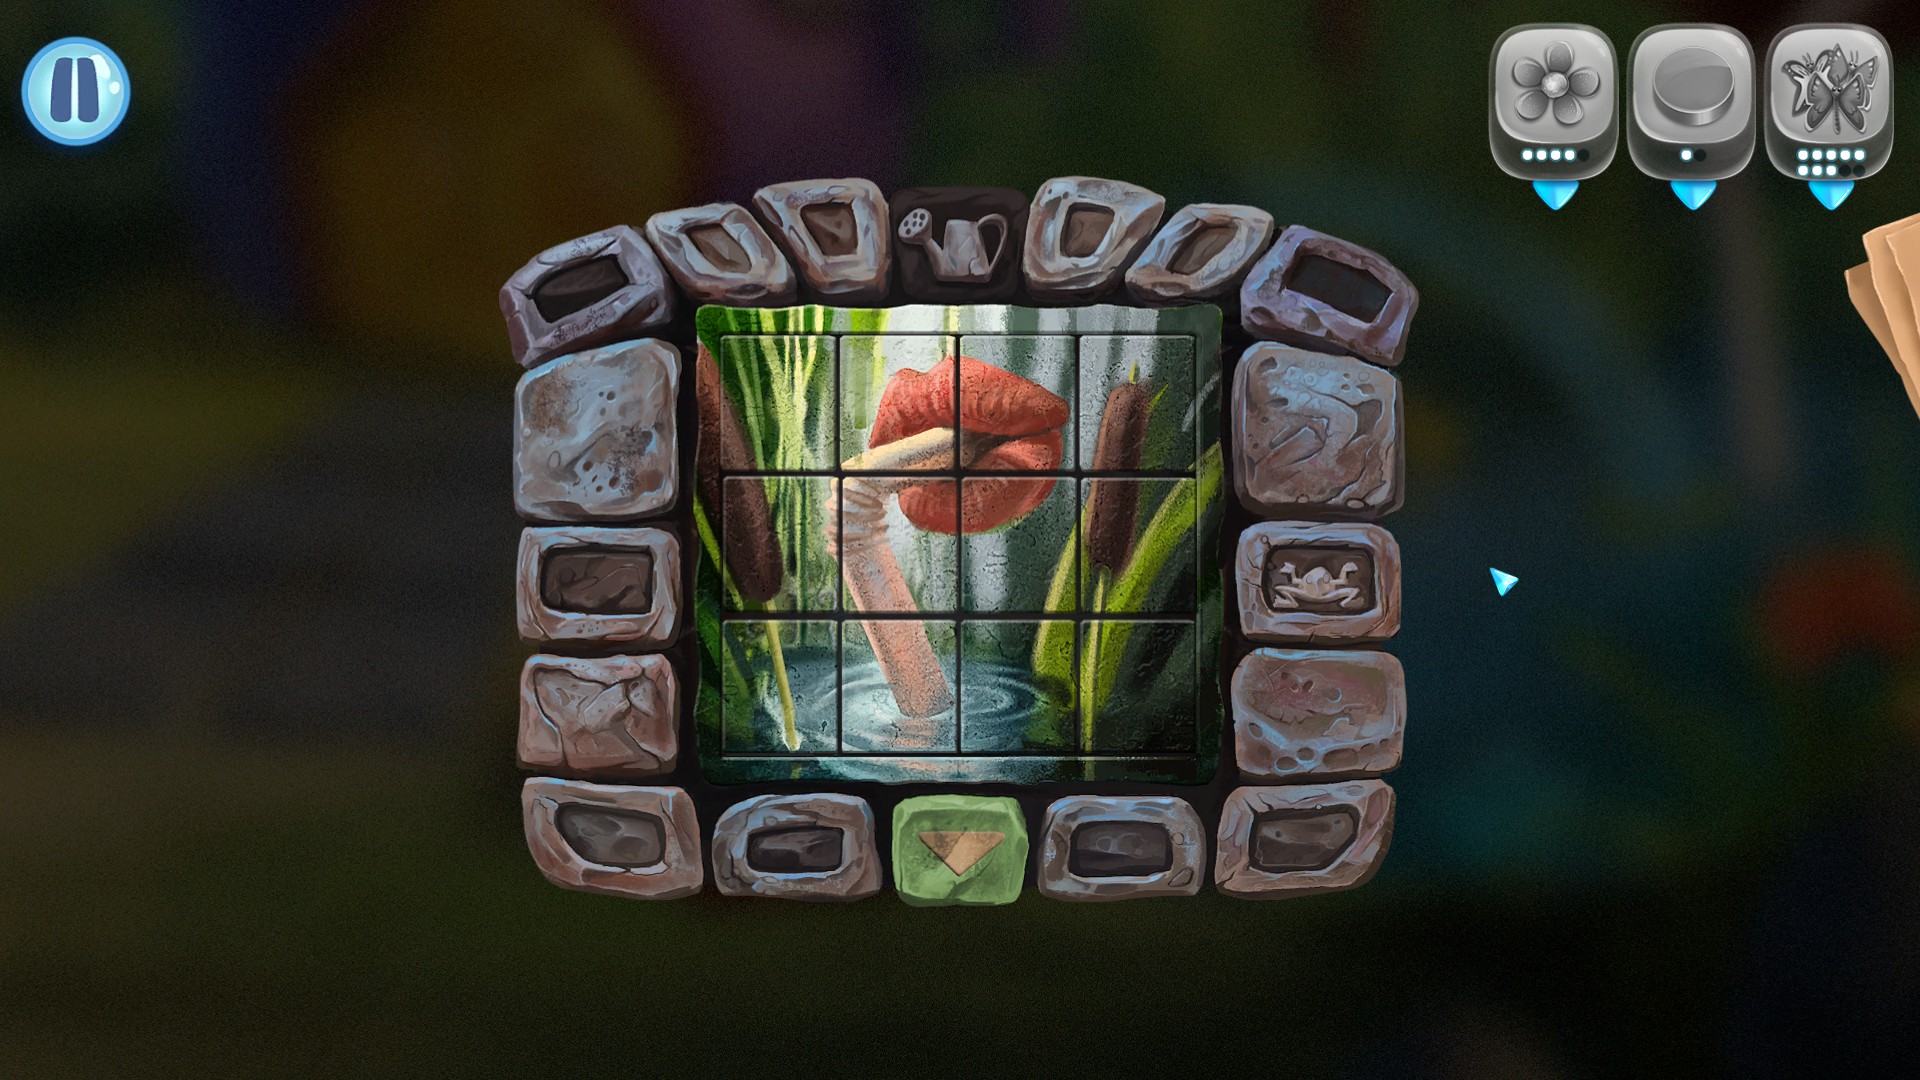
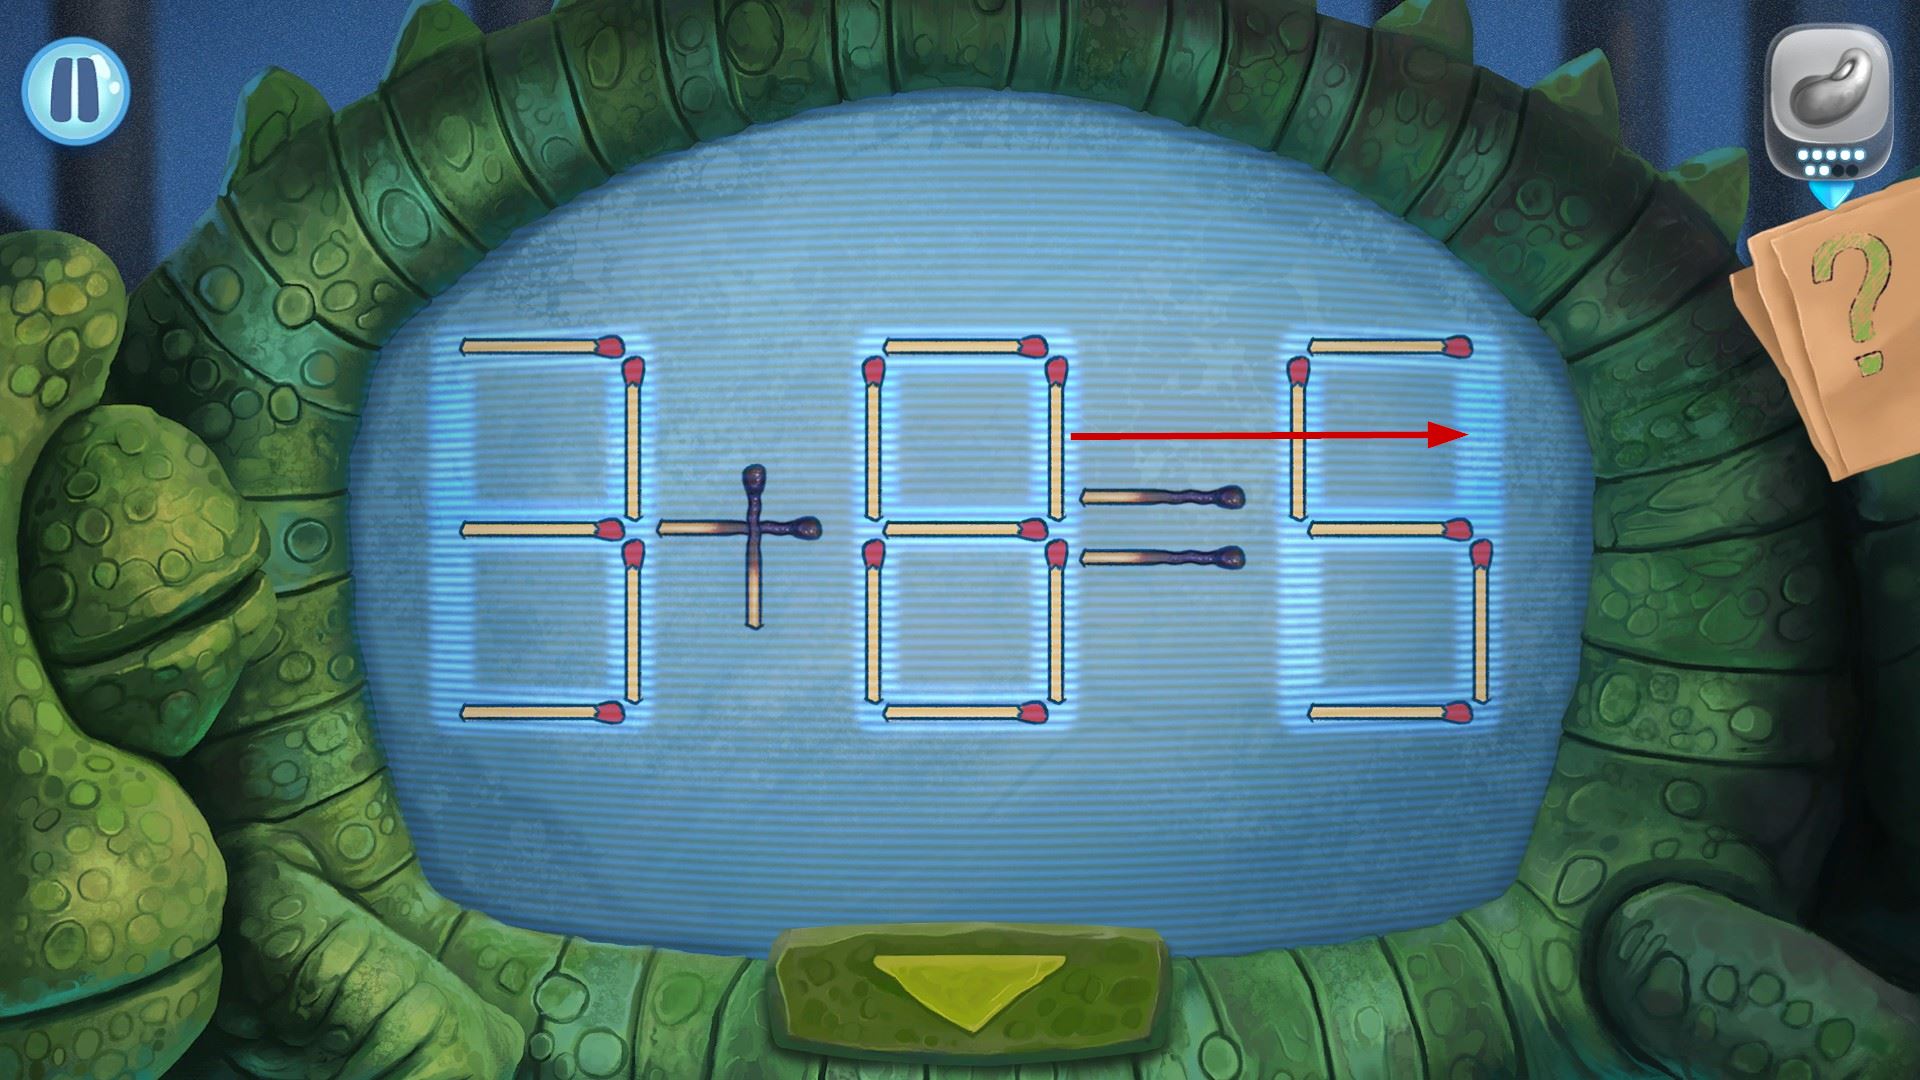
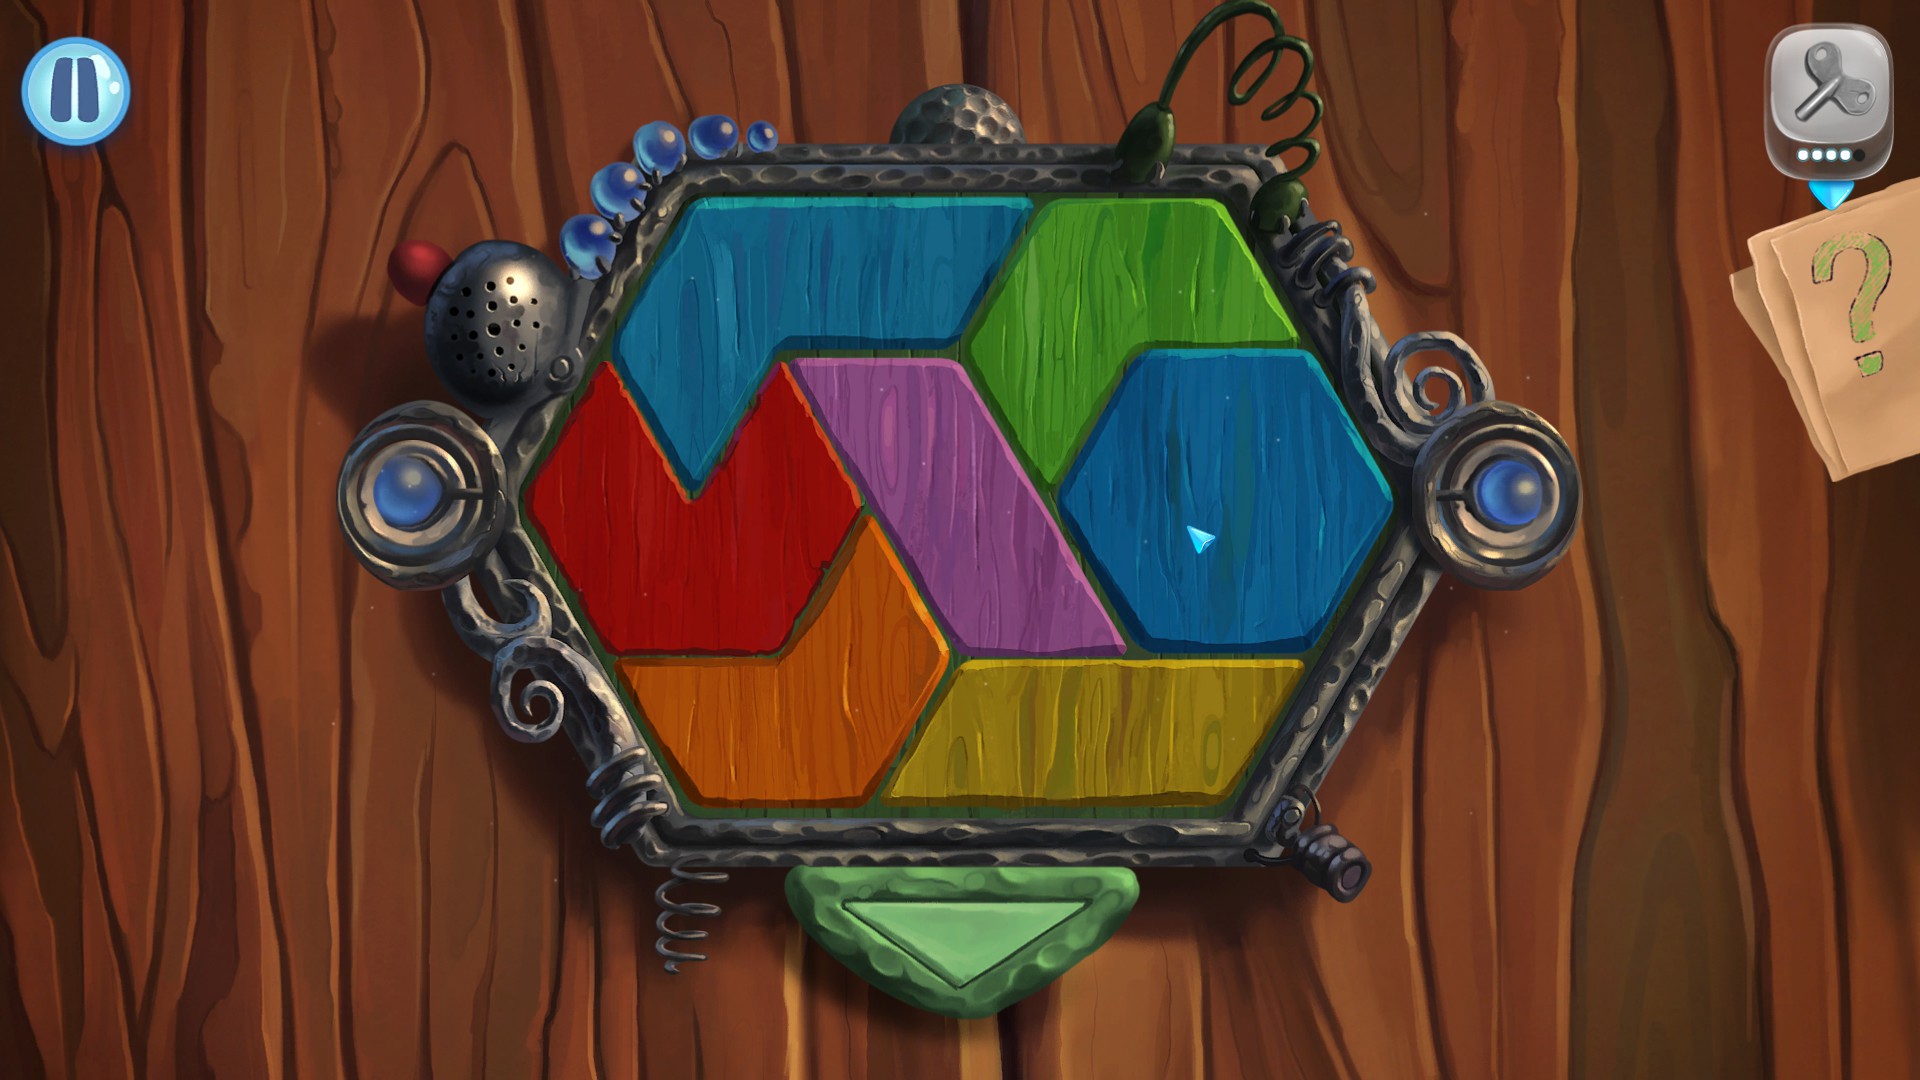
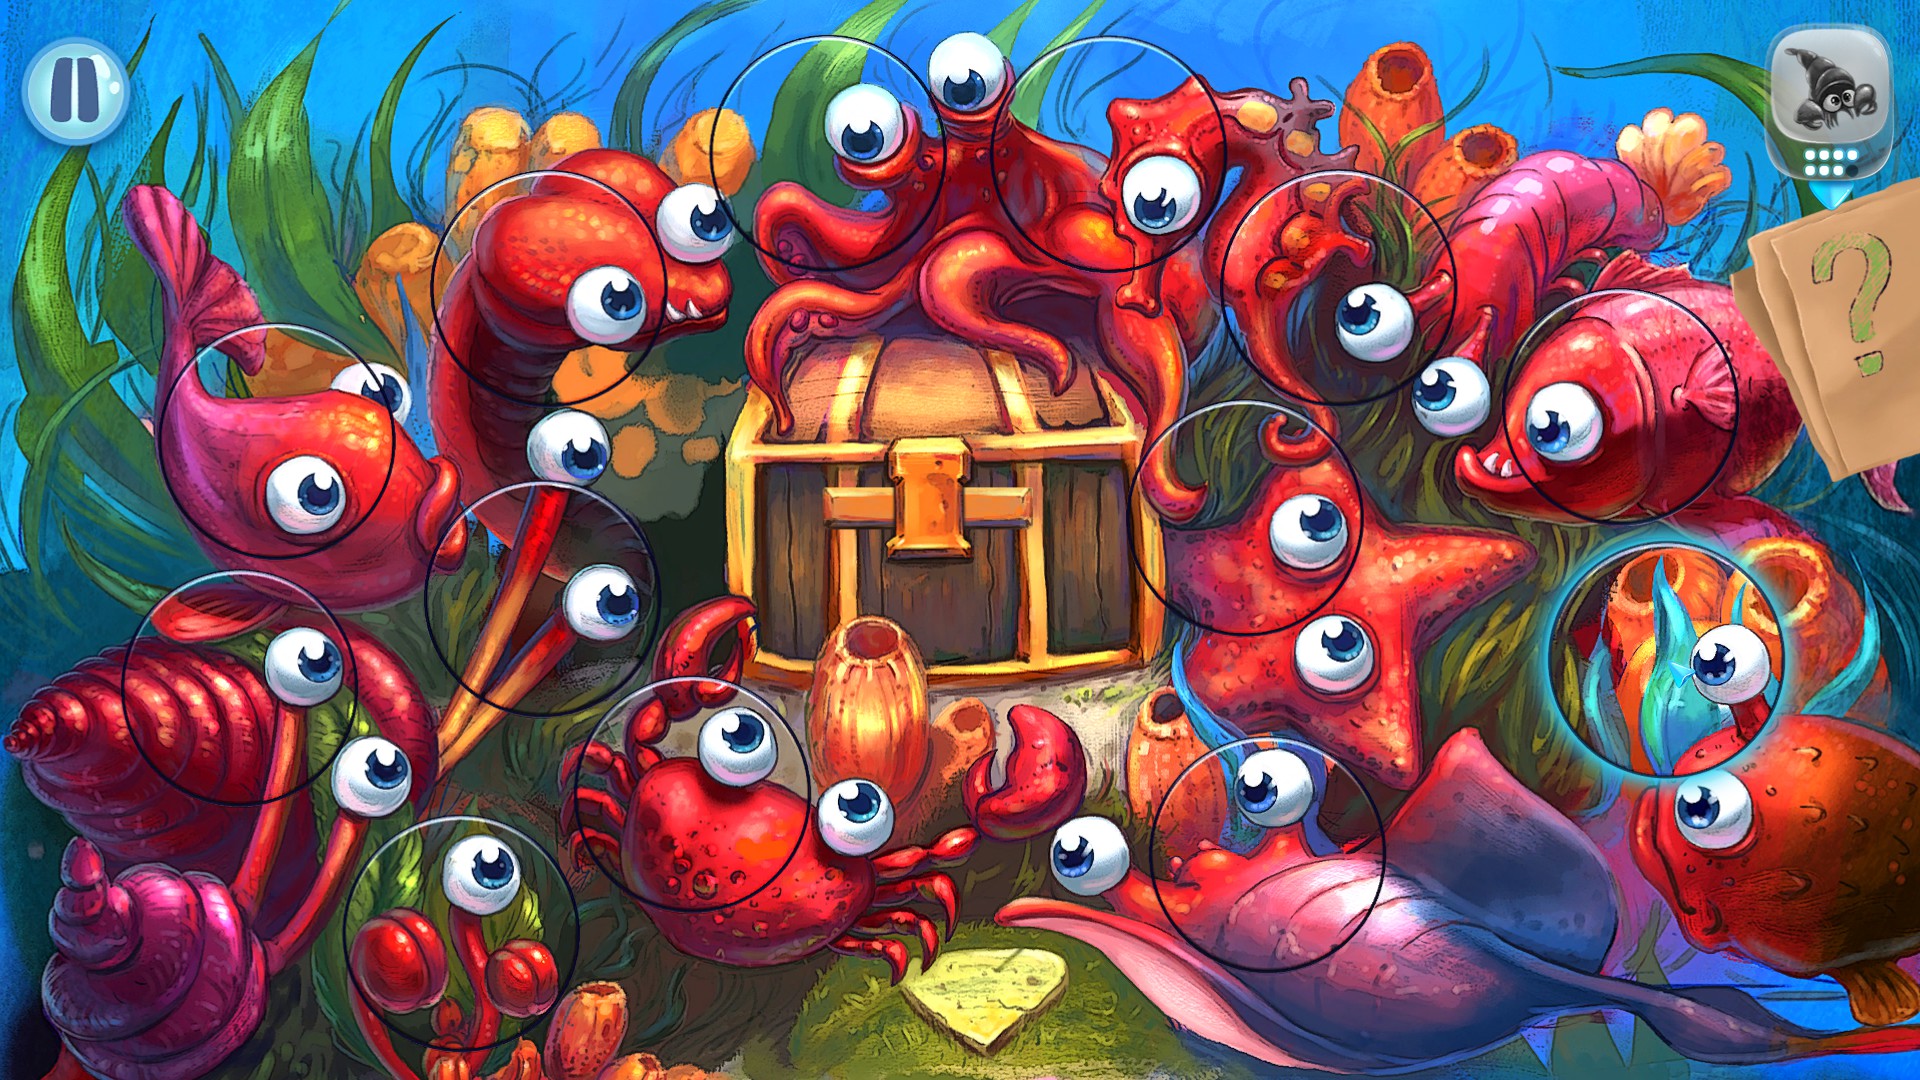
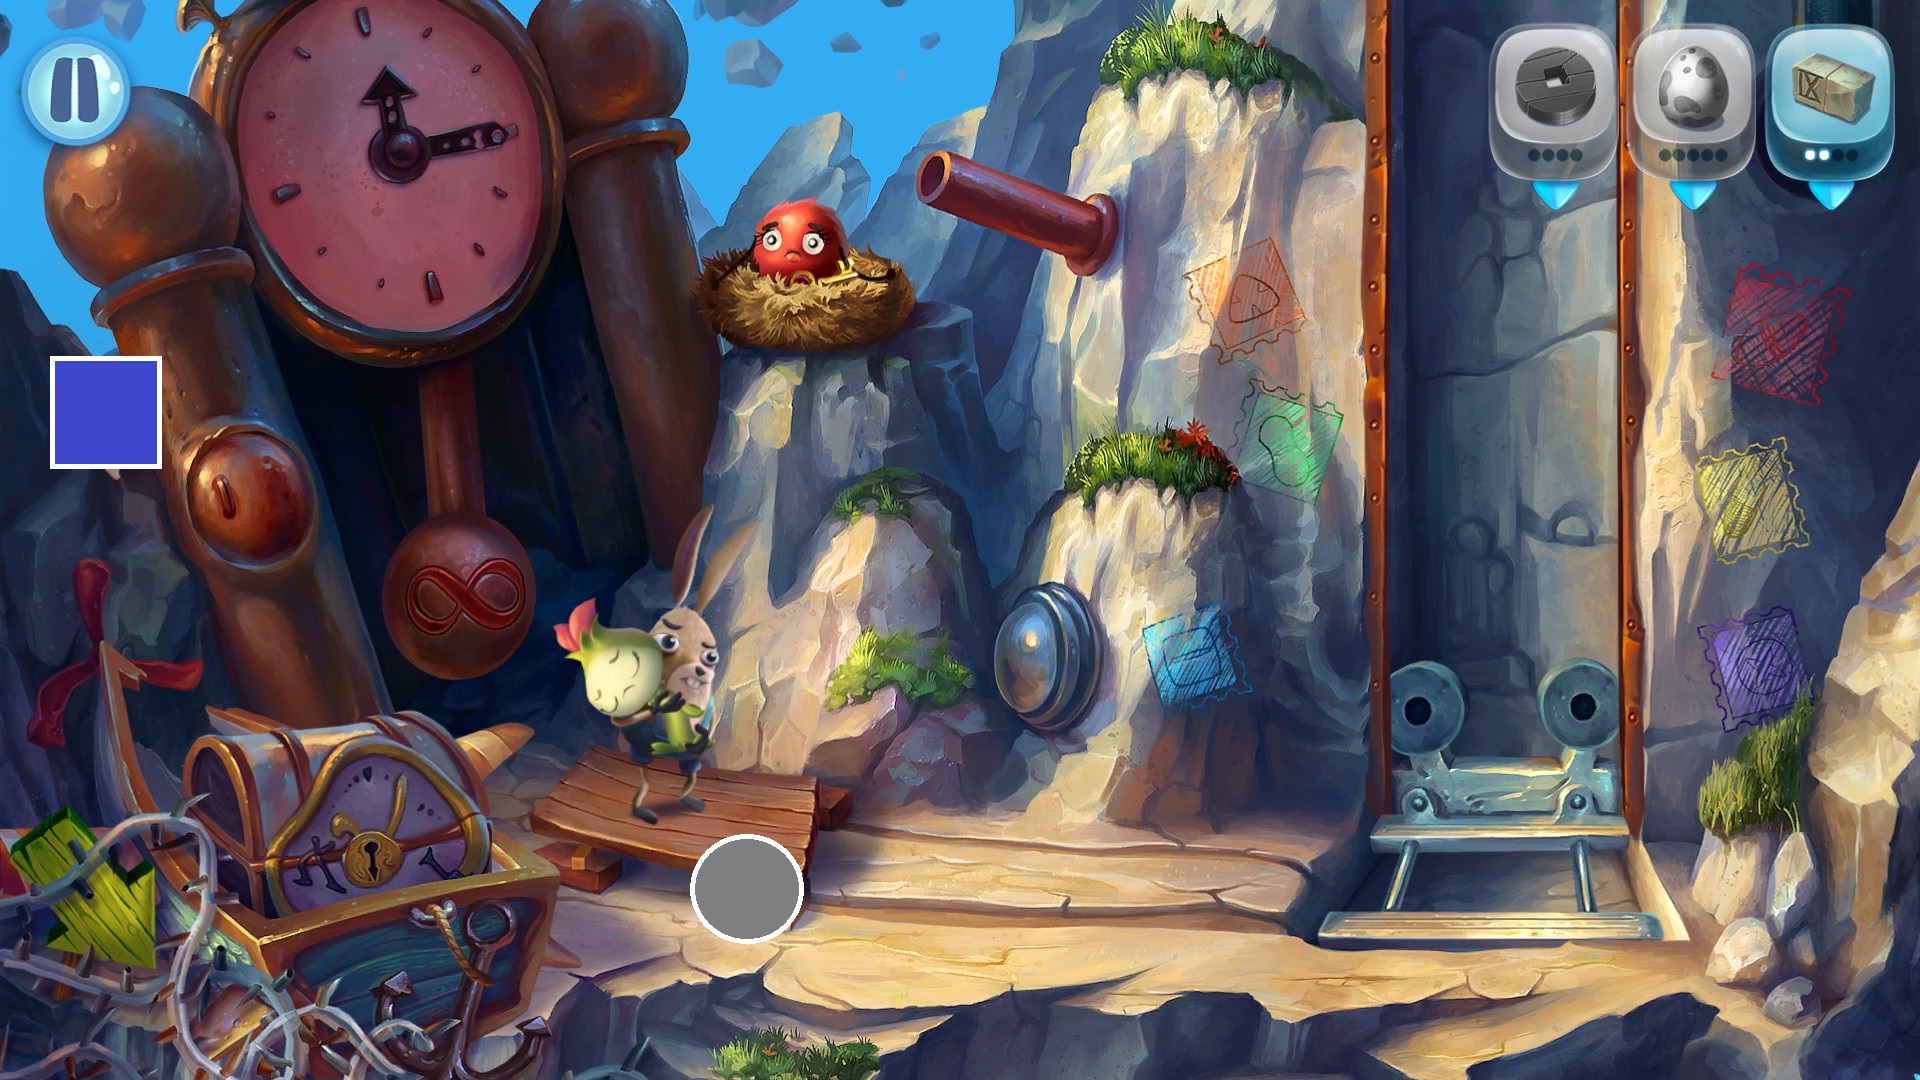
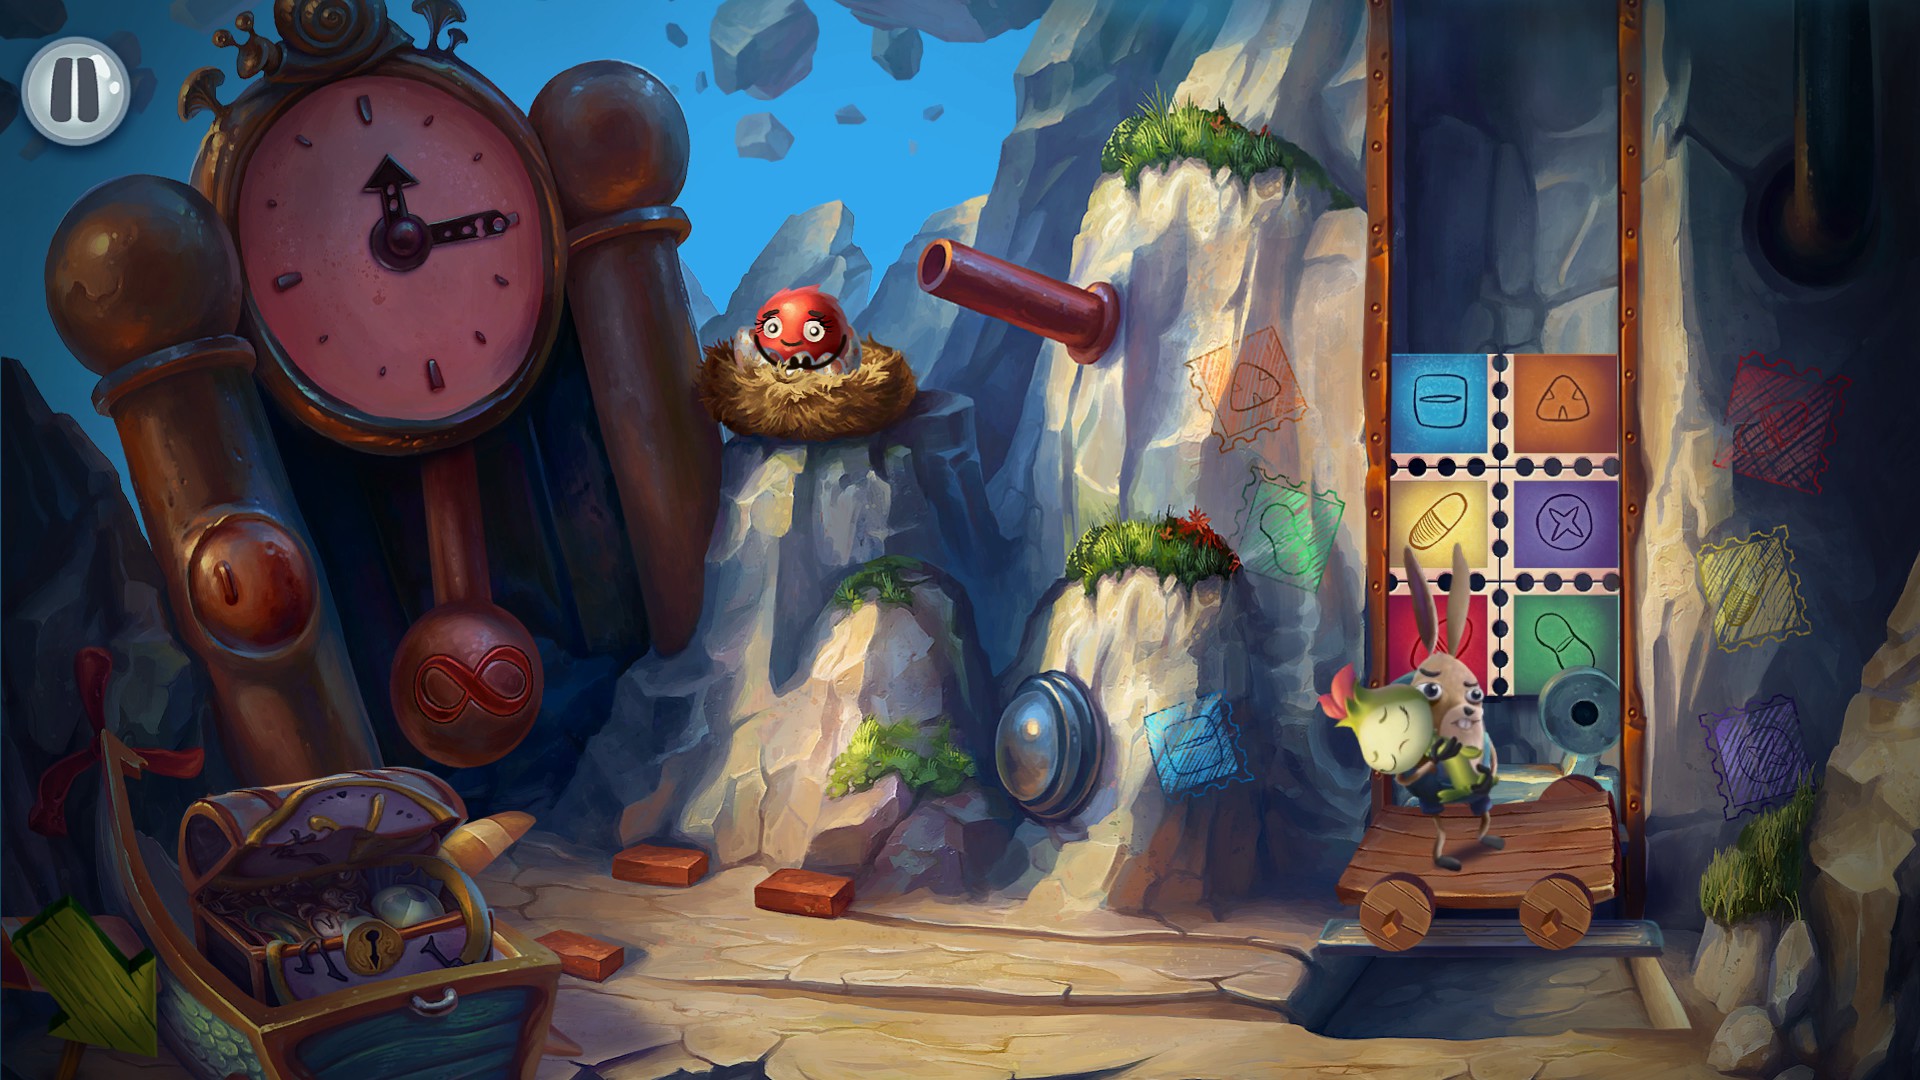
Also, does anyone know what the logic is behind the stamp puzzle? It seems to make sense that you ordered them the way they appeared on the rock but apparently not. Maybe there was a clue somewhere that I missed?