They Are Billions

They Are Billions

175 avaliações
They Are Billions - Official Workshop Guide
Por Numantian Games e 2 colaborador(es)
This is a quick guide to help the players to create custom leves for They Are Billions using the official game editor application TABEditor.
2
3
   
Premiar
+ favoritos
Nos favoritos
- favoritos
Launch the Editor
There are two ways to launch the Editor:
  • From the game main menu, go to More => Launch Editor
  • Or just press and hold the SHIFT key when starting the game and the editor will be launched automatically.
Creating a Custom Level

New Custom Level
From the Editor menu click on New to create a new project.
Fill out the basic info of the project (level name, description...).
You can also select a preview image for your level (used in the game and in the Workshop).

Difficulty
Select the difficulty you think it is appropriated for your level. It will affect the final score factor.

Saving Projects
From the game menu use the options Save or Save As to save the project. Projects should be saved in this folder:
Documents\My Games\They Are Billions\Projects

IMPORTANT: Create a folder for every project under the Projects Folder. When submitting a custom level, all assets files (pngs, jpgs, audio) in the same folder as the project (.TABProject) will be copied to the custom level. So create a separated folder for every project to avoid mixing assets between them. For example if you create a custom level called "Mega Swarm", project files should be as:
"Documents\My Games\They Are Billions\Projects\Mega Swarm\Mega Swarm.TABProject"
"Documents\My Games\They Are Billions\Projects\Mega Swarm\Header.png"
"Documents\My Games\They Are Billions\Projects\Mega Swarm\EventWorkersOnStrike.png"
...

TIP: Save your project regularly. As the Editor is still in beta it could experience some issues.

IMPORTANT: First check all the Tooltips for more info
In the editor you will find some yellow boxes with this symbol [?]. Position the mouse pointer over them to get a quick help about that section.
Map Creation
Creating the Map
First select the map properties: Theme, difficulty and type of map generation.

Theme
You can select a specific theme for the level or let the player choose one when the game starts.
In this case the score factor will be affected by the type of map.

Map Generation
You have two options for creating the map: Manual and Random.

Random Creation
When Random Generation is chosen, a common Survival Map will be generated as the player starts a new game. It will be generated with the Theme and Infected Population values selected.
In this option you just need to specify the Level Events (swarms...) and Narrative (scripts).
This is a very useful option to create a different Survival challenge experience for the player.
If you have selected a random map you can skip the rest of this section.

Note: In random generated maps, only the geography and infected population will be created in the same way as in a normal Survival Game. BUT, the level events (swarms, victory conditions,...) won't be created so you have to configure that part at your own.

Manual Creation
In this mode you can manually create all the map (geography, entities...).
There are two ways to create maps, the Entities Mode, where you can create and edit manually entities on the map, and the Painter Mode, which is a very fast way to draw the geography and infected population directly on the map.

Entities Management Section

Here you can create entities manually and edit their properties.
Every element in the game is consider an entity, like a unit, building, ornament...
To edit the map geography or add infected population very fast use the Painter Mode.

Entities List
Here you can manage the entities you have manually added to the map.
You can show all the entities or filter them by the selected template.

- Left Click => Select an entity.
- Double Click => Select an entity and center it in the map.
- Right Click => Display the context menu.
- Key [Delete] => Delete the selected entity.

NOTE 1: The Command Center is essential in a survival game, so it cannot be deleted or duplicated.
NOTE 2: Empty maps come with default entities generators (N,S,E,W) to make it easier to define the swarms, but you can edit them or replace them as you like.

Entities can have several configuration parameters, use the Edit option in their context menu to see/edit their properties. For example, the identifier of a Generator, make a unit veteran...

Creating Entities
Click here to add an entity of the selected template to the map.
You can easily create entities by using CONTROL + LEFT CLICK directly on the map.

Map Editor Management in Entities Mode
Here are the main actions you can perform directly on the map editor.

- Press LEFT CLICK over an entity to select it.
- You can move an entity directly by clicking and dragging the green circle of the selected unit .
- Press DOUBLE CLICK to select the entity and its template.
- Press RIGHT CLICK and drag the mouse to move the editor camera.
- Press RIGHT CLICK on an entity to display its context menu.
- Press [Delete] to delete the selected entity.
- Press [TAB] to rotate the selected entity if it is rotatable (like gates).

Painter Mode

With the painter mode you can very easy and fast edit the following aspects of the map:
- Geography: Mountains, forests, terrains, minerals...
- Infected Population

Management
To paint on the map you just have to select the pencil and draw directly on the map using the [LEFT BUTTON].
- There are different layers for every system: Terrains, objects, infected.
- Every layer has its own pencil to draw on the map.
- You can show/hide the different layers by checking on the left of every layer.
- You can also select the width and shape of the pencil.
- To erase parts already drawn over a layer use the [ALT] + [LEFT CLICK] combination.

Once you return to the Entities Mode the map will be updated automatically, it can take a few seconds.

Map Editor Management in Painter Mode
These are the main actions you can perform directly on the map editor.

- Press LEFT CLICK and drag to draw with the selected pencil.
- Press RIGHT CLICK and drag the mouse to move the editor camera.
- Press LEFT CLICK + ALT and drag to erase the current layer.

Tips and Recommendations
- First work on the geography of the map. And once you are happy with it, start with the manual entities.
- Leave the infected population for the end. Too many infected on the map will severely impact on the performance of the Editor, so use the Infected Pencils once you have worked in all of the other parts.


Level Events
Level Events

The Events System is an essential part of a game level. The Events are used to:
  • Trigger infected swarms.
  • Define when the game is won or lost.
  • Execute custom scripts.
  • Special actions like: Show the full map or send all infected to the Colony.

Add and remove events
Click the + and - buttons to add or delete events on the list.

Event Scheduling
For every event, you must set:
  • When (which day) the event is triggered.
  • Can be triggered several times or just one?
  • What happens when the event is triggered?

To define an event fill the properties of the event on the right. Every field has its own help that it is displayed on the bottom panel.

TIP: To Expand or Collapse a category or property use [DOUBLE CLICK] on the item label.

Time Syntax
The game time can be specified in days or hours (in game colony time).
  • To use days just add the 'd' character to the number: '4d' = 4 days.
  • To use hours use the 'h' character: '8h' = 8 hours.
  • You can also specify things like 2 days and 8 hours: '2d 8h'.

Generators Syntax
When you specify that an event is generating units (infected) when triggered,
you must specify the generator(s) where the units will be generated from.
The generators are defined in the Map section. By default there are 4 generators created: N, S, E, W
You just have to write the name ID of the generator followed by the AND operator or the OR operator.
When using the OR operator the game will choose randomly which generator to use when the event is triggered.
Examples:
  • Units must generate just on the generator N: 'N'
  • Units must generate on the generators N and S: 'N and S'
  • Units must generate randomly in one of the four generators: ' N or S or E or W'
  • Units must generate from the generators N and S or the E and W: 'N and S or E and W'

Scripts
Although generally the Events are used to generate swarms, you can also use them for triggering custom scripts (show messages, give resources to the colony...). See the Scripts section for more info.

Narrative
Game Narrative

You can enhance your level adding some narrative that will be displayed to the players during specific parts of the game.

Here you can configure the scripts for the main game events:
  • When the game starts.
  • When the game is won.
  • When the game is lost.

It is recommendable to at least display a message in those events to present the level to the player.

Notes
  • To trigger scripts during specific moments of the game use the Events System.
  • To trigger scripts when a unit reaches a specific area use the MapMessageEvent entity in the Map Editor.

For more information about the Scripting please check the Scripts Section.
Custom Commands

In this section you can create a custom command button for the Command Center. It will be displayed as a button in the same way as the other commands.
You can configure here the script to execute when the players click it.
This is a useful too that allows the player to interact with your level in the way you like. It can for example, open a commerce center, a dialog to talk to other colonies, a economy or politics managing center...

To show the button you just need to assign an identifier. If it is empty the button won't be displayed.
As any other command you have also several options more to configure it:

Name and Description
Custom name and description to display on the help tooltip of the button.

Visibility
You can configure via ZXCode condition when the button is visible.

Availability
You can configure via ZXCode condition when the button is enabled or disabled when it is visible. Also you can display a custom text for when it is disabled.

Display Counter
You can display a counter by setting an expression that returns a number. You can do this if you for example wants to limit the uses of the button and want to show how many uses are remaining.

Resources Cost
You can set a resources cost that will be payed when the command is activated. The button will be automatically disabled when the player don't have enough resources to use it.
Scripts
Scripts

A Script is a set of actions that are executed in order. The scripts can be triggered by a Level Event or other special game events (see Game Narrative).

Using scripts you can enhance a lot your level, you can create a very rich story, and special new mechanisms or surprises to the player. The number of available actions will be increased in future updates. These are some of the actions you can currently use:
  • Display a message to the player.
  • Give / Remove resources to the Colony.
  • Give bonus buildings or units to the Colony.
  • Grant technologies to the Colony.
  • Infect a random house.
  • Generate units from a generator.
  • Display a set of options to be chosen by the player.
  • Execute random actions.

Creating and Managing the Script Actions
Every type of action has their own set of parameters.
  • First, select the type of action you want to add and click on the '+' button.
  • Use the '-' button to delete the selected action.
  • Use the ▲ and ▼ buttons to change the order of the actions inside the same block.

Nested Actions
Some actions, like the Random Action, the Block or the Select Option, can have nested (children) actions. When you create a new action and you have selected an action that can have children actions it will be created inside the selected action.
  • Use the ◀ button to extract the selected action from their current block.
  • Use the ▶ button to put the selected action in the next/previous action block.

Action Properties
Every action has its own properties. A help message will be displayed under the action properties to describe every parameter of the action.

Loops
There are two actions for managing Loops: Loop and Exit Loop. The Loop execute indefinitely their children actions until a Exit Loop action is executed. Useful to create complex menus with Back / Exit options, or dialog systems.
Note: Be careful with using Loops. If you forget to add the Exit Loop action, the script never finishes and you have to close the game with ALT+F4.
Testing your Level
Before publishing your level you should test it locally. This is very easy. Just use the menu option "Generate Level", and the custom level will be created in this folder:
Documents\My Games\They Are Billions\CustomLevels

Then Start They Are Billions and, in the game main menu, go to: New => Custom Level.

In the next screen you will find all the levels you have subscribed to [STEAM], and all the levels inside the folder CustomLevels [LOCAL].

You can start the game from there and play it normally to test the level. You can also save your game and load it later from the Continue option menu.

Note
The map, level events and scripts are all stored in the save game file, so if you modify them in the Editor you will need to start a new game to reflect the changes.
Publishing your level in the Workshop
Before publishing your level, please test it locally to ensure that everything works as expected. See the section "Testing your Level".

Publishing the Custom Level on Steam

  • Make sure that Steam Client is running and it's connected to Internet.
  • You can select the visibility of your workshop item: Public, Hidden or Friends.
  • Press the button publish to upload your level. You can specify change log notes if you like.
  • Once the item is uploaded you can access your Steam Workshop page of that item.
  • There you can add more images, description, guides, discussions... as with any other Steam Workshop Item.
  • When the item is published publicly it will become visible for all the community, and any player will be able to subscribe to your level to play it.
Strings, Localization & Random Texts

You can manage the strings used in your custom level in a more efficient way, and also support localization to different languages. This is very useful for levels with an extensive narrative.

For example, you can have several messages that use exactly the same strings (Ex. "A gift from your neighbors!"). If you wish to change that text you have to change it in all the places where that text appear. With this method, you just write an identifier (Ex. "@GiftTitle") and the real text will be stored in a separated CSV file.

Put your texts in a CSV file
Create a text file called Strings.csv in the same folder as your project is. When submitting your level this file will be included among all other assets.
You can use Excel or any other spreadsheet application or simply the Notepad to edit your Strings.csv file.

The CSV Structure
  • A CSV file is just a text file formatted like a table. Every line is a row, and every column is separated by a ';' or 'tab' characters.
  • The first row are the column names.
  • Use ID for your first column. In this column you have to write the same identifiers as the ones used in your custom level. We recommend to use the @ symbol to make it more clear.
  • The rest of the columns are the languages in which you want to localize your level. You can use one or as many languages as the ones available in the game. Use the country code for the name of the column.

For example if you wished to support English and Spanish languages the CSV would be something like:
ID; EN; ES @GiftTitle; A gift from your neighbors!; ¡Un regalo de tus vecinos! @Welcome; Welcome to the colony; Bienvenido a la colonia

In all texts introduced in the scripts when the game finds one of this identifiers it will be replaced with the text that corresponds to the player language (if available), or else it will use the English entry (if available) or if not the first language available. That includes all texts in script actions and also the level name and description of the info tab, as they will appear also in the player language on Steam.

Language Codes
  • English = EN
  • Spanish = ES
  • German = DE
  • Russian = RU
  • French = FR
  • Korean = KO
  • Italian = IT
  • Japanese = JP
  • Brazil = BR
  • Portuguese = PT
  • Polish = PL
  • Simplified Chinese = CHS
  • Traditional Chinese = CHT

Random Texts
Perhaps you wish to display random texts to enrich the narrative. To do that easily take the entry you wish to add more texts, for example, "@WelcomeText", and add multiple entries with IDs starting by the same string. For Example: "@WelcomeText1, @WelcomeText2,...". When the game find several entries starting by the same ID it will take a random one.

With this method you can save a lot of time, instead of creation lots of random actions in your scripts just to offer different texts, you can just create one and add multiple entries to the csv file.

With random texts you can enrich the narrative a lot surprising the player in every new game. For example, periodic rumors from the Inn, news from other colonies, colony events,...

Recommendations: Be gentle with your audience
  • English language should be mandatory. Think that most players from non English countries can understand English quite well and enjoy your level.
  • If your native language is included in the game (for example Italian), add it too to your level apart from English. It will be very appreciated by players native to that language.
  • Chinese, Japanese and Korean, can be challenging languages to translate to, but even a automated translation to those languages can be better than nothing, and your level could also be enjoyed by those players.


Advanced: Variables & Functions (ZXCode)
Note:This section is for advanced users.


With the ZXCode language you can add much more functionality to the scripts and events. You specify complex conditions for triggering actions or events and also manage your own game variables.

All actions have now two new parameters: Condition and Execute Code.
Events have the Condition parameter too.

With these new elements you can implement much more complex gameplay mechanisms for your levels. Examples: A political system tree, managing the happiness of the colonists, choices and consequences of the player decisions, managing the commerce with foreign colonies, custom goals to win or lost the game...

To achieve this we have created a simple language with similar syntax to c#, c or c++. Example:
MyVariable = Colonists + Workers * 10; (Count(Unit) >= 100 && Count(Wonder)>=3) || IsDead(Bob)

In the code you can reference any game variable or function and your own custom variables.

List of Game Variables & Functions
In the page it is listed all the variables and functions. Select one to see the help of the selected element.
Also you have the list of symbols for the entities as some functions needed. For example, fore the function Count (Entity), you have to pass the entity type by choosing one of the available in the symbol list. Example: "Count(Ranger)" it returns the number of rangers alive in the game.

Note: The list of variables and functions will expand with future updates, check the list from time to time to see the changes.

Specifying conditions for triggering actions or events
The events and the actions now have a new parameter called Condition (ZXCode) where you can write a custom condition using ZXCode.
If the condition of an action is false then the action and their children won't be executed.
For the conditions you can reference any function, number, user variable or game symbol and use any combination with operators and parenthesis.

Operators available are:
  • ==
    Comparator Equal: "Days == 100". Only true if the current day is 100.
  • !=
    Comparator Not Equal: "Days != 100". True for all days except 100.
  • >
    Comparator Greater than: "Days > 100". True for days 101, 102...
  • >=
    Comparator Greater than: "Days >= 100". True for days 100,101,102..
  • <
    Comparator Lesser than: "Days < 100". True for days 99, 98,...
  • <=
    Comparator Lesser or equalthan: "Days <= 100". True for days 100, 99, 98...
  • &
    Logical And: "Days>=100 & Days<=103". True for days: 100, 101, 102,and 103.
  • |
    Logical Or: "Days<=5 | Days ==100". True for days: 0,1,2,3,4,5 and 100.
  • !
    Logical Not: "!IsDead(Bob)". True if Bob is not dead.
  • +, -, *, /
    Arithmetic operators : "Gold > (Workers * 2 +10)". True if the gold reserves are greater than the number of workers multiplied by 2 plus 10.

    Examples:
    • Win the game when the colony has 10000 populations: Just create an event, check the Game Won parameter and set the condition:
      Colonists >= 10000
    • Give a bonus to the player when have 100 soldiers and 100 snipers in their army:
      (Count(Soldier) >= 100) & (Count(Sniper) >= 100)
    • Loose the game if the Soldier hero with NameID ="Bob" is dead:
      IsDead(Bob)
    • Win the game when all the Doom Buildings have been destroyed:
      Count(DoomBuilding) == 0
    • A merchant sells a Titan to the colony by 1000 gold and 50 iron but only if you have the resources :
      Gold >= 1000 & Irons >= 50

    Declaring and using custom variables
    In this page you can create your own variables that you could refer in your scripts ZXCode.
    Use the [+] and [-] buttons to add or remove variables.
    To edit a variable in the list, make double click on it.
    You can modify their values in the Execute Code parameter of the actions.
    Every sentence must end with ';' character:
    Happiness += 5; Sadness -=5; EndGameWon();

    For example imagine you wish to control the happiness of the colonists, you just need to create a variable "Happiness" with an initial value of 10 (for example).
    And then you show a pack of options that depending on the selected one this value will change:
    • Menu Option: "Put children to work (Workers+100)"
      Happiness = Happiness - 5; // or just: Happiness -= 5;
    • Menu Option: "Deliver extra food for the colonists (Food -50)"
      Happiness = Happiness + 2; // or just: Happiness += 2;
    • Menu Option: "Increase colonists tributes (Gold+1000)"
      Happiness = Happiness - 2; // or just: Happiness -= 2;
    And in future actions you can use the Happiness in the conditions of other actions, for example:
    • Condition:
      Happiness > 20
    • "Your happy colonists wants to build a Victorious in your honor." (Gift: Victorious Wonder)
    • Condition:
      Happiness < 0
    • "Your sad colonists hate their commander and leave the colony." (Workers-200, Colonists-500)

    Using ZXCode expressions in game texts
    You can include ZXCode expressions in the game texts (window messages, options...). To do that just use the code inside {} characters. For example in window messages Texts or Titles.

    Examples:
    "The number of walls is: {Count(Wall)}."
    "The Colony Happiness Level is: {Happiness}." //Happiness is a user variable previously declared.
Advanced: Modifying Game Rules
You can modify the parameters of the units and buildings in your custom level. For example, rise the life of the rangers, increase the range of the Tesla Tower, improve the shot speed of the Snipers, etc.
For that, you have a new function for the ZXCode scripts called ApplyRules that uses the following syntax:
ApplyRules("<Element> <Parameter> <Operator><Value>")
  • Element: is any game element such as Units, Buildings or Commands using the same symbol names you have in the editor list (CommandCenter, Ranger, TeslaTower....).
  • Parameter: name of the parameter to modify (Life, GoldGen, WoodCost, Damage...). See below the list of parameters.
  • Operator: it is an operator: '+', '-', '=') to modify the current value (with '+' and '-') or assign a new one with '='.
  • Value: it is a numeric value that can be just a number (18) or a percentaje (50%).
Examples:
//Add +50 gold production to the Command Center ApplyRules("CommandCenter GoldGen +50"); // Increases the Ranger attack damage by 30% ApplyRules("RangerAttack Damage +30%"); //Set the energy range and watch range of Tesla Towers to 12 cells. ApplyRules("TeslaTower EnergyTransferRadius = 12; TeslaTower WatchRange = 12);

As this is just a funcion you can use it in any script using the action Execute Code, in any part of the editor that accept scripts (events, at the start of the game, when triggering objects or zones....).
Be careful when changing values as it can leads to unexpected results or even break the game.

It is safer by just modifying the original values in a relative way using percentages:
ApplyRules("AttackRange Damage + 30%")

Also you can use your own defined variables when applying rules using {<variable_name>}:
ApplyRules("AttackRange Damage +{MyVariable}%") ApplyRules("CommandCenter GoldGen +{MyVariable}")

Advanced: Entities Parameters for Modding
General Parameters for Buildings & Units
Some parameters are specific to units or buildings:
  • ExperienceNeededToVeteran: This is the experience needed to be veteran. If empty the unit cannot be veteran.
  • Life: Total life of the entity. If reaches zero it will die.
  • Armor: All damages are reduced by this factor. 0.3 means, 30% less damage.
  • DeffensesLife: If the building has lost more life than this value, the zombies can enter and infect the it.
  • LifeRegenFactor: Factor of life restored per second.
  • WatchRange: Cell visibility radius.
  • EntityWatchInterval: Nº frames to update near entities. 60 frames = 1s.
  • WalkSpeed: Cells per Second
  • RunSpeed: Cells per Second
  • ActivityAwarenessFactor: The bigger, the more sensible will be the creature to detect activity. Default 10.
  • BuildingTimeFactor: It will be multiplied by the base 20s. Example: 1.5 means 30s building time.
  • FactorResourcesReturn: When the entity is eliminated this resources factor will be returned to the player. Default 0.5 (50%)
  • BuildingMargin: Buildings has to keep this margin with other buildings except if Ignore margin es set.
  • SameBuildingMargin: Two entities of the same type cannot be built nearer than the margin given.
  • MaxBuildingsAdjacent: If >1, theses entities cannot have more buildings adjacent than the given number.
  • MinEmptyCellsAdjacent: The building must have at least this number of cells adjacent empty to be built.
  • RangeBonus: The units inside this building will have a watch and attack range bonus by the given value.
  • MaxInstances: If has value, it is the áximum number of instances for this entity.
  • MinColonistsRequisite: The Building only can be built if the colony has at least the given amount of colonists .
  • ScorePoints: If the building is enabled at the of the game, it will add this points to the final score.
  • EnergyTransferRadius: It distributes energy in the given radius.
  • ResourcesStorage: Increments the maximum resources storage by the giving amount.
  • FireDamageFactor: When it is in contact with fire, the entity will suffer this damage 2 times / second.
  • InflamableTime: If the entity is in contact with fire for the given time in milliseconds, it will burn.
  • BurningTime: Entities inflammable will be affected by fire. It is the number of seconds it keeps burning, 0 = Not inflammable .
  • VenomDamageFactor: Damage factor for venom attacks
  • ExtraUnitsWhenInfected: If the building is infected then it will generate these infected more.
  • WorkersNeeded: Number of workers the entity needs to be active.
  • FoodNeeded: Amount of food the entity needs to be active.
  • EnergyNeeded: Amount of energy the entity needs to be active.
  • GoldCost: Gold cost to build.
  • WoodCost: Wood cost
  • StoneCost: Stone cost
  • IronCost: Iron cost
  • OilCost: Oil Cost
  • Colonists: Number of Colonist that lives in the entity.
  • WorkersSupply: Worker Supply
  • FoodSupply: Food supply
  • EnergySupply: Energy suppy
  • WoodGen: Fixed units generated per period
  • StoneGen: Fixed units generated per period
  • IronGen: Fixed units generated per period
  • OilGen: Fixed units generated per period
  • GoldGen: Fixed units generated per period
  • GoldGenPerColonist: Gold generated per minute multiplied per nº of colonists.
  • ResourcesGenerationTimeFactor: Factor of time to generate resources. This multiplies the Default Time for Resources Generation value (20s).
  • ResourceCollectionRadius: Raidus of the collection surrounding the entity.
  • ResourceCollectionCellValue: The value produced per cell recollected.
  • FactorProductionNearBuildings: Wood, Stone, Iron, Gold and Food production is increased by this factor for the surrounding buildings.
  • FactorGoldNearBuildings: Gold Gen is increased by this factor for the surrounding buildings.
  • FactorFoodNeedNearBuildings: If the building is under the market radius then their food need is decreased by this value.
  • MinRoamingDistance: Min distance when roaming.
  • MaxRoamingDistance: Max distance when roaming.
  • CellsAwayCommandCenter: The infected will try to roam far from the command center by this cell radius.
  • InfectionNestMaxUnits: Max. Units in infection nest.
  • GoldPerKill: The colony will receive this amount of gold per unit killed.
  • EmpirePointsCost: Empire points cost of recruiting this unit in Swarm Missions.
  • NDaysNewMercenariesInterval: Interval at new mercenaries arrives in the inn in days.
  • FactorCostMercenaries: Factor Cost of hiring mercenaries no veteran.
  • FactorPrestige: Factor prestige, default 1. The most the better mercenaries.

Parameters for Attack Commands
- First, to reference an element attack command use the entity name followed by Attack: RangerAttack, SoldierAttack....
- For the attacks of veteran units follow the name with AttackVeteran: RangerAttackVeteran, SoldierAttackVeteran....
- For Thanatos melee attack use: ThanatosExtraAttack.
- For Towers use: ExecutorAttack, ShockingTowerAttack, BallistaAttack, MachineGunAttack. (The last one is for Wasps).
- If you want to increase the attack range for a unit make sure the Watch Range is at least as high as the Action Range, otherwise the units won't attack enemies that can't see.

// Increase the Ranger attack damage by 30% ApplyRules("RangerAttack Damage +30%"); // Increase the area effect of Lucifer from Cone20 to Cone30 ApplyRules("LuciferAttack AttackAreaType = Cone30");
  • ActionRange: Attack range in cells.
  • Damage: Damage caused by the attack.
  • Activity: Activity (noise) generated by the attack.
  • TimeLoad: Attack Load Time in milliseconds
  • TimeUnLoad: Attack Load Time in milliseconds
  • TimeAction: Attack time duration in milliseconds.
  • TimePreAction: The unit will wait this time before executing the action (ms).
  • TimePostAction: The unit will wait this time after executing the action (ms).
  • TimeLoopAction: If this parameter has value the action is continuous and this is the loop time (Lucifer and Mutants).
  • EffectRadius: In Cells. If Empty then the target is a single unit.
  • ProyectileSpeed: Projectile speed in cells per second
  • BurnFactor: Chance to burn the target: 0 (Never).. 1.0 (Always)
  • FactorPush: Factor to push units when being hit. If empty then no push (0..100).
  • AttackAreaType: Area of effect of the shot: Point, Circle, Cone20, Cone30, Cone45, Cone60, Cone90, Cone120, Cone150, Cone180, Arc270, Arc90, Arc120, Arc150, Arc180.
  • ProyectileType: Type of proyectile thrown: None, Arrow, Missile, Venom, BigArrow, Grenade.
  • DamageType: Type of damage performed: None, Shot, Arrow, Fire, ZombieClaw, ZombieVenom, Melee, Shock, Water
185 comentário(s)
Tuna Fan 4 de mar. às 16:21 
The correct command for Thanatos' range attack is not ThanatosAttack but ThanatosExtraAttack. This is easily demonstrated by using eg. ApplyRules ("ThanatosExtraAttack EffectRadius=4");
spaceweezle 1 de fev. às 4:14 
It's fine, I was just being a noob. Using a large brush size works well for that.
Gomez  [autor(a)] 1 de fev. às 3:42 
To ask for a doubt or suggestions I recommend you to post a thread in the main game forum.
spaceweezle 1 de fev. às 3:31 
Is there a way to draw in straight lines? I'm trying to create perfectly straight trenches but I tend to wobble around when drawing lol.
Sean Jin 22 de jan. às 18:34 
How to change the Team with ZXCode
Mortal 11/set./2023 às 18:59 
is the a way to change TrapMine damage? cause it's not an attack.
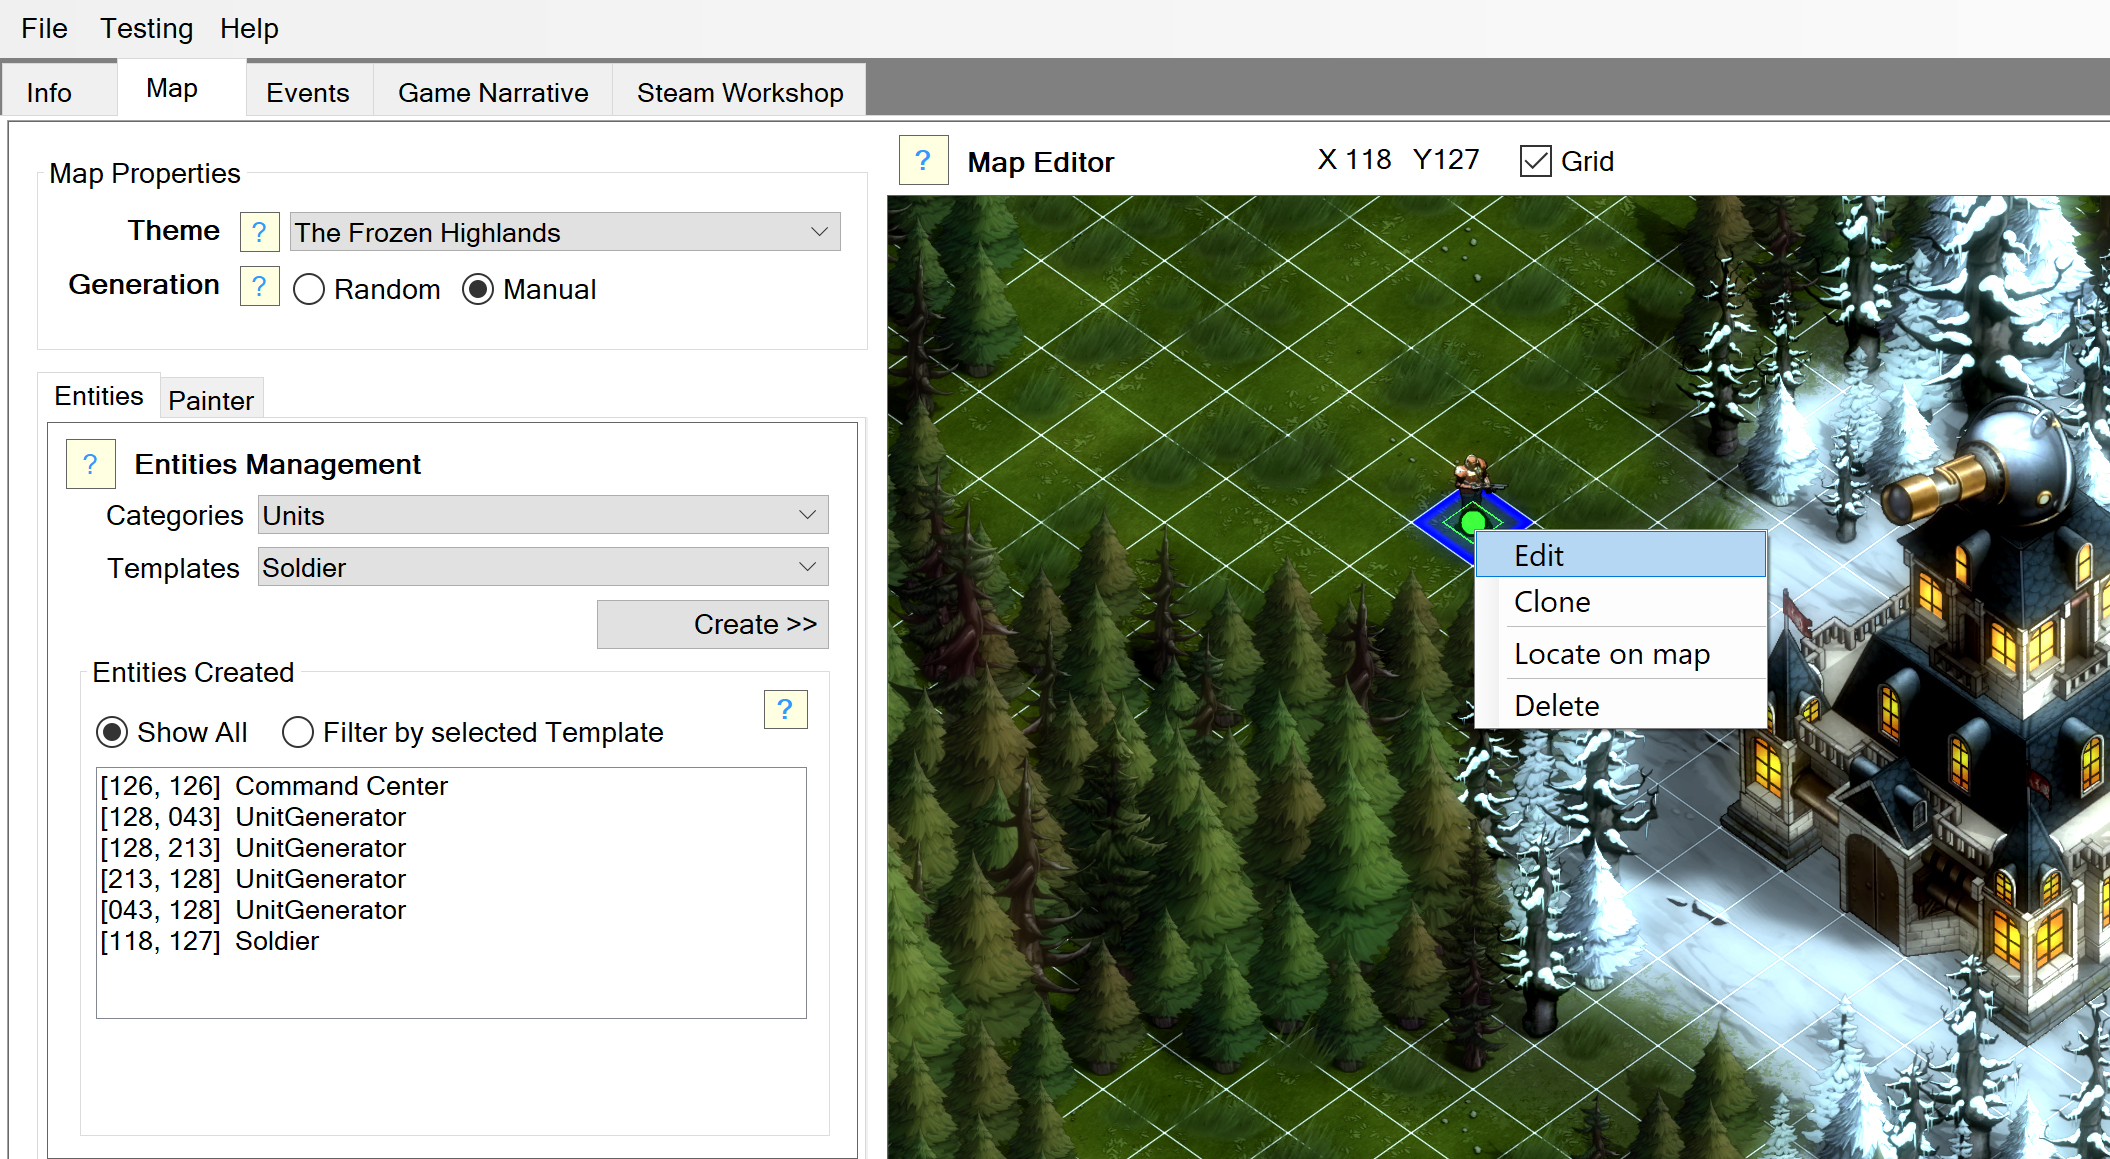
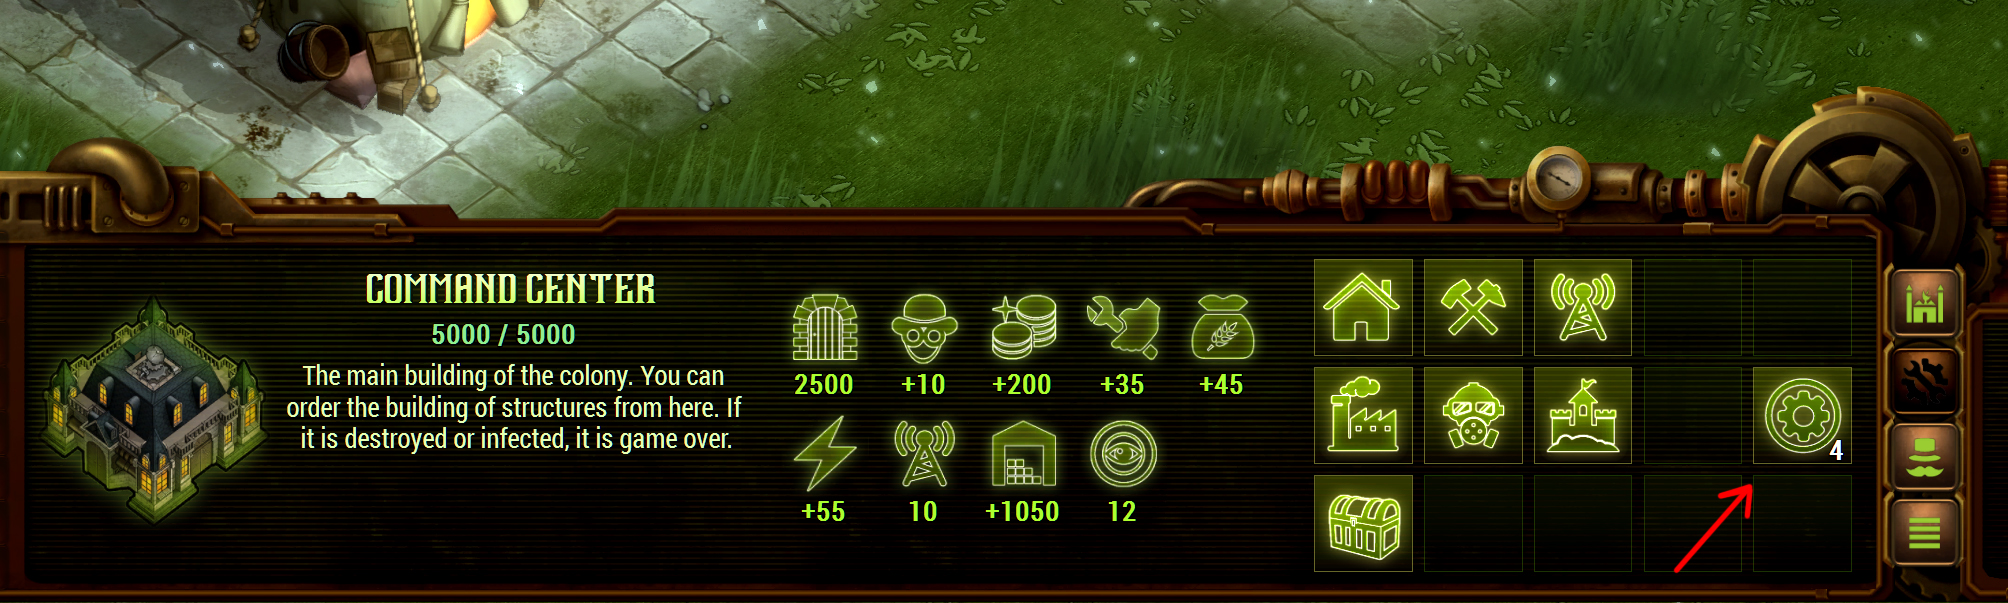
also, you can't see "TrapMine" in map editor as a entity name.
armrarr 30/ago./2023 às 8:02 
How do i increase the attack speed for a soldier? i've used a code i got send to but it doesn't seem to work?

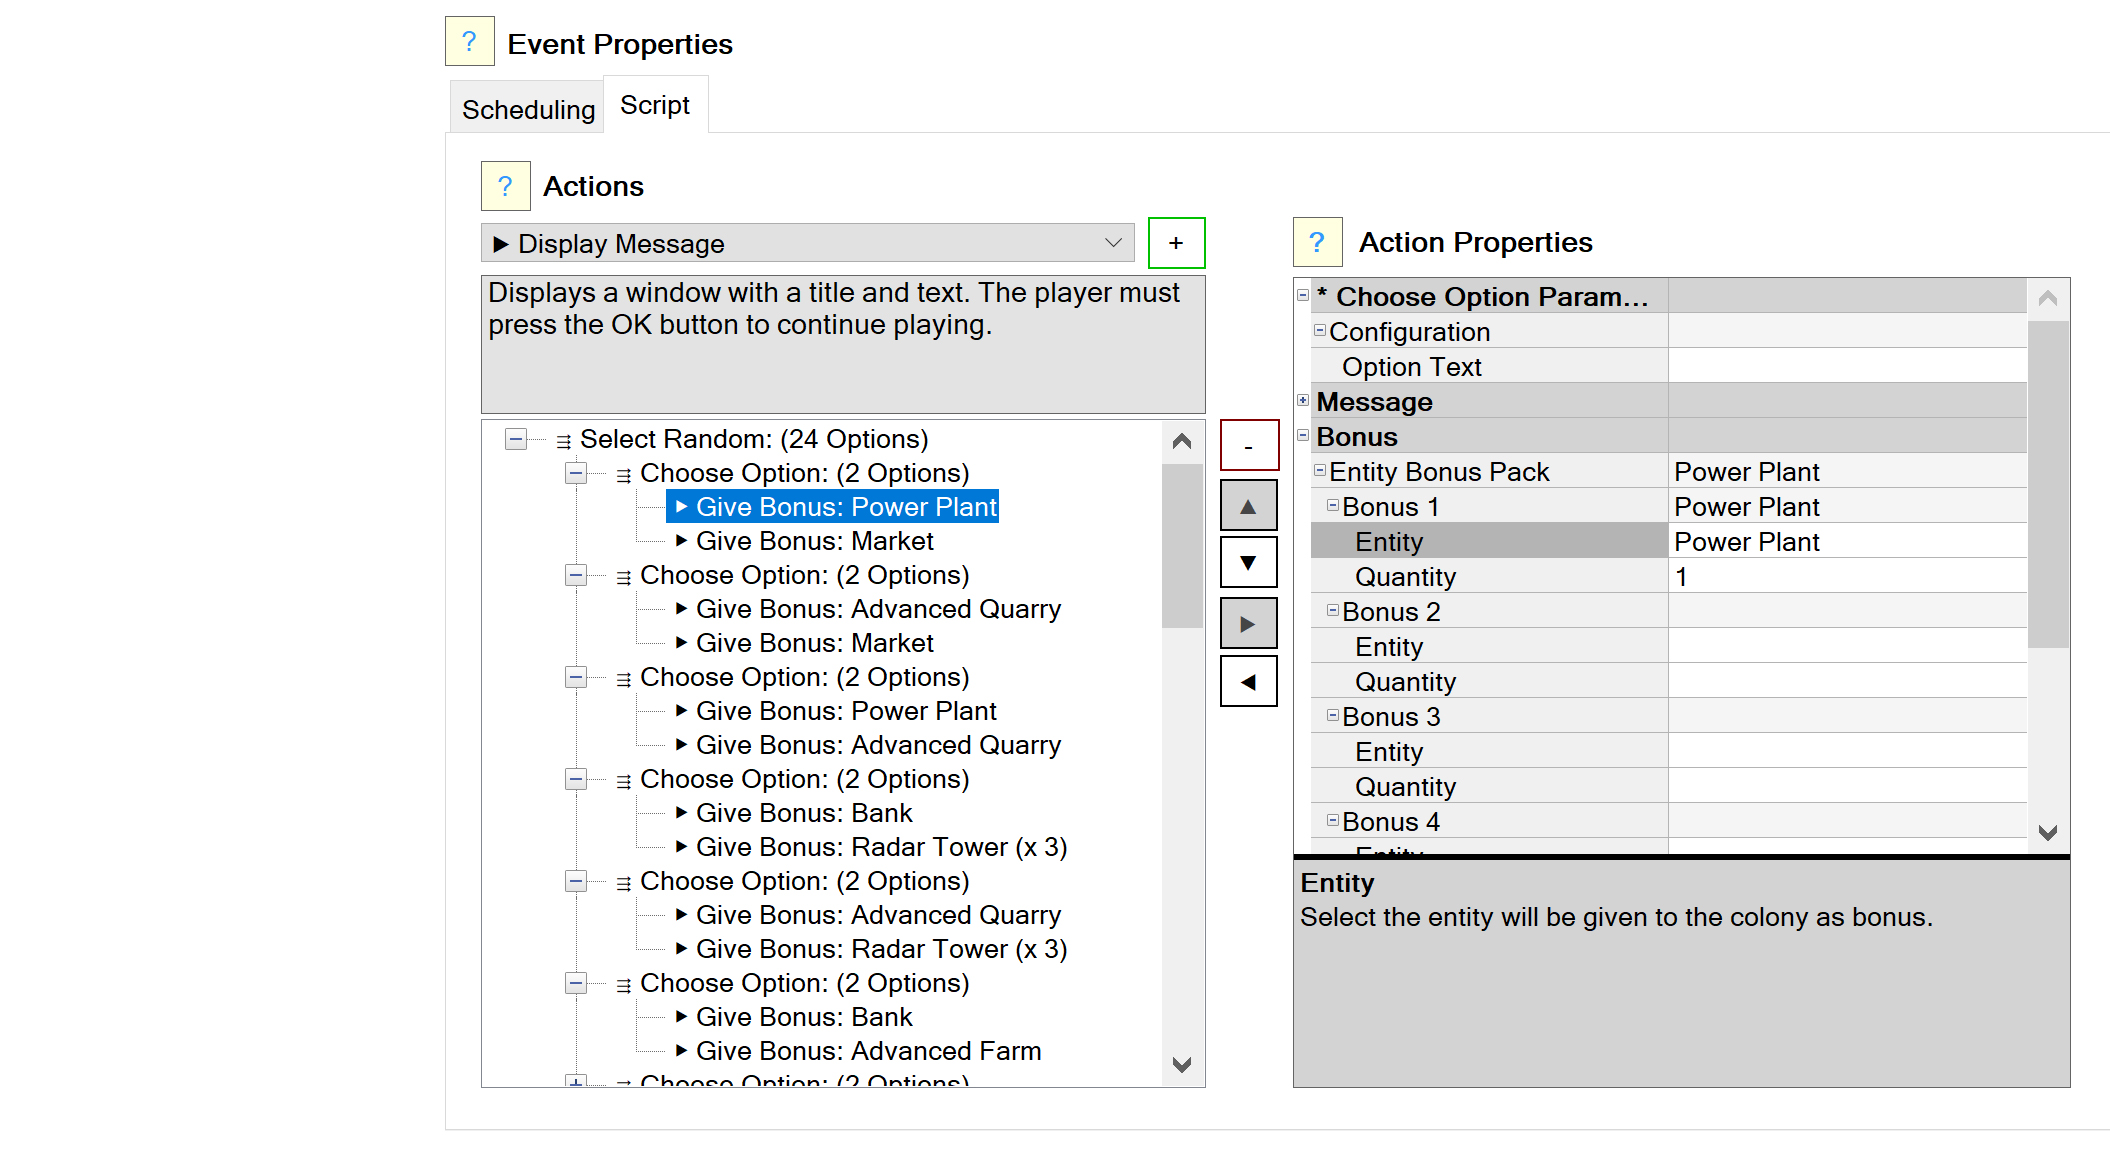
ApplyRules("SoldierAttack TimeLoad =1 ; SoldierAttack TimeUnLoad =1 ; SoldierAttack TimeAction =1 ; SoldierAttack TimePreAction =1 ; SoldierAttack TimePostAction =1 ; SoldierAttackVeteran TimeLoad =1 ; SoldierAttackVeteran TimeUnLoad =1 ; SoldierAttackVeteran TimeActionVeteran =1 ; SoldierAttackVeteran TimePreAction =1 ; SoldierAttackVeteran TimePostAction =1")

what do i change in this code to get way faster shooting speed out of a soldier?

thanks in advance
Fly-Breaker 27/ago./2023 às 2:49 
@mortal nope it's 'proyectile' coz otherwise code won't work
if you correct the spelling then it won't work :p
So yeah ... a dev error left unfixed
Mortal 26/ago./2023 às 22:15 
Proyectile(?) shouldn't it be "Projectile"?
Mortal 27/jul./2023 às 7:50 
if you want a building to be as same as the market you can do this:
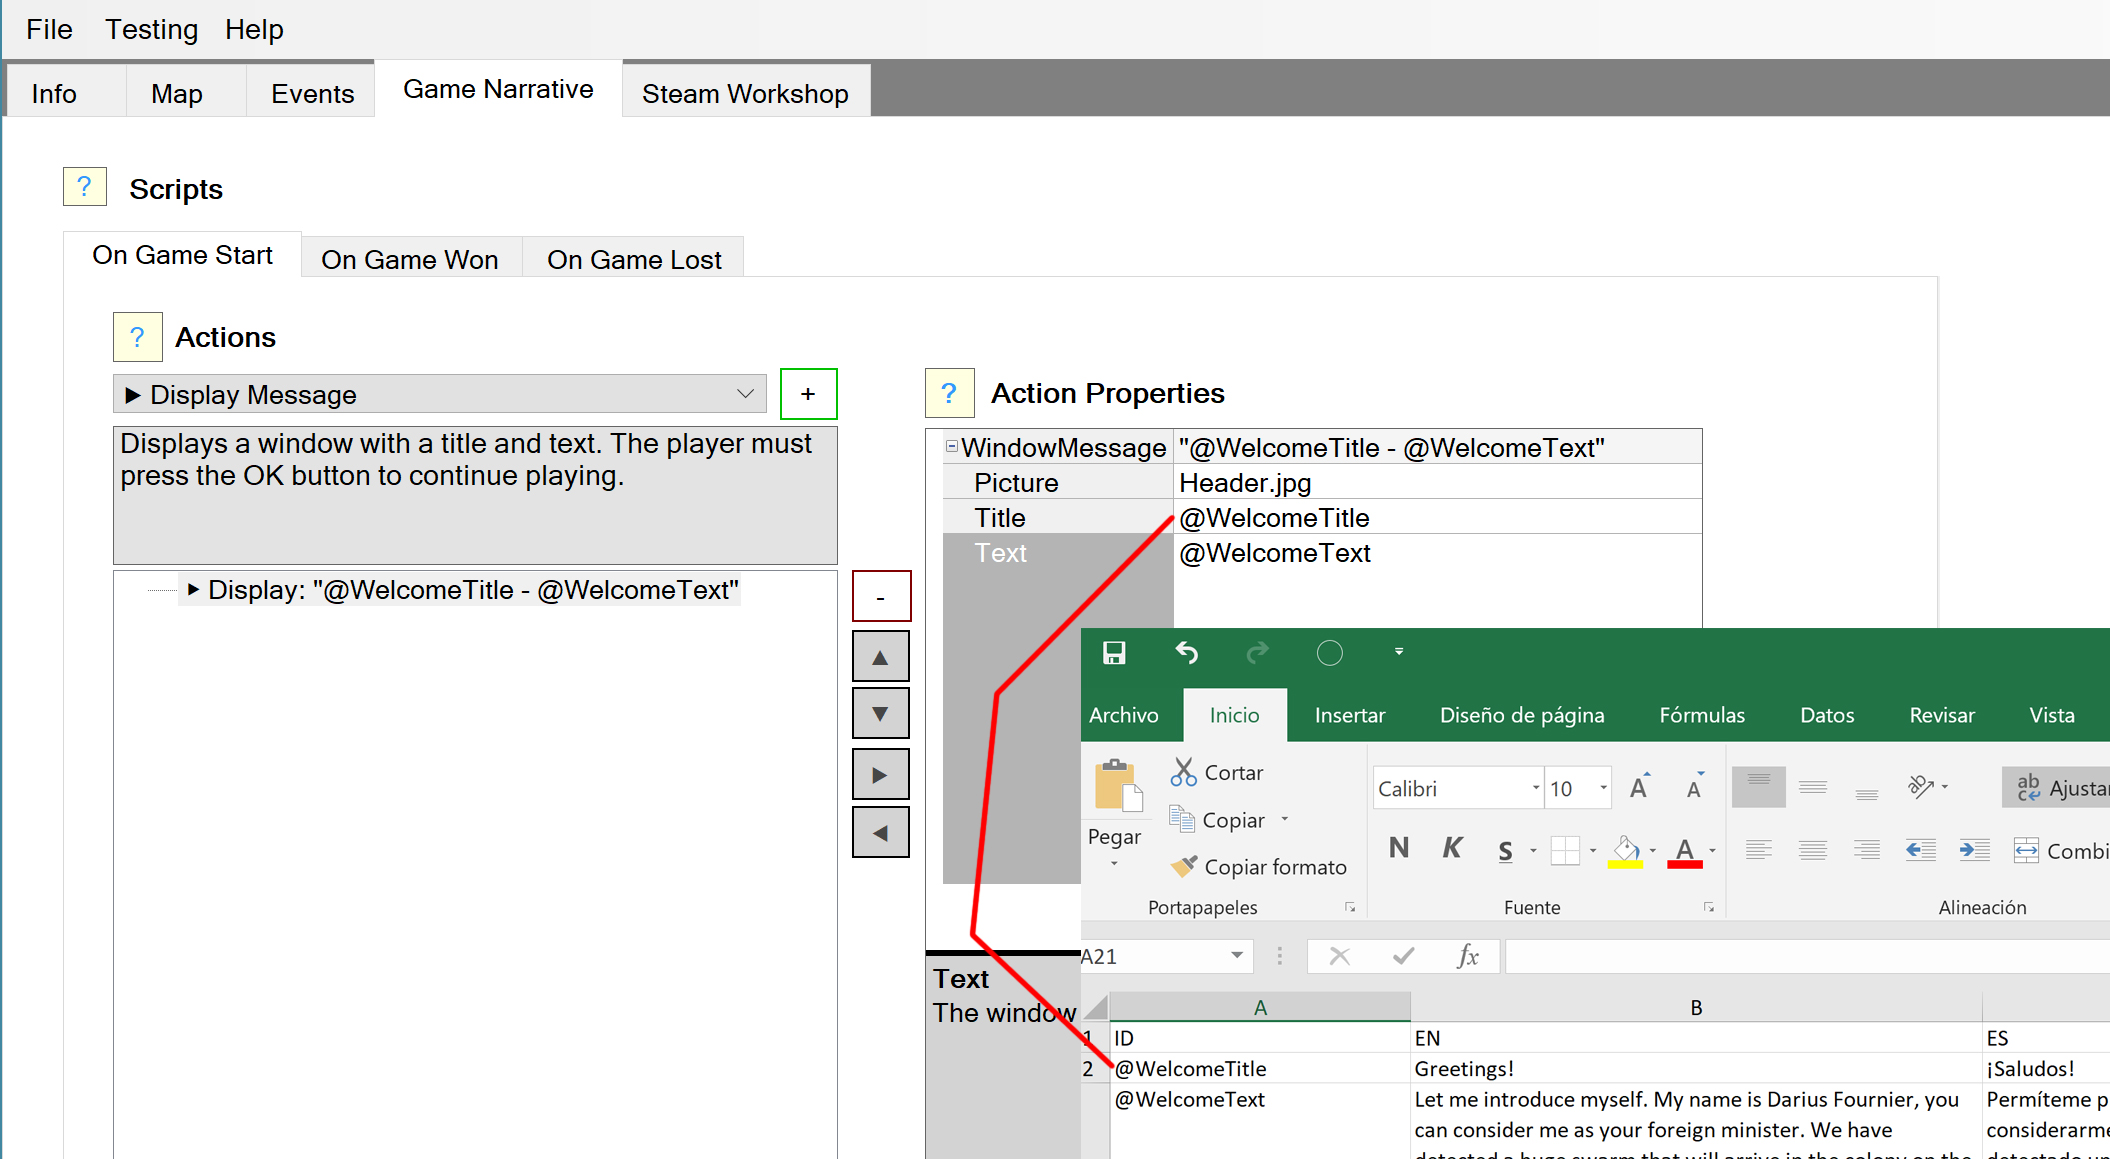
ApplyRules("X FactorFoodNeedNearBuildings = 80% ; X FactorFoodNeedNearBuildings - 1")
that makes the building have -20% for food reduction.