
Install Steam
login
|
language
简体中文 (Simplified Chinese)
繁體中文 (Traditional Chinese)
日本語 (Japanese)
한국어 (Korean)
ไทย (Thai)
Български (Bulgarian)
Čeština (Czech)
Dansk (Danish)
Deutsch (German)
Español - España (Spanish - Spain)
Español - Latinoamérica (Spanish - Latin America)
Ελληνικά (Greek)
Français (French)
Italiano (Italian)
Bahasa Indonesia (Indonesian)
Magyar (Hungarian)
Nederlands (Dutch)
Norsk (Norwegian)
Polski (Polish)
Português (Portuguese - Portugal)
Português - Brasil (Portuguese - Brazil)
Română (Romanian)
Русский (Russian)
Suomi (Finnish)
Svenska (Swedish)
Türkçe (Turkish)
Tiếng Việt (Vietnamese)
Українська (Ukrainian)
Report a translation problem


░░░░░▐▀█▀▌░░░░▀█▄░░░
░░░░░▐█▄█▌░░░░░░▀█▄░░
░░░░░░▀▄▀░░░▄▄▄▄▄▀▀░░
░░░░▄▄▄██▀▀▀▀░░░░░░░
░░░█▀▄▄▄█░▀▀░░
░░░▌░▄▄▄▐▌▀▀▀░░ THIS IS BOB
▄░▐░░░▄▄░█░▀▀ ░░
▀█▌░░░▄░▀█▀░▀ ░░ COPY AND PASTE HIM,
░░░░░░░▄▄▐▌▄▄░░░ SO, HE CAN TAKE
░░░░░░░▀███▀█░▄░░ OVER THE WORKSHOP
░░░░░░▐▌▀▄▀▄▀▐▄░░
░░░░░░▐▀░░░░░░▐▌░░
░░░░░░█░░░░░░░░█░░░
And could I contact you somehow? :D
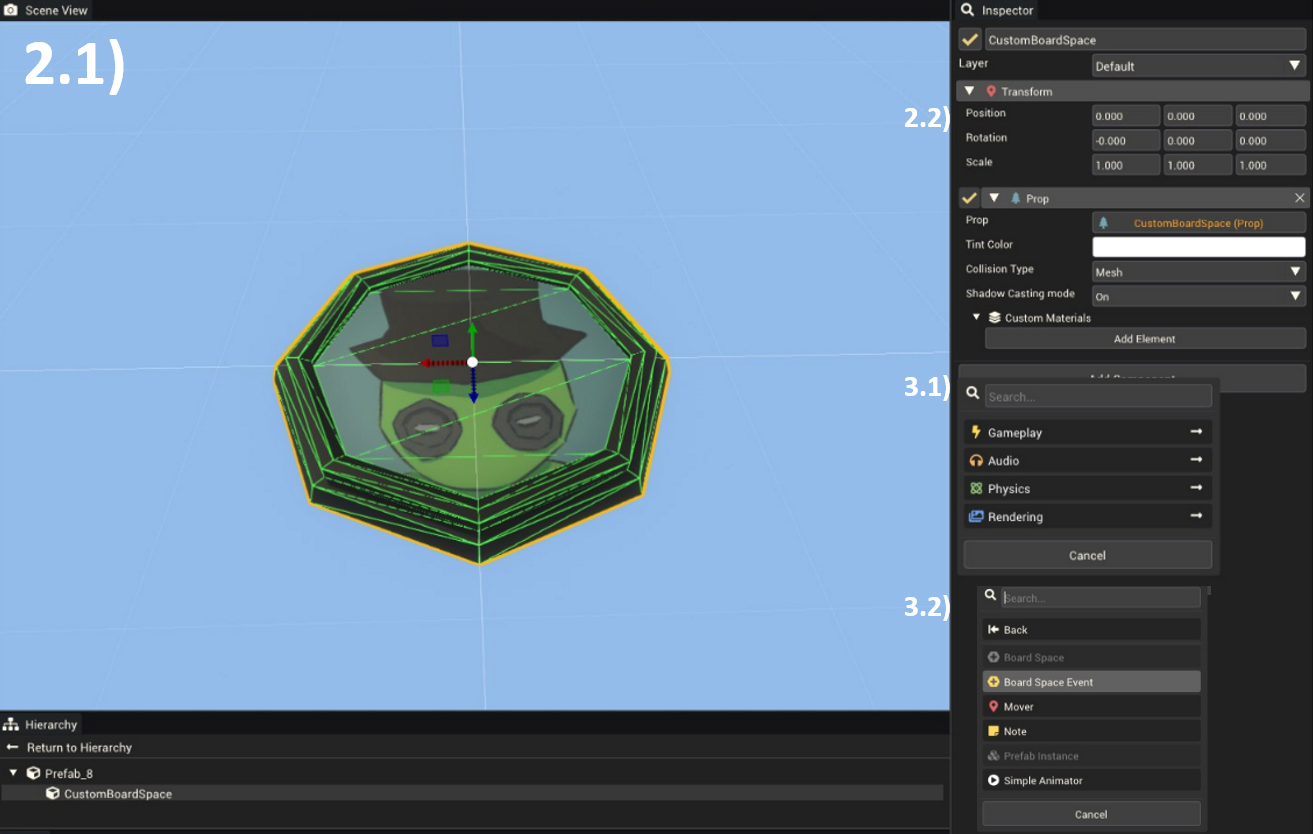
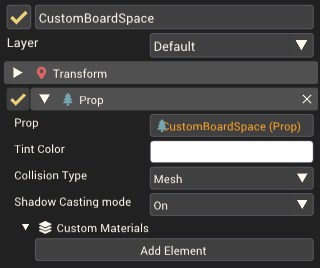
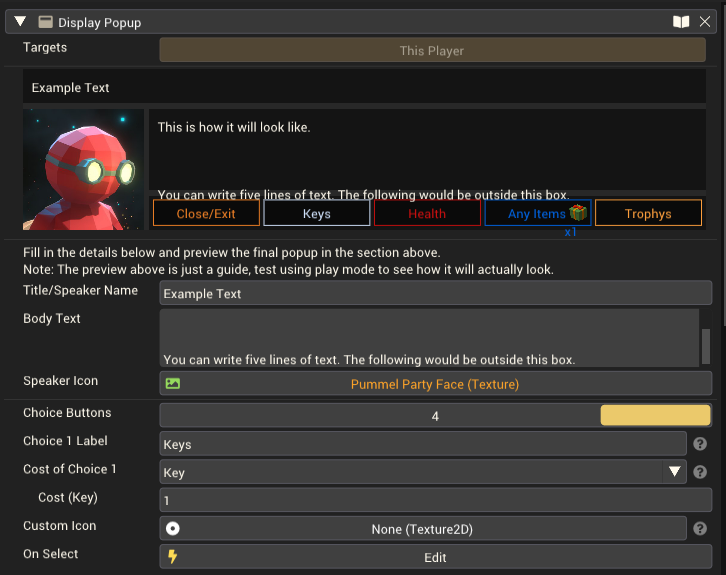
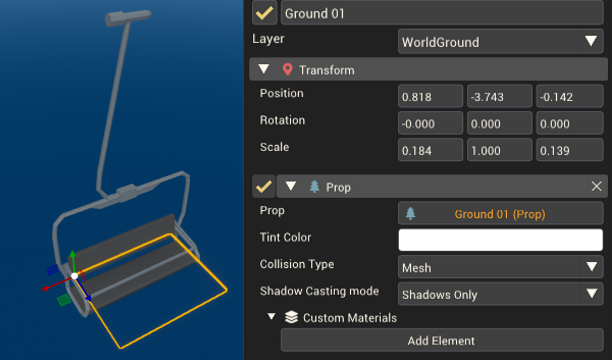
By clicking on the prop of the custom board space within the prefab, the inspector window opens and under the transform options, where you can change position, rotation and scale of the prop, you find prop settings with colour options, or shadow casting mode. Under these setting you find custom materials with a big "Add Element"-button. If you click on it, Element 0 will pop up with a "None Material" button. By clicking on that the list of your created materials will pop up and you need to select the one you want for the space.
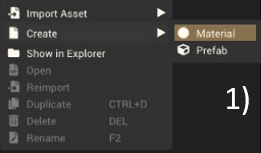
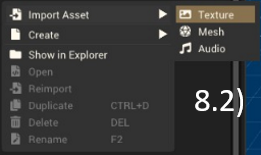
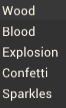
right click on asset brower
select create
click on material
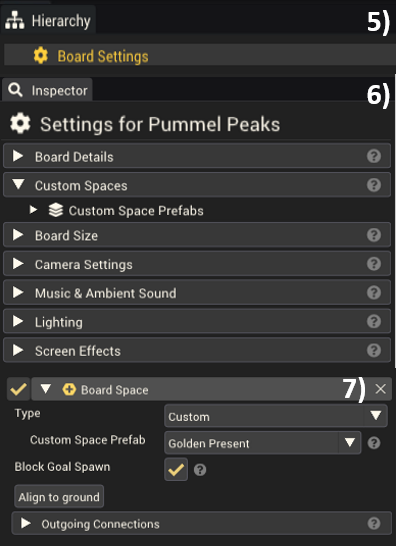
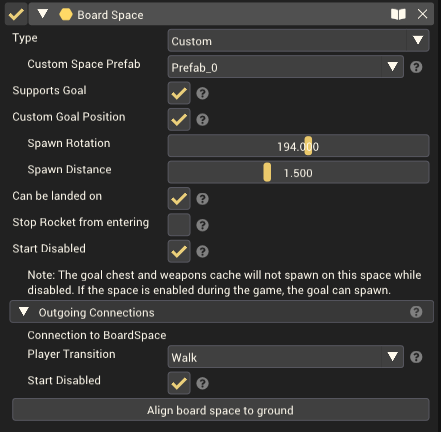
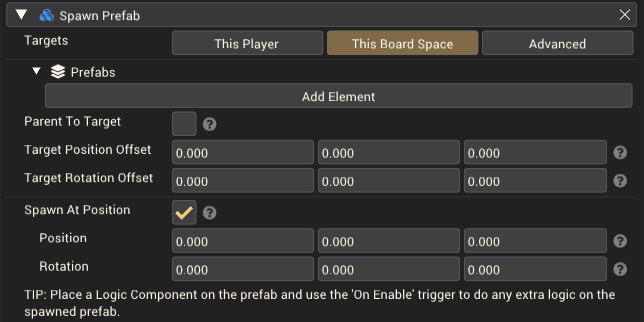
select your board space within the prefab and apply the Material you just have created
Like bro, how do i apply the material to the prefab.