Install Steam
login
|
language
简体中文 (Simplified Chinese)
繁體中文 (Traditional Chinese)
日本語 (Japanese)
한국어 (Korean)
ไทย (Thai)
Български (Bulgarian)
Čeština (Czech)
Dansk (Danish)
Deutsch (German)
Español - España (Spanish - Spain)
Español - Latinoamérica (Spanish - Latin America)
Ελληνικά (Greek)
Français (French)
Italiano (Italian)
Bahasa Indonesia (Indonesian)
Magyar (Hungarian)
Nederlands (Dutch)
Norsk (Norwegian)
Polski (Polish)
Português (Portuguese - Portugal)
Português - Brasil (Portuguese - Brazil)
Română (Romanian)
Русский (Russian)
Suomi (Finnish)
Svenska (Swedish)
Türkçe (Turkish)
Tiếng Việt (Vietnamese)
Українська (Ukrainian)
Report a translation problem


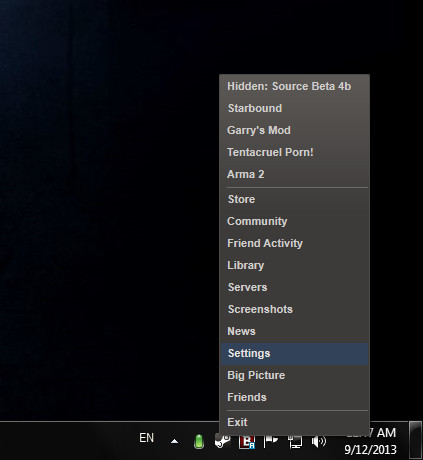
. or through the system tray at the bottom right of your desktop (also pictured).
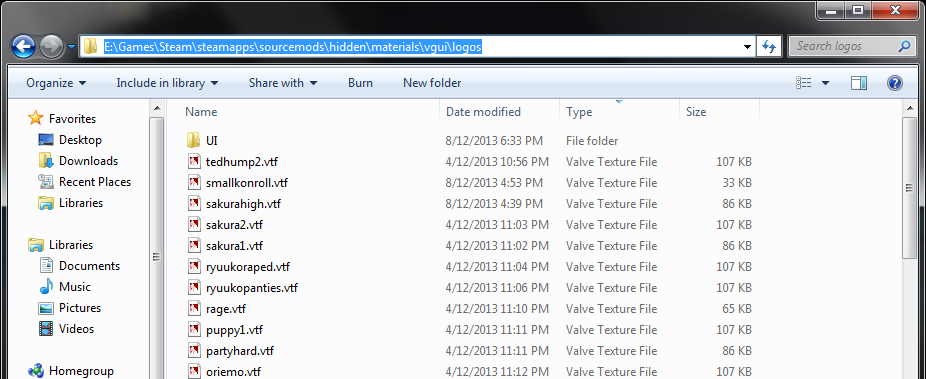
Once found you will need to go to Start-Computer and find your steam directory using the information you got from your steam settings. You then need to navigate through your steam files in this order. Steamapps-Sourcemods-Hidden-Materials-Vgui-Logos. An example of my directory is in a picture below if this made you a little bit confused. Your steam directory will be different to mine however, but It might just help you out a bit.
Once in the logos directory copy your .vmt and .vtf file. Also mak another copy of tor .vtm file and put it into the UI folder within the logos folder. If there is no UI folder then just add another folder called UI and then put a copy of the .vmt in it. So you have a .vmt in the UI folder as well as one in the logos folder. You are now done and should be able to use the spray in Hidden. :D")