
Installer Steam
connexion
|
langue
简体中文 (chinois simplifié)
繁體中文 (chinois traditionnel)
日本語 (japonais)
한국어 (coréen)
ไทย (thaï)
Български (bulgare)
Čeština (tchèque)
Dansk (danois)
Deutsch (allemand)
English (anglais)
Español - España (espagnol castillan)
Español - Latinoamérica (espagnol d'Amérique latine)
Ελληνικά (grec)
Italiano (italien)
Bahasa Indonesia (indonésien)
Magyar (hongrois)
Nederlands (néerlandais)
Norsk (norvégien)
Polski (polonais)
Português (portugais du Portugal)
Português - Brasil (portugais du Brésil)
Română (roumain)
Русский (russe)
Suomi (finnois)
Svenska (suédois)
Türkçe (turc)
Tiếng Việt (vietnamien)
Українська (ukrainien)
Signaler un problème de traduction


https://rafradek.github.io/Mishcatt/
2nd of all, directx sdk is no more on official Microsoft site you have to use archive.org backup ( https://archive.org/details/dxsdk_2010 )
HERE IS A LINK TO IT.
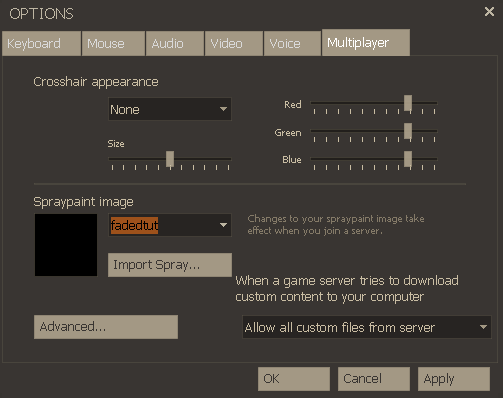
https://www.teamfortress.tv/45666/spraymaker5000
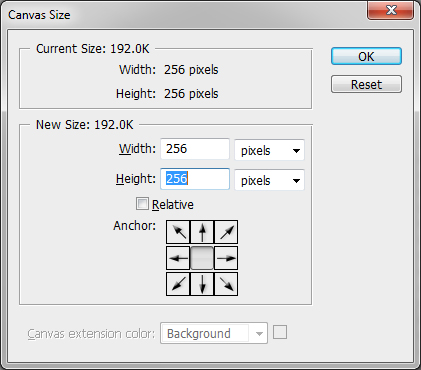
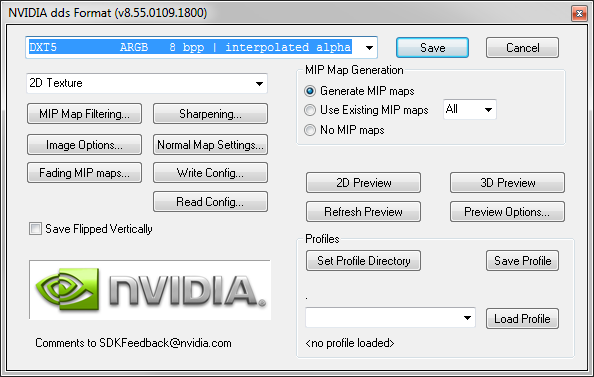
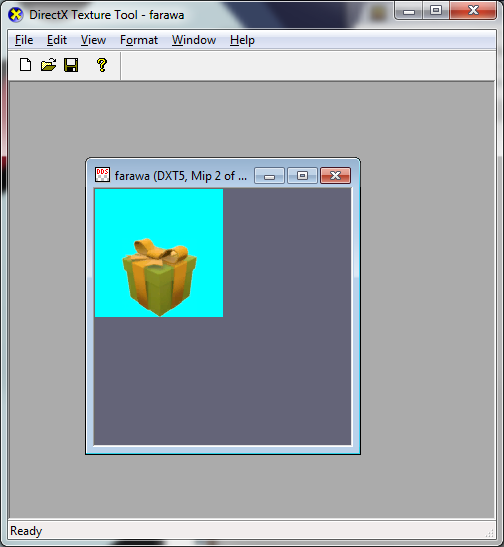
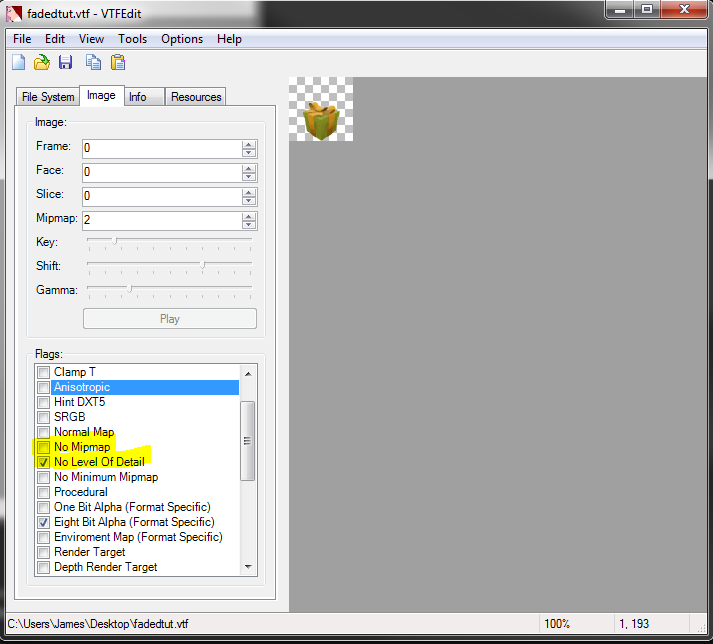
To make fading sprays make 5 mipmaps, make the images 512x512 and put the image you want far away in the bottom 3, and the one you want up close put that in the top 2.
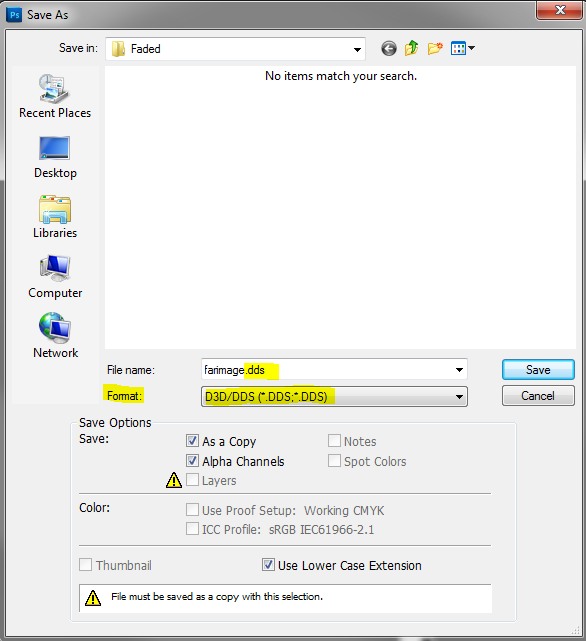
to make an animated spray, add as many frames as you please, and place the images in the respective spots. Make sure the background is invisible if you want it to be transparent
HERE IS A LINK TO IT.
https://www.teamfortress.tv/45666/spraymaker5000
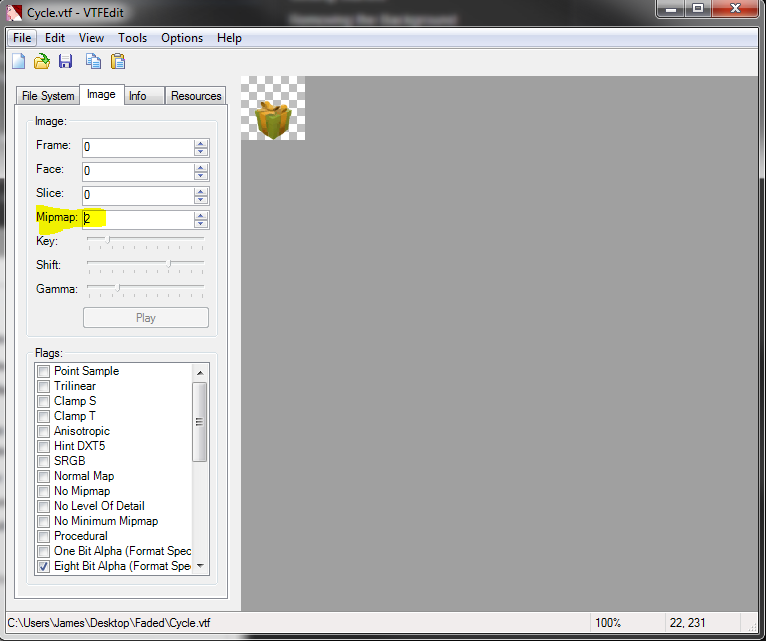
To make fading sprays make 5 mipmaps, make the images 512x512 and put the image you want far away in the bottom 3, and the one you want up close put that in the top 2.
to make an animated spray, add as many frames as you please, and place the images in the respective spots. Make sure the background is invisible if you want it to be transparent