Axiom Verge

Axiom Verge

412 ratings
Solaris32's complete Axiom Verge item guide: maps with number references
By solaris32
This guide's maps have numbers within them with each number representing an item. You can then reference that number to see what the item is, items needed to get it, how to get it, and screenshot(s) showing precisely where the item is.

I decided to make this guide because when I went for 100% I was annoyed that the various maps told me an item was in a square, but it didn't tell you how to get that particular item or where exactly it was. This wasn't a problem for me except a handful of times, but I love this game so much I wanted to make such a guide for other people. I still encourage you to look for the item yourself first because that's where the fun in a game like this comes from. If that fails use this guide to relieve your frustration.
3
2
6
4
   
Award
Favorite
Favorited
Unfavorite
Tips, tricks, and explanations
Sometimes I will forget or accidentally acquire an item before I screenie it, in which case I will be positioned on top of where the item was in the screenie.

The order of the items (01, 02, 03, etc.) is the order I got them as I replayed through the game. If you find yourself stuck and don't know what to do, find where you are in the number order (by finding the number of the last ability you acquired) and move forward from there.

Later in the game I will save a lot of powerups until I get the final ability, the red coat. The red coat makes getting many powerups much simpler, and you will likely have really good weapons and high health by then too.

Secret worlds are hidden throughout the maps. The entrances are random until you make a new game, then they are locked in for that save file, so you'll have to use a map that shows their possible locations and search for them. Only 1 hard secret world is ever generated and it always contains one of three very powerful weapons (Heatseeker, Webslicer, Fatbeam). Nothing you find in the secret worlds count towards your percentages; they are purely bonuses.

The game will show a yellow dot in the upper right of your map screen if you've found all items for that map, and a purple dot if you've uncovered all areas of that map.

The Address Disruptor (what you use to glitch enemies) I call the Glitch Gun throughout the guide. It makes enemies easier to kill and in some cases are necessary to get an item (I will describe this if it's the case).

The Grapple Hook is not needed to beat the game, but it does let you get some items early. It gets superseded by the drone teleport ability much later in the game.

Drone Tele Jumping: Using the drone teleport ability and drone launch distance ability it is possible to gain infinite height. This technique isn't needed for any items, but it makes getting some much easier. First you jump as high as you can then launch the drone straight up in the air. Continue holding up and when the drone reaches the peak of its height, press the drone launch button again to spawn it and quickly press it again to teleport to the drone. Immediately and briefly use the laser drill to reset the drone launch time so you can fire it again immediately. Fire the drone again, straight up in the air, and repeat the process.

The Passcode Tool has its own menu along with the map, inventory, and notes. This is where you input the passwords.

Using the quit to title menu option is a great way to save time backtracking, because when you reload you spawn at the last used save station. It also doesn't count towards your deaths if you're going for that achievement.

The following green bug thing will drop a health node fragment if you use your glitch gun on it, but only once. The item doesn't count for the yellow dot of item completion on a map, but it does count for 100% total items.
Table of items
Weapons
Eribu
01 - Axiom Disruptor
02 - Nova
06 - Multi-Disruptor
51 - Orbital Discharge
109 - Lightning Gun
112 - Flamethrower
Absu
09 - Kilver
92 - Inertial Pulse
102 - Data Bomb
Zi
38 - Voranj
Kur
18 - Firewall
30 - Hypo-Atomizer
48 - Reflector
89 - Ion Beam
90 - Tethered Charge
Ukkin-Na
116 - Turbine Pulse
Edin
68 - Shards
77 - Distortion Field
E-Kur-Mah
86 - Quantum Variegator
Mar-Uru
123 - Reverse Slicer

Tools/Abilities
Eribu
04 - Laser Drill
Absu
10 - Address Disruptor (aka Glitch Gun)
Zi
20 - Modified Lab Coat
24 - Bioflux Accelerator (1)
34 - Passcode Tool
Kur
17 - Field Disruptor (Jump Boots)
28 - Remote Drone
32 - Address Disruptor 2 (Glitch Gun 2)
40 - Grapple
45 - Enhanced Drone Launch
Ukkin-Na
55 - Trenchcoat
Edin
64 - Address Bomb
70 - Drone Teleport
74 - Bioflux Accelerator (2)
E-Kur-Mah
80 - Sudran Key
83 - Red Coat
Mar-Uru
None

Notes
Eribu
Item Number: 110
Absu
Item Number: 13, 14, 93, 97, 98, 101
Zi
Item Number: 19, 35, 37
Kur
Item Number: 44, 46, 78
Indi
Item Number: 49, 61
Ukkin-Na
Item Number: 53, 57, 59
Edin
Item Number: 62, 63, 69, 71
E-Kur-Mah
Item Number: 79, 81, 87
Mar-Uru
Item Number: 119, 122, 124

Health Nodes
Eribu
Item Number: 07, 114
Absu
Item Number: 11
Zi
Item Number: 21
Kur
Item Number: 39
Ukkin-Na
Item Number: 52
Edin
Item Number: 66, 72
E-Kur-Mah
None
Mar-Uru
Item Number: 117

Health Node Fragments
Eribu
Item Number: 50, 111
Absu
Item Number: 08, 15, 96, 103
Zi
Item Number: 22, 26, 33
Kur
Item Number: 29, 31, 42, 47, 88
Indi
Use glitch gun on a green slug for a health node fragment. Works once.
Ukkin-Na
Item Number: 58, 60
Edin
Item Number: 75, 76
E-Kur-Mah
Item Number: 85
Mar-Uru
None

Power Nodes
Eribu
Item Number: 05
Absu
Item Number: 16
Zi
None
Kur
Item Number: 27, 41
Ukkin-Na
None
Edin
Item Number: 65
E-Kur-Mah
Item Number: 82
Mar-Uru
None

Power Node Fragments
Eribu
Item Number: 108, 113
Absu
Item Number: 95, 100, 104, 105, 106, 107
Zi
Item Number: 36, 91
Kur
Item Number: 43
Ukkin-Na
Item Number: 54, 56, 115
Edin
Item Number: 73
E-Kur-Mah
Item Number: 84
Mar-Uru
Item Number: 118, 120

Range/Size Nodes
Eribu
03 - Size Node
Absu
12 - Size Node
94 - Range Node
99 - Range Node
Zi
23 - Range Node
25 - Size Node
Kur
None
Ukkin-Na
None
Edin
67 - Range Node
E-Kur-Mah
None
Mar-Uru
121 - Size Node
Eribu


01: Weapon - Axiom Disruptor
Items needed: None
How to get: Simply go left from where you start the game and get it.


02: Weapon - Nova
Items needed: Axiom Disruptor
How to get: There's only one way you can progress, so just go get it.


03: Size node (1)
Items needed: Nova
How to get: On your way to this item, use the Nova to hit the red orb thing to open the laser gate. You'll find the size node hiding in the red bubbles as seen in the pic.


04: Laser Drill
Items needed: Nova
How to get: On your way to this you will need to open a laser gate with Nova, then fight the first boss.


05: Power Node (1)
Items needed: Laser Drill
How to get: After you get the Laser Drill, immediately drill downwards and proceed left.


06: Weapon - Multi-Disruptor
Items needed: Laser Drill
How to get: After opening the laser gate, stand on top of the red orb to see the obviously drillable blocks and continue up and then left from there.


07: Health Node (1)
Items needed: Laser Drill
How to get: It's on your way as you progress.


50: Health Node Fragment (10)
Items needed: Grapple
How to get: Grapple up on the bottom left side of this map area, go to the top, then to the right to get this item.


51: Weapon - Orbital Discharge
Items needed: Grapple, Passcode Tool
How to get: In the same room section as you got item 50 input the password DALKHU-SUBTUM. If you put it in properly you will hear a horn-like sound and a new section will appear at the top left. In the next room section you will need to grapple from the top to the right.


108: Power Node Fragment (14)
Items needed: Drone Teleport
How to get: Launch the drone upwards and dig through the wall as seen in the first pic. Then drone tele, glitch dash left, then drill left until you get the item.


109: Weapon - Lightning Gun
Items needed: Address Bomb
How to get: Use an address bomb to get access to this area, then proceed all the way left.


110: Note (25)
Items needed: Drone Teleport
How to get: Bust open the wall and use drone tele to get to the area seen in the first pic. Then take the top door and proceed using more drone teles.


111: Health Node Fragment (19)
Items needed: Red Coat
How to get: Do what item 110s first pic shows, but instead go through the left door. After using red coat to get past the first obstacle the item is below you.


112: Weapon - Flamethrower
Items needed: Red Coat, Passcode Tool
How to get: When you reach the room with the item use the password DINGER-GISBAR to open up passage. Then glitch dash to get the item.


113: Power Node Fragment (15)
Items needed: Grapple, Passcode Tool
How to get: Go through the top door as seen in the first pic. If you use the glitch gun like so in the second pic, a password will be revealed in letters on your hud below your weapons. Use the password IKKIBU-LABIRU to open a path to the left. It's straightforward from here on.


114: Health Node (8)
Items needed: Address Bomb
How to get: Use an address bomb to clear the path.
Absu


08: Health Node Fragment (1)
Items needed: Laser Drill
How to get: Drill on the left side until you can get access to the opening, like in the first pic. Then fall to your left and immediately start hugging the right wall. Eventually you will enter a little cubbyhole. Drill the rocks and reveal the health node fragment like in the second pic.


09: Weapon - Kilver
Items needed: Laser Drill
How to get: Just proceed to the area and get it.


10: Address Disruptor (aka Glitch Gun)
Items needed: Laser Drill
How to get: Defeat the boss in the way then proceed forward.


11: Health Node (2)
Items needed: Glitch Gun
How to get: Continue forward after getting the glitch gun, you can't miss it.


12: Size Node (2)
Items needed: Glitch Gun
How to get: You must use the glitch gun on those donut enemies. When they become glitched they break through the walls opening a passage for you.


13: Note (1)
Items needed: Glitch Gun
How to get: Use the glitch gun to make the platform appear as seen in the pic.


14: Note (2)
Items needed: Laser Drill
How to get: Drill the wall as seen in the pic.


15: Health Node Fragment (2)
Items needed: Glitch Gun
How to get: Use the glitch gun on those green enemies which will glitch all of them. When you kill one you kill them all and they explode. Wait until the green enemy is near the orb needed to open the laser gate, then kill one of them to open the gate. Then drill the wall.


16: Power Node (2)
Items needed: Laser Drill
How to get: Drill the wall as seen in the pic.


92: Weapon - Inertial Pulse
Items needed: Glitch Gun 2
How to get: Tunnel your way upwards to this.


93: Note (21)
Items needed: Remote Drone
How to get: In the second pit from the right tunnel as seen in the pic.


94: Range Node (3)
Items needed: Remote Drone
How to get: In the previous room to this item use the drone via the right side.


95: Power Node Fragment (8)
Items needed: Trenchcoat
How to get: Use the trenchcoat to glitch dash as needed.


96: Health Node Fragment (17)
Items needed: Drone Teleport
How to get: Really straightforward once you have the items to get to it.


97: Note (22)
Items needed: Lab Coat
How to get: Use the lab coat as needed.


98: Note (23)
Items needed: Lab Coat
How to get: Use the lab coat to glitch through the wall.


99: Range Node (4)
Items needed: Glitch Gun 2
How to get: You need to use the glitch gun 2 in the long shaft heading downwards to open the path, then again on the donut enemies so they will open another path.


100: Power Node Fragment (9)
Items needed: Glitch Gun
How to get: Use the glitch gun on the donut enemies so they will clear the path for you.


101: Note (24)
Items needed: Remote Drone
How to get: Deposit the remote drone as seen in the pic. Once you get to the bottom go through the door on your left.


102: Weapon - Data Bomb
Items needed: Drone Teleport
How to get: After getting item 101, use drone teleport if you have it, then glitch dash down as seen in the pic. Once you get to the bottom go through the left door.


103: Health Node Fragment (18)
Items needed: Weapon - Kilver
How to get: Use Kilver to hit the red orb and lower the laser barrier.


104: Power Node Fragment (10)
Items needed: Drone Teleport
How to get: You need the drone tele to reach the high areas.


105: Power Node Fragment (11)
Items needed: Drone Teleport
How to get: You need the drone tele to reach the high areas.


106: Power Node Fragment (12)
Items needed: Drone Teleport
How to get: You need the drone tele to reach the high areas.


107: Power Node Fragment (13)
Items needed: Drone Teleport
How to get: Use an address bomb on either side of this area to get access to the middle.
Zi


19: Note (3)
Items needed: Jump Boots, Laser Drill
How to get: Drill the top of the map like in the pic.


20: Modified Lab Coat
Items needed: Jump Boots
How to get: Defeat the boss and proceed forward to the right.


21: Health Node (3)
Items needed: Lab Coat
How to get: Use the lab coat to glitch through the wall.


22: Health Node Fragment (3)
Items needed: Jump Boots
How to get: Drill from below where you see the gap at the bottom of the picture. Then simply jump up to the top left.


23: Range Node (1)
Items needed: Lab Coat
How to get: Glitch through that wall to the right of my character, then proceed left through the wall.


24: Bioflux Accelerator (1)
Items needed: Jump Boots
How to get: Once you have the Jump Boots simply go get it.


25: Size Node (3)
Items needed: Jump Boots
How to get: Jump onto that block below then jump straight up and to the right, where you see me shooting.


26: Health Node Fragment (4)
Items needed: Lab Coat
How to get: Go to the top left of this room, then go right glitching through the 3 walls to get to the item.


33: Health Node Fragment (7)
Items needed: Remote Drone
How to get: Have the drone go through the wall as seen in the pic, then go downwards to the item.


34: Passcode Tool
Items needed: Remote Drone
How to get: Toss the drone on top of the giant lady machine thing and go through the door, then simply go get this.


35: Note (4)
Items needed: Remote Drone
How to get: Same as item 34.


36: Power Node Fragment (1)
Items needed: Glitch Gun 2
How to get: Use the glitch gun 2 to get access to this area, then simply go all the way to the left.


37: Note (5)
Items needed: Remote Drone
How to get: See item 38, but instead you would go to the middle right door at 1:22 instead of falling all the way down. There are 2 enemies inside, be careful.
I forgot to take a screenie :(, you don't need it here though.


38: Weapon - Voranj
Items needed: Remote Drone
How to get: See my video.

91: Power Node Fragment (7)
Items needed: Drone Teleport
How to get: Drone tele jump to it, otherwise glitch dash at the height of your jump before launching the drone to get the extra height needed.
Kur


17: Field Disruptor (Jump Boots)
Items needed: None
How to get: Head straight to this item as there's nowhere else to go yet.


18: Weapon - Firewall
Items needed: Jump Boots
How to get: Jump to that left ledge then walk through the wall.


27: Power Node (3)
Items needed: Lab Coat
How to get: Just glitch through the wall.


28: Remote Drone
Items needed: Lab Coat
How to get: Pretty straightforward, but you must enter the room from the top left door not the bottom left.


29: Health Node Fragment (5)
Items needed: Remote Drone
How to get: Stand where I am, then jump as far left as you can and angle your gun up left, then launch the drone. If you time it right the drone will barely make it. If you can't pull this off you can wait until you get the drone launch distance ability.


30: Weapon - Hypo-Atomizer
Items needed: Remote Drone
How to get: The drone must venture alone.


31: Health Node Fragment (6)
Items needed: Remote Drone
How to get: Drill a bit in the wall for your drone, then have the drone drill all the way to the right until you get it.


32: Address Disruptor 2 (Glitch Gun 2)
Items needed: Remote Drone
How to get: The drone must go forth alone and battle many enemies, before finally coming to the red orb that lets Trace come through.


39: Health Node (4)
Items needed: Glitch Gun 2
How to get: You need glitch gun 2 to reach the boss. After the boss, just go get the item.


40: Grapple
Items needed: Glitch Gun 2
How to get: Use the drone to get onto the far right ledge as seen in the first pic, then climb upwards to get the grapple like in the second pic.
Grappling is tricky, this is as good a place as any to practice.


41: Power Node (4)
Items needed: Grapple
How to get: You must climb all the way to the top, then grapple across to the right.


42: Health Node Fragment (8)
Items needed: Glitch Gun 2
How to get: Glitch the laser guy on that block as seen in the first pic, so he will blow a hole into the rock. Then use the drone to eventually reach the item in the second pic.


43: Power Node Fragment (2)
Items needed: Grapple
How to get: Use the glitch gun on the enemy as seen in the first pic. Then jump in his field of attack causing him to create a long row of blocks for you. Then grapple across those blocks. If you're bad at grappling drill a hole on the right side of the row of blocks, launch your drone up there, then simply walk across to the other side, as seen in the 3rd pic. This method is the easiest and least time-wastingly dangerous, but you're not a wuss are you?


44: Note (6)
Items needed: Grapple
How to get: After getting item 43 just fall off the right side and move to the left to get this right below it.


45: Enhanced Drone Launch
Items needed: Grapple
How to get: You need to use the grapple to get to this section of the map anyway, so just continue until you get this.


46: Note (7)
Items needed: Grapple
How to get: At the bottom right corner of this map launch the drone into that little area, then jump up and get the note.


47: Health Node Fragment (9)
Items needed: Grapple
How to get: Destroy the blocks in the way of the left room, as seen in the pic.


48: Weapon - Reflector
Items needed: Grapple
How to get: Just continue along with the drone until you reach it.


78: Note (17)
Items needed: Drone Teleport
How to get: Drone tele up there to get it.


88: Health Node Fragment (16)
Items needed: Drone Teleport
How to get: Go to where you got the grapple, then continue climbing upwards utilizing drone teles.


89: Weapon - Ion Beam
Items needed: Red Coat
How to get: Use the red coat to glitch dash to it. From where Trace is in my pic dash again to the left to get it.


90: Weapon - Tethered Charge
Items needed: Red Coat (You can do it with just drone teleport but it's much harder, why bother?)
How to get: In the first pic use red coat to get up top, right where you got item 31. In the second pic use an address bomb to turn all those purple guys into platforms. Third pic shows the hidden route. Continue until you get the item.
Indi


While you're here glitch one of those green bugs to get a health node fragment.

You can travel super fast by jumping on that head statue thing.

49: Note (8)
Items needed: Grapple
How to get: Jump where you see Trace in the screenshot and shoot the drone to the right. Take the drone right then jump up and to the left. Go all the way left for the note hiding in the wall.


61: Note (12)
Items needed: Trenchcoat
How to get: Use the trenchcoat to glitch dash and get it.
Ukkin-Na


52: Health Node (5)
Items needed: Glitch Gun 2
How to get: This is right after the boss, just go up after you get control again.


53: Note (9)
Items needed: Grapple (Trenchcoat if you don't have Grapple)
How to get: Grapple/glitch your way to the top and grab it.


54: Power Node Fragment (3)
Items needed: Glitch Gun 2
How to get: Use the glitch gun on the enemy in the first pic, then when he stomps back into the ground he will open up a new hole as you can see. Use the drill to kill him, then launch a drone to the bottom of the hole and go all the way right to get the item.


55: Trenchcoat
Items needed: None
How to get: Nothing special, just go get it after you beat the boss of this area.


56: Power Node Fragment (4)
Items needed: Trenchcoat
How to get: Jump then glitch dash to the left to get this.


57: Note (10)
Items needed: Trenchcoat
How to get: You need to get the trenchcoat to enter this room. Then it's to get the item.


58: Health Node Fragment (11)
Items needed: Trenchcoat
How to get: Glitch dash down where I am in the pic, then use the drone to follow the path to the right side to get this item.


59: Note (11)
Items needed: Trenchcoat
How to get: Glitch dash down from here in the pic, then it's a very long fall to the item.


60: Health Node Fragment (12)
Items needed: Trenchcoat
How to get: After getting item 59 glitch dash down and this item is right there.


115: Power Node Fragment (16)
Items needed: Red Coat
How to get: Get in the pit then glitch dash down, then glitch dash through the pointless laser barriers.


116: Weapon - Turbine Pulse
Items needed: Trenchcoat
How to get: Shoot your drone into the mouth of this thing and it will carry up and to the right so you can enter the door. In the second pic drill the left side of the wall and climb to the top, then hop across the platforms to get the item on the right.
If you come back later in the game and the transport thing is gone then you can drone tele jump up to the platform.
Edin


62: Note (13)
Items needed: Trenchcoat
How to get: Use the glitch gun on those worm guys, they will then open the way for you. Then use a glitch dash or grapple to get up and over to the other side.


63: Note (14)
Items needed: Trenchcoat
How to get: Glitch one of the worm enemies and they will open a path to the item. Hug the wall where I'm shooting in the pic.


64: Address Bomb
Items needed: Trenchcoat
How to get: It's right after the boss area, you can't miss it.


65: Power Node (5)
Items needed: Address Bomb
How to get: In the outside area before this you'll need to use the address bomb on the glitched blocks to make a platform so you can get up here. Once up here glitch dash through that right wall in the screenie.


66: Health Node (6)
Items needed: Address Bomb
How to get: See item 65.

67: Range Node (2)
Items needed: Trenchcoat
How to get: Starting from the right side of the screenshot (1 map square to the right where you get the item), you need to drill your way to the left, then jump and do a glitch dash to the left, then glitch down to where my character is standing, then use the drone to tunnel the rest of the way and go through the door on the far left.


68: Weapon - Shards
Items needed: Address Bomb
How to get: Use an address bomb on the blocks in your way, then go left and grab it.


69: Note (15)
Items needed: Address Bomb
How to get: There's a wall you can walk through on the right as you can see in the pic. Then the item is right there for the taking.


70: Drone Teleport
Items needed: Address Bomb
How to get: Just past the boss, use the drone to nab it.


71: Note (16)
Items needed: Drone Teleport
How to get: Glitch dash down to where my character is standing in the pic, then send the drone forward, tele to the drone, glitch dash through the wall to the right, then drill to the right until you get the item.


72: Health Node (7)
Items needed: Drone Teleport
How to get: Drone tele your way through this, pretty easy.


73: Power Node Fragment (5)
Items needed: Drone Teleport
How to get: Drone tele as usual to get this.


74: Bioflux Accelerator (2)
Items needed: Drone Teleport
How to get: Stand on the rock as seen in the first pic. Then jump as far as you can to the left, and shoot a drone to the up left. Then what you will want to do is quickly teleport to your drone and then glitch dash to the left. This is really tough, if you're having too much trouble you might want to wait until you get the red coat.


75: Health Node Fragment (13)
Items needed: Drone Teleport
How to get: You can climb the left cliff using drone tele, then grappling across the top. Or you can use drone tele jumping to get right to it.


76: Health Node Fragment (14)
Items needed: Drone Teleport
How to get: It seems the game wants you to grapple underneath from right to left, then swing out and send up a drone. Or you can drone tele jump.


77: Weapon - Distortion Field
Items needed: Drone Teleport
How to get: Glitch the worm enemies in this room so they will open a passage in the upper right. Drone tele up there and continue until you get the item.
E-Kur-Mah


79: Note (18)
Items needed: Drone Teleport
How to get: Merely drill the rock.


80: Sudran Key
Items needed: Drone Teleport
How to get: Dig through the rocks to get here.


81: Note (19)
Items needed: Drone Teleport
How to get: It's hiding in the rocks


82: Power Node (6)
Items needed: Sudran Key
How to get: Once you get the sudran key the yellow barrier will be gone.


83: Red Coat
Items needed: Sudran Key
How to get: No special technique to get this.


84: Power Node Fragment (6)
Items needed: Red Coat
How to get: Use your new red coat to glitch dash into it.


85: Health Node Fragment (15)
Items needed: Red Coat
How to get: Use ude red coat to bust out the rocks, then launch the drone up and have it go all the way to the right getting the item hiding in the wall.


86: Weapon - Quantum Variegator
Items needed: Sudran Key, Passcode Tool
How to get: When you glitch the enemy type seen in the first pic they will show letters. These letters form a password you must input (ISKART-EHANZU). Doing so will open a new path you can see in the second pic. Then proceed to the item using drone tele.


87: Note (20)
Items needed: Red Coat
How to get: Use the red coat to glitch dash to it.
Mar-Uru
Items needed has been removed because if you're here you've already gotten all the abilities.


117: Health Node (9)
How to get: It's on the top left ledge.


118: Power Node Fragment (17)
How to get: Glitch the first enemy and wait for him to hug the wall as seen in the first pic. Then enter the right door, and if you're lucky he will spawn near the red orb and shoot it for you. If he doesn't try again.


119: Note (26)
How to get: Glitch dash down from where you got item 118. The note can't be missed.


120: Power Node Fragment (18)
How to get: Glitch dash to the right of item 119.

121: Size Node (4)
How to get: Glitch dash to get it.


122: Note (27)
How to get: Glitch dash to get this.


123: Weapon - Reverse Slicer
How to get: See that enemy on the far left? He starts out at the bottom. Glitch him and then whichever way you move, he moves. Use this to maneuver him up there, then fire so he fires and opens the laser gate. Then continue to the item.


124: Note (28)
How to get: Use the drone to get here, then move all the way to the right to get the item hiding in the wall.
99 Comments
solaris32  [author] Apr 5, 2023 @ 8:09am 
It's been a very long time since I played the game and can't remember exactly. I just know you shouldn't have trouble. Look up a let's play and find that part of the game and see what they did.
Zeni Apr 5, 2023 @ 8:01am 
i have a problem, i cant get to the boss in Edin, the wasp, i cant reach the entrance to his area because i cant jump high enough even though i have the jump boots and everything else
solaris32  [author] Feb 17, 2023 @ 11:33pm 
That's what this guide is for! Look at item 40 then 45. If somehow you still can't figure out how to get grapple there is no doubt a youtube video showing you every step to climb.
[JC]Westenra Feb 17, 2023 @ 11:24pm 
I cannot for the life of me figure out how to proceed in Kur. How do I reach the Grapple and Advanced Drone Launch?
solaris32  [author] Feb 3, 2023 @ 1:27pm 
With red coat you can just dash through them.
Dumak Feb 3, 2023 @ 1:24pm 
[115]
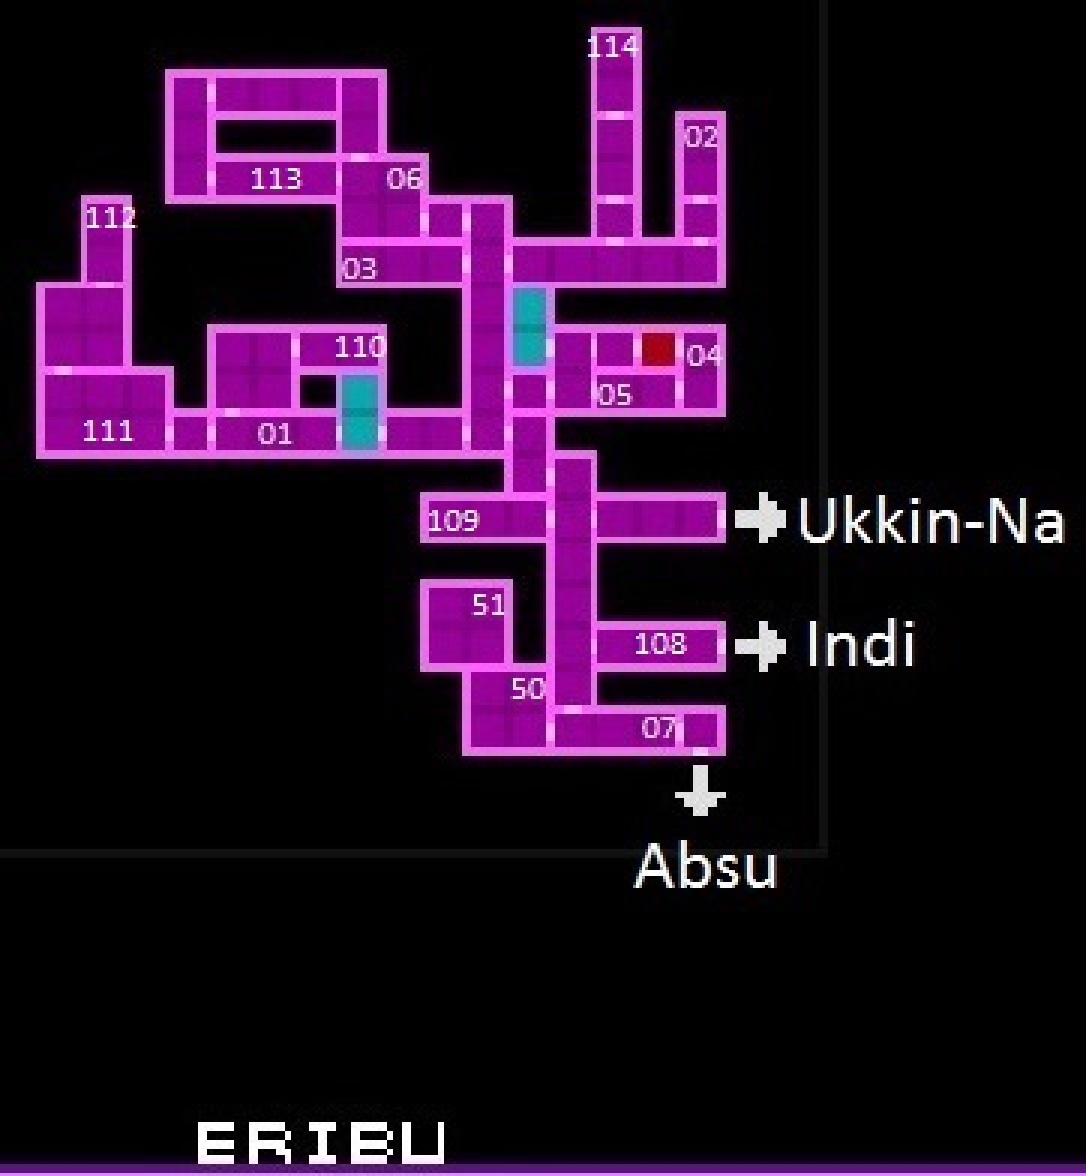
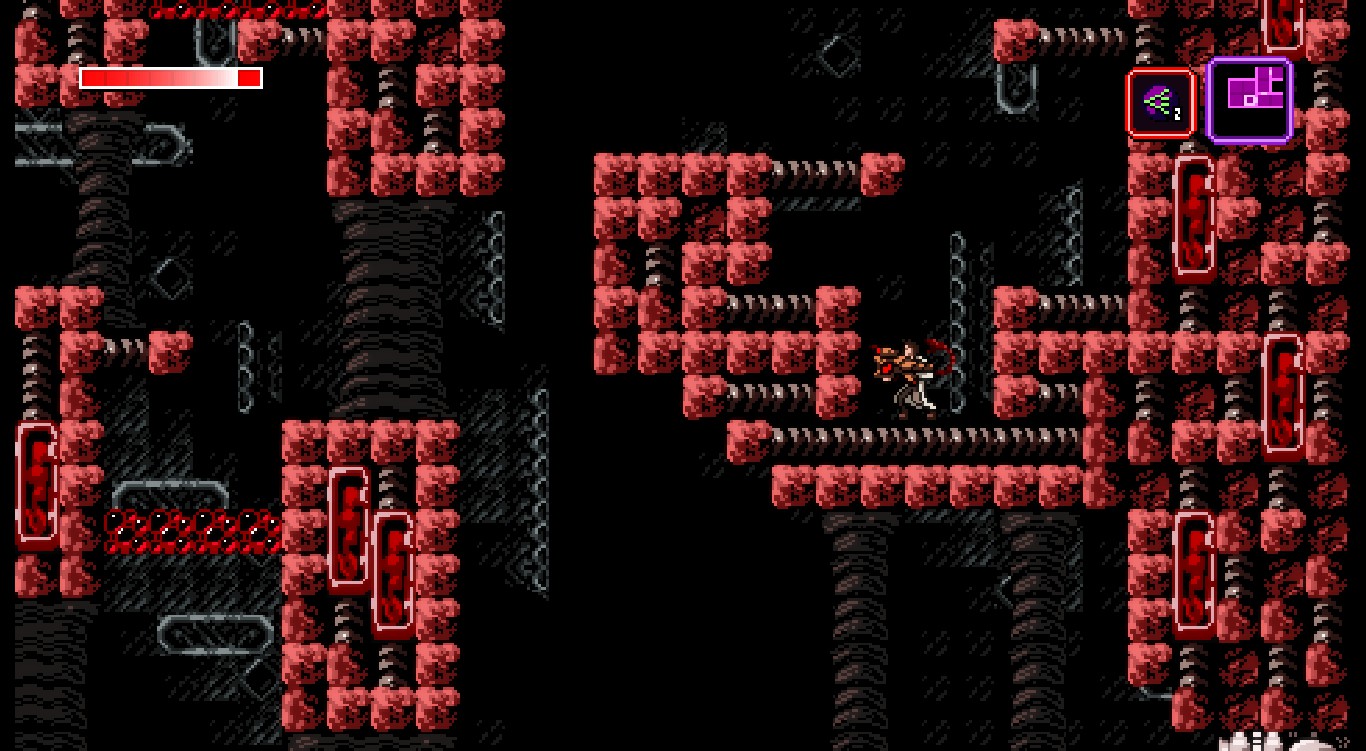
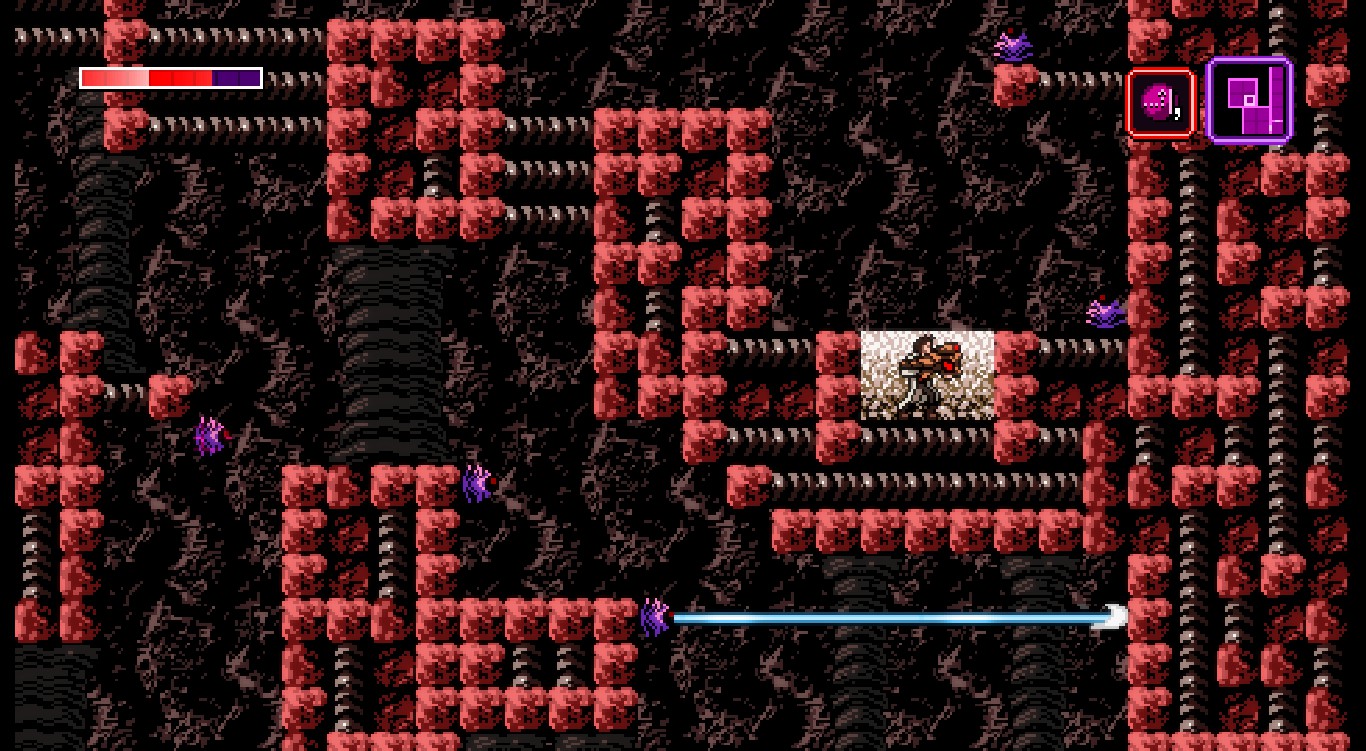
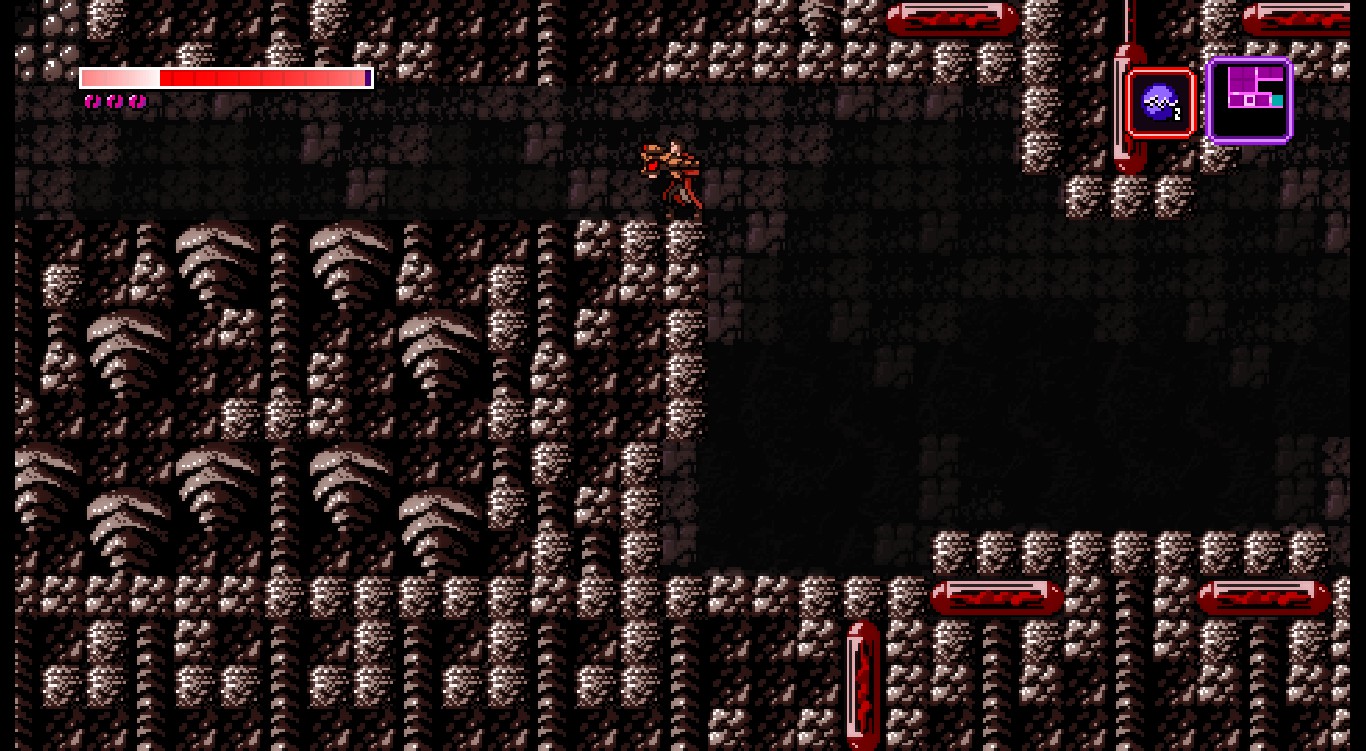
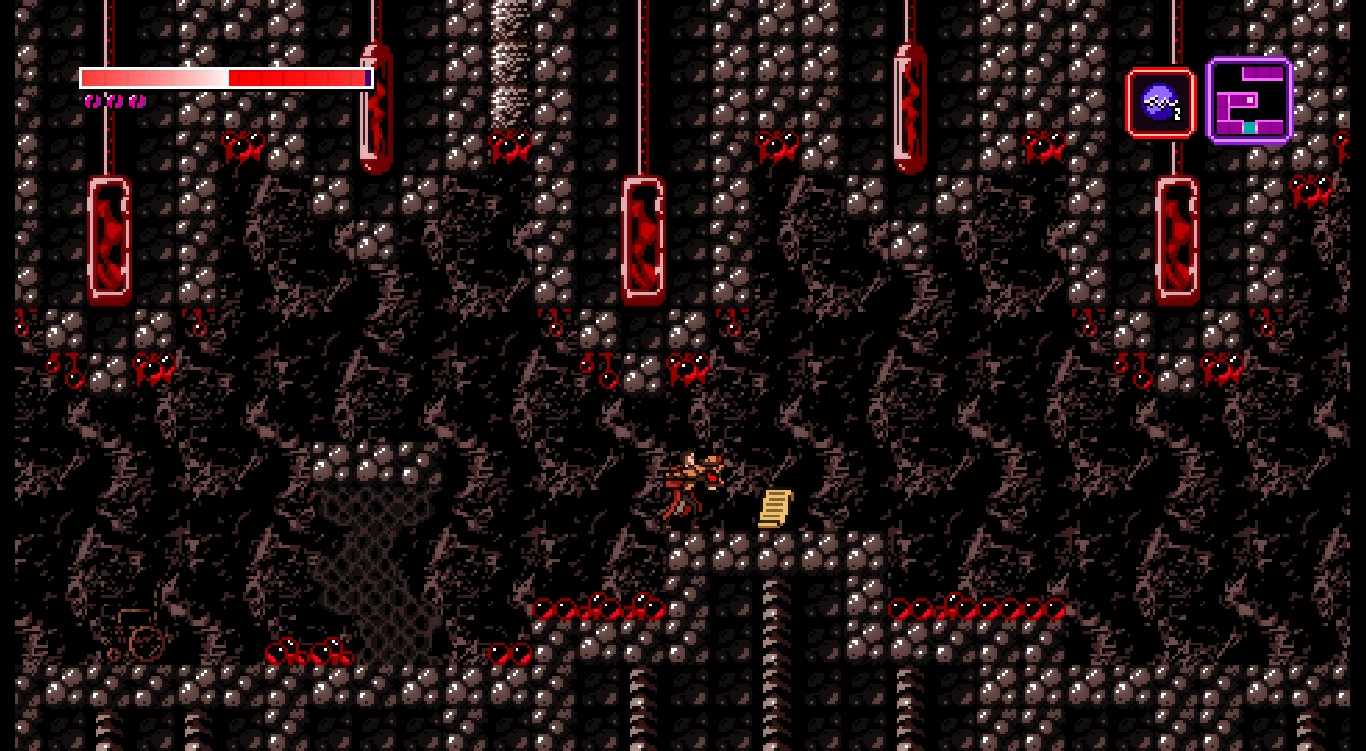
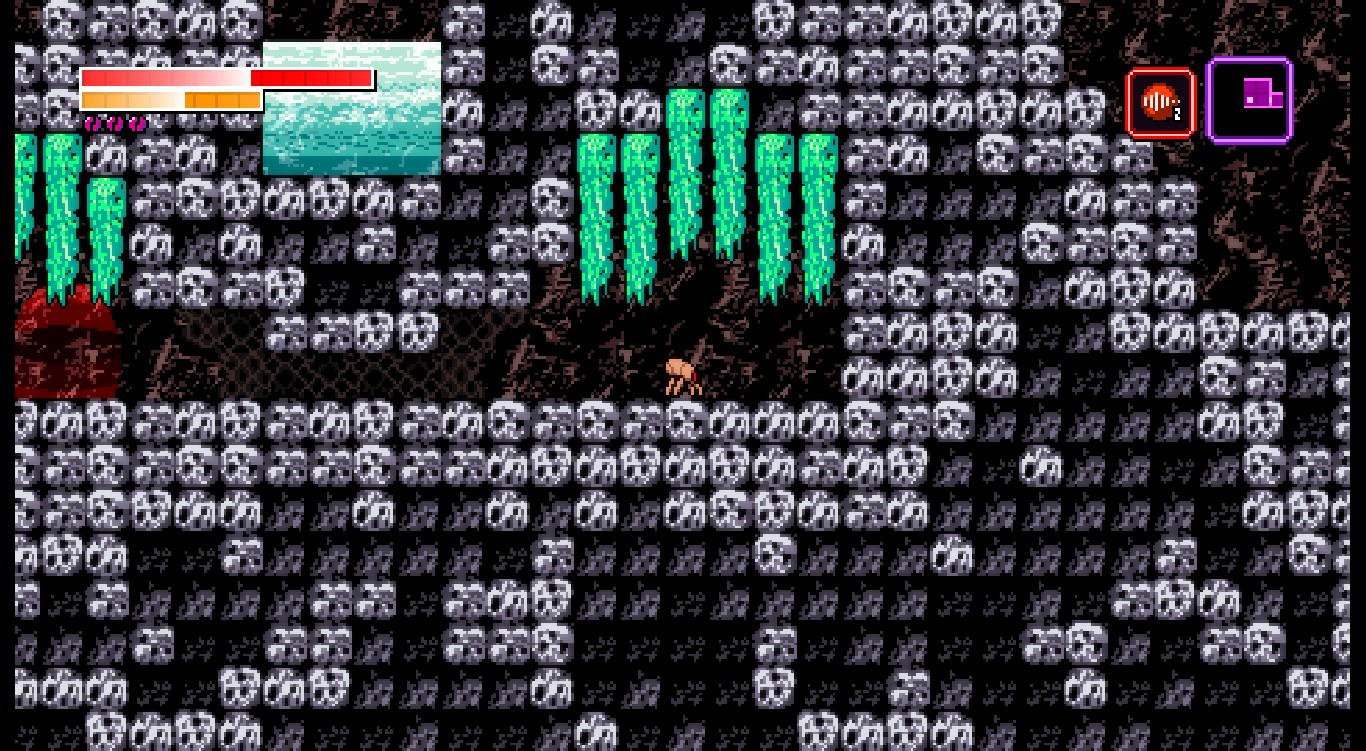
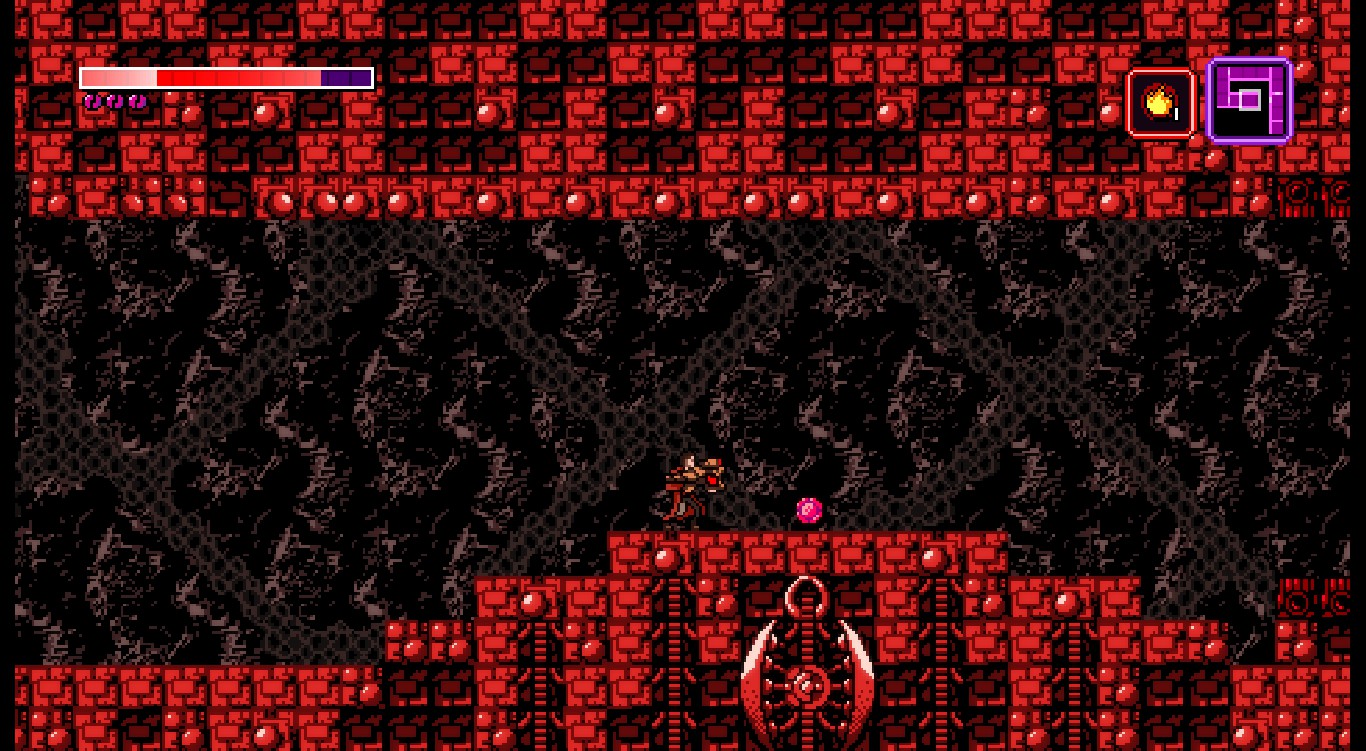
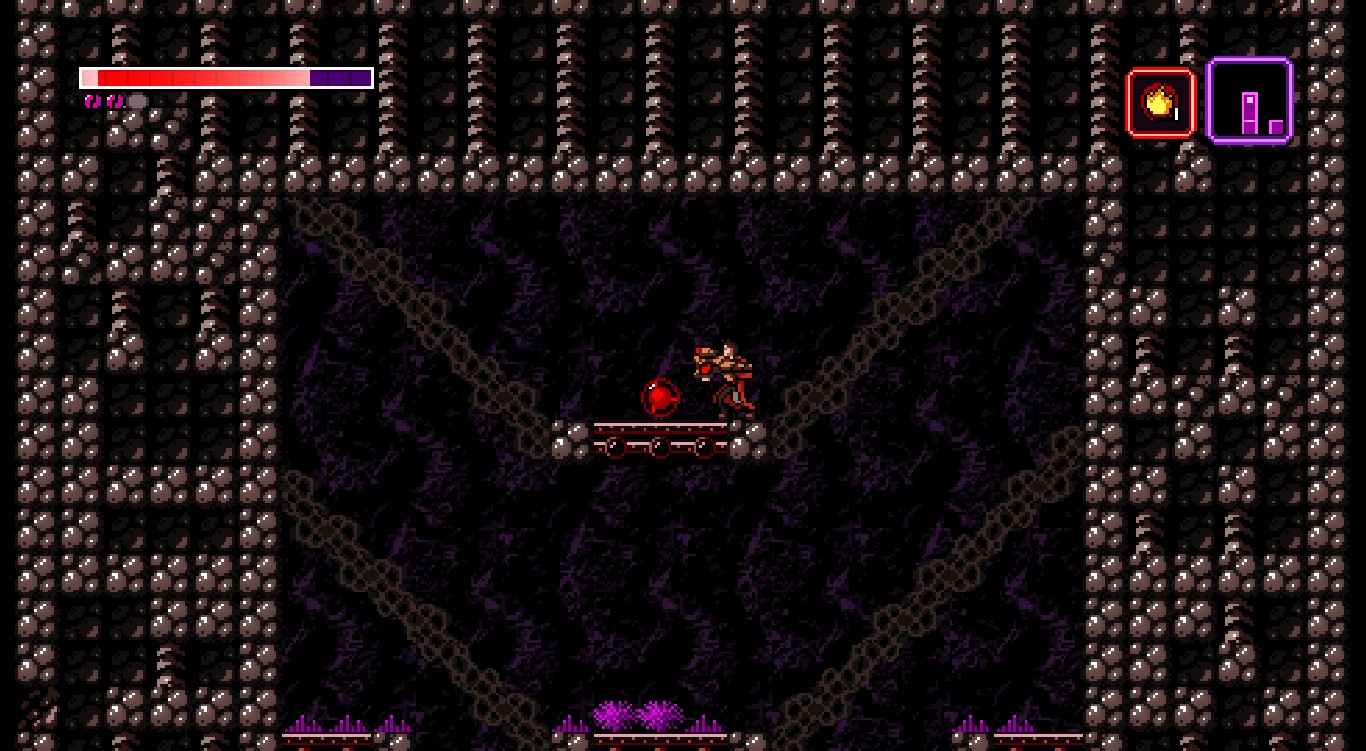
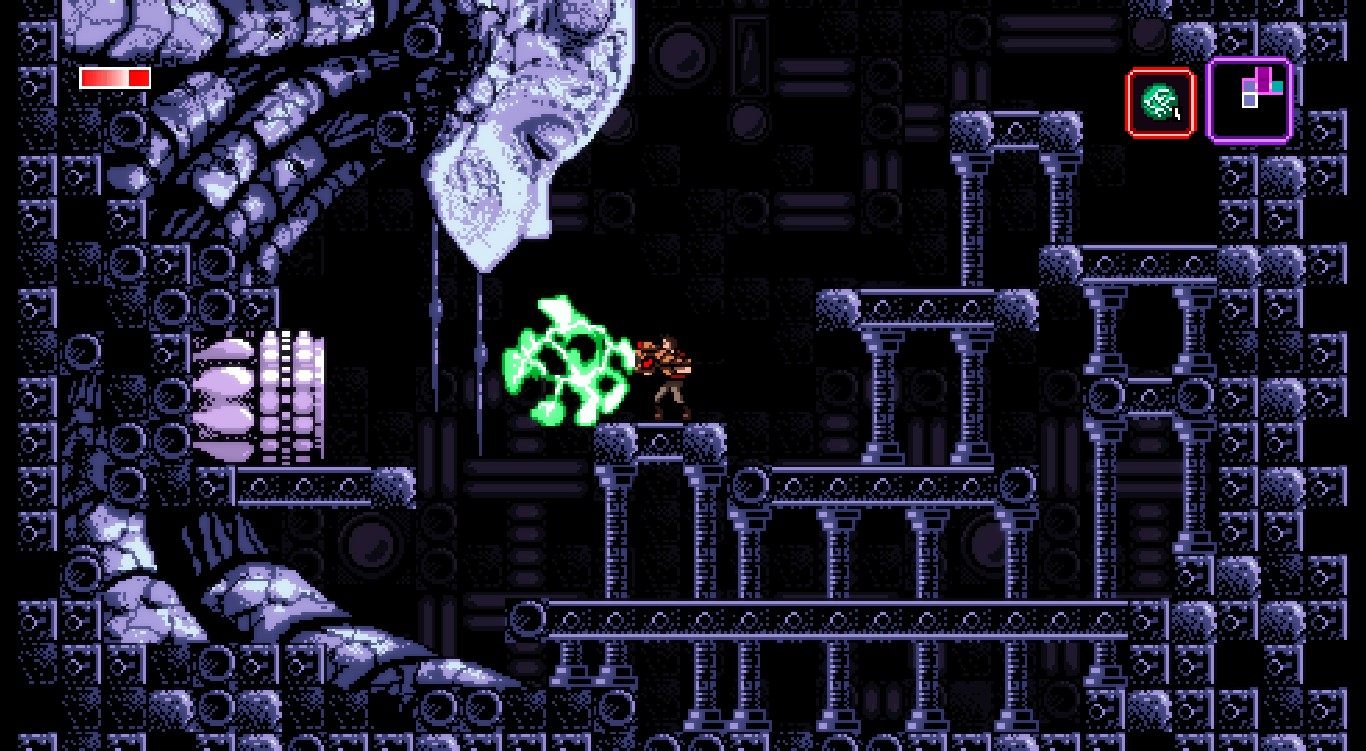
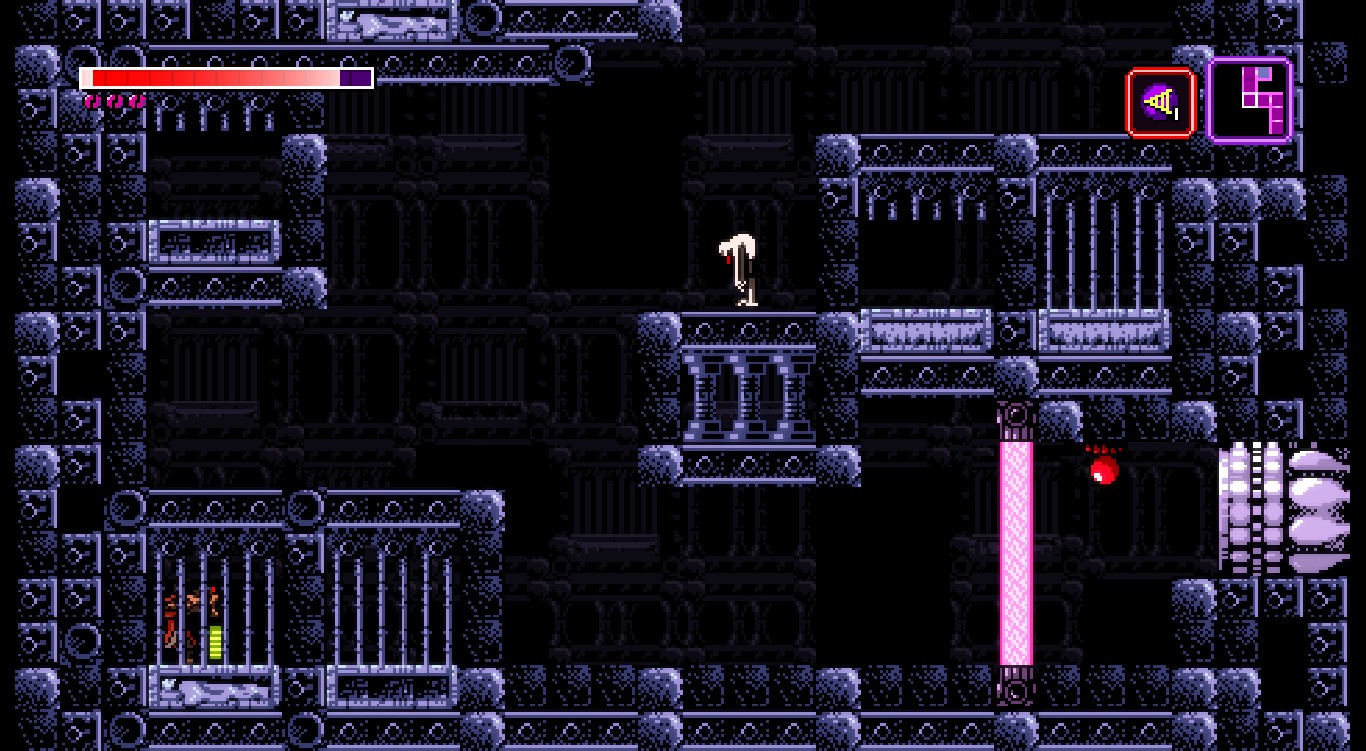
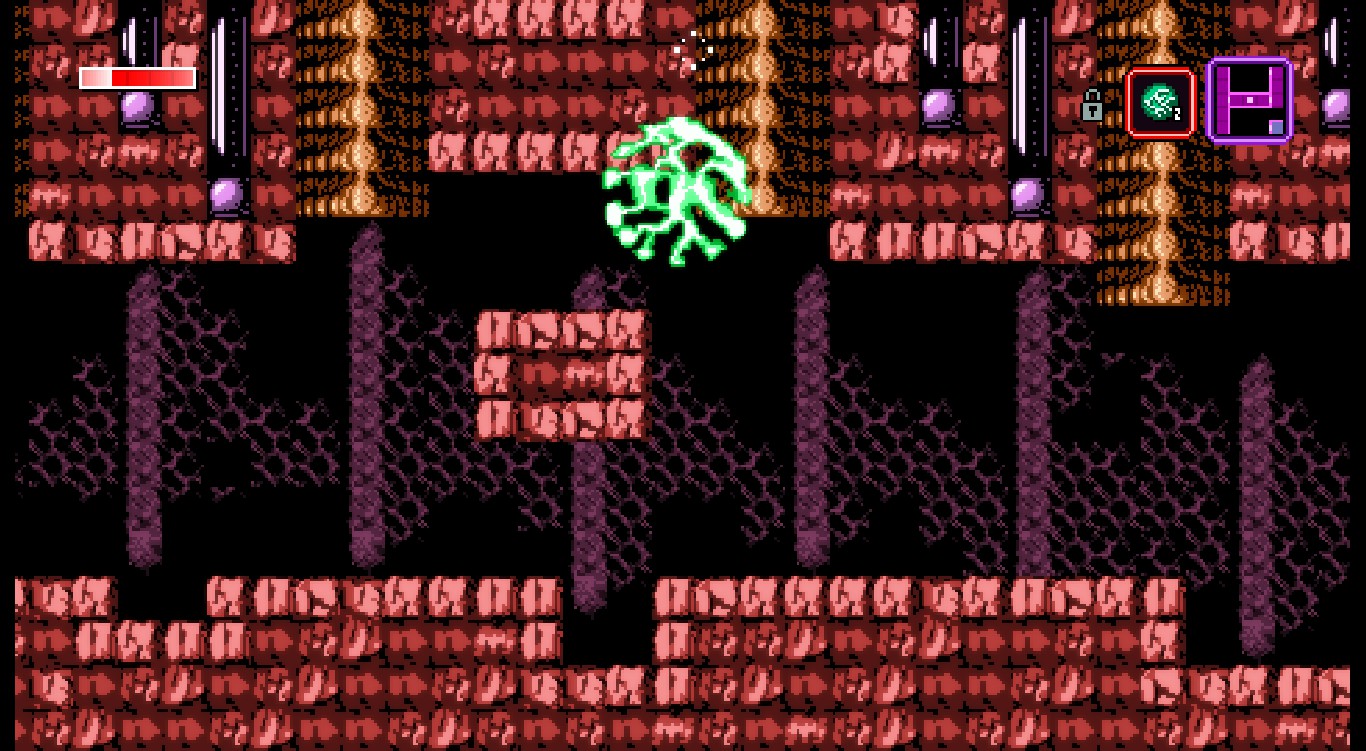
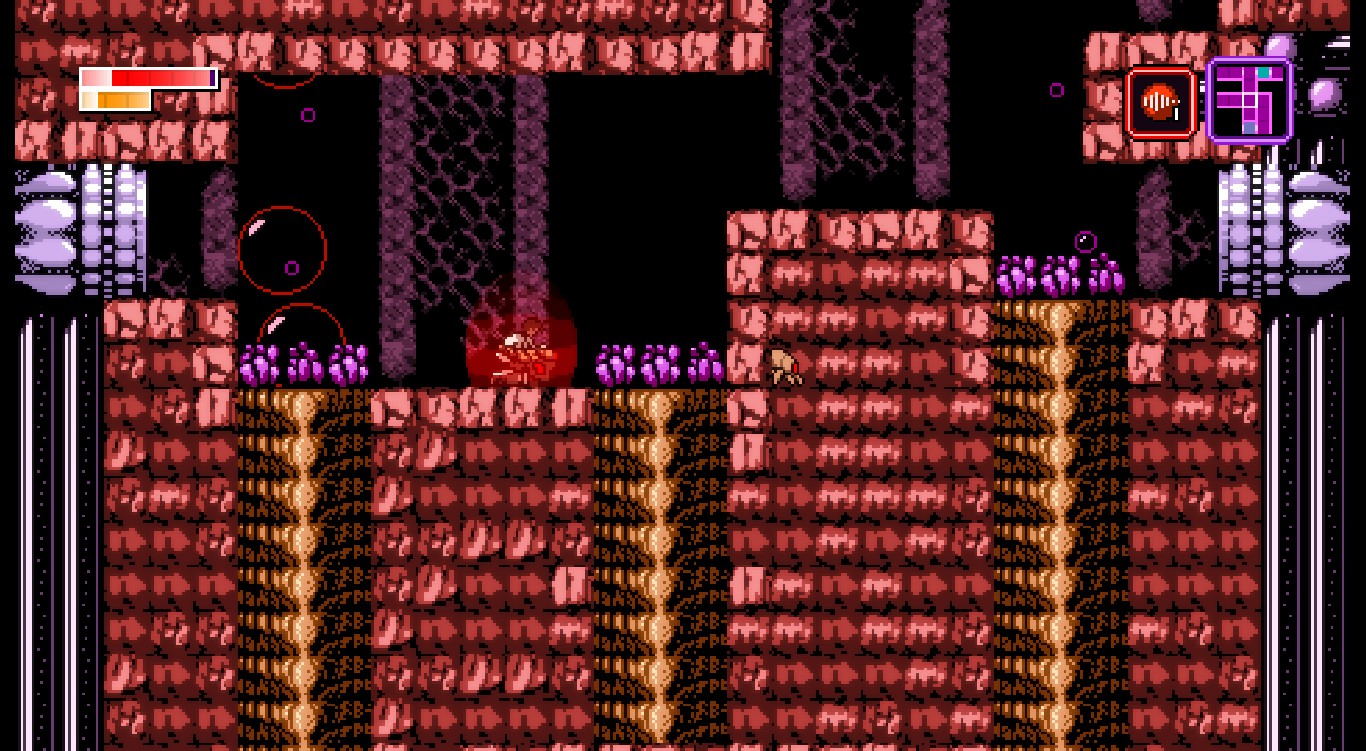
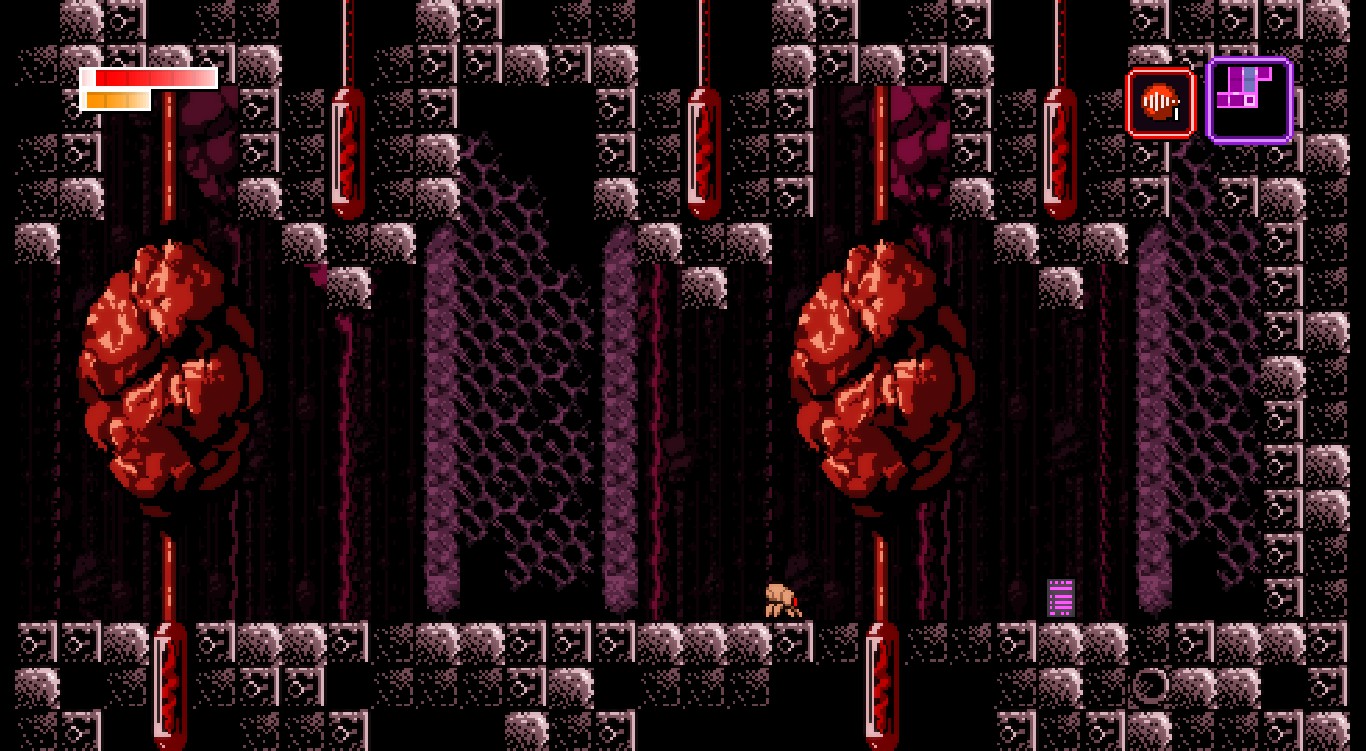
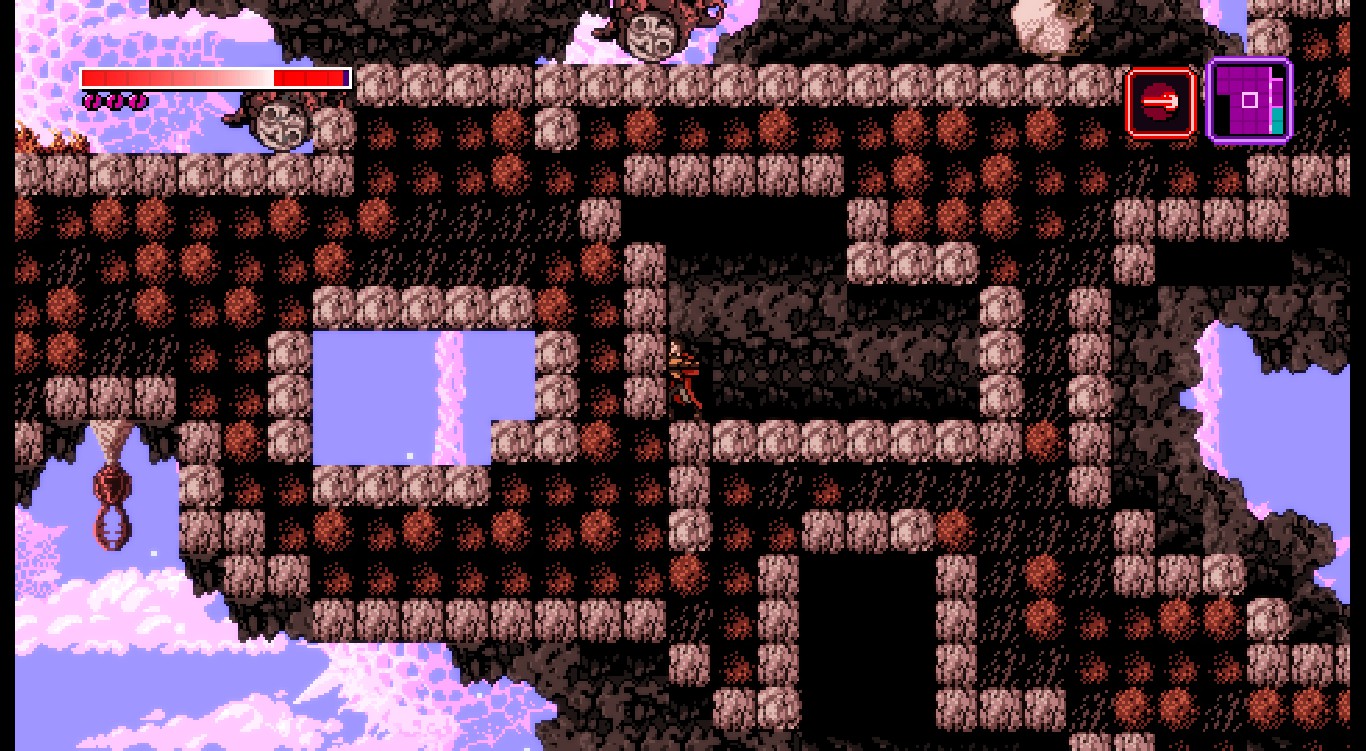
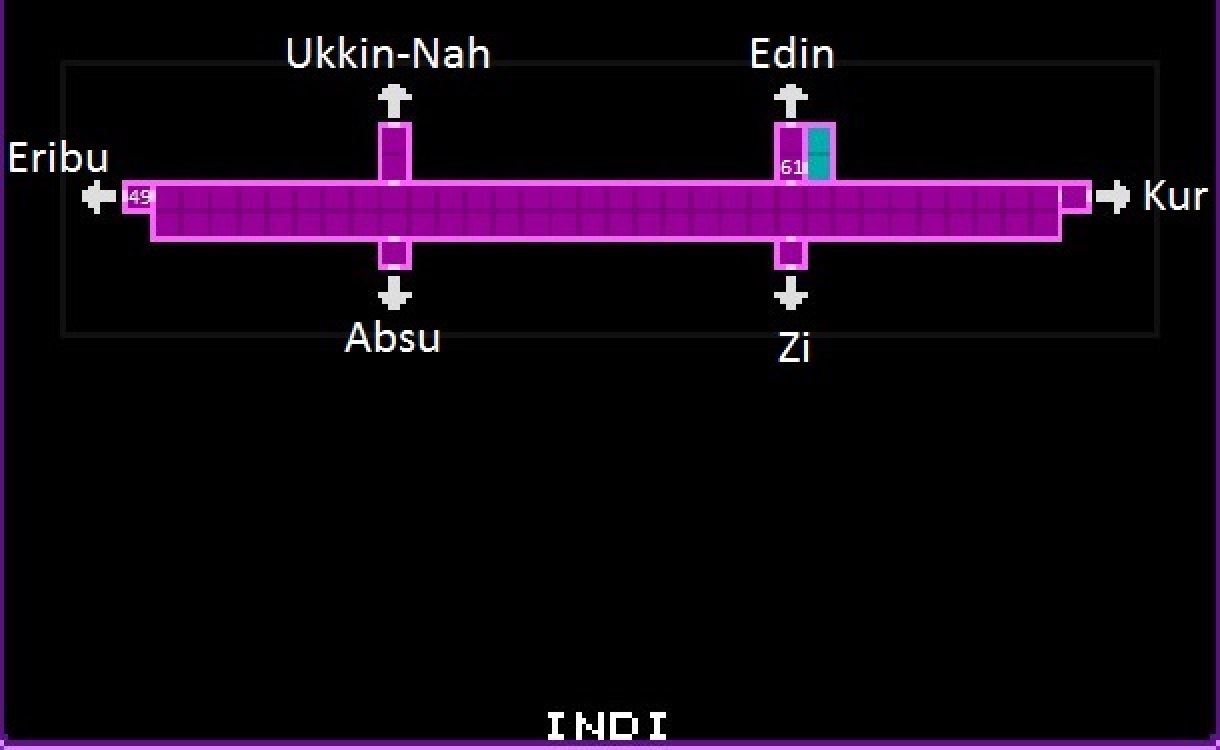
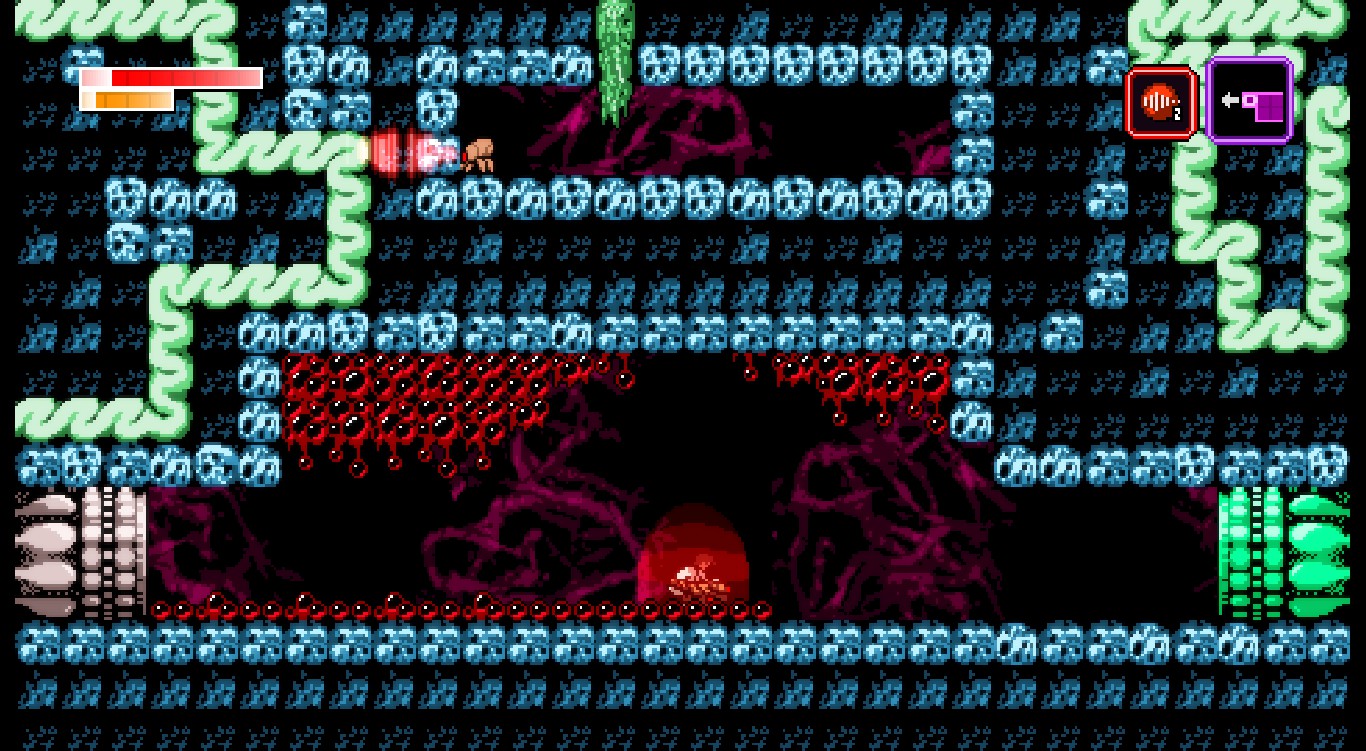
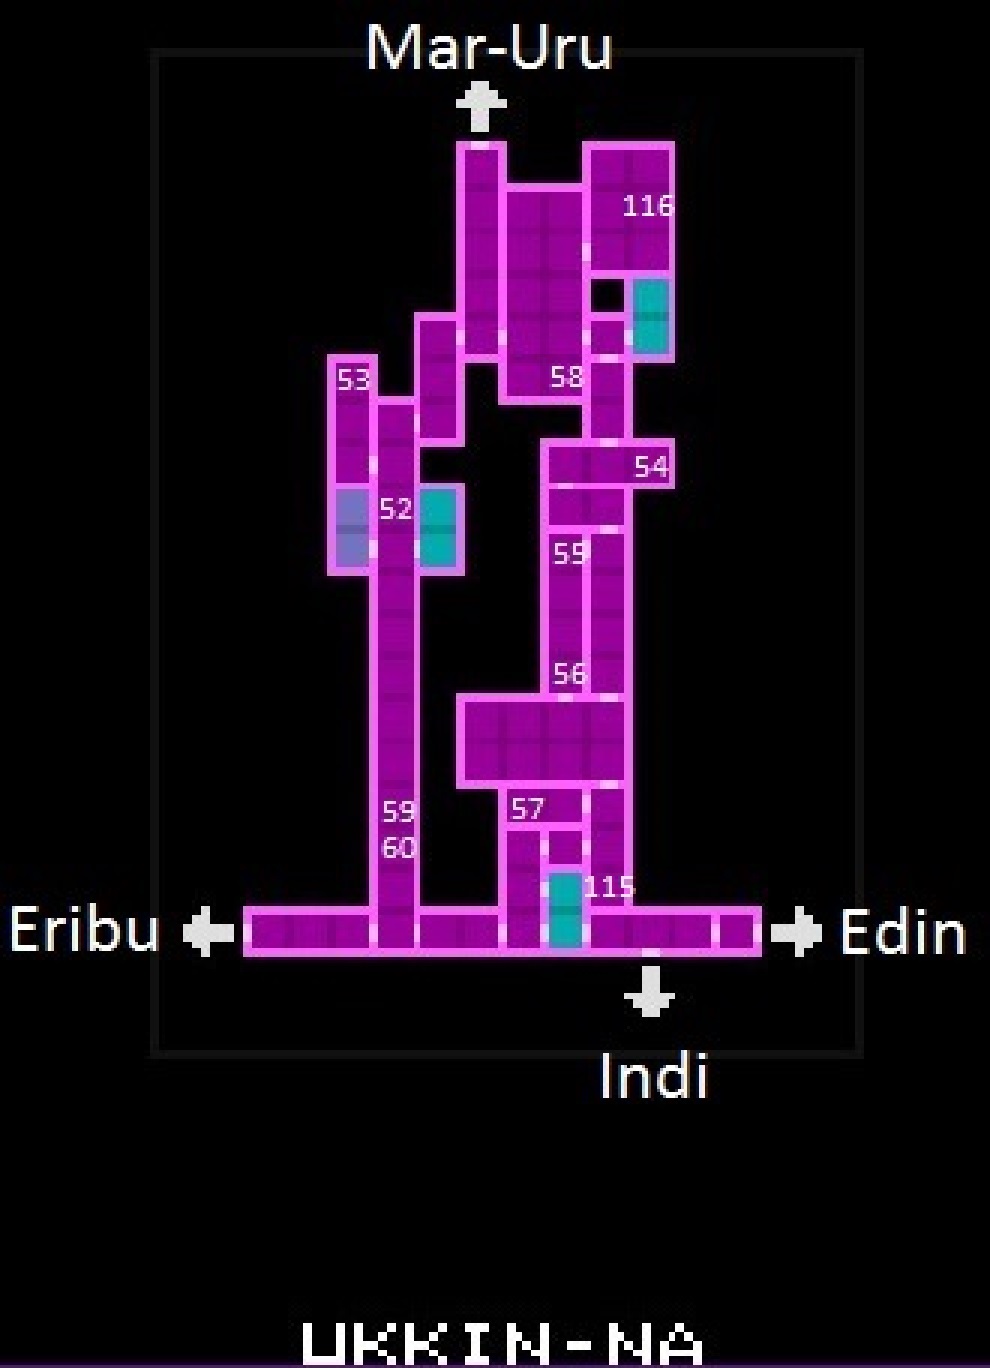
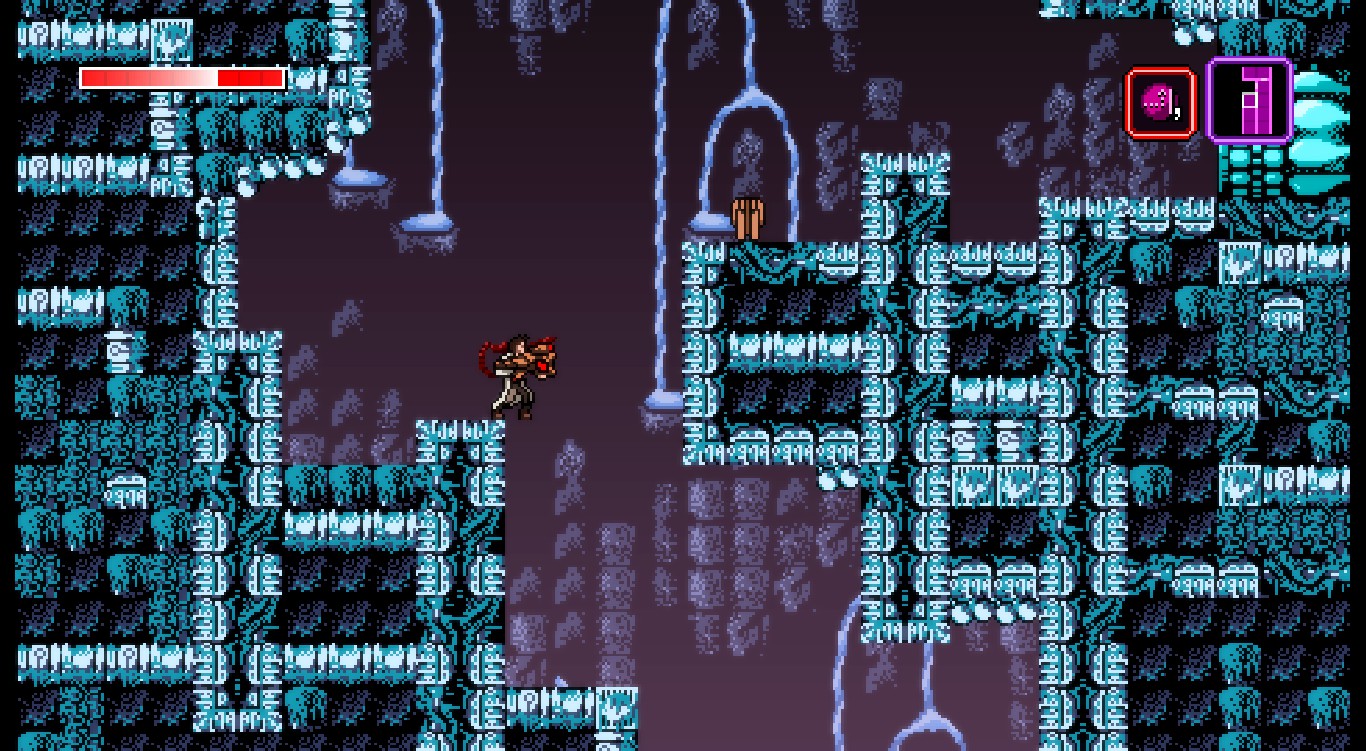
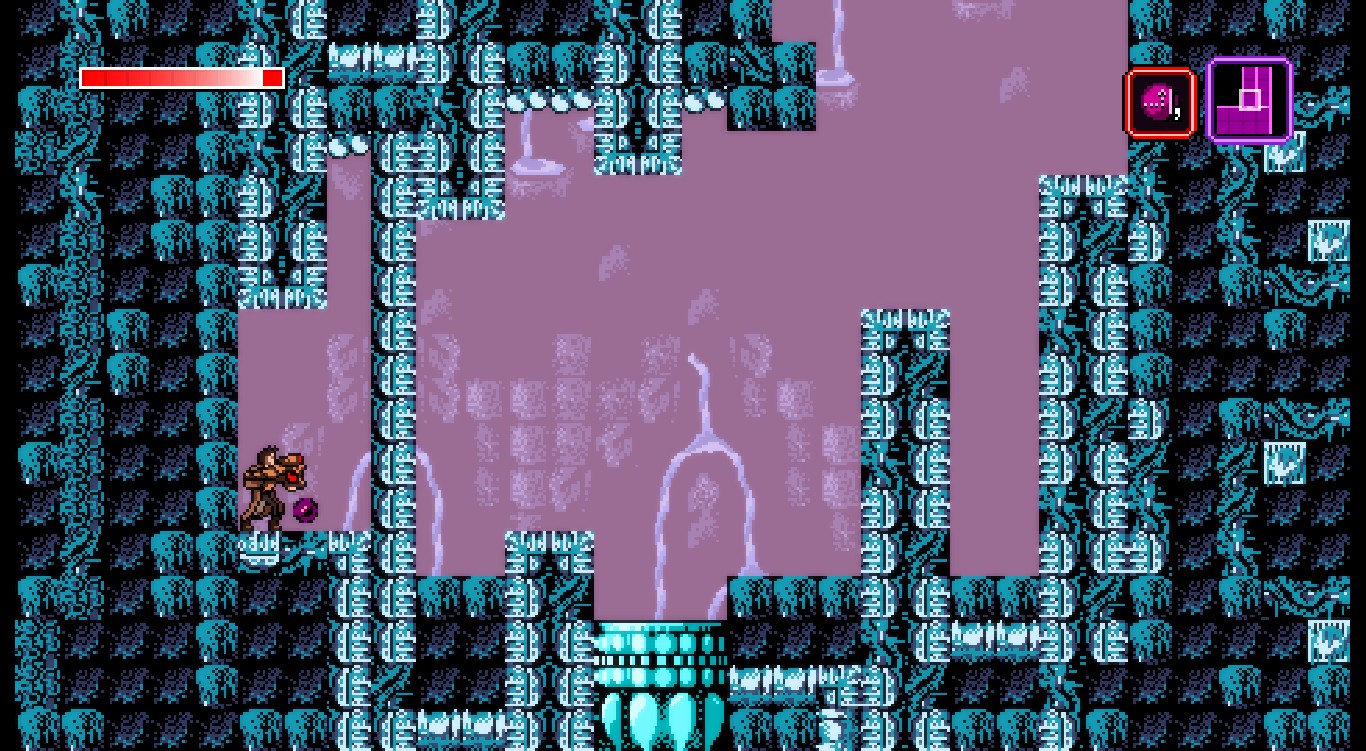
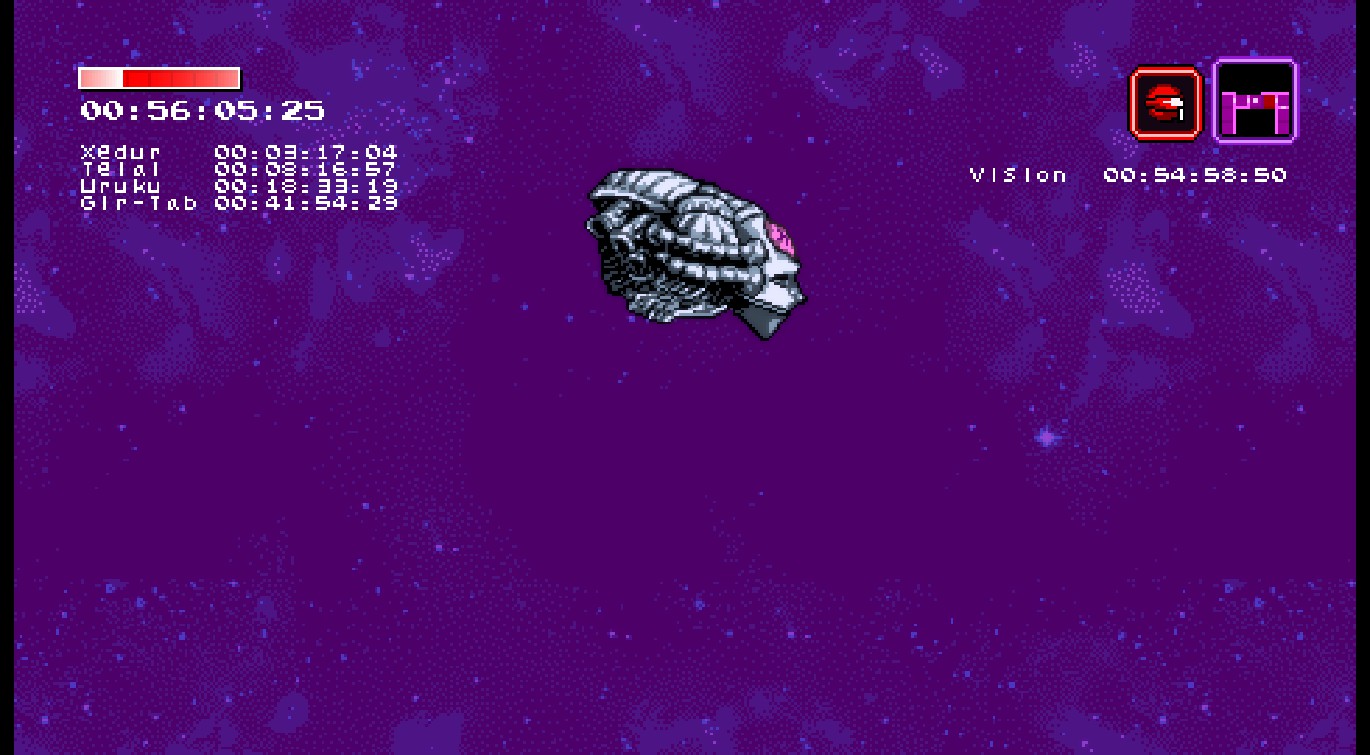
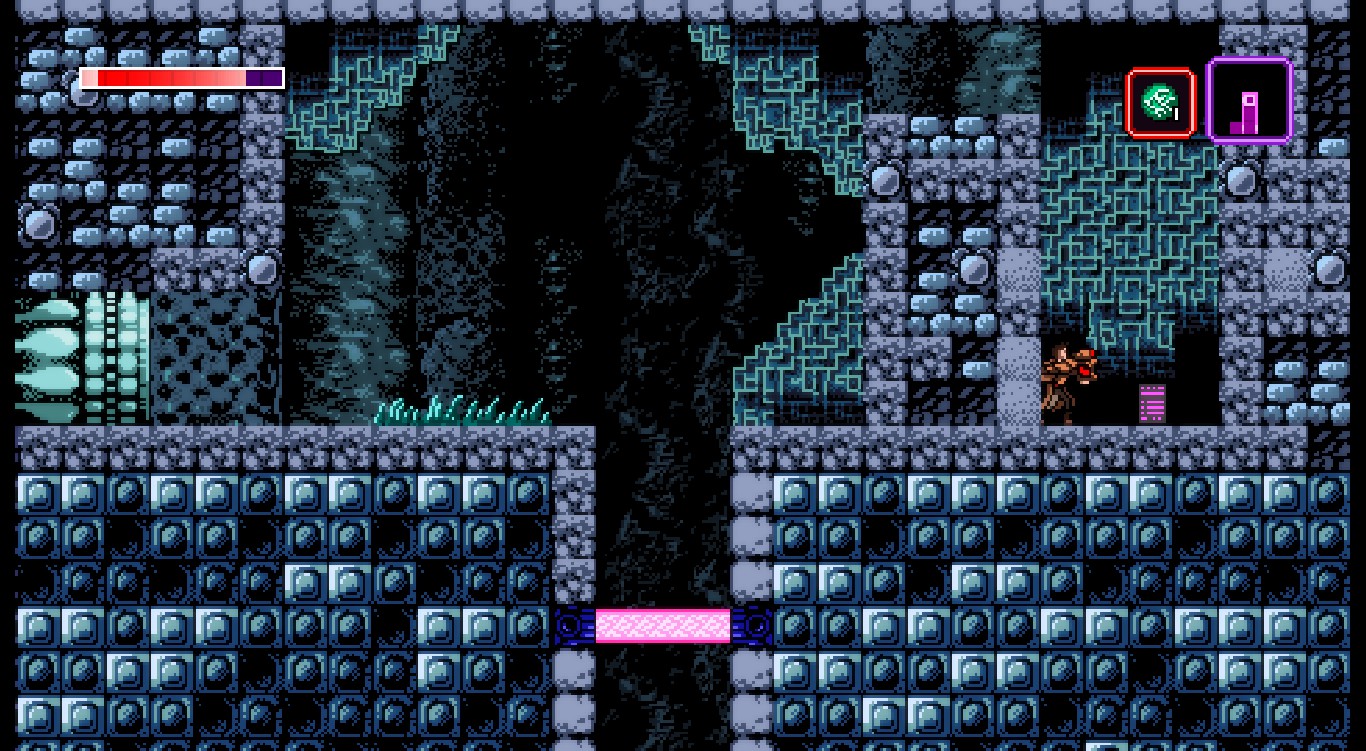
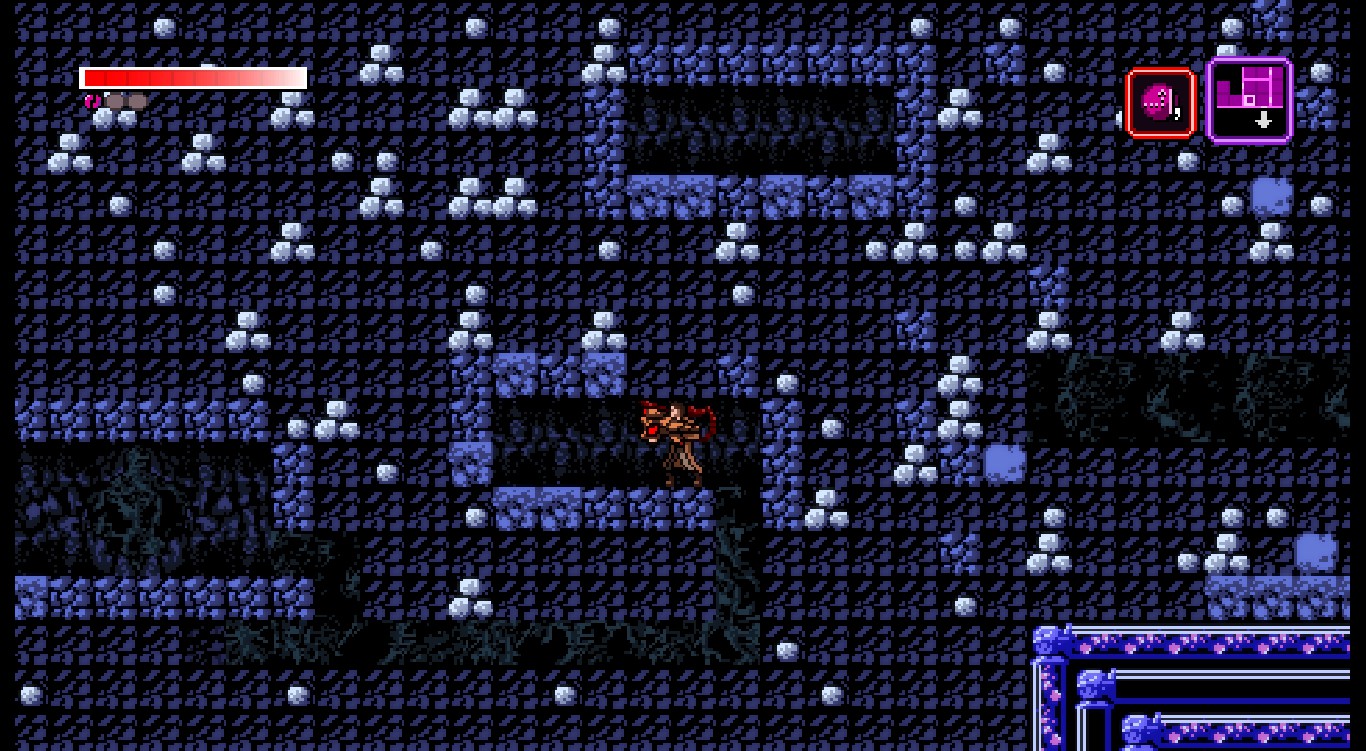
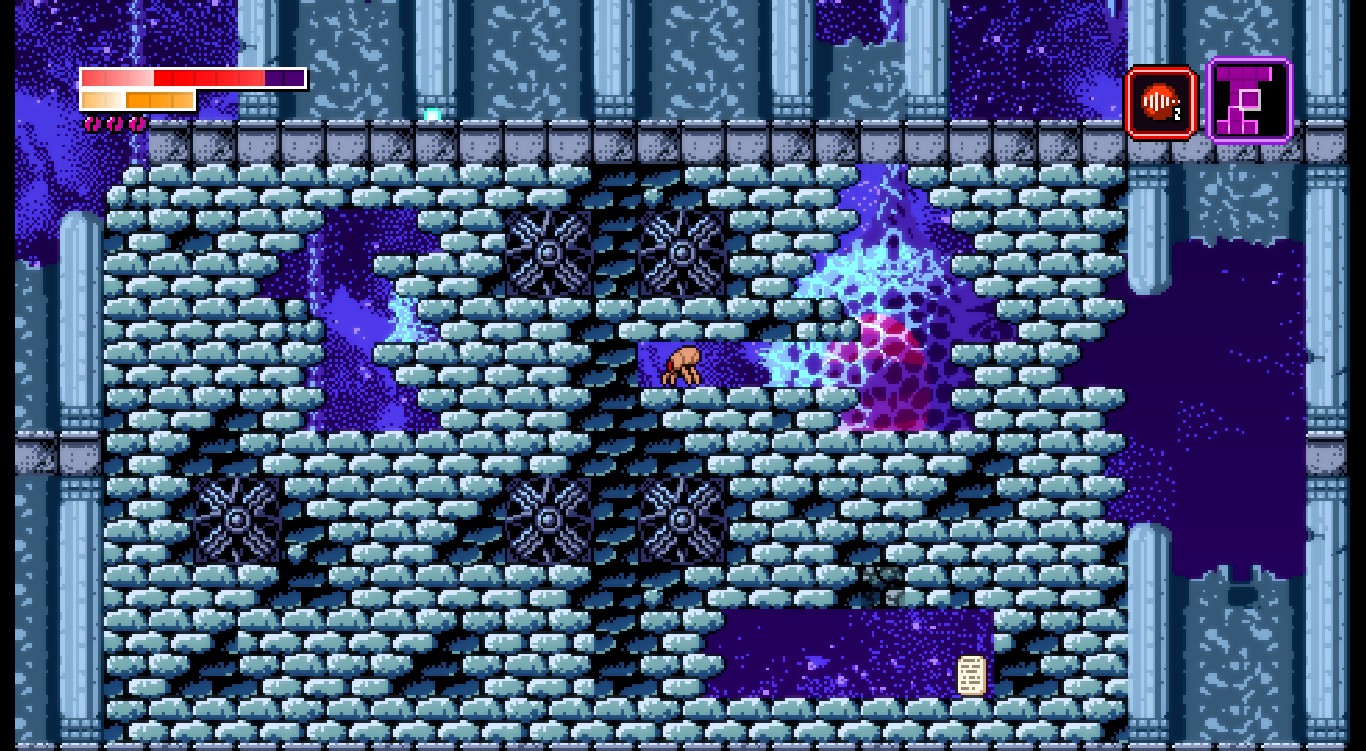
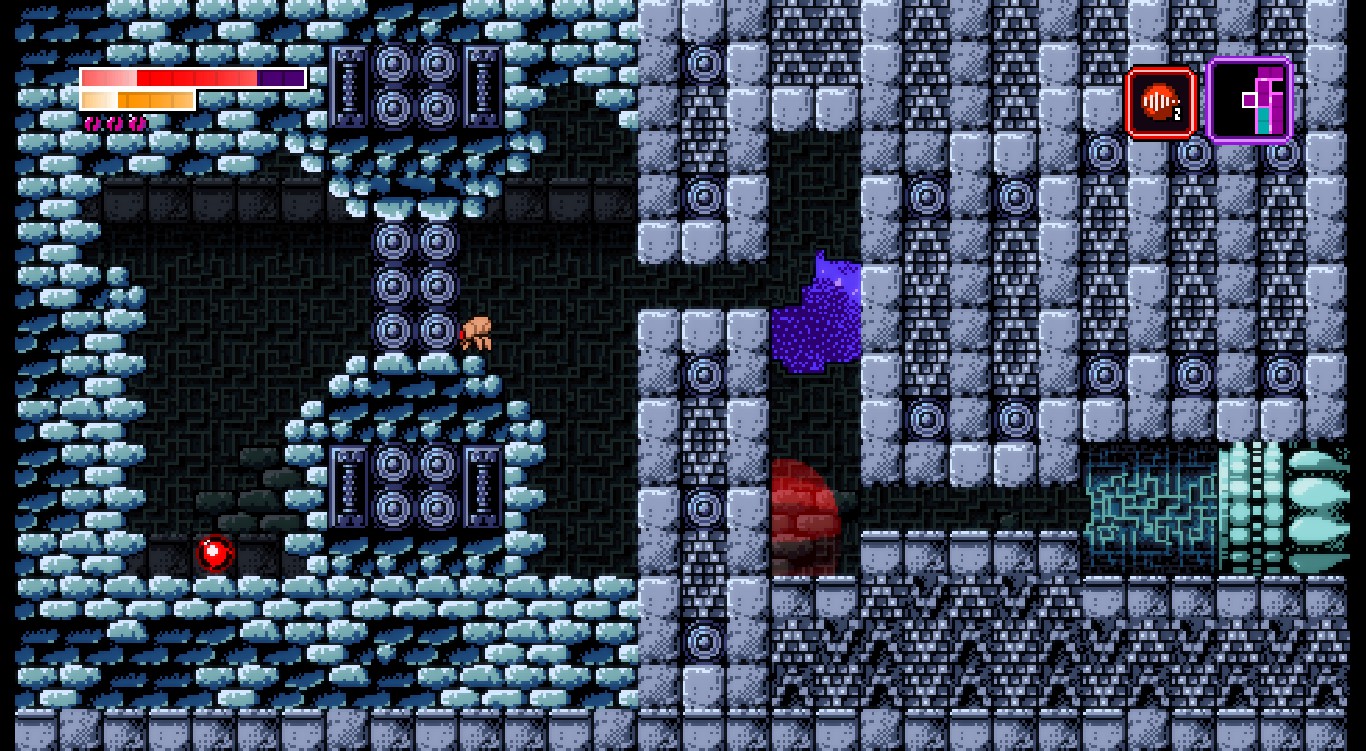
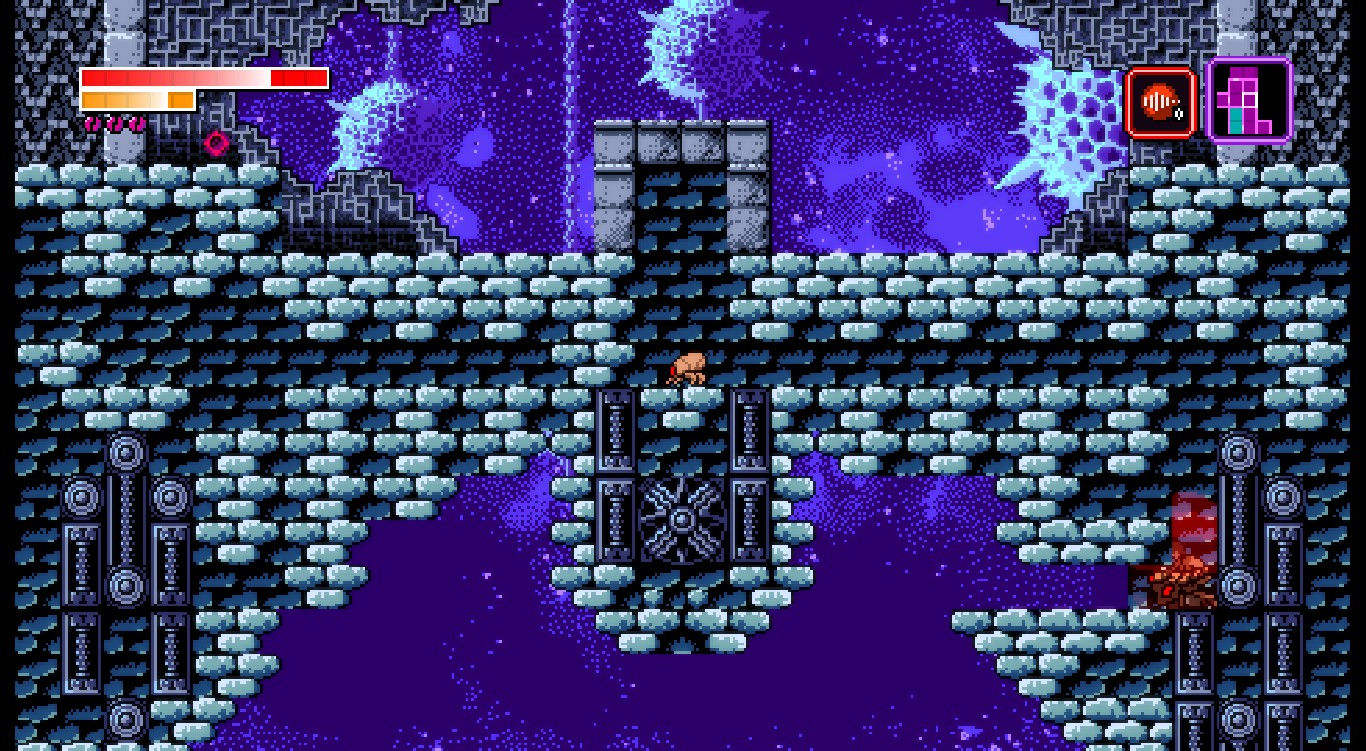
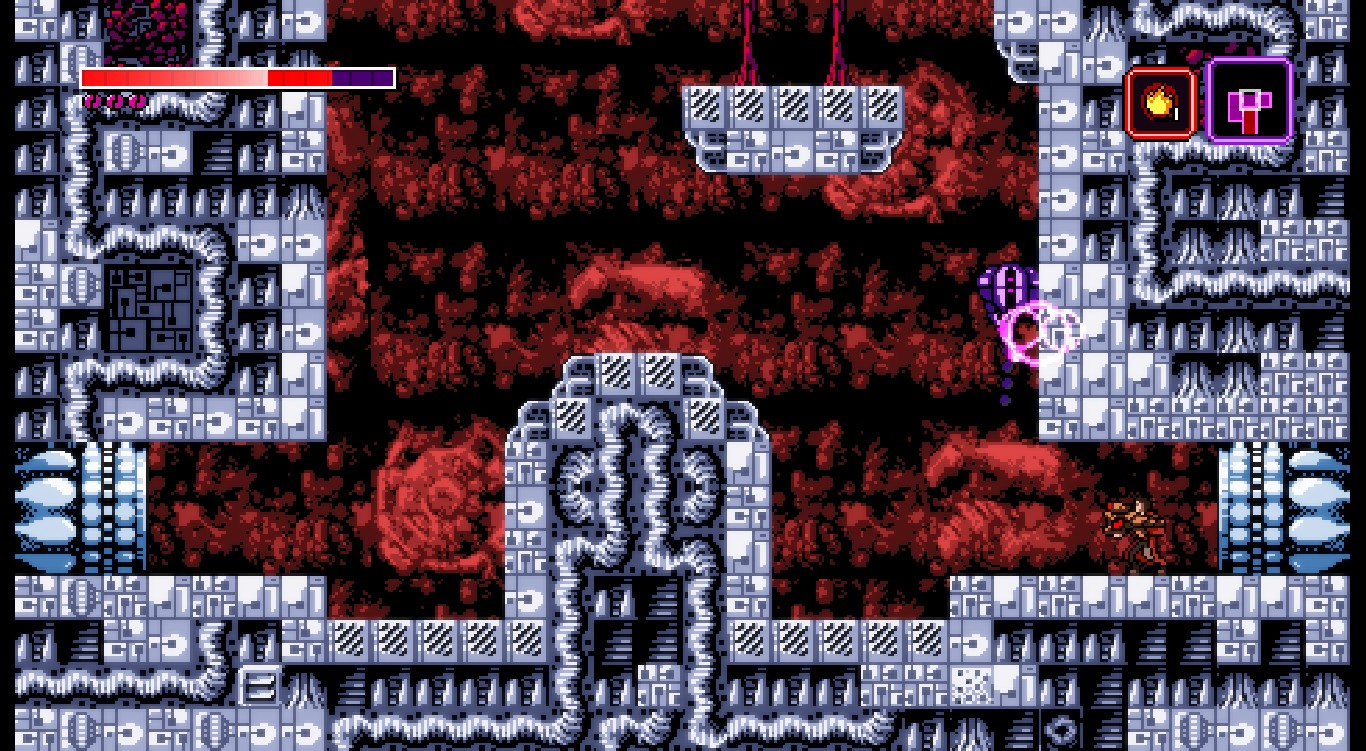
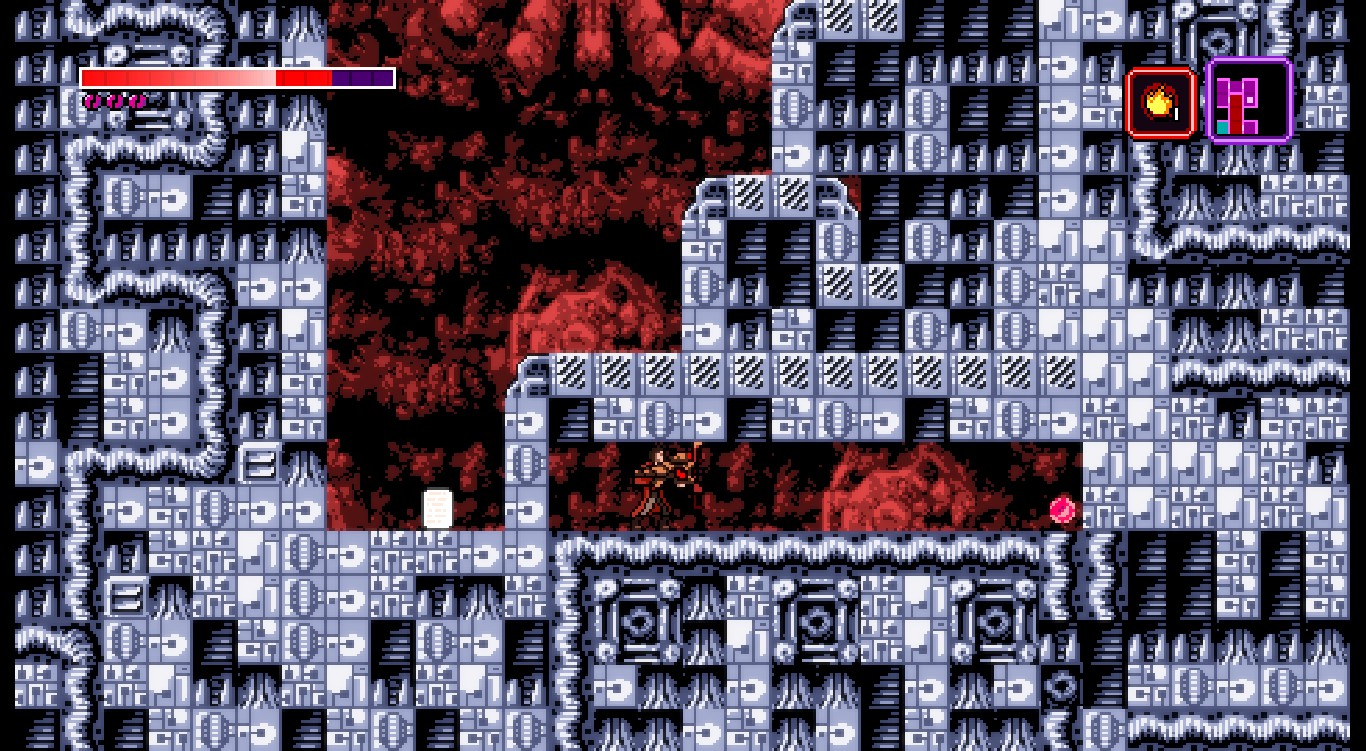
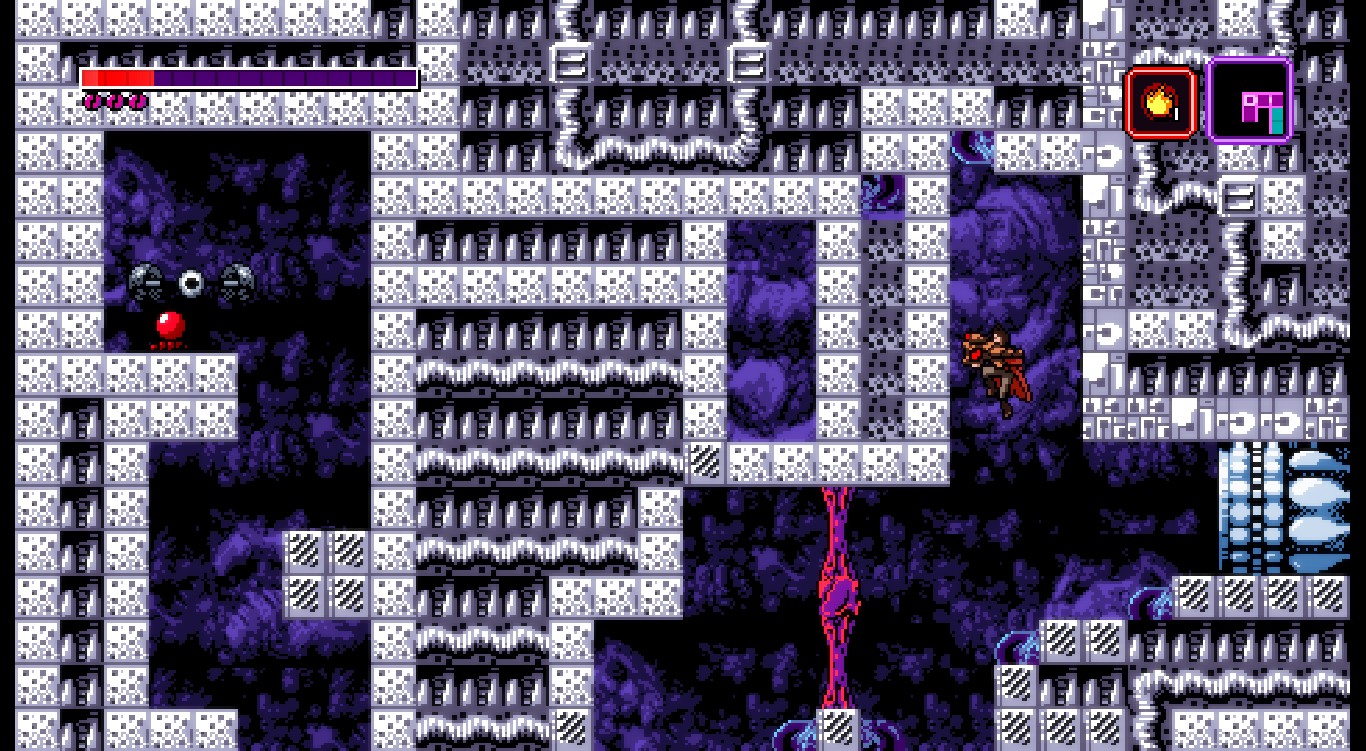
Couldn't pass dashing through lasers so tired all my weapons and the deflector just got really big and started to pass through walls. Searching for answers it seems that its not a glitch, it only happens on ukkin-na, and you must either use the glitch gun or the address bomb on the robots there.
solaris32  [author] Jan 14, 2023 @ 10:48pm 
I'm happy it helped you :).
MasKingDark Jan 14, 2023 @ 9:56pm 
I know I'm late to the party but thanks a million for this guide, it was phenomenally well done! I honestly have no clue how you would be expected to find all this stuff on your own (especially the green worm health node), and a guide this good is a lifesaver. Going back through to 100% the game, I was amazed at how much stuff I skipped over, especially the stuff that seems like it would've been obvious to pick up, so obvious that I wouldn't have thought to backtrack that far without your guide. Again, thanks so much!
solaris32  [author] Dec 30, 2022 @ 11:22pm 
They do have those other orbs as well. Random I think, it's been a long time.
Shakon_Krogen Dec 30, 2022 @ 3:31pm 
do the hard secret worlds also generate power and health orbs or just the weapon?