
85 ratings

A Guide to the Secrets of Tower of Guns
By Pantheon
Having trouble finding the secret areas in Tower of Guns or just want to grab all the loot you can get your hands on?
Let me help you out a bit!
NOTE: I haven't found all secrets yet, but I wanted to share all I've found so far. Know something I don't? Let me know!
Also, this guide is picture heavy!
Let me help you out a bit!
NOTE: I haven't found all secrets yet, but I wanted to share all I've found so far. Know something I don't? Let me know!
Also, this guide is picture heavy!


Favorite
Favorited
Unfavorite


Created by

Posted
Updated
Apr 21, 2014 @ 3:16am
Feb 21, 2017 @ 8:05am
| 6,139 | Unique Visitors |
| 92 | Current Favorites |
Guide Index

Overview
UPDATE February 21, 2017
Introduction and some basic tips
The Foyer (Part 1)
The Foyer (Part 2)
The Foundry (Part 1)
The Foundry (Part 2)
The Gearworks (Part 1)
The Gearworks (Part 2)
The Warehouse
The Battlements
Hugbot Alley (Secret Level)
Tog-o-Drome
The Logistics (Part 1)
The Logistics (Part 2)
The Sanctum
The Crow's Nest
Epilogue
Comments
UPDATE February 21, 2017
So I've decided to start playing Tower of Guns again, exploring the new content and, obviously, trying to find more secrets and confirm the secrets people have left in the comments (thanks a lot, btw!).
I still haven't found all secrets, but I did make progress. I will most likely not return to Tower of Guns anytime soon, if ever, so this is most likely the first big and also last update on this guide.
It was fun trying to get every secret, but it's quite hard to explore specific rooms, when you only get them once in a hundred runs (yes, I exaggerate).
Feel free to leave comments and tell me about secrets you've found though, maybe I will come back to ToG one day.
Shortly after starting to play again, Mothergunship[www.mothergunship.com] was announced, made by Joe (developer of Tower of Guns) and Grip Digital, which seems to be pretty much a Tower of Guns sequel, so I'm looking forward to that.
Update Content:
I'm pretty sure that's all...
I still haven't found all secrets, but I did make progress. I will most likely not return to Tower of Guns anytime soon, if ever, so this is most likely the first big and also last update on this guide.
It was fun trying to get every secret, but it's quite hard to explore specific rooms, when you only get them once in a hundred runs (yes, I exaggerate).
Feel free to leave comments and tell me about secrets you've found though, maybe I will come back to ToG one day.
Shortly after starting to play again, Mothergunship[www.mothergunship.com] was announced, made by Joe (developer of Tower of Guns) and Grip Digital, which seems to be pretty much a Tower of Guns sequel, so I'm looking forward to that.
Update Content:
- New secrets in old rooms
- Bunch of new rooms and (some of) their secrets
- Two new floors added (ToG-O-Drome, The Crow's Nest)
I'm pretty sure that's all...
Introduction and some basic tips
IMPORTANT: I have not found all secrets yet (and maybe never will), but I've found quite a lot so far, which is why I wanted to share that knowledge with you!
Feel free to point me to secrets I might have missed and I will add them and give you, of course, credit for them.
Tower of Guns offers quite a lot of secrets for you to find. Some of them not that secret, as you can clearly see them, while others might not be that obvious, even if they're sometimes in plain sight.
I'll try to describe the location and how to get to it as good as I can, but if you think that one or more of my descriptions is lacking, please tell me and I'll try to expand upon it.
There isn't that my structure in my guide. The rooms are in no particular order and thanks to the character limit I had to divide many levels into two parts, so that might be a bit confusing.
Before we dive into a huge amount of screenshots, let me give you some basic tips.
You can skip that, if you want to get to the actual secrets
Some basic tips:
There are much more things I could mention, but I'll leave it at that for now.
Let's get to the actual secrets now, shall we?
Feel free to point me to secrets I might have missed and I will add them and give you, of course, credit for them.
Tower of Guns offers quite a lot of secrets for you to find. Some of them not that secret, as you can clearly see them, while others might not be that obvious, even if they're sometimes in plain sight.
I'll try to describe the location and how to get to it as good as I can, but if you think that one or more of my descriptions is lacking, please tell me and I'll try to expand upon it.
There isn't that my structure in my guide. The rooms are in no particular order and thanks to the character limit I had to divide many levels into two parts, so that might be a bit confusing.
Before we dive into a huge amount of screenshots, let me give you some basic tips.
You can skip that, if you want to get to the actual secrets
Some basic tips:
- -Use the environment! Look for higher ground, ledges and the like from where you might reach an otherwise inaccessible area
- -Use the weapons! Some of the weapons have noticable recoil and that recoil can be used to prolong your jump distance
- -Elevators can be be used to boost you quite high! Wait for the right moment to jump and you should be able to reach new heights!
- -Use the Tilt, Luke! Accessed a secret area, but can't get out without taking damage? Just use Tilt (Default "C") to teleport you back to the start of the room.
- -Clear the room before going for secrets! Some secrets are behind fake walls. You can't usually look out from behind them, but enemies will still see you and shoot/attack you.
- -One of the enemies can be used as a stepping stone! I'm sure you've encountered those floating bombs, that just bounce around in the level and only explode when you shoot at them. You can stand on them and let them carry you around. Be aware that other enemies can also detonate them and once one explodes, it usually starts a chain reaction.
- -Don't rush into secret areas! Most of the stuff you can collect is good, but if you don't plan on increasing difficulty, you want to stay away from Difficulty Increase badges, which you may find lying around in secret areas.
Also, if you have increased magnet range you might pull stuff, such as coins and XP, out of the secret areas, so if you have a weapon you want to level up, select that one before entering a secret - -Don't kill Hugbots! Killing them increases difficulty, but it also lowers your chances to visit them in their "home".
There are much more things I could mention, but I'll leave it at that for now.
Let's get to the actual secrets now, shall we?
The Foyer (Part 1)
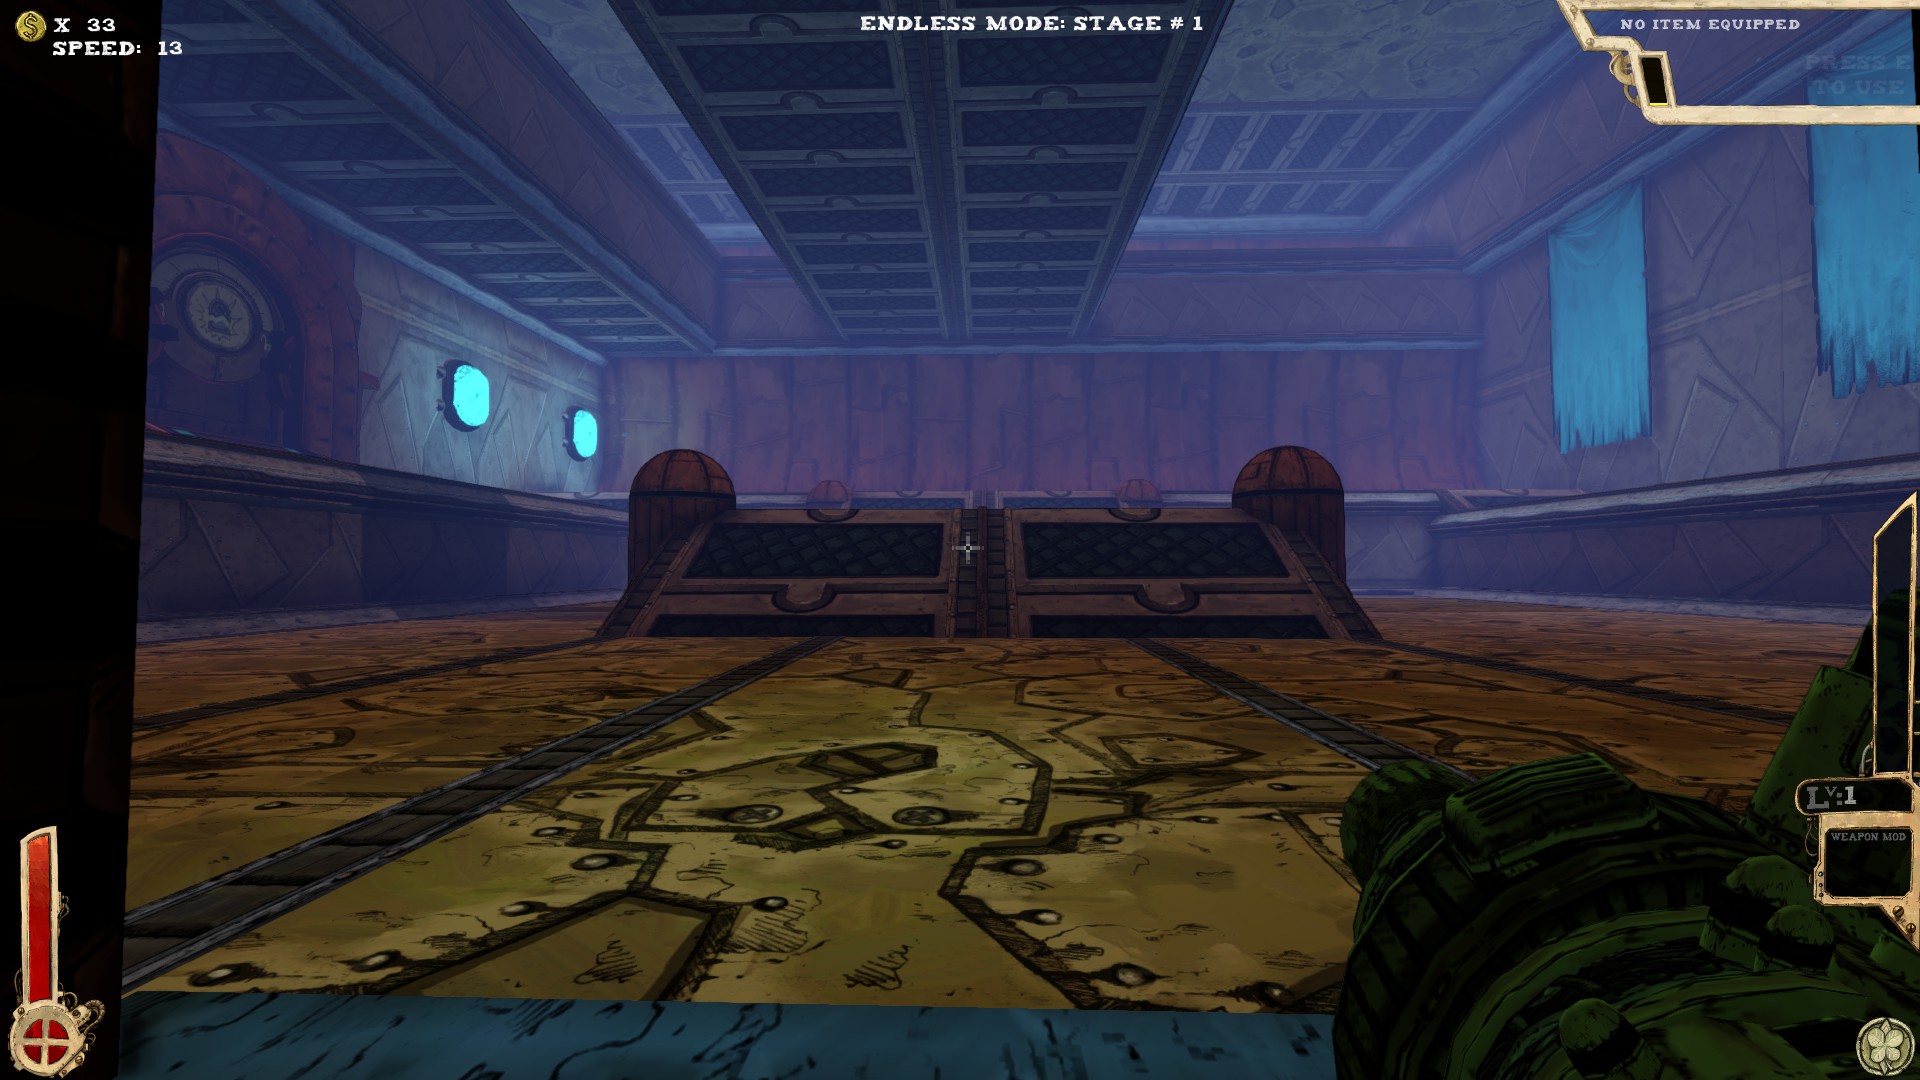
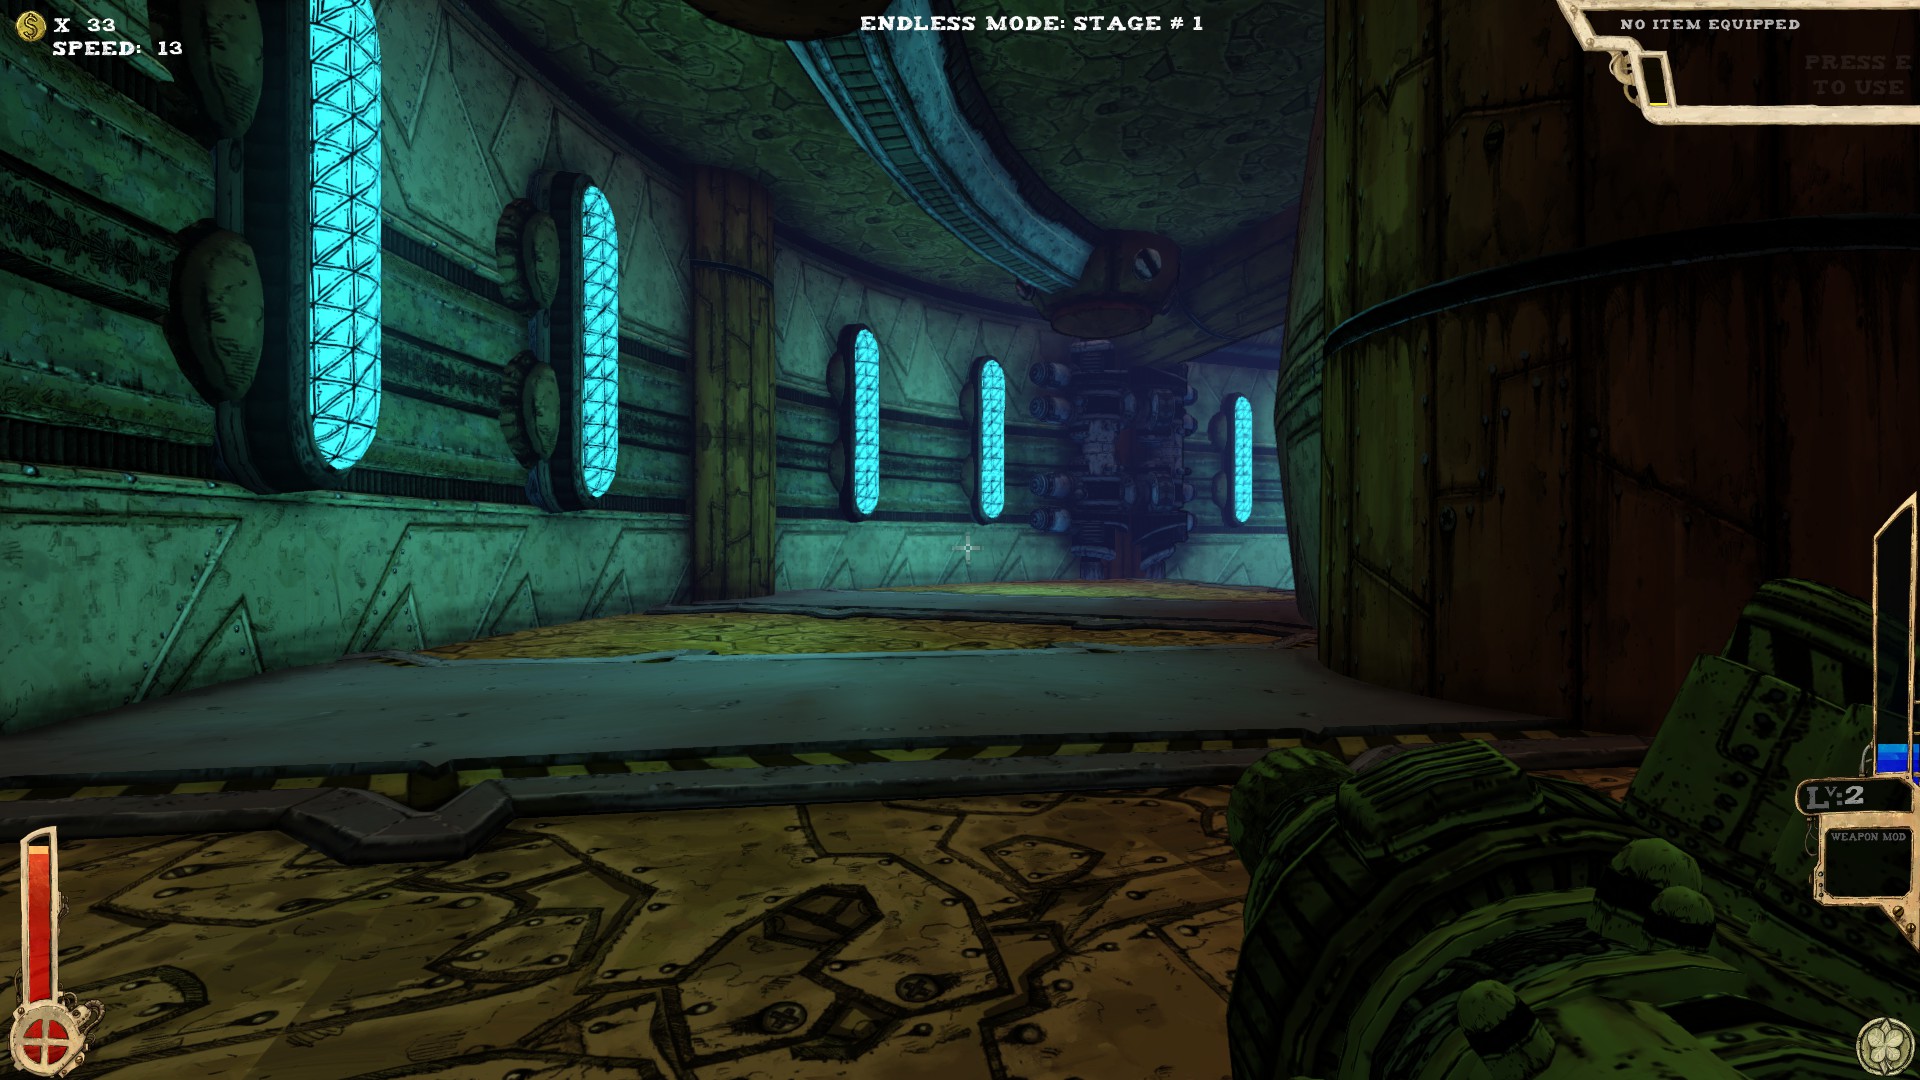
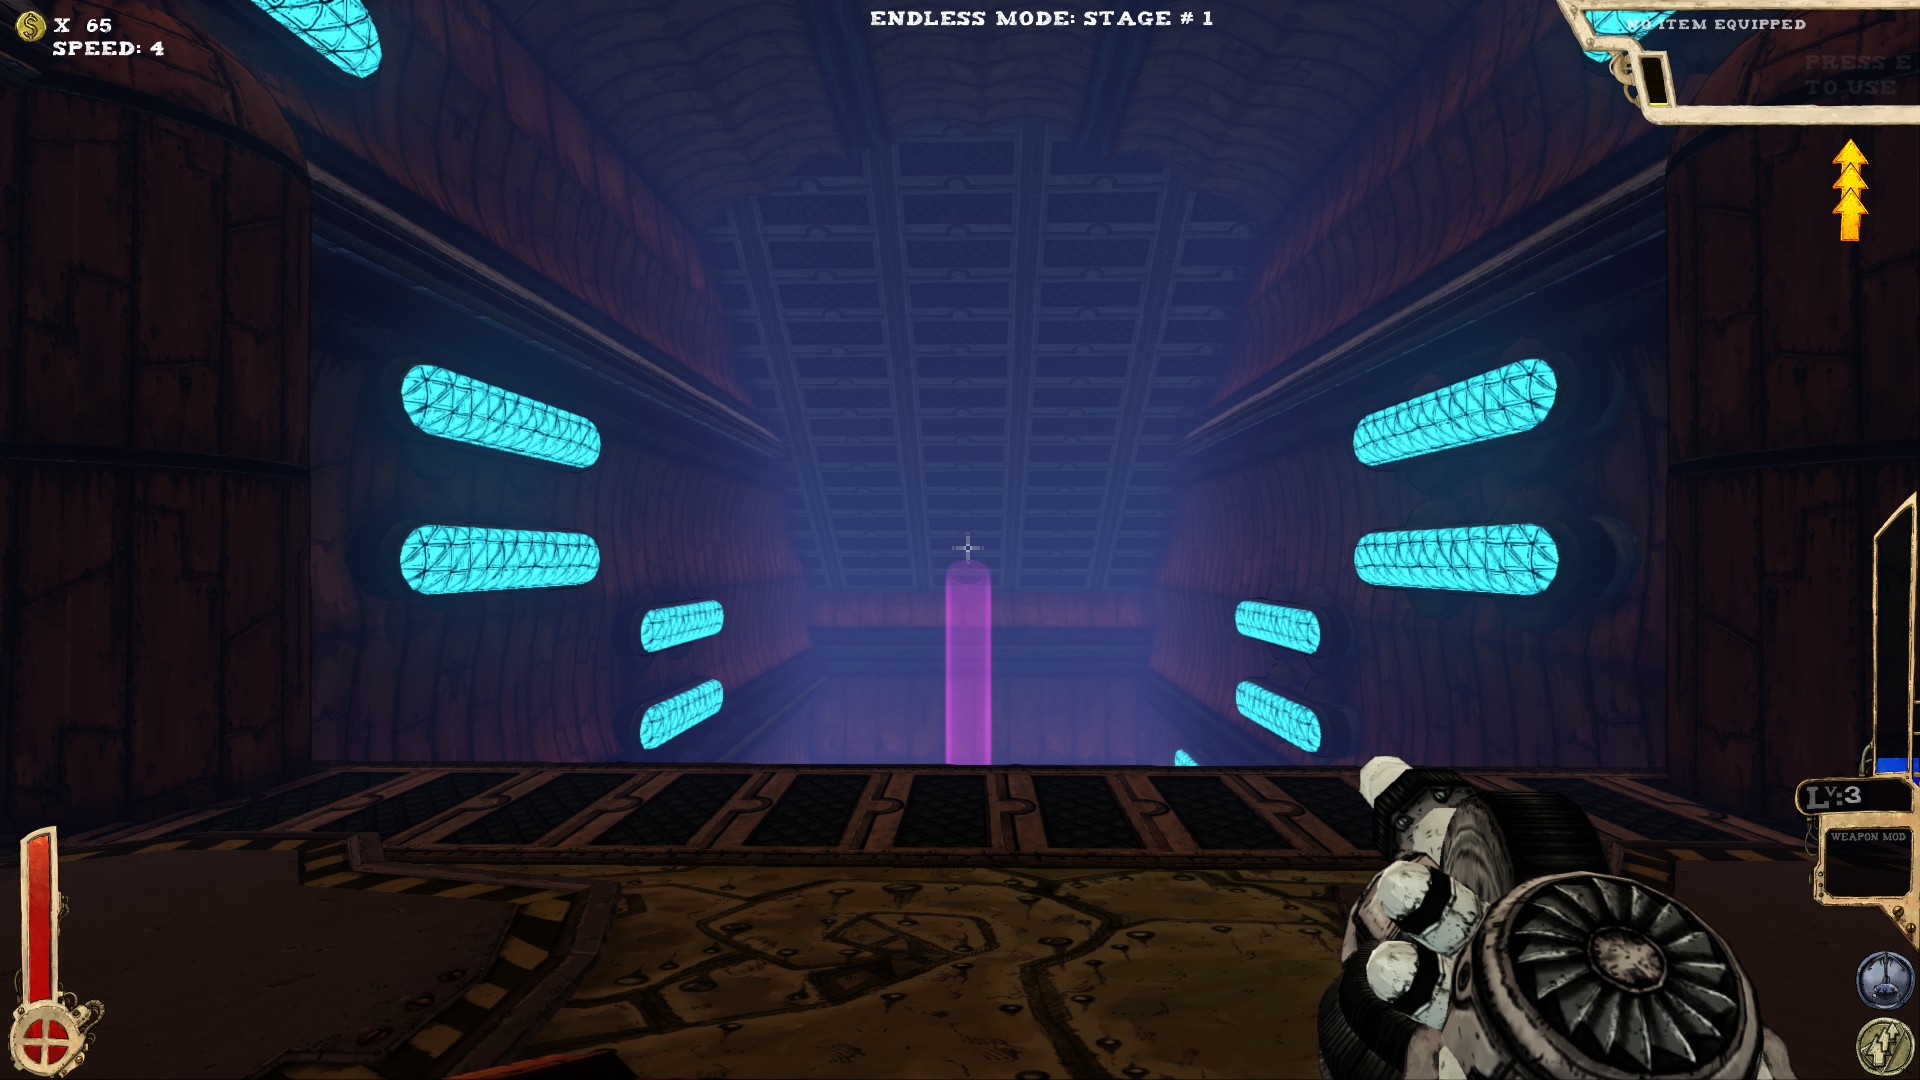
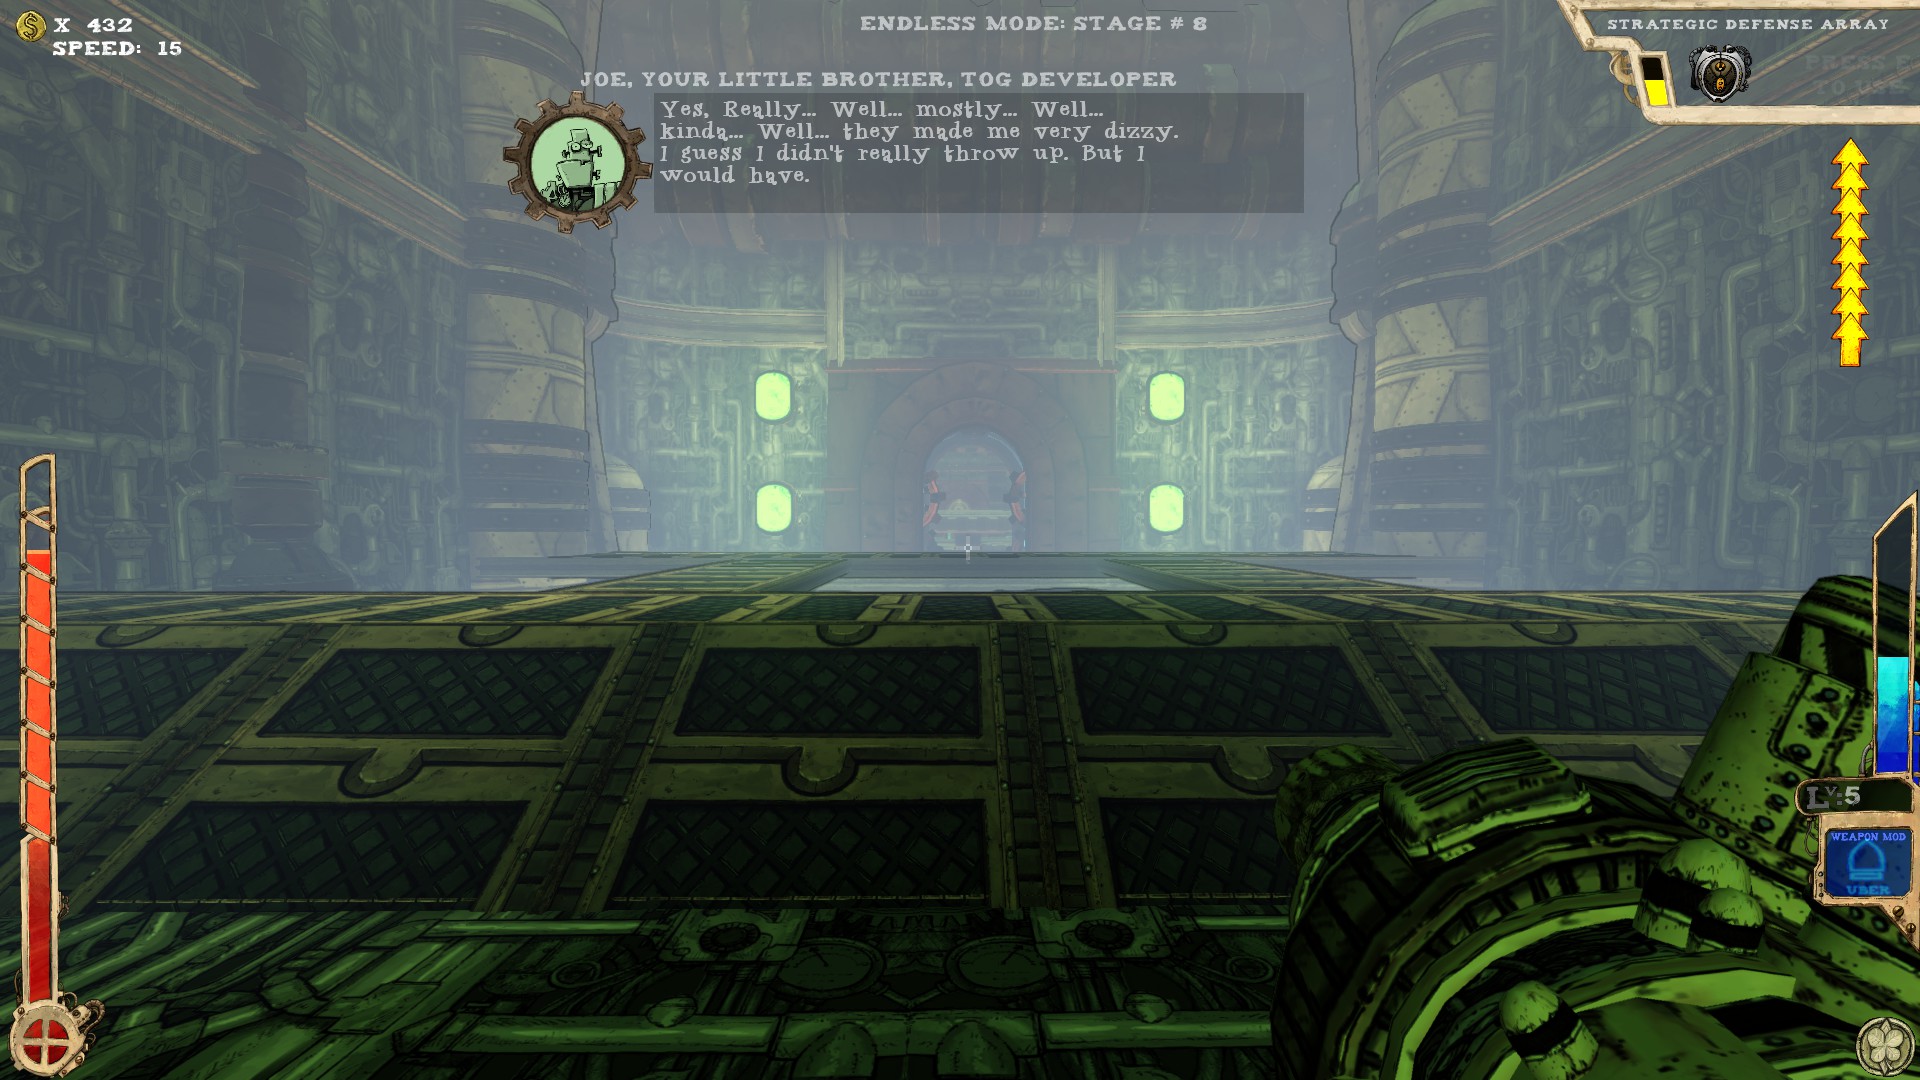
That's where you start. Most of the times, anyway.
 The room you start in!
 Turn around and walk right in. Does NOT count as a secret, worth mentioning, though.
-----
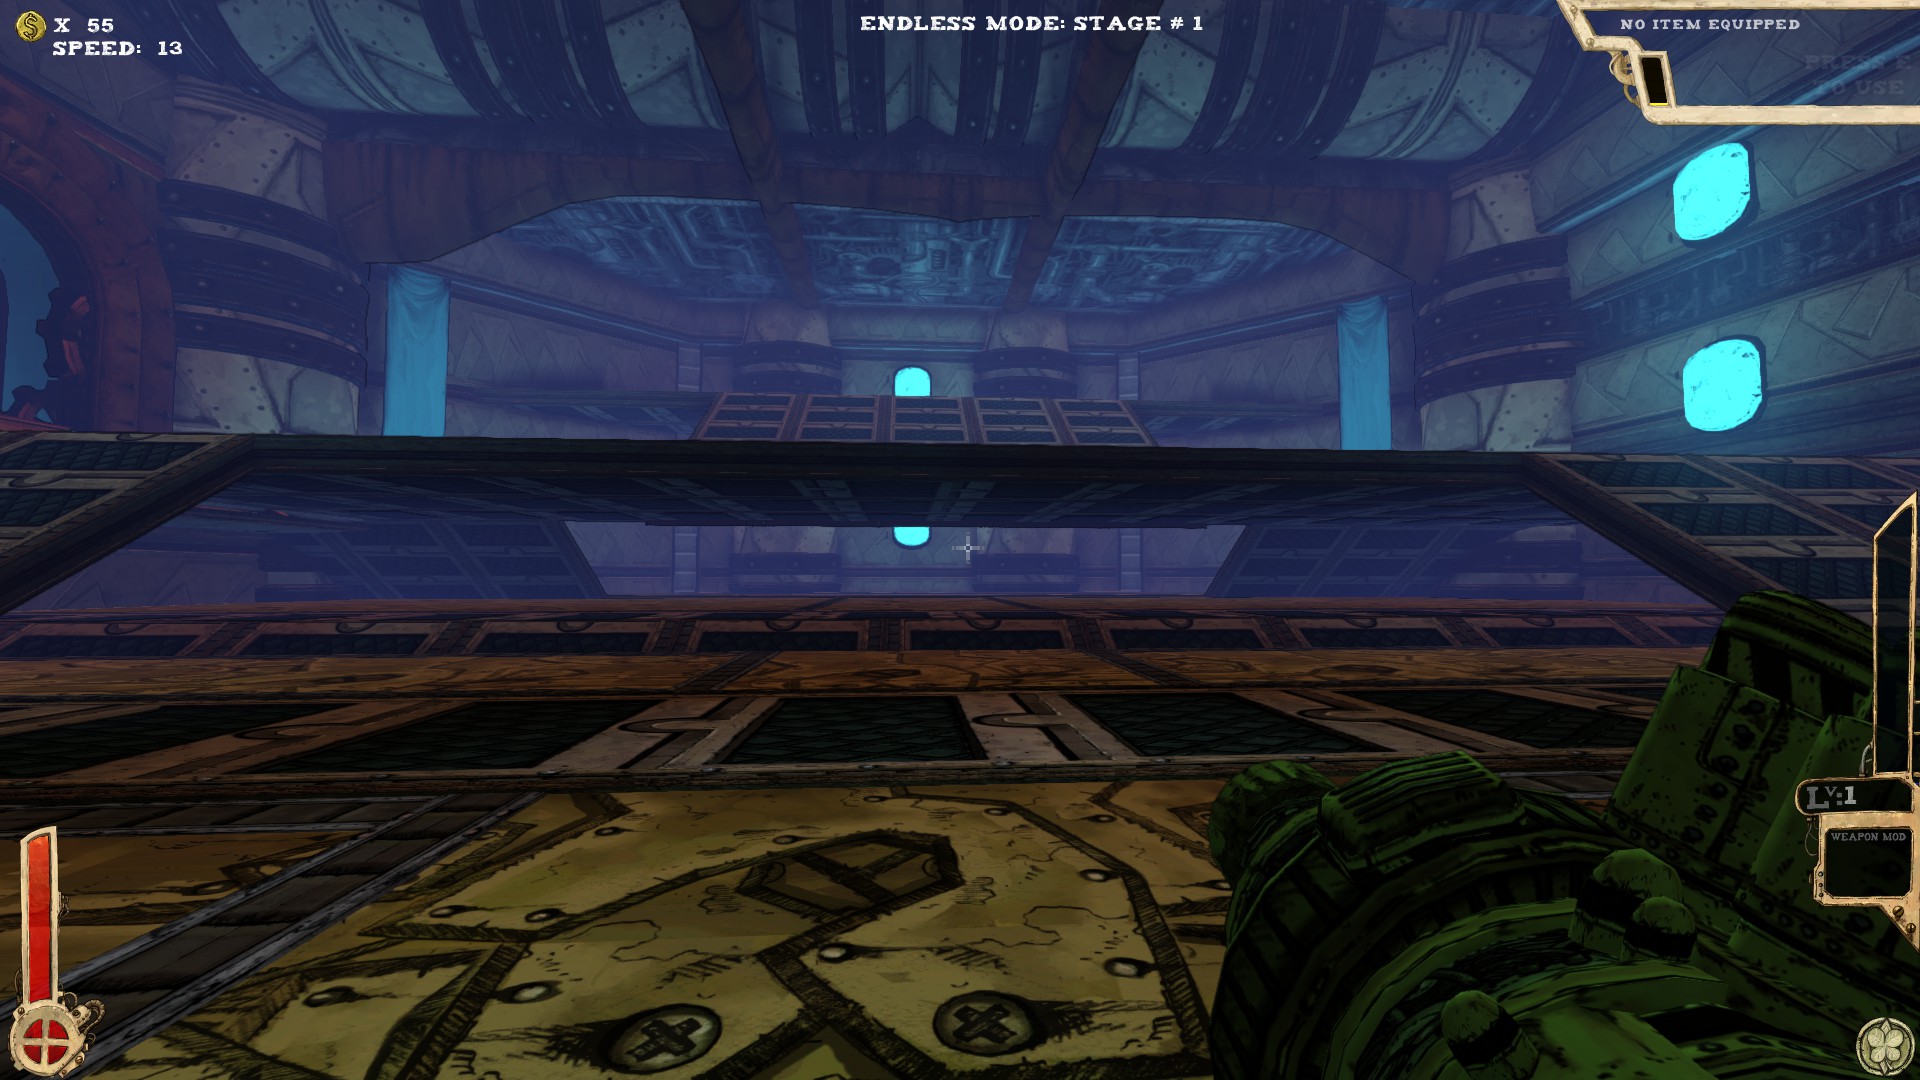
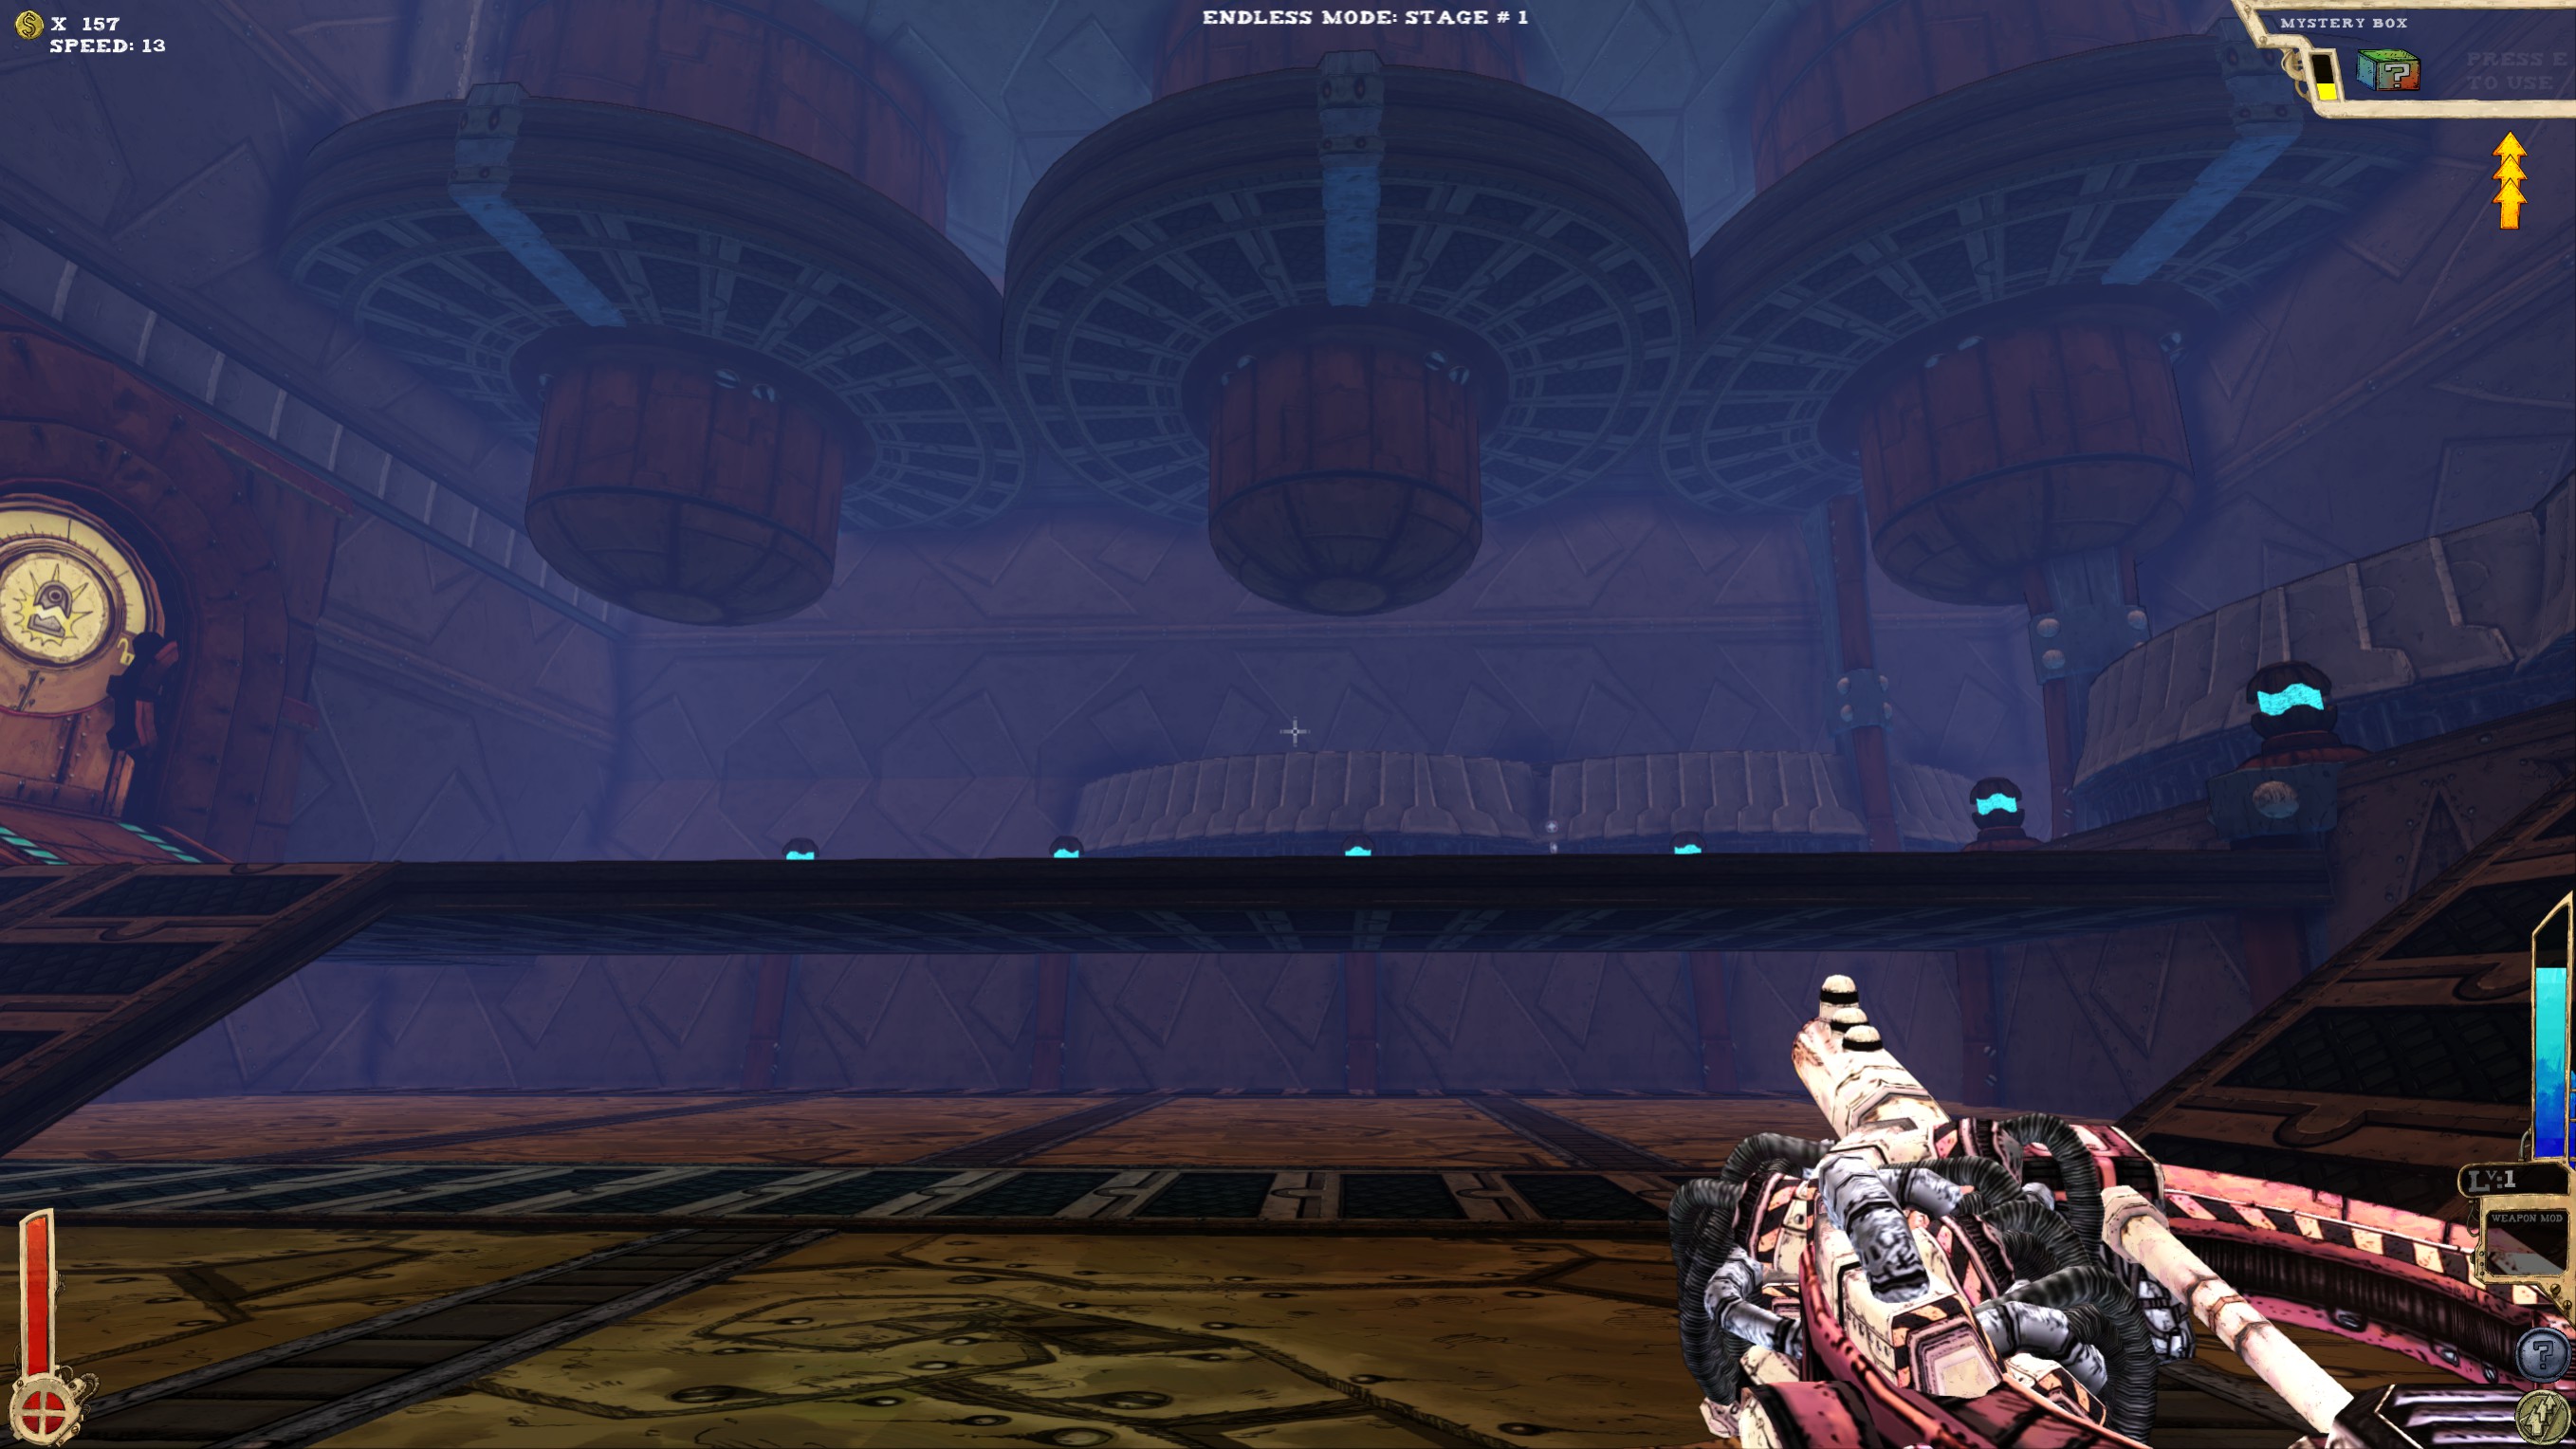
 This room contains one secret.
 Quite hard to reach the secret, when you're not playing Endless and don't have enough jumps, a good item or weapon.
-----
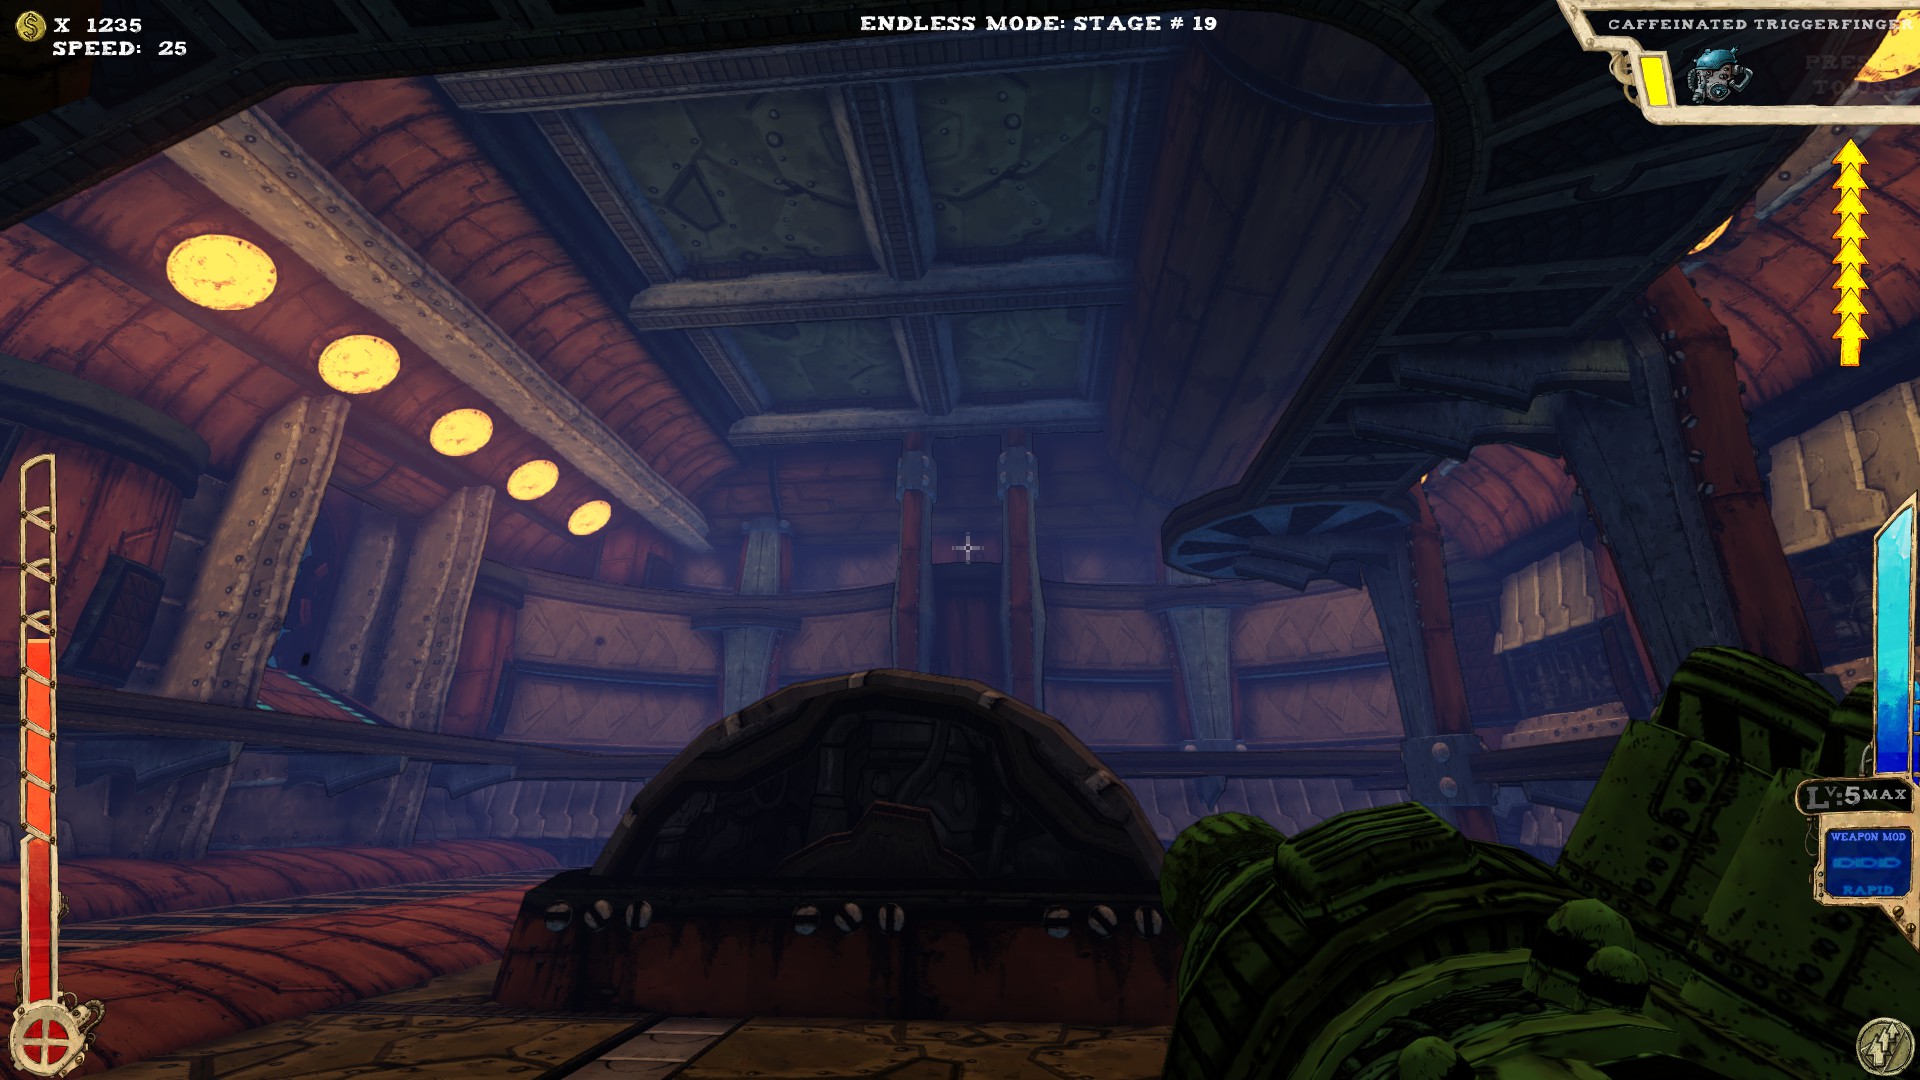
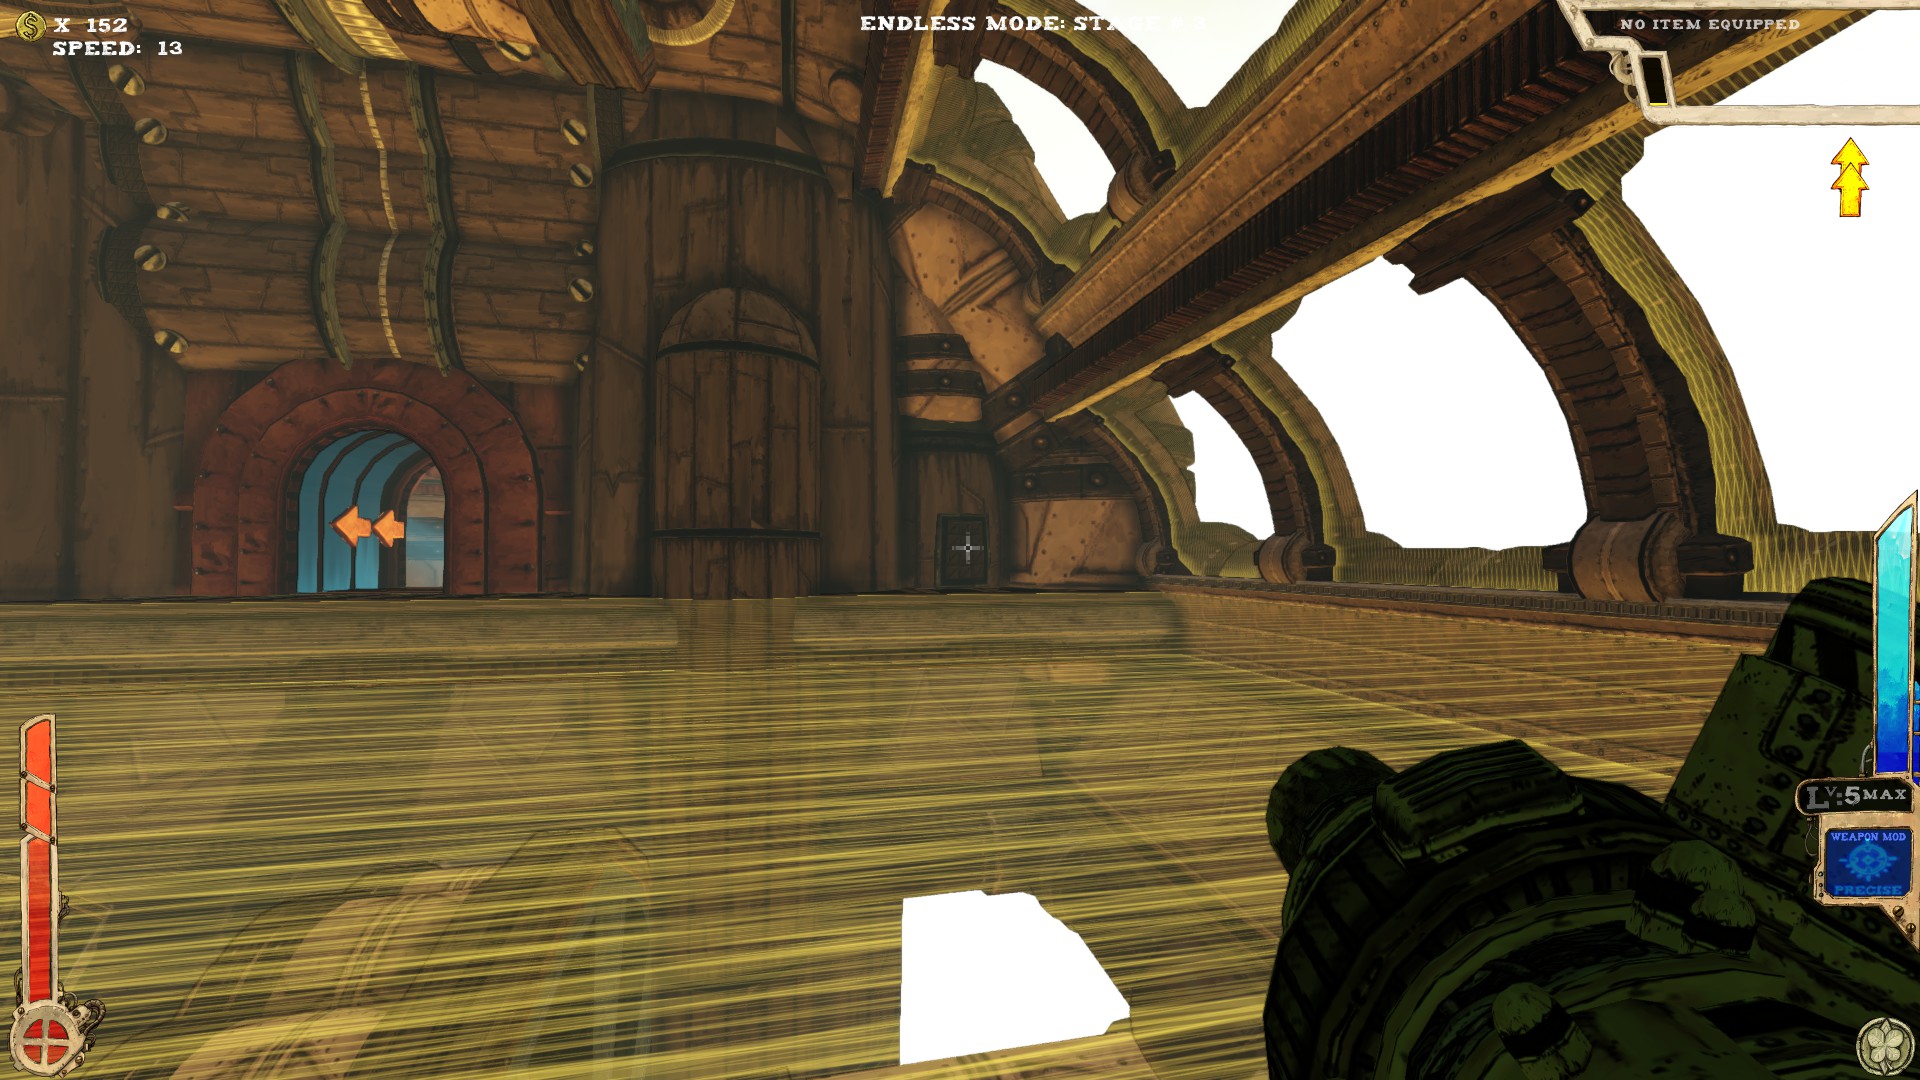
 Another room with a single secret.
 On the top platform, face away from the exit and walk into a fake wall.
-----
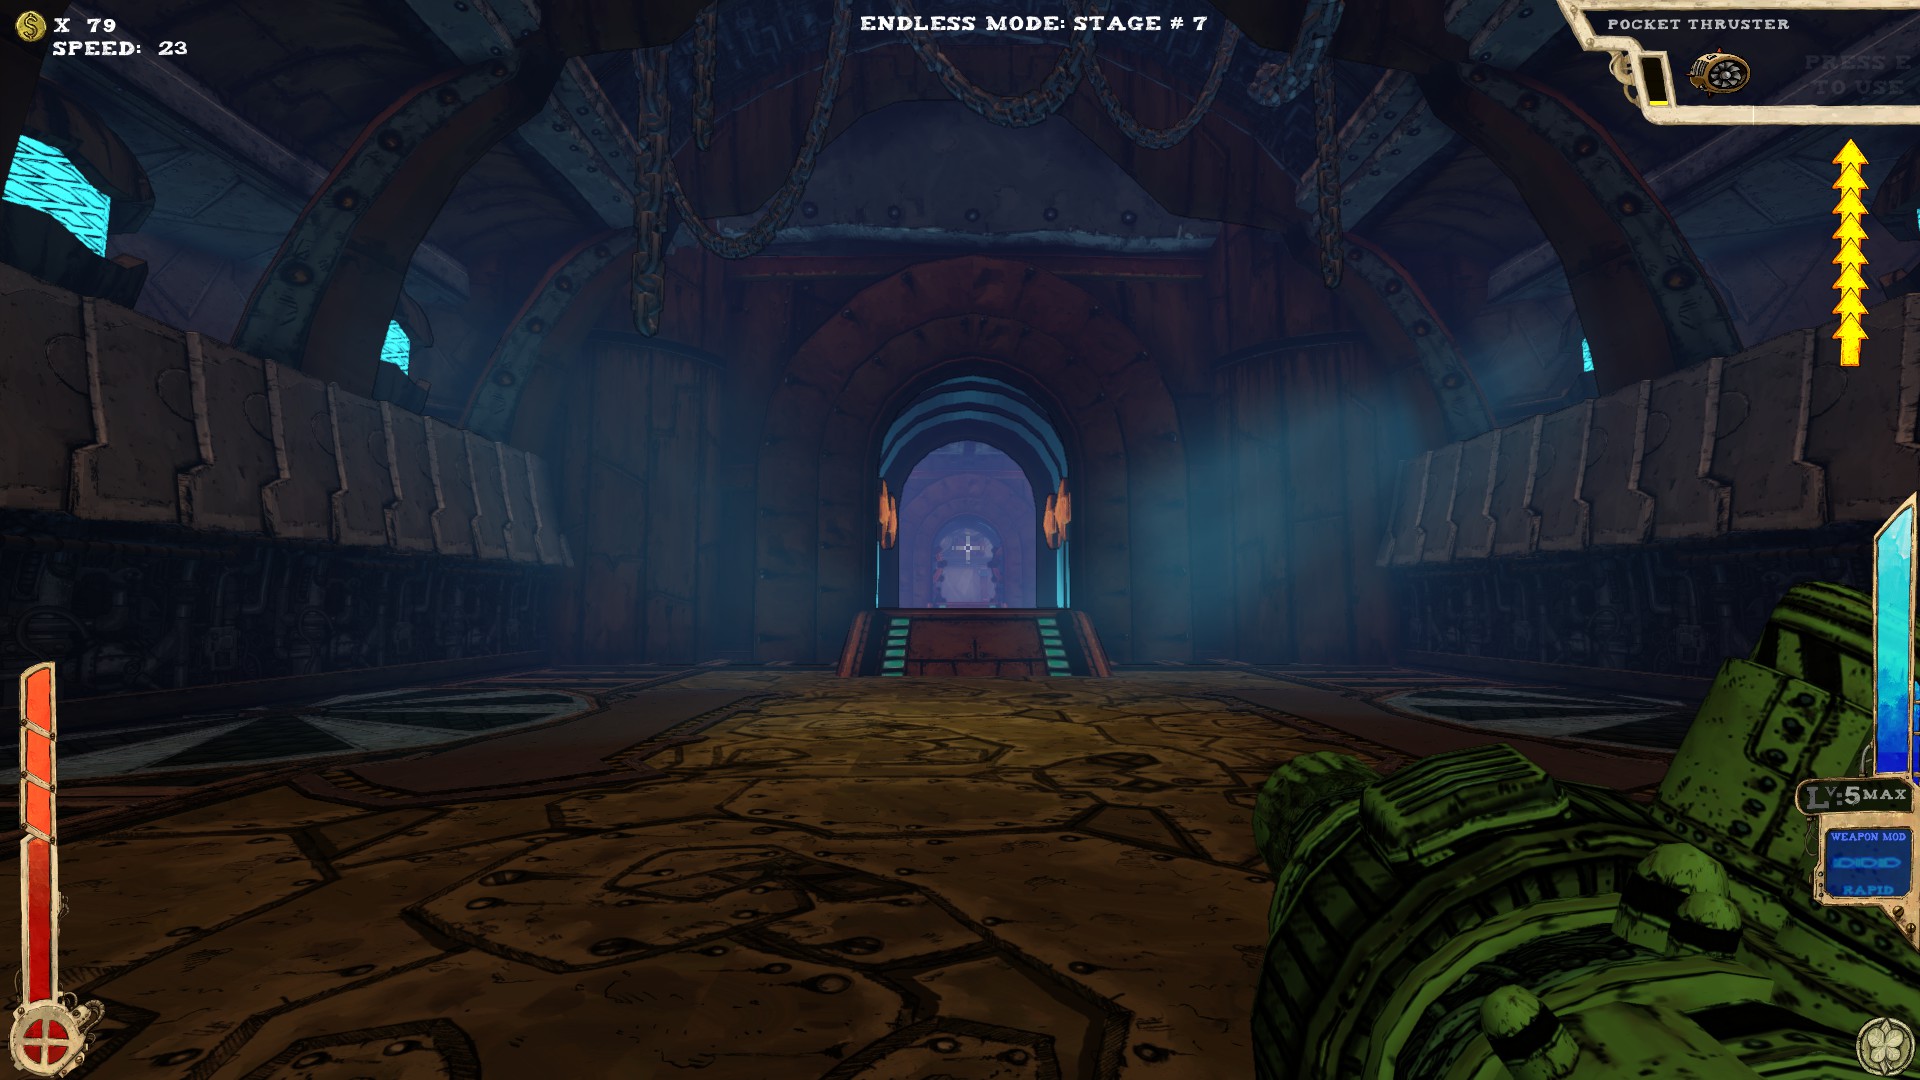
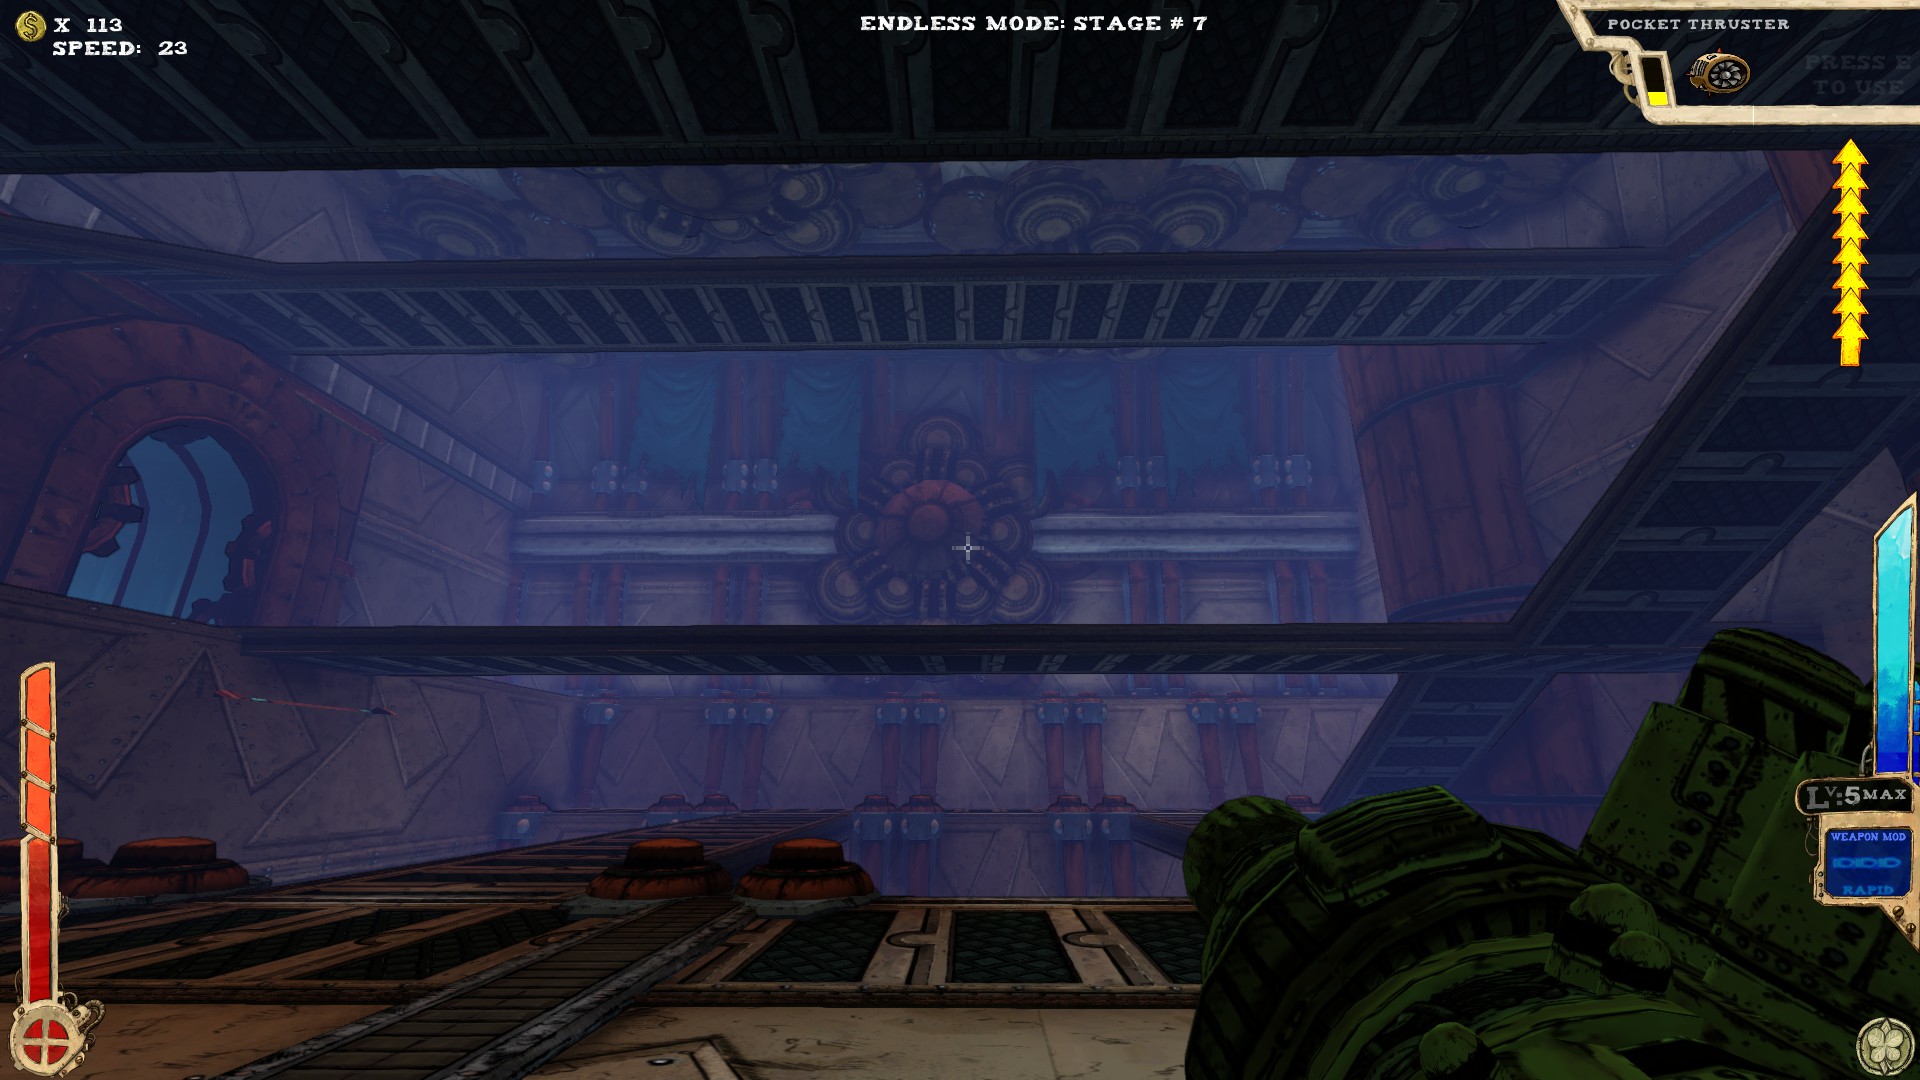
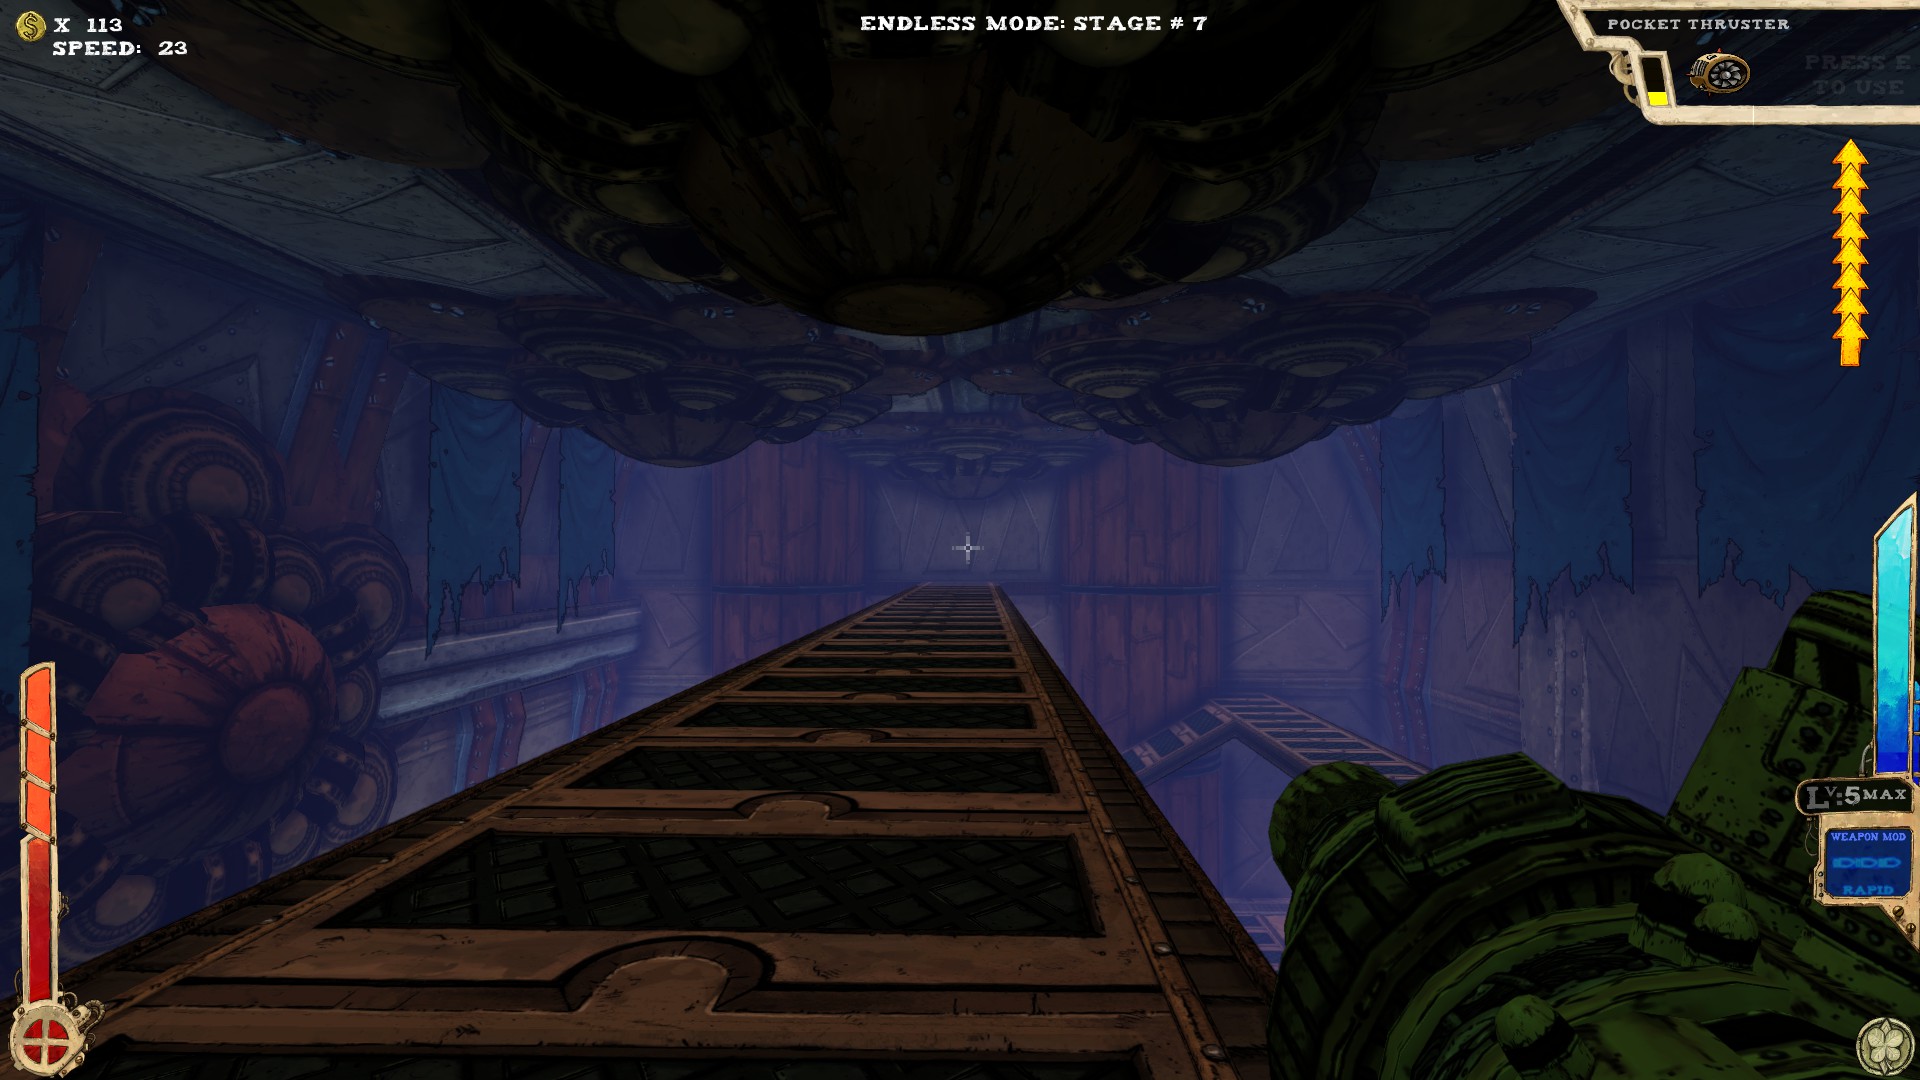
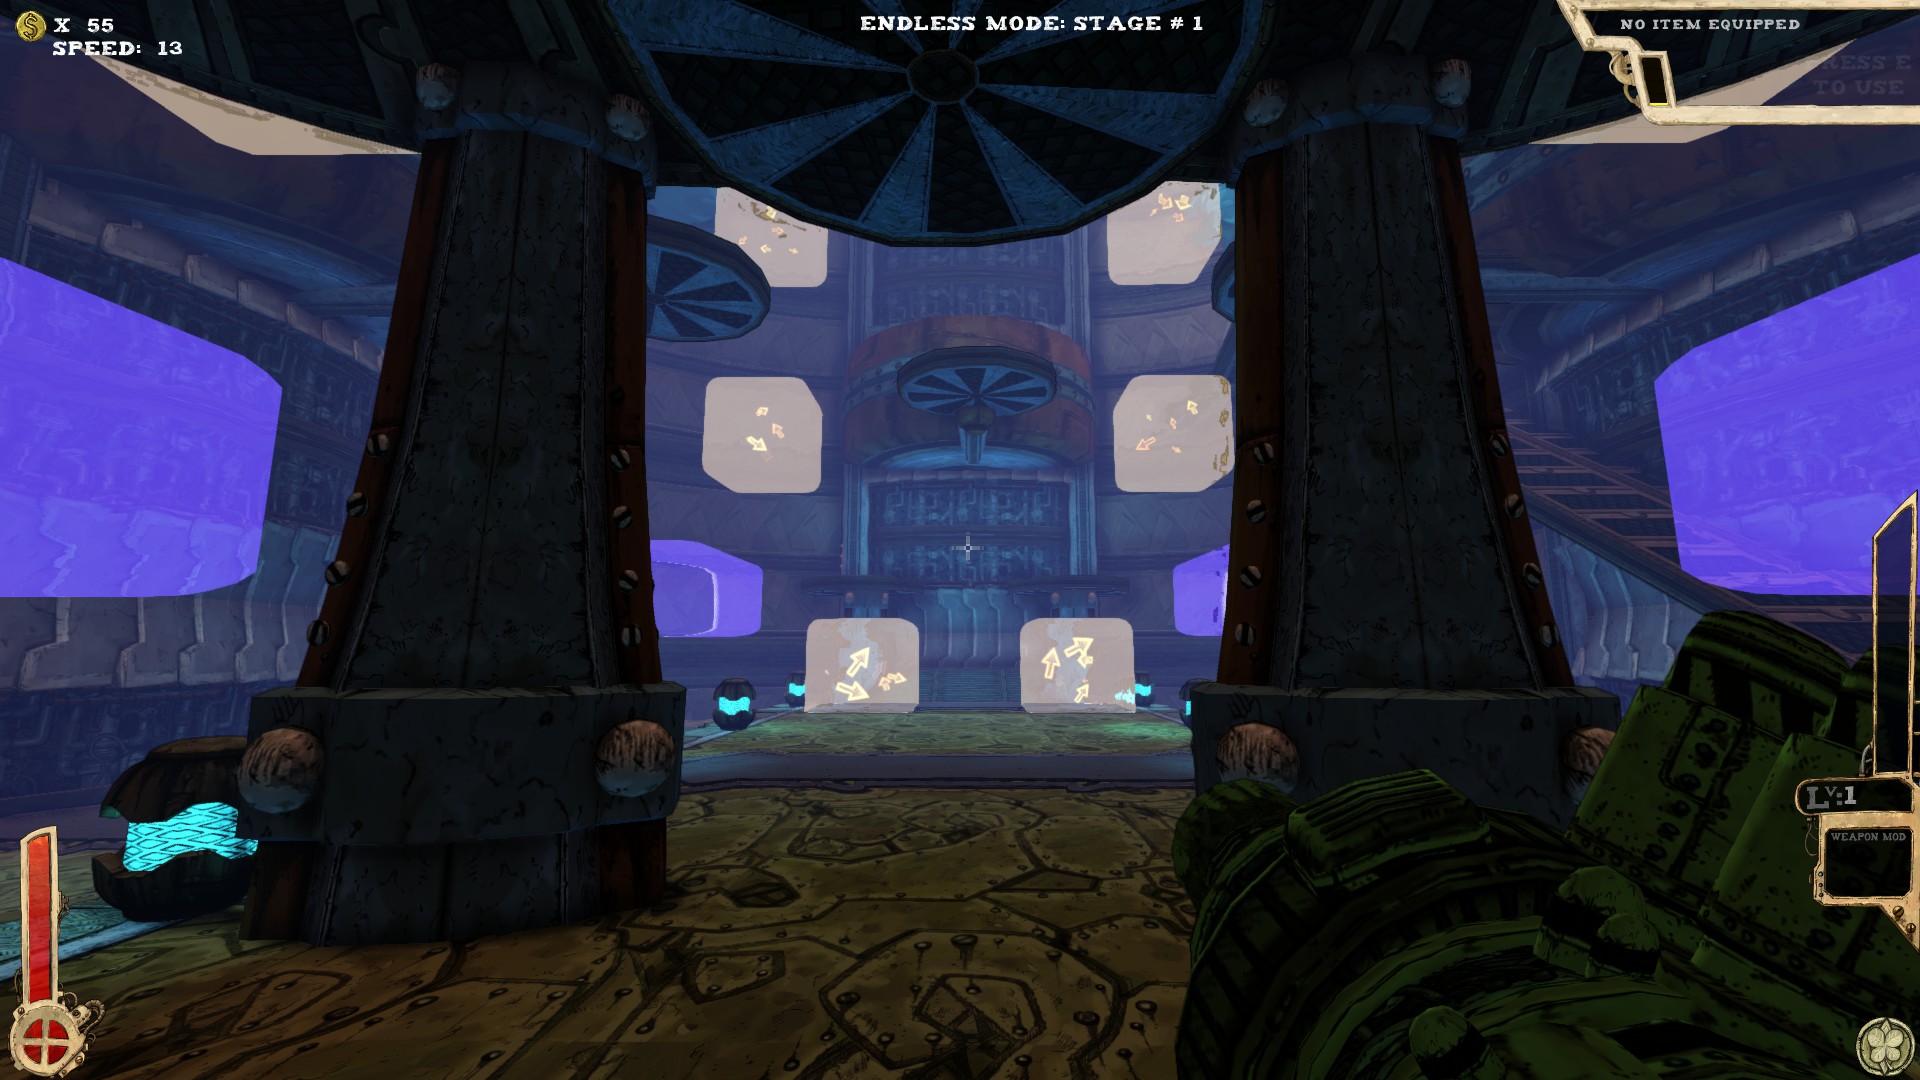
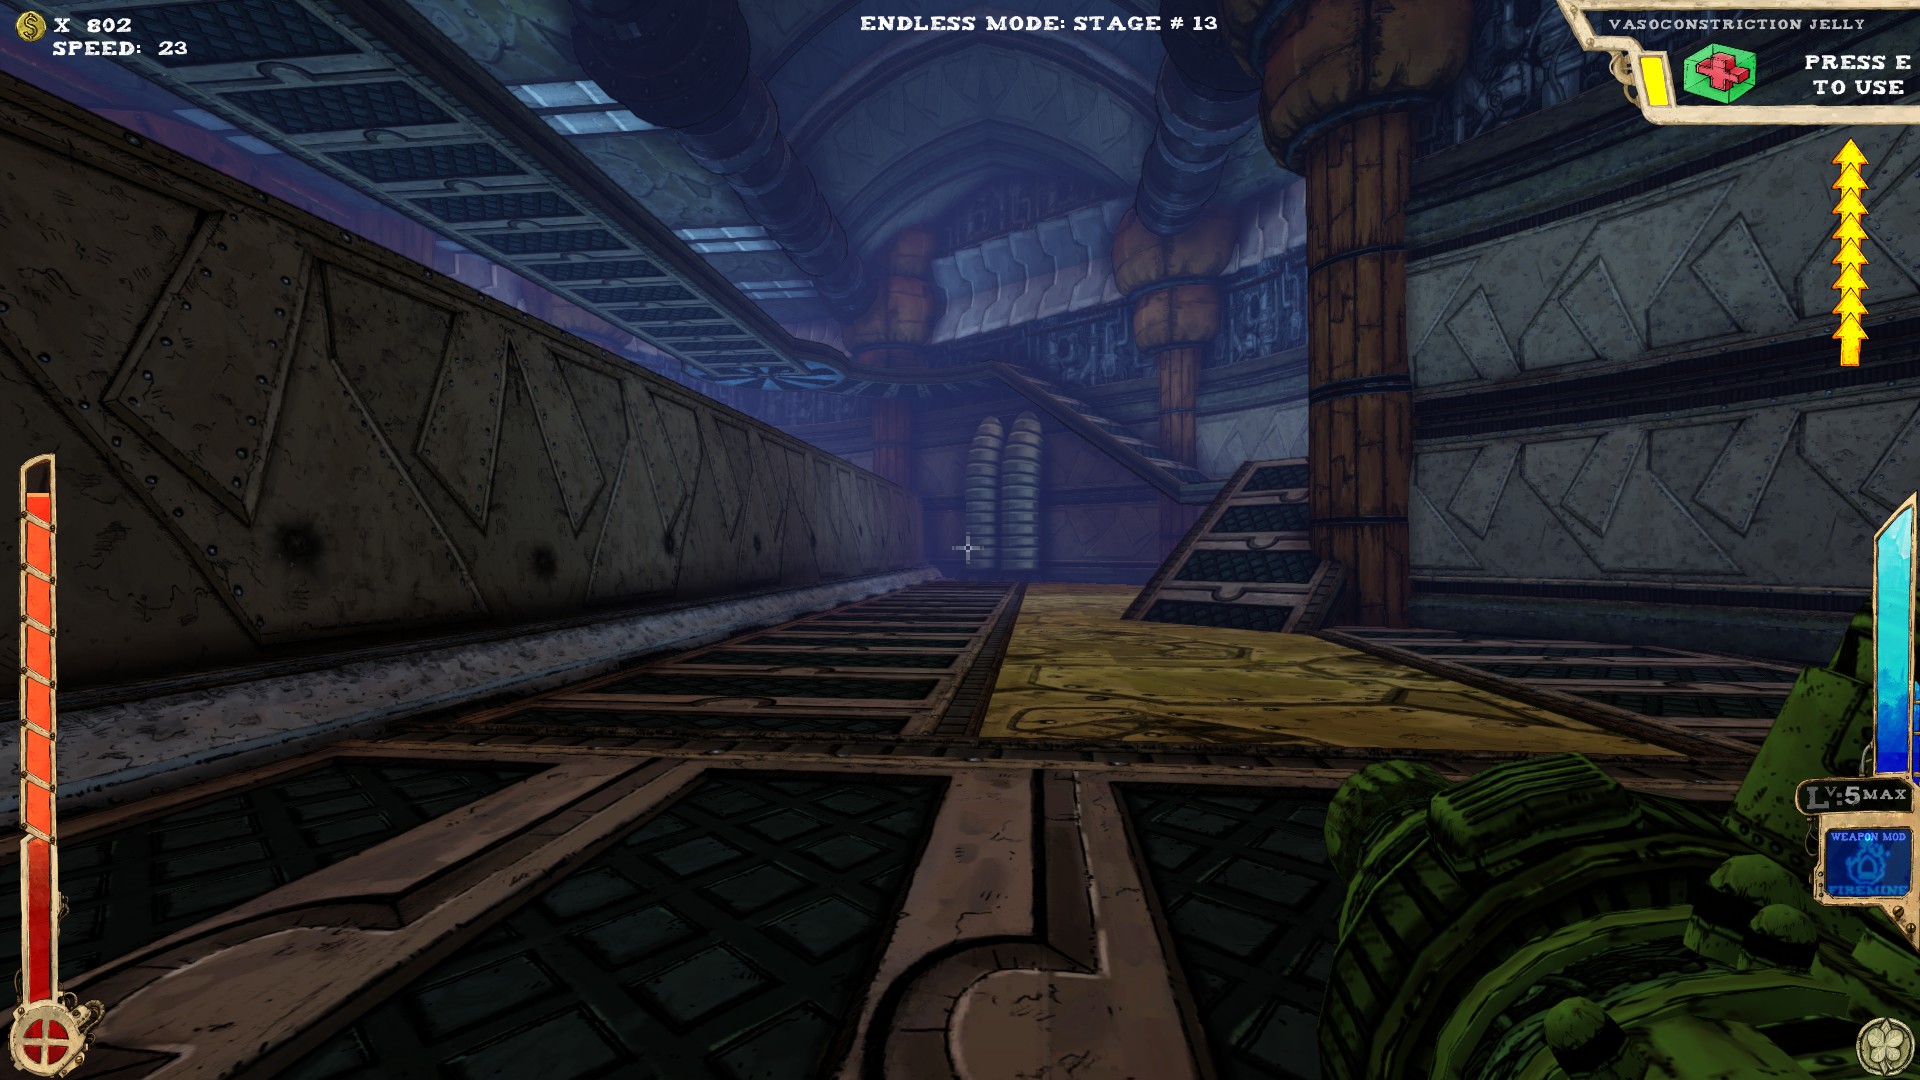
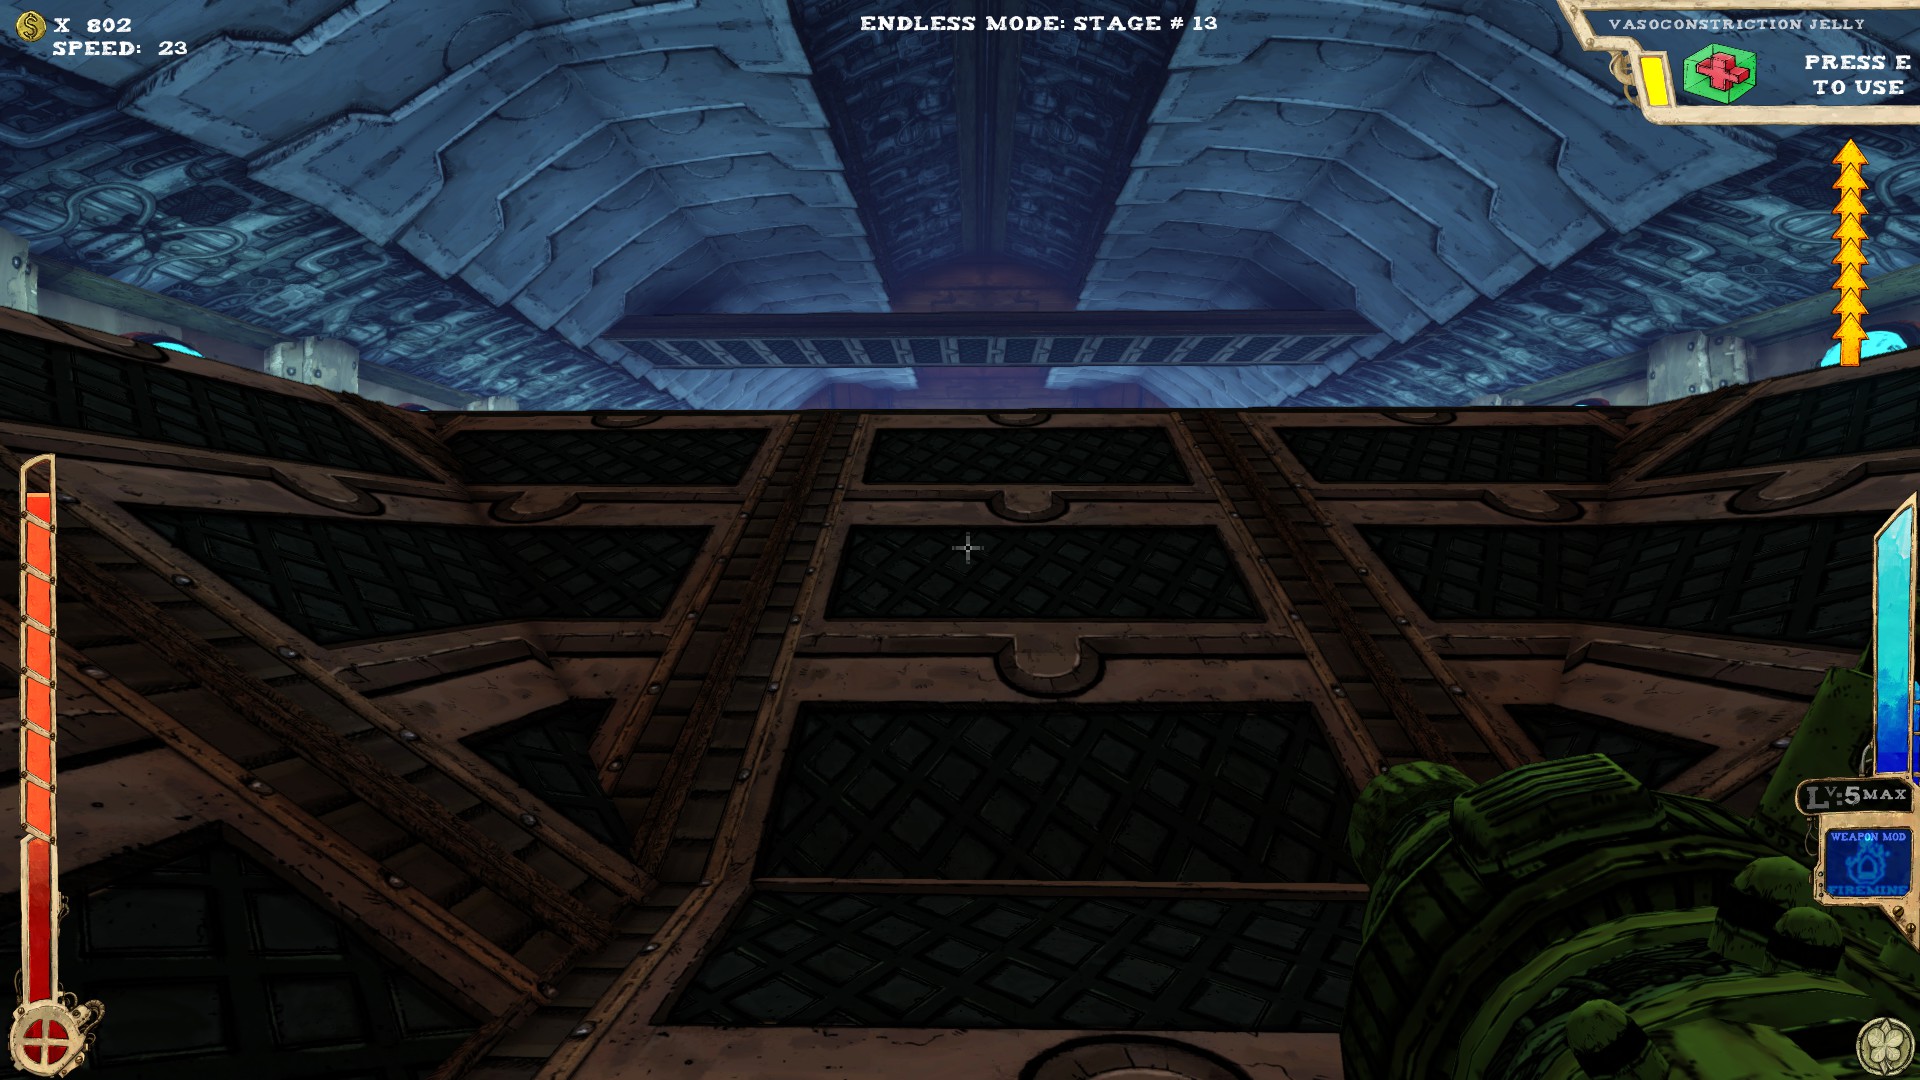
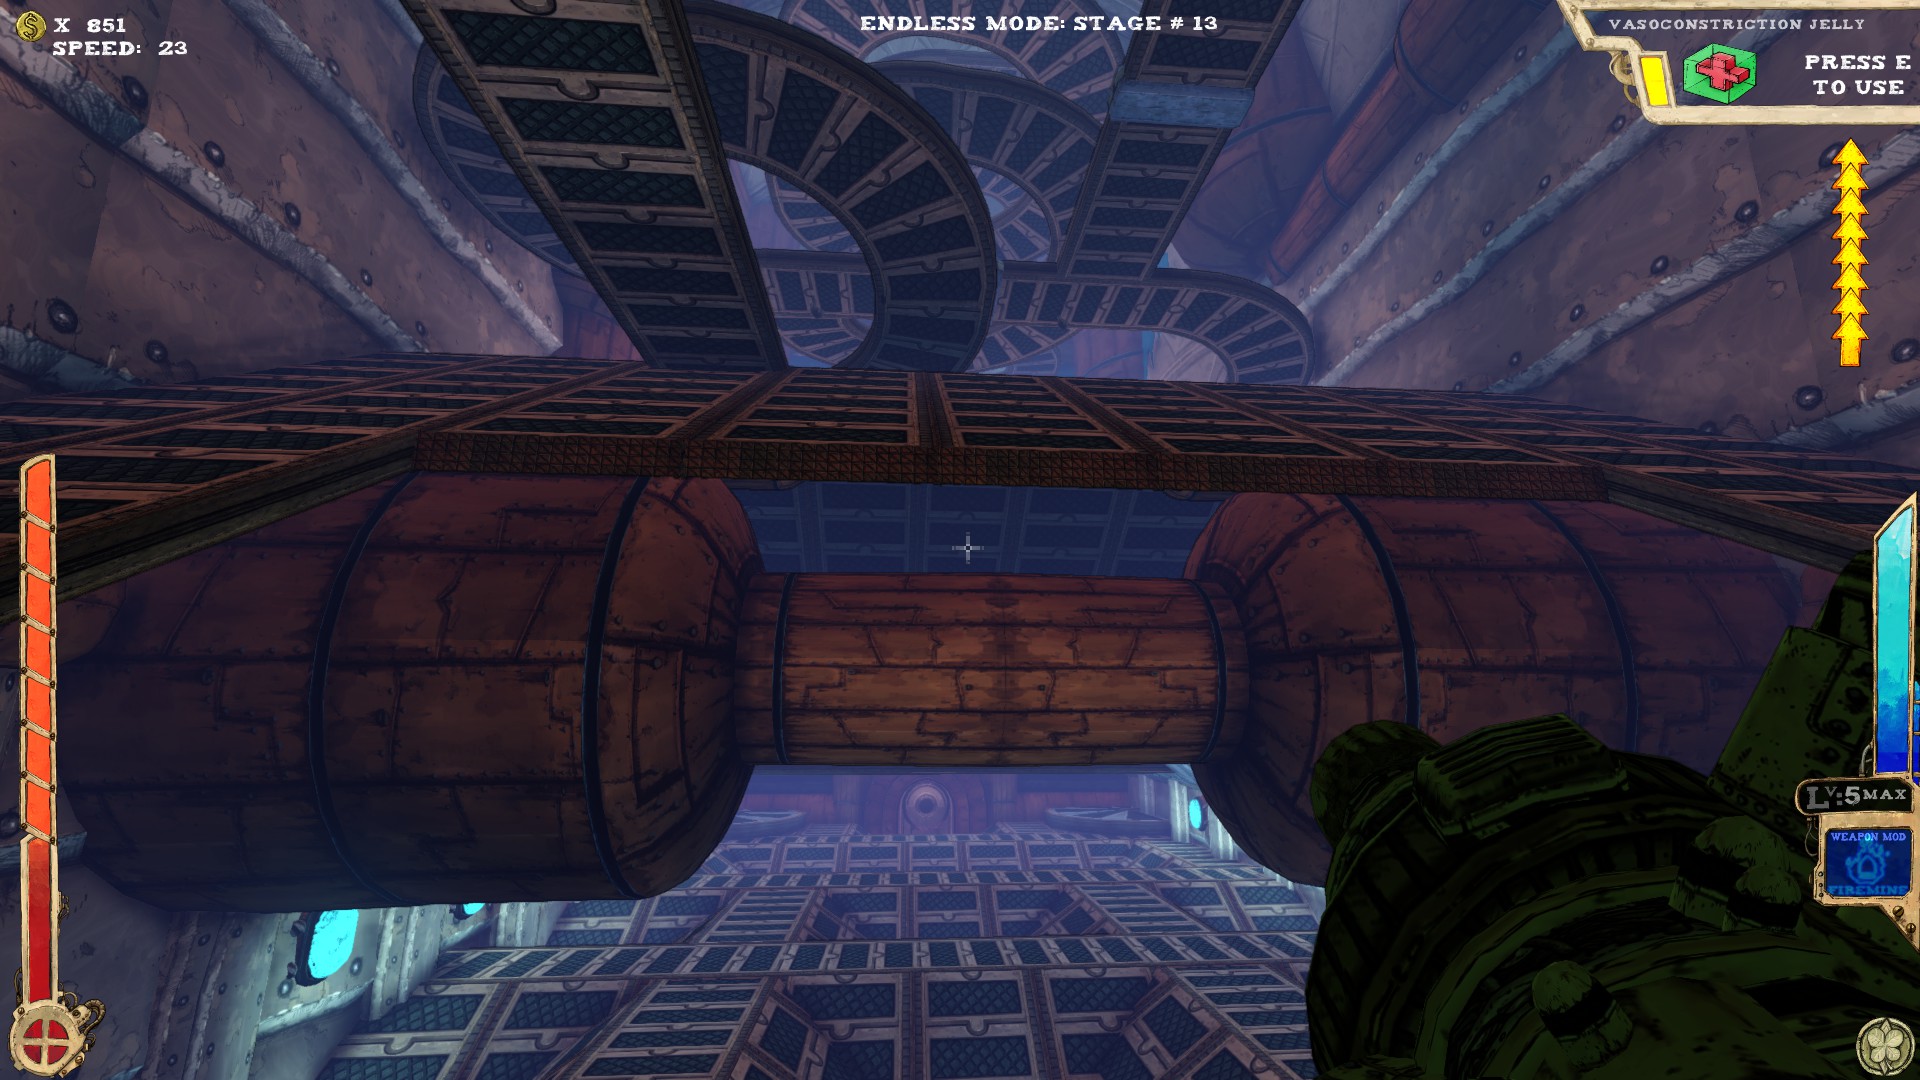
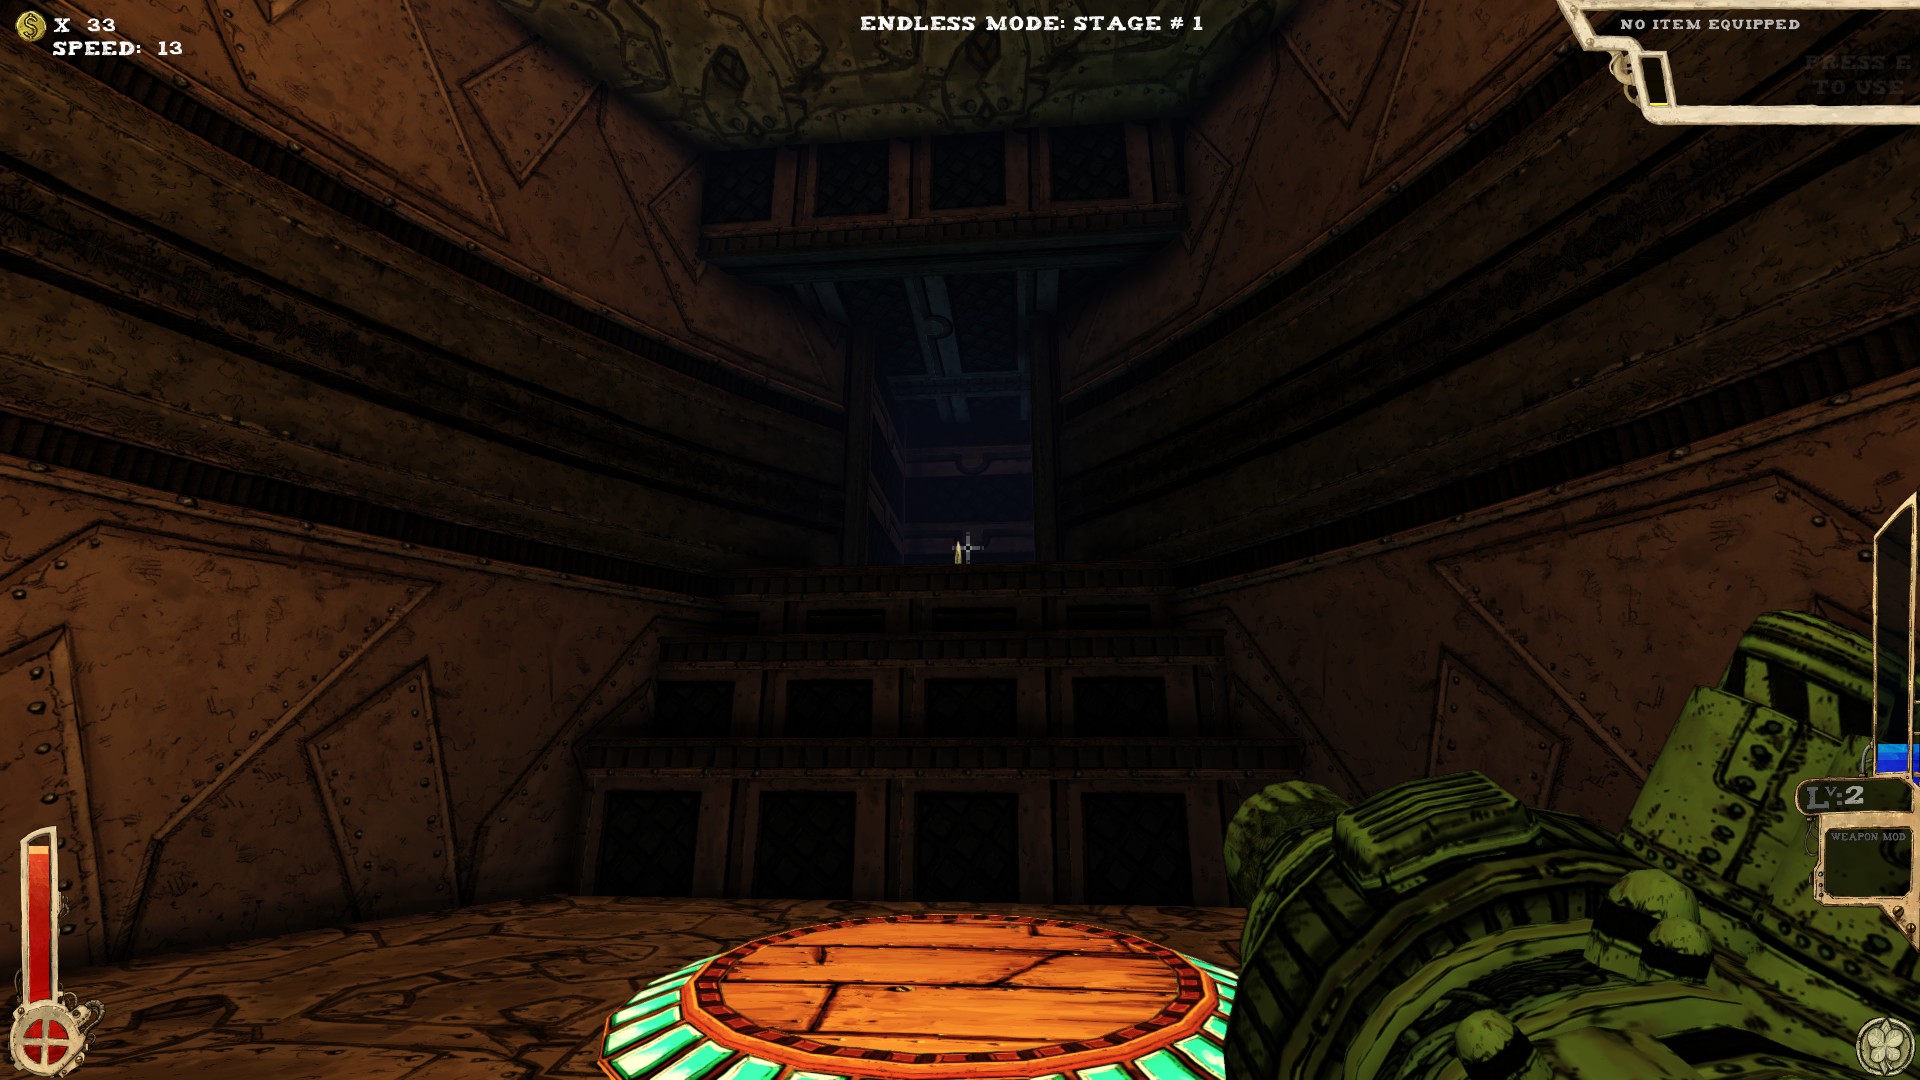
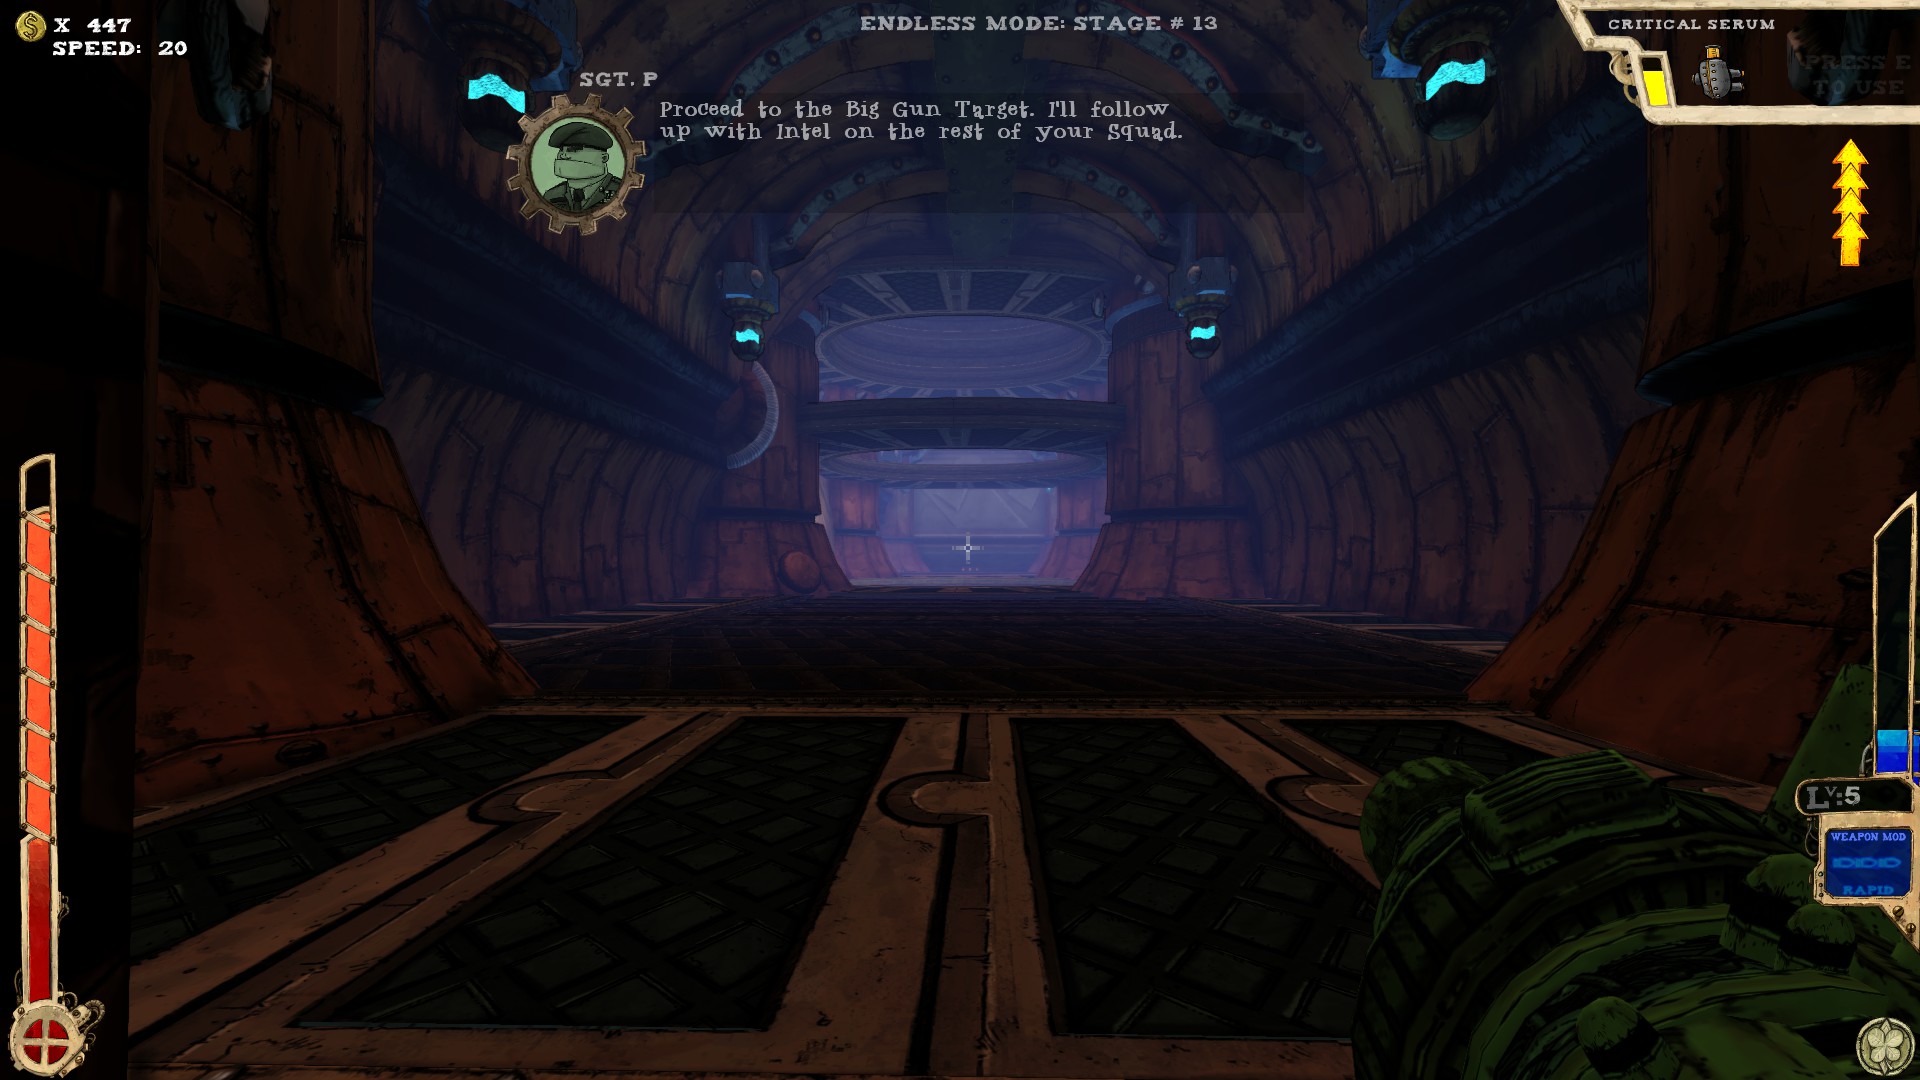
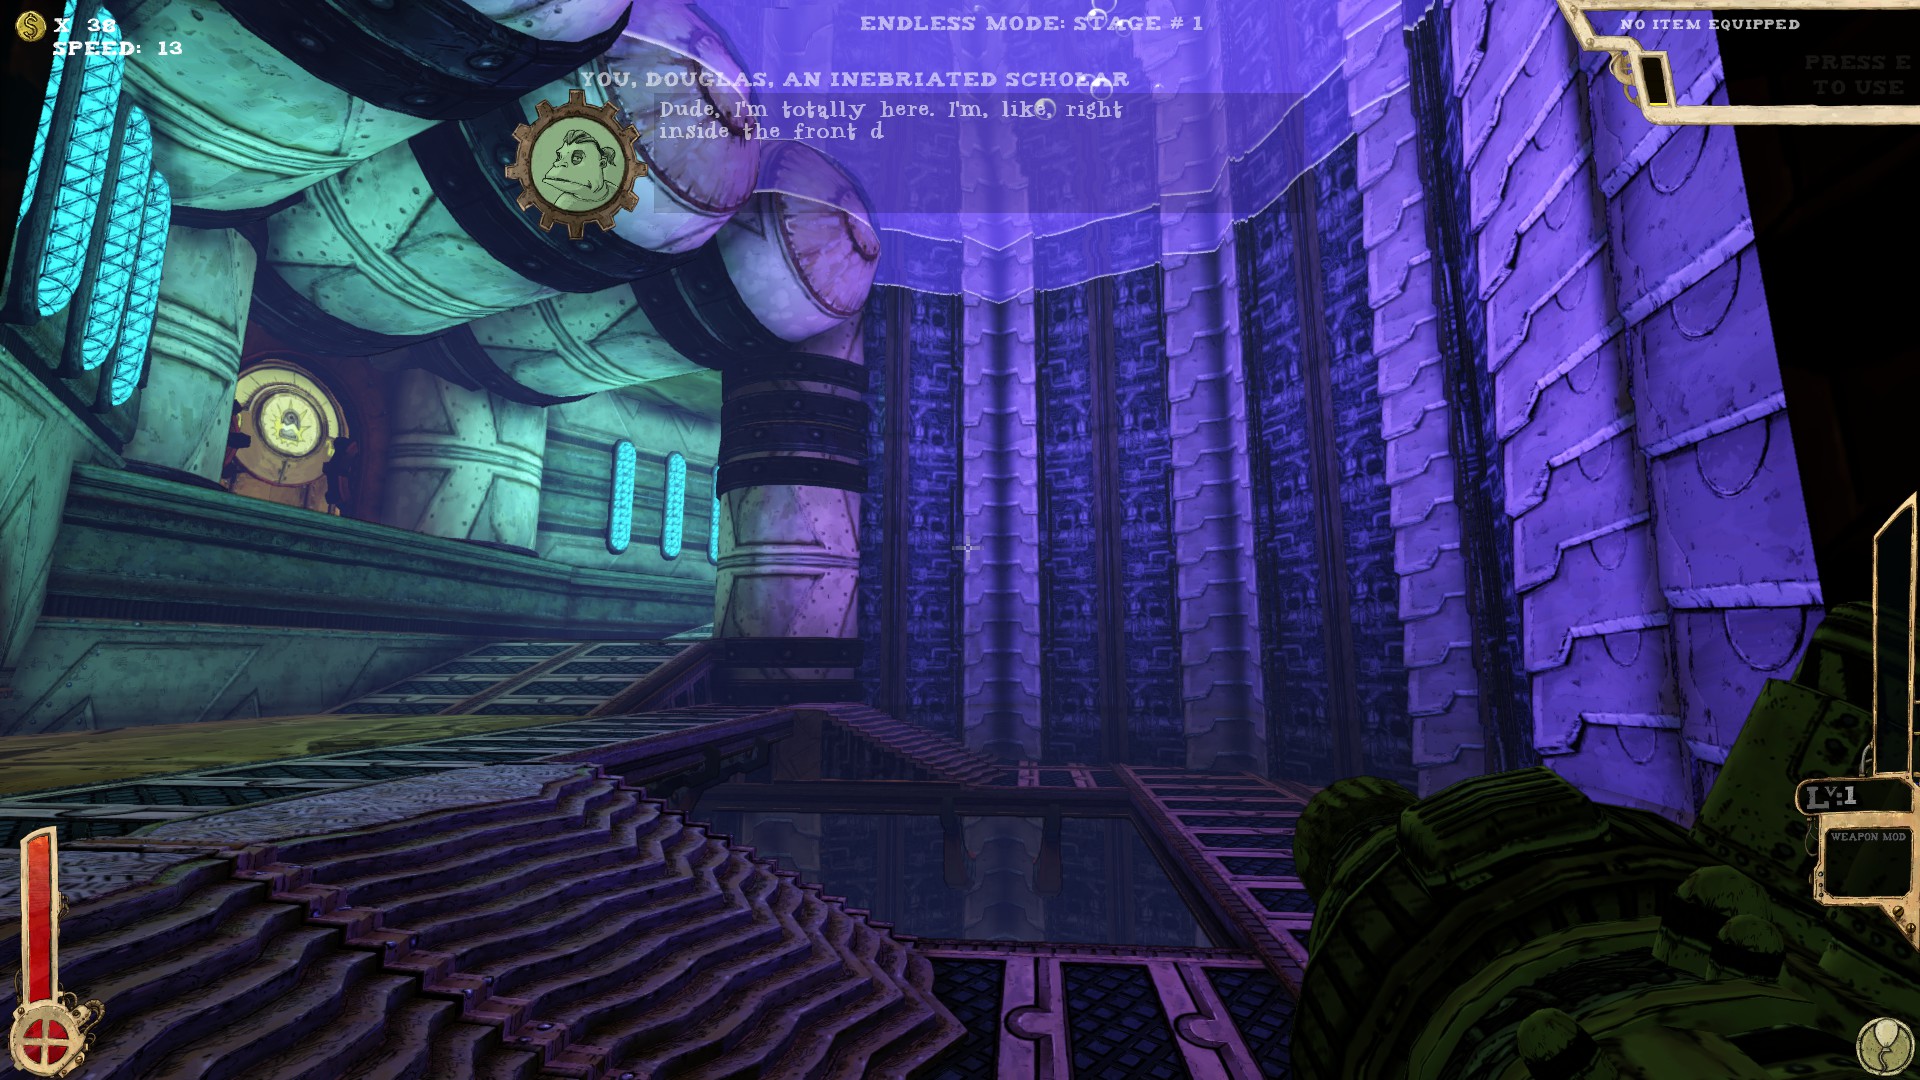
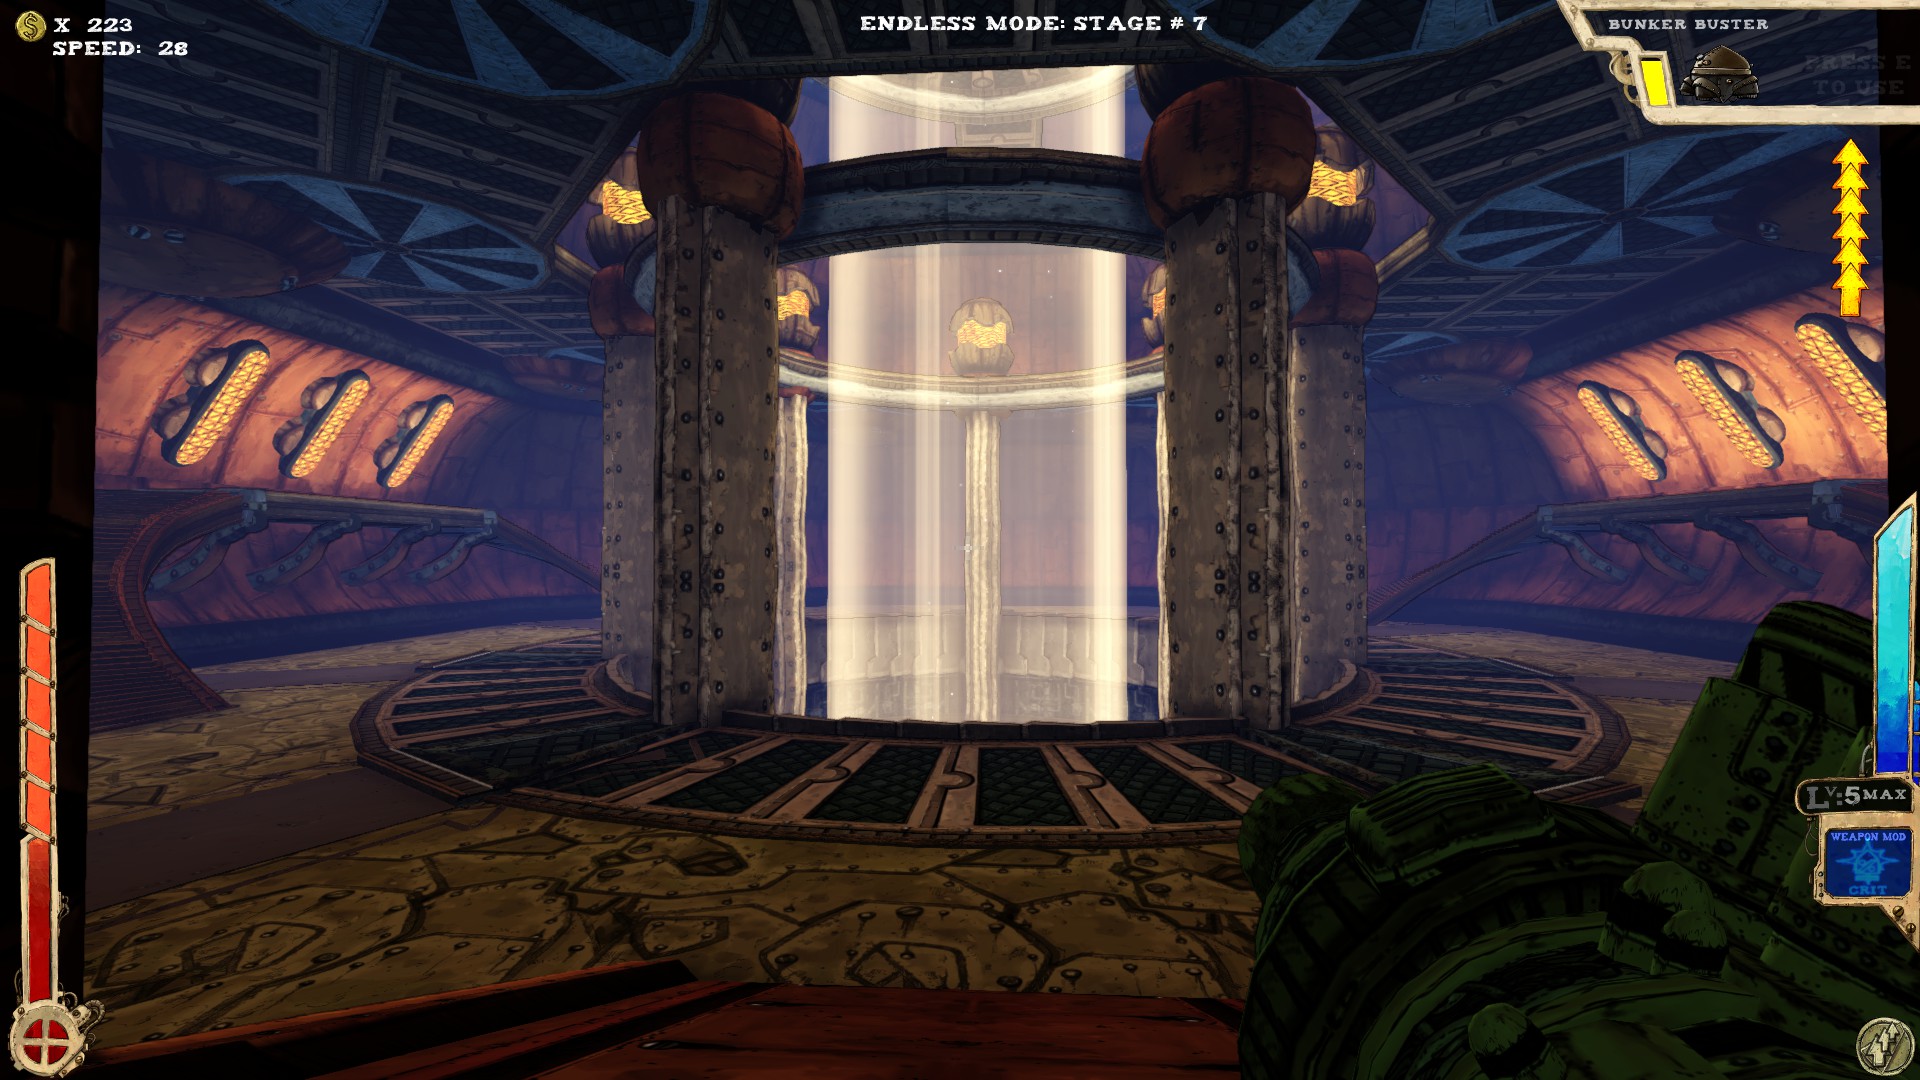
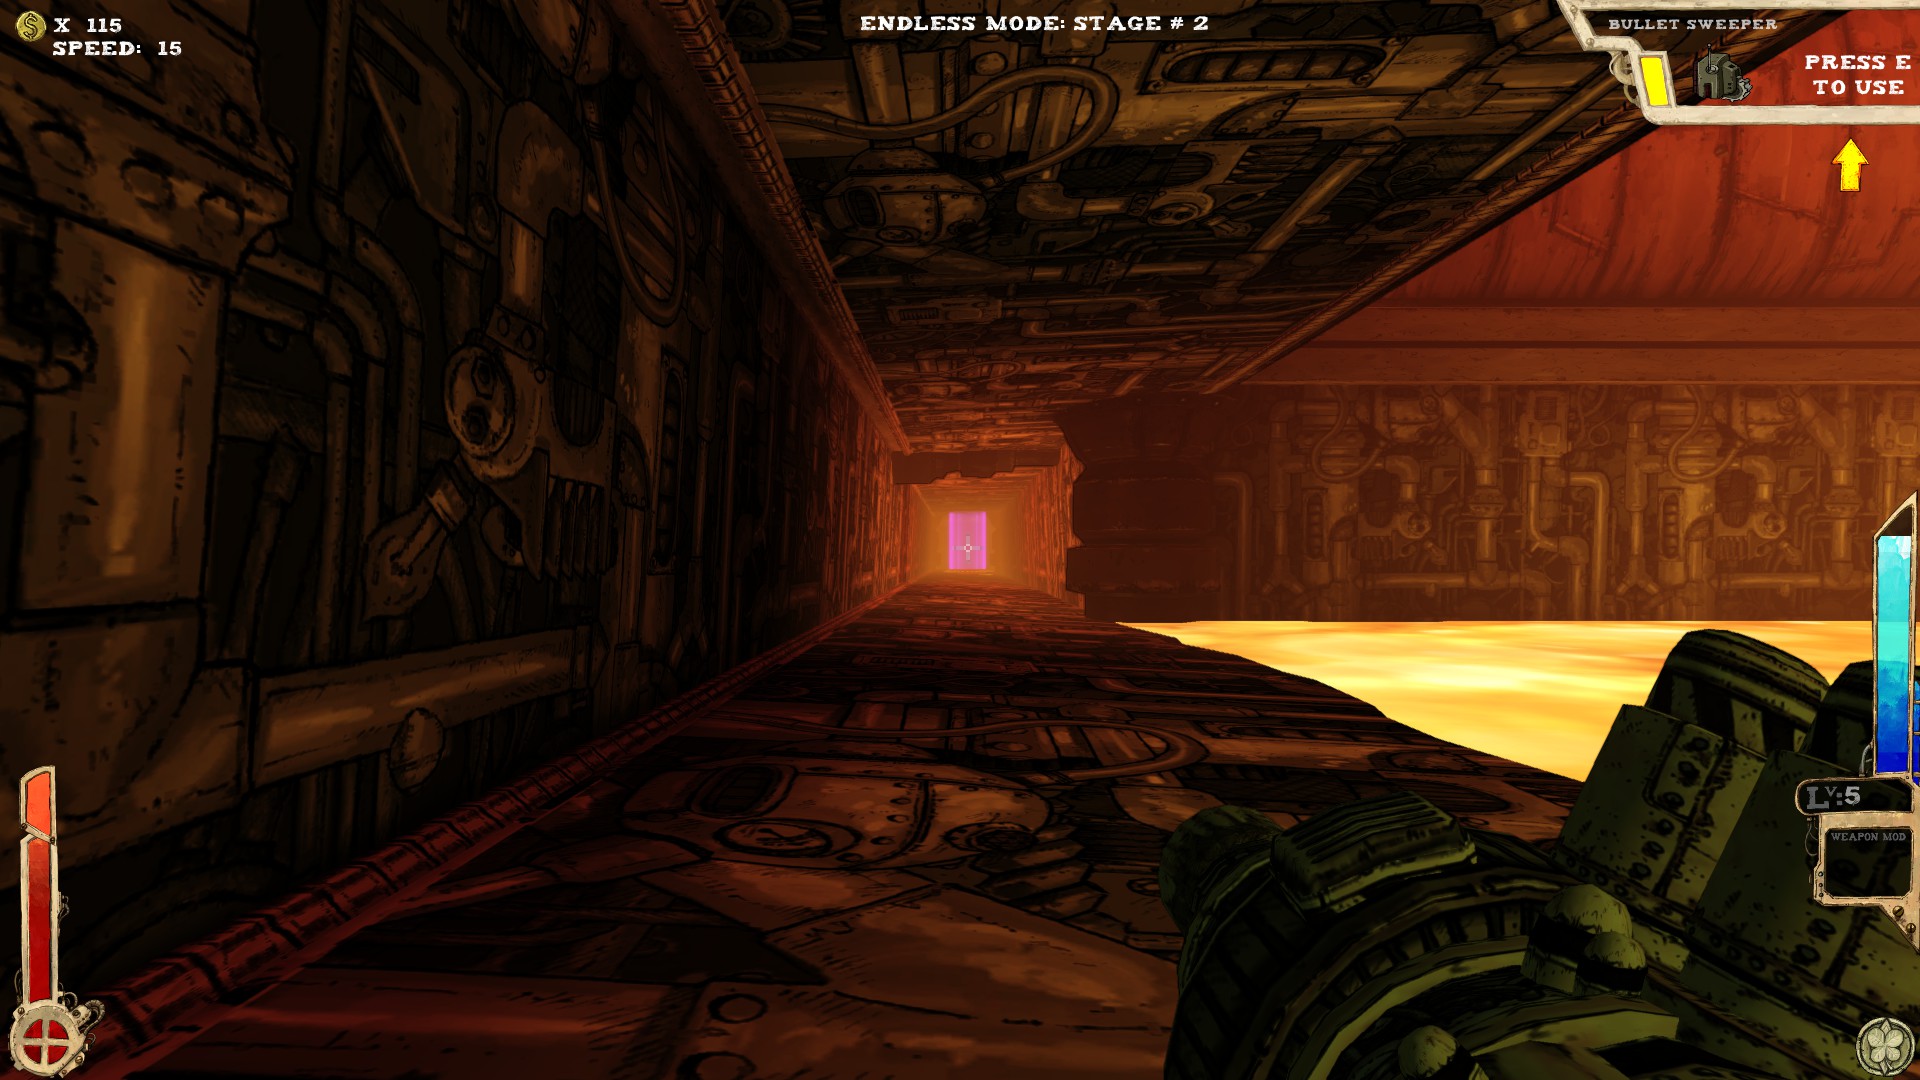
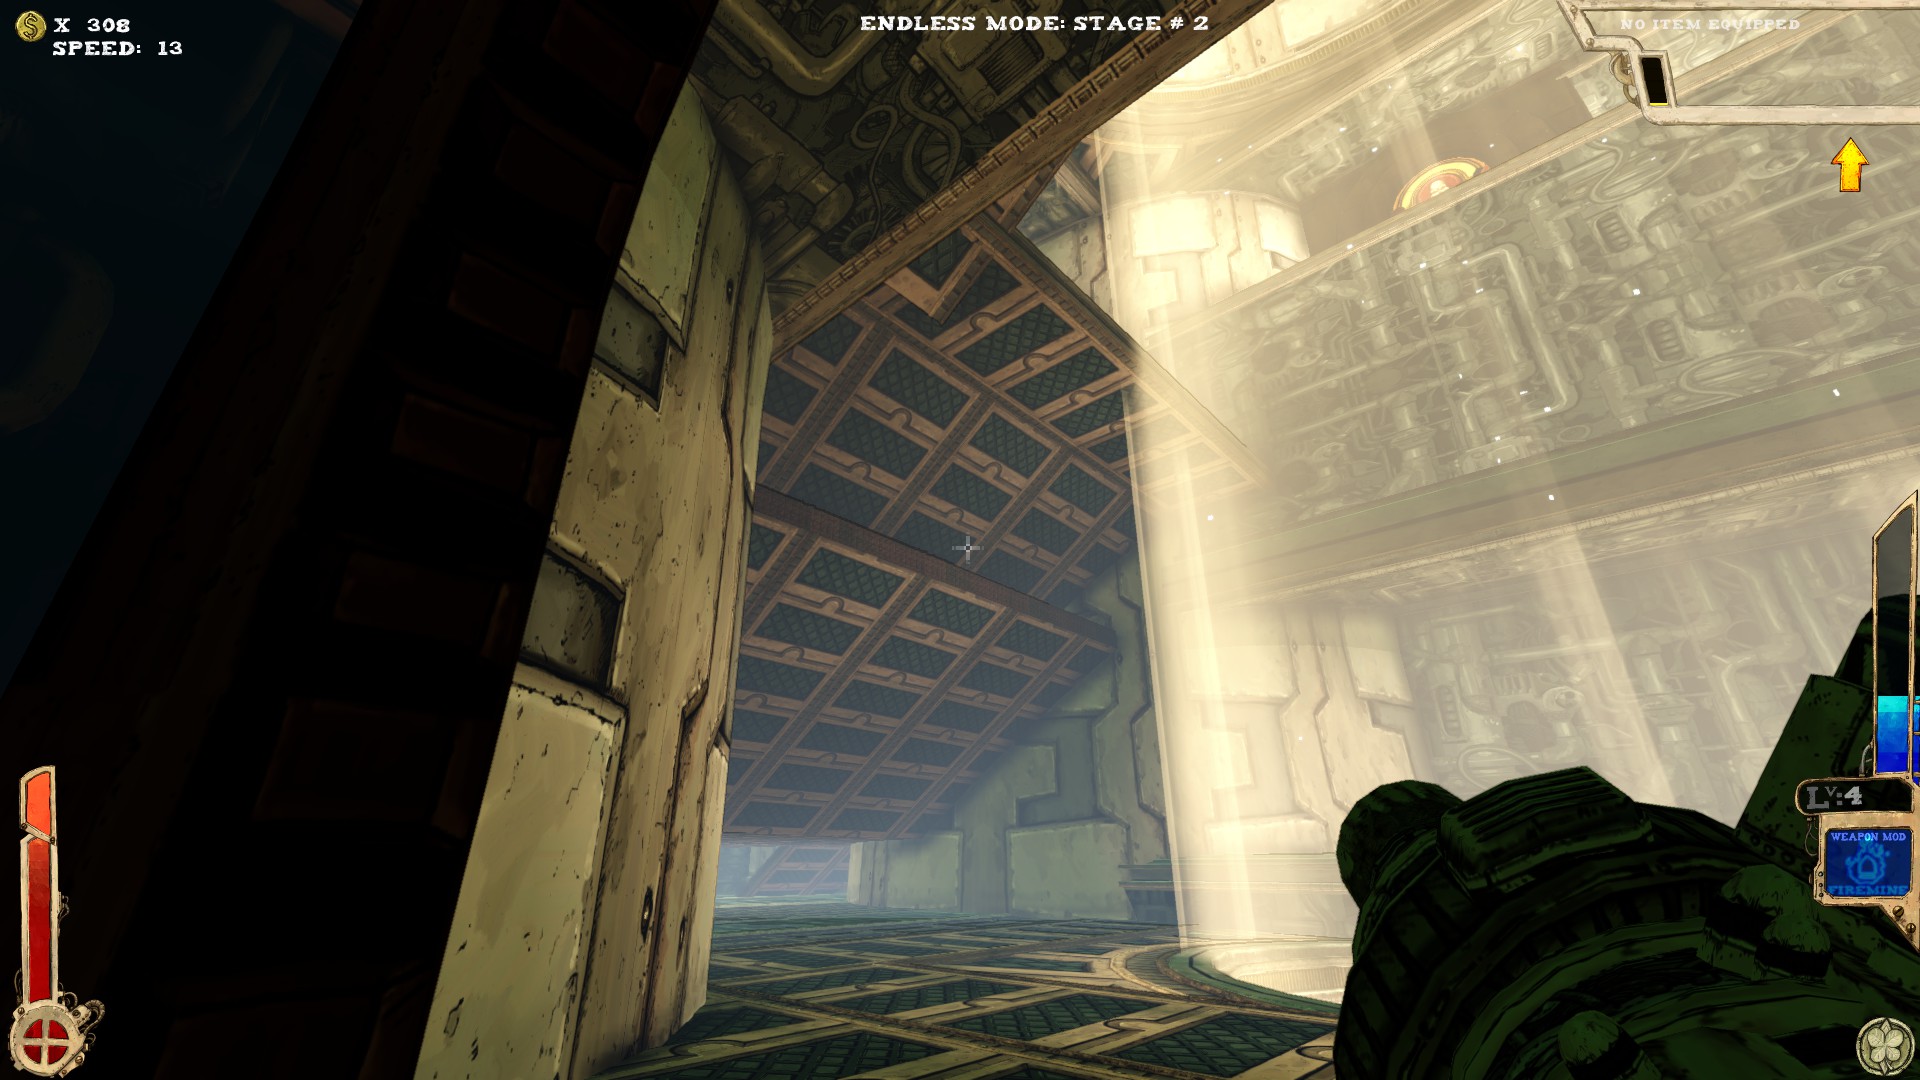
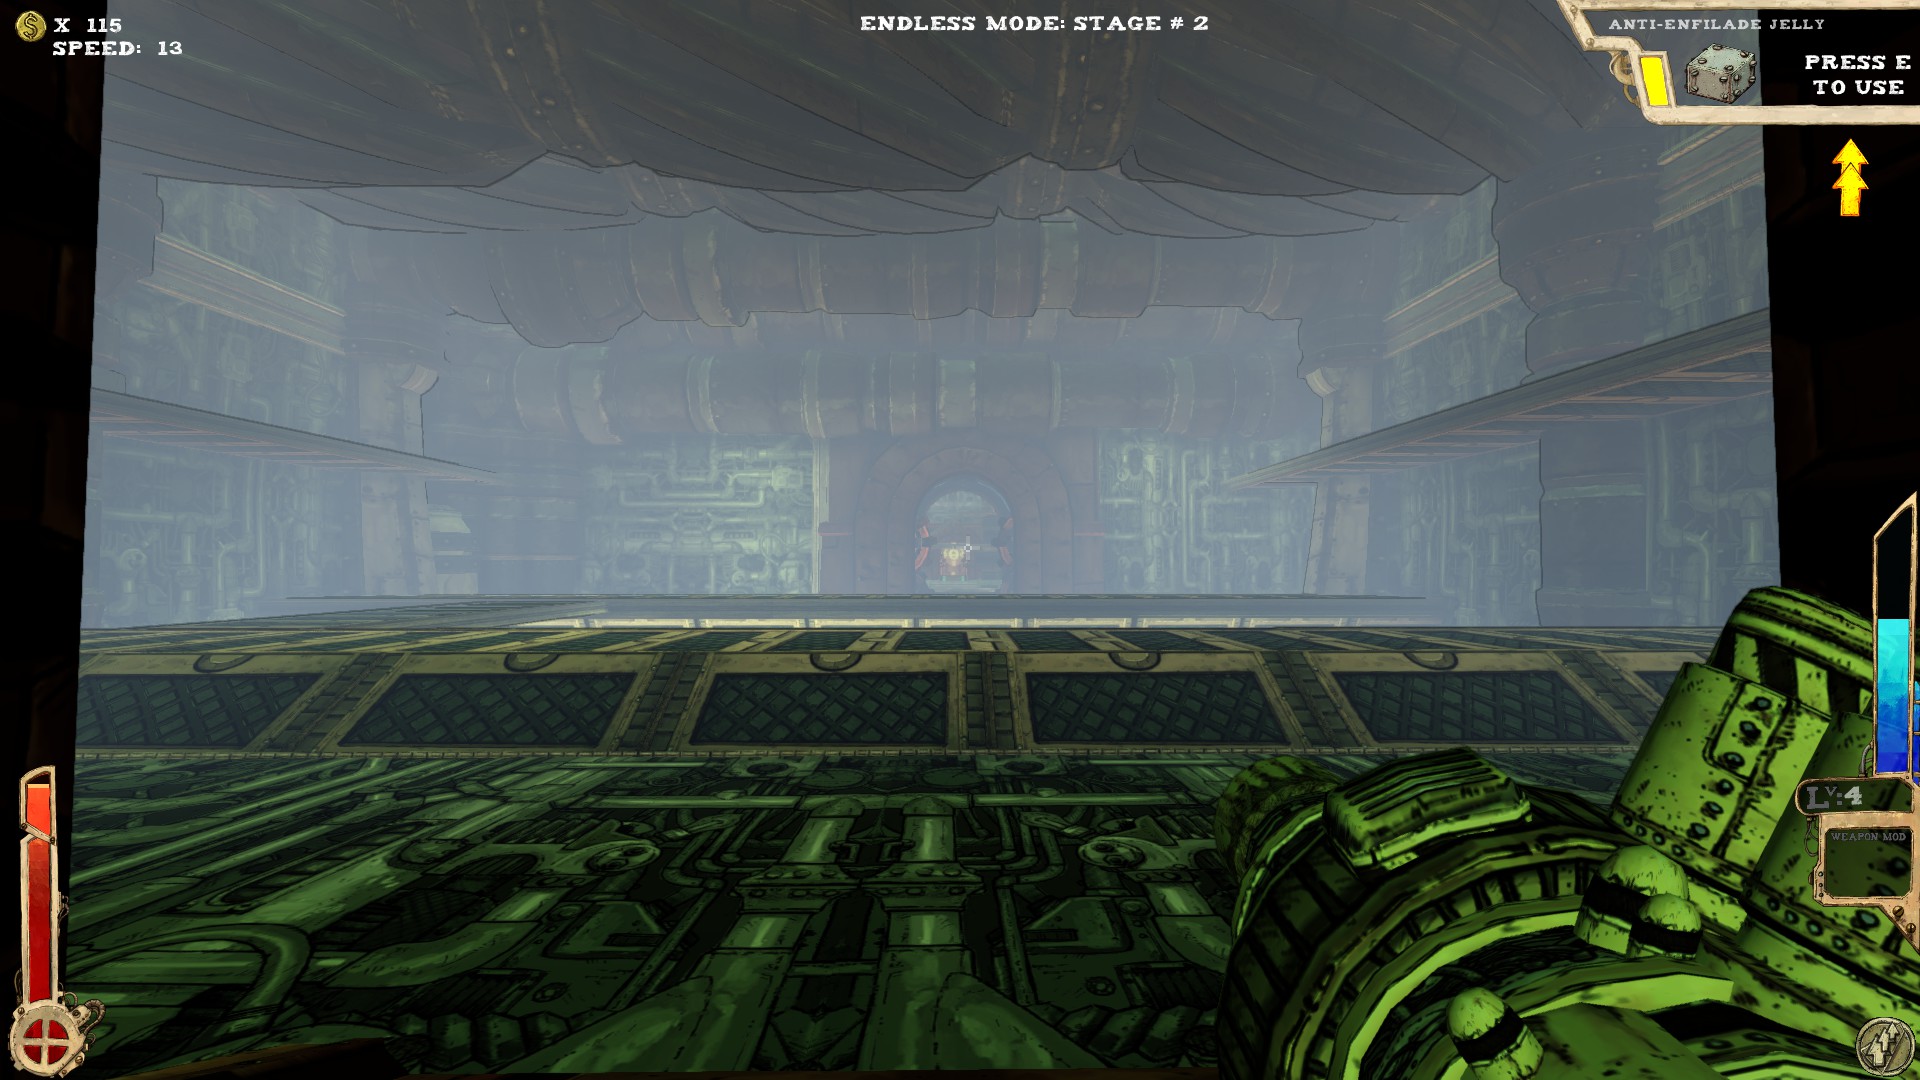
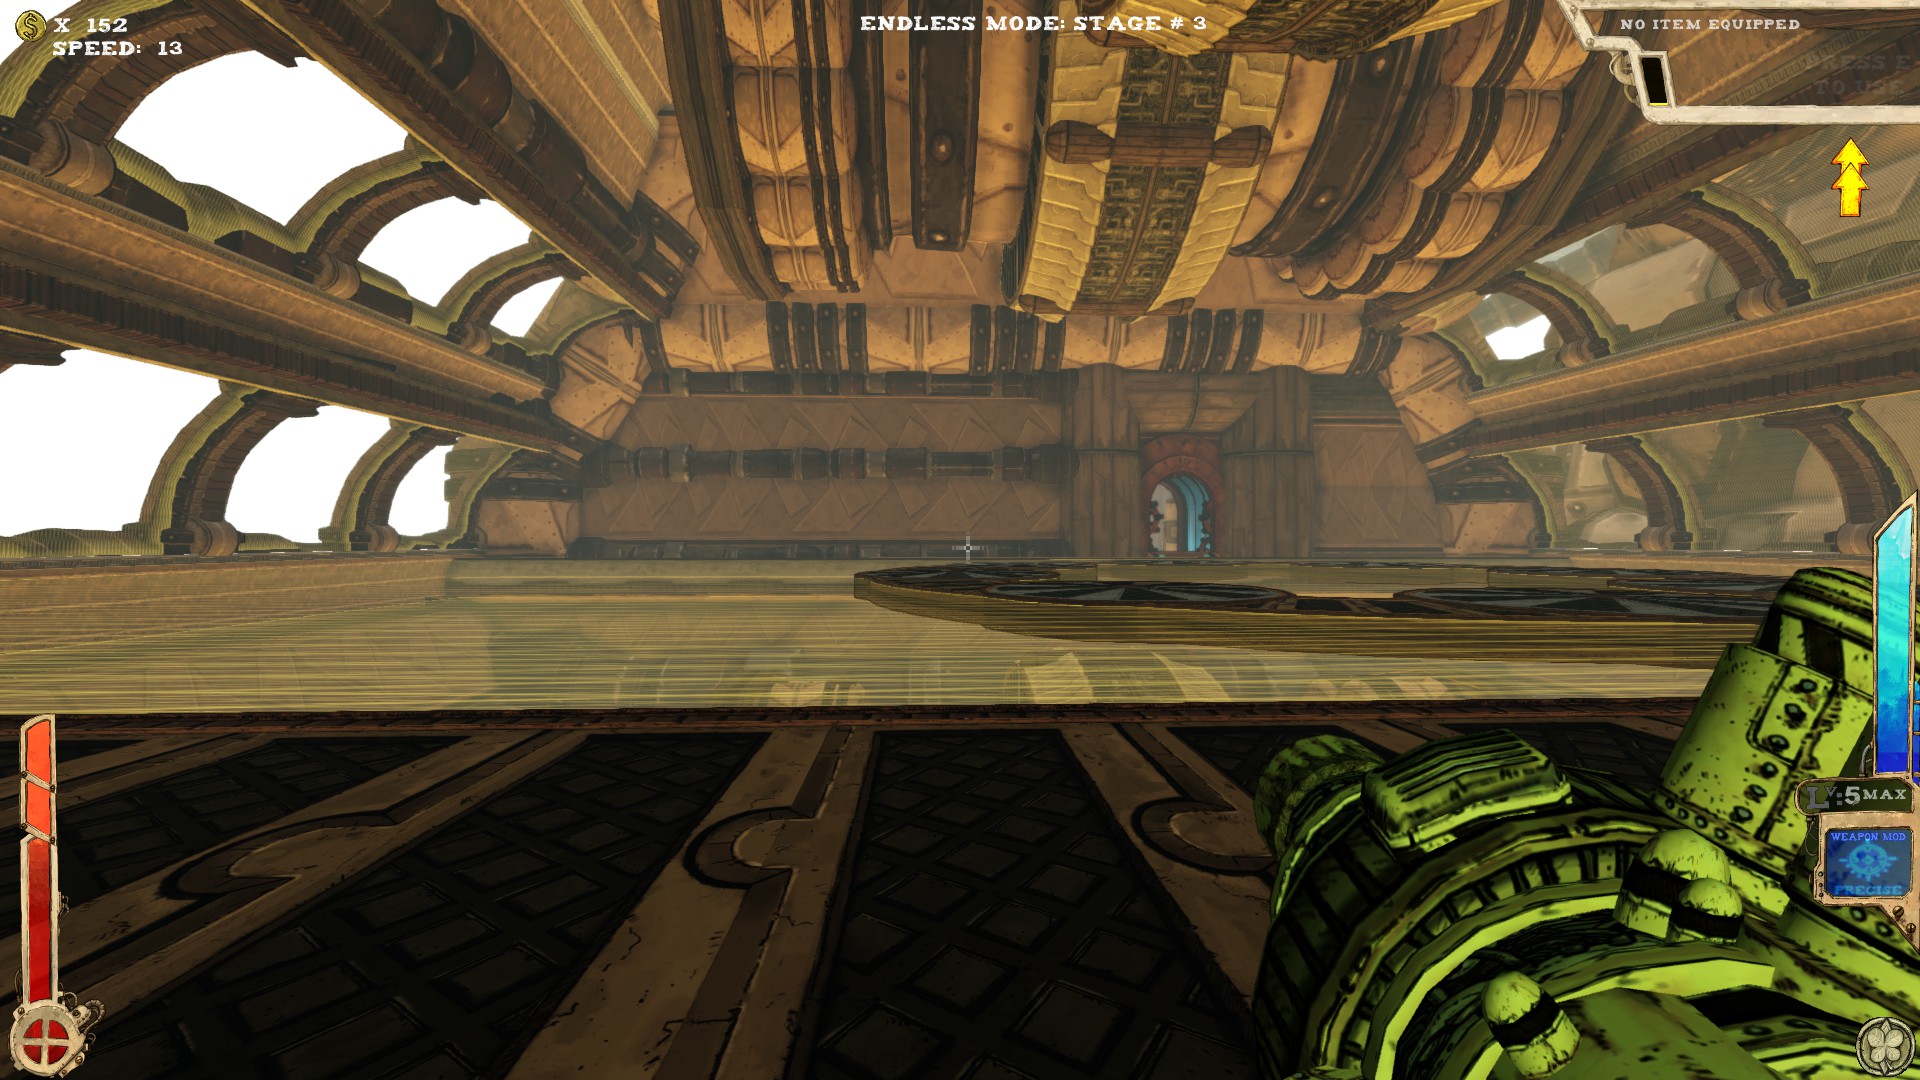
 One secret to rule them all.
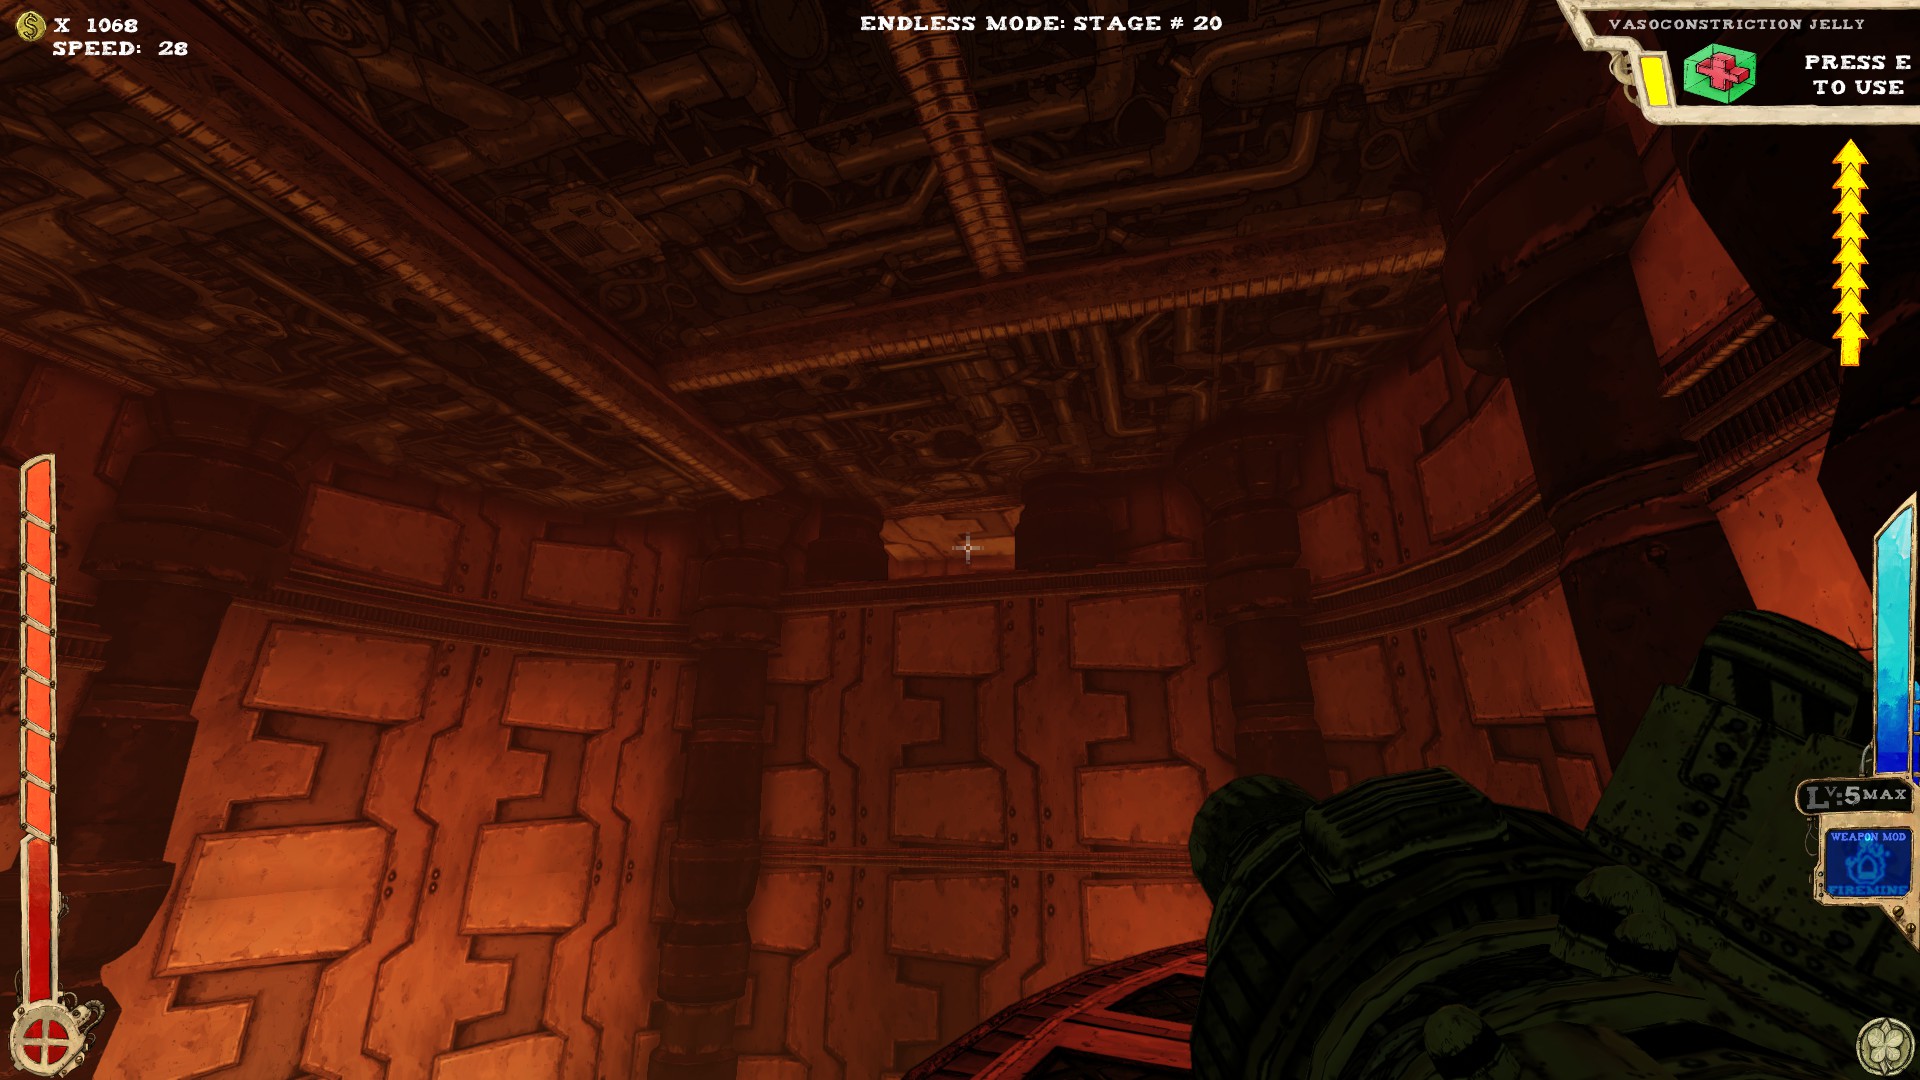
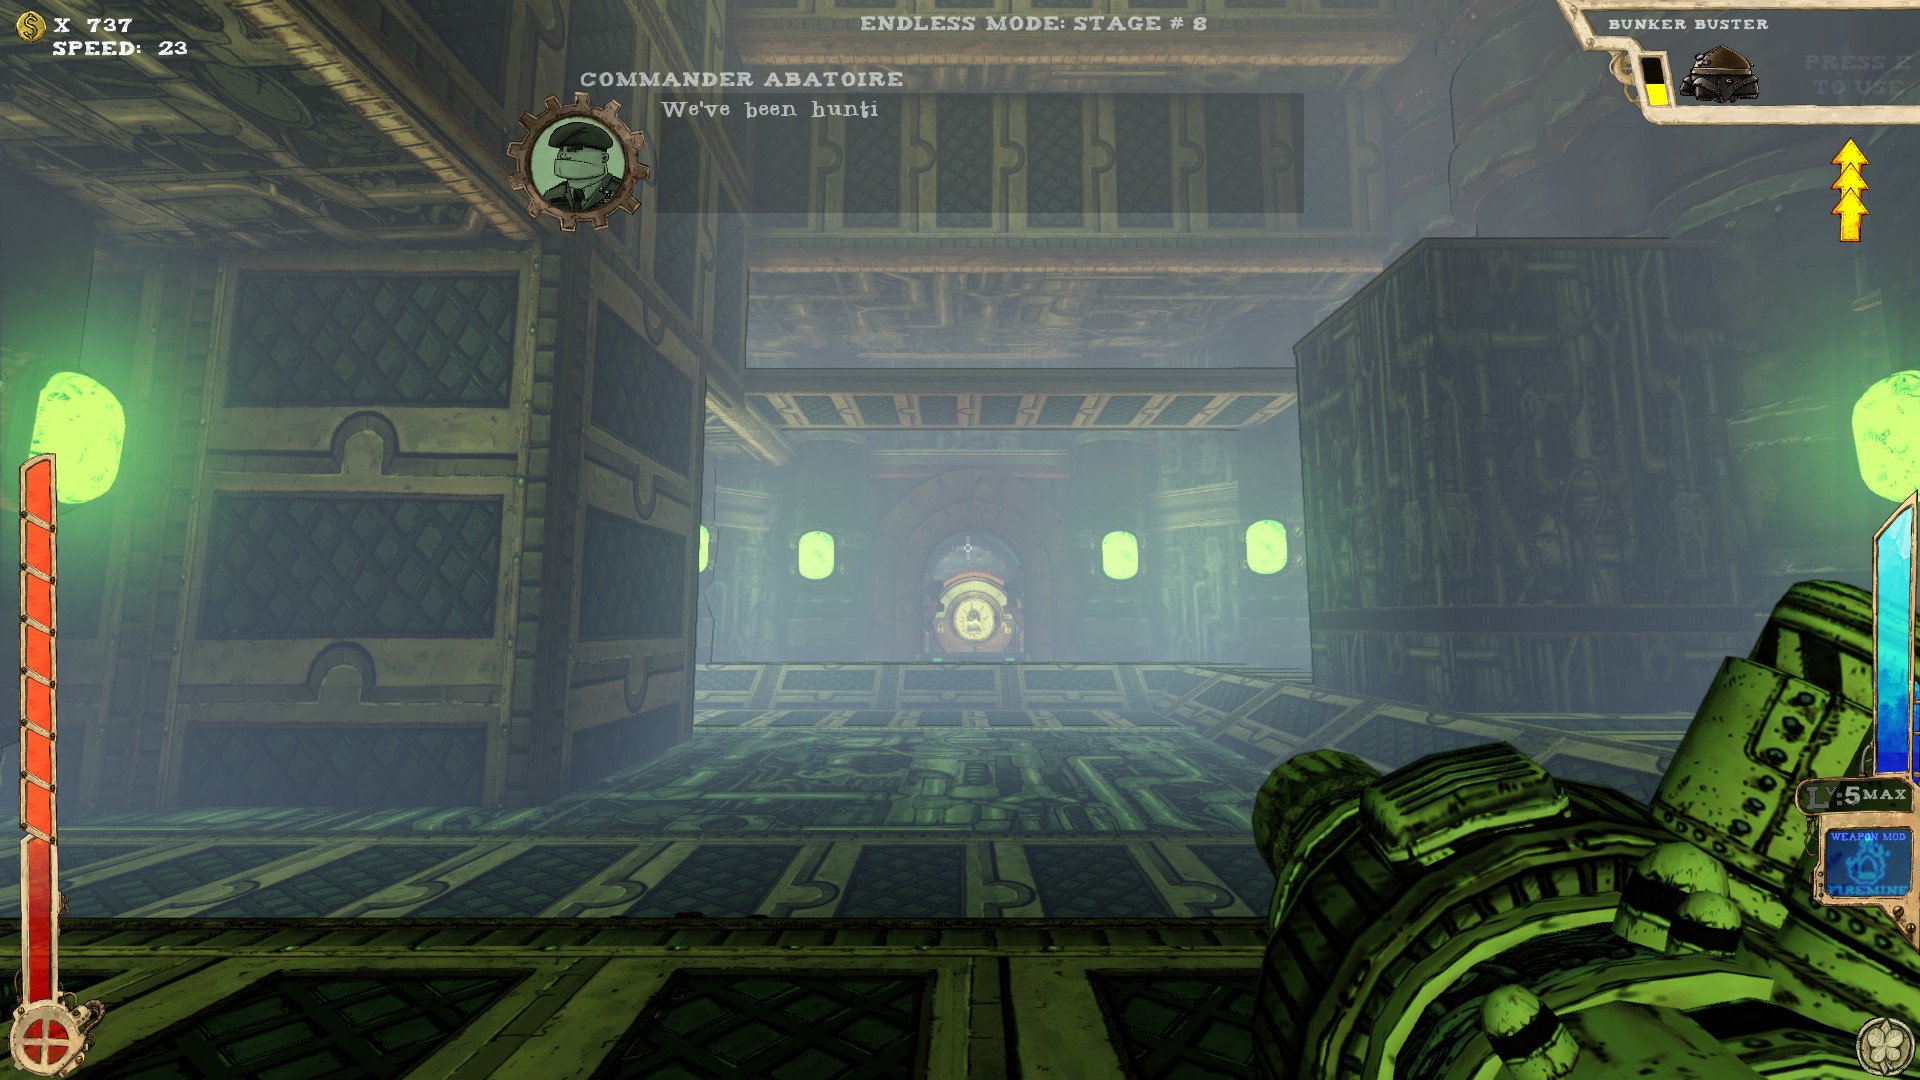
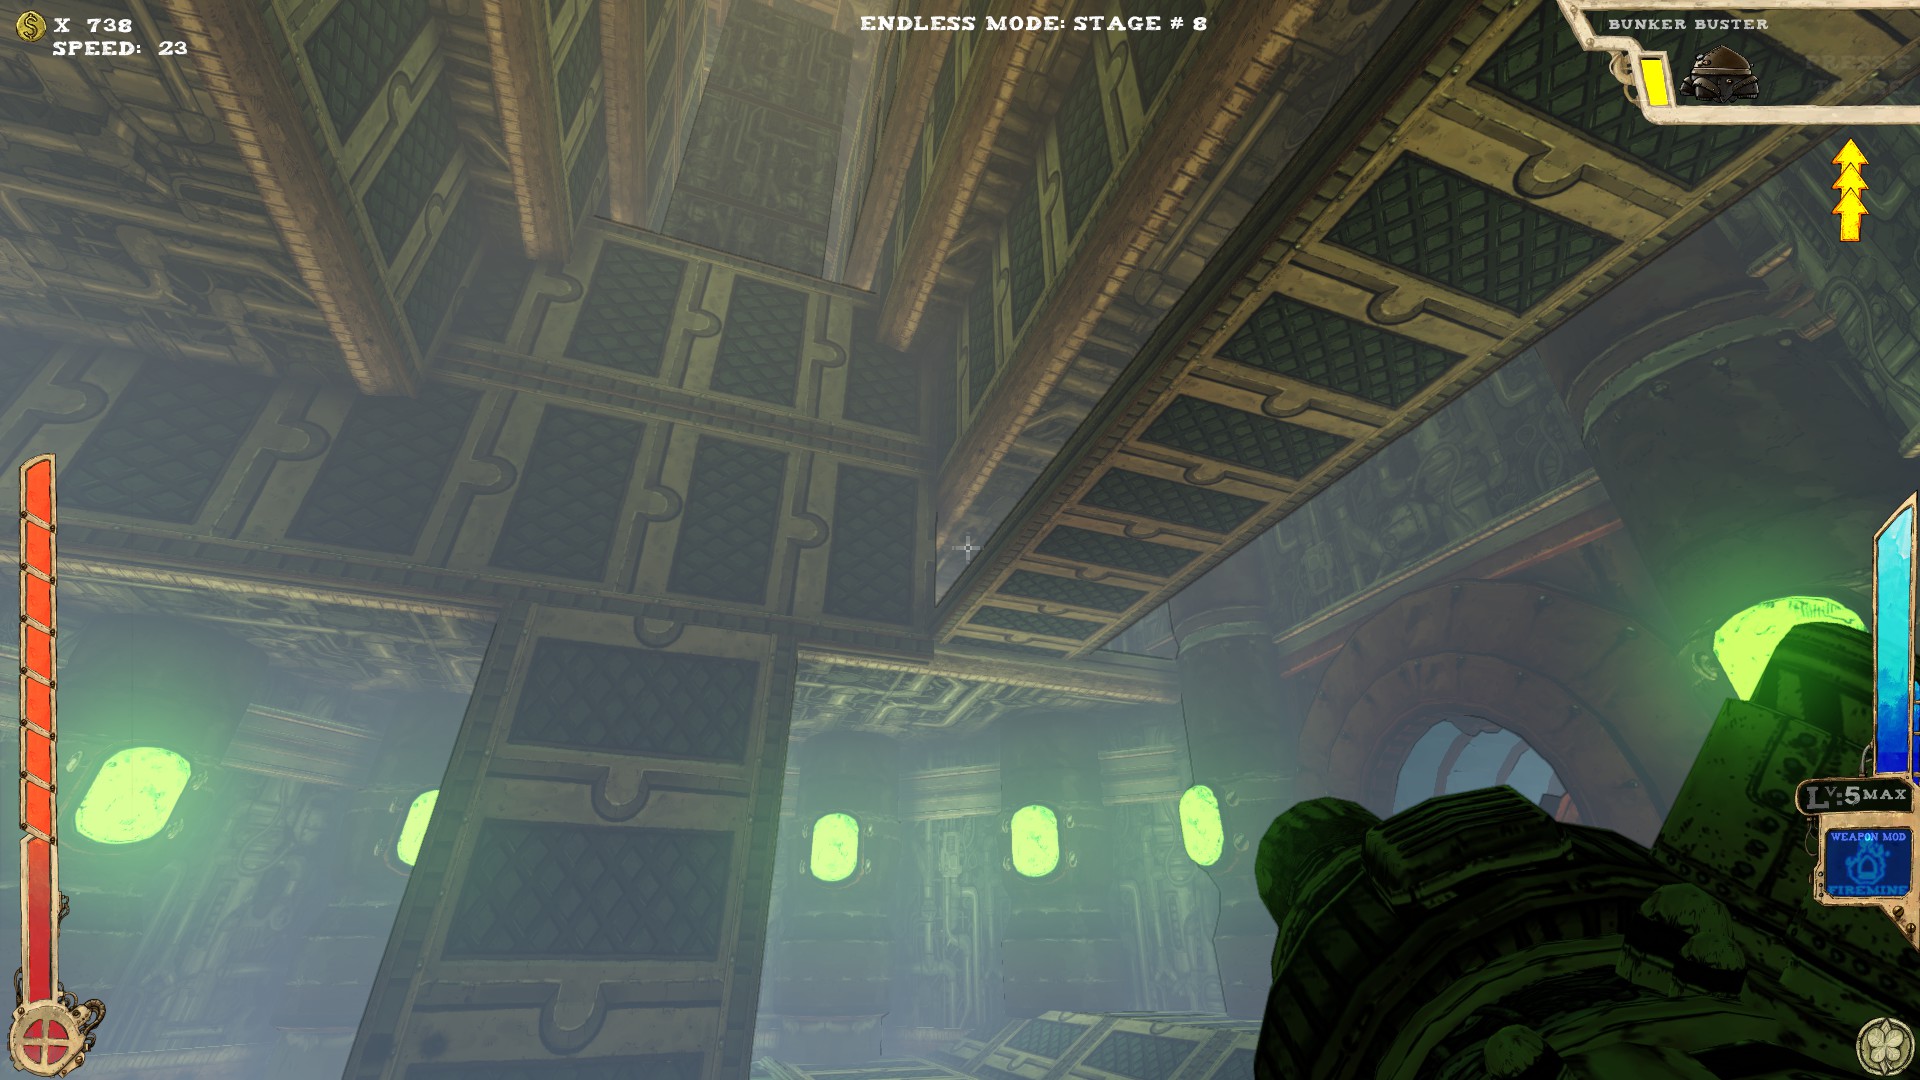
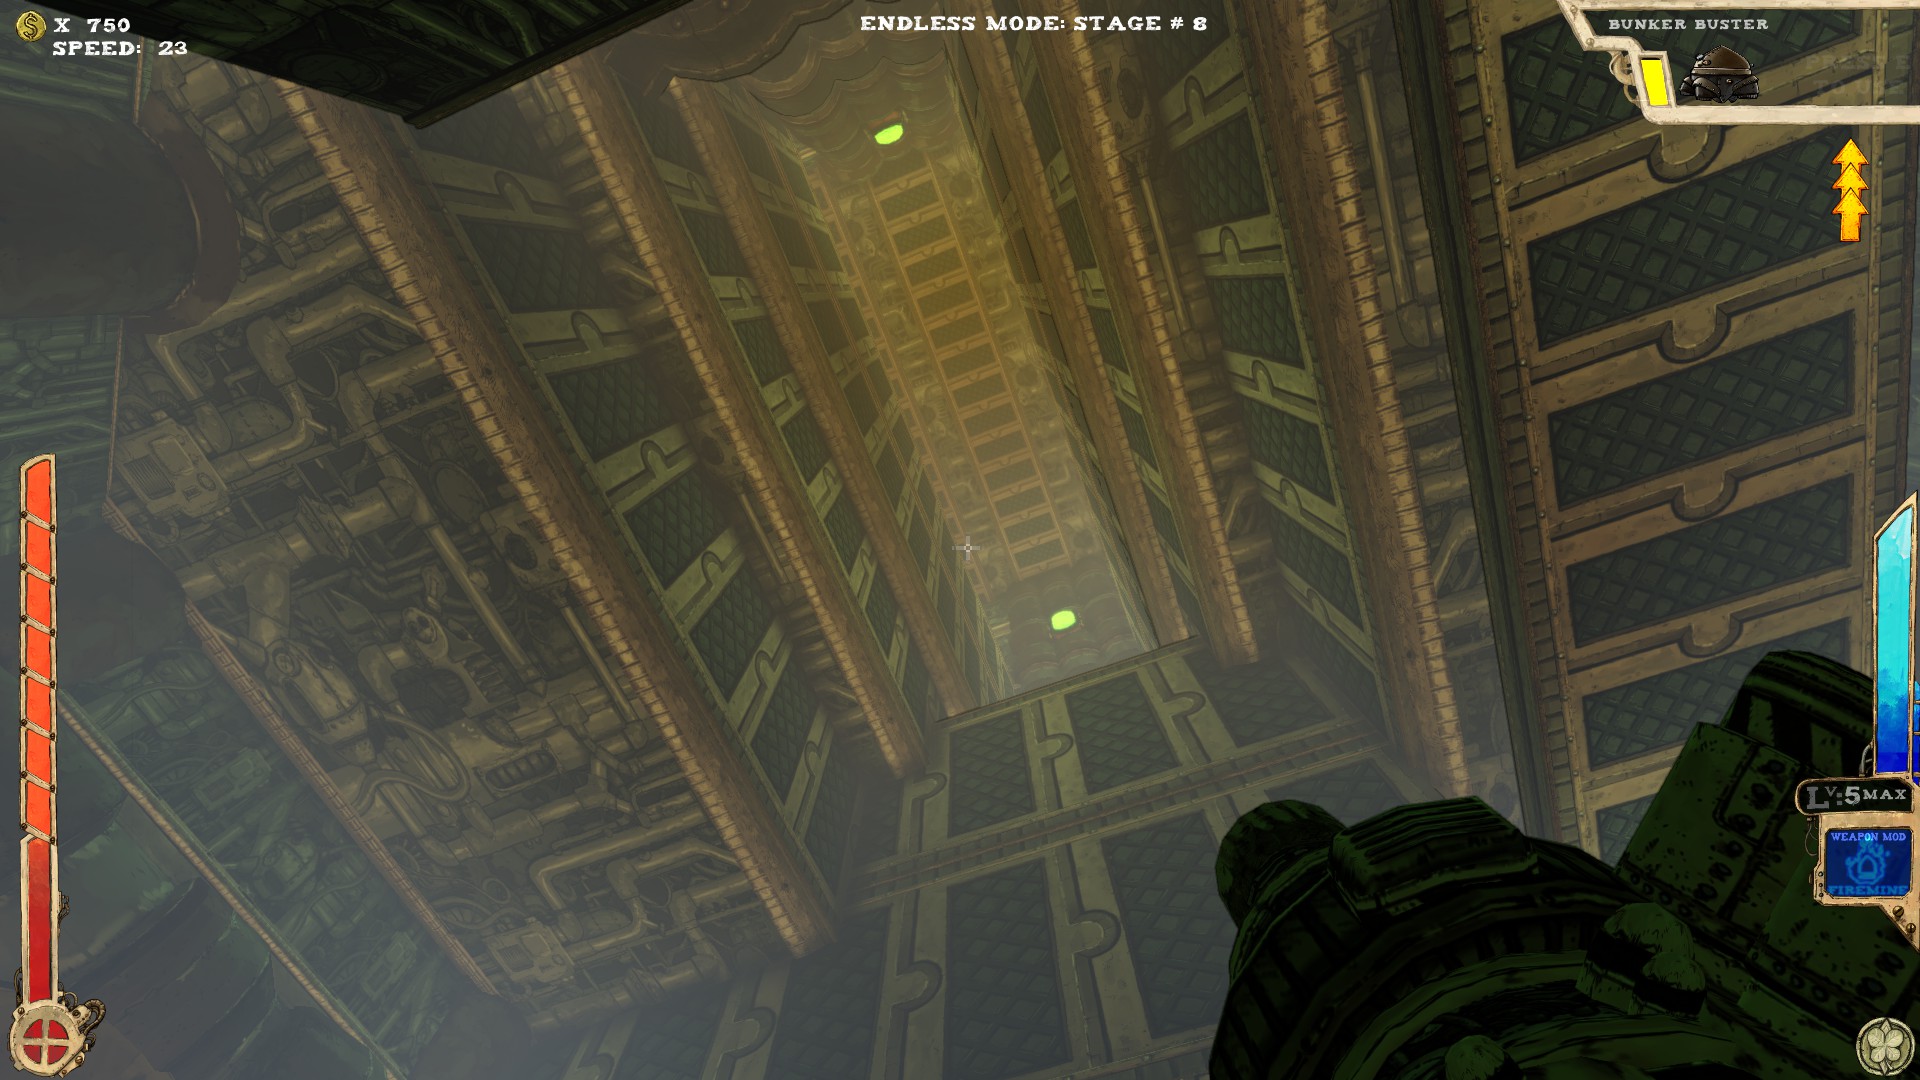
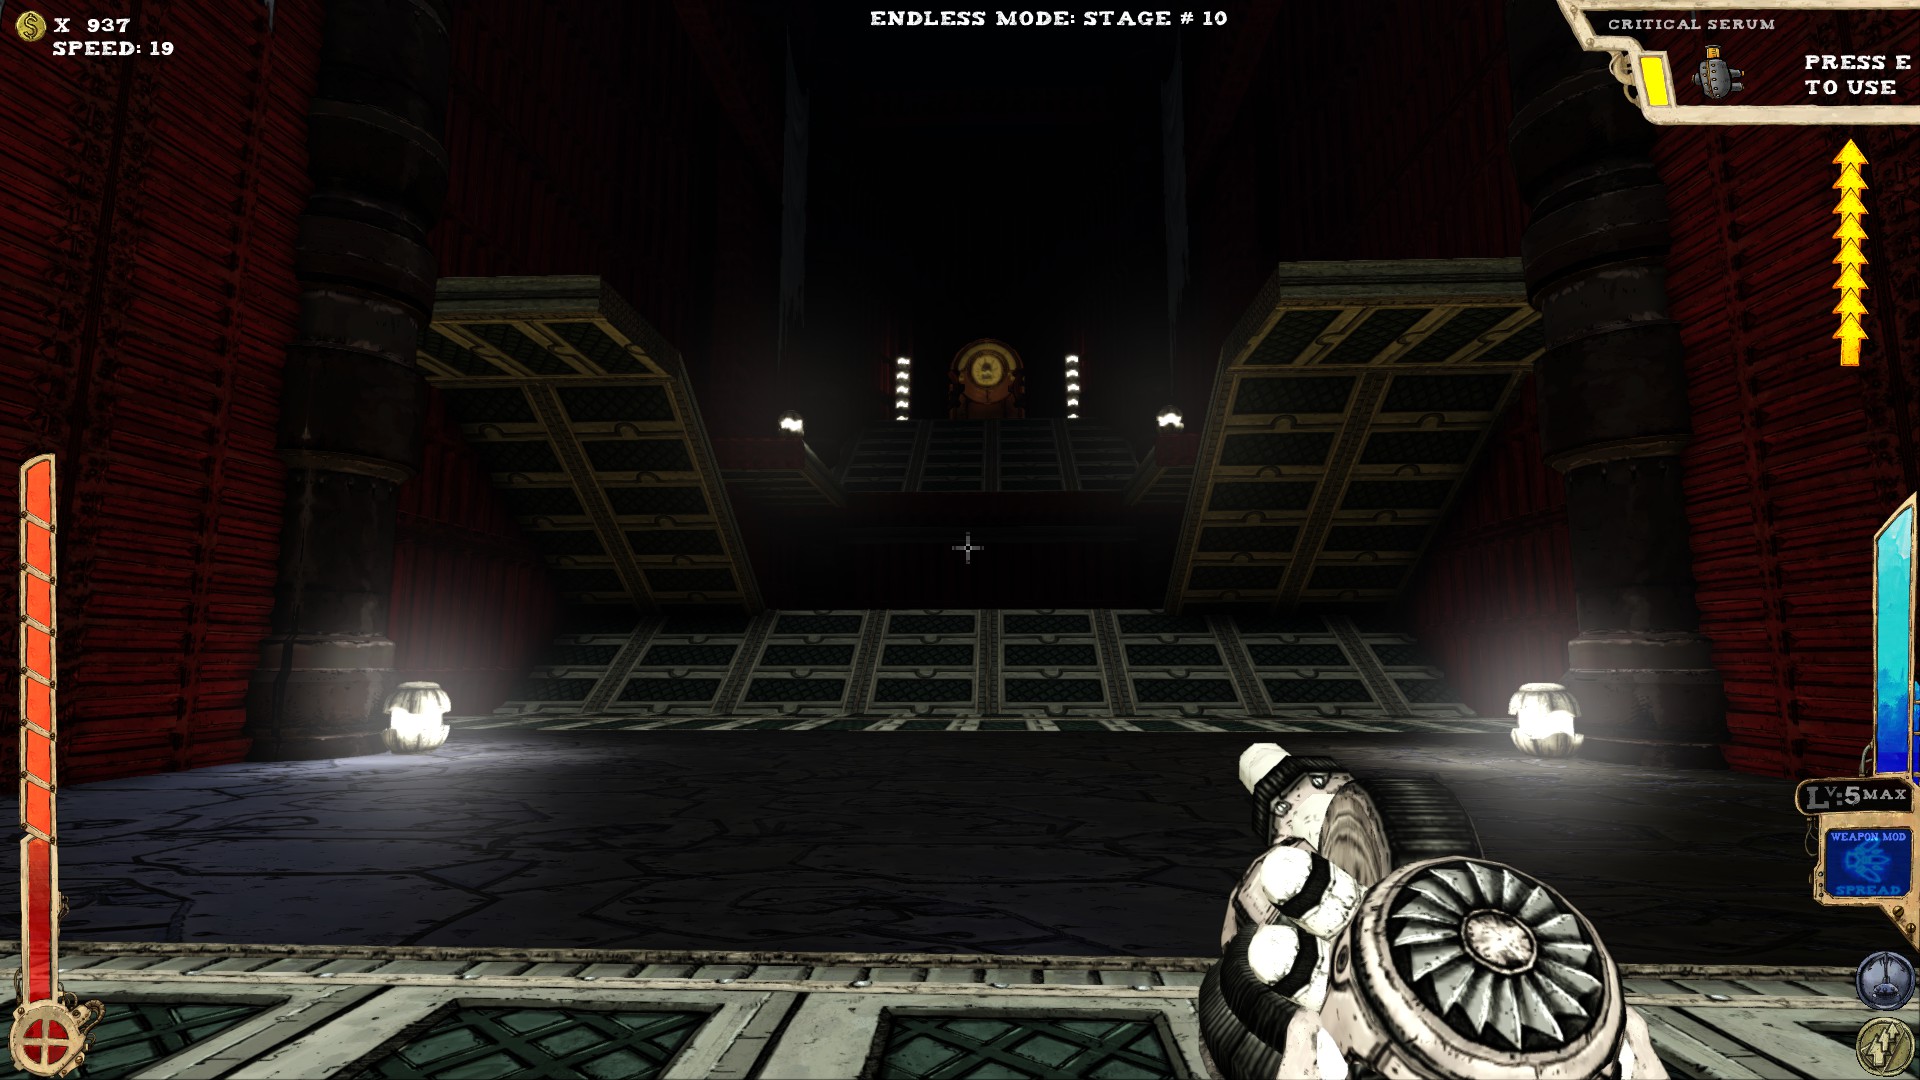
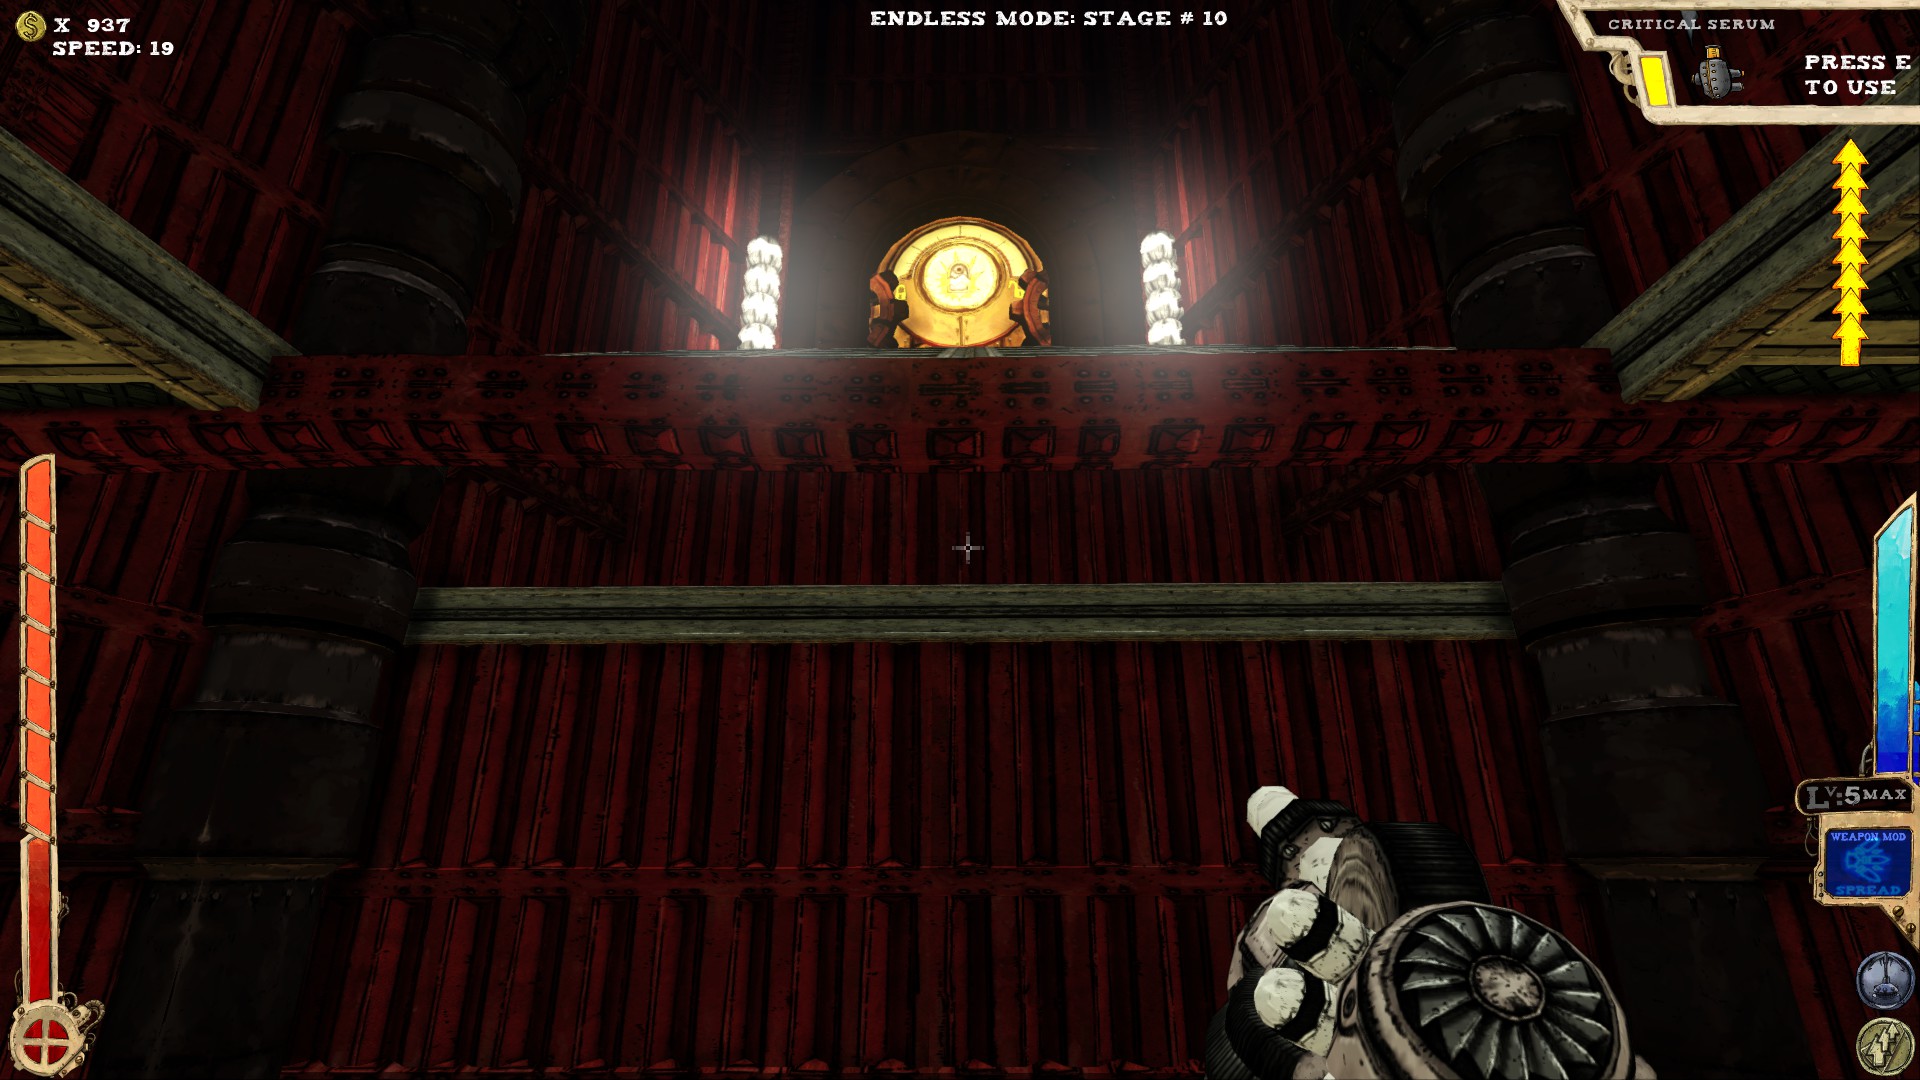
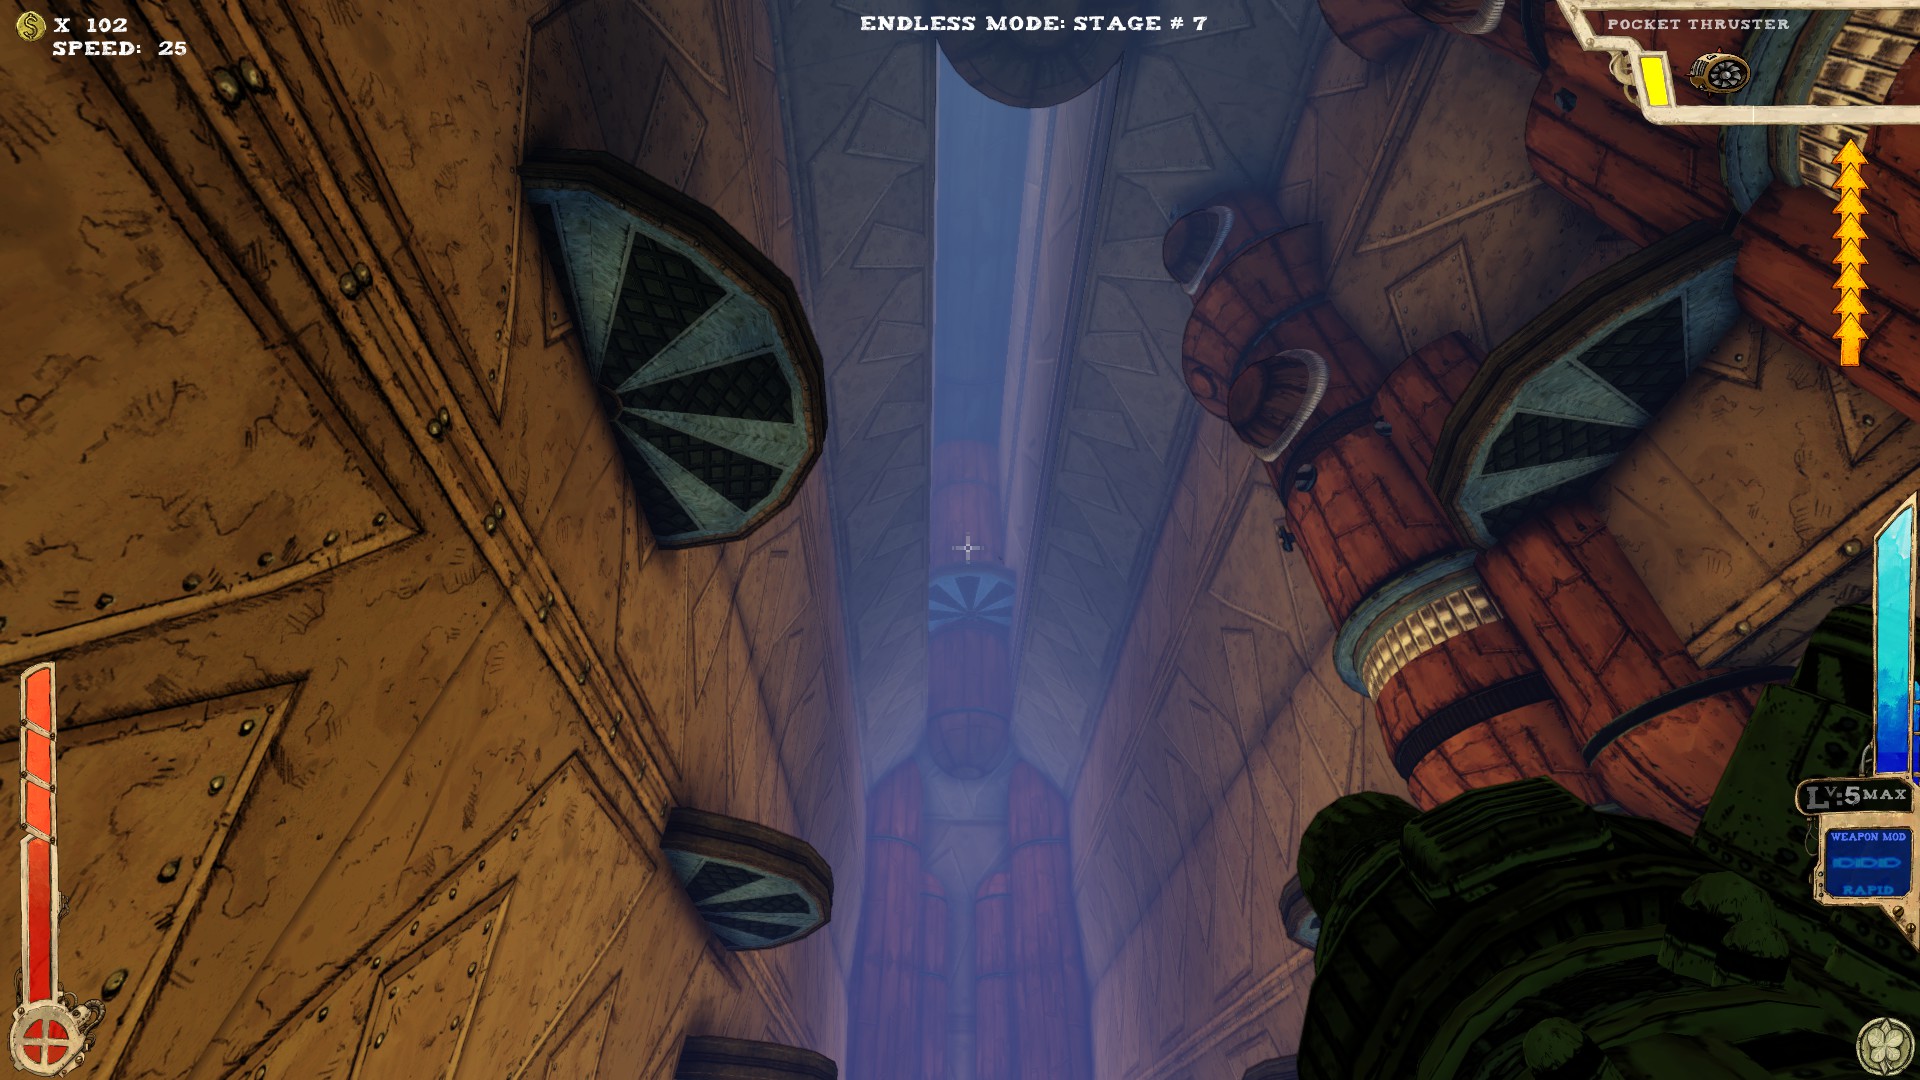 When you reach the part of the room with the boss door in it, turn around and look up.
Without enough jumps, the right item or weapon quite hard to reach.
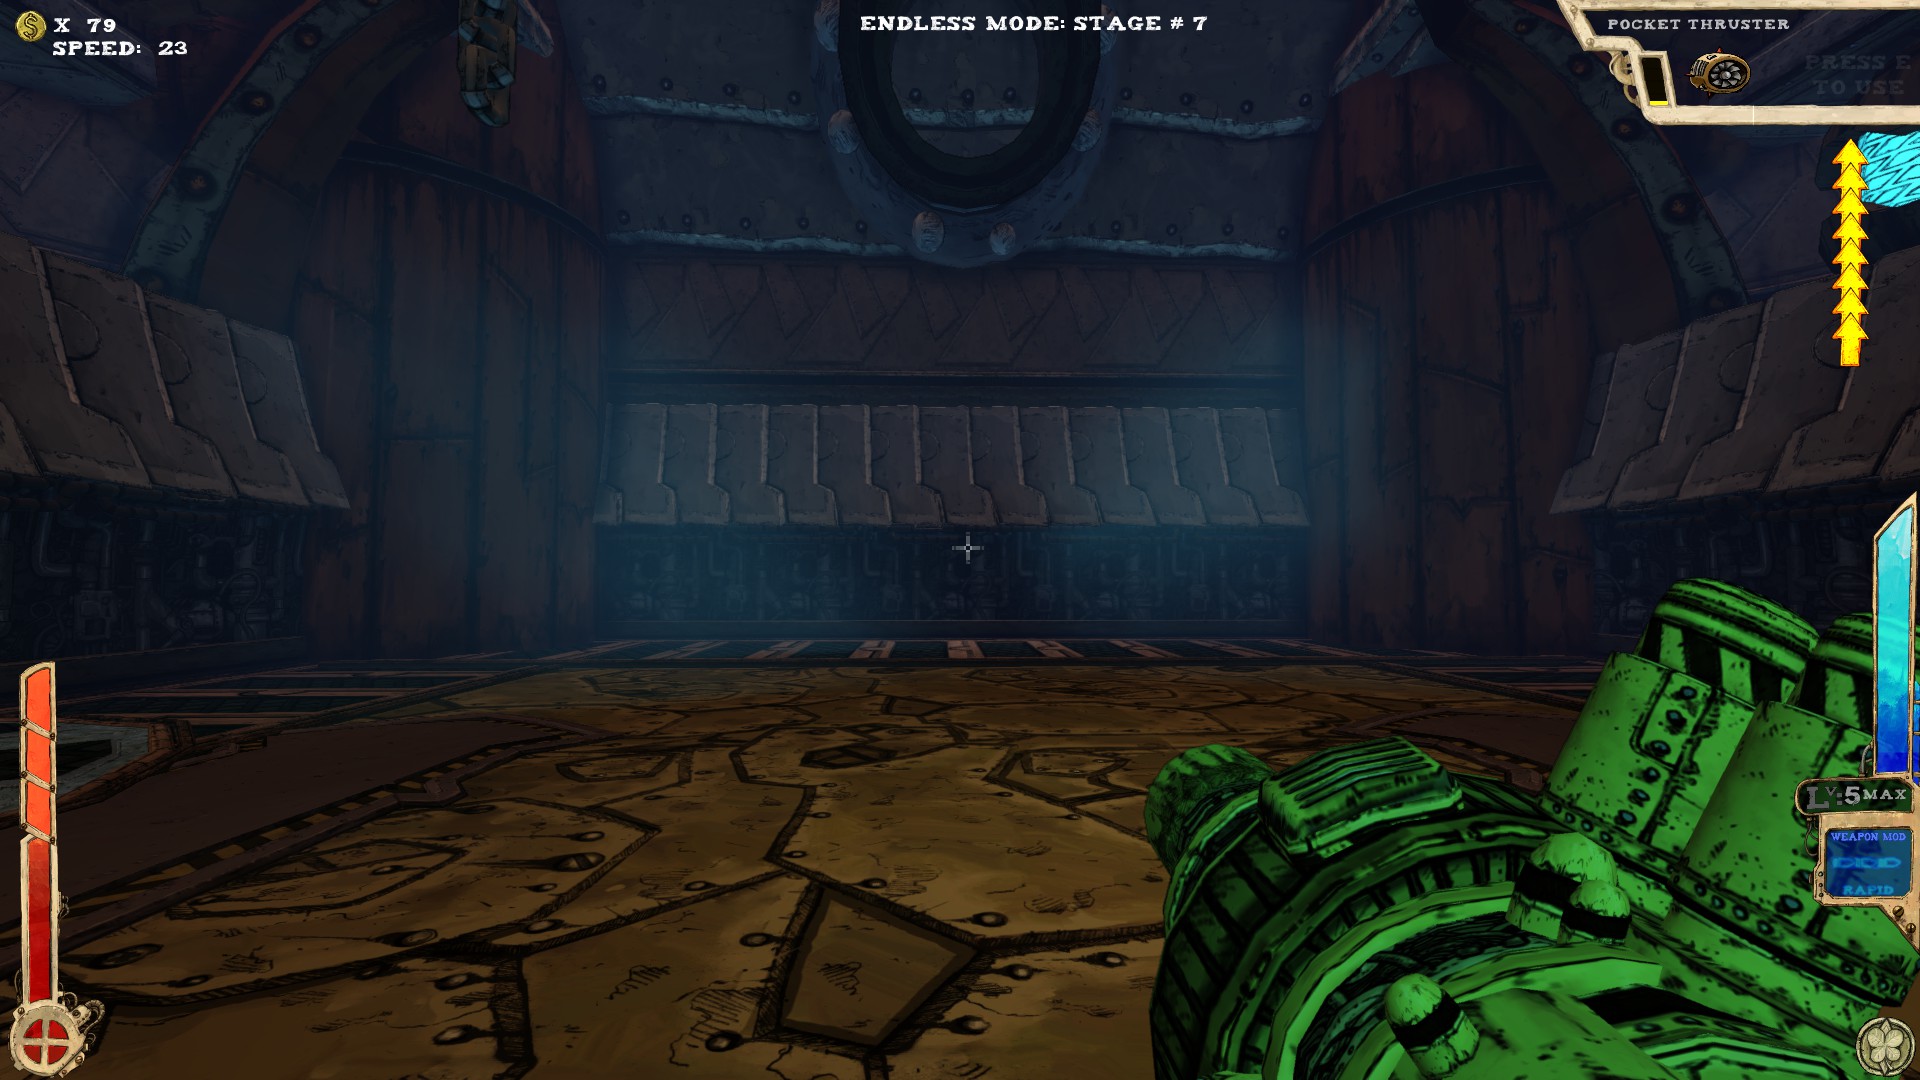
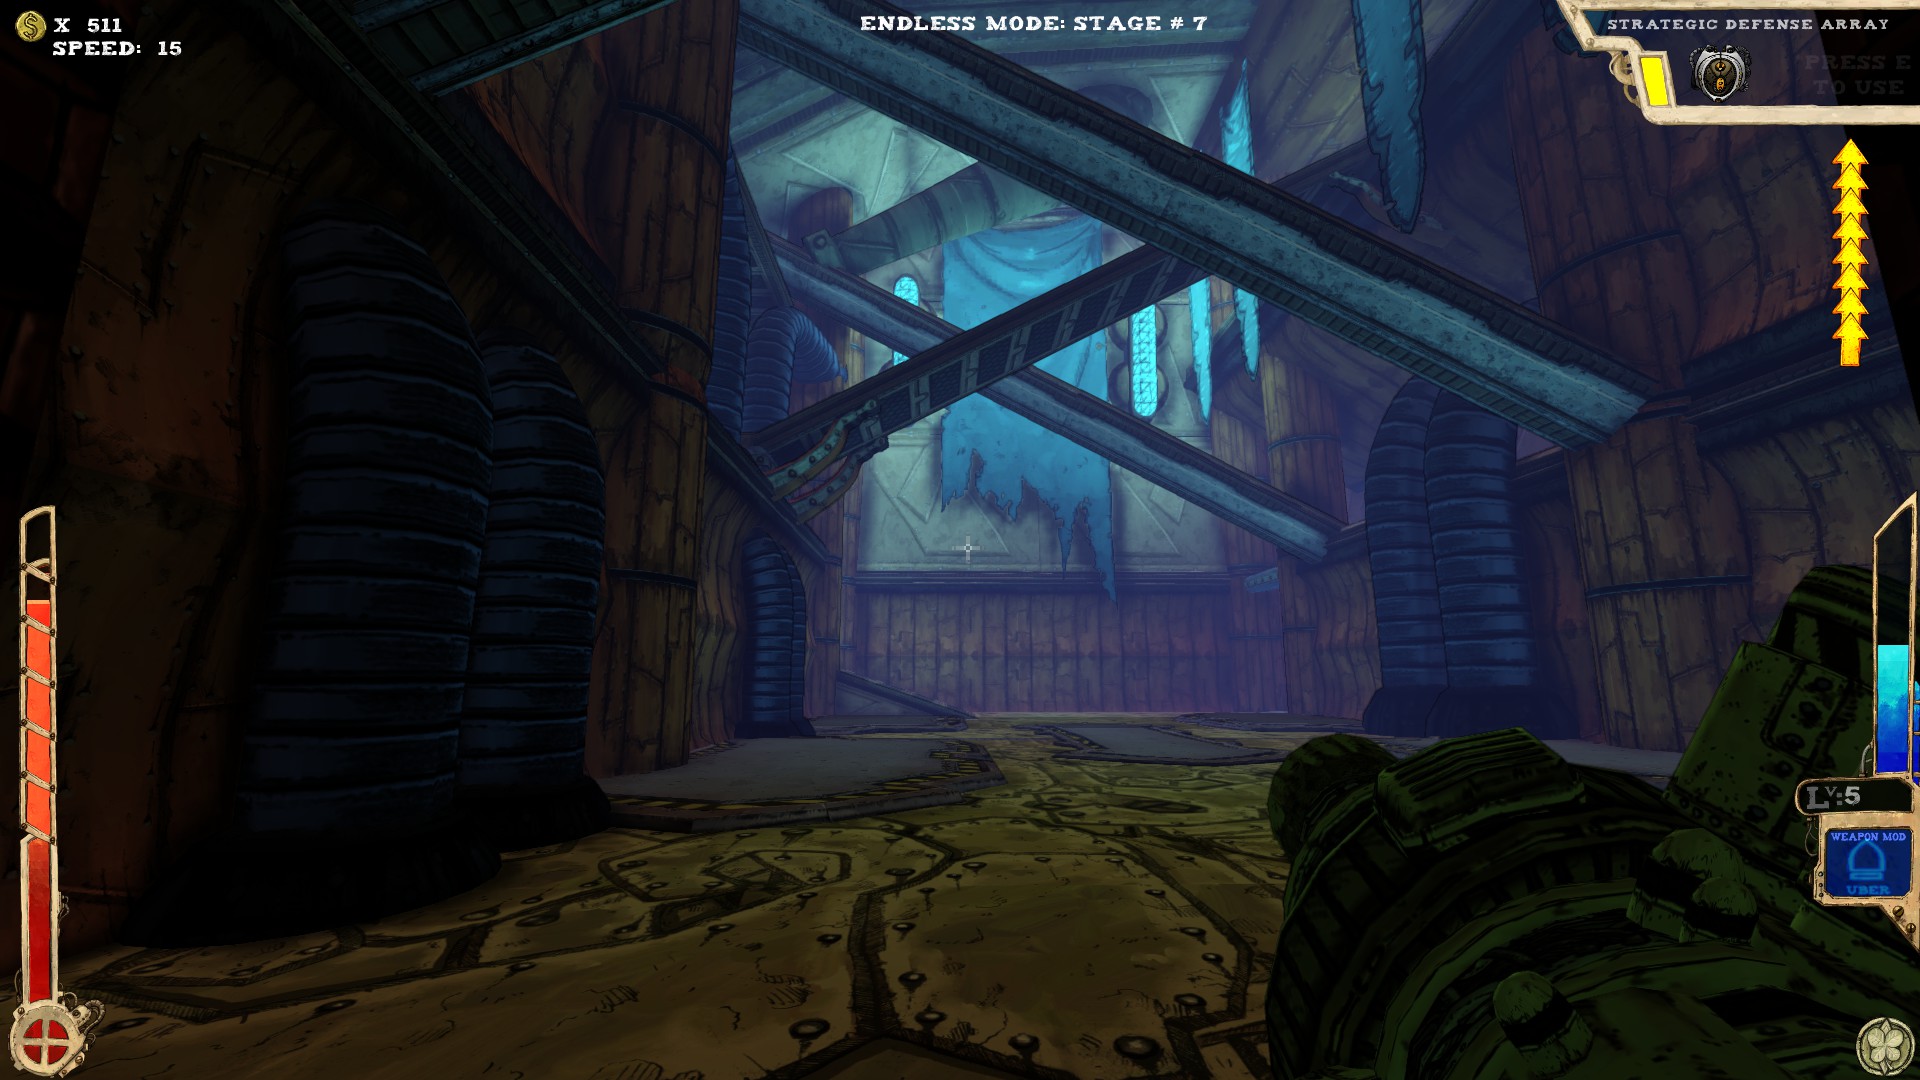
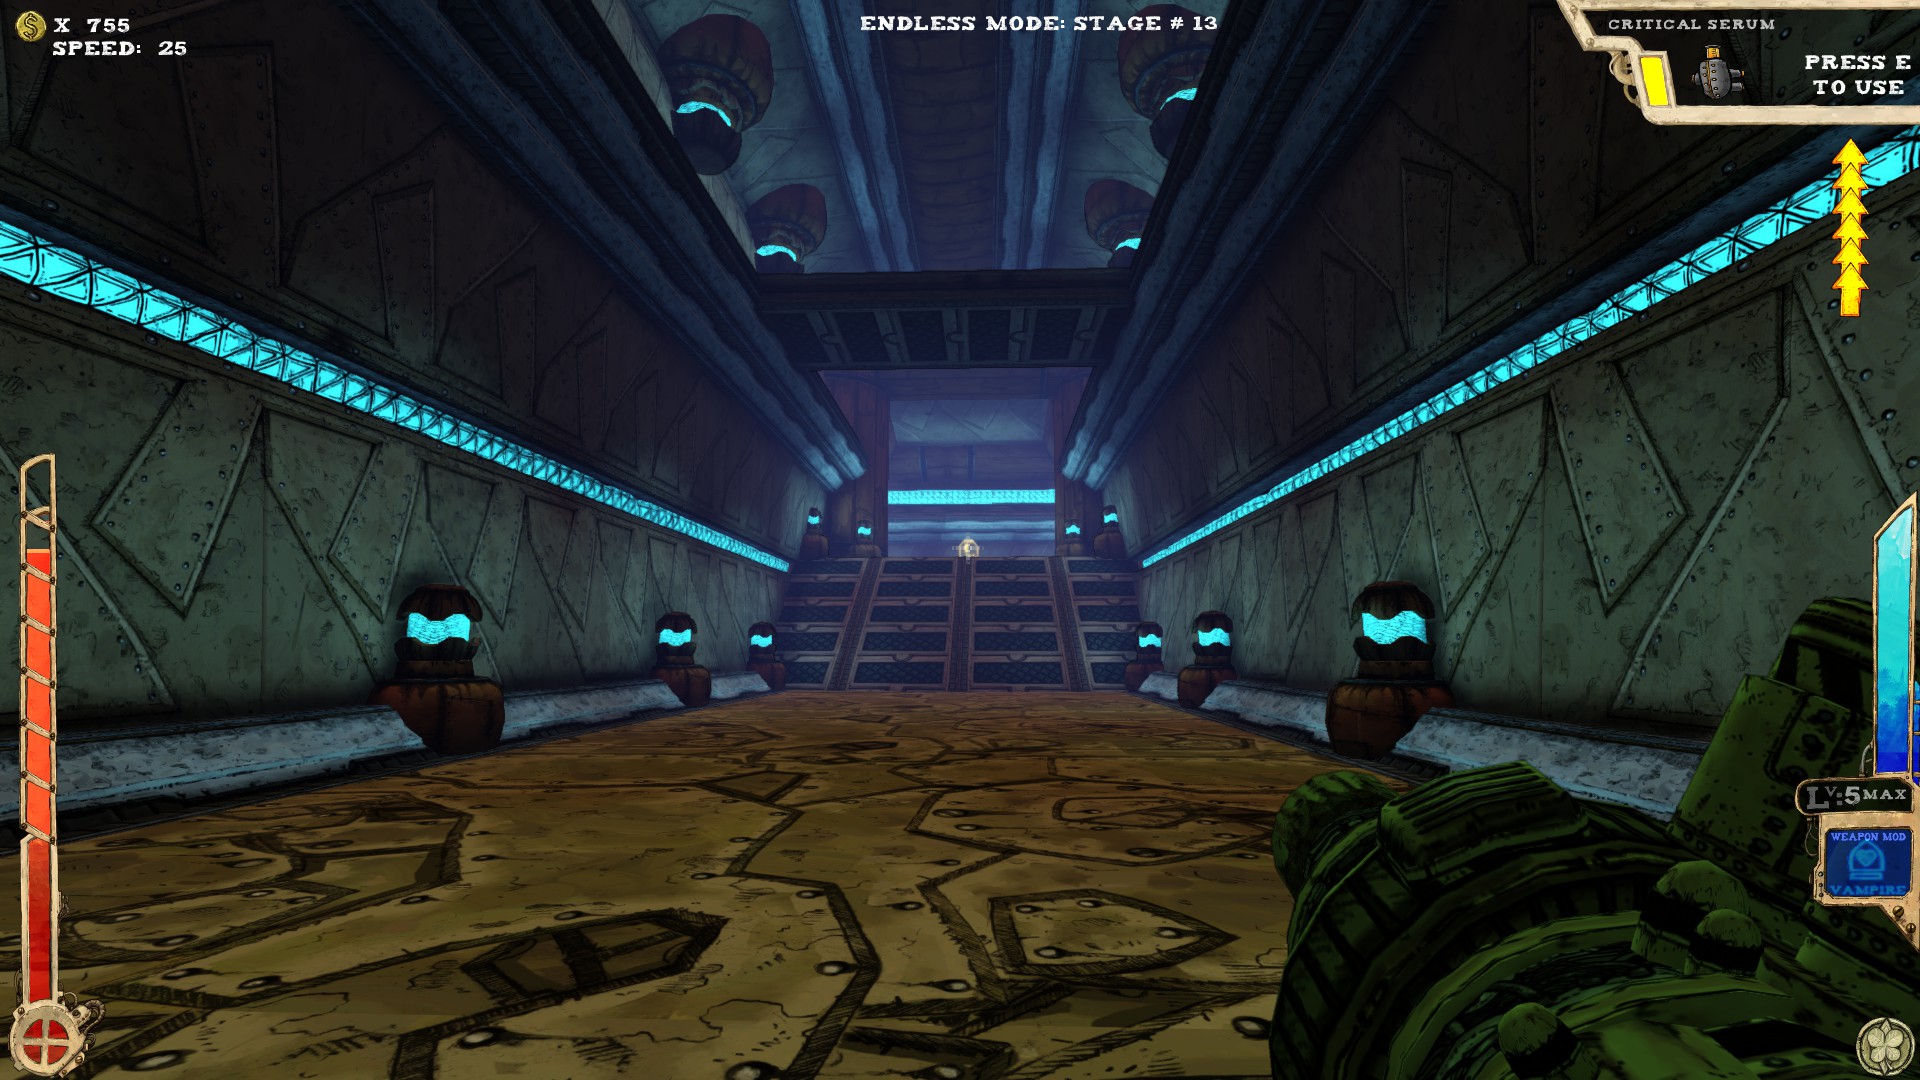
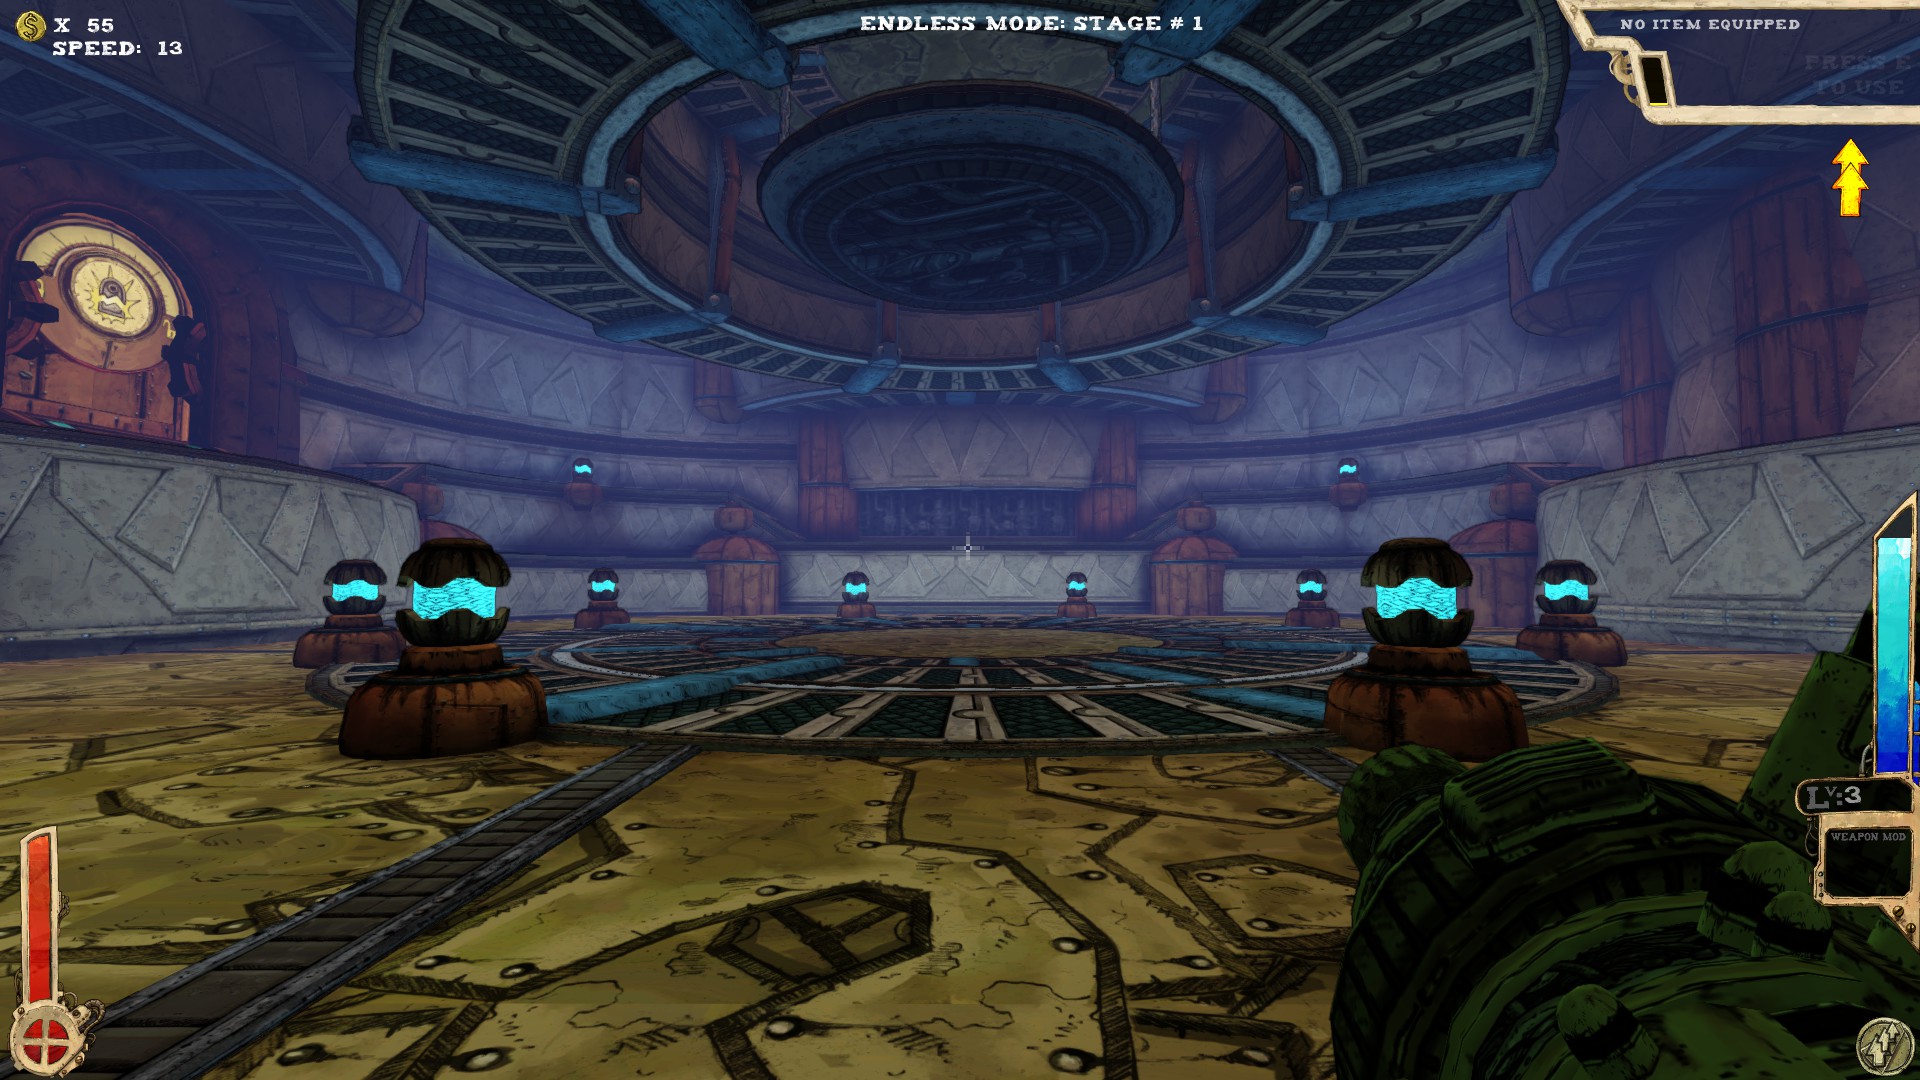
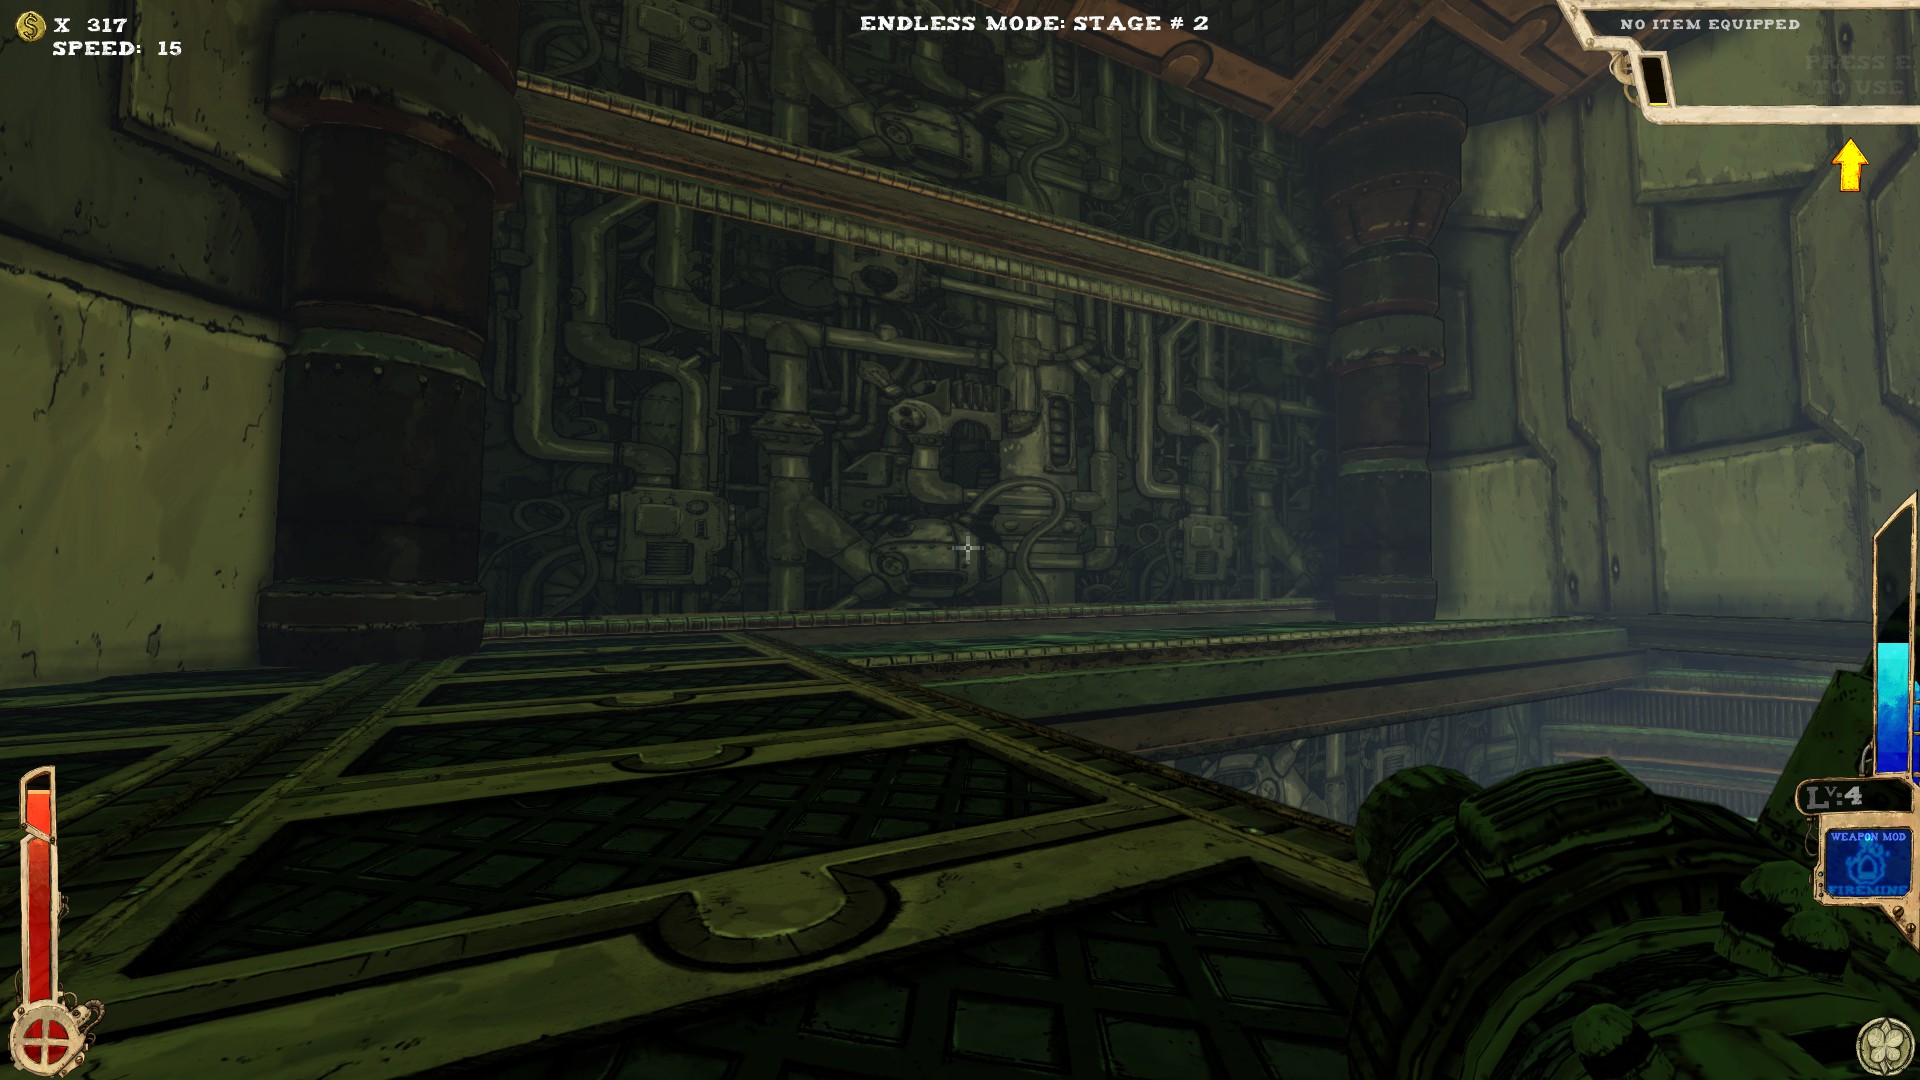
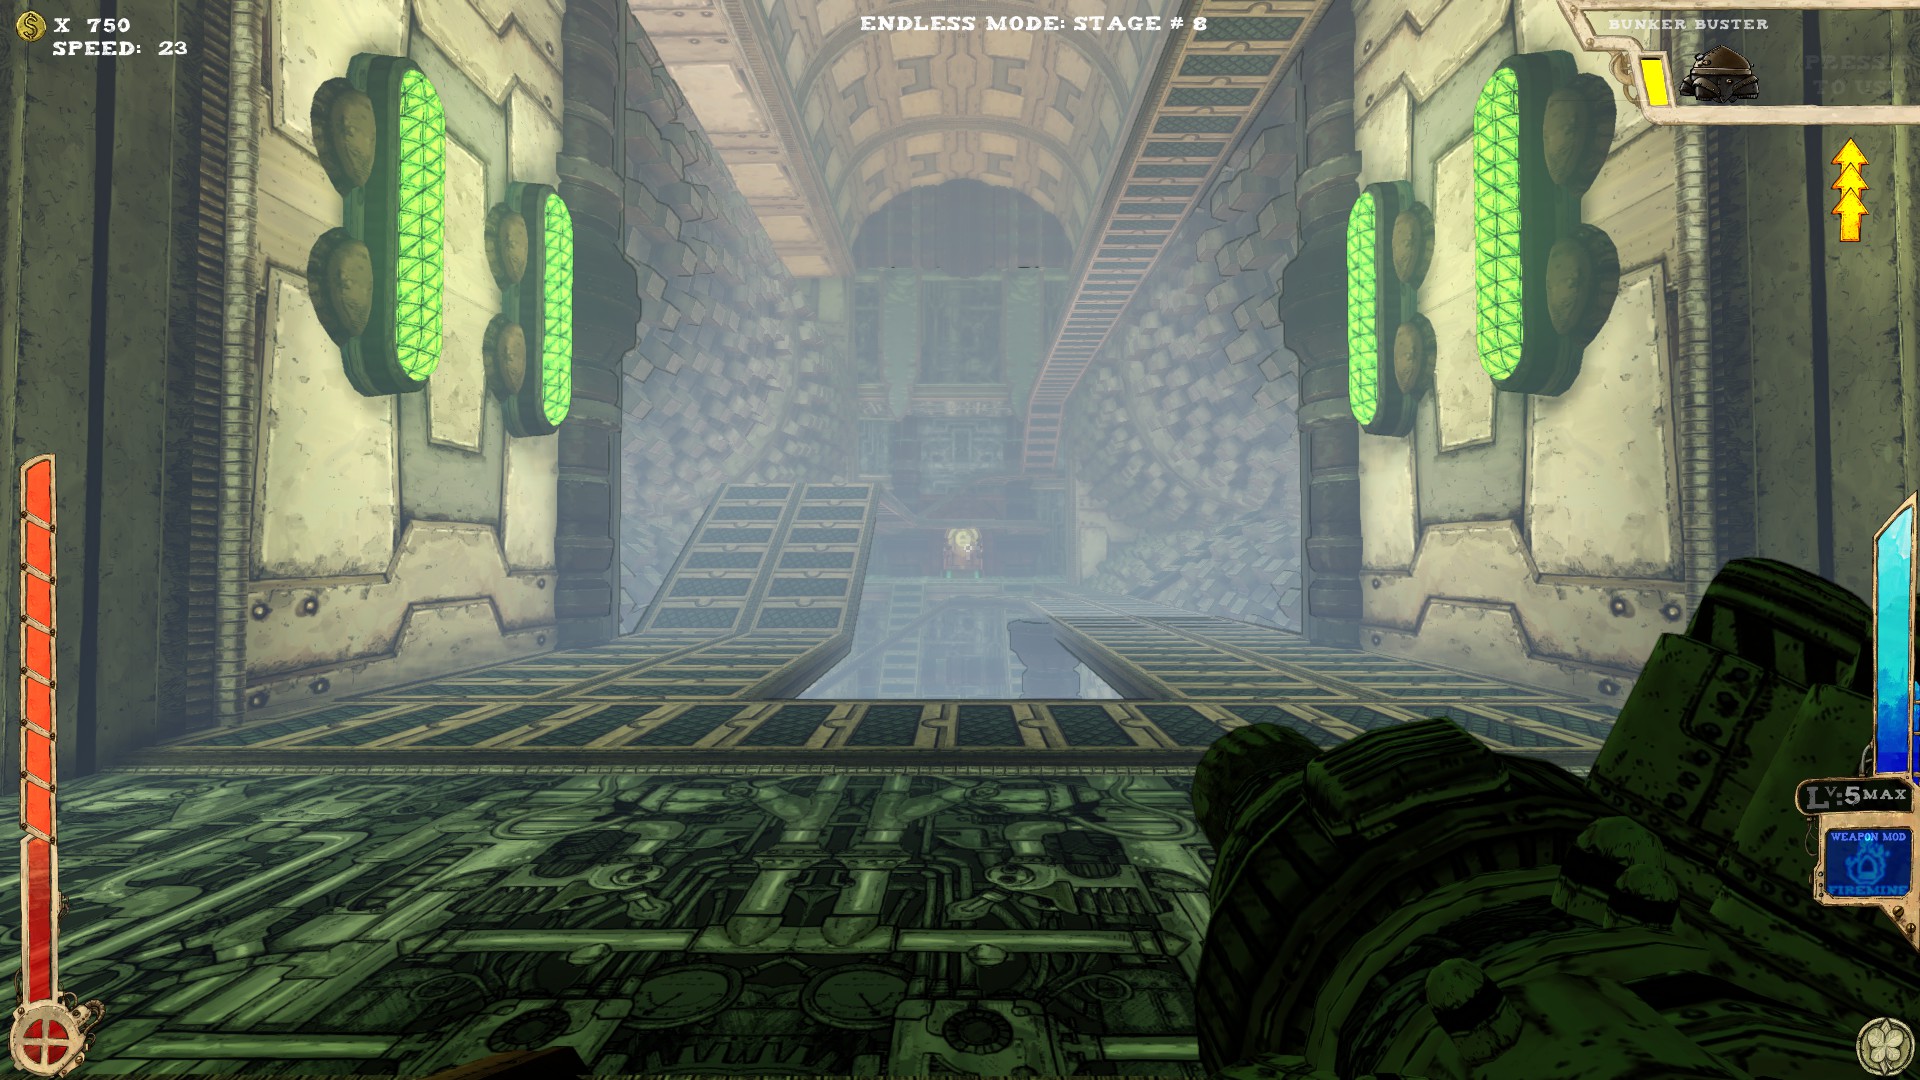
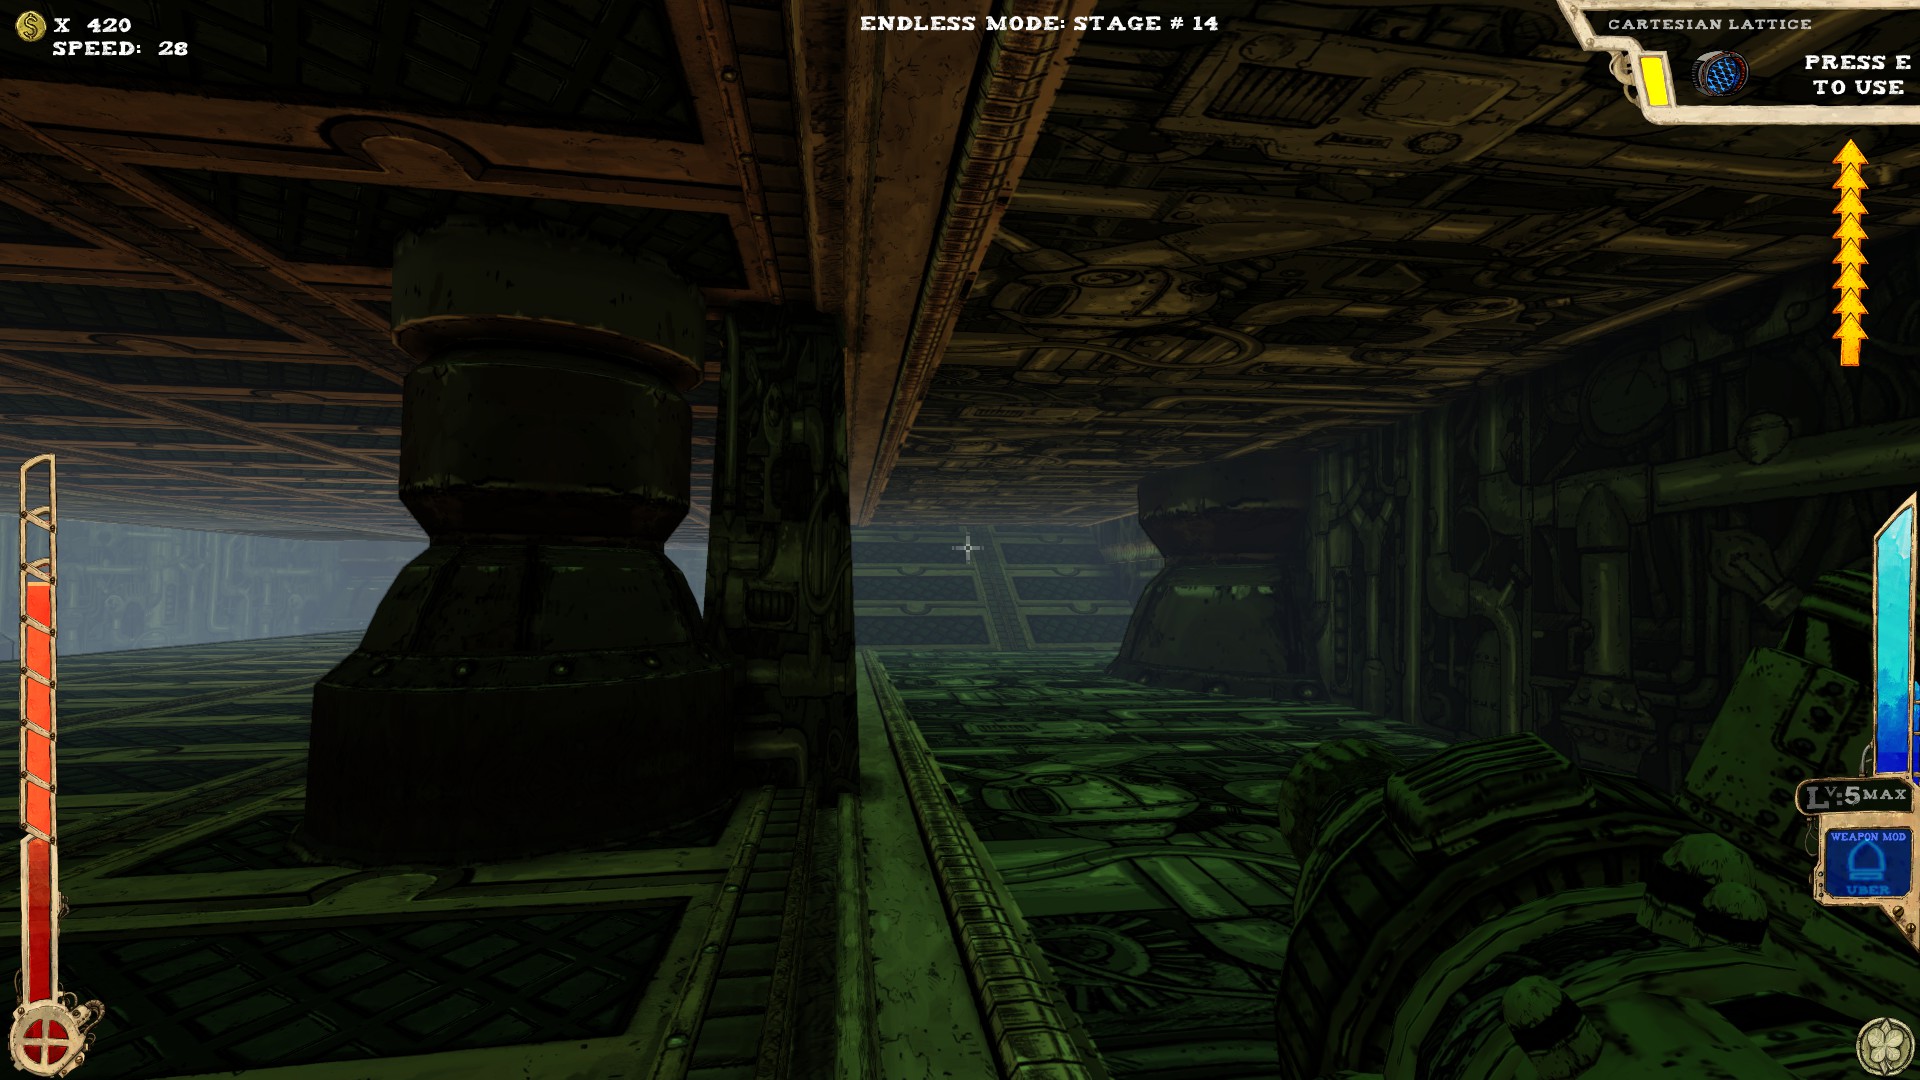
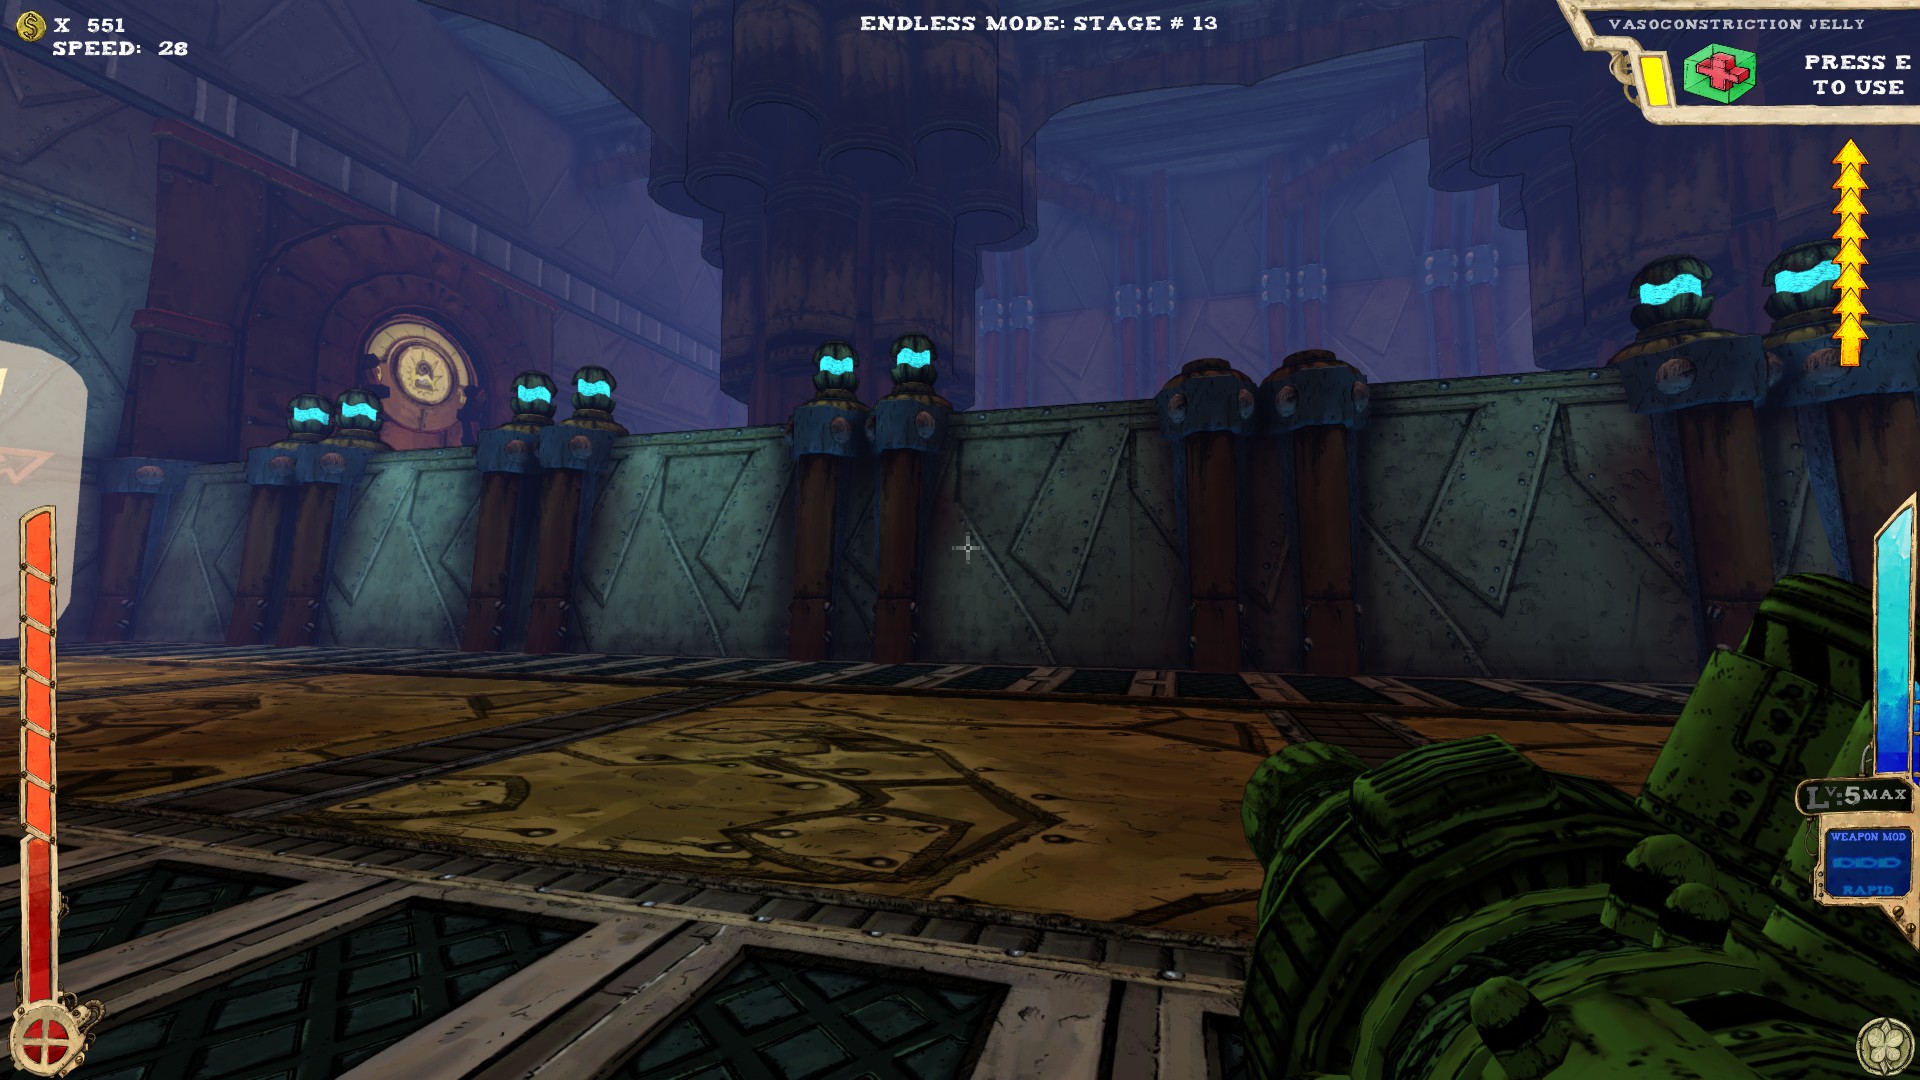 The room has Motivational Jelly on either side of the entrance. Only used to get up to the elevated part.
 Fake wall on the elevated part in the right corner. Easy to see, thanks to the different lighting.
-----
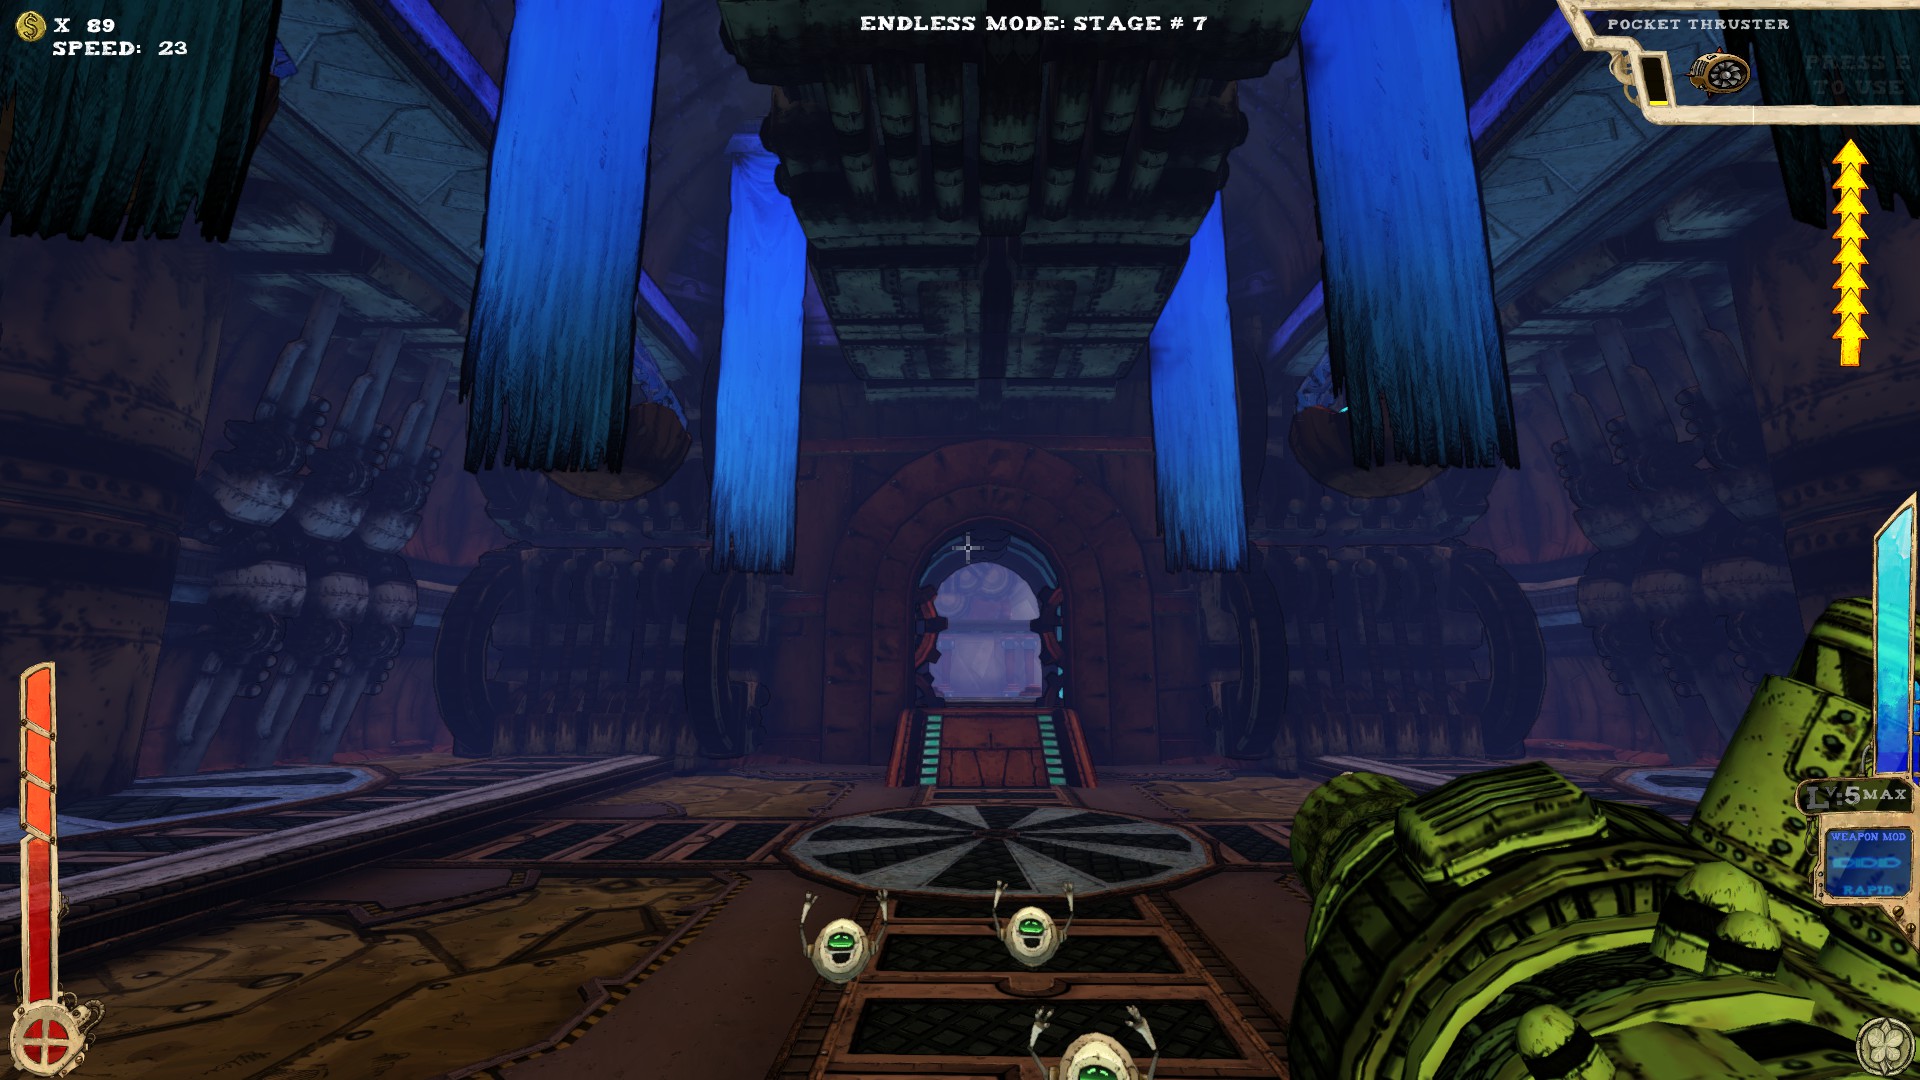
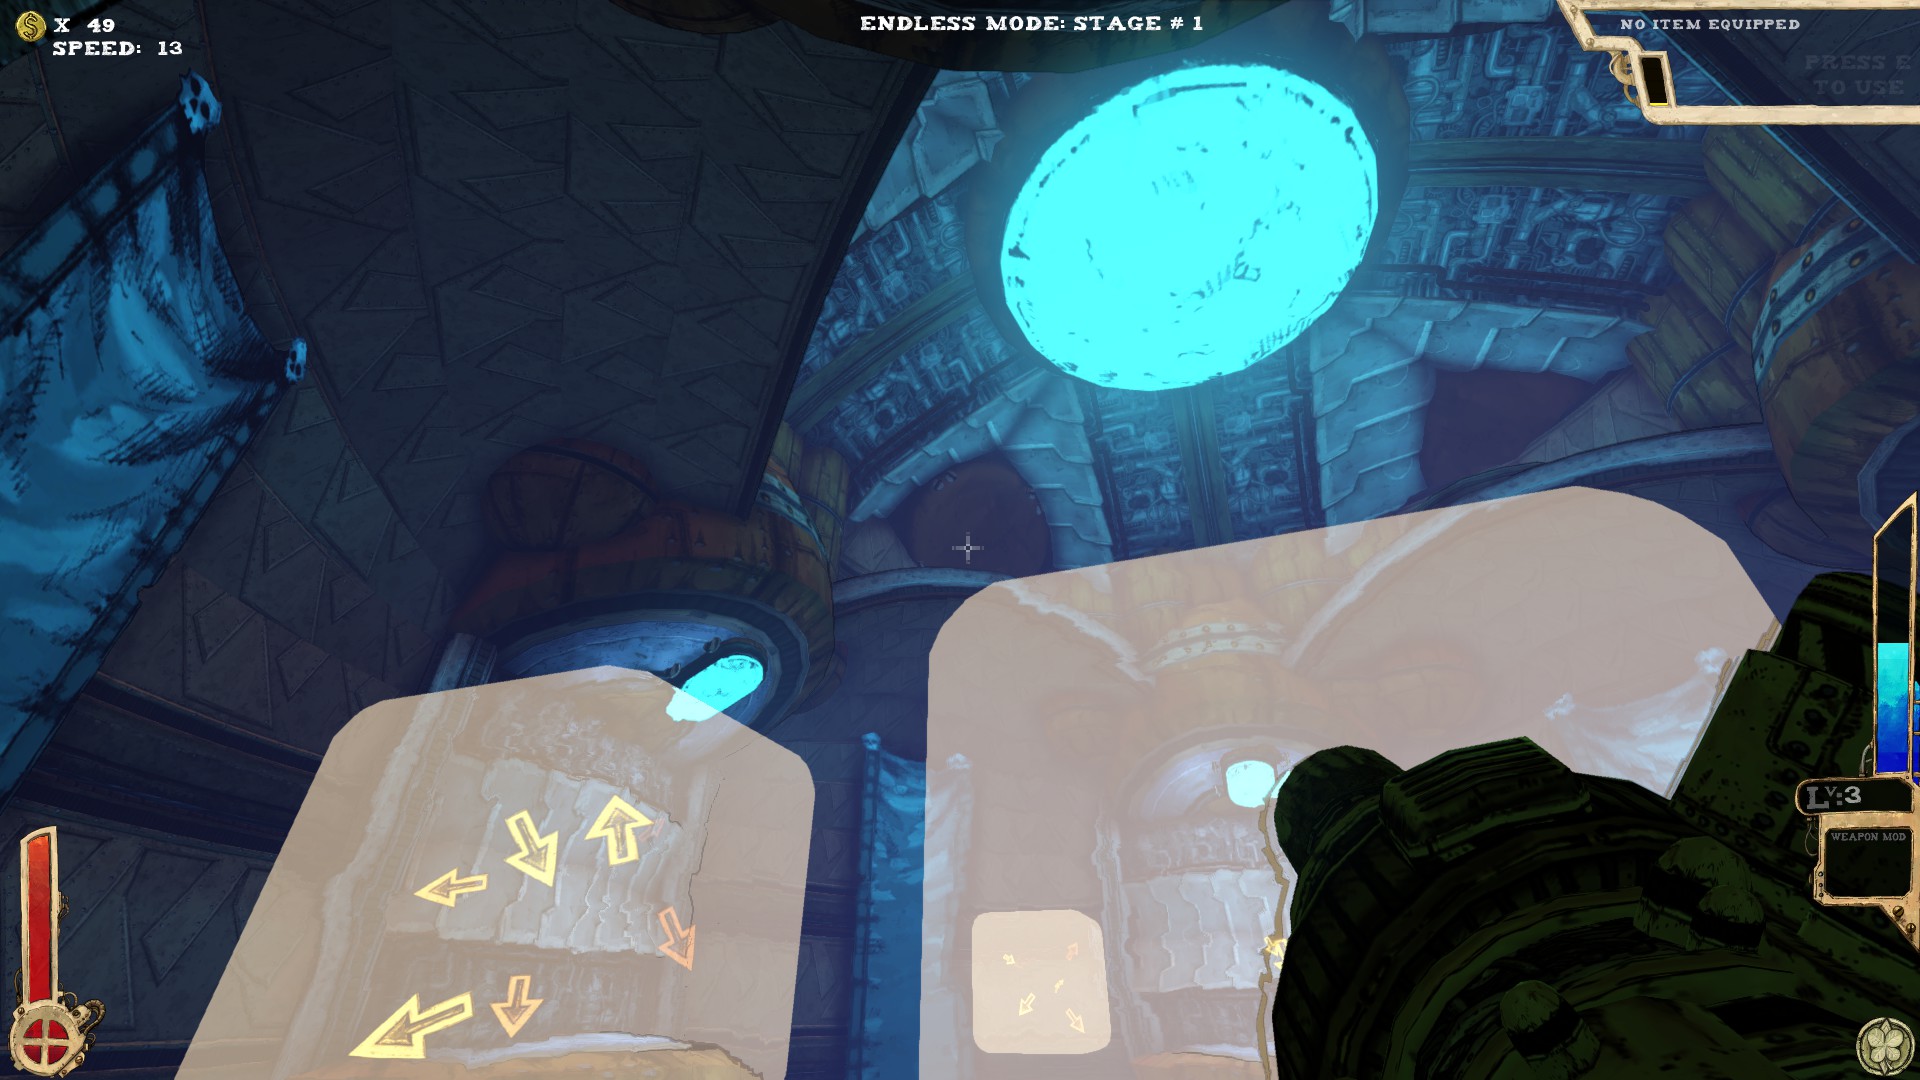
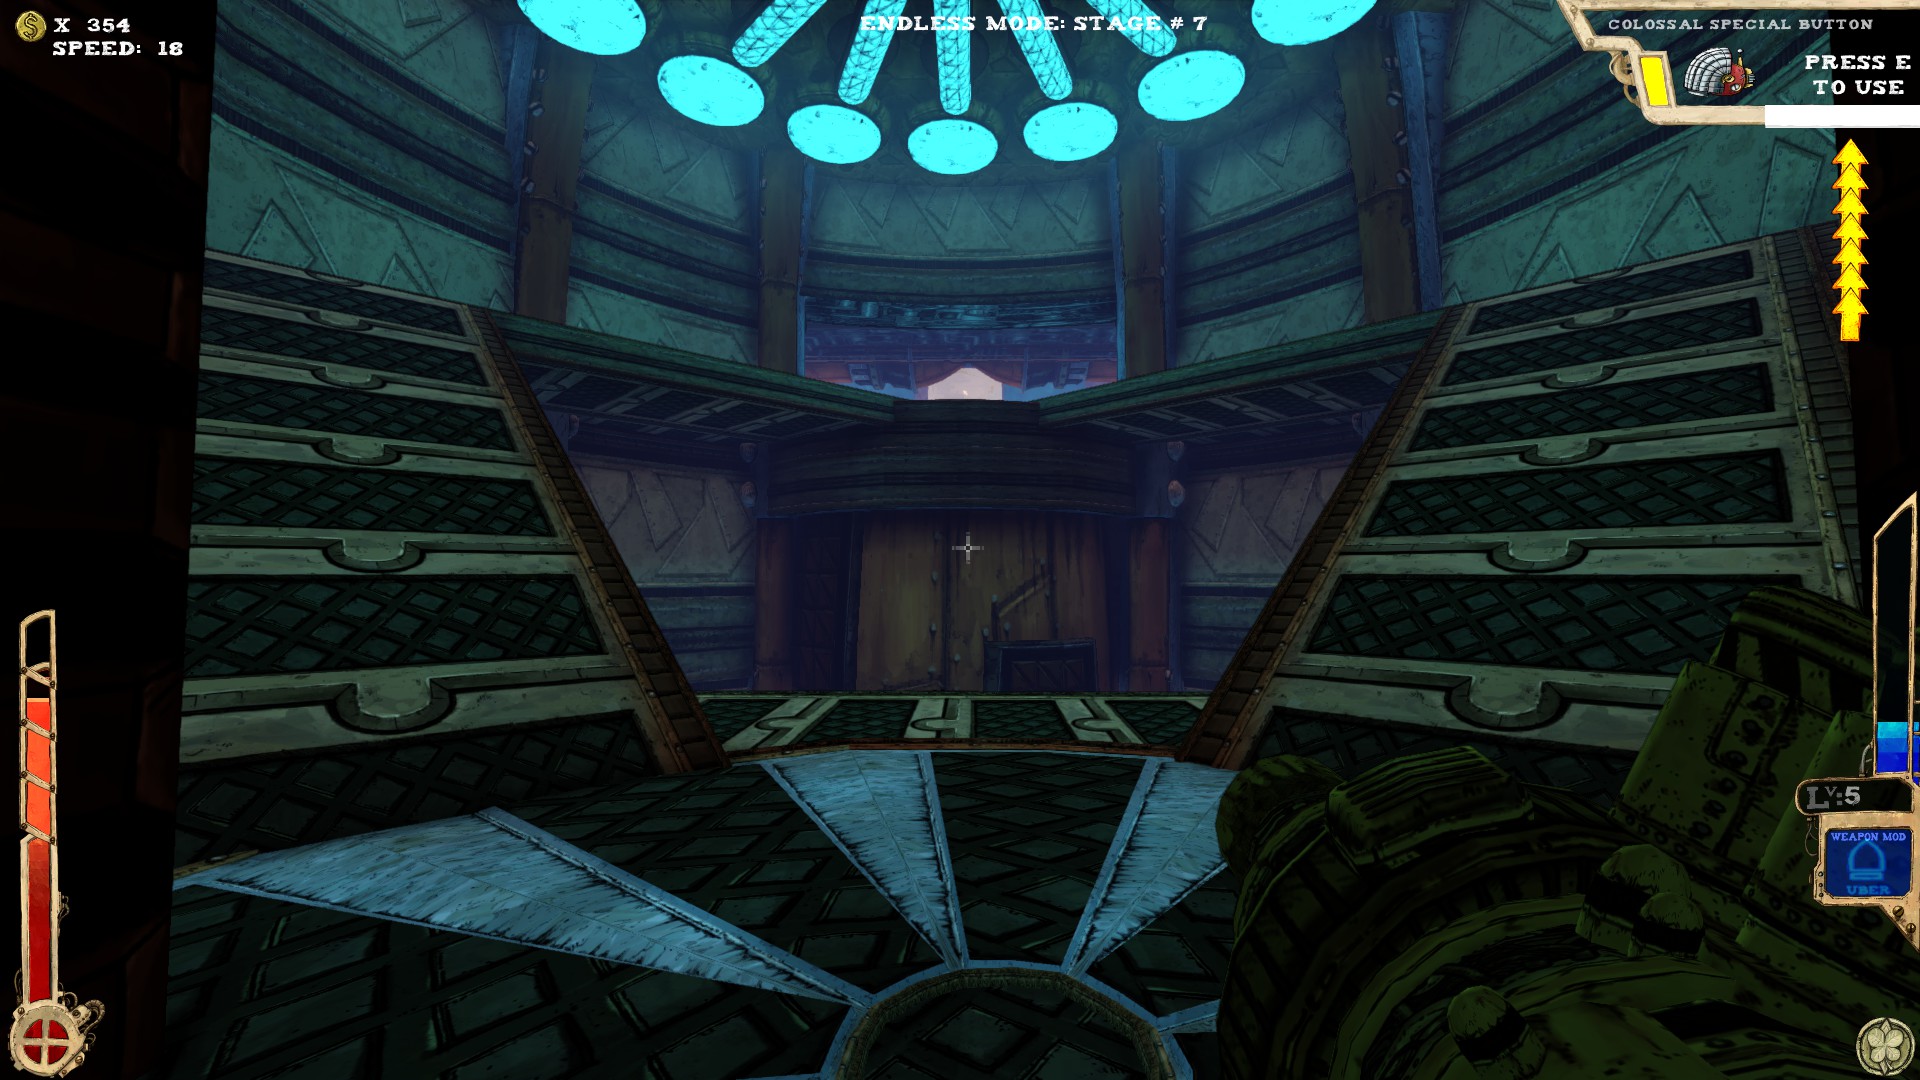
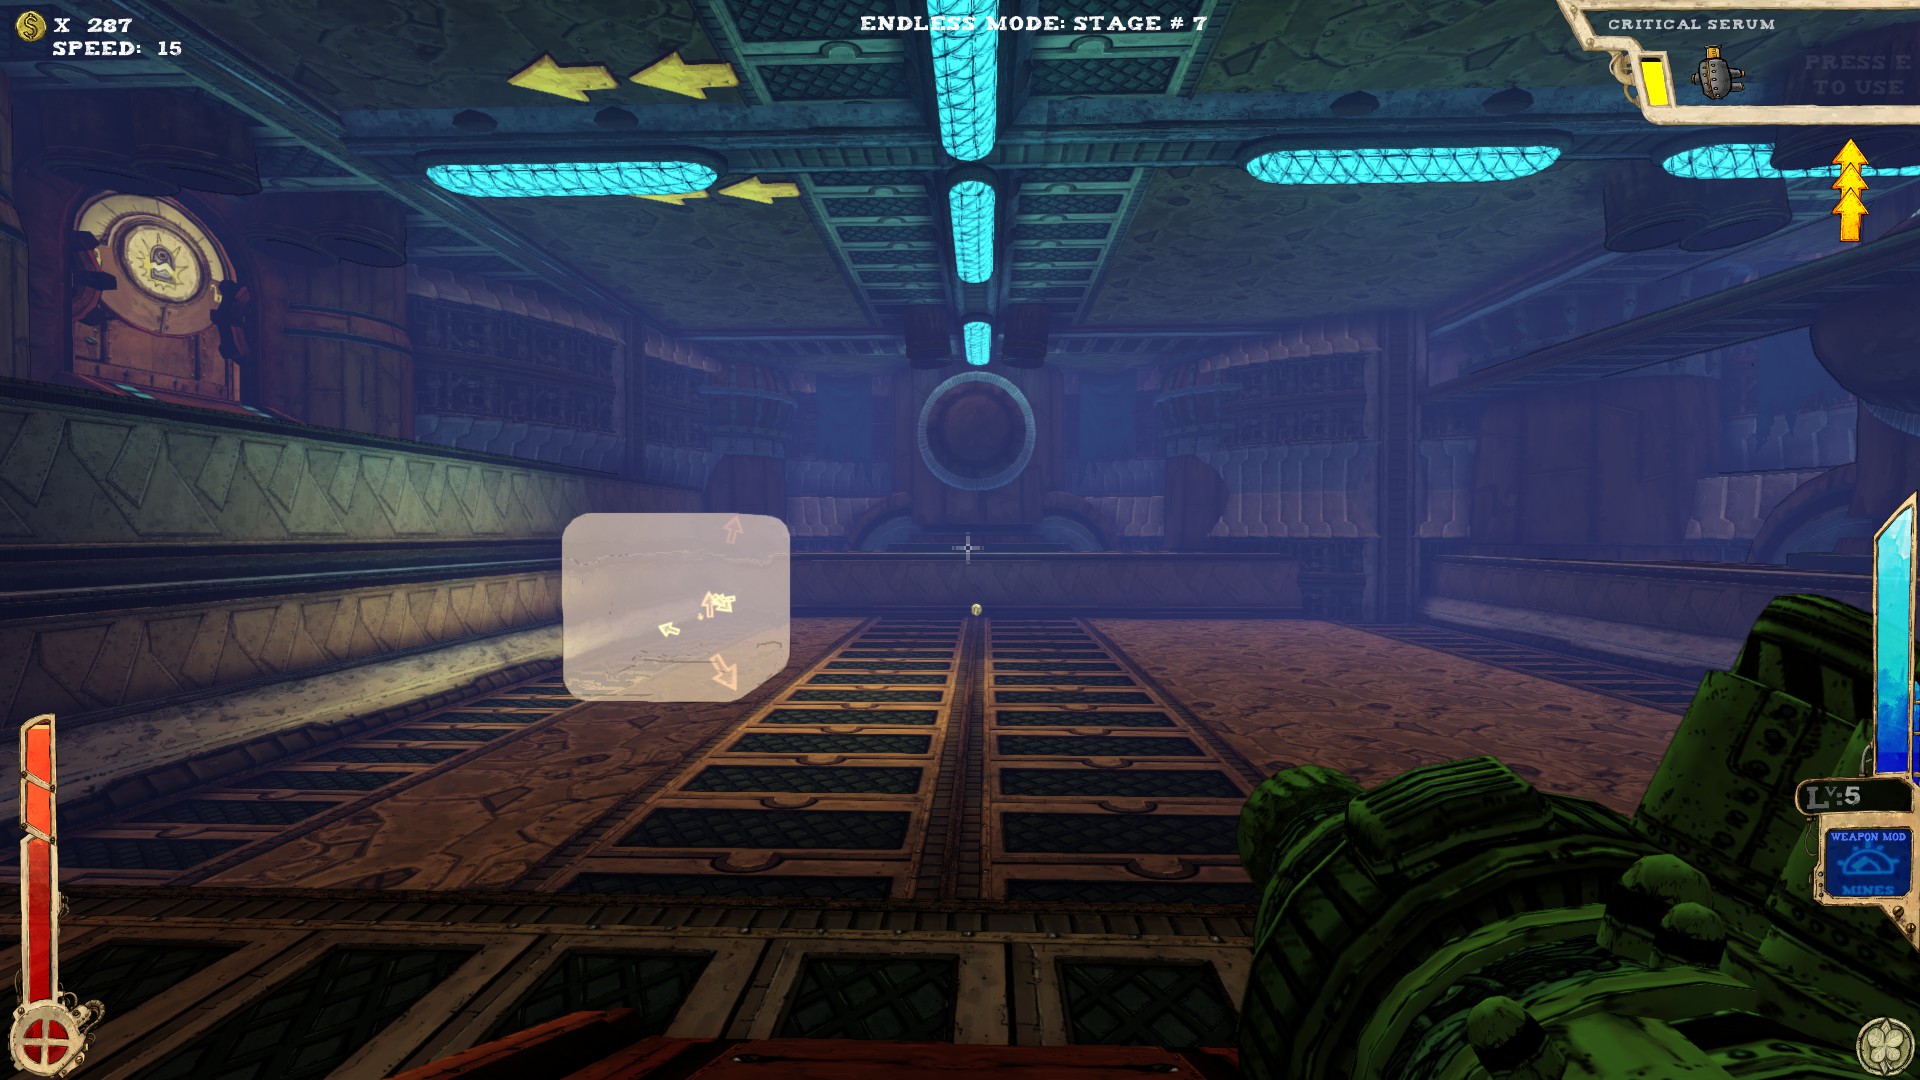
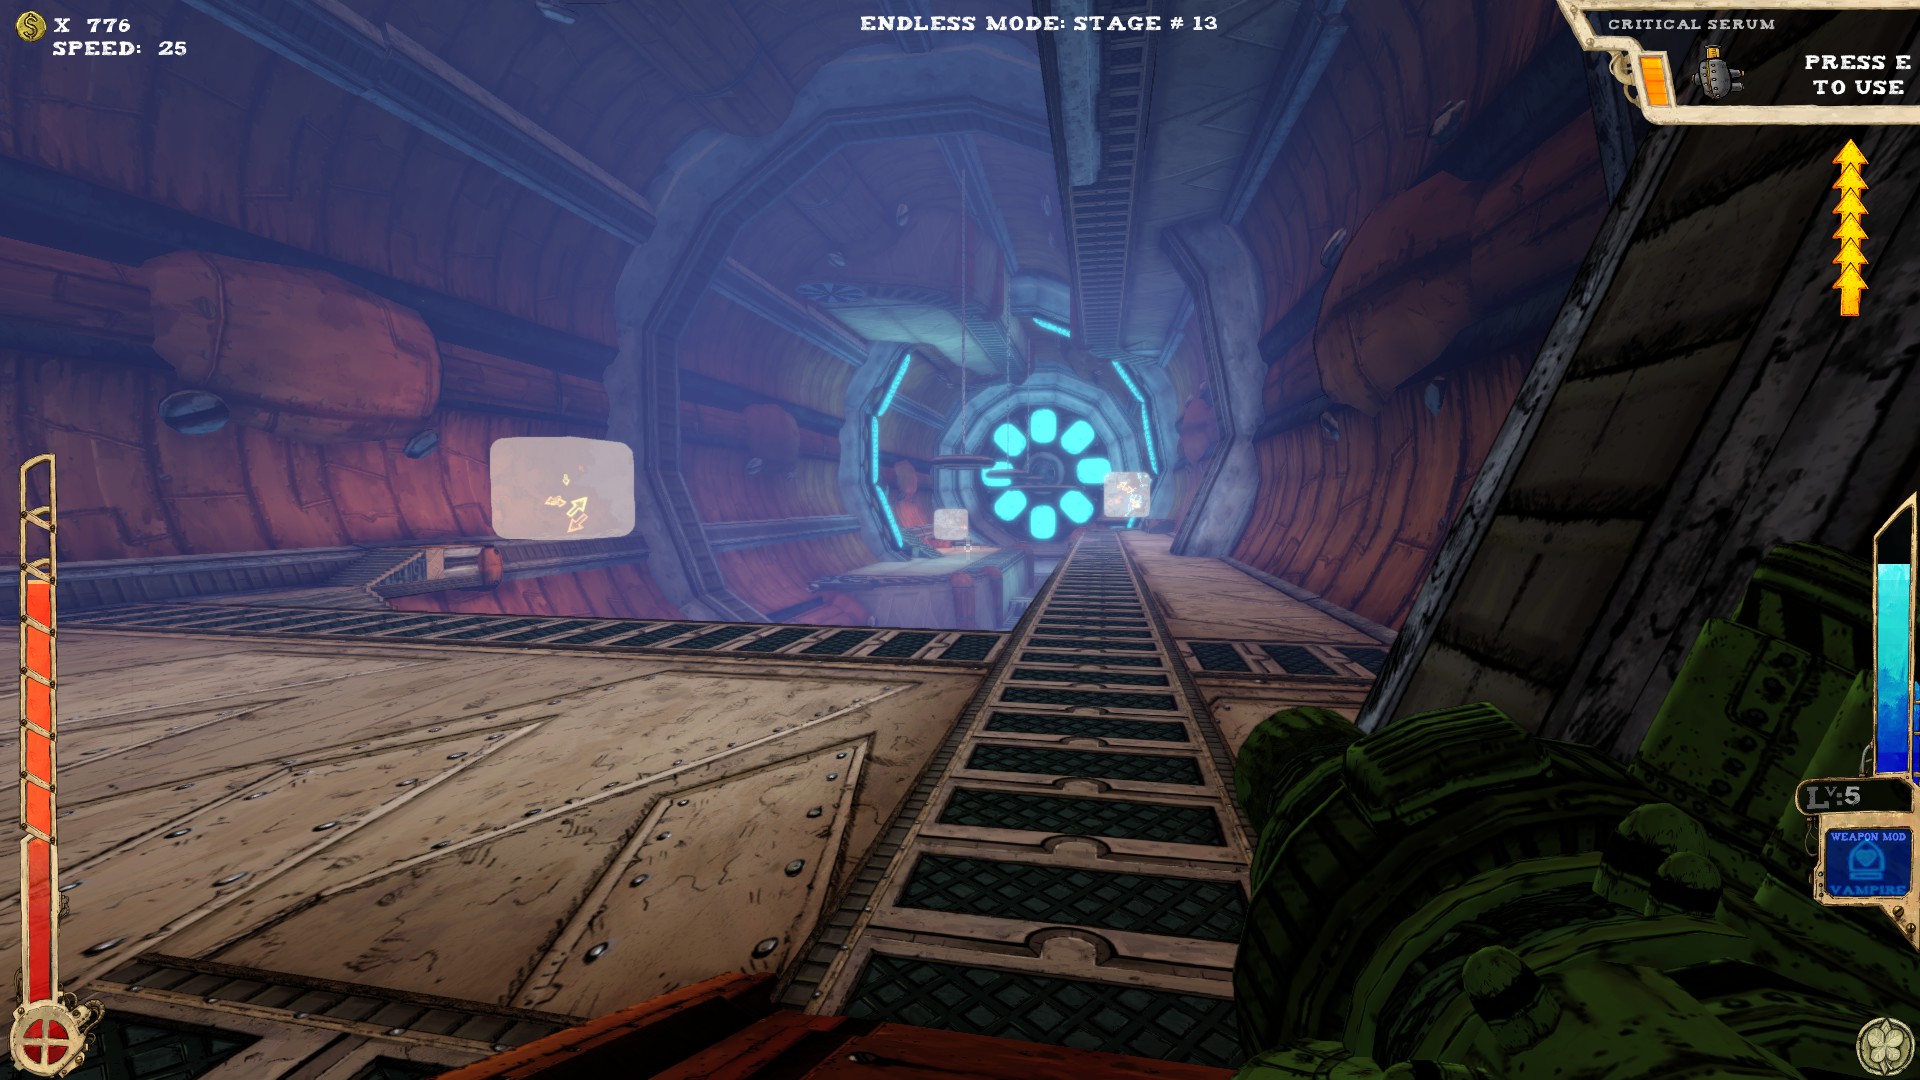
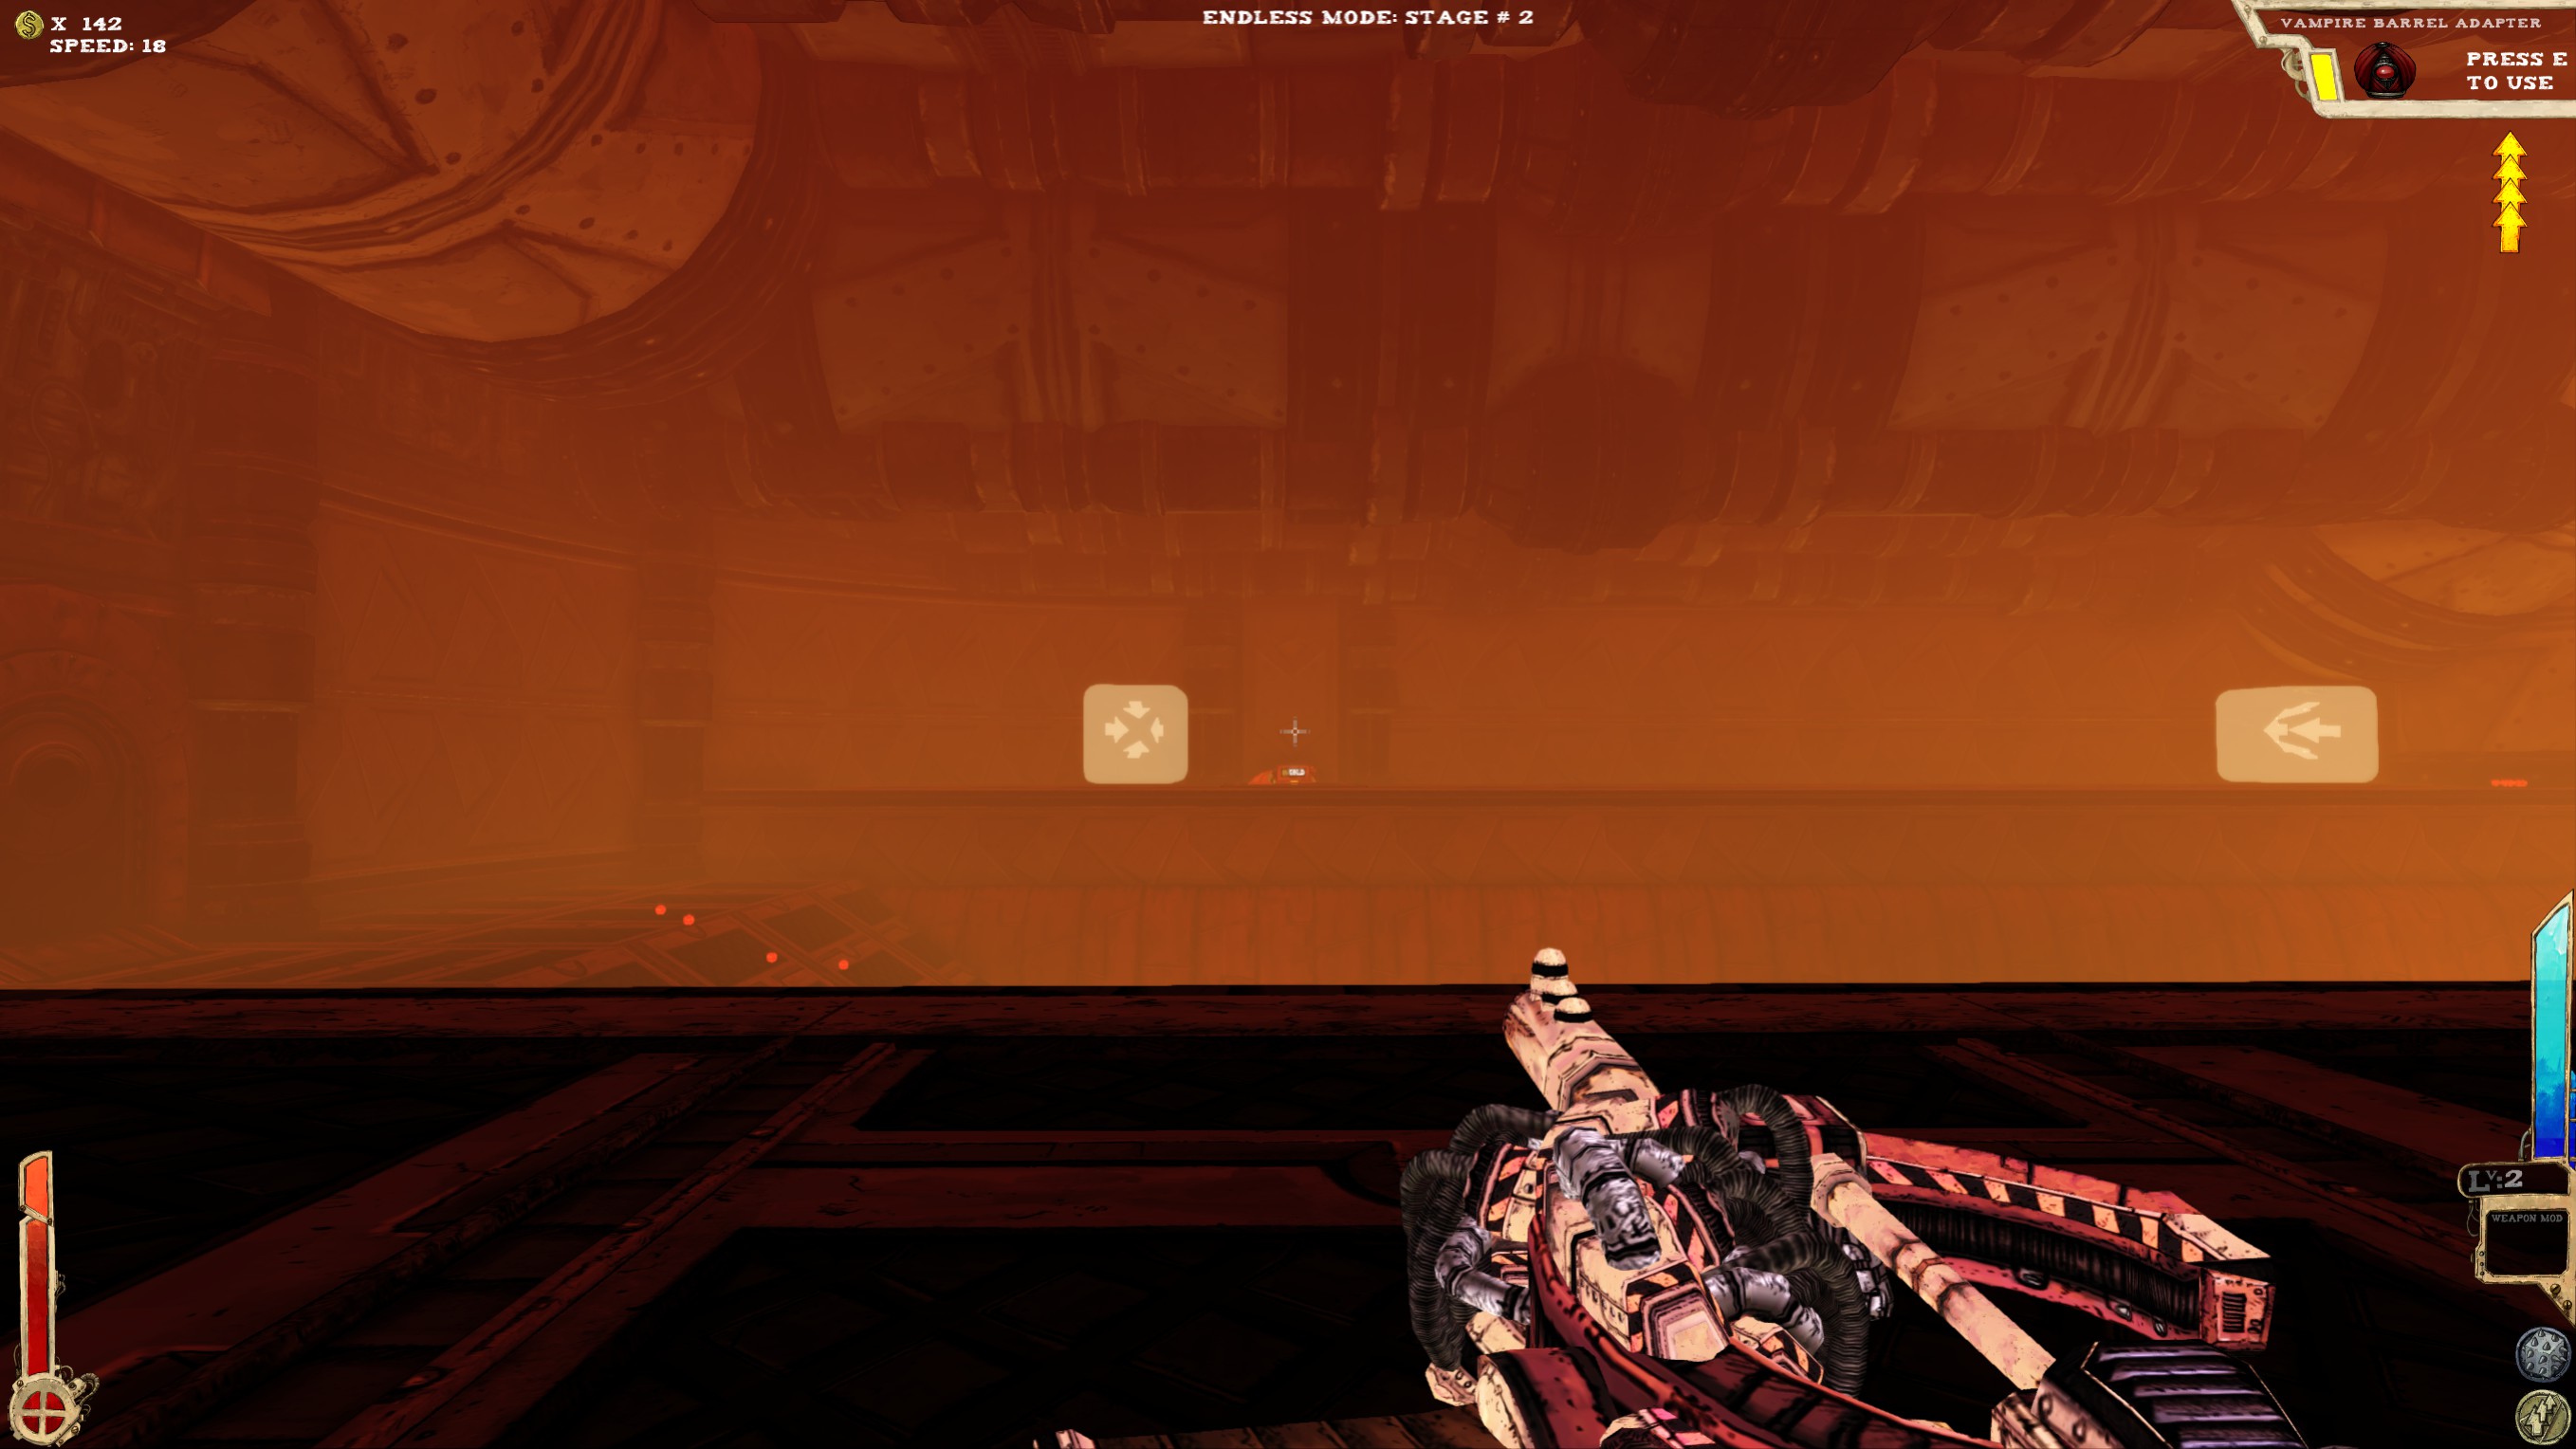
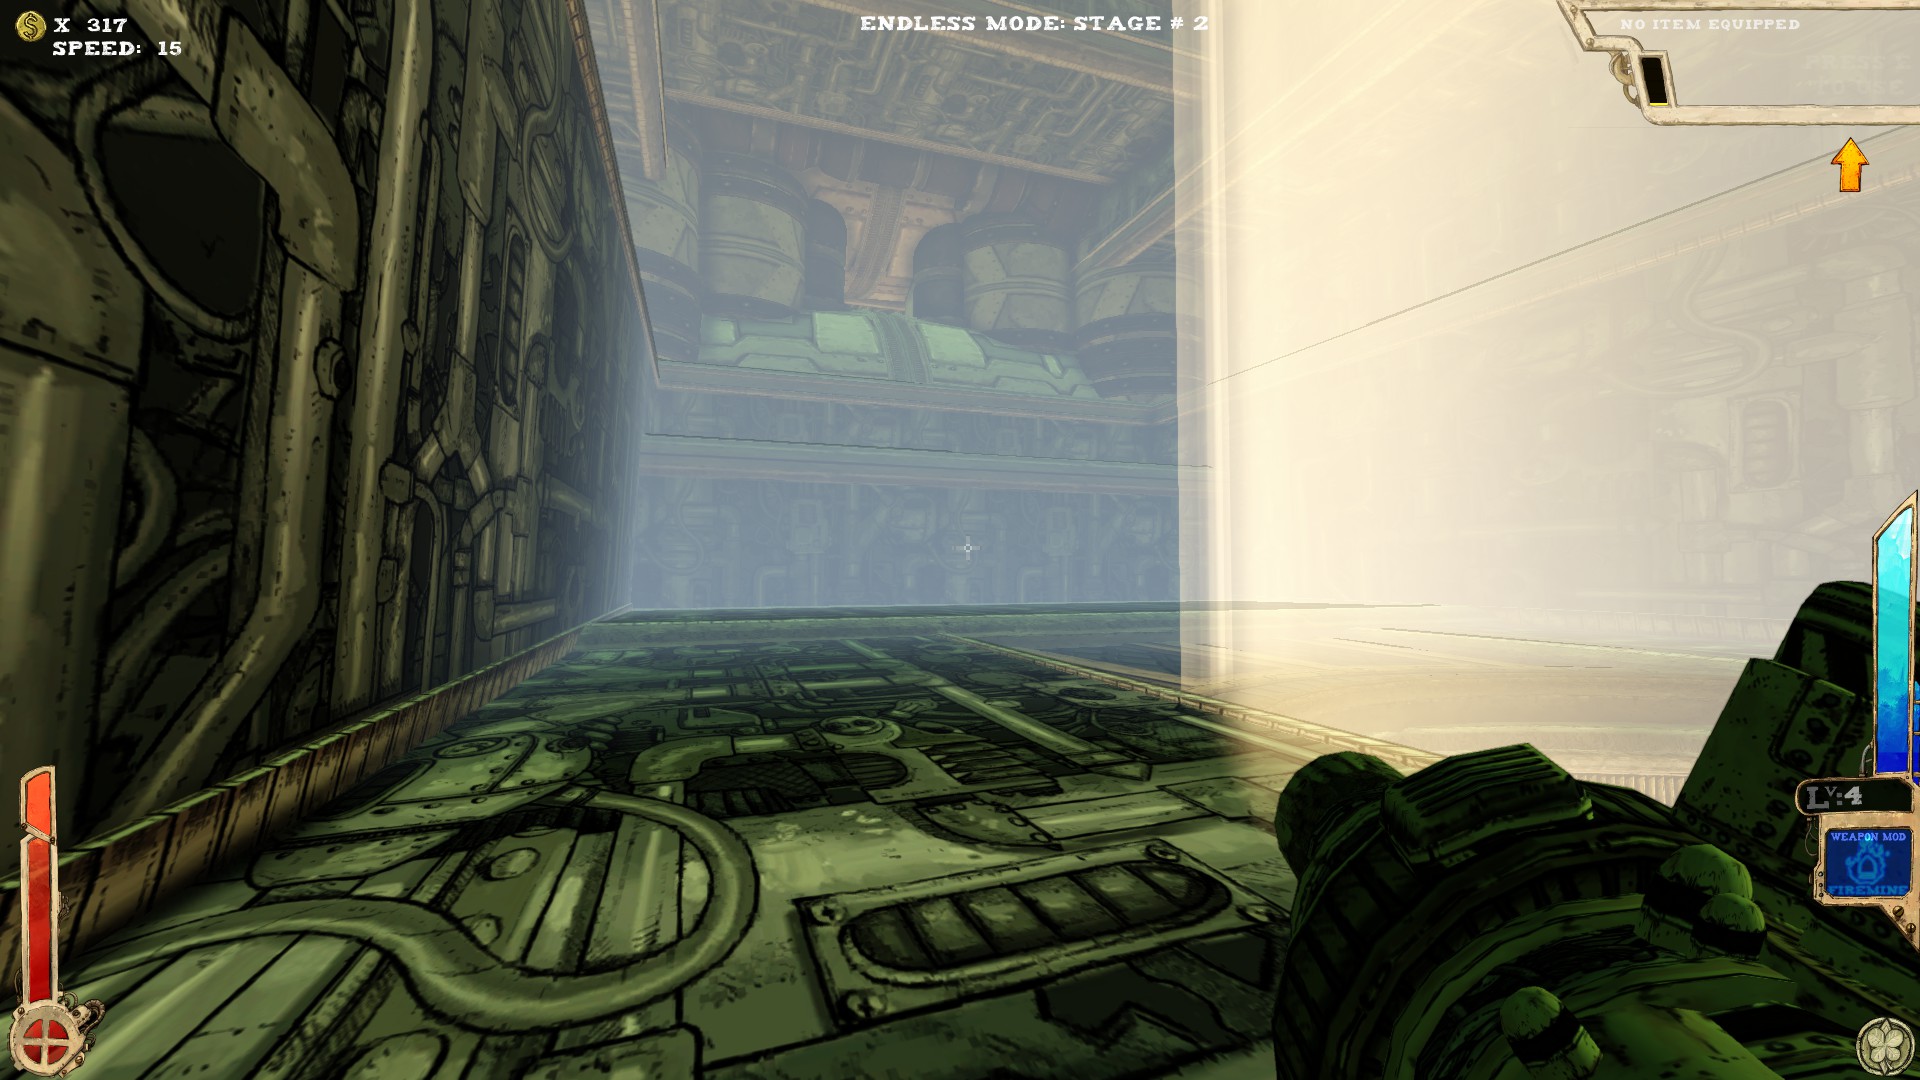
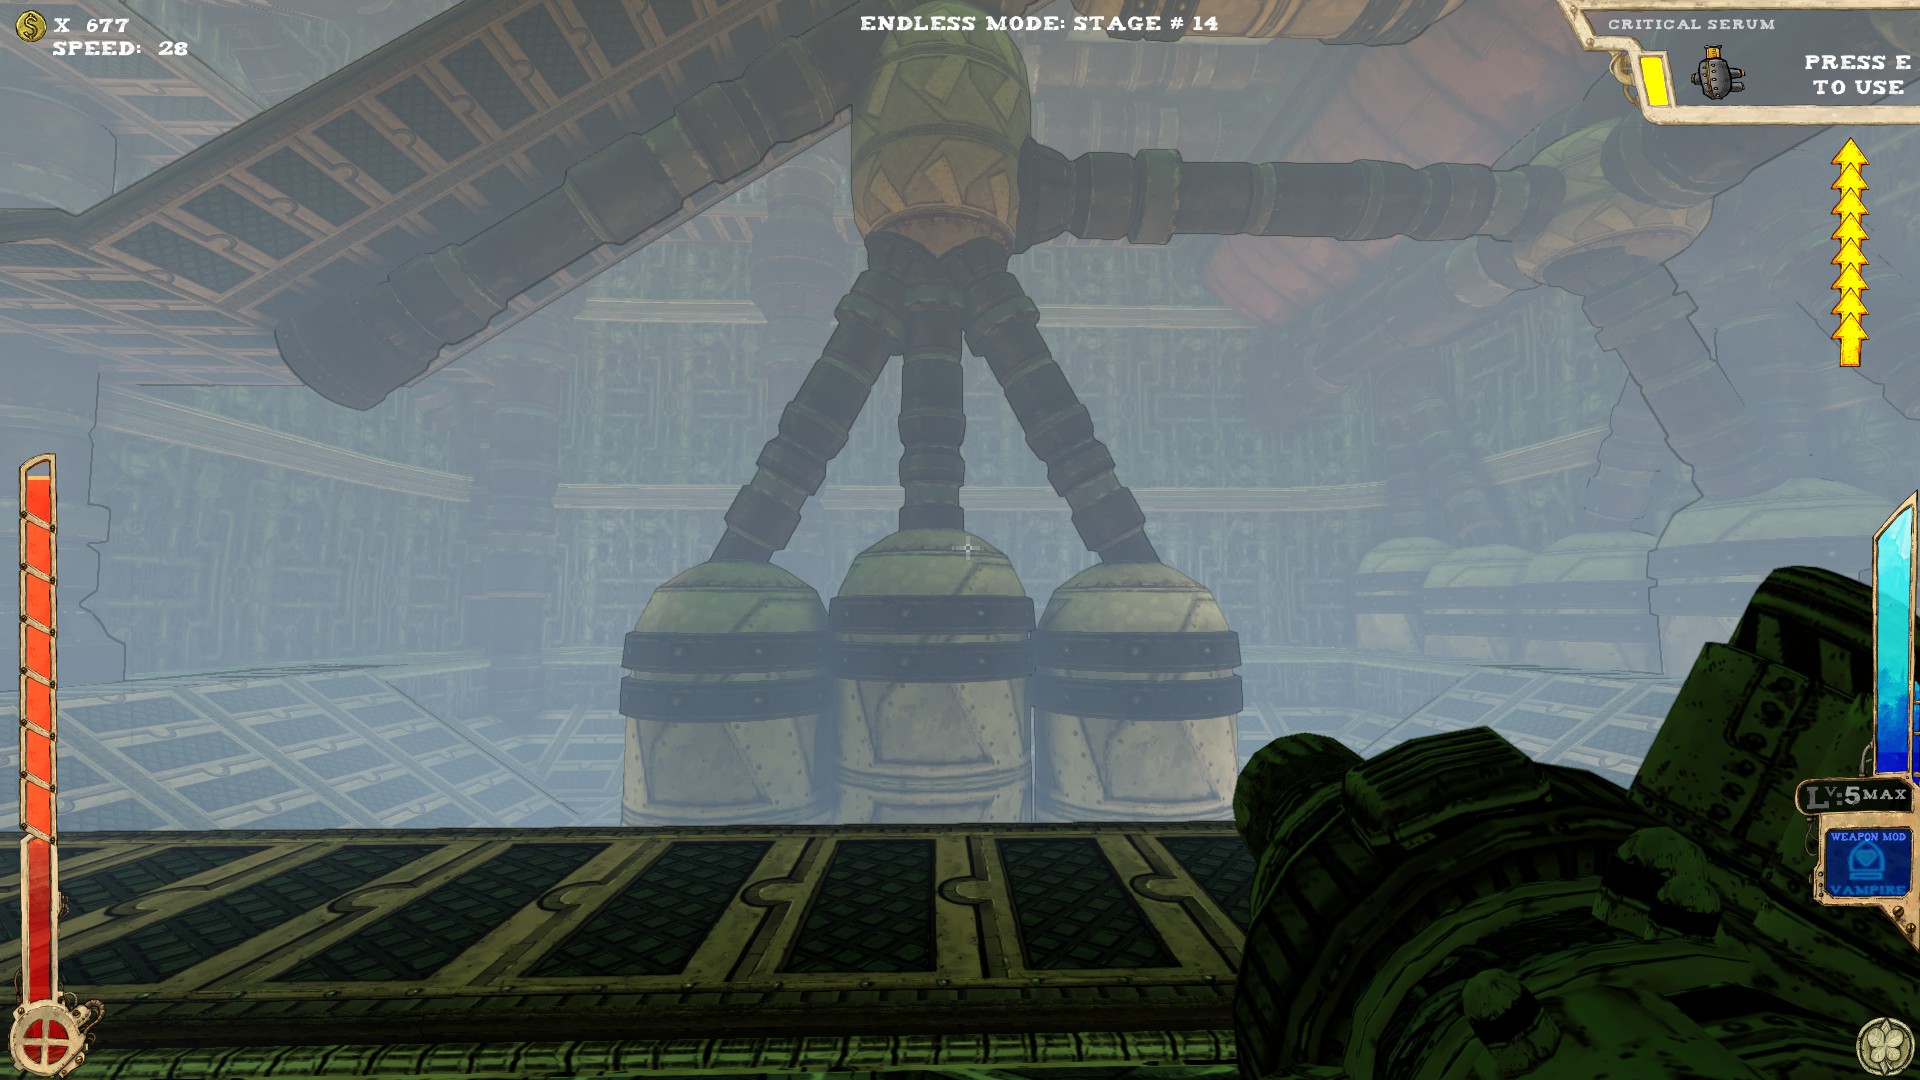
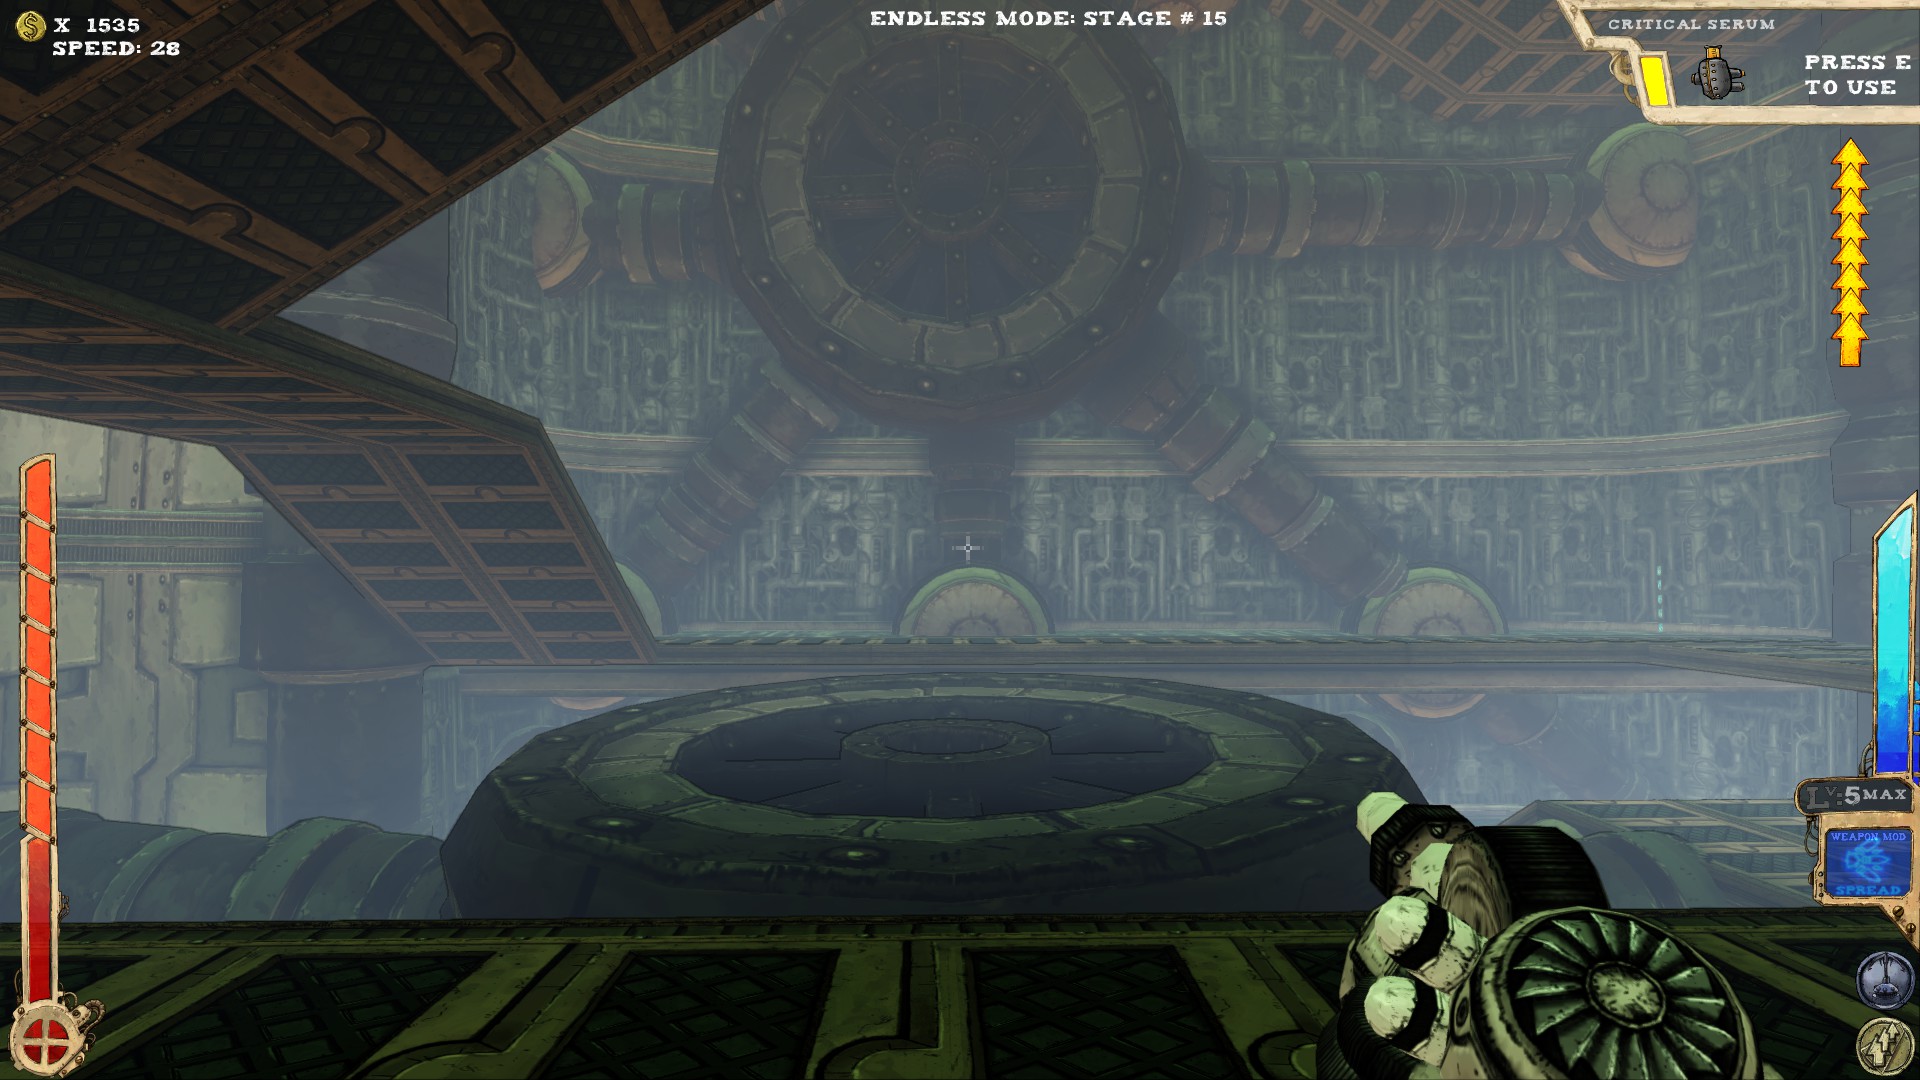
 A room with two secrets. How exciting!
 It's quite a way down, so either have Lift Ticket, extra jumps or enough health.
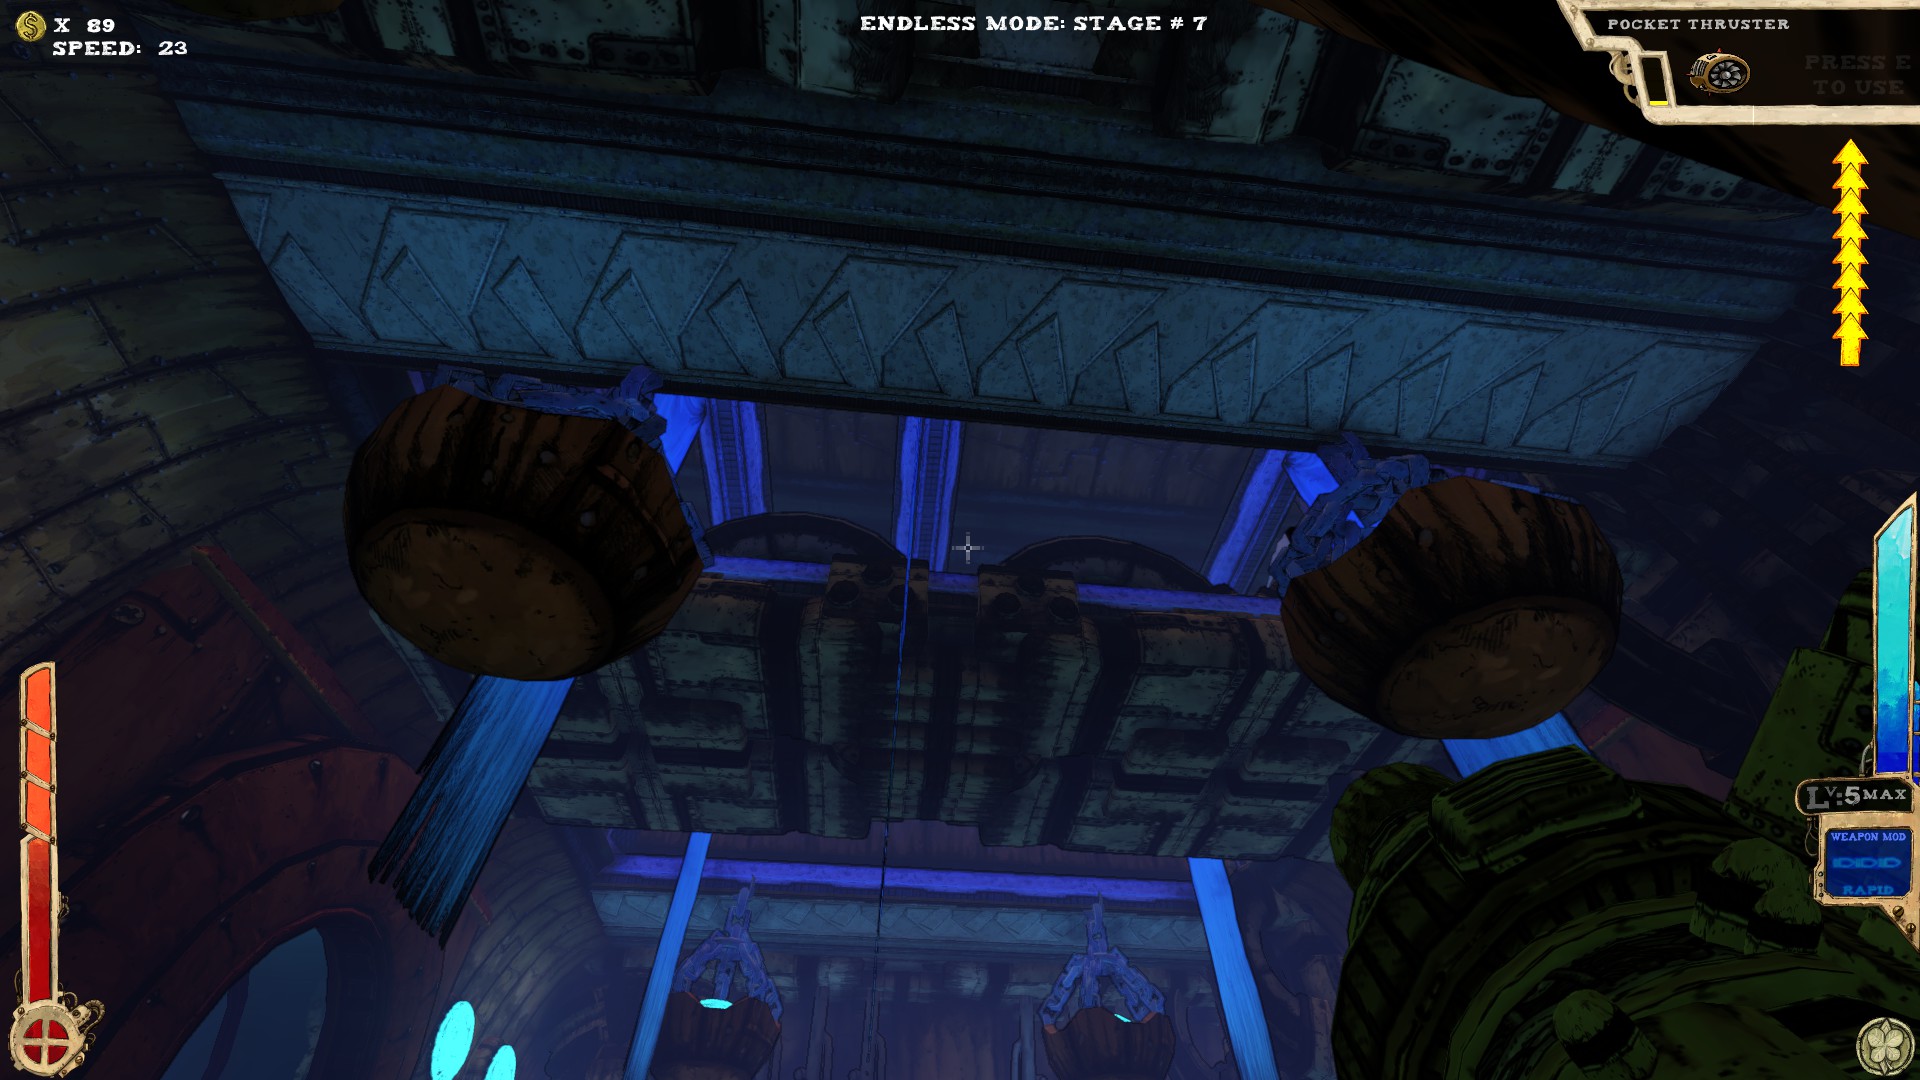
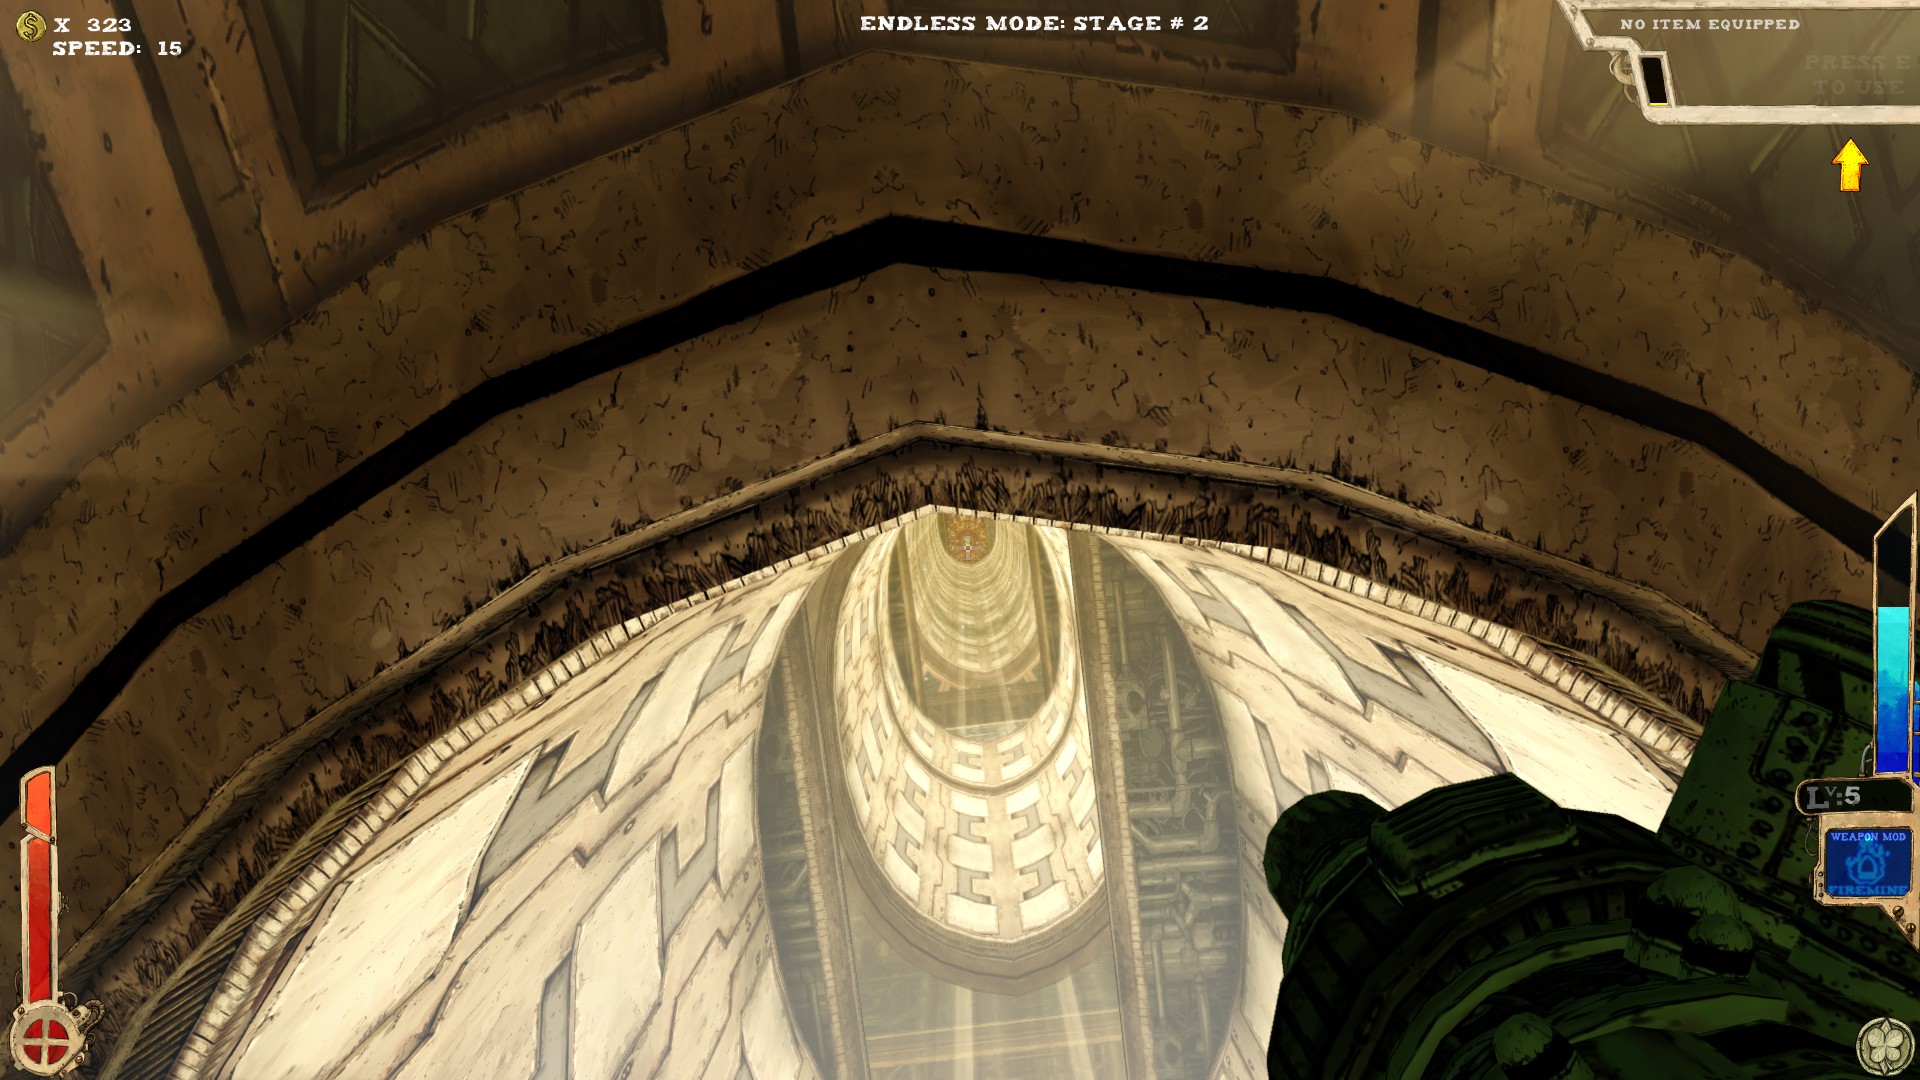
The secret shown below should be accessed while falling down the shaft!
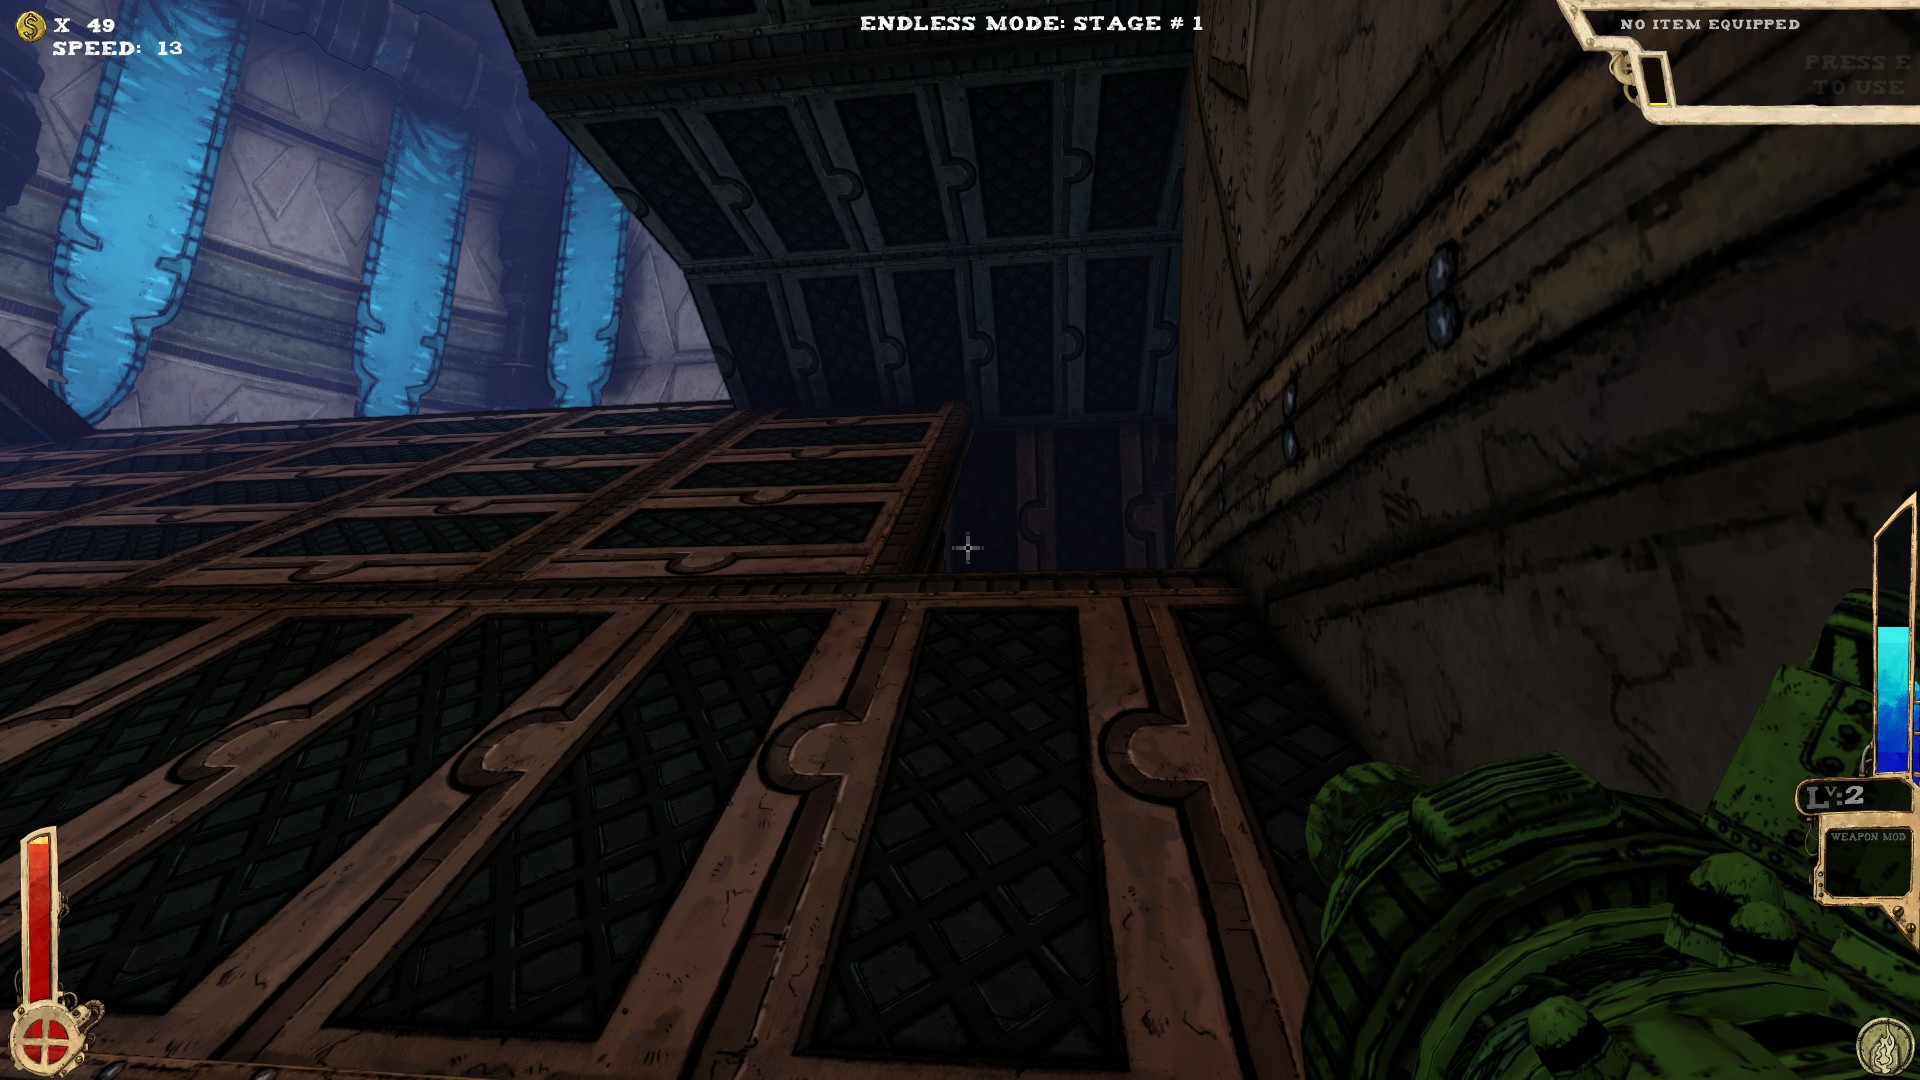
 When falling down the shaft, try to face the side with the teleporter.
The secret can be reached with extra jumps.
When exiting the secret via the teleporter on the ground, turrets will spawn pretty much in your face, so be aware!
-----
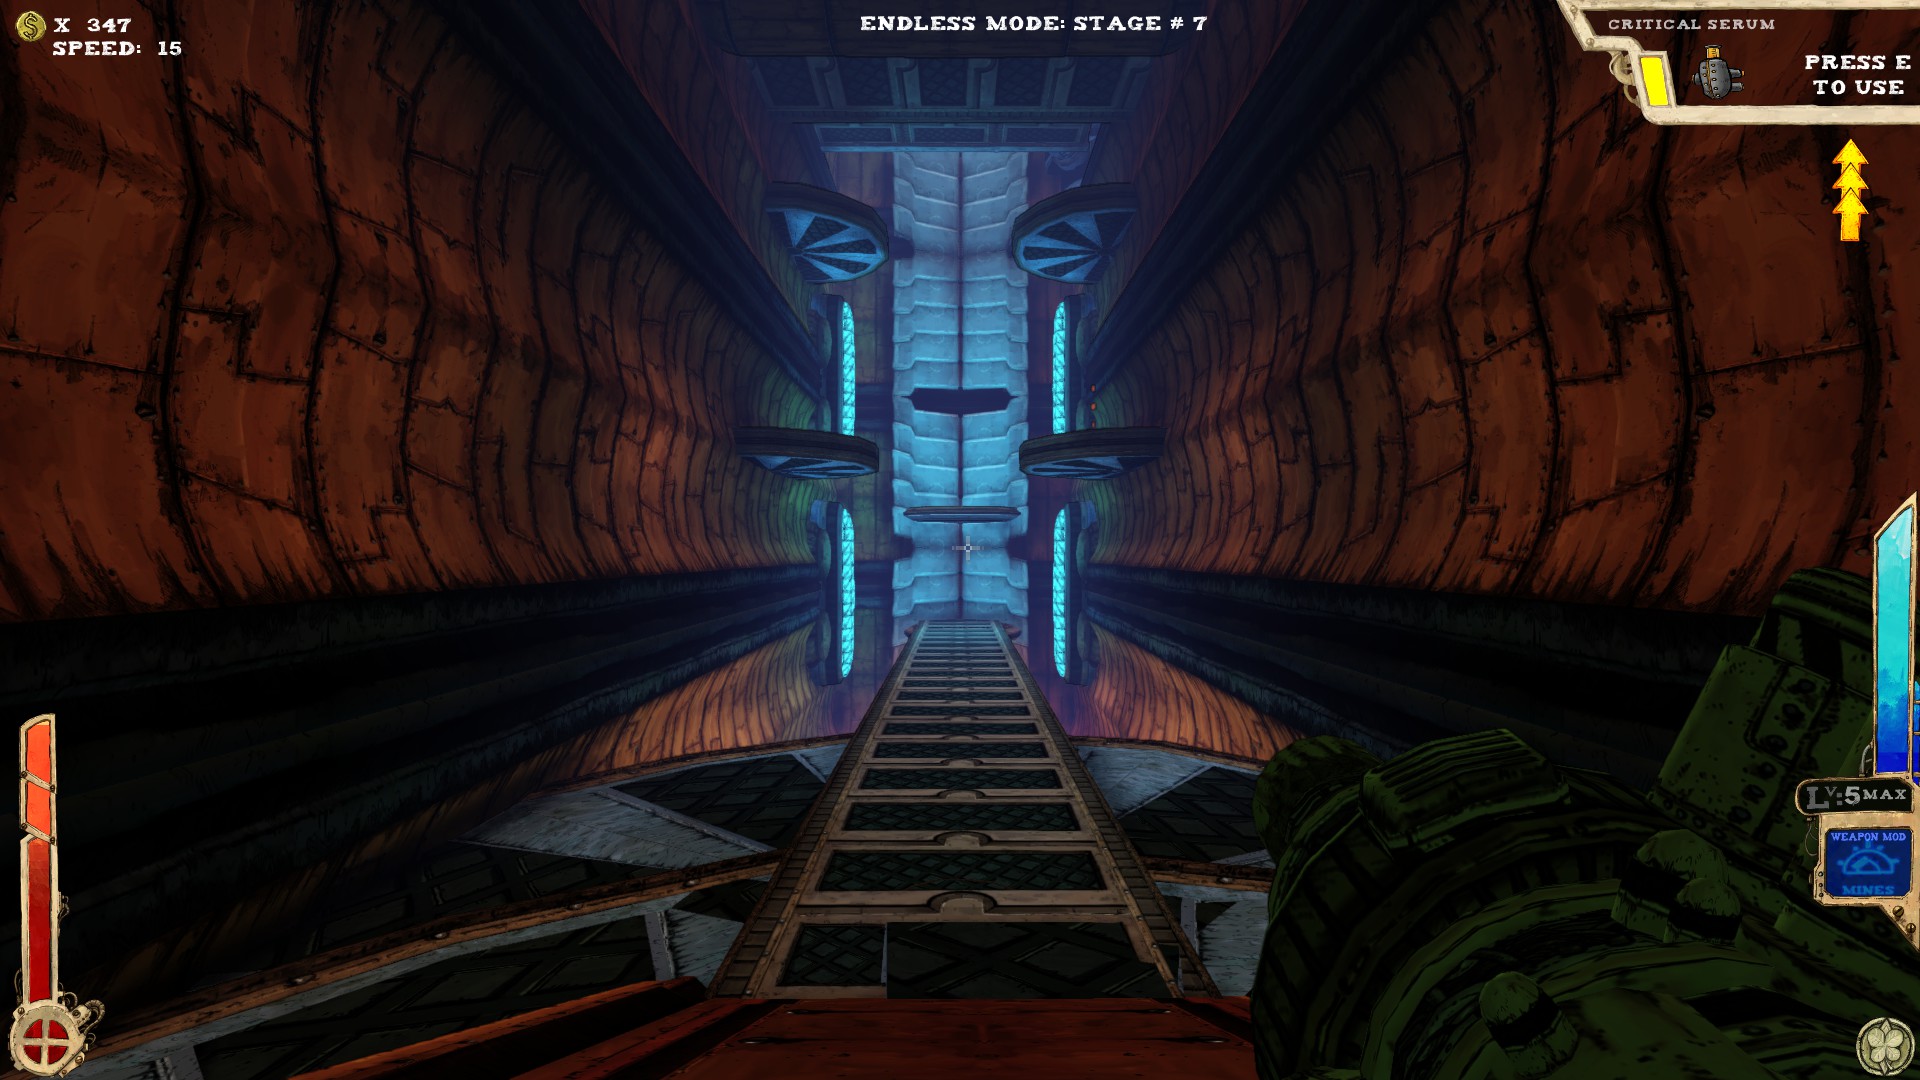
 This room has one secret.
 The secret's behind a fake wall, right where I'm pointing at. It's on the upper part of the room.
-----
 No secrets here. There is a platform hidden beneath the one on the back of the room, but it doesn't count as a secret, even though items are spawning on it.
-----
 One secret.
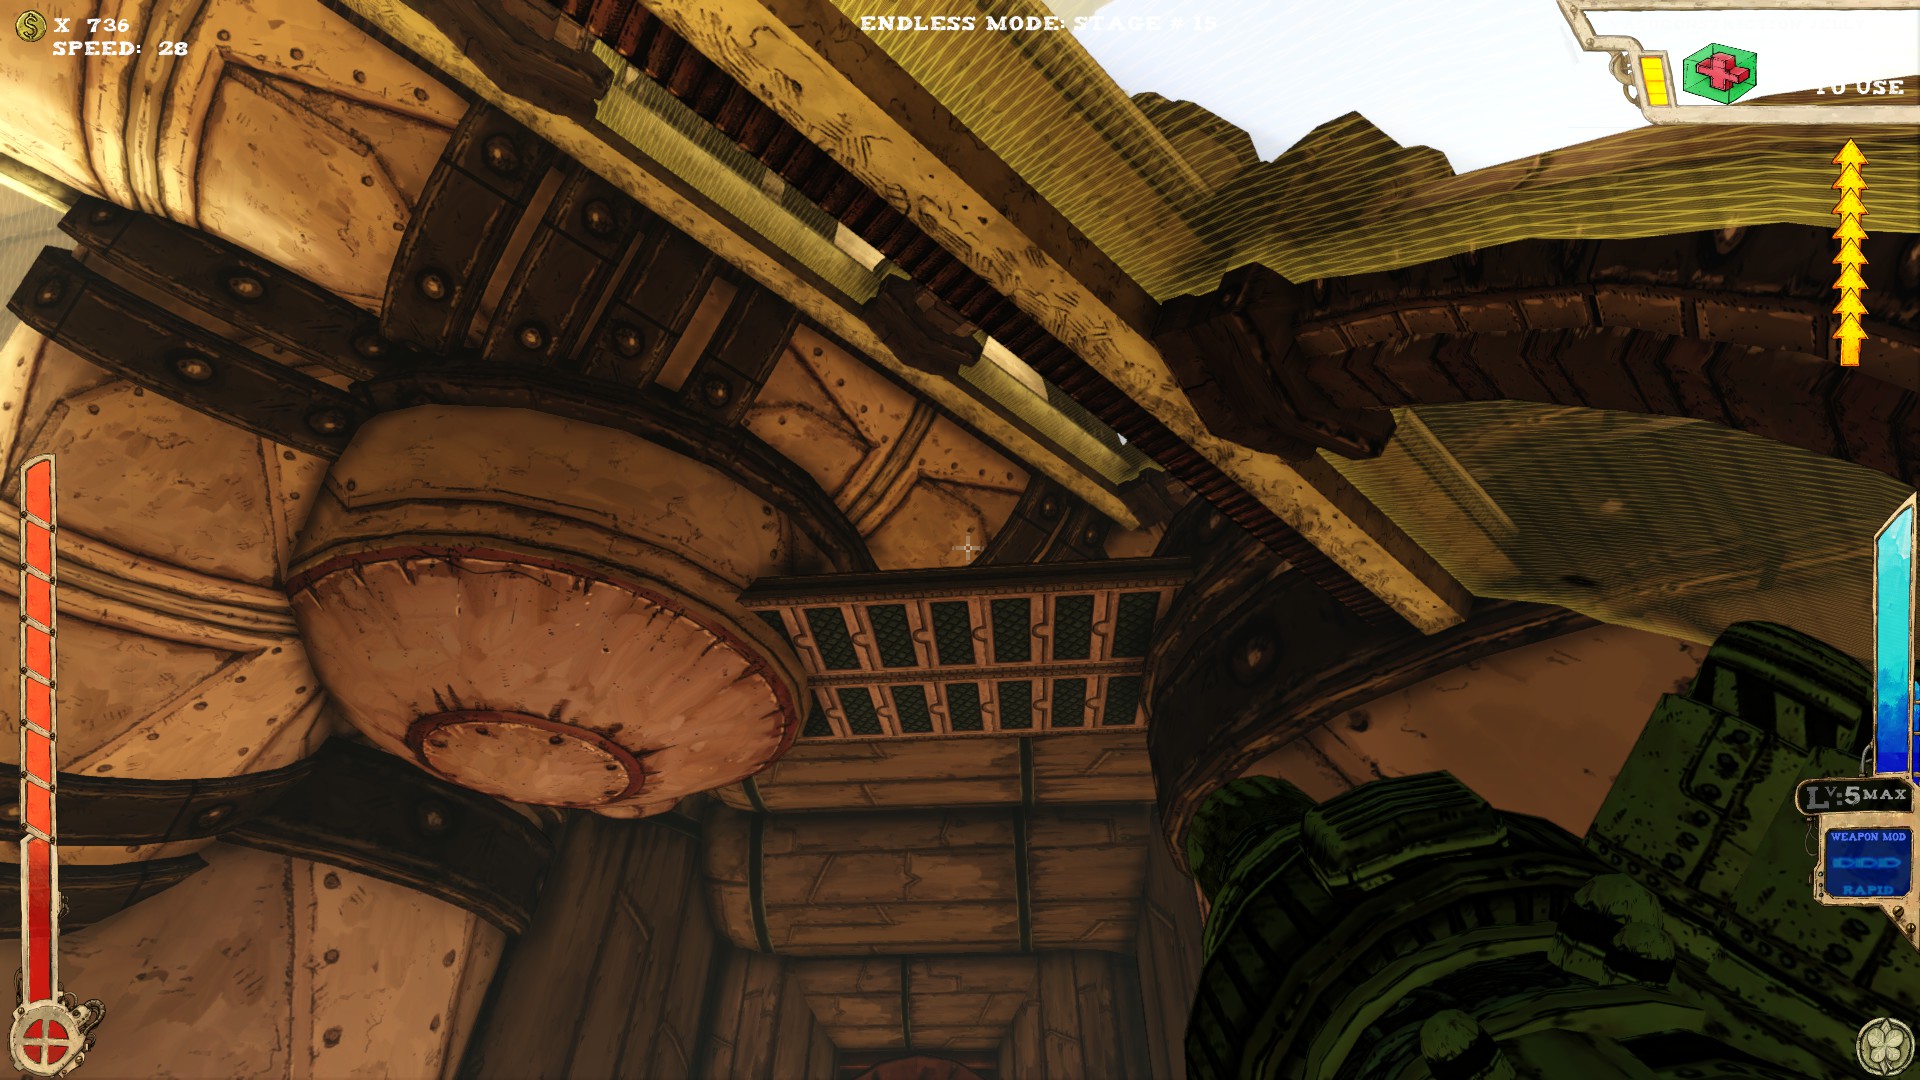
 Highest part of the room. Reachable via the Motivational Jelly.
-----
 One secret.
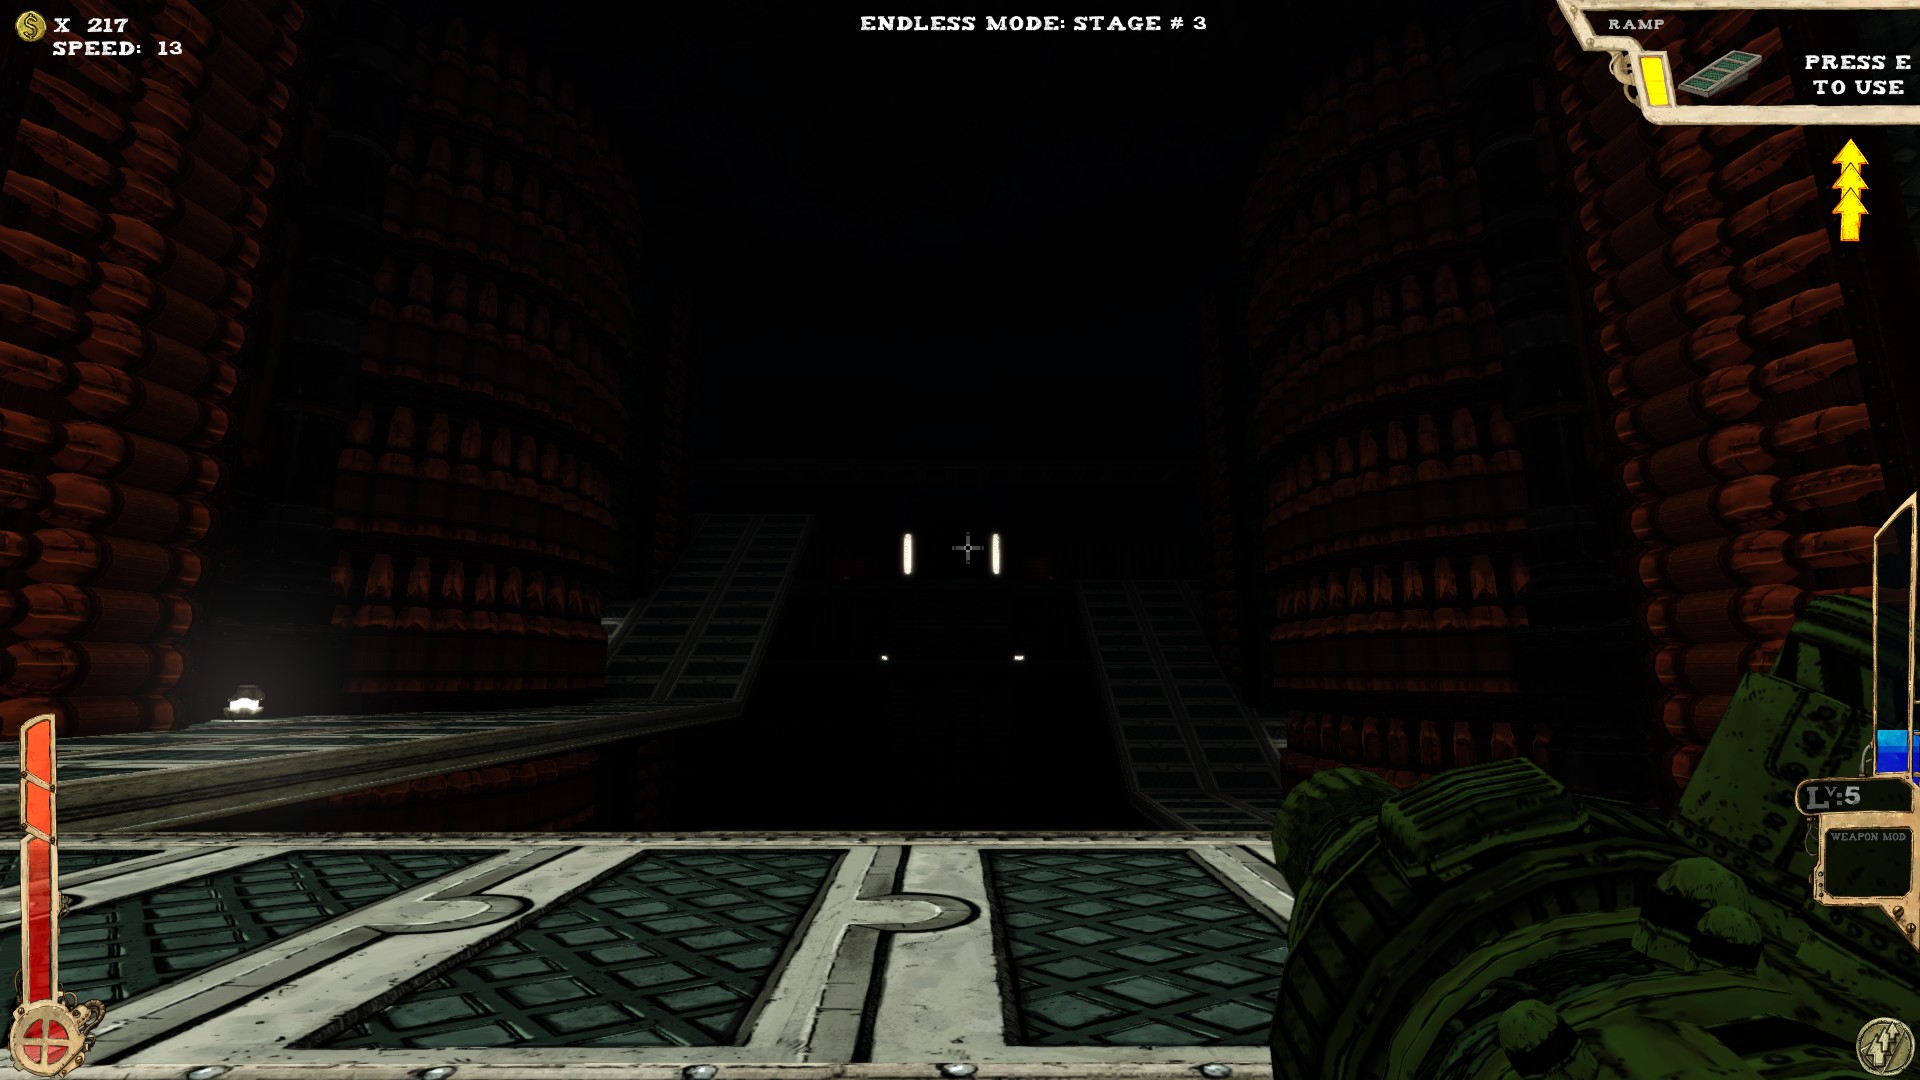
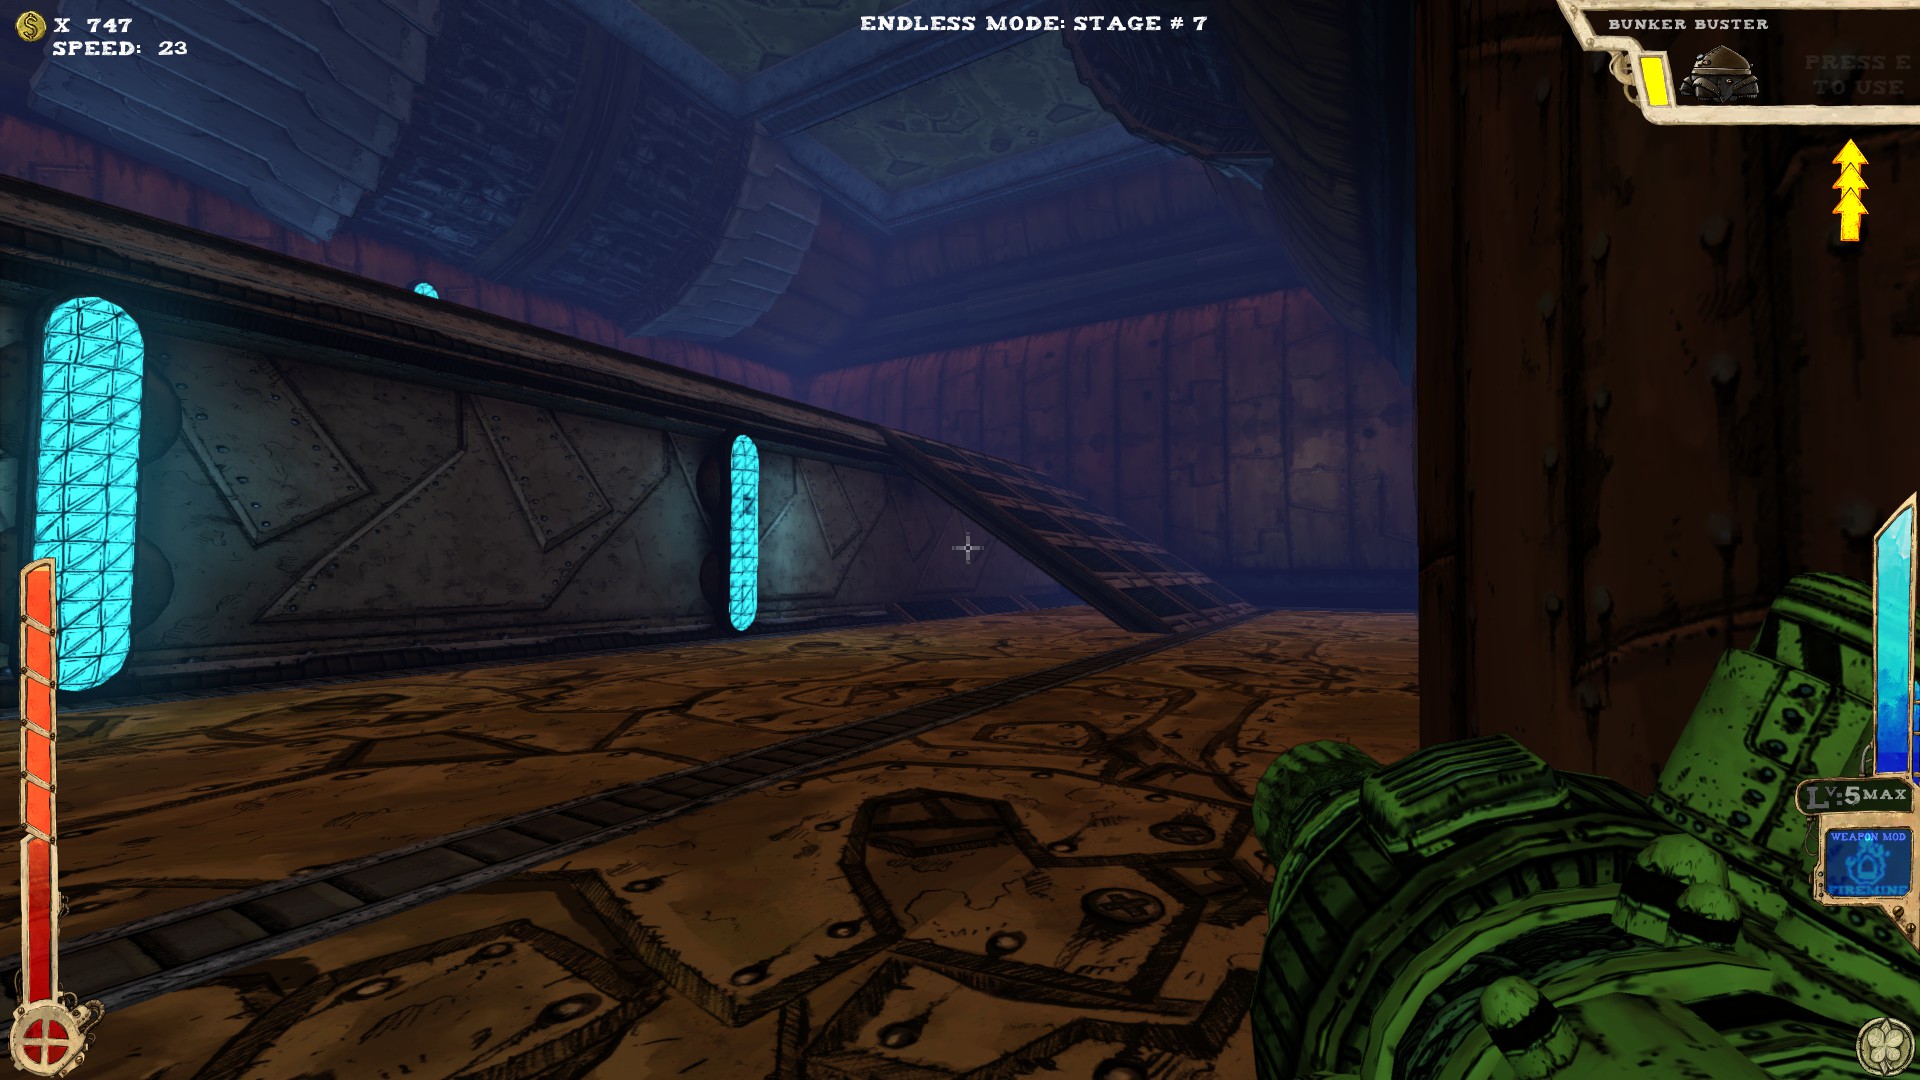 Right from the entrance, under the ramp. Fake wall.
-----
 This isn't a room in itself, as the upper part might change. I will be referring to these as "room parts".
No secret here, btw.
-----
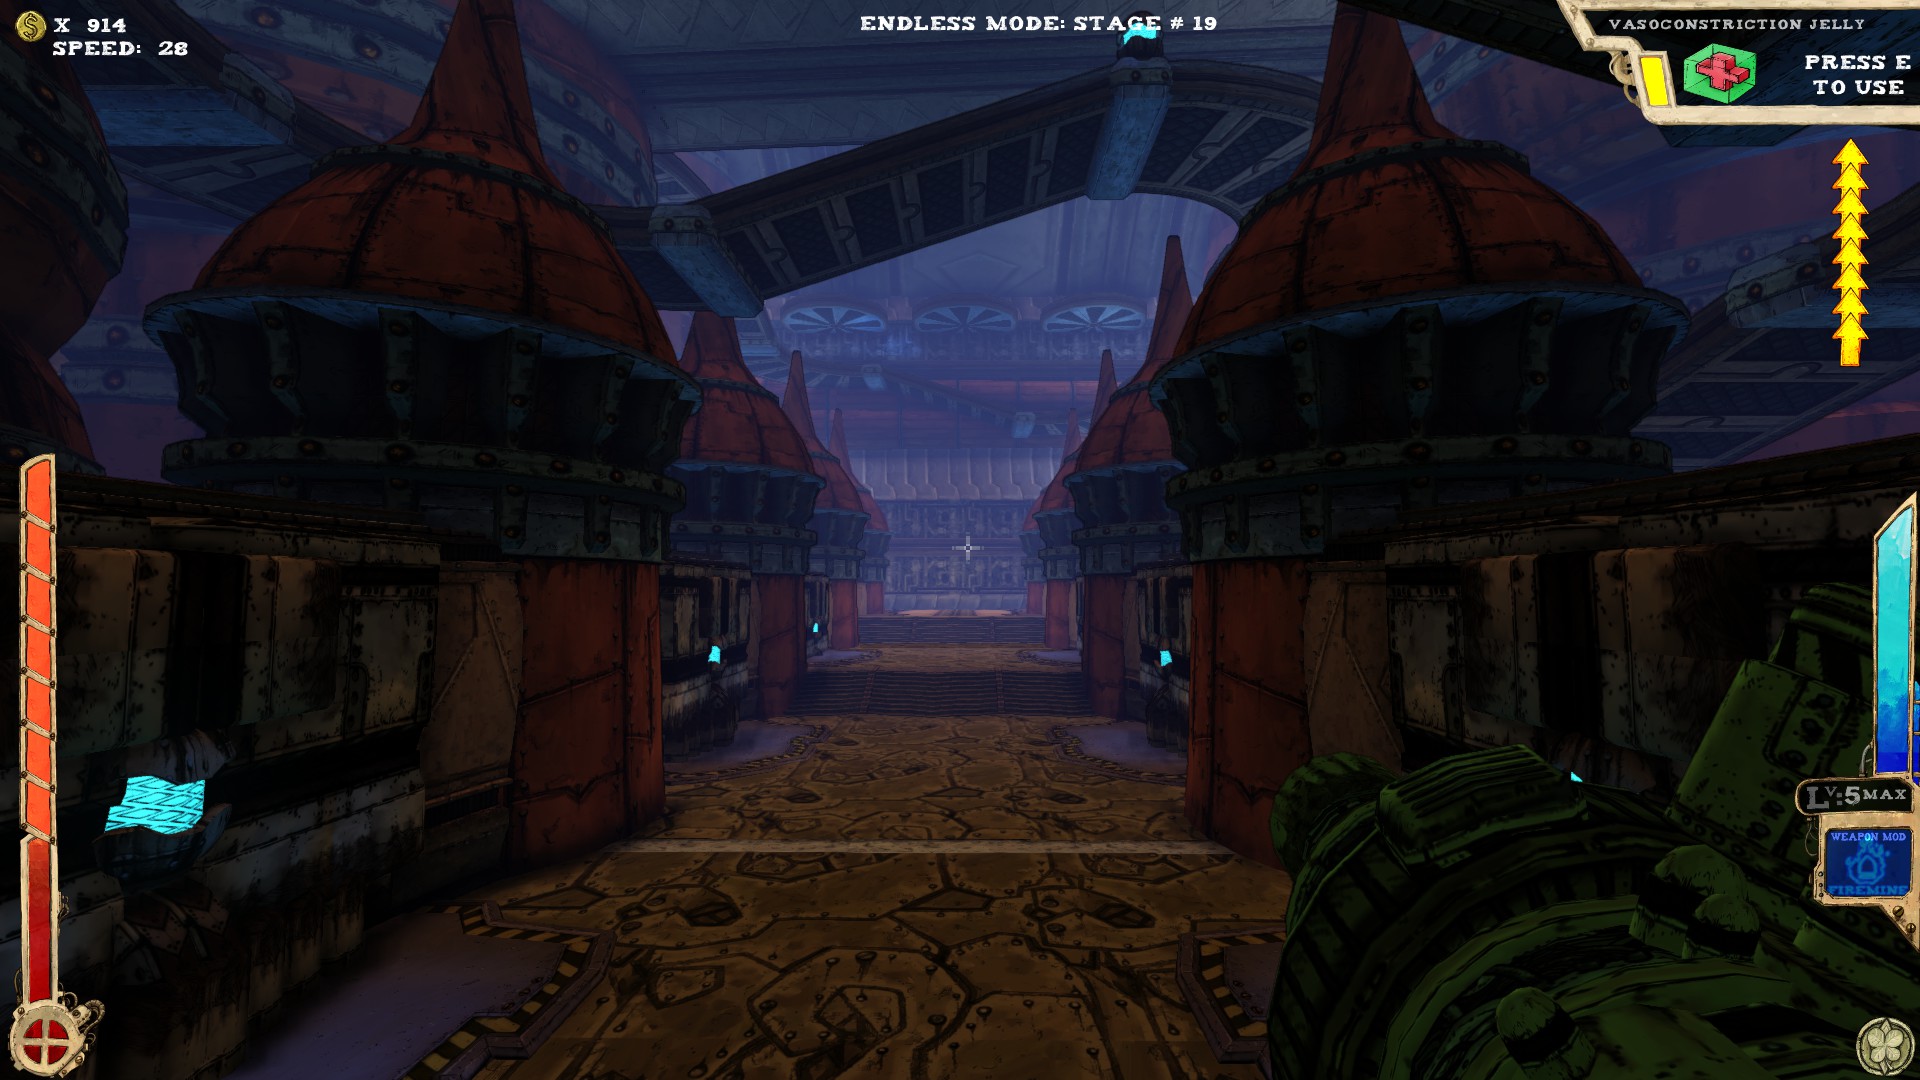
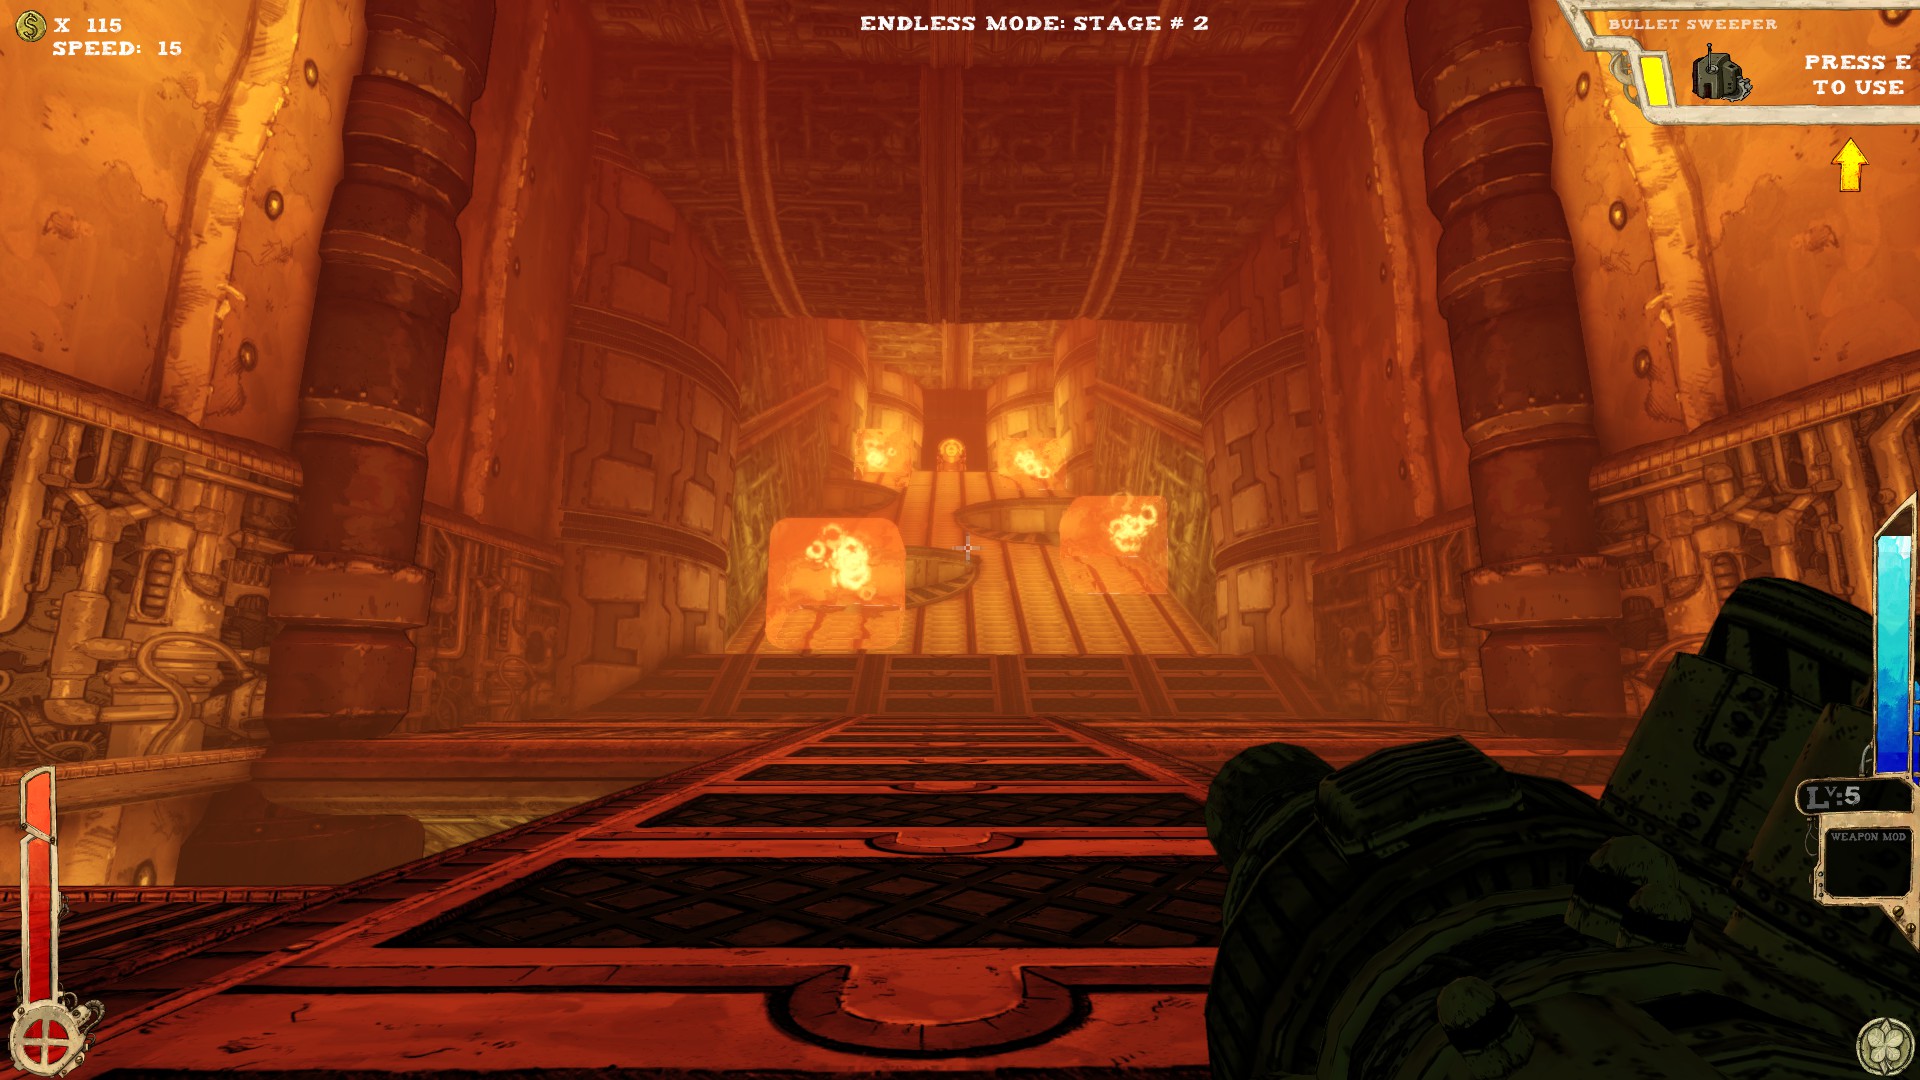
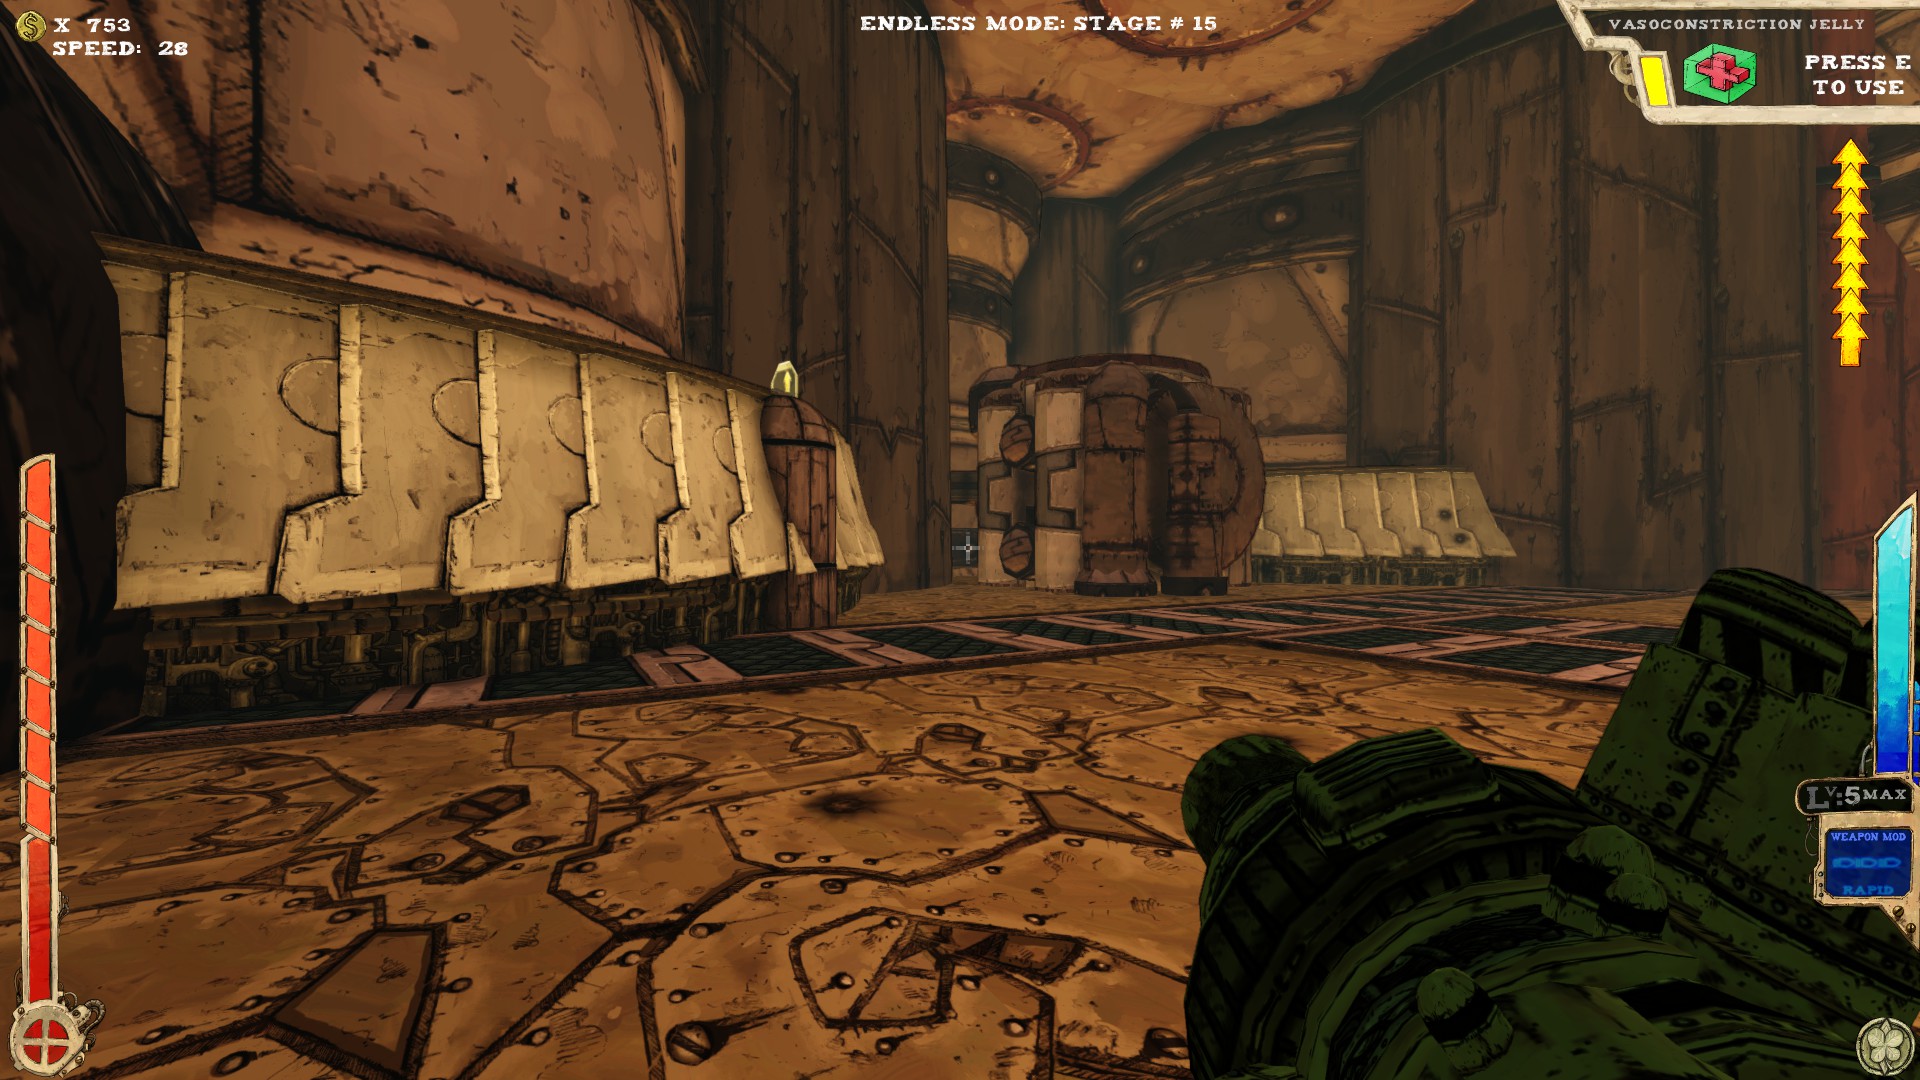
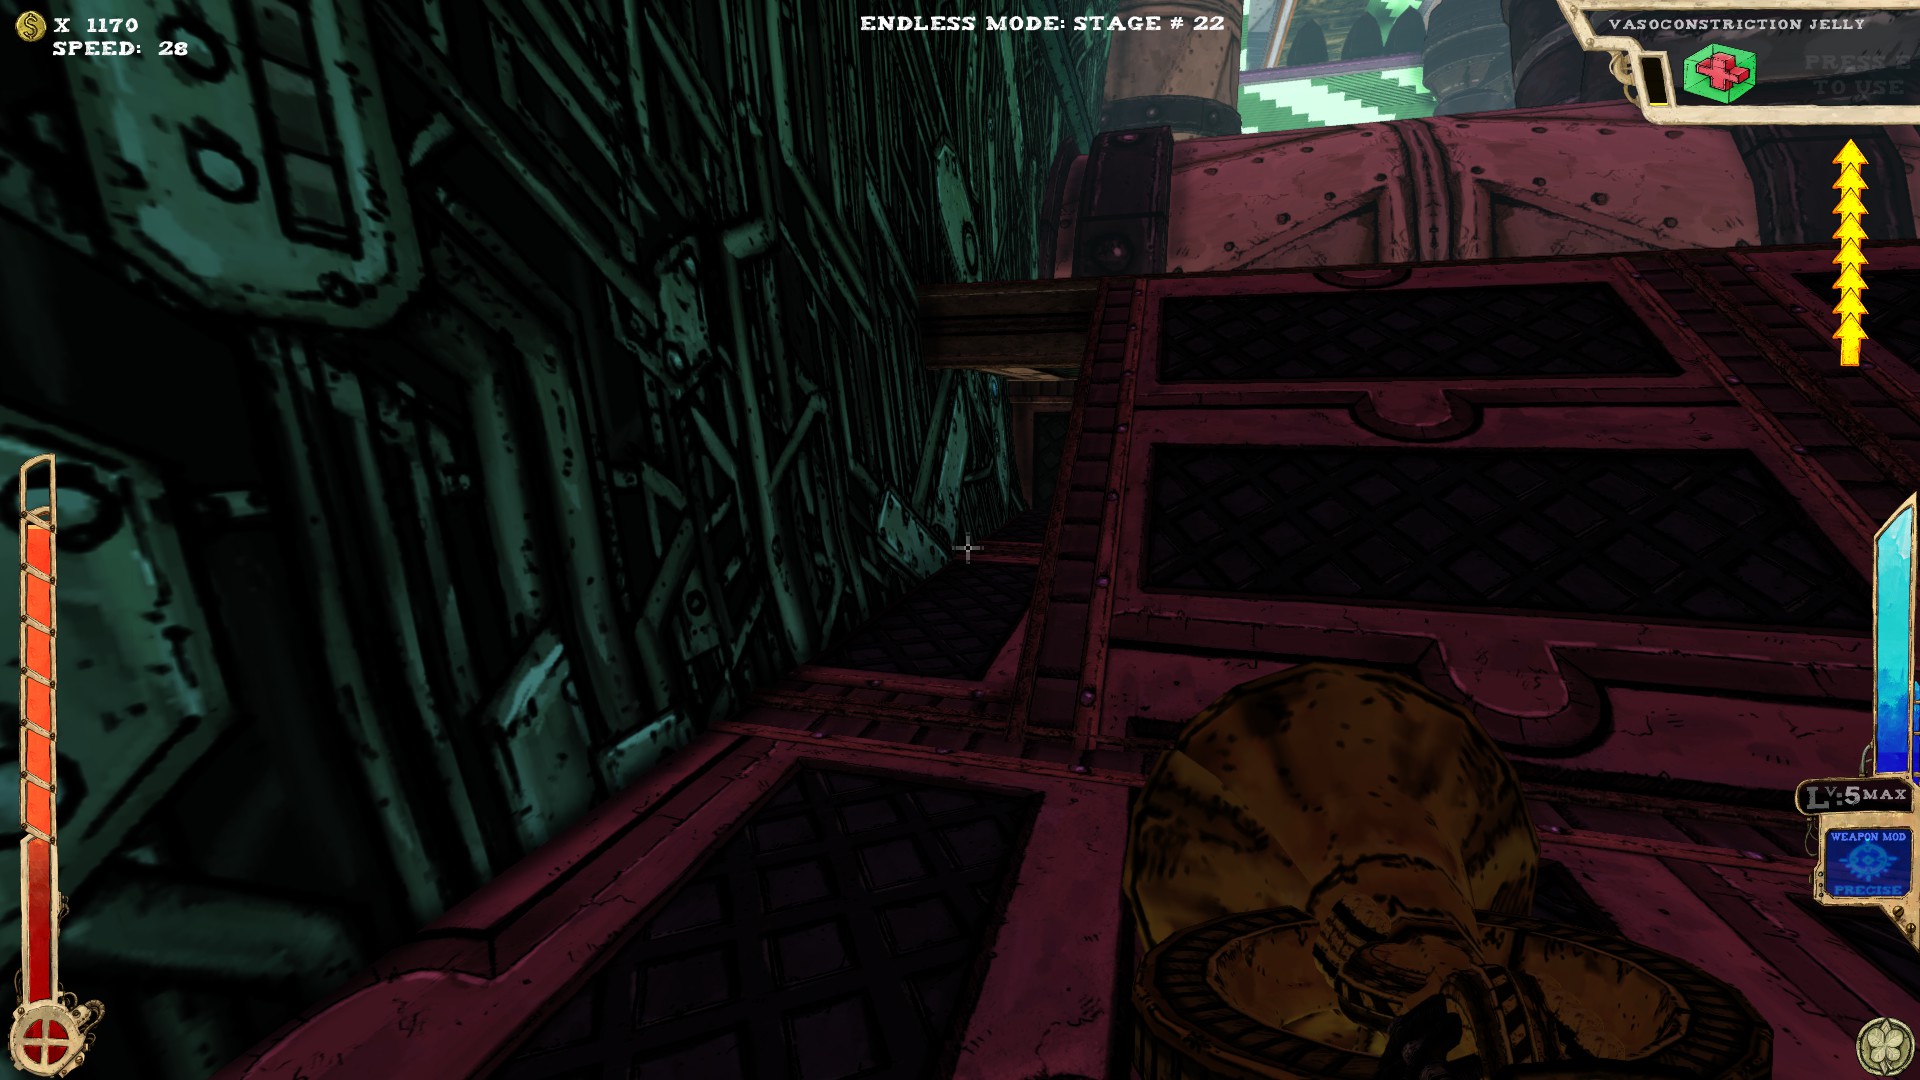
 At least four secrets in here, maybe more.
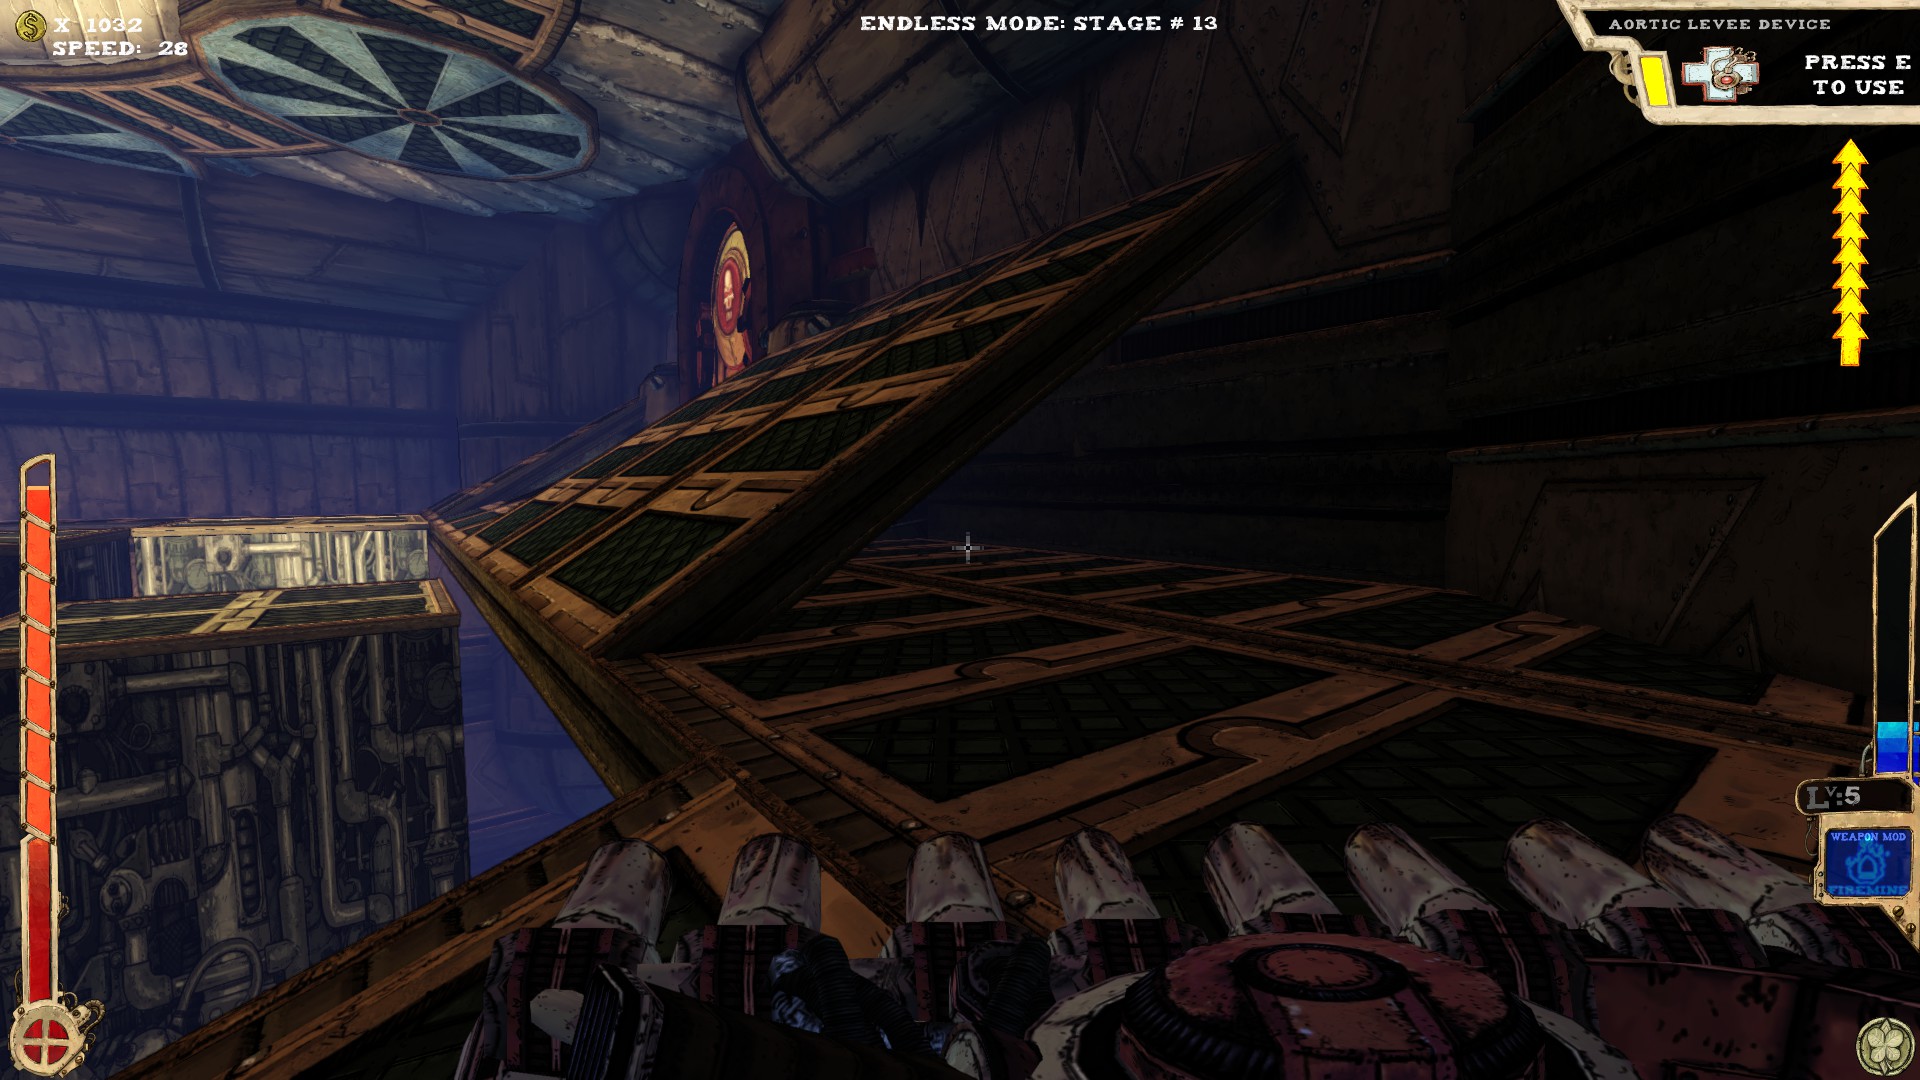 As you can see on the picture, the secret is right besides the boss door under a ramp.
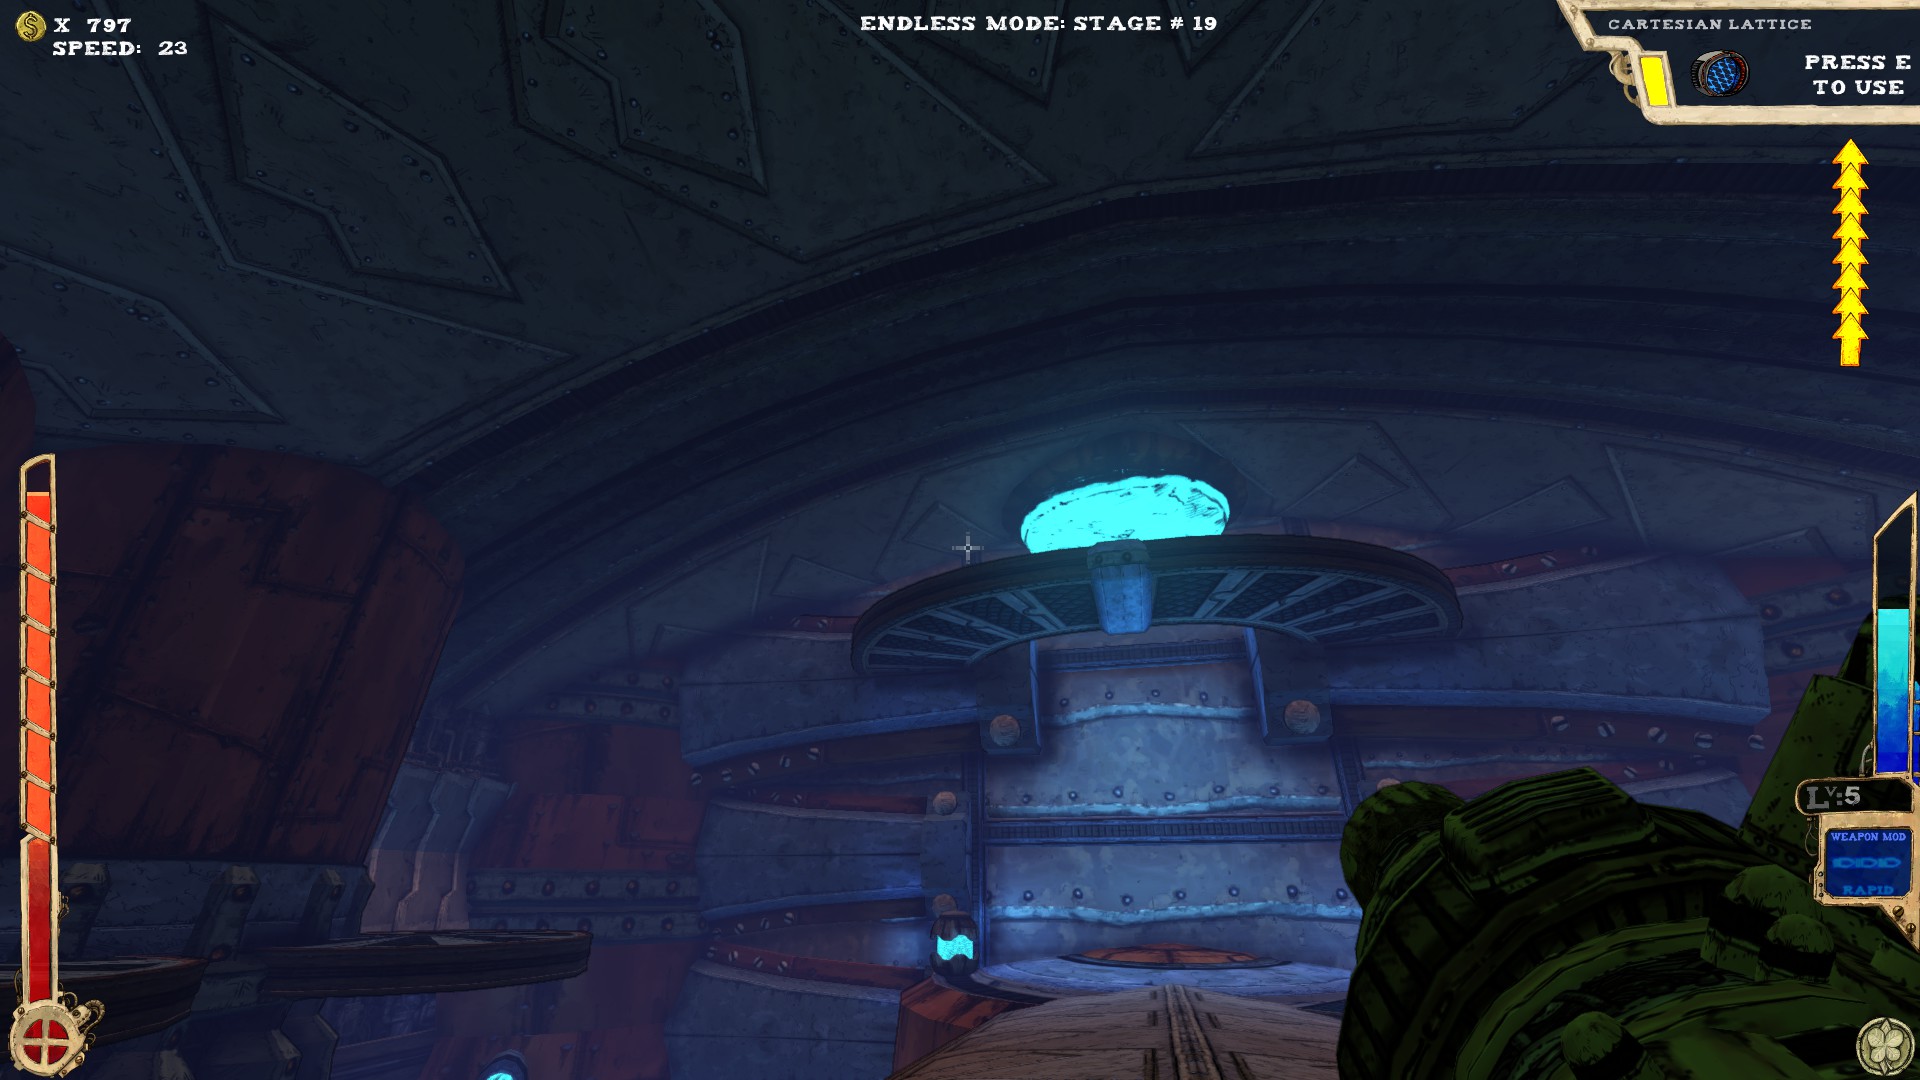
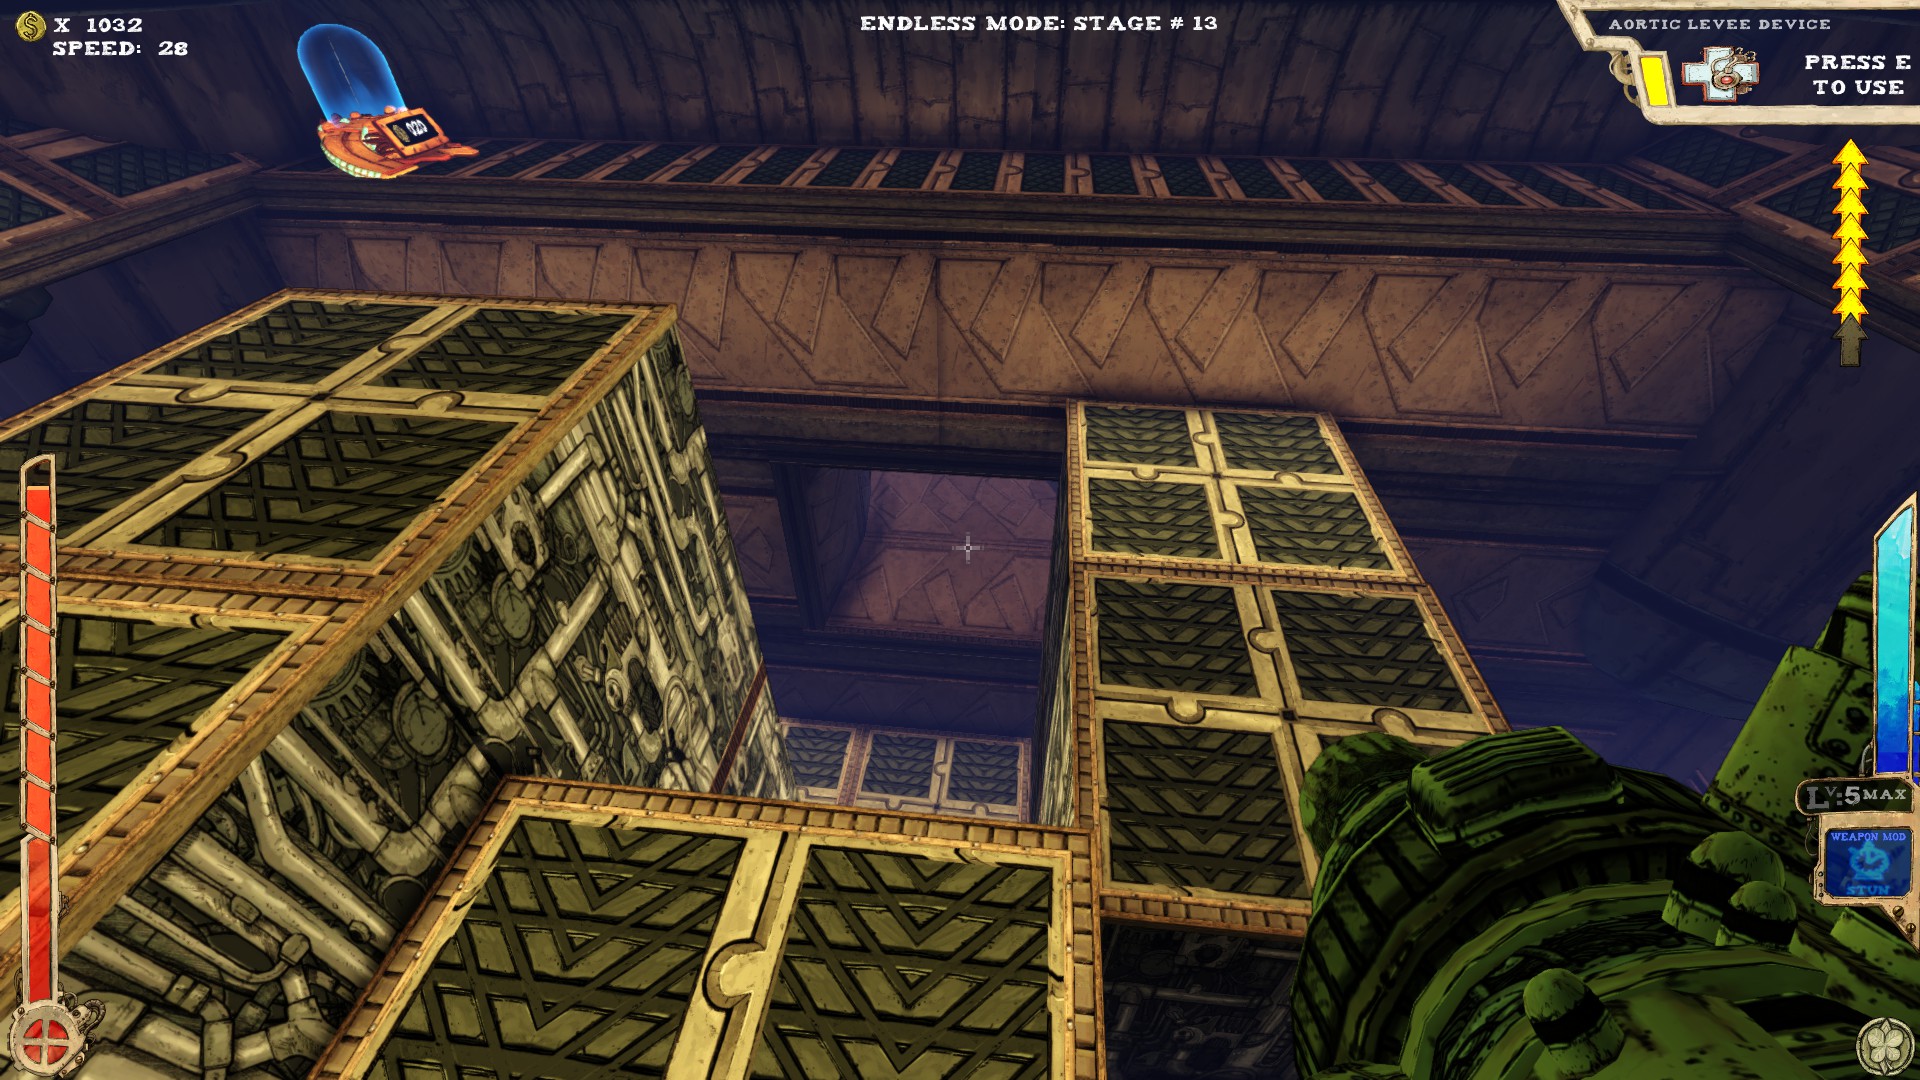 The secret is located opposite to the entrance. Just get on the elevators. One of them goes up and down right in front of the opening to the secret.
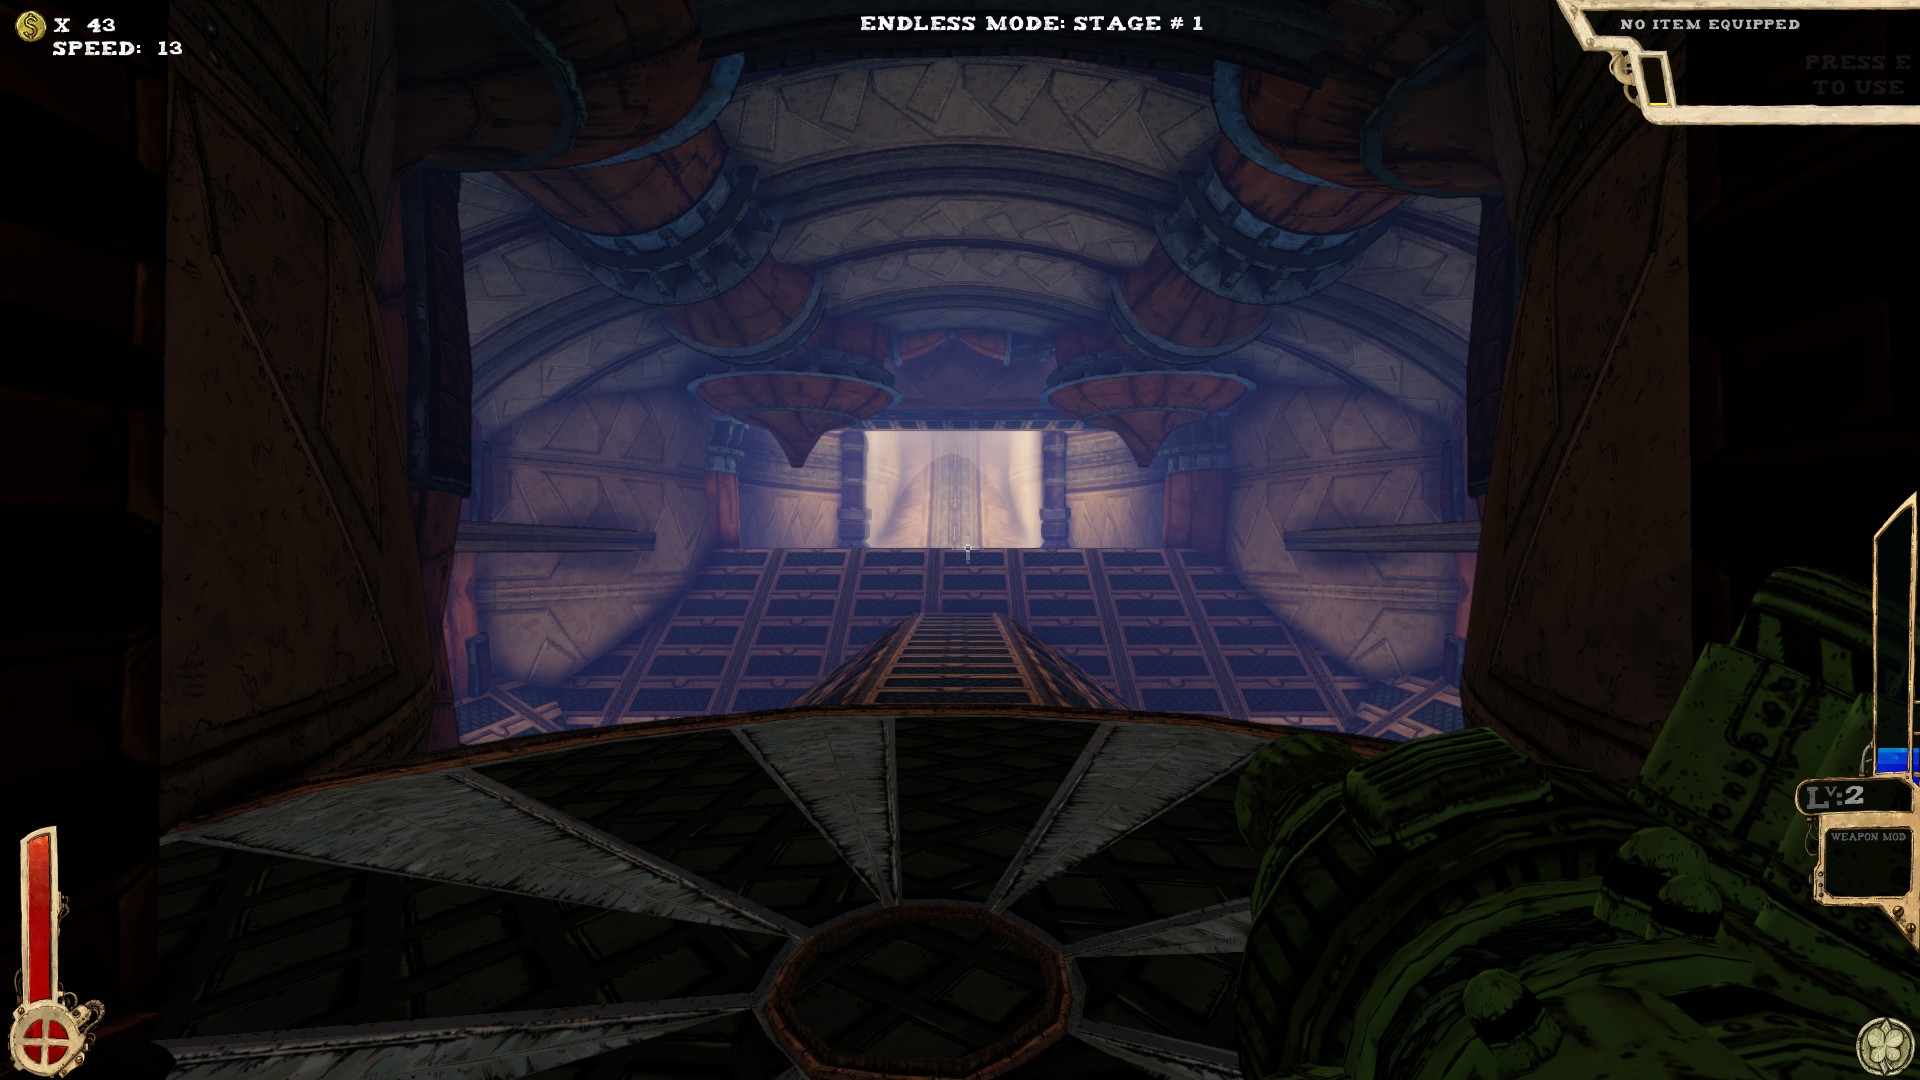
 On top of the platform in the elevated part in the middle of the room. Not reachable with an elevator jump alone.
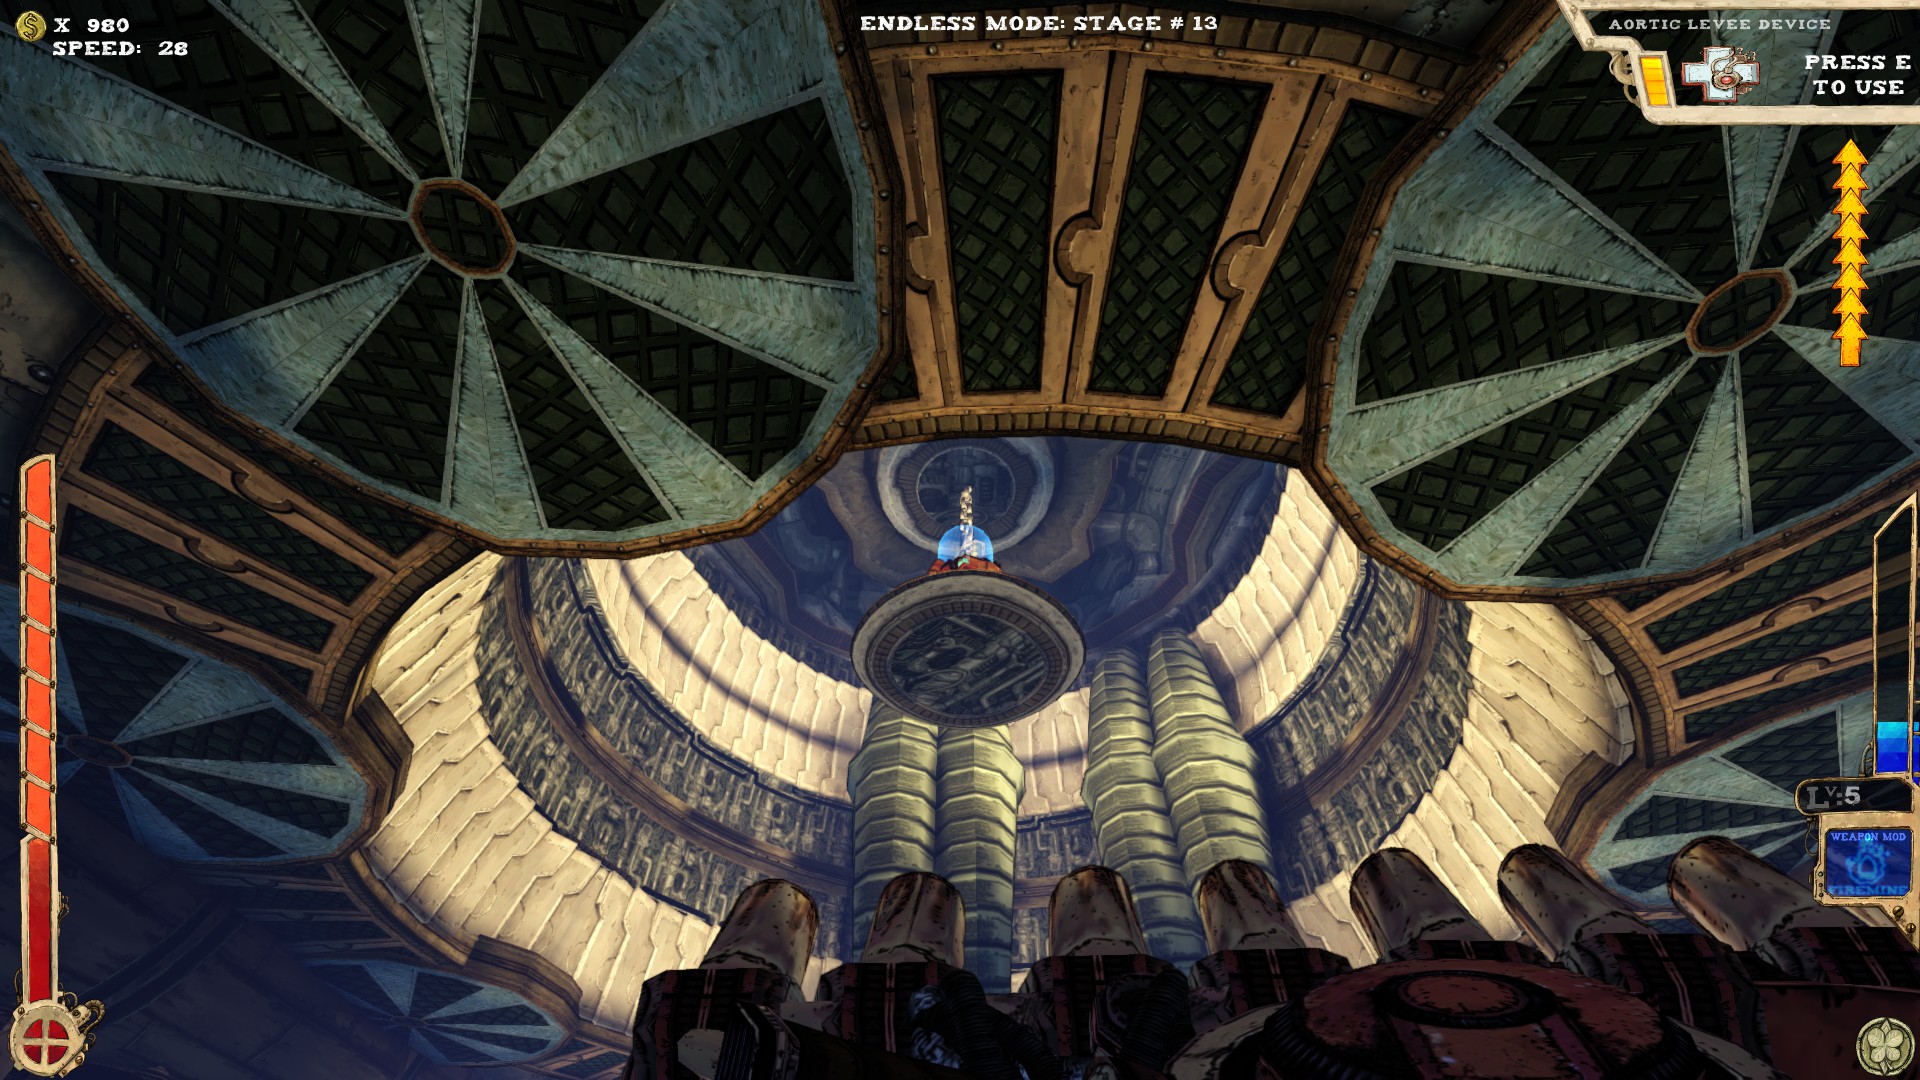
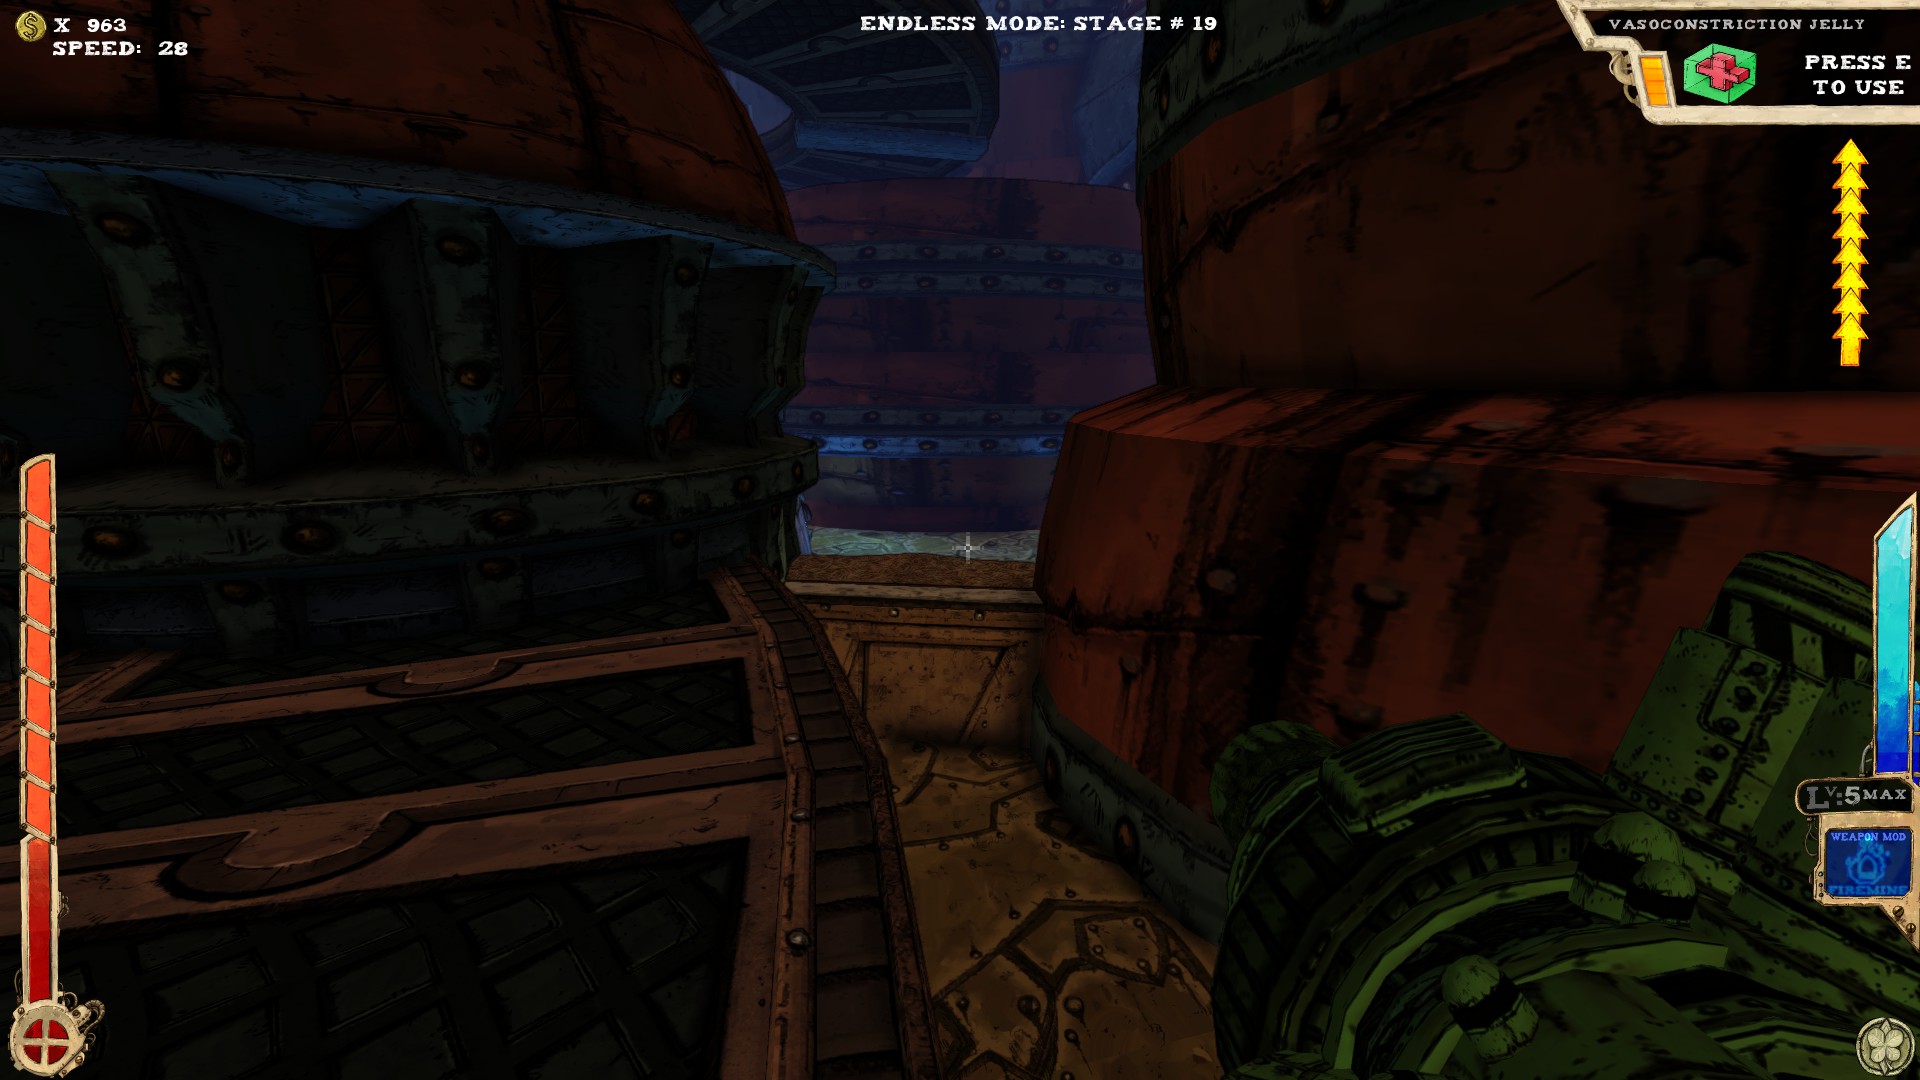
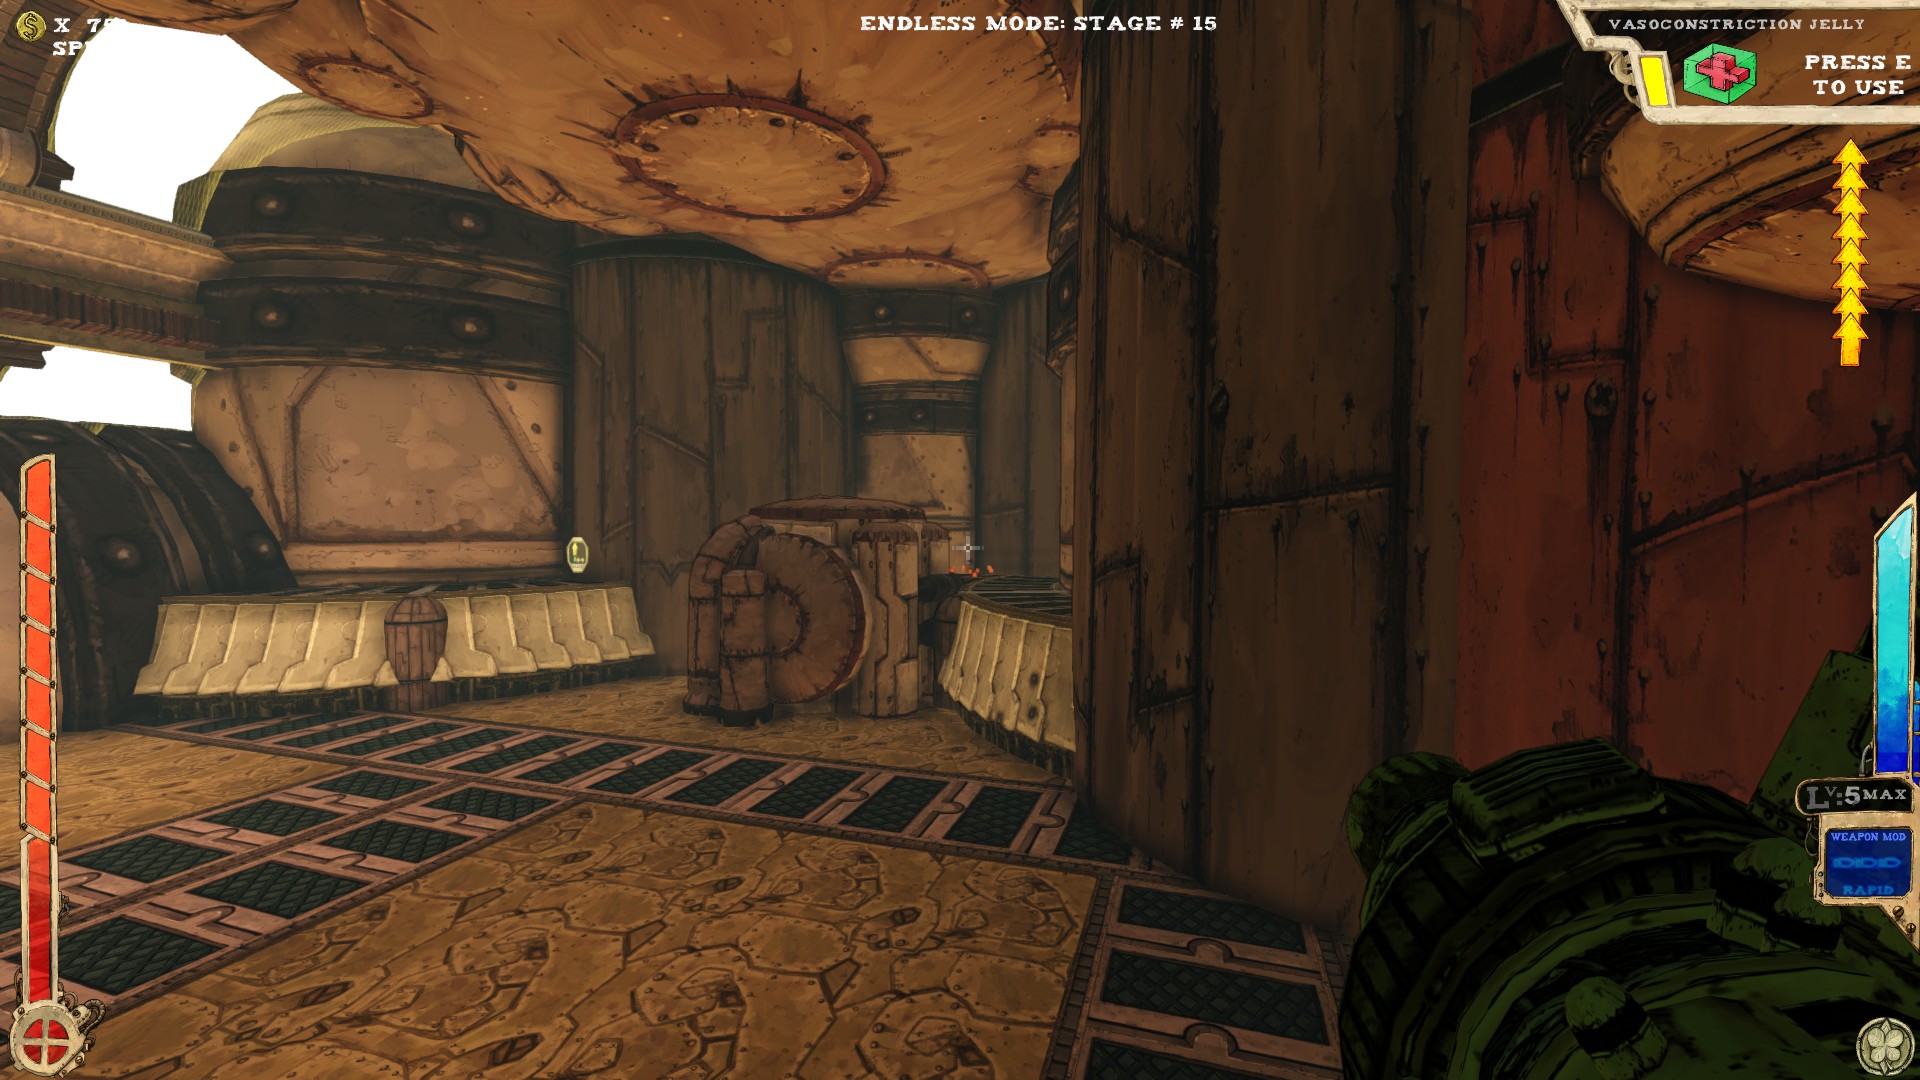
 Standing with your back to the boss door, you should see a little opening under one of the ramps (if one of the elevators isn't blocking the view).
-----
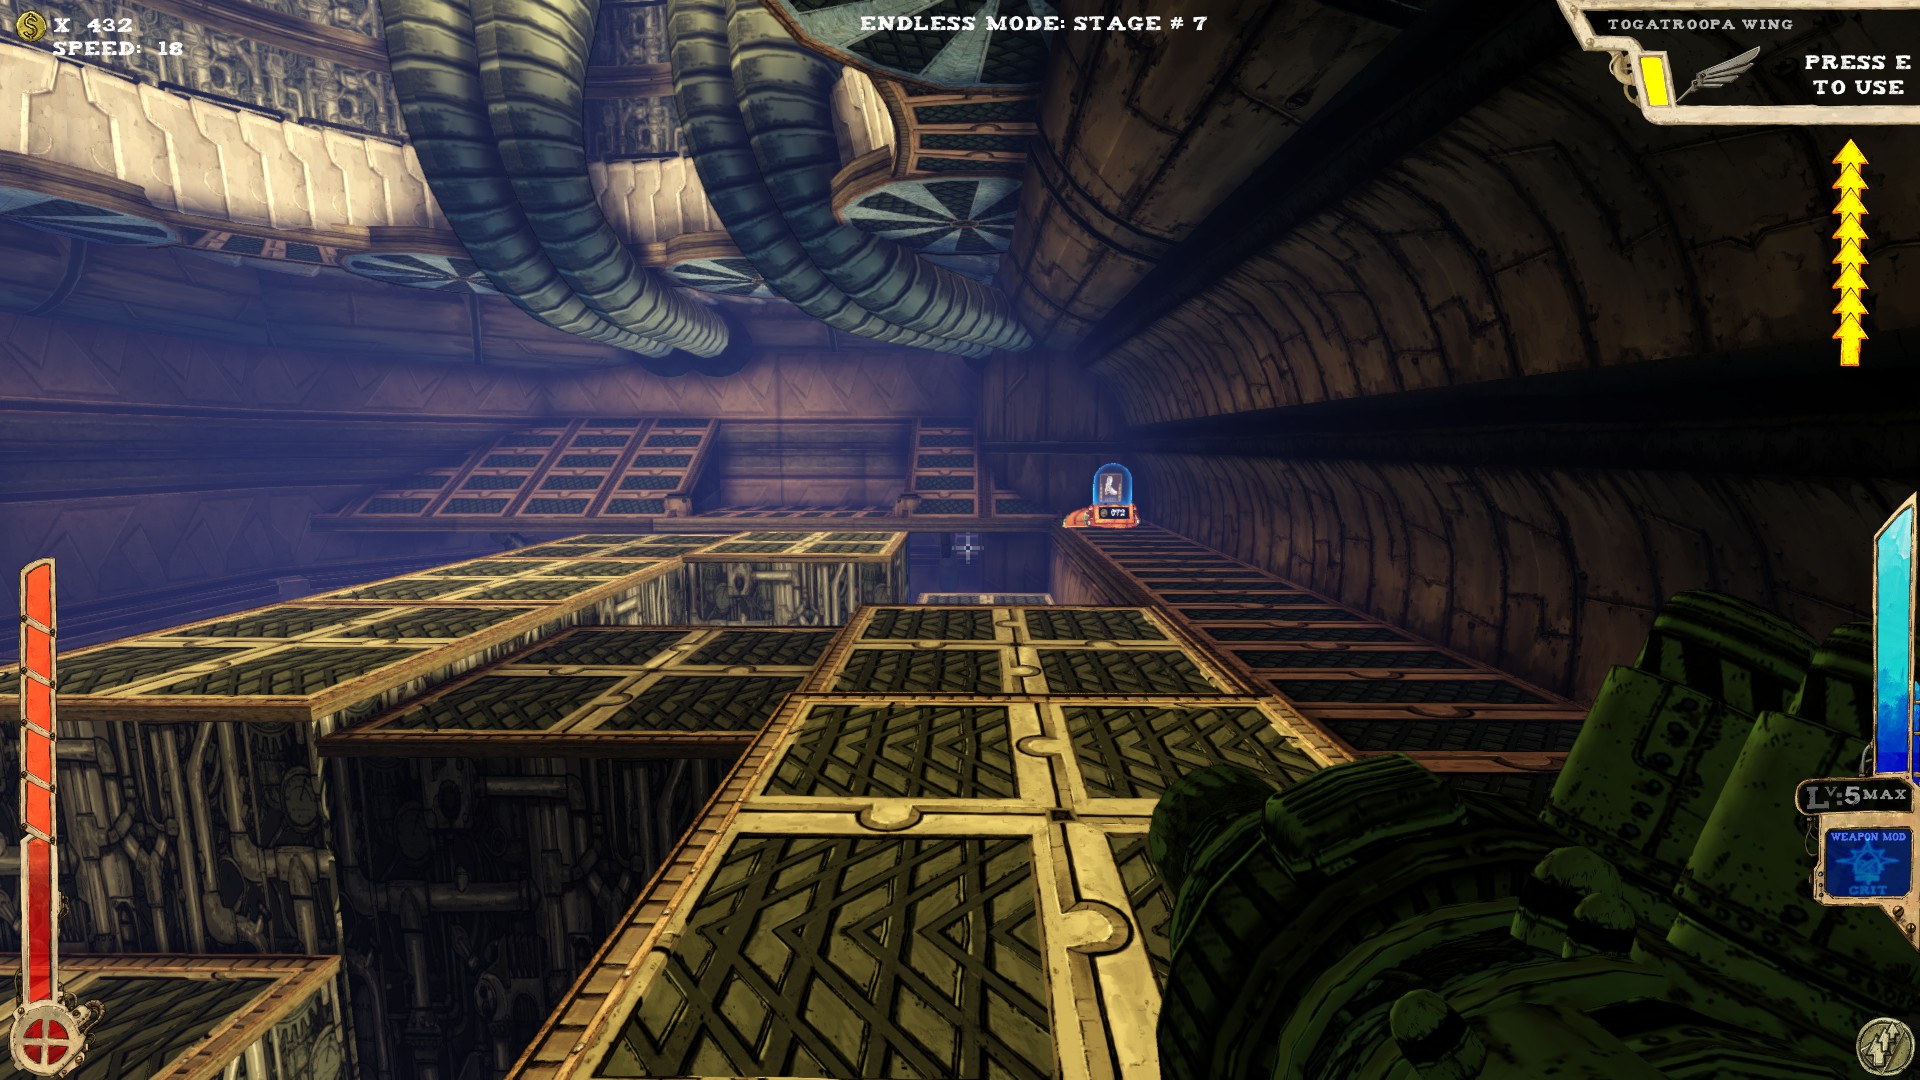
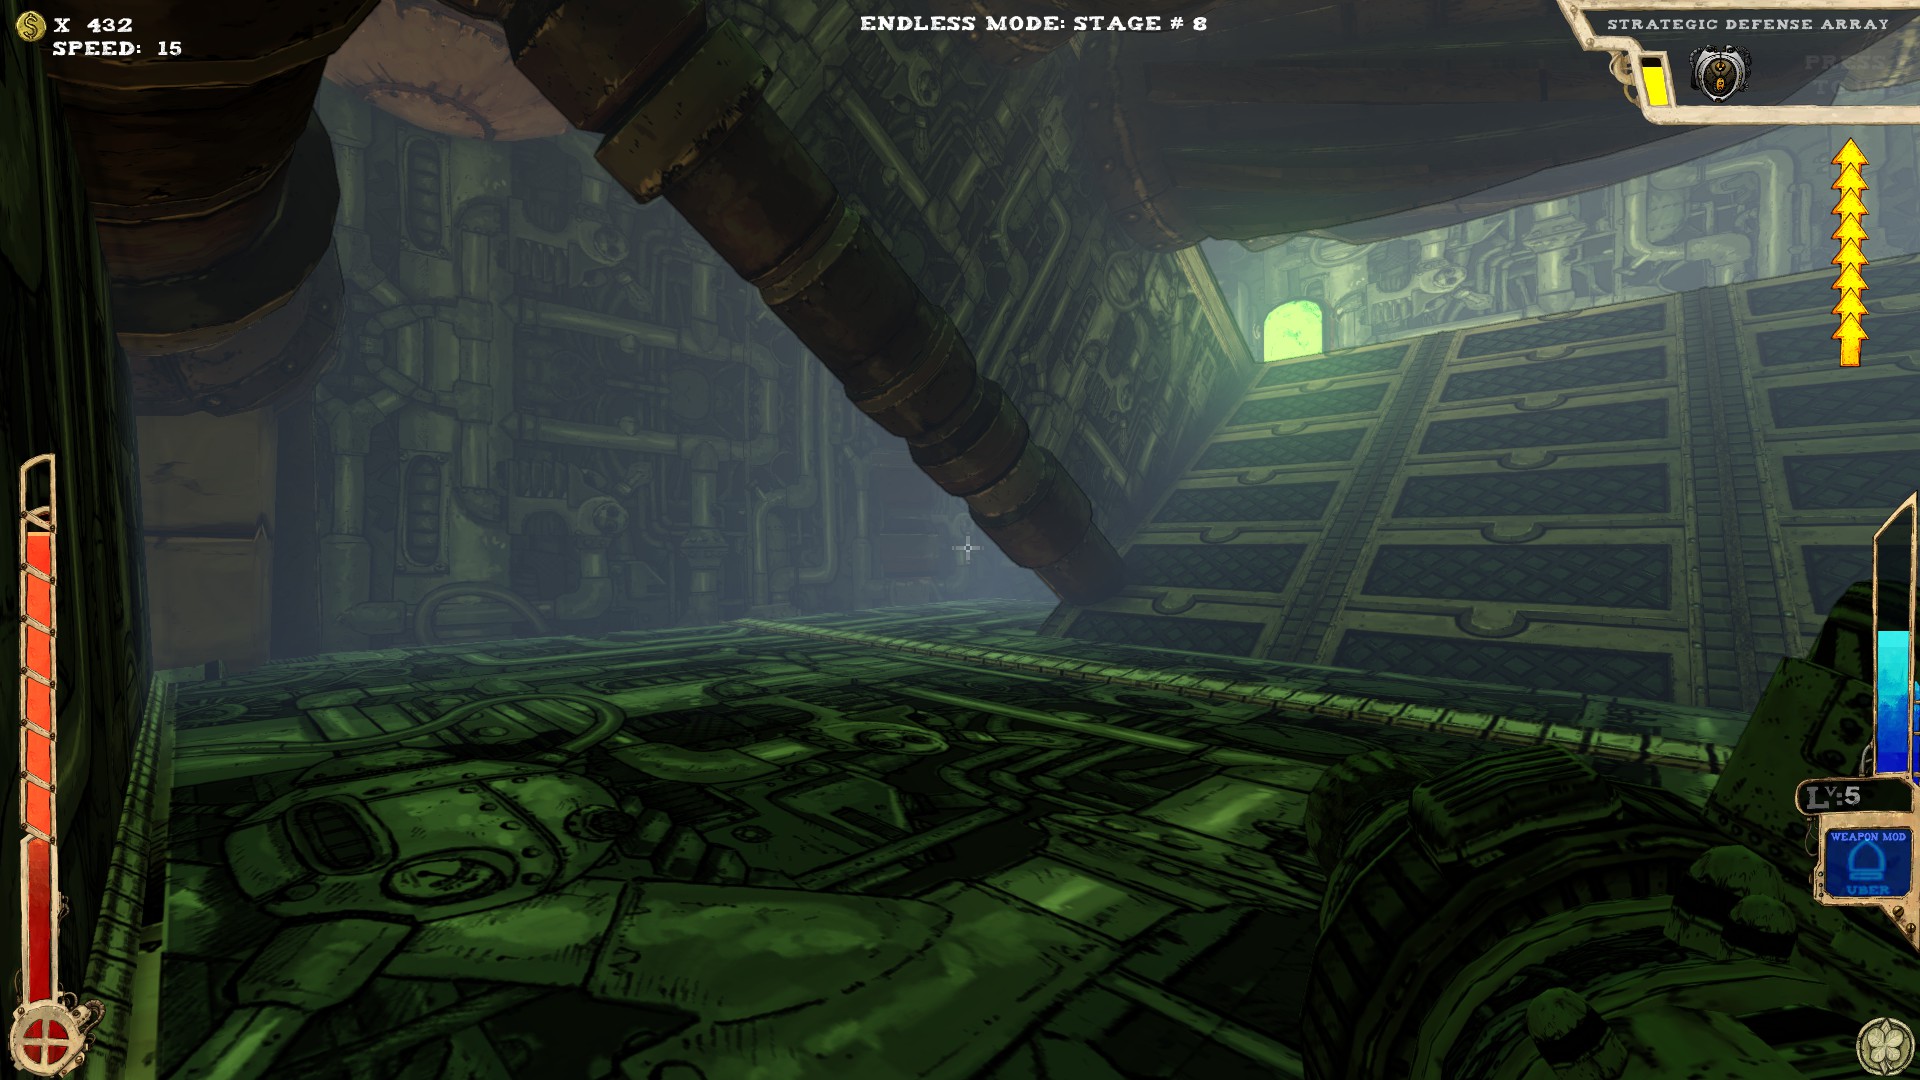
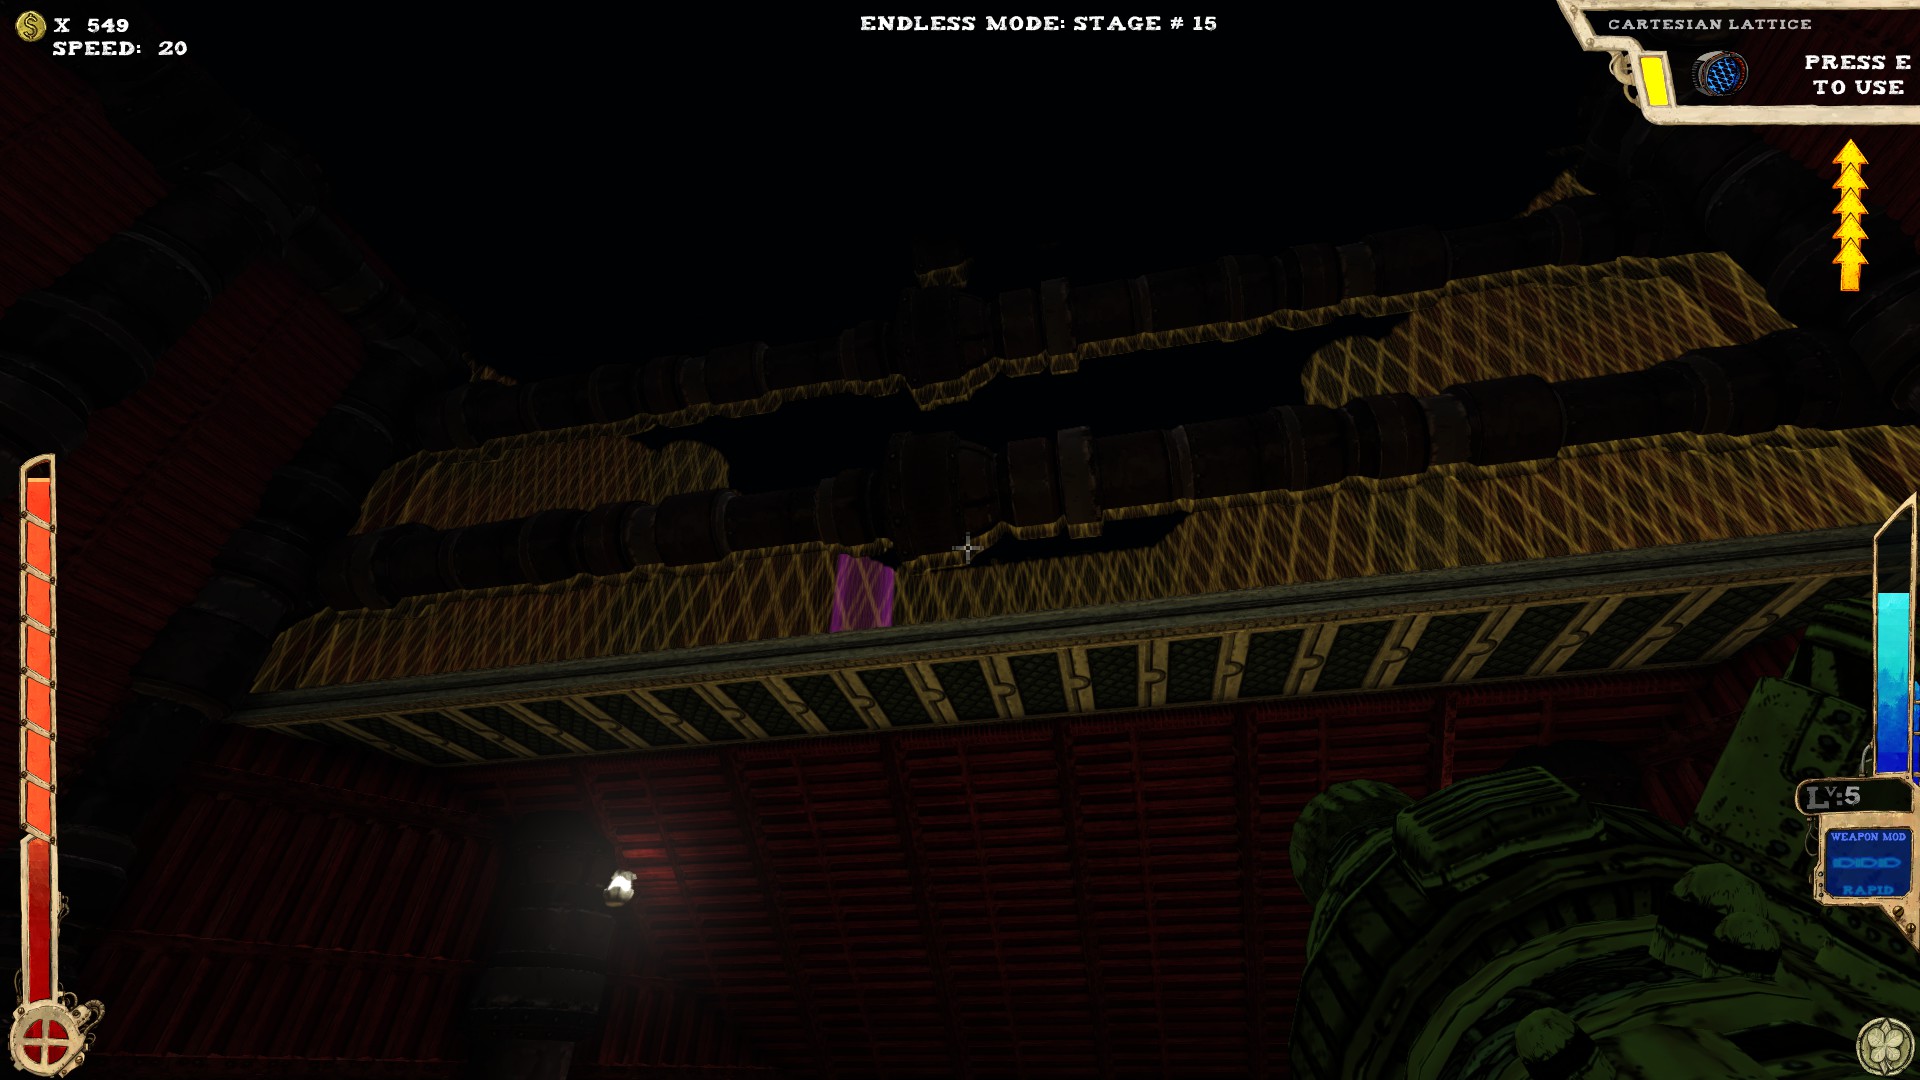
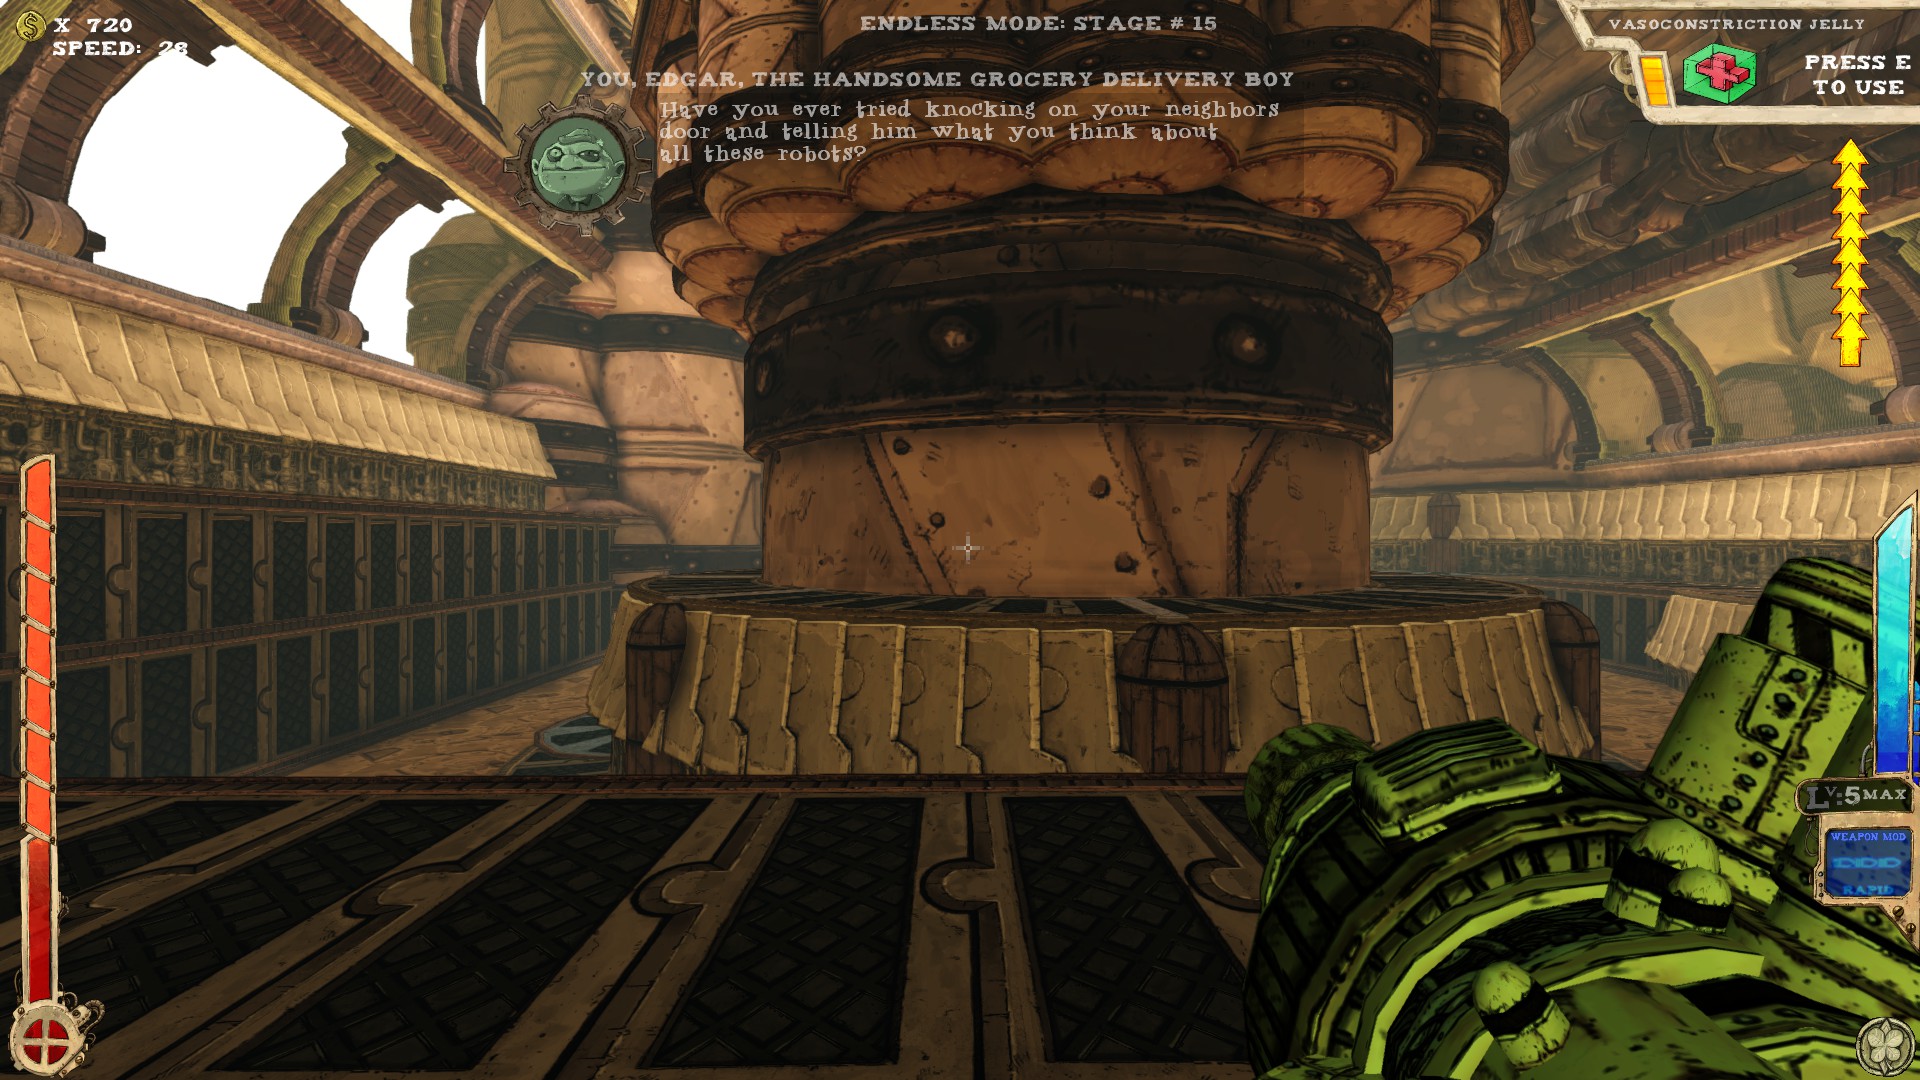
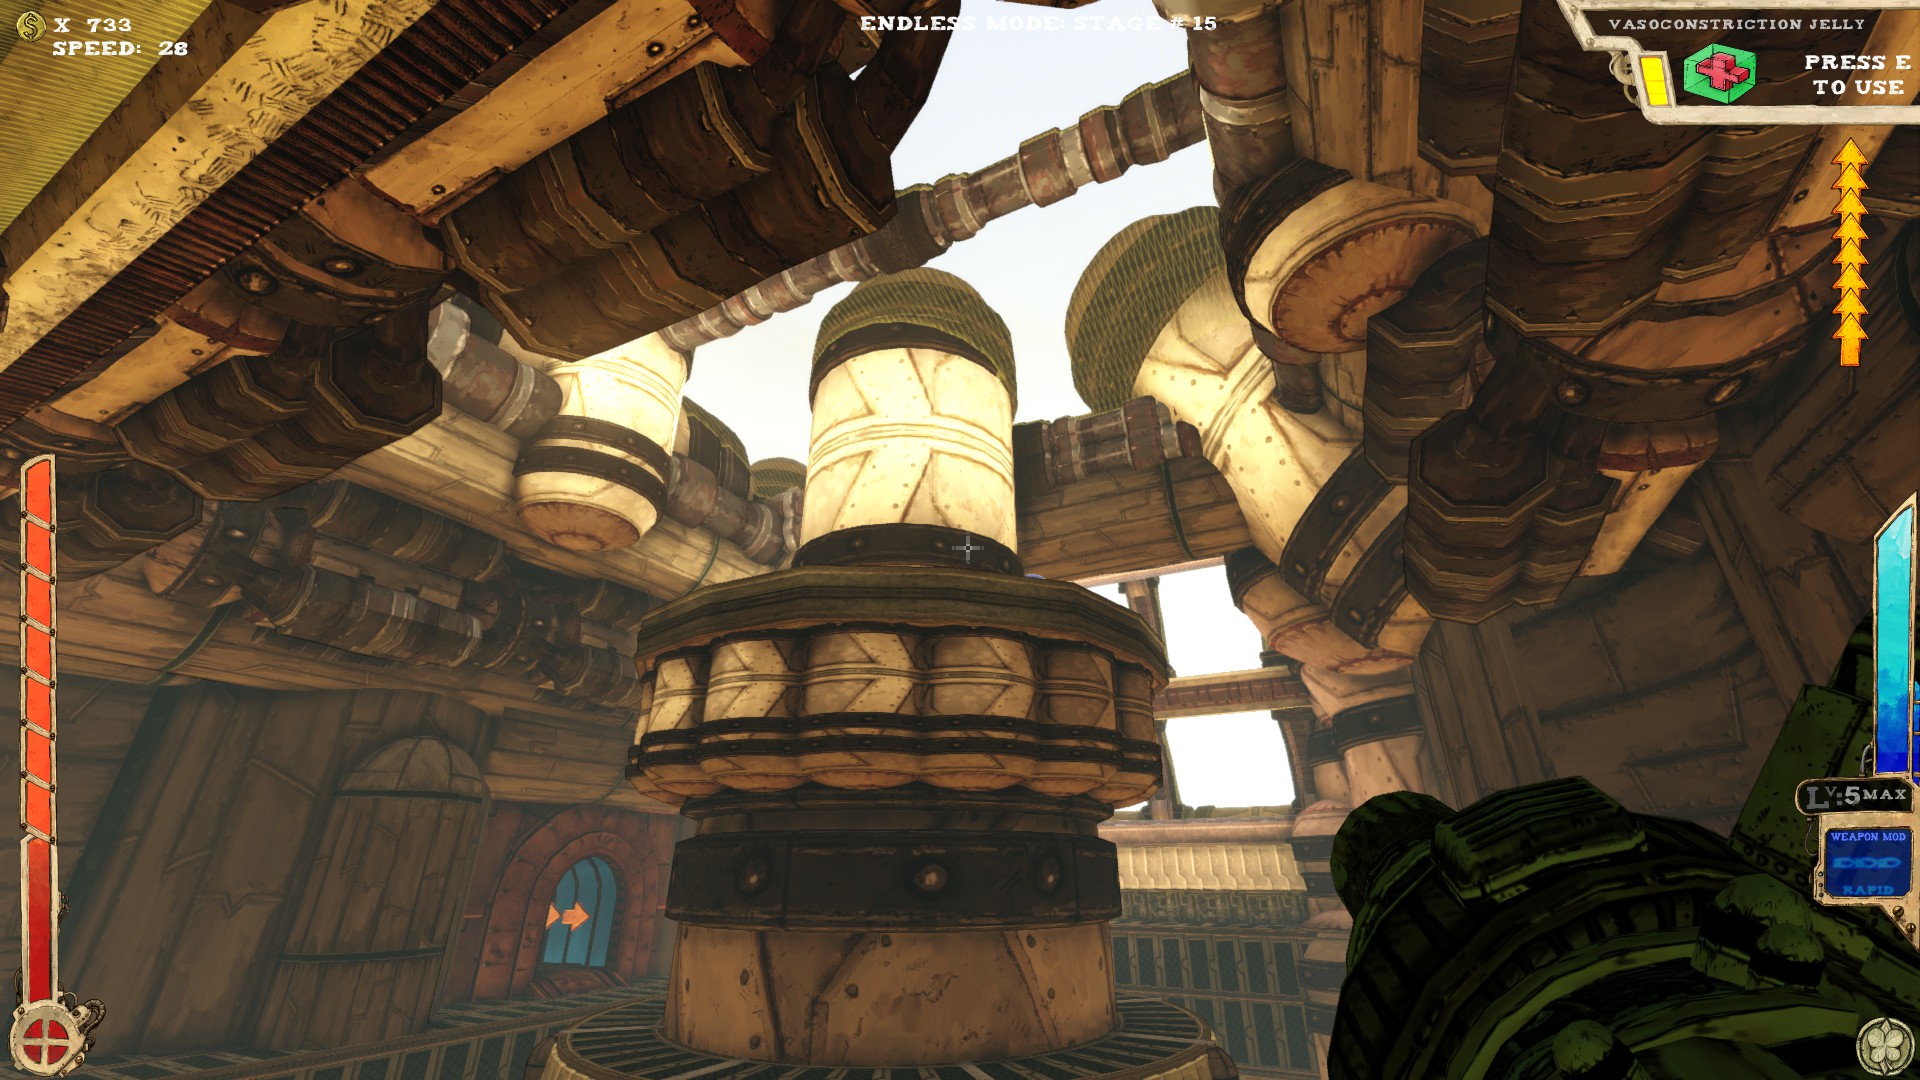
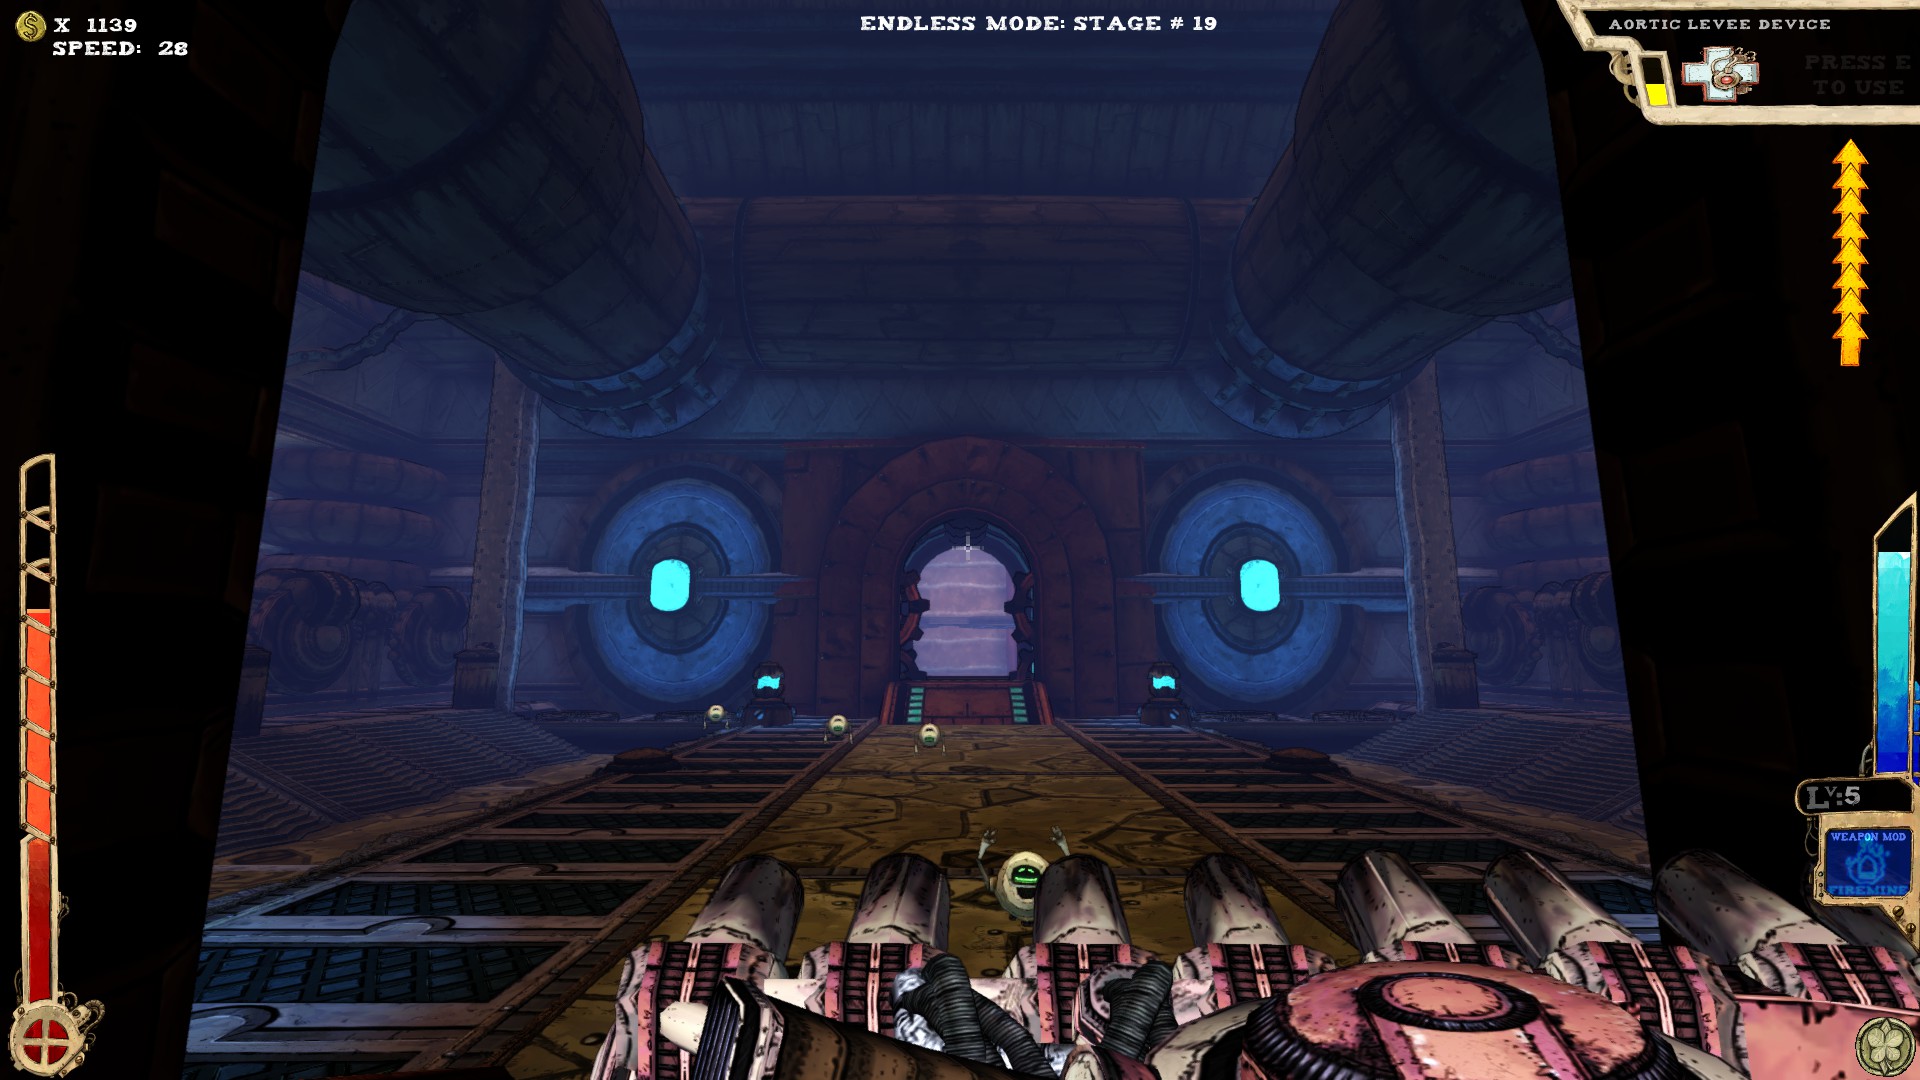 One of the four rooms, where only Hugbots spawn and one of the two, that contains a secret.
 On top of the pipe. Not reachable without extra jumps or a proper item.
-----
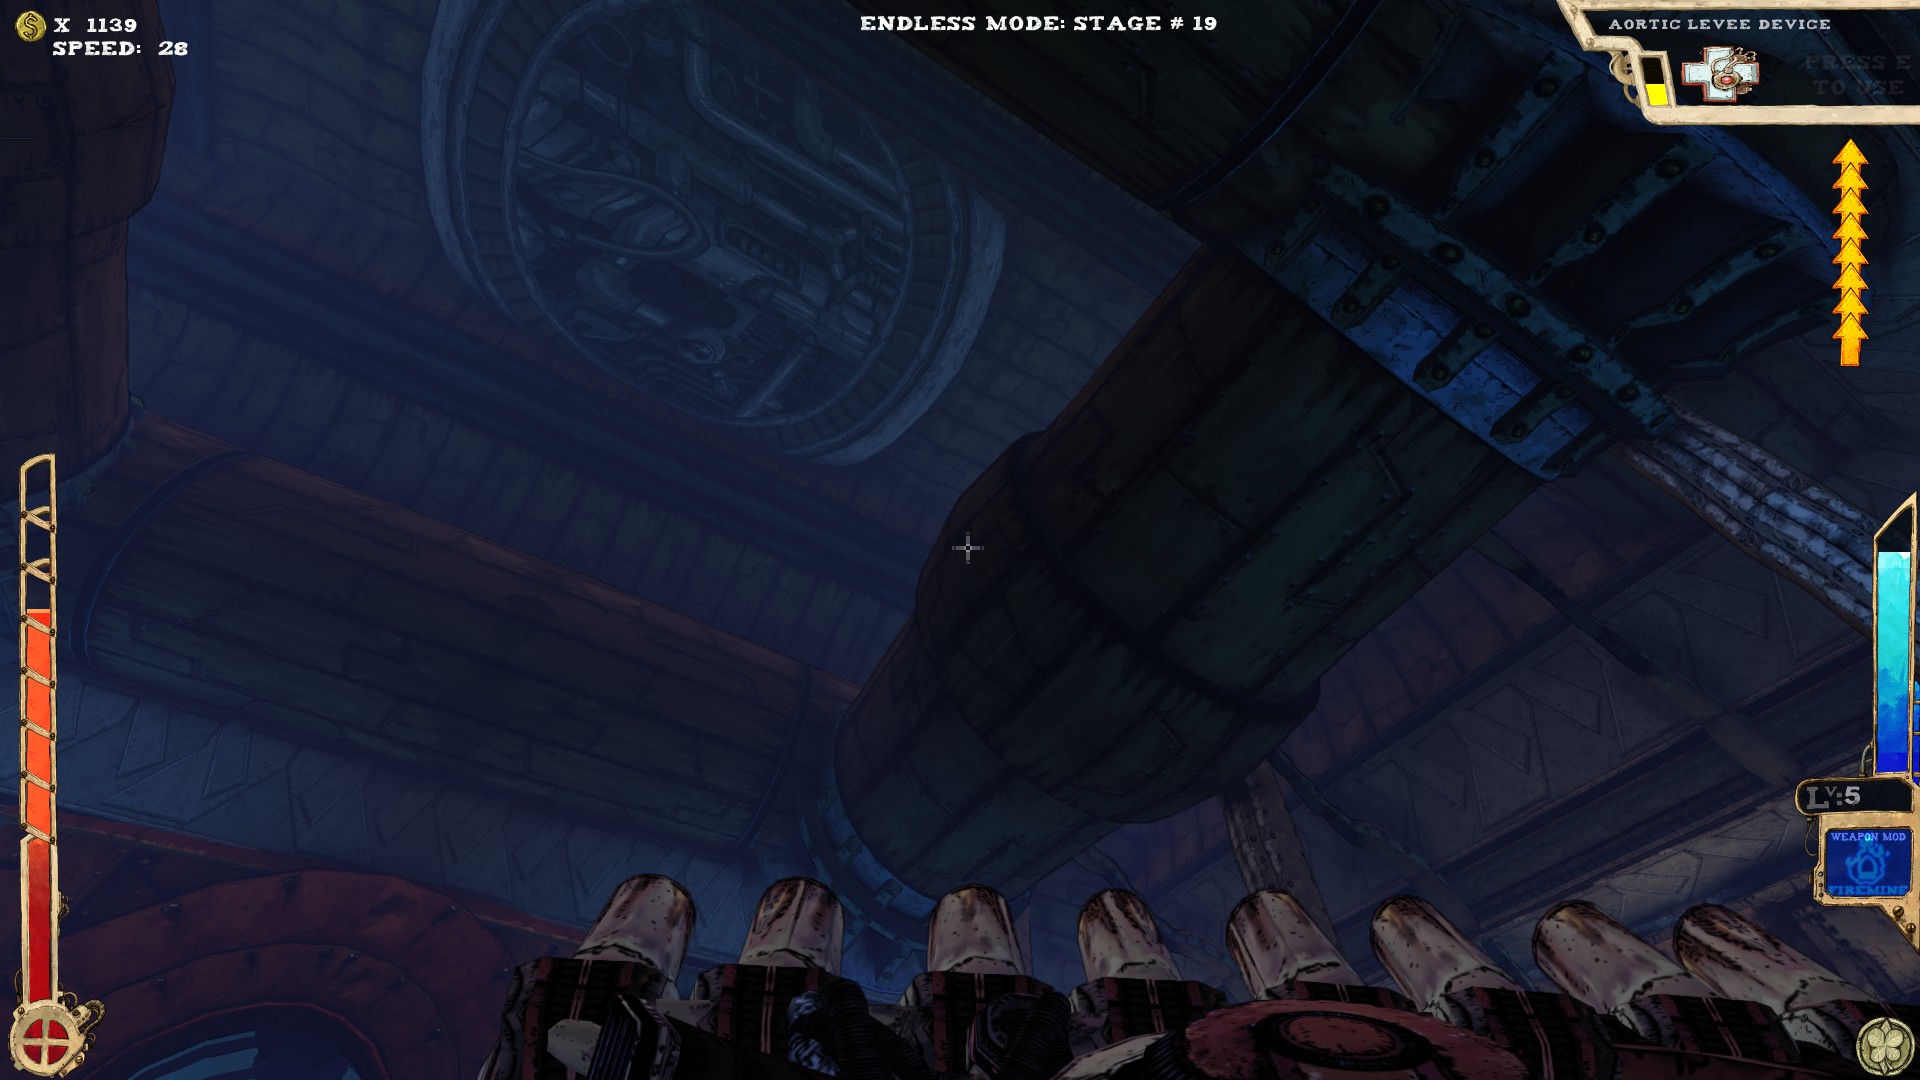
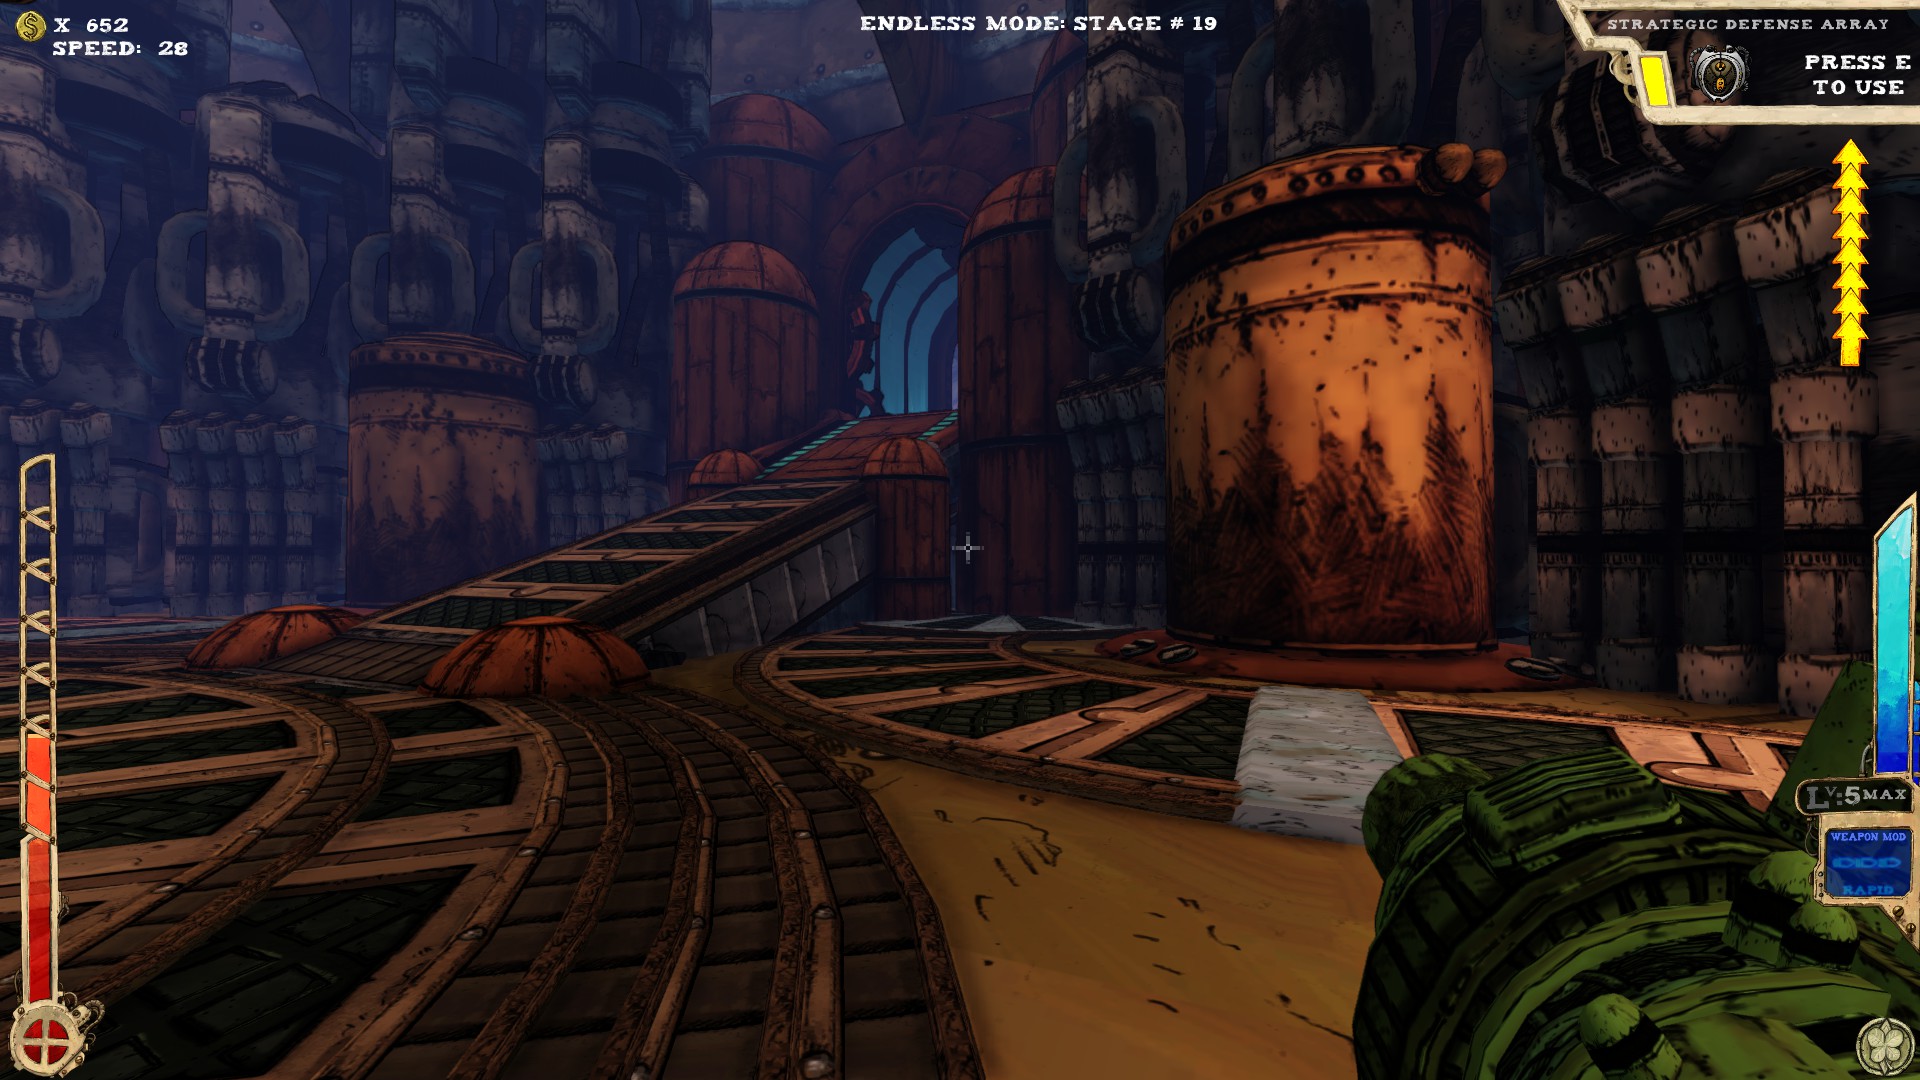
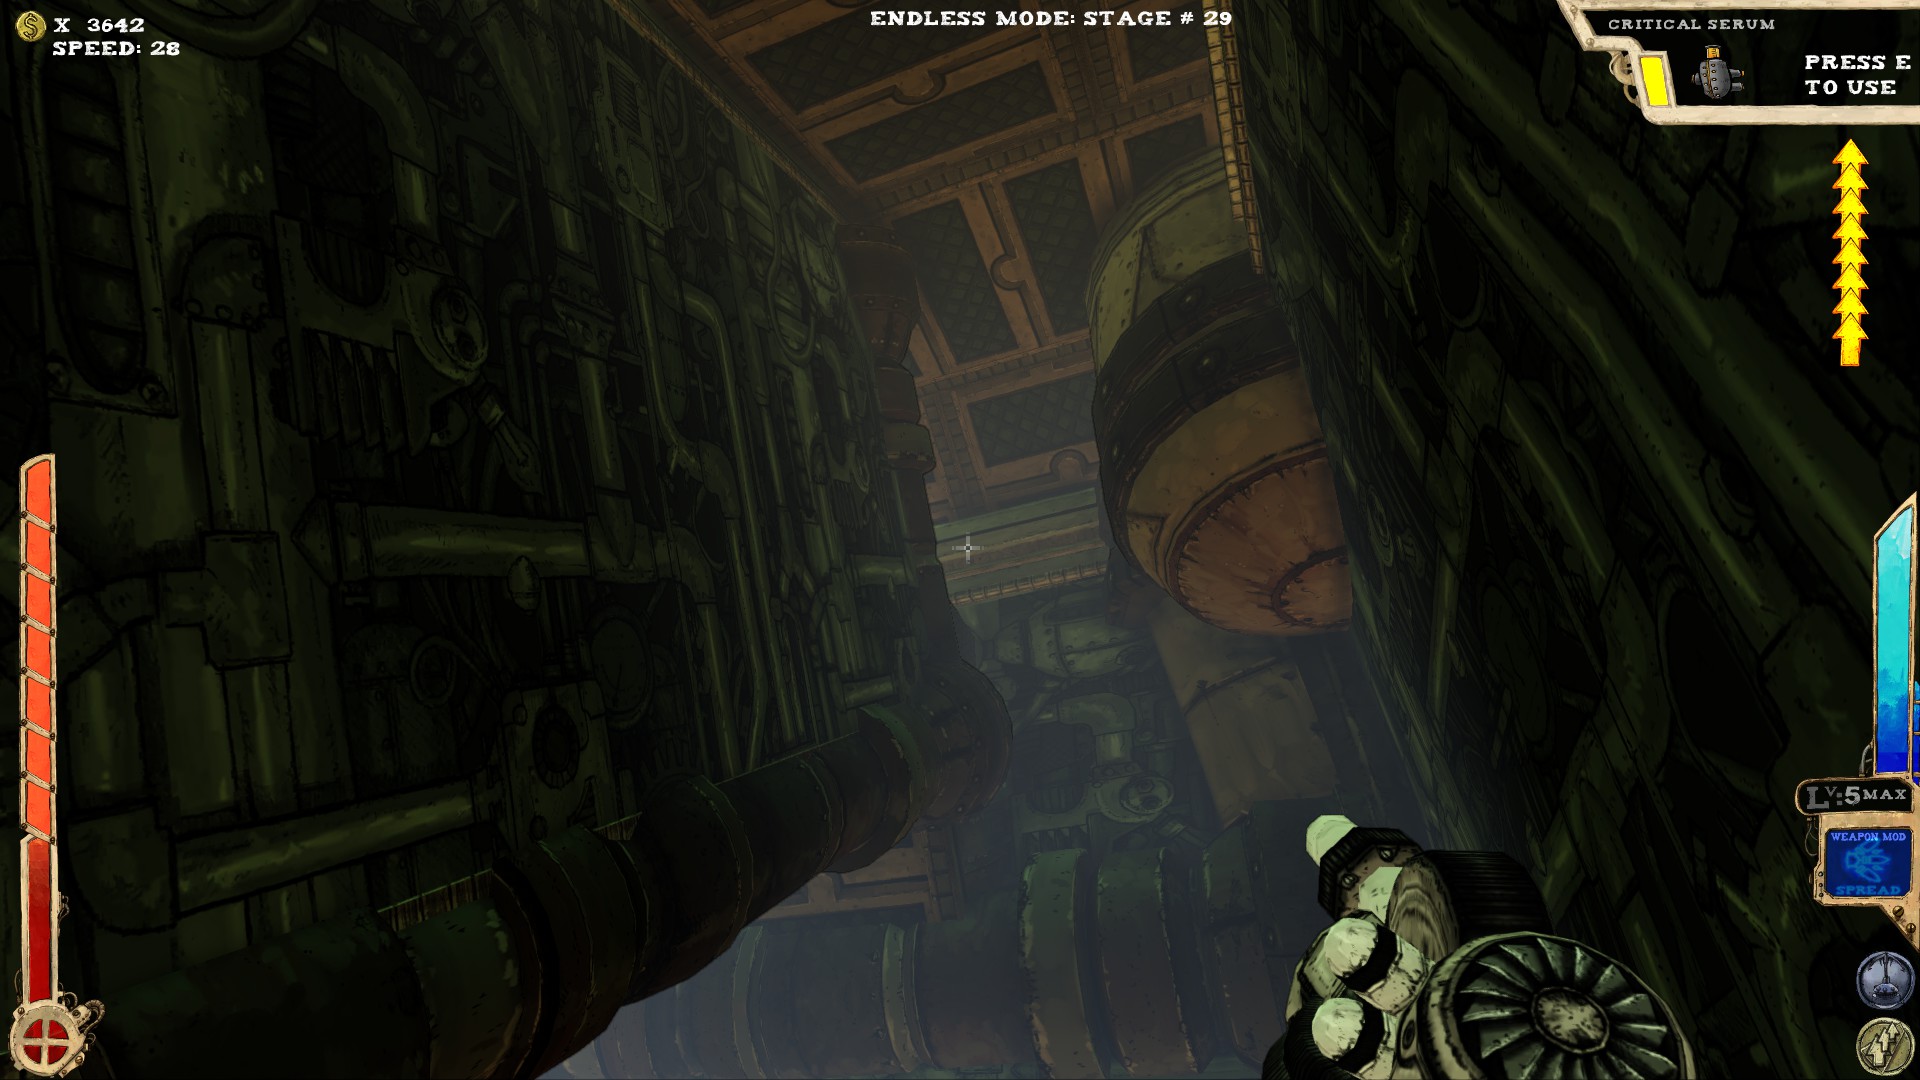
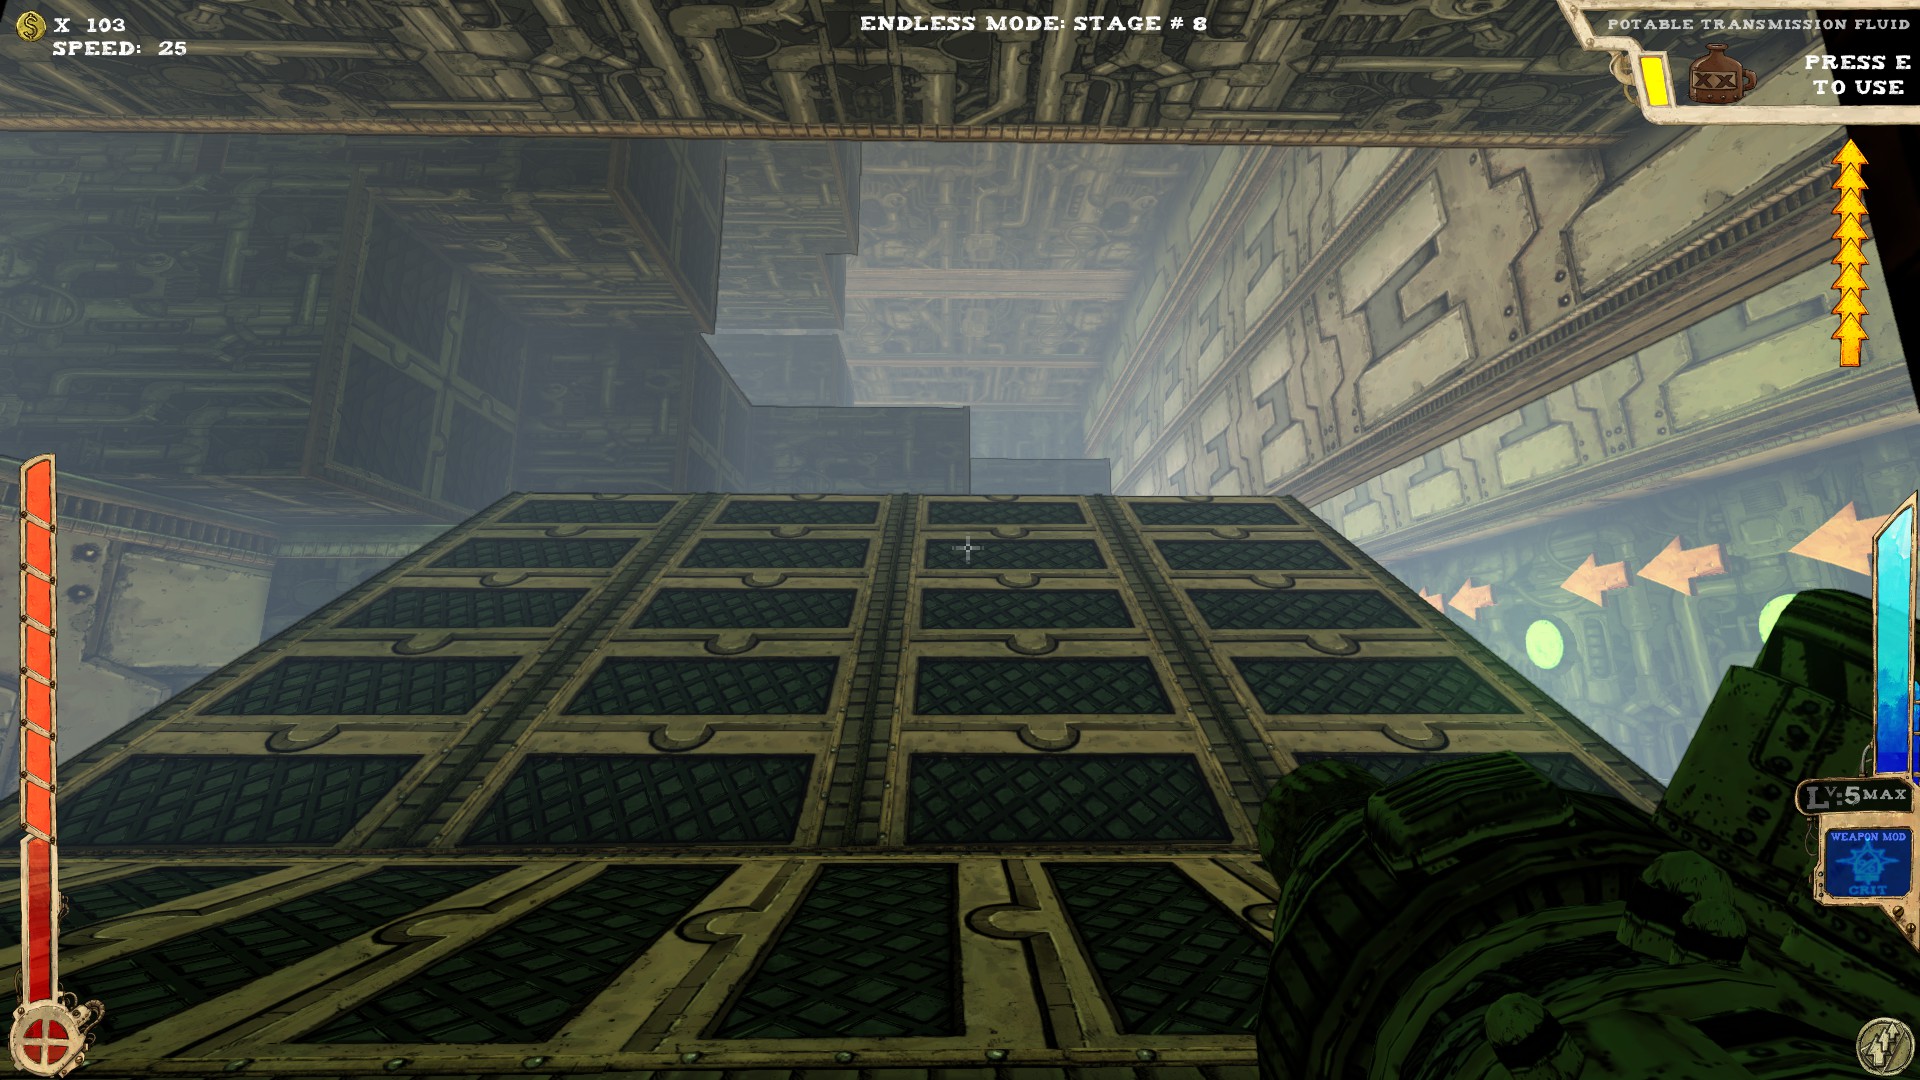
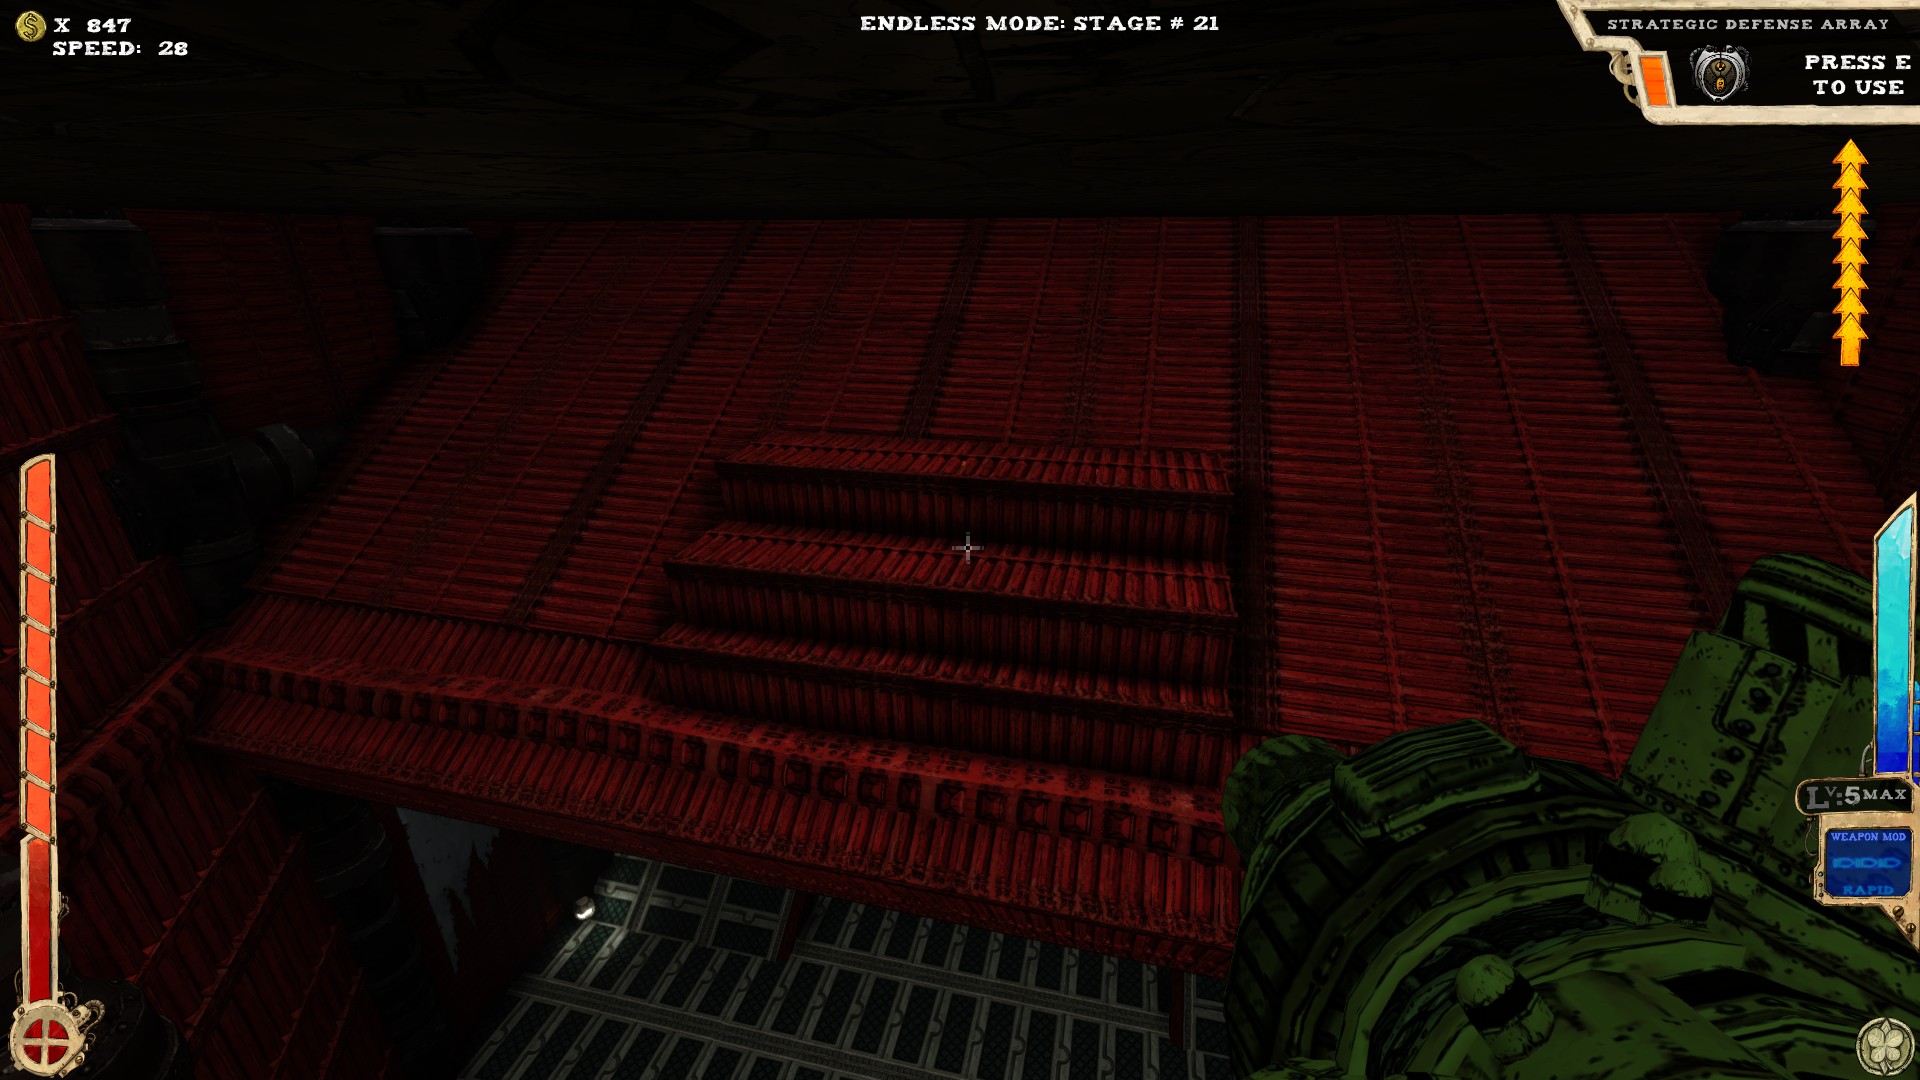
 One secret.
 Top platform, opposite of the platform with the boss door on it, at the position where I'm pointing at. Not reachable without extra jumps or a proper item.
-----
 No secrets here.
-----
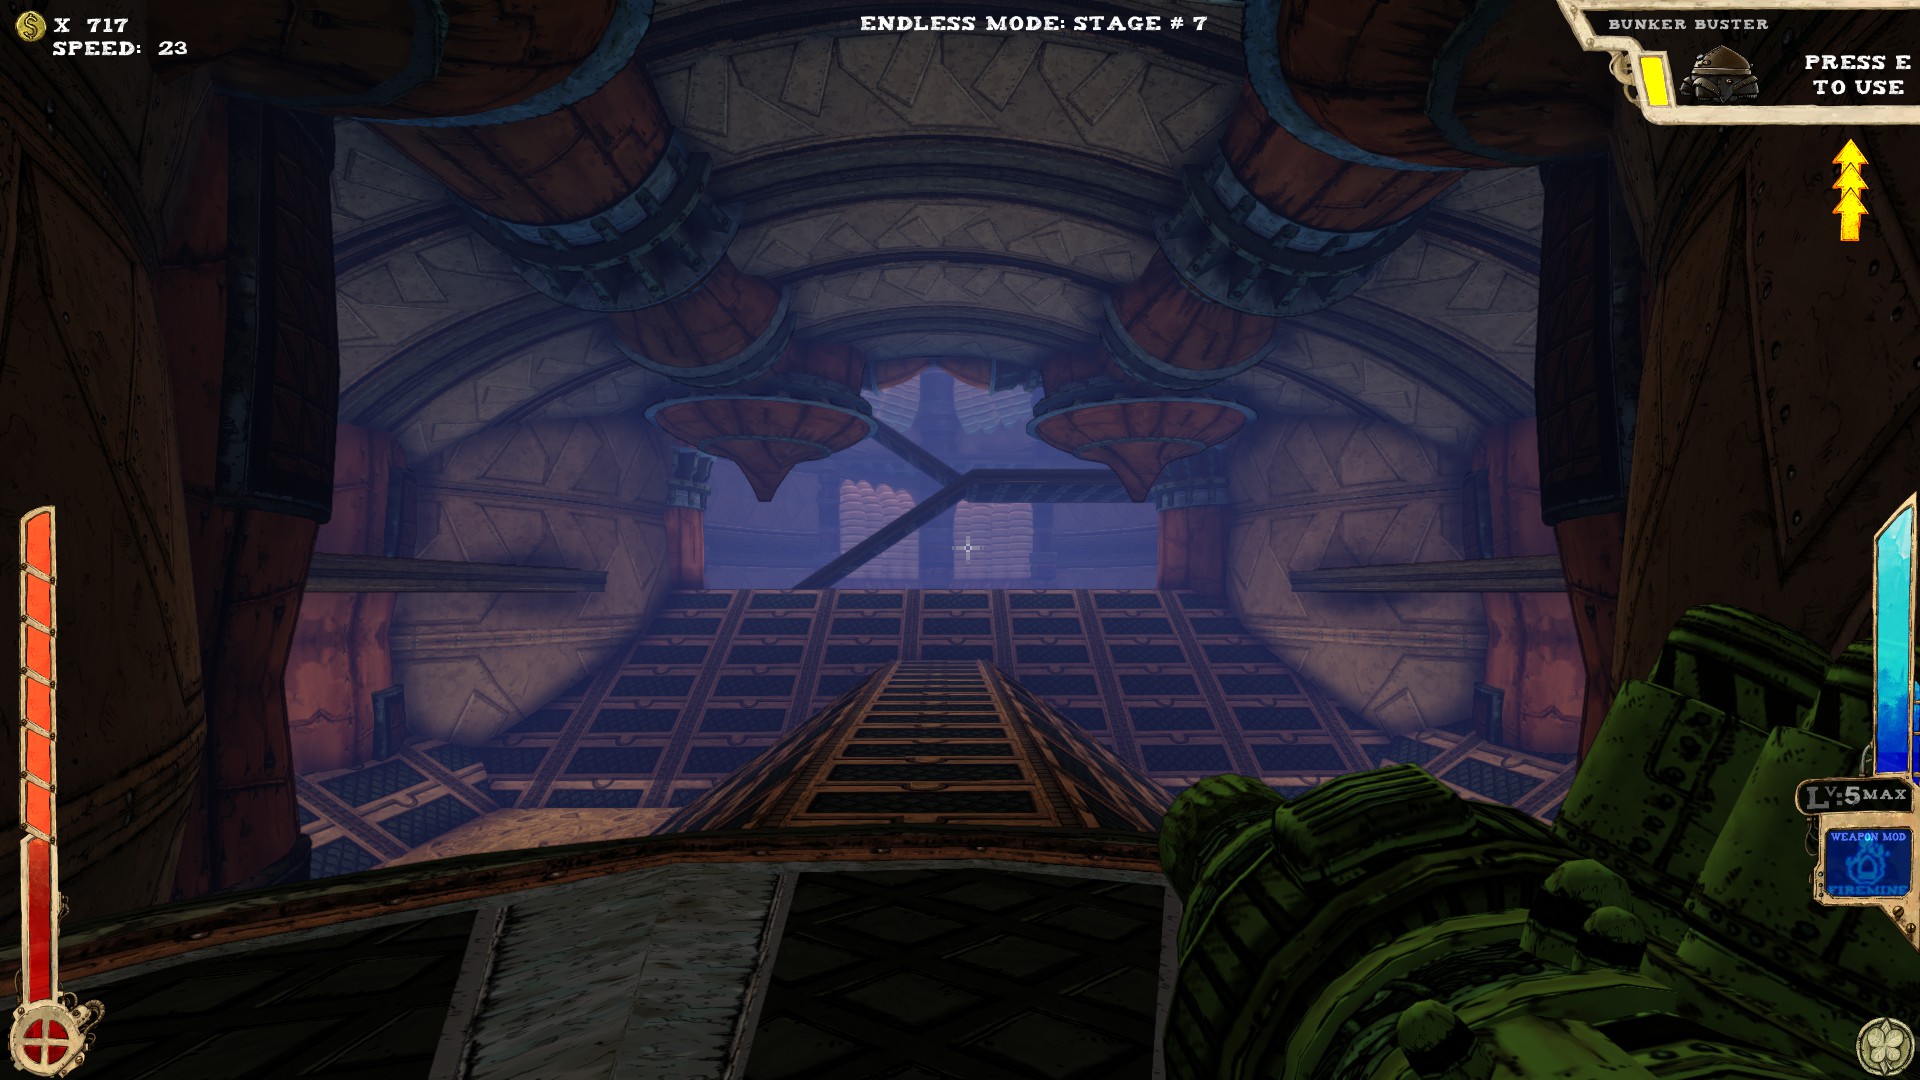
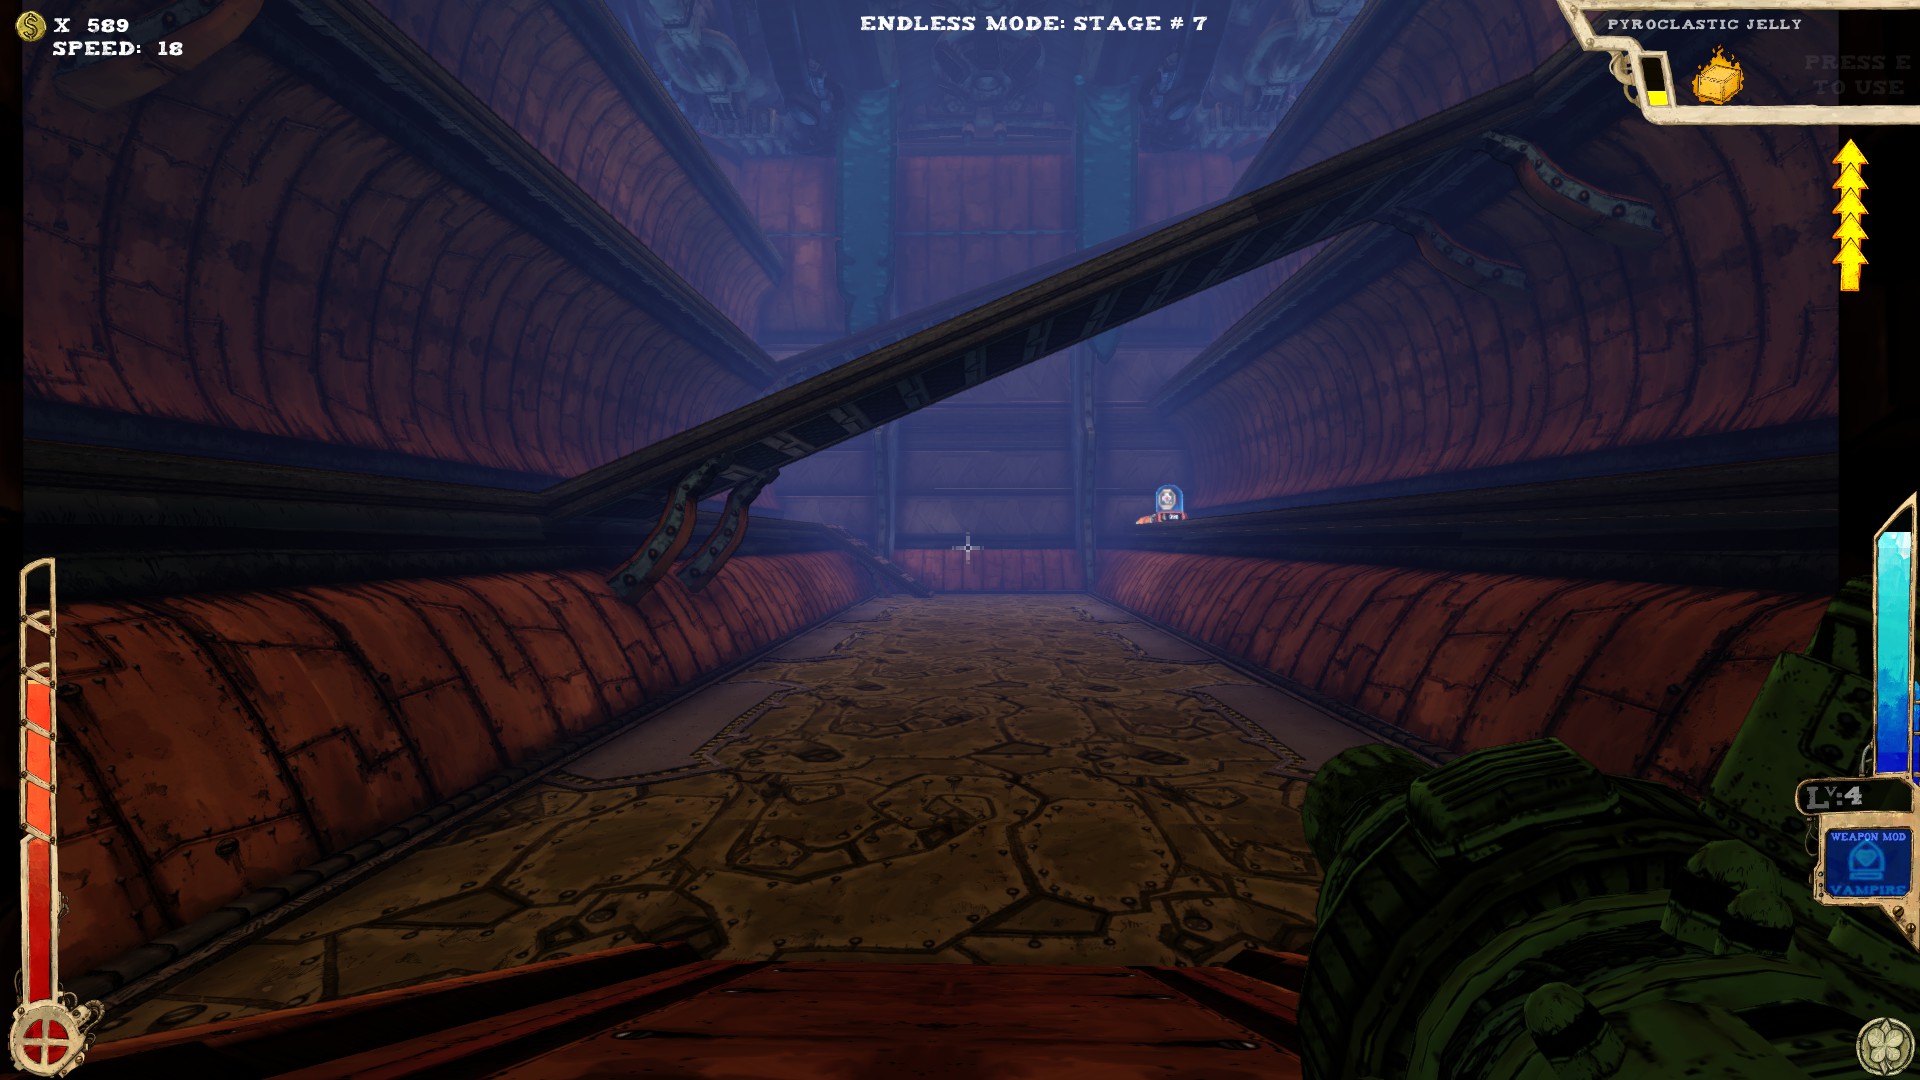
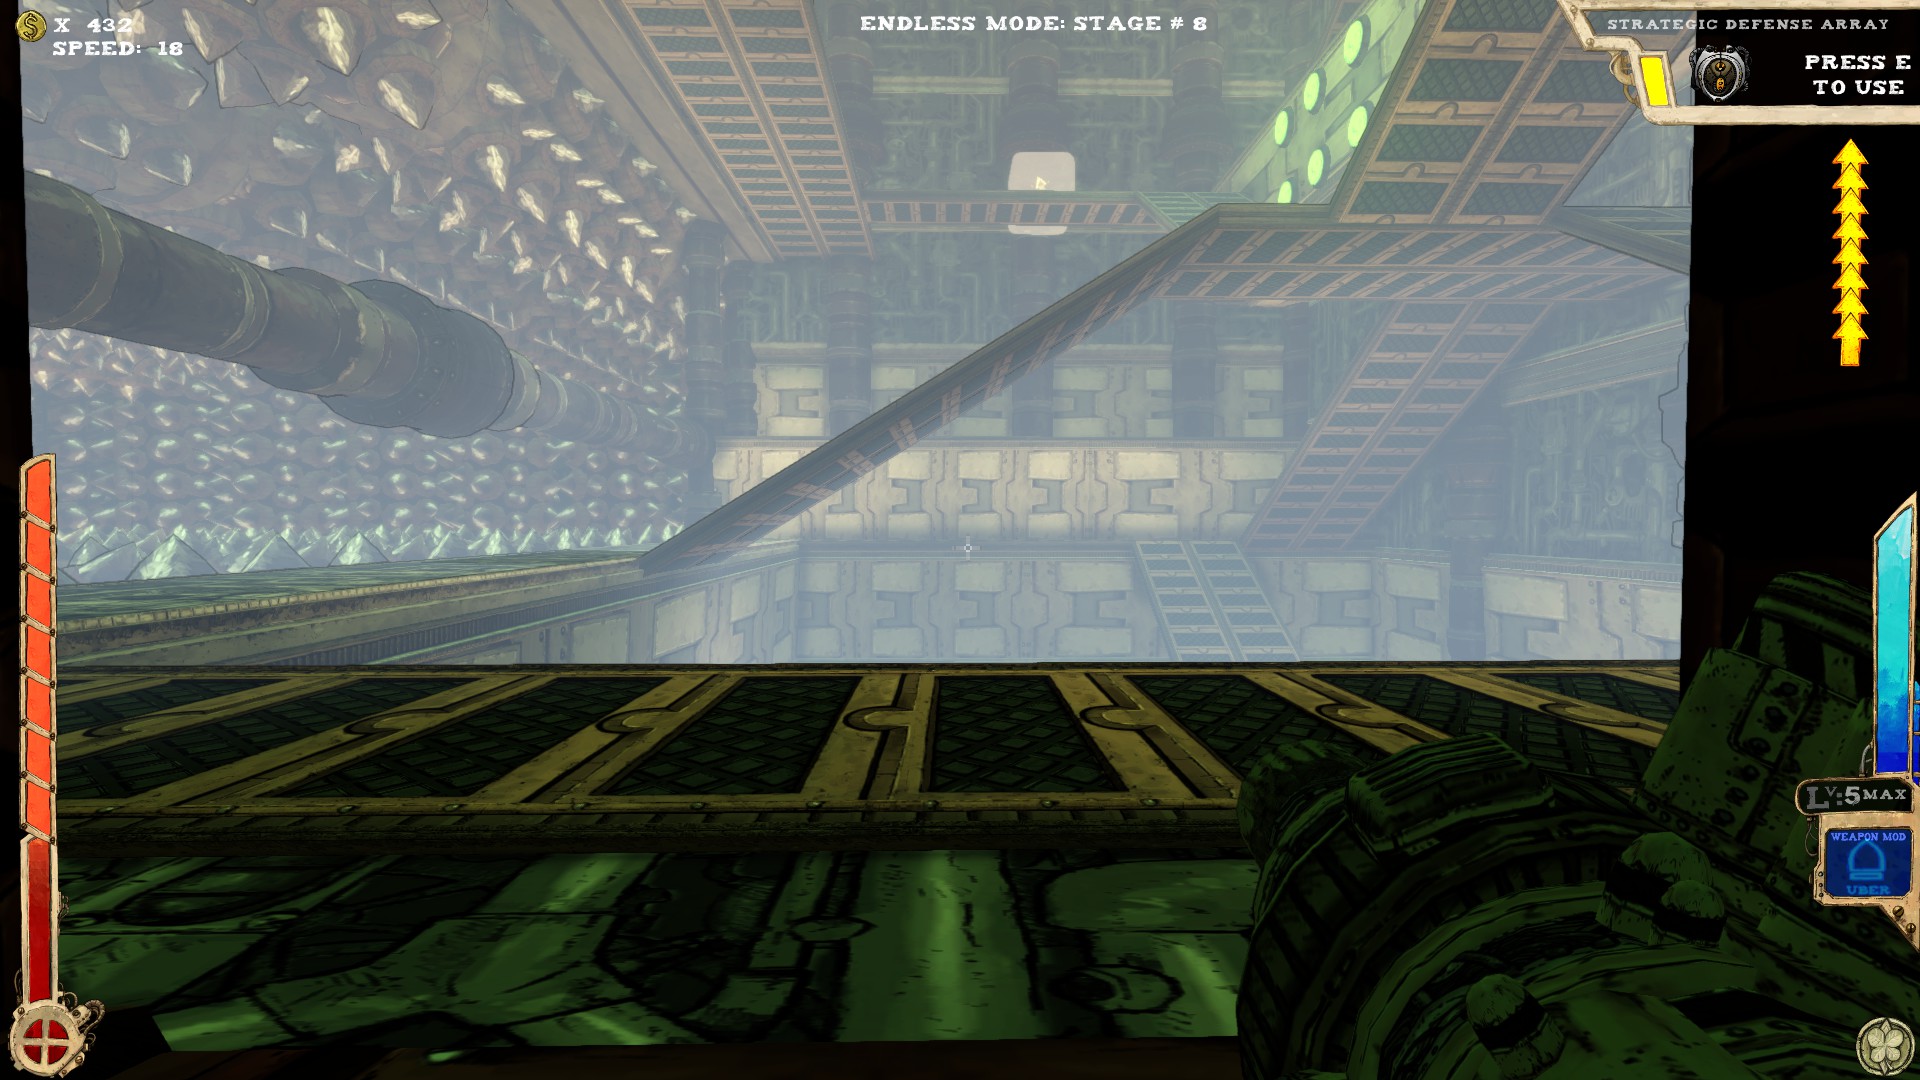
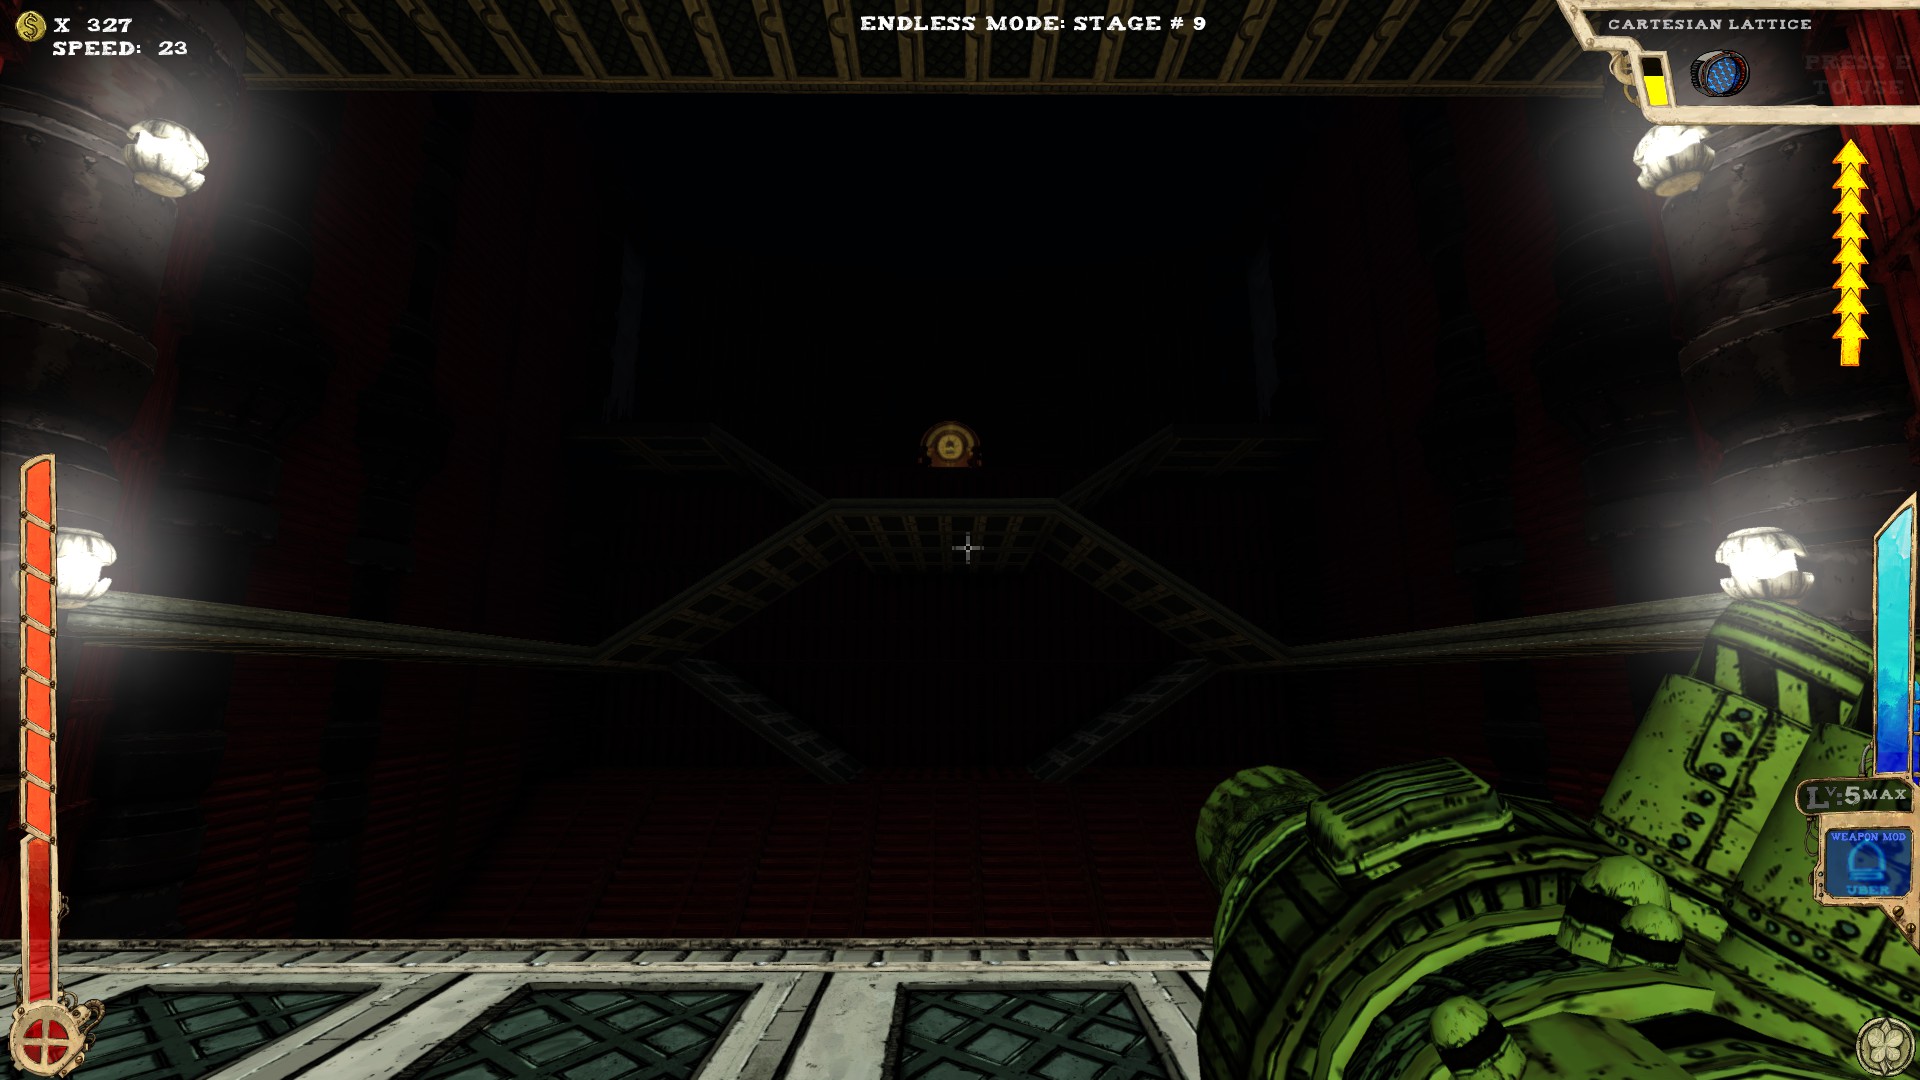
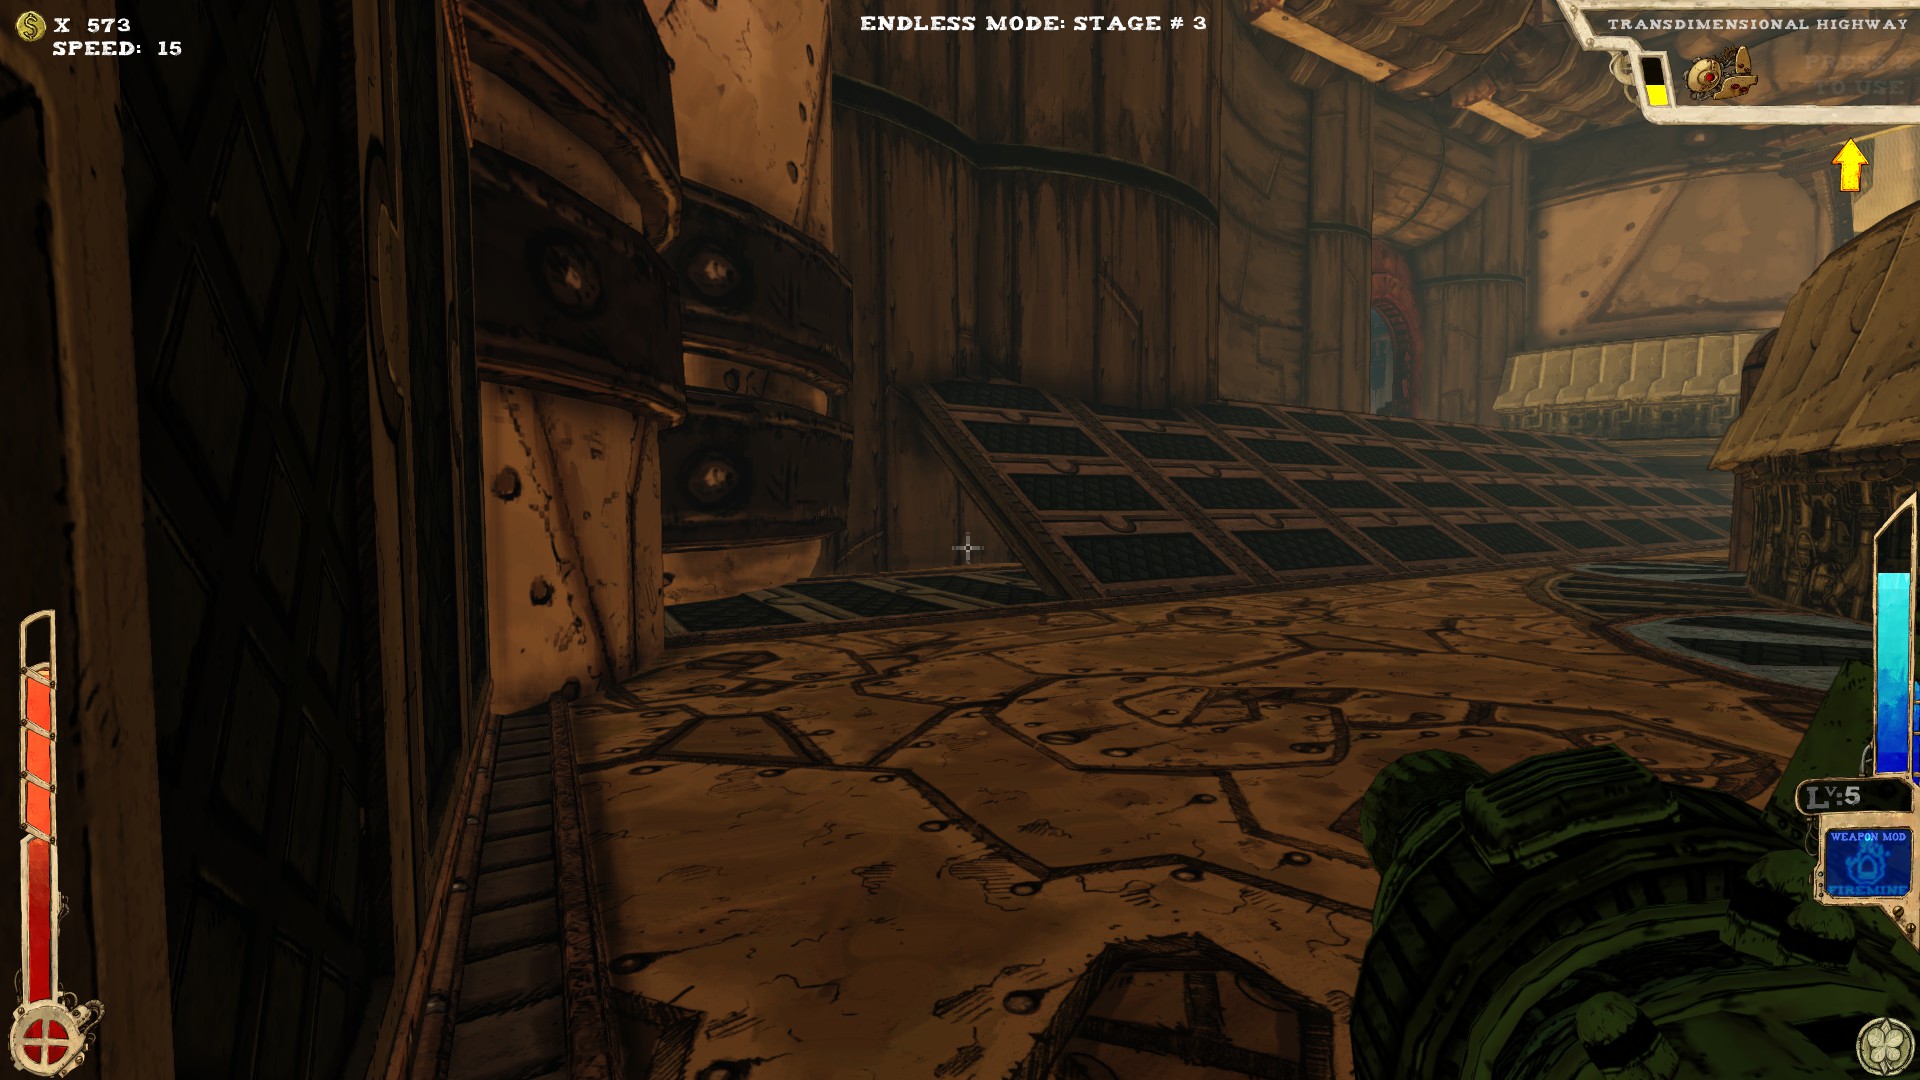
 One secret.
 After crossing the lower part of the room and ascending the ramps, turn around and you should see an opening, containing the secret.
-----
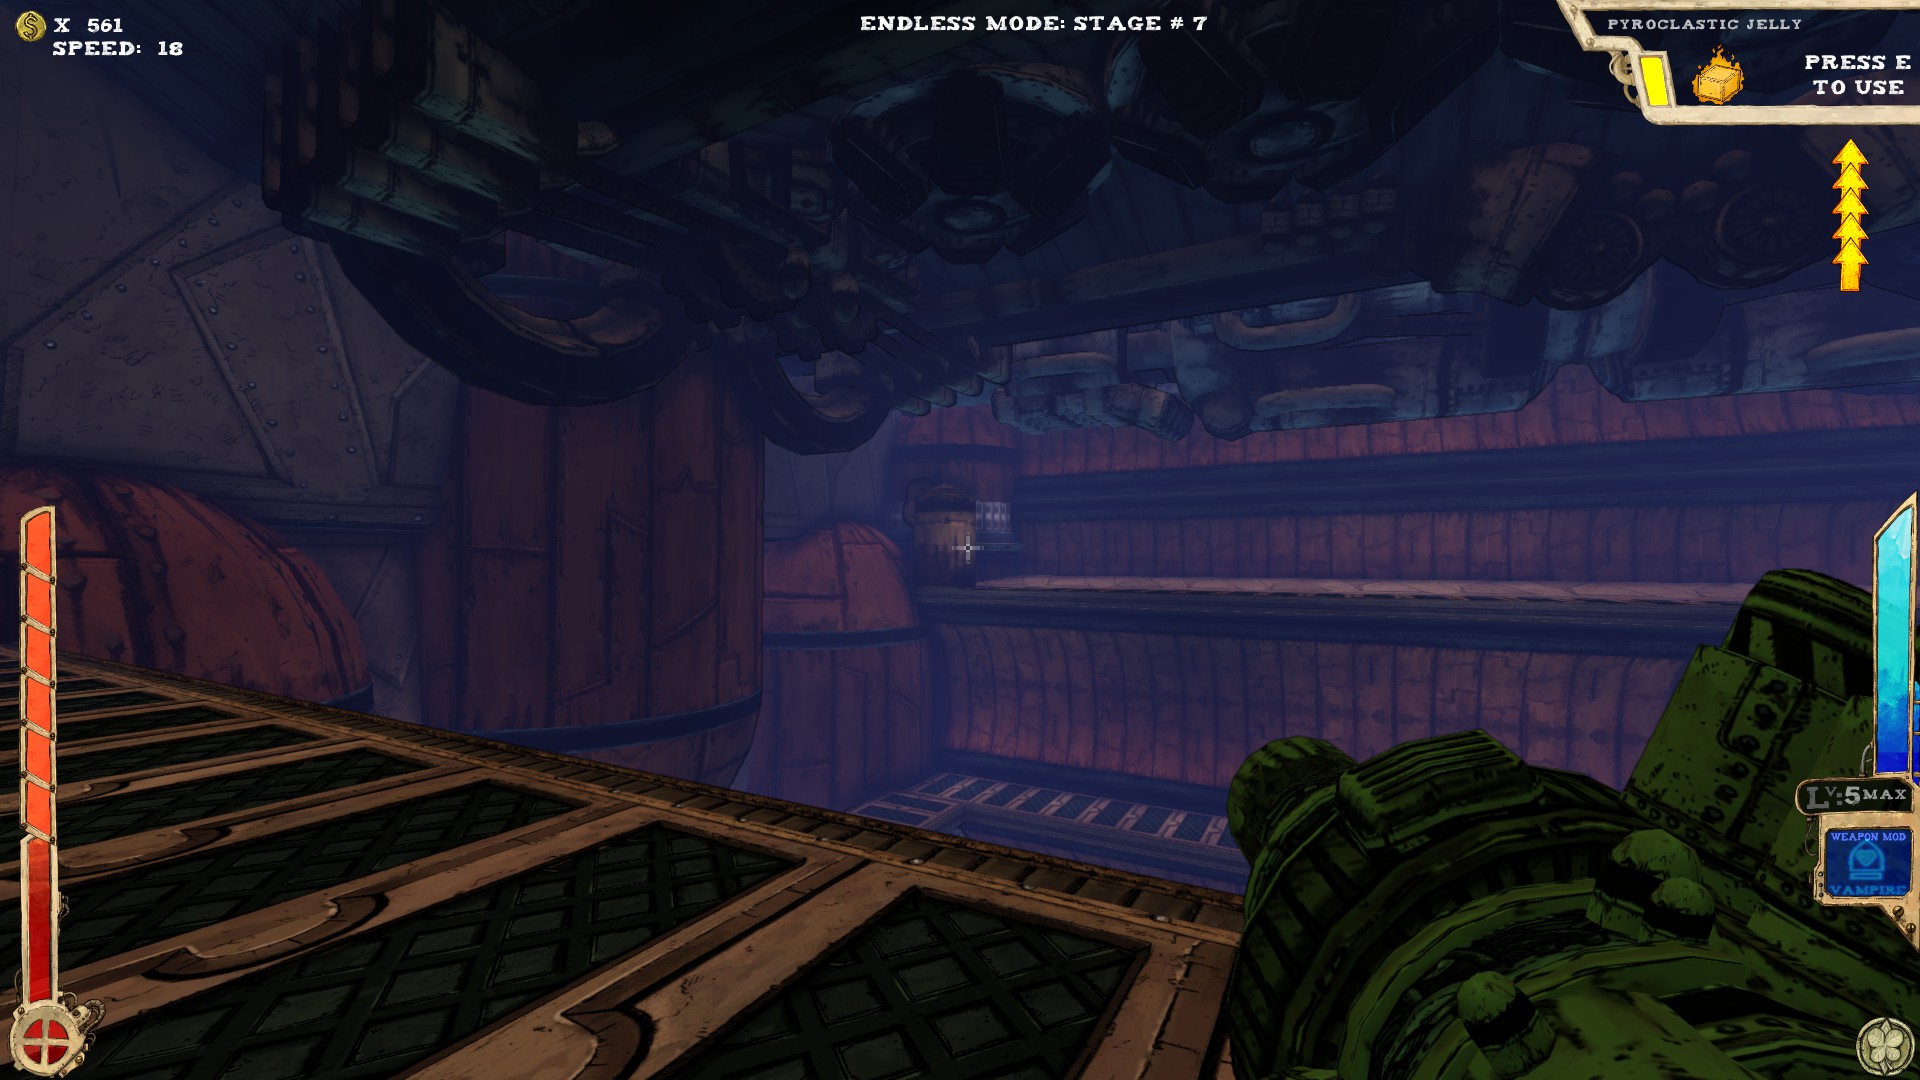
 Two secrets.
 As you can see in the picture, the secret in the right corner, when facing the boss door.
 The spot I'm pointing at leads right to a secret.
Under the spot is a way to a lower room. No secret there, but sometimes an item, although rarely.
-----
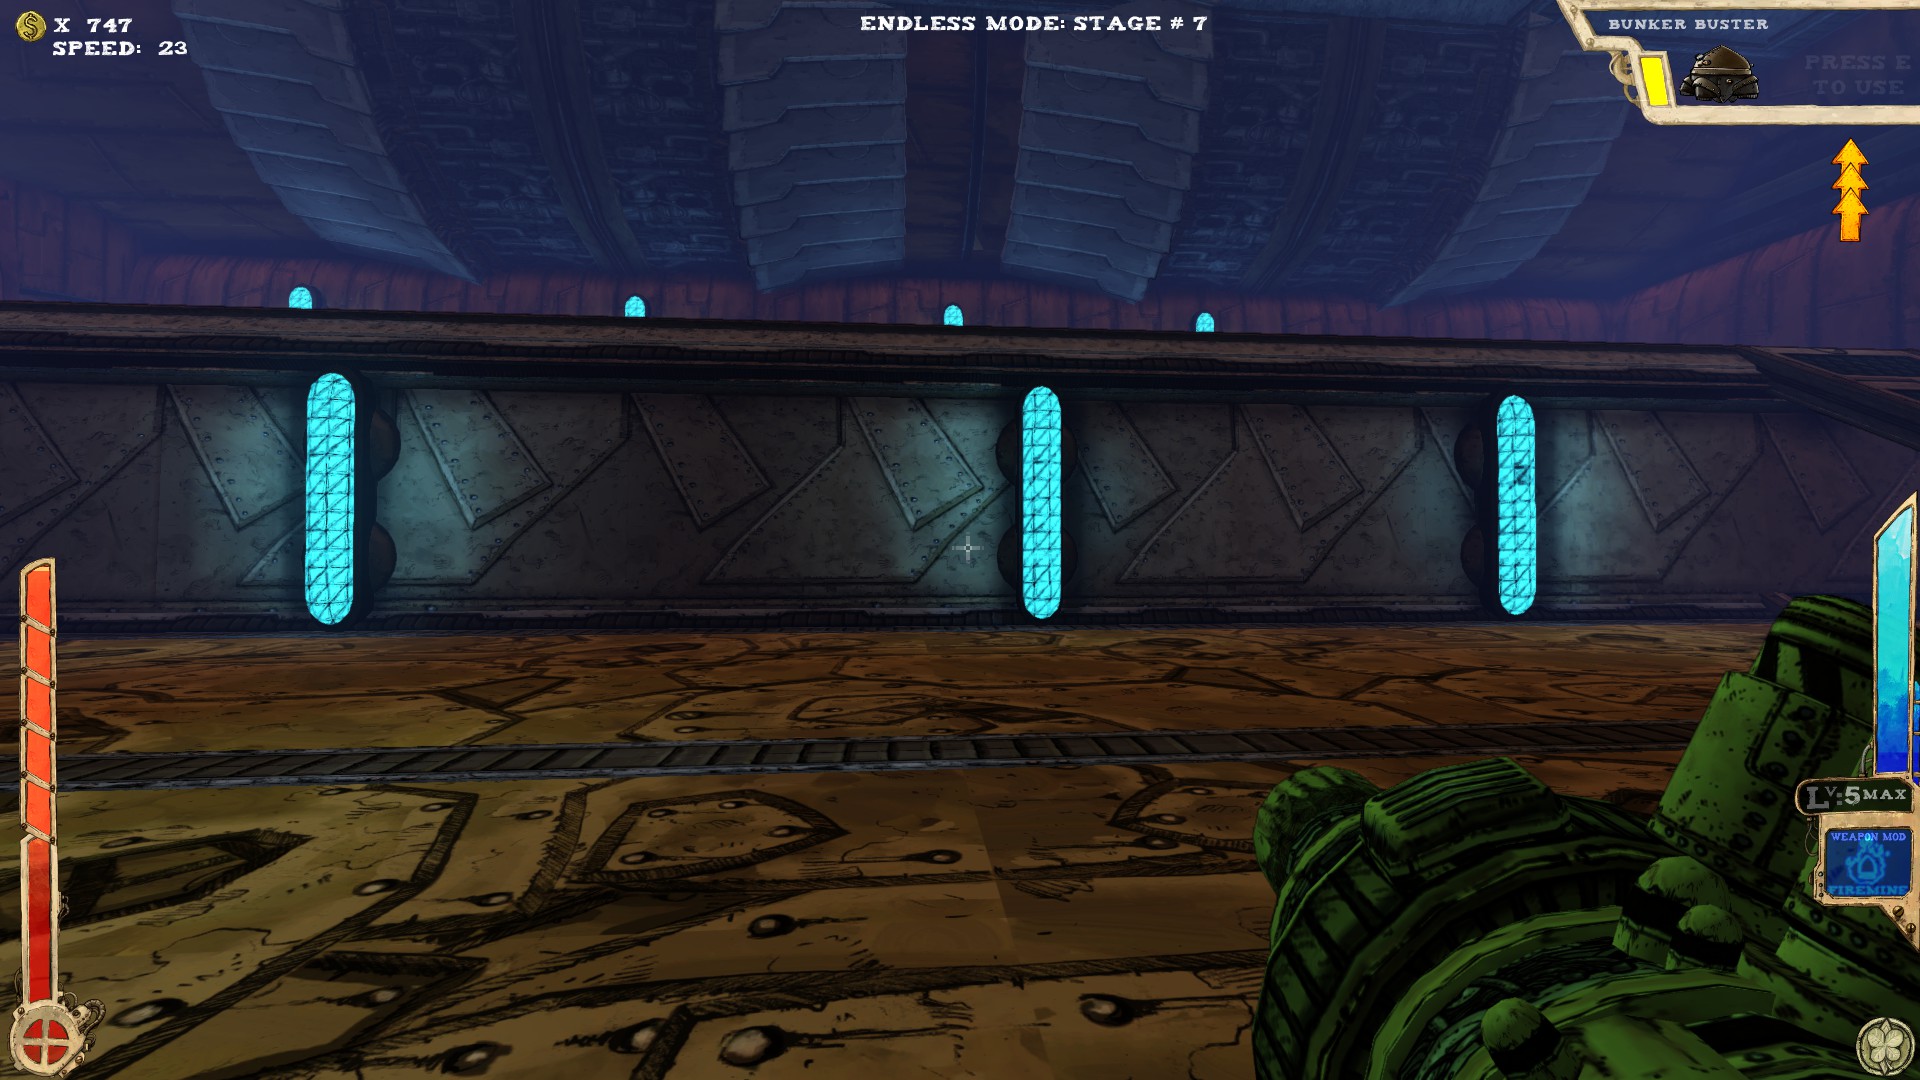
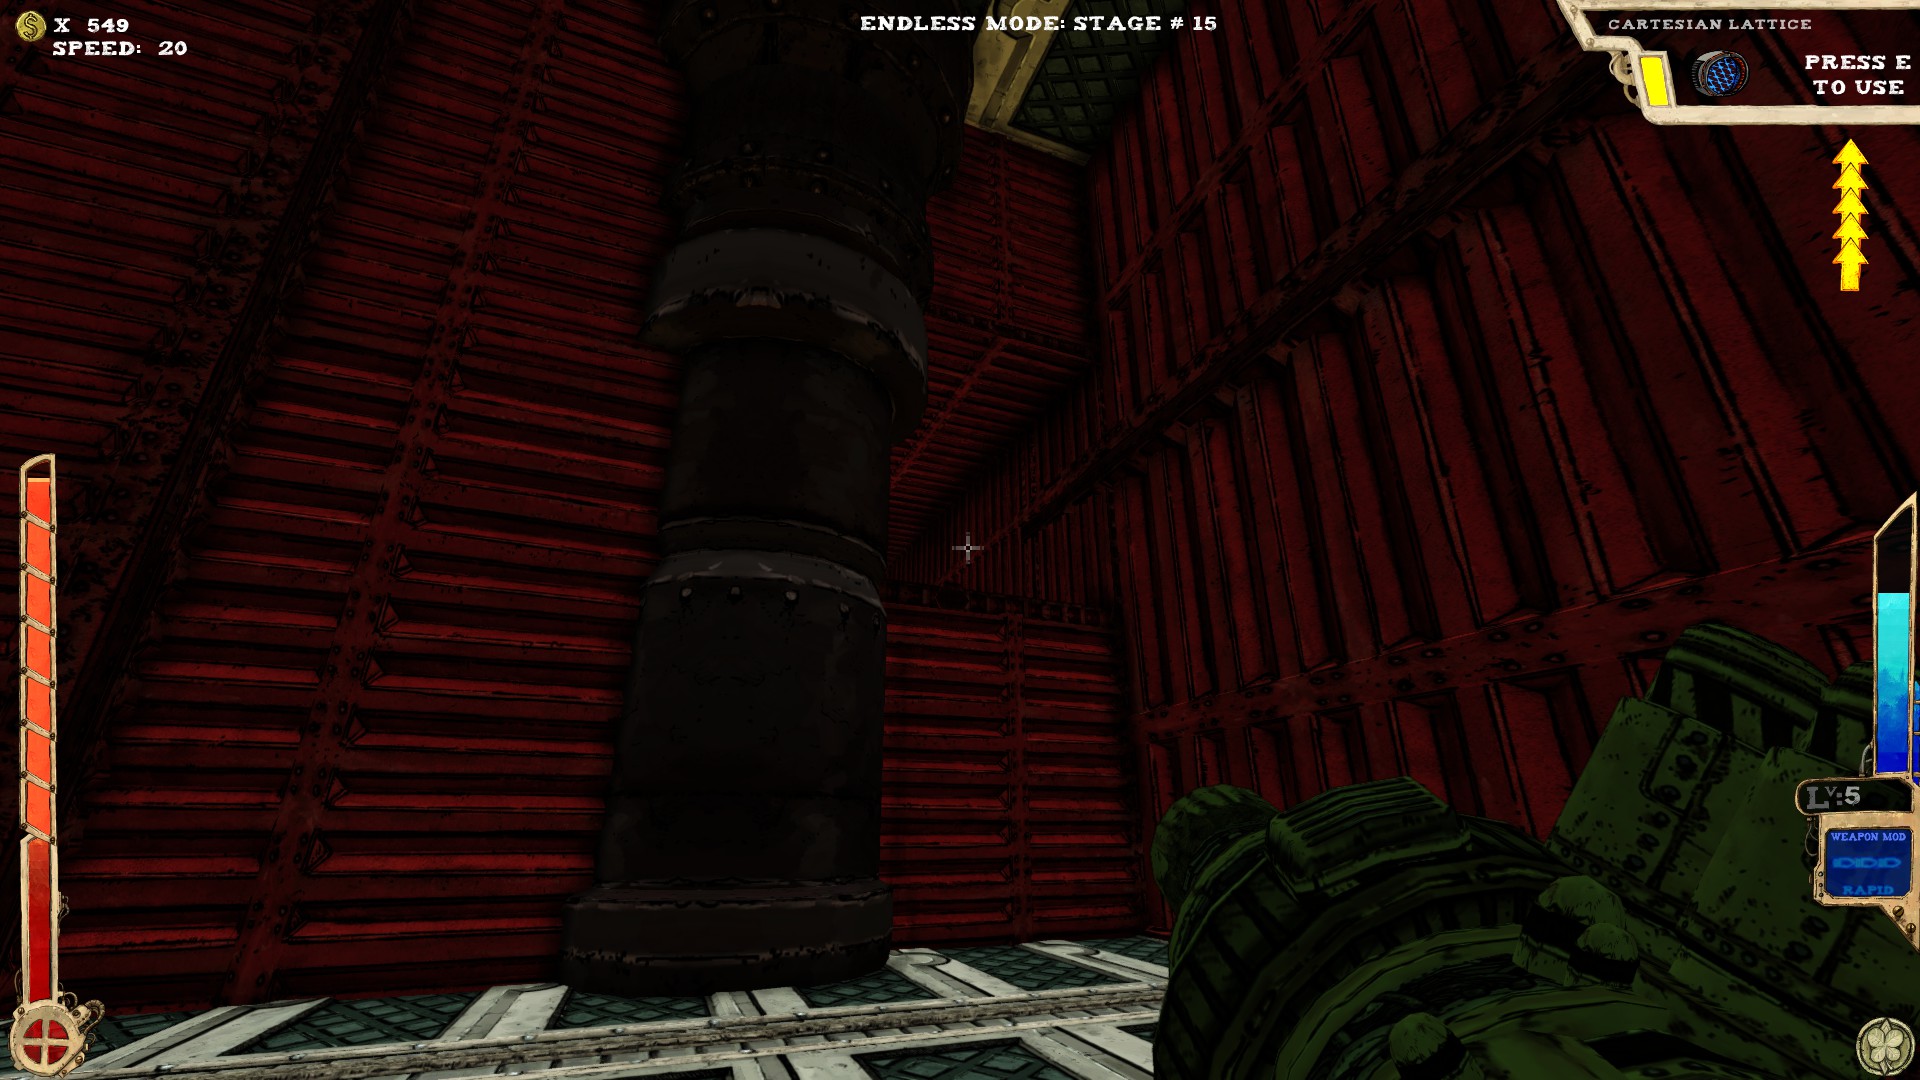
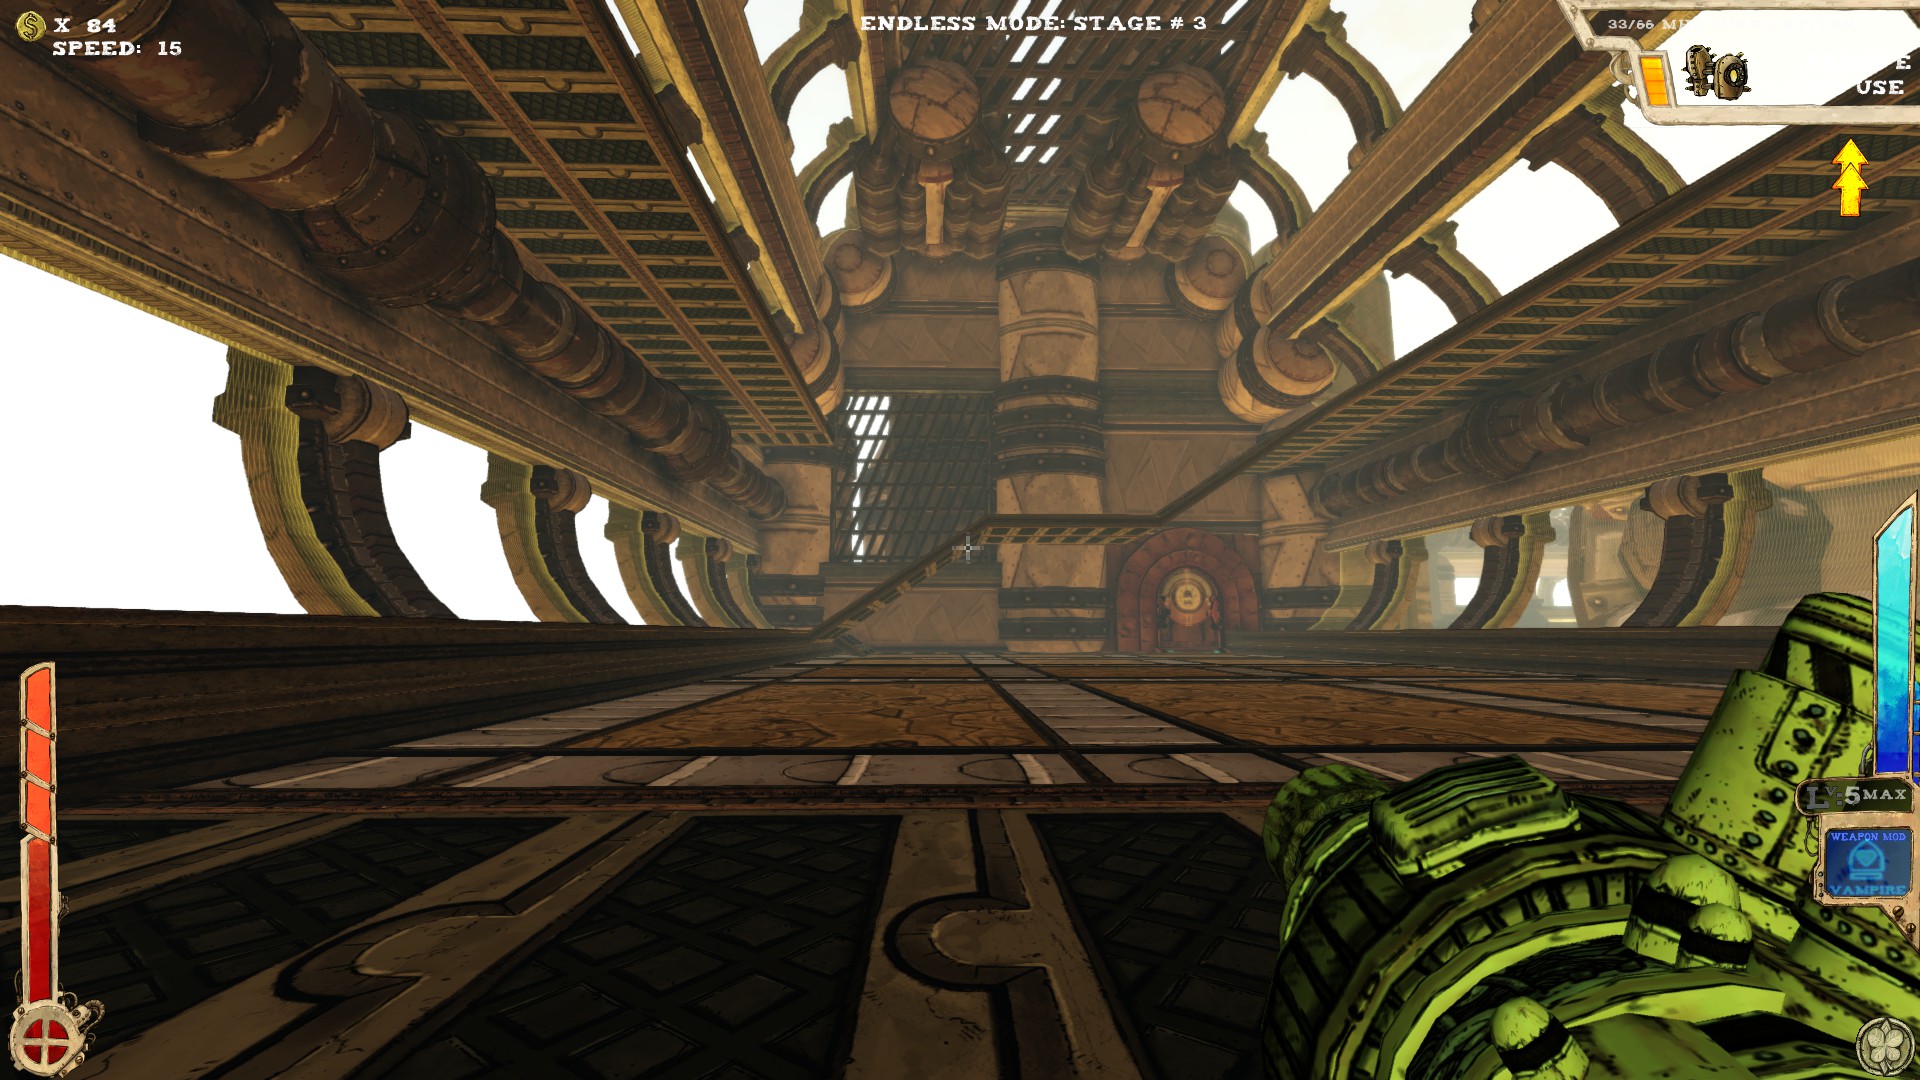
 One secret.
 The secret's in the tower in the middle of the room. Accessible via extra jumps or a proper item.
Try using one of those little blue "lamps" to get a bit higher, if you don't have enough extra jumps.
-----
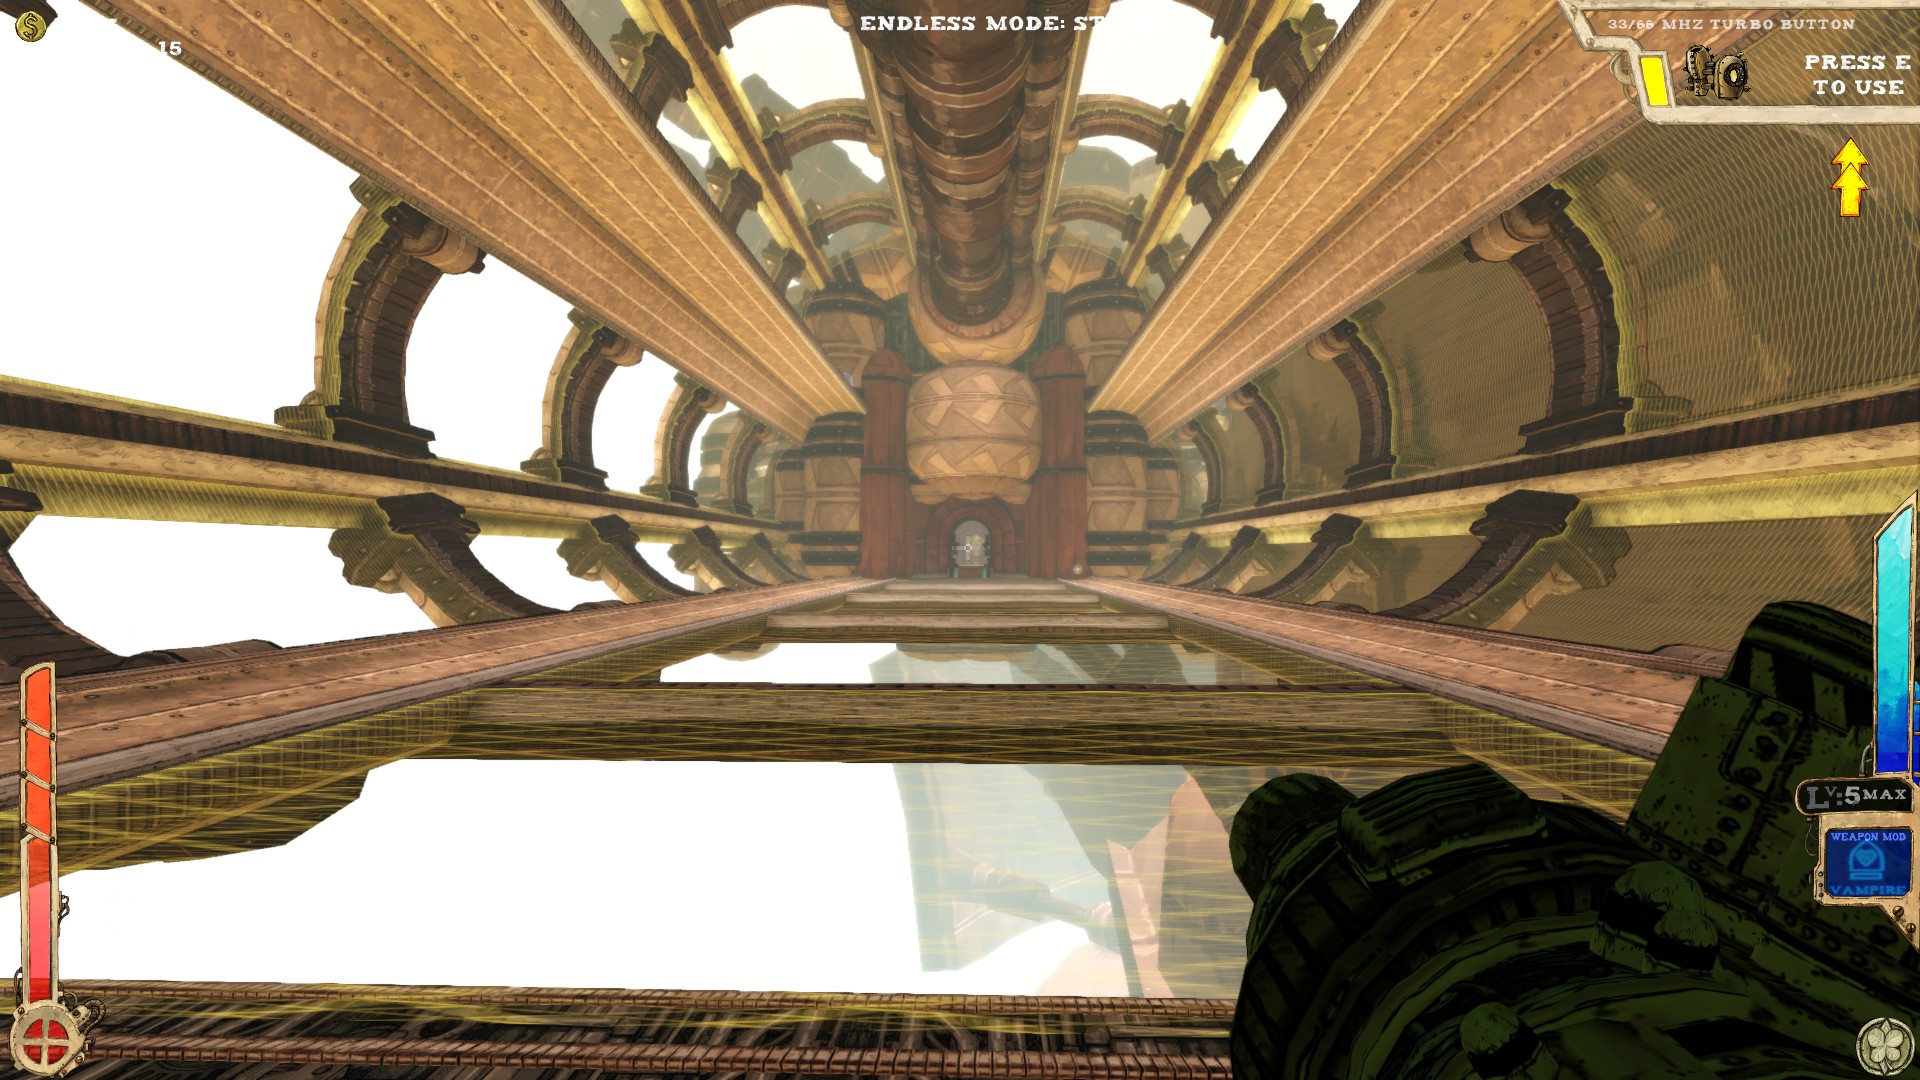
 Two secrets.
 After moving through the corridor, turn left and you see a small area, not accessible without an extra jump or by using the Hand Cannon to rocket jump, at least not from down there. Easily accessible via the ramps you need to ascend anyway.
 Opposite of the boss door on the platform. Not reachable without extra jumps or a proper item.
-----
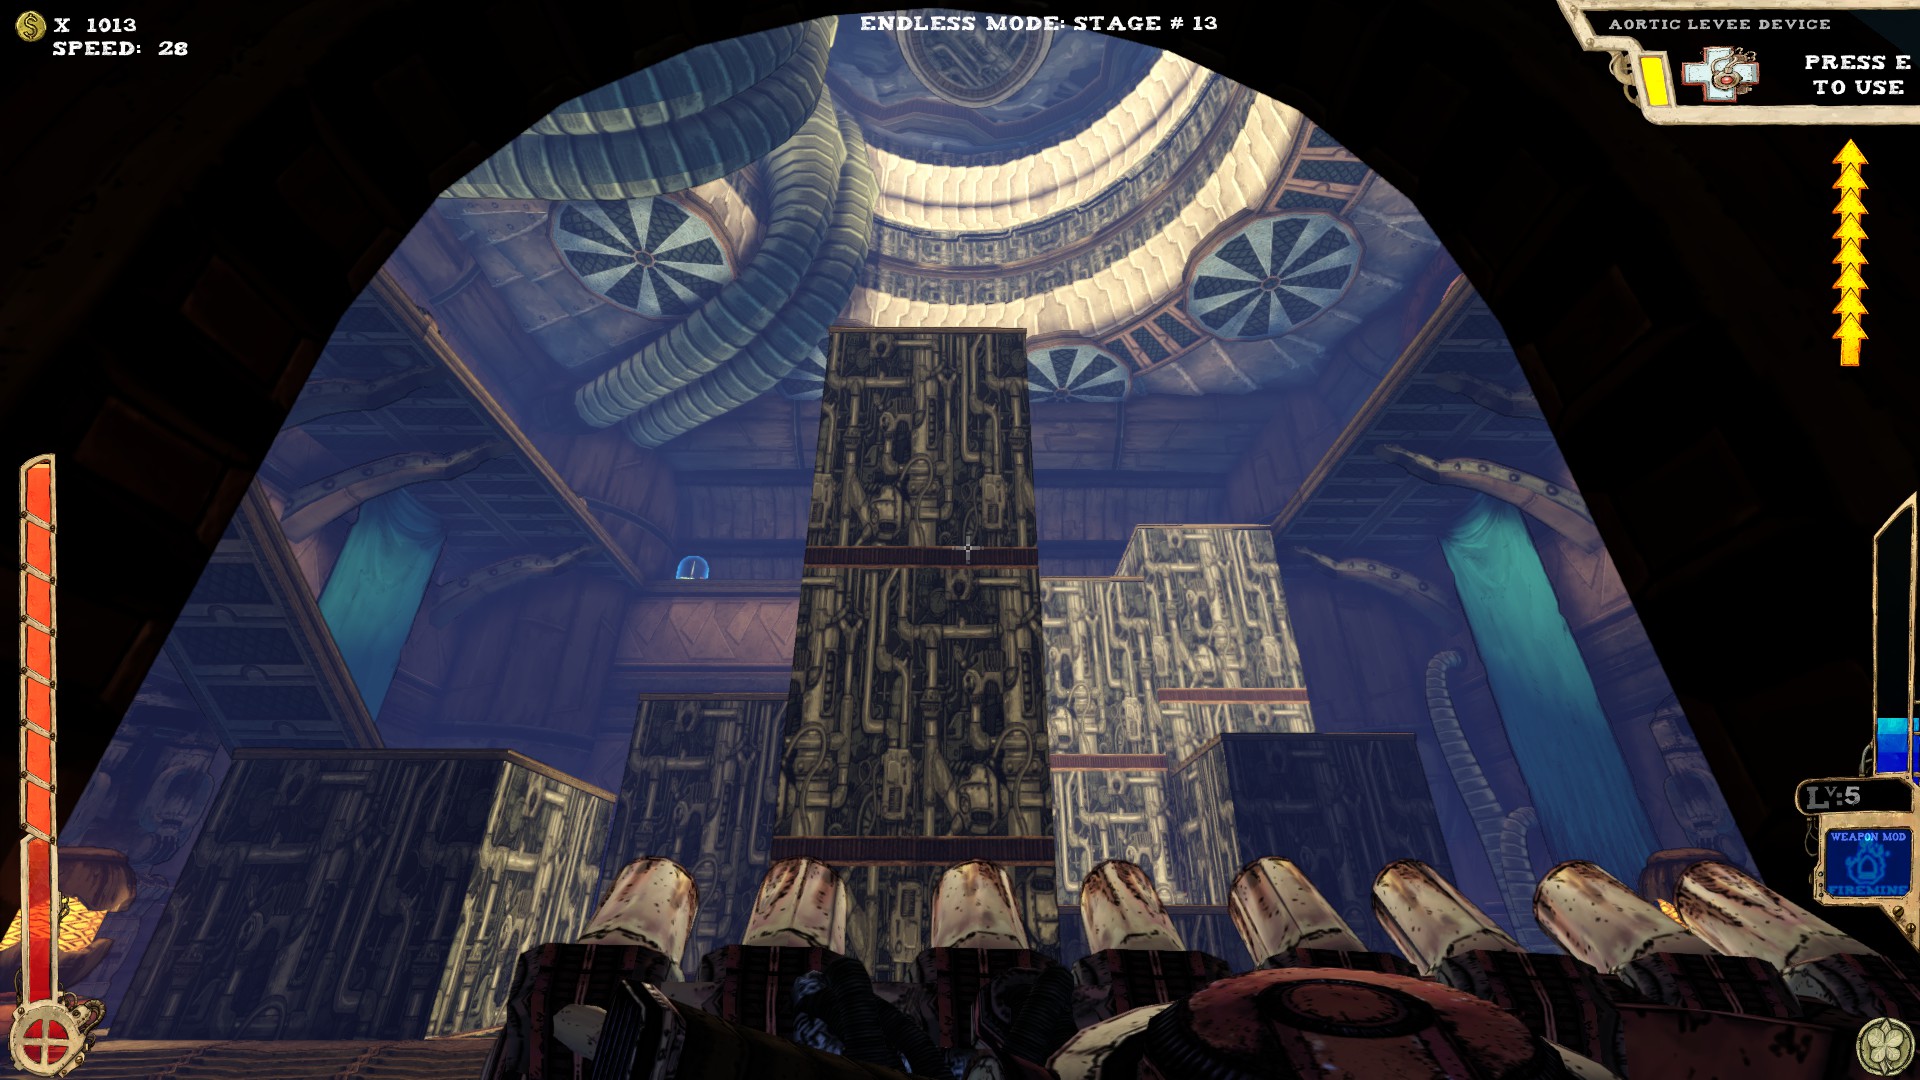
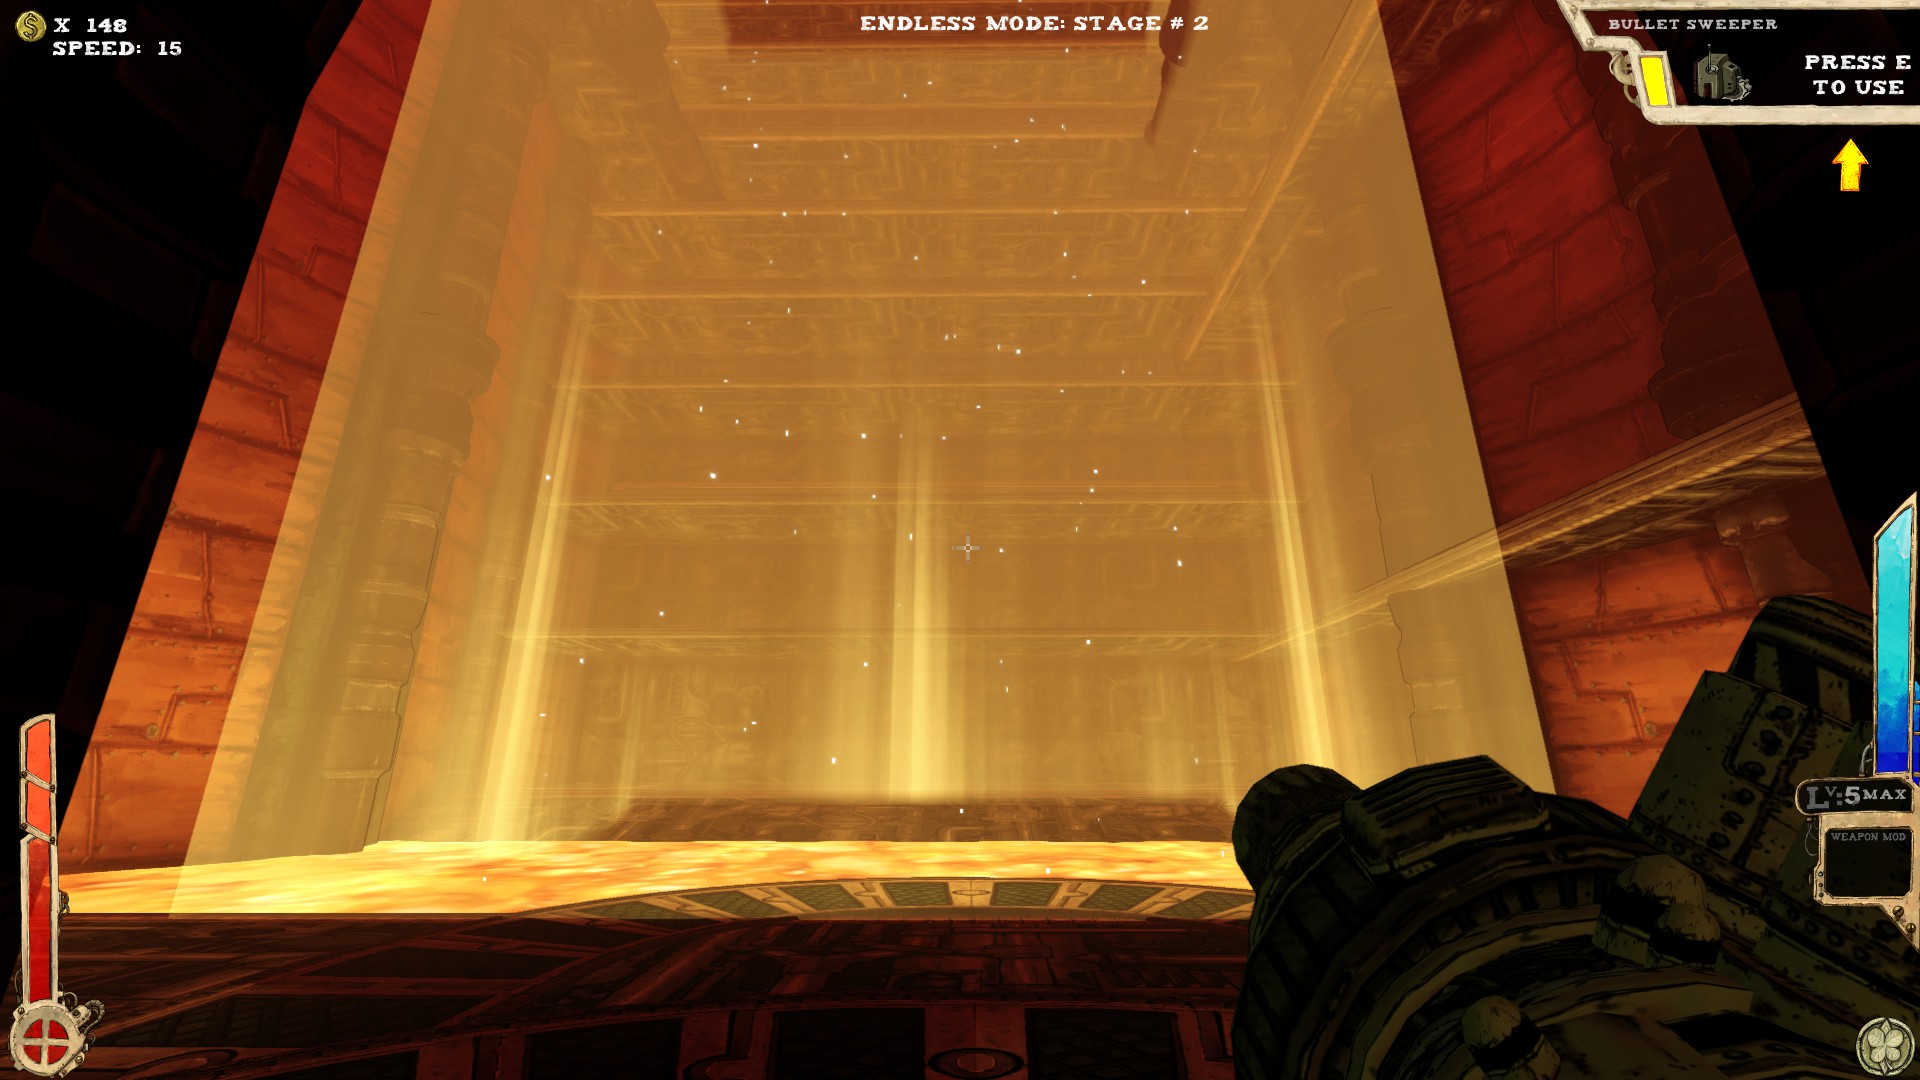
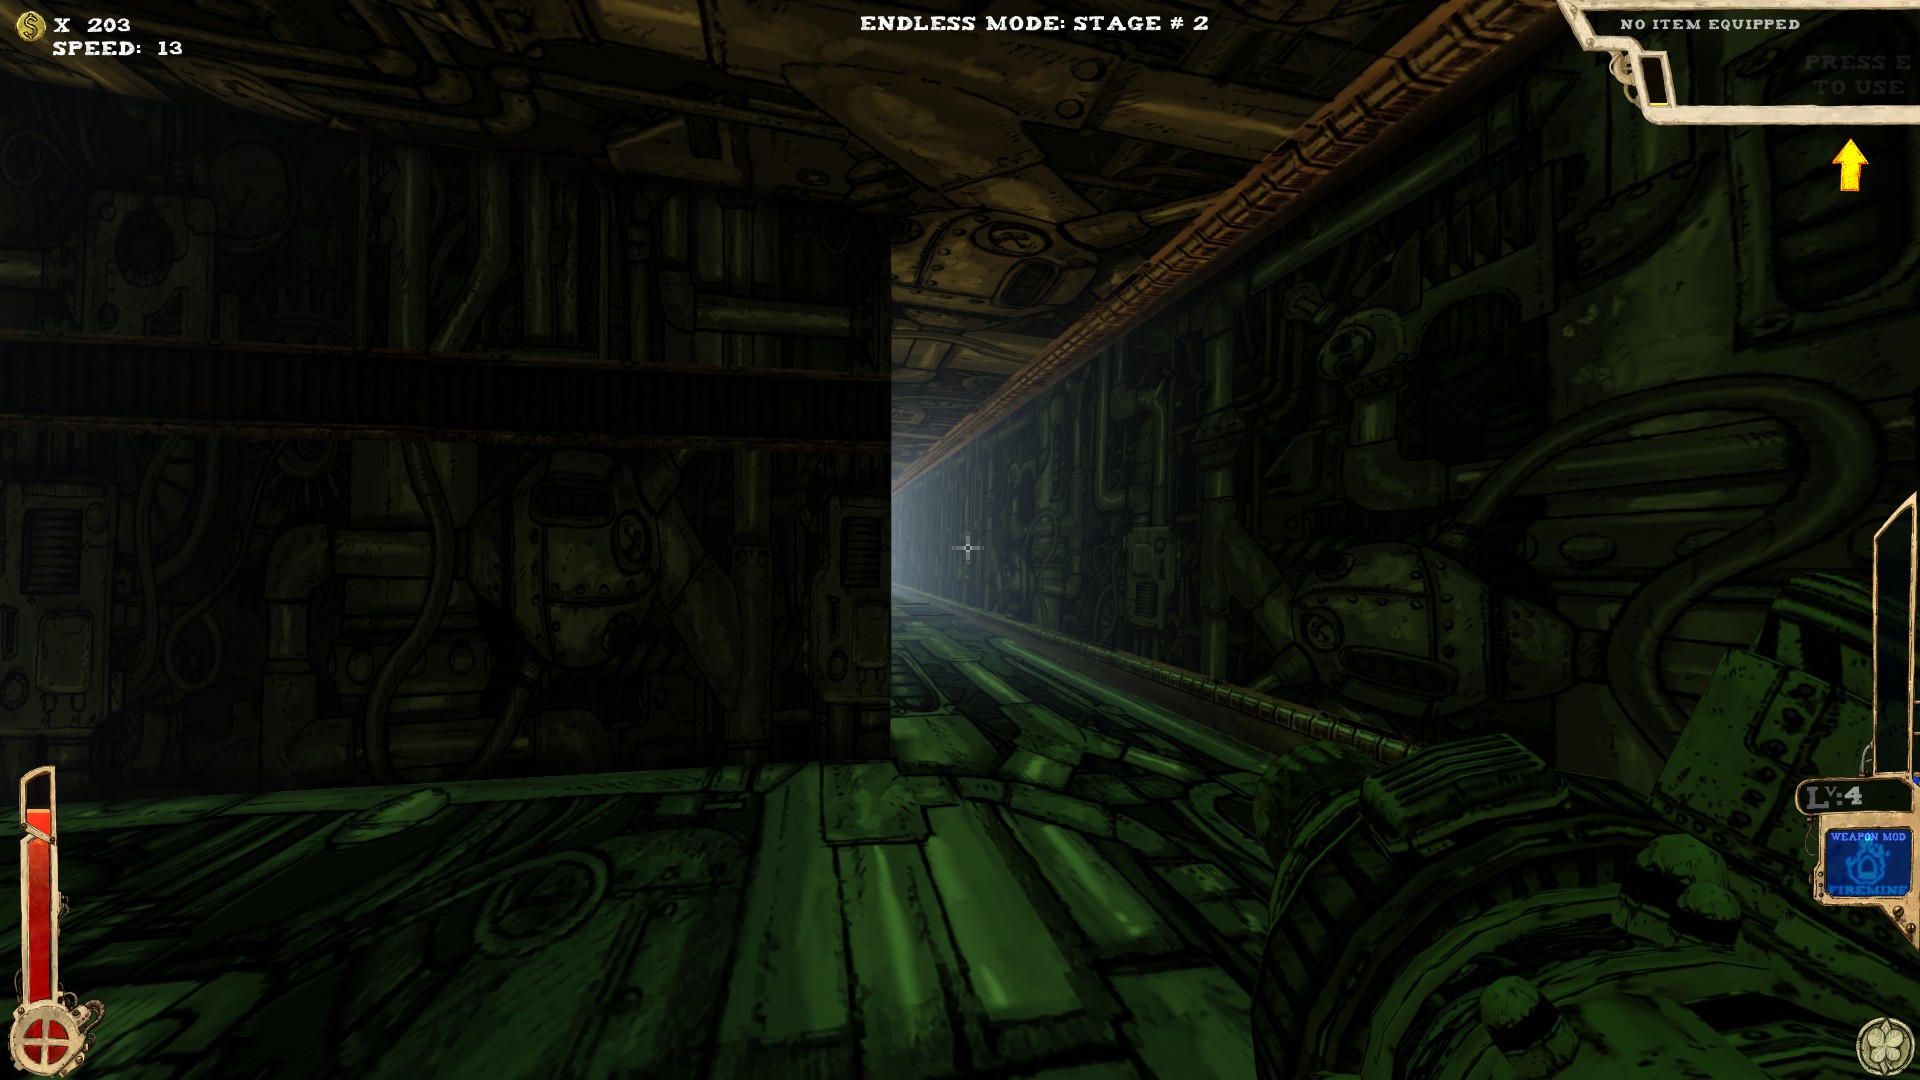
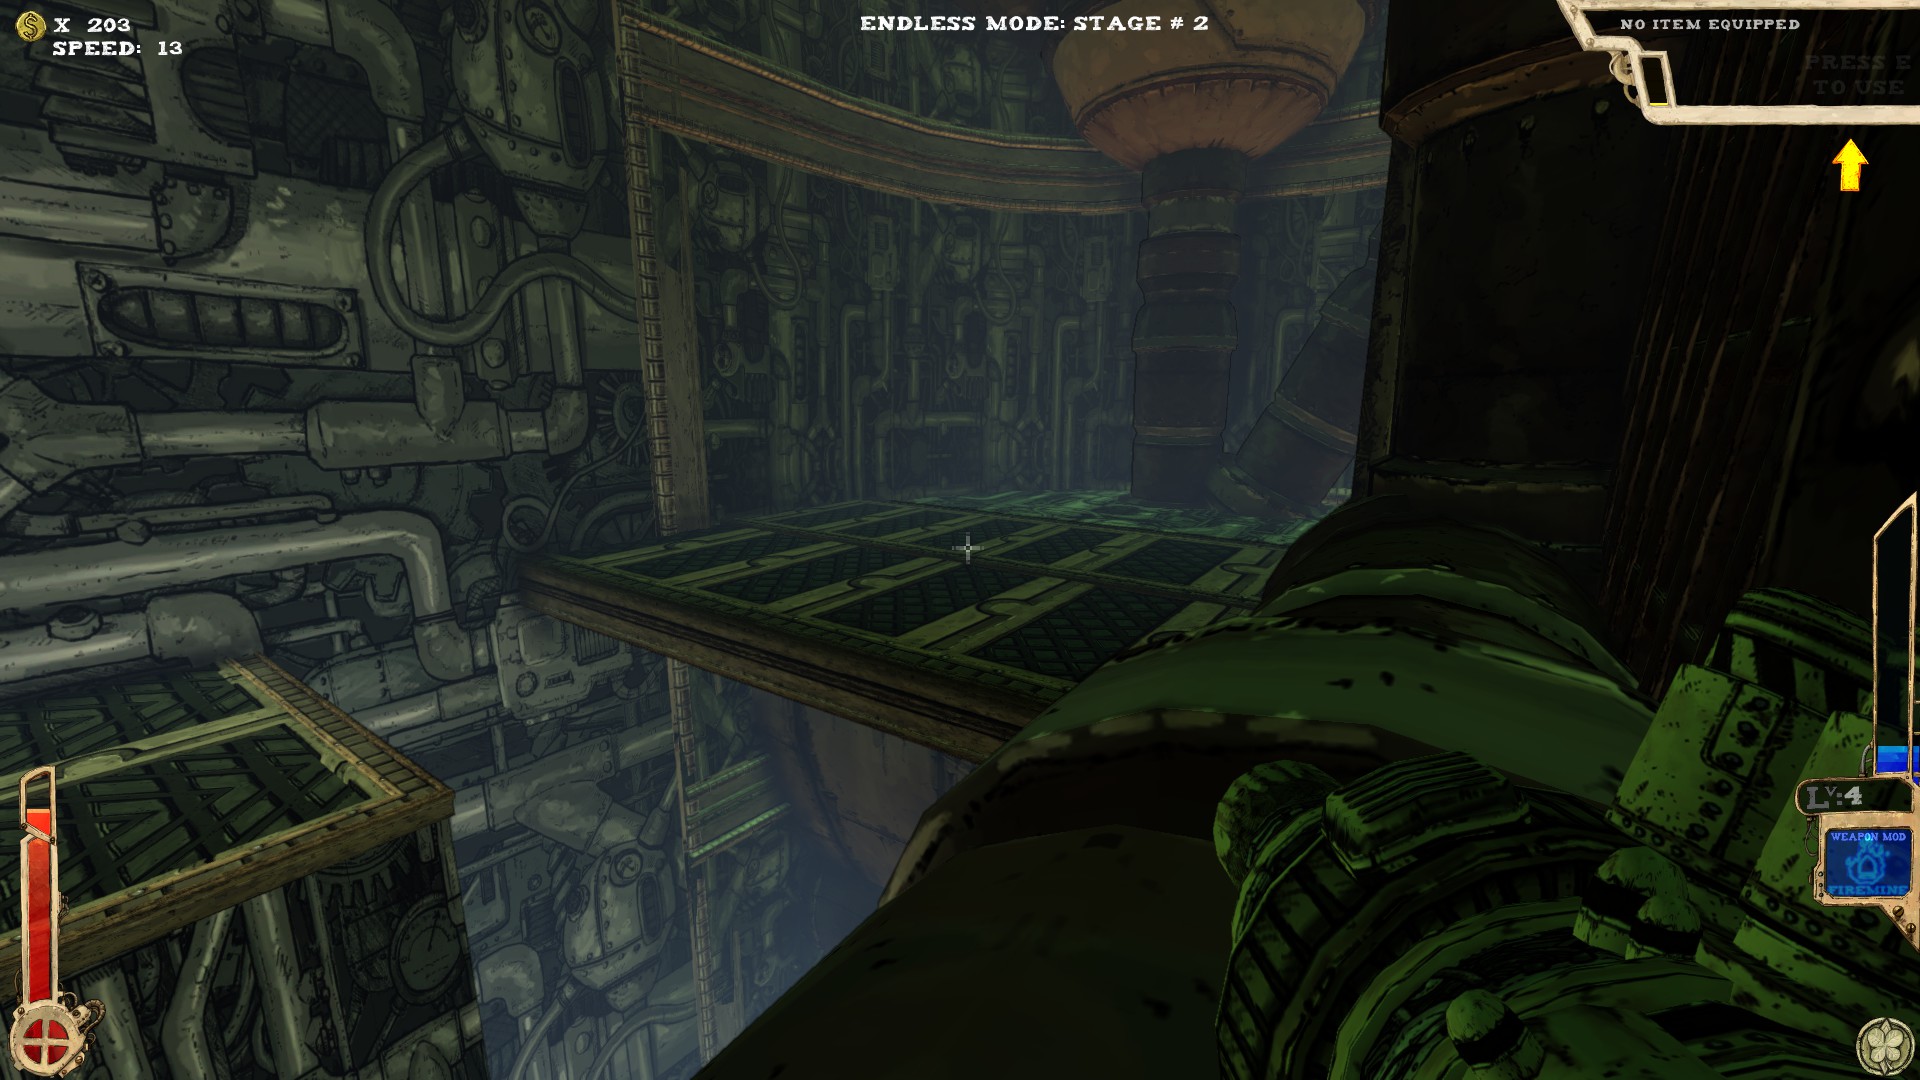
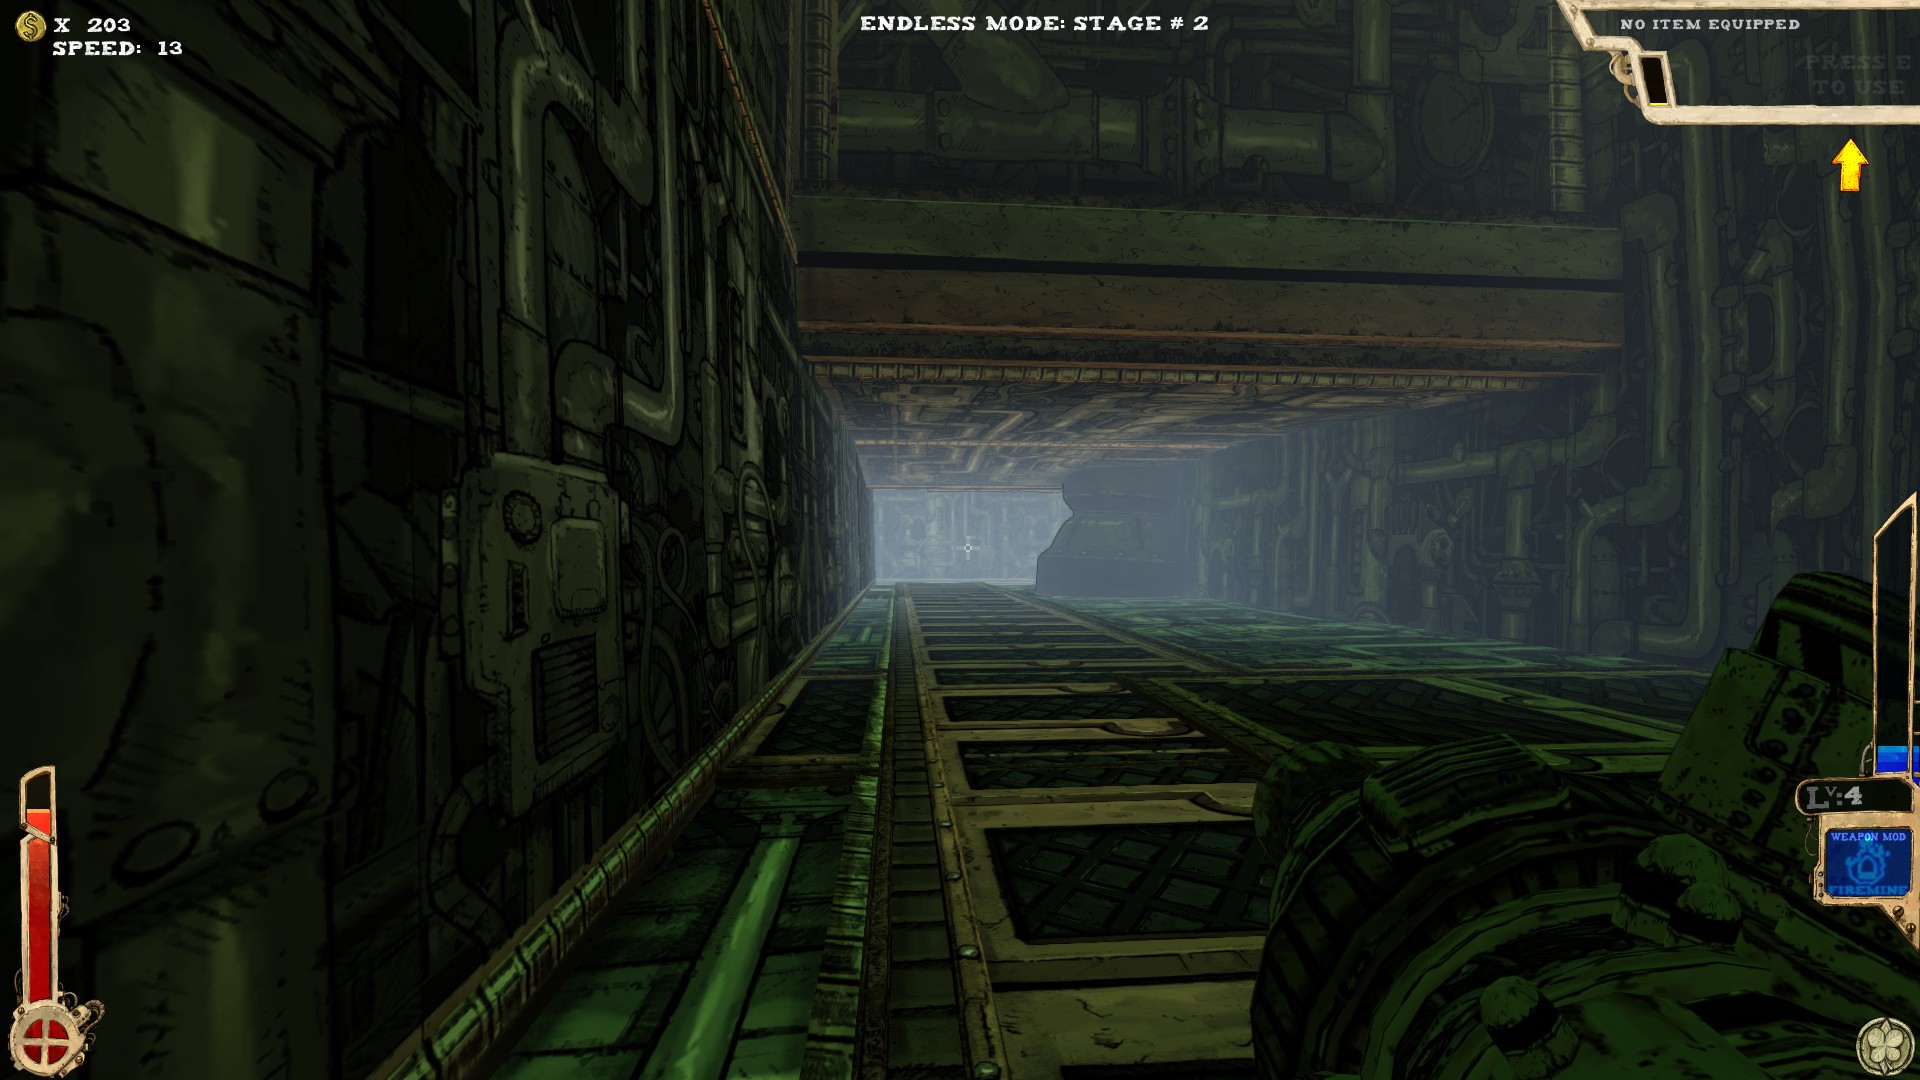
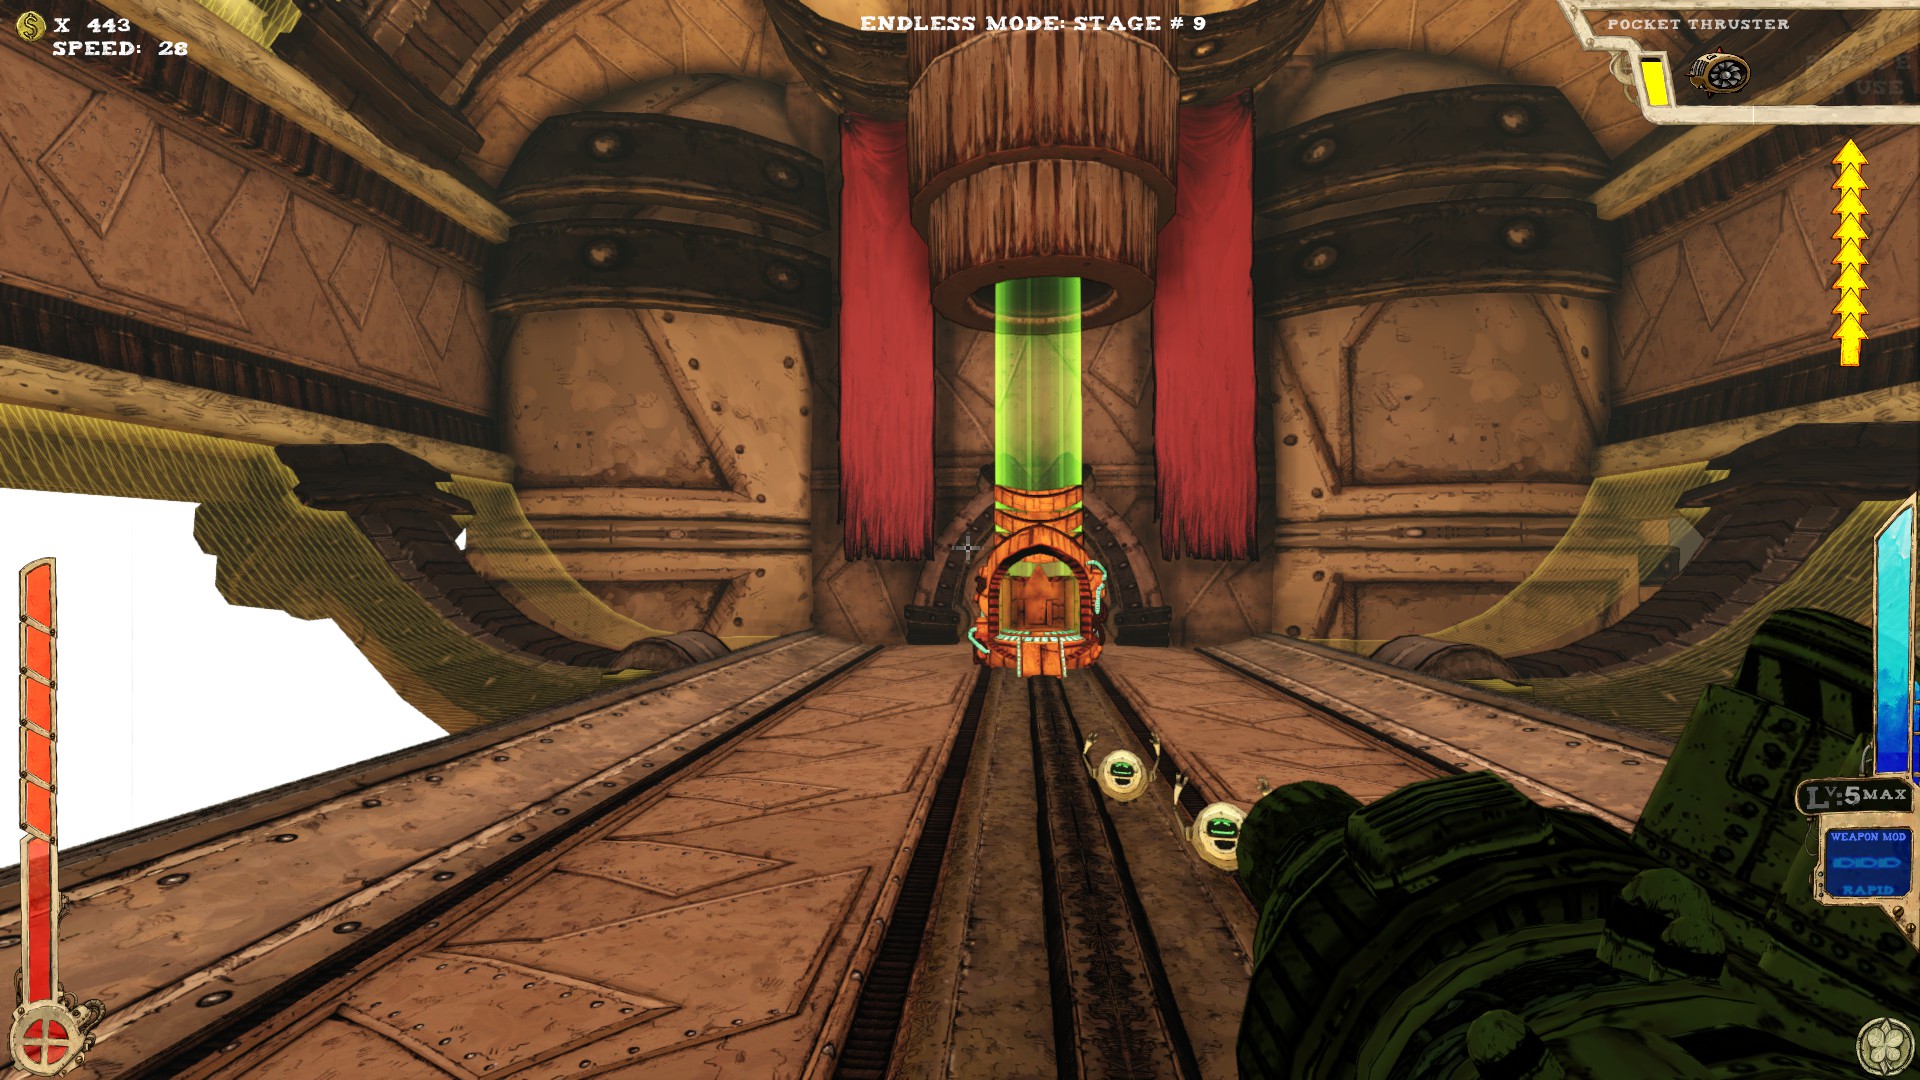
 One secret. Can contain another secret, depending on what room part you'll get.
 When ascending the beam of light, you should see a platform with a wall on it. The secret is behind the wall.
 A room part. Contains one secret.
Behind a fake wall, which I'm pointing at.
-----
 No secret here.
The room you start in!Turn around and walk right in. Does NOT count as a secret, worth mentioning, though.-----
This room contains one secret.Quite hard to reach the secret, when you're not playing Endless and don't have enough jumps, a good item or weapon.-----
Another room with a single secret.On the top platform, face away from the exit and walk into a fake wall.-----
One secret to rule them all.When you reach the part of the room with the boss door in it, turn around and look up.Without enough jumps, the right item or weapon quite hard to reach.
The room has Motivational Jelly on either side of the entrance. Only used to get up to the elevated part.Fake wall on the elevated part in the right corner. Easy to see, thanks to the different lighting.-----
A room with two secrets. How exciting!It's quite a way down, so either have Lift Ticket, extra jumps or enough health.The secret shown below should be accessed while falling down the shaft!
When falling down the shaft, try to face the side with the teleporter.The secret can be reached with extra jumps.
When exiting the secret via the teleporter on the ground, turrets will spawn pretty much in your face, so be aware!
-----
This room has one secret.The secret's behind a fake wall, right where I'm pointing at. It's on the upper part of the room.-----
No secrets here. There is a platform hidden beneath the one on the back of the room, but it doesn't count as a secret, even though items are spawning on it.-----
One secret.Highest part of the room. Reachable via the Motivational Jelly.-----
One secret.Right from the entrance, under the ramp. Fake wall.-----
This isn't a room in itself, as the upper part might change. I will be referring to these as "room parts".No secret here, btw.
-----
At least four secrets in here, maybe more.As you can see on the picture, the secret is right besides the boss door under a ramp.The secret is located opposite to the entrance. Just get on the elevators. One of them goes up and down right in front of the opening to the secret.On top of the platform in the elevated part in the middle of the room. Not reachable with an elevator jump alone.Standing with your back to the boss door, you should see a little opening under one of the ramps (if one of the elevators isn't blocking the view).-----
One of the four rooms, where only Hugbots spawn and one of the two, that contains a secret.On top of the pipe. Not reachable without extra jumps or a proper item.-----
One secret.Top platform, opposite of the platform with the boss door on it, at the position where I'm pointing at. Not reachable without extra jumps or a proper item.-----
No secrets here.-----
One secret.After crossing the lower part of the room and ascending the ramps, turn around and you should see an opening, containing the secret.-----
Two secrets.As you can see in the picture, the secret in the right corner, when facing the boss door.The spot I'm pointing at leads right to a secret.Under the spot is a way to a lower room. No secret there, but sometimes an item, although rarely.
-----
One secret.The secret's in the tower in the middle of the room. Accessible via extra jumps or a proper item.Try using one of those little blue "lamps" to get a bit higher, if you don't have enough extra jumps.
-----
Two secrets.After moving through the corridor, turn left and you see a small area, not accessible without an extra jump or by using the Hand Cannon to rocket jump, at least not from down there. Easily accessible via the ramps you need to ascend anyway.Opposite of the boss door on the platform. Not reachable without extra jumps or a proper item.-----
One secret. Can contain another secret, depending on what room part you'll get.When ascending the beam of light, you should see a platform with a wall on it. The secret is behind the wall.A room part. Contains one secret.Behind a fake wall, which I'm pointing at.
-----
No secret here.
The Foyer (Part 2)
 Two secrets.
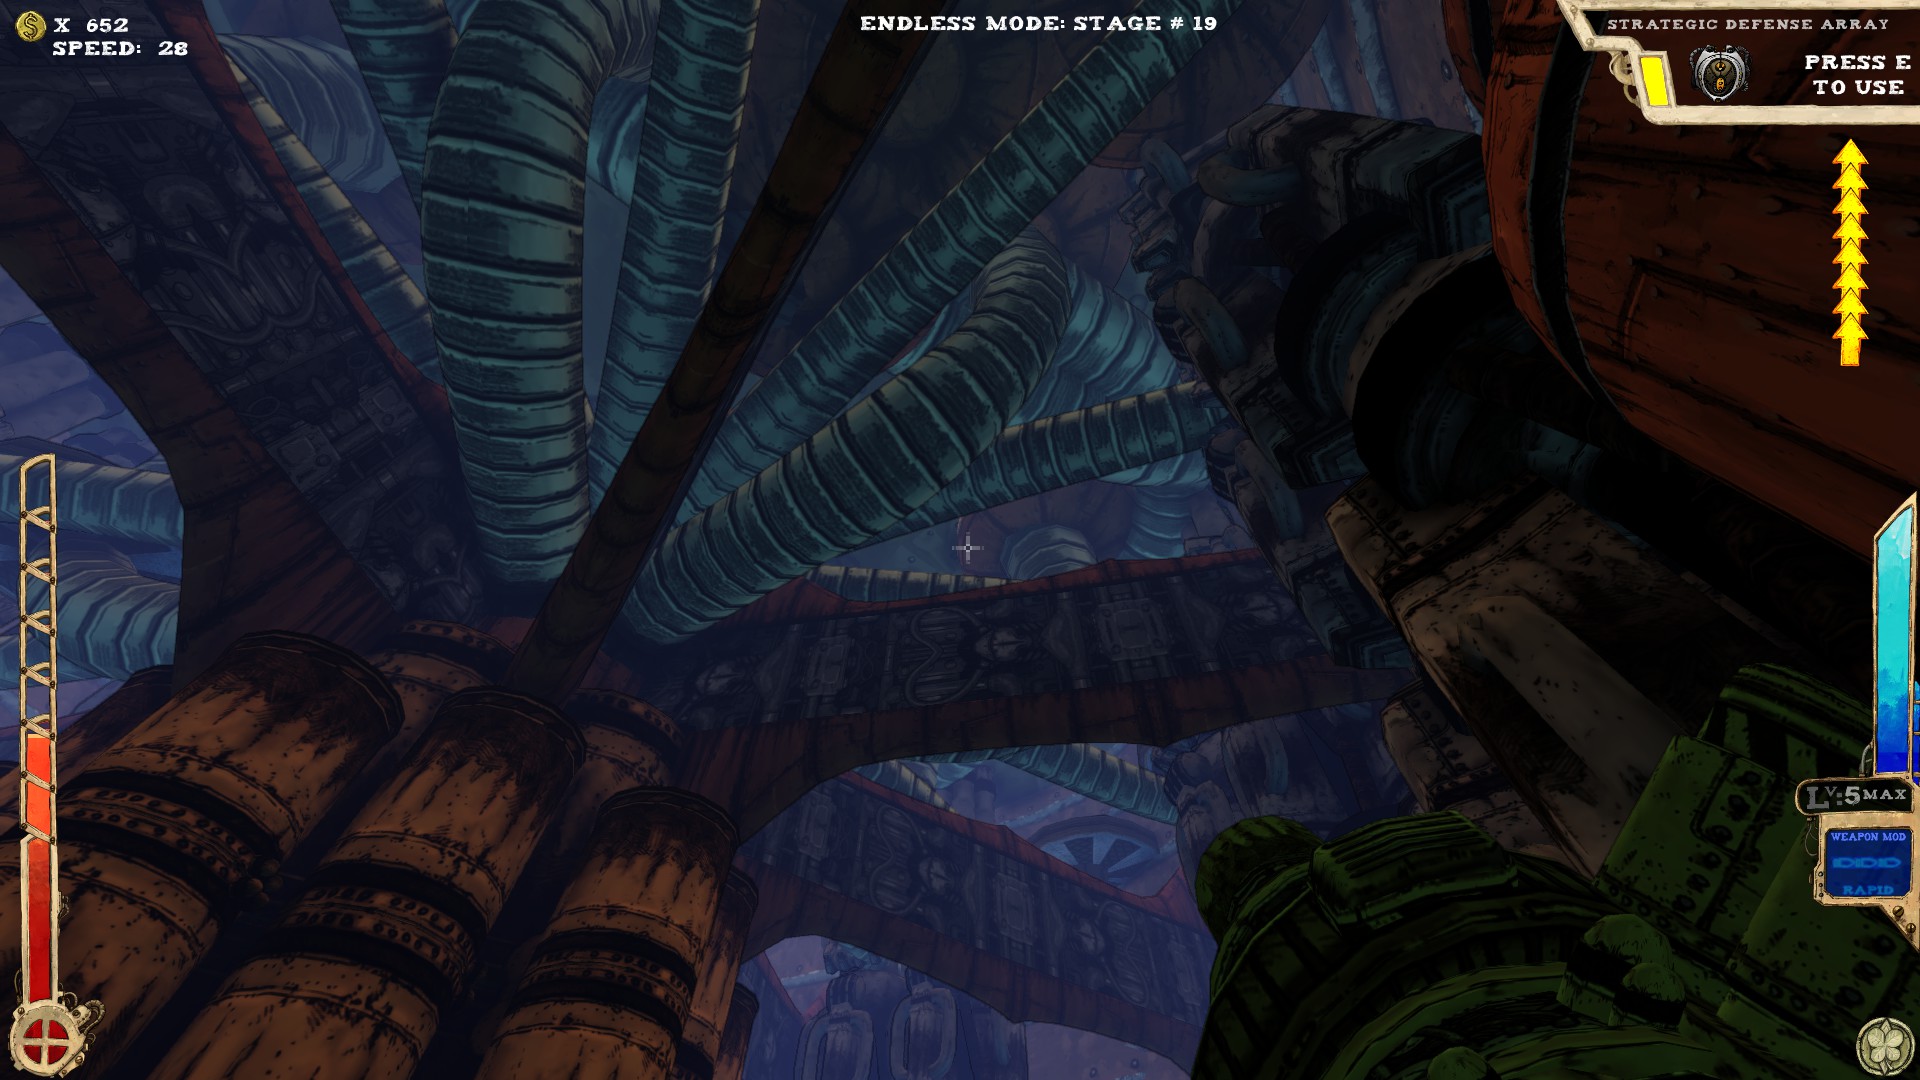 Up on the ceiling is a secret. There are platforms on the edges, two of them contain items. That is the secret area.
Not accessible without extra jumps or a proper item.
 Right from the ramp leading to the exit, right where I'm pointing at.
-----
 At least two secrets, maybe more.
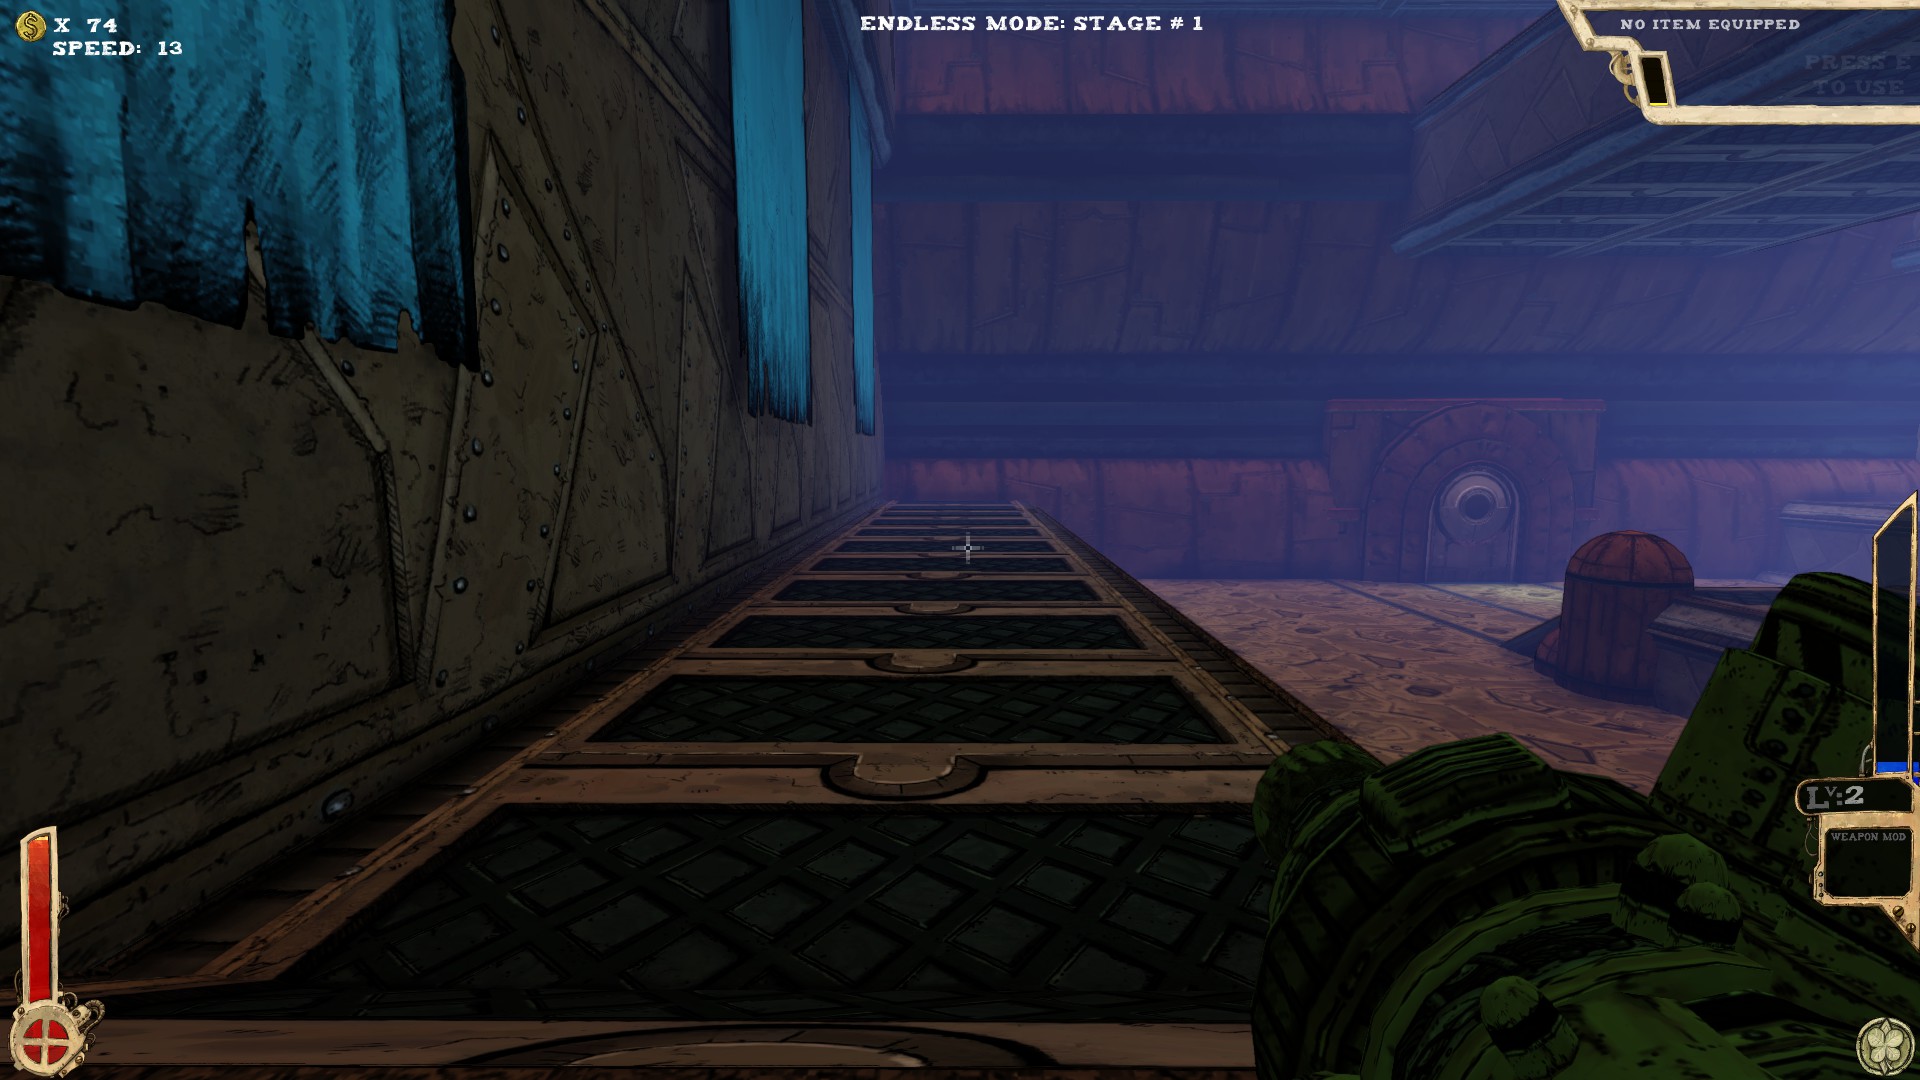 Just walk and you'll walk right into the secret.
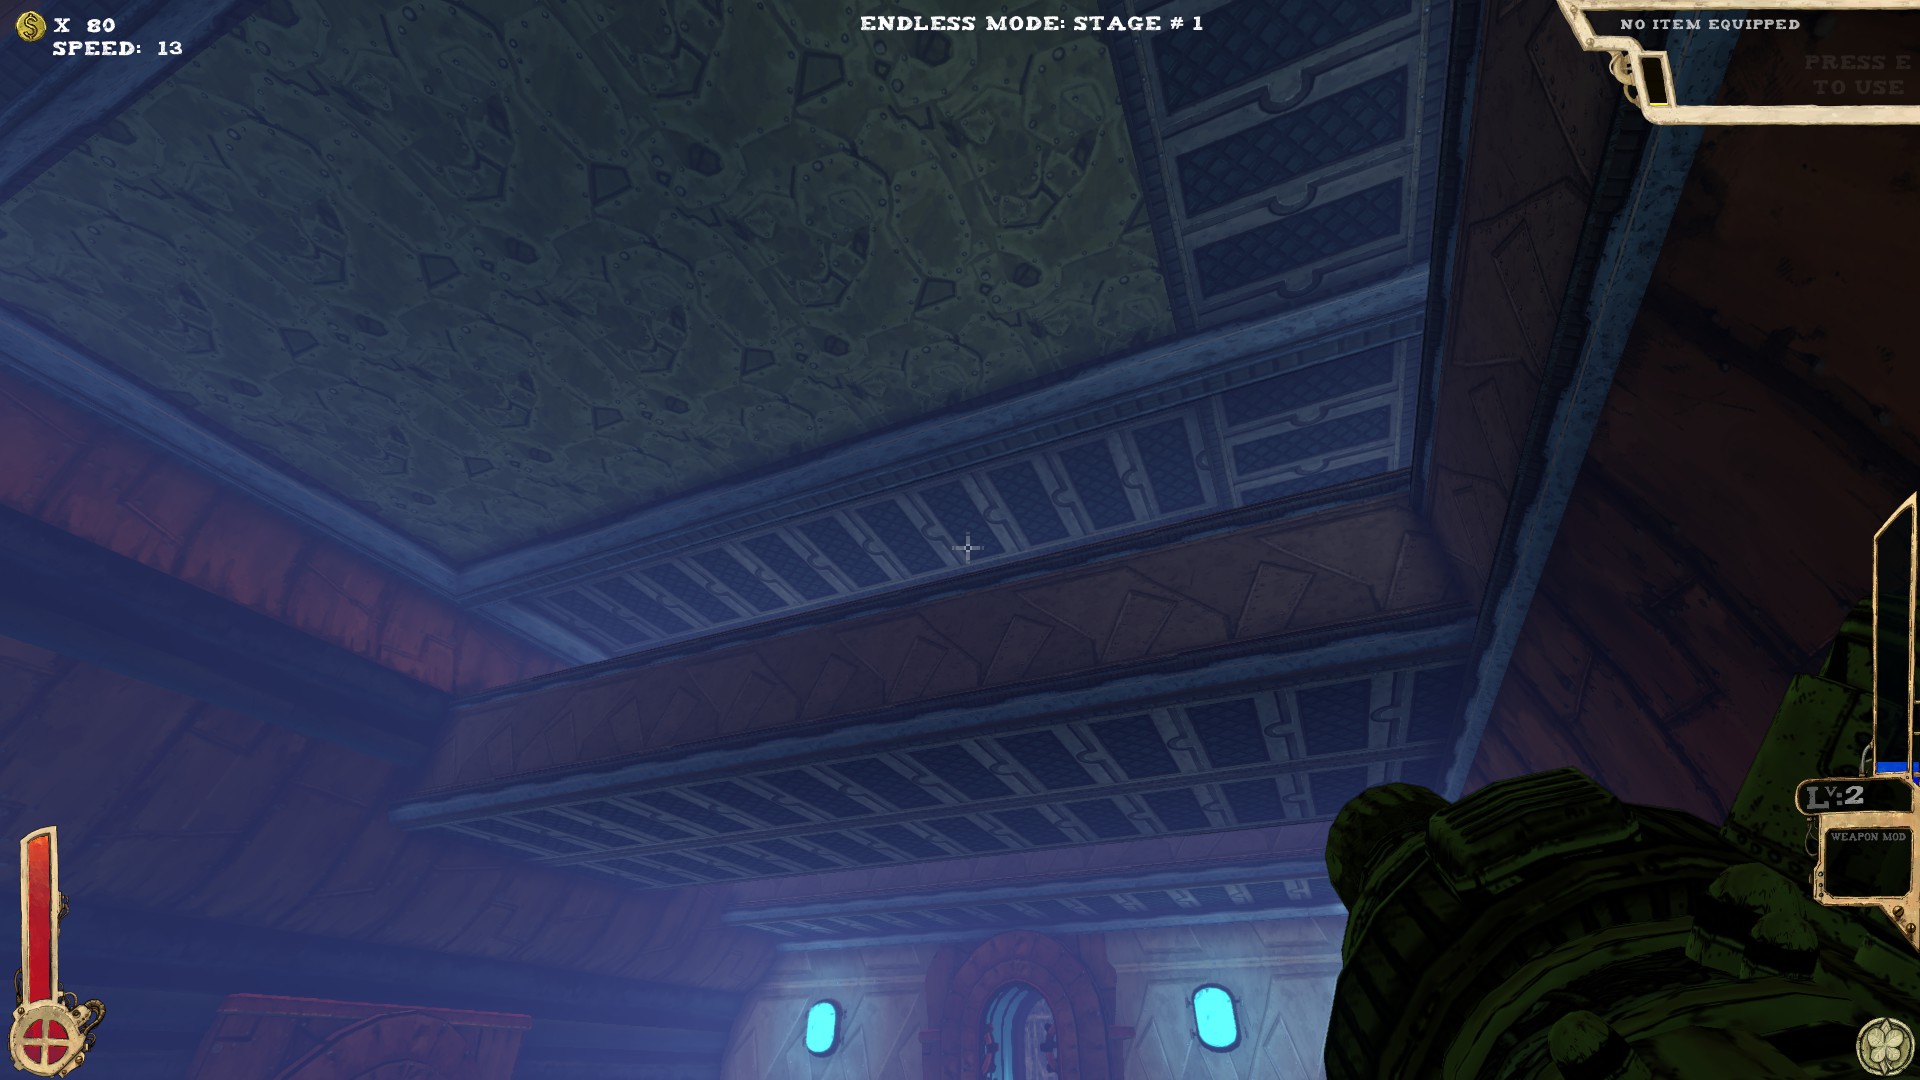 Up on the ceiling. Not reachable without extra jumps or a proper item.
-----
 A room part, which contains two secrets.
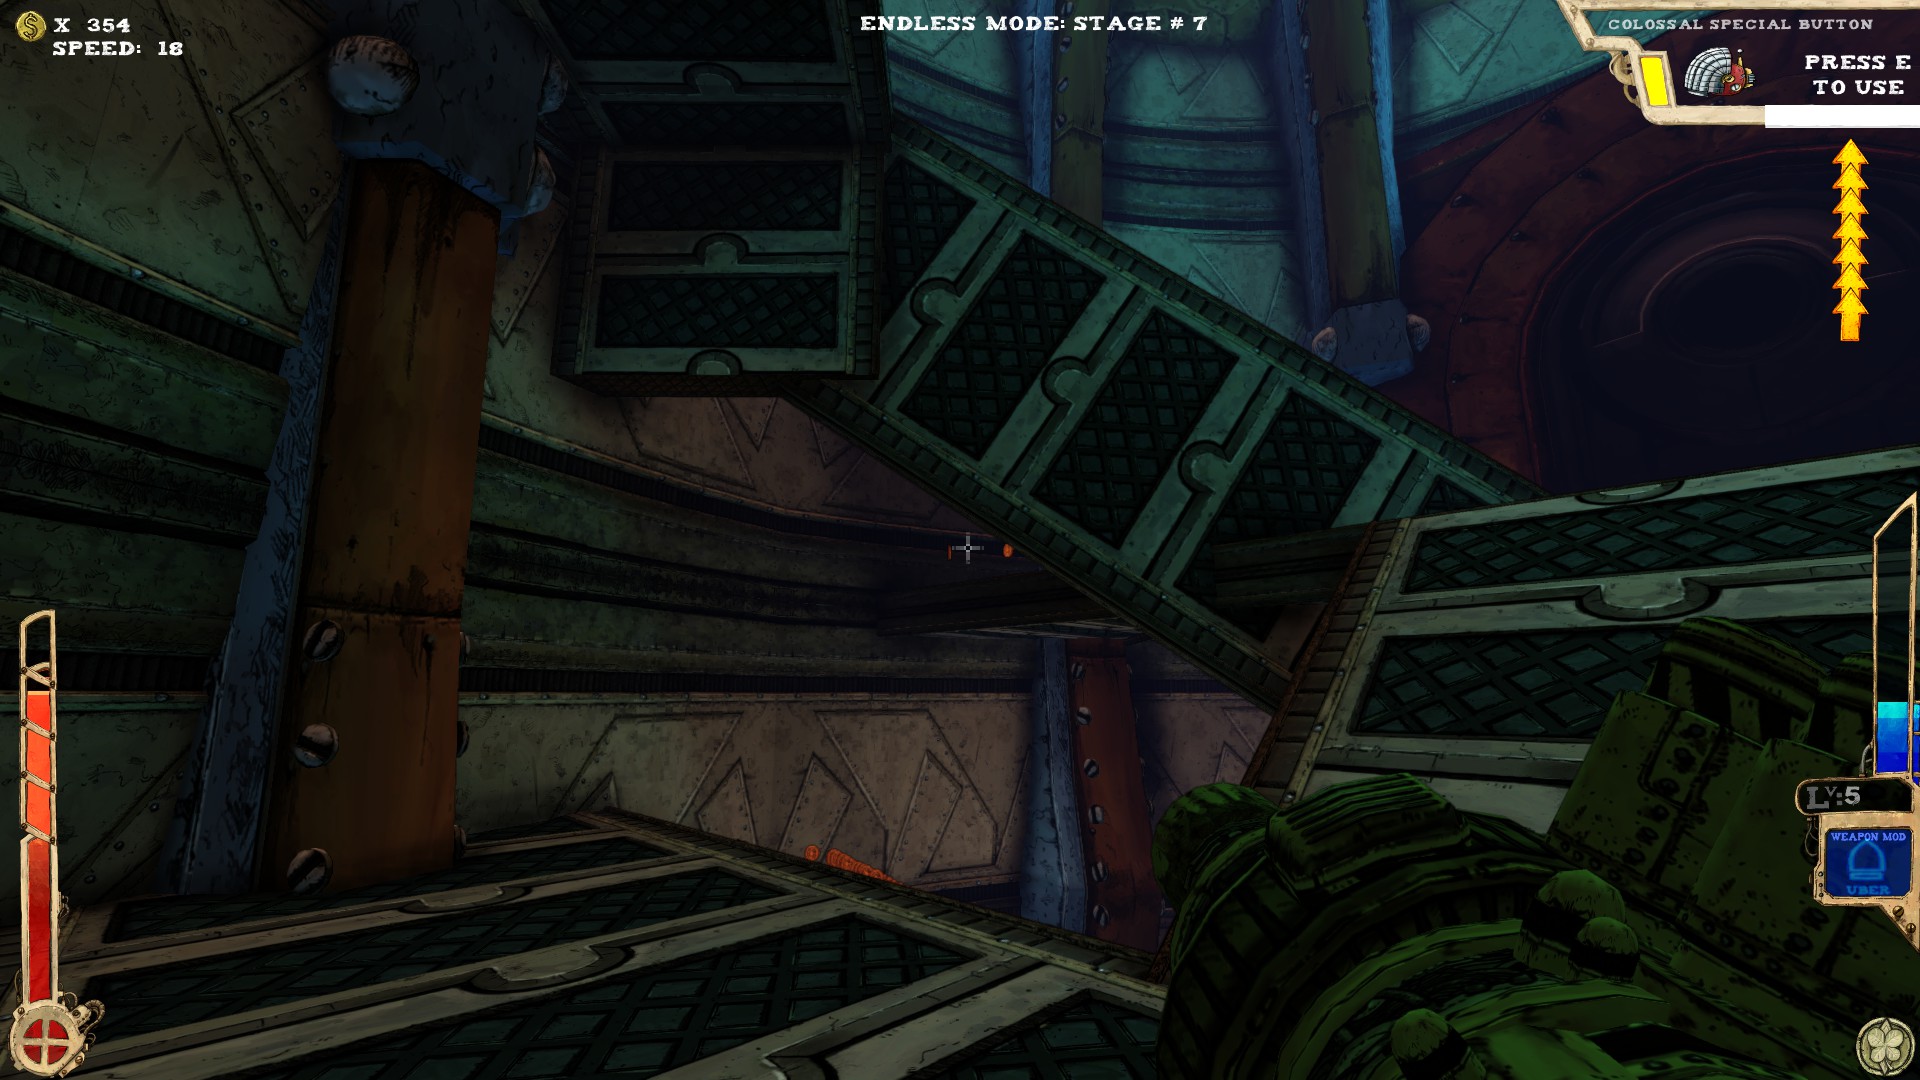 Go down the ramp and when turning around you should see a platform underneath a ramp. Not reachable without extra jumps, but you might be able to attract coins, XP or even get the secret, when getting close enough.
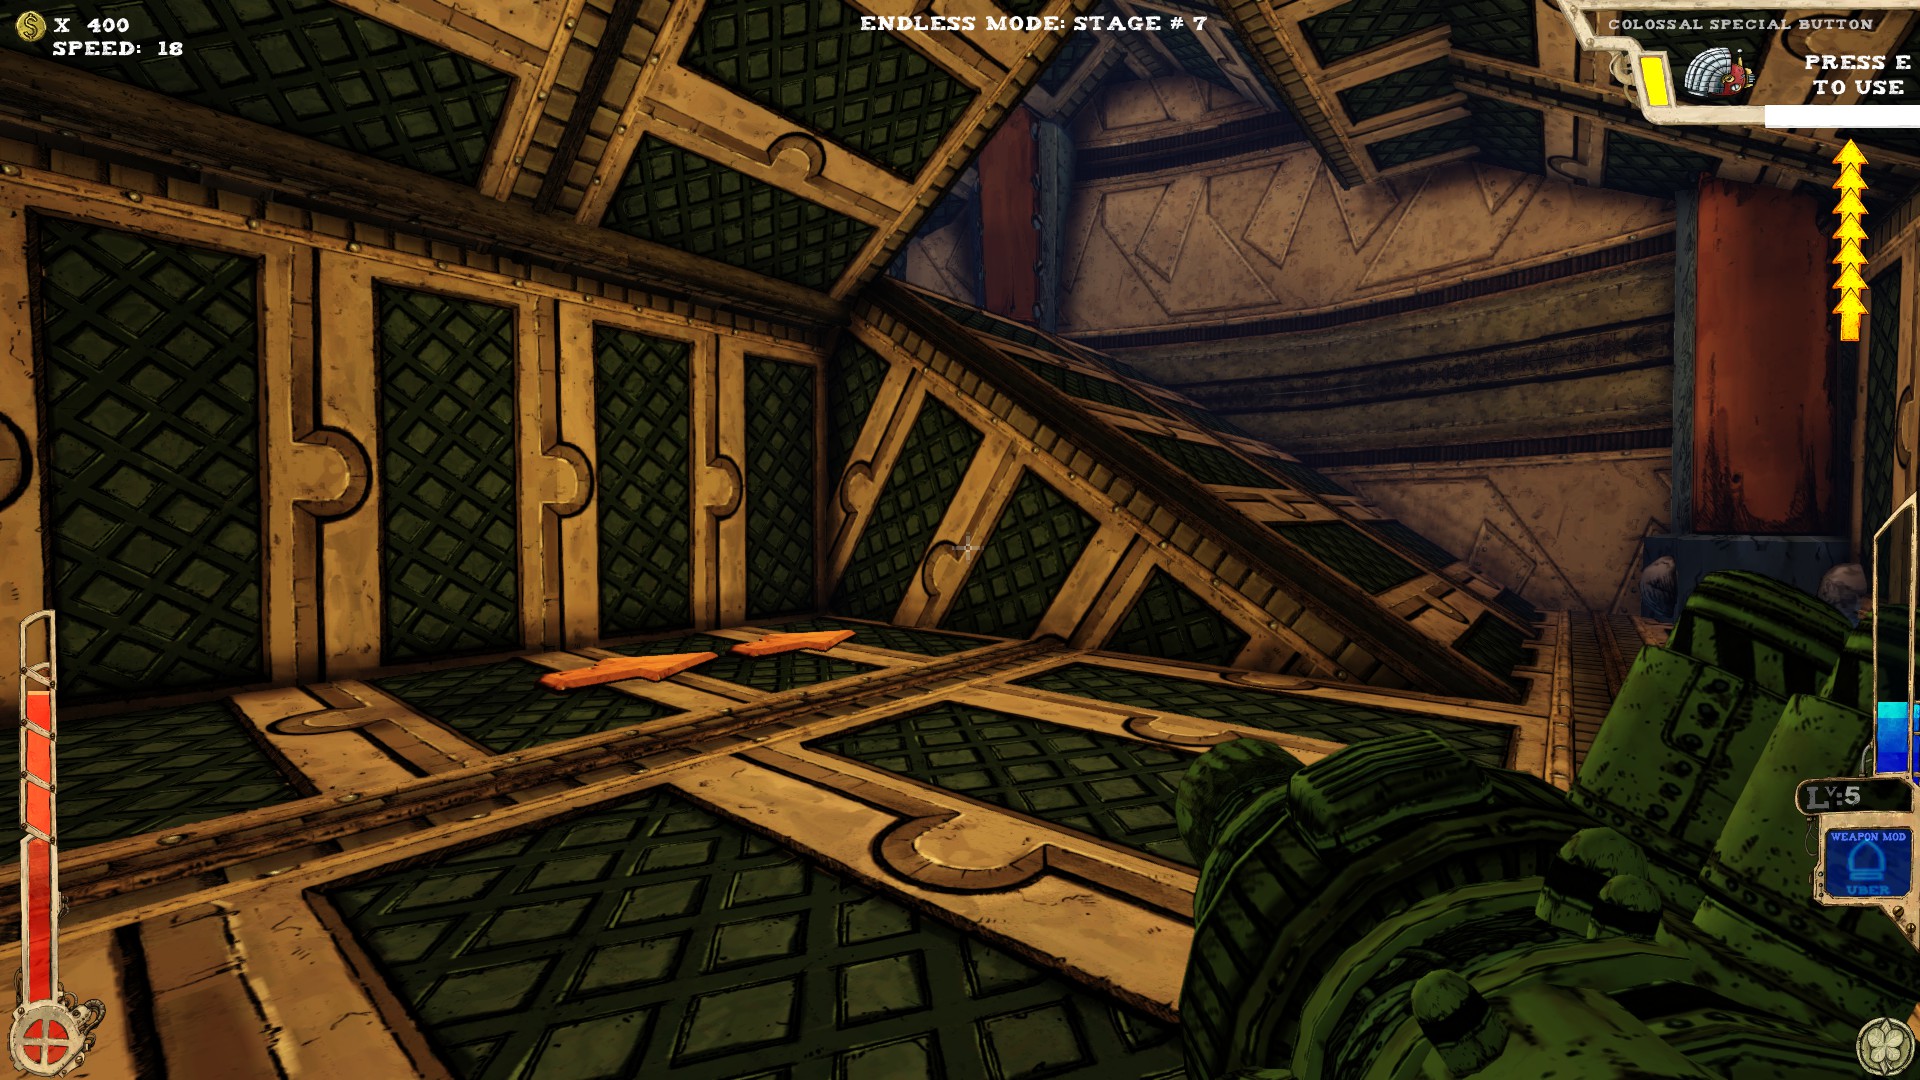 Extremely hard to miss, that one.
-----
 Two secrets.
 Enter room, turn around and on the right side is an opening. Get in already!
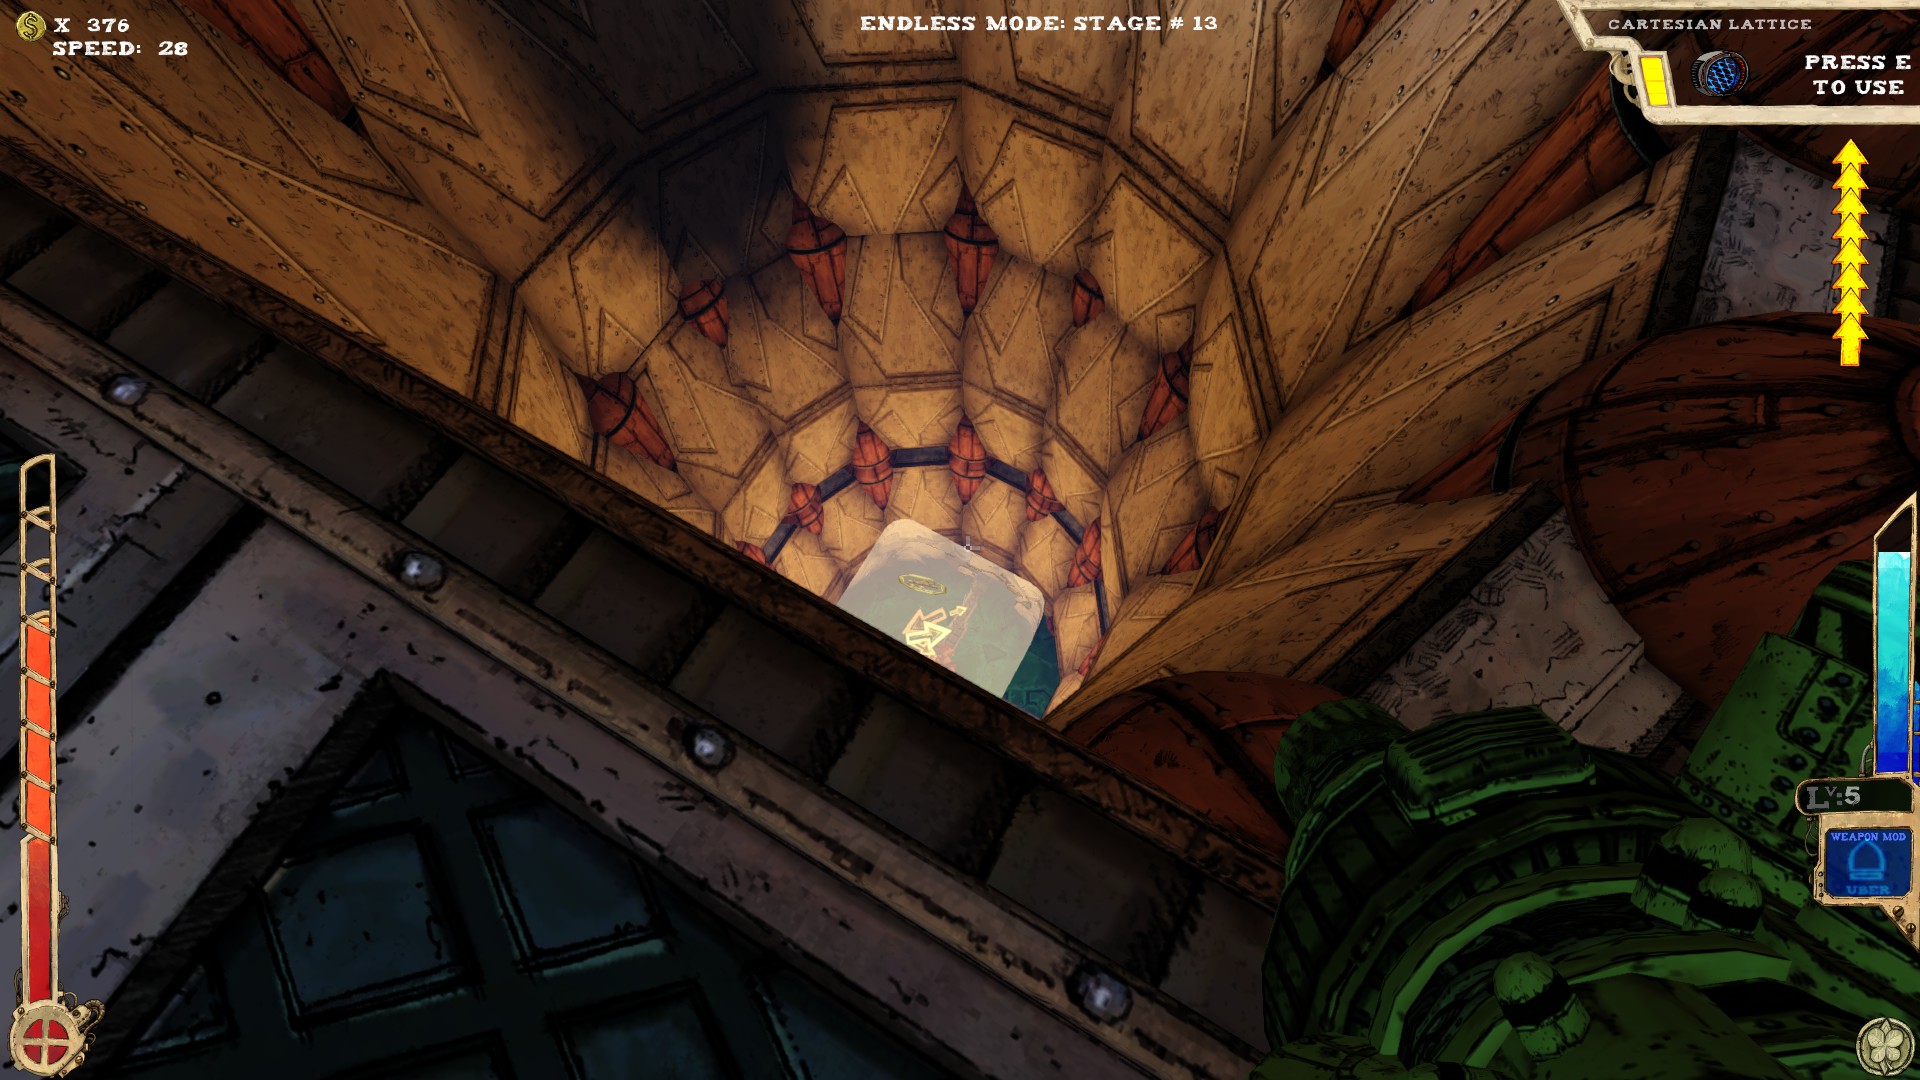 Just drop down the tower. Don't look down or the Jelly will punch you right into the ground. And that hurts.
-----
 One secret.
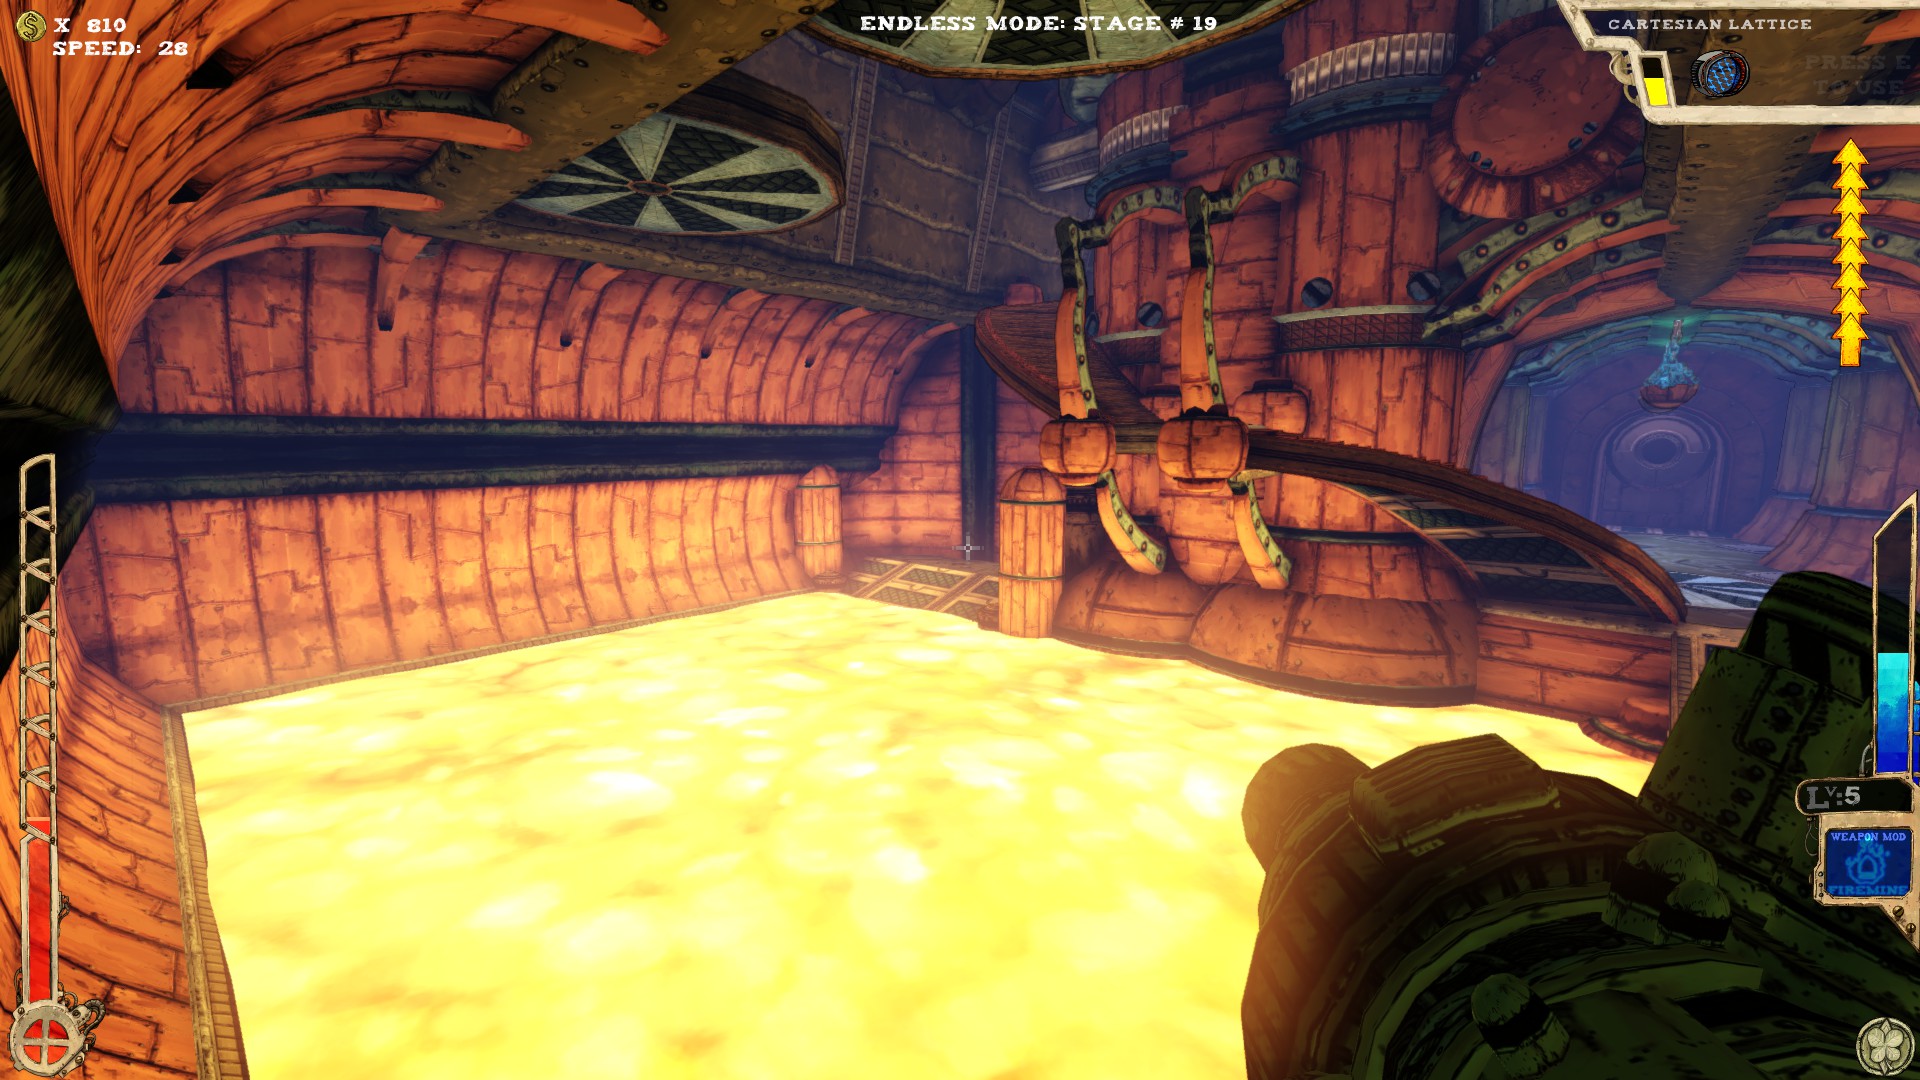 Under the staircase, right where I'm pointing at. Just drop down from the stairs.
If you can't get back without hurting yourself, use Tilt (Default "C").
-----
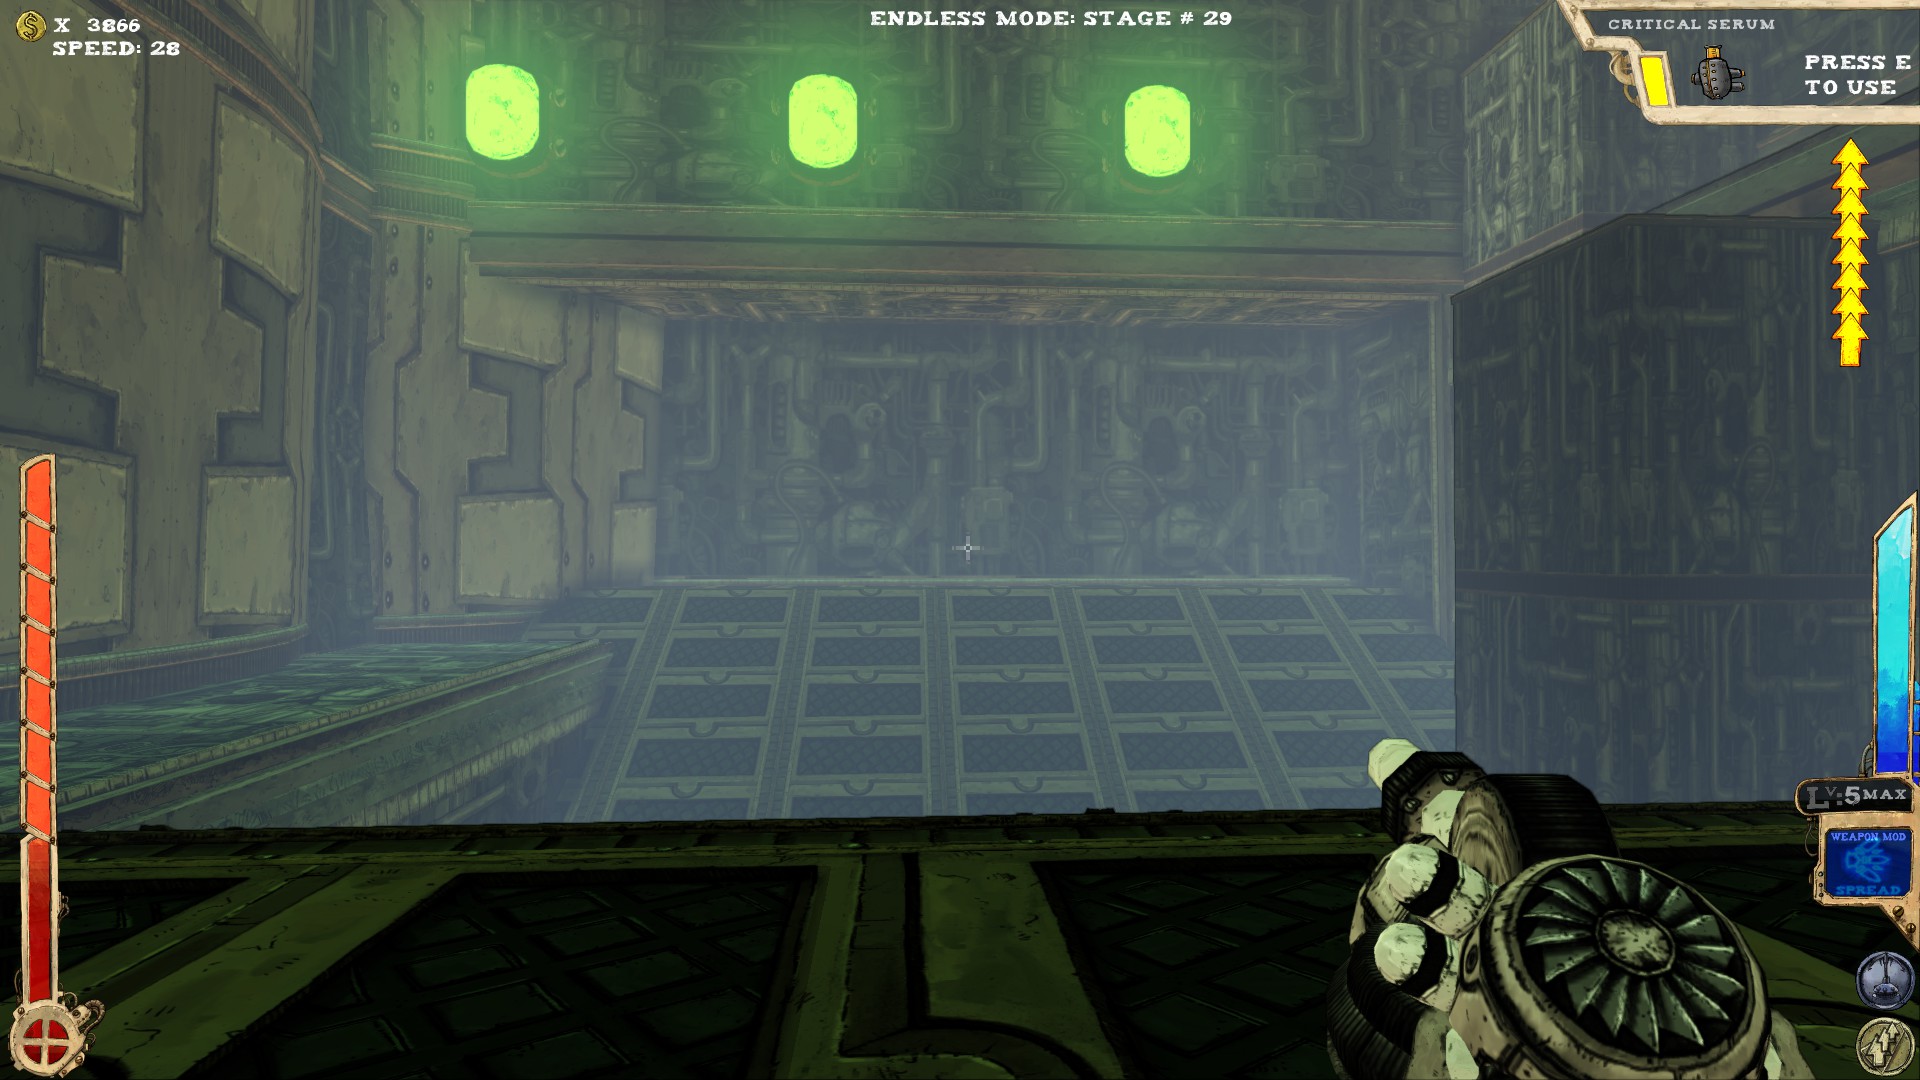
 One secret.
Nothing in the first part, proceed through the teleporter.
 After teleporting, turn around and you should see a small chamber, containing the secret.
-----
 At least one secret.
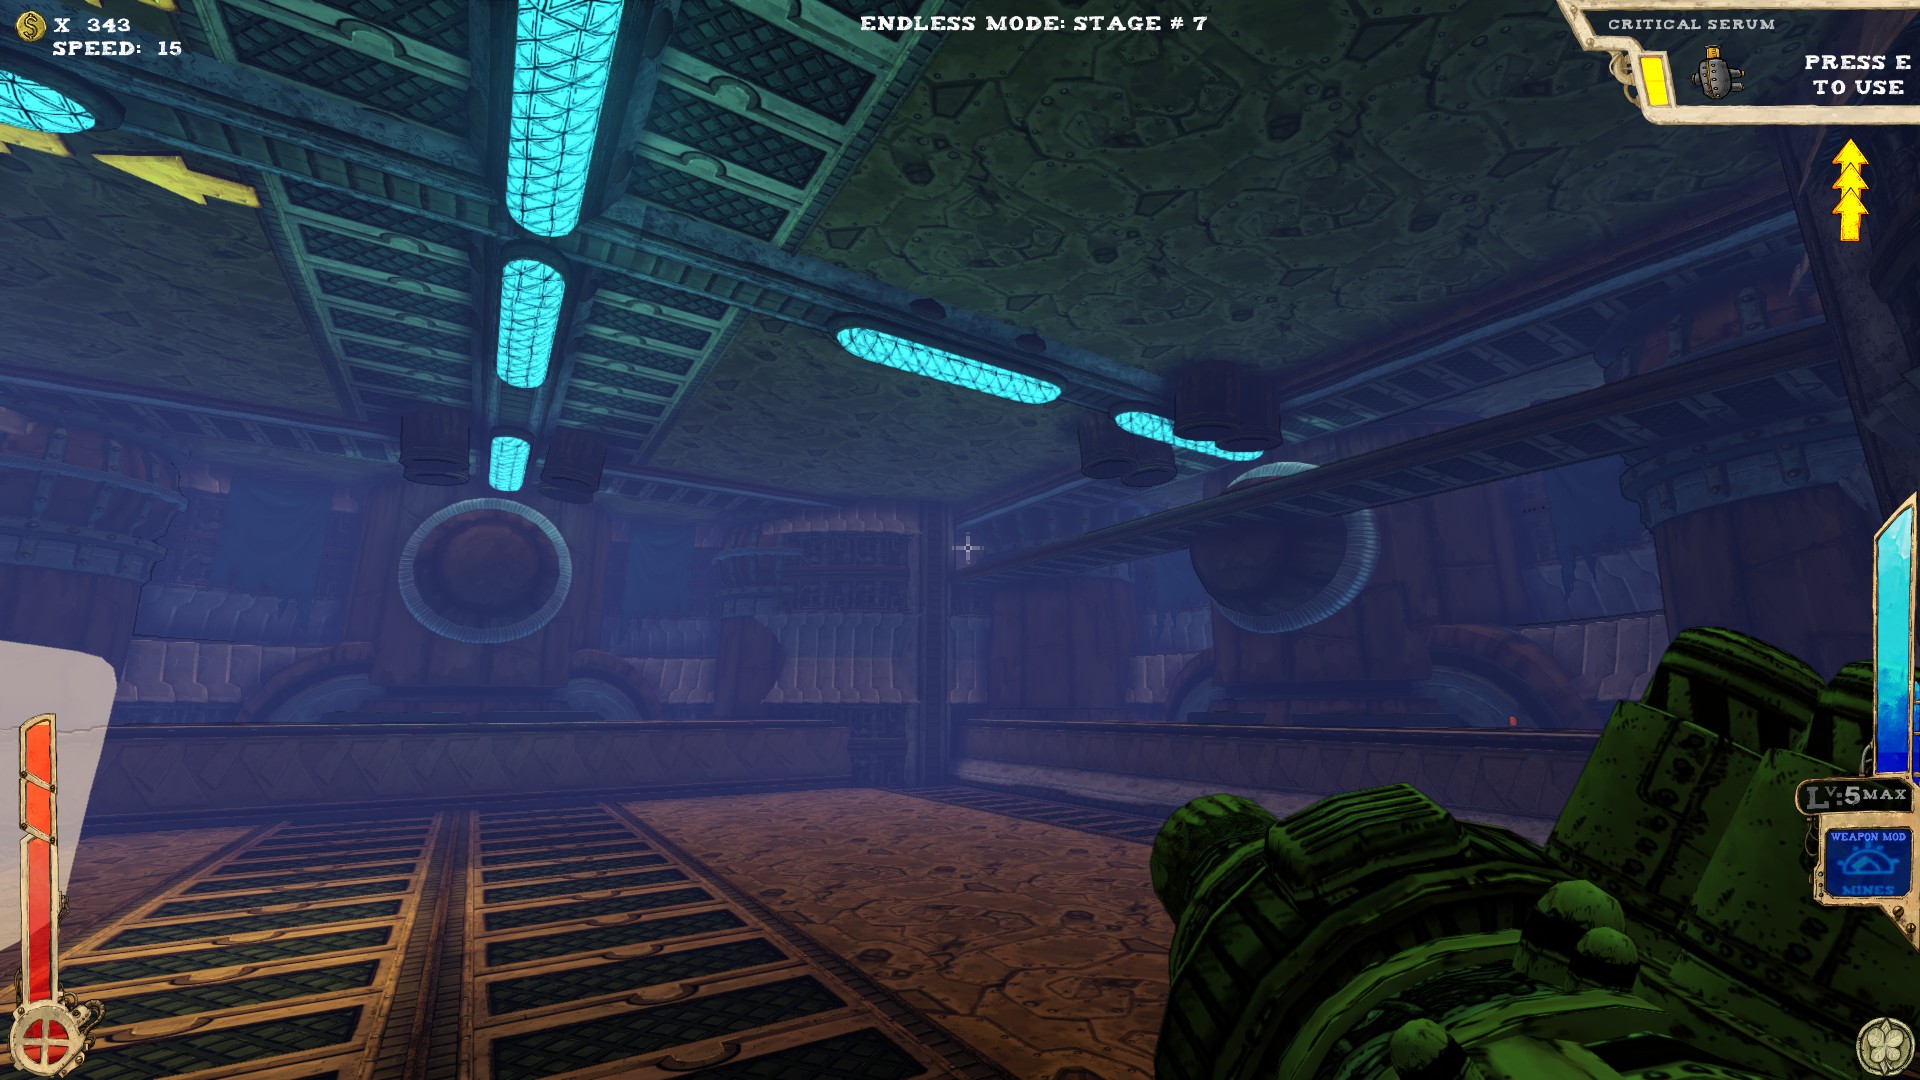 When entering the room, you can see the platform on the right. Use the Jelly to get on it and follow it to where I'm pointing.
-----
 At least four secrets. It seems there must be another one, but I can't figure out where...
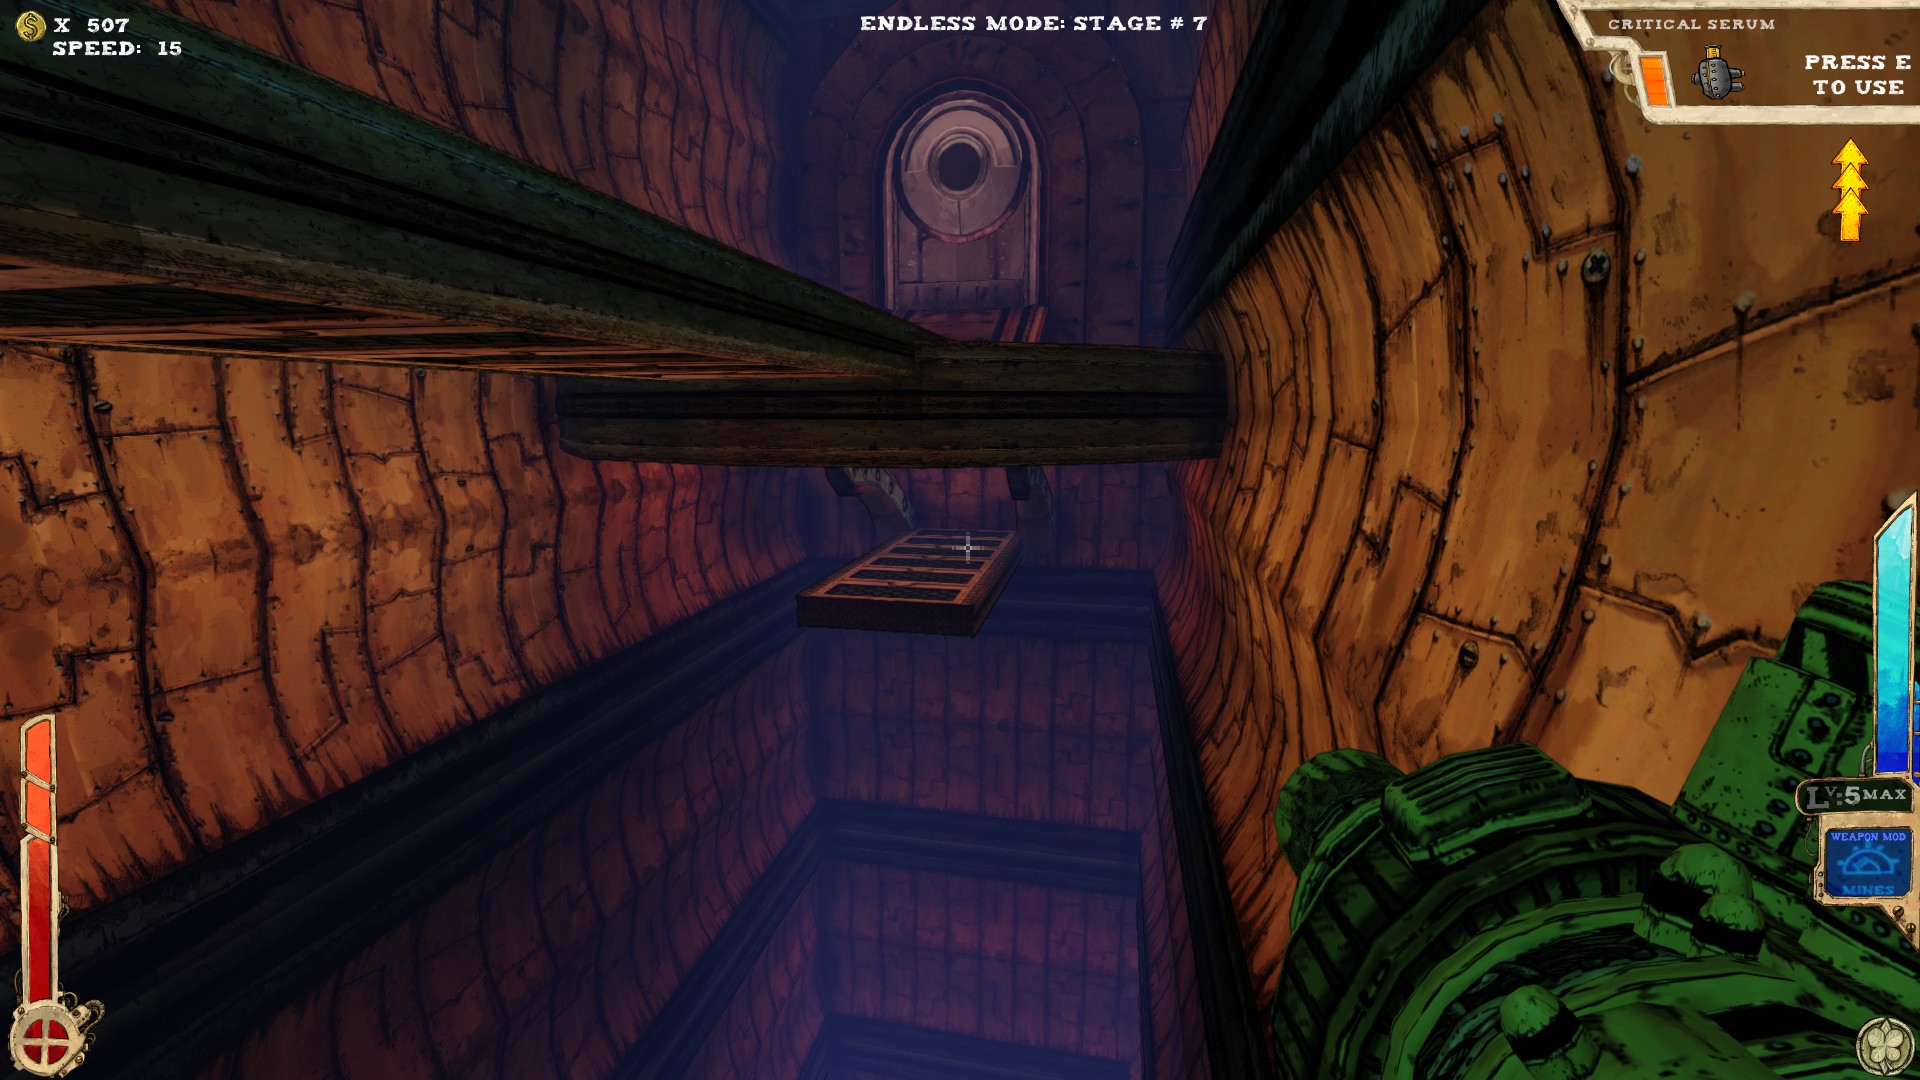 The secret's under a platform, below the entrance. You need an extra jump to get there.
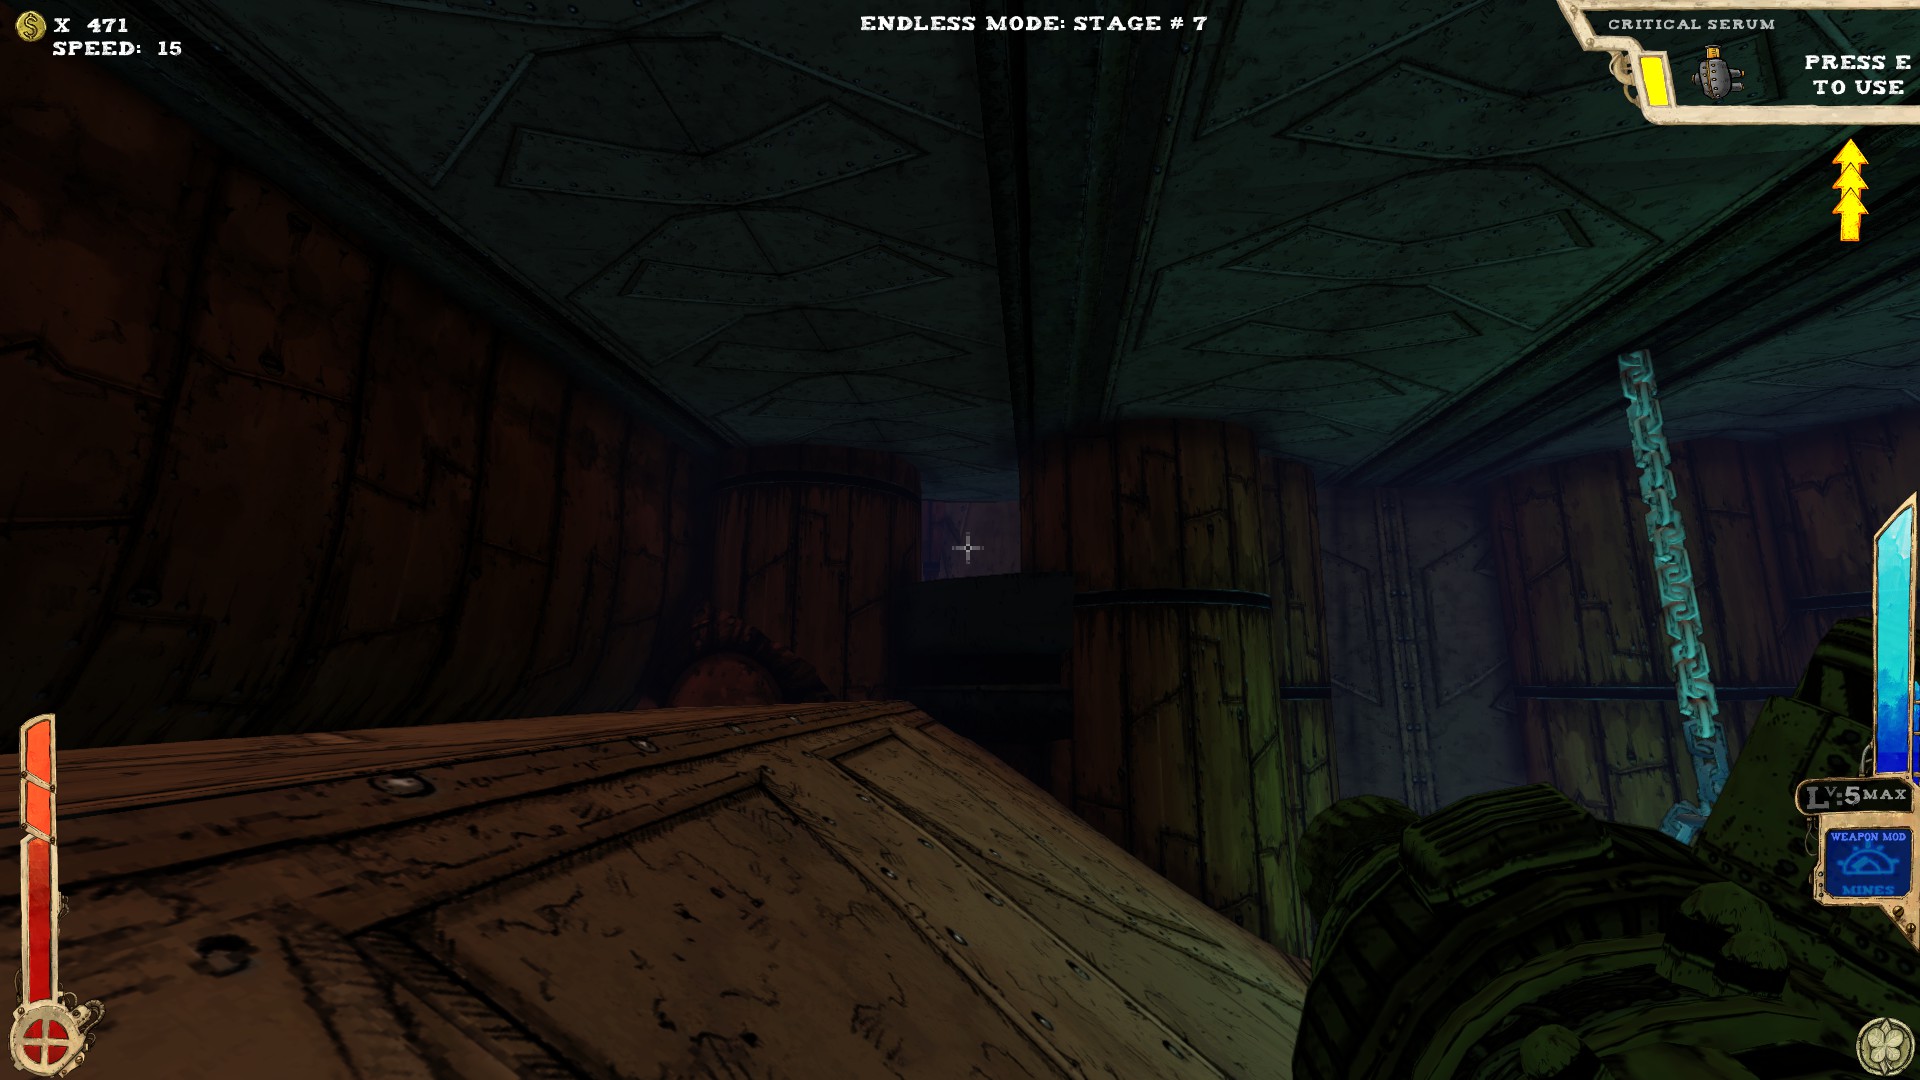 Drop down, follow the way until you get into a corridor with two slopes on either side. Get on the left slope. There is usually loot on one end and a small opening on the other. Get into the opening, turn around and jump up to a small chamber containing the secret.
 you might not get up there without an extra jump.
 You'll either reach this part of the room via the elevator at the start or when you've dropped down via a beam of light. The secrets are on the two highest platforms. Neither elevator nor beam of light are enough to get up there, afaik, so you'll need extra jumps or a proper item.
-----
 One secret.
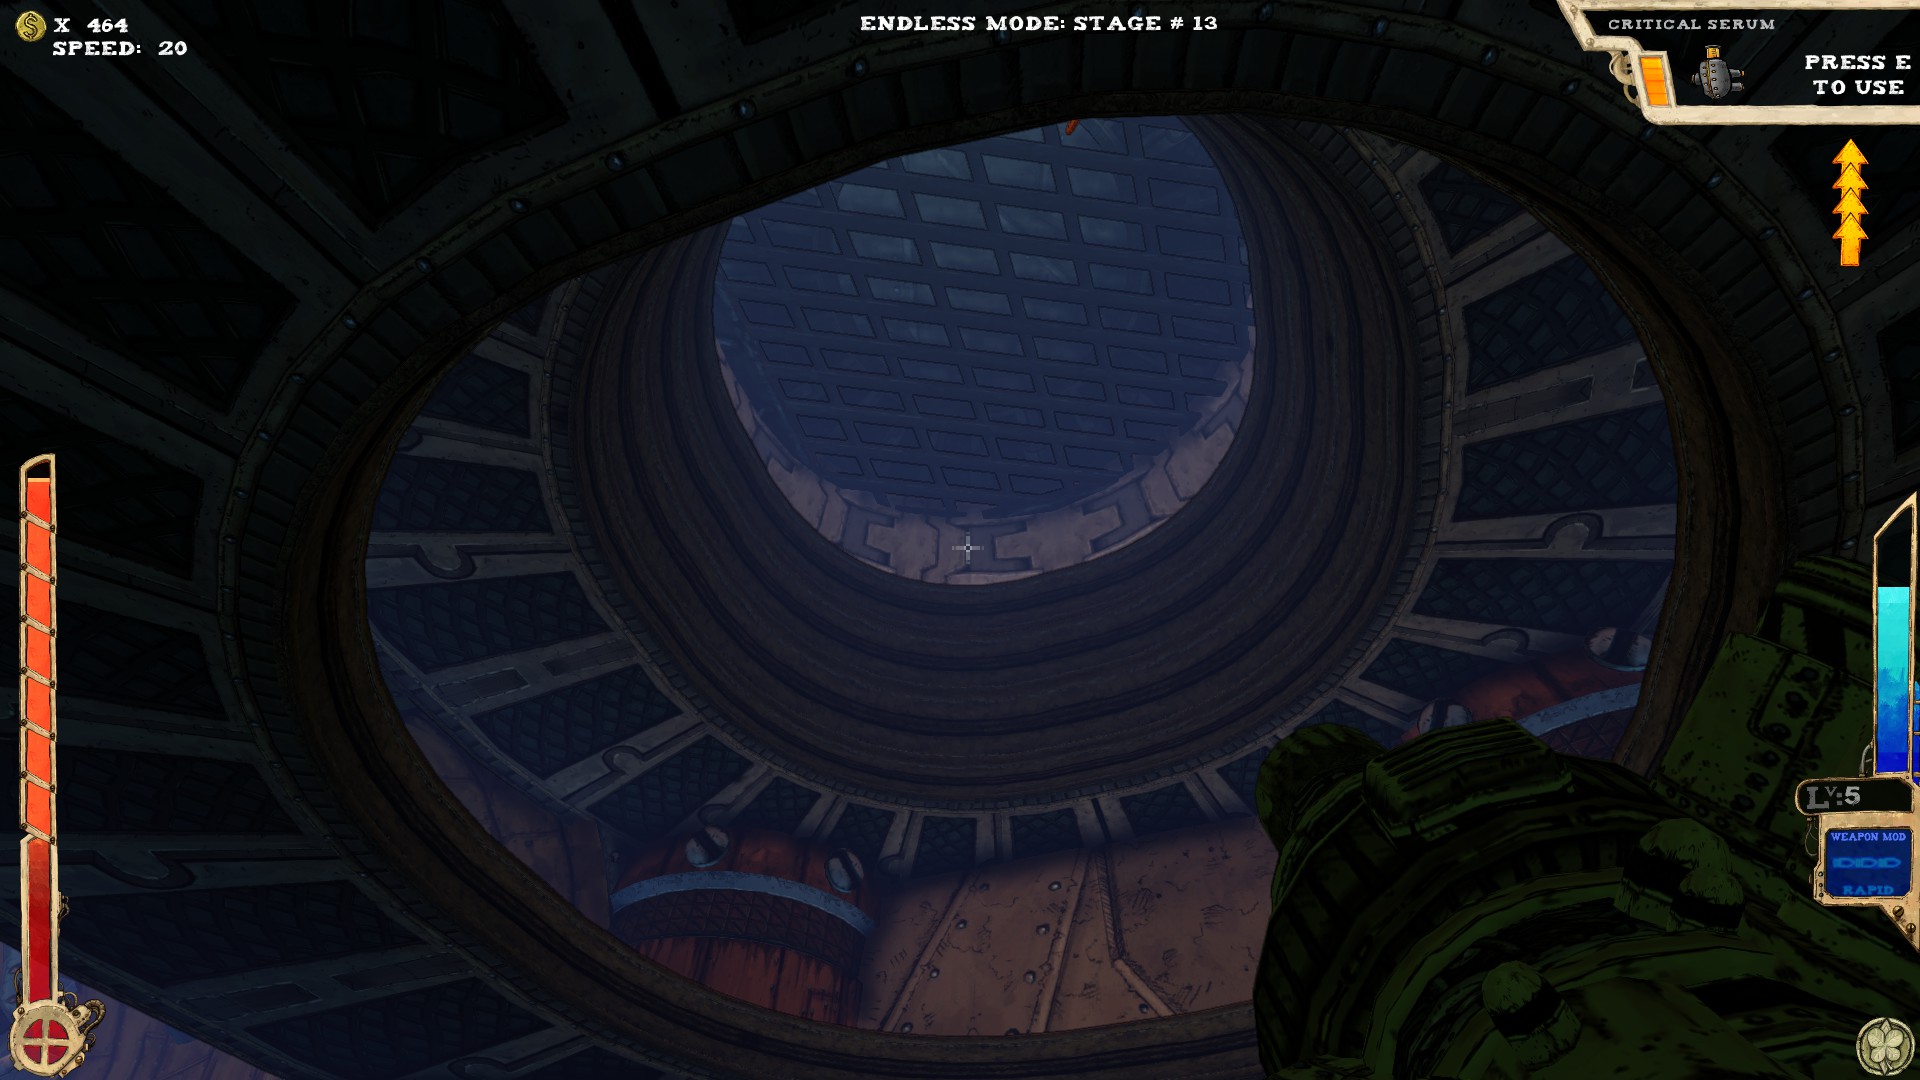 Upper part in the middle of the room. Use the Motivational Jelly to get up there.
-----
 Nothing to see here. Secret-wise.
-----
 Four secrets! The first three in this part of the room.
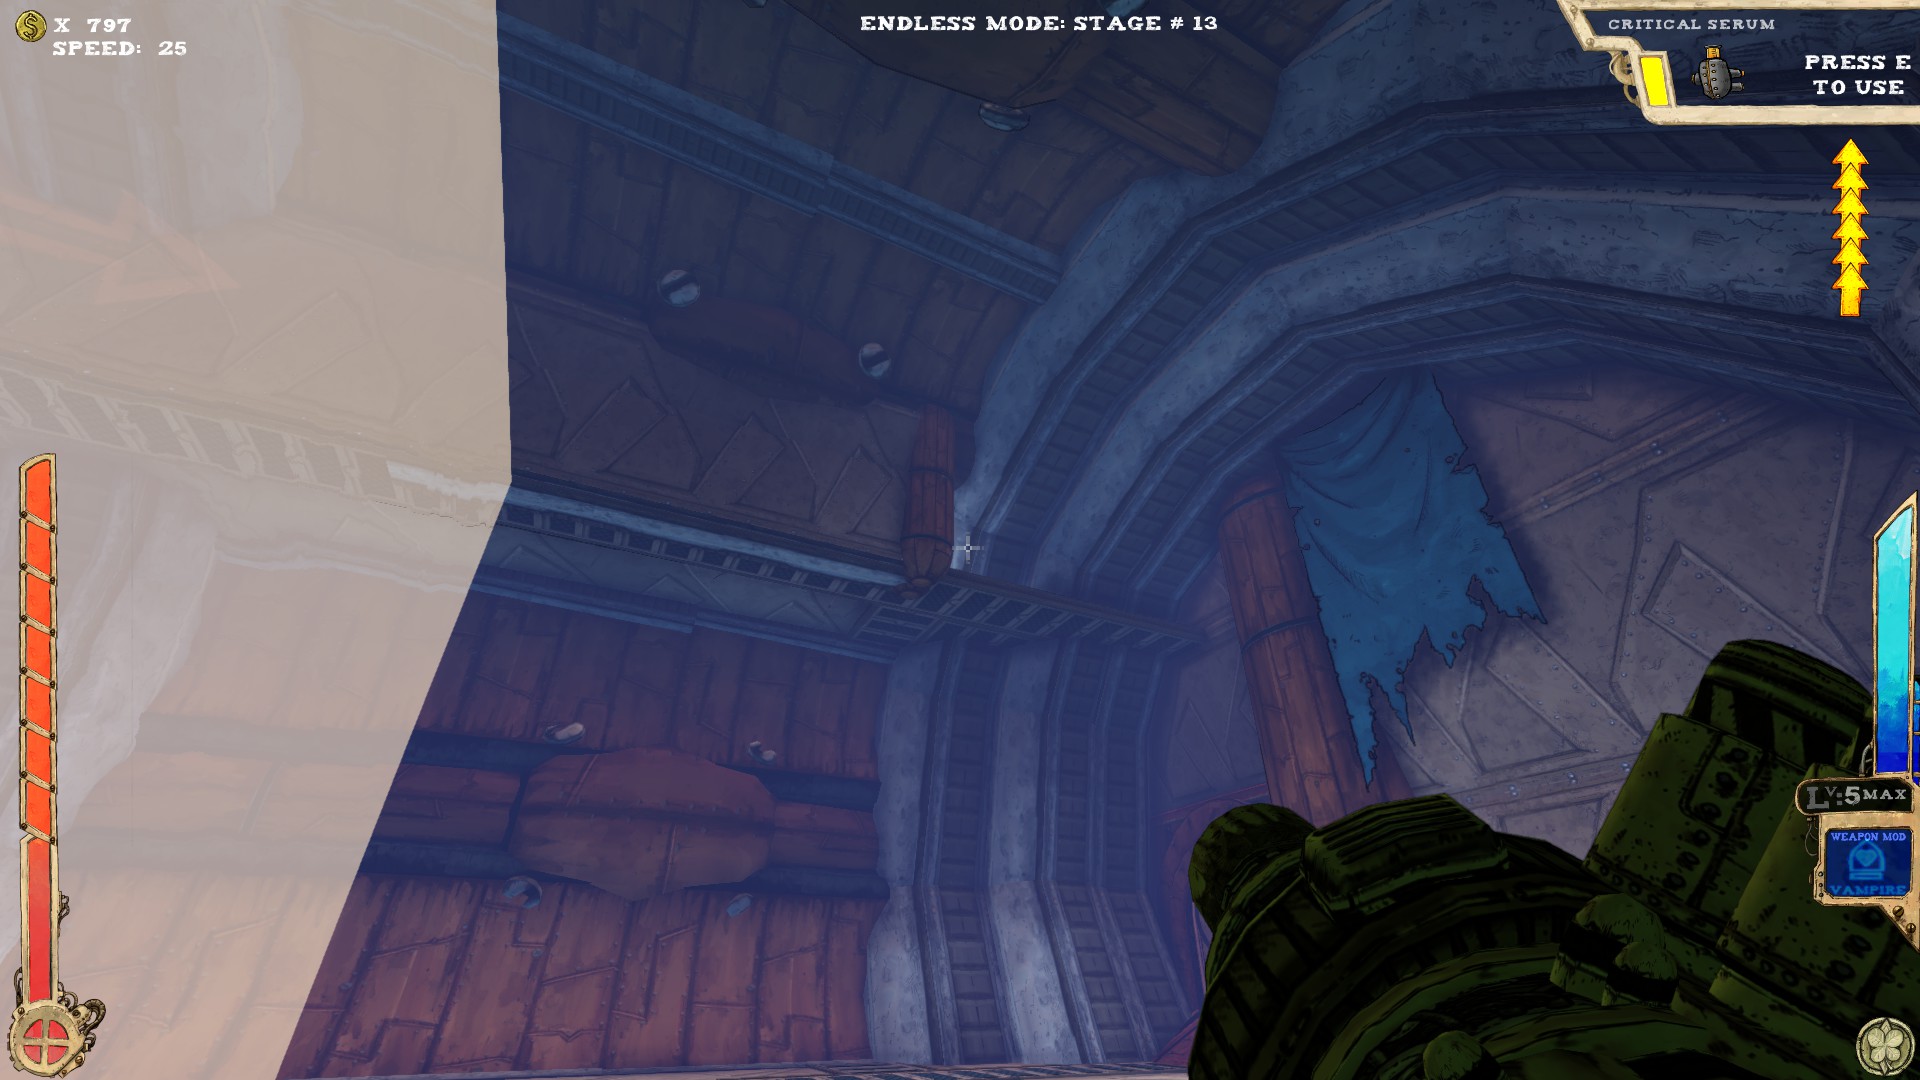 Up above the entrance, accessible via the Jelly on the left.
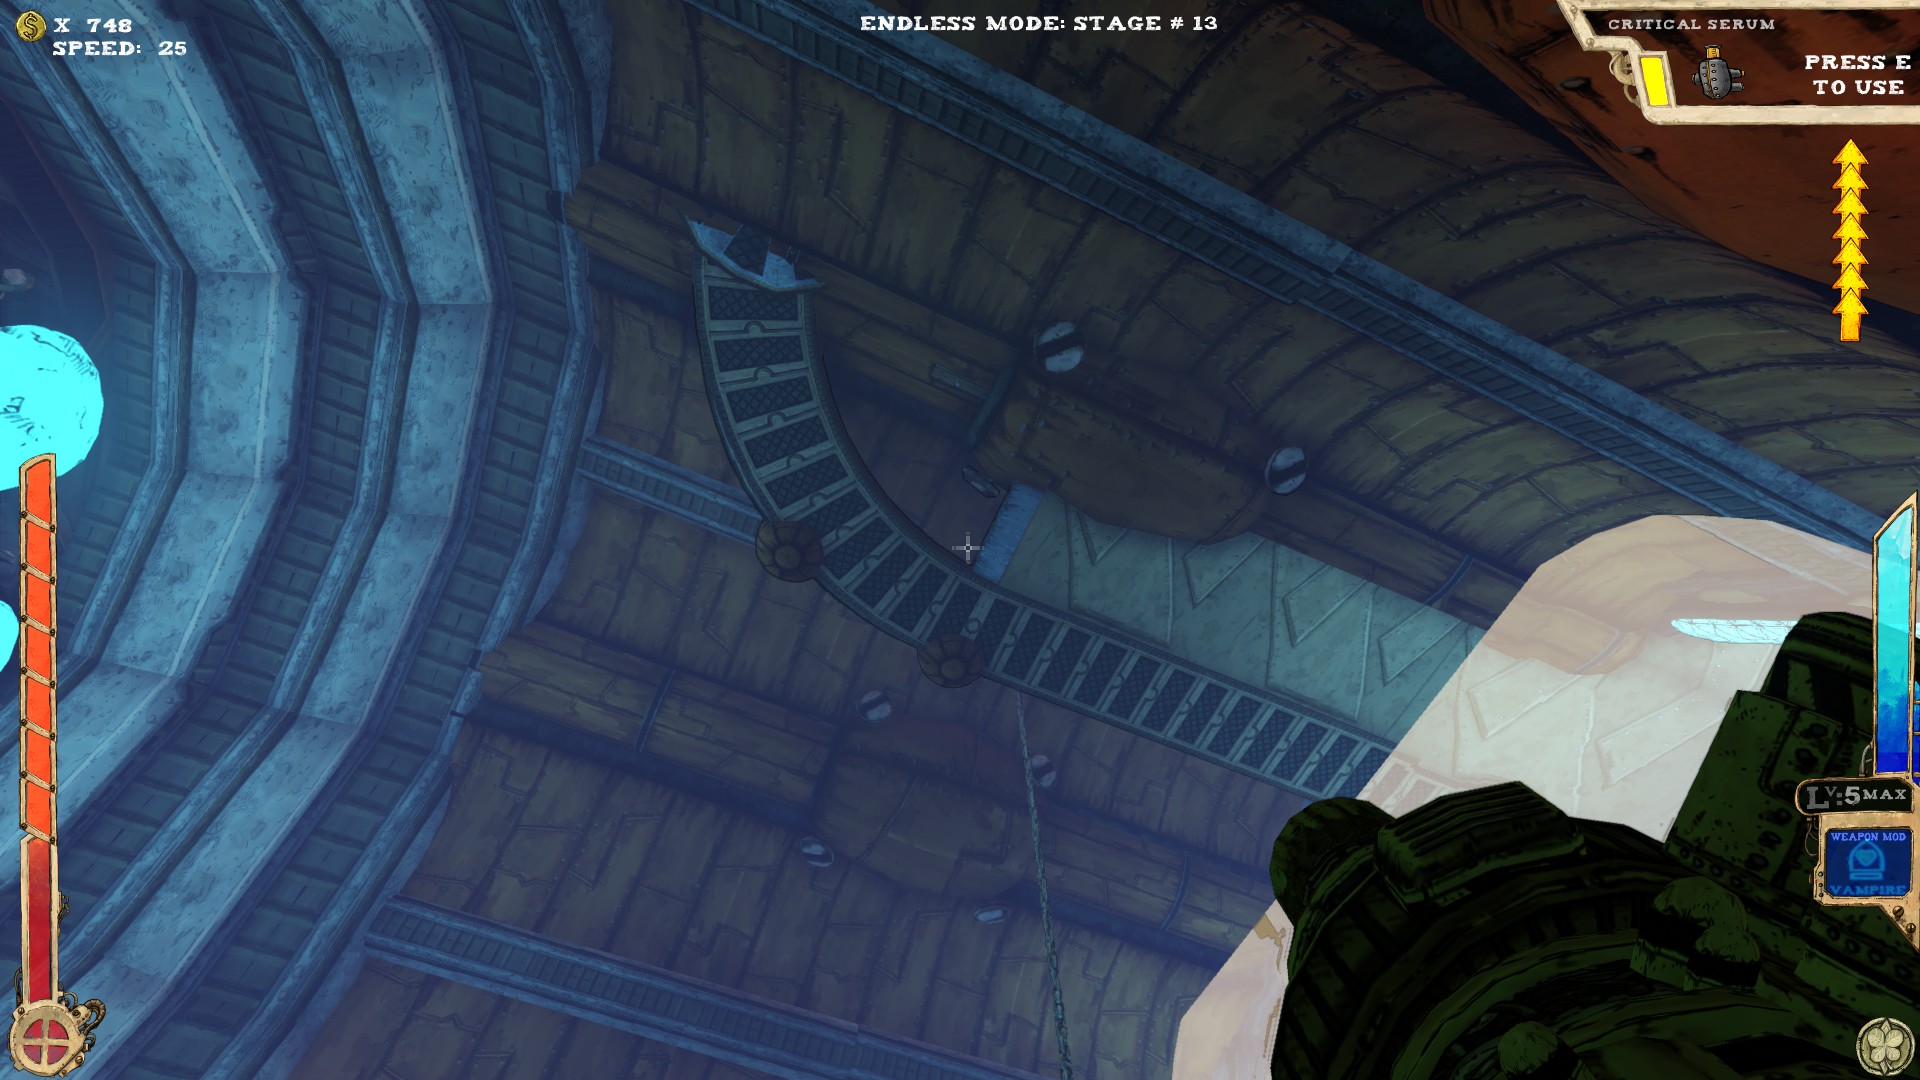 End of the room, above the Jelly there. Use Jelly!
 Right from the teleporter.
 After teleporting, turn around. The secret is up the slope. Not accessible without extra jumps or a proper item.
-----
 Nothing here.
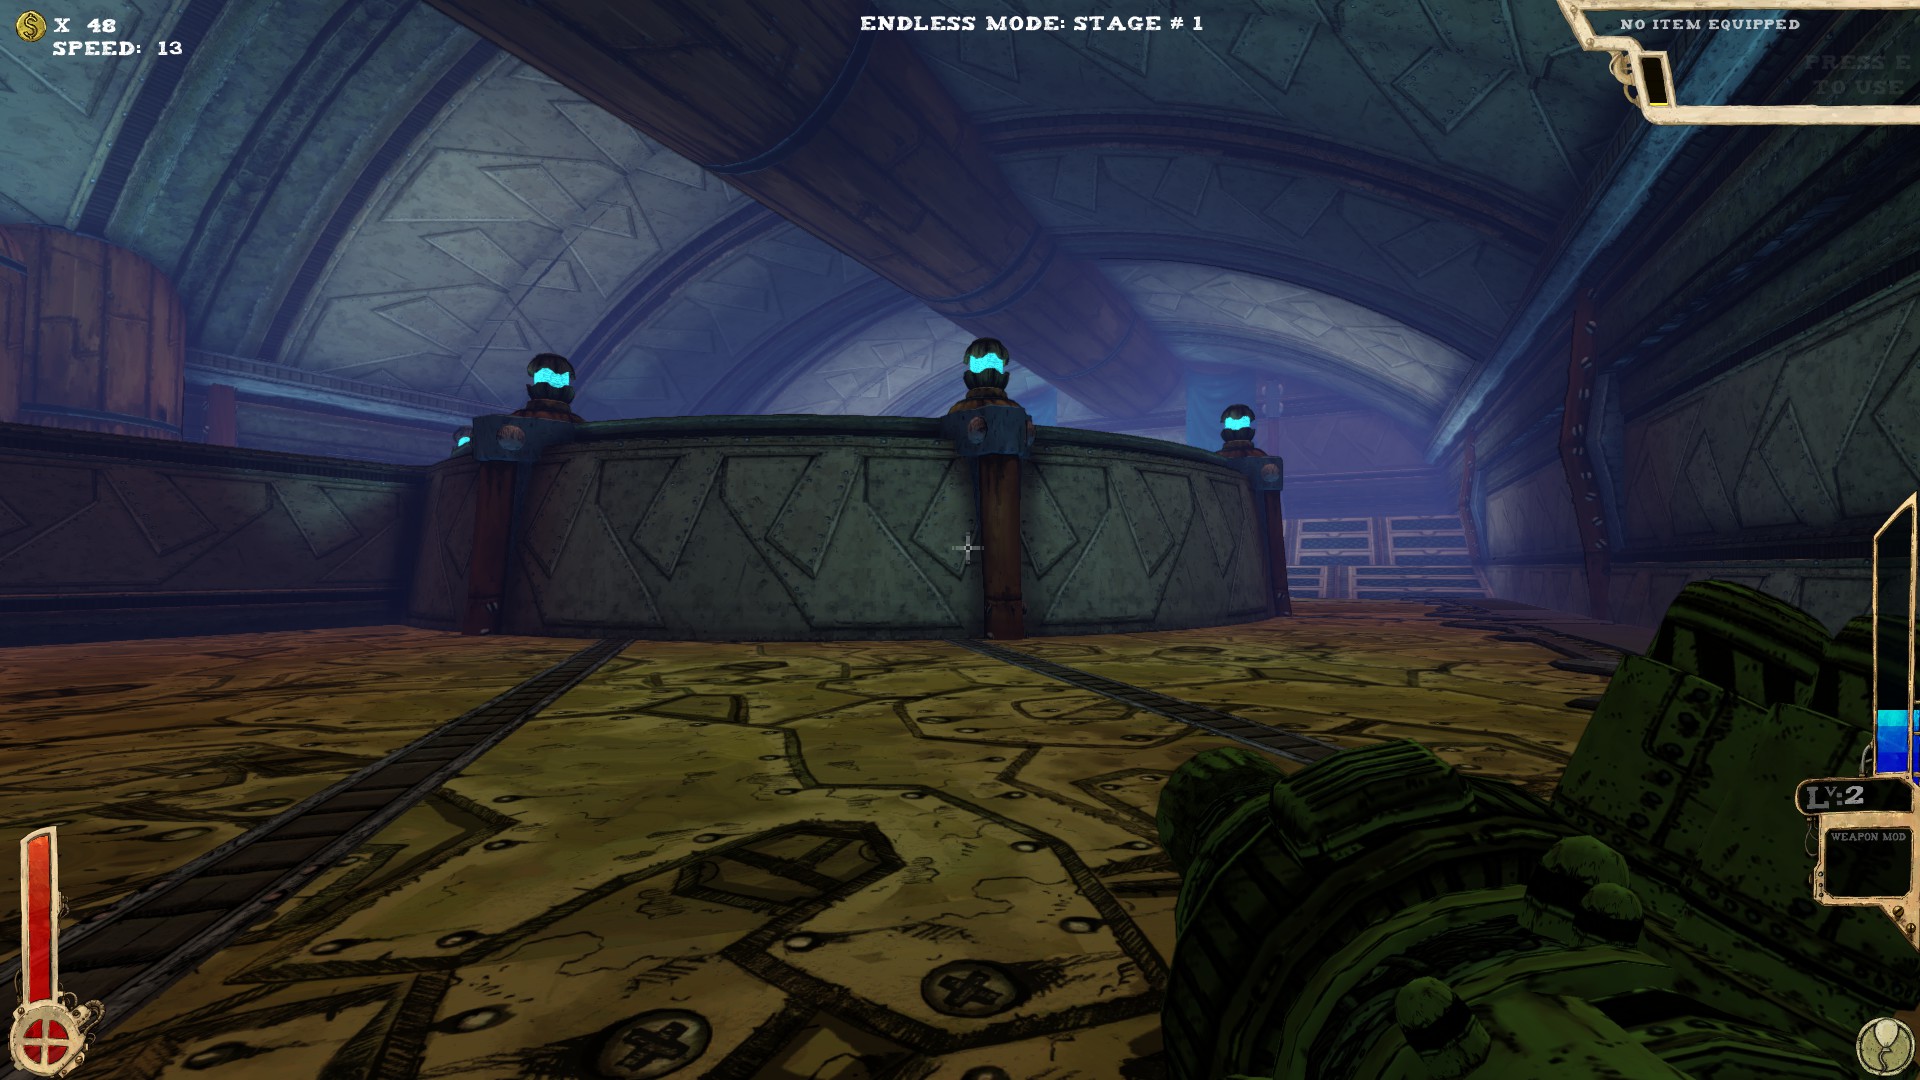 Nothing here, either.
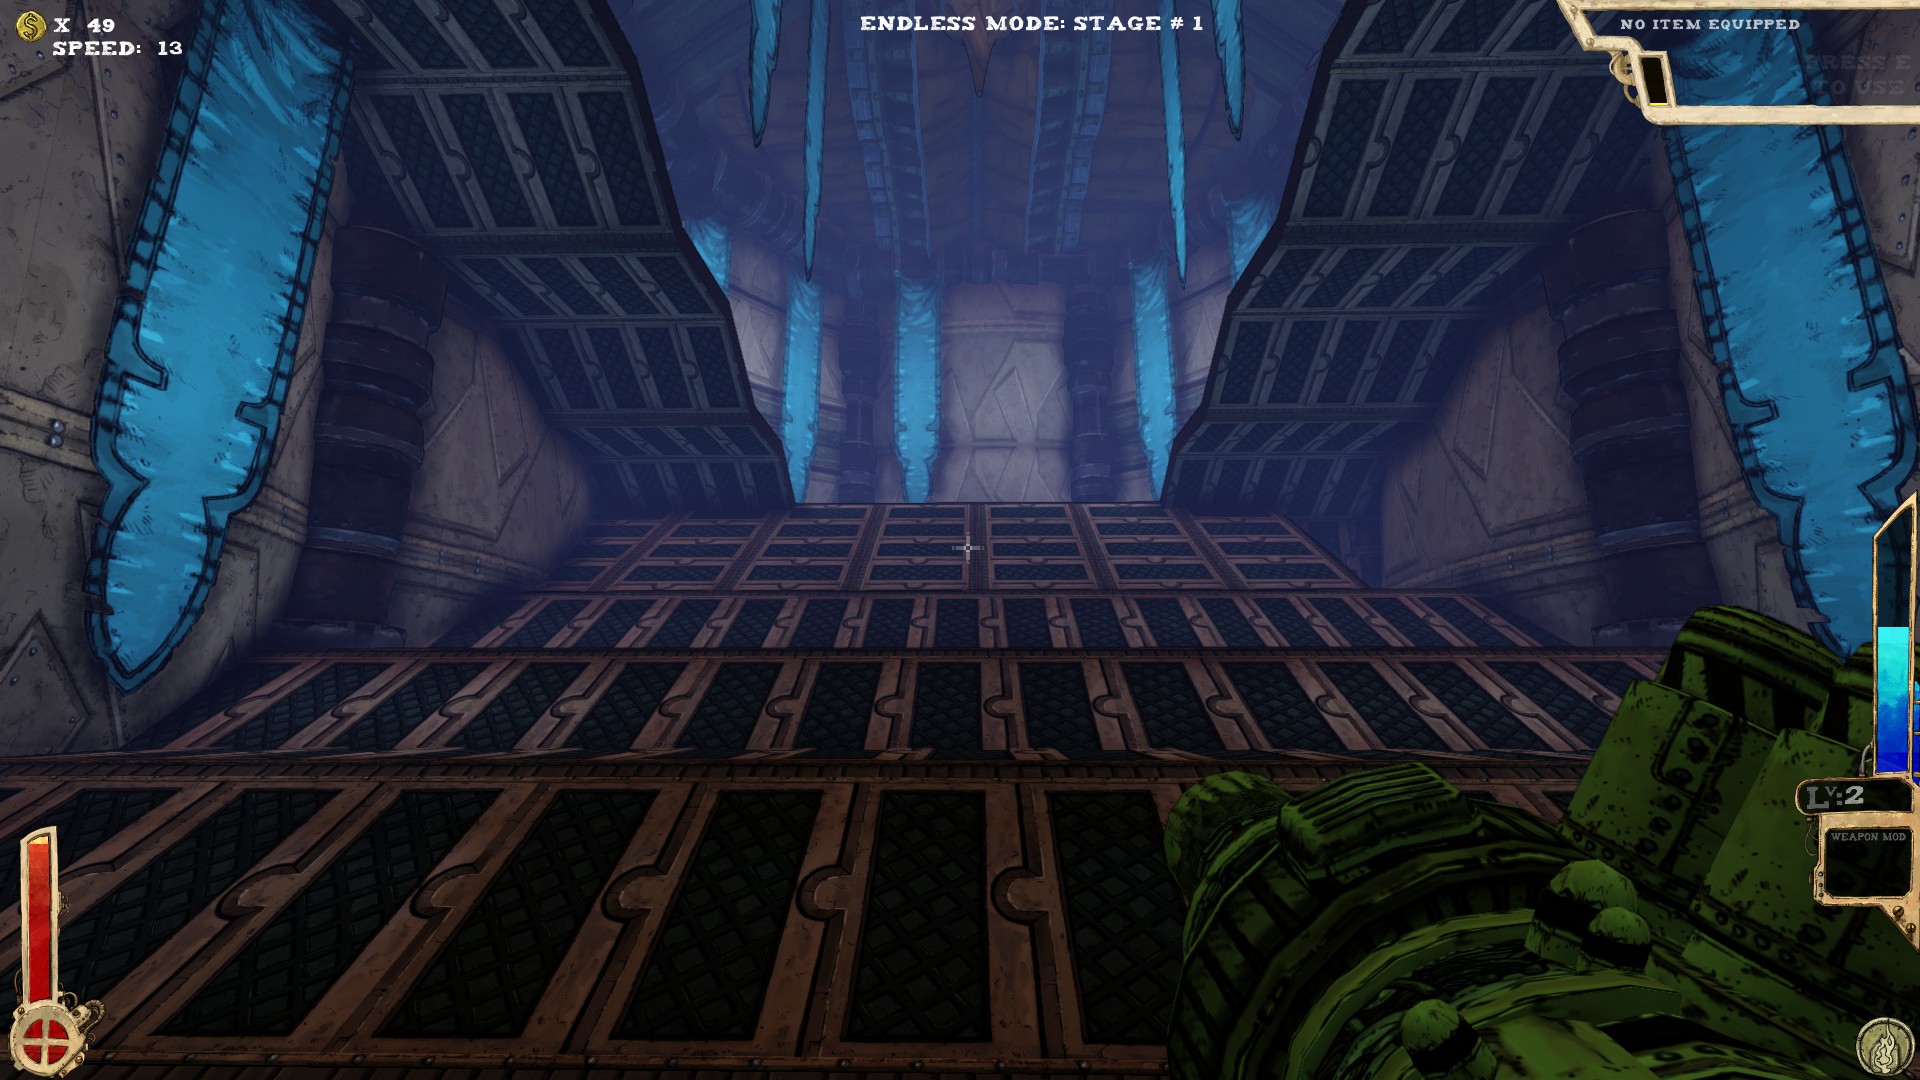
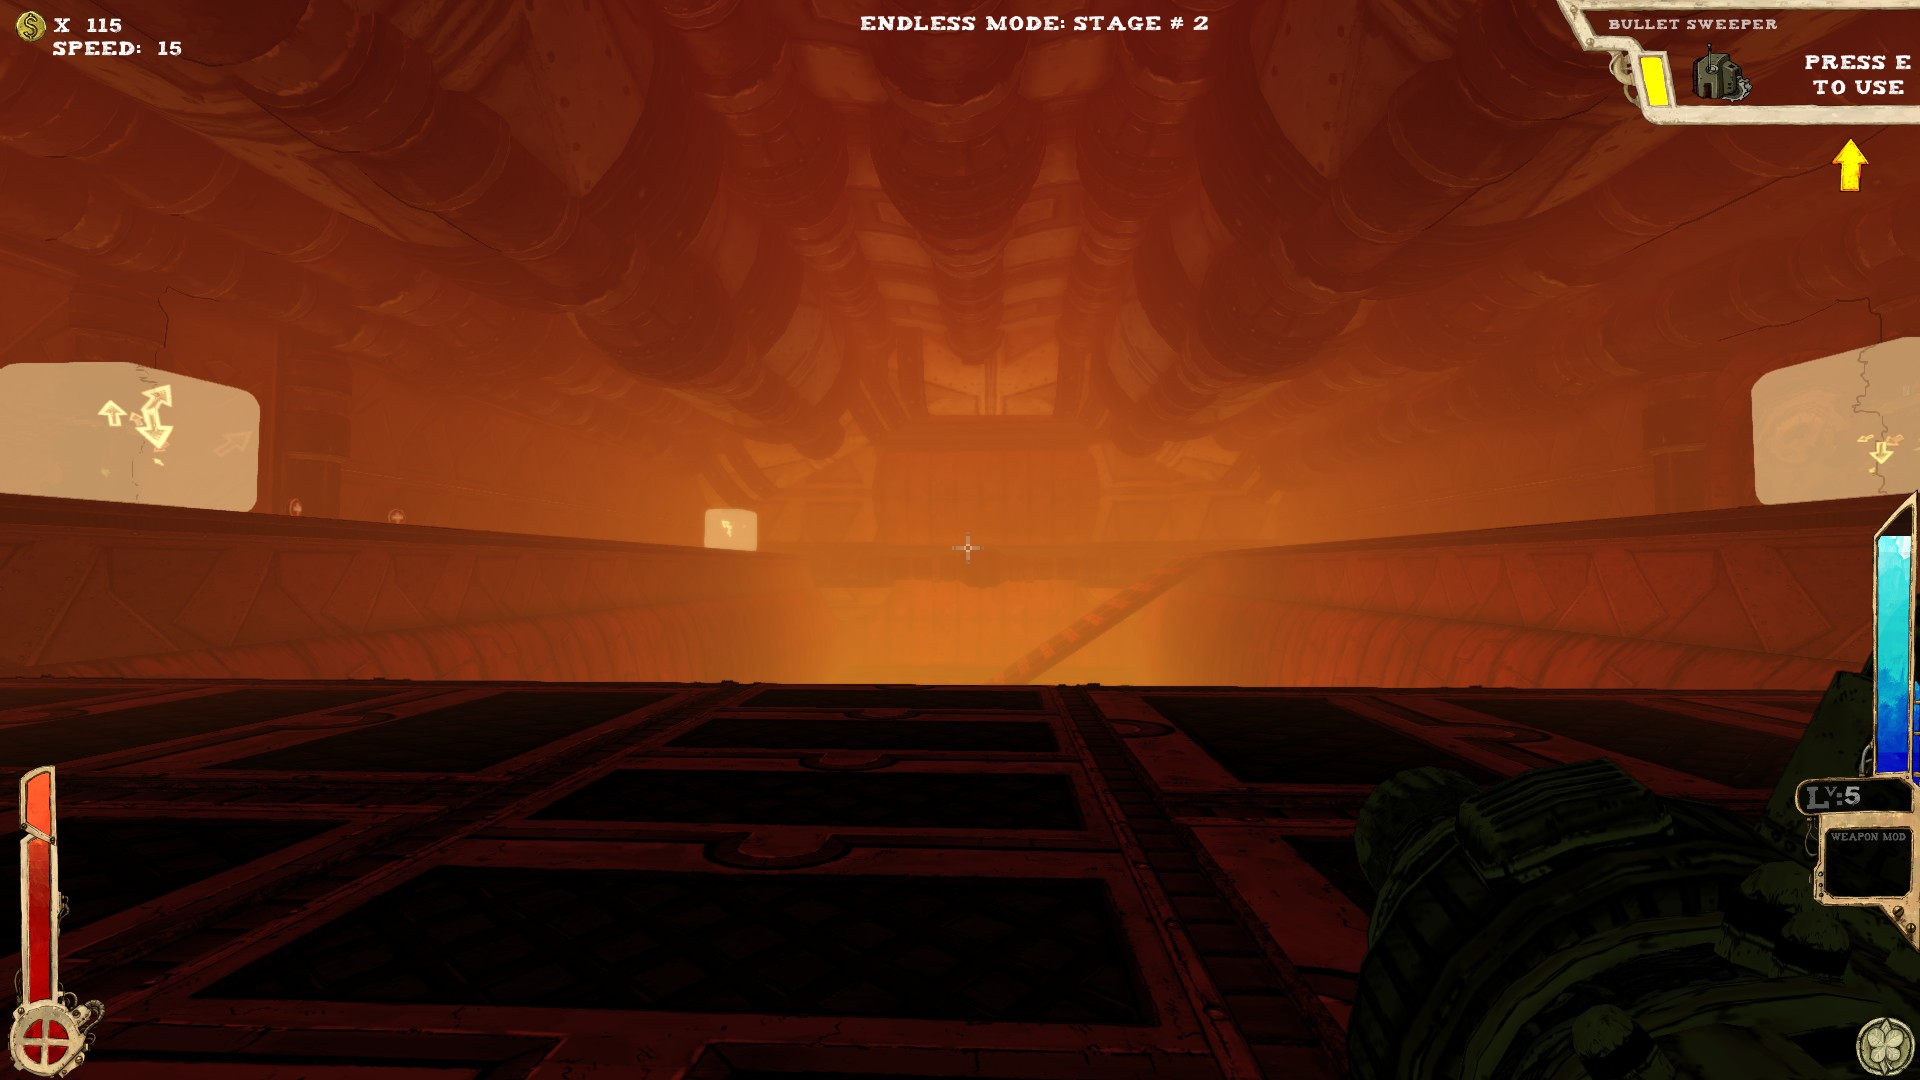
 Another room part. This part contains one secret, which you should be able to spot.
-----
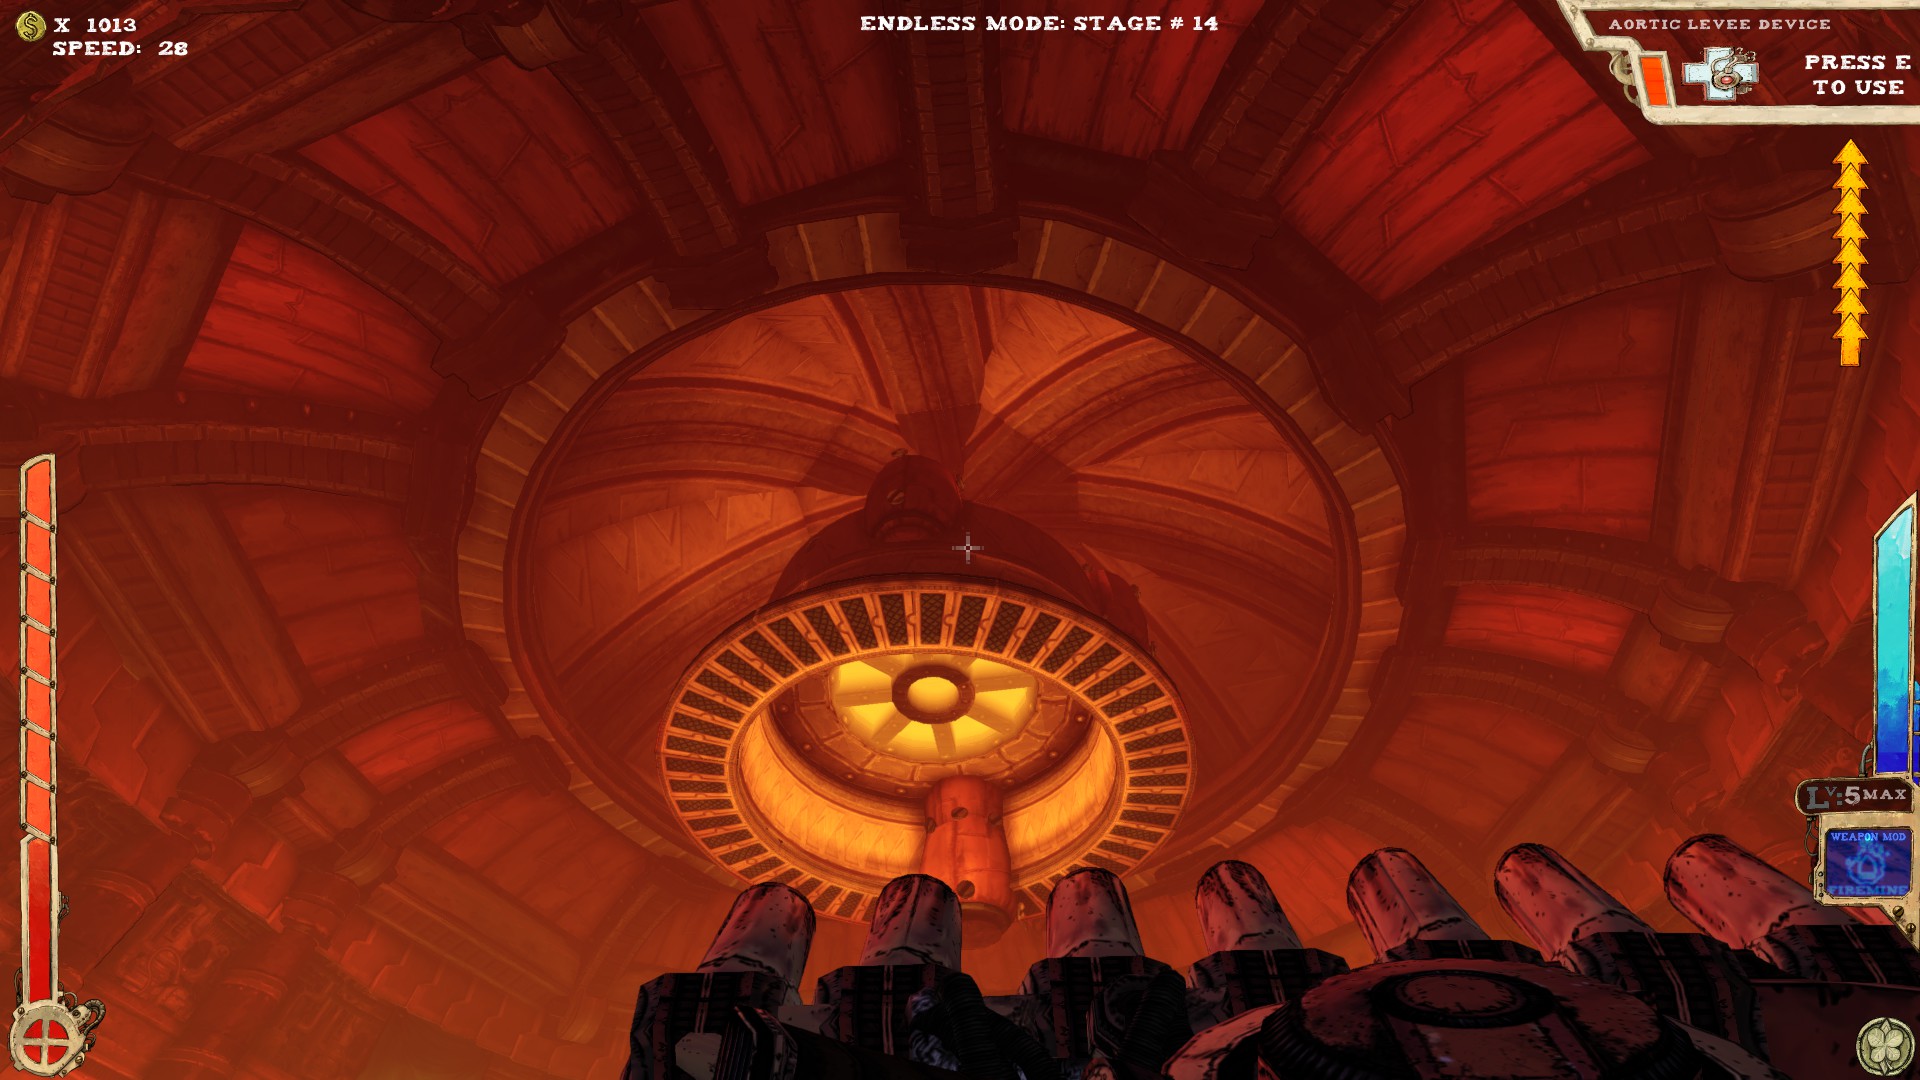
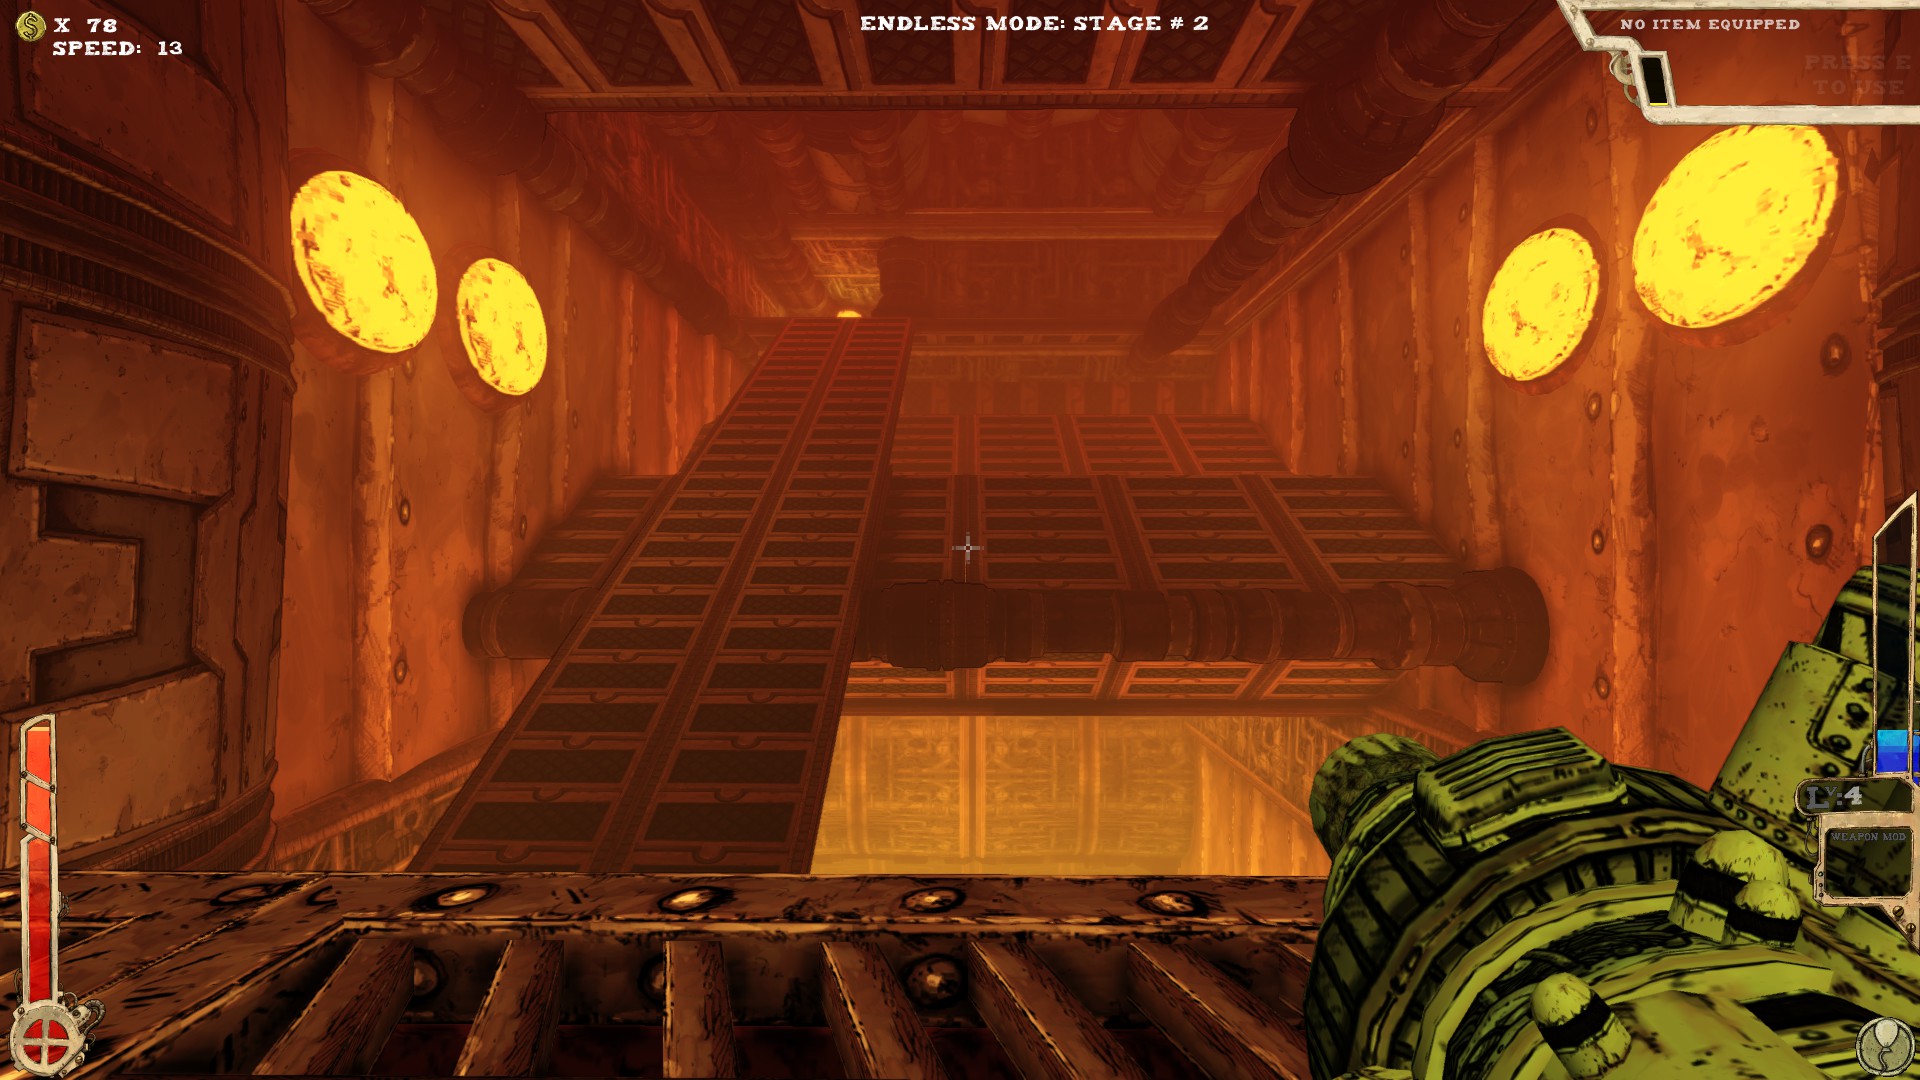
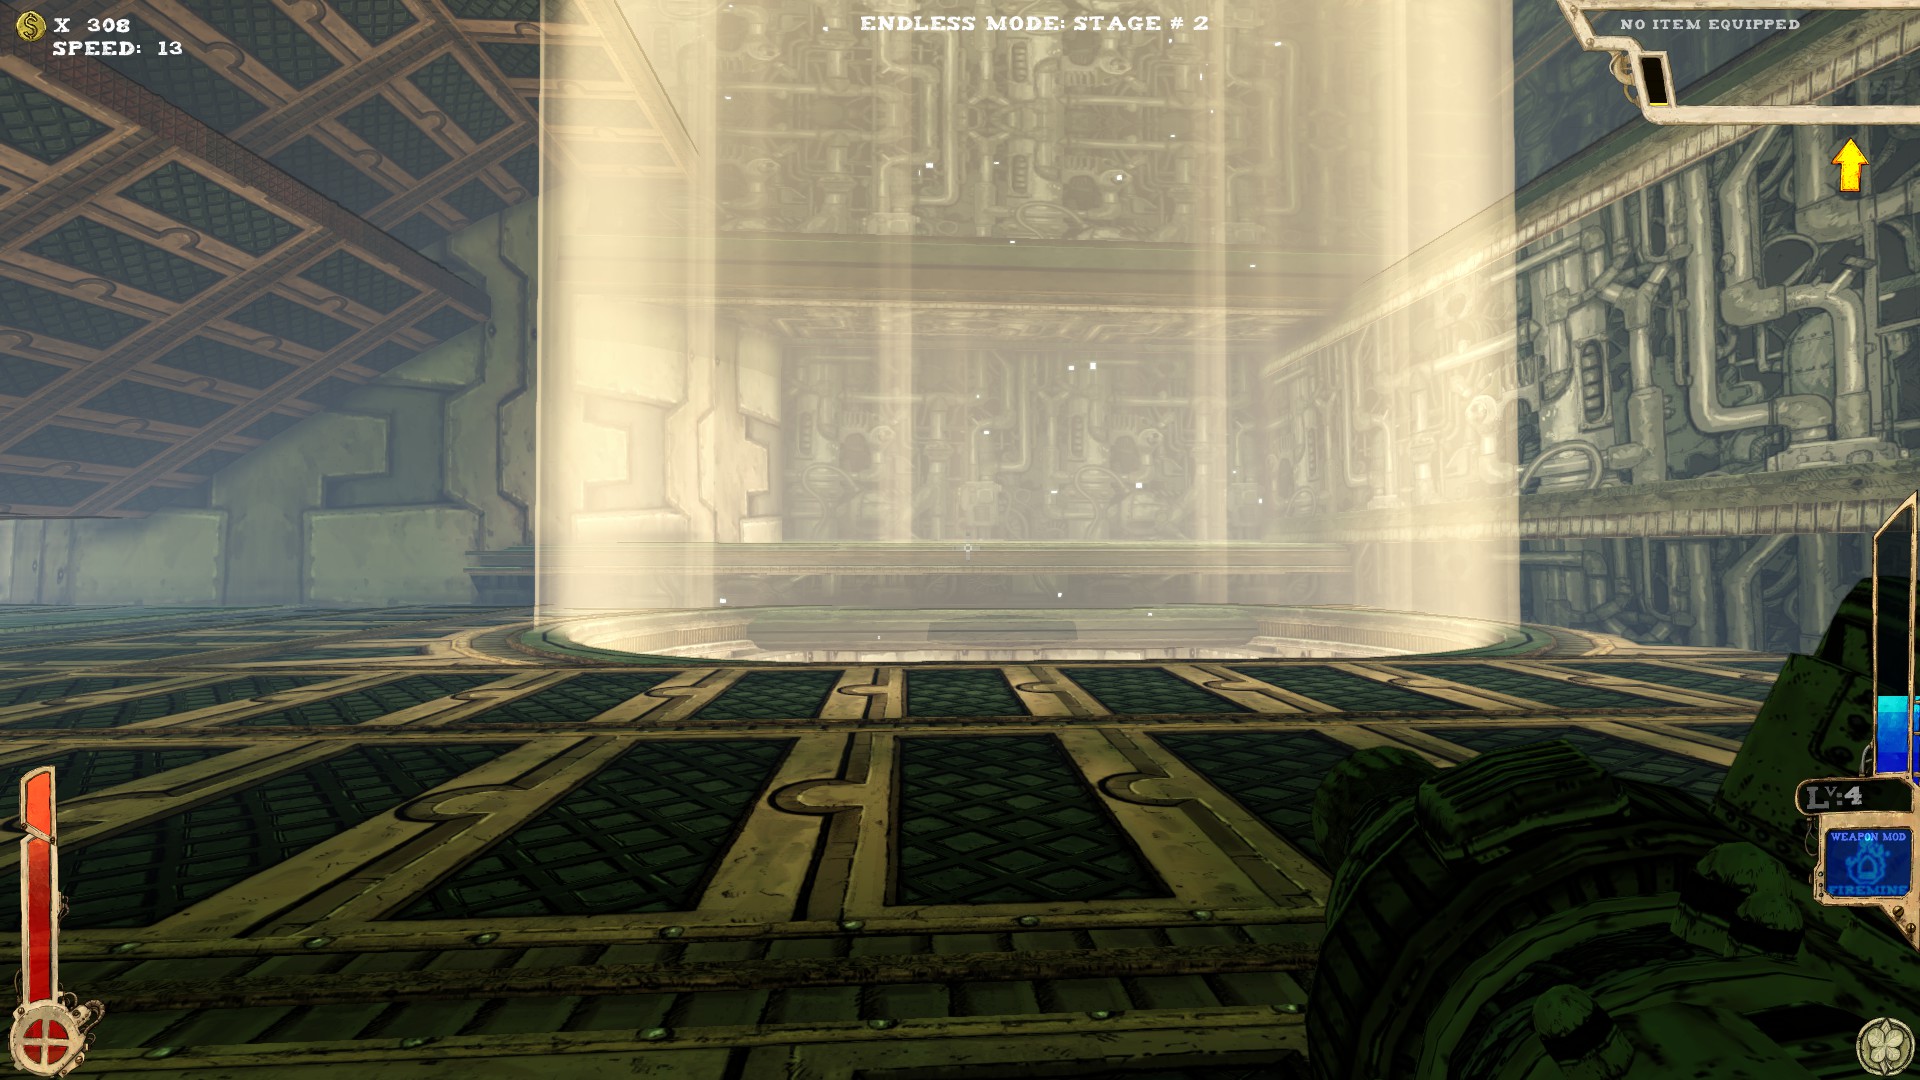
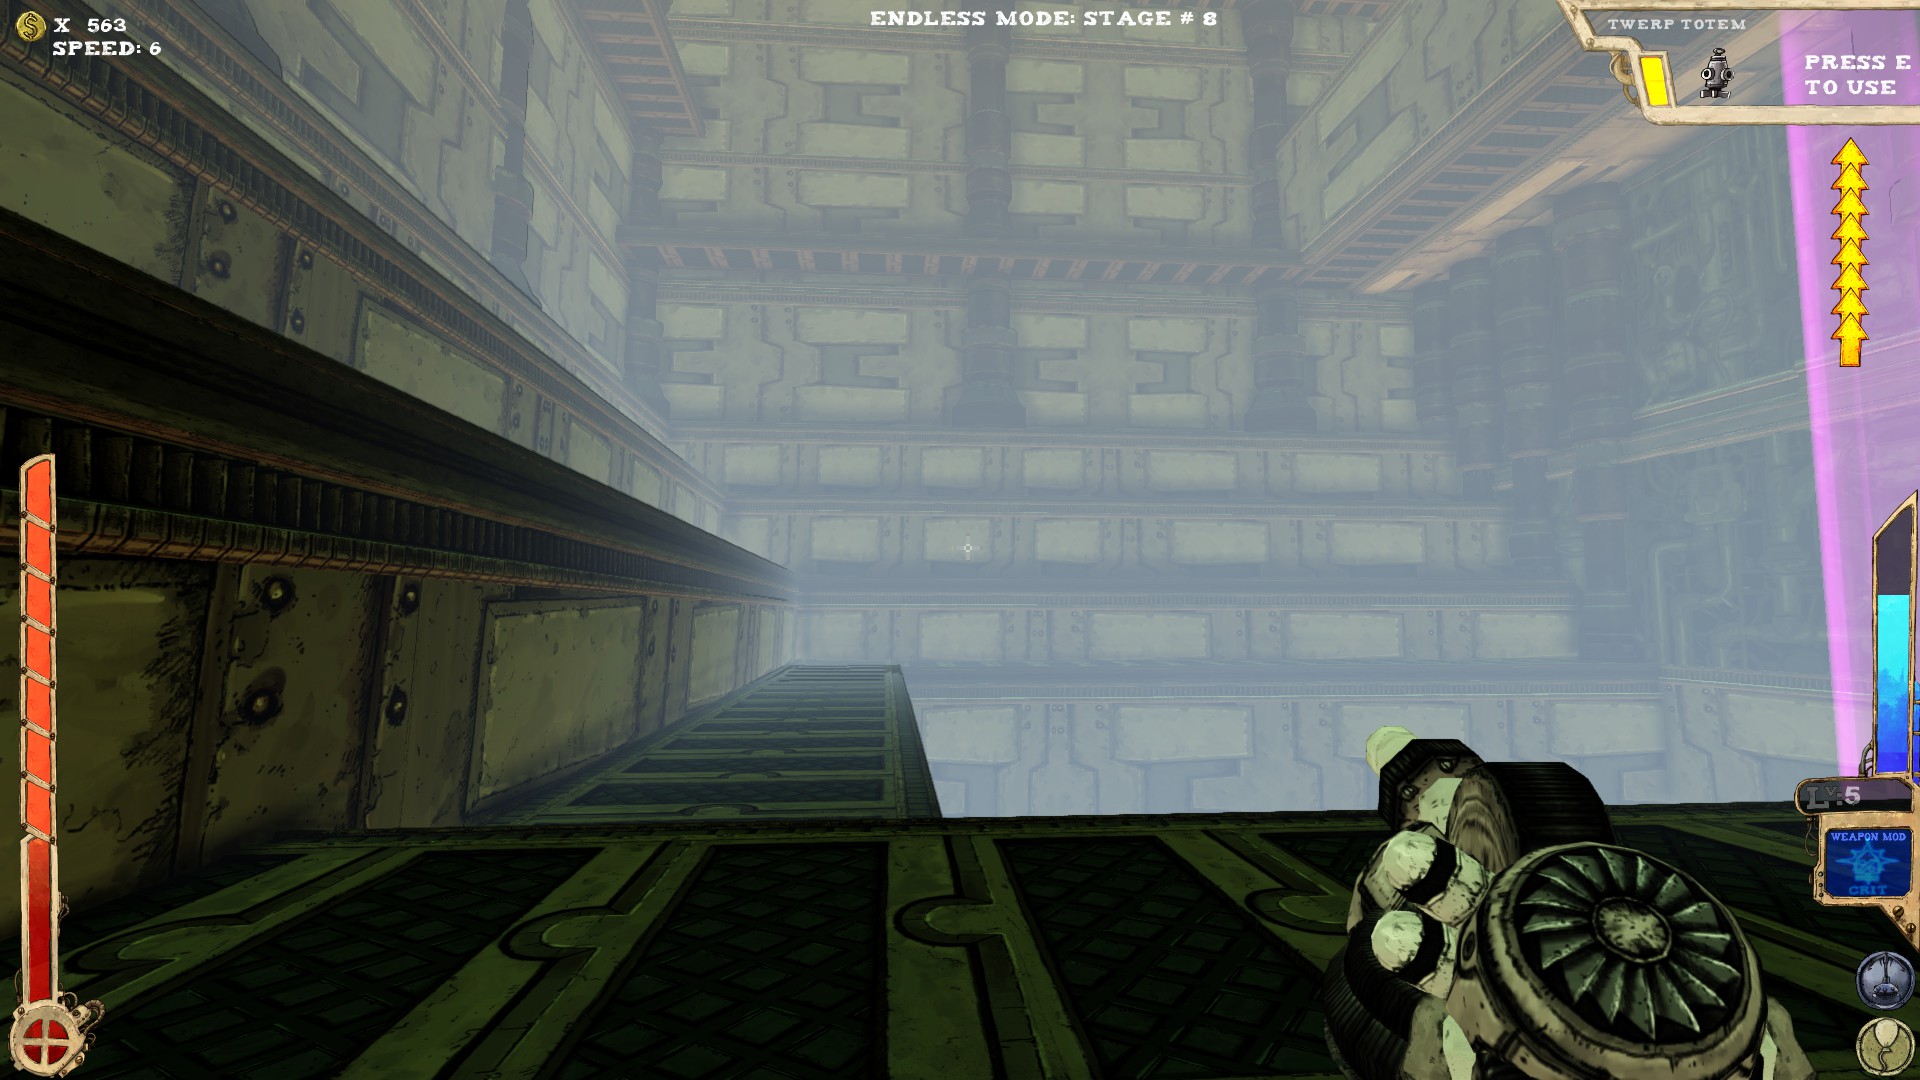
 One secret.
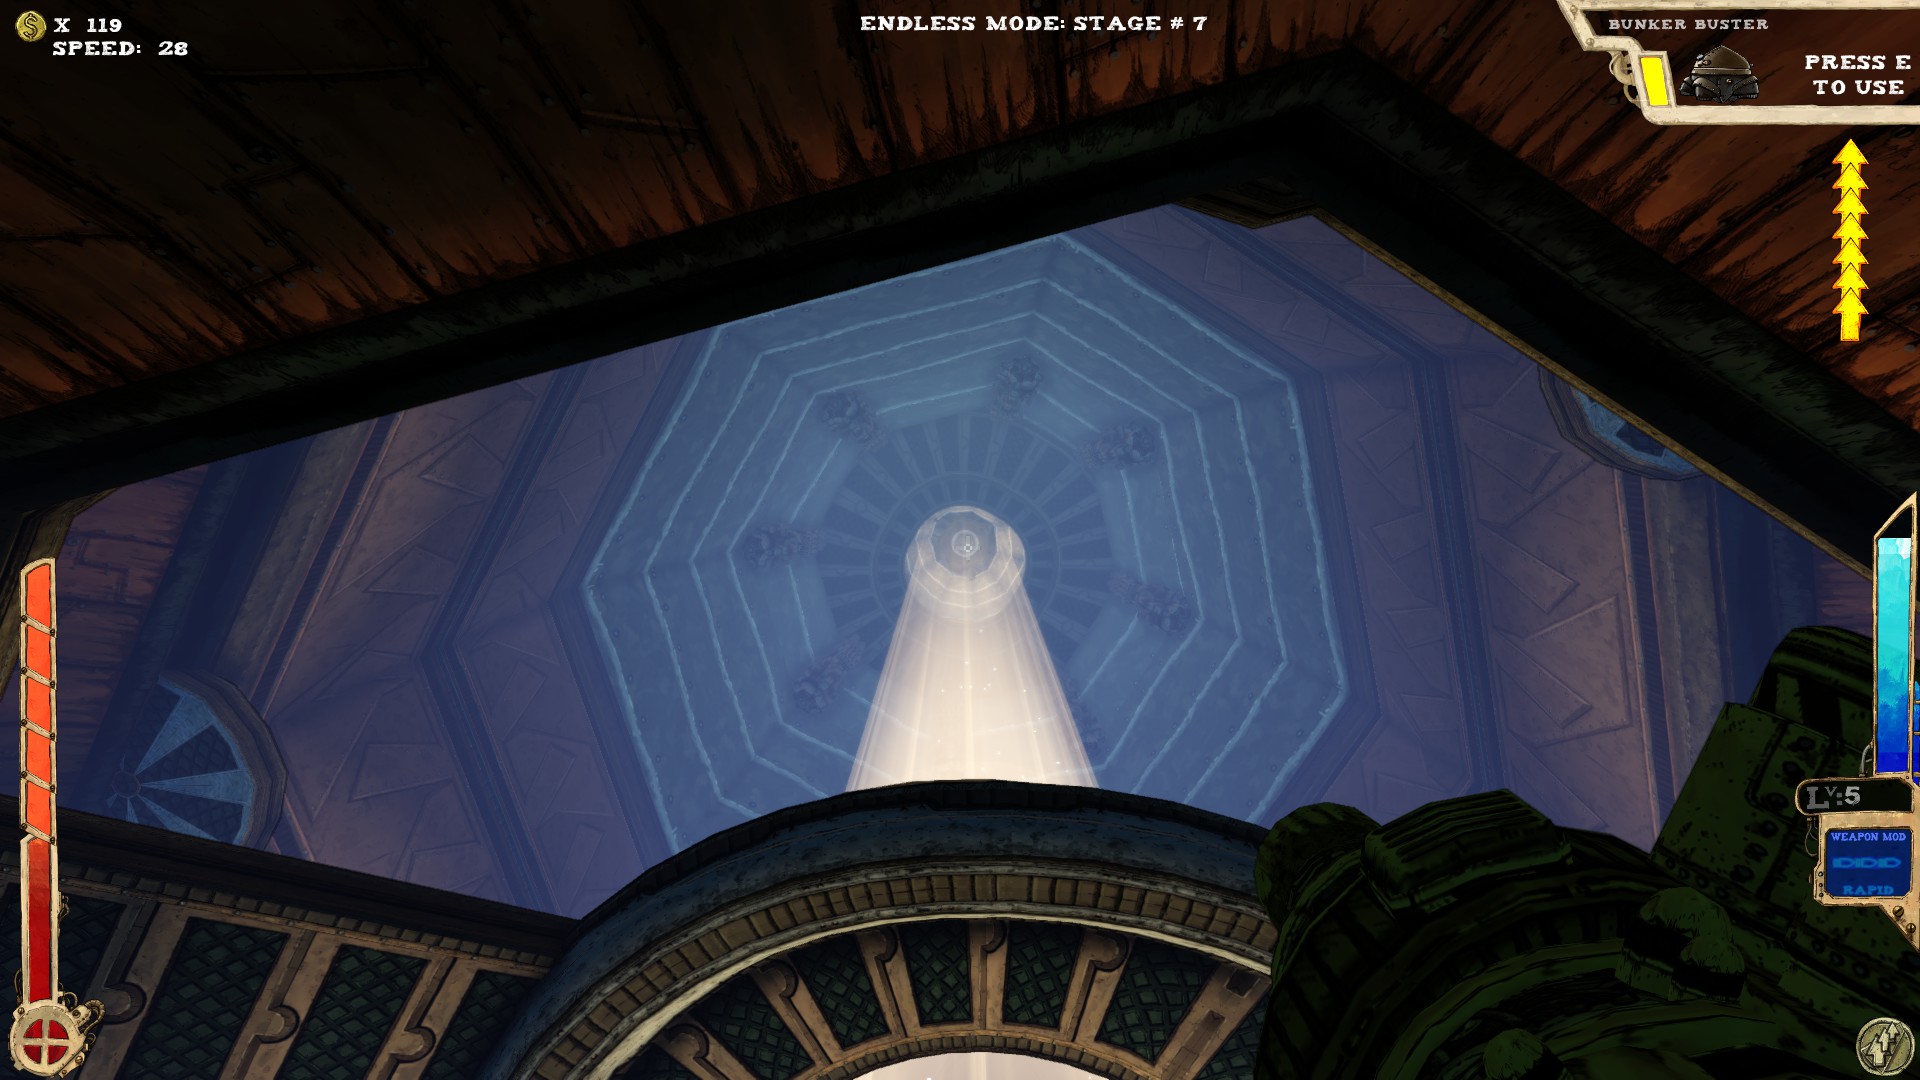 Go into the light and ascend to the heavens! It takes some time and if you're unlucky Spinbots will spawn right over your head!
-----
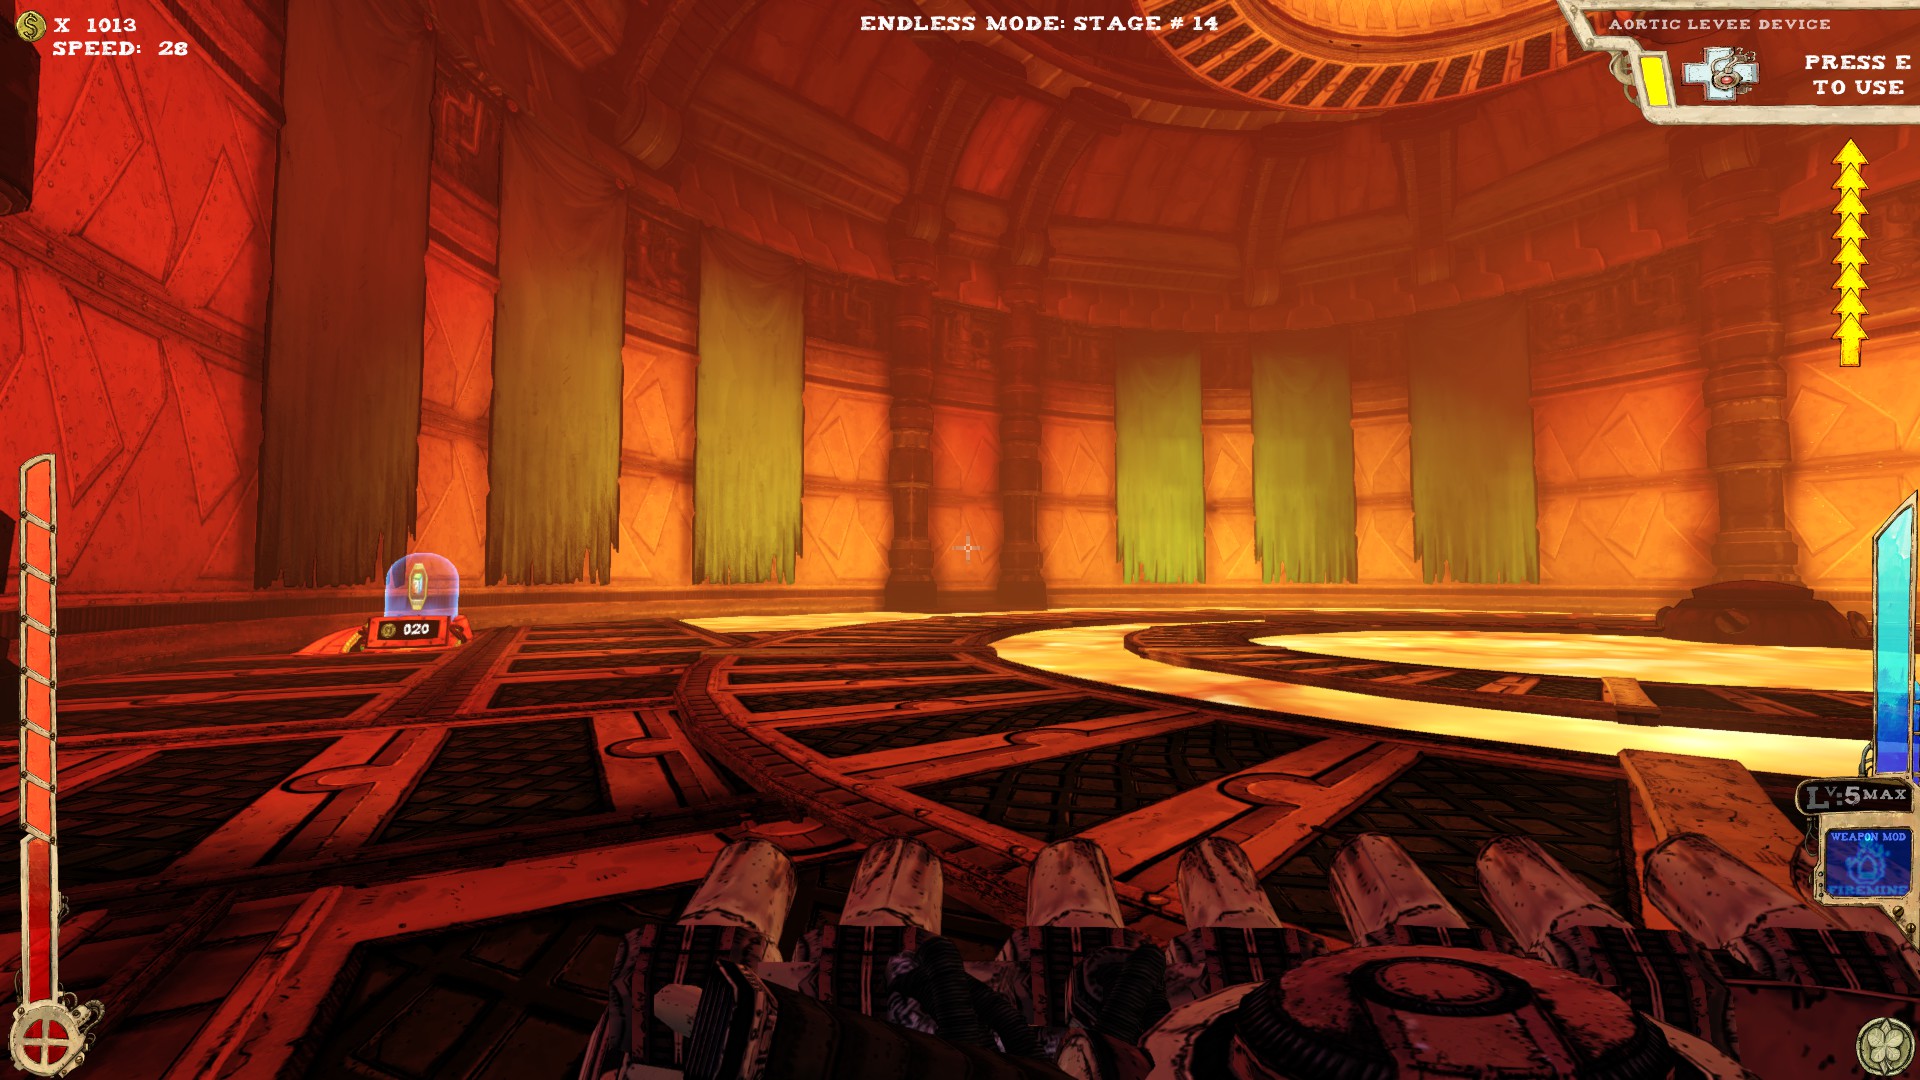
 Two secrets.
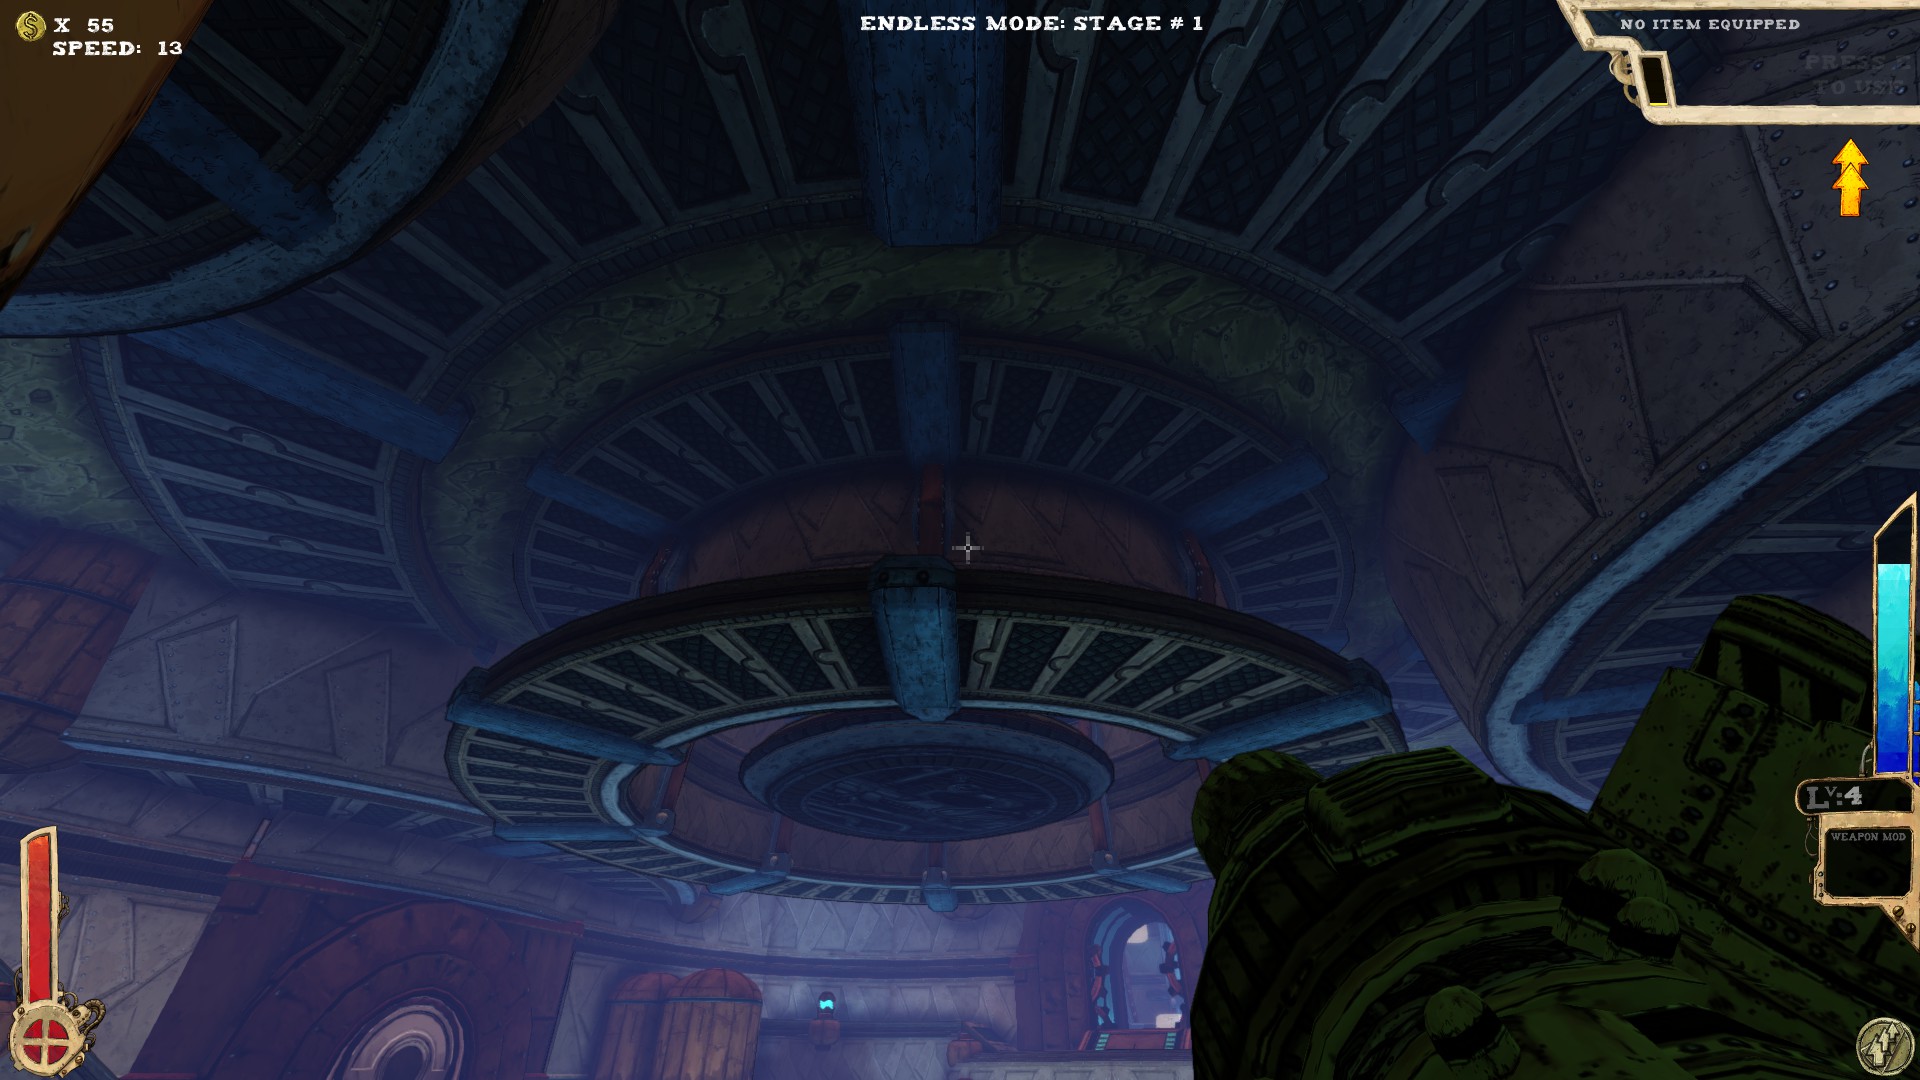 The outer ring contains a secret. The secret is not the whole ring, though. You might need an extra jump to get there.
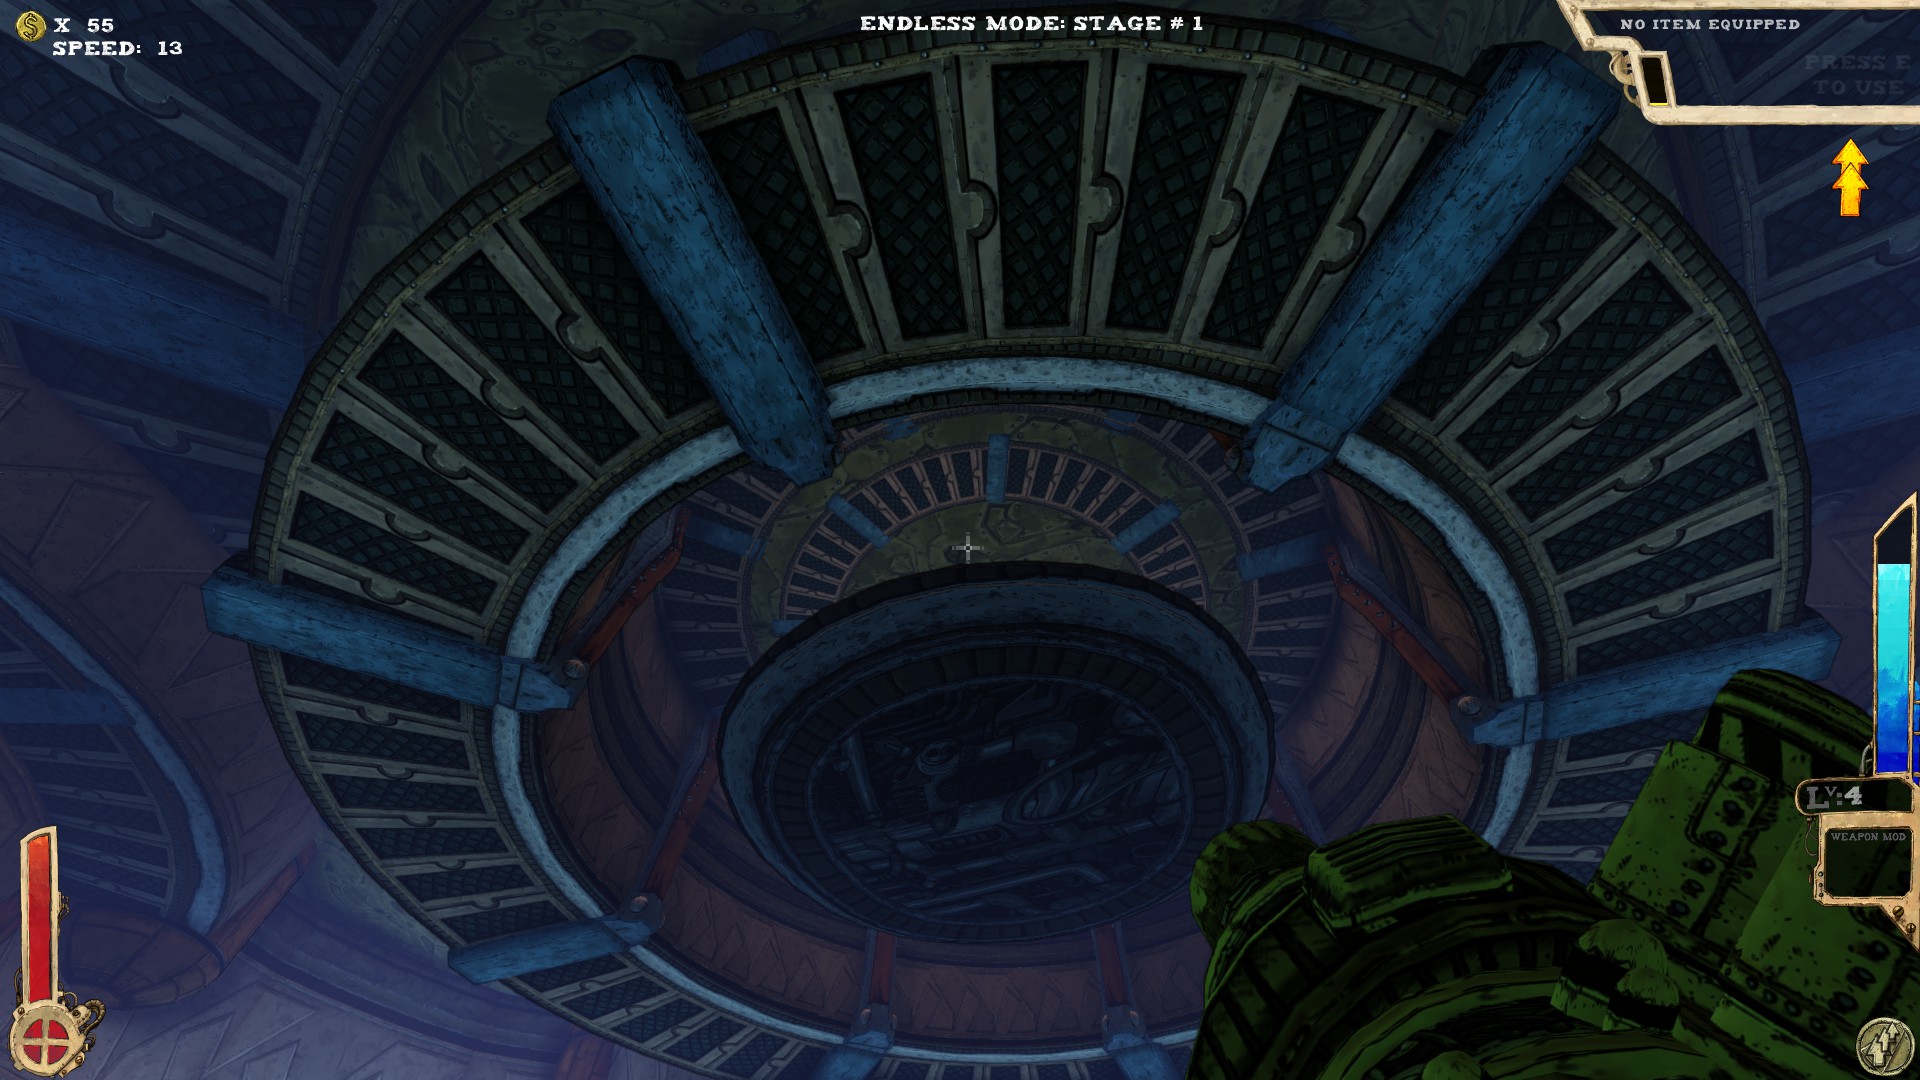 The inner part also houses a secret. You'll need extra jumps or a proper item to access it.
-----
 I think I had this room two times in 125h of ToG...
The only secret in this room is where I'm pointing to, easily reachable via the ramp in the room.
-----
 I guess there's at least one secret up there. Have to guess as I didn't have the means to get up there and never had that room again...
-----
 Two secrets.
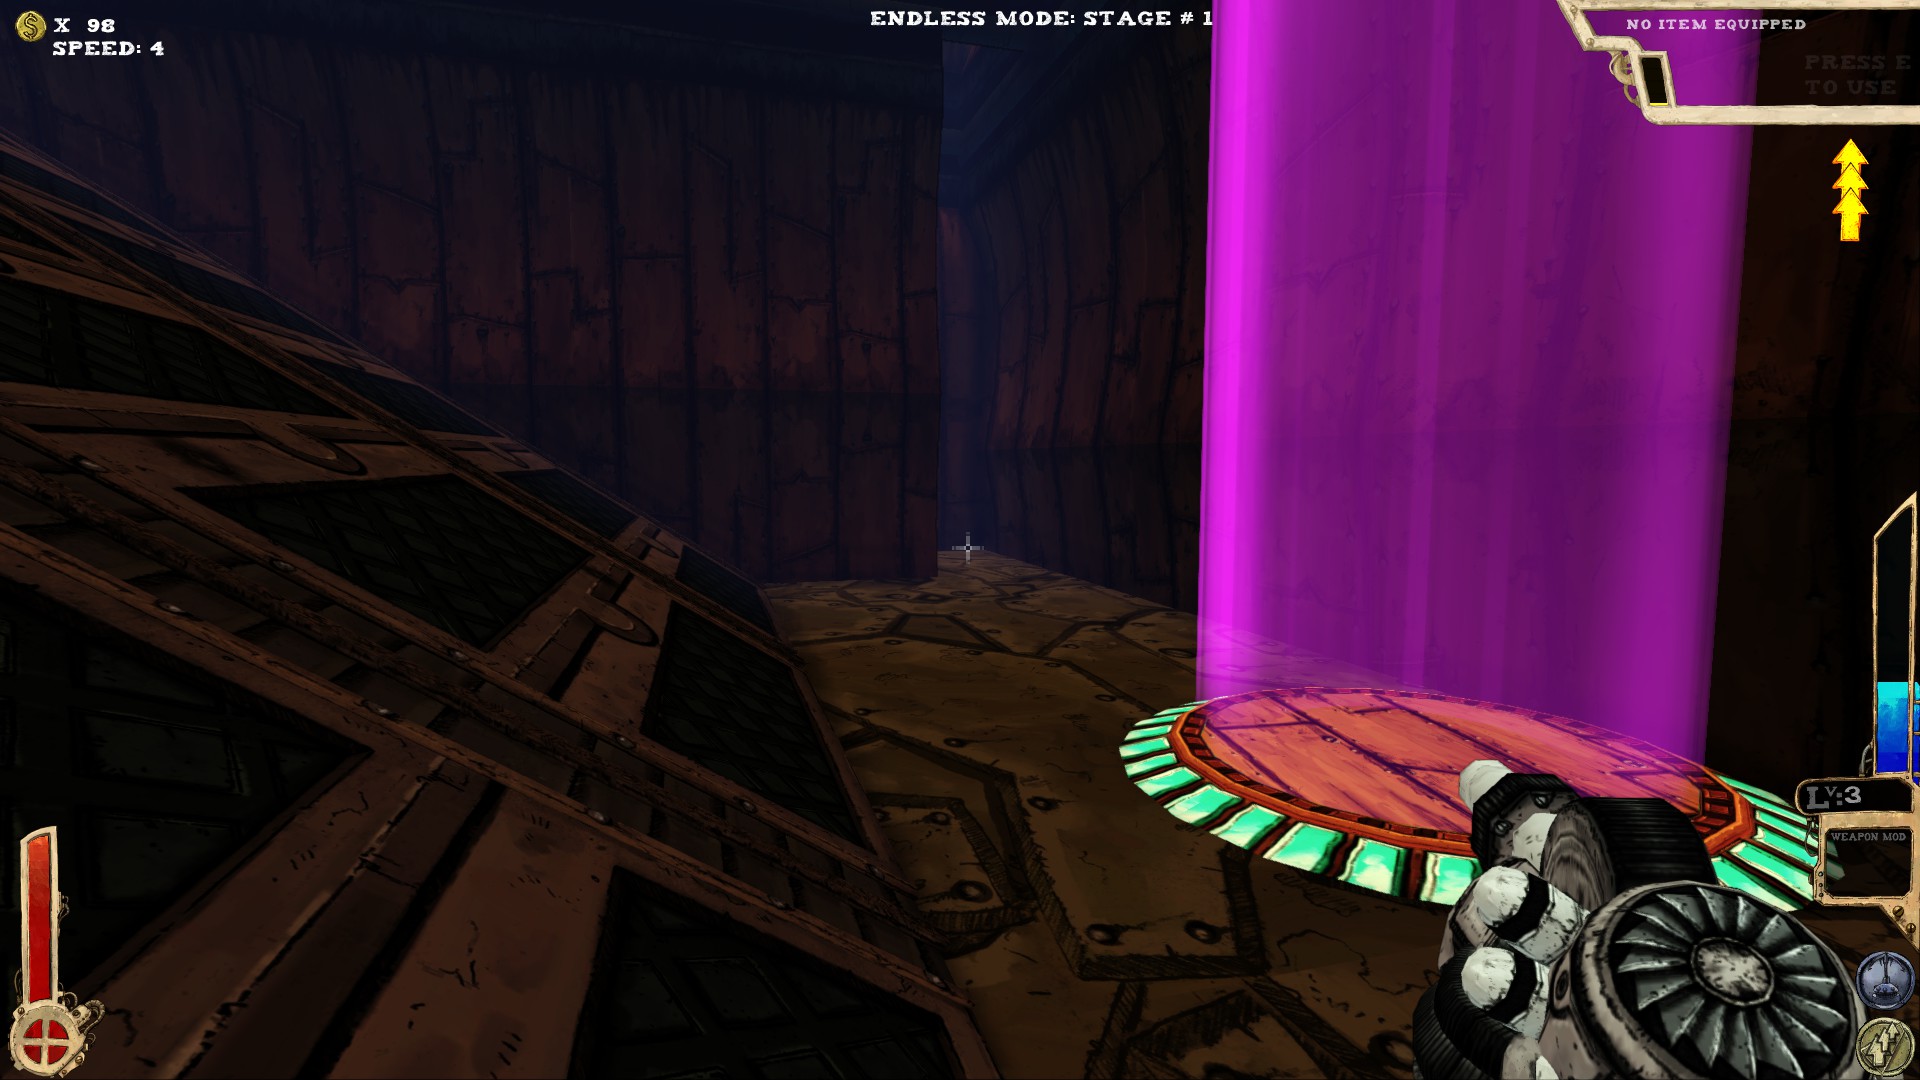 Left from the teleporter. You'll have to climb a bit in there, not sure if it can be done without extra jumps.
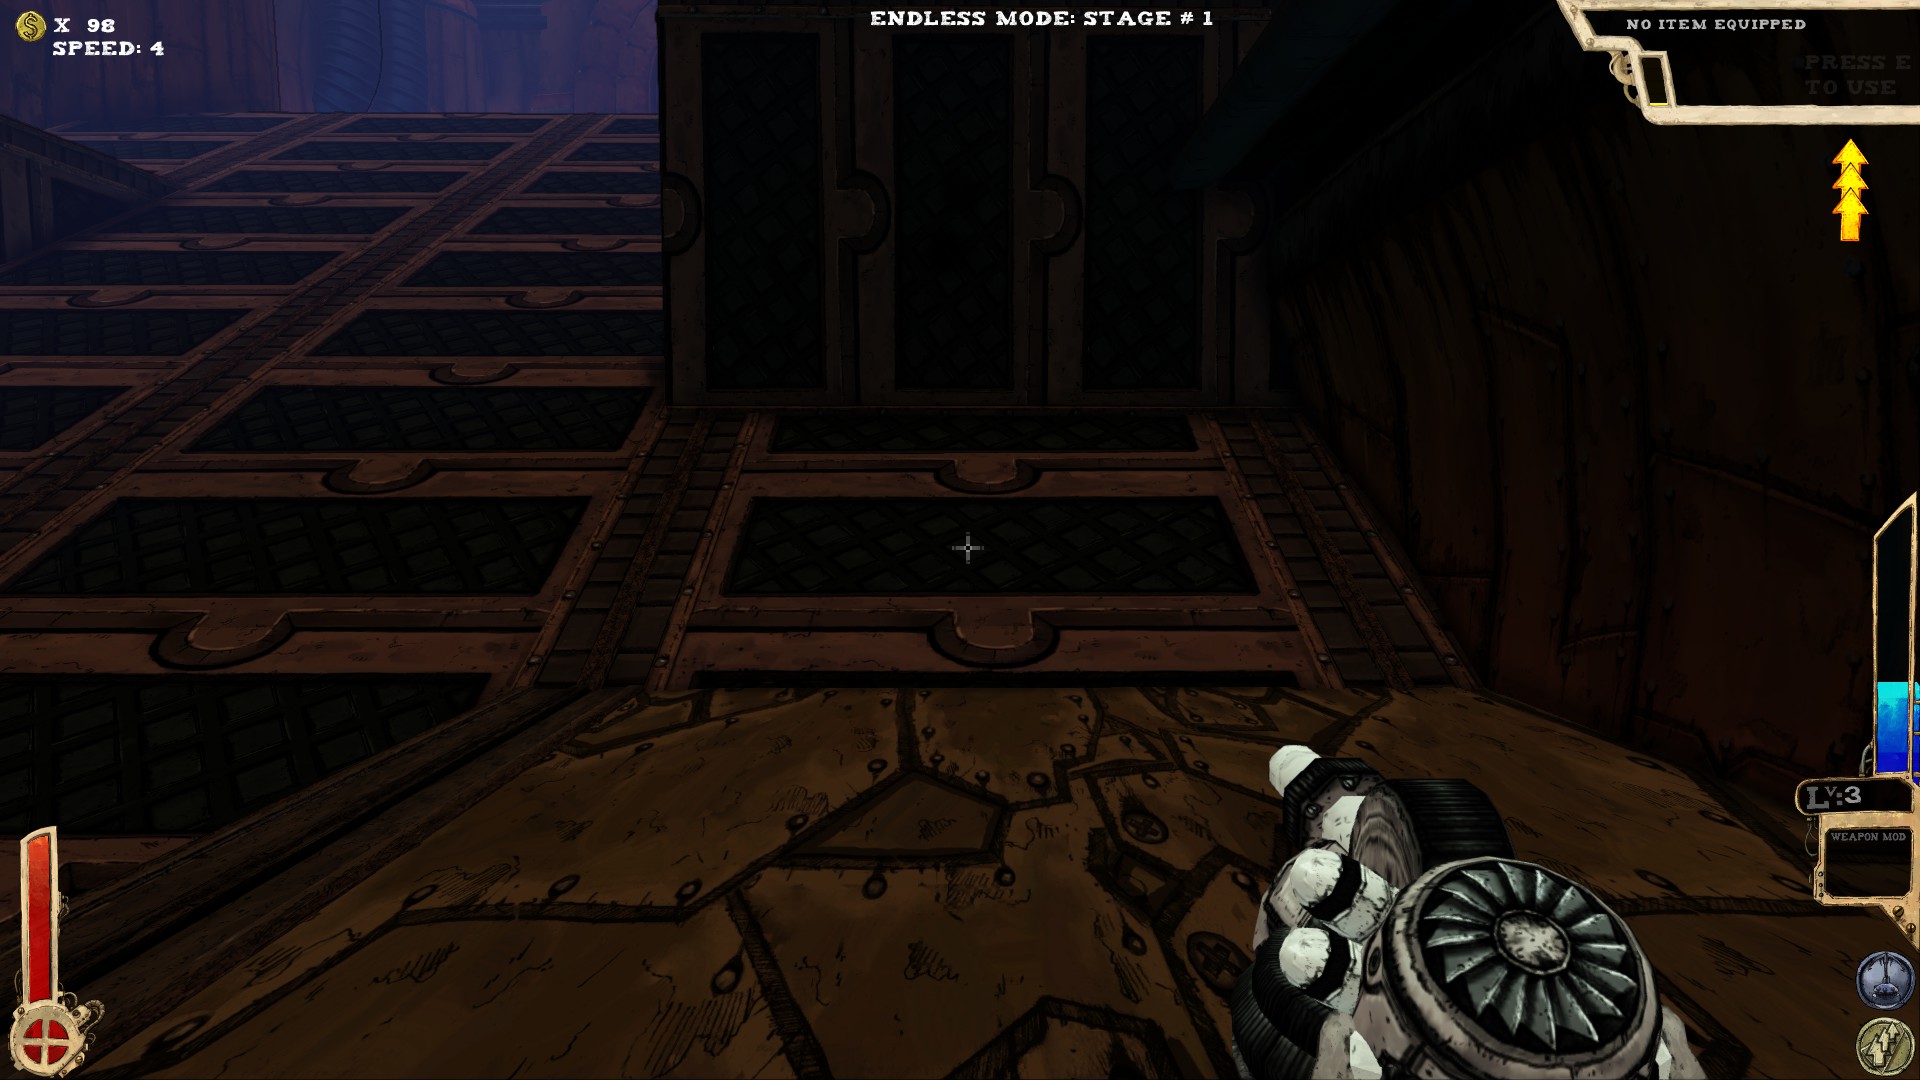 The first ramp from the top of the room, right side (when facing the entrance). Just walk in there.
-----
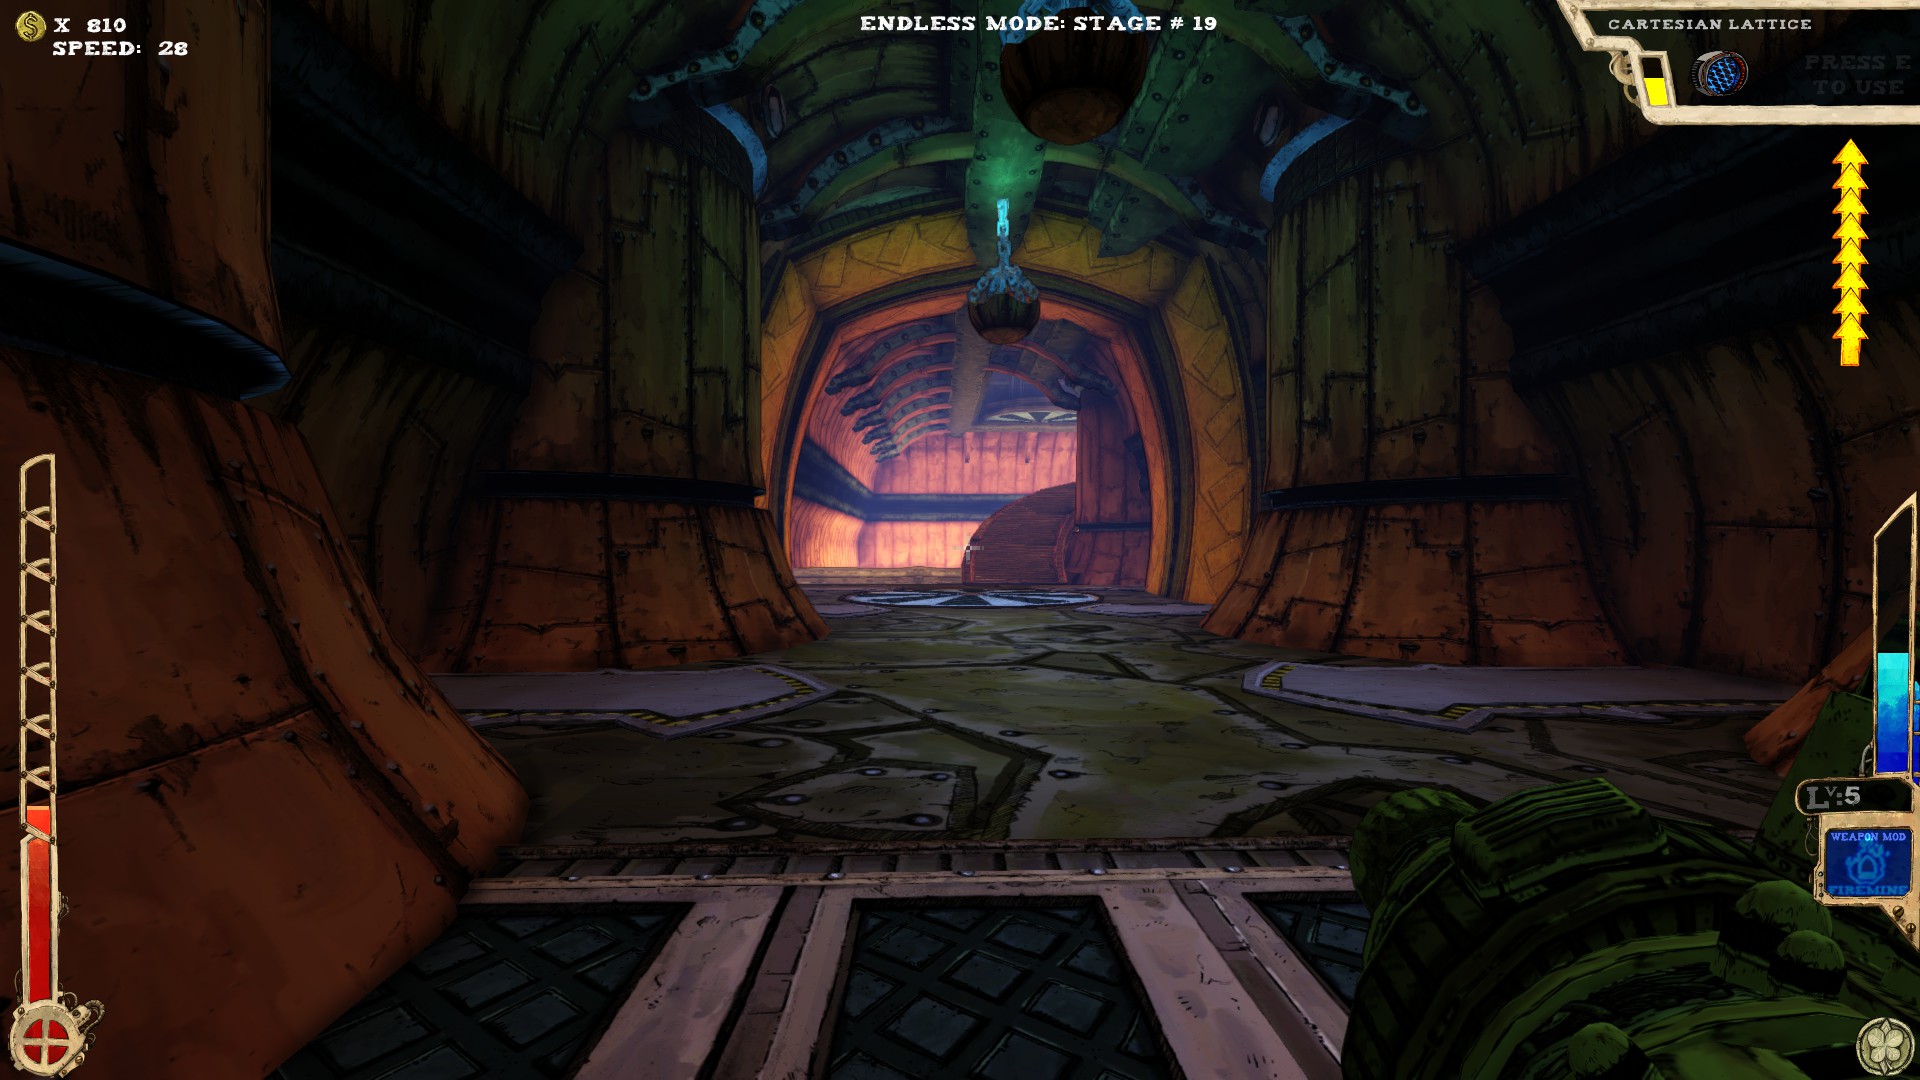
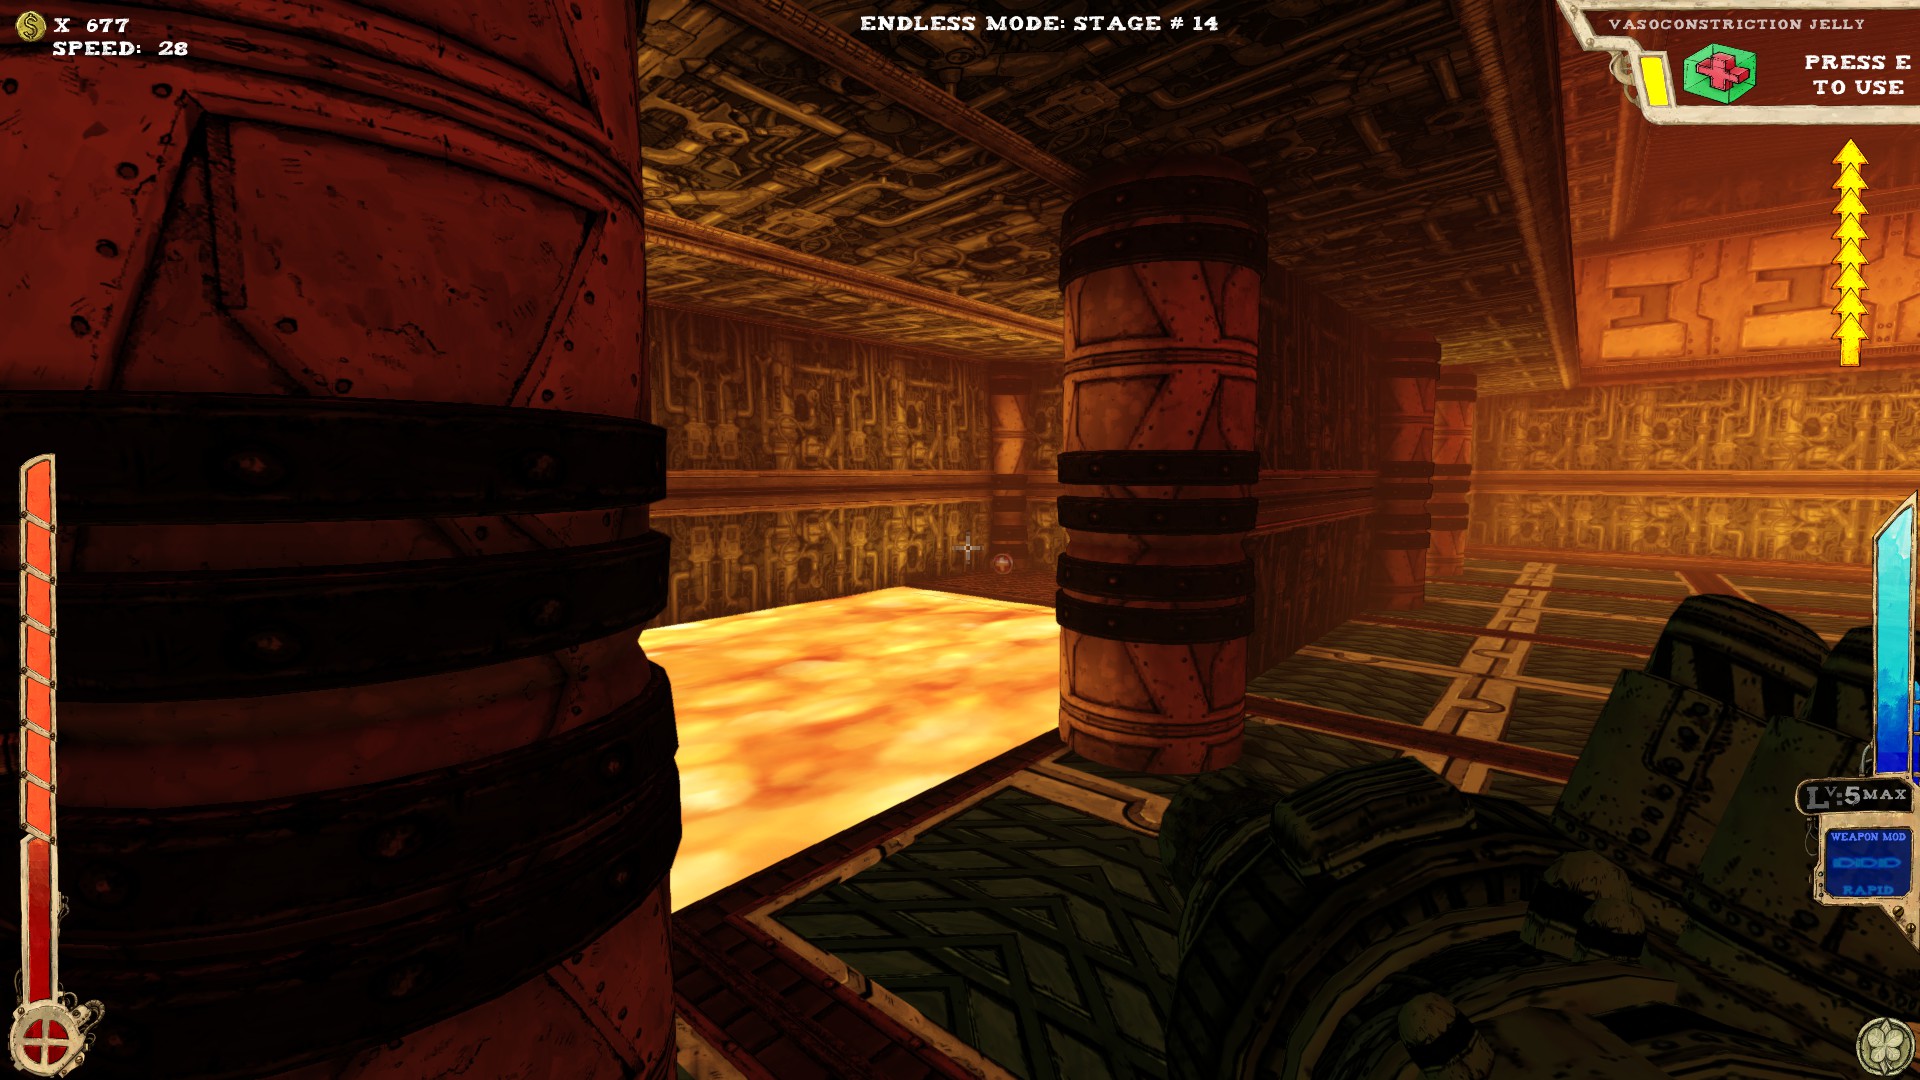
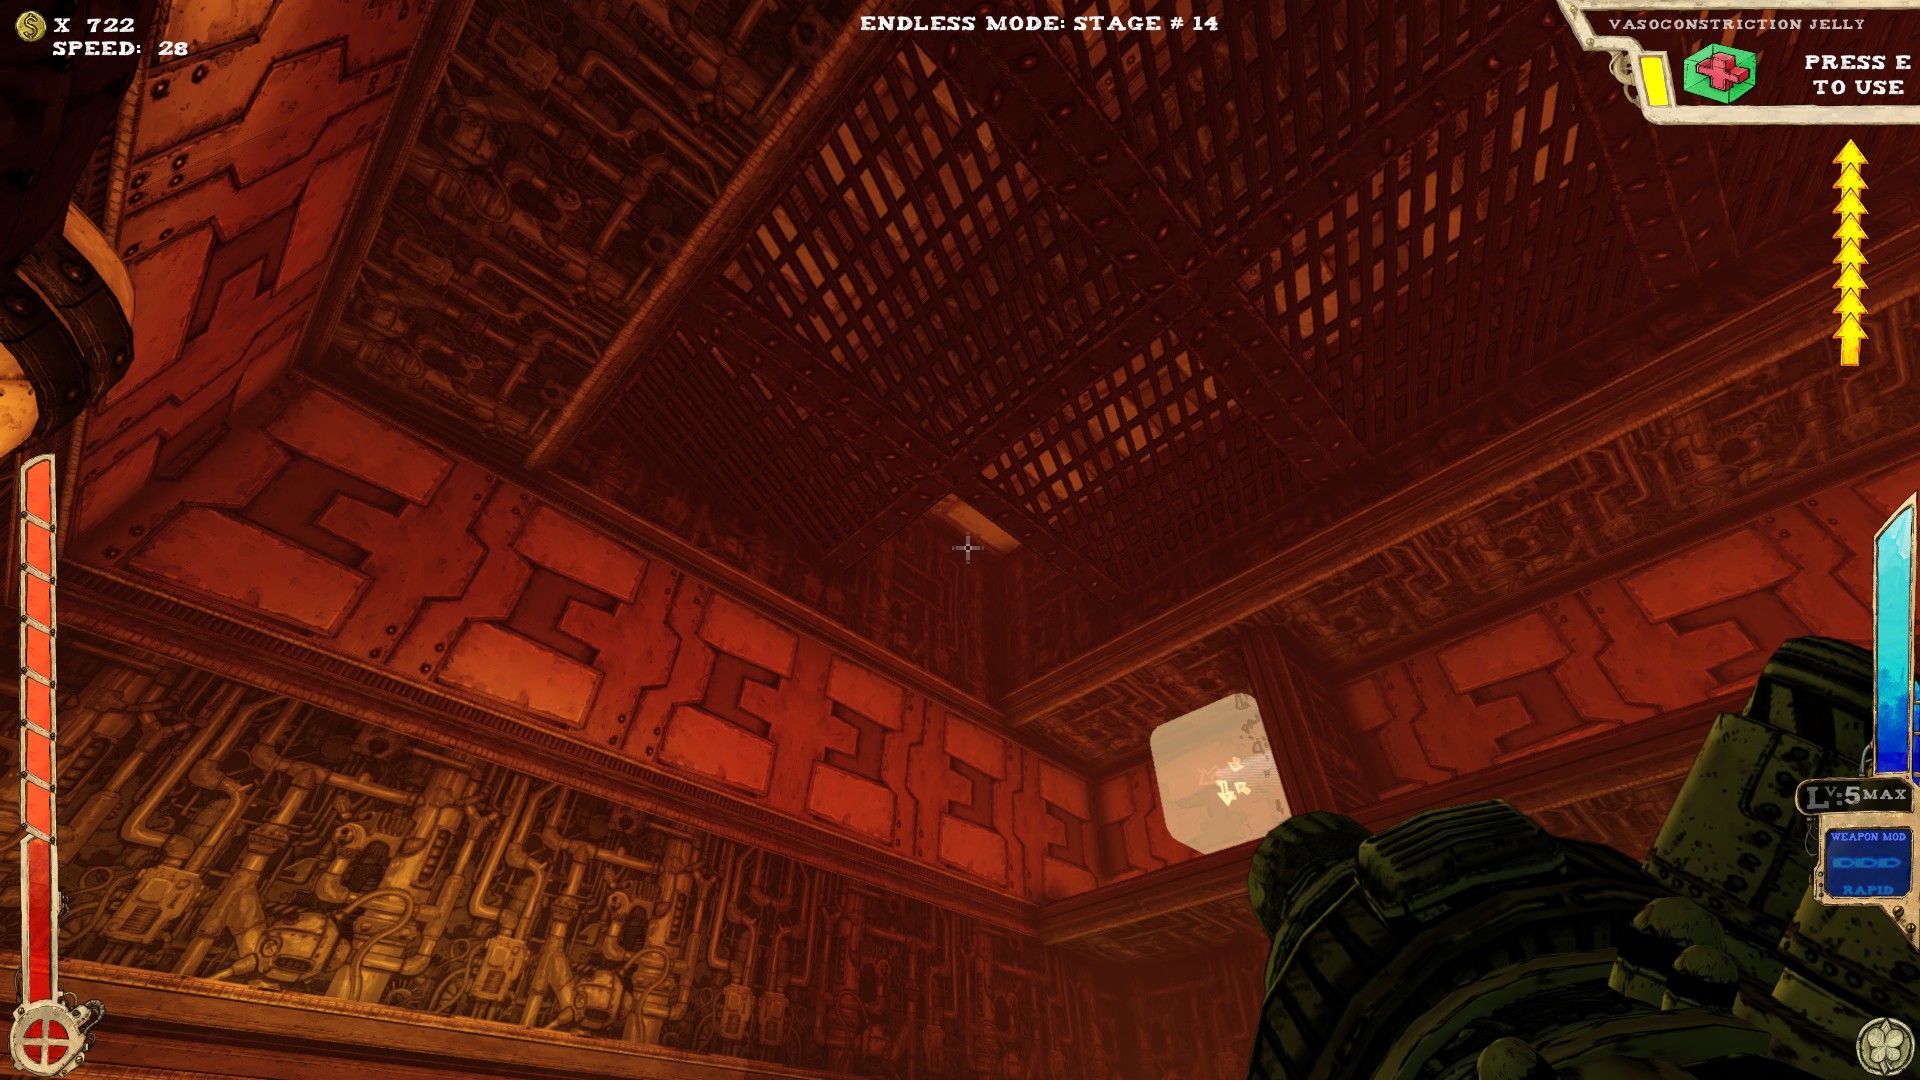
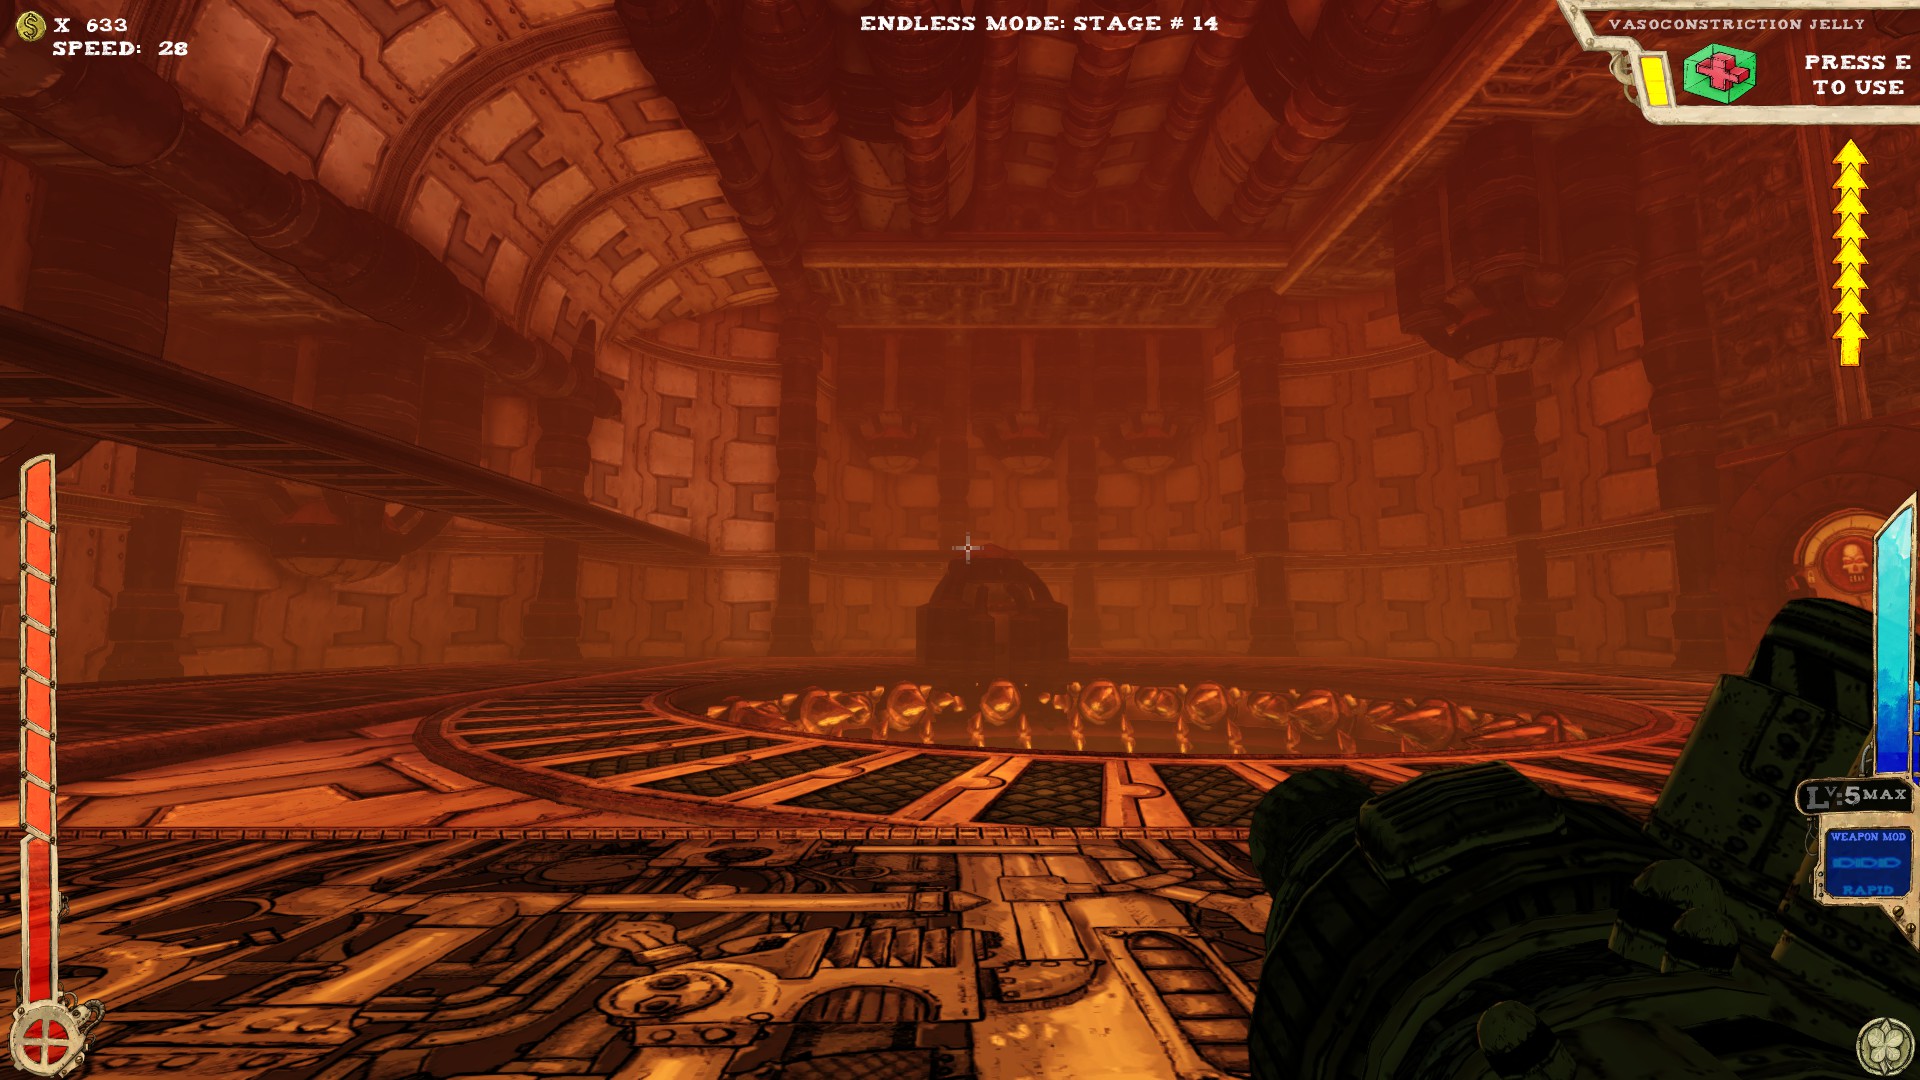
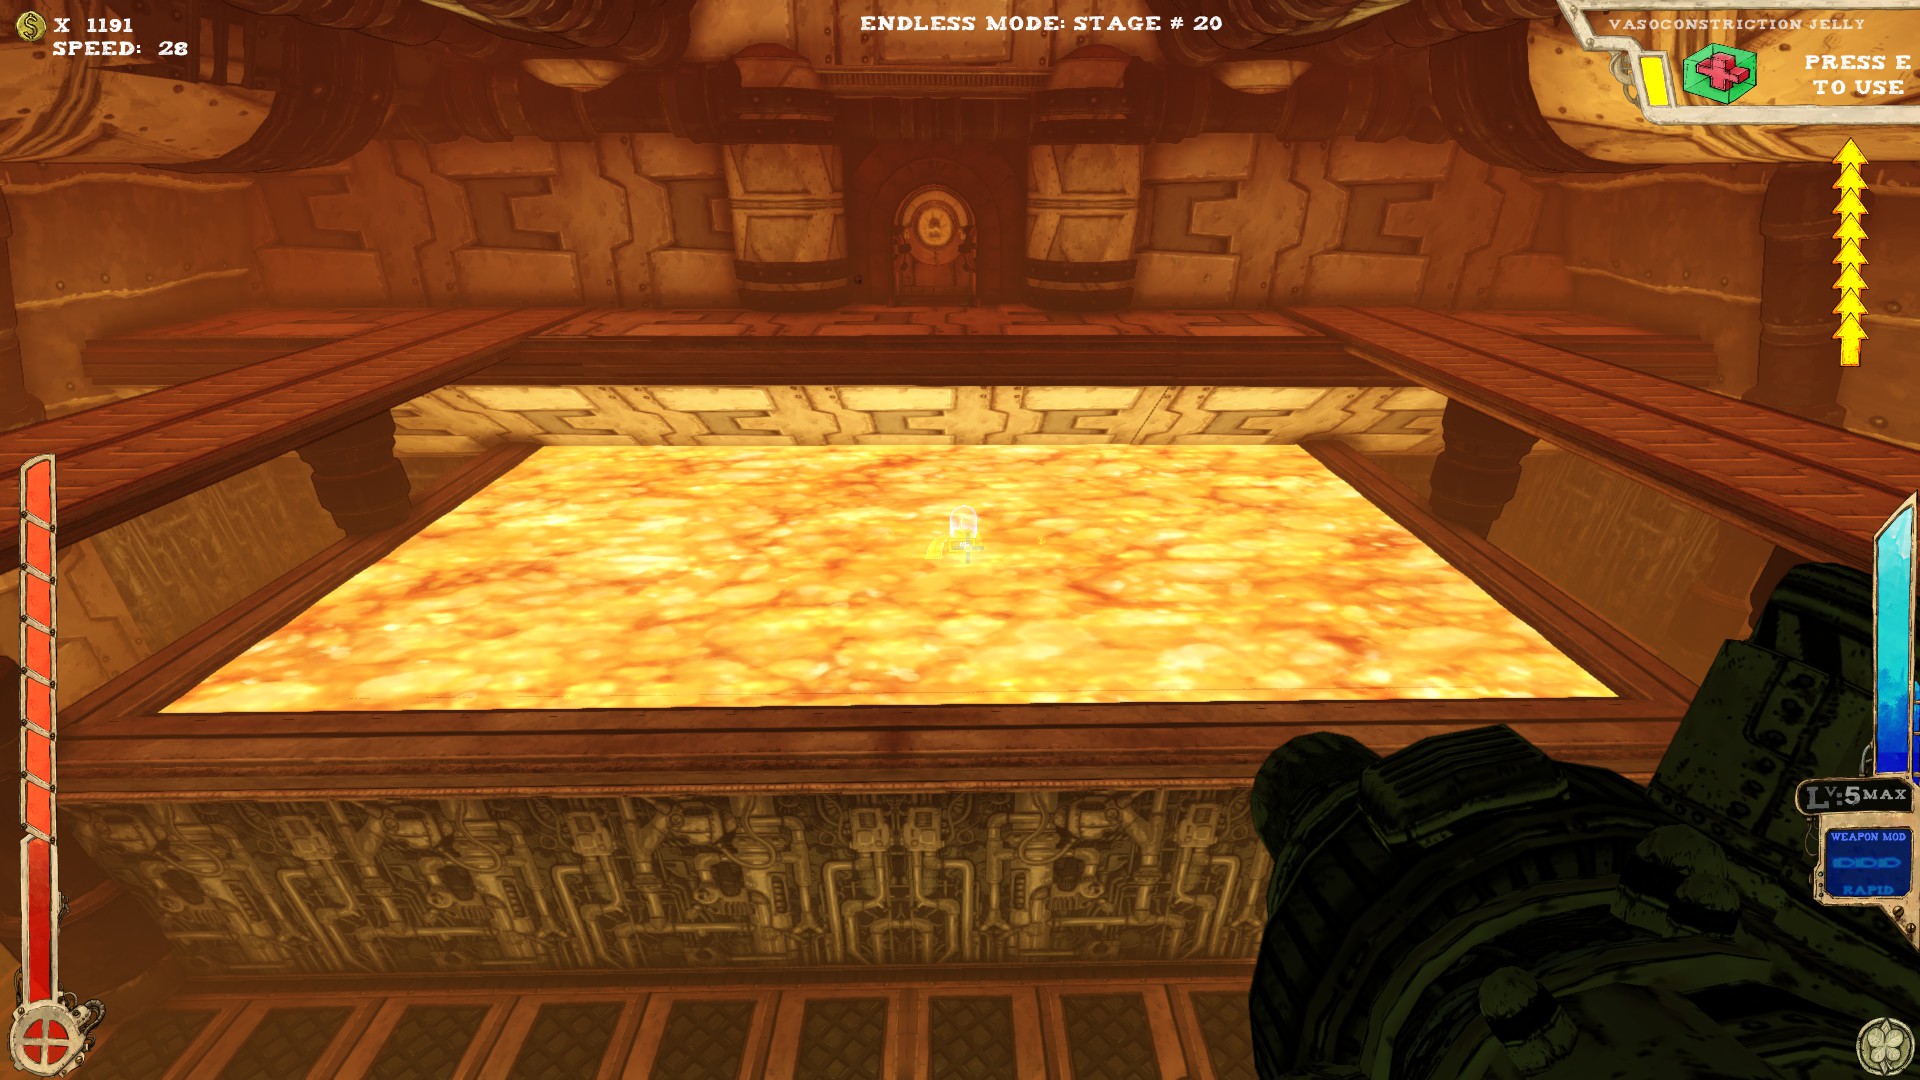
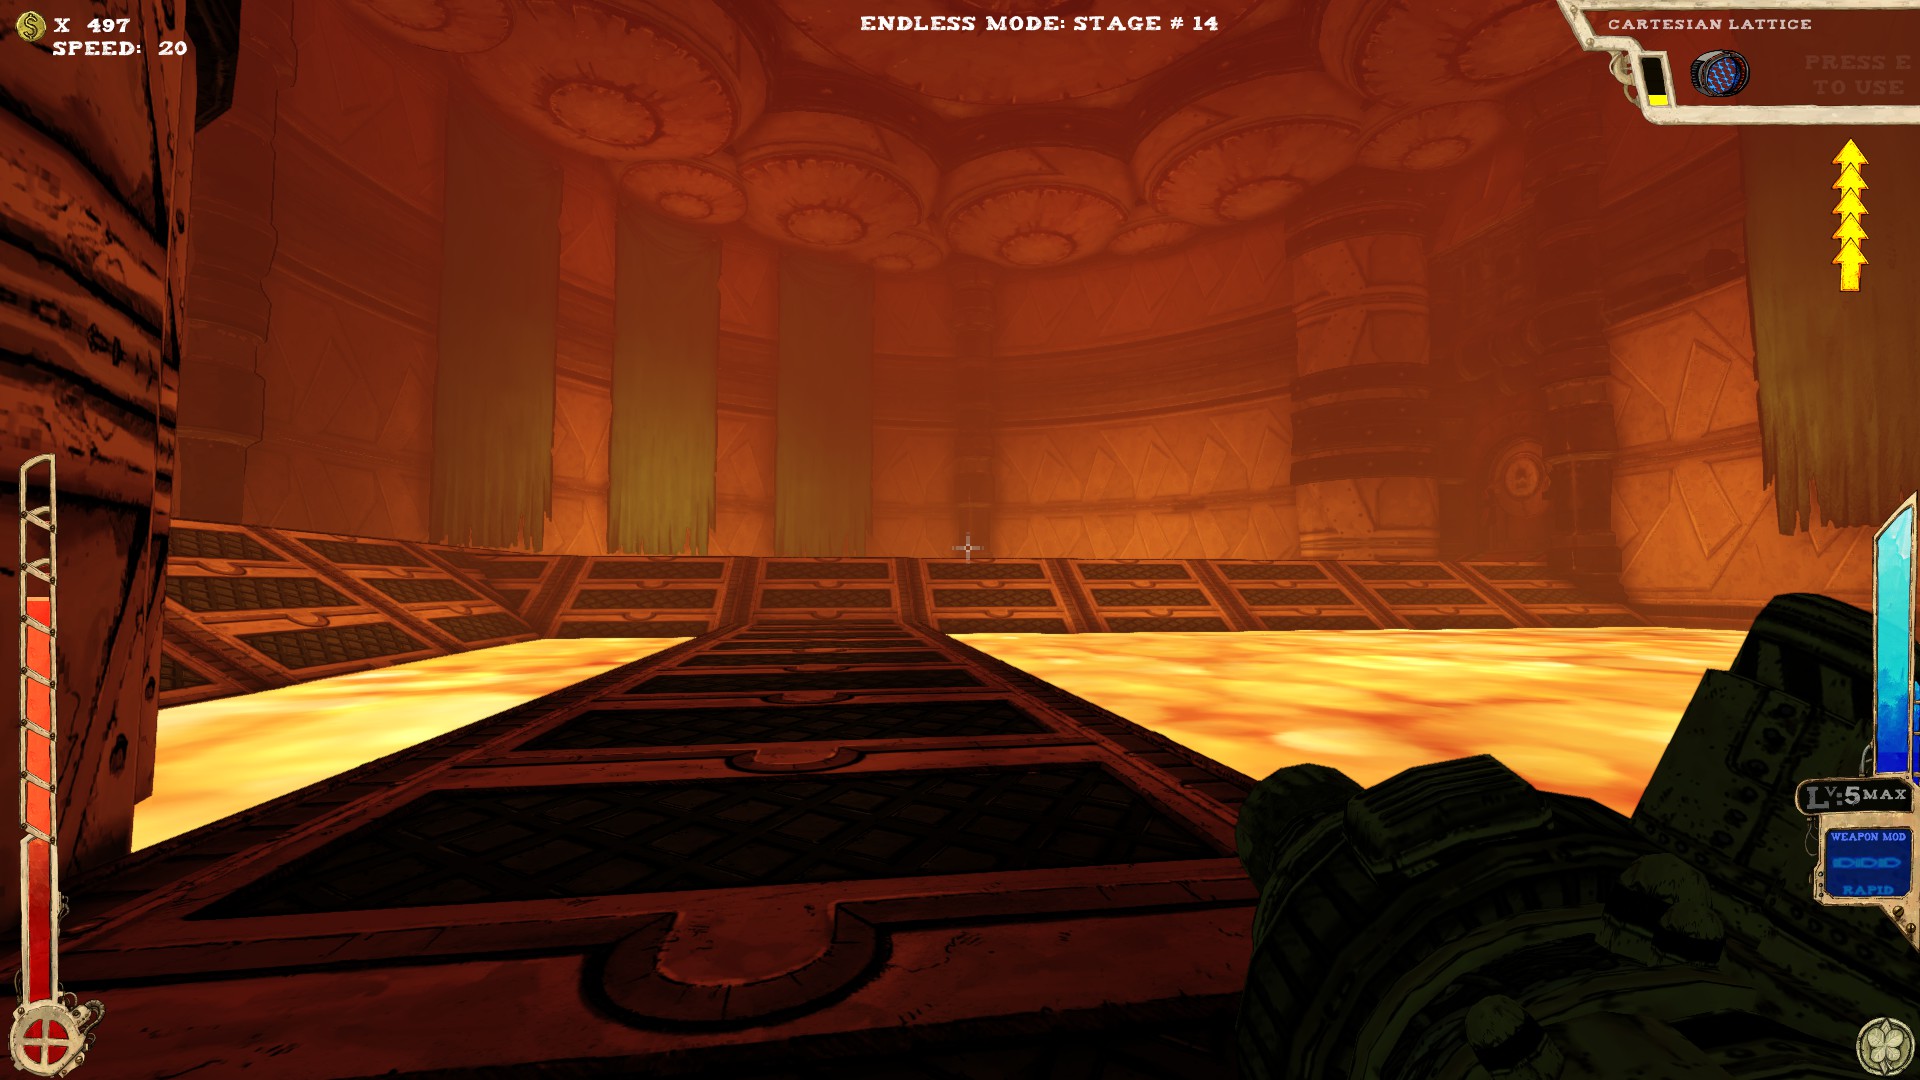
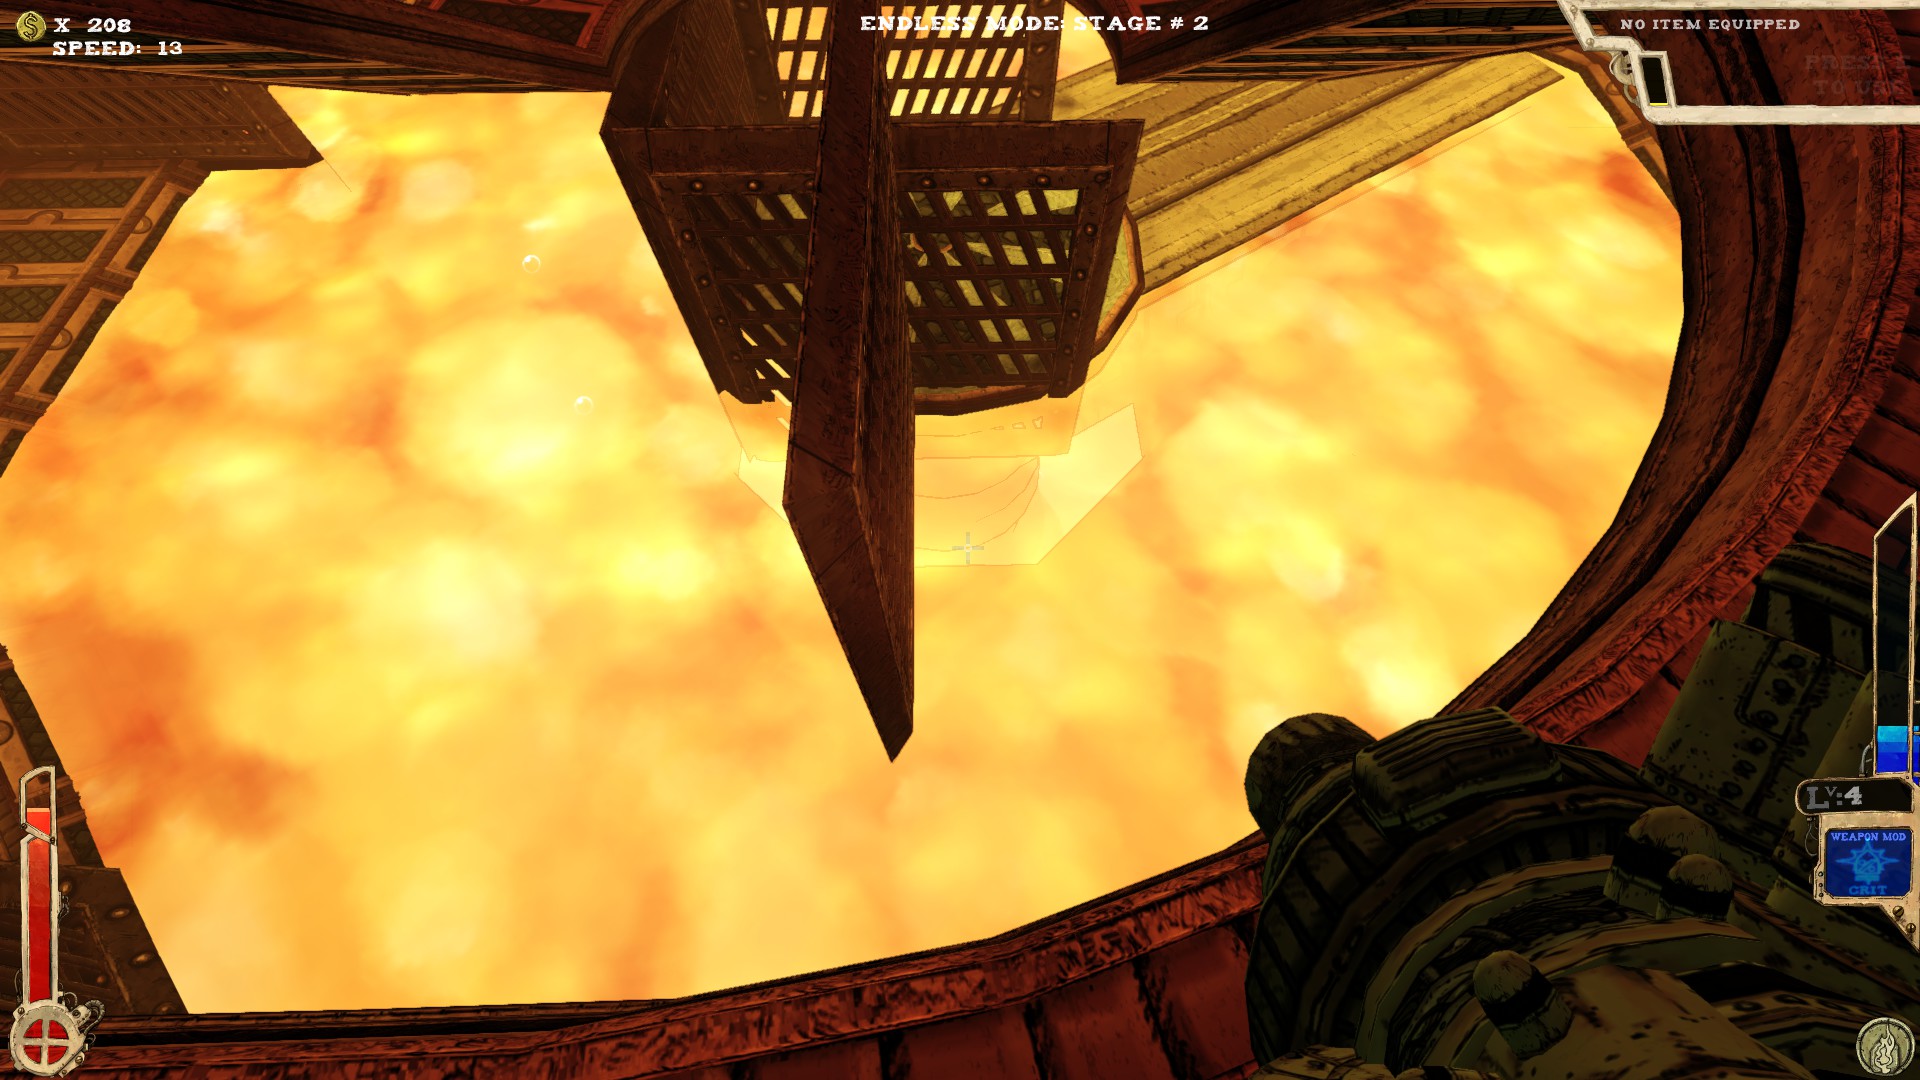
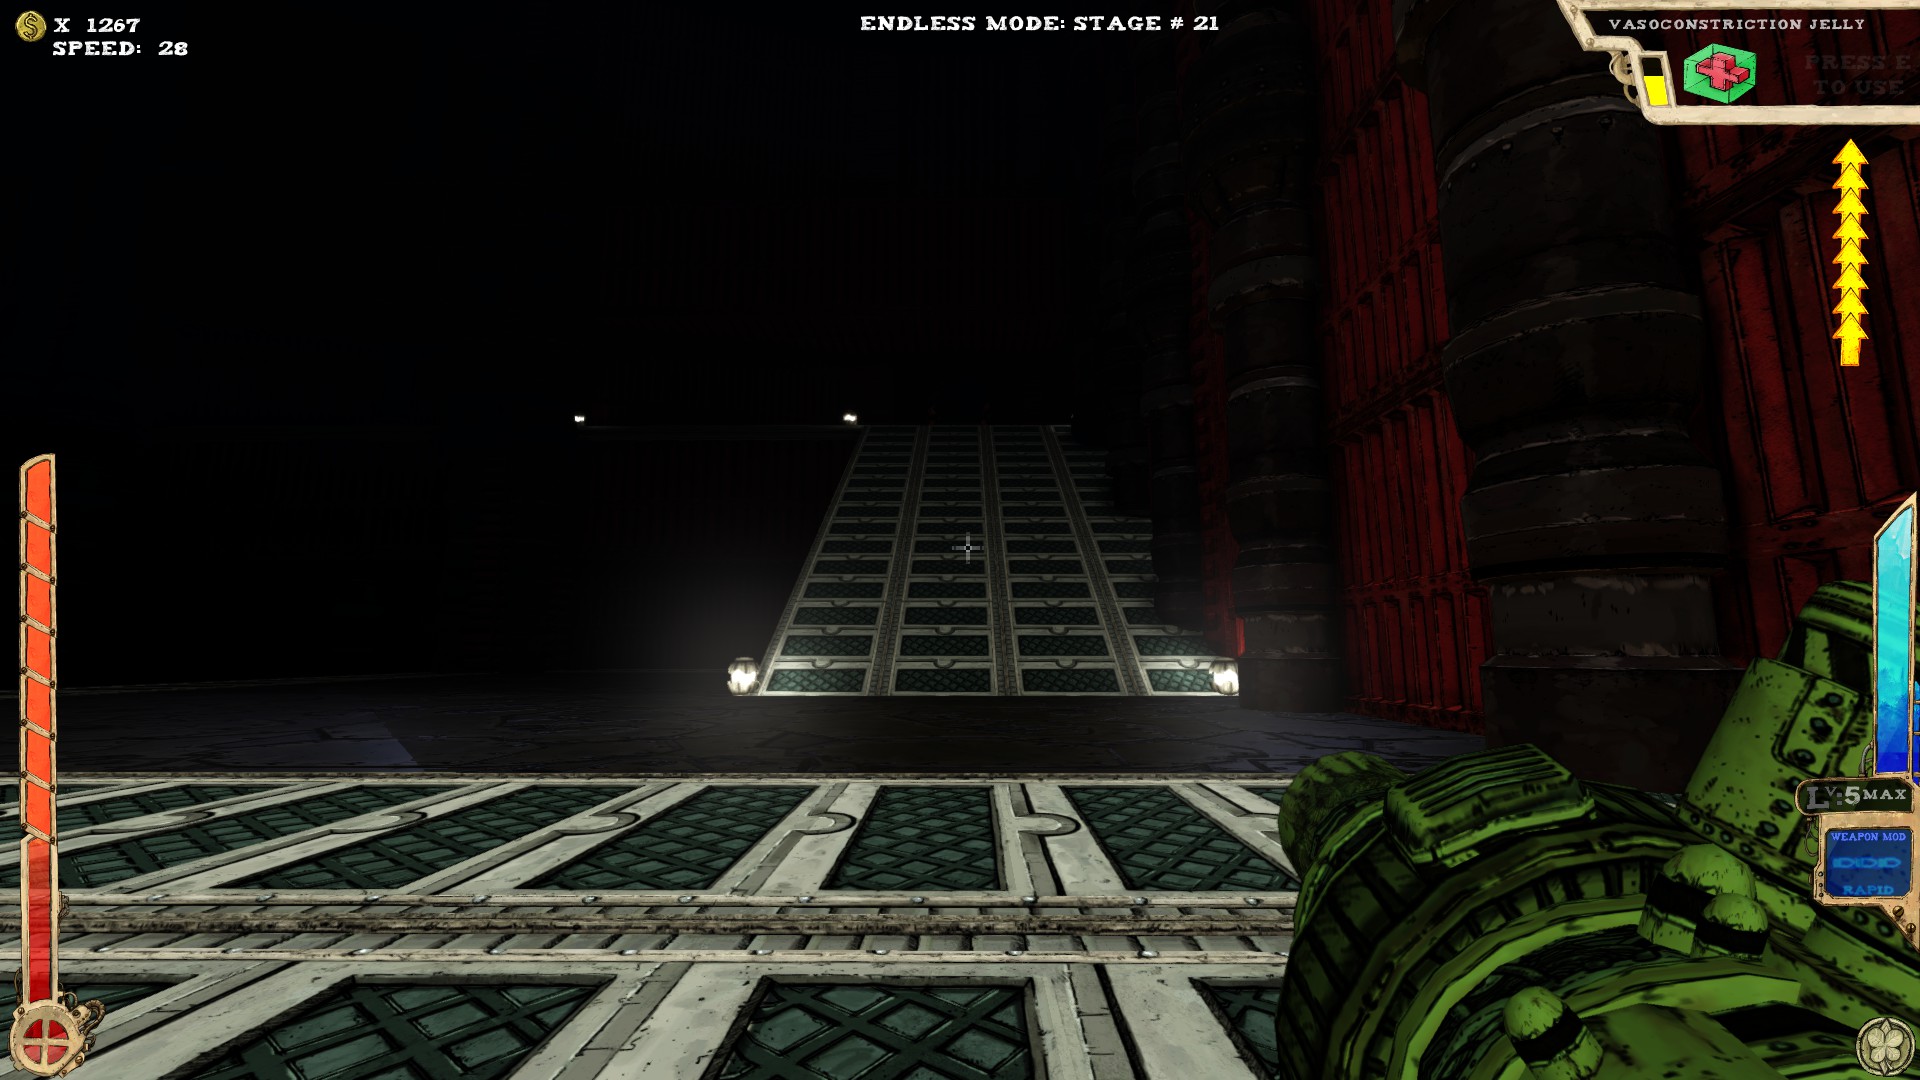
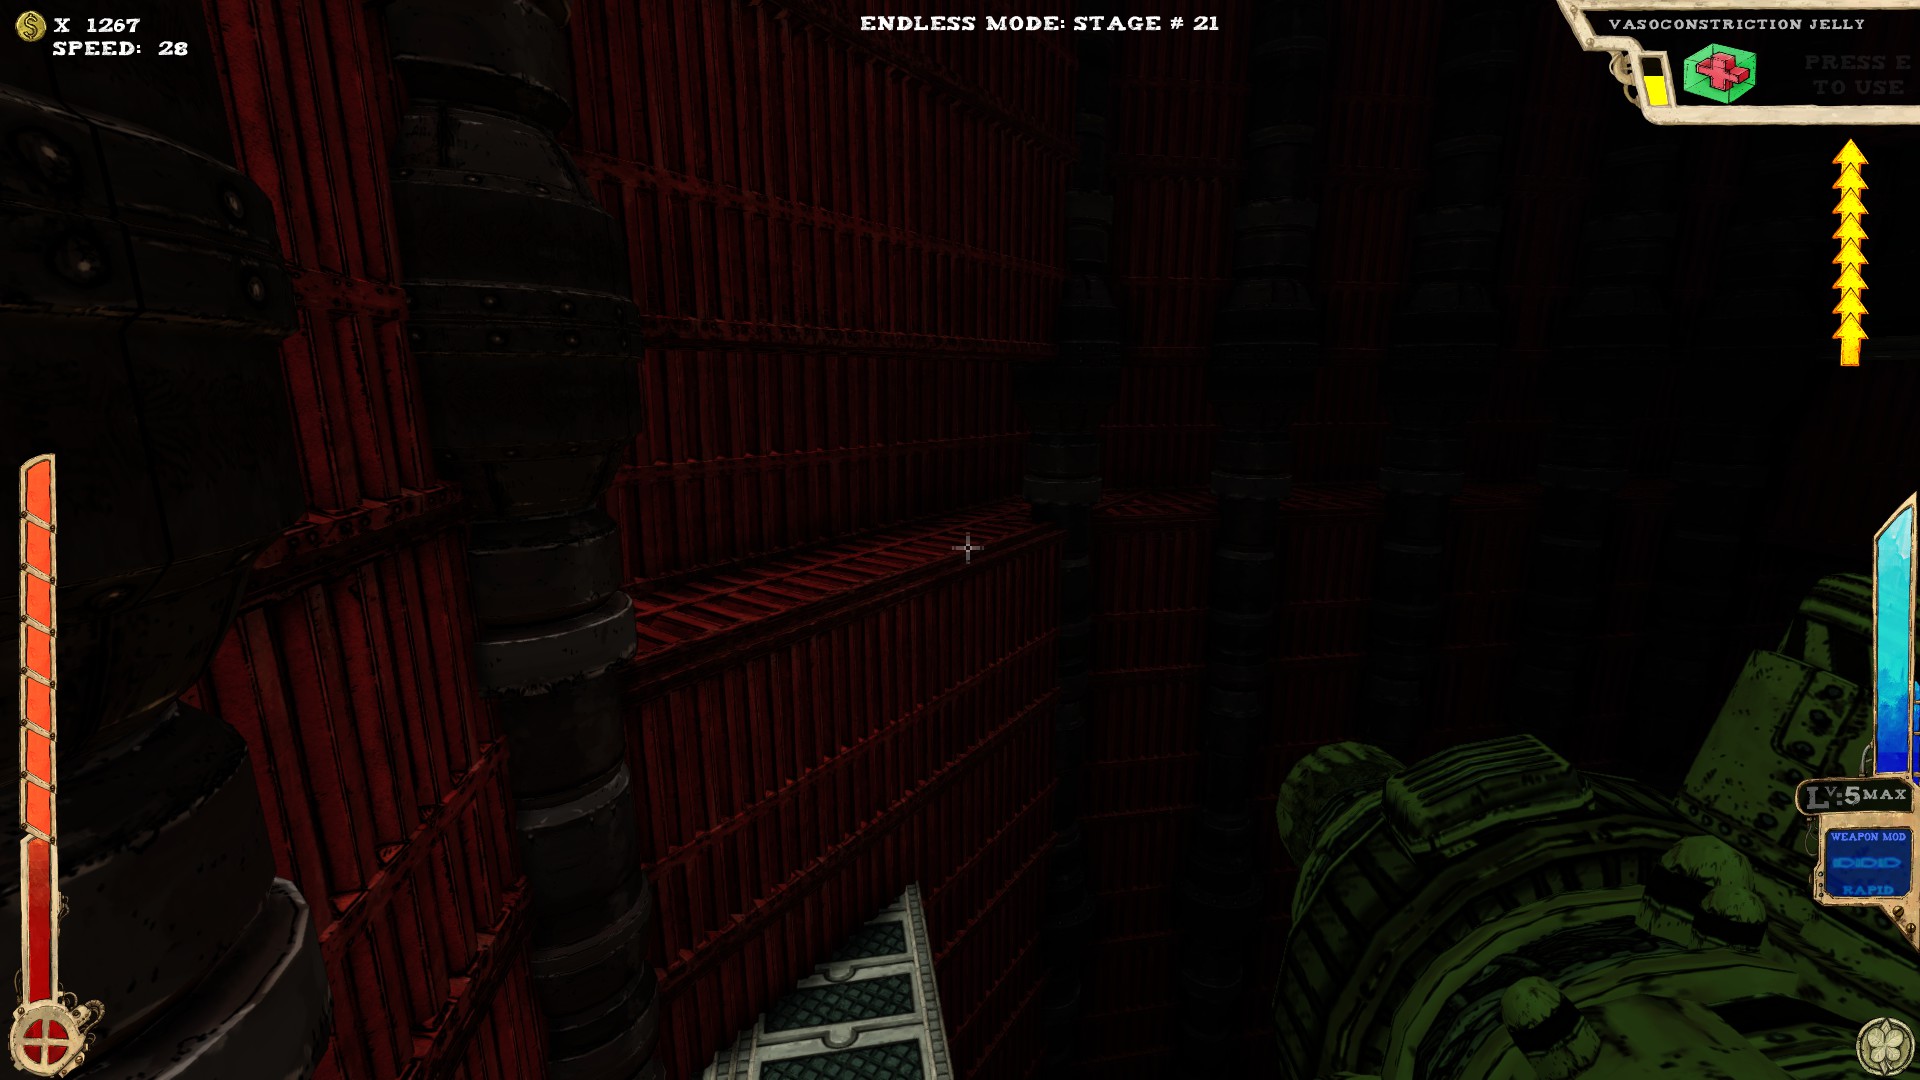
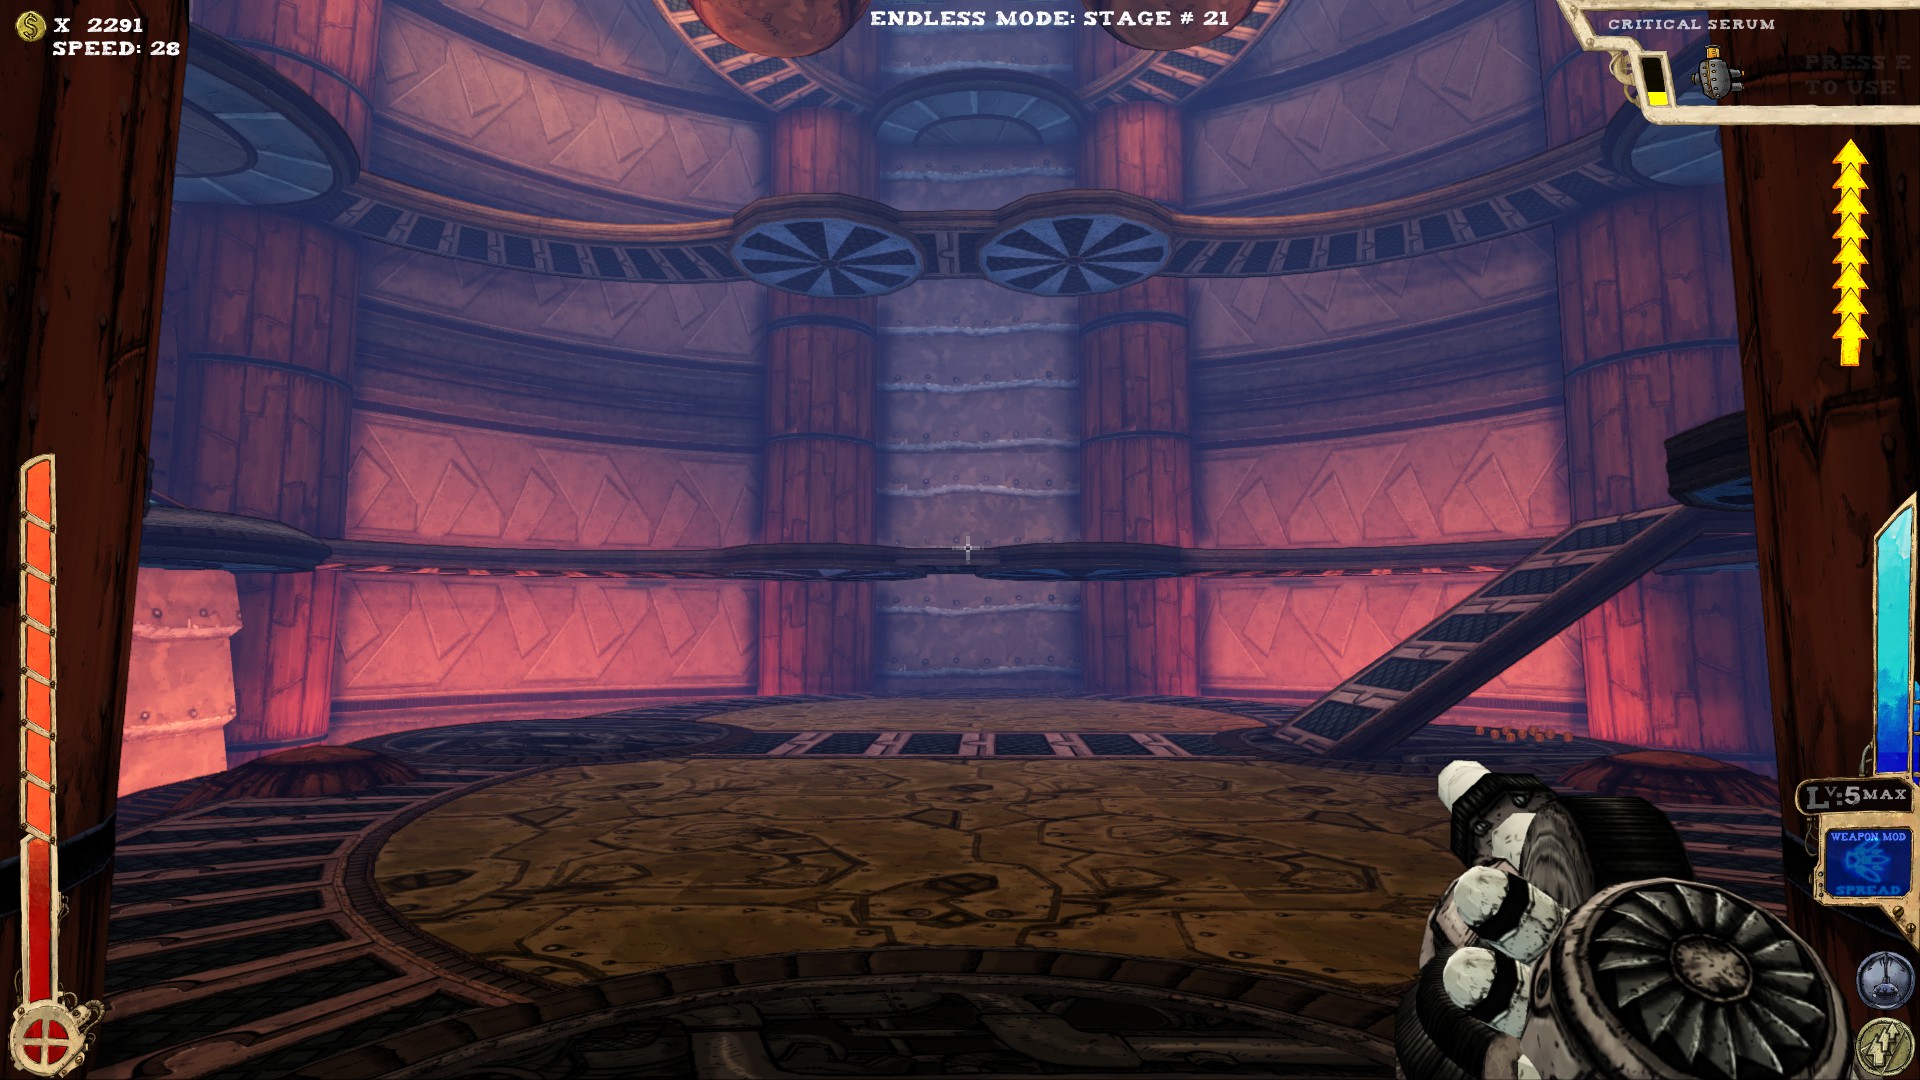 Two secrets. One at the top of the room, the other at the bottom. Both pretty hard to miss.
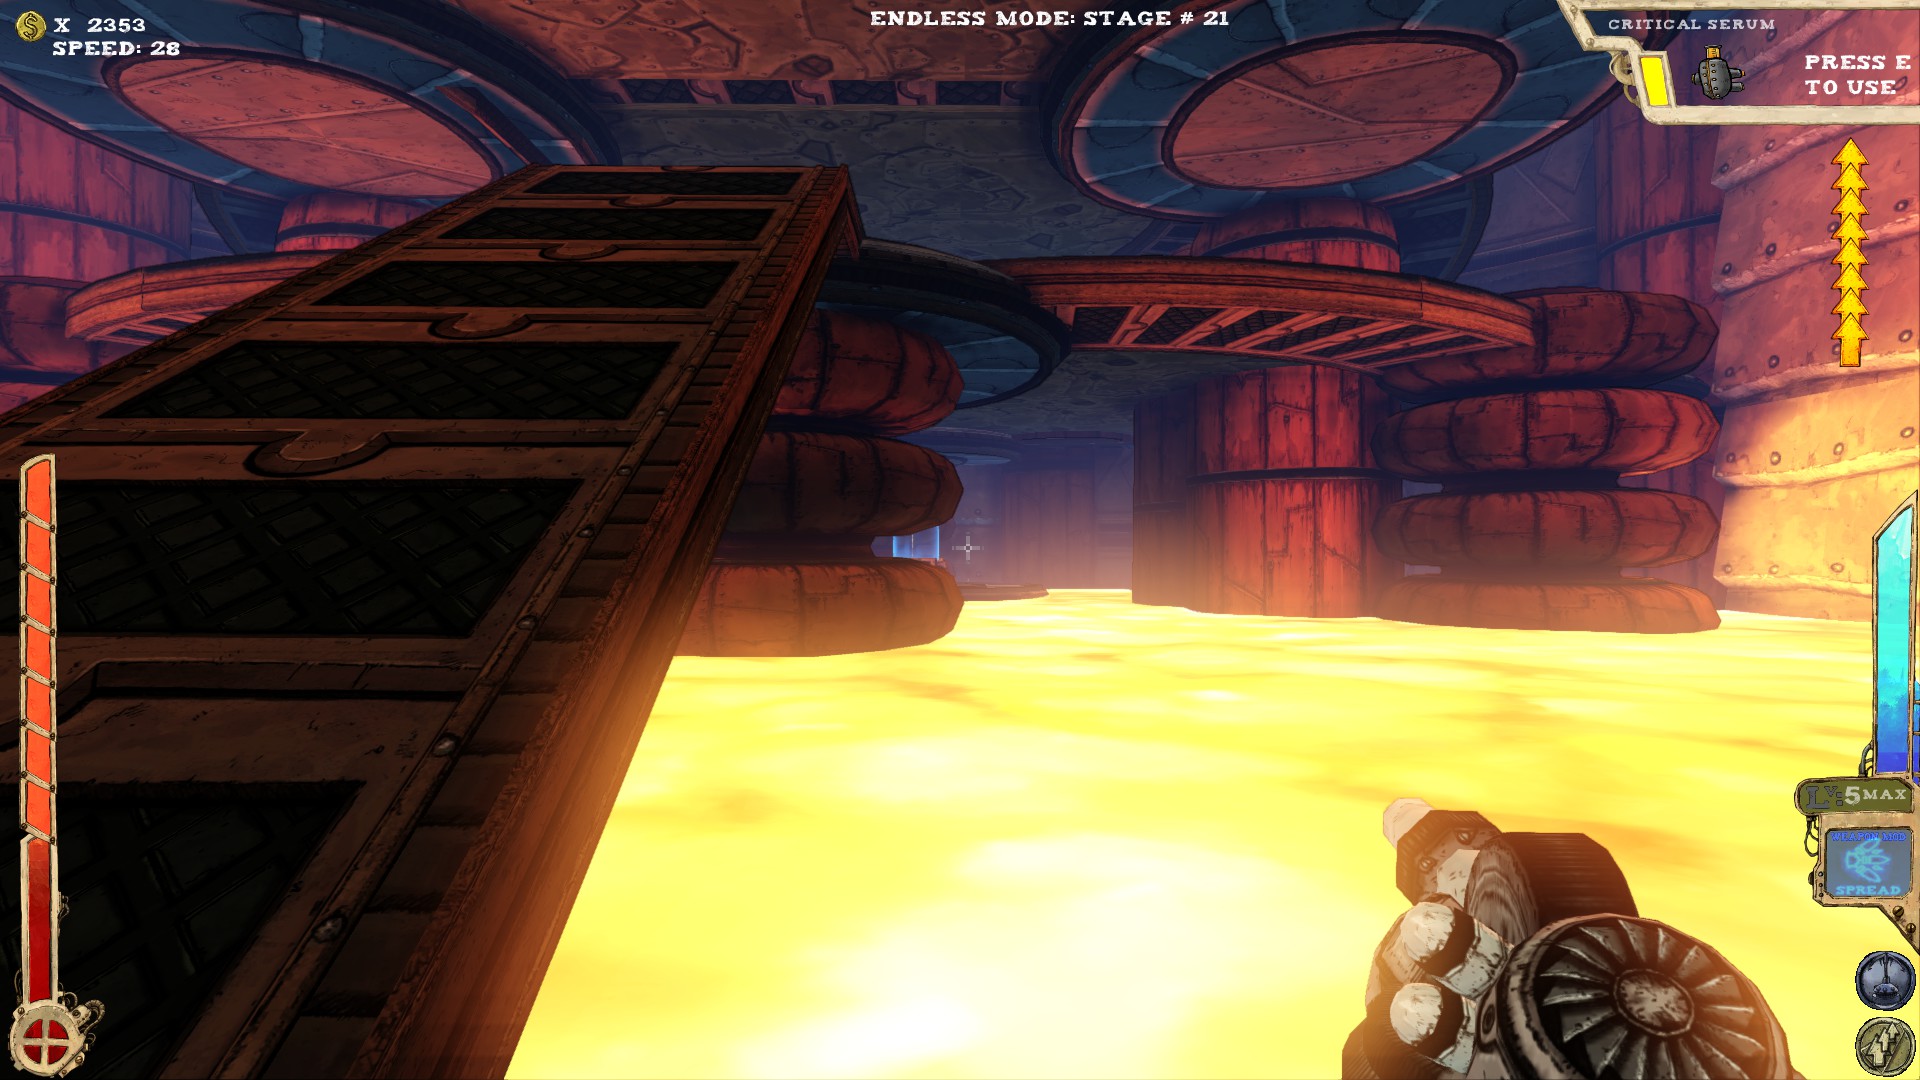 Little platform in the pool of lava at the bottom.
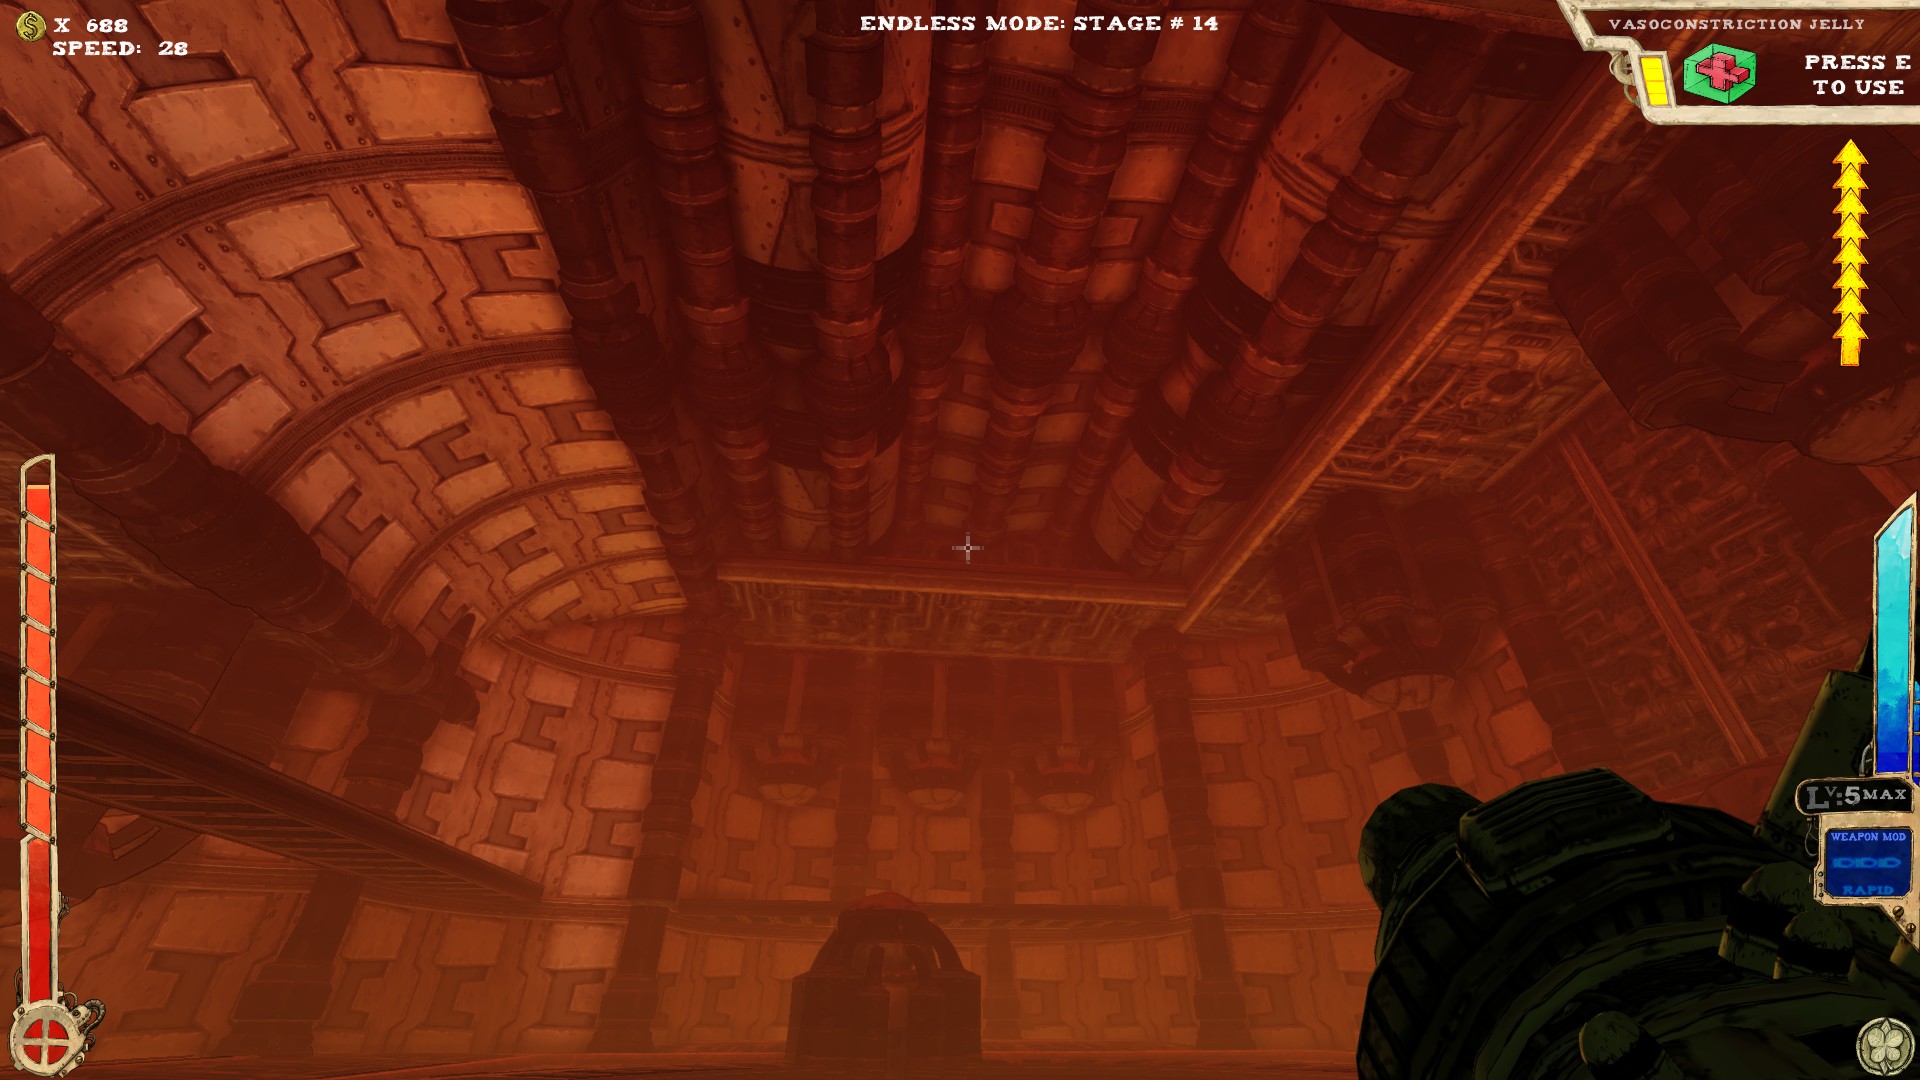
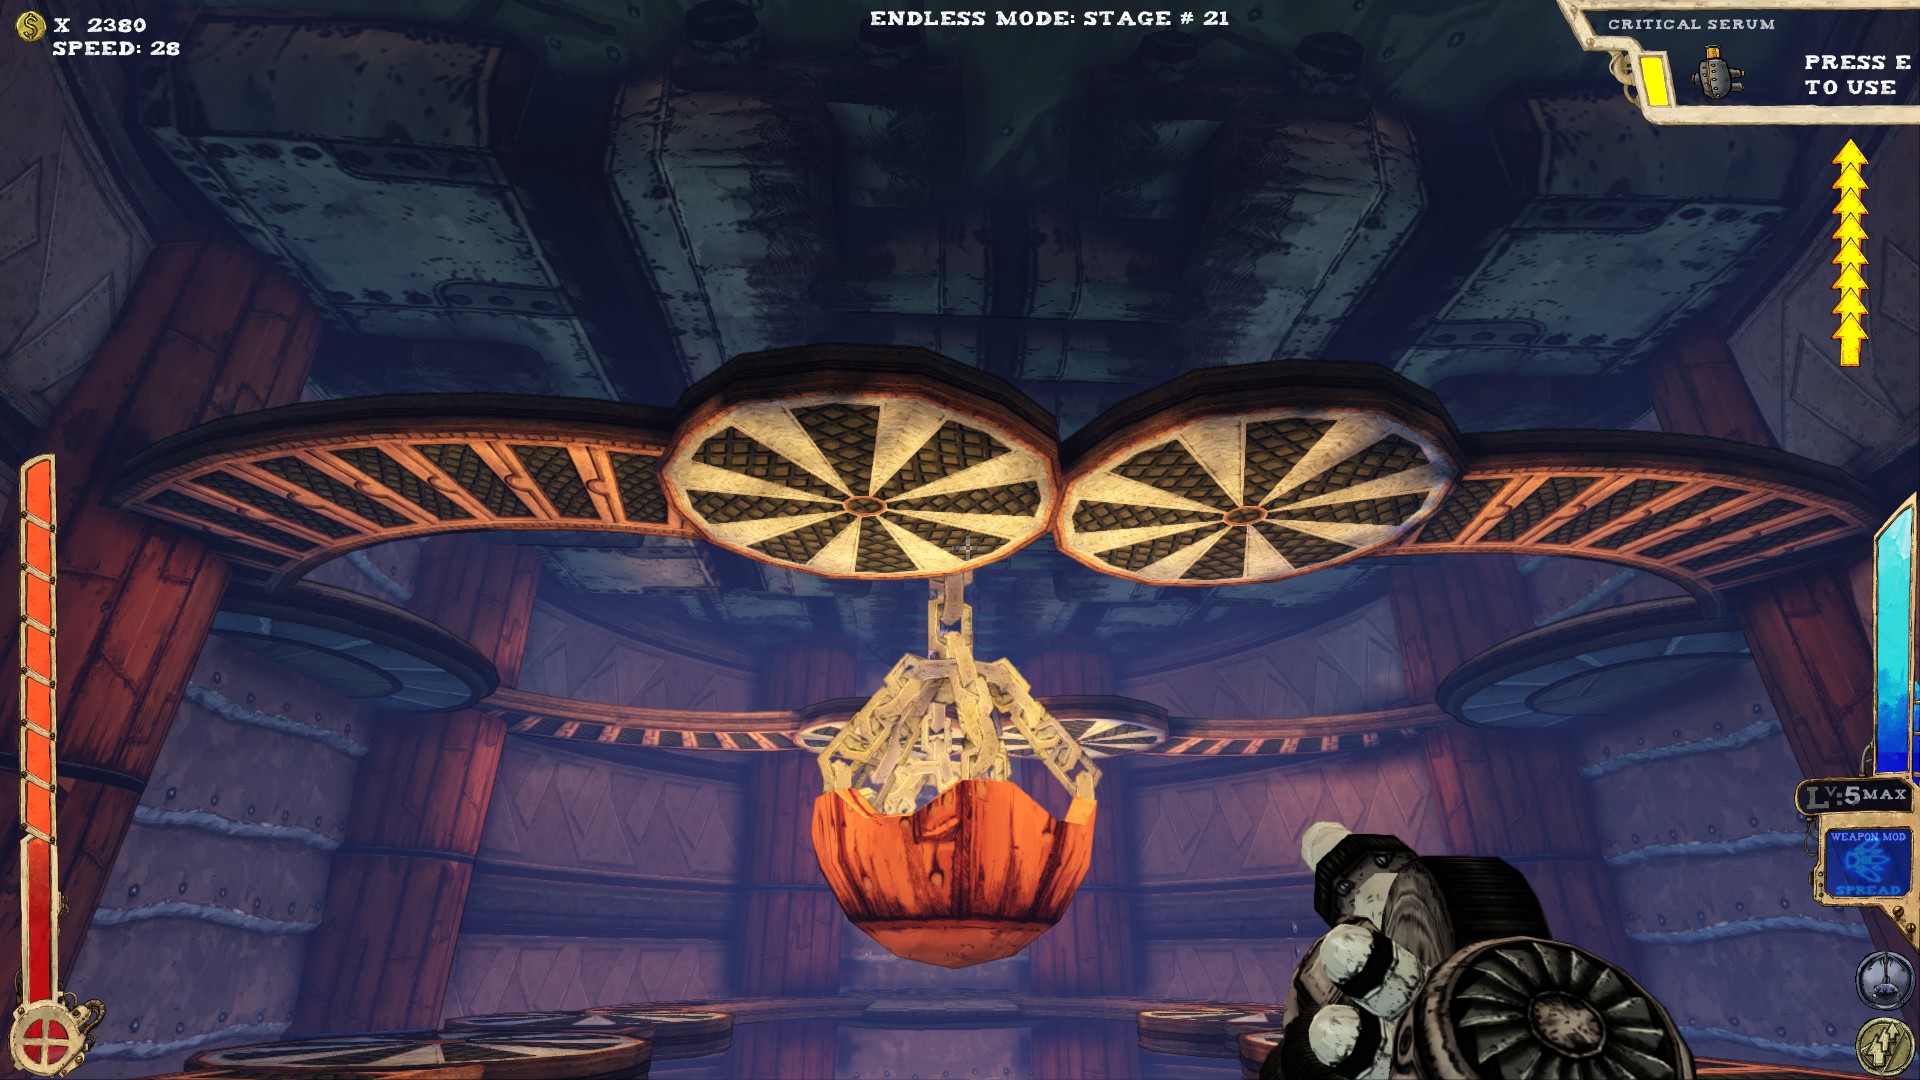 The ring of platforms under the ceiling.
Aaaand that's the Foyer!
The Foundry (Part 1)
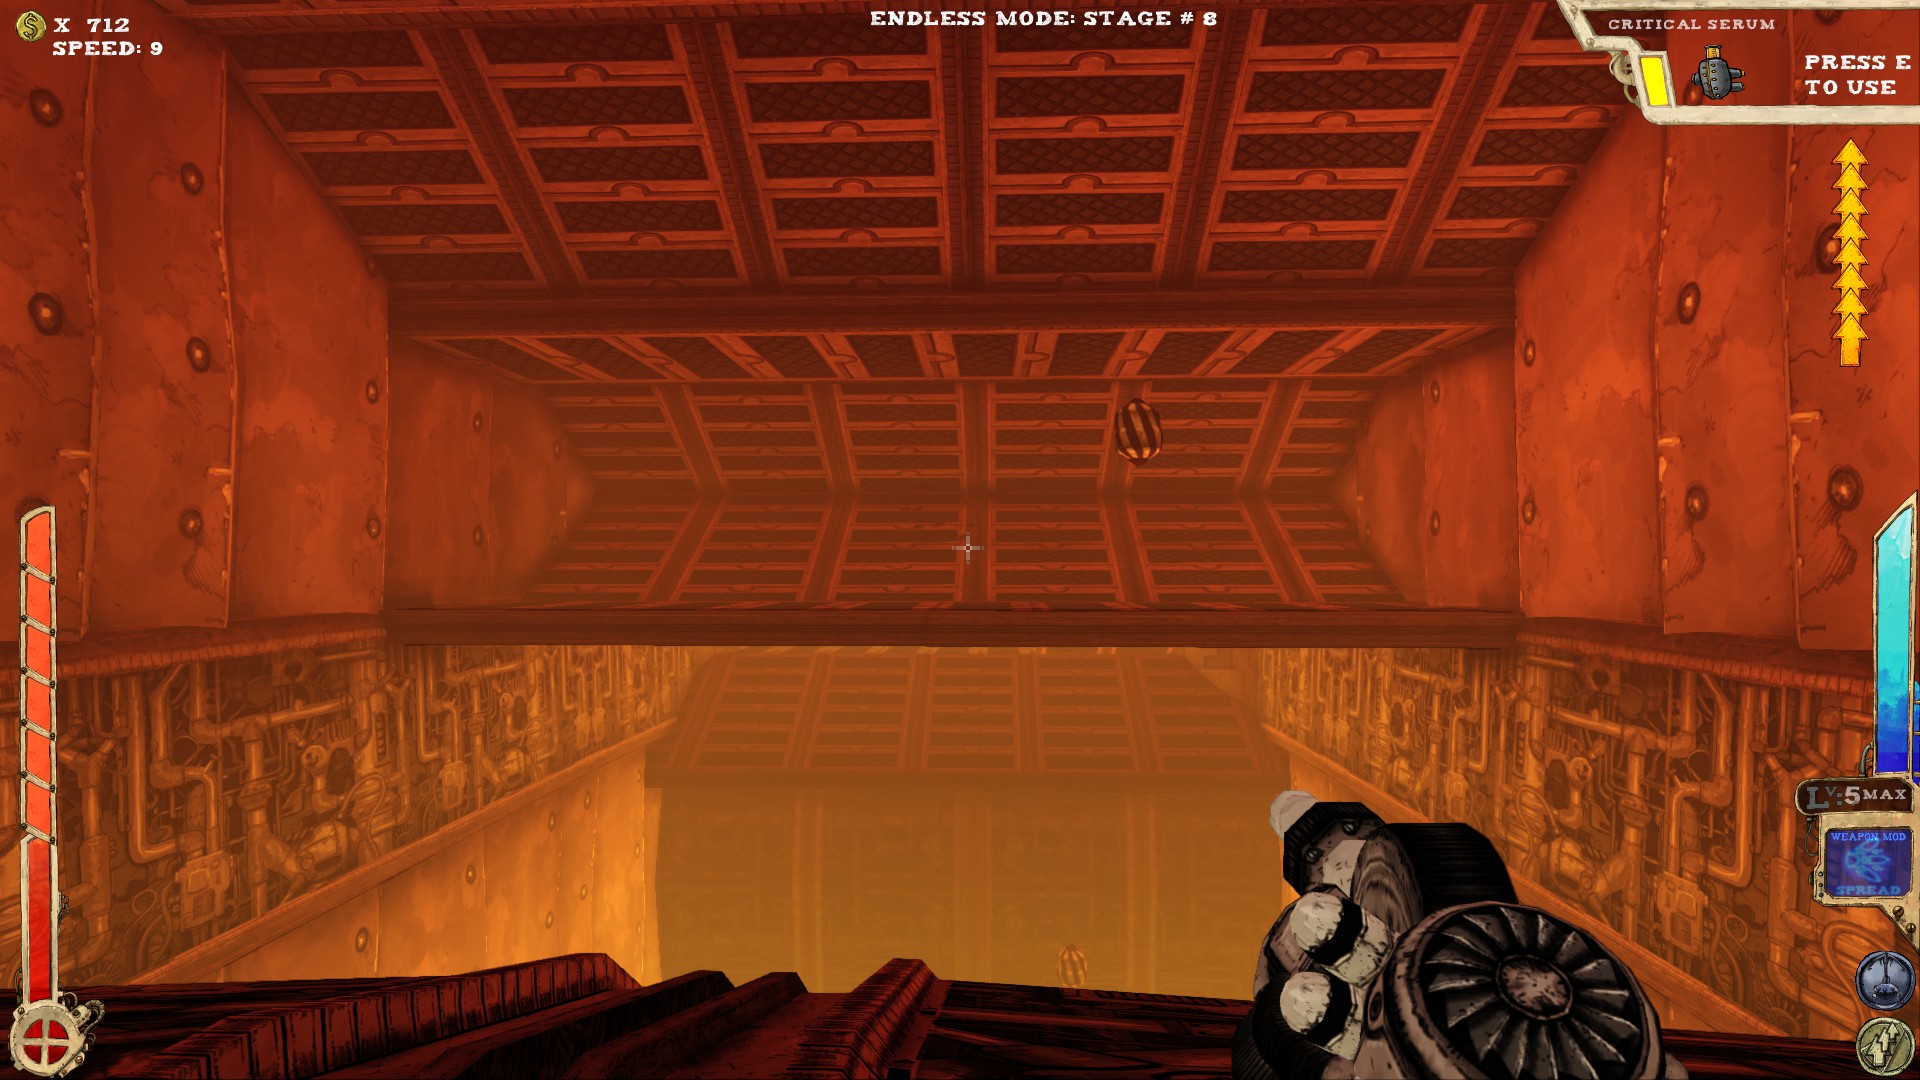
Dive into the fiery pits of the Foundry, pretty much the only place where the perk Fireforce really makes sense.
The Foundry is one of two levels you might get after the Foyer. The other being the Gearworks.
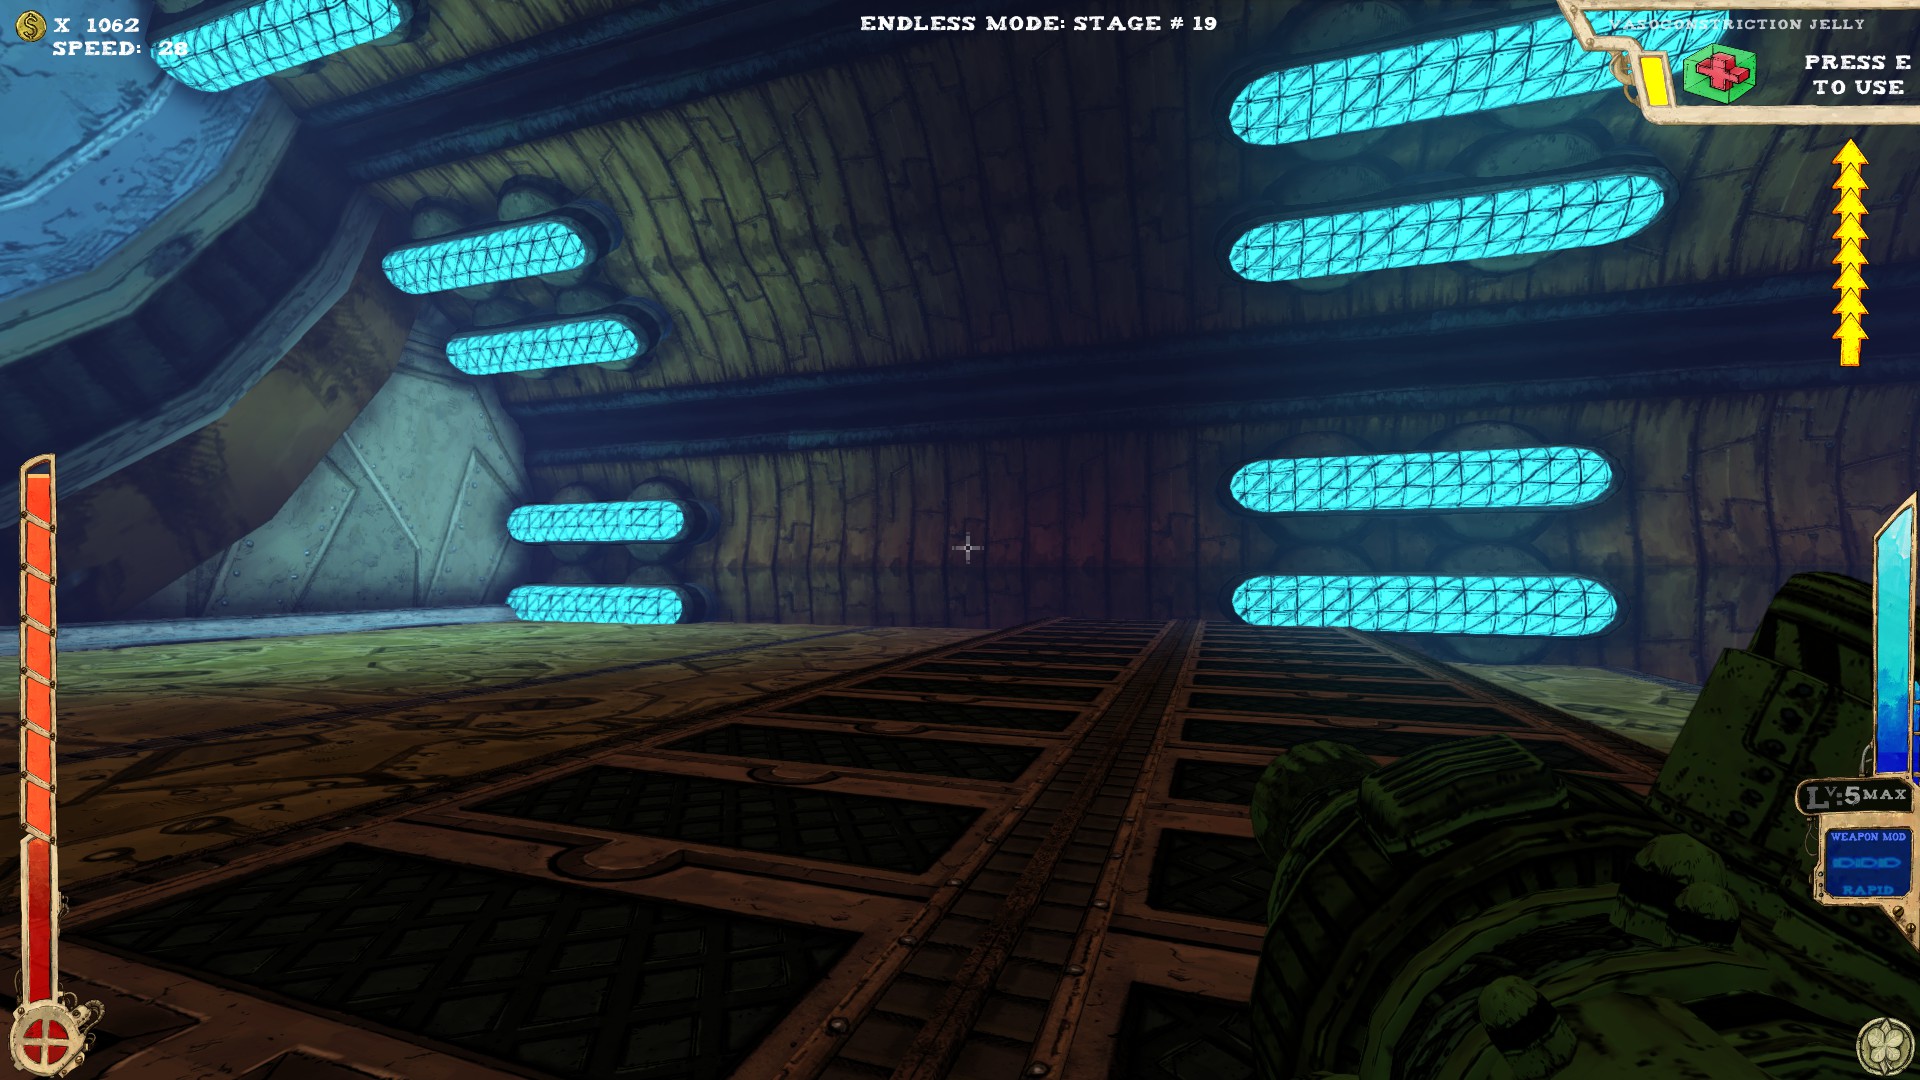
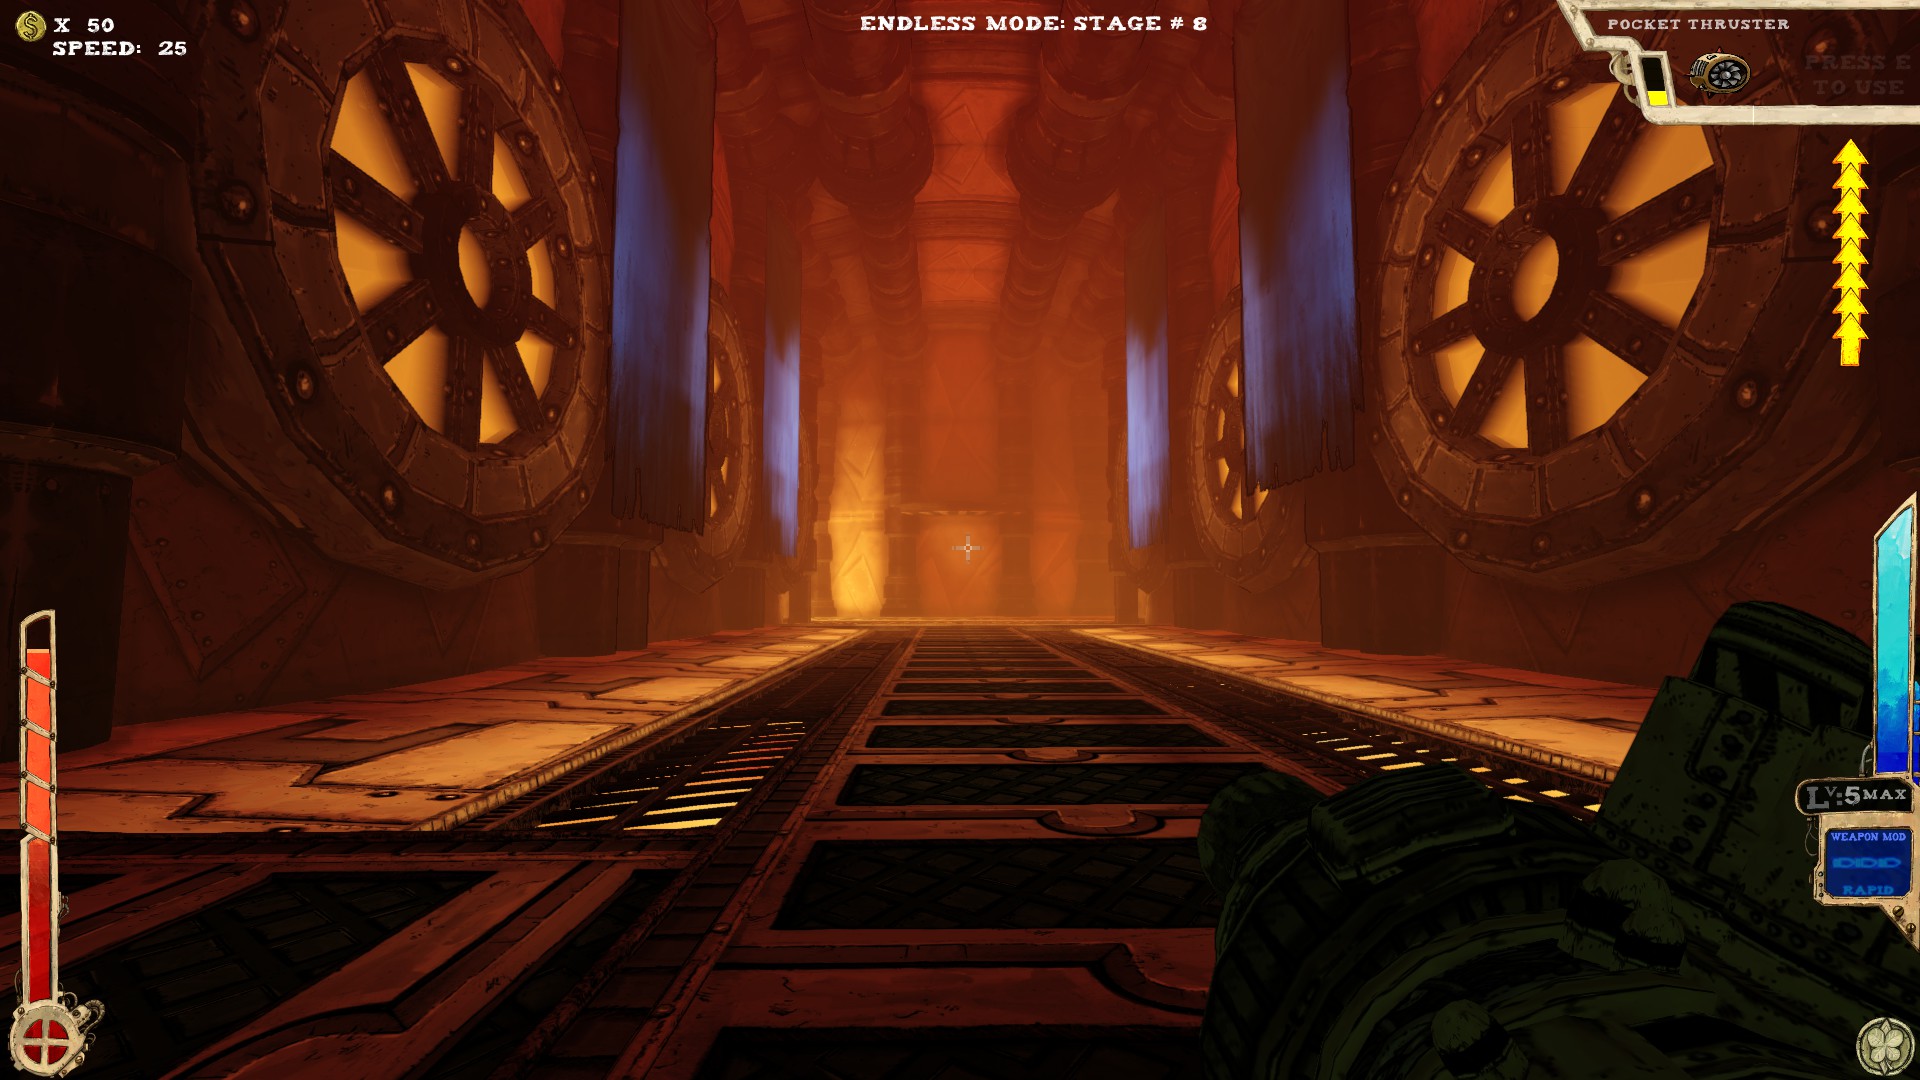
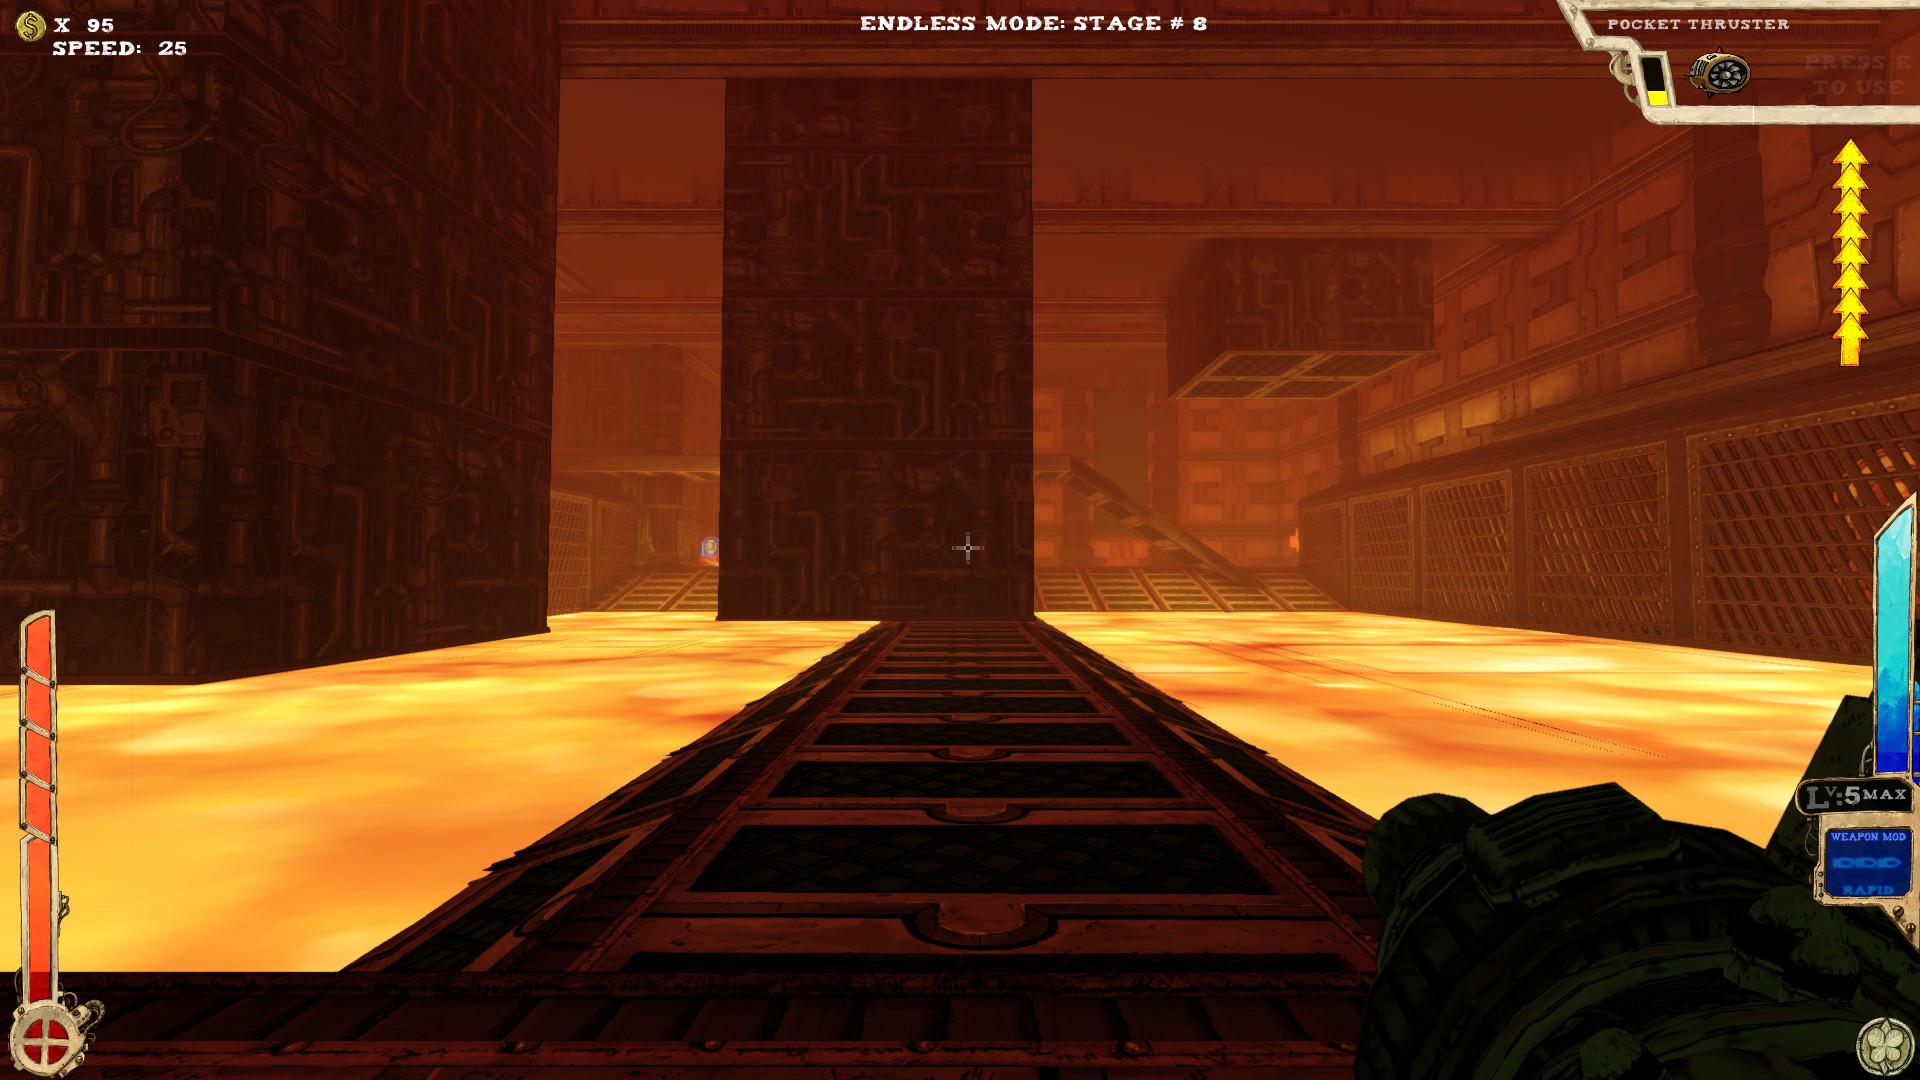
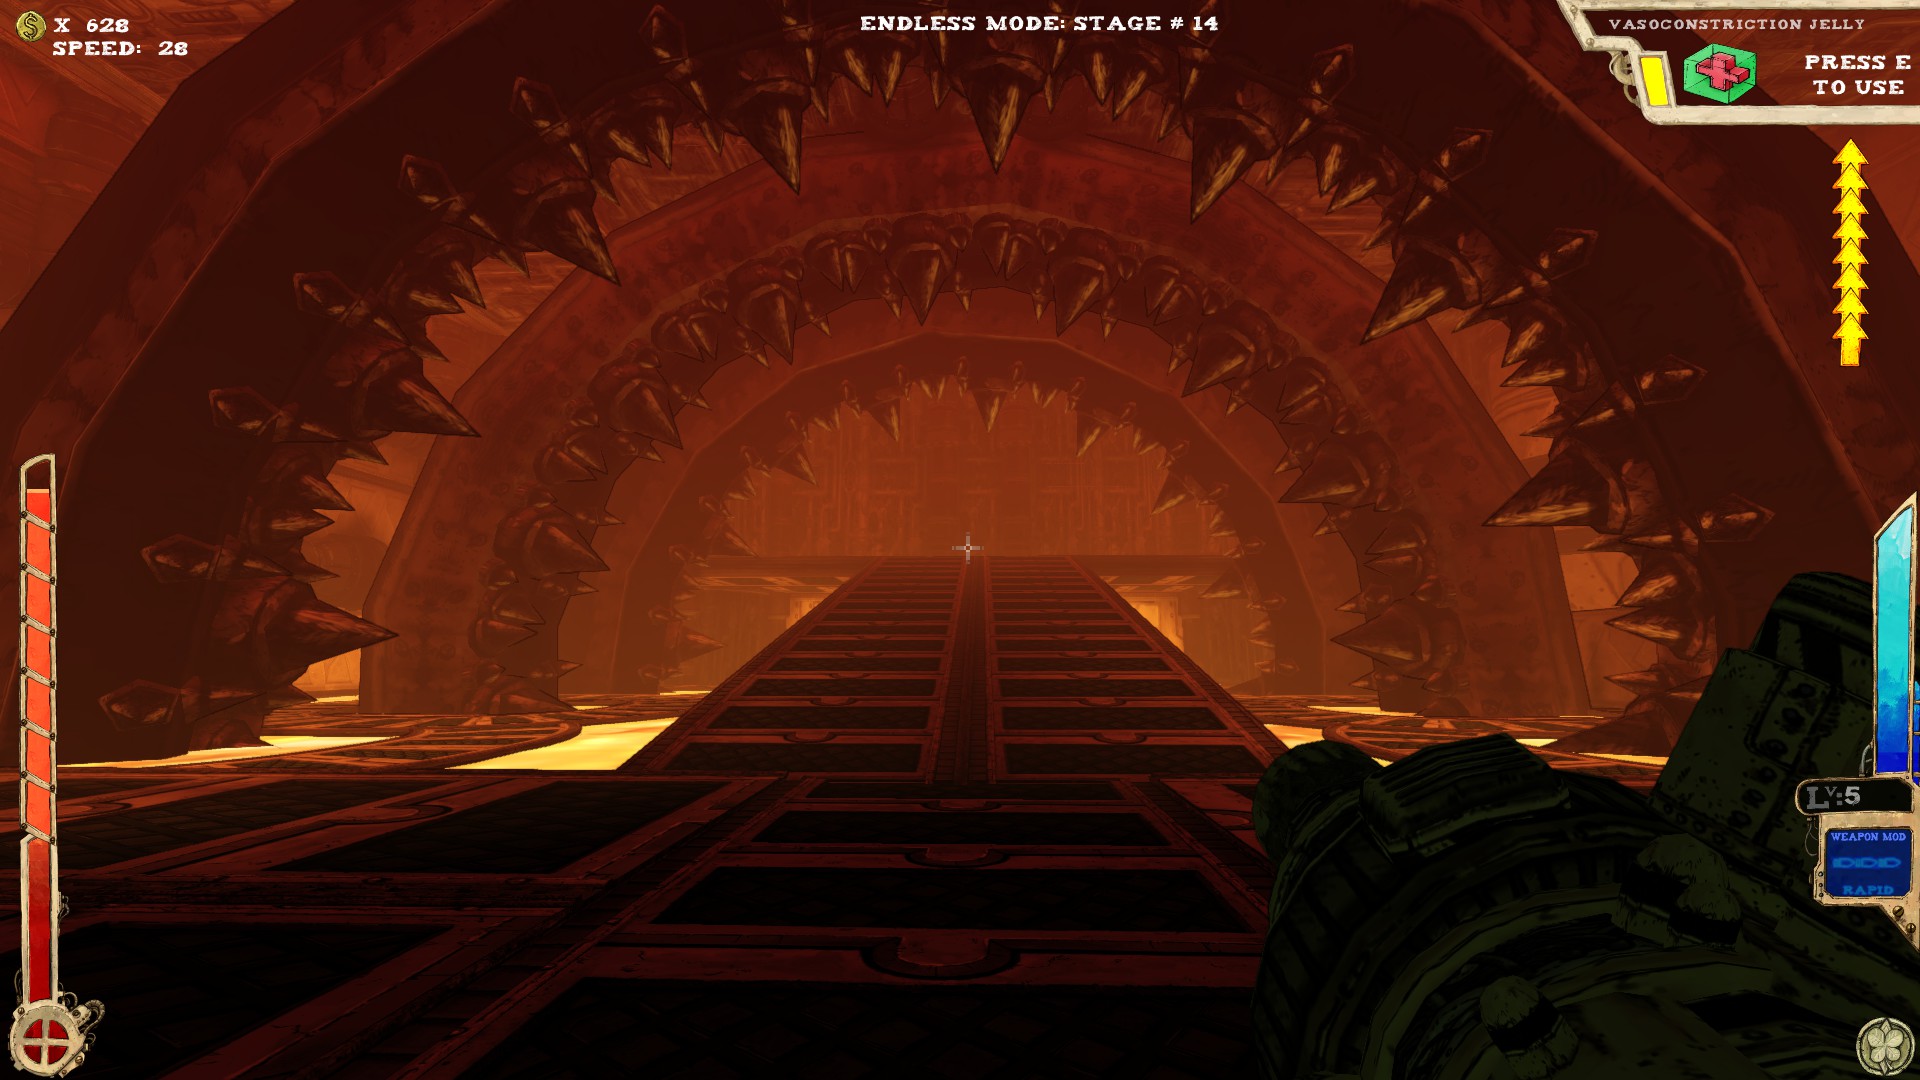
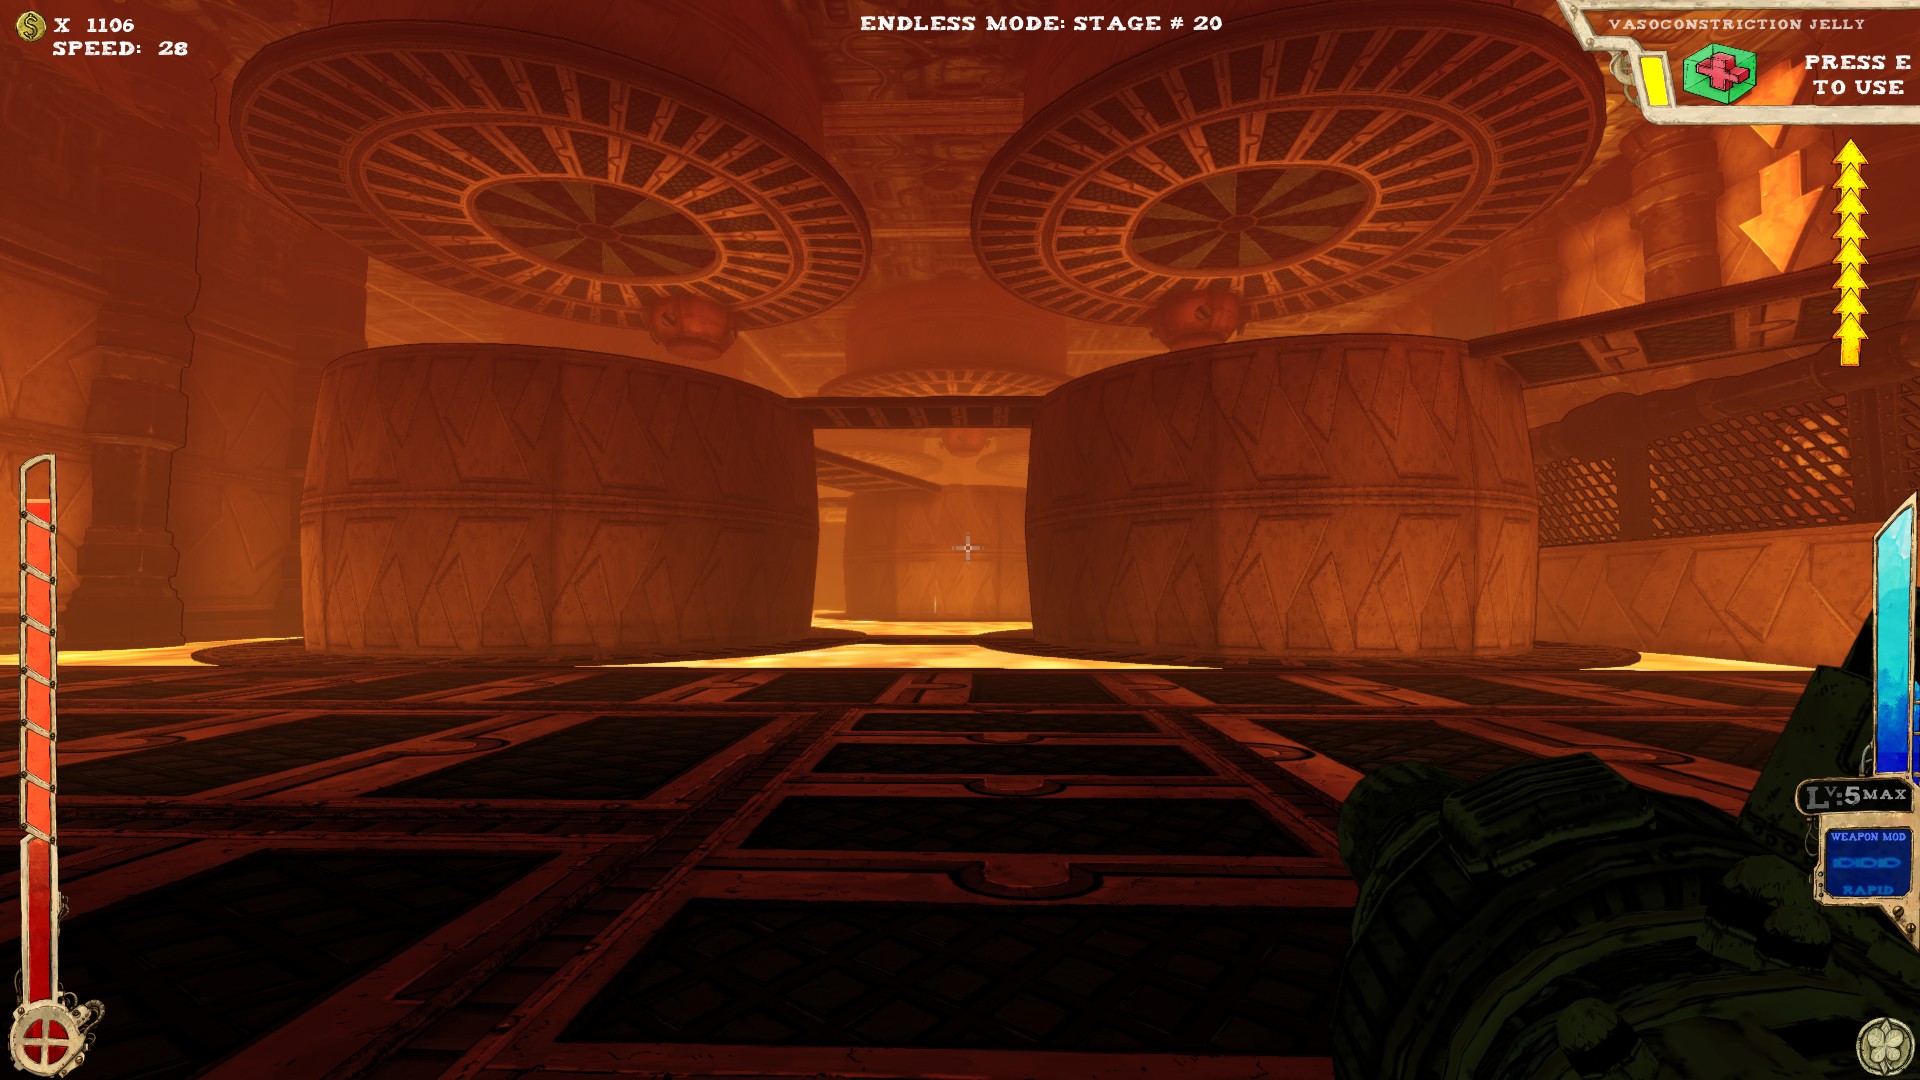
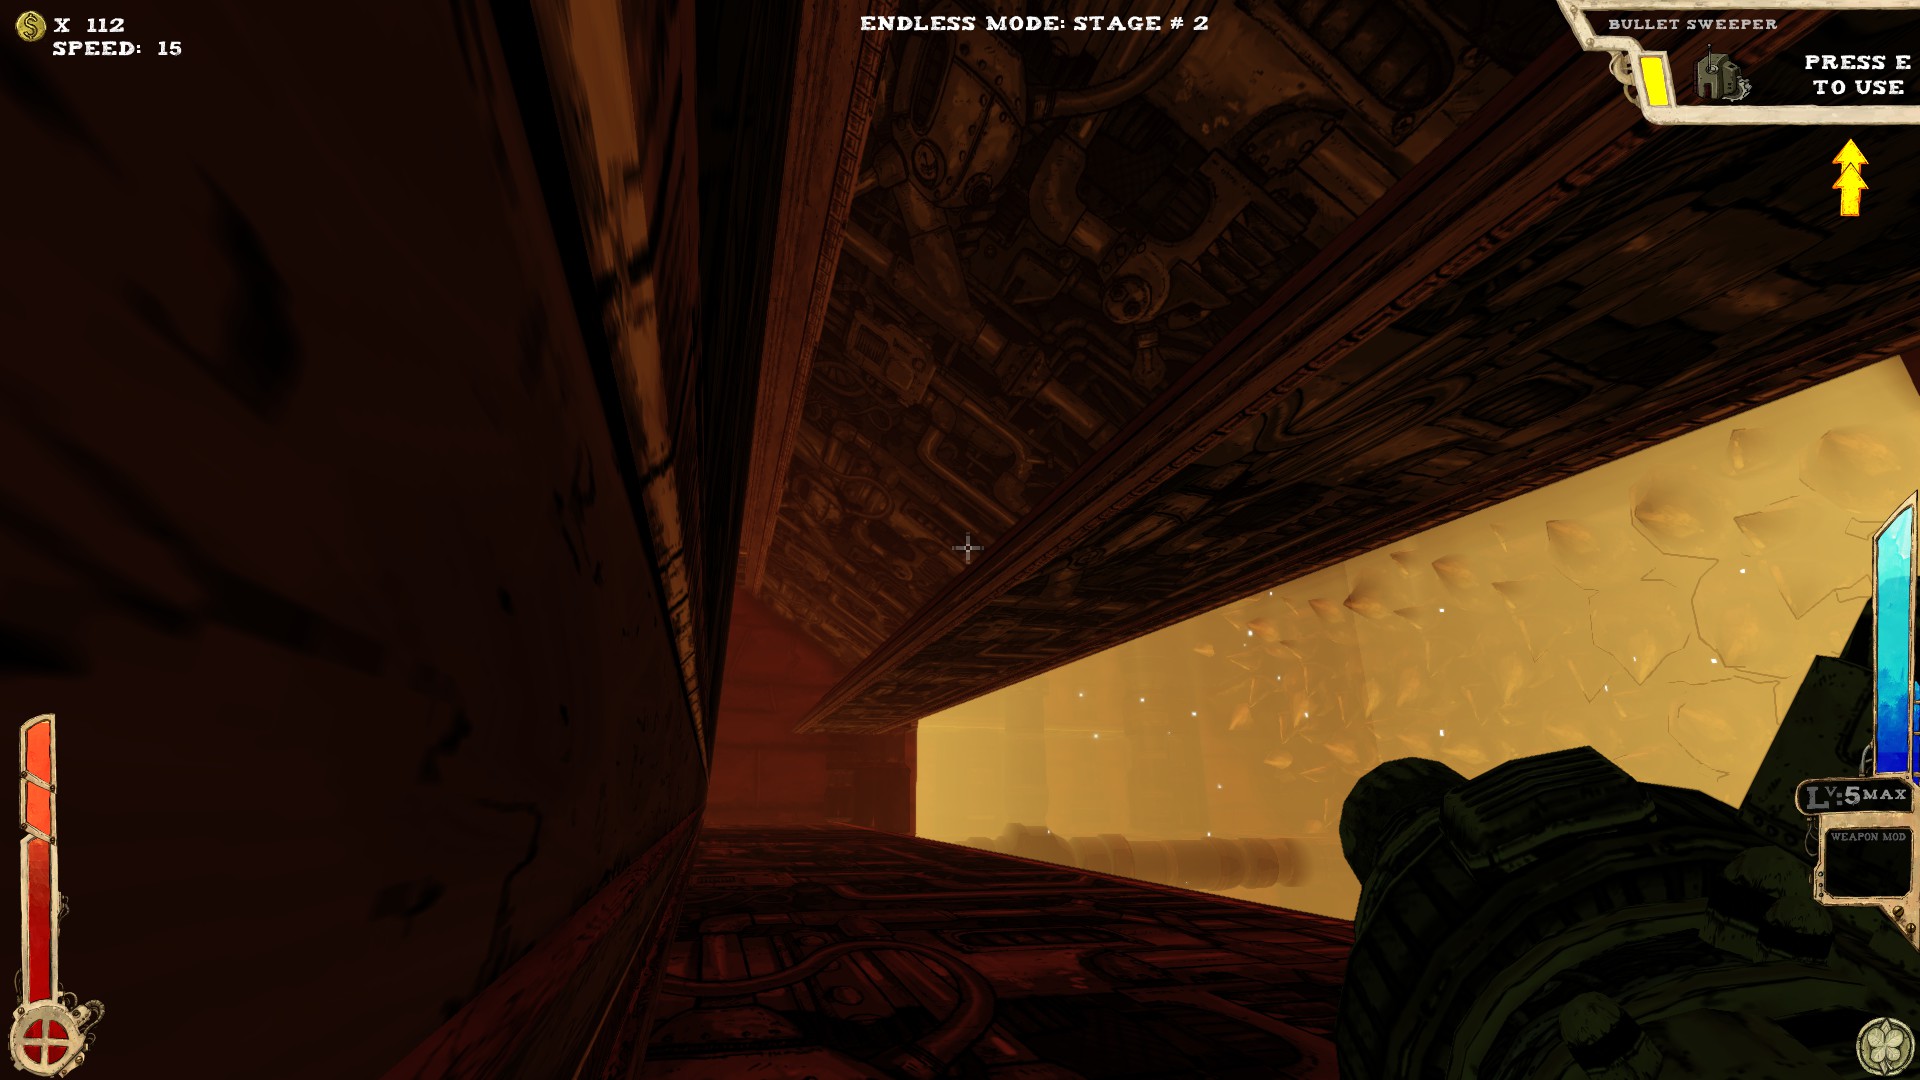
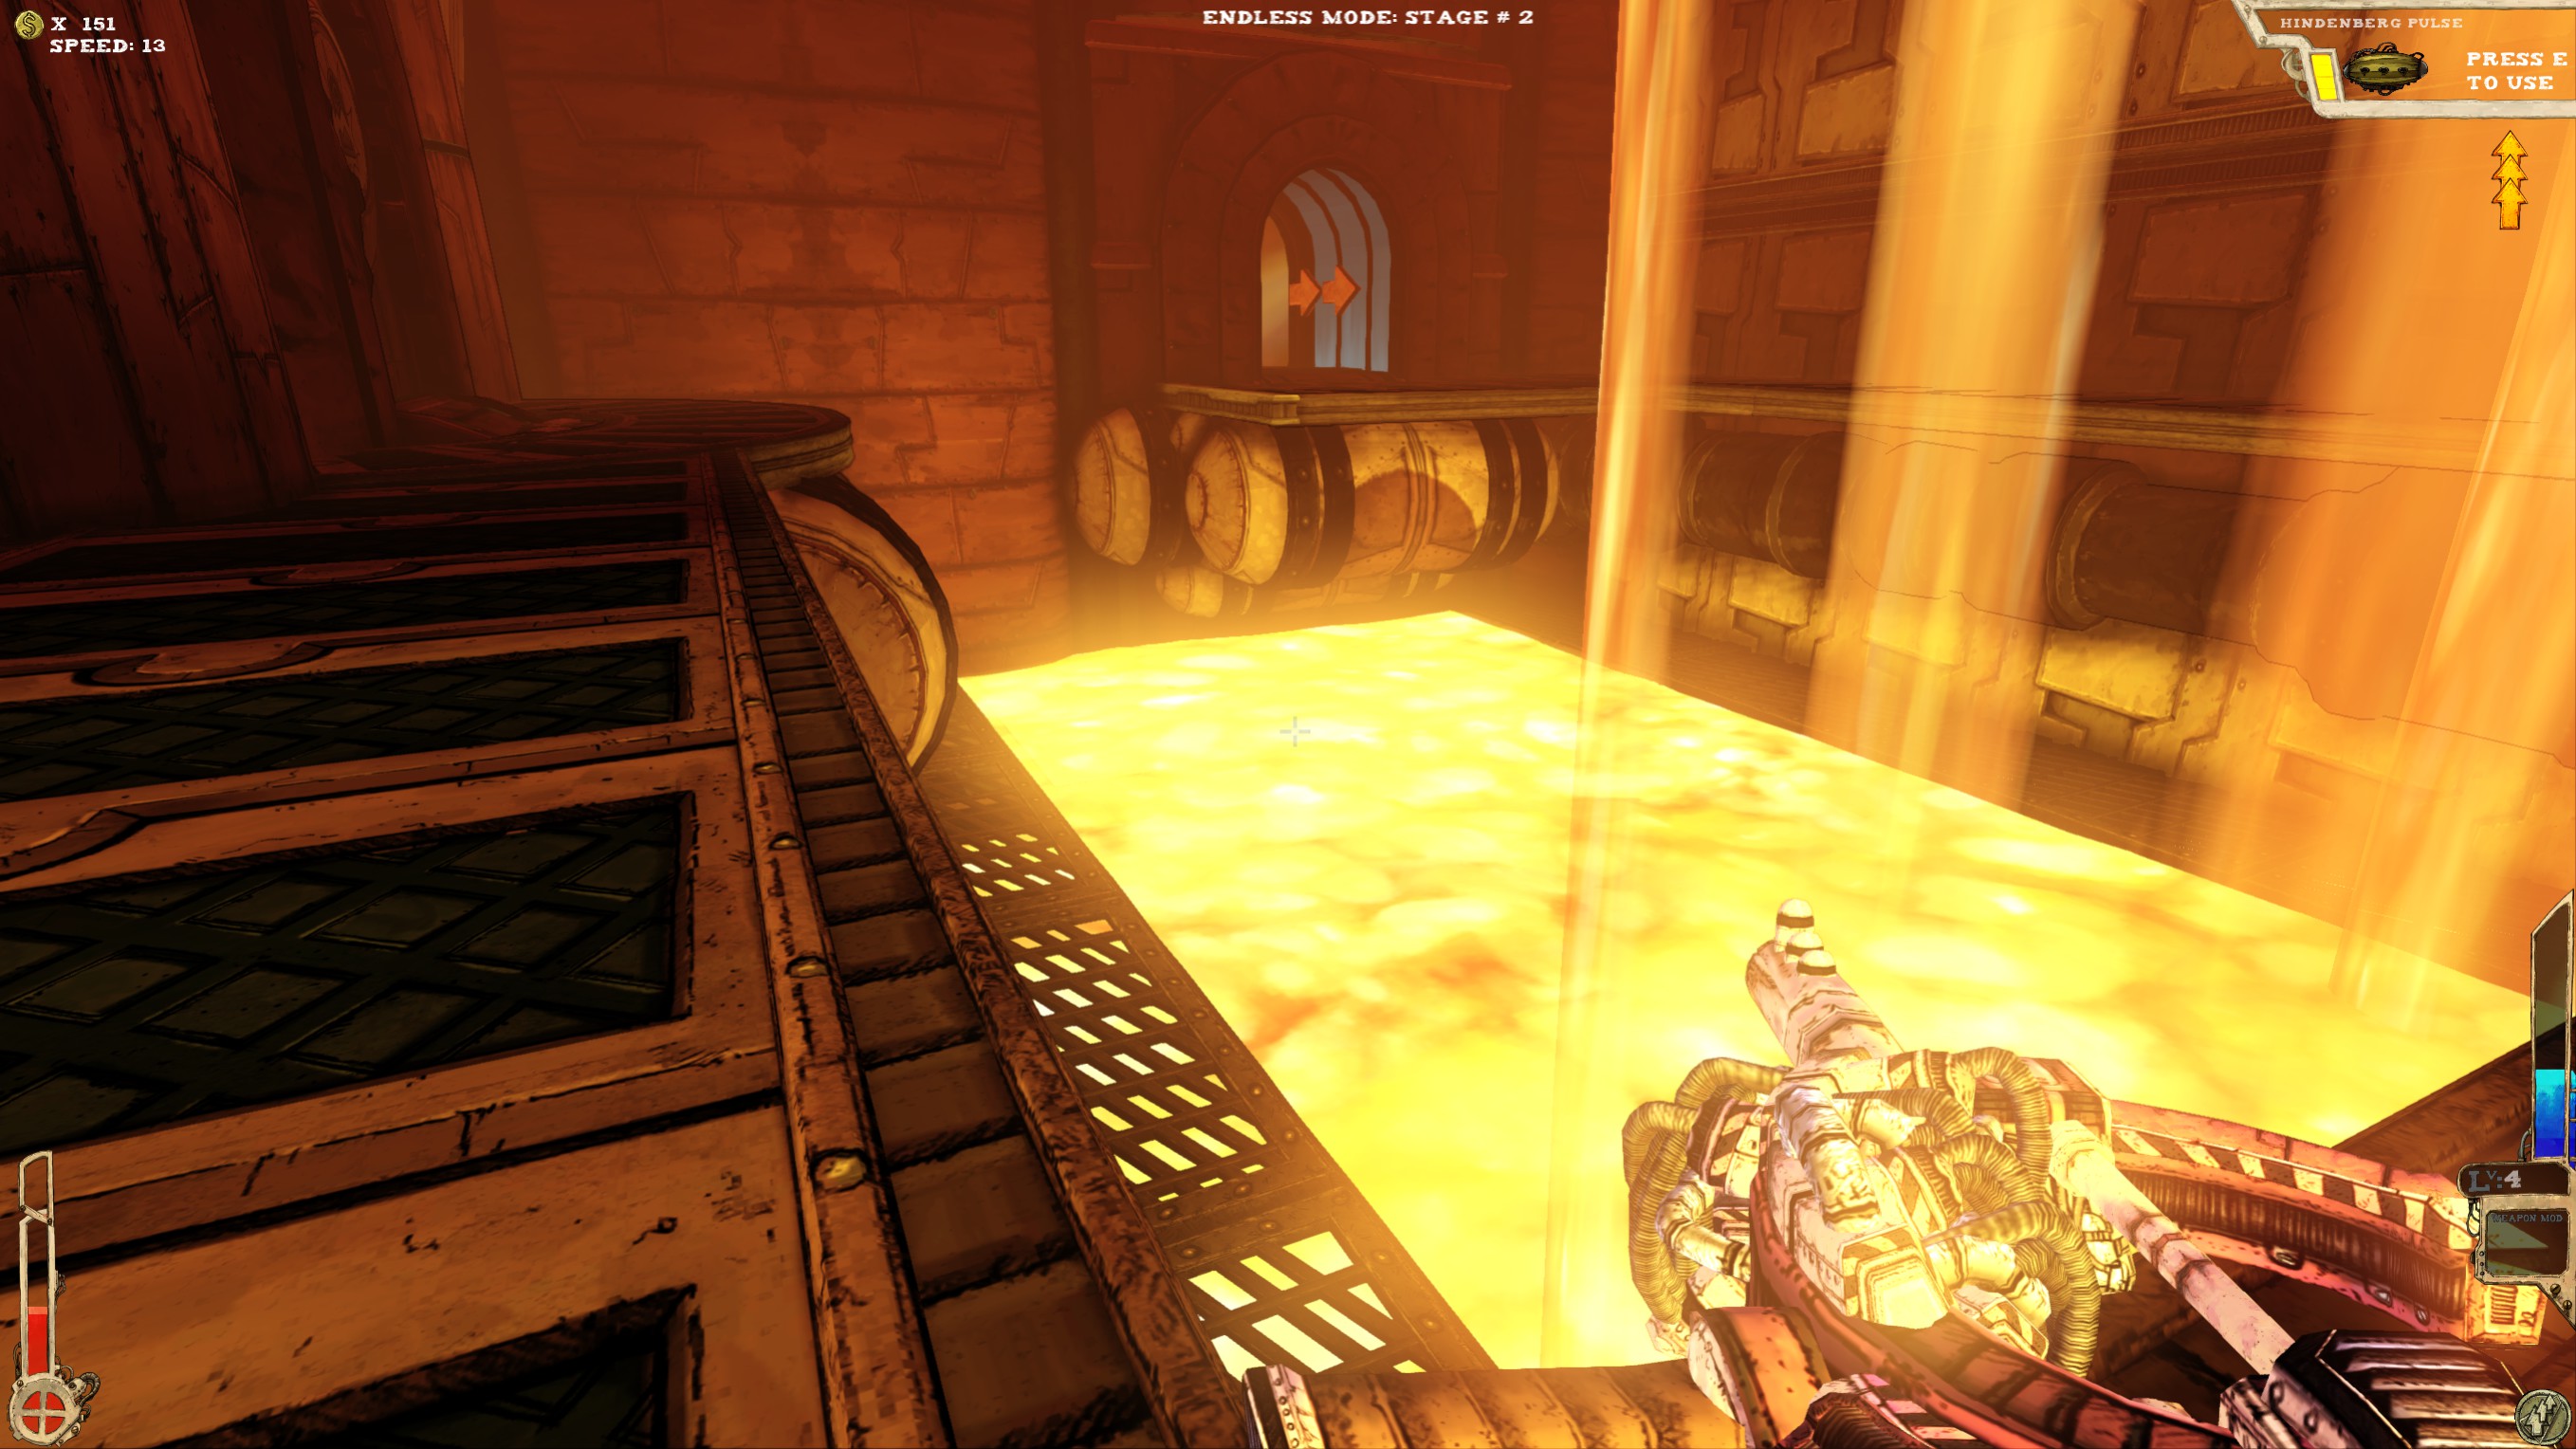
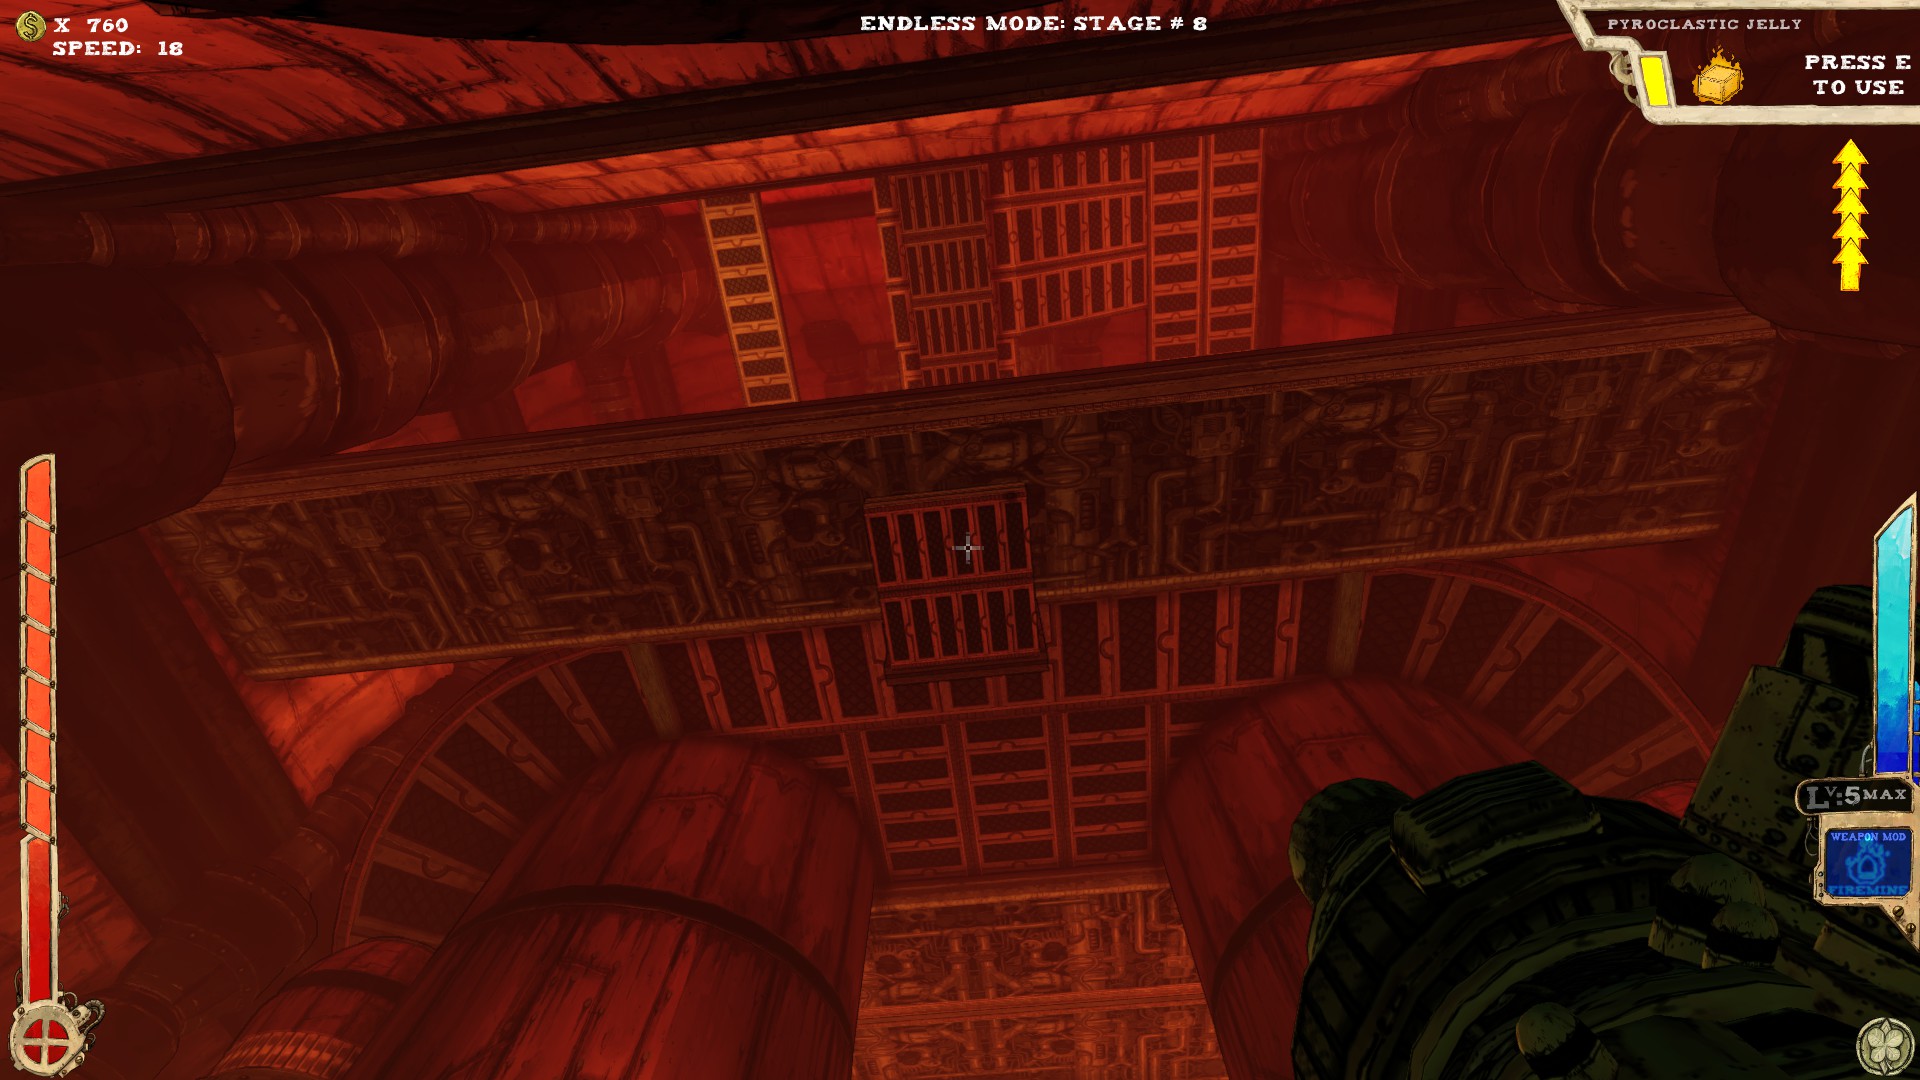
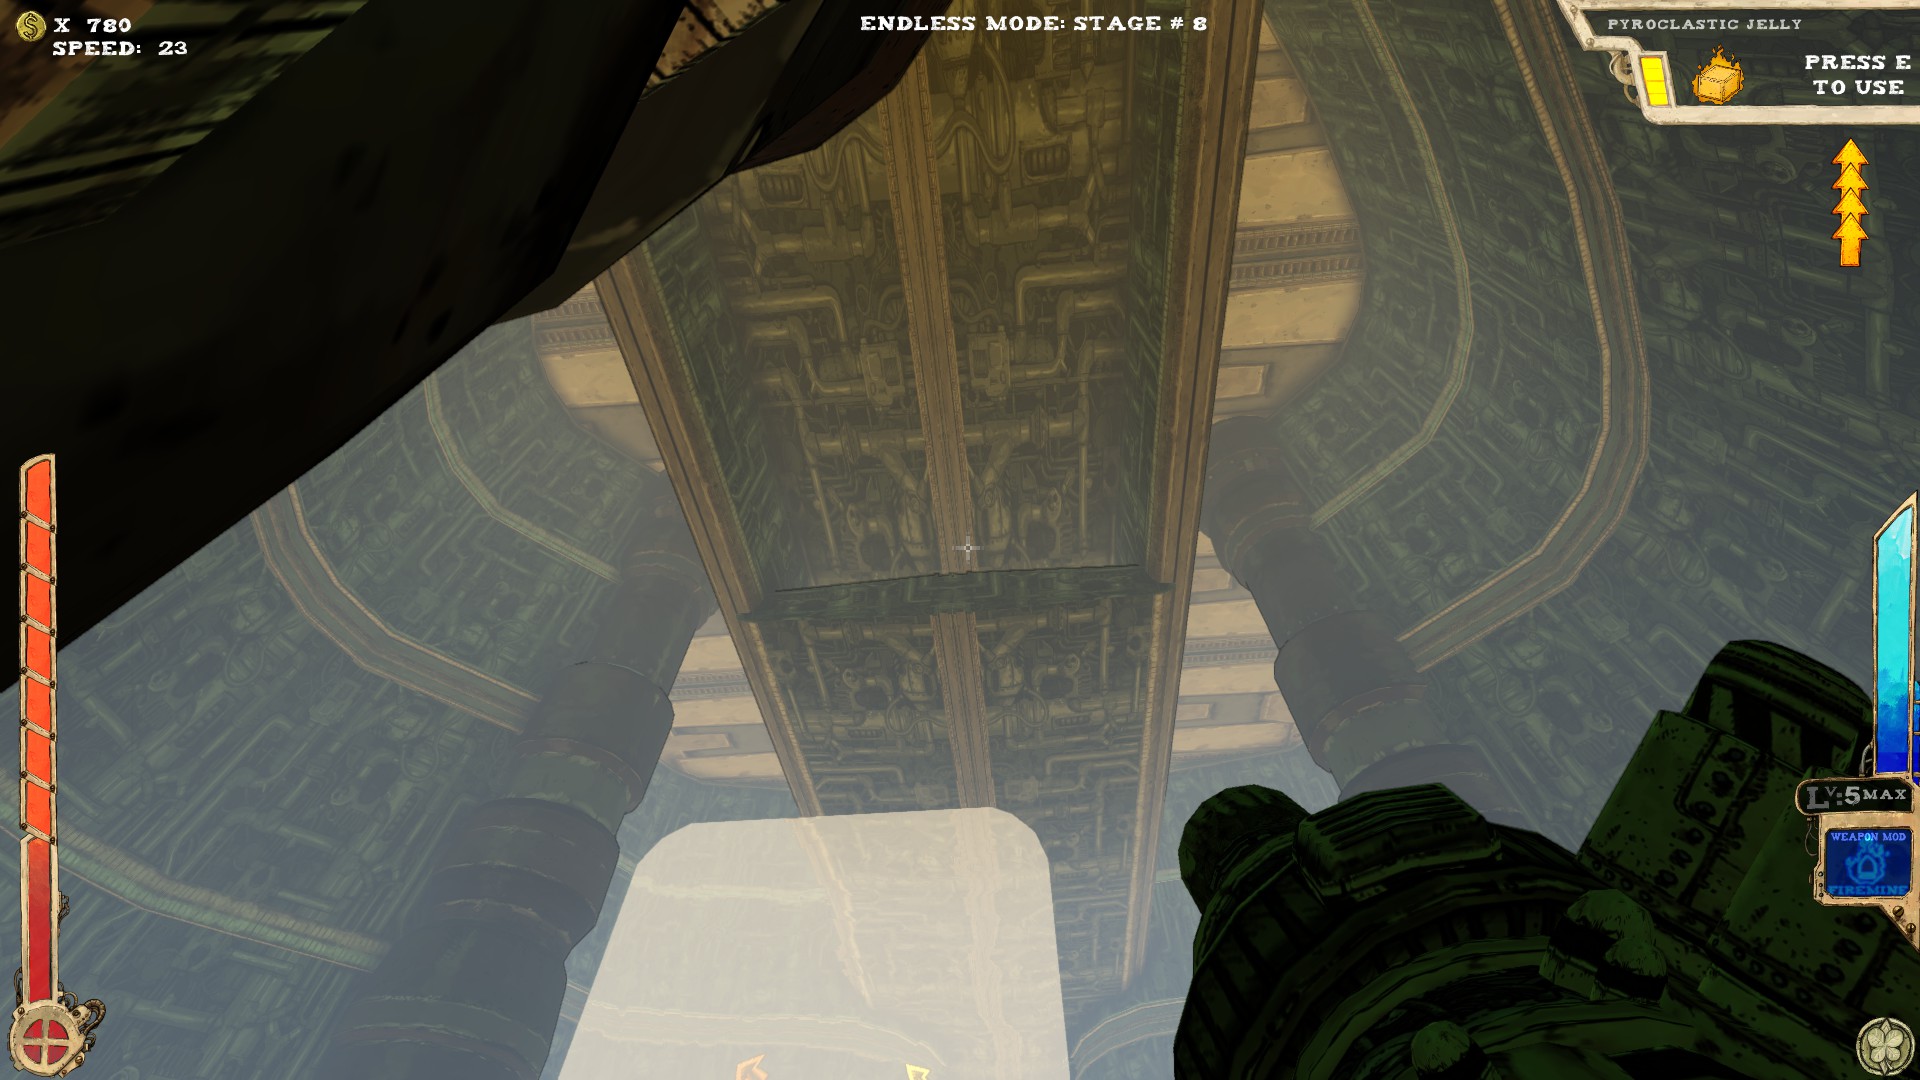
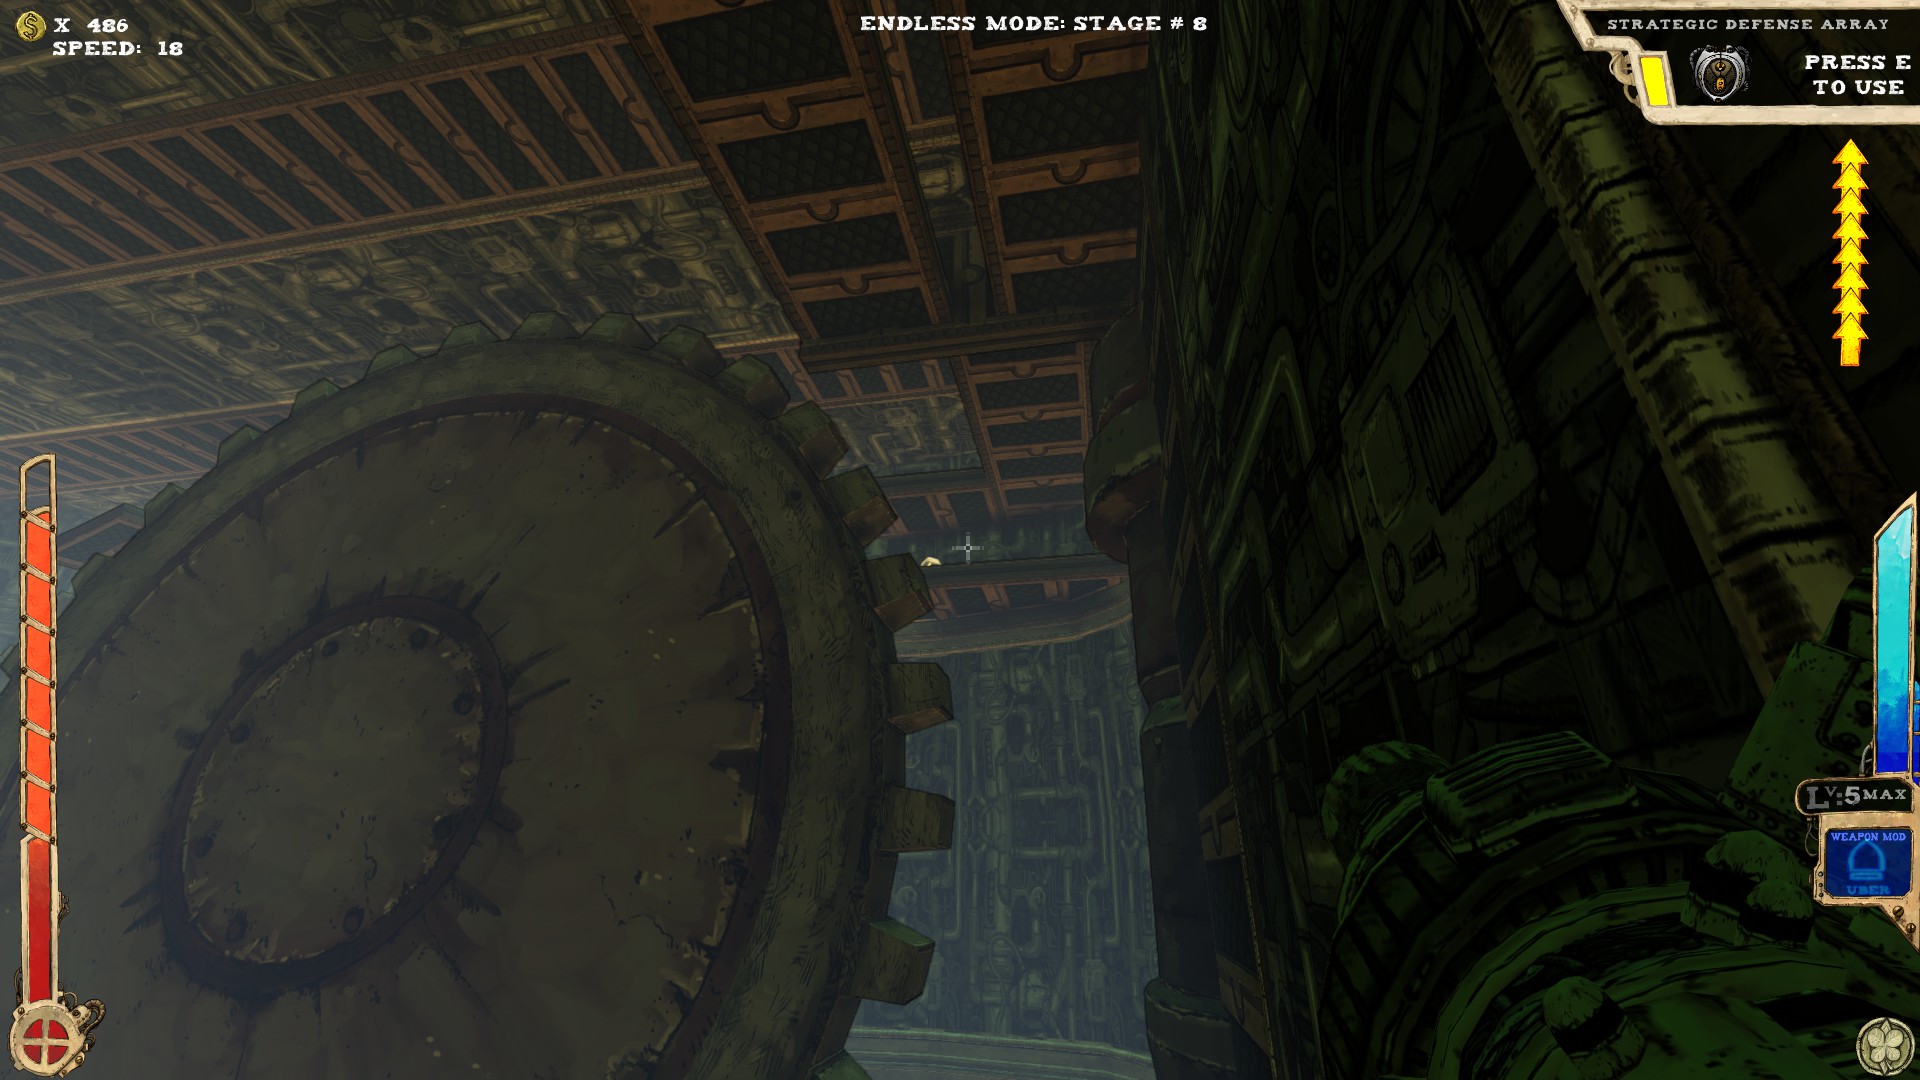
 Two Secrets.
 Visible when standing towards the exit and looking up. Not reachable without extra jumps or a proper item.
You can try to use some ledges in this room, but you still need extra jumps.
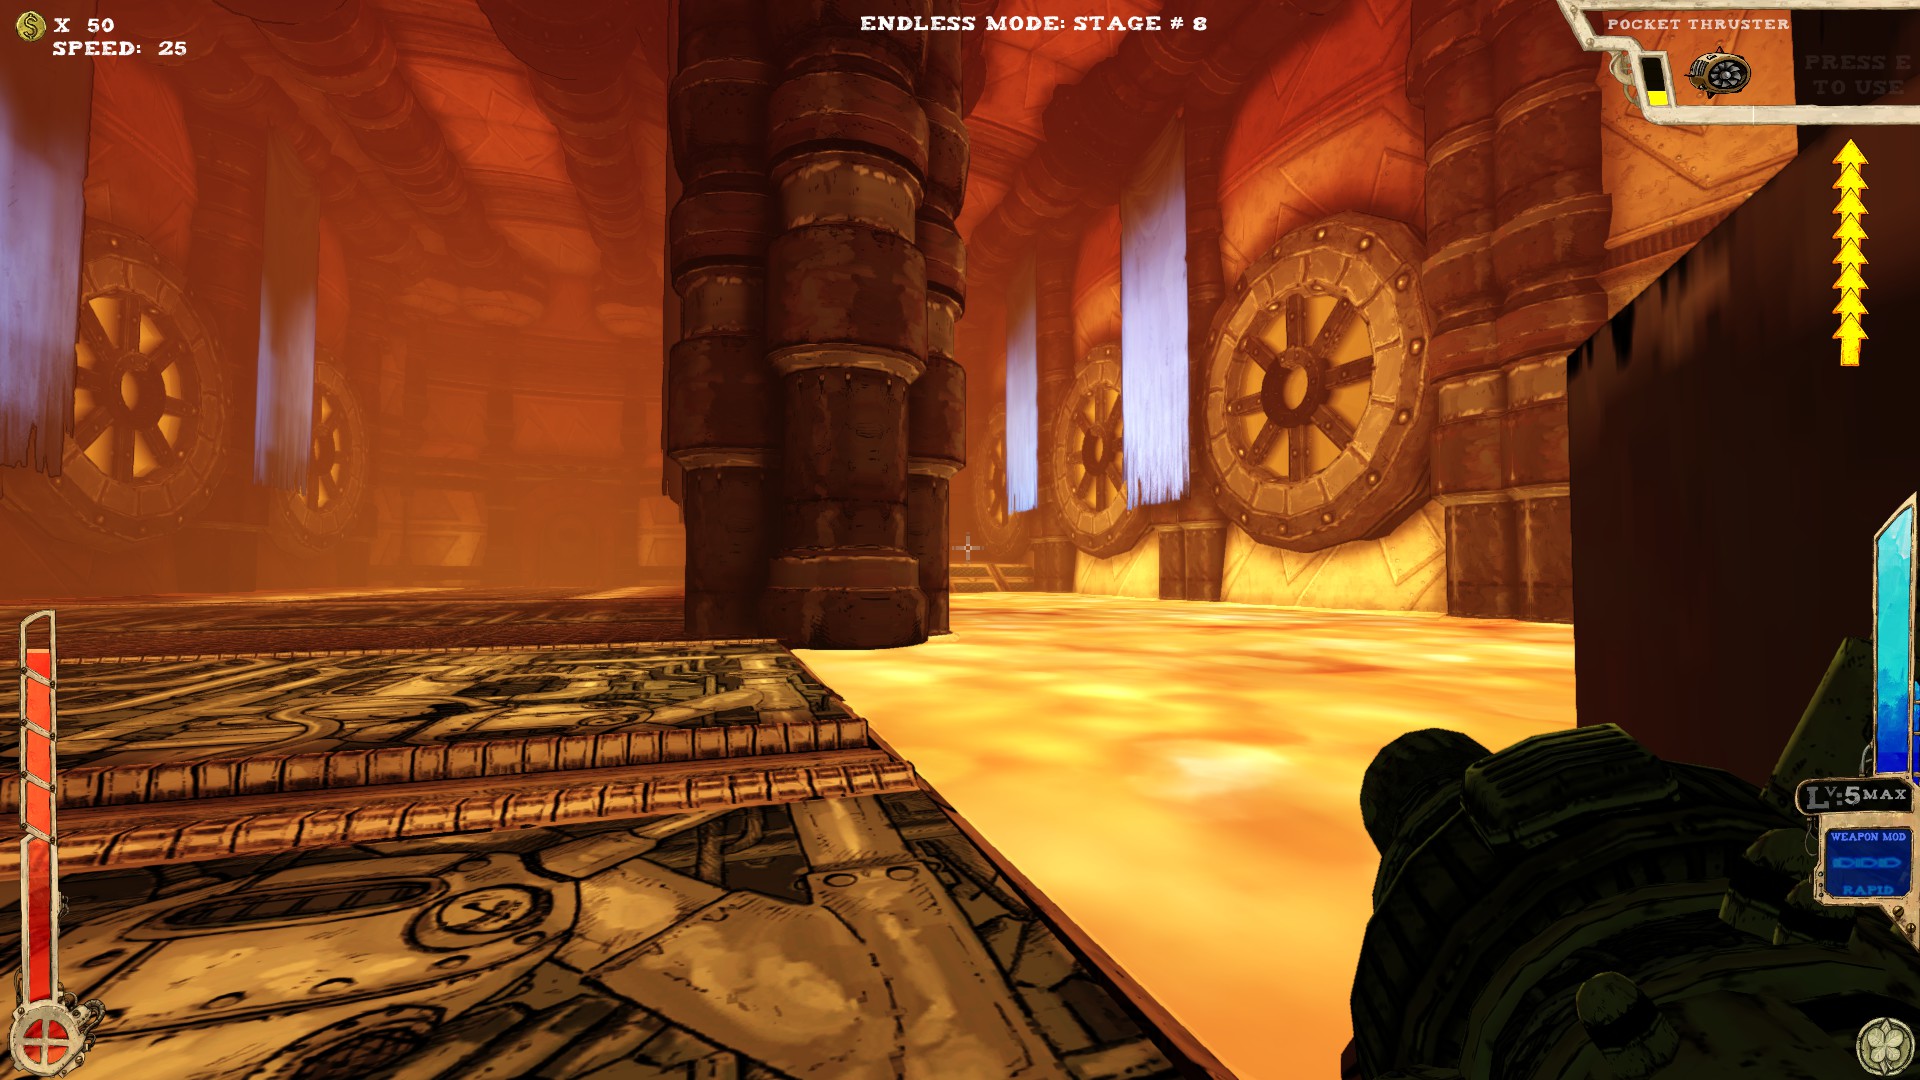
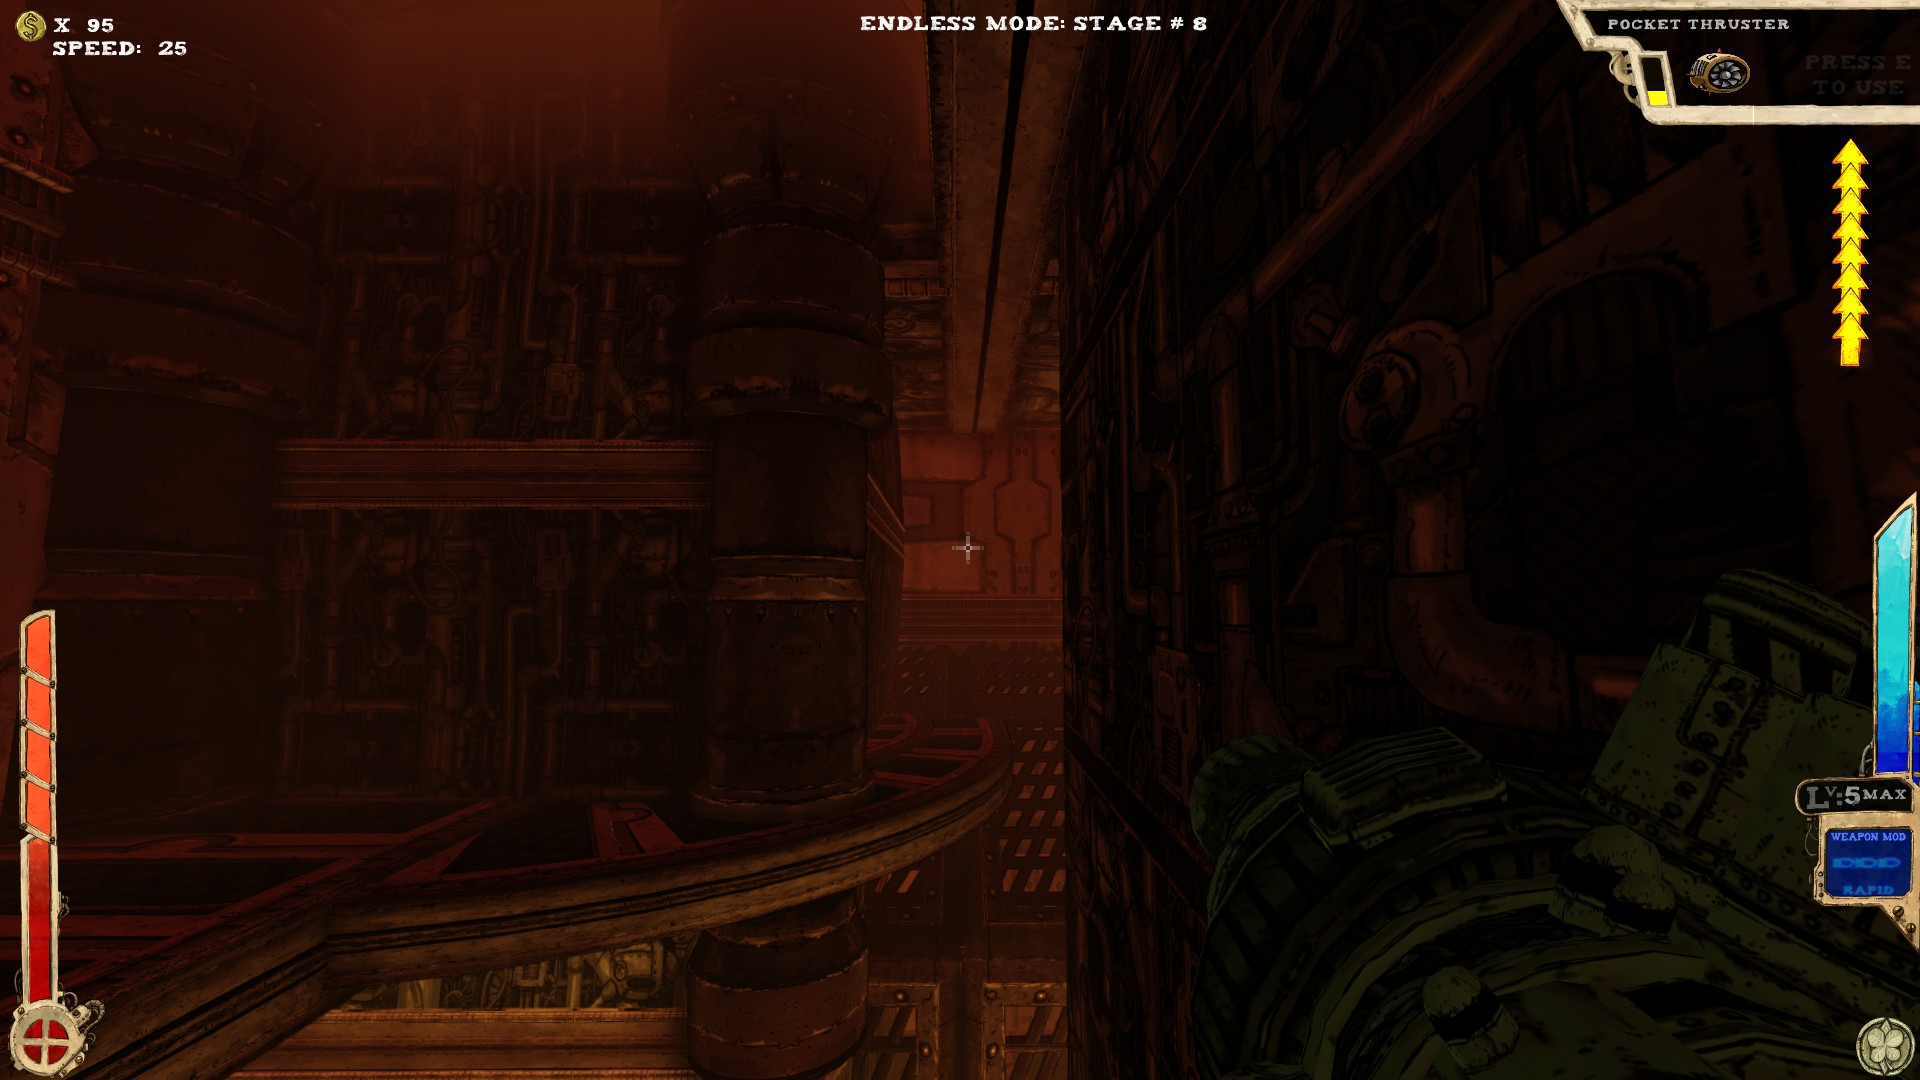
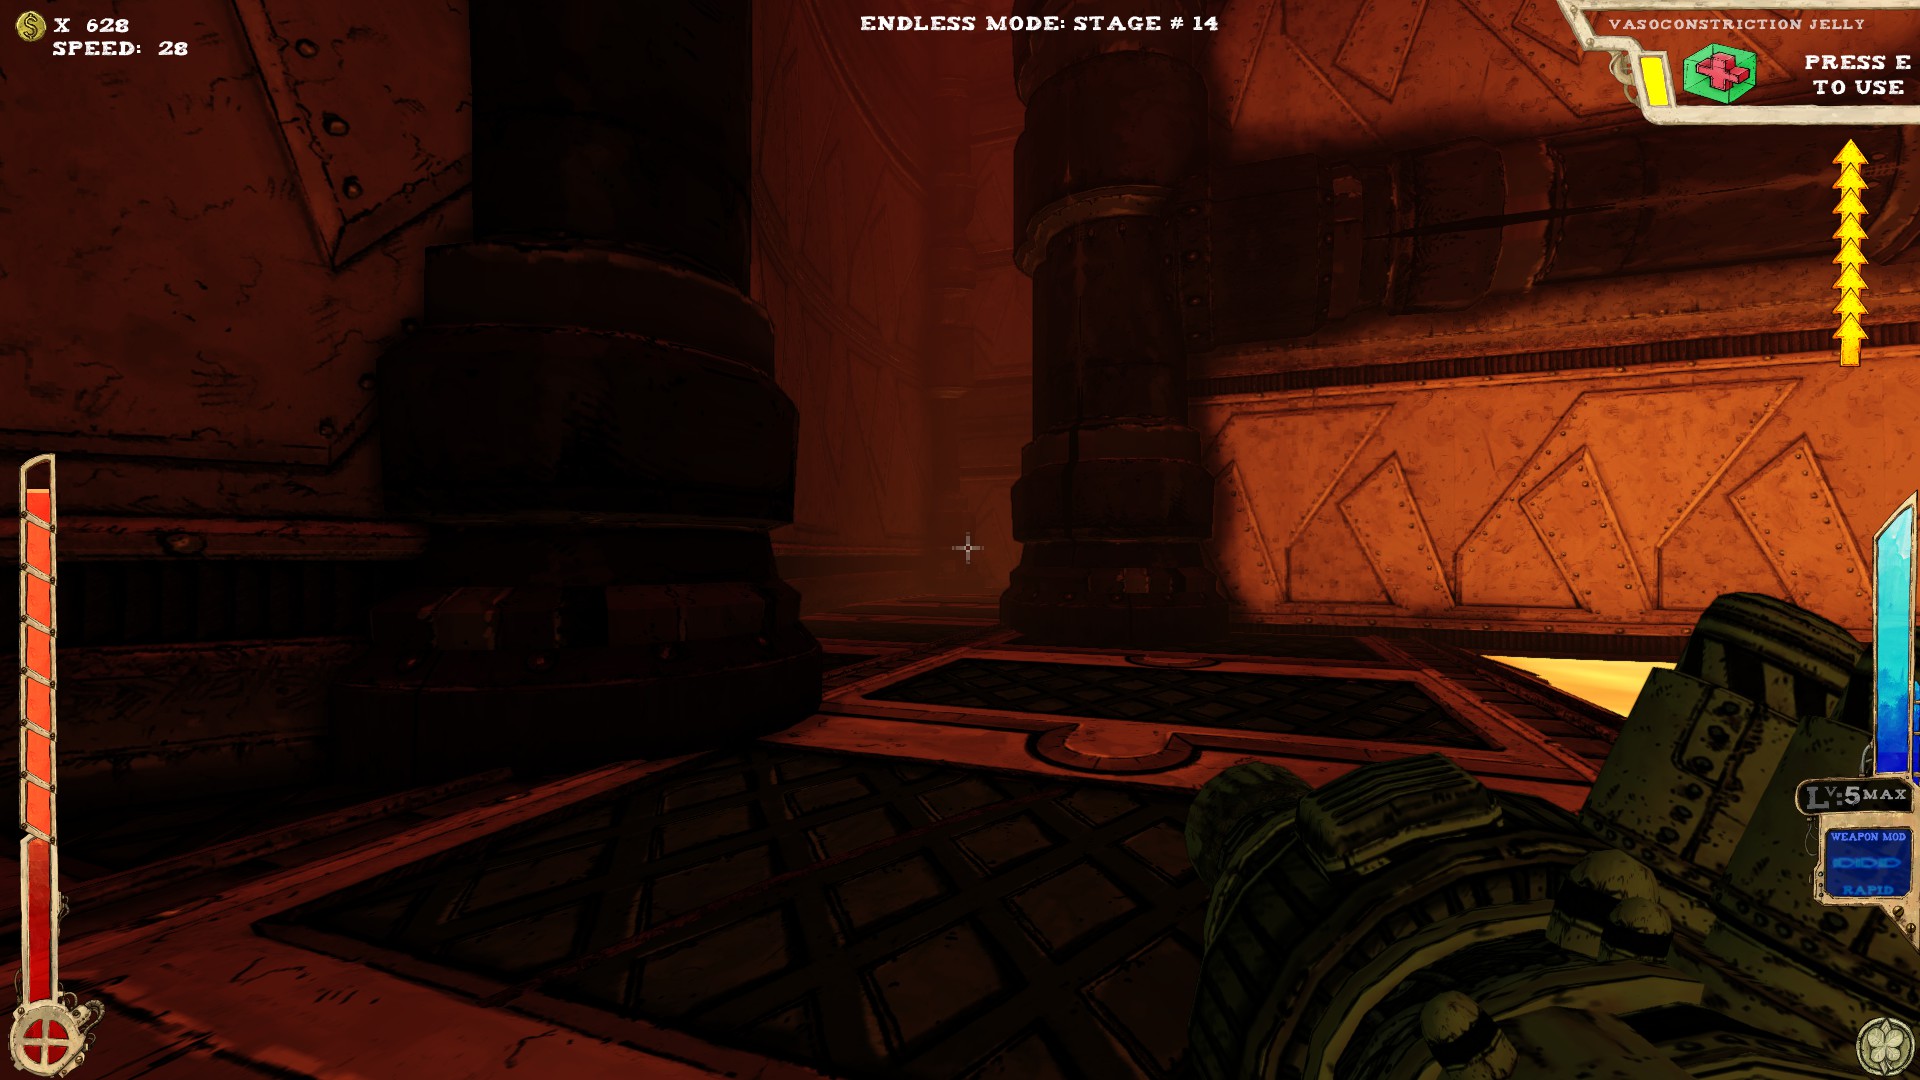
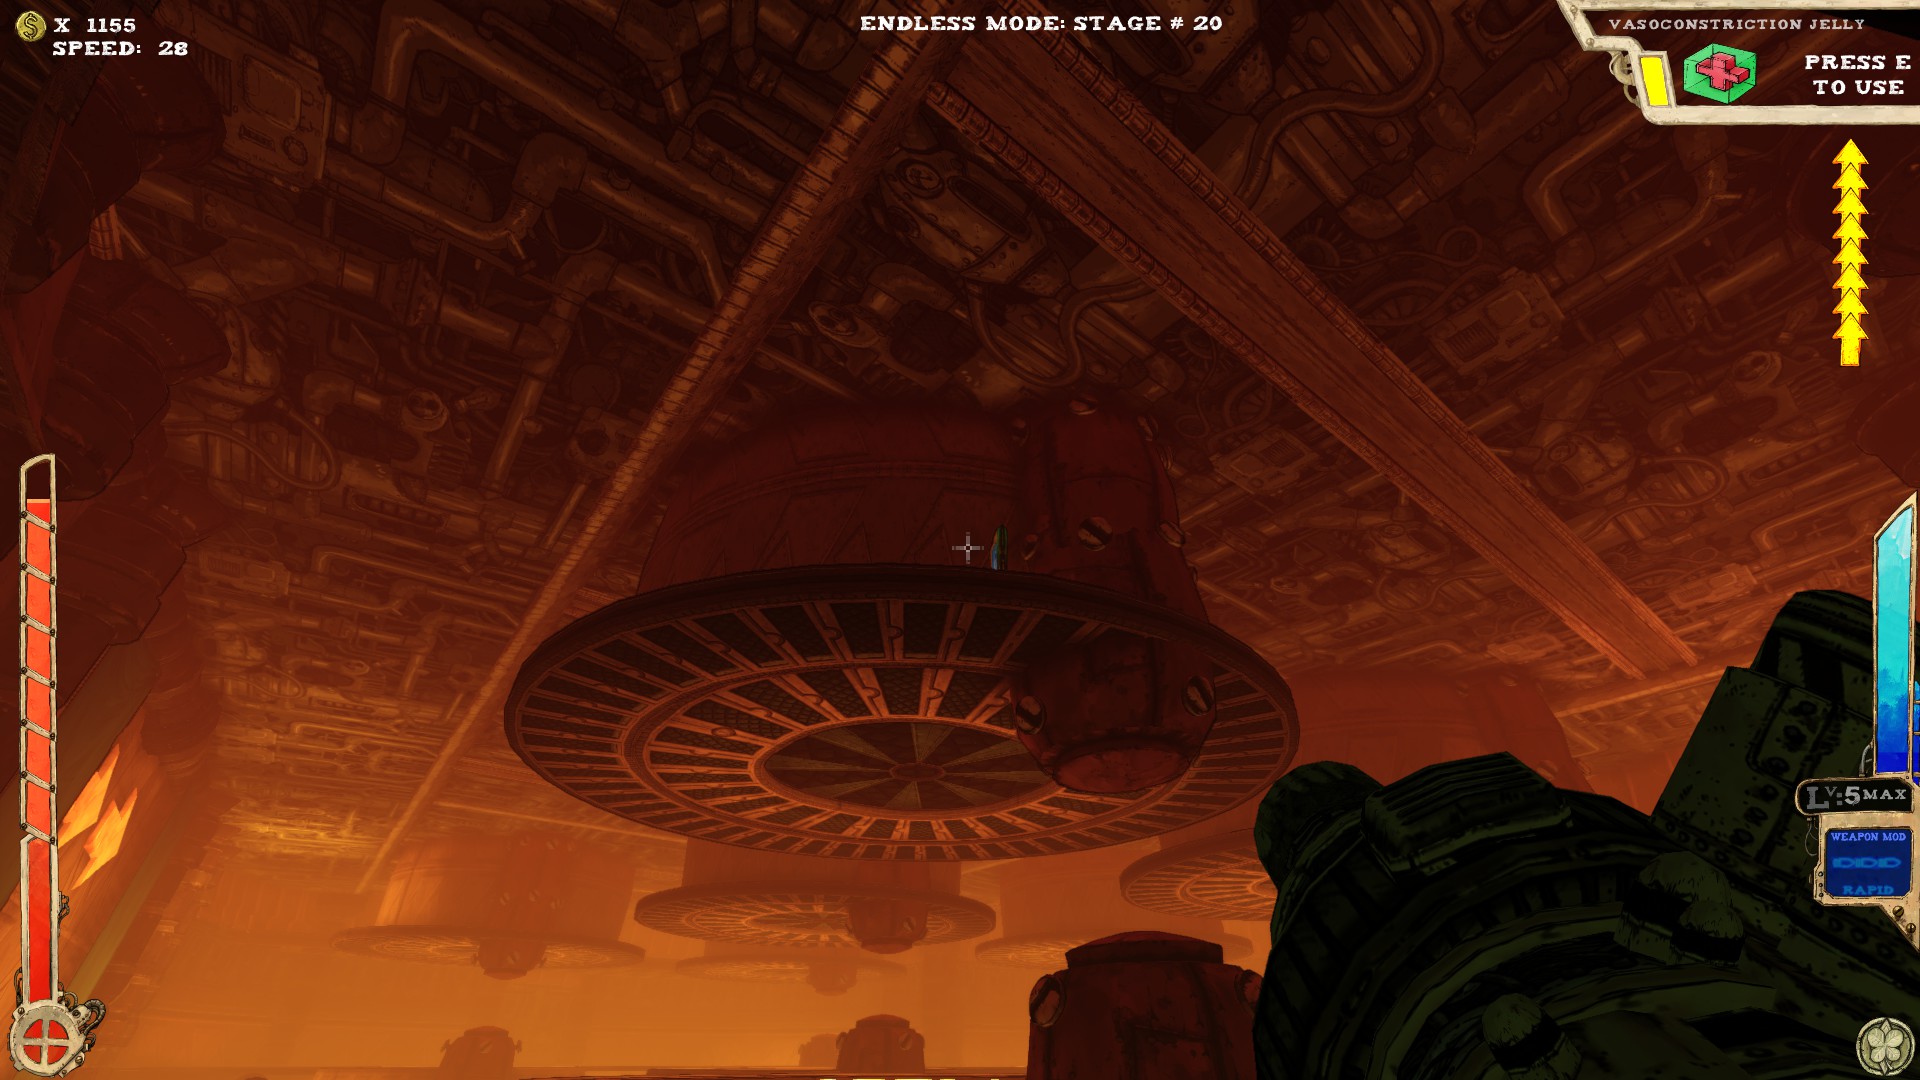
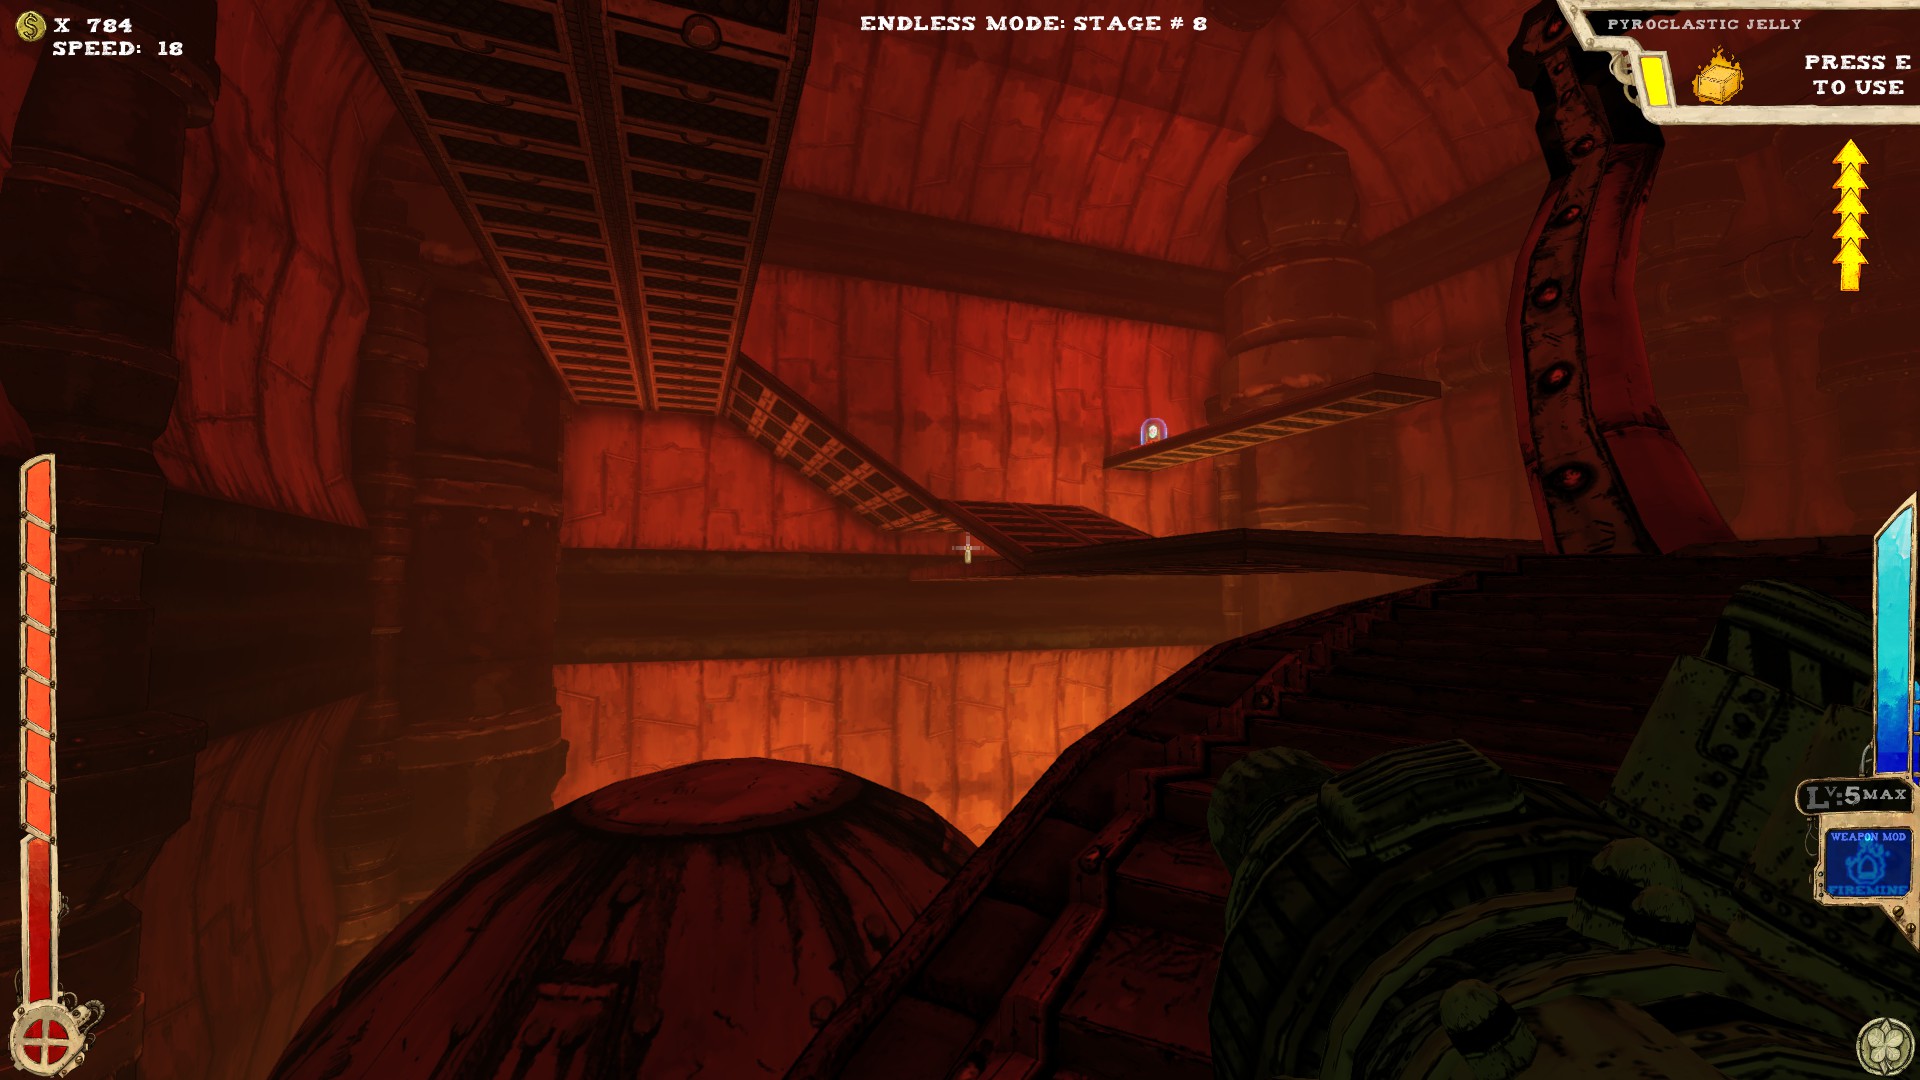
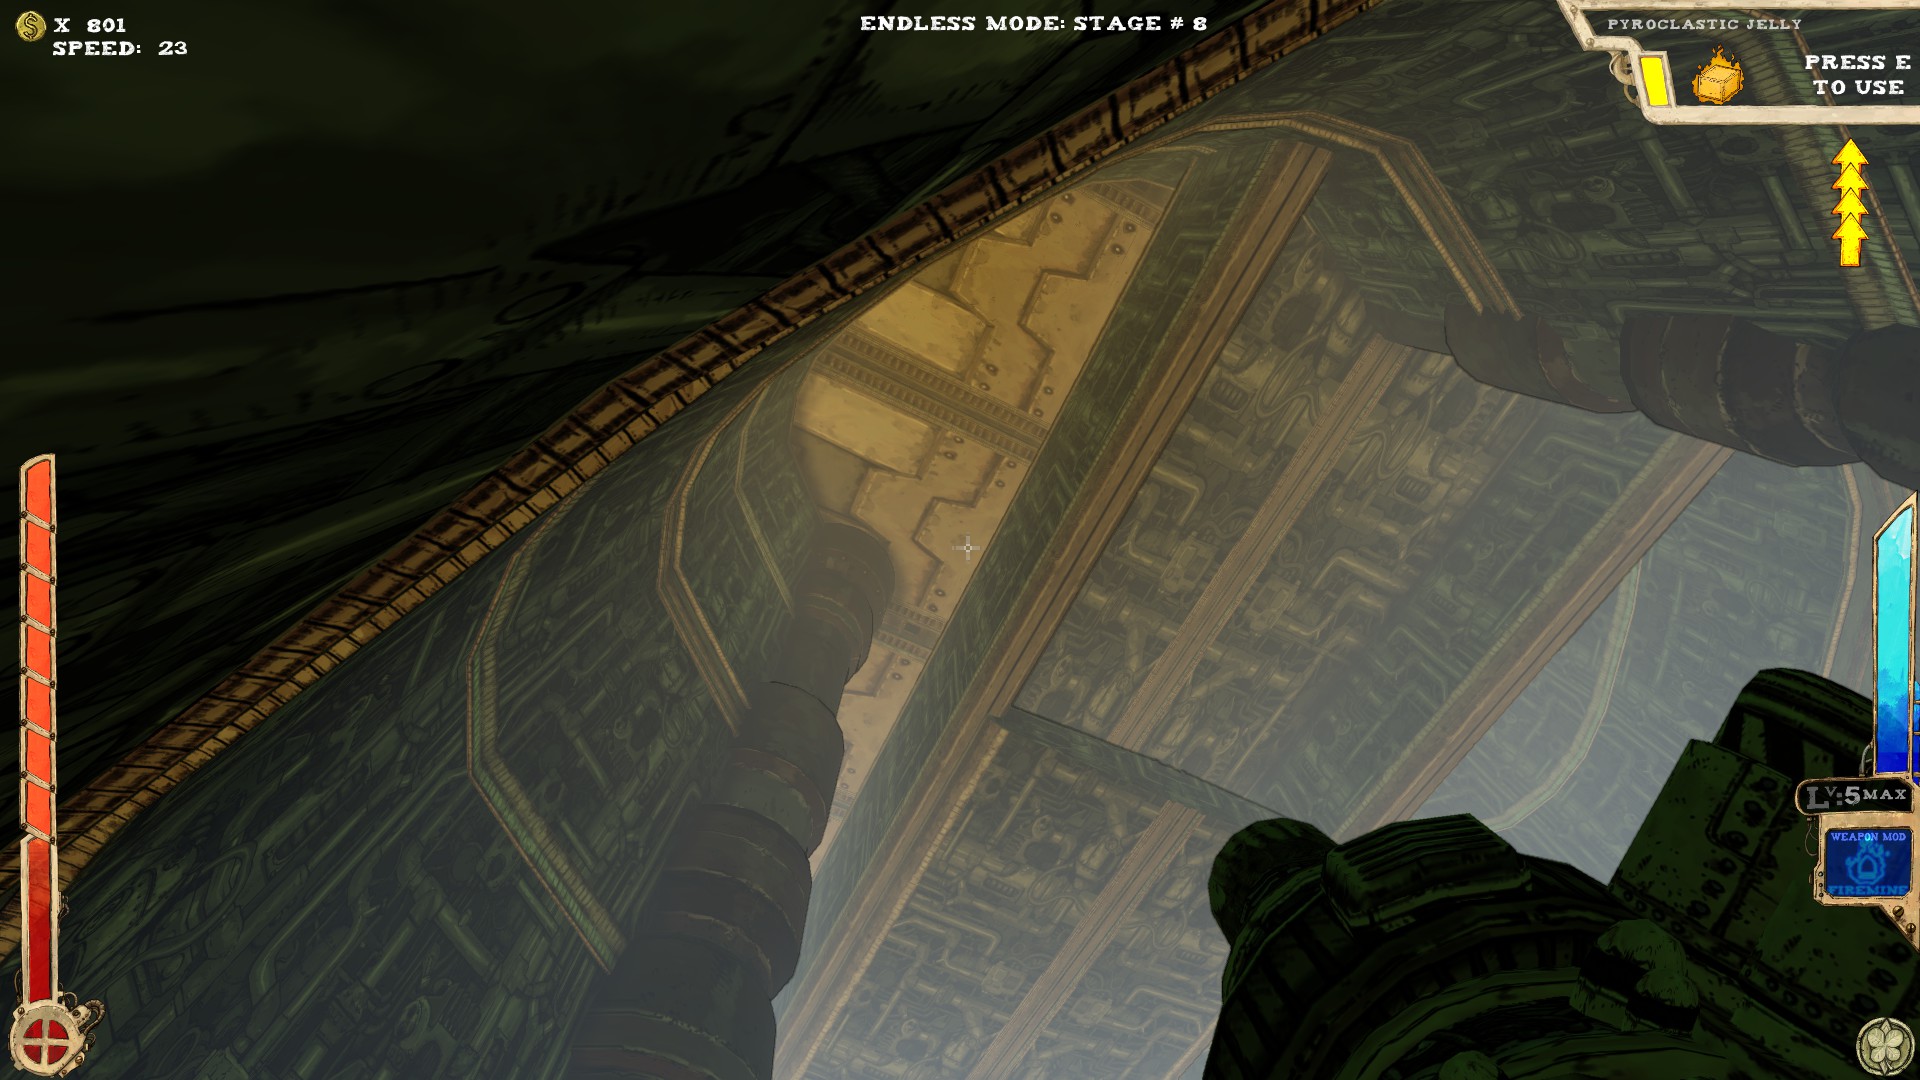
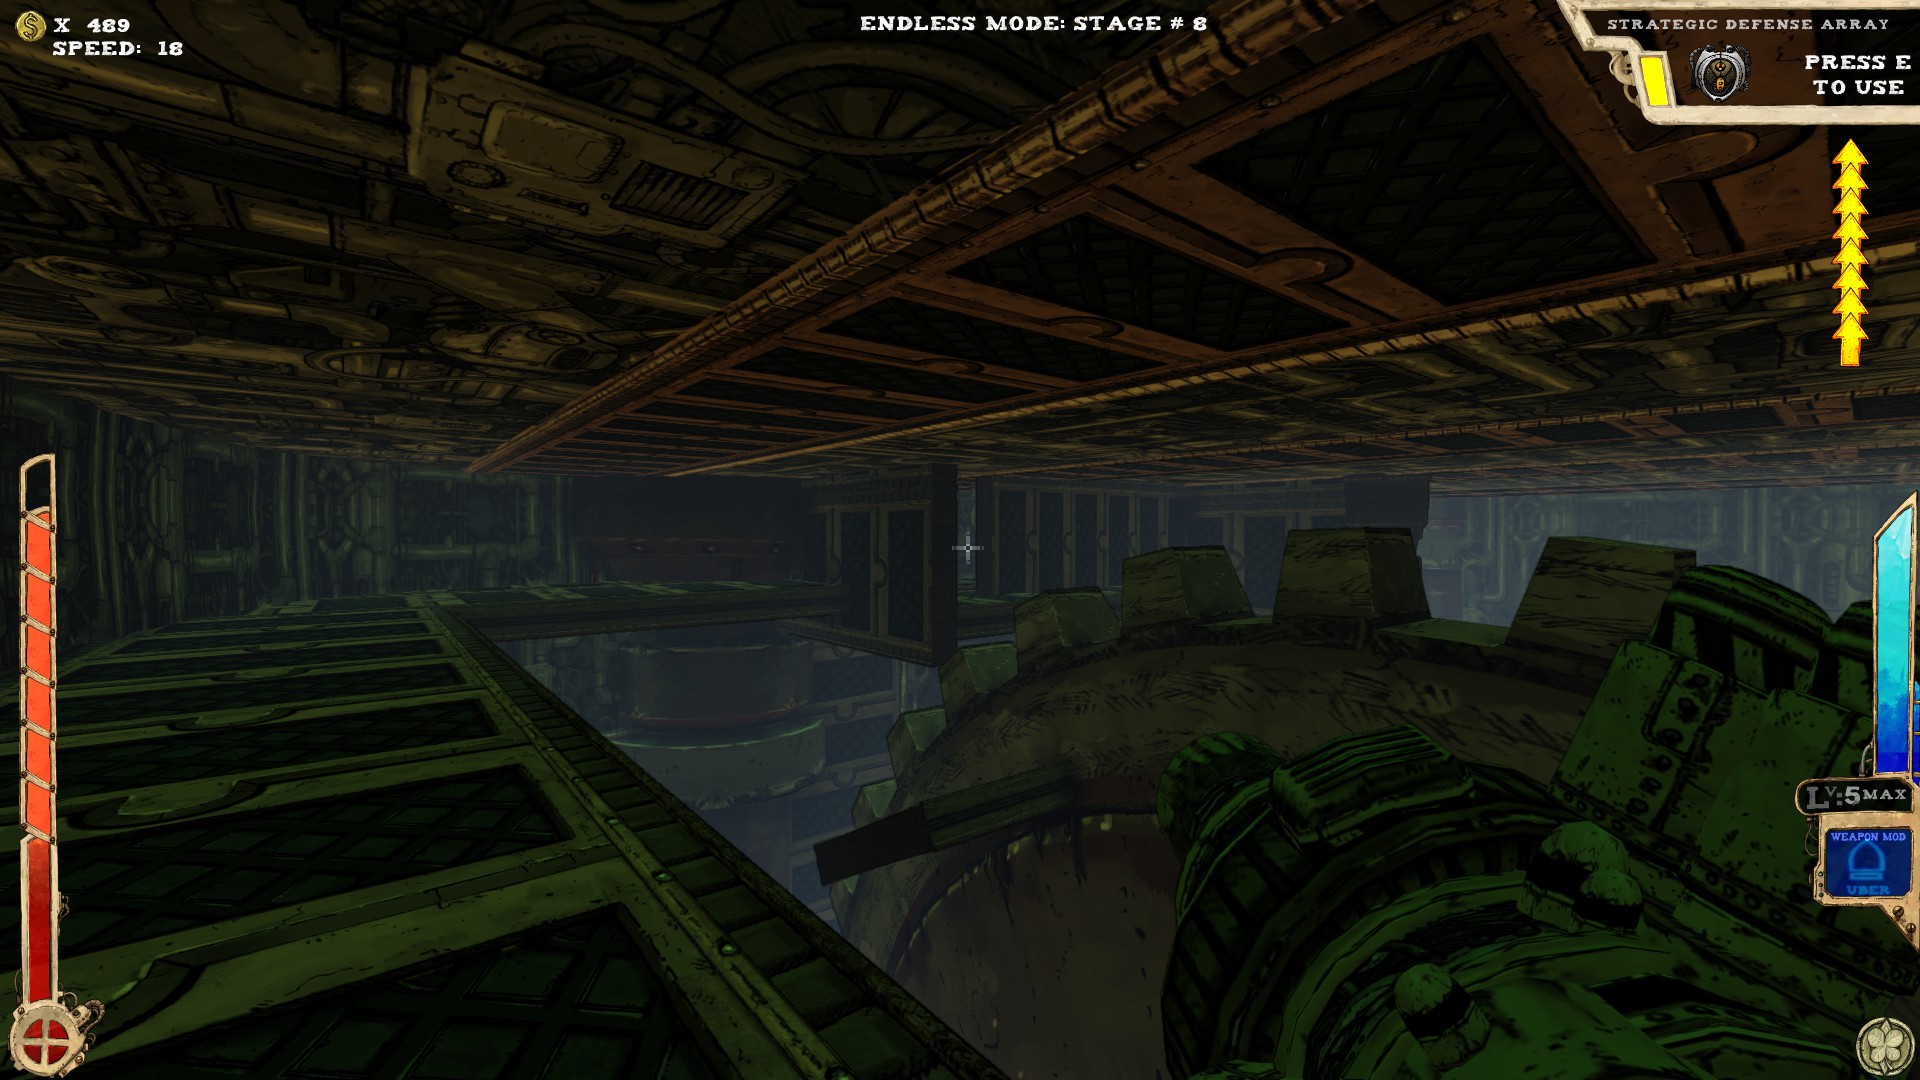
 It's the tube left from the exit. The secret is on a little platform on the top.
Extra jumps or proper item needed.
There is another similiar tube, but there's nothing in there.
----
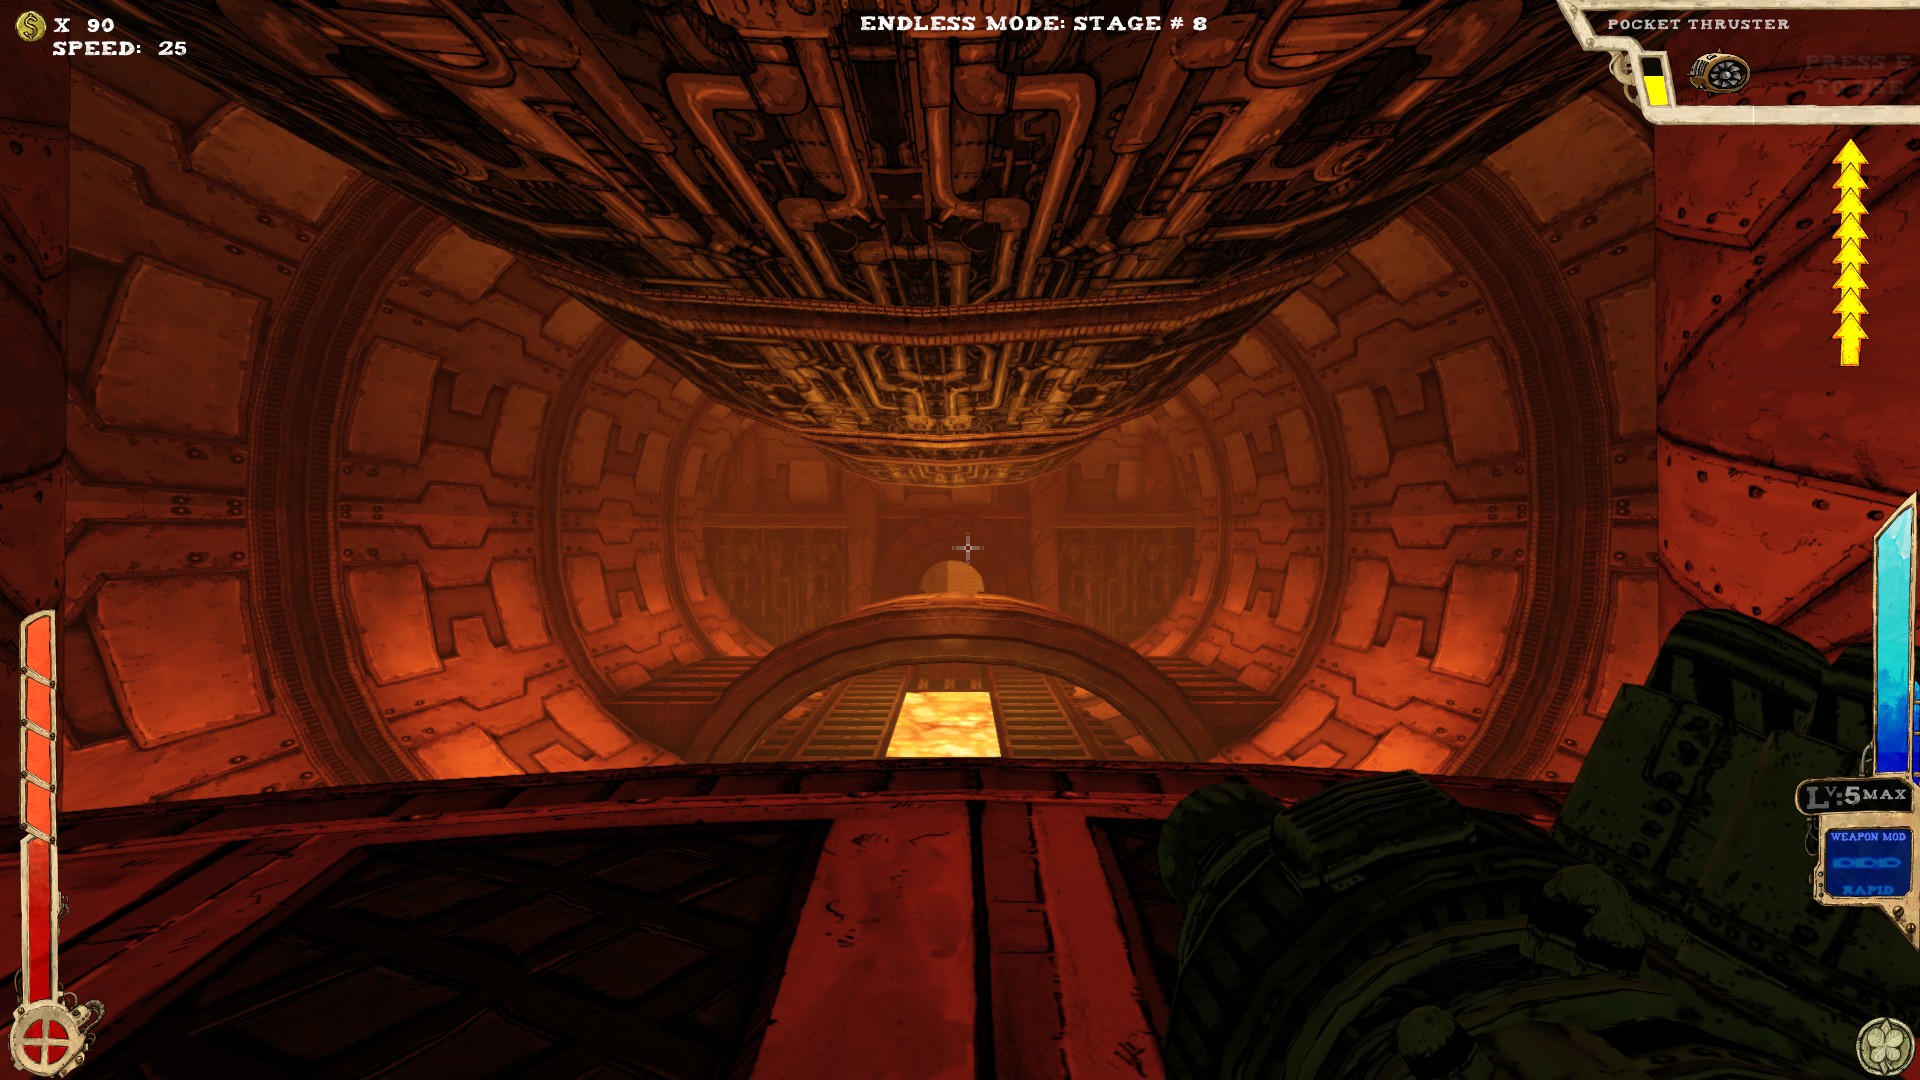
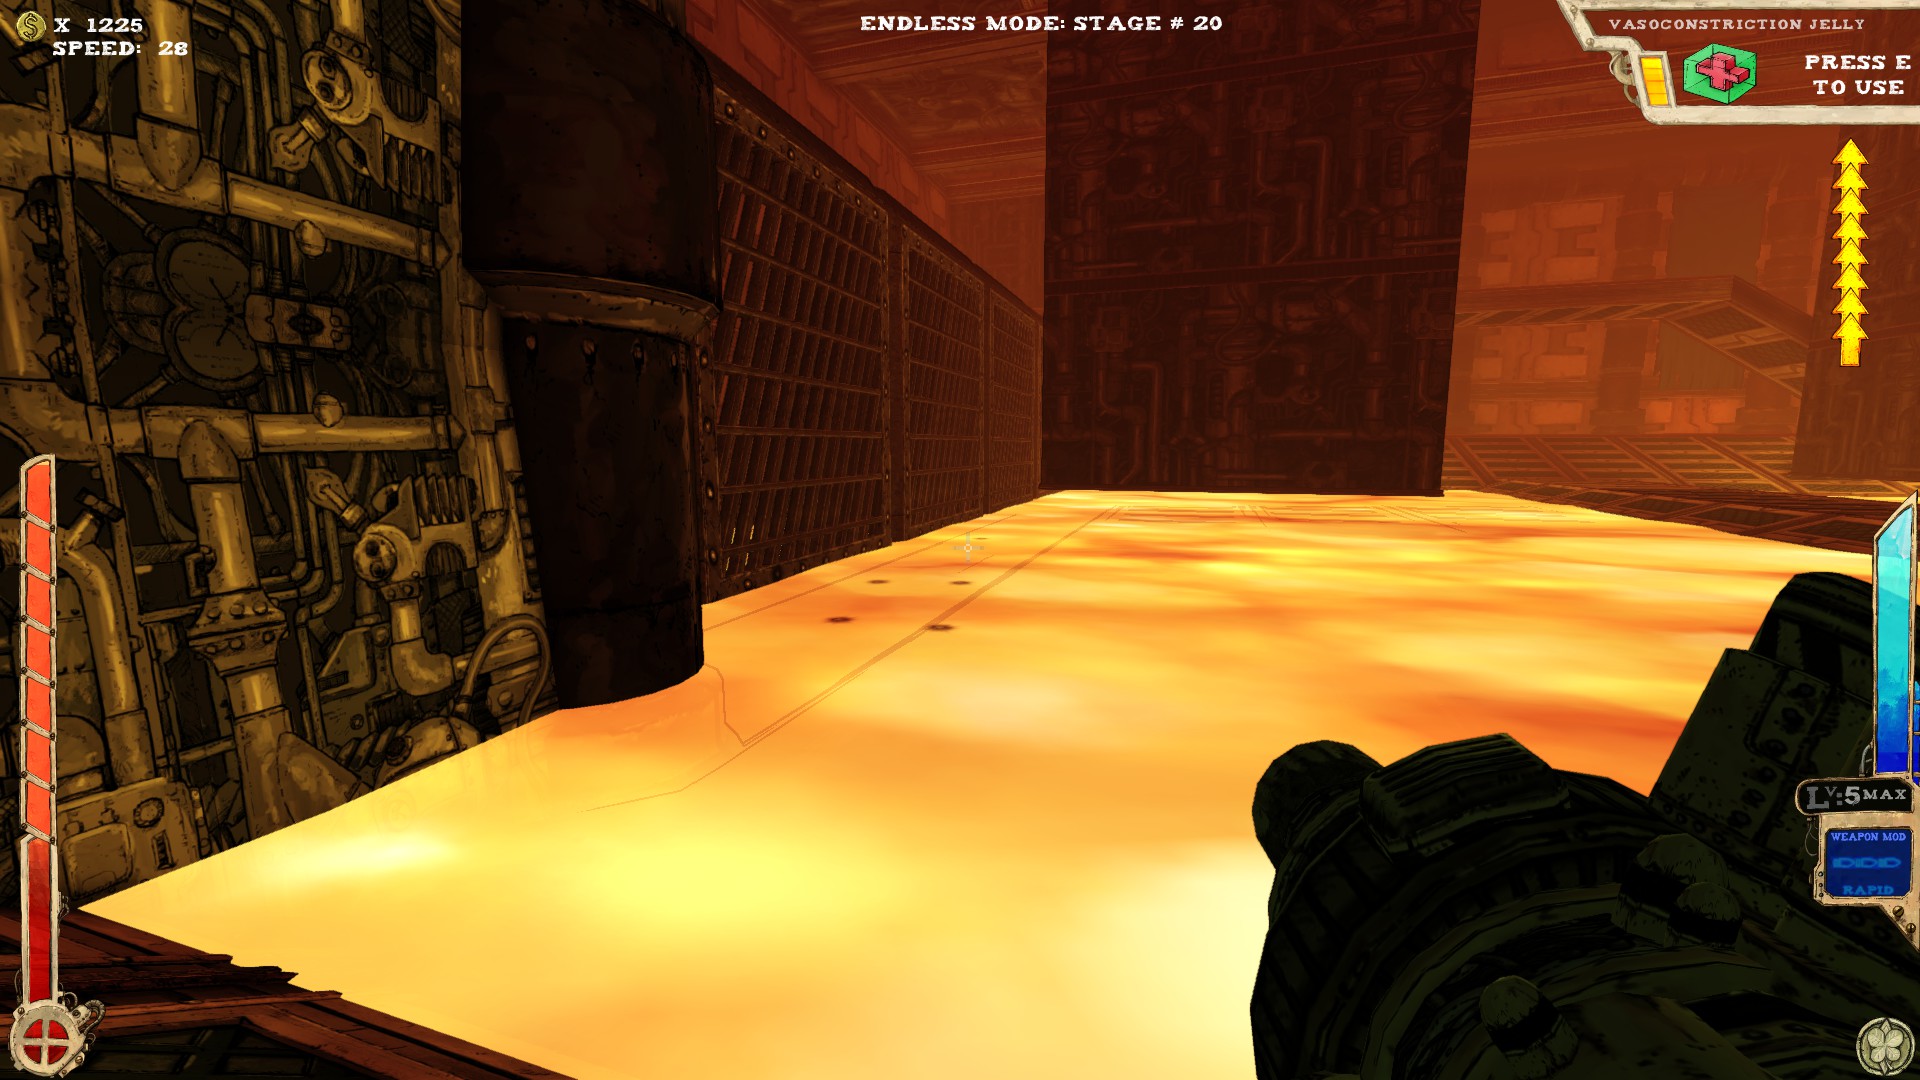
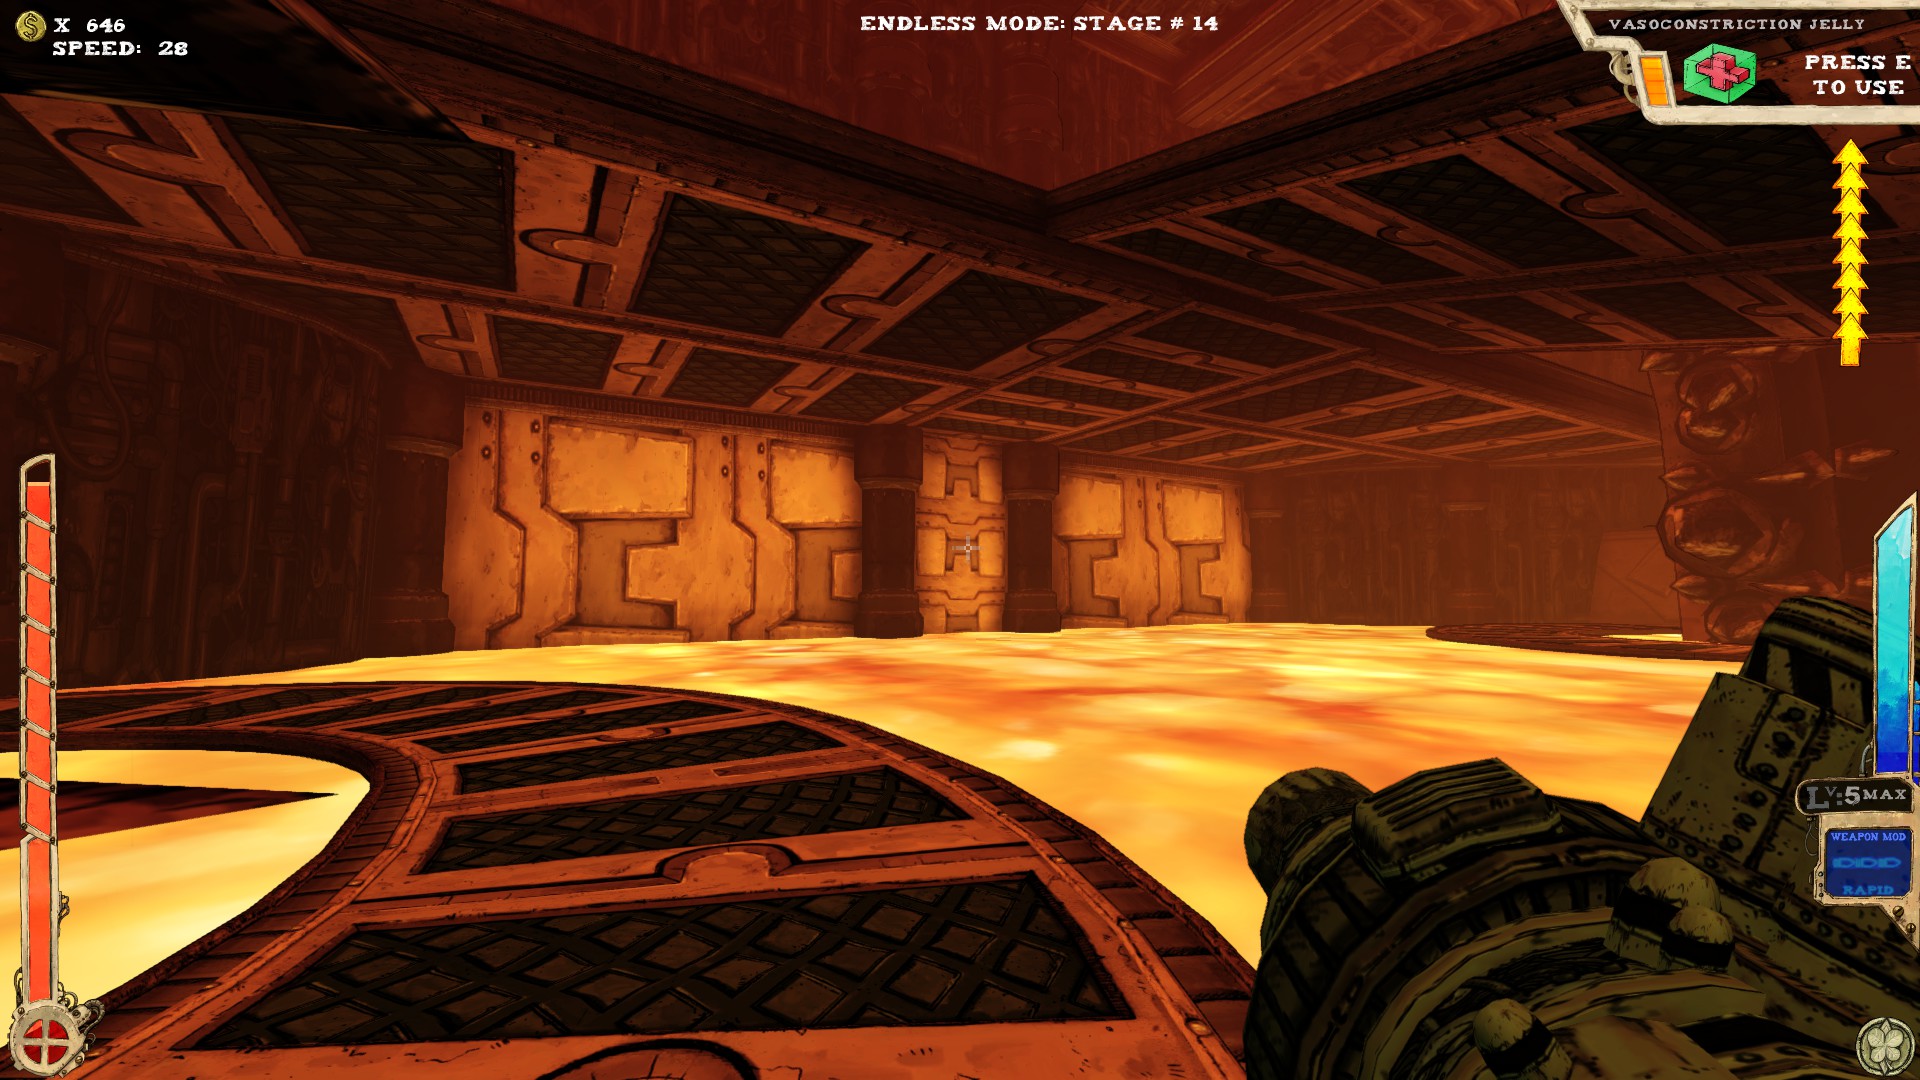
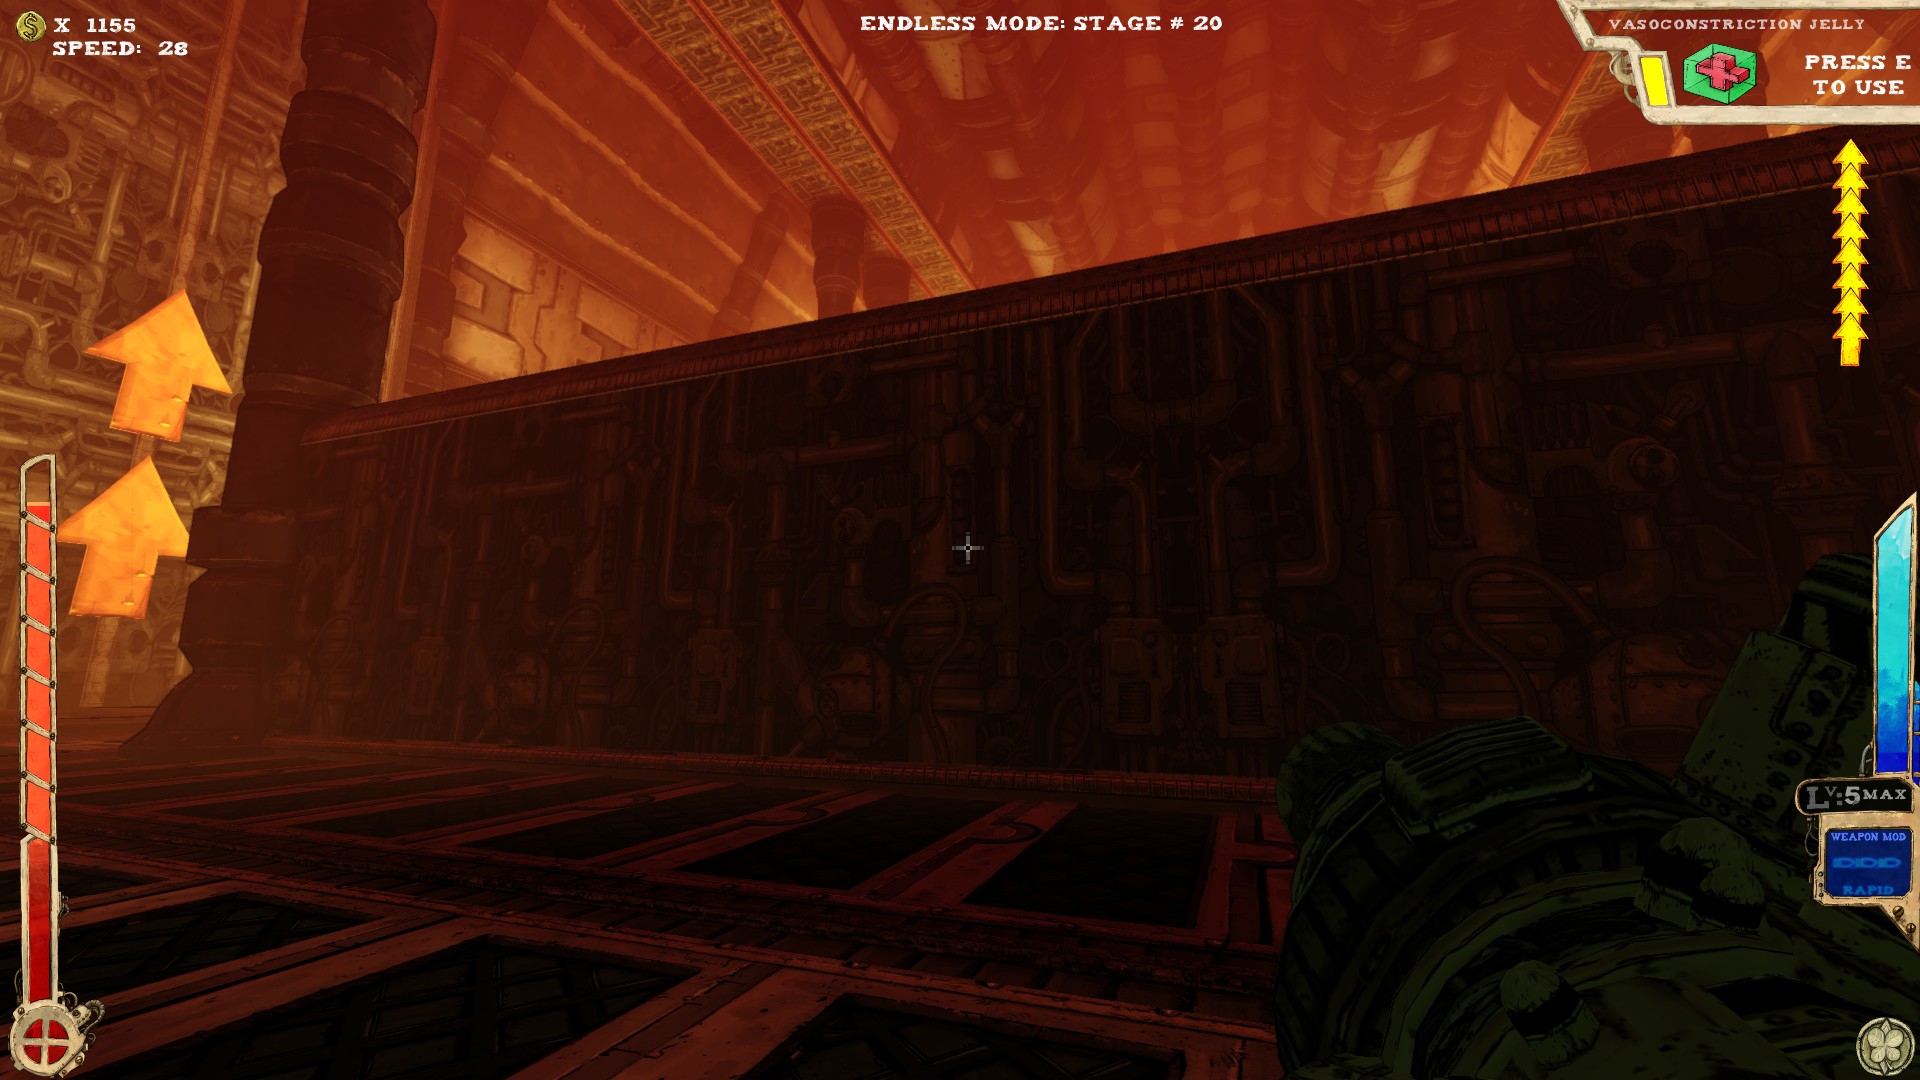
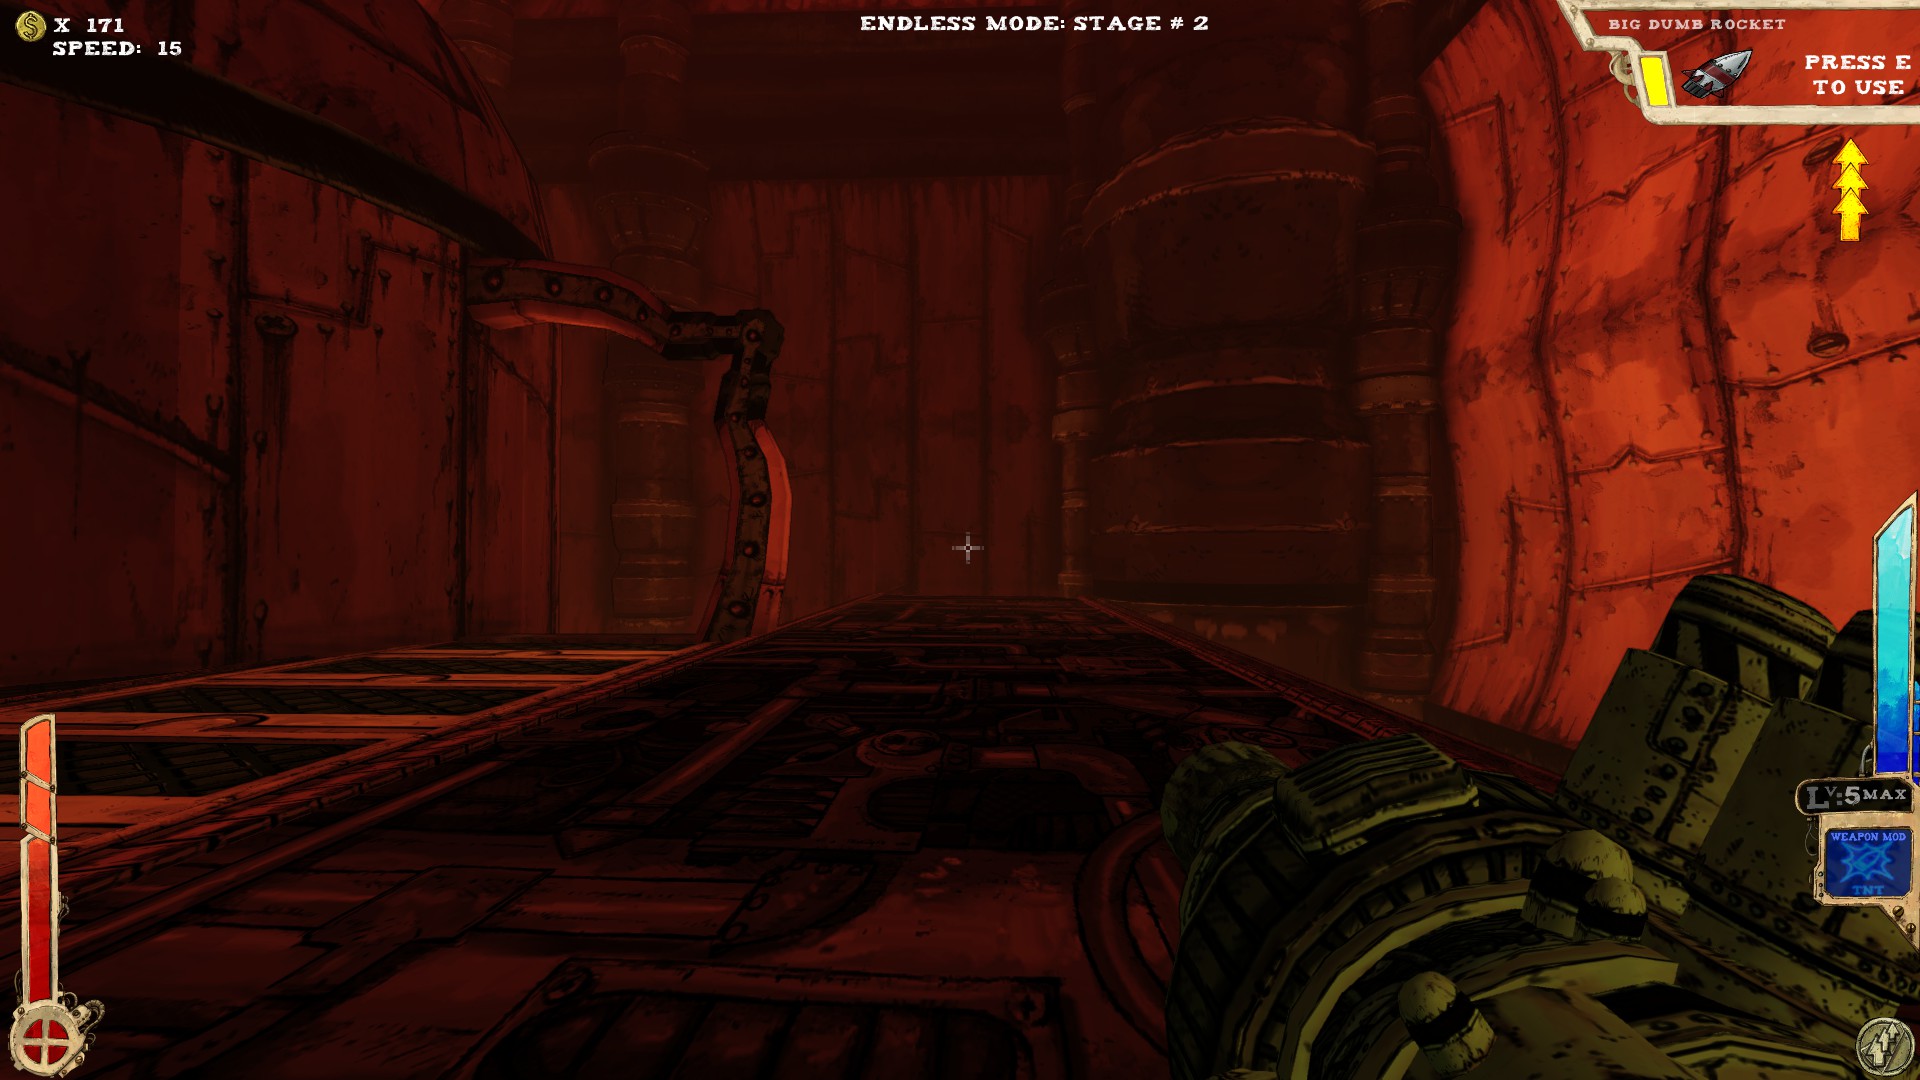
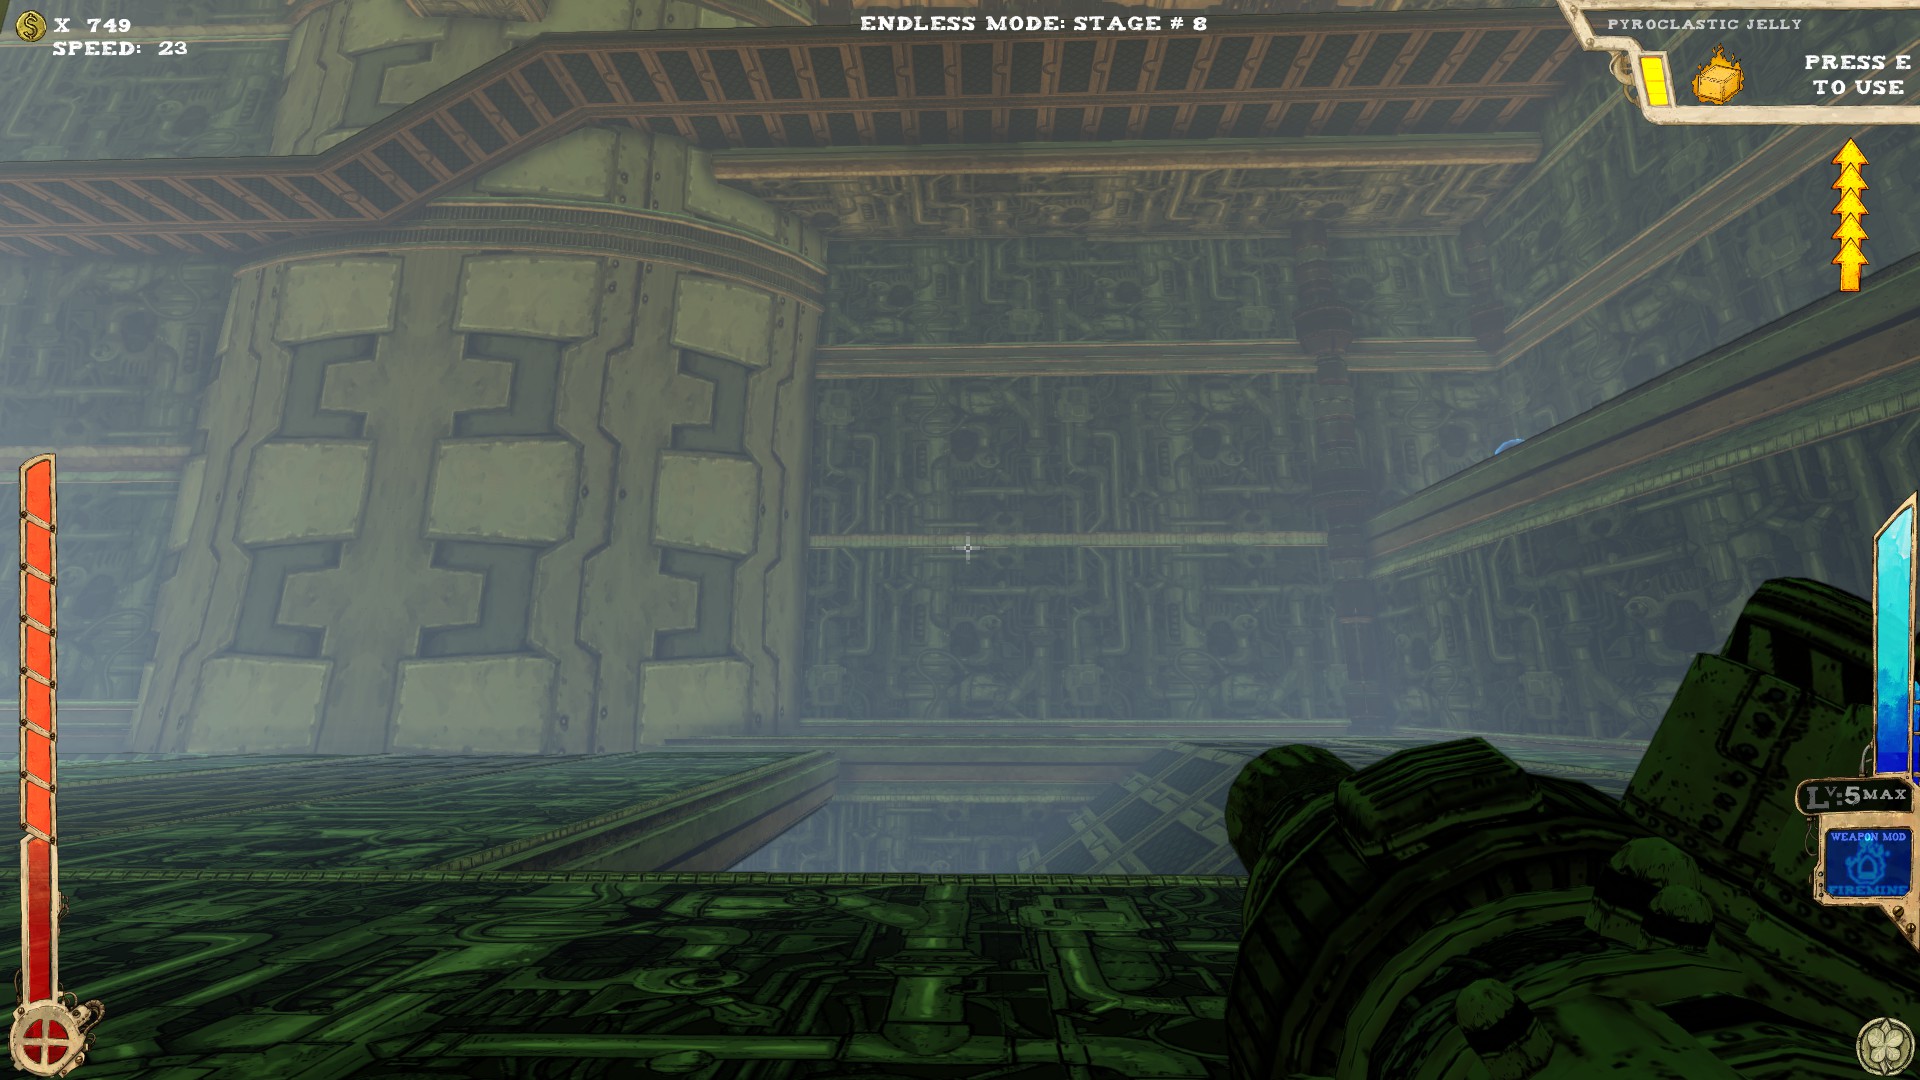
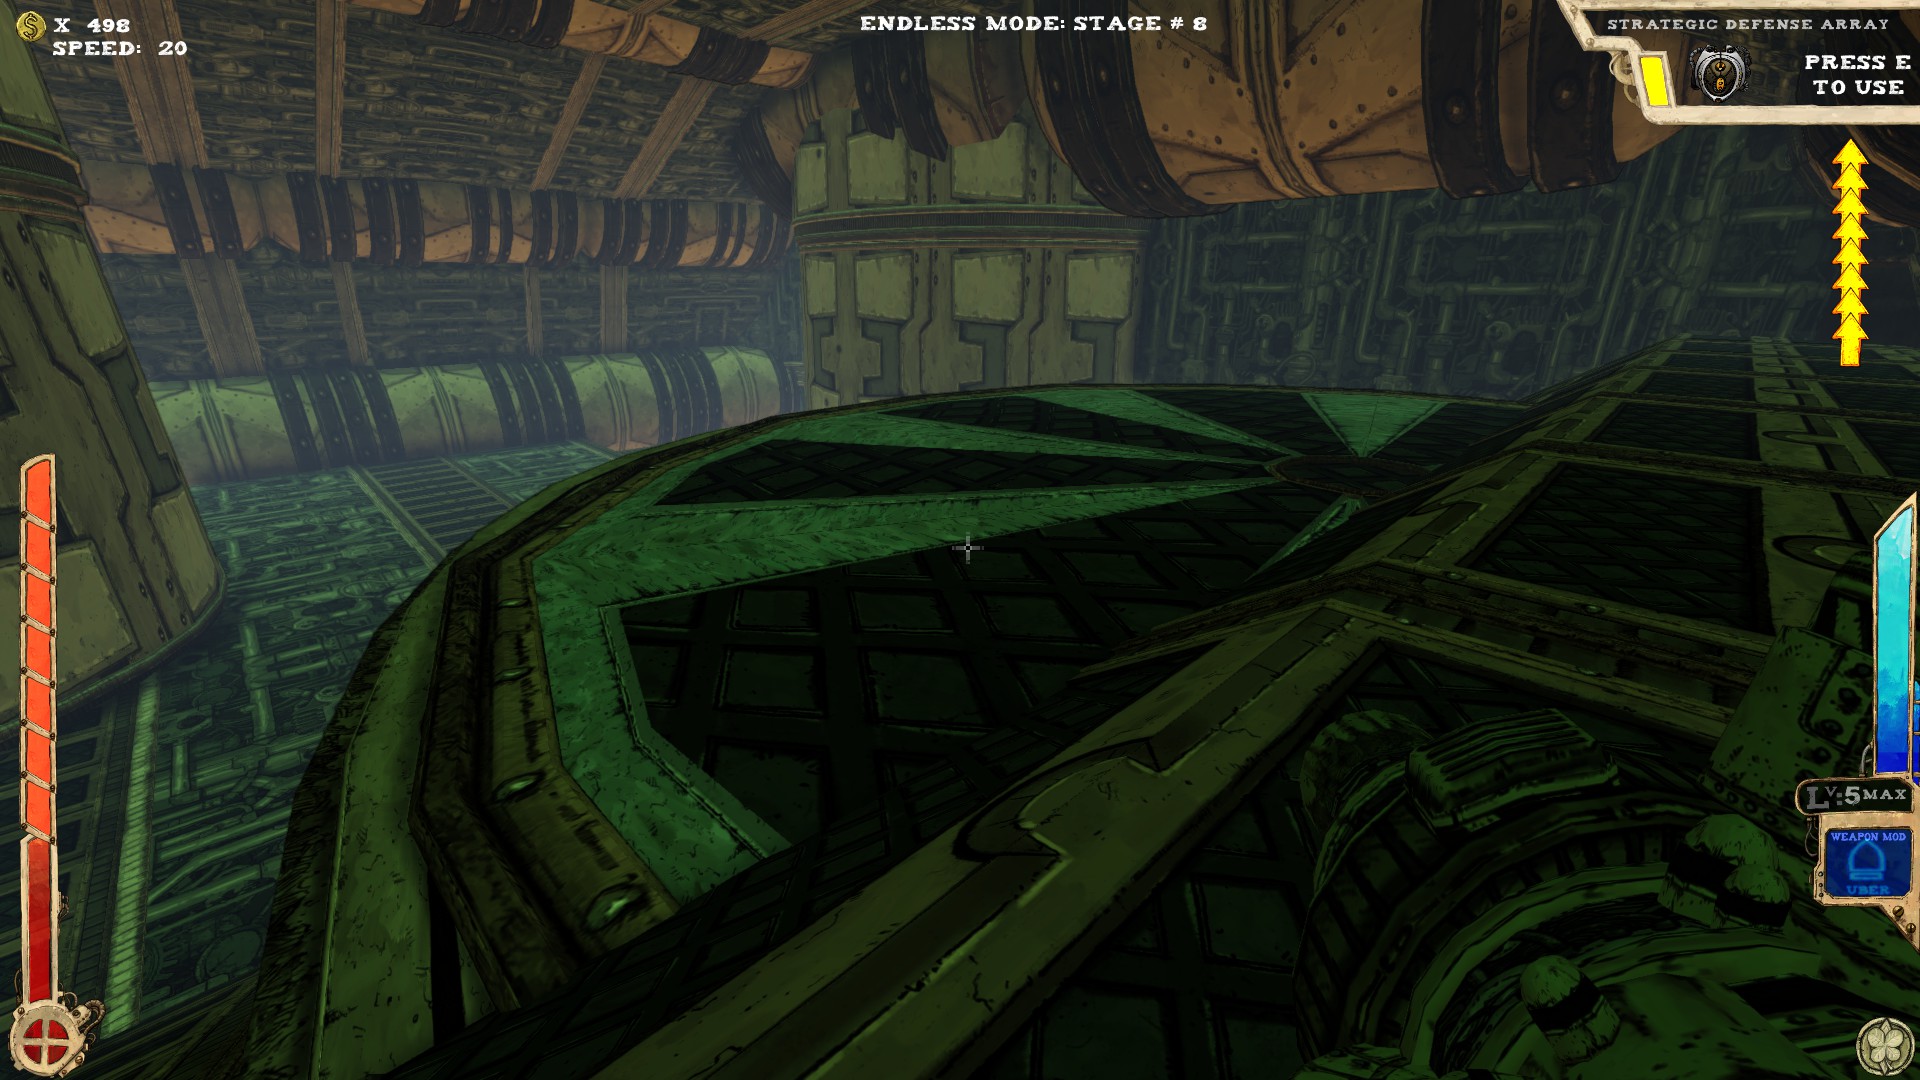
 One secret.
 The left way from the corridor. Even without extra jumps you should be able to get there without taking too much damage, but for the way back I'd use Tilt.
----
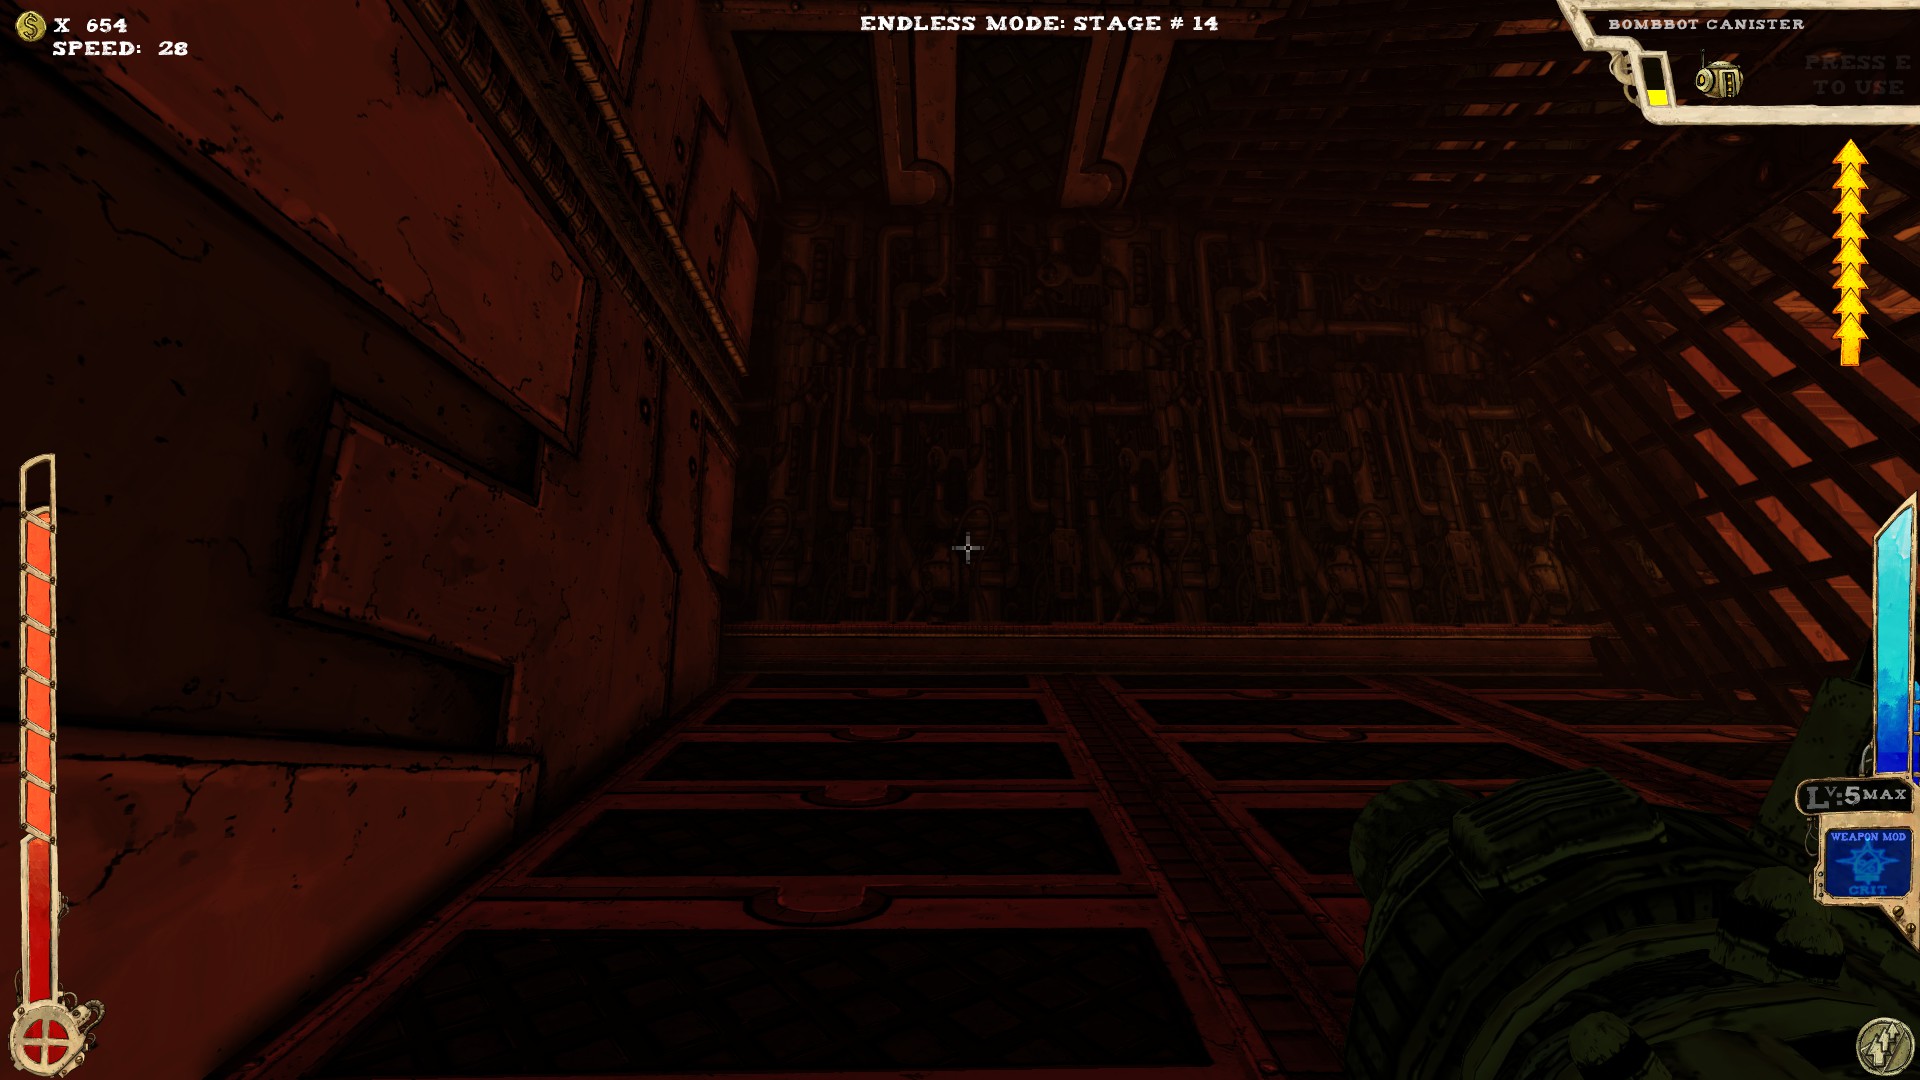
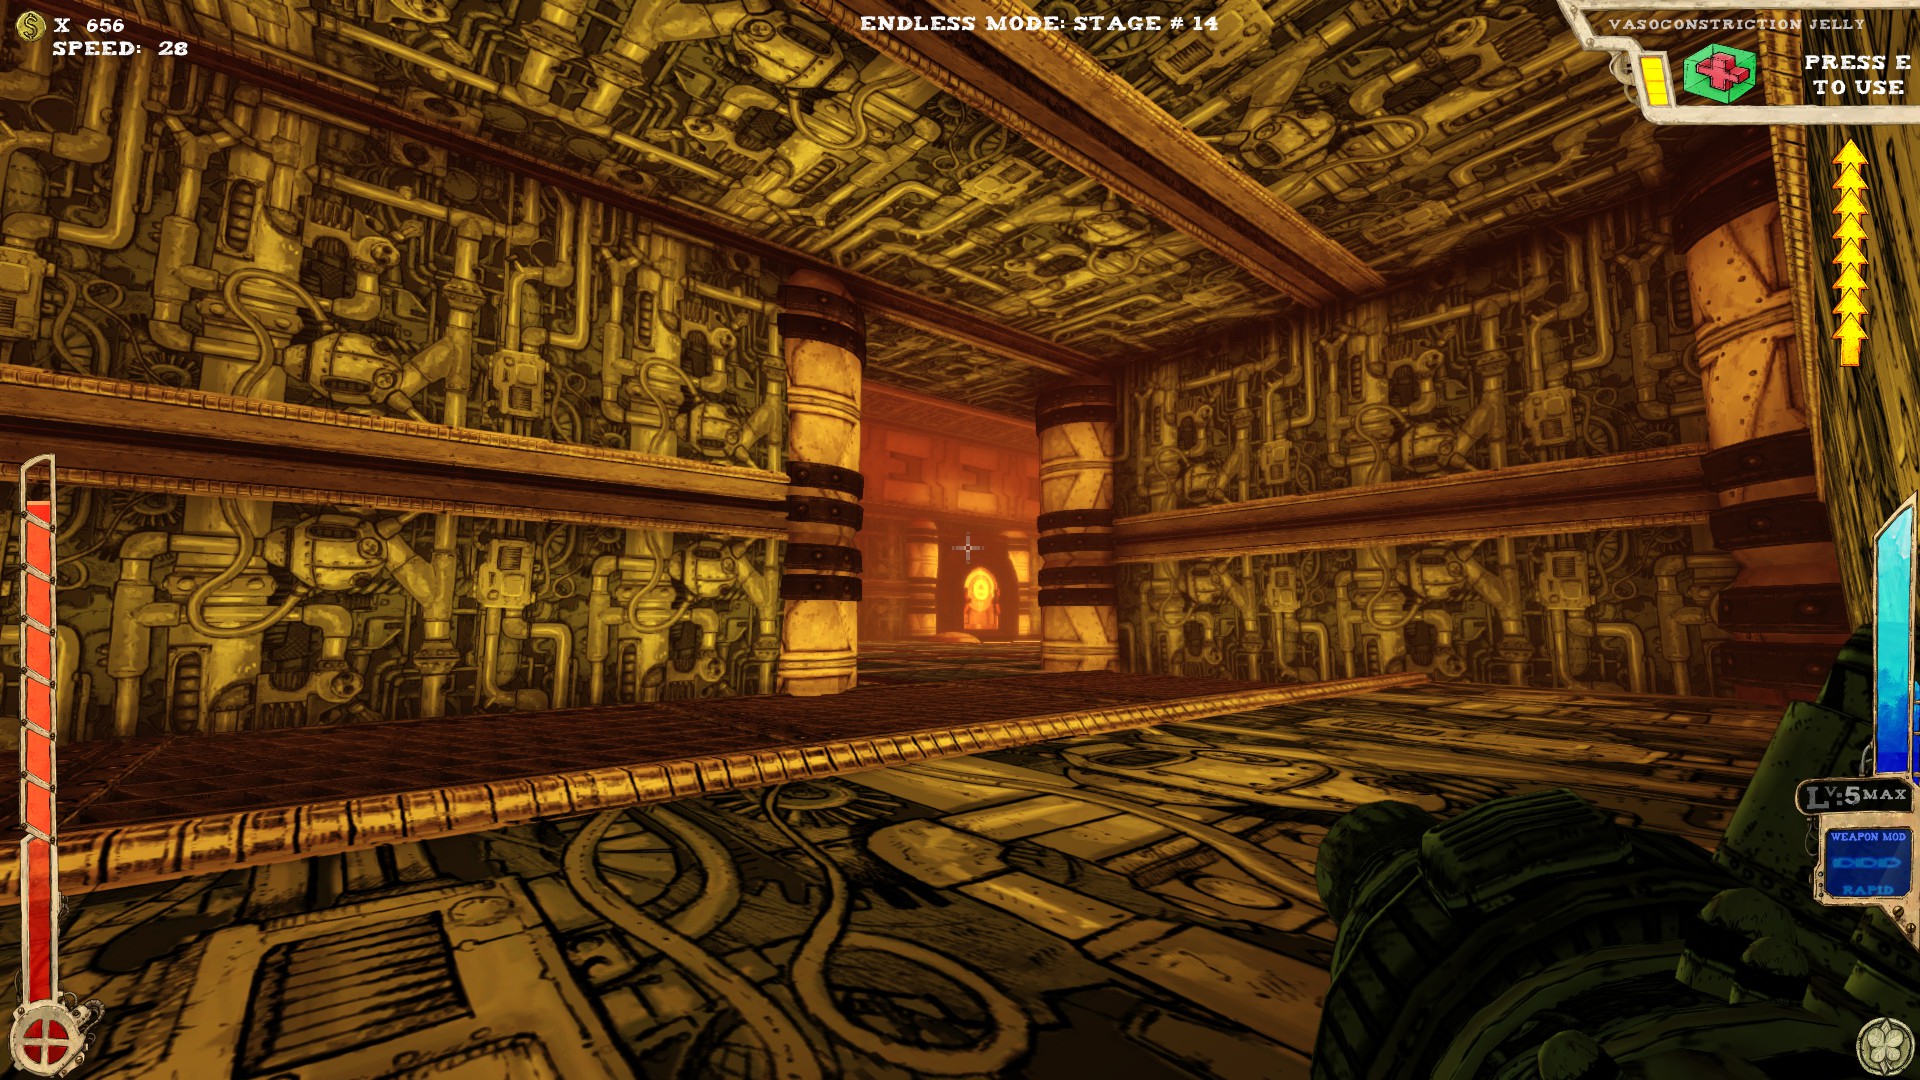
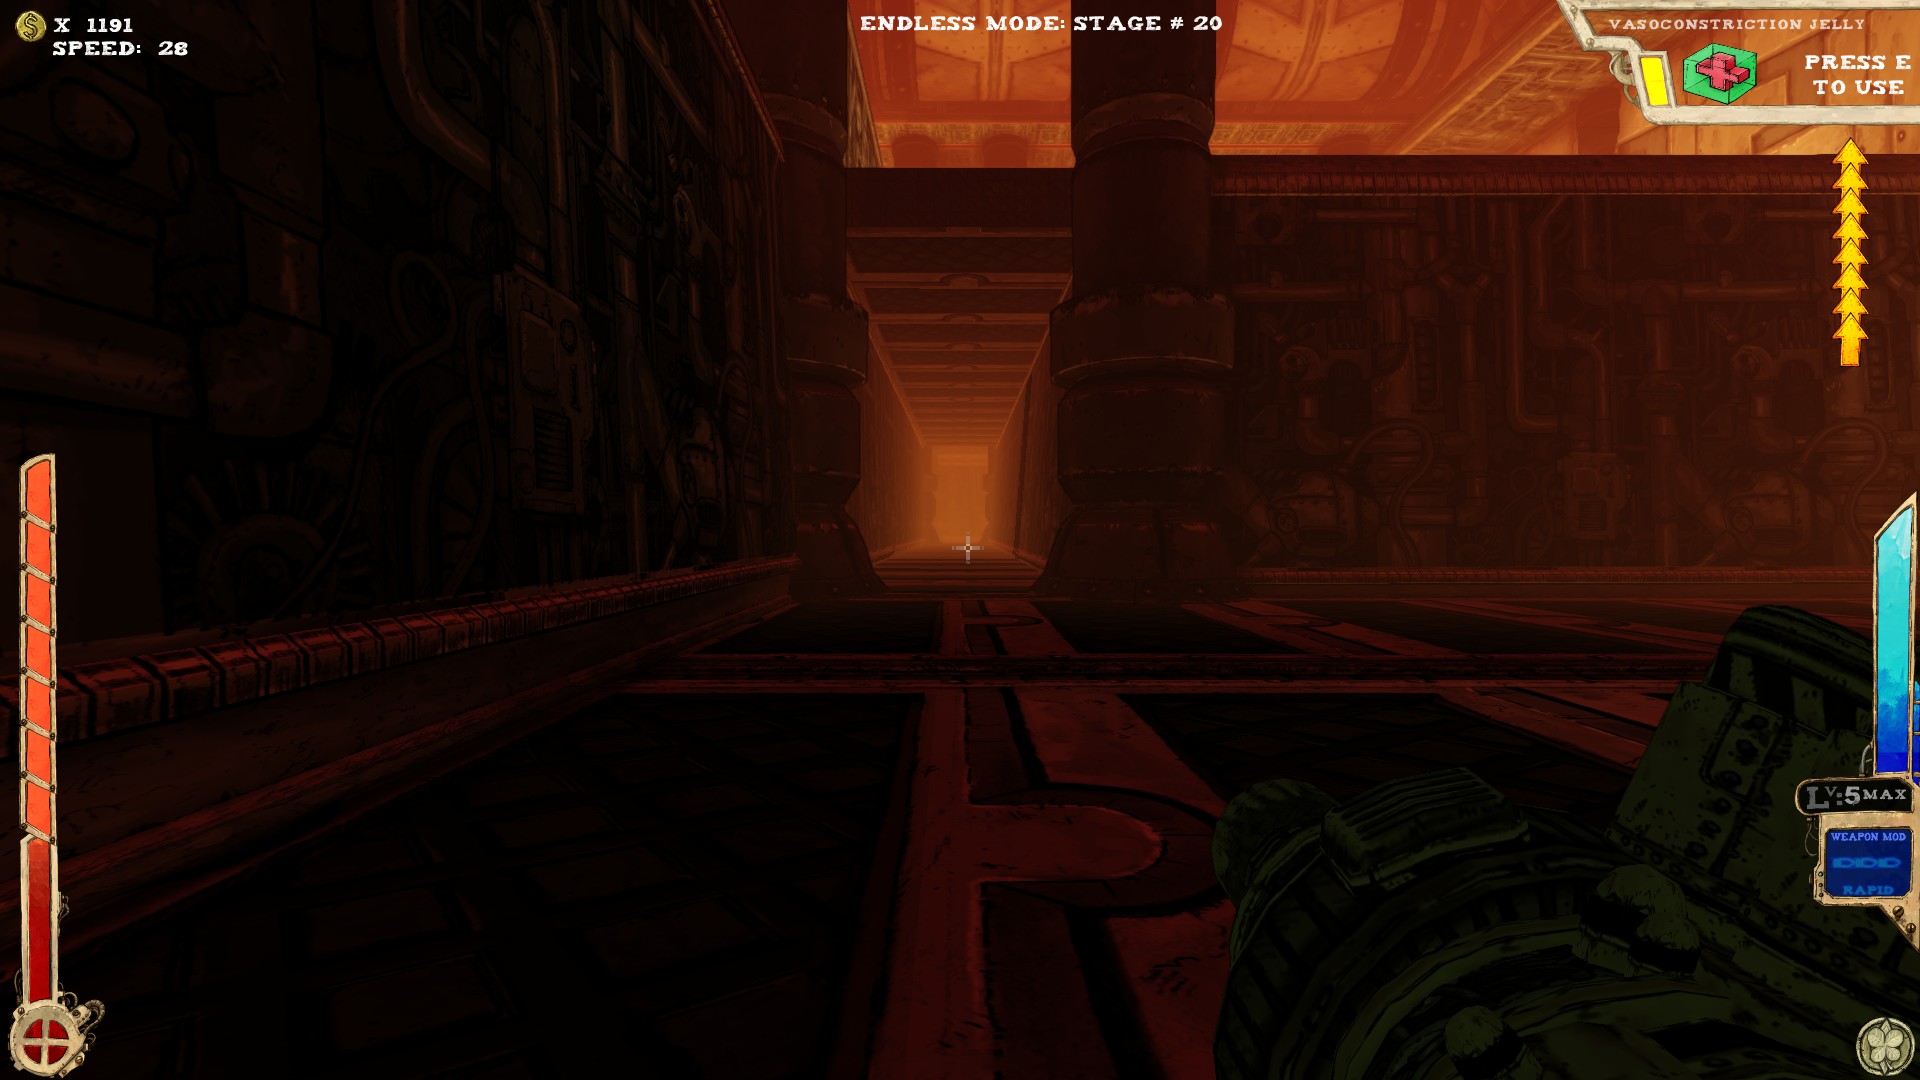
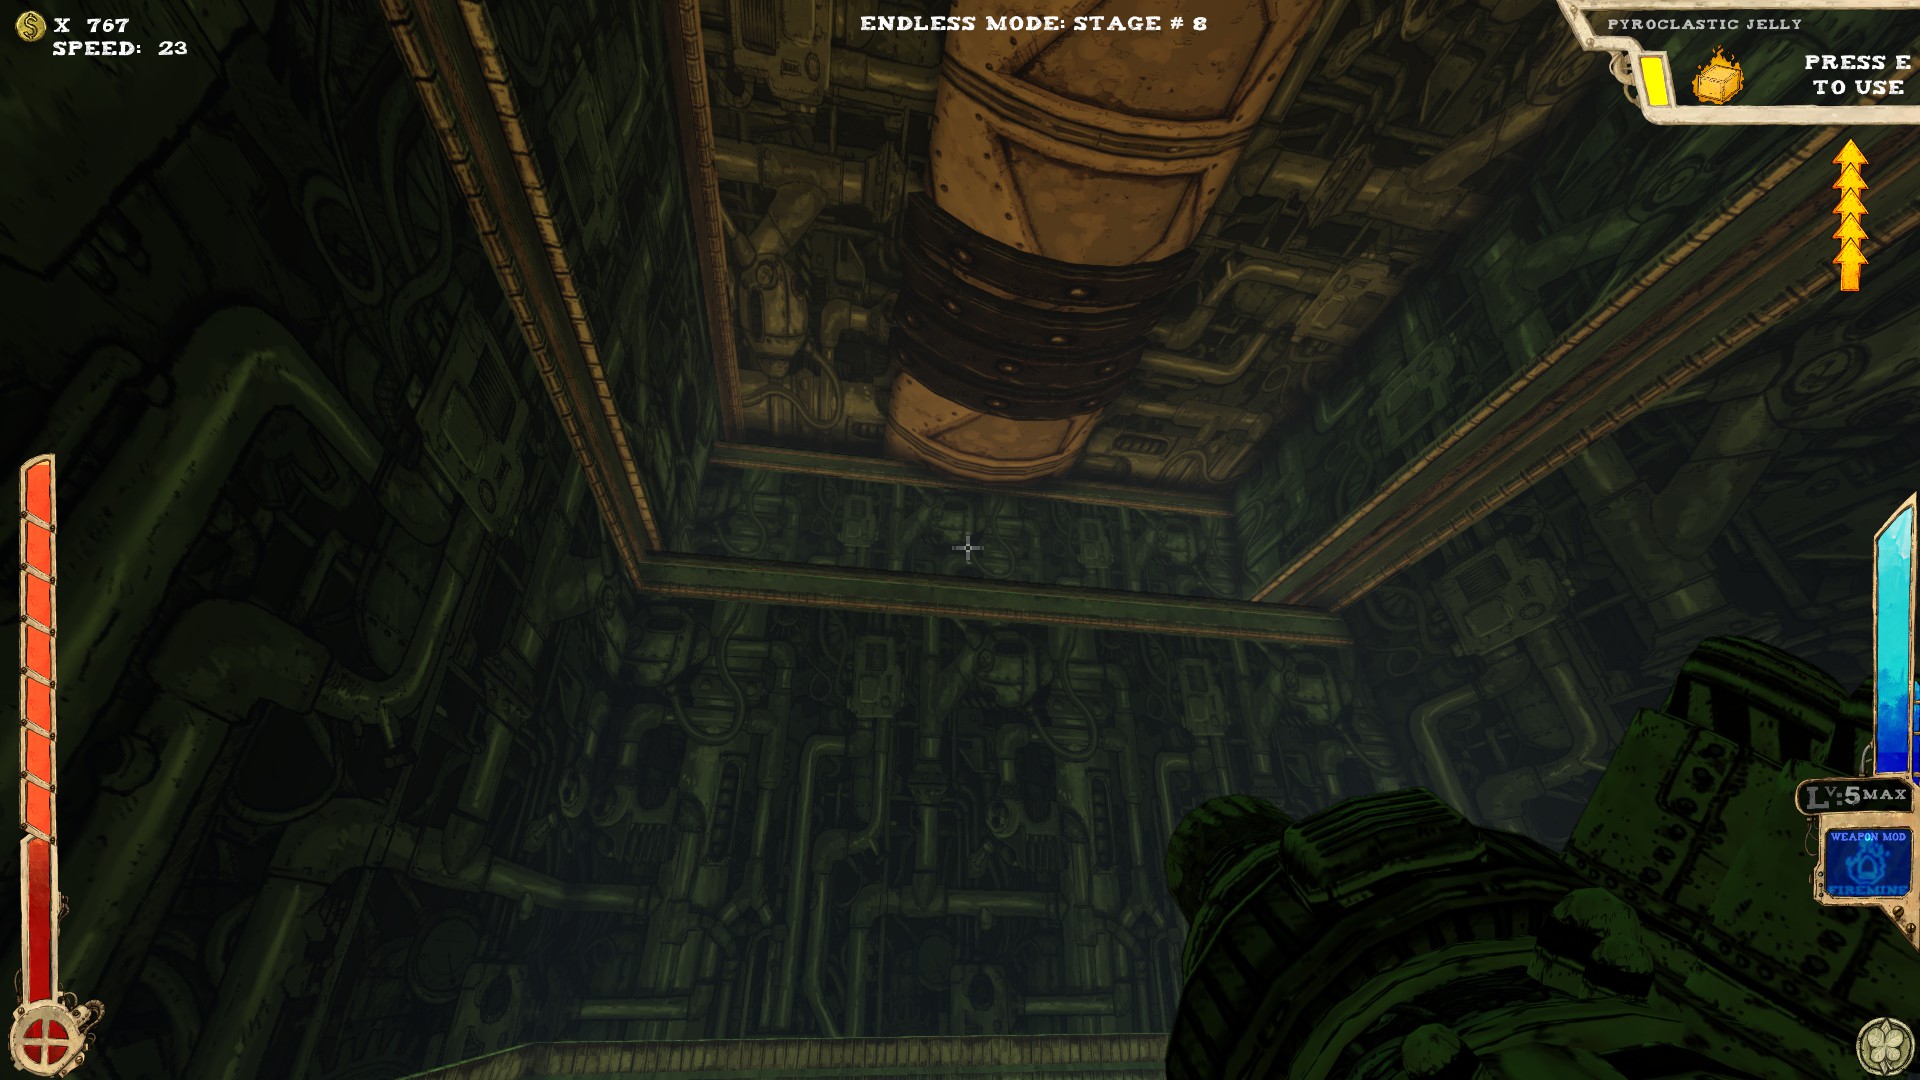
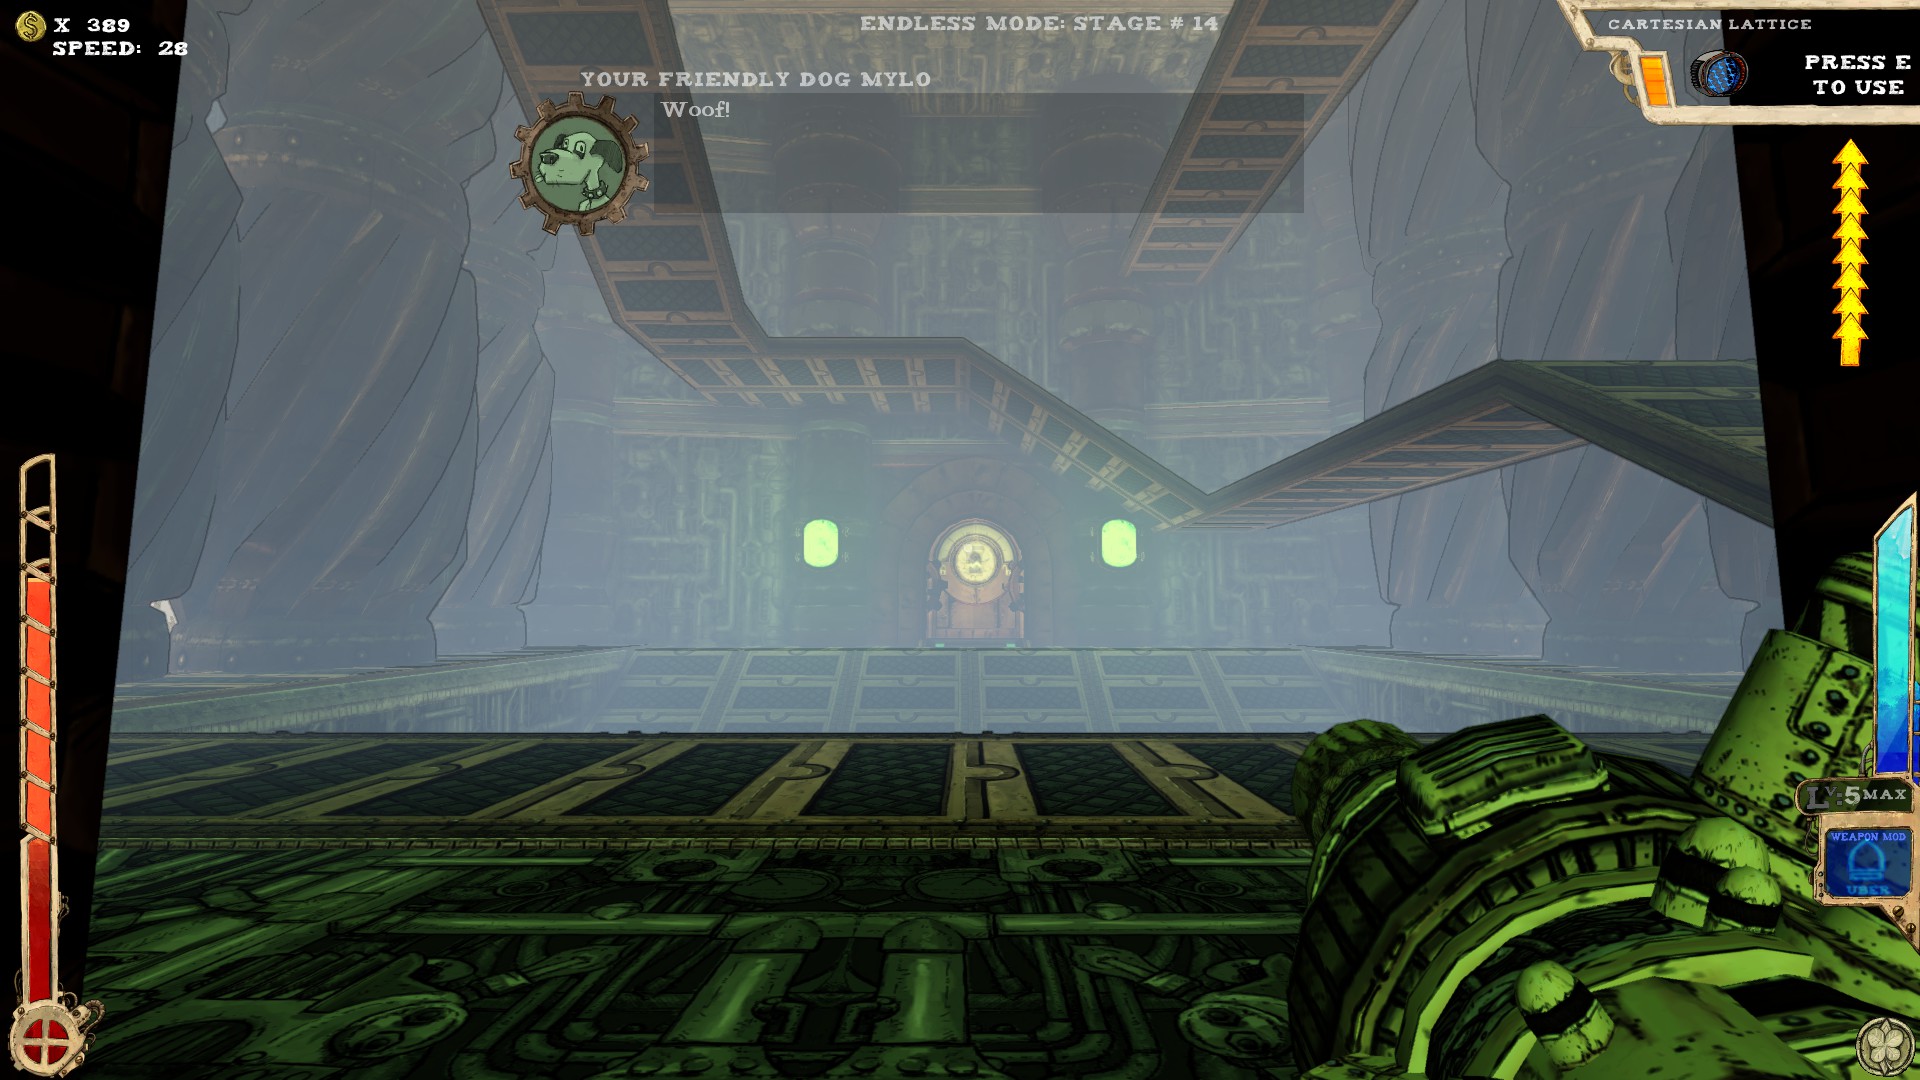
 One secret. This isn't a room by itself, you end up here teleporting from another room.
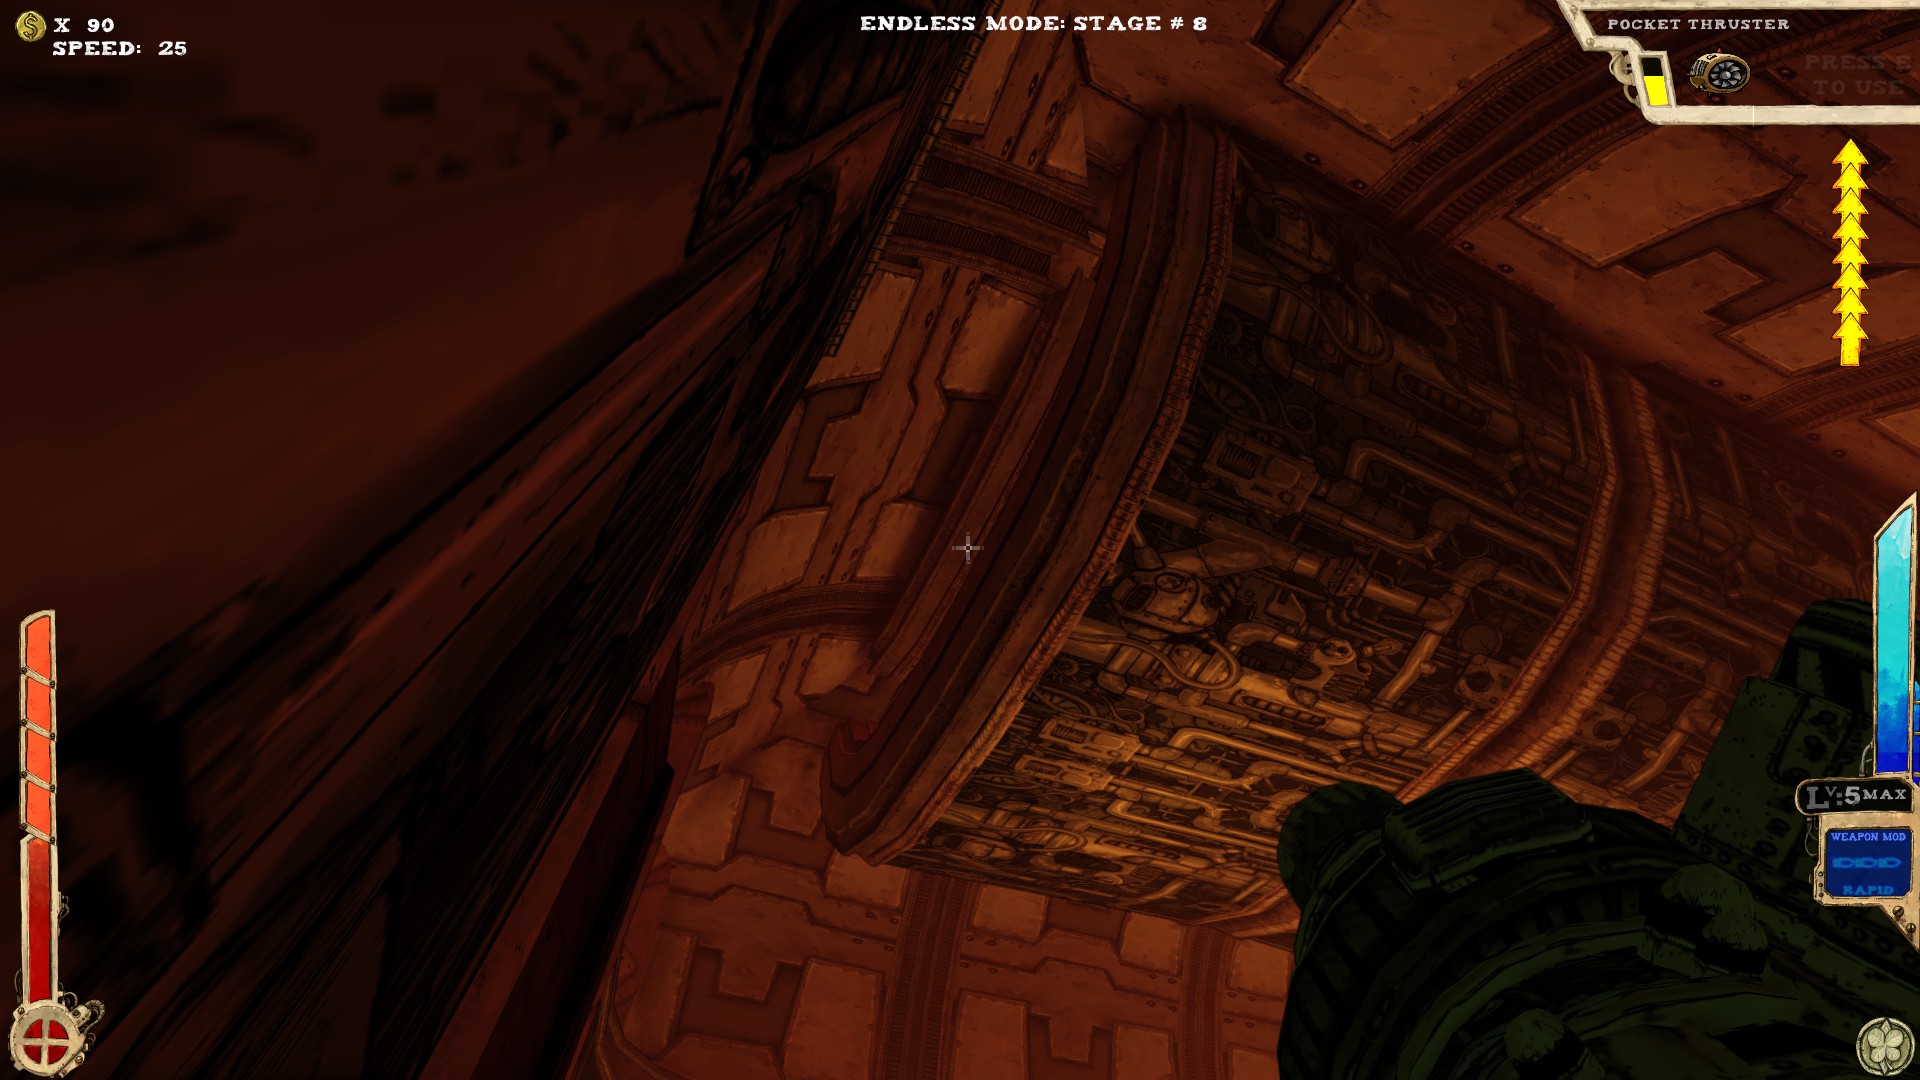 Above the exit. Extra jumps or proper item needed. You can try to climb the door or other ledges to get to higher ground.
----
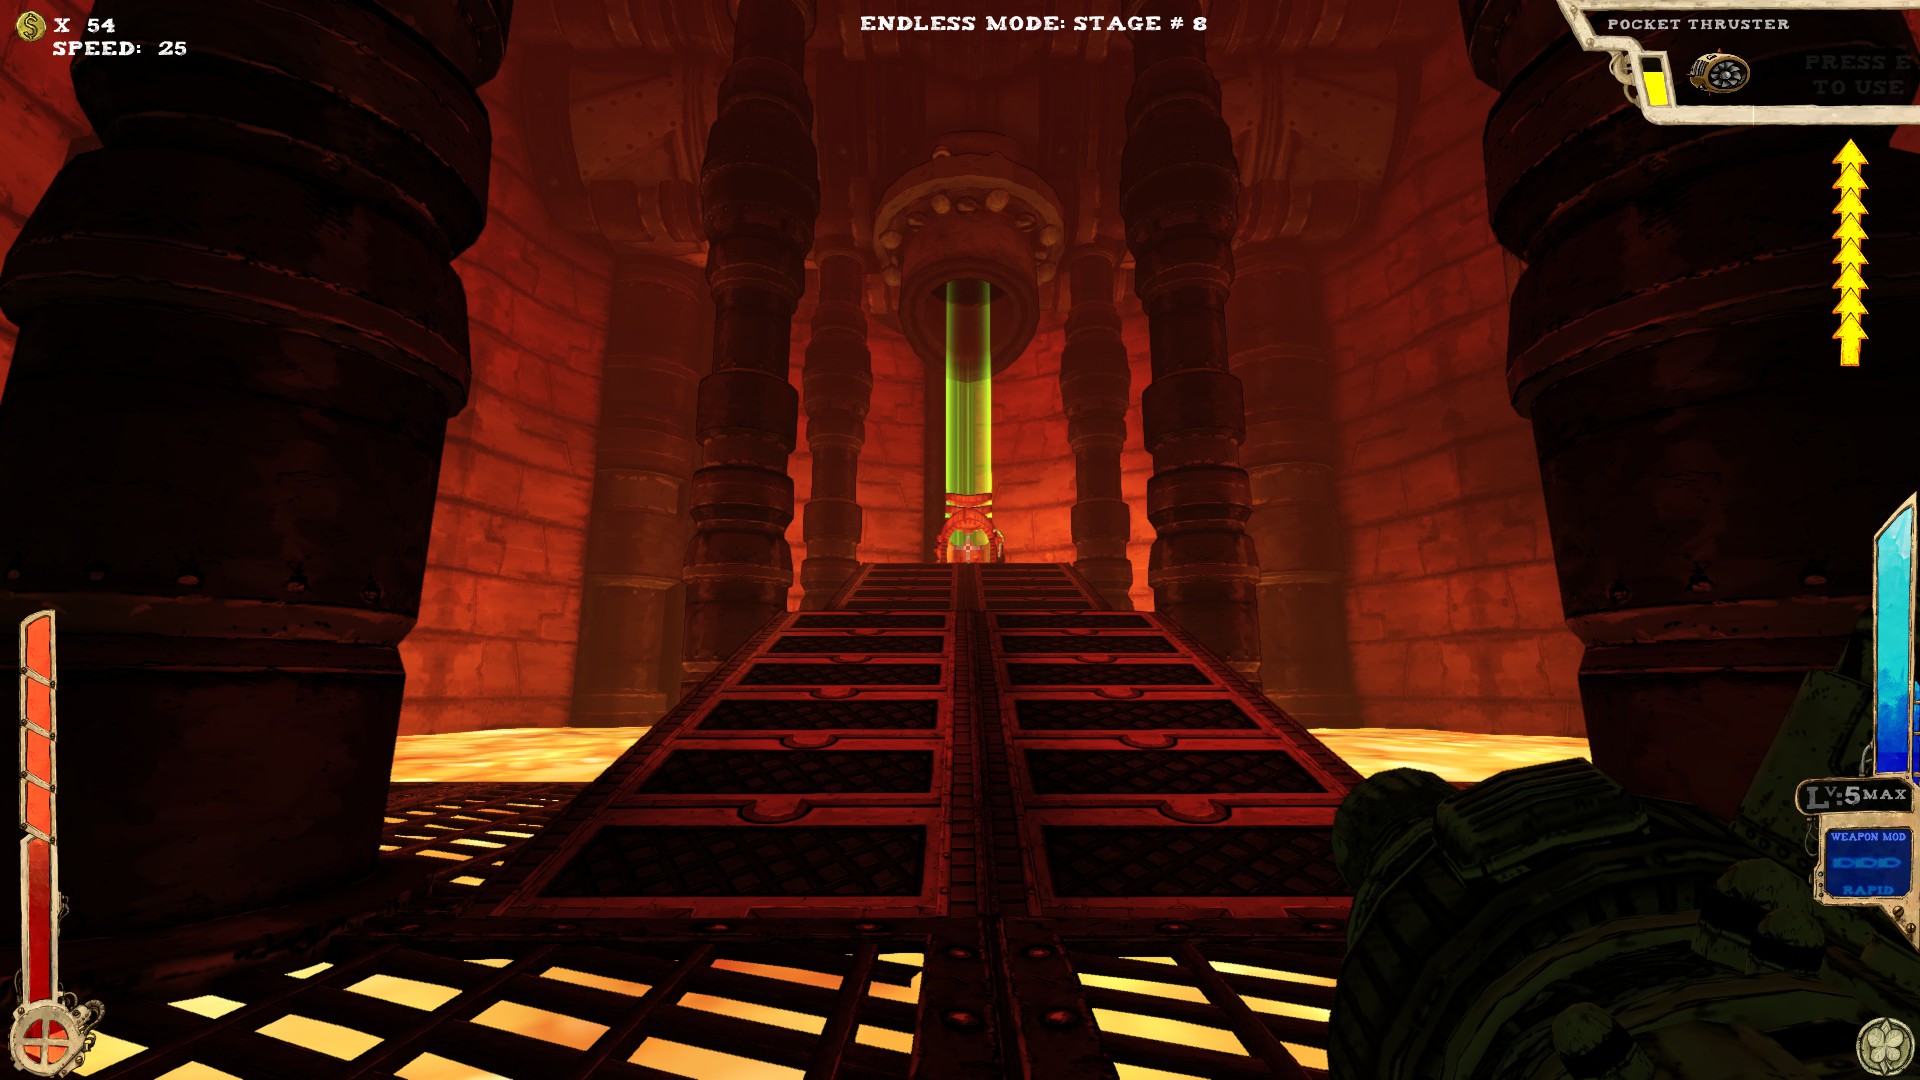
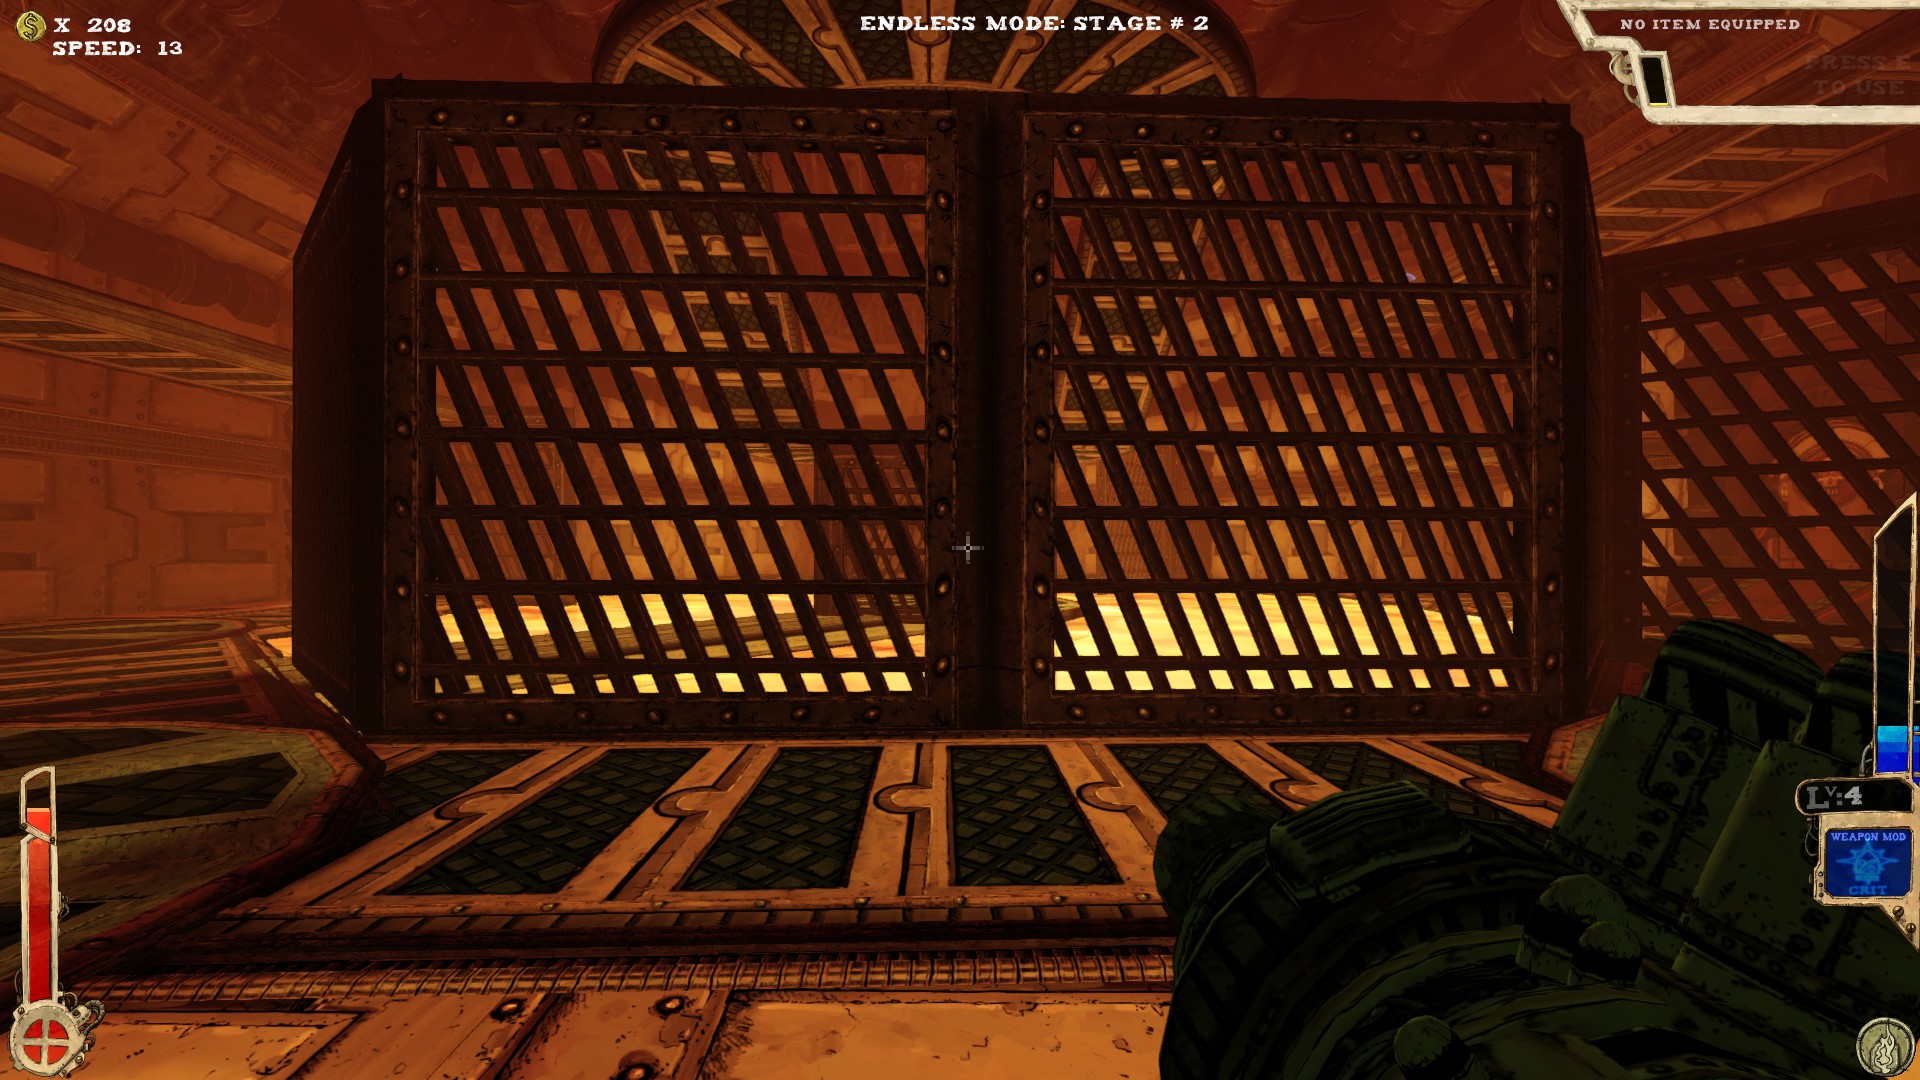
 Three secrets. One of them requires you to take a quick bath.
 This secret is marked by coins that are placed alongside the wall, looking like an arrow.
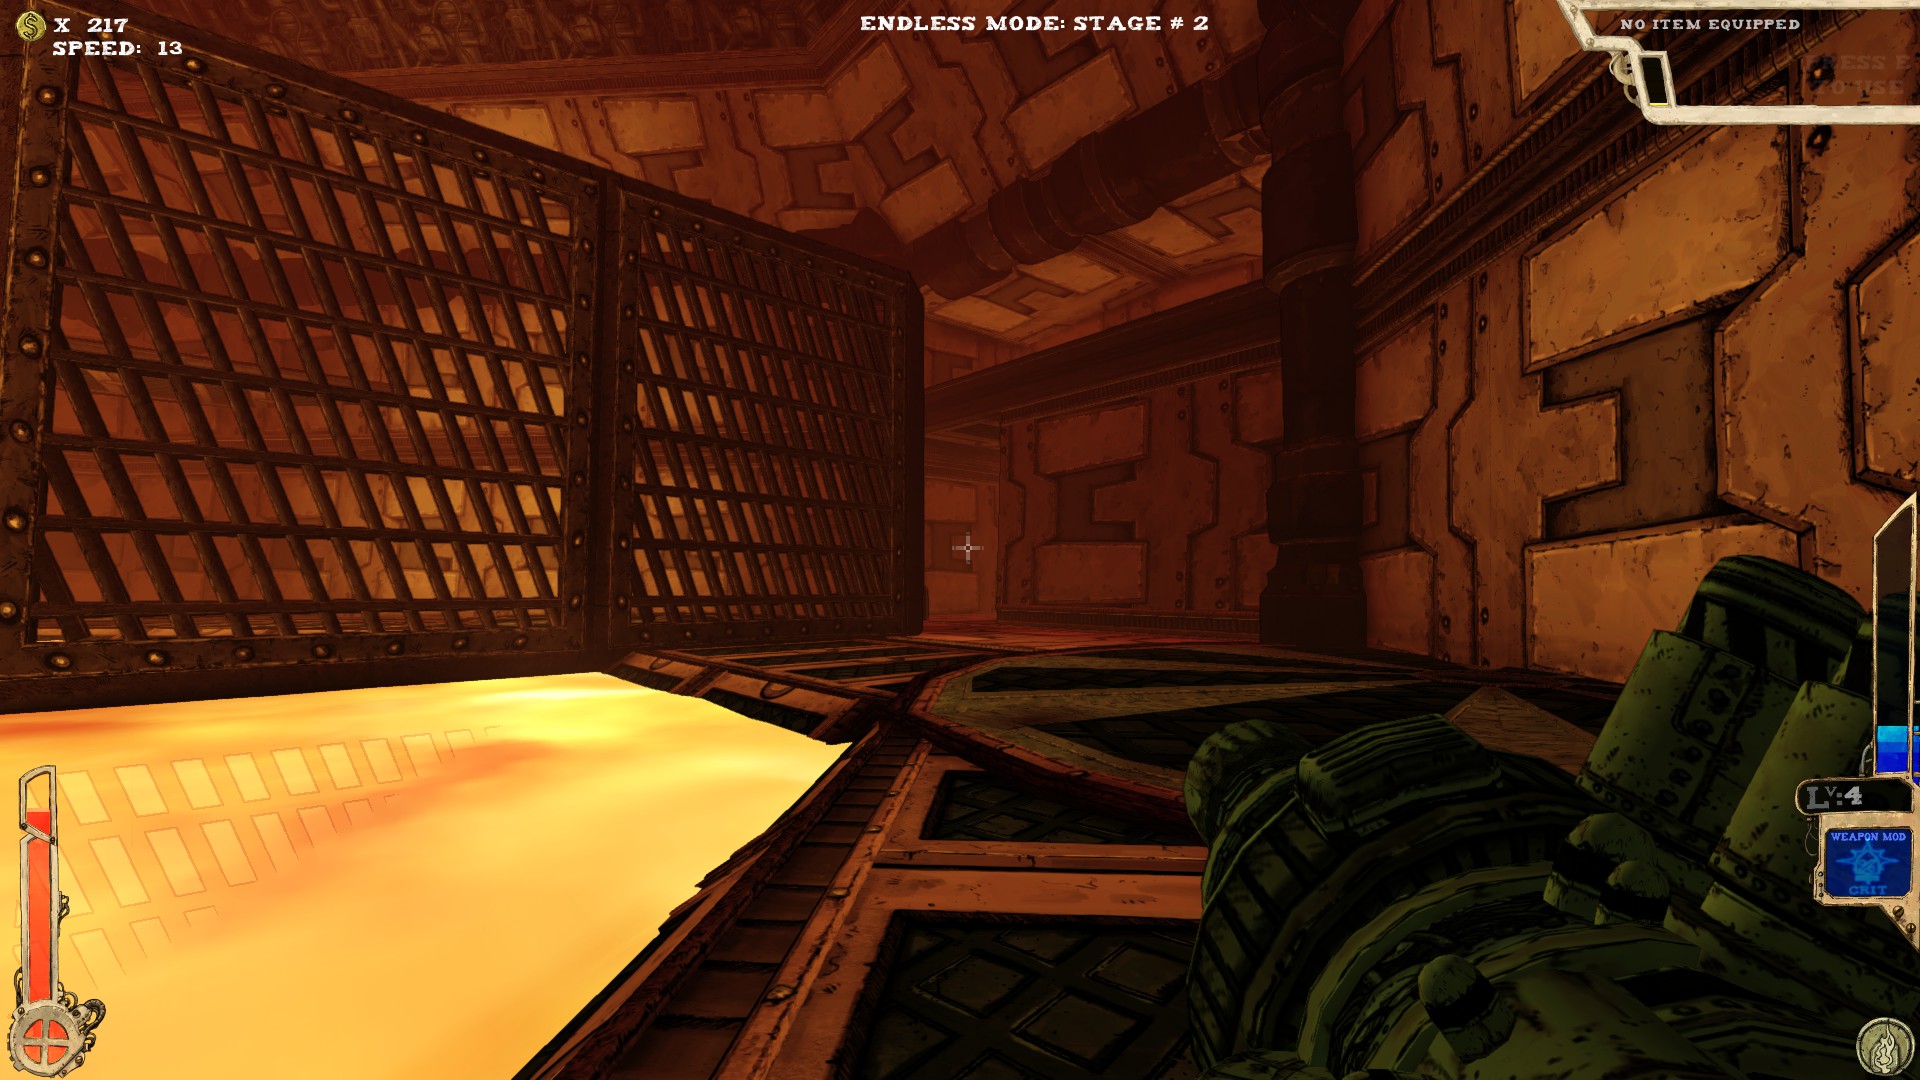
It's on top of the left cage (looking from the entrance).
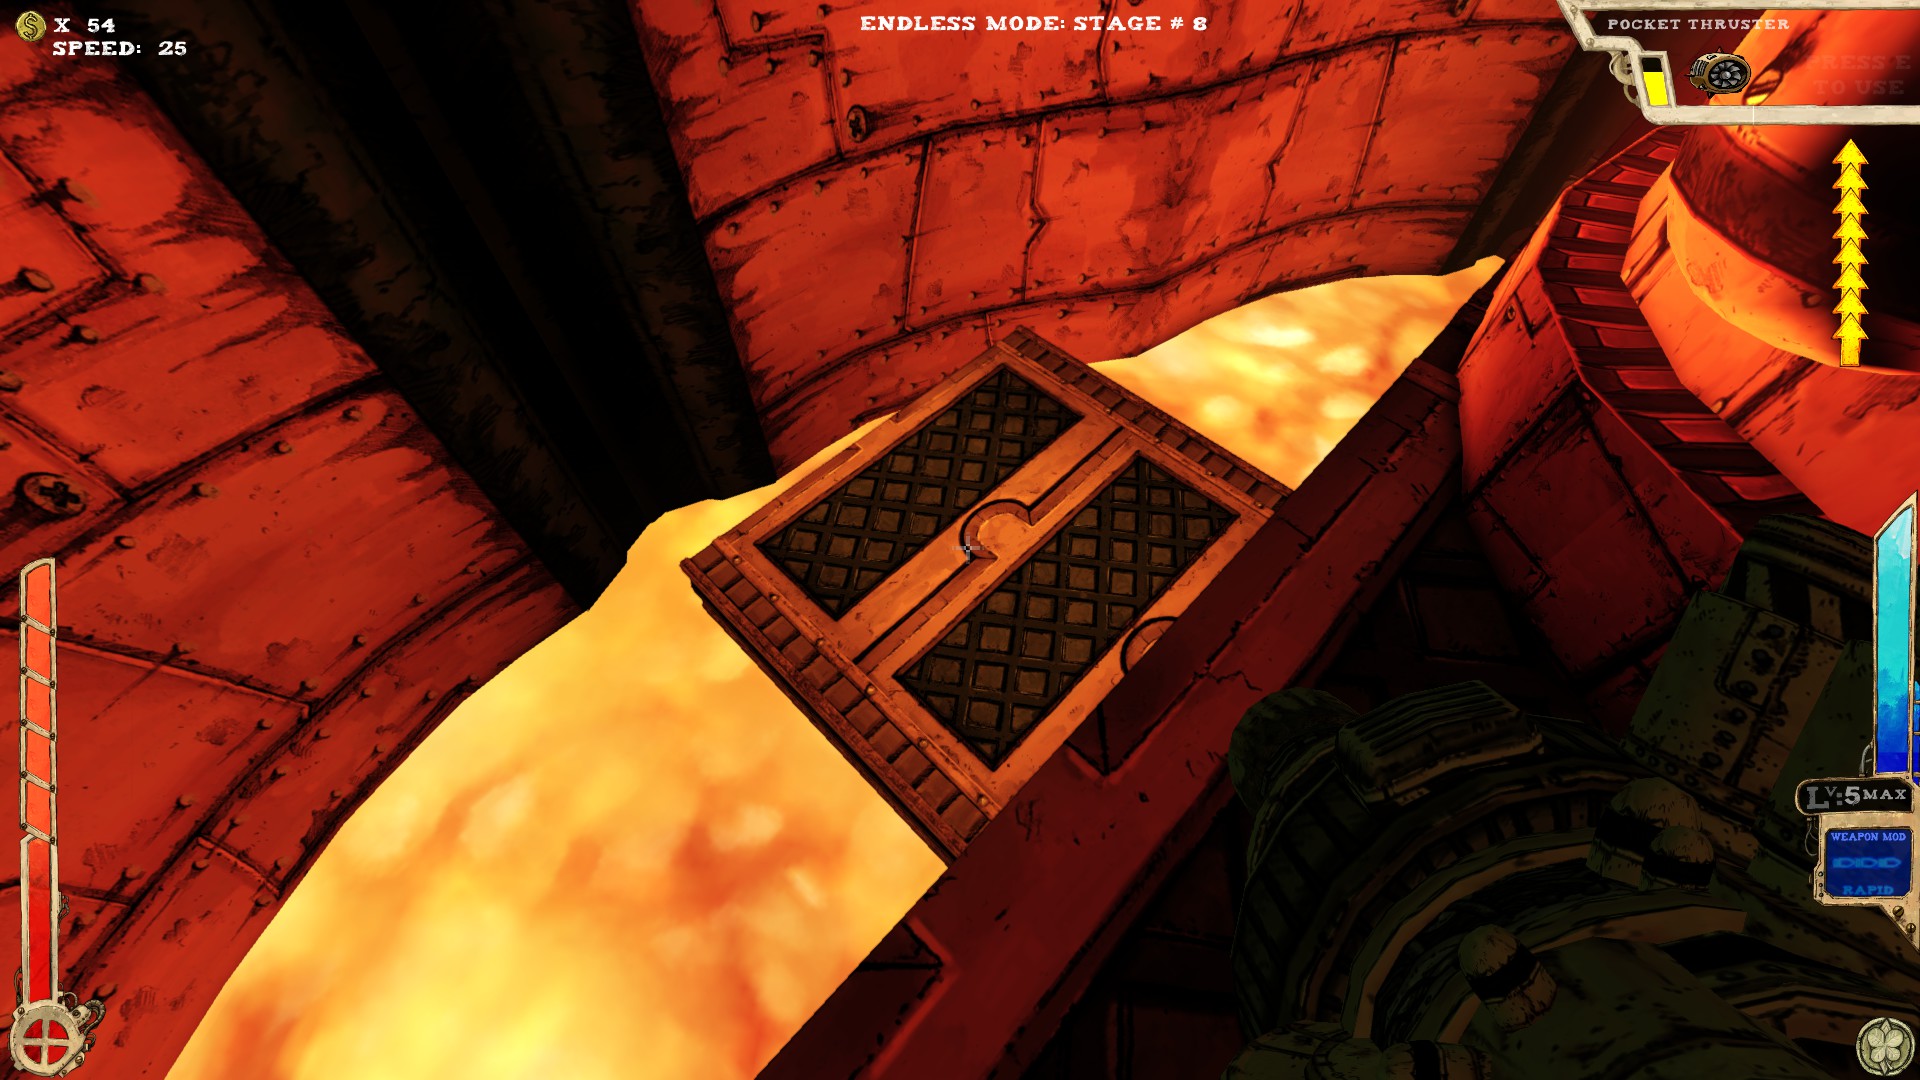
 Either have Fireforce or enough health, then just dive in and out on the other side.
You shouldn't take too much damage when diving through.
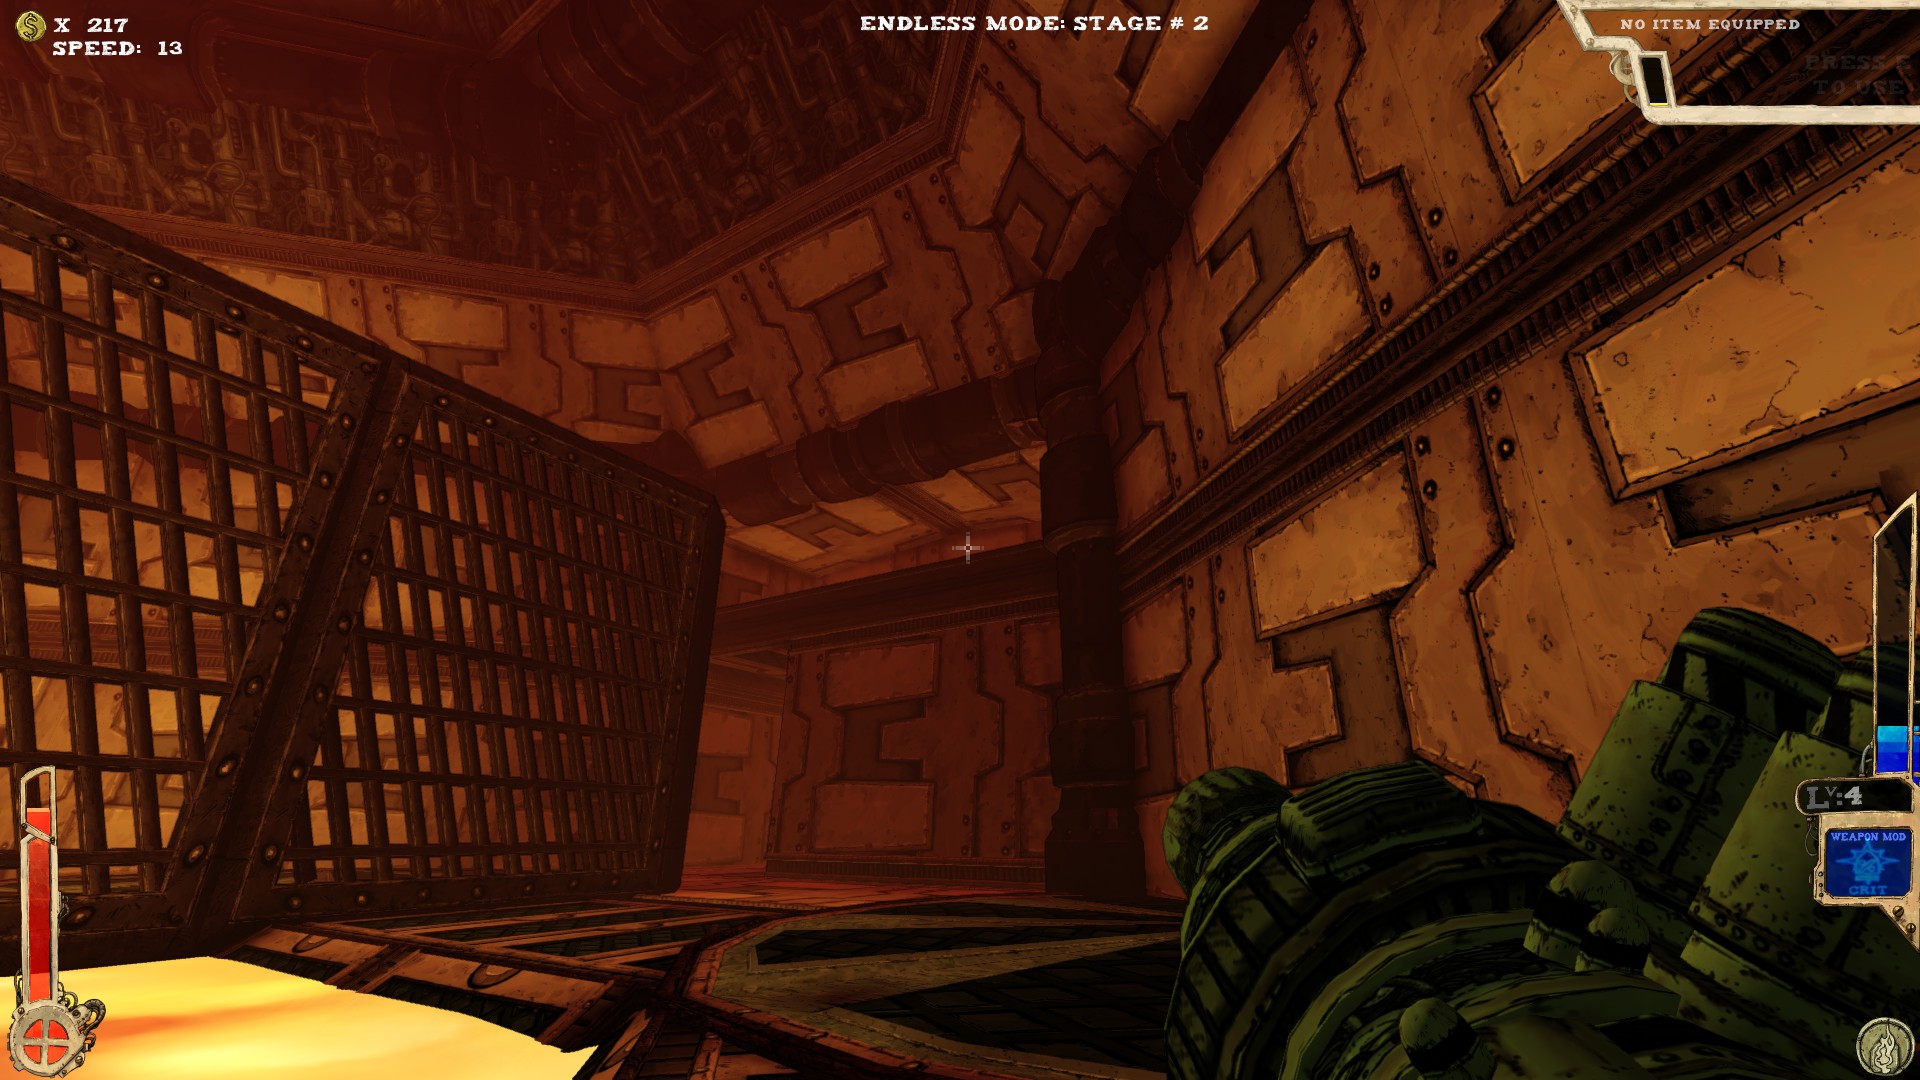
The other secret is also in there. A ramp leads right into a fake wall.
----
 Yes, that's the teleporter room. Has one secret.
 Behind the teleporter. If you can't get back up via jumps, either get through the lava or just use Tilt.
----
 One secret.
 Left from the entrance, upper part, above a small lava pool. Extra jumps or proper item needed.
----
 Two secrets, at least. I thought those were all, but I'm not sure right now...
 Left from the entrance.
 Fake wall at the end of the lava pool. Right where I'm pointing at. Better go fast or you'll burn your feet.
----
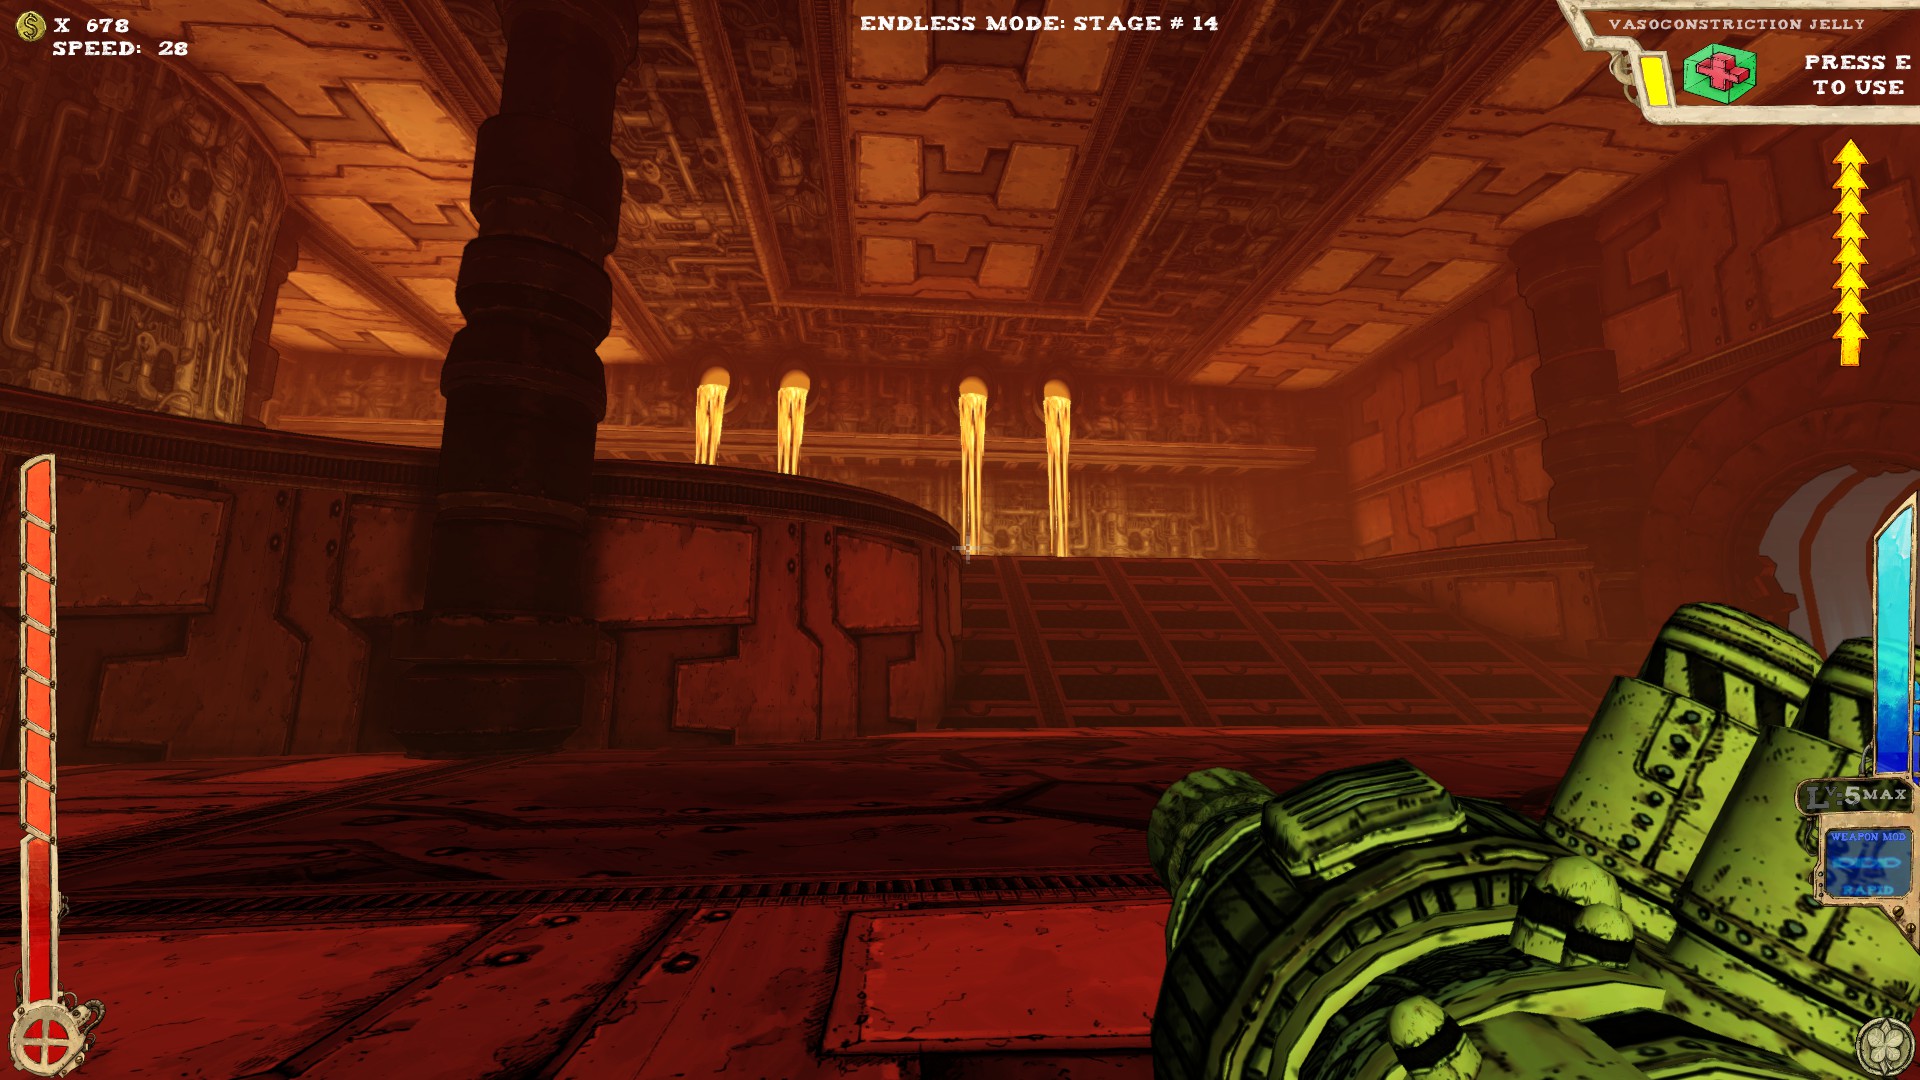
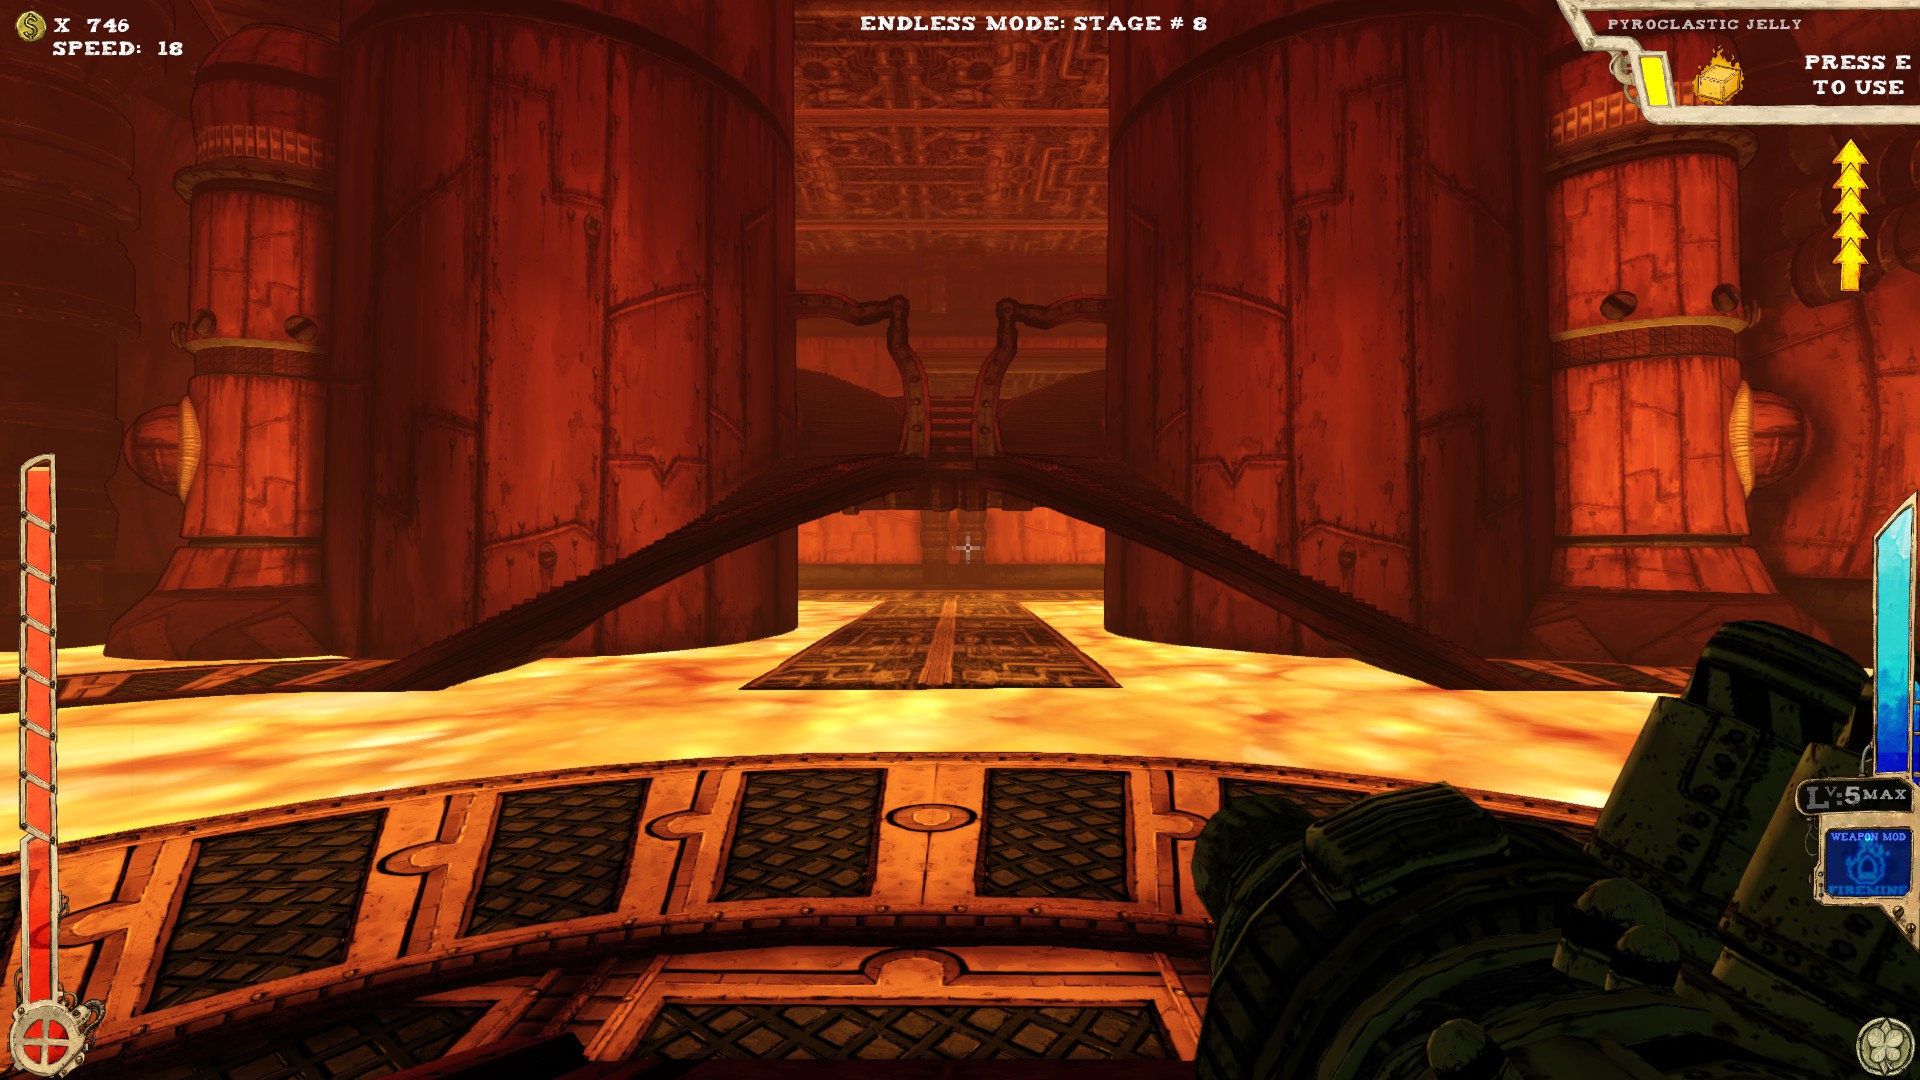
 Two secrets.
 Exit entering the main part of the room, go right and you should see another small room with a lava pool and the secret. REALLY hard to miss, that one.
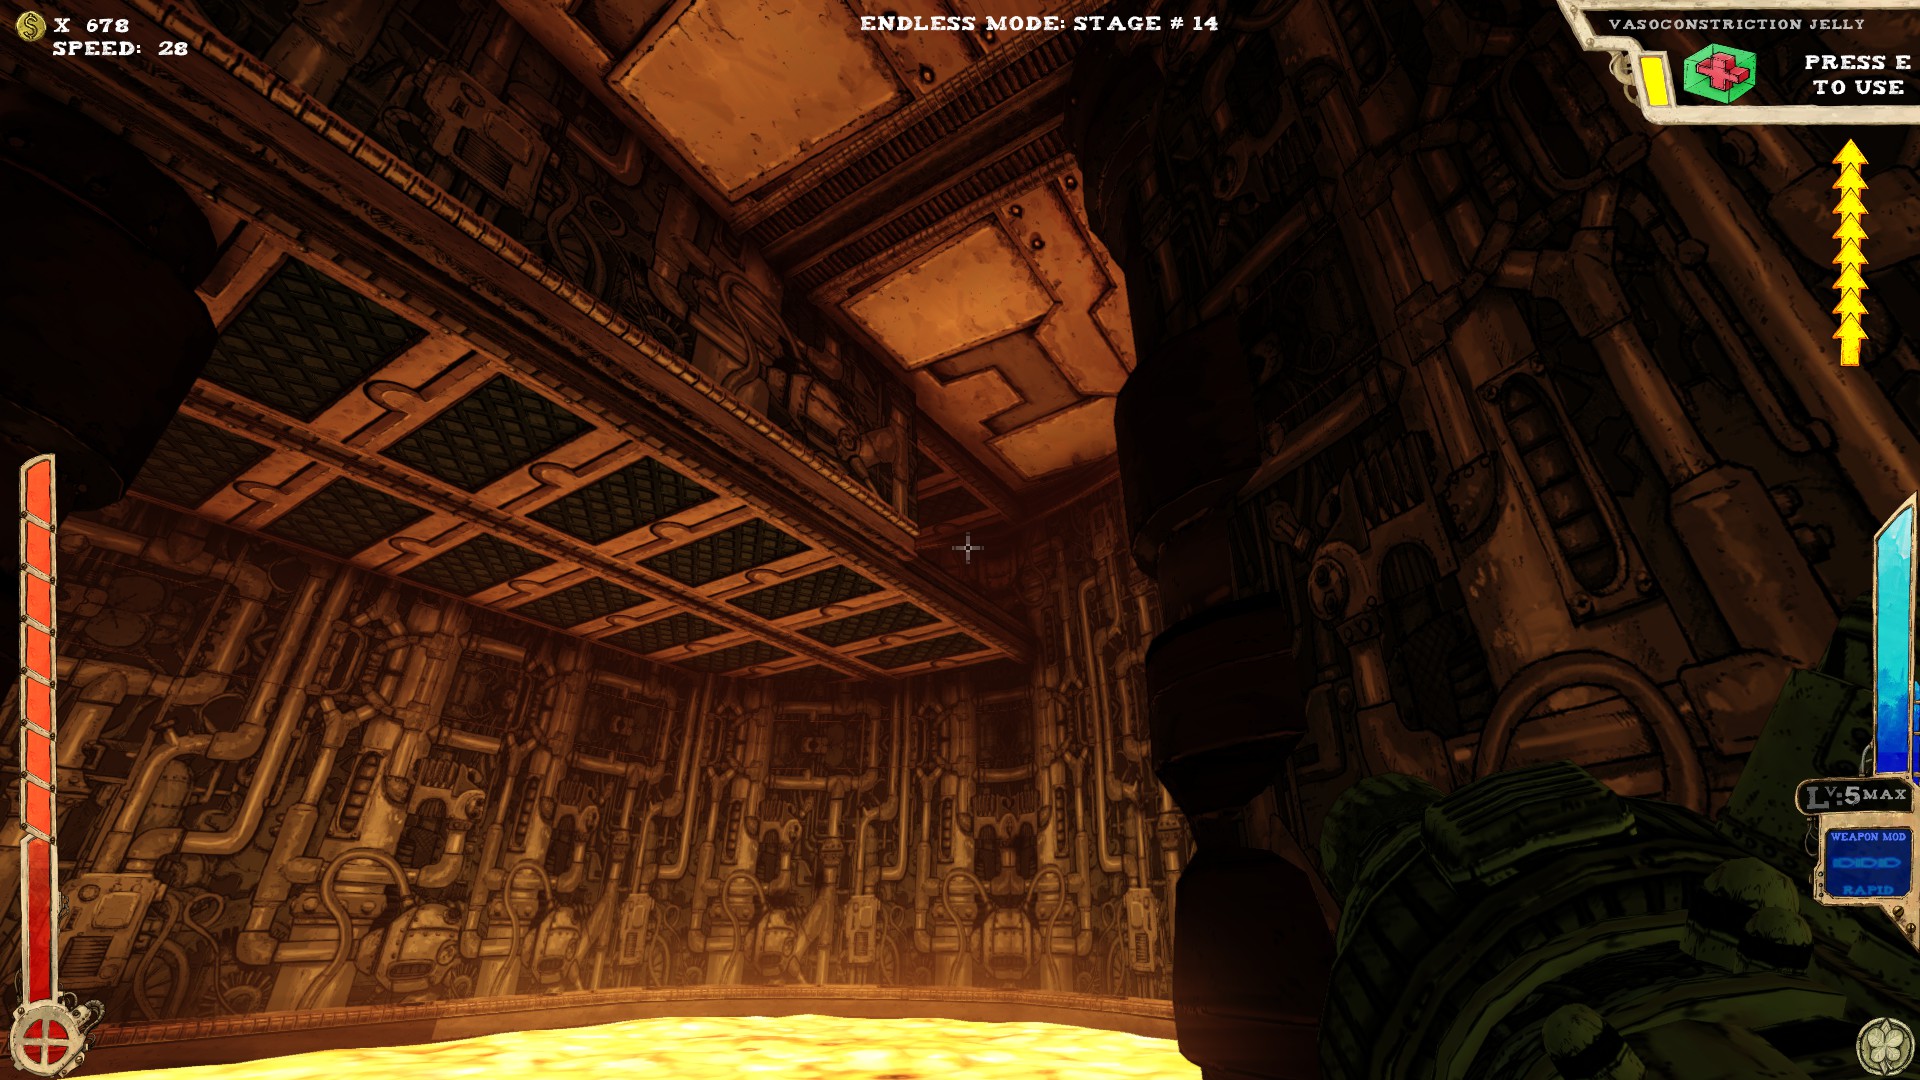
 I'm sure you've noticed the Jelly, so you also should have noticed the opening in the ceiling, too. No go without extra jumps or proper item.
----
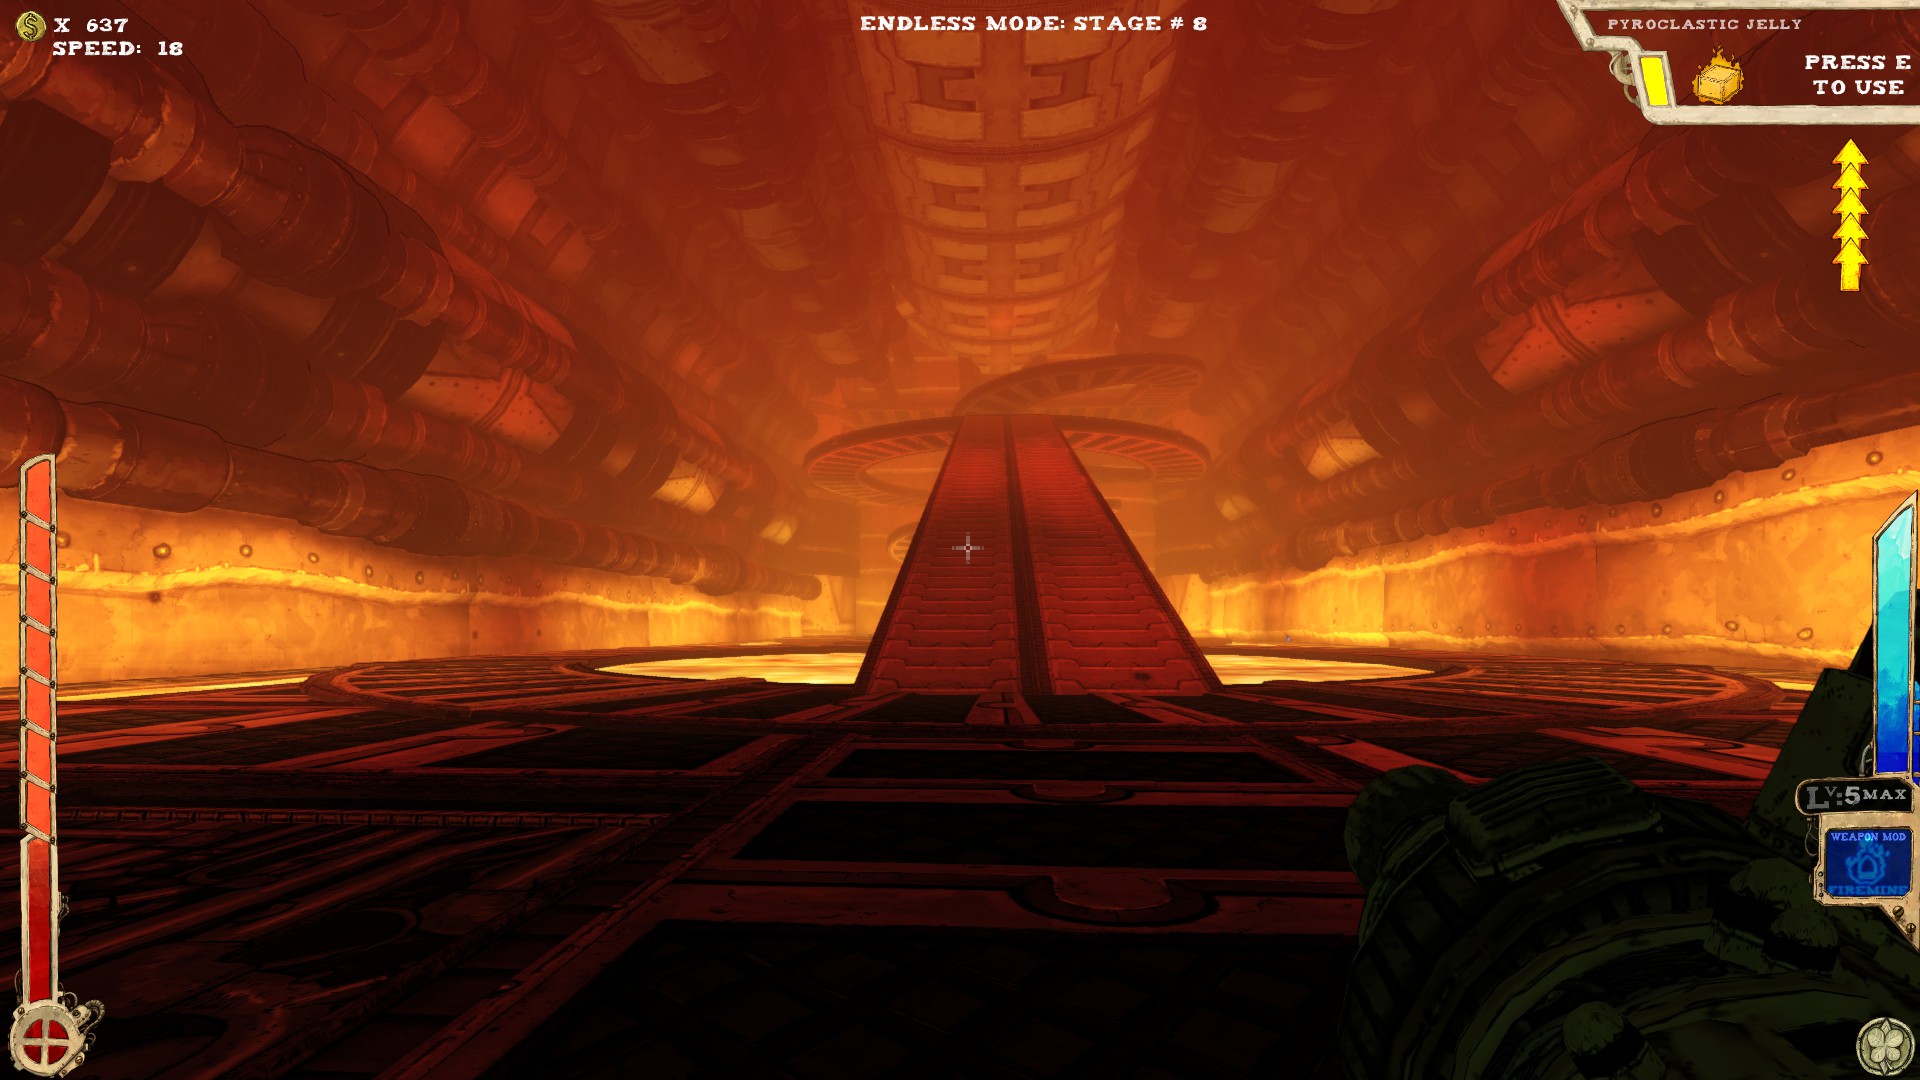
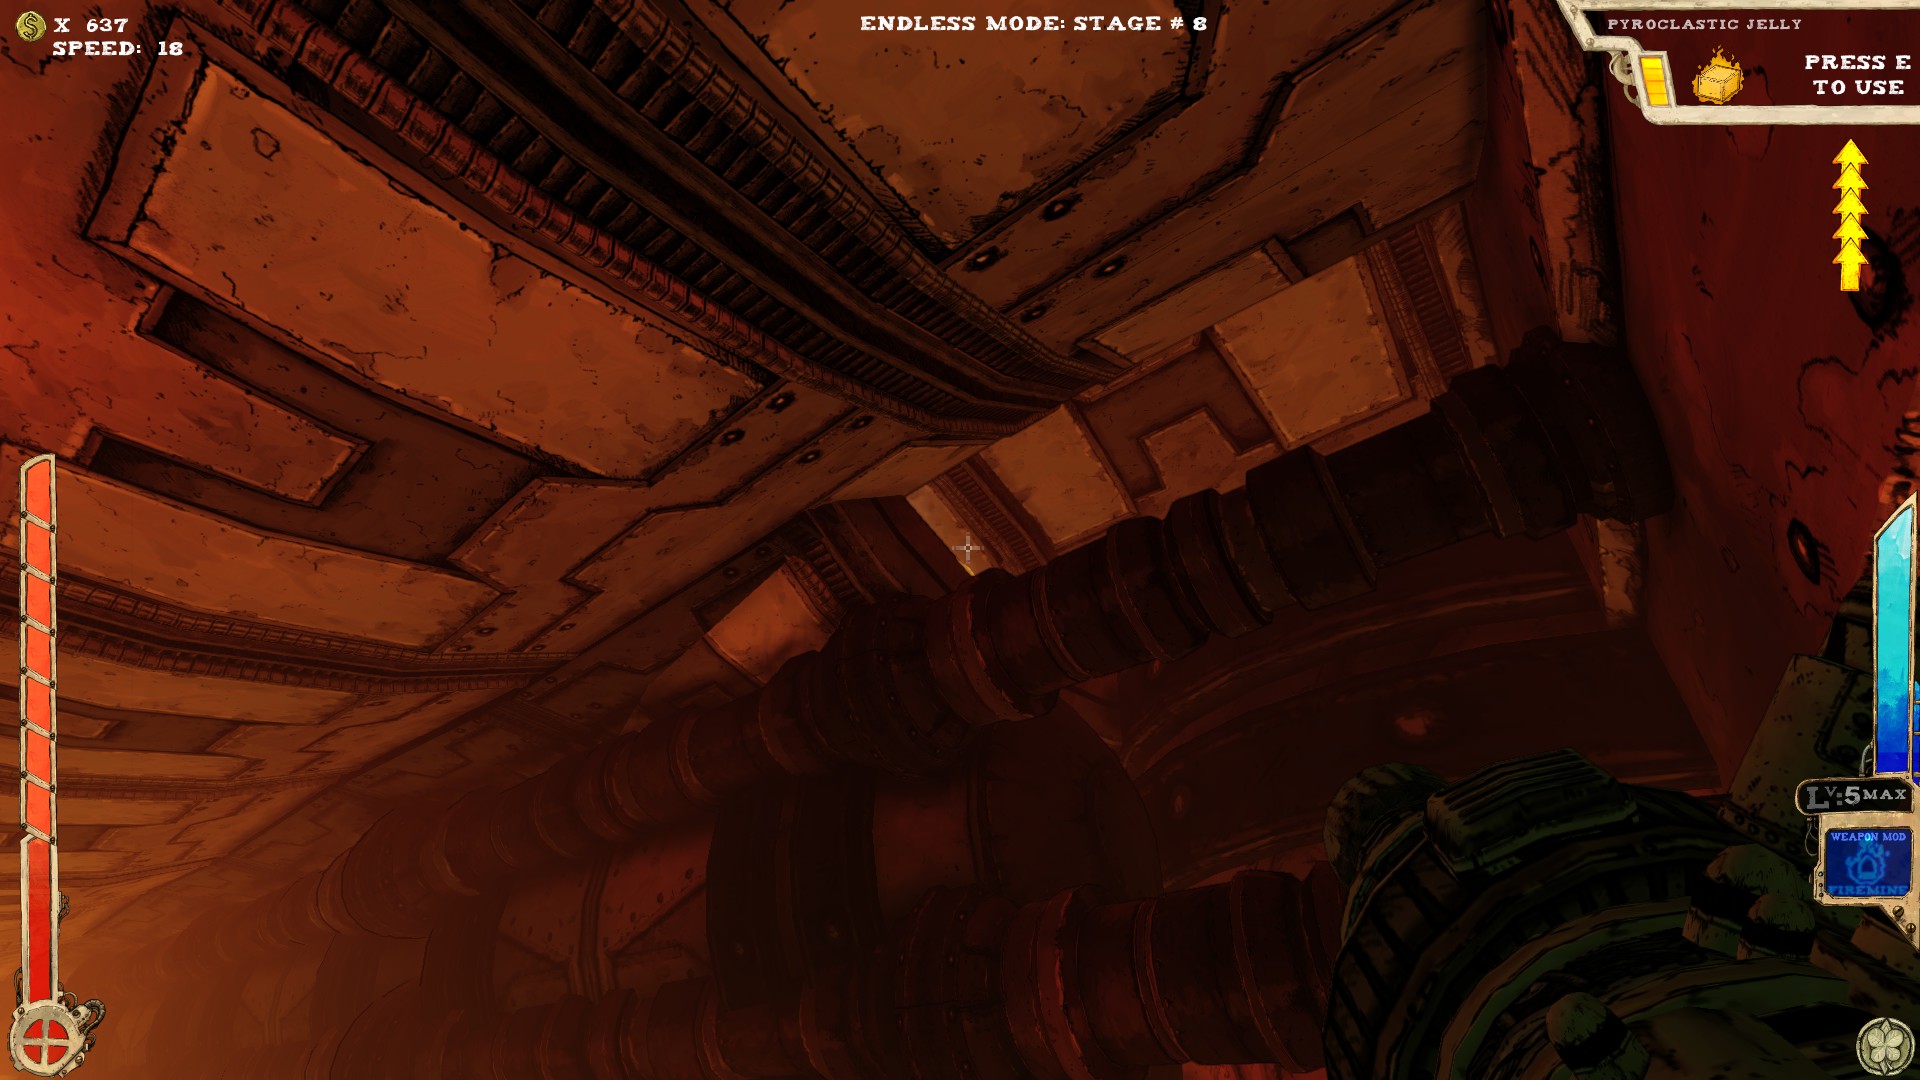
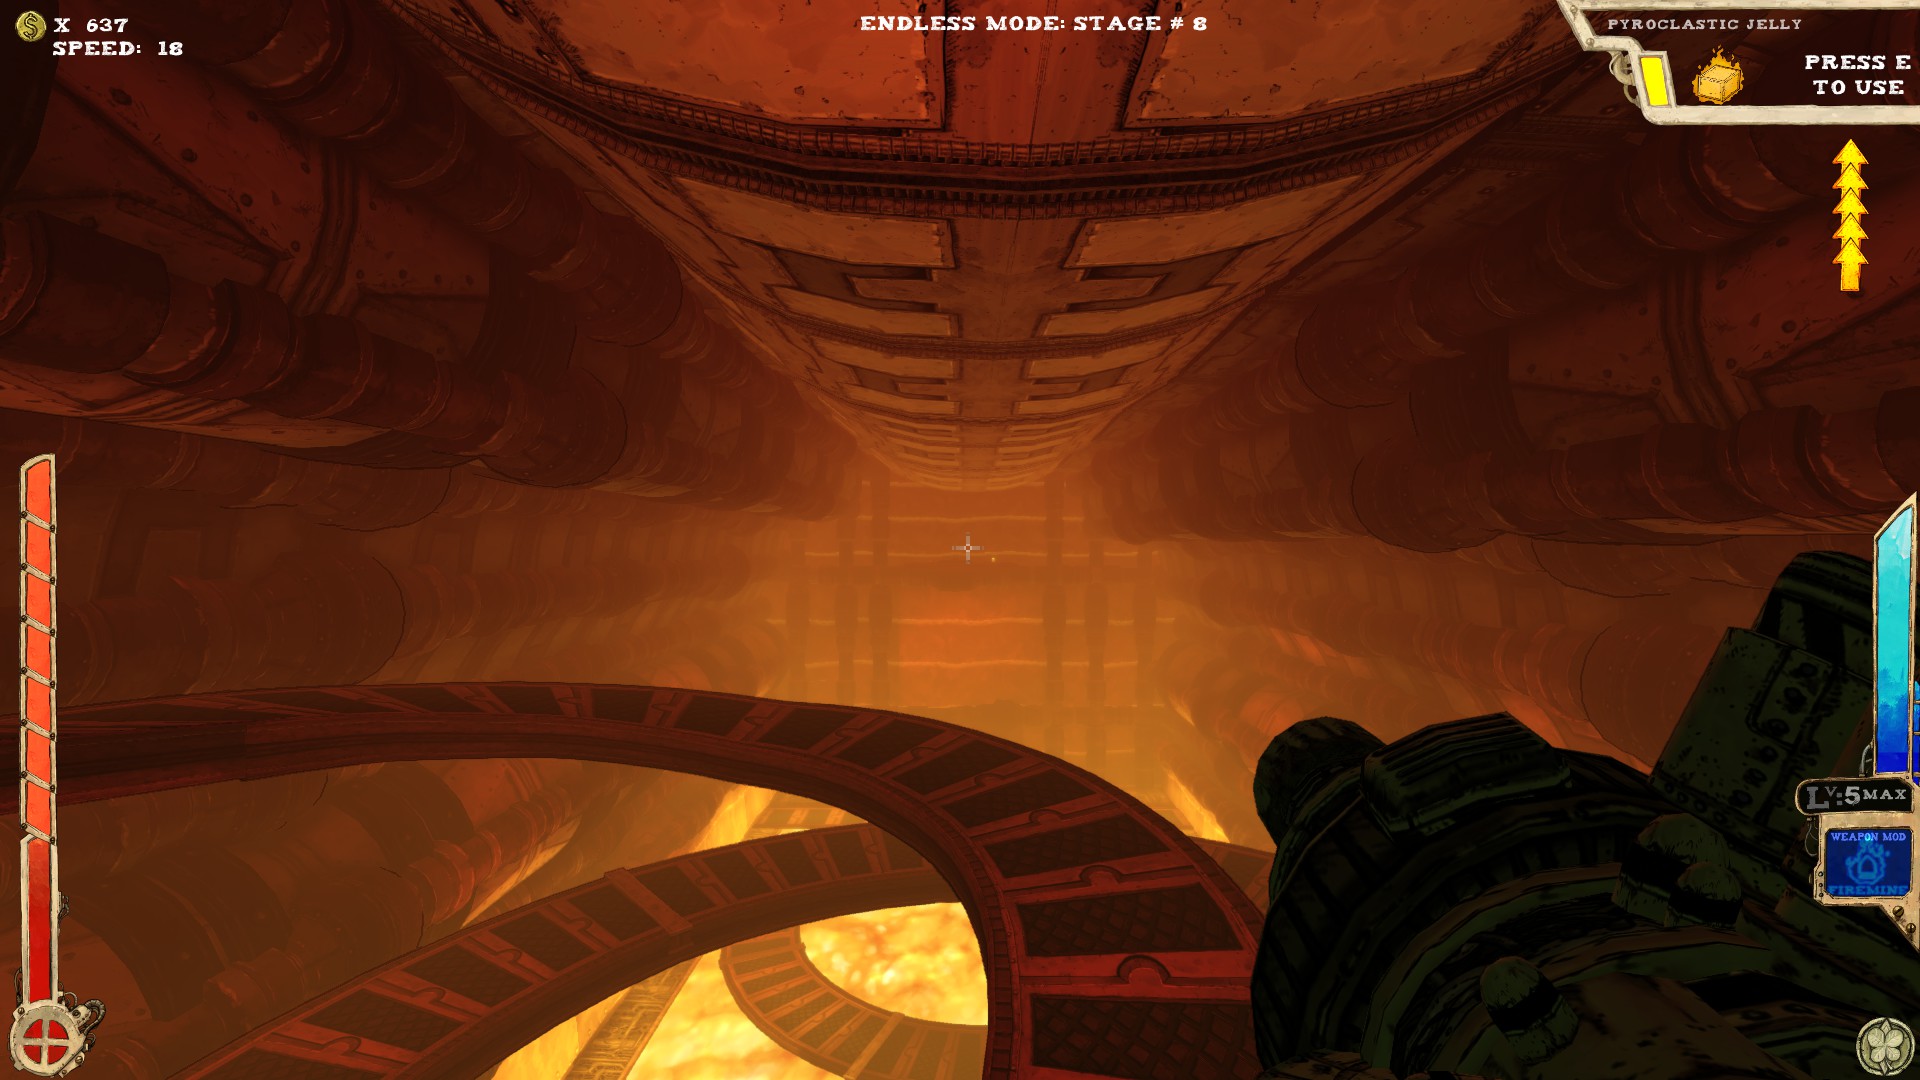
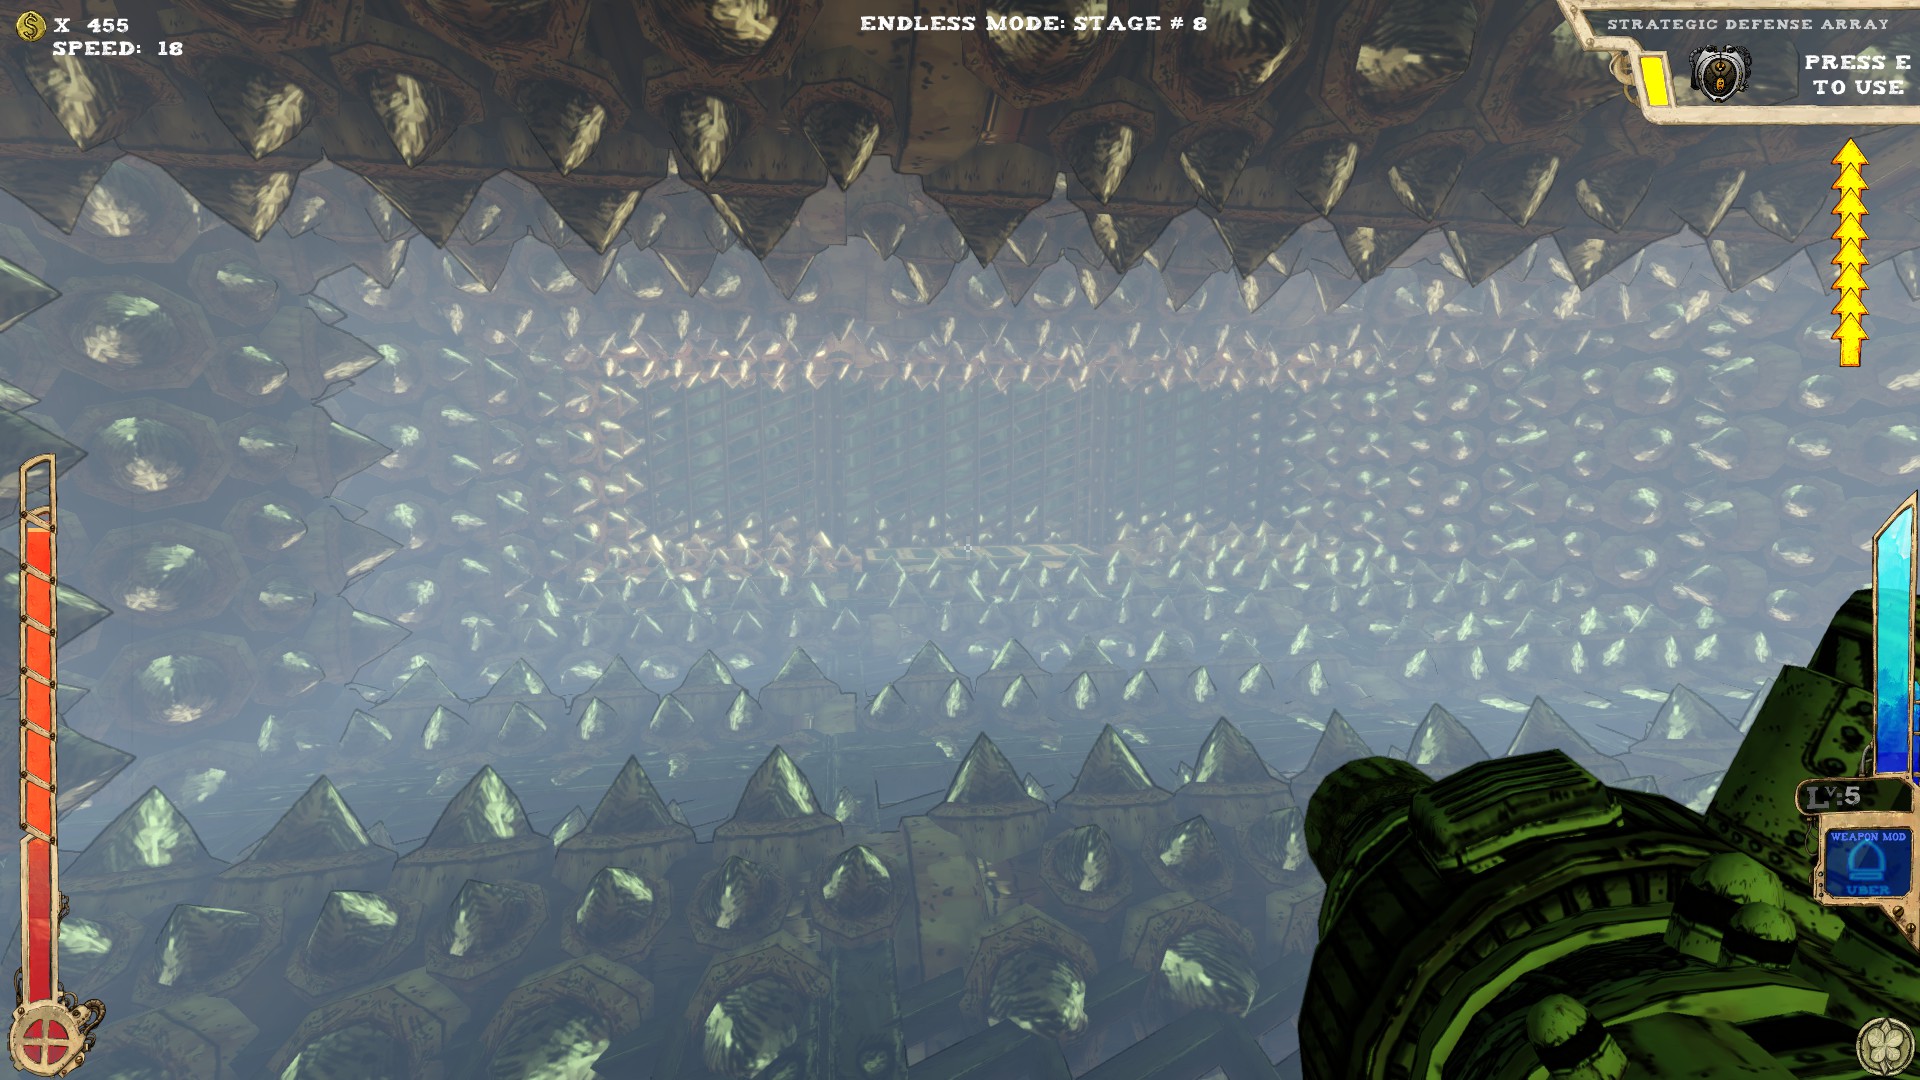
 One secret. And it's not in that spiky thing in the middle.
 You can see the platform from the entrance. You can try to use the Jelly from the pit, but you probably won't make it.
----
 One secret.
 The room is filled with those platform rings. The one with the secret is on the end of the room on the right (left, when facing the entrance). Easily reachable with the ramps around there.
----
 Two secrets.
 Lowest part. You should see the corridor, when walking around the lava pool. Just walk in there and you'll find the secret. Promise!
 Time for another bath. That's the highest of the lava pools. Get to the end (nearest to the boss door) and dive right in. The lower part of the pool doesn't do damage, so just get in quick. I'd use Tilt to get out of there, though, unless you have Fireforce.
----
Three secrets.
 Opposite from the boss door, left from the entrance, fake wall where I'm pointing at.
 The ring has one secret and the top has another one. You know what you need to get there, I presume.
----
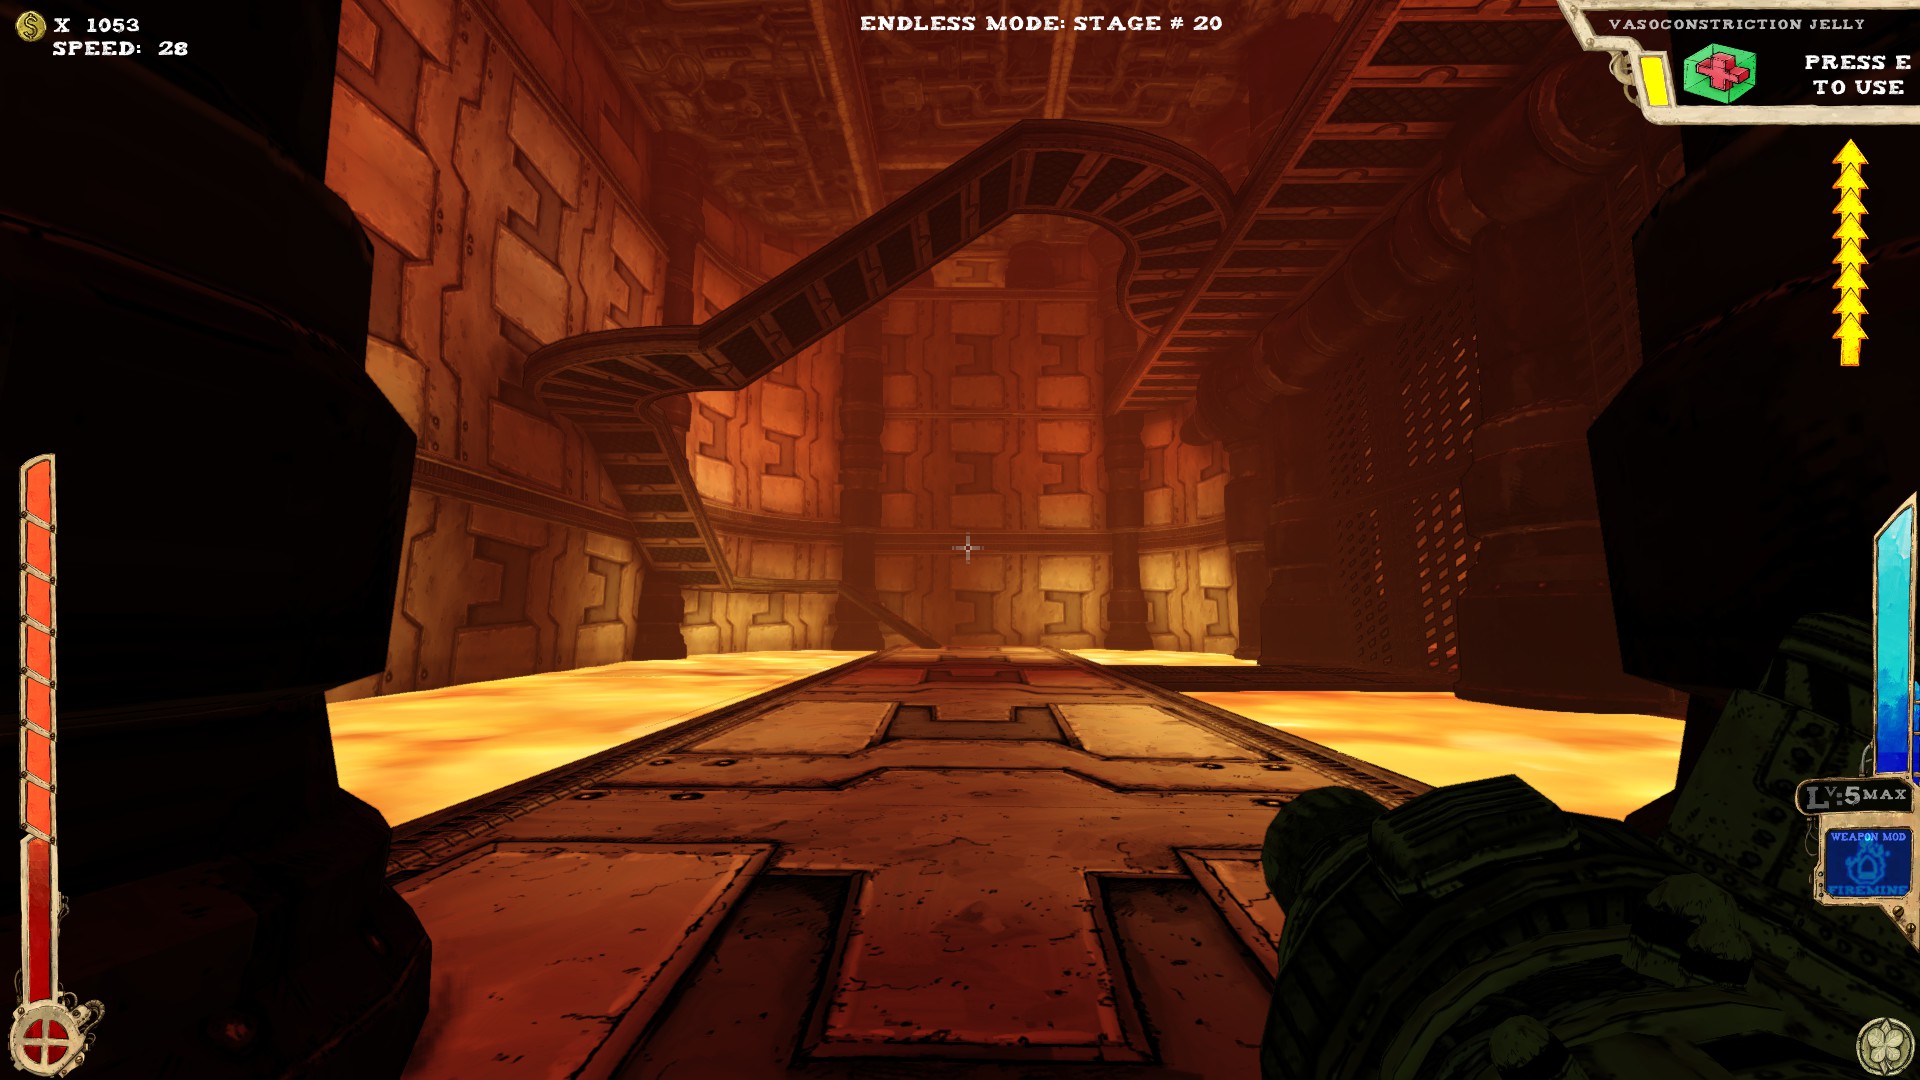
 At least three secrets.
 Drop down the middle, follow the way, but DON'T go into the teleporter, but around it. The hole in the wall there should be quite visible.
 Have fun with that one.
Also down in the middle. You can see an opening in one corner of the lava pool. Be advised that there is NO ground the whole way to the secret and if the secret doesn't contain a shop, there will be nothing to stand on at all. Either have Fireforce, a lot of jumps or enough health.
Also keep in mind, that you need to get back, too.
 Oppsite the exit door, right between the colums I'm pointing at. (thanks to Ginopinoshow for that one!)
-----
 You can see two room parts in this screenshot. None of which has a secret. You may find those two in different room setups.
-----
 At least one secret.
 While ascending the beam of light, you'll see a bunch of different floors. One of the upper houses this secret. Hard to miss, I'd say.
-----
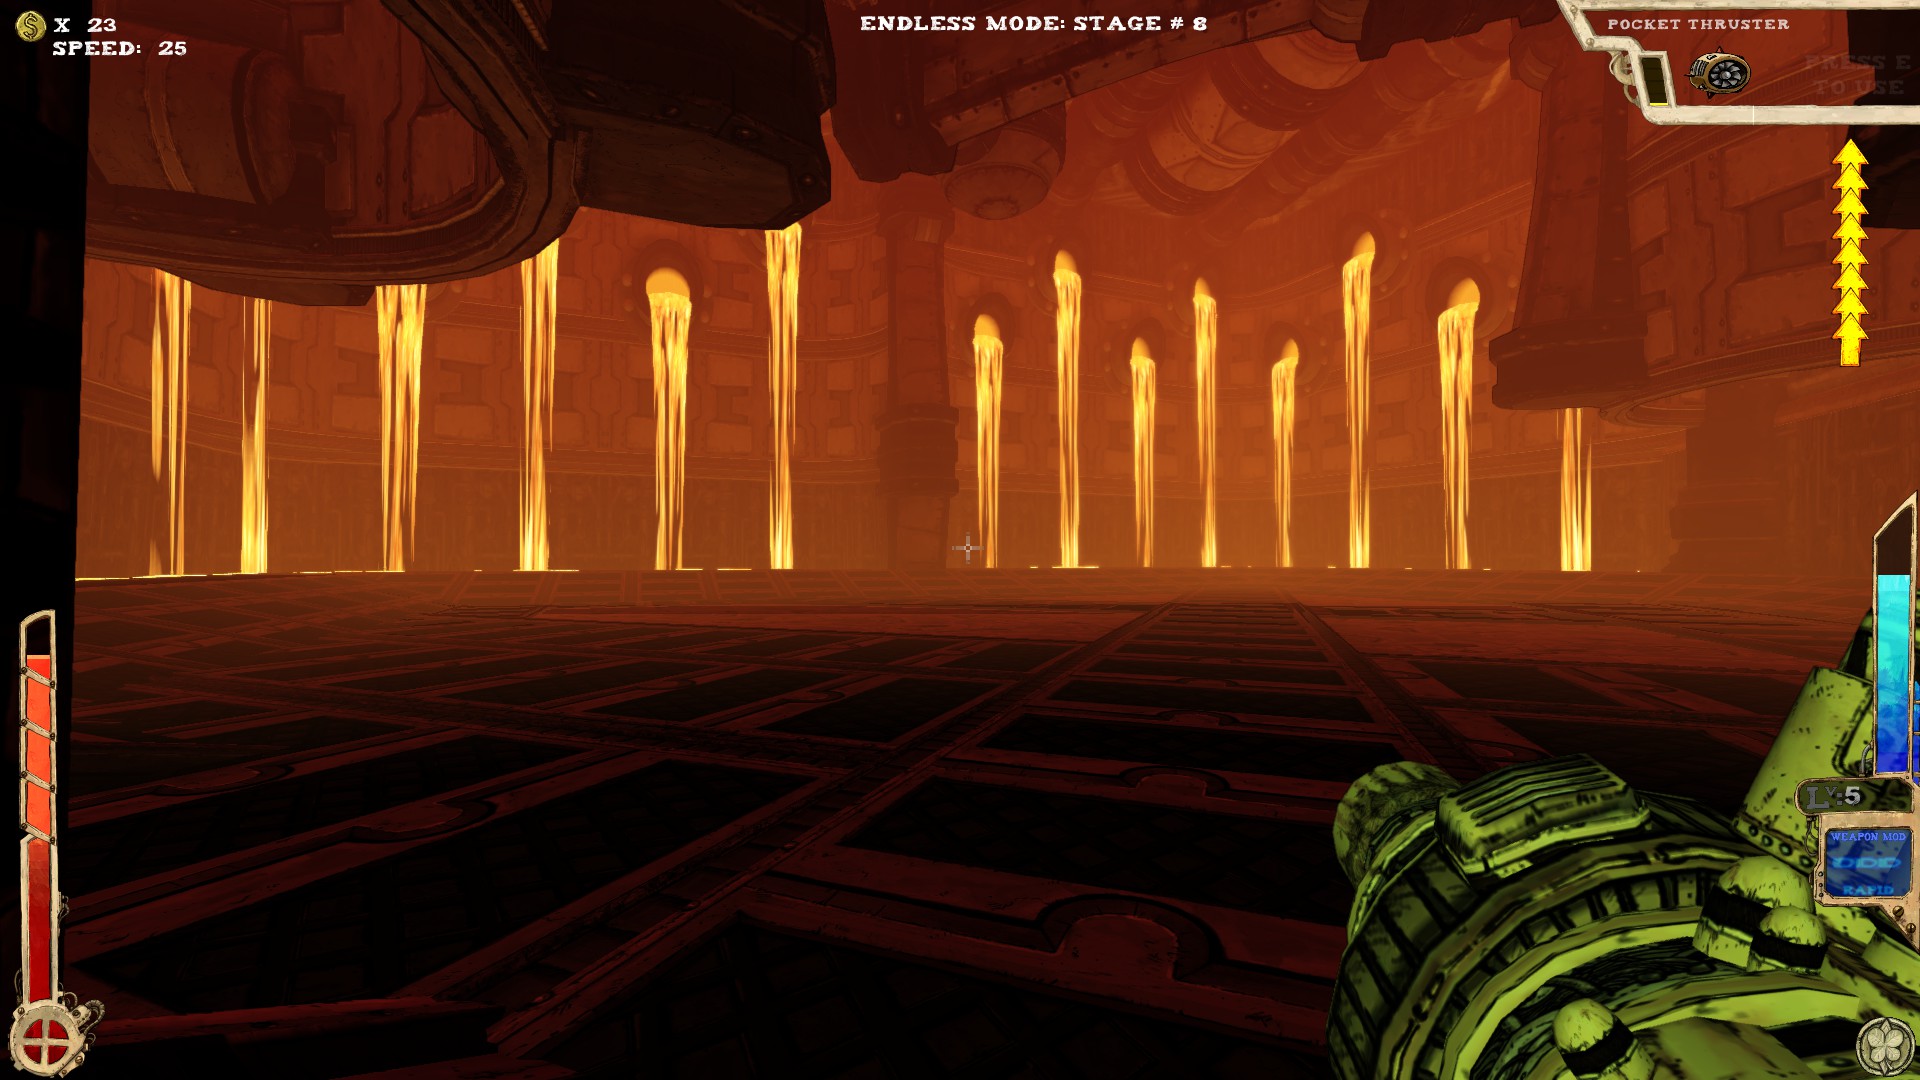
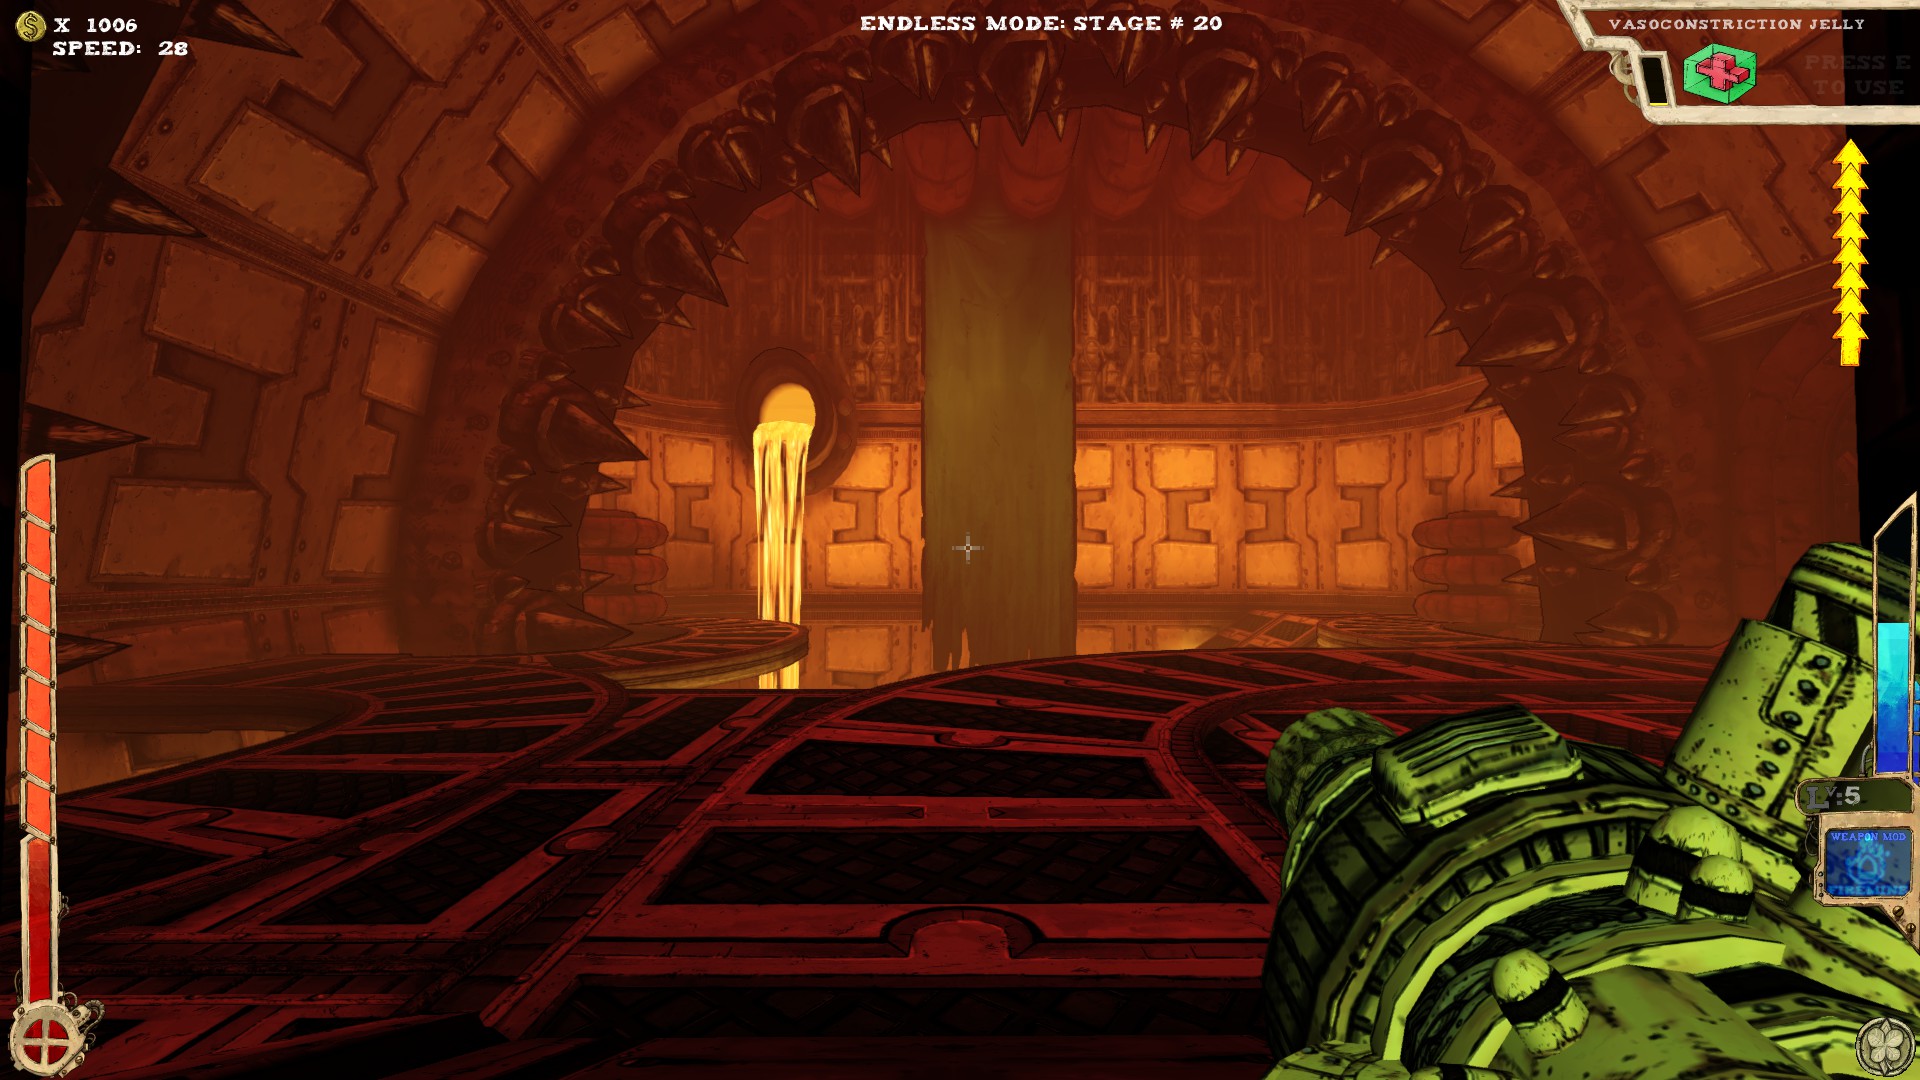
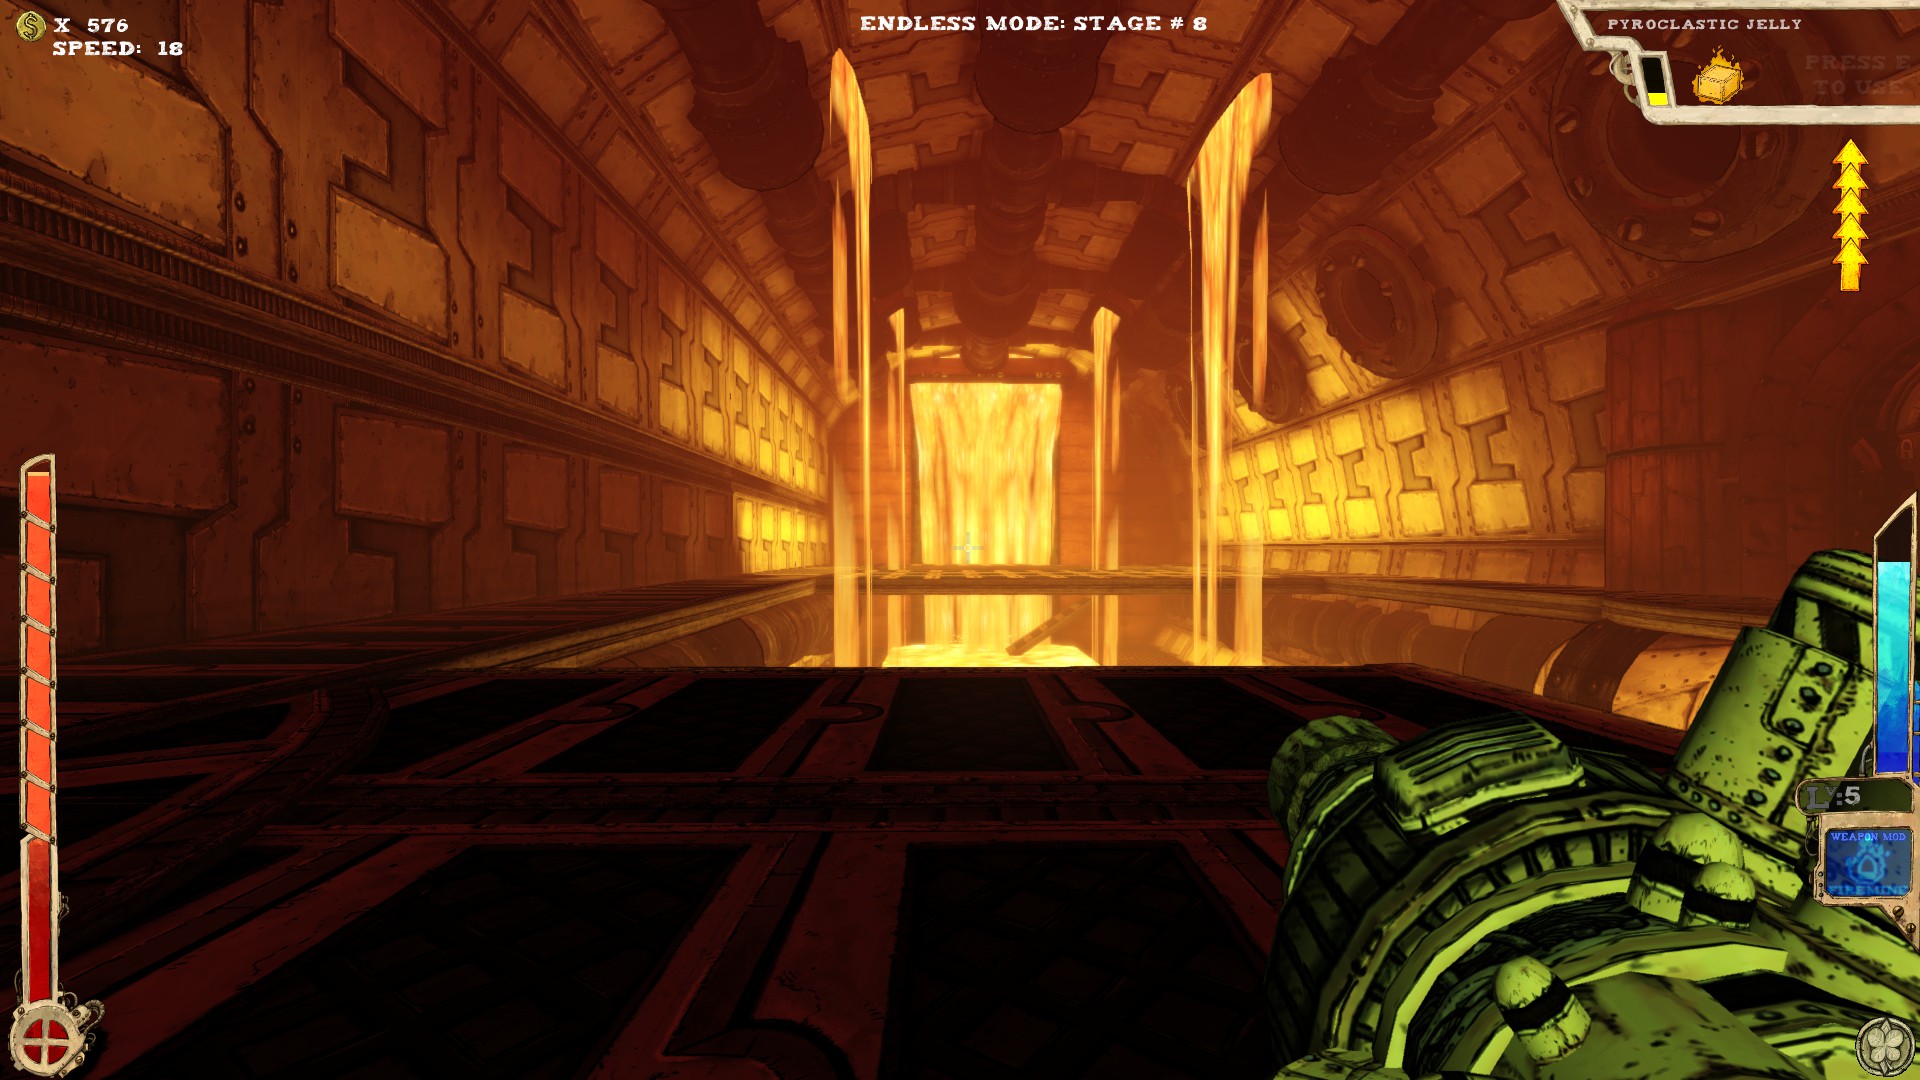 Three secrets.
 There are always secrets behind waterfalls. Ok, it's a lavafall, but whatevs!
You'll take a bit of damage. Either go out the same way or use Tilt.
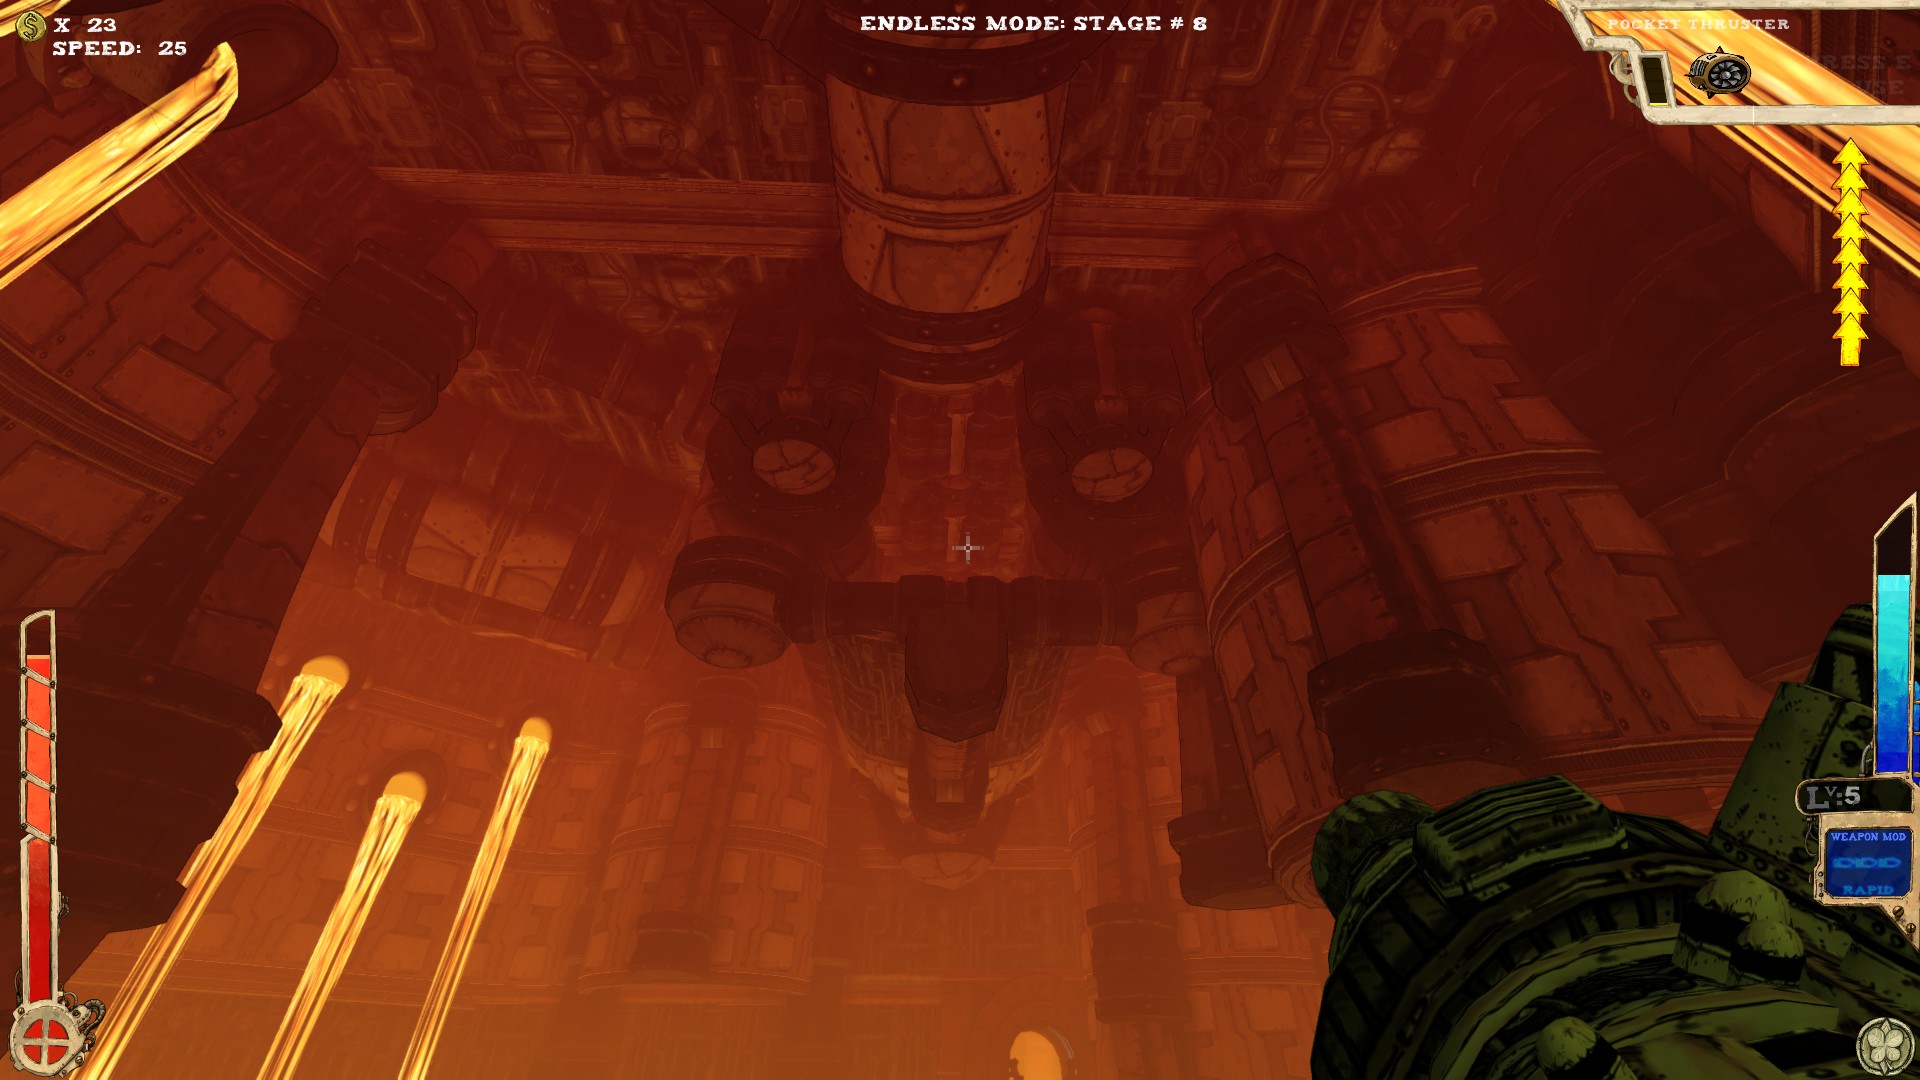
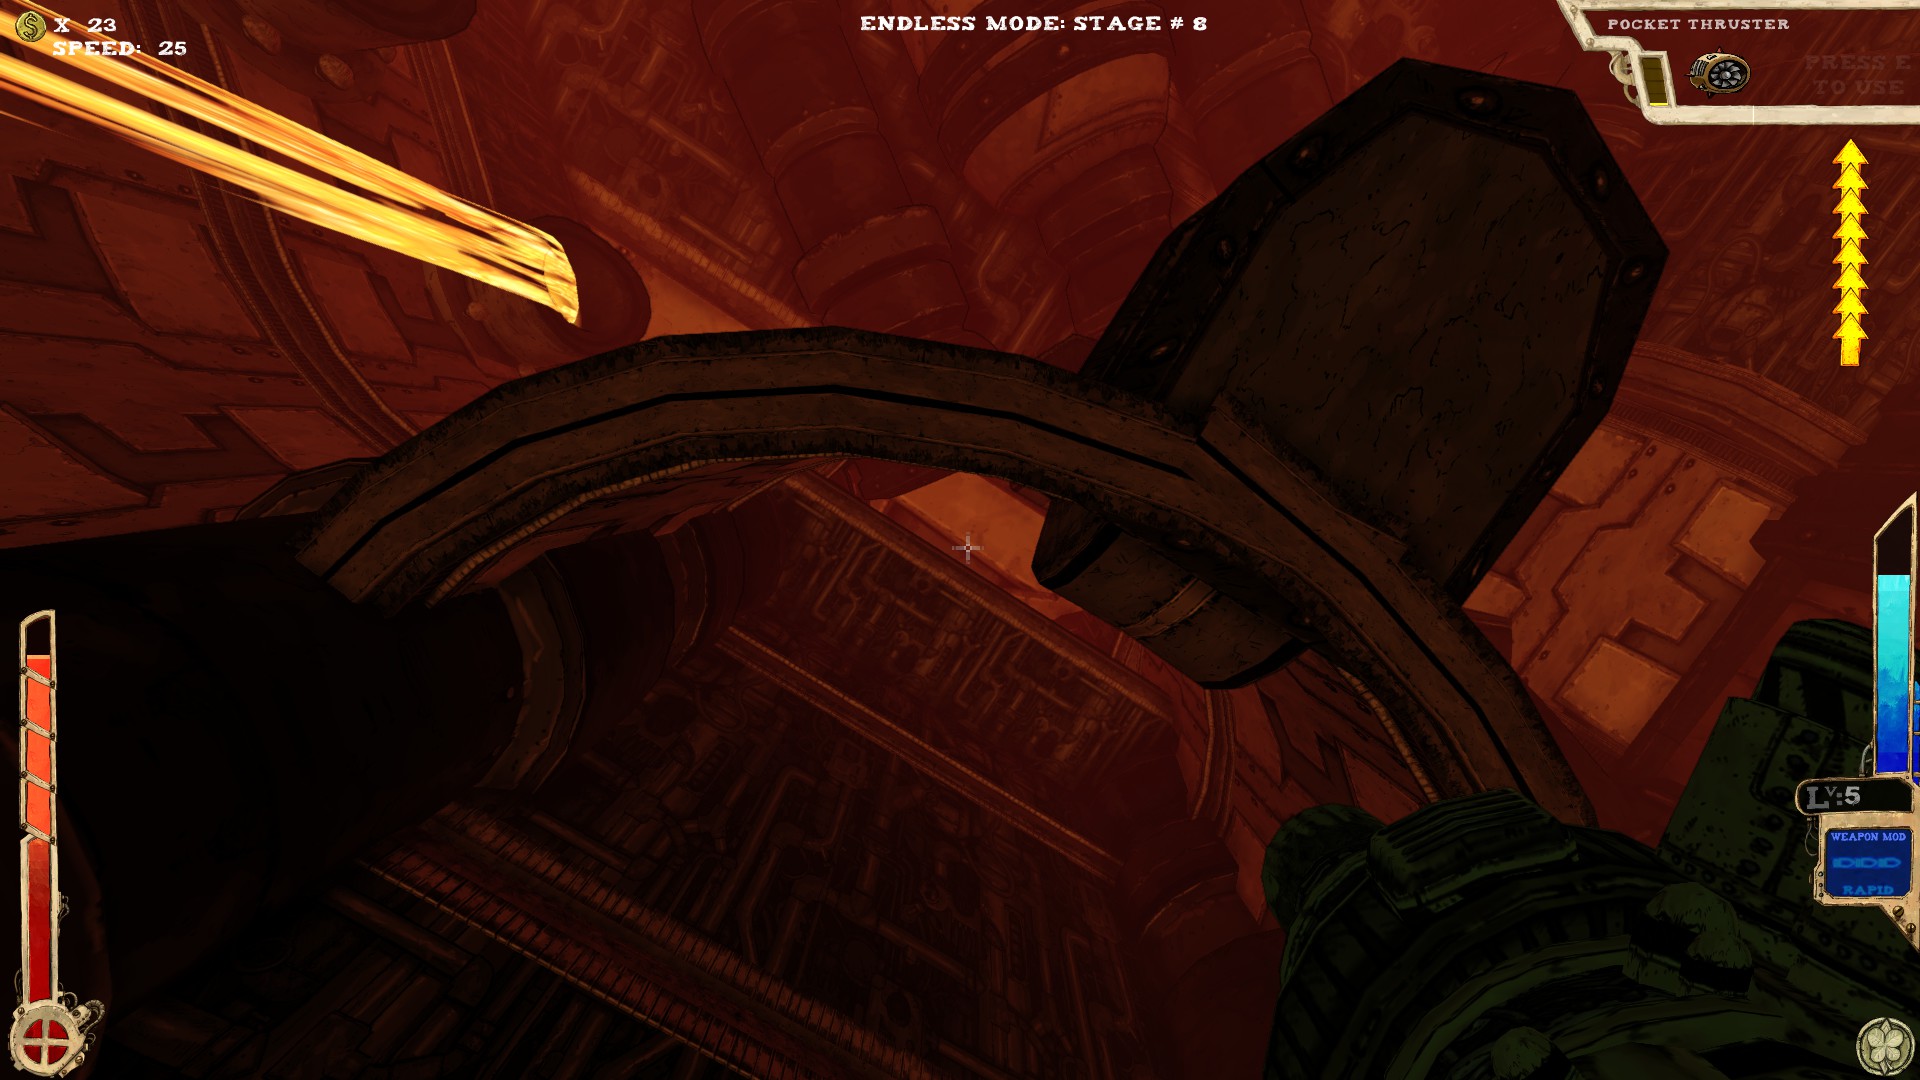
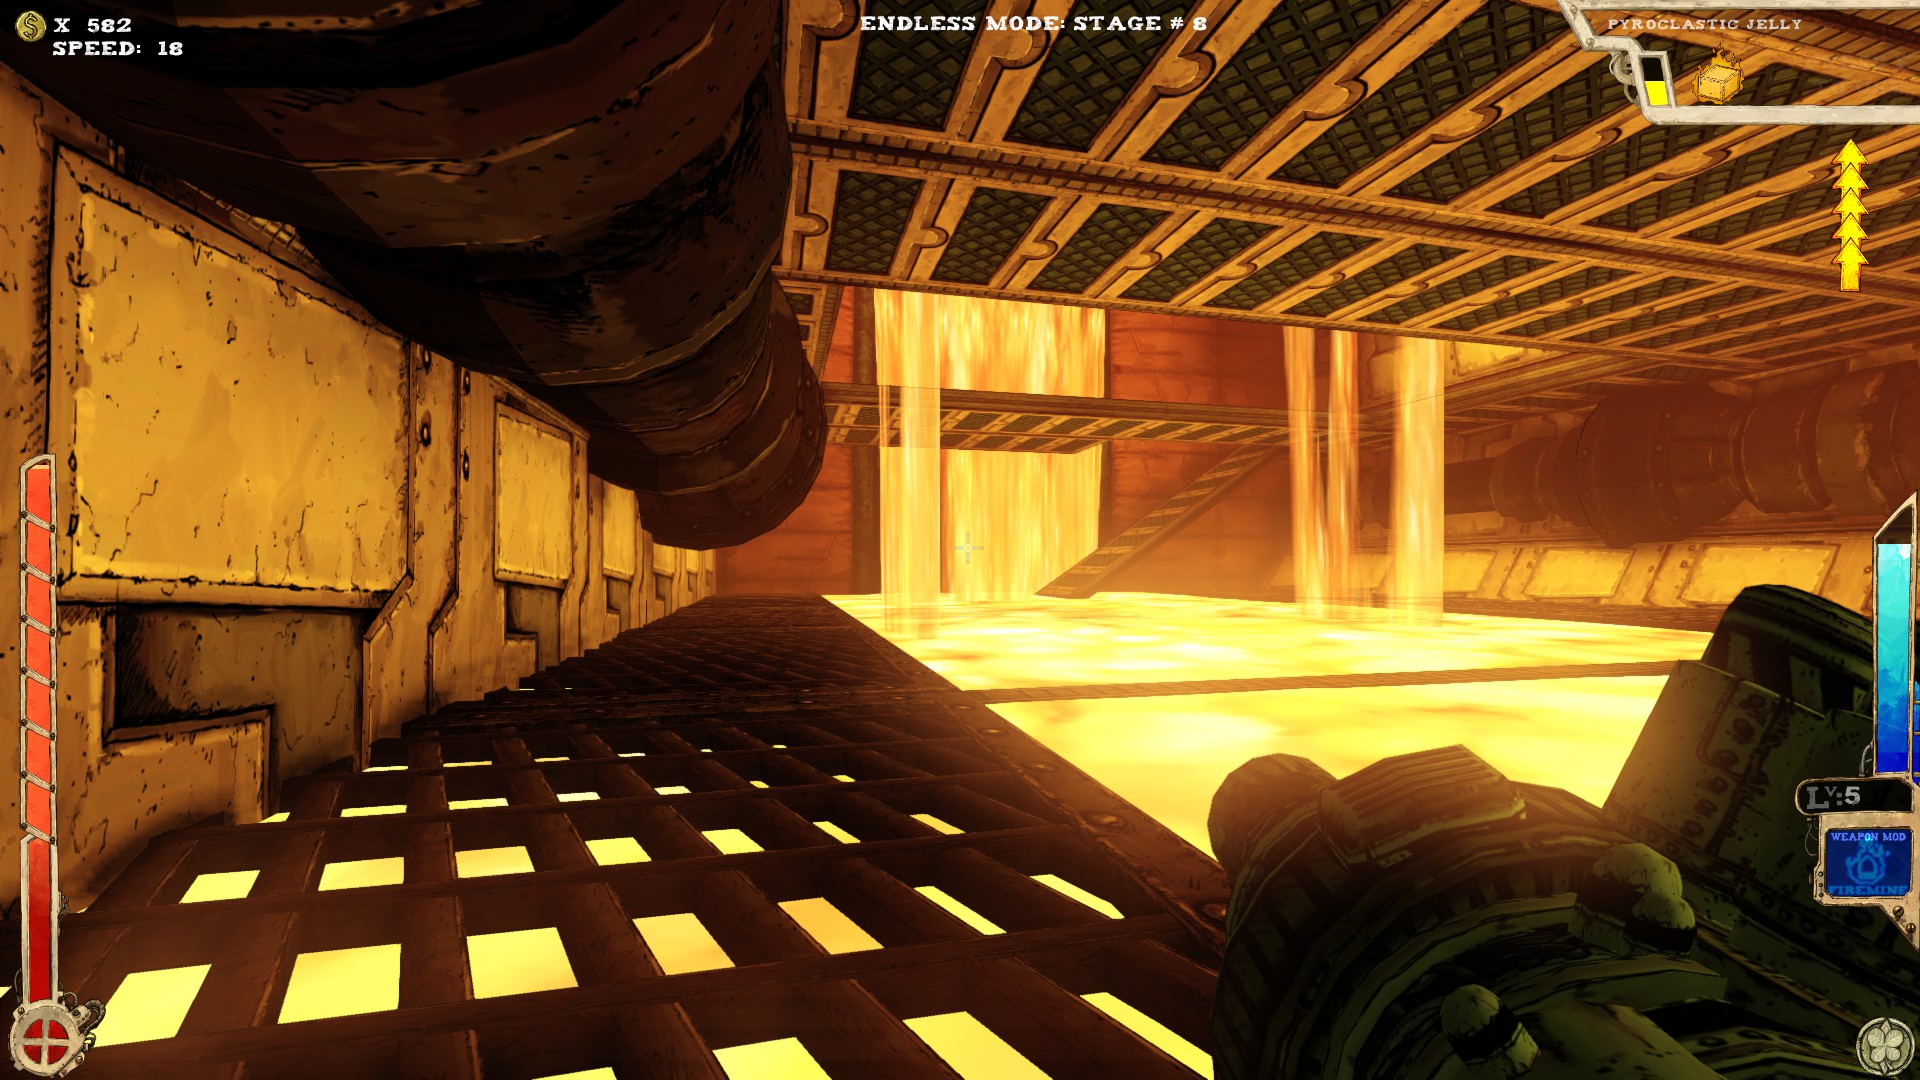
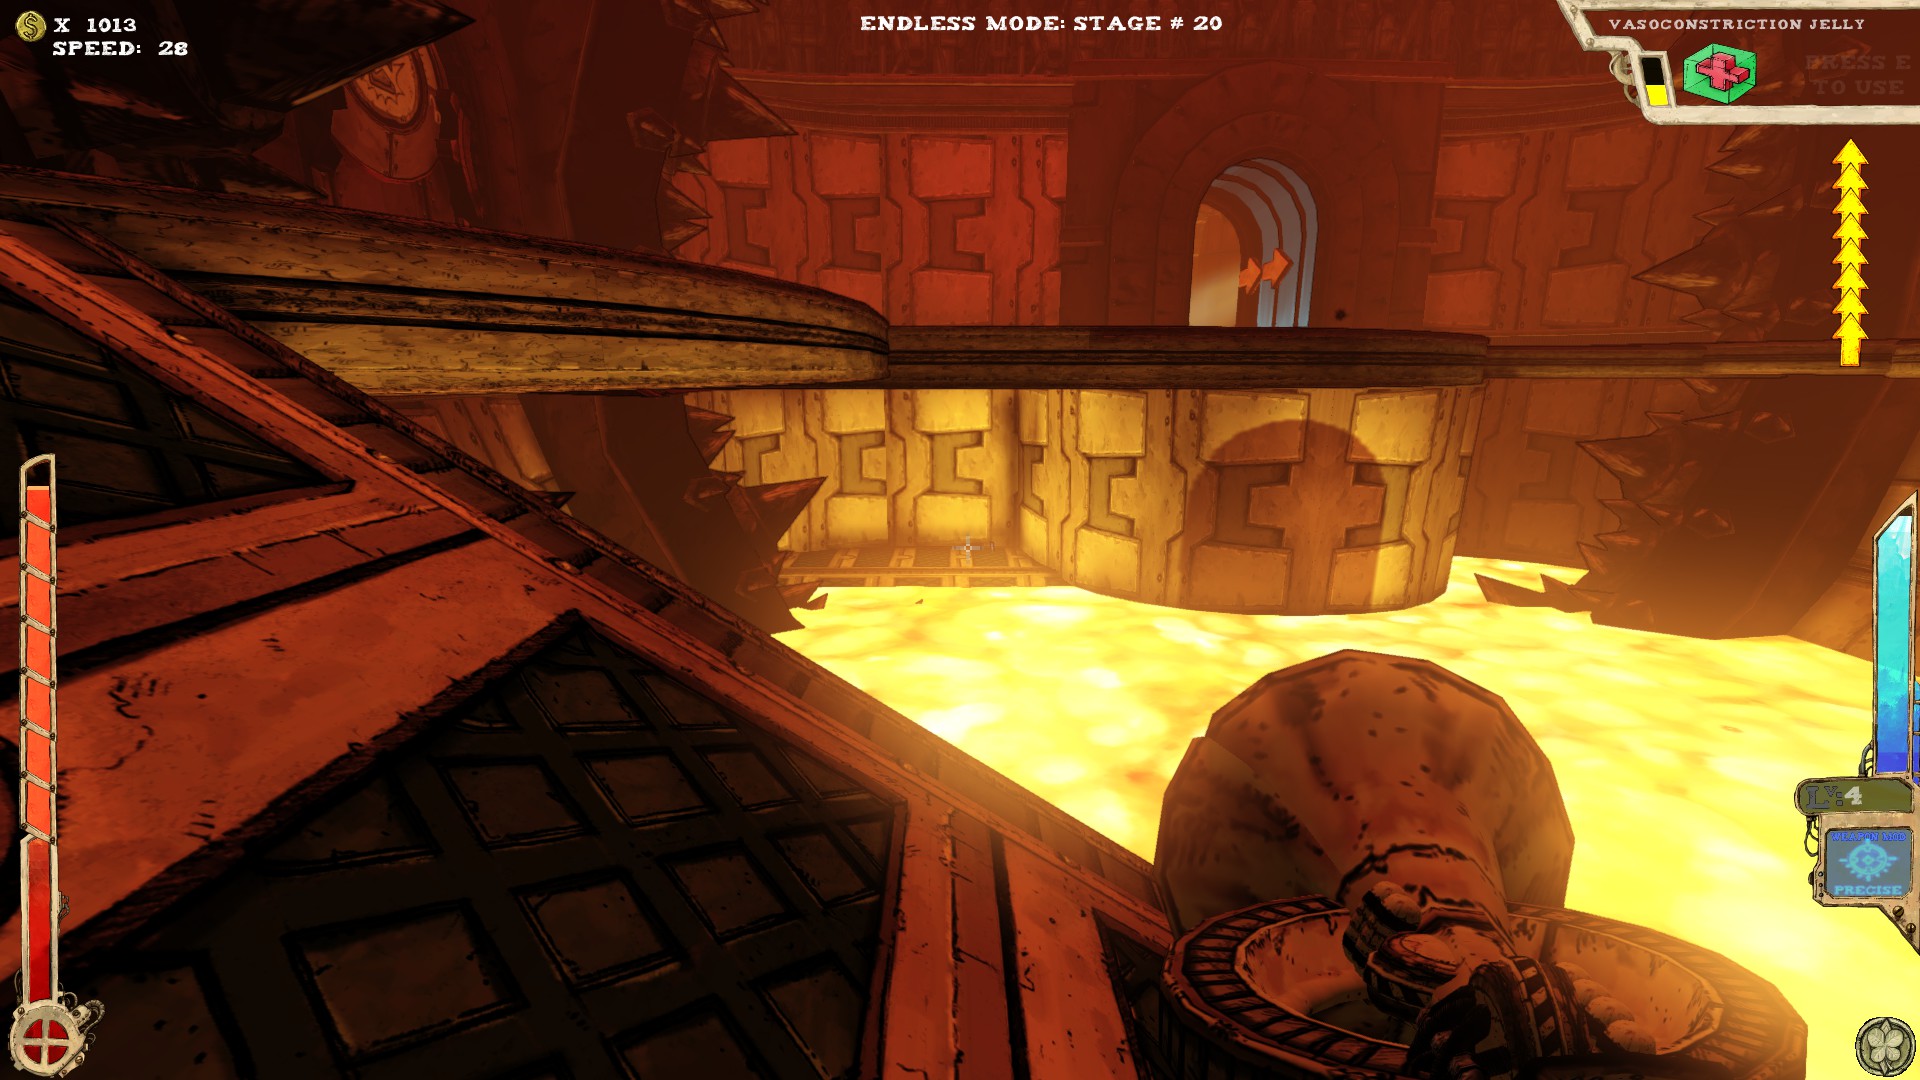
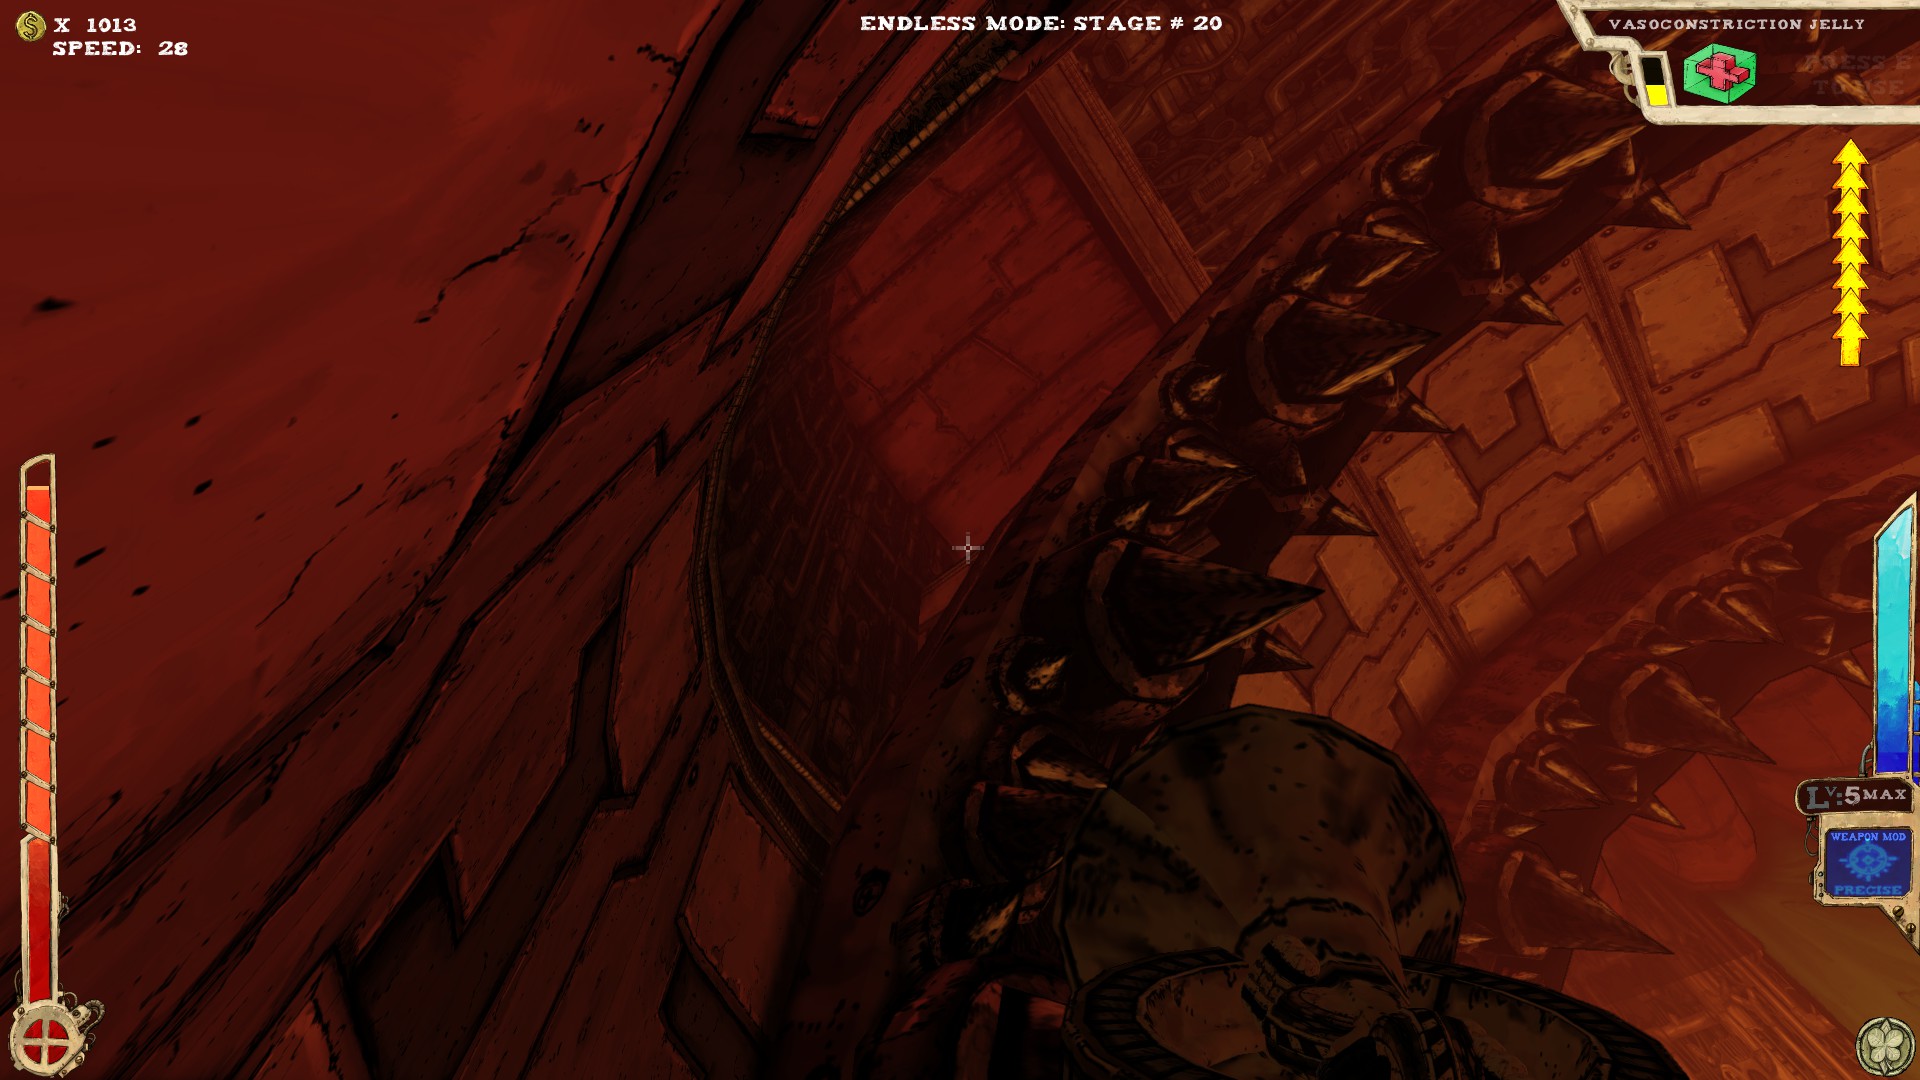
 Left from the lavafall is a small way, leading to another secret.
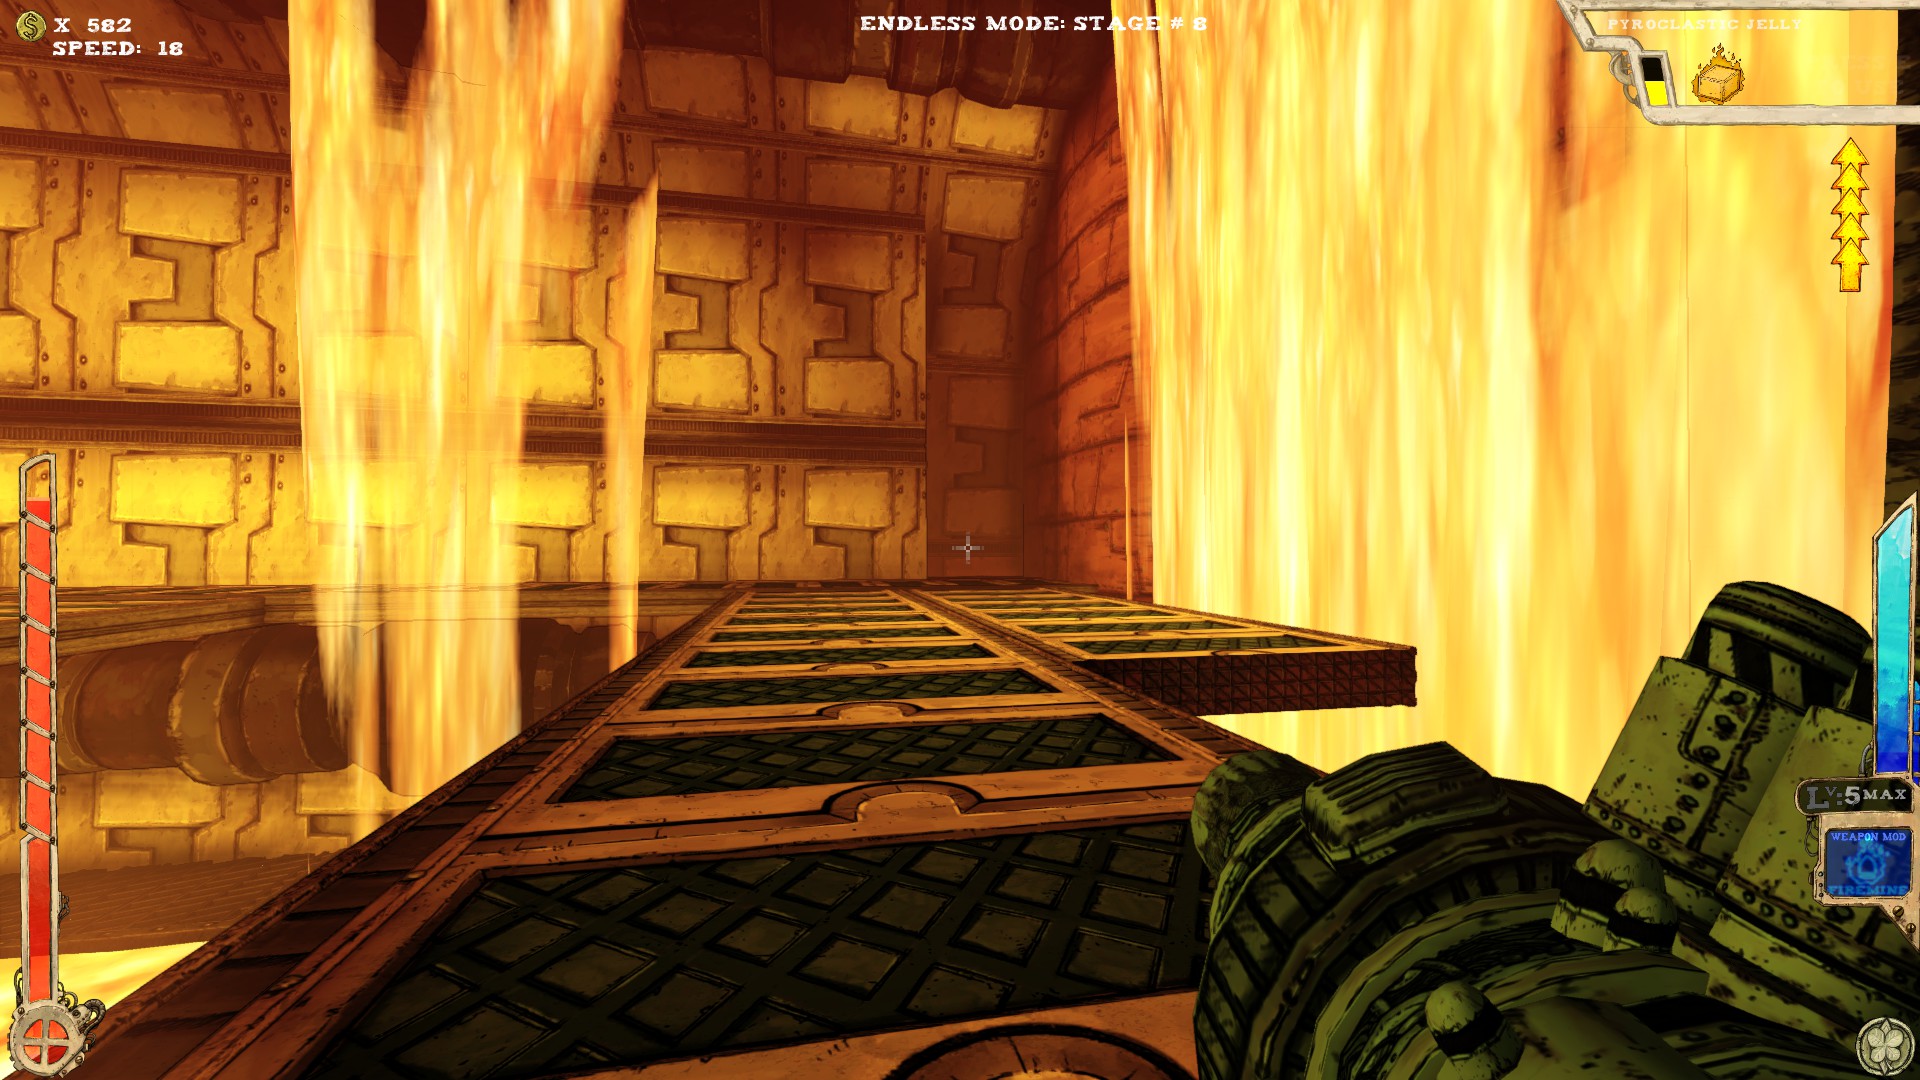
 Time for another hot bath! The spot is in the part of the pool under the entrance platform.
Better make it fast, unless you have Fireforce.
The Foundry is one of two levels you might get after the Foyer. The other being the Gearworks.
Two Secrets.Visible when standing towards the exit and looking up. Not reachable without extra jumps or a proper item.You can try to use some ledges in this room, but you still need extra jumps.
It's the tube left from the exit. The secret is on a little platform on the top.Extra jumps or proper item needed.
There is another similiar tube, but there's nothing in there.
----
One secret.The left way from the corridor. Even without extra jumps you should be able to get there without taking too much damage, but for the way back I'd use Tilt.----
One secret. This isn't a room by itself, you end up here teleporting from another room.Above the exit. Extra jumps or proper item needed. You can try to climb the door or other ledges to get to higher ground.----
Three secrets. One of them requires you to take a quick bath.This secret is marked by coins that are placed alongside the wall, looking like an arrow. It's on top of the left cage (looking from the entrance).
Either have Fireforce or enough health, then just dive in and out on the other side. You shouldn't take too much damage when diving through.
The other secret is also in there. A ramp leads right into a fake wall.
----
Yes, that's the teleporter room. Has one secret.Behind the teleporter. If you can't get back up via jumps, either get through the lava or just use Tilt.----
One secret.Left from the entrance, upper part, above a small lava pool. Extra jumps or proper item needed.----
Two secrets, at least. I thought those were all, but I'm not sure right now...Left from the entrance.Fake wall at the end of the lava pool. Right where I'm pointing at. Better go fast or you'll burn your feet.----
Two secrets.Exit entering the main part of the room, go right and you should see another small room with a lava pool and the secret. REALLY hard to miss, that one.I'm sure you've noticed the Jelly, so you also should have noticed the opening in the ceiling, too. No go without extra jumps or proper item.----
One secret. And it's not in that spiky thing in the middle.You can see the platform from the entrance. You can try to use the Jelly from the pit, but you probably won't make it. ----
One secret.The room is filled with those platform rings. The one with the secret is on the end of the room on the right (left, when facing the entrance). Easily reachable with the ramps around there.----
Two secrets.Lowest part. You should see the corridor, when walking around the lava pool. Just walk in there and you'll find the secret. Promise!Time for another bath. That's the highest of the lava pools. Get to the end (nearest to the boss door) and dive right in. The lower part of the pool doesn't do damage, so just get in quick. I'd use Tilt to get out of there, though, unless you have Fireforce.----
Three secrets.
Opposite from the boss door, left from the entrance, fake wall where I'm pointing at.The ring has one secret and the top has another one. You know what you need to get there, I presume.----
At least three secrets.Drop down the middle, follow the way, but DON'T go into the teleporter, but around it. The hole in the wall there should be quite visible.Have fun with that one.Also down in the middle. You can see an opening in one corner of the lava pool. Be advised that there is NO ground the whole way to the secret and if the secret doesn't contain a shop, there will be nothing to stand on at all. Either have Fireforce, a lot of jumps or enough health.
Also keep in mind, that you need to get back, too.
Oppsite the exit door, right between the colums I'm pointing at. (thanks to Ginopinoshow for that one!)-----
You can see two room parts in this screenshot. None of which has a secret. You may find those two in different room setups.-----
At least one secret.While ascending the beam of light, you'll see a bunch of different floors. One of the upper houses this secret. Hard to miss, I'd say.-----
Three secrets.There are always secrets behind waterfalls. Ok, it's a lavafall, but whatevs!You'll take a bit of damage. Either go out the same way or use Tilt.
Left from the lavafall is a small way, leading to another secret.Time for another hot bath! The spot is in the part of the pool under the entrance platform.Better make it fast, unless you have Fireforce.
The Foundry (Part 2)
-----
 Two secrets.
 One is left of the boss door (when facing it). You can see two pipes and a small room above.
 That one is above the entrance. You can use the pipes running along the sides of the room to get closer, if you don't have enough jumps to reach it from the ramps.
-----
 Three secrets.
 One is above the entrance on a little platform, best reached from above.
 Another one is located under a ramp that leads to the top part of the room.
 This one is located inside a fake wall, which you'll find on the second floor of the room...if I remember correctly...
It also leads down to the exit, like the teleporter at the top.
-----
 Two secrets.
 Go down the ramp and look across the lava and you should see the small platform, which holds the secret. Either reach it with enough jumps or drop down next to one of the rotating spike thingies (drop down the one that is above the secret, obviously.)
 Above the spike thingies. The actual secret is on the left (looking from the entrance).
Extra jumps or proper item needed.
-----
 One secret.
 Right across the entrance under the ceiling is an opening. There's the secret.
-----
 Haven't found anything here. Not sure if there isn't something, though.
-----
 Also a room part, at least two secrets.
 Drop down onto the pipe and follow it.
Below is a lot of lava, some small loot and a teleporter. No secret down there, afaik.
 There are two platforms underneath the ramp leading up, the one I'm pointing at is the secret.
-----
 Three secrets.
 One of the separated areas has two of the three secrets.
Upper picture leads into a small room.
Lower picture has a fake wall.
 Yeah, down there is the secret and it's hurting all the way, so either have a bunch of health or Fireforce.
And that concludes the Foundry! Next up are the Gearworks!
Two secrets.One is left of the boss door (when facing it). You can see two pipes and a small room above.That one is above the entrance. You can use the pipes running along the sides of the room to get closer, if you don't have enough jumps to reach it from the ramps.-----
Three secrets.One is above the entrance on a little platform, best reached from above.Another one is located under a ramp that leads to the top part of the room.This one is located inside a fake wall, which you'll find on the second floor of the room...if I remember correctly...It also leads down to the exit, like the teleporter at the top.
-----
Two secrets.Go down the ramp and look across the lava and you should see the small platform, which holds the secret. Either reach it with enough jumps or drop down next to one of the rotating spike thingies (drop down the one that is above the secret, obviously.)Above the spike thingies. The actual secret is on the left (looking from the entrance).Extra jumps or proper item needed.
-----
One secret.Right across the entrance under the ceiling is an opening. There's the secret.-----
Haven't found anything here. Not sure if there isn't something, though.-----
Also a room part, at least two secrets.Drop down onto the pipe and follow it. Below is a lot of lava, some small loot and a teleporter. No secret down there, afaik.
There are two platforms underneath the ramp leading up, the one I'm pointing at is the secret.-----
Three secrets.One of the separated areas has two of the three secrets.Upper picture leads into a small room.
Lower picture has a fake wall.
Yeah, down there is the secret and it's hurting all the way, so either have a bunch of health or Fireforce.And that concludes the Foundry! Next up are the Gearworks!
The Gearworks (Part 1)
...where the gears...work! Ok, I'll stop now.
The other one of the two levels you might get after the Foyer.
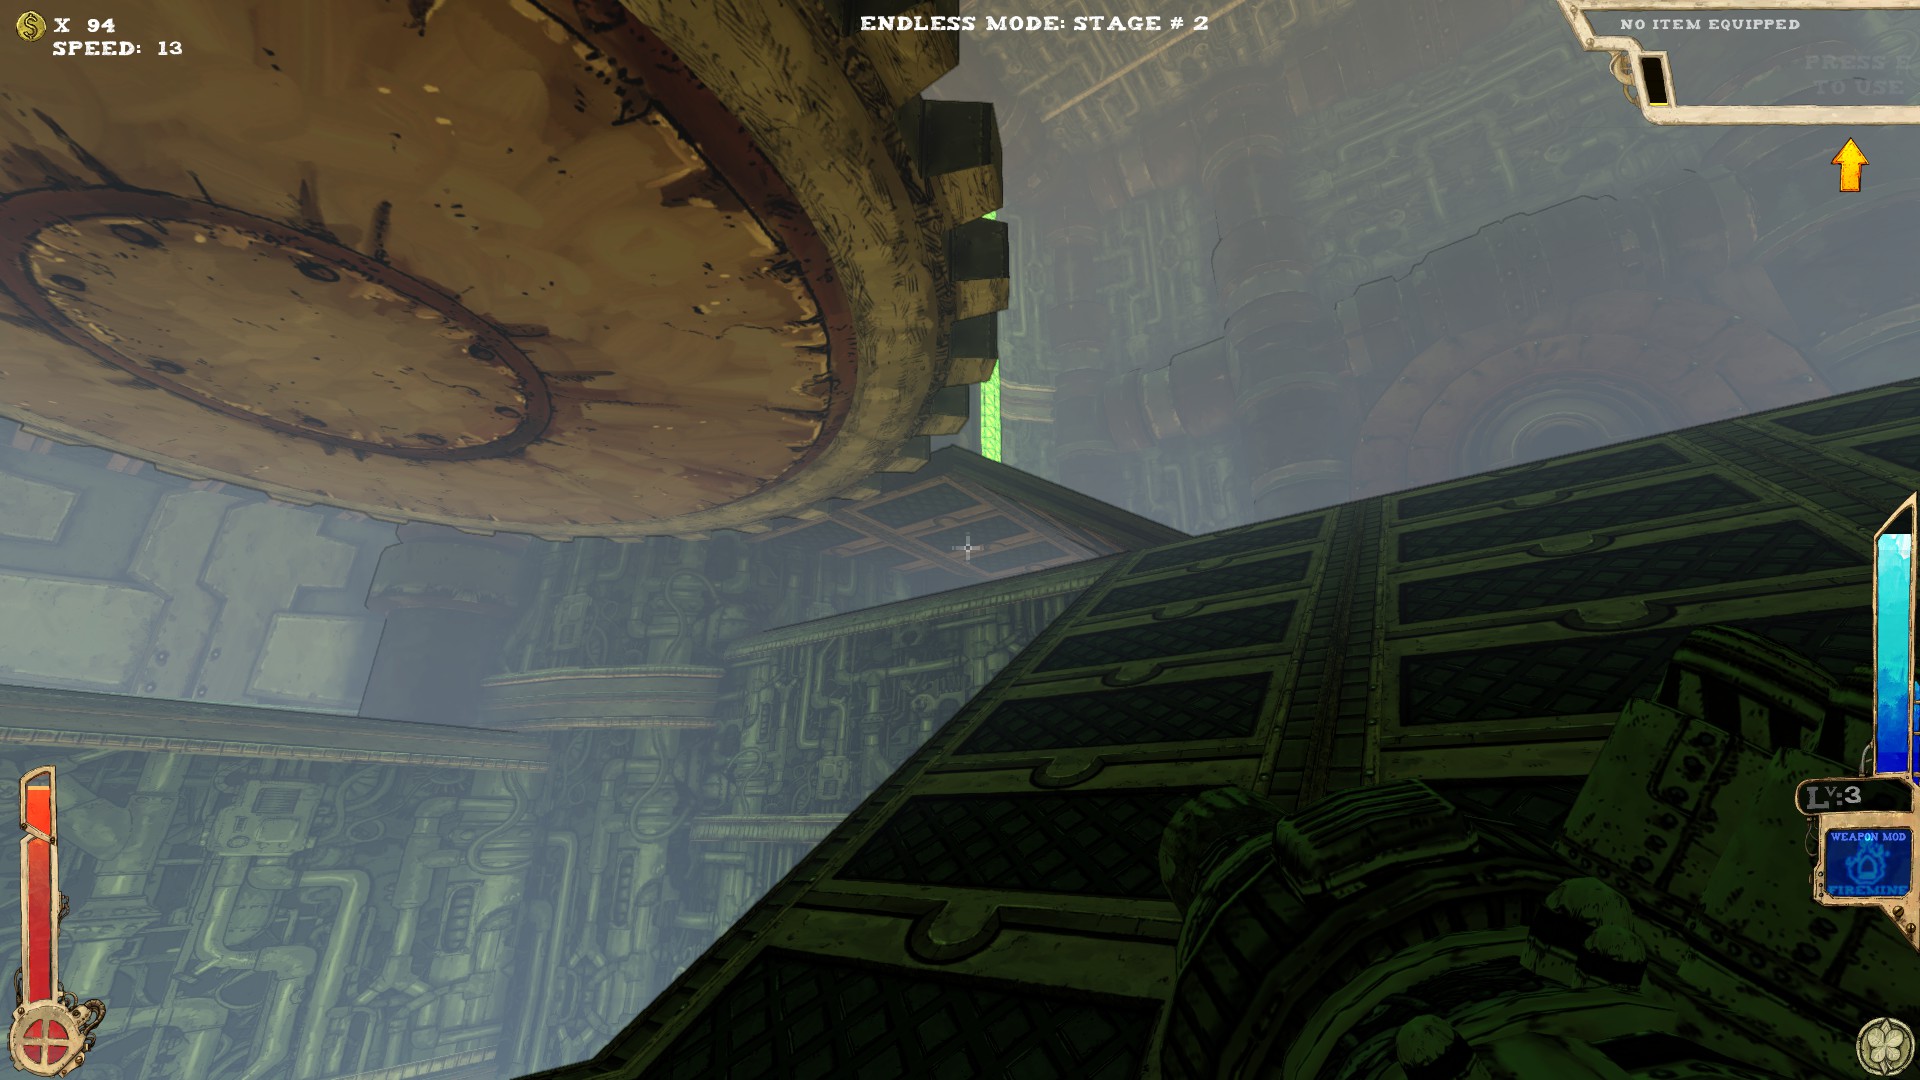
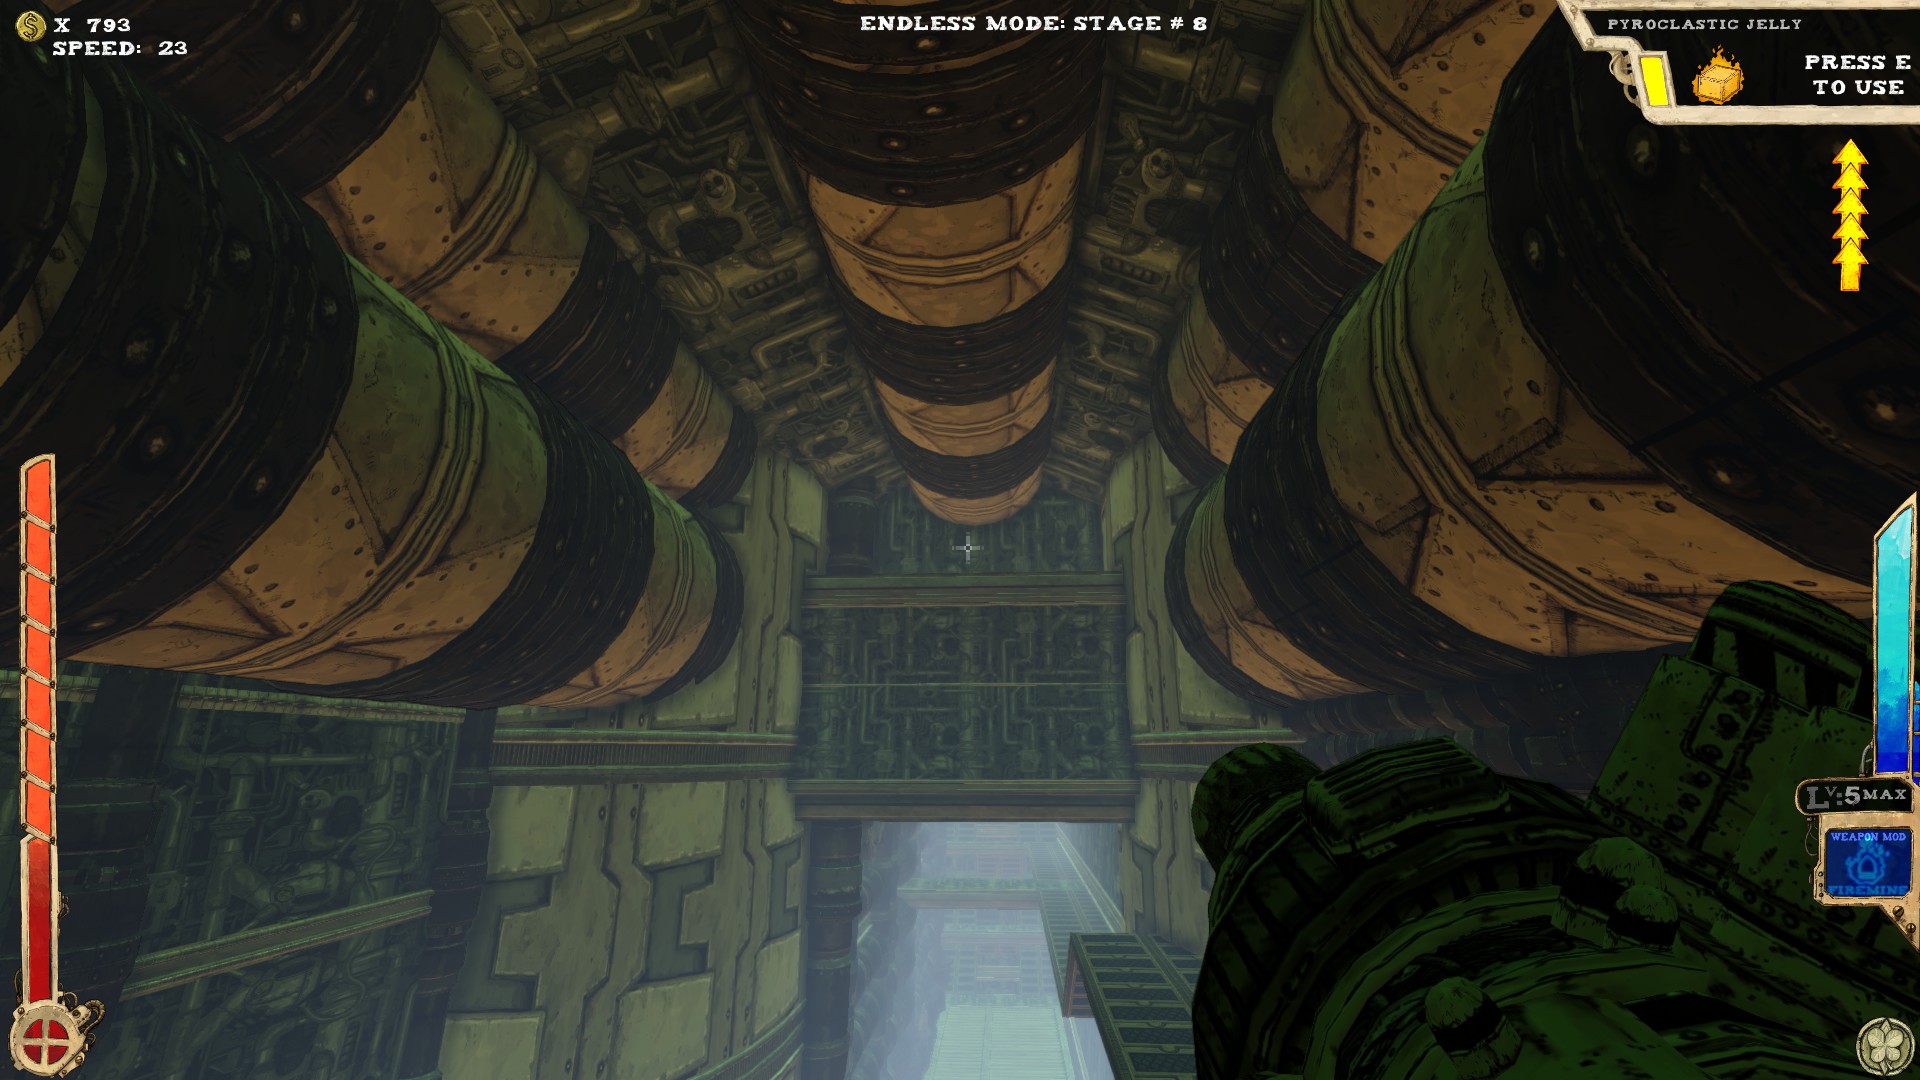
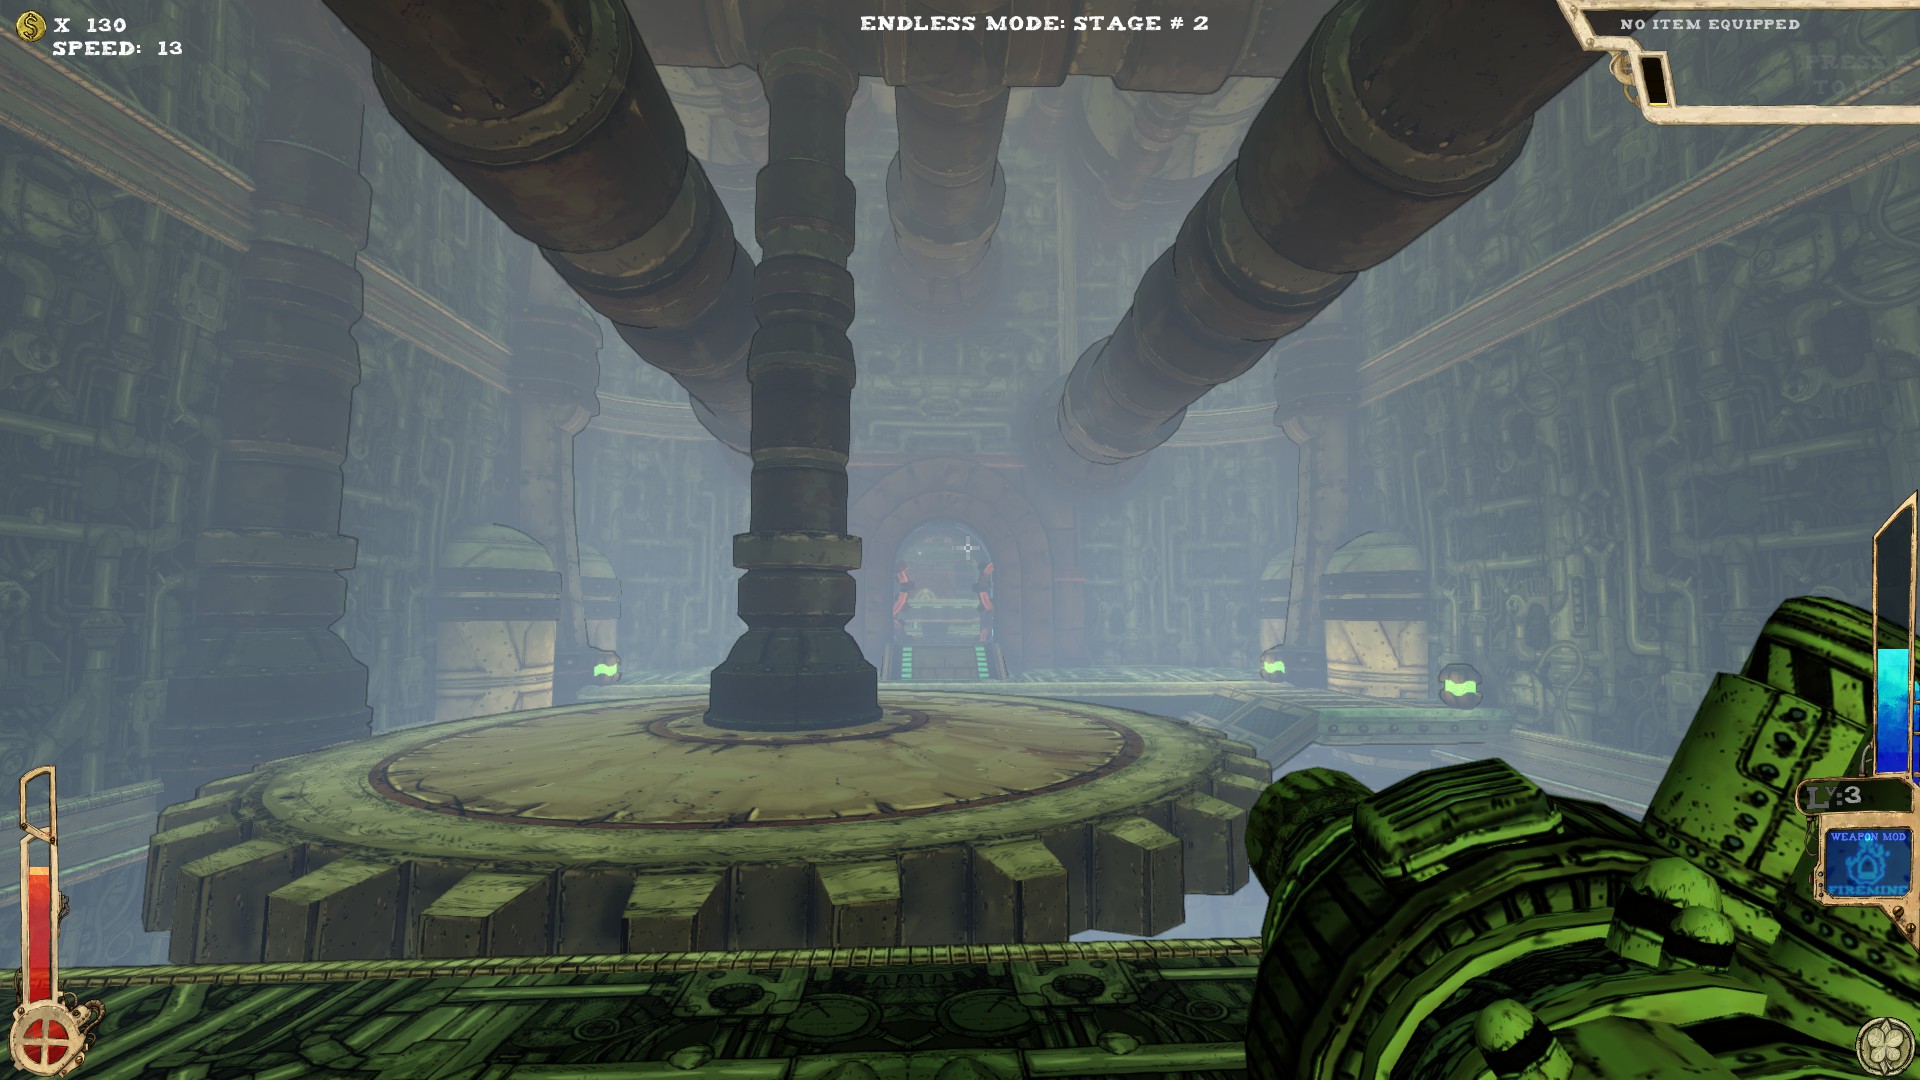 One secret.
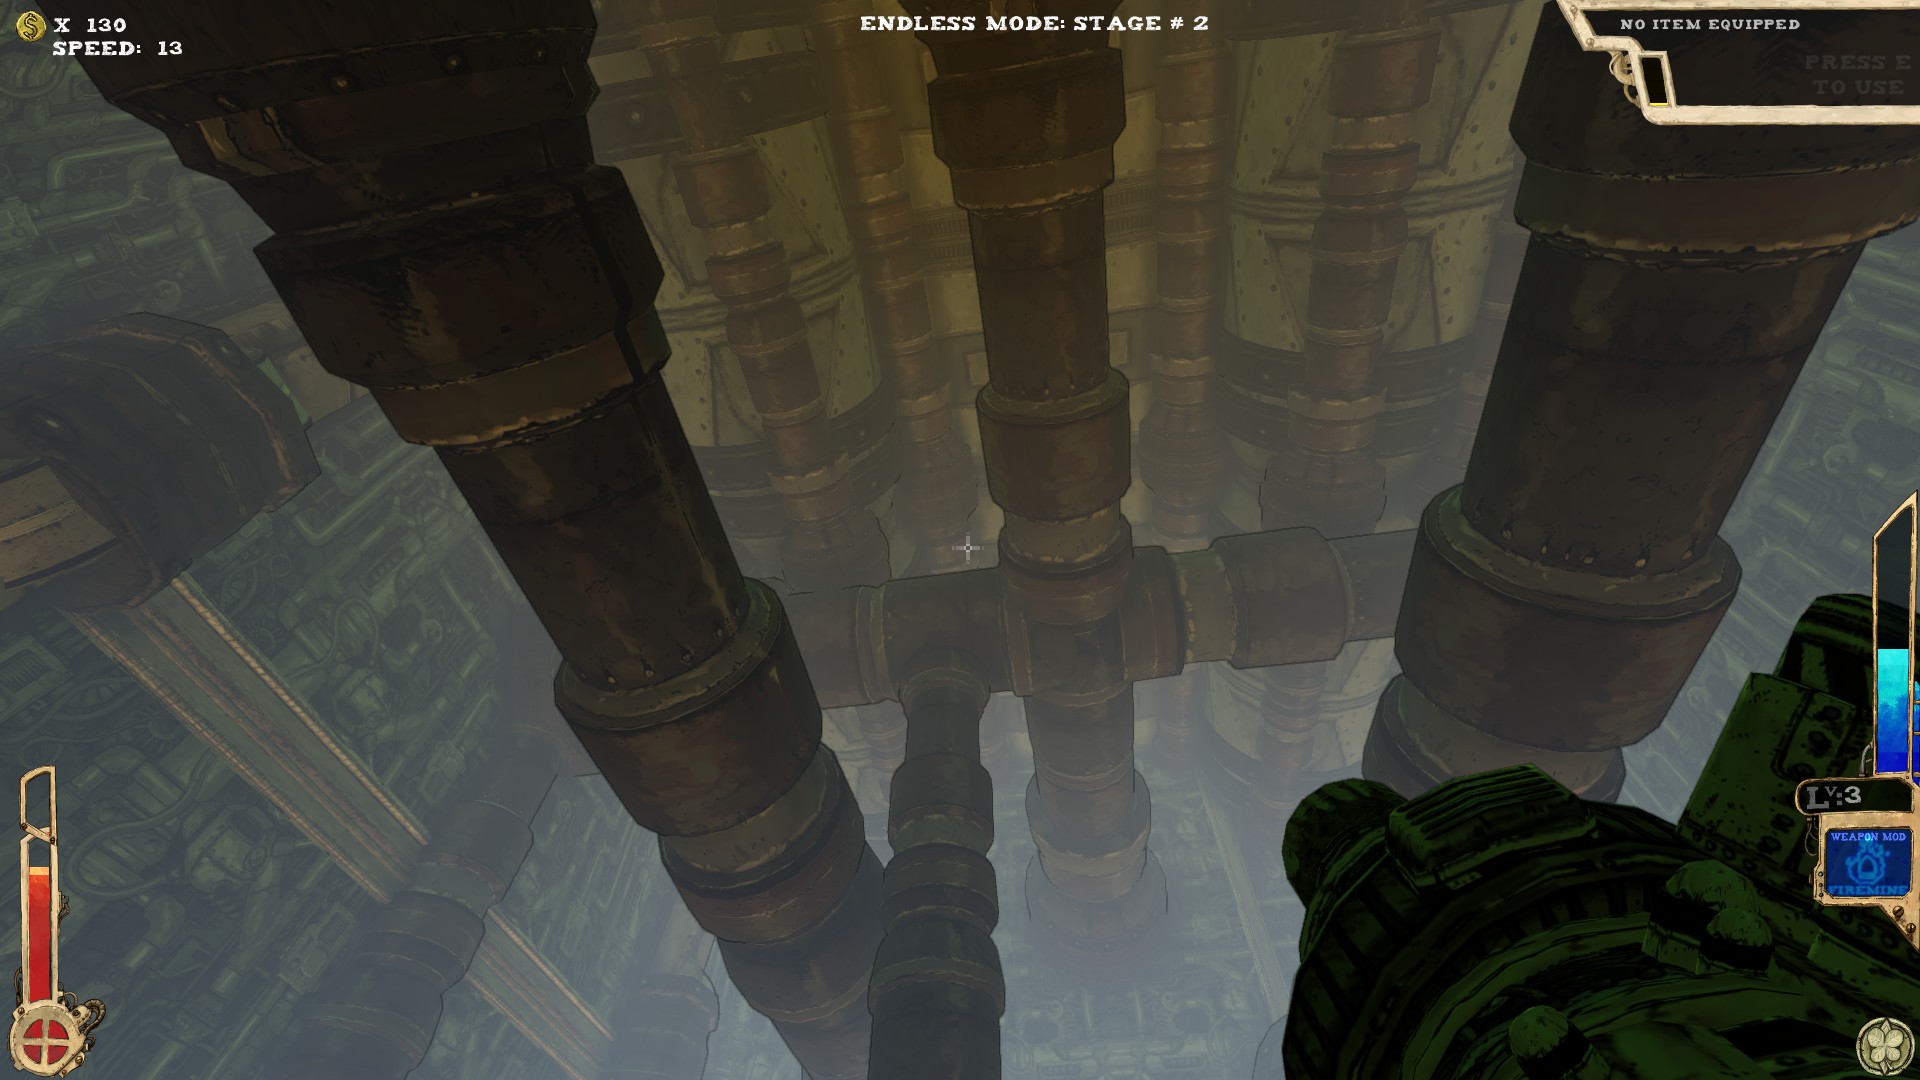 Look up! It's on the pipes crossing.
----
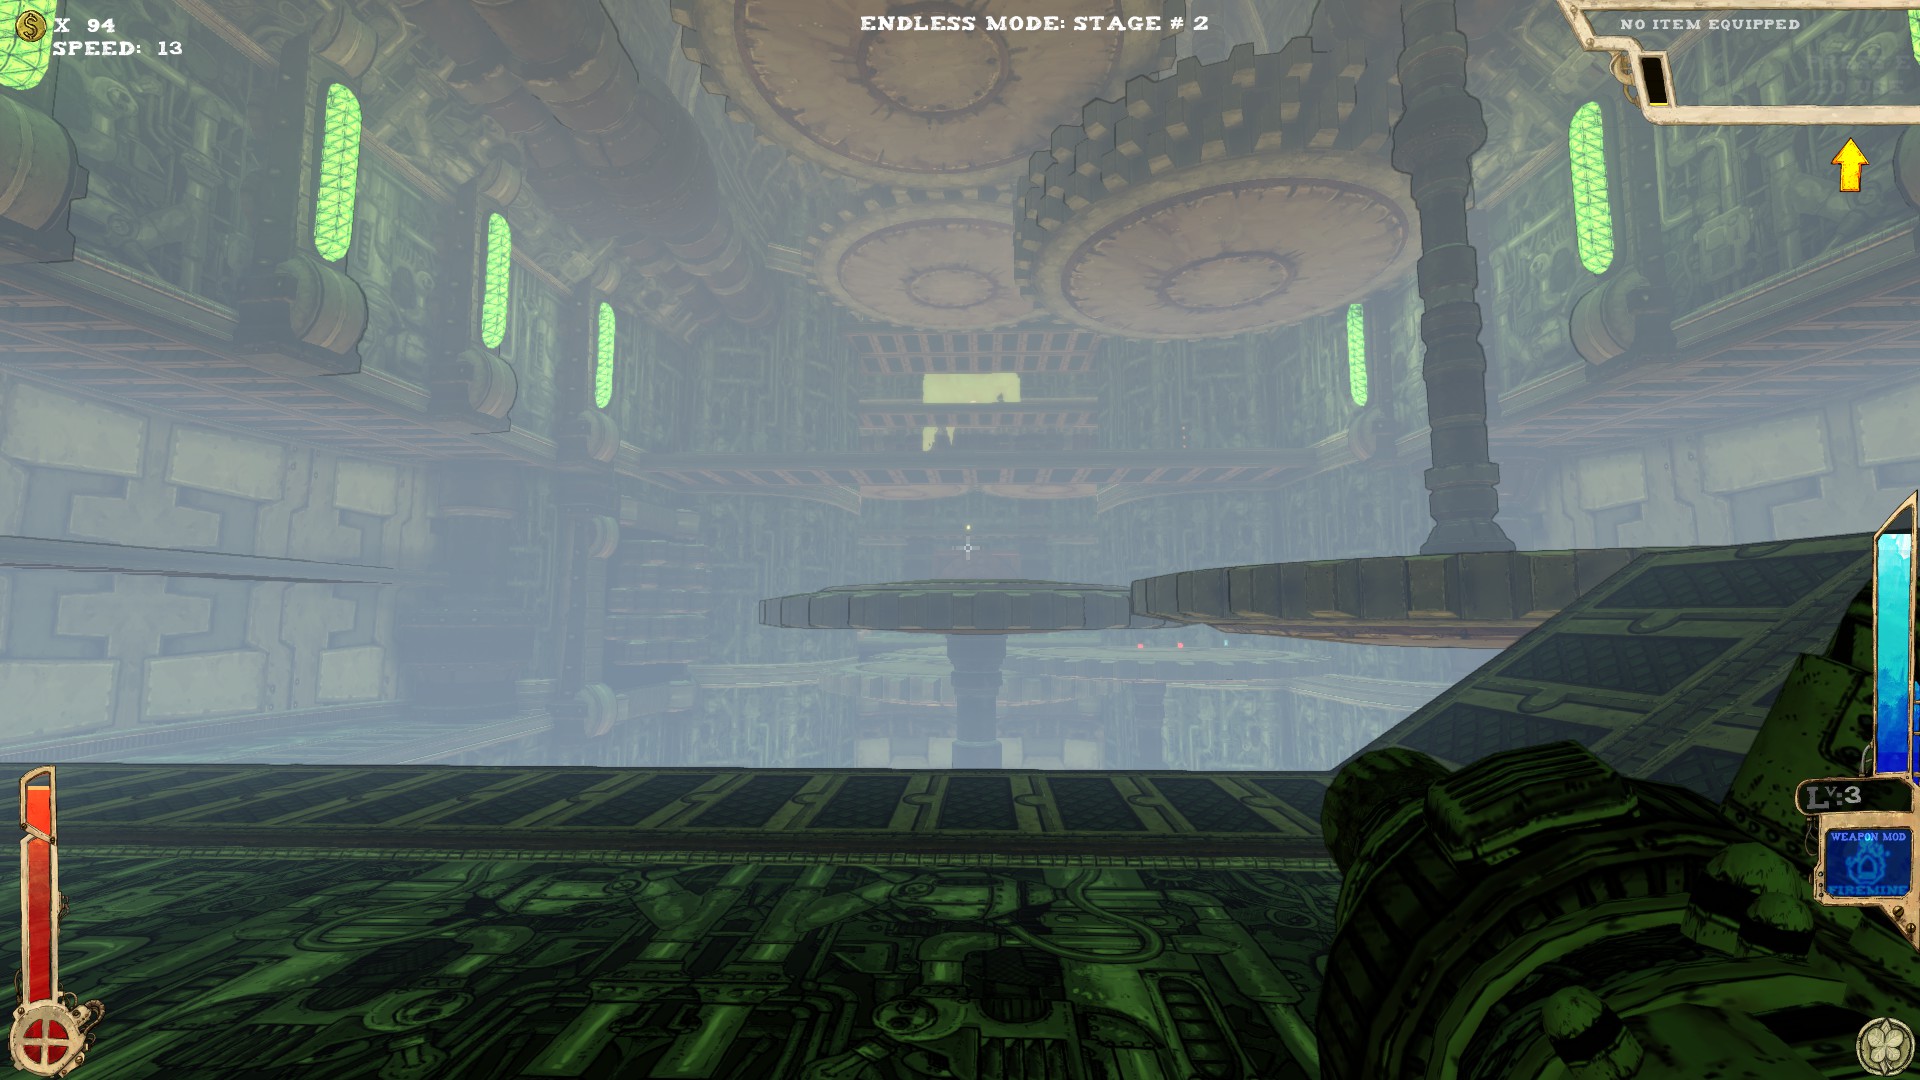 Two secrets.
 The first one is near the entrance, under a ramp.
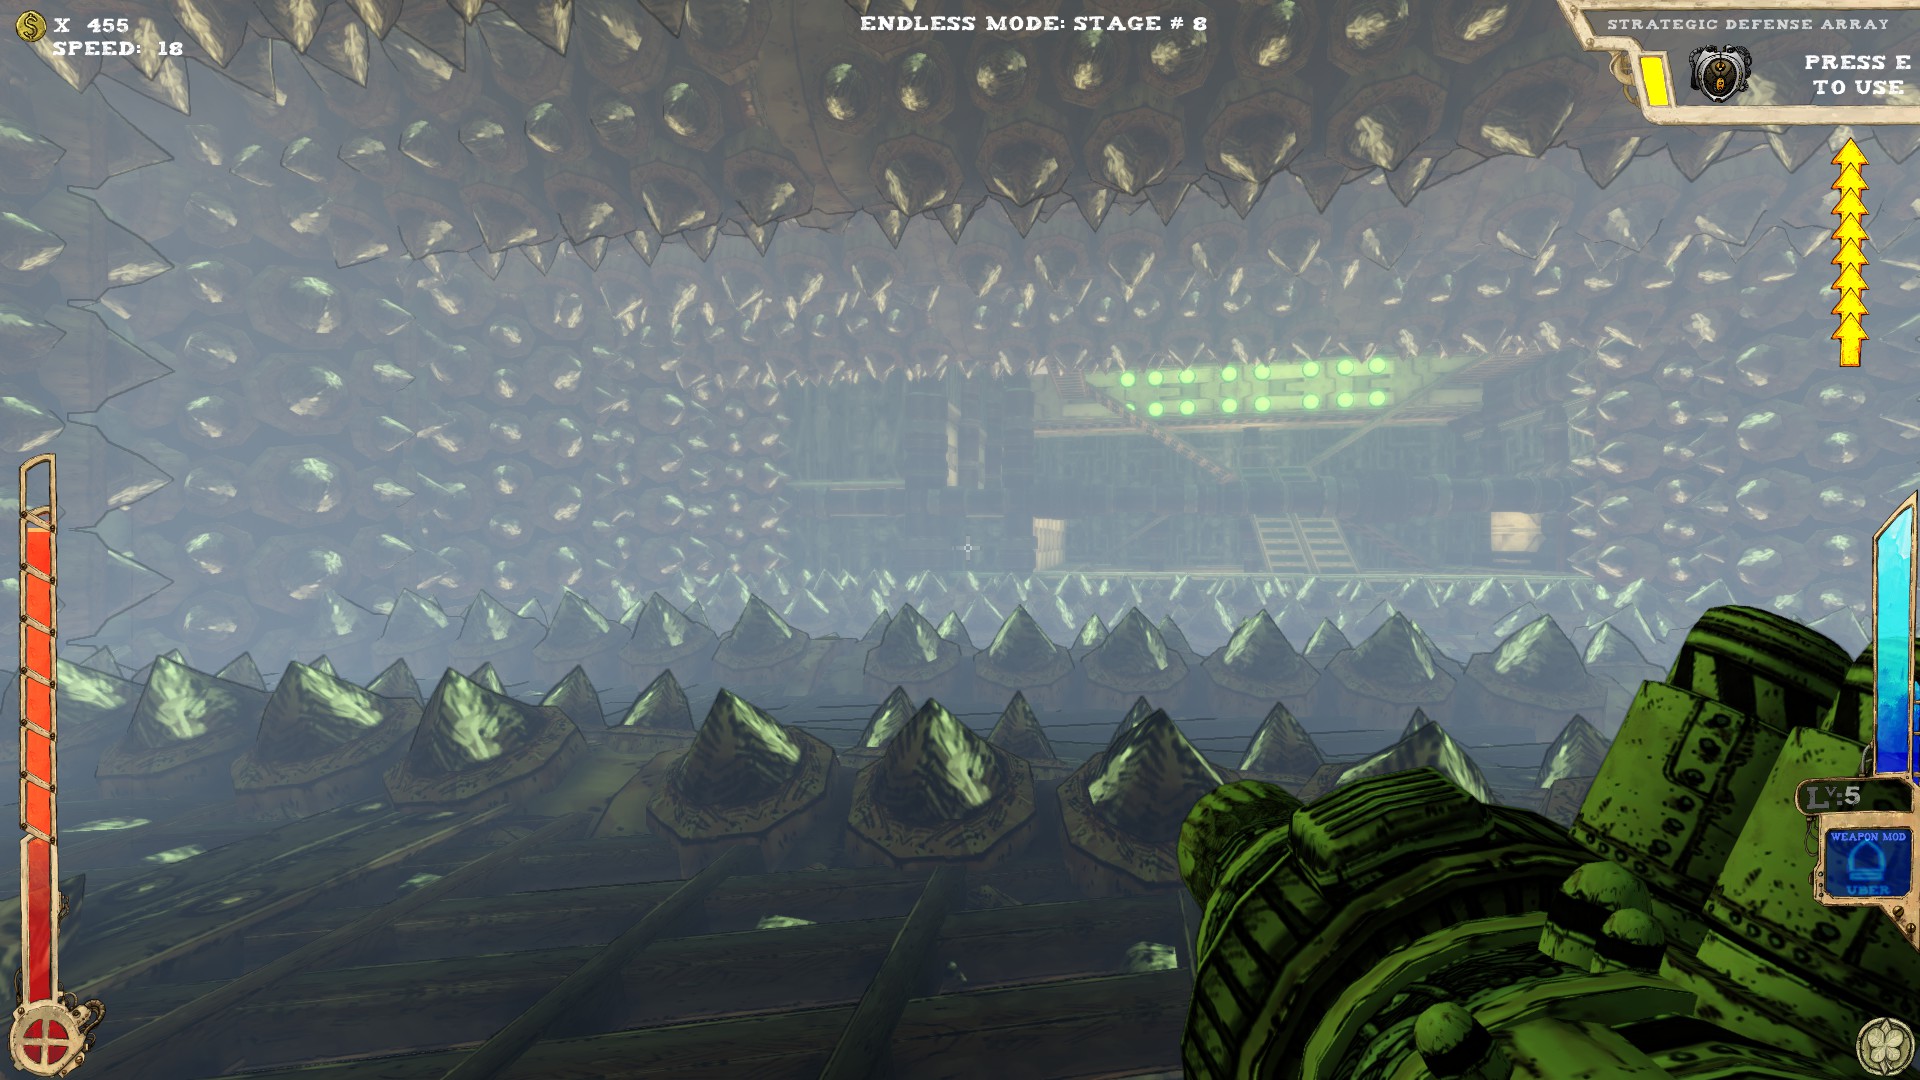
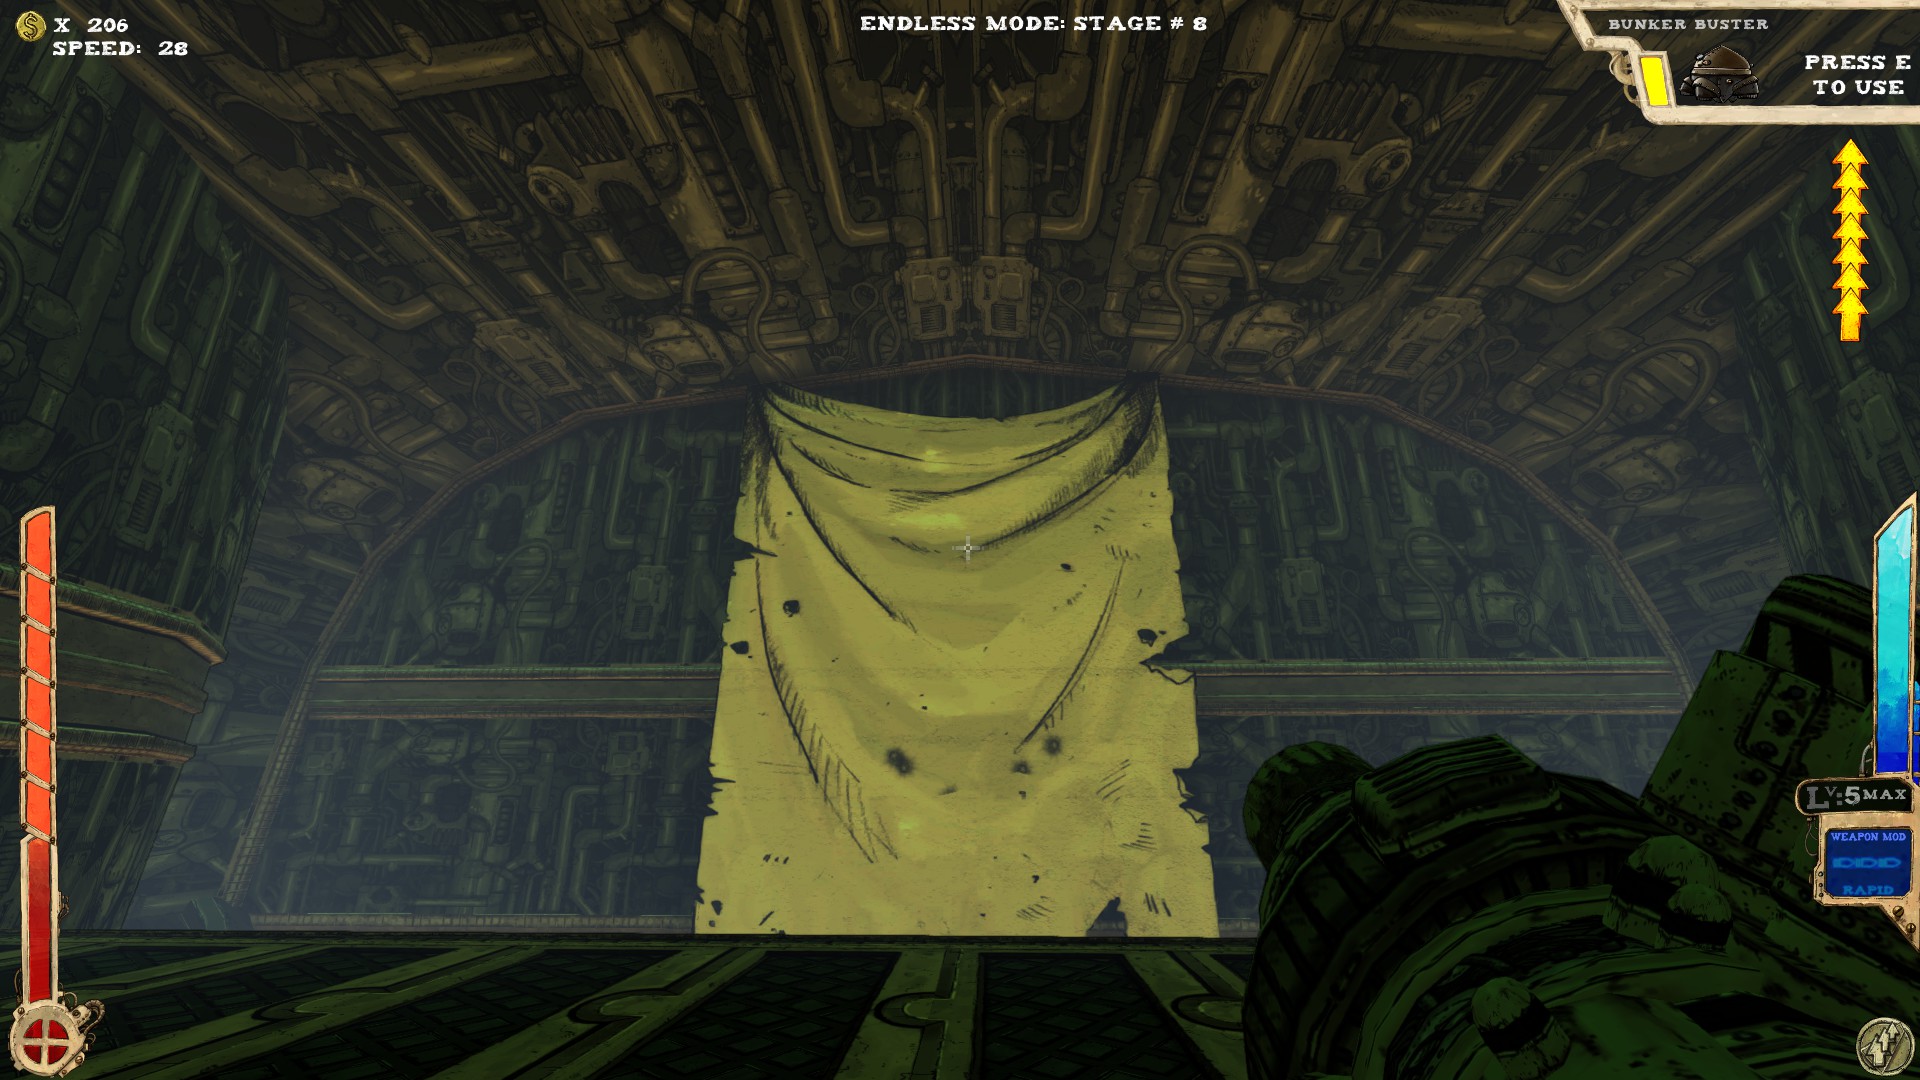 The second is located up on the rafters. There is a yellow banner (see picture) hiding a secret wall.
To get even up their you'll need some jumps or a proper item.
----
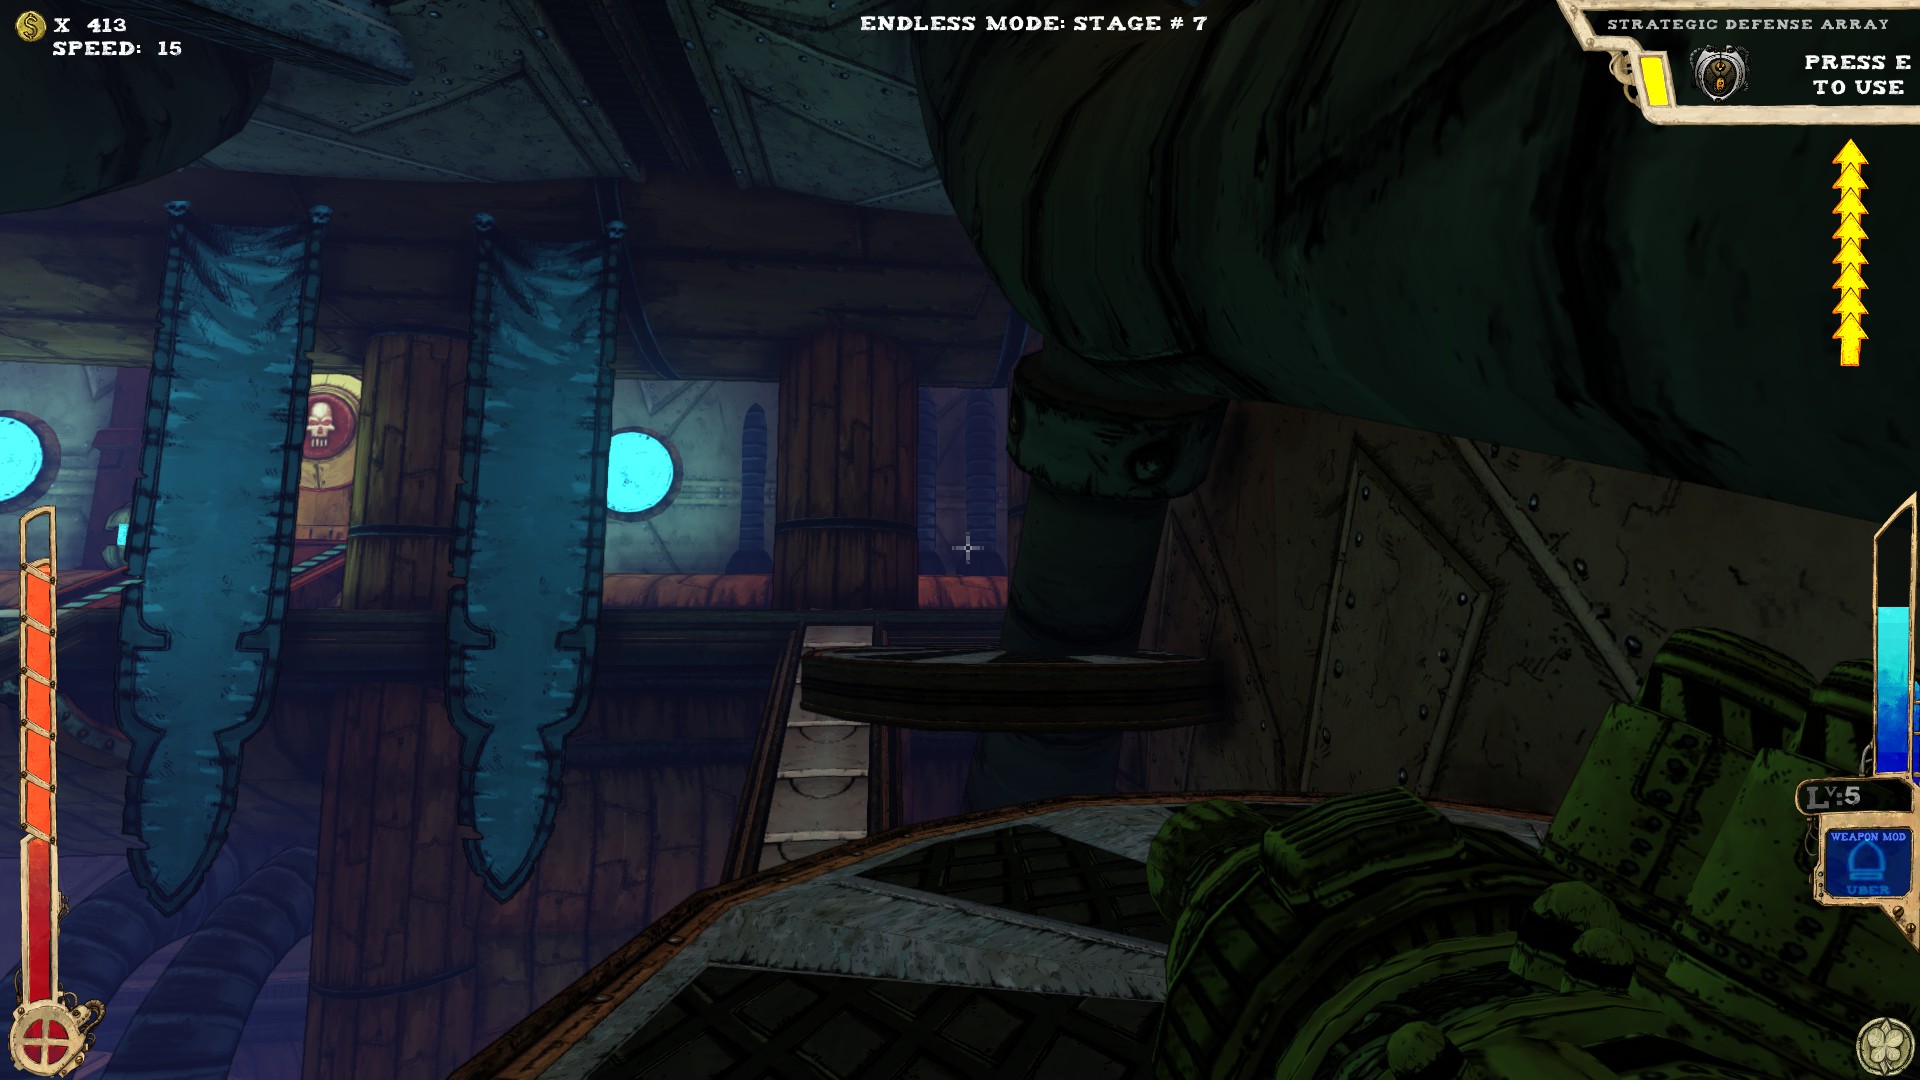
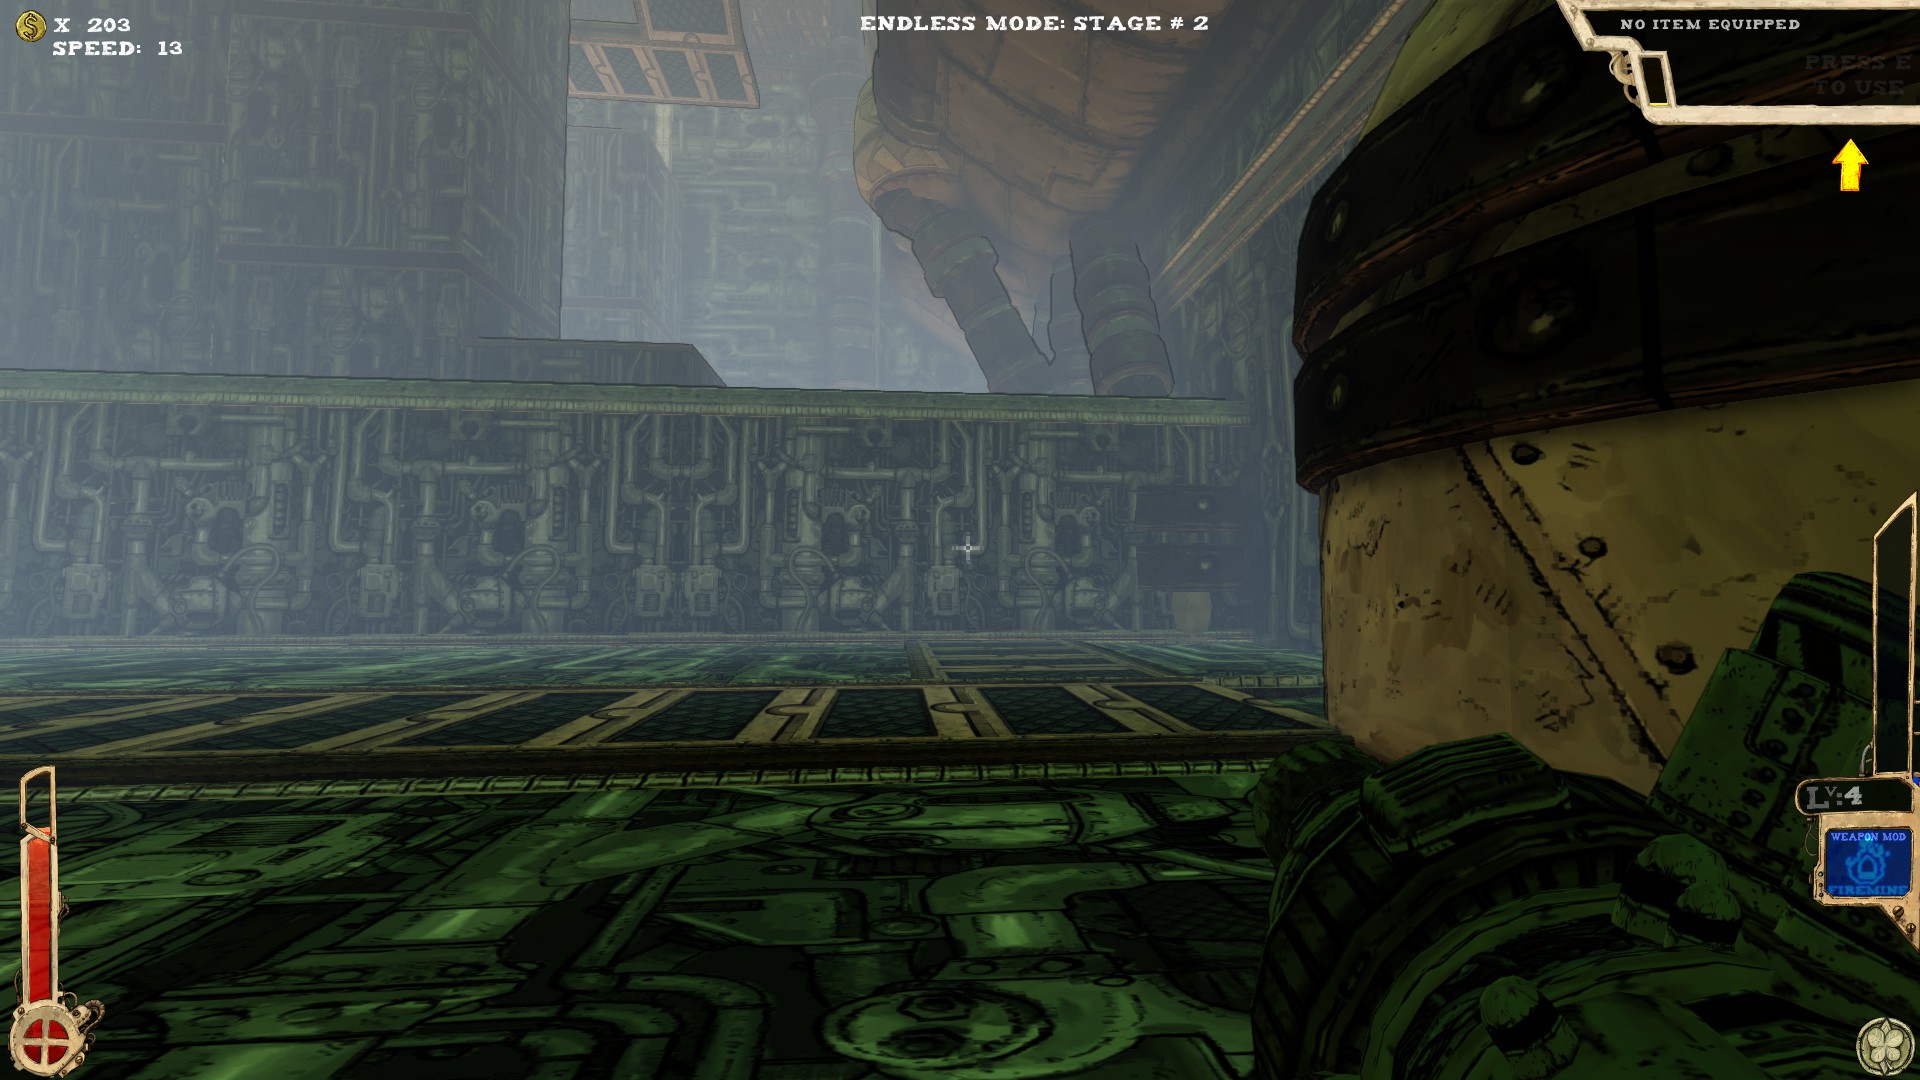
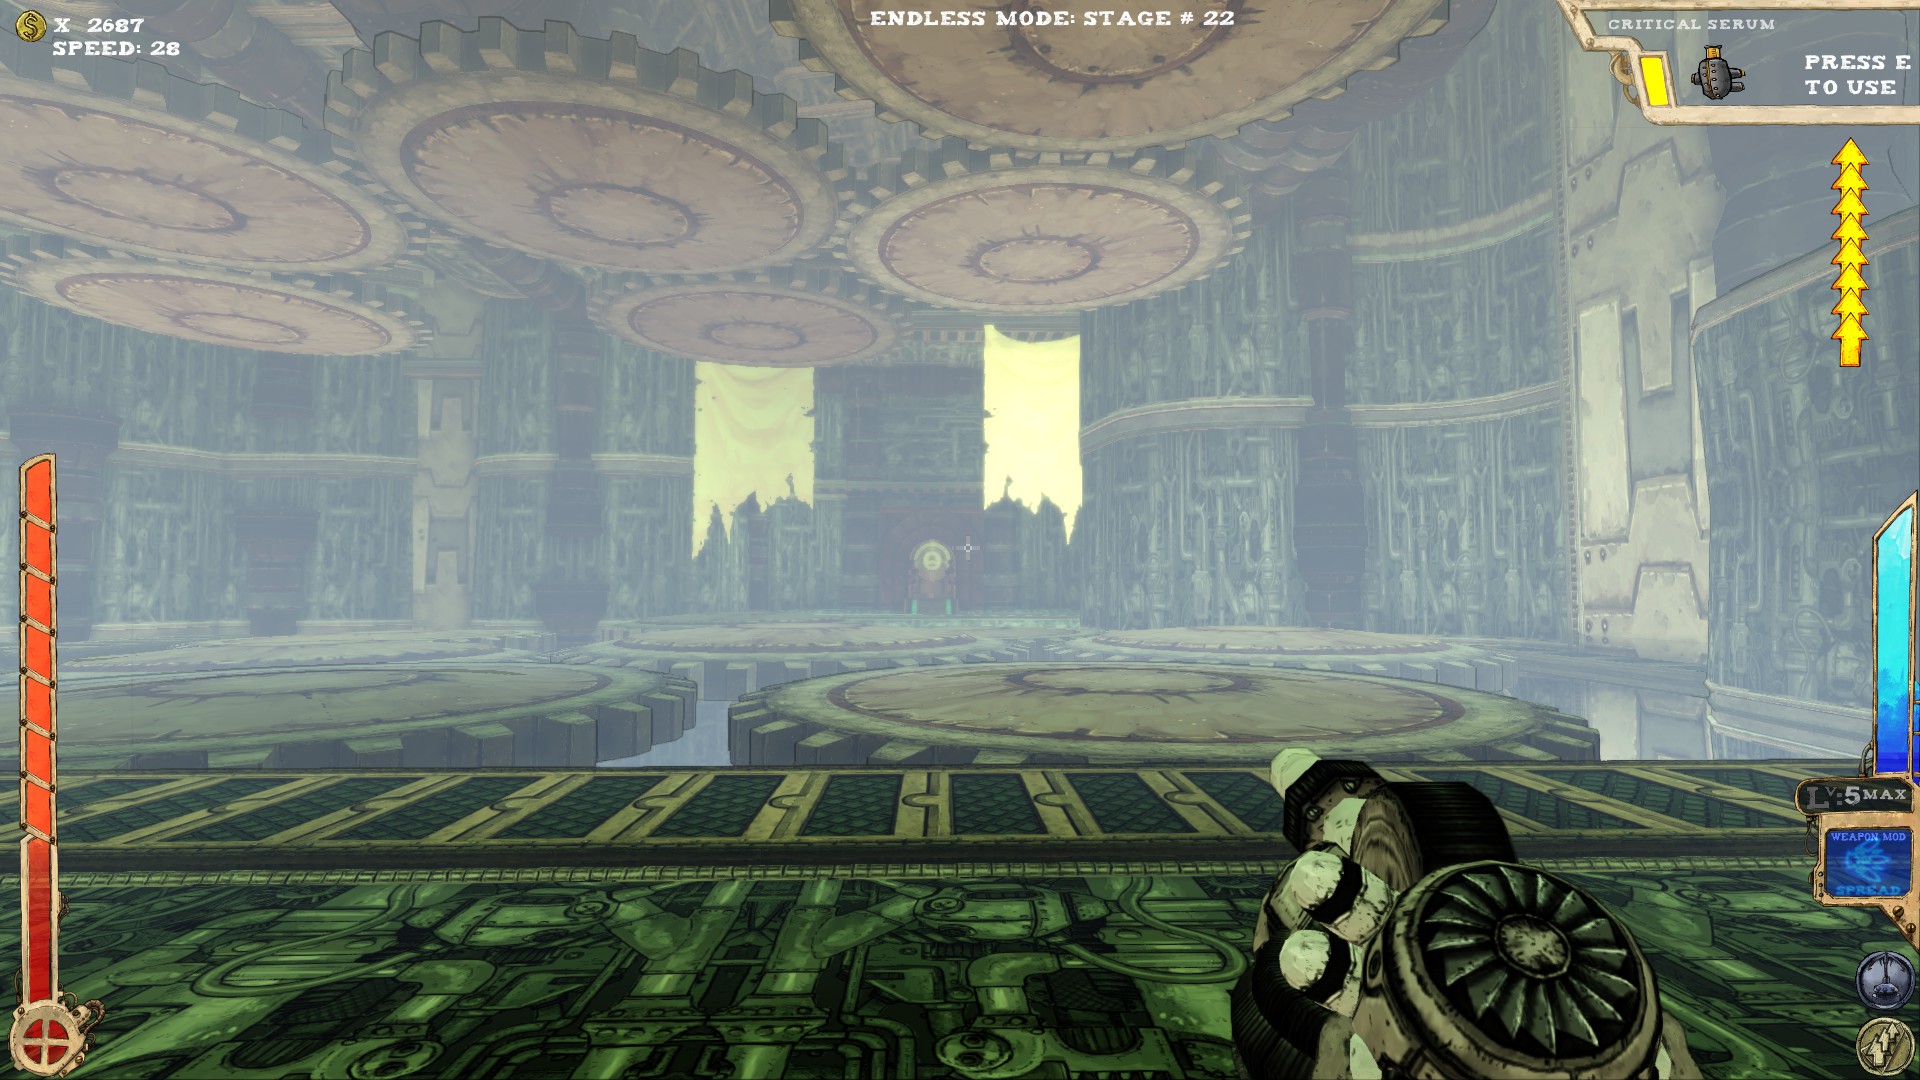
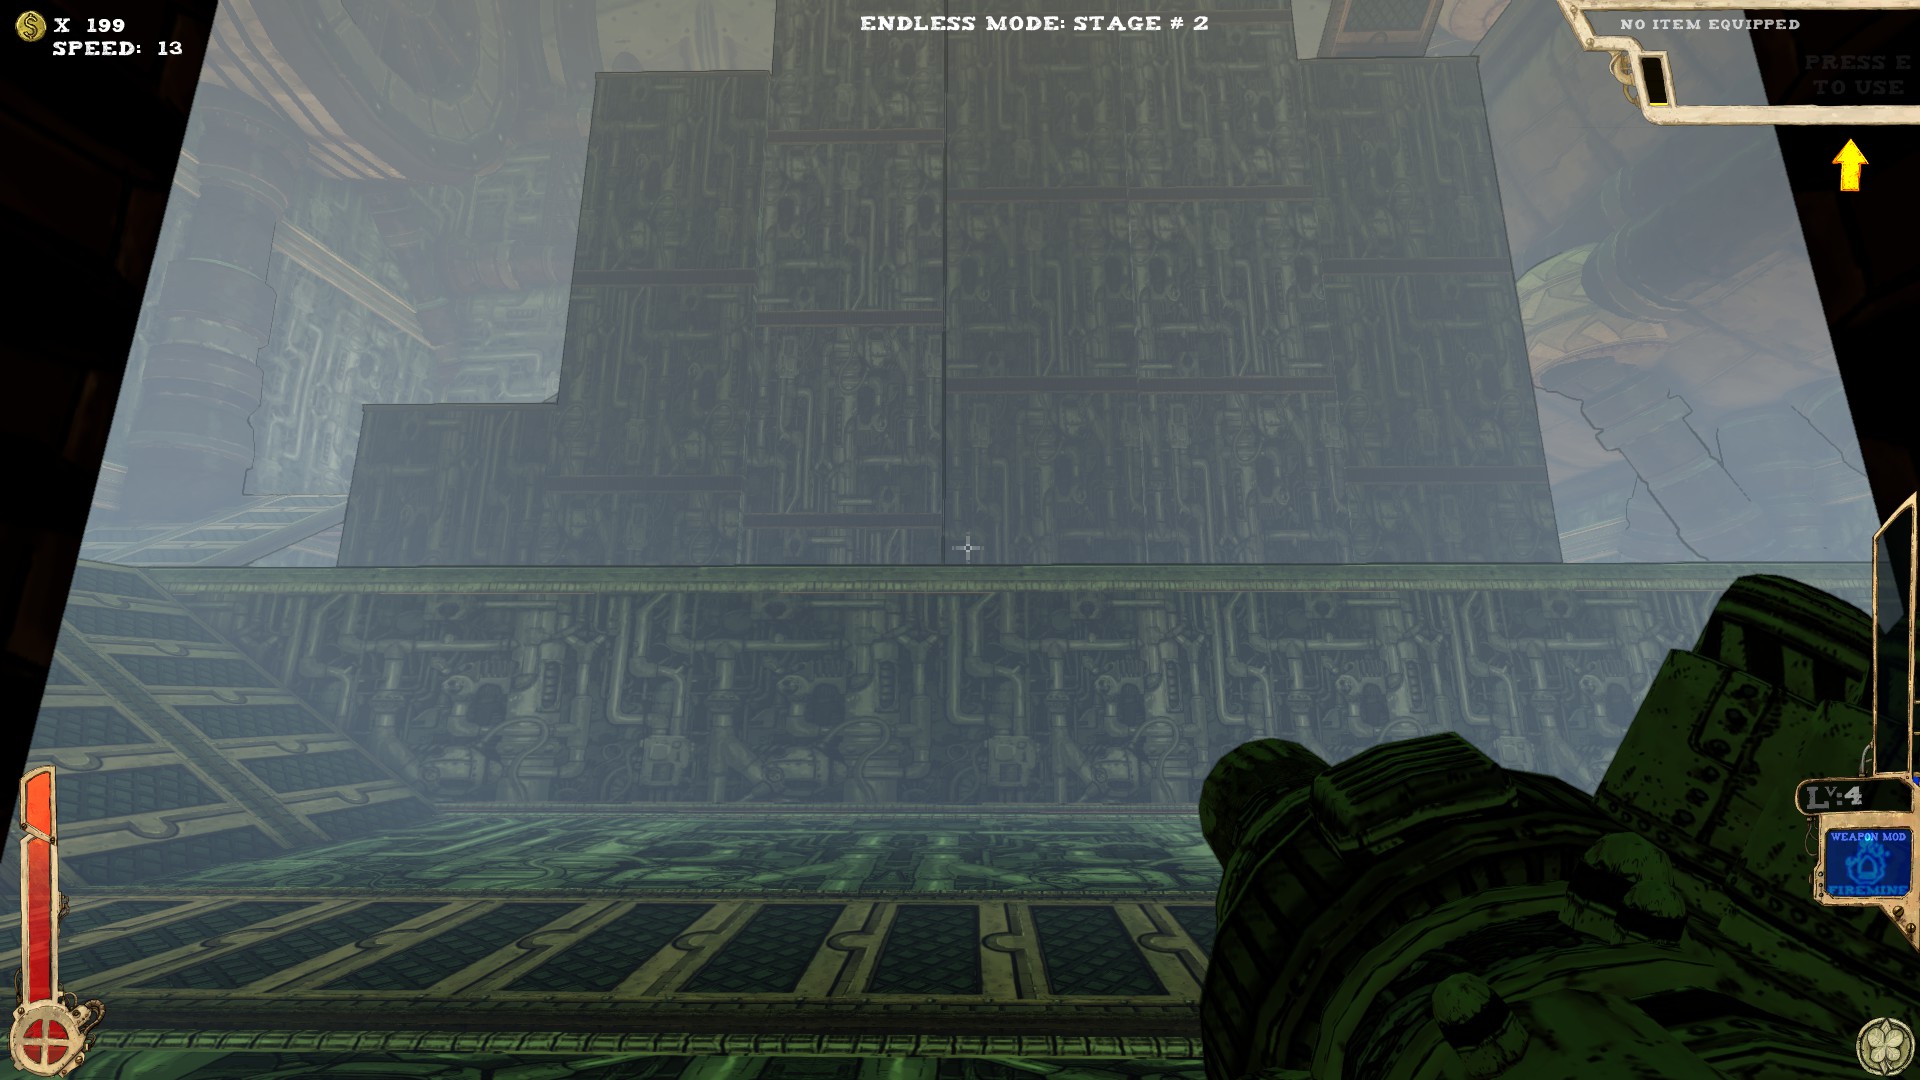 Three secrets.
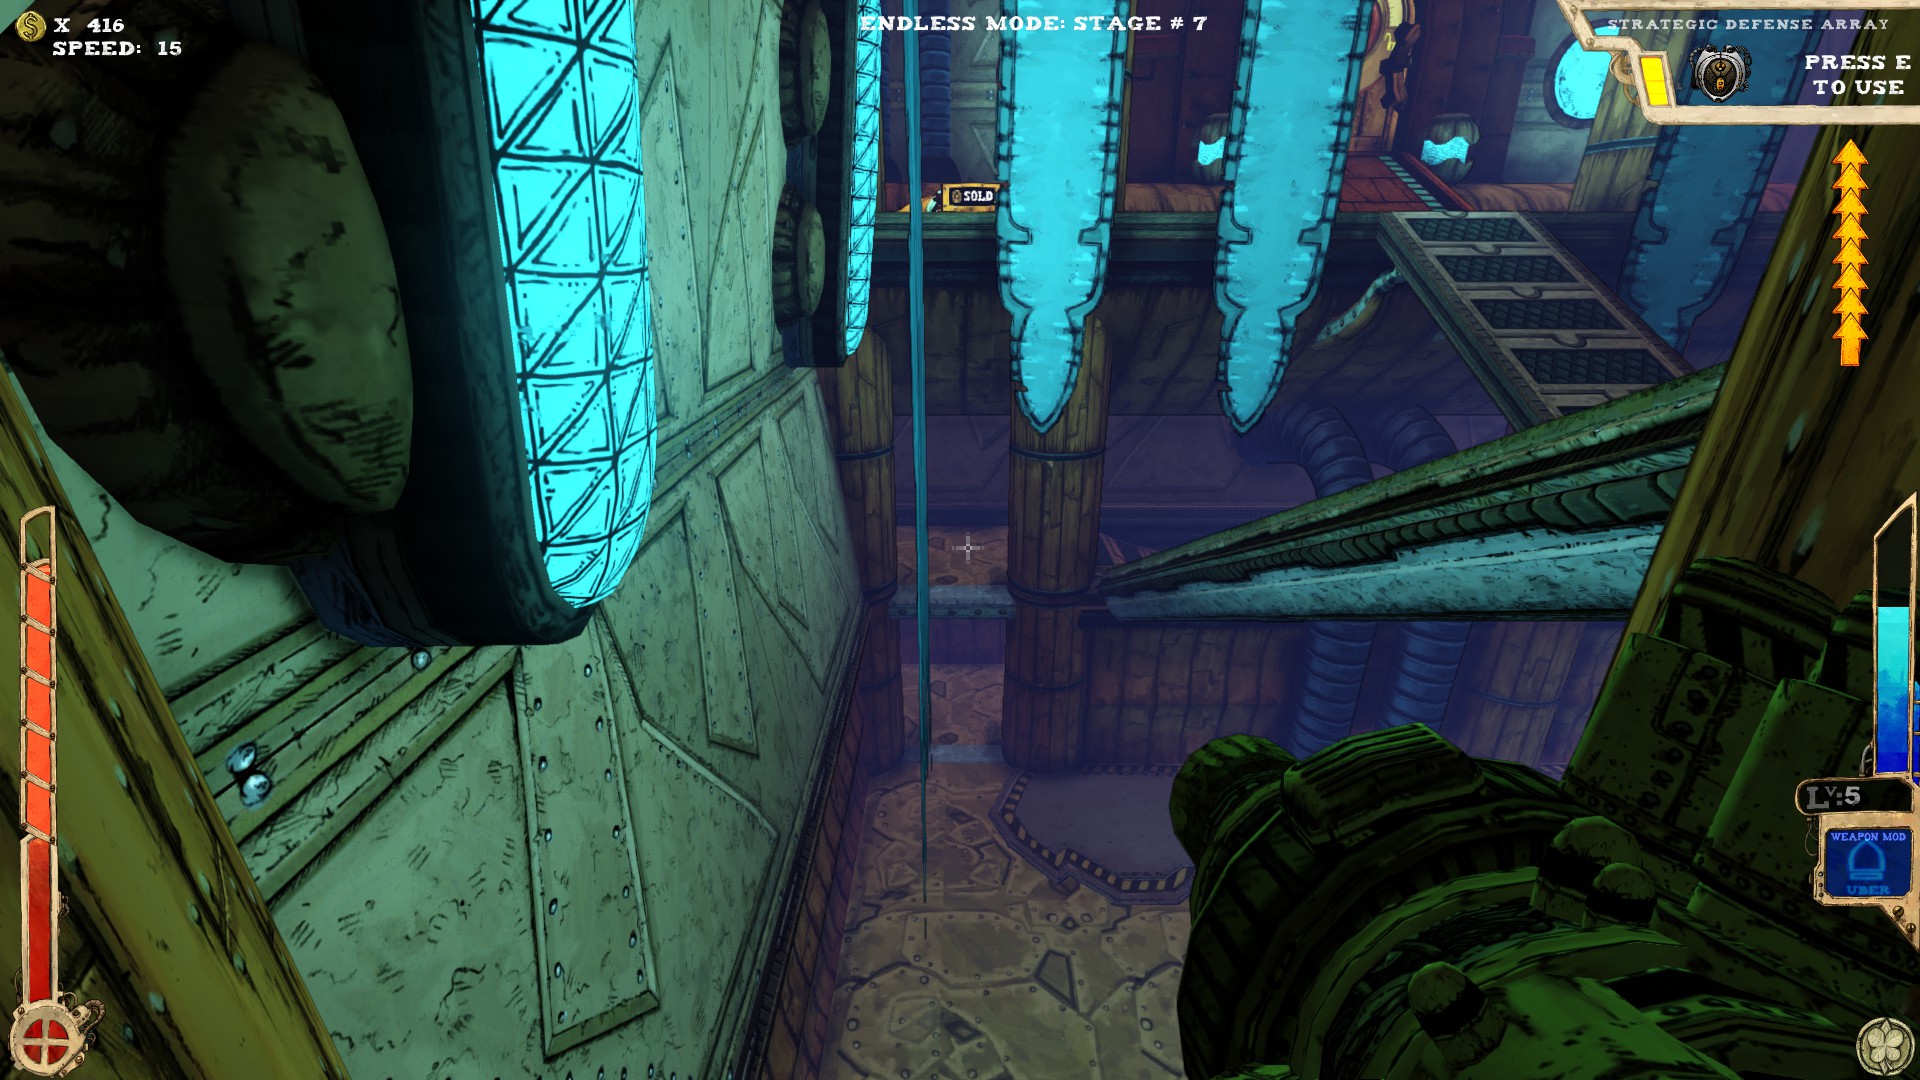
 When going right from the entrance, you should see a different texture on the ground, follow it into a fake wall and walk straight forward to get the secret (there's also lying something around)
 From the one above you get to the other two.
When entering the first secret, head for the wall, turn left and you should see a different texture on the ground again. Follow it again into a fake wall.
You enter an area with a bunch of elevators. Up on the left is another secret. Use the elevators to get there.
From that platform, get over the elevators and you should reach a small separate area with a single elevator in it. Get down to the ground and go left into another fake wall, where you'll end up under the ramp you can see from the entrance of the room. Use Tilt to get out again.
----
 Four secrets.
 That one is located left from the entrance. You should see a gap. Get in there.
 This one is located in the left area of the room. The entrance to the secret is behind a fake wall on the left side (when facing away from the entrance).
 The next secret is reached via the last one.
When in the lower part, face the direction you entered the area and walk into another fake wall.
The area below is NOT the secret itself. If you're down to the next area, go around the chute, from which you came and there is the secret.
You can use the beam of light to get to the last secret.
 The last secret is located on top of the room, reached via the beam of light. Be aware that there are grinders up on the ceiling, which will most likely hit you, so don't go up there if you have only a sliver of health left.
----
 Two secrets.
 The first one is easily reachable via the elevator. Just drop down from it and follow the path.
 The second one is quite high, but also easily reachable. Use the first elevator to "elevator jump"
to the platform with the second elevator, then just ride the second one up.
----
 Three secrets.
 This one is located in a lower part of the room, behind a ramp.
 The wall I'm pointin at is fake. Walk in.
 To the left and right of the room are smaller platforms. Under one of them is another small platform that is the last of the three secrets. Not sure on which side it is, sorry :P
----
 Three secrets.
 At the end of the room is Motivational Jelly. You can use it to get to all three of them. One is located in the opening (picture 1), the other two are above the structure (picture 2).
One is behind a wall, you'll have to get around. Either jump around it or just use the jelly to get there first. For the other just follow the way into a fake wall.
You can also access the first secret via an opening right above the entrance, if you have enough jumps or the right item, although it would be waste of an item usage.
----
 Two secrets.
 One is located behind a fake wall up on the far side of the room (left from the entrance).
 This one is also left from the entrance, but a lot closer. It's a small area under the ceiling.
----
 At least two.
 The part where I'm pointing at is the secret. To reach it you have to climb to the top part of the room.
 Up the catwalk above the entrance. Squeeze into the area I'm pointing to. There's the secret.
(Thanks to nabbed for this one!)
----
 Two secrets.
 Get to the lower part and you should see the part I'm pointing at.
 Once in the secret, turn around and look slightly up. There's an opening with another secret in it.
----
 At least three secrets.
 The first one is extremely hard to miss.
The second one can be seen when looking back to the room from the first secret. You should see the opening. Best reached from the main part of the room.
 Highest part of the room, reached best with the Jelly. Ramp leading to the secret. (Thanks to DJ_Ditz3 for that one!)
----
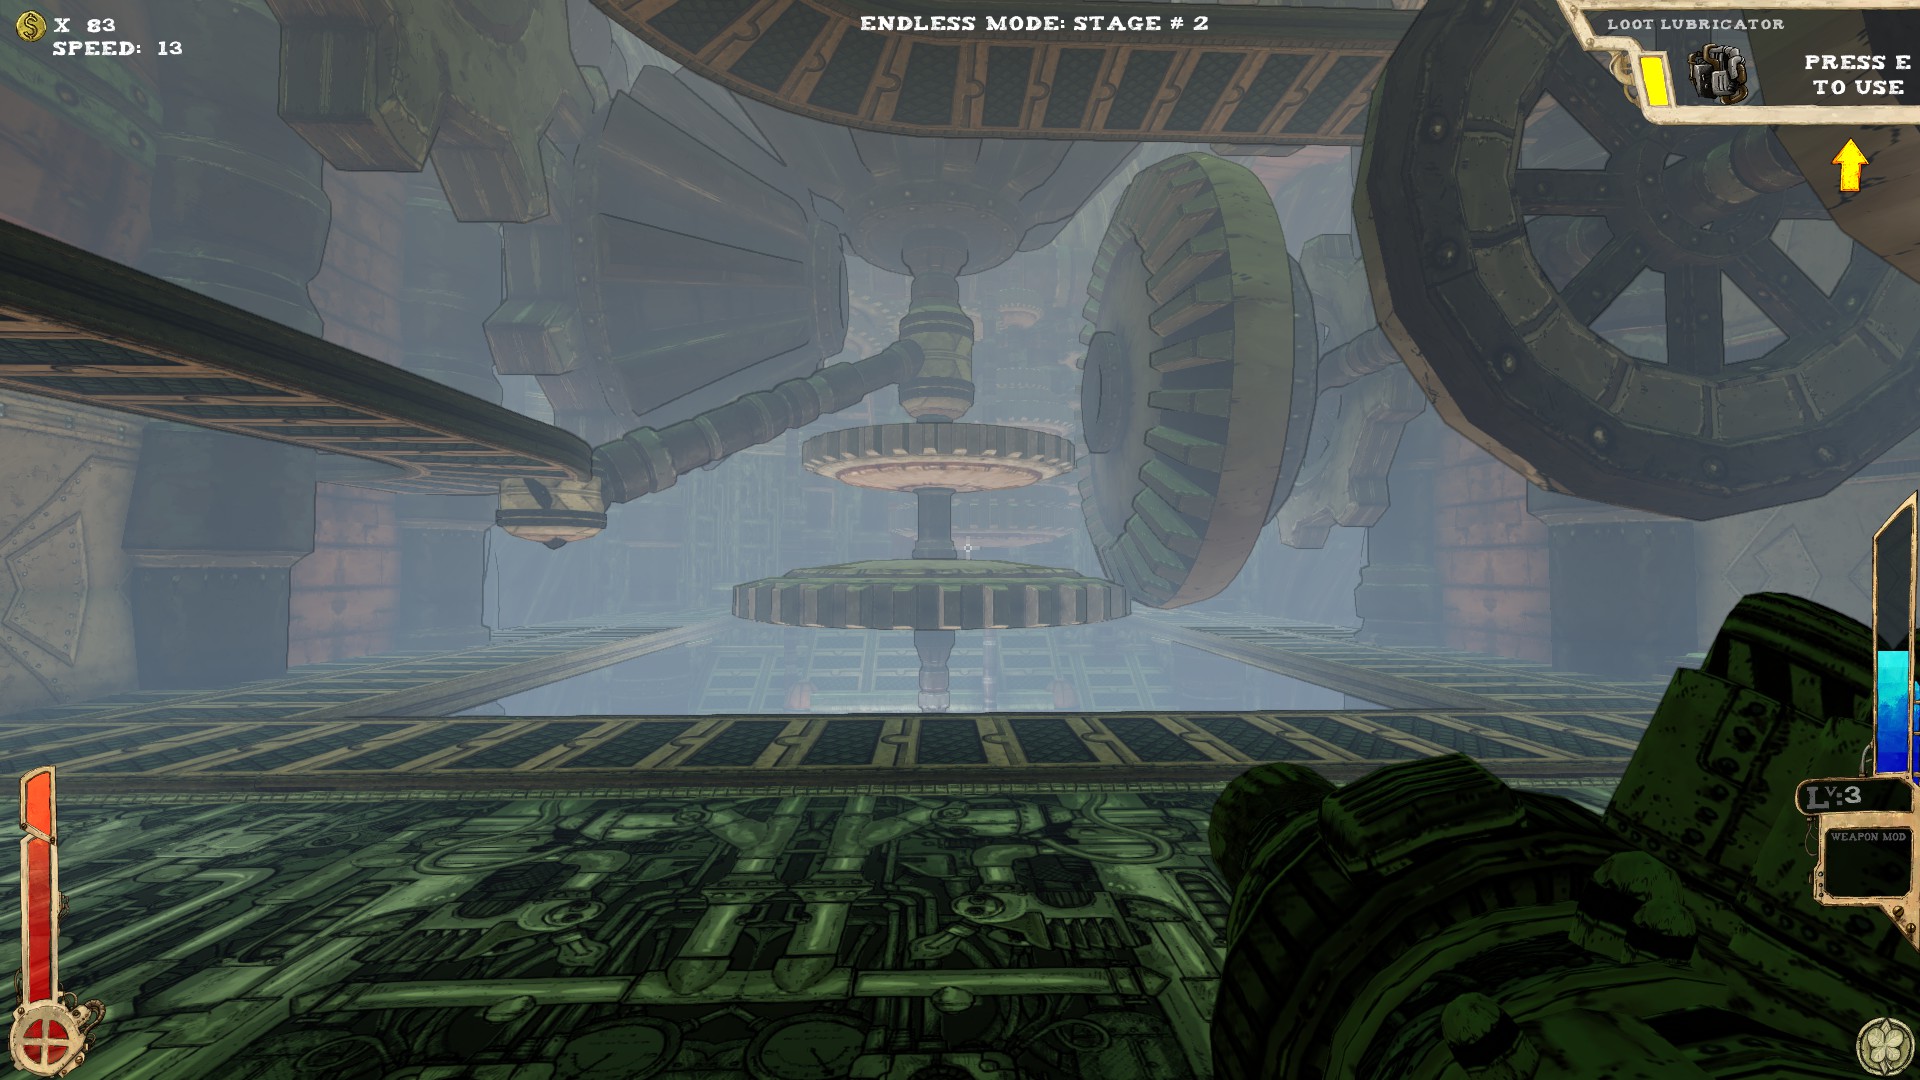
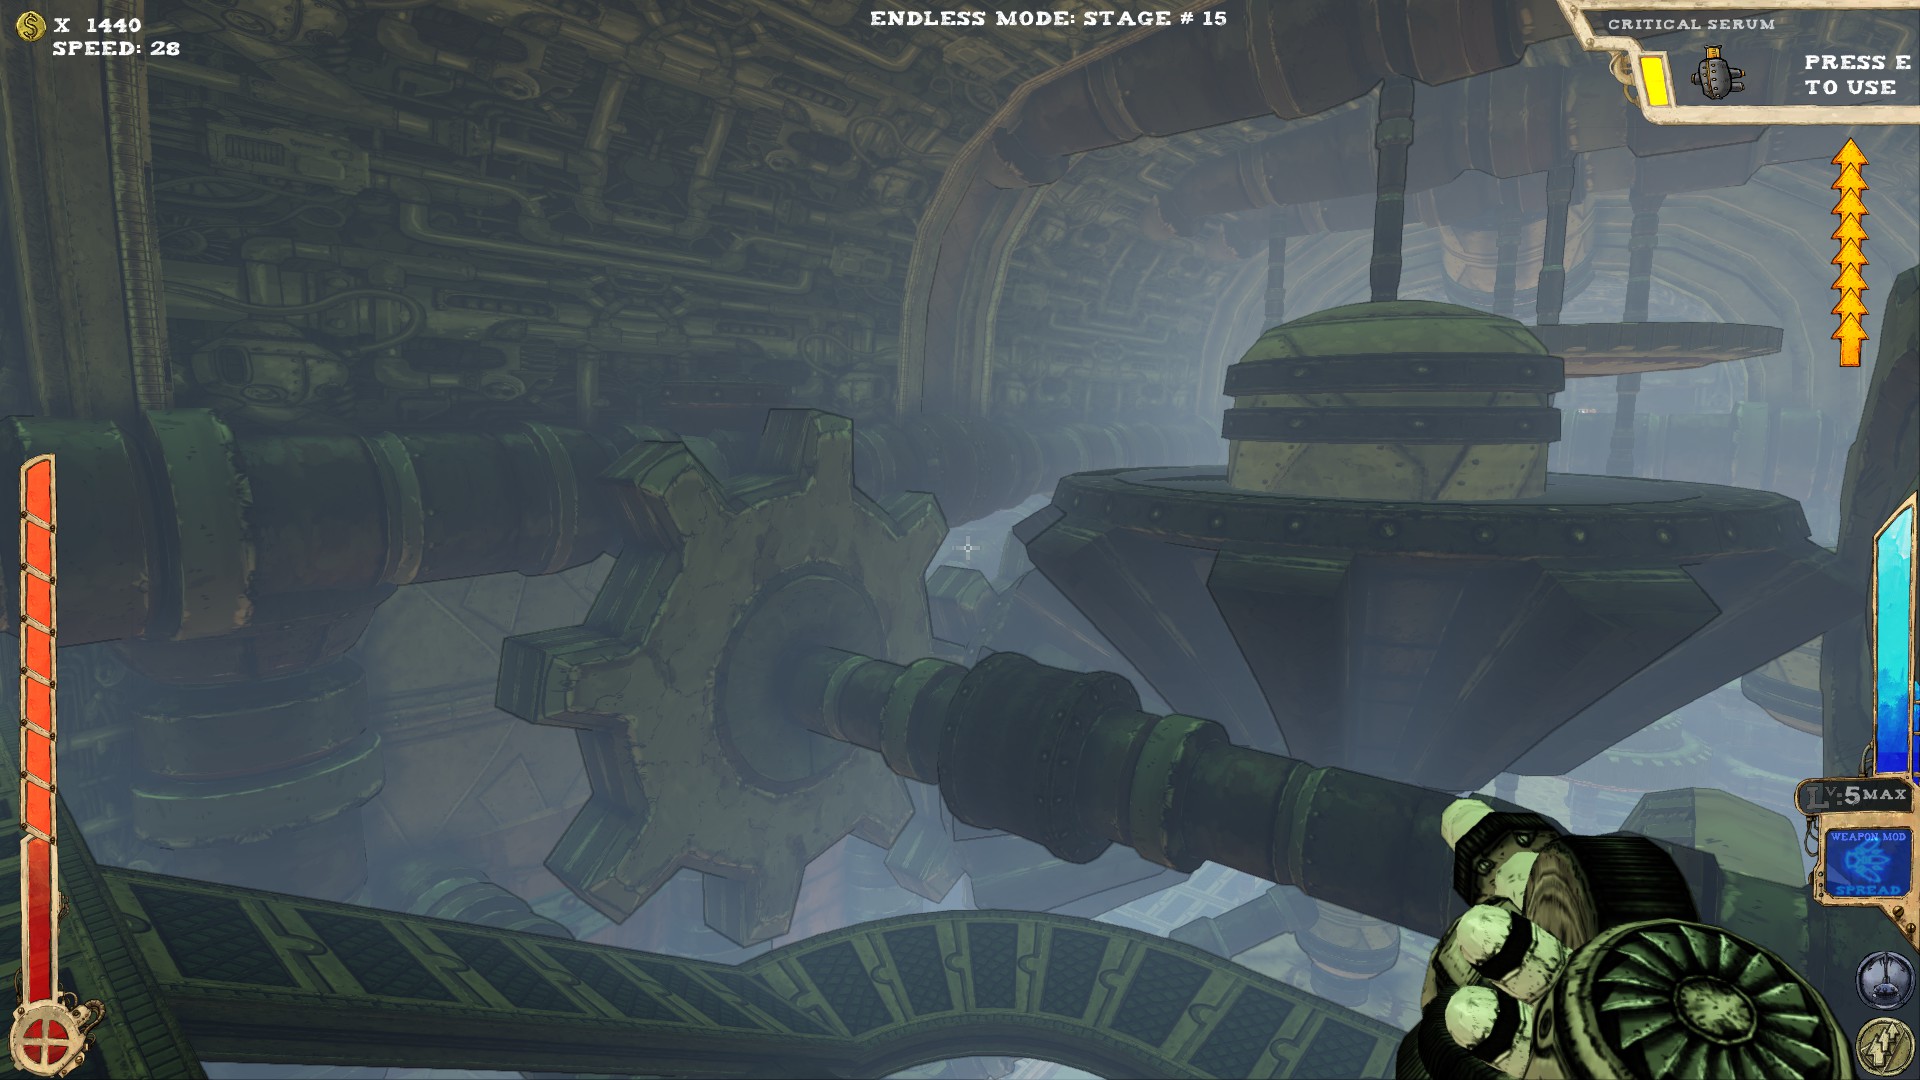
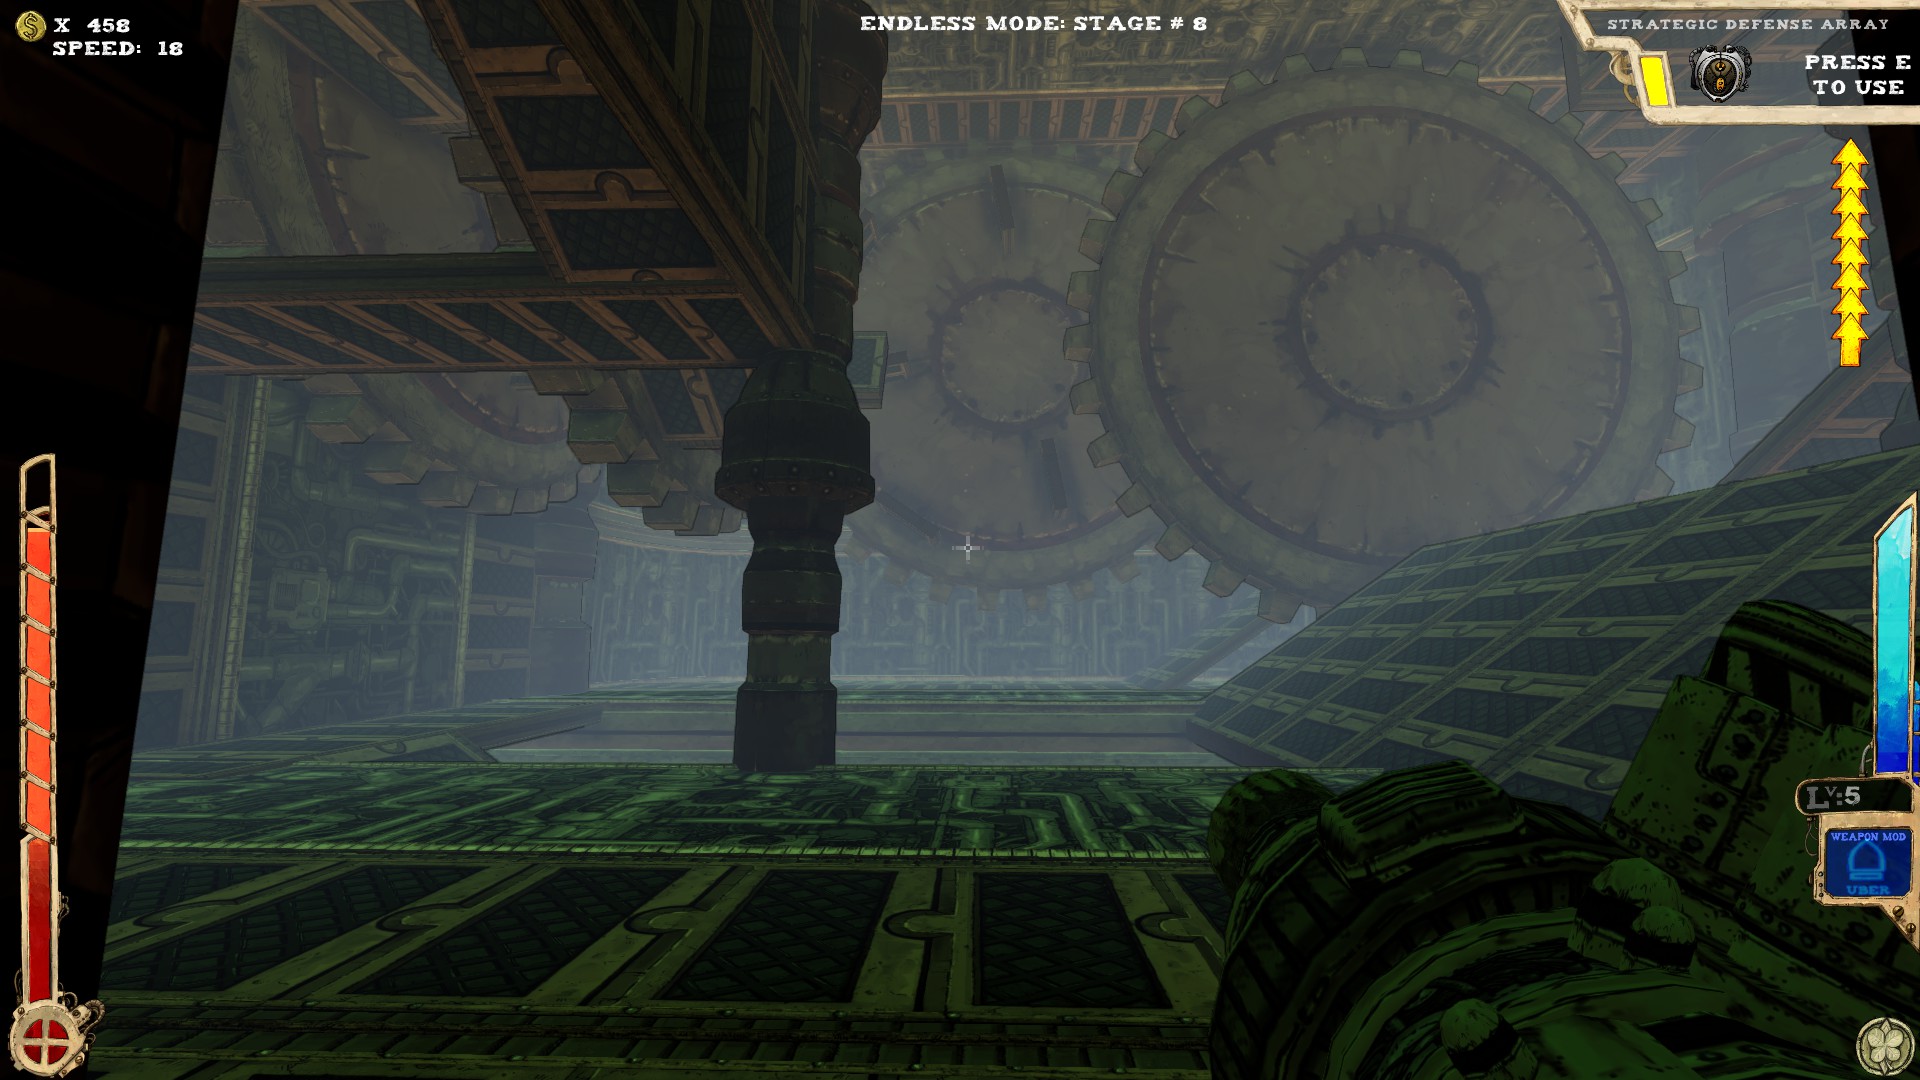 At least three secrets.
 Use the cogs and their attached platforms to reach the platform above the secret, then drop down from there. Be advised that the platform below is shorter, so you need an extra jump.
 If you've managed to get back up from the last secret, follow the way to a dead end and just jump around the wall to a platform behind, where the secret is.
 After using the elevator to reach another part of the room, you should see something resembling a podium. Just walk in.
----
 Haven't found aynthing here...yet.
The other one of the two levels you might get after the Foyer.
One secret.Look up! It's on the pipes crossing.----
Two secrets.The first one is near the entrance, under a ramp.The second is located up on the rafters. There is a yellow banner (see picture) hiding a secret wall.To get even up their you'll need some jumps or a proper item.
----
Three secrets.When going right from the entrance, you should see a different texture on the ground, follow it into a fake wall and walk straight forward to get the secret (there's also lying something around)From the one above you get to the other two.When entering the first secret, head for the wall, turn left and you should see a different texture on the ground again. Follow it again into a fake wall.
You enter an area with a bunch of elevators. Up on the left is another secret. Use the elevators to get there.
From that platform, get over the elevators and you should reach a small separate area with a single elevator in it. Get down to the ground and go left into another fake wall, where you'll end up under the ramp you can see from the entrance of the room. Use Tilt to get out again.
----
Four secrets.That one is located left from the entrance. You should see a gap. Get in there.This one is located in the left area of the room. The entrance to the secret is behind a fake wall on the left side (when facing away from the entrance).The next secret is reached via the last one.When in the lower part, face the direction you entered the area and walk into another fake wall.
The area below is NOT the secret itself. If you're down to the next area, go around the chute, from which you came and there is the secret.
You can use the beam of light to get to the last secret.
The last secret is located on top of the room, reached via the beam of light. Be aware that there are grinders up on the ceiling, which will most likely hit you, so don't go up there if you have only a sliver of health left.----
Two secrets.The first one is easily reachable via the elevator. Just drop down from it and follow the path.The second one is quite high, but also easily reachable. Use the first elevator to "elevator jump"to the platform with the second elevator, then just ride the second one up.
----
Three secrets.This one is located in a lower part of the room, behind a ramp.The wall I'm pointin at is fake. Walk in.To the left and right of the room are smaller platforms. Under one of them is another small platform that is the last of the three secrets. Not sure on which side it is, sorry :P----
Three secrets.At the end of the room is Motivational Jelly. You can use it to get to all three of them. One is located in the opening (picture 1), the other two are above the structure (picture 2). One is behind a wall, you'll have to get around. Either jump around it or just use the jelly to get there first. For the other just follow the way into a fake wall.
You can also access the first secret via an opening right above the entrance, if you have enough jumps or the right item, although it would be waste of an item usage.
----
Two secrets.One is located behind a fake wall up on the far side of the room (left from the entrance).This one is also left from the entrance, but a lot closer. It's a small area under the ceiling.----
At least two.The part where I'm pointing at is the secret. To reach it you have to climb to the top part of the room.Up the catwalk above the entrance. Squeeze into the area I'm pointing to. There's the secret.(Thanks to nabbed for this one!)
----
Two secrets.Get to the lower part and you should see the part I'm pointing at.Once in the secret, turn around and look slightly up. There's an opening with another secret in it.----
At least three secrets.The first one is extremely hard to miss.The second one can be seen when looking back to the room from the first secret. You should see the opening. Best reached from the main part of the room.
Highest part of the room, reached best with the Jelly. Ramp leading to the secret. (Thanks to DJ_Ditz3 for that one!)----
At least three secrets.Use the cogs and their attached platforms to reach the platform above the secret, then drop down from there. Be advised that the platform below is shorter, so you need an extra jump.If you've managed to get back up from the last secret, follow the way to a dead end and just jump around the wall to a platform behind, where the secret is.After using the elevator to reach another part of the room, you should see something resembling a podium. Just walk in.----
Haven't found aynthing here...yet.
The Gearworks (Part 2)
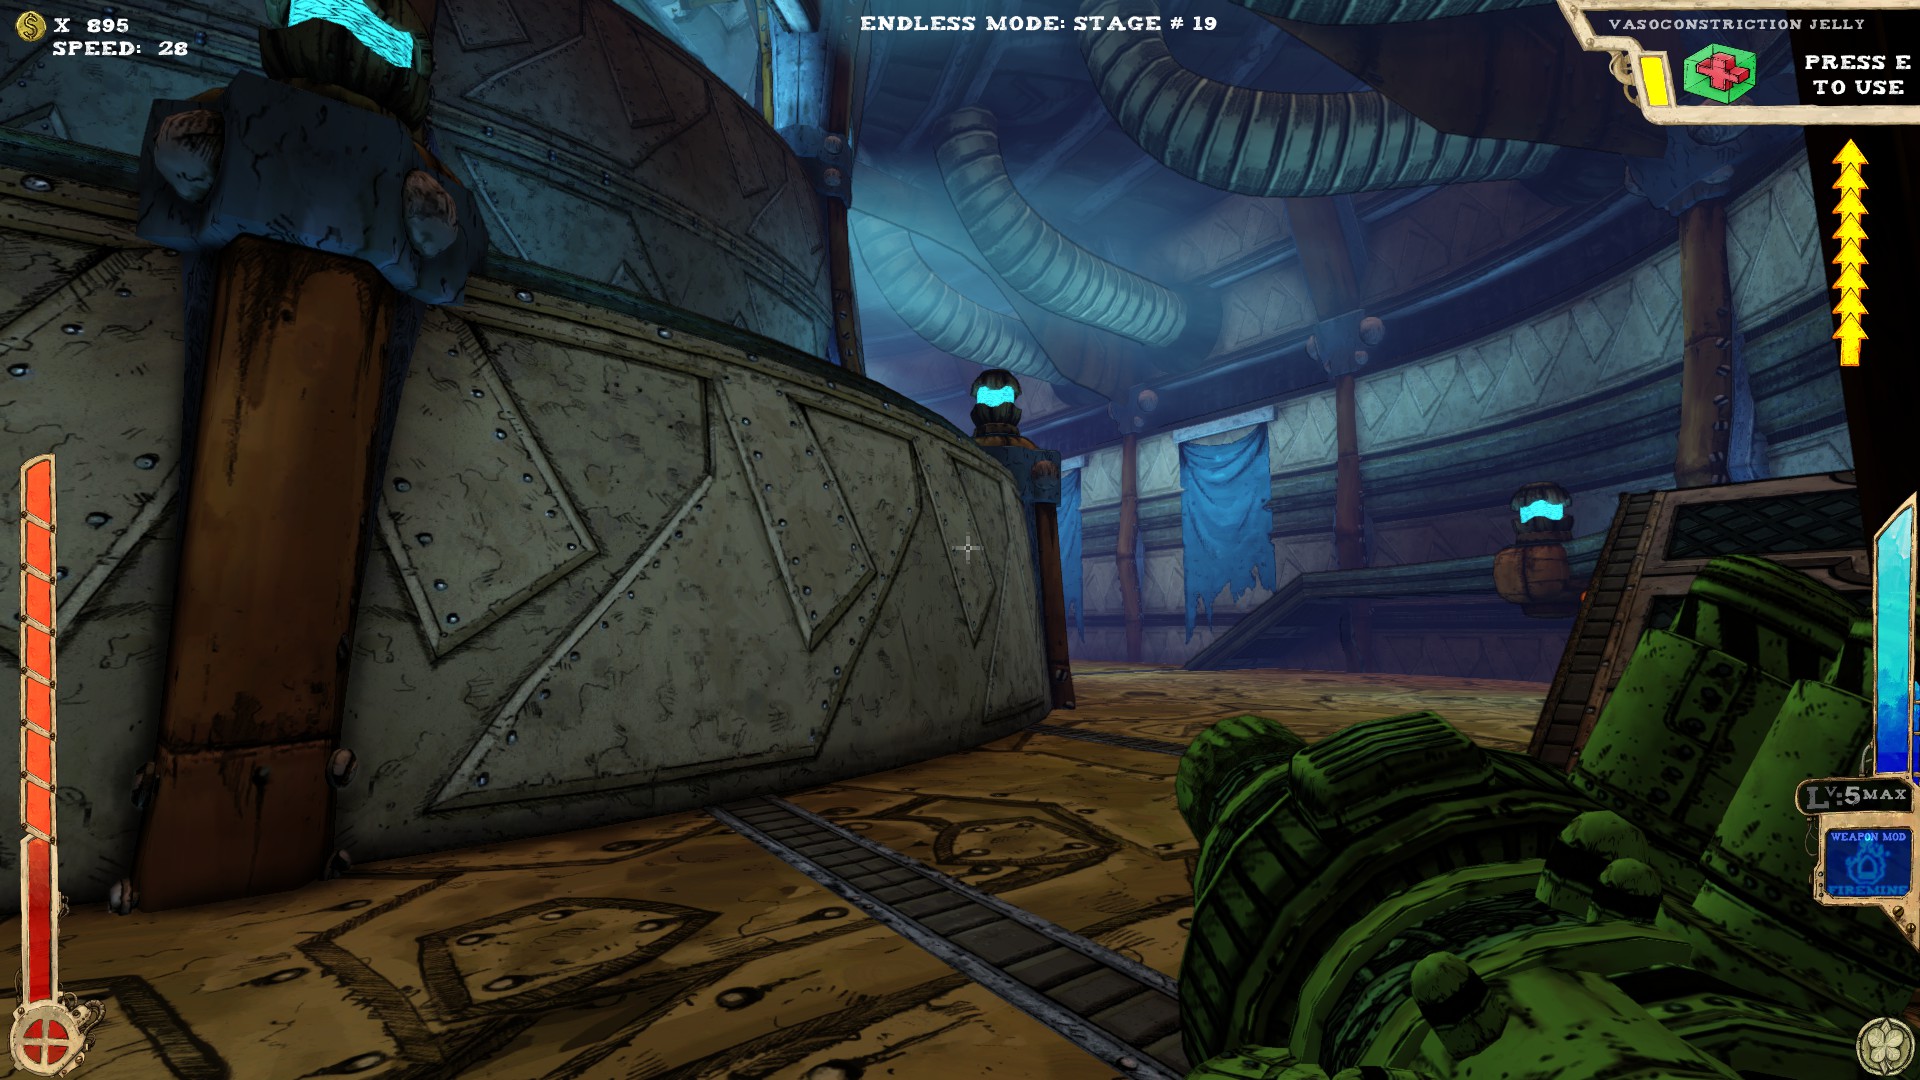
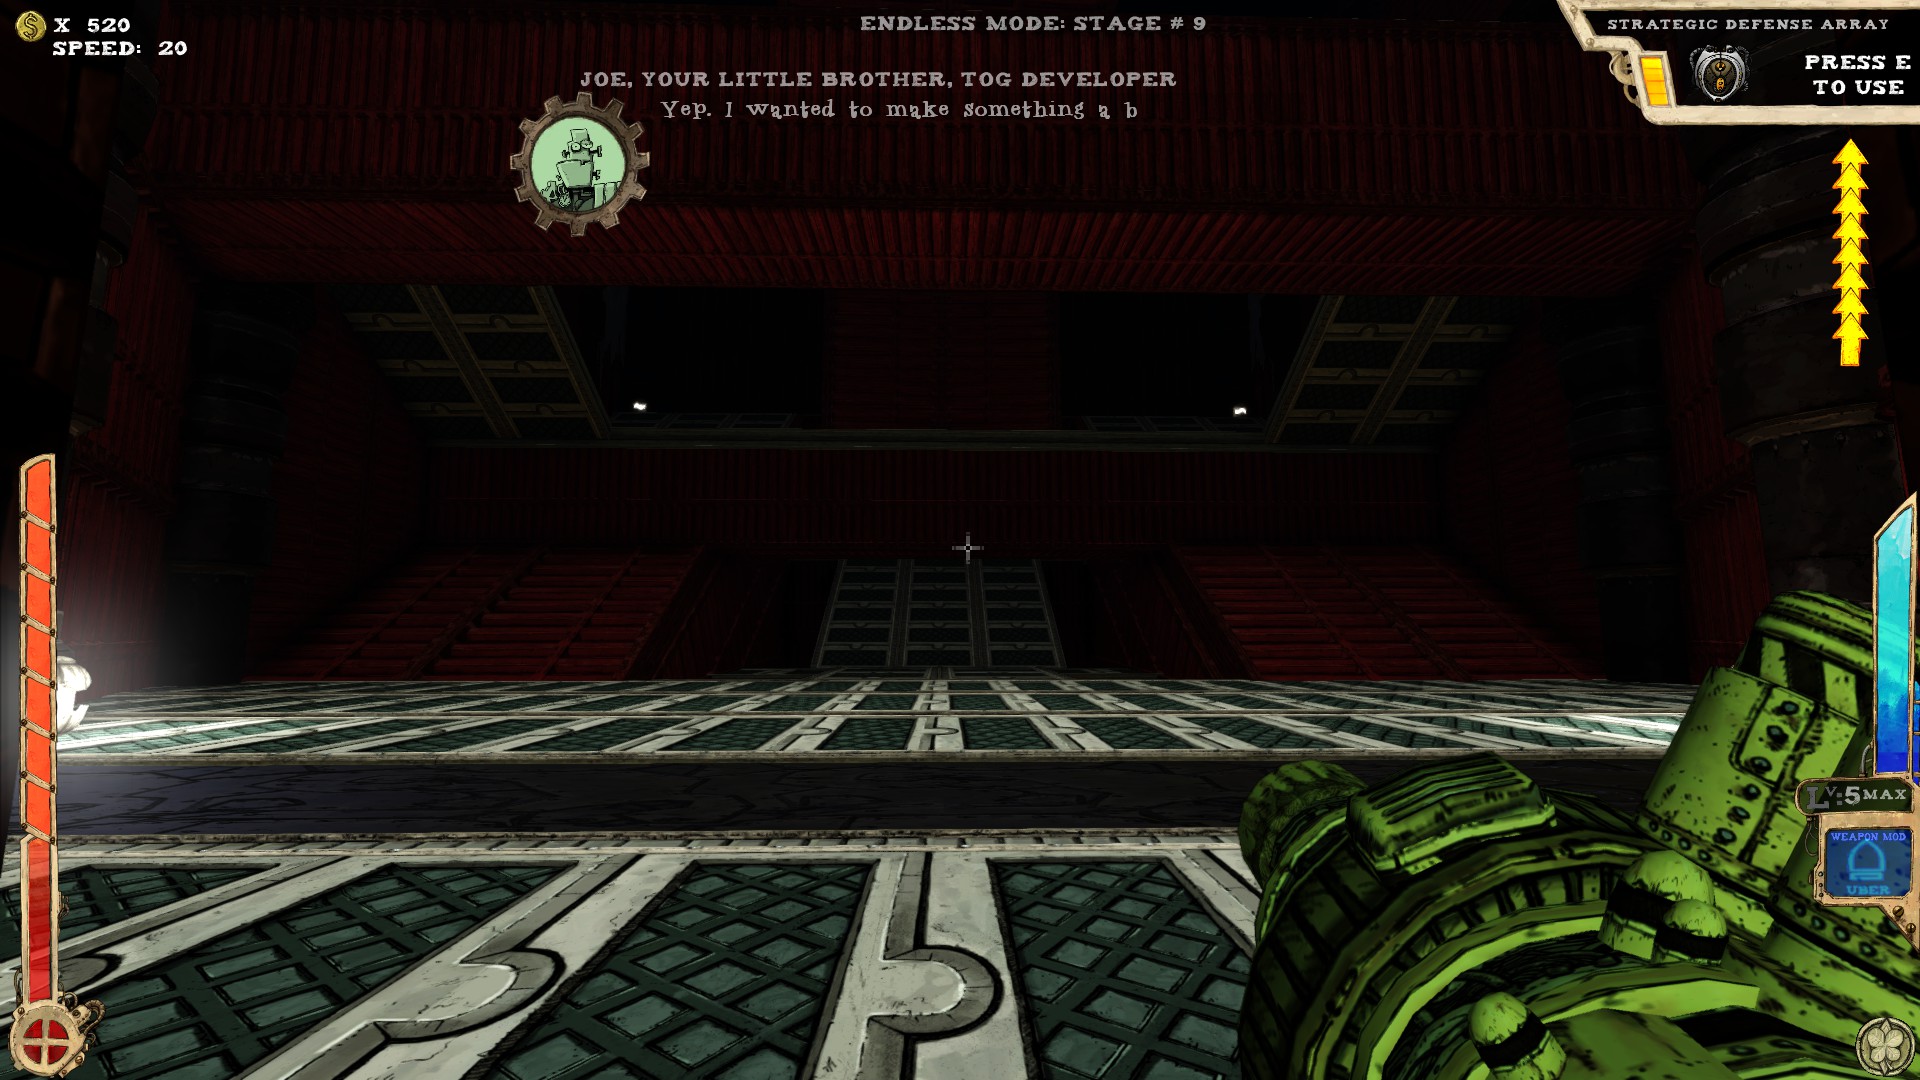
 At least three.
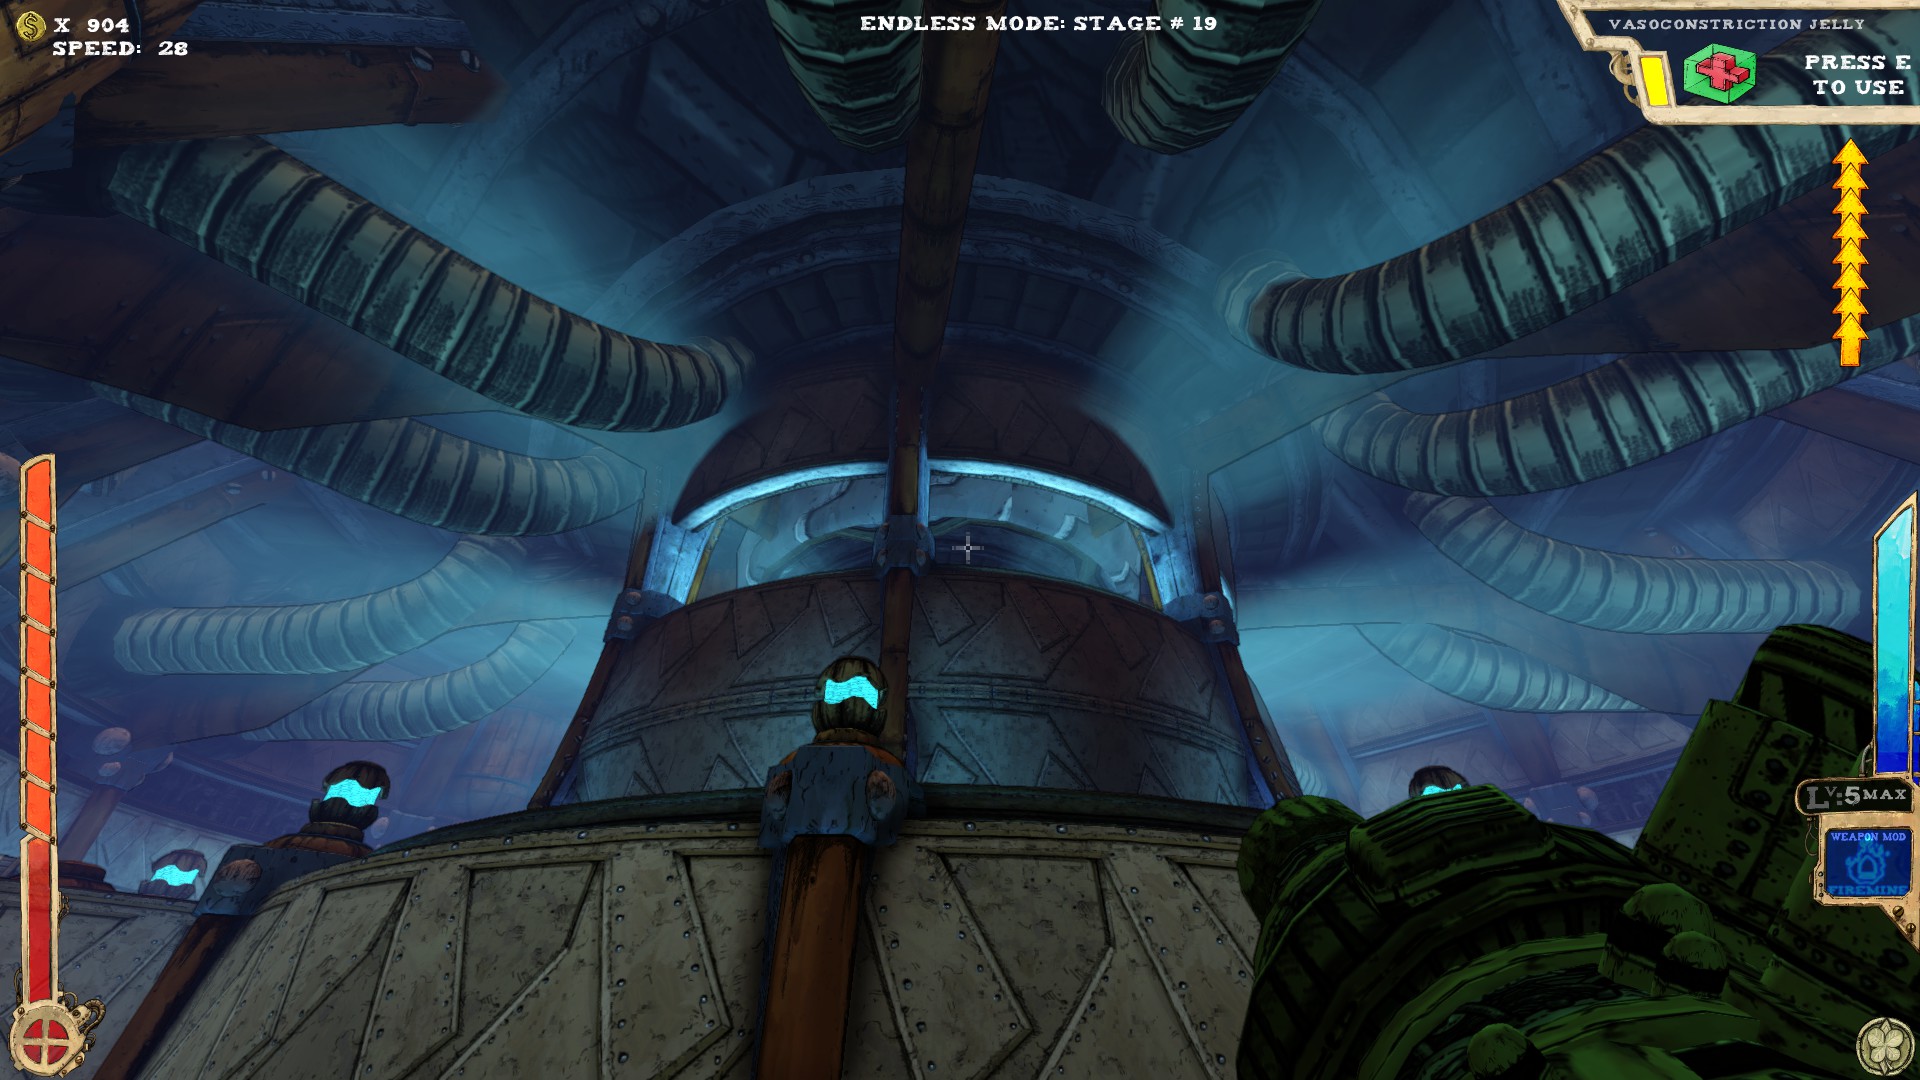
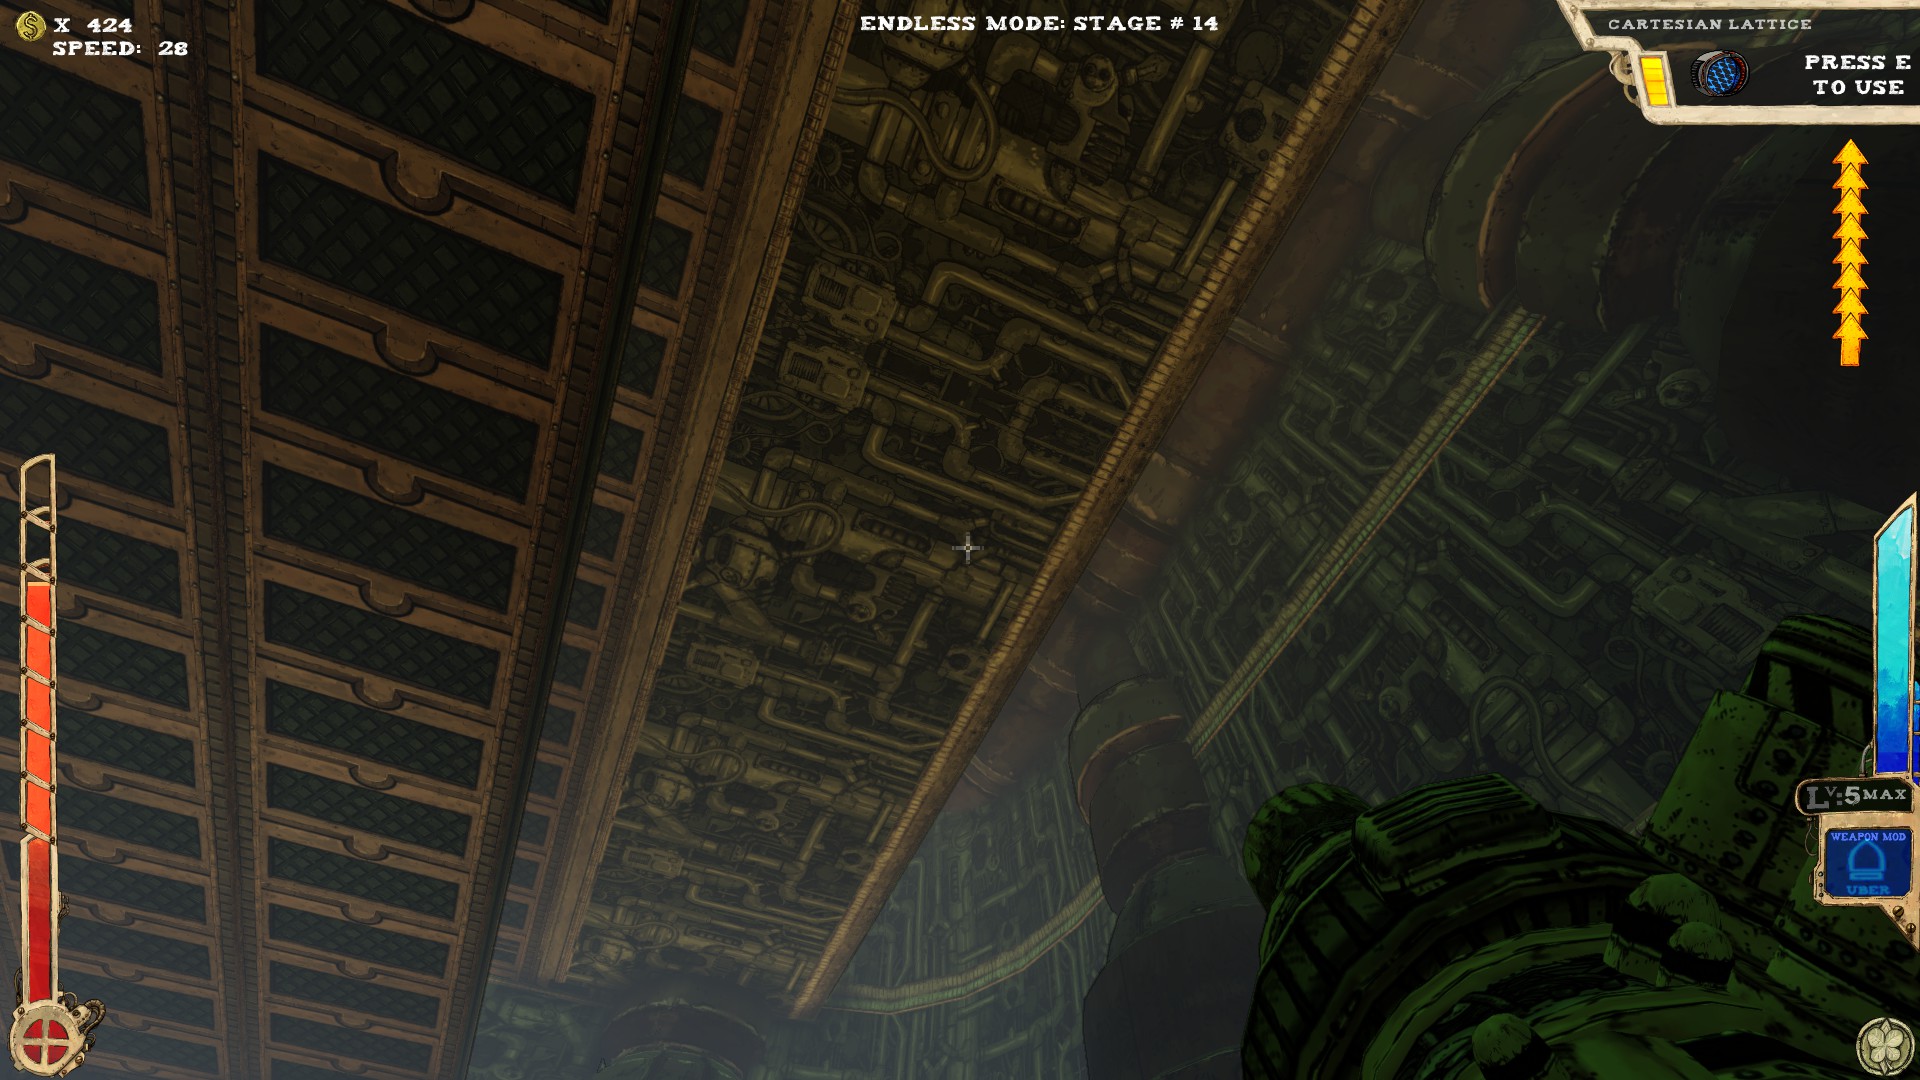 There is an area right under the ceiling, best accessed via the Motivational Jelly you can find on both sides of the room, hidden behind the grinders.
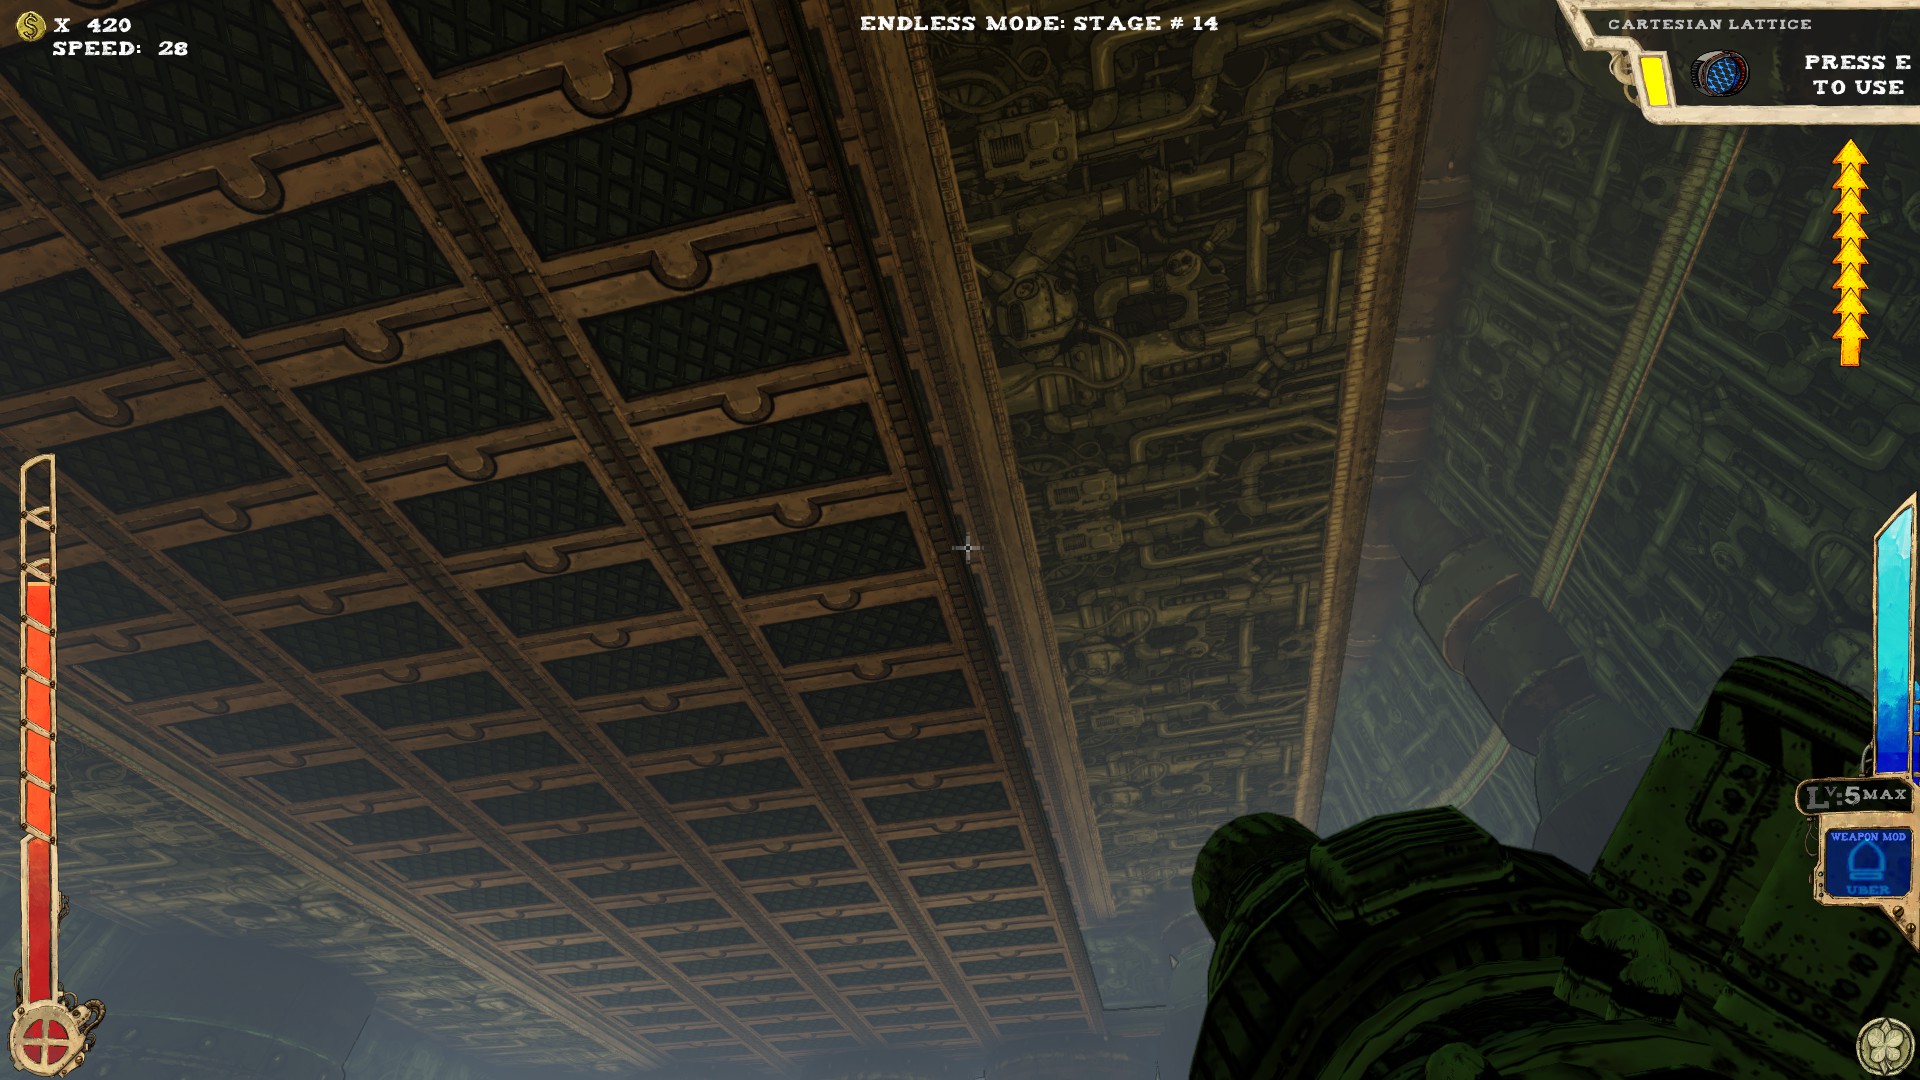
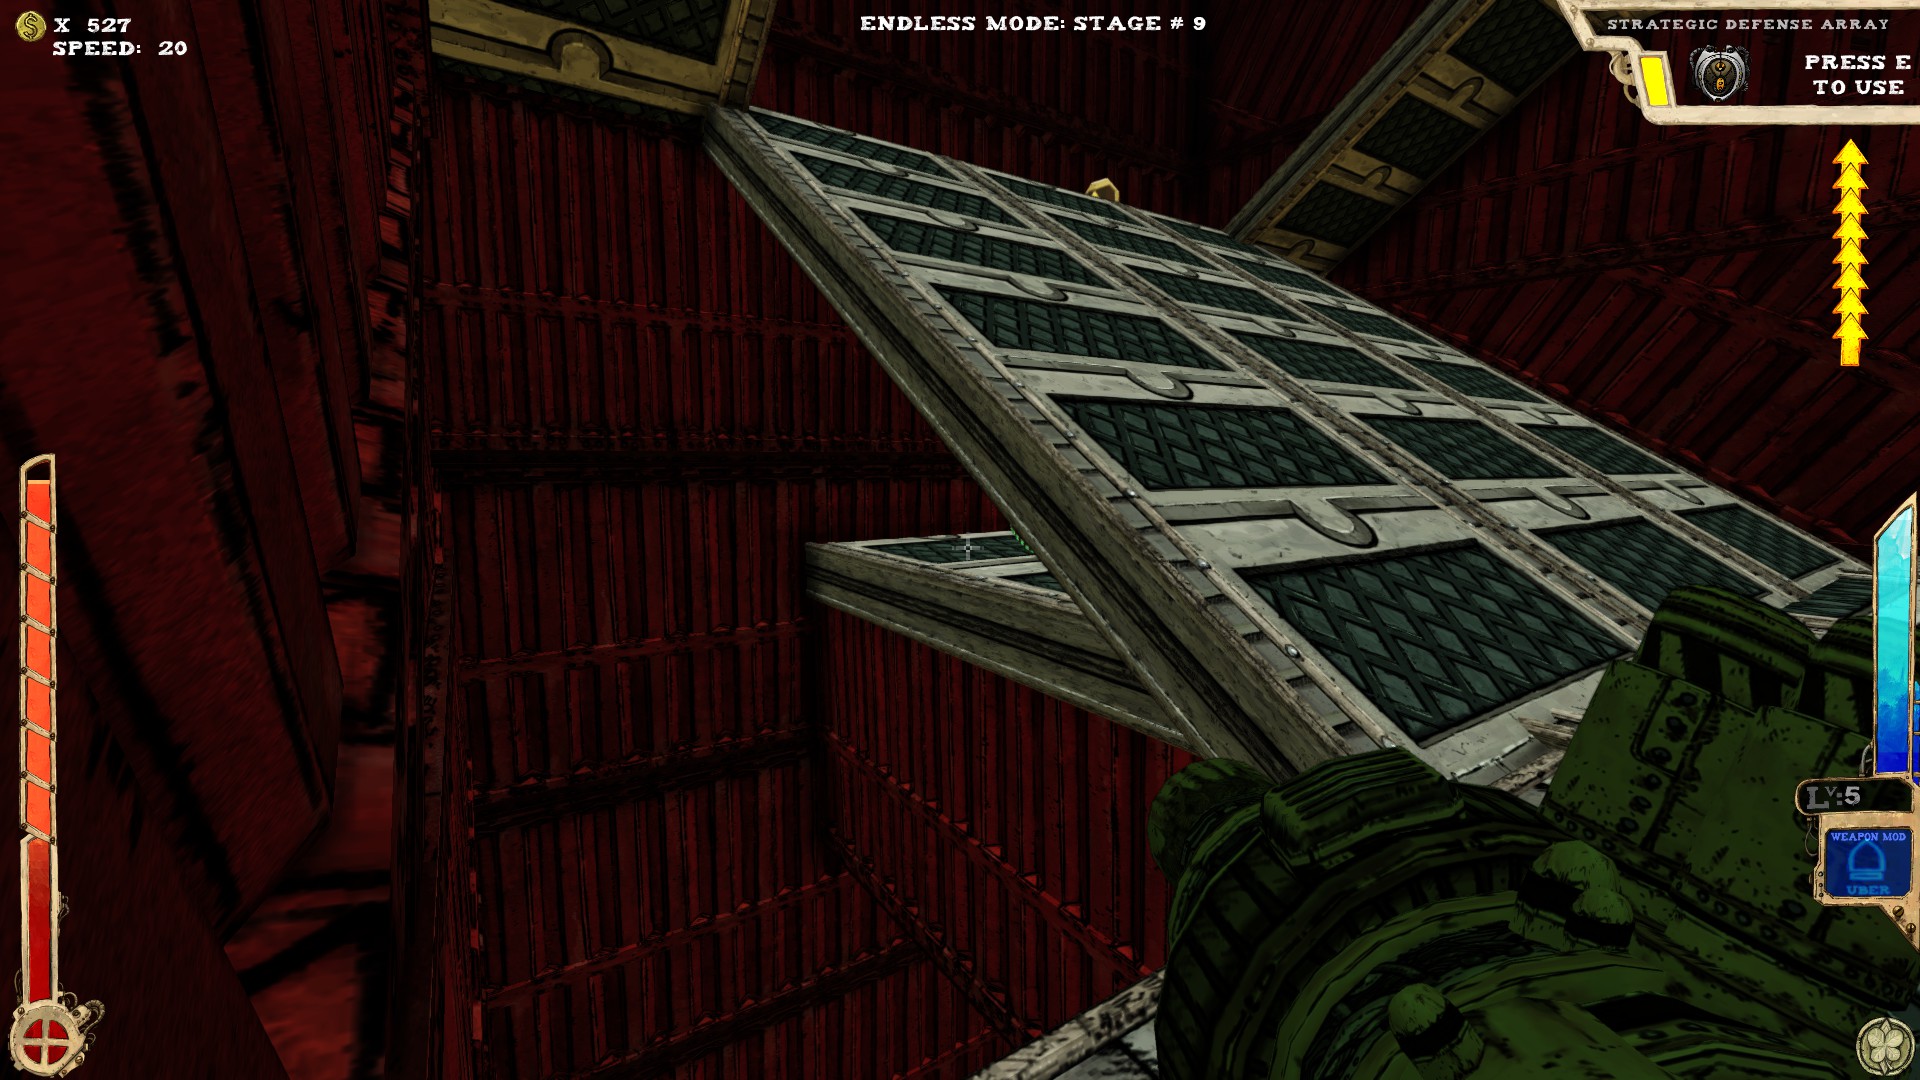
 From the first secret, you should be able to access the other two by dropping down and using extra jumps to reach the platform below secret #1. Do NOT drop down on the sides with the Jelly, as you can't get to the floor below from there.
After getting secret #2, look for a ramp that leads through a fake ceiling to another secret.
----
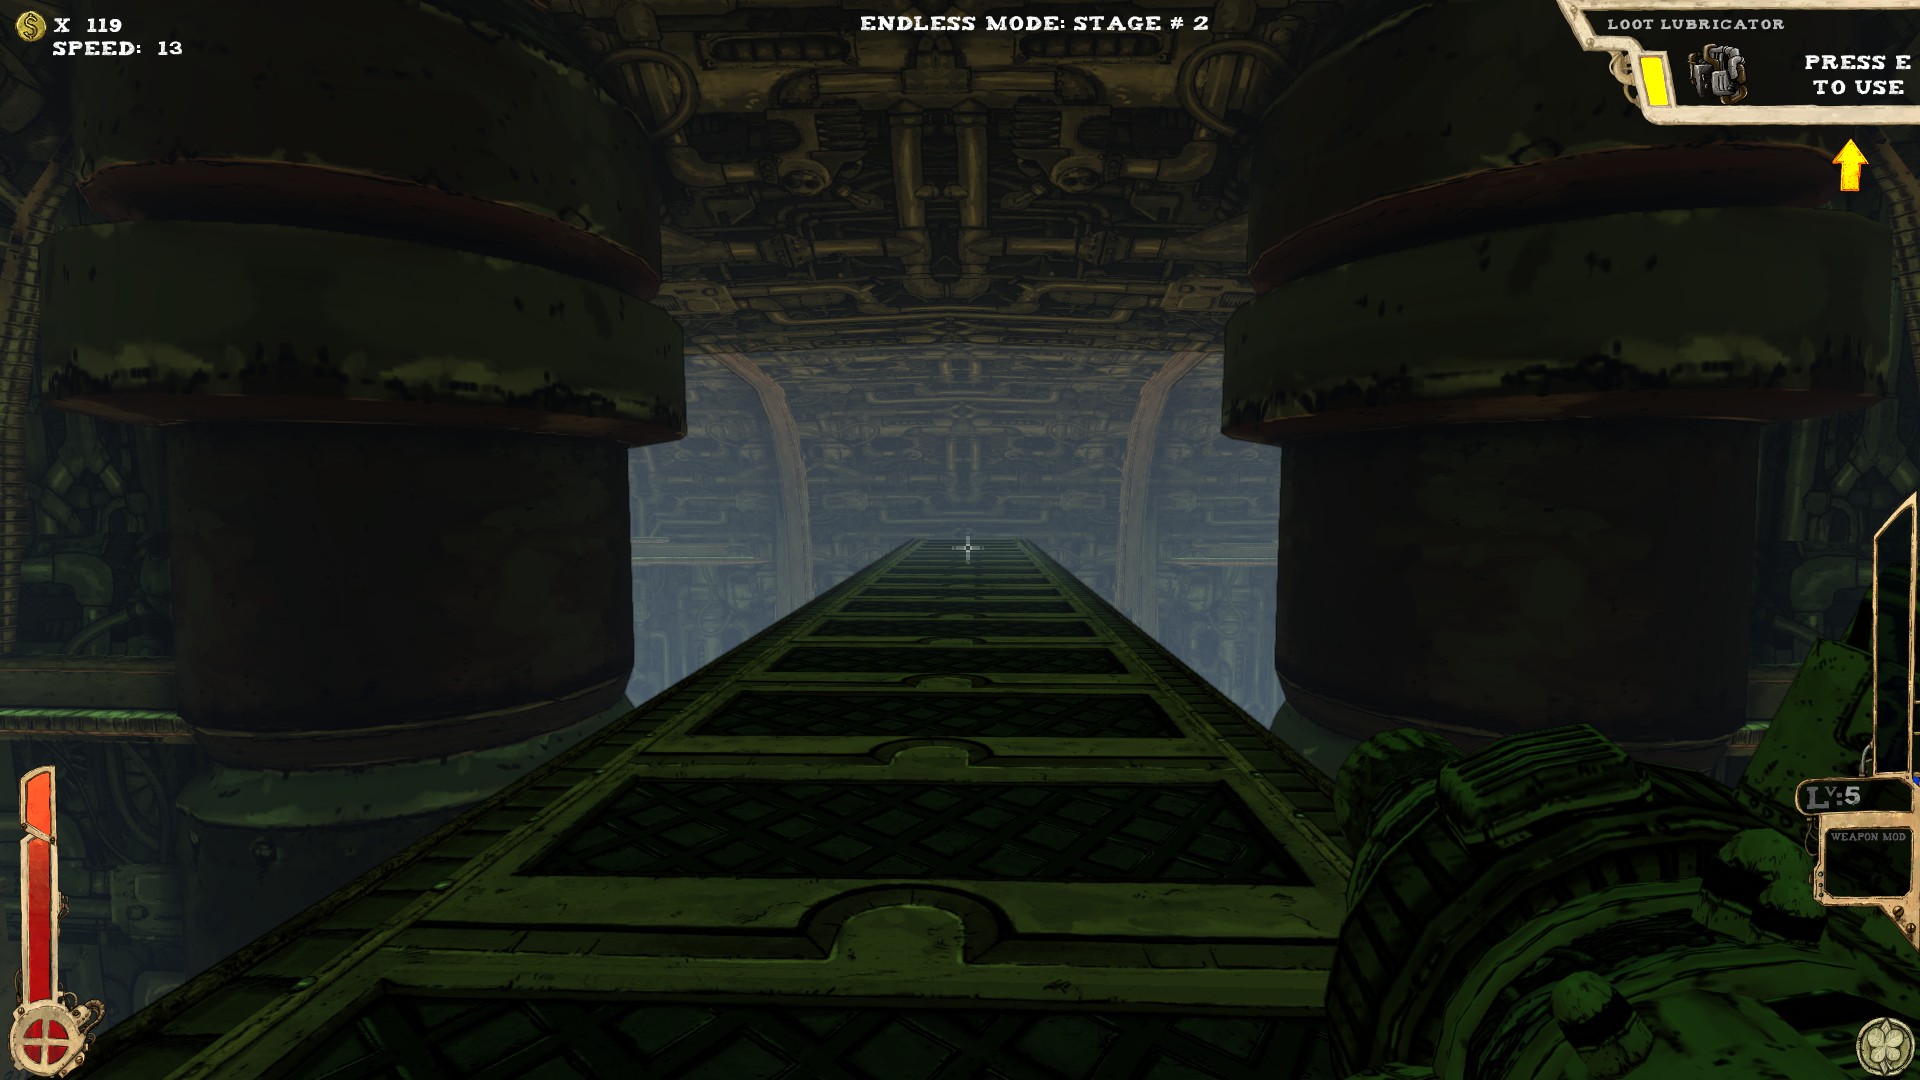
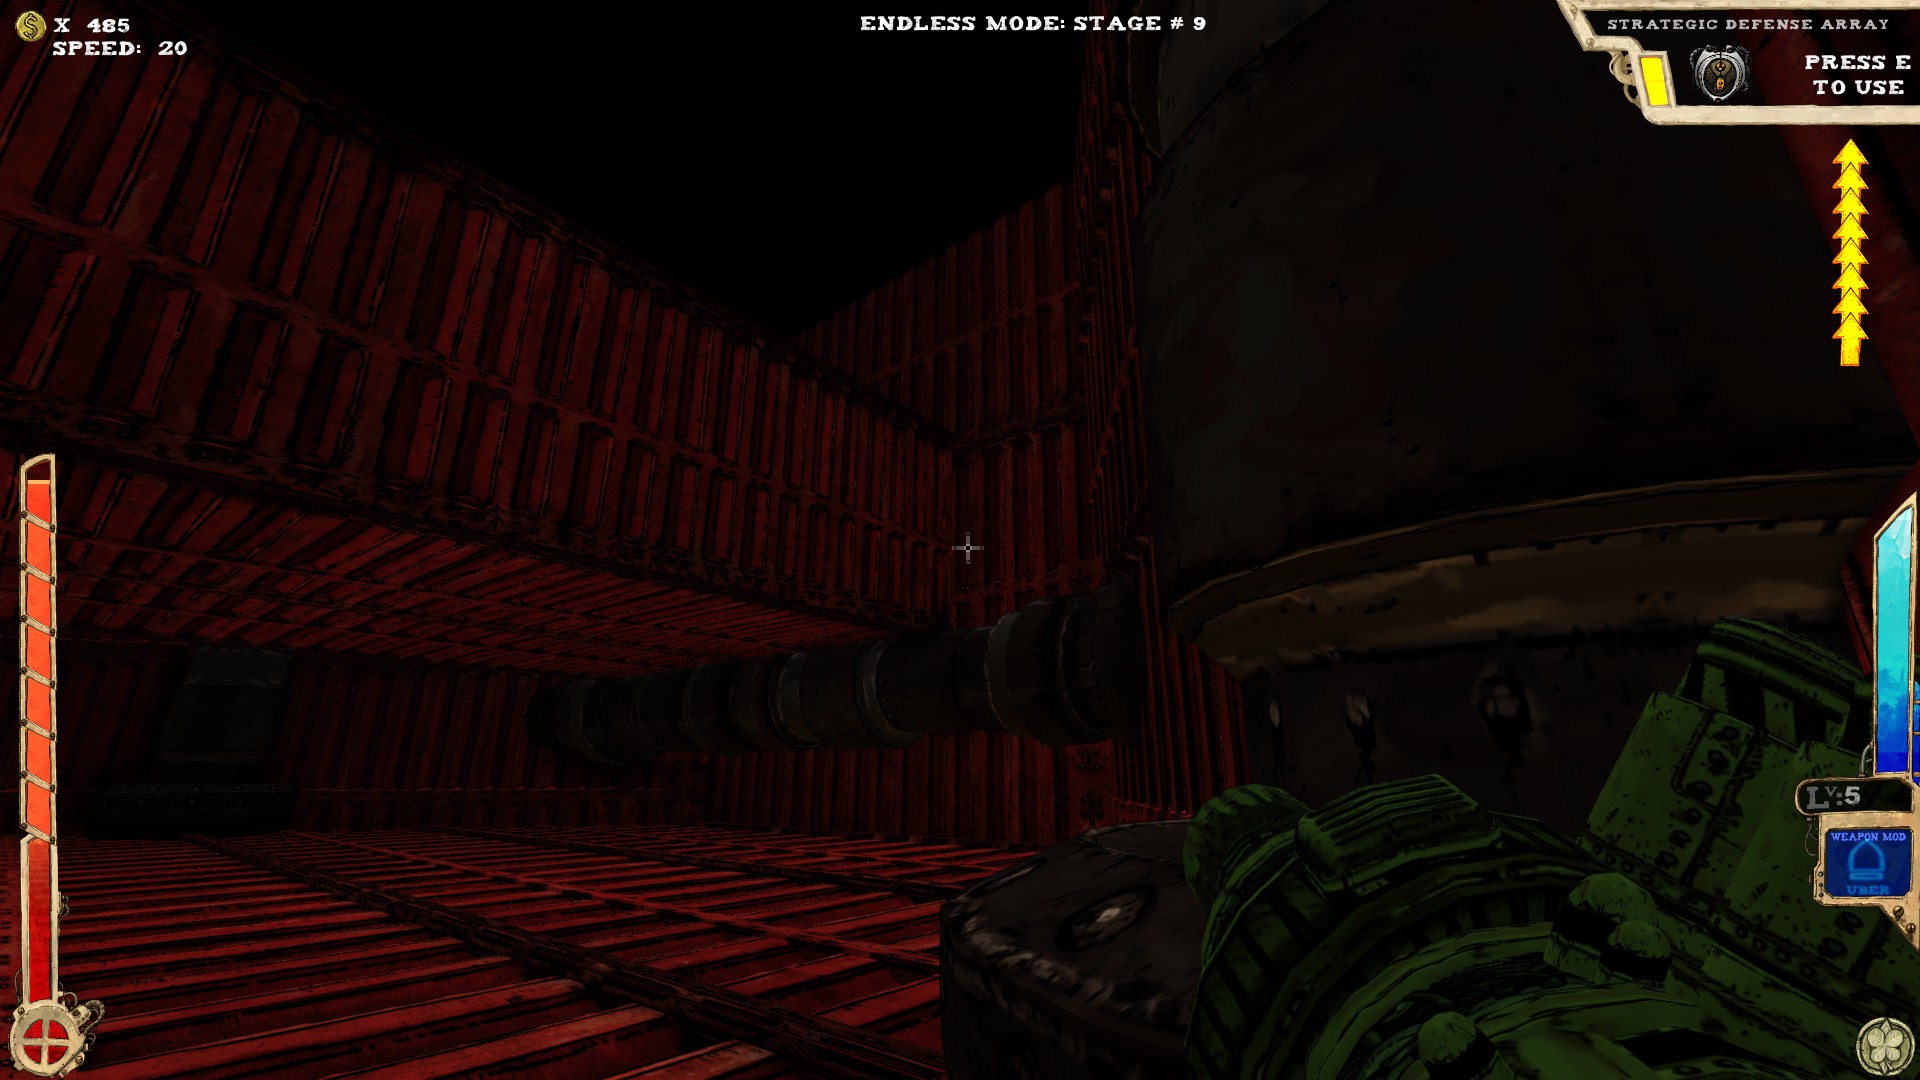
 One secret...I think.
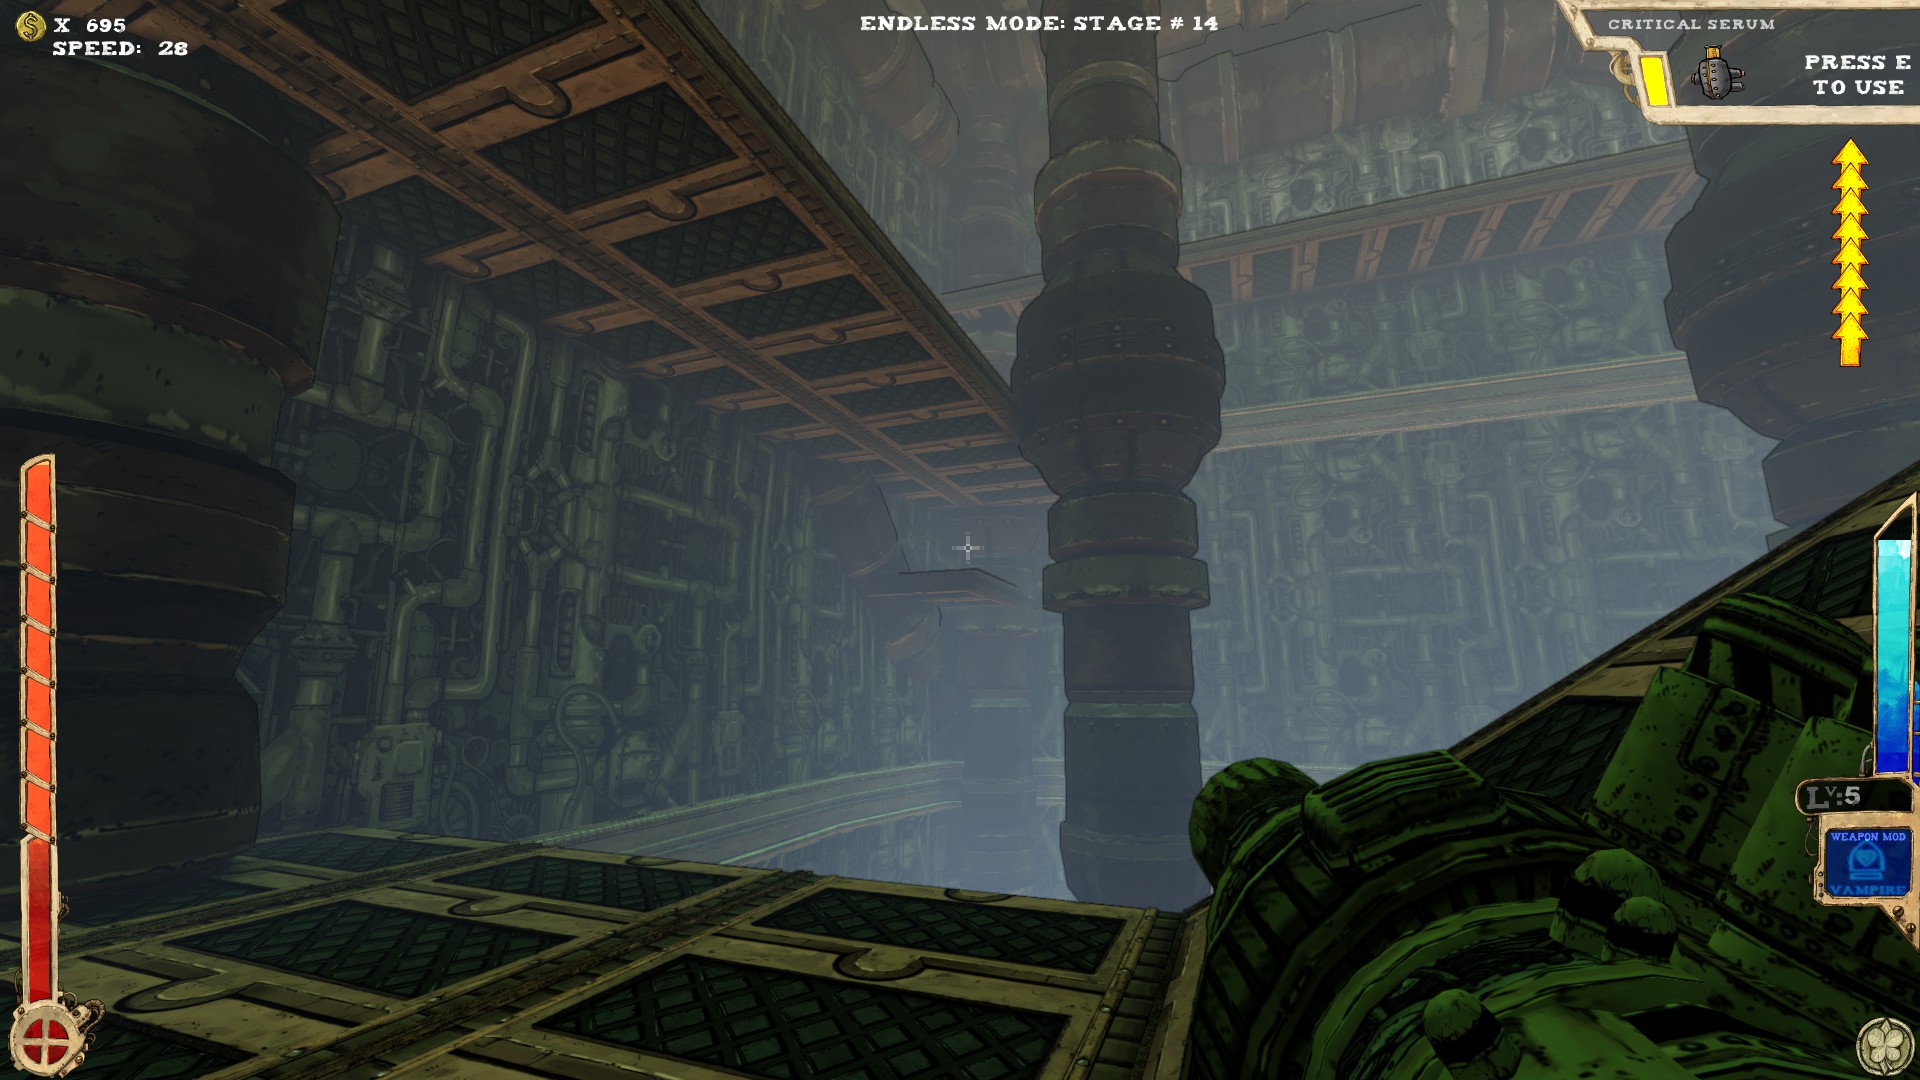 You should be able to see the small platform when moving up the room.
----
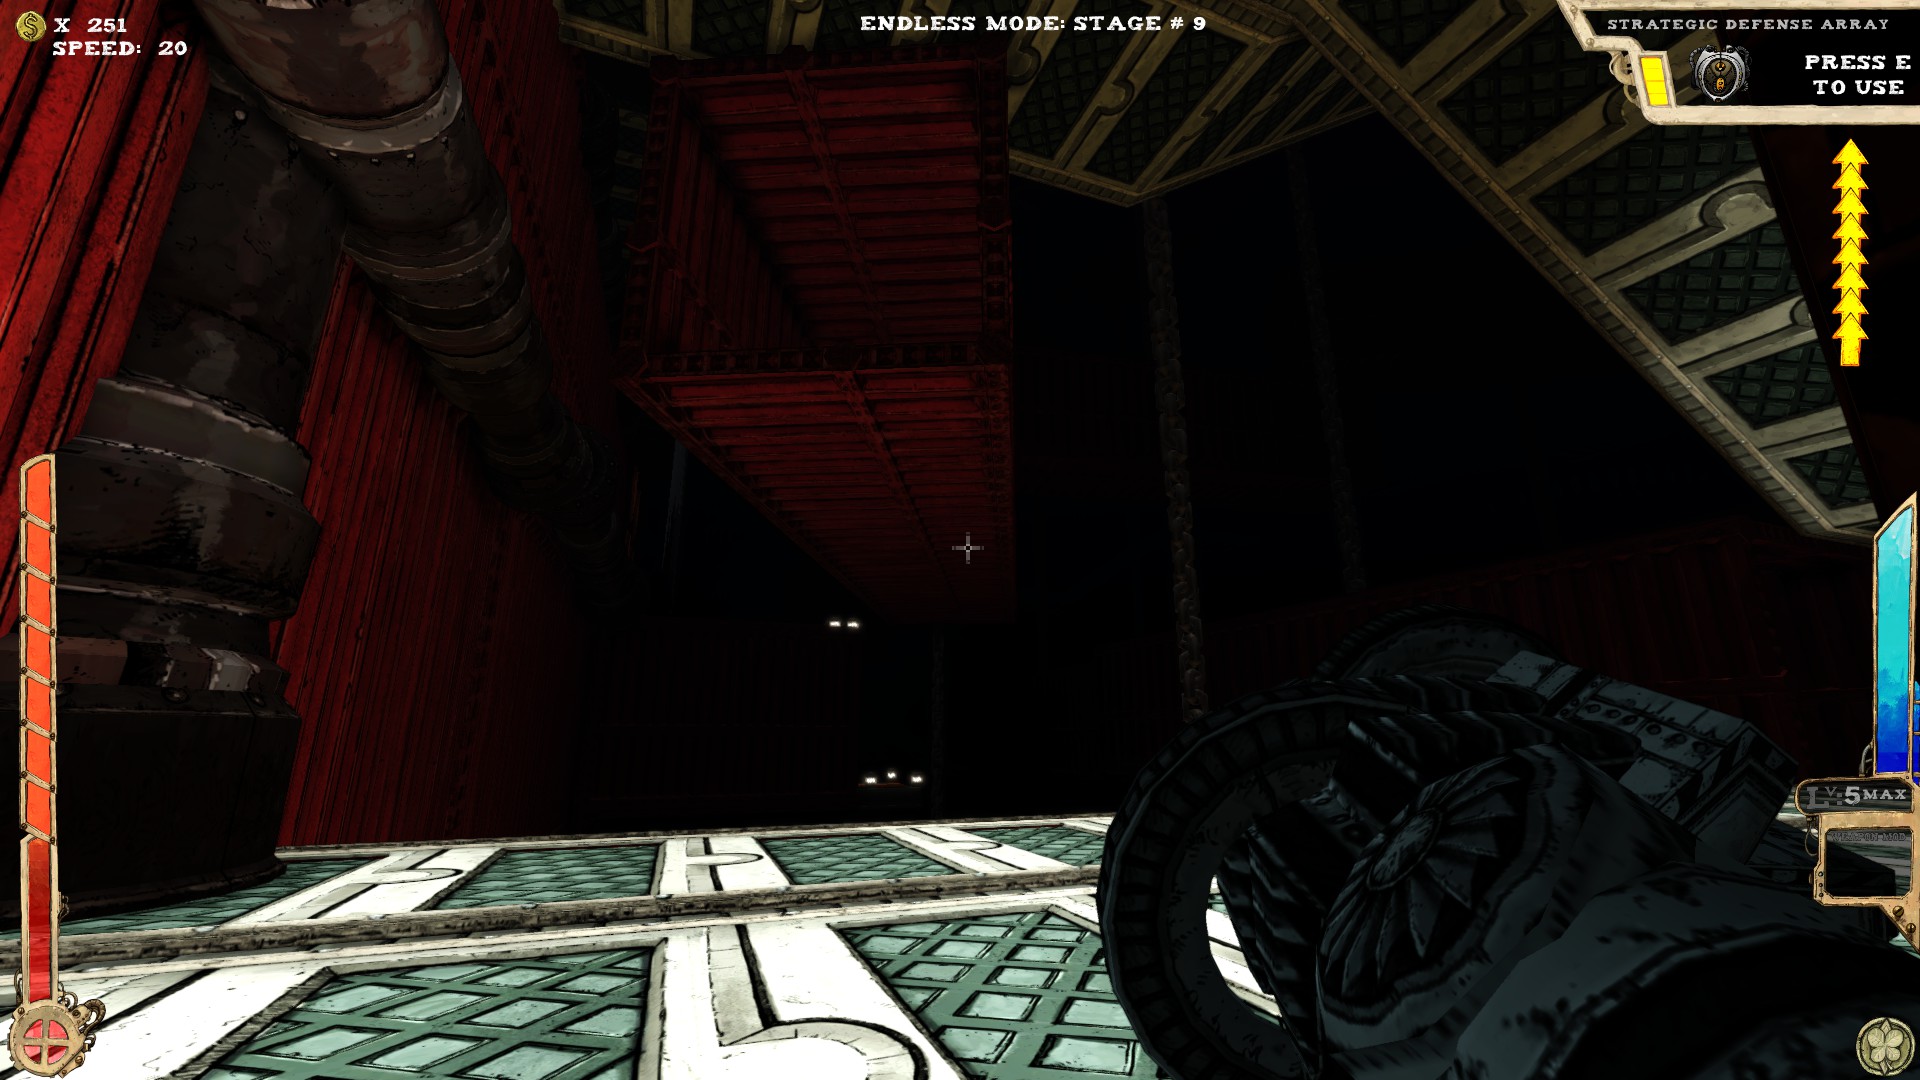
 At least two.
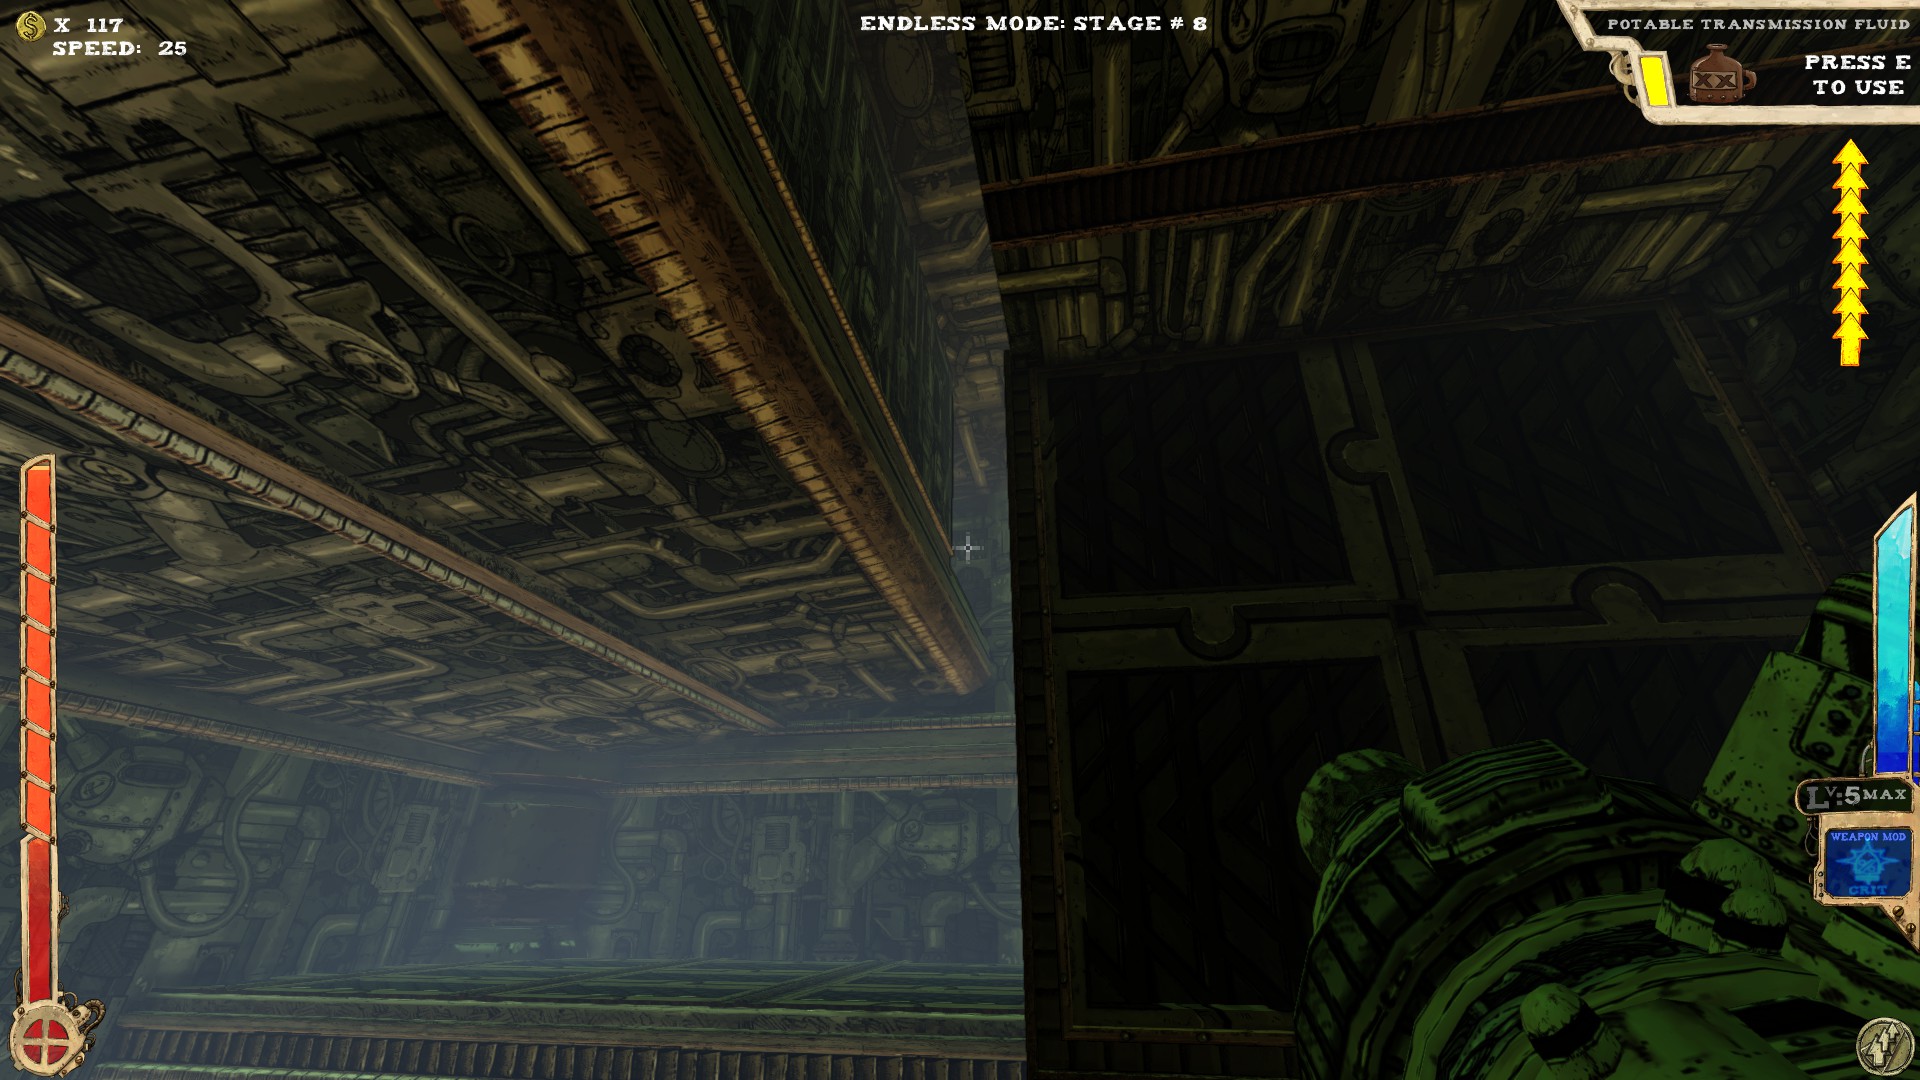 This one is located where the "sideways elevators" stop. There is an opening in the wall. To access either jump from elevator to elevator or have enough jumps.
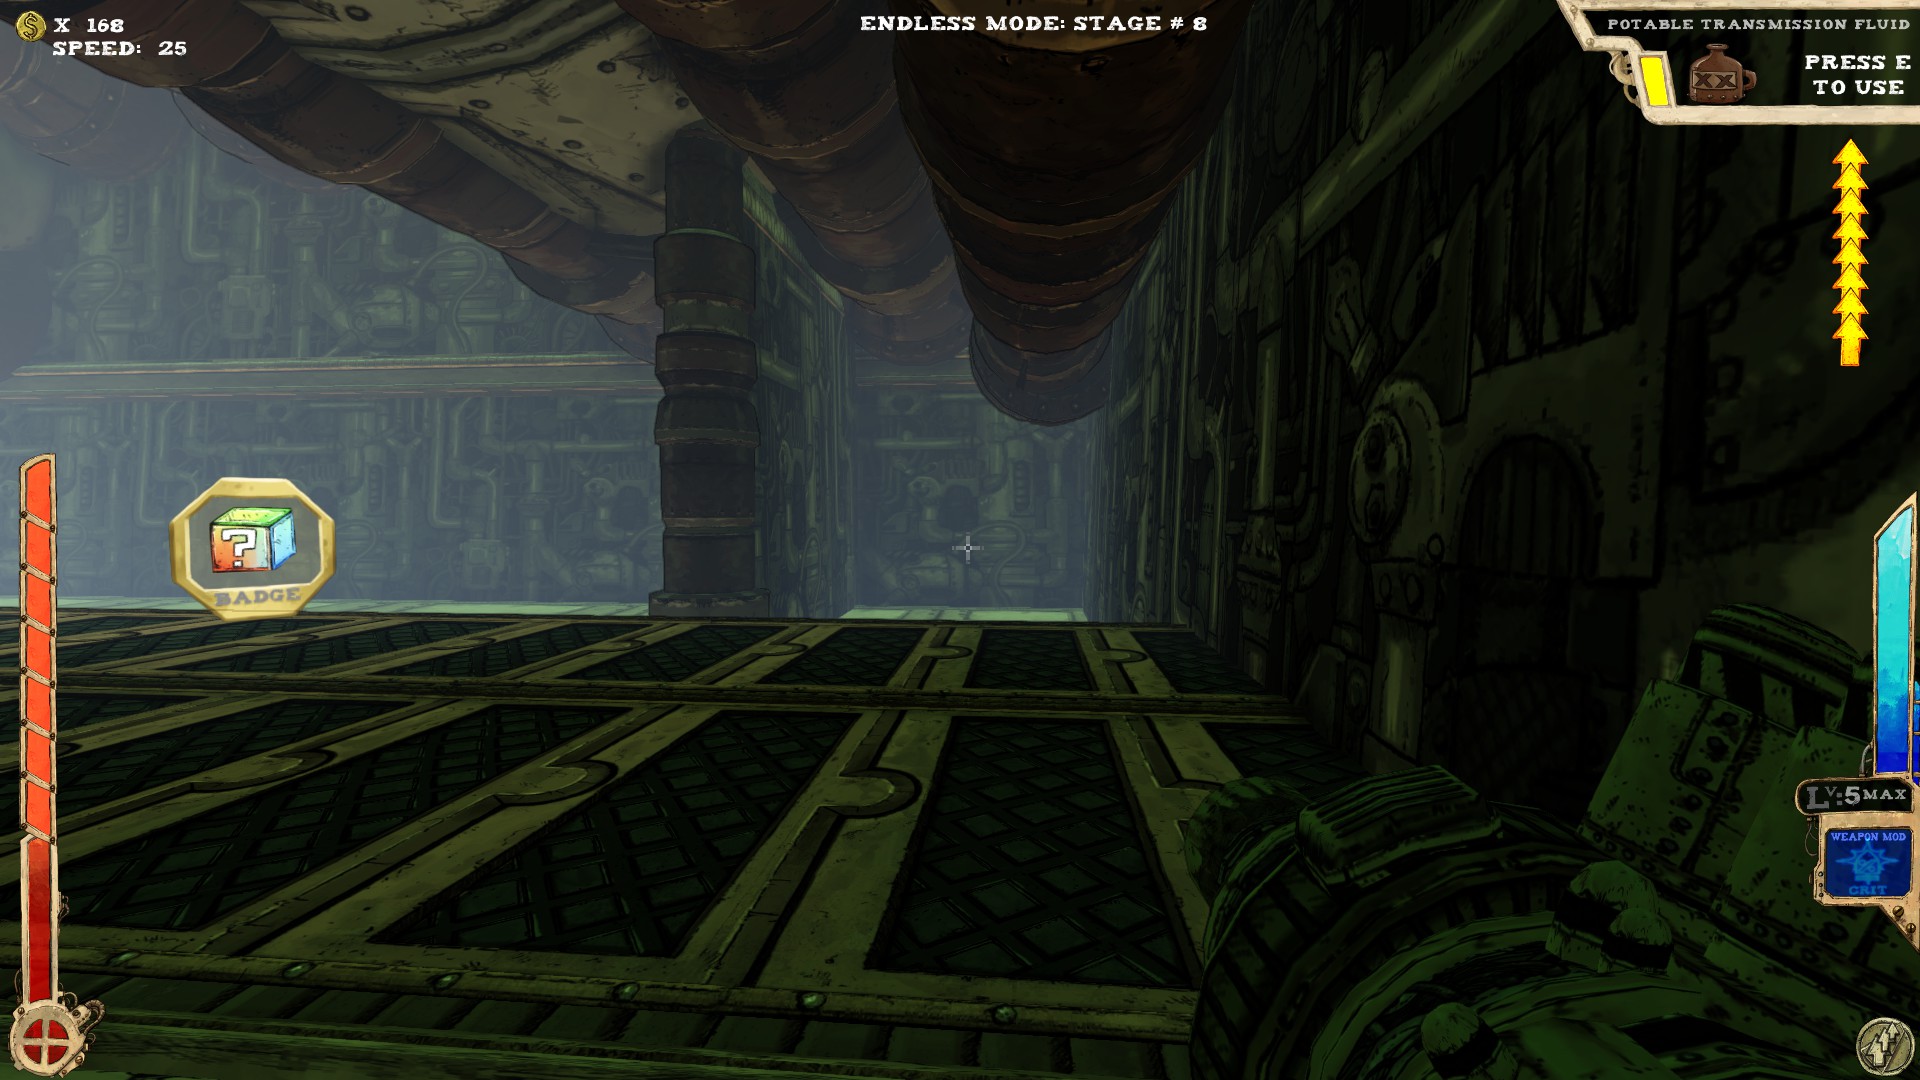 After using the elevator to get up, you should see a small secluded area. Walk into the wall.
----
 One secret.
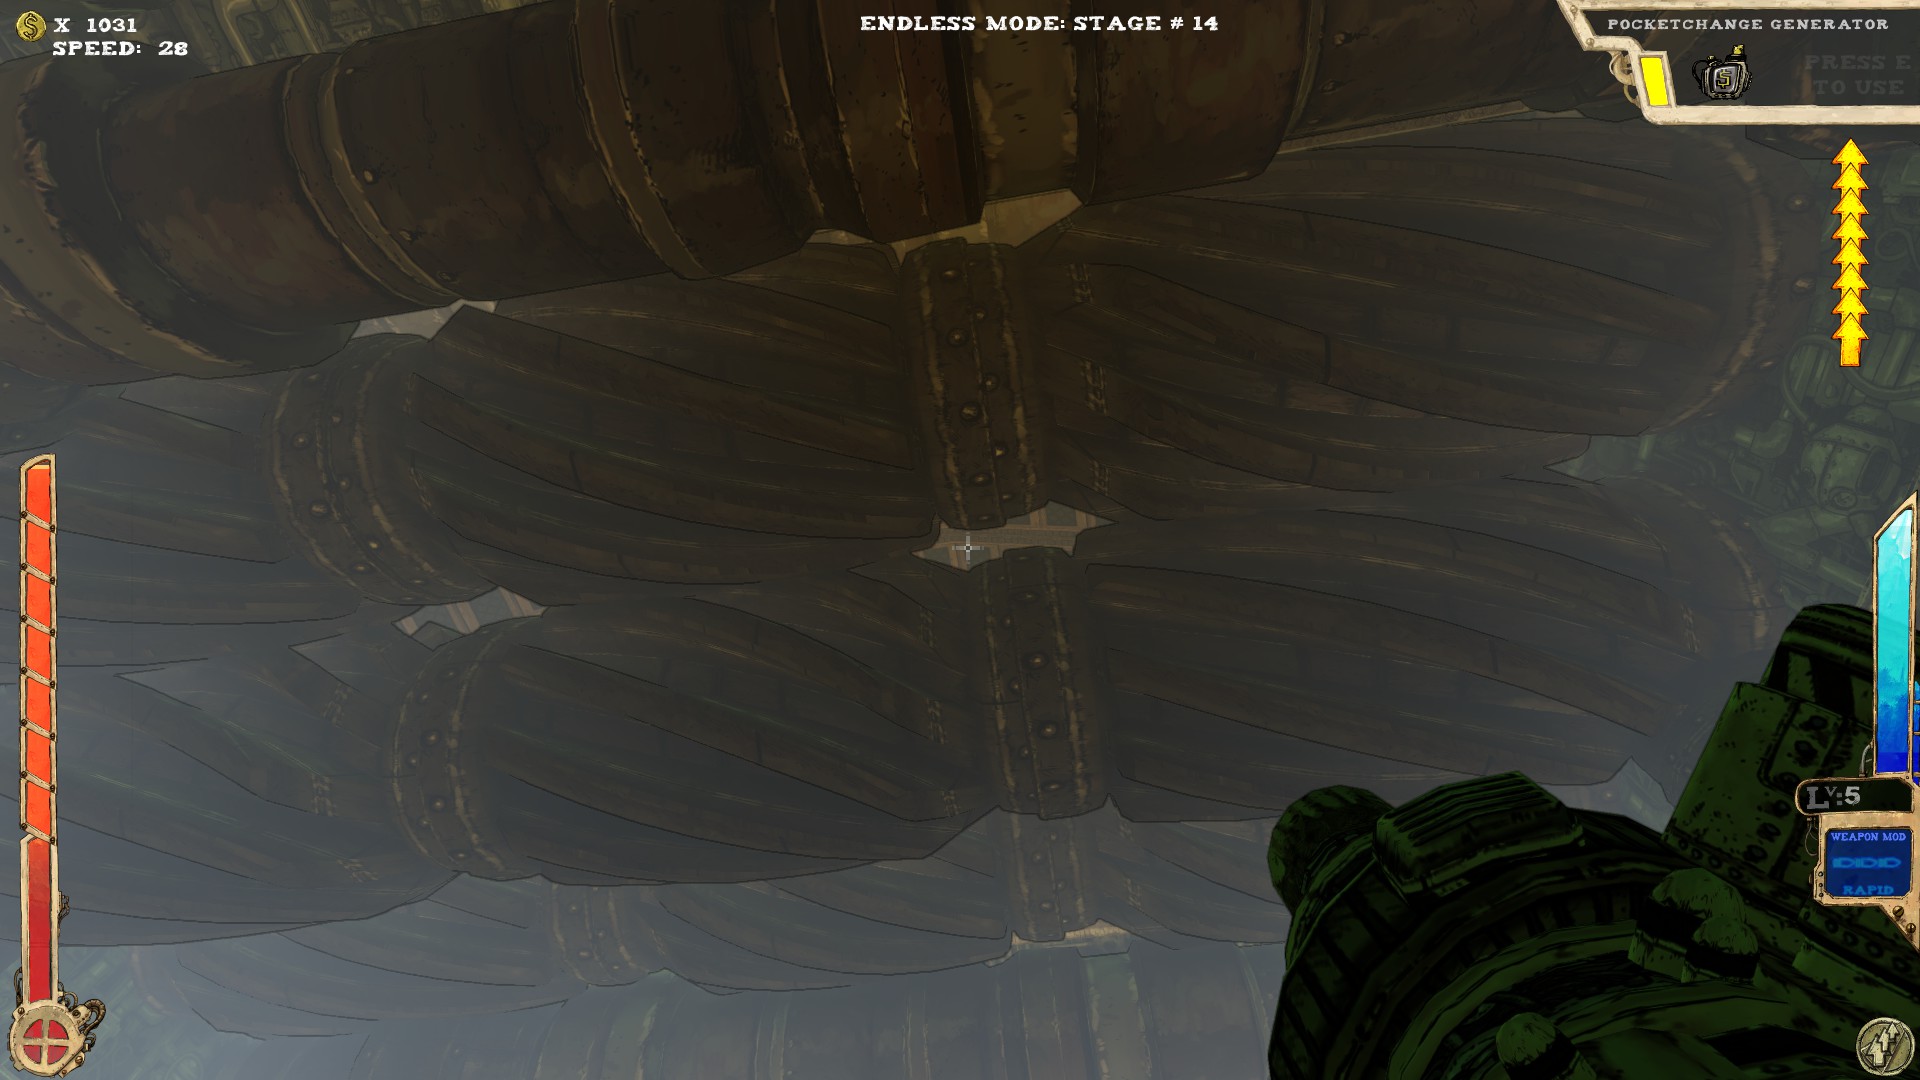 Squeeze through the grinders. Nothing you should normally do, but here it's necessary to access the area above.
----
 At least two secrets (thanks to Ginopinoshow again ;) )
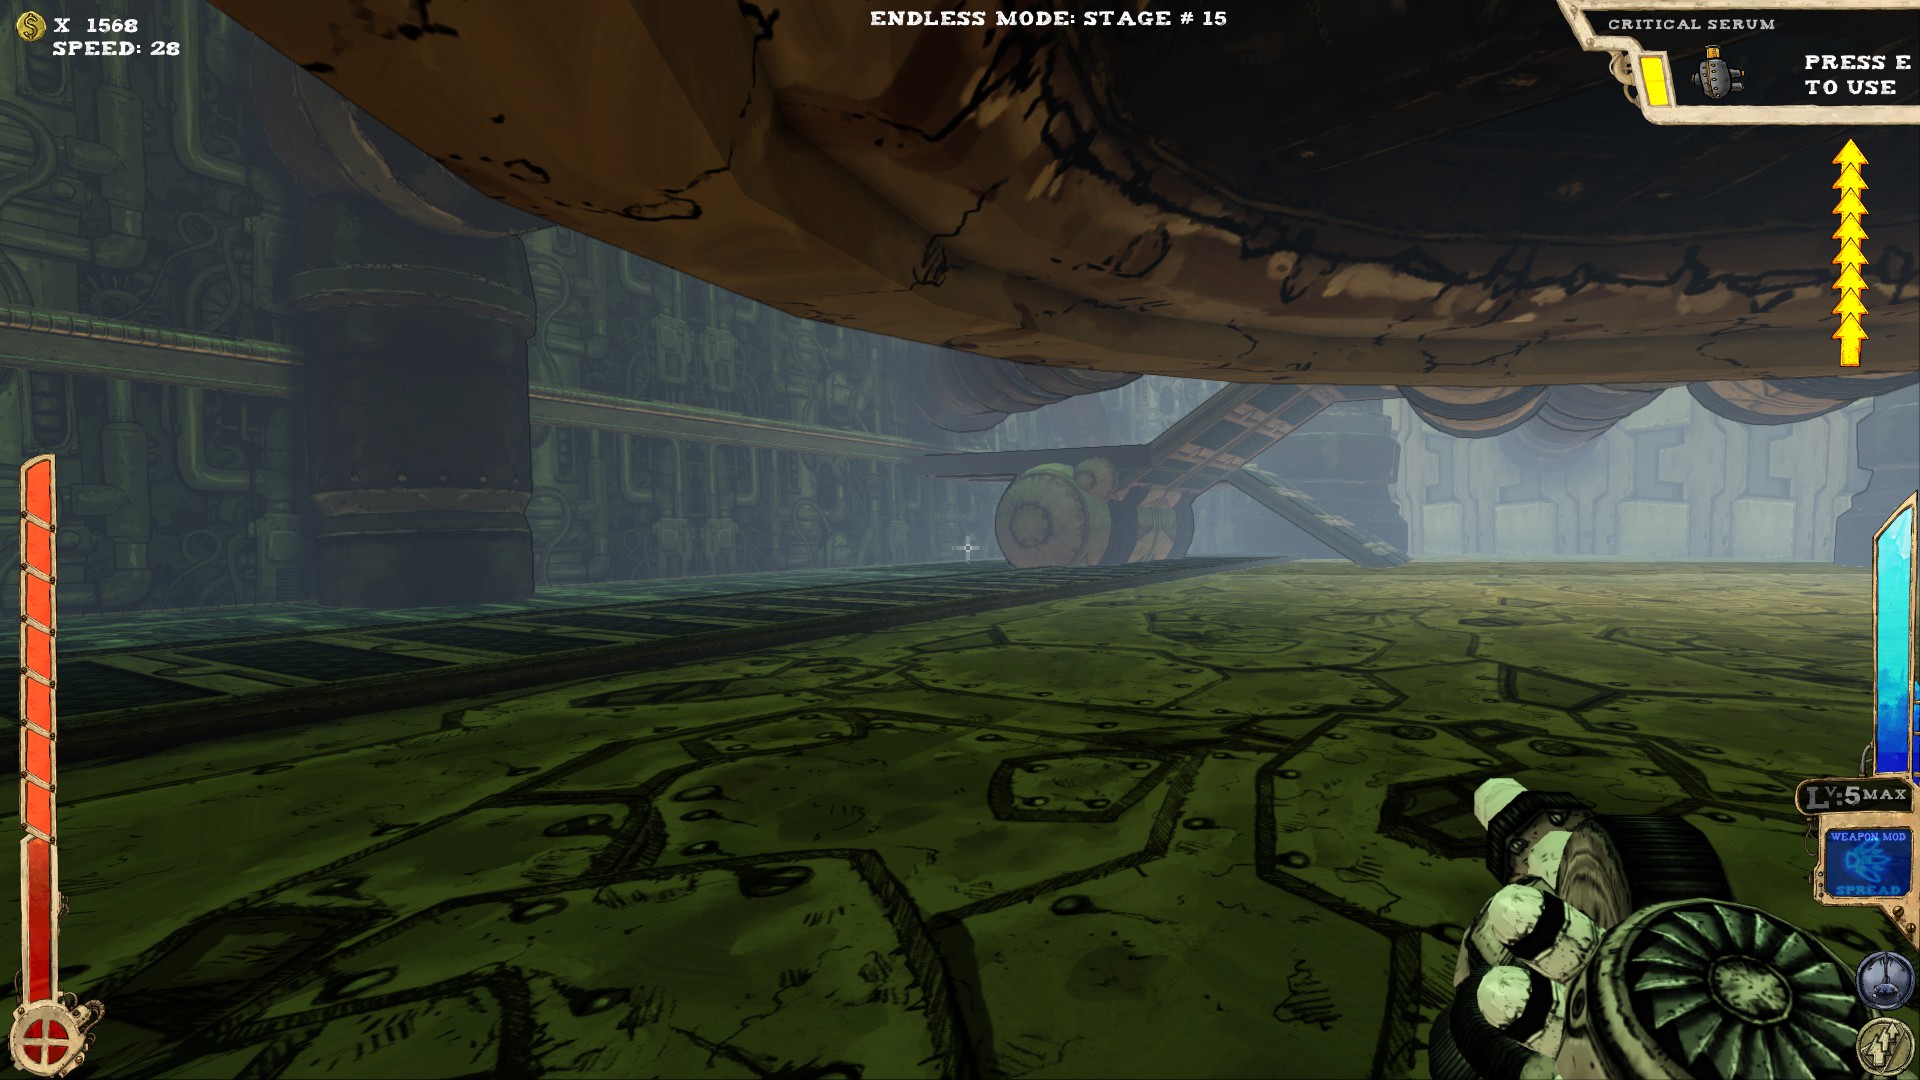 Bottom part, right where I'm pointing to.
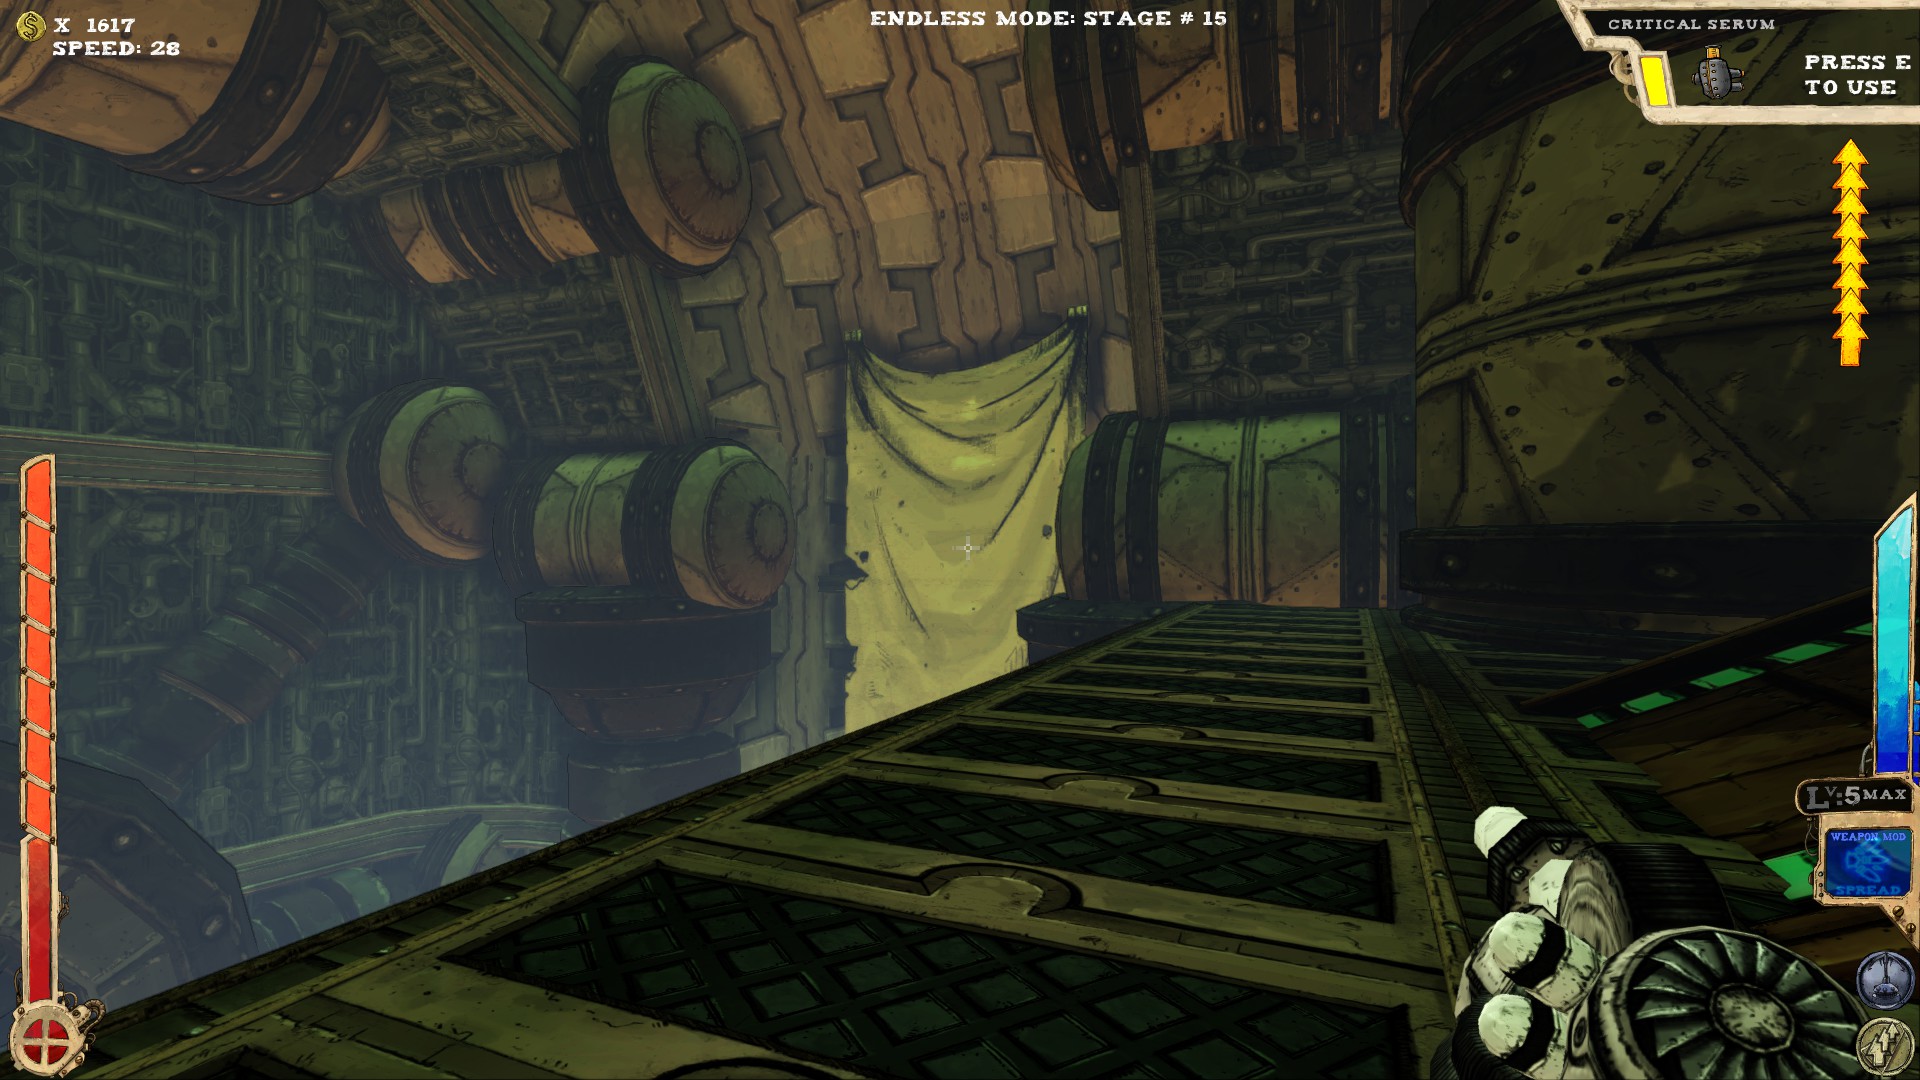 Behind the banner is a secret. The exit is on the right hand side in this picture.
----
 Four secrets! FOUR!
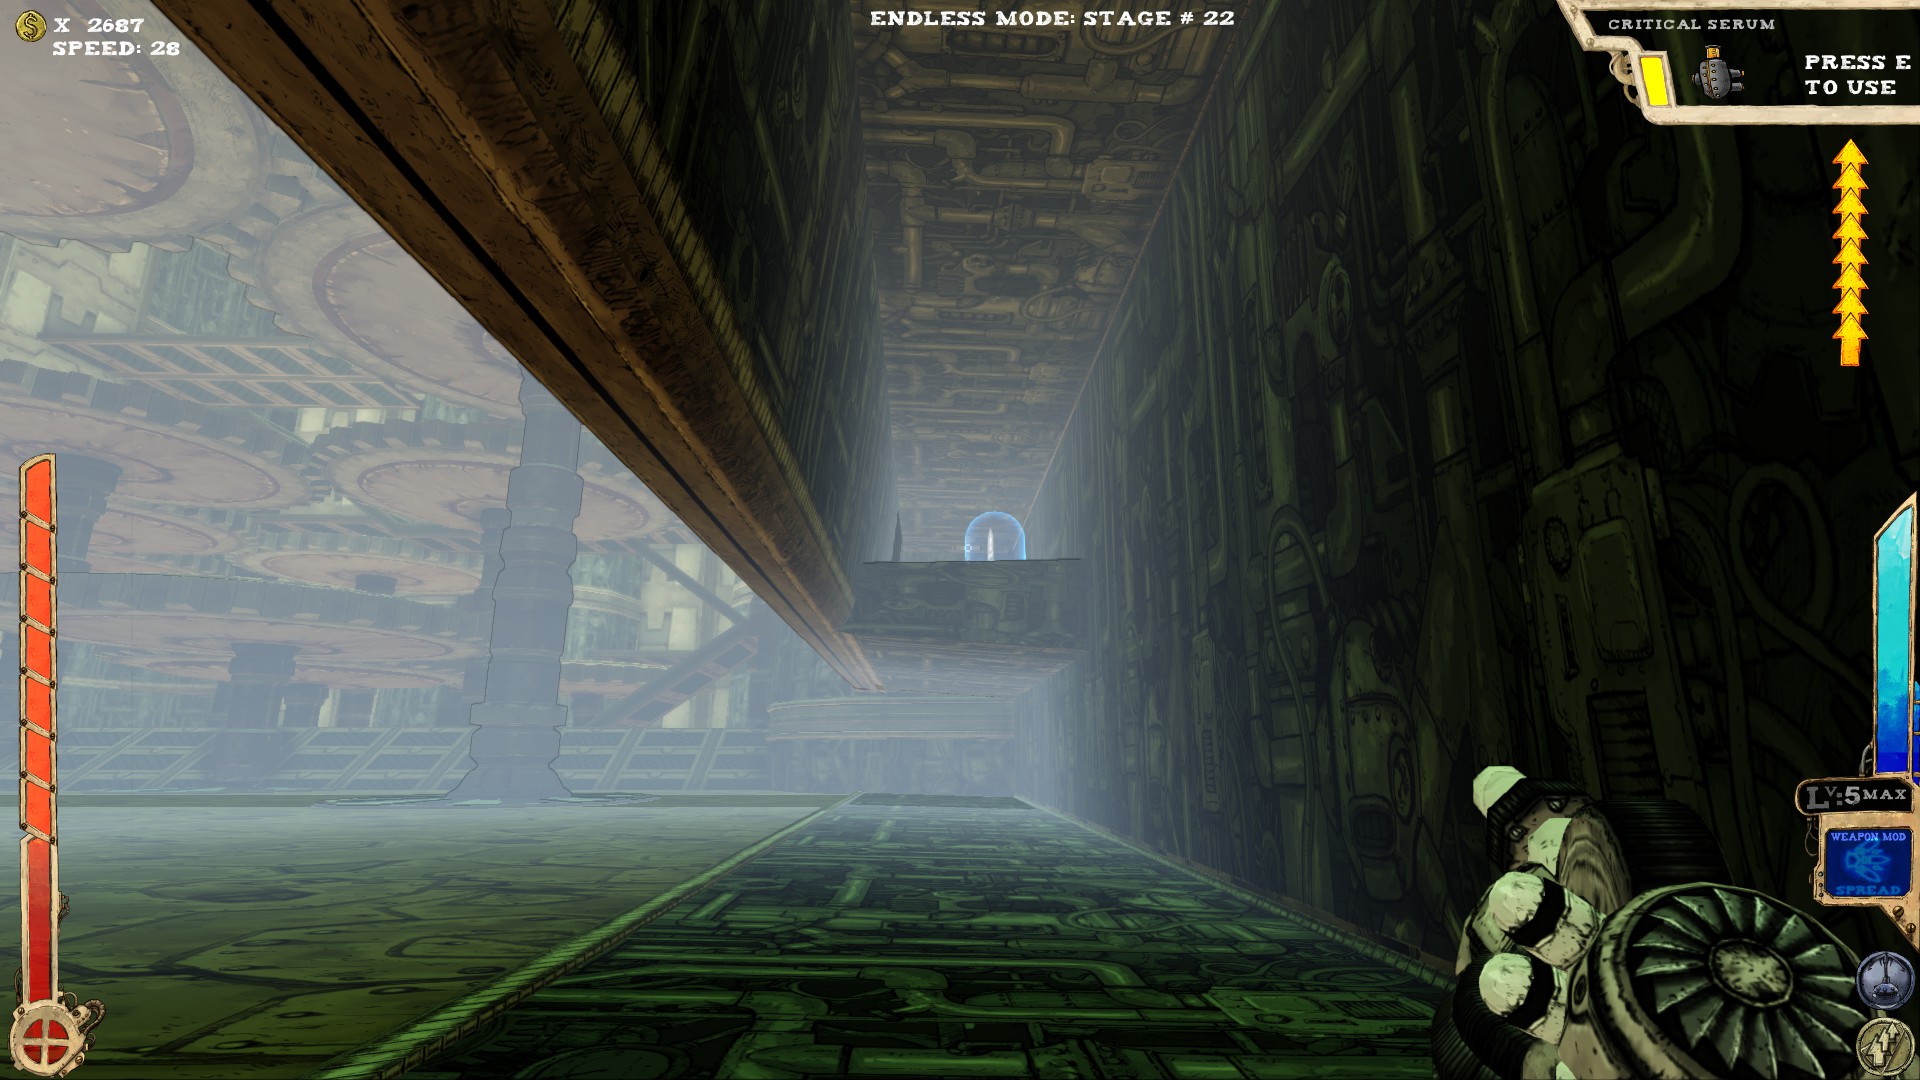 Bottom part of the room, right side...I think.
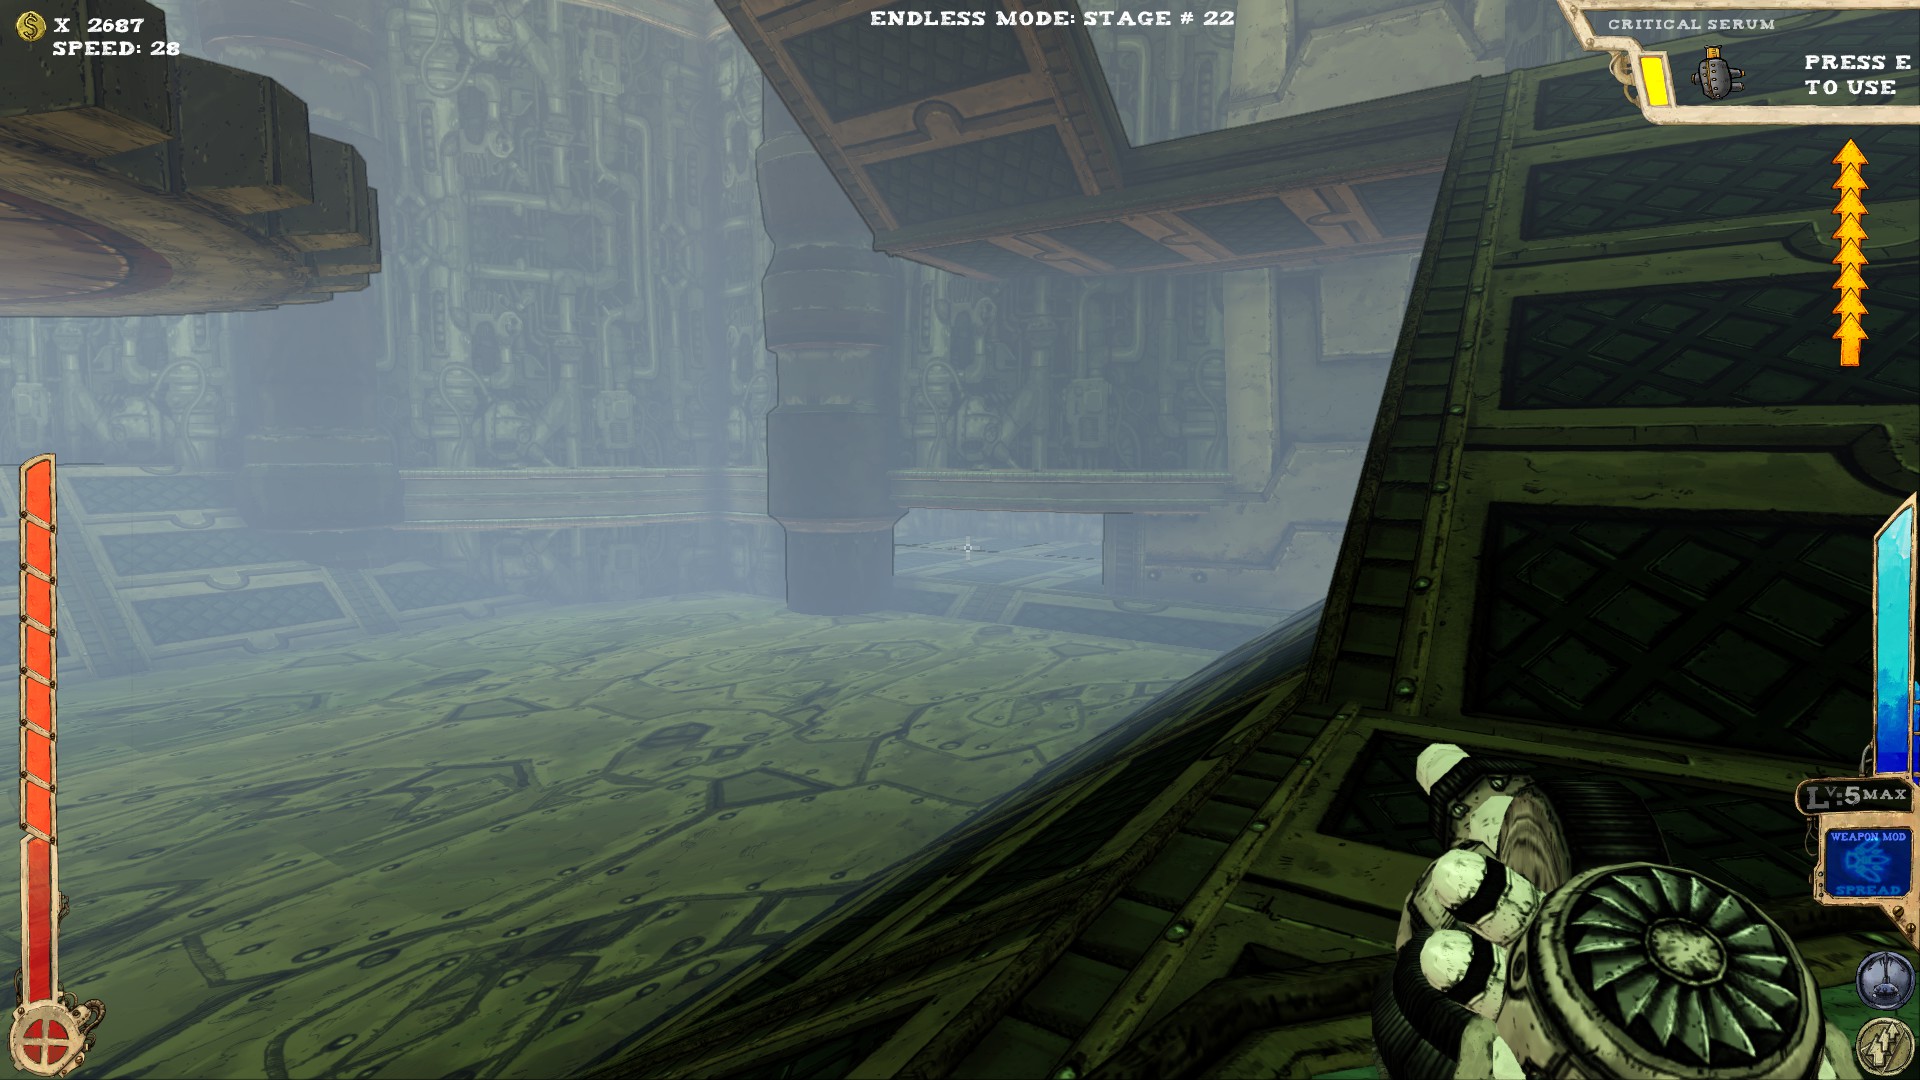 From the secret above just walk straight to get to the other one. This one's rather high up in that wall.
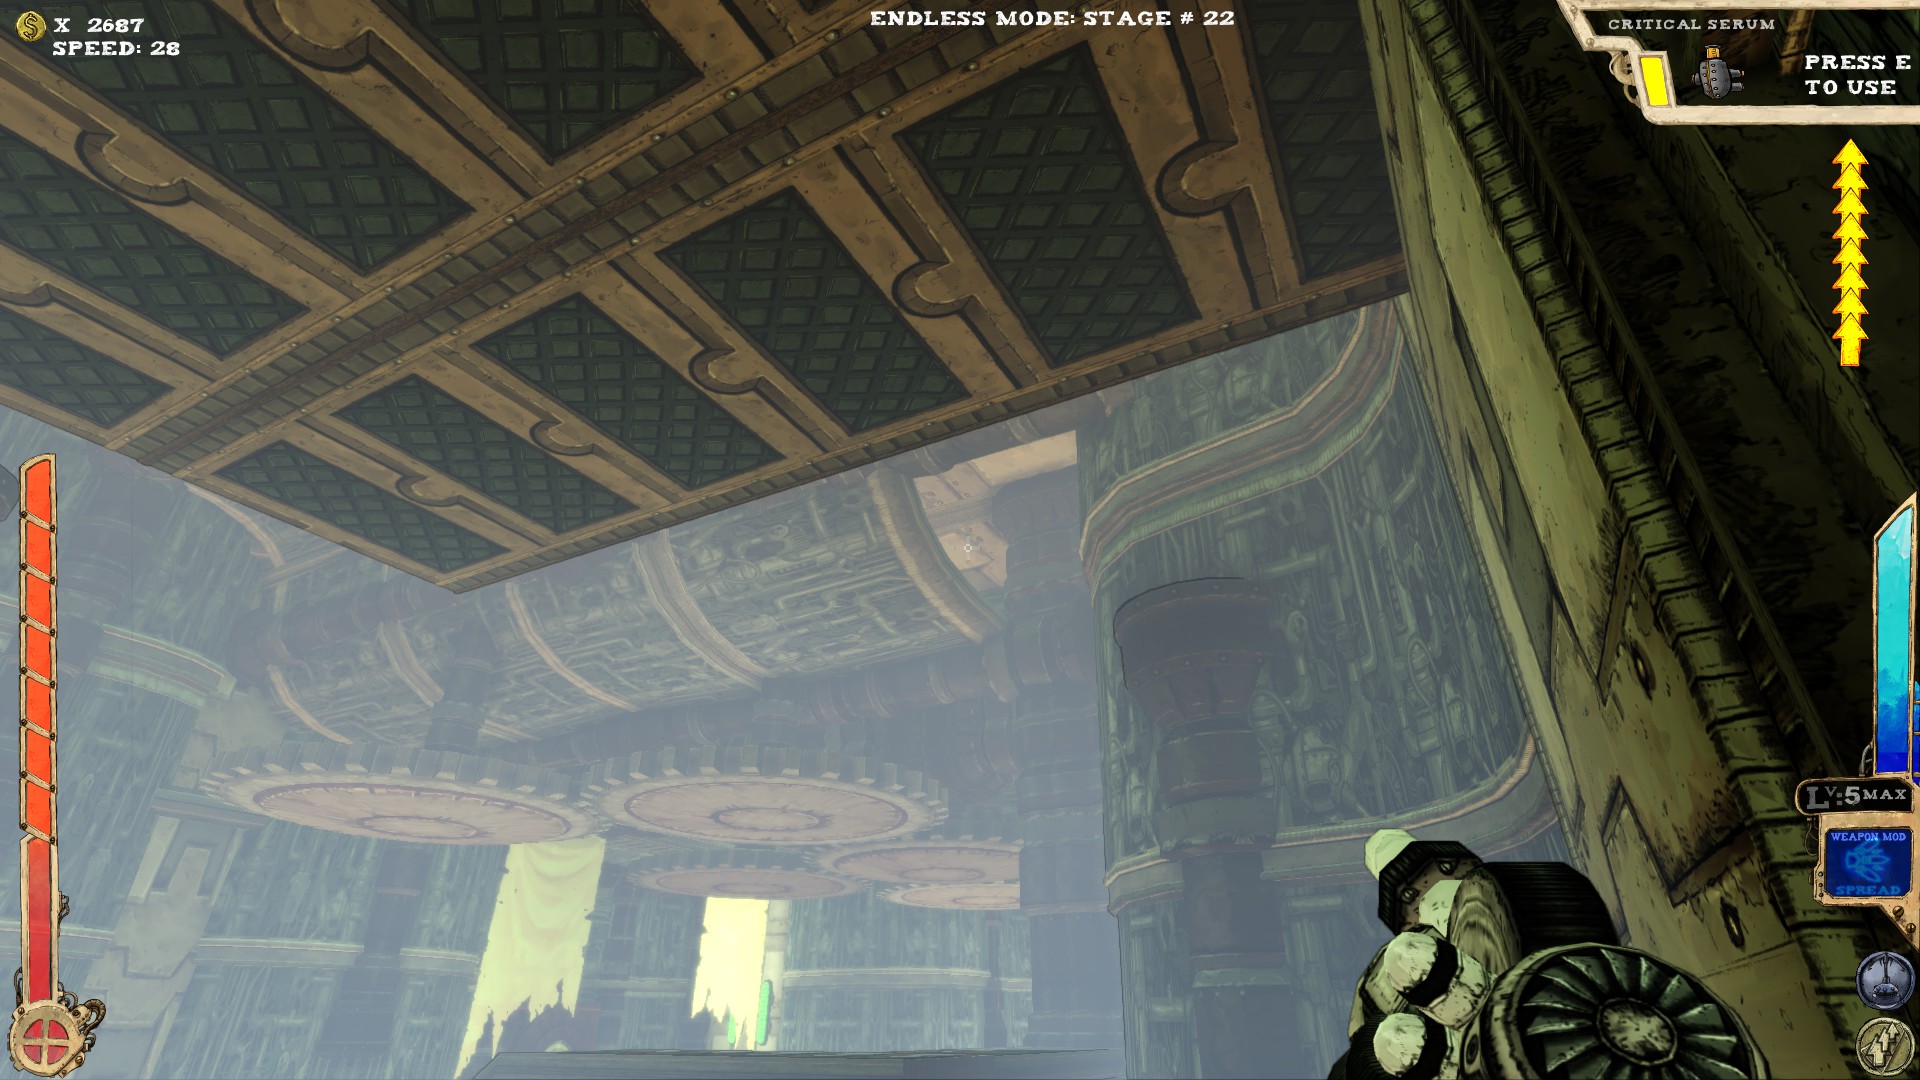 Right where I'm pointing to, inside that half-pipe on the ceiling.
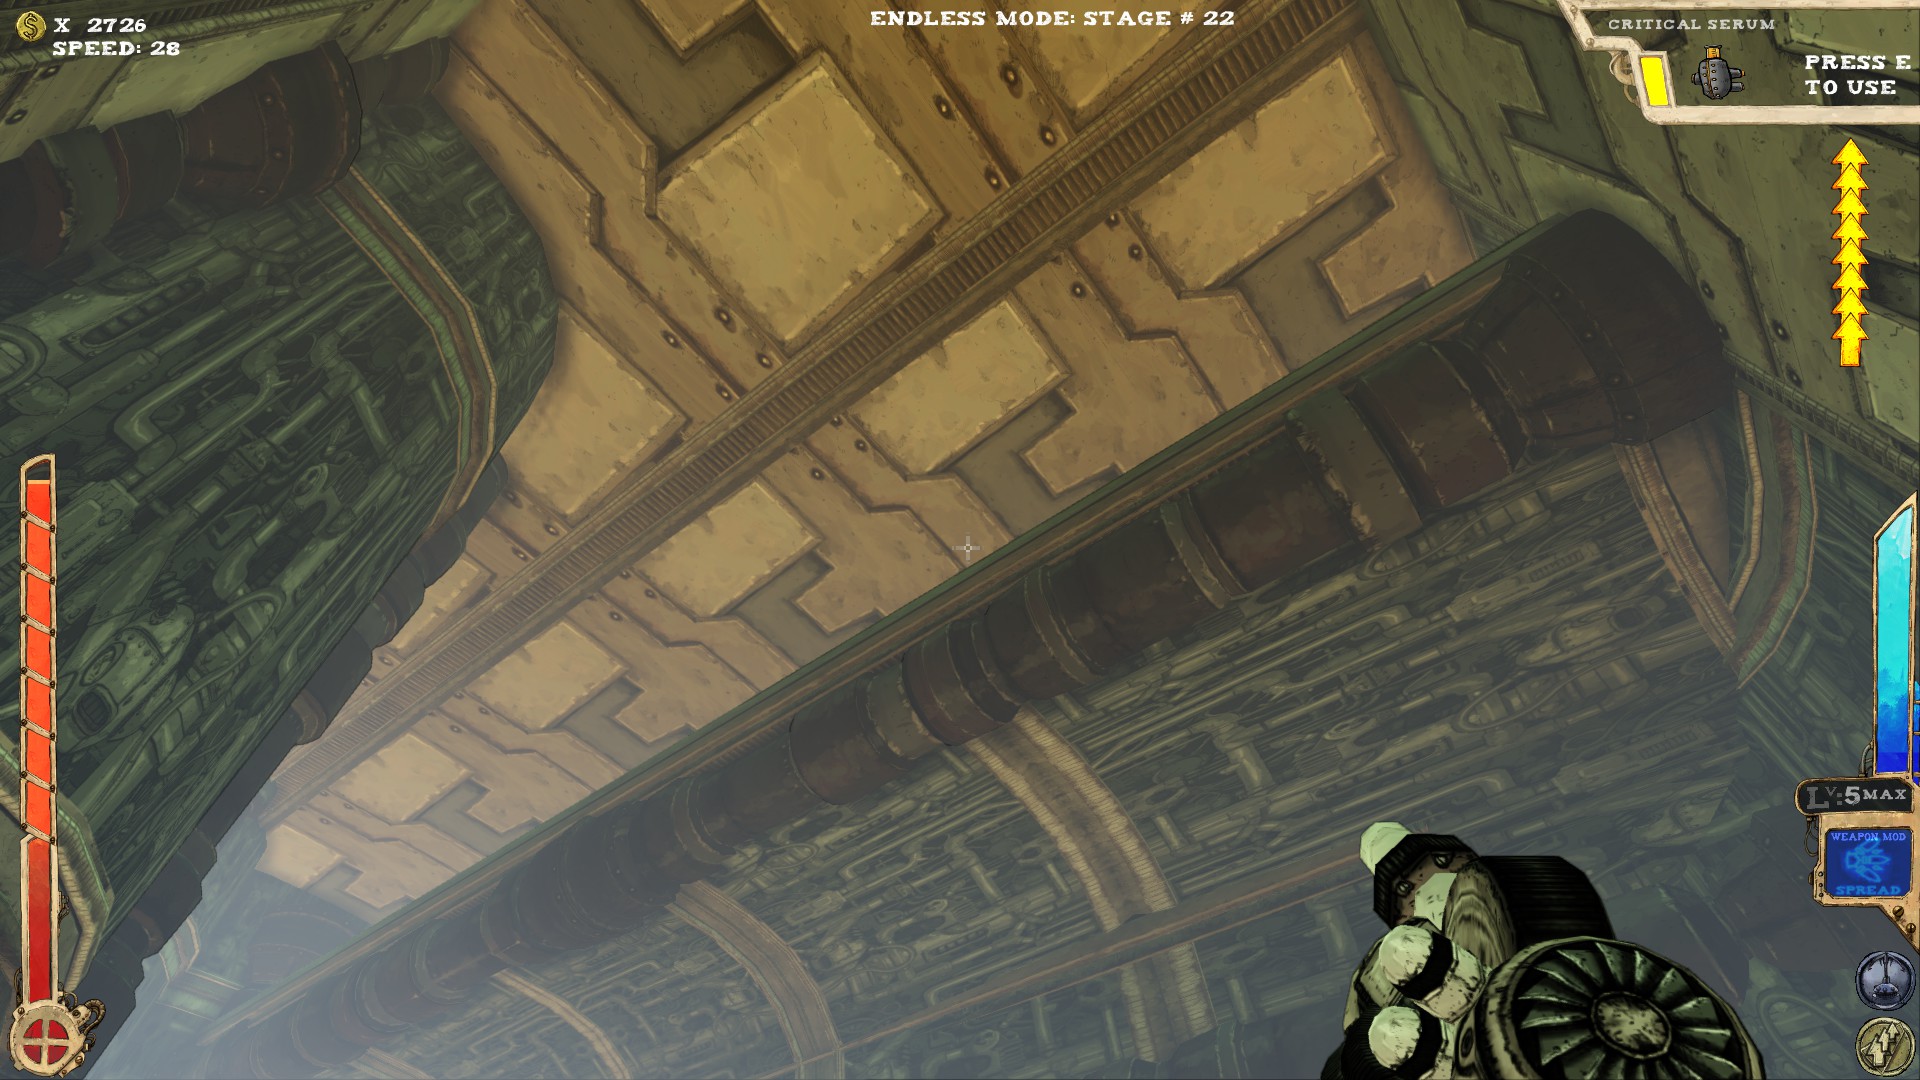 This one's above the previous secret.
----
 Nothing to see here. I think.
----
 At least two secrets.
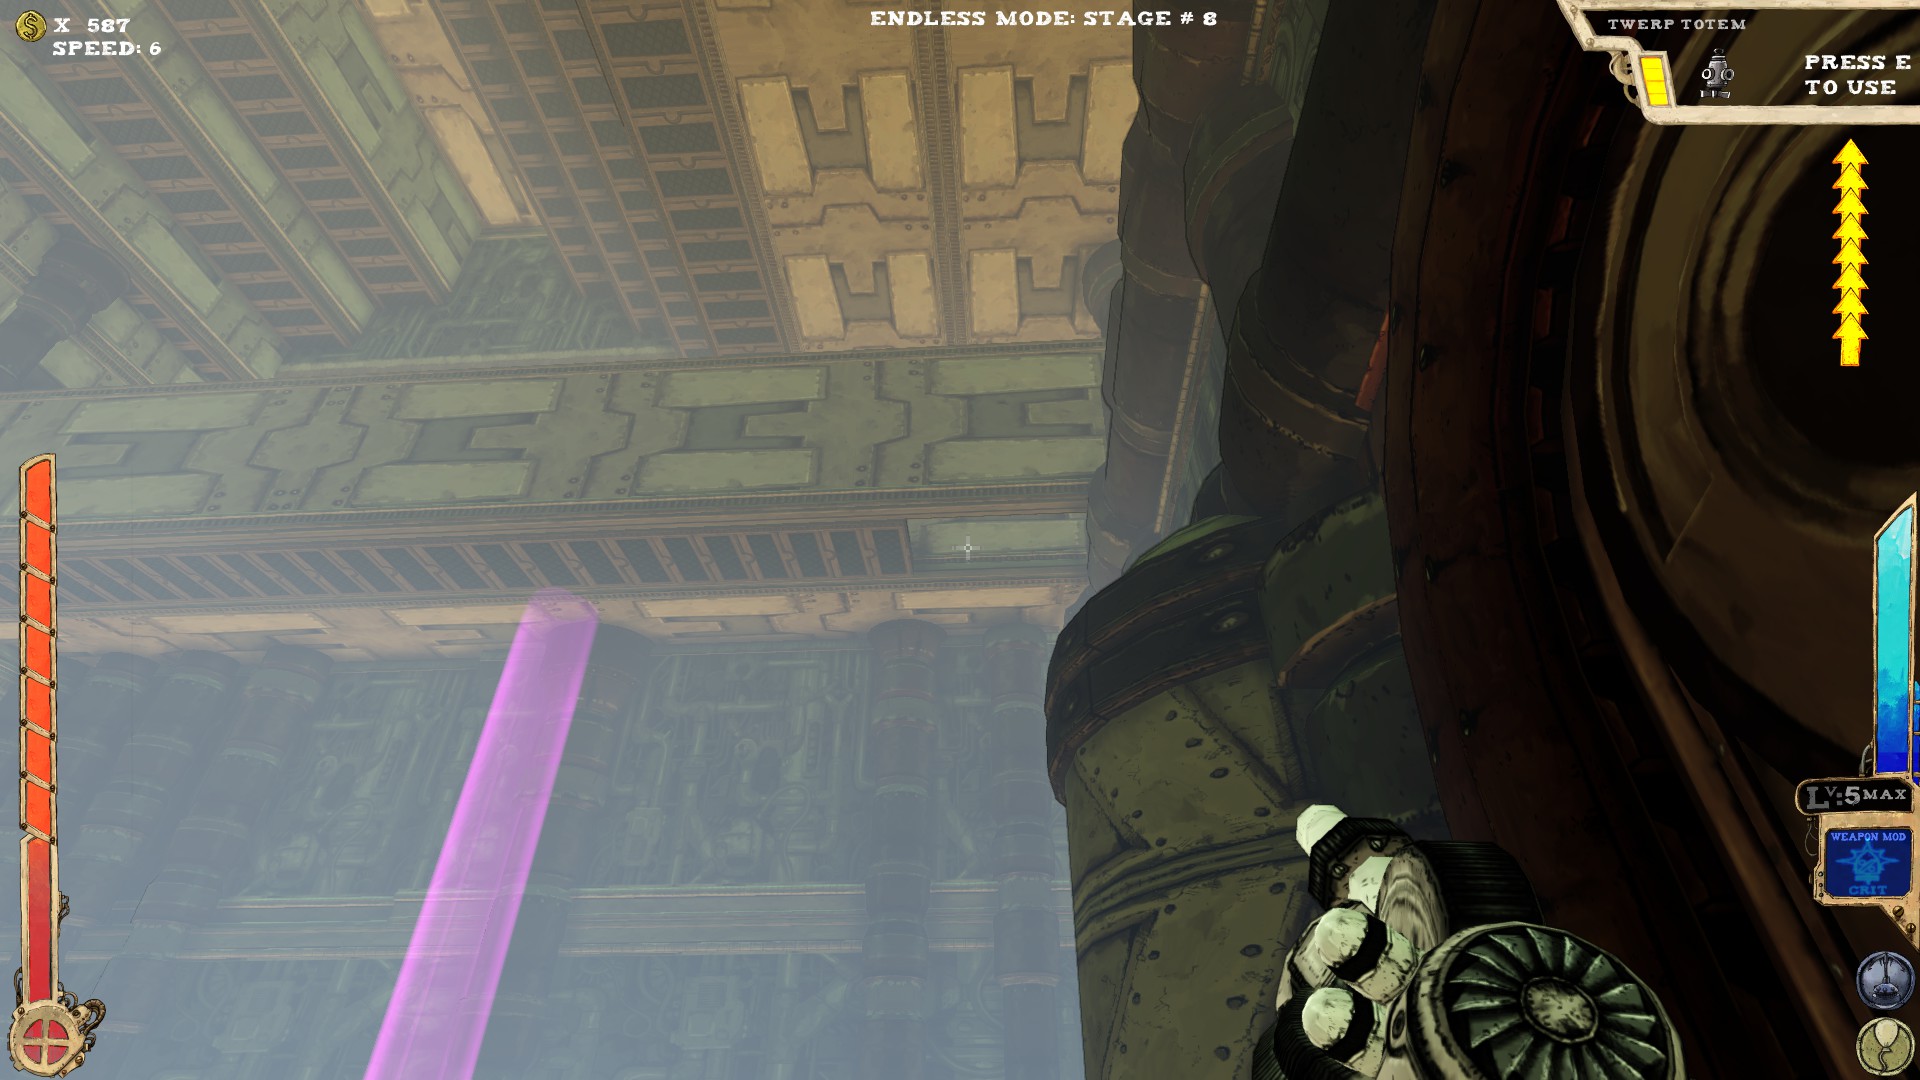 The first one is on the right from the teleporter beam.
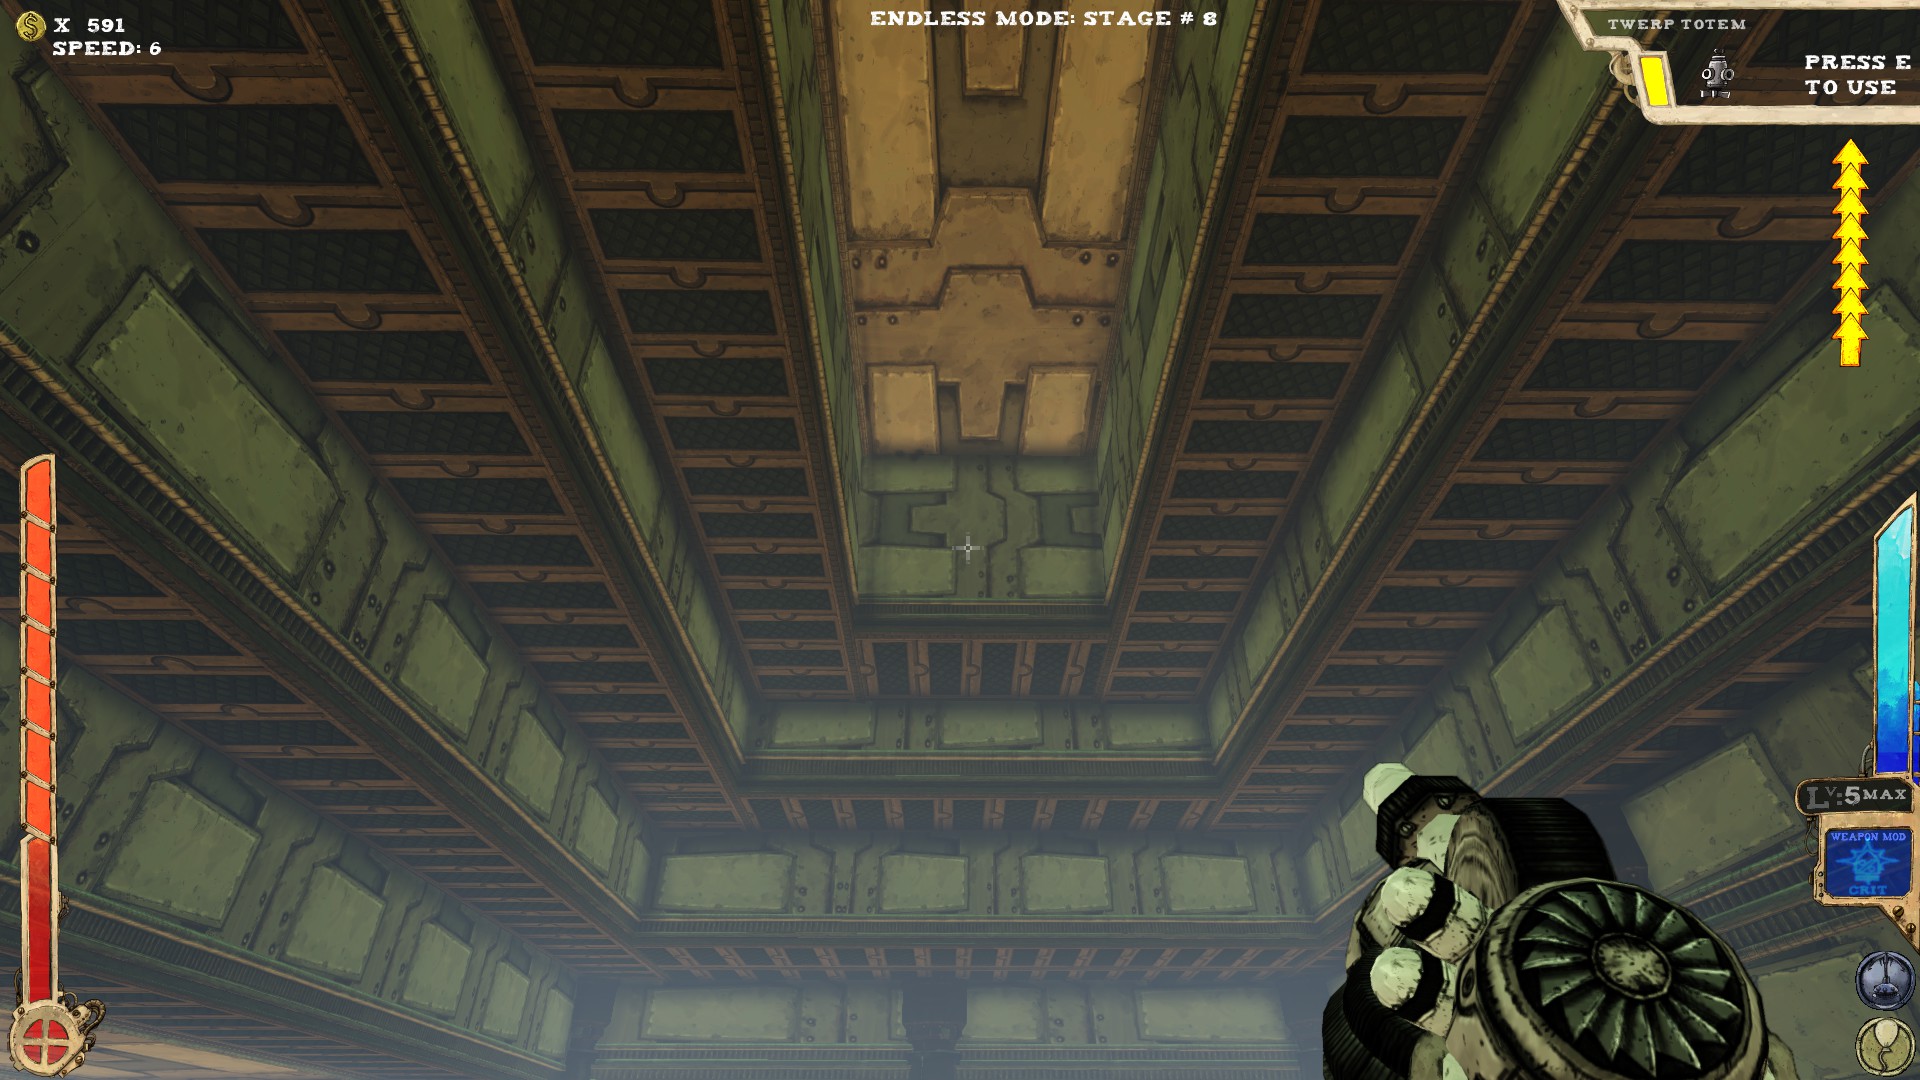 Top of the room, behind a fake wall.
And that's the Gearworks! Next up are the Warehouse and the Battlements.
The Warehouse
The Warehouse is dark and full of terrors...
It's also my least favorite level.
 At least two secrets.
 It's located on the left side of the room. The platform I'm pointing at leads to the secret.
You'll need some extra jumps or a proper item to get there.
 From the entrance go left, until you reach the catwalk by the abyss. Turn to the floor (the part you're on when entering the room). Somewhere down there is a small recess. Hard to target it, when you can't see anything, so good luck.
----
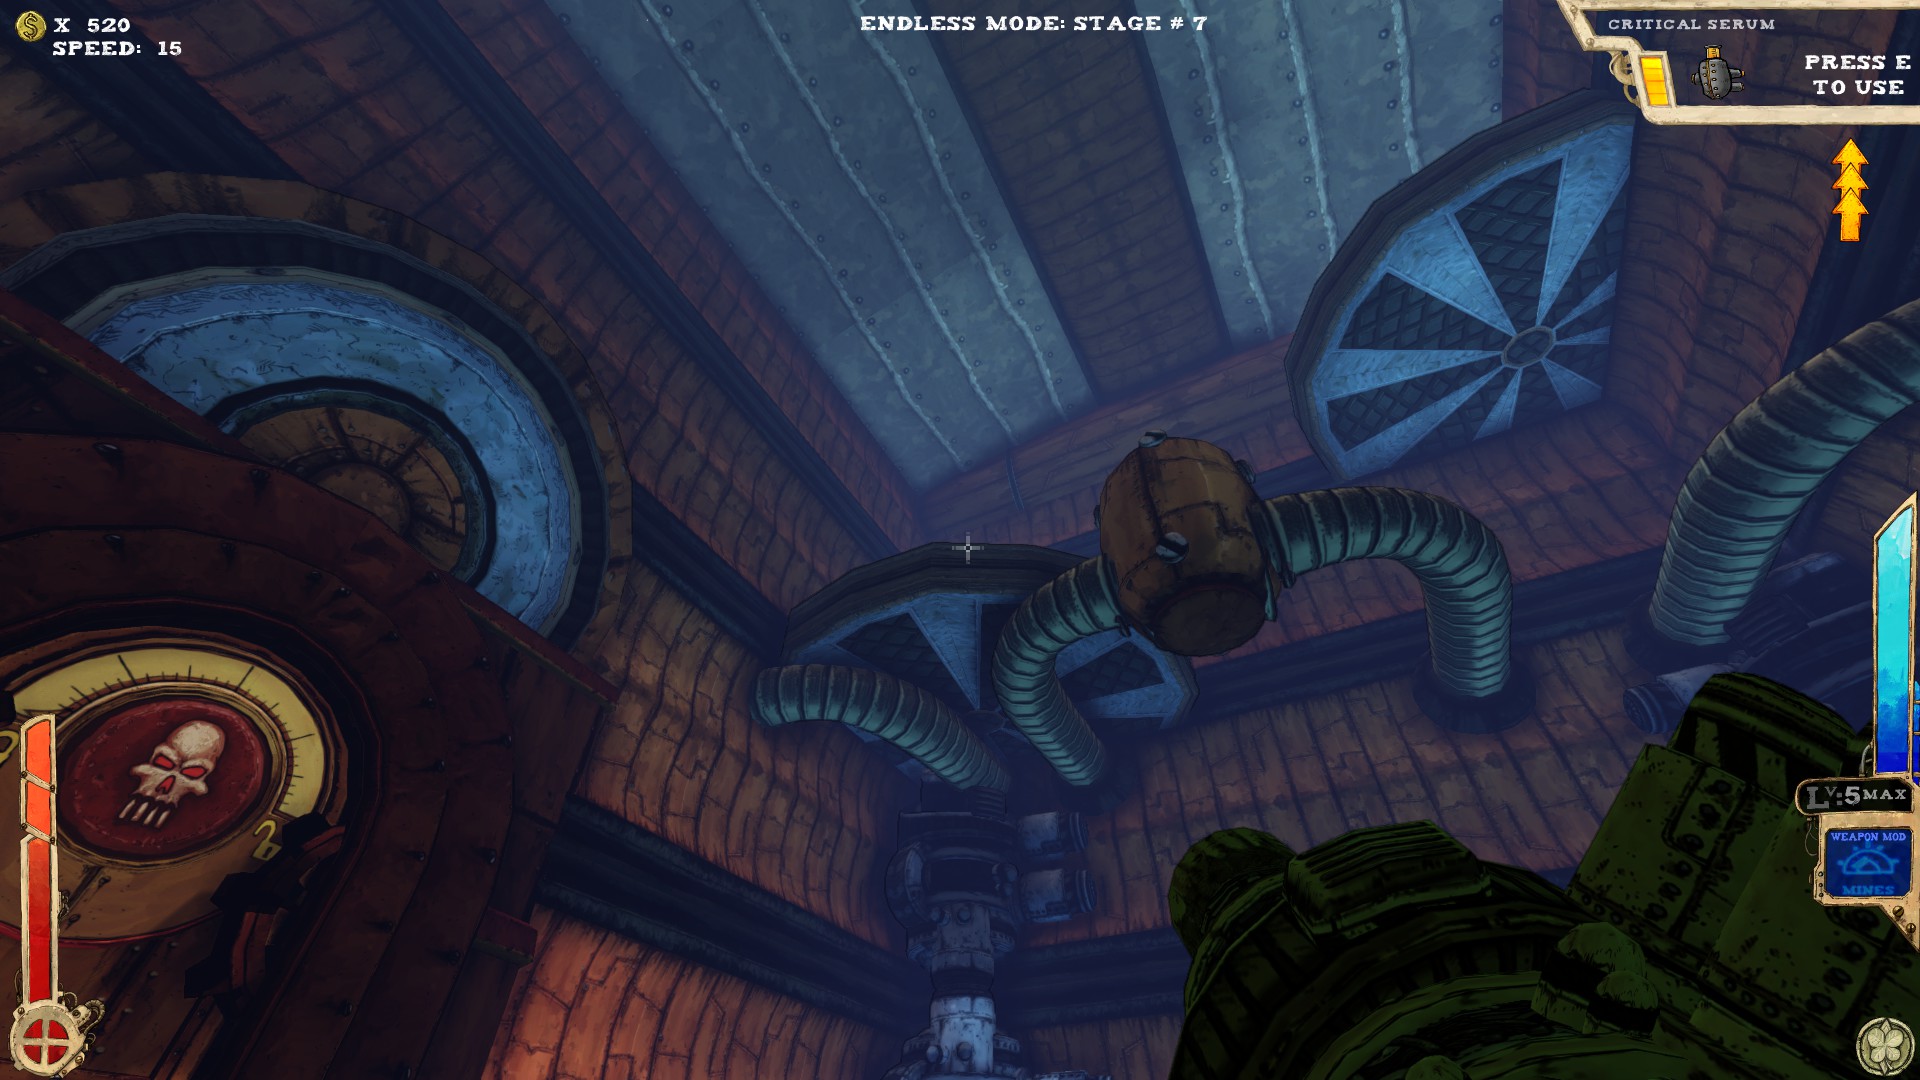
 Three secrets.
 The first one is right from the entrance. Either jump over there or walk over the ledge to get to a small chamber housing the secret.
 That one is located above the first one, reachable with enough jumps or a proper item.
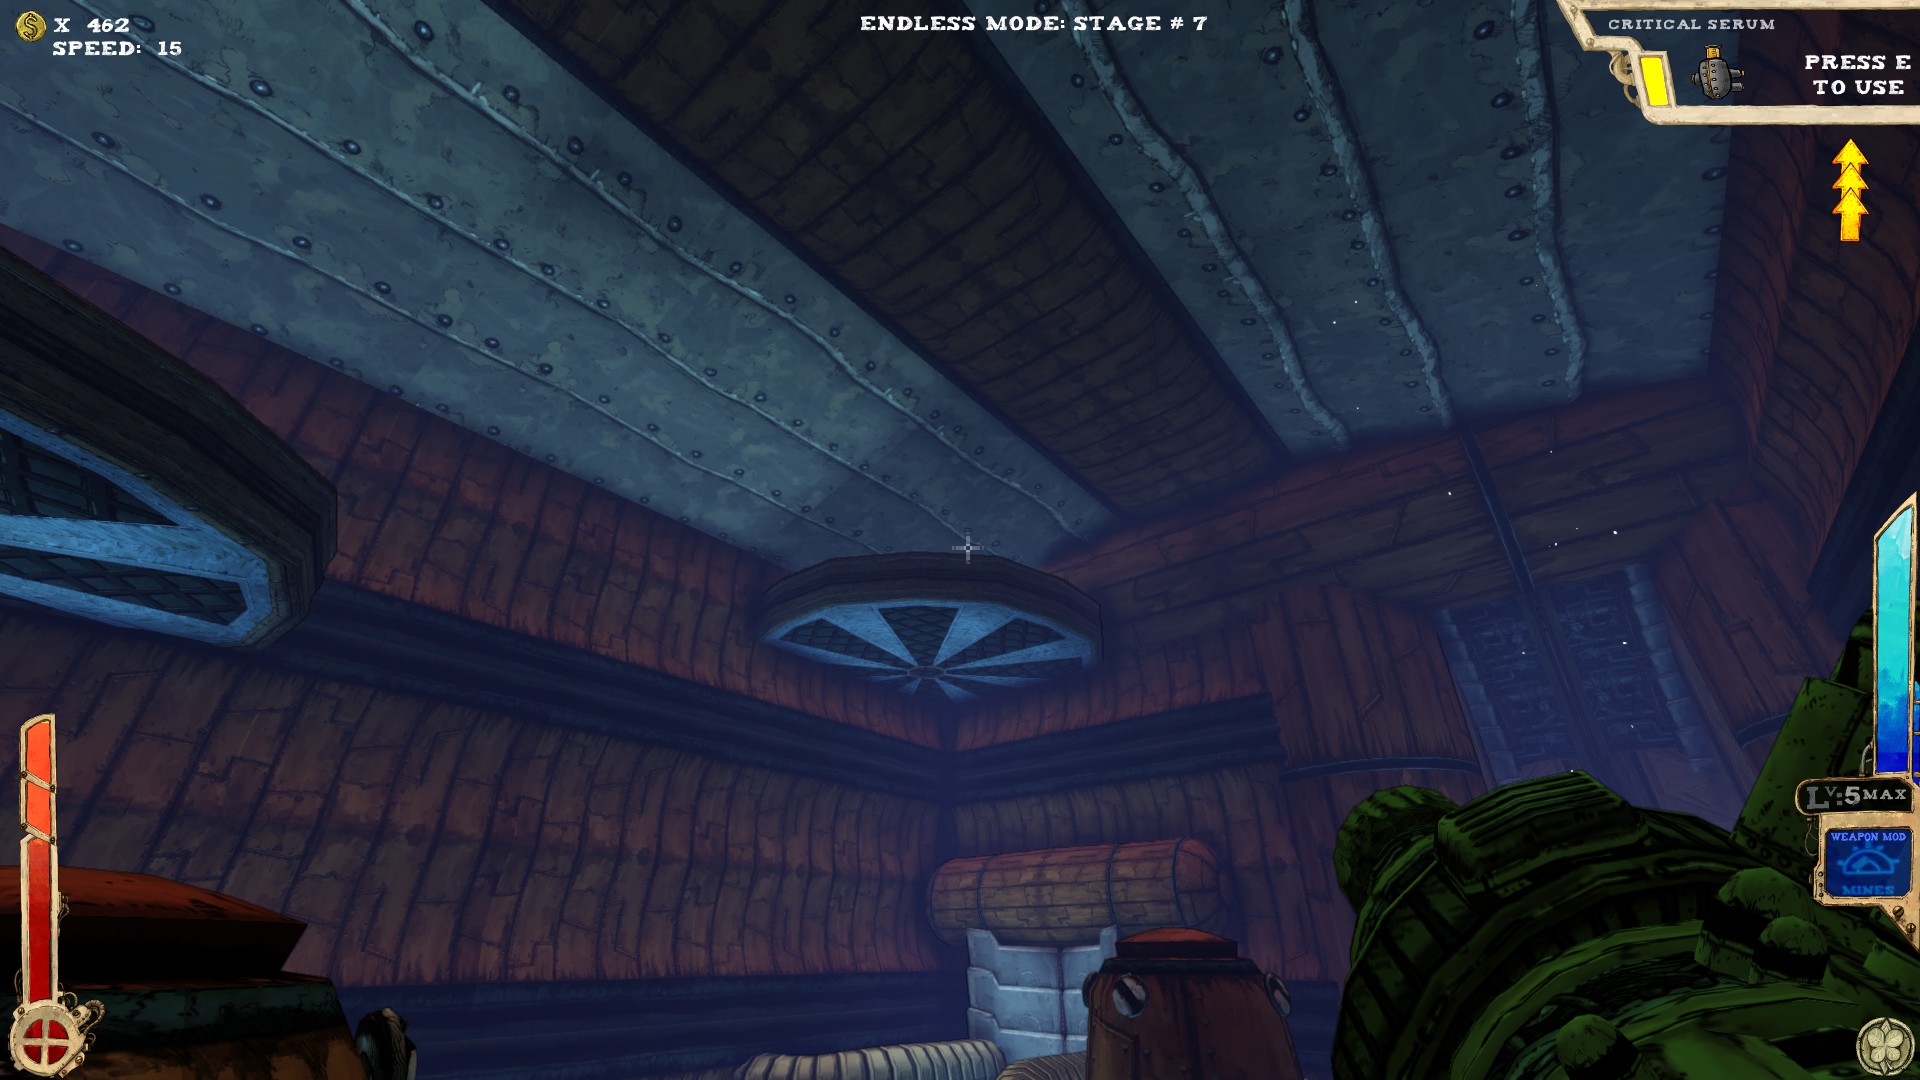
 This one you'll find under the ramp. Just drop down from the upper part and jump into the opening, then follow the way down.
You need at least one extra jump or a proper item to get there. Depending on how many jumps you've got, you might want to use Tilt to get back.
----
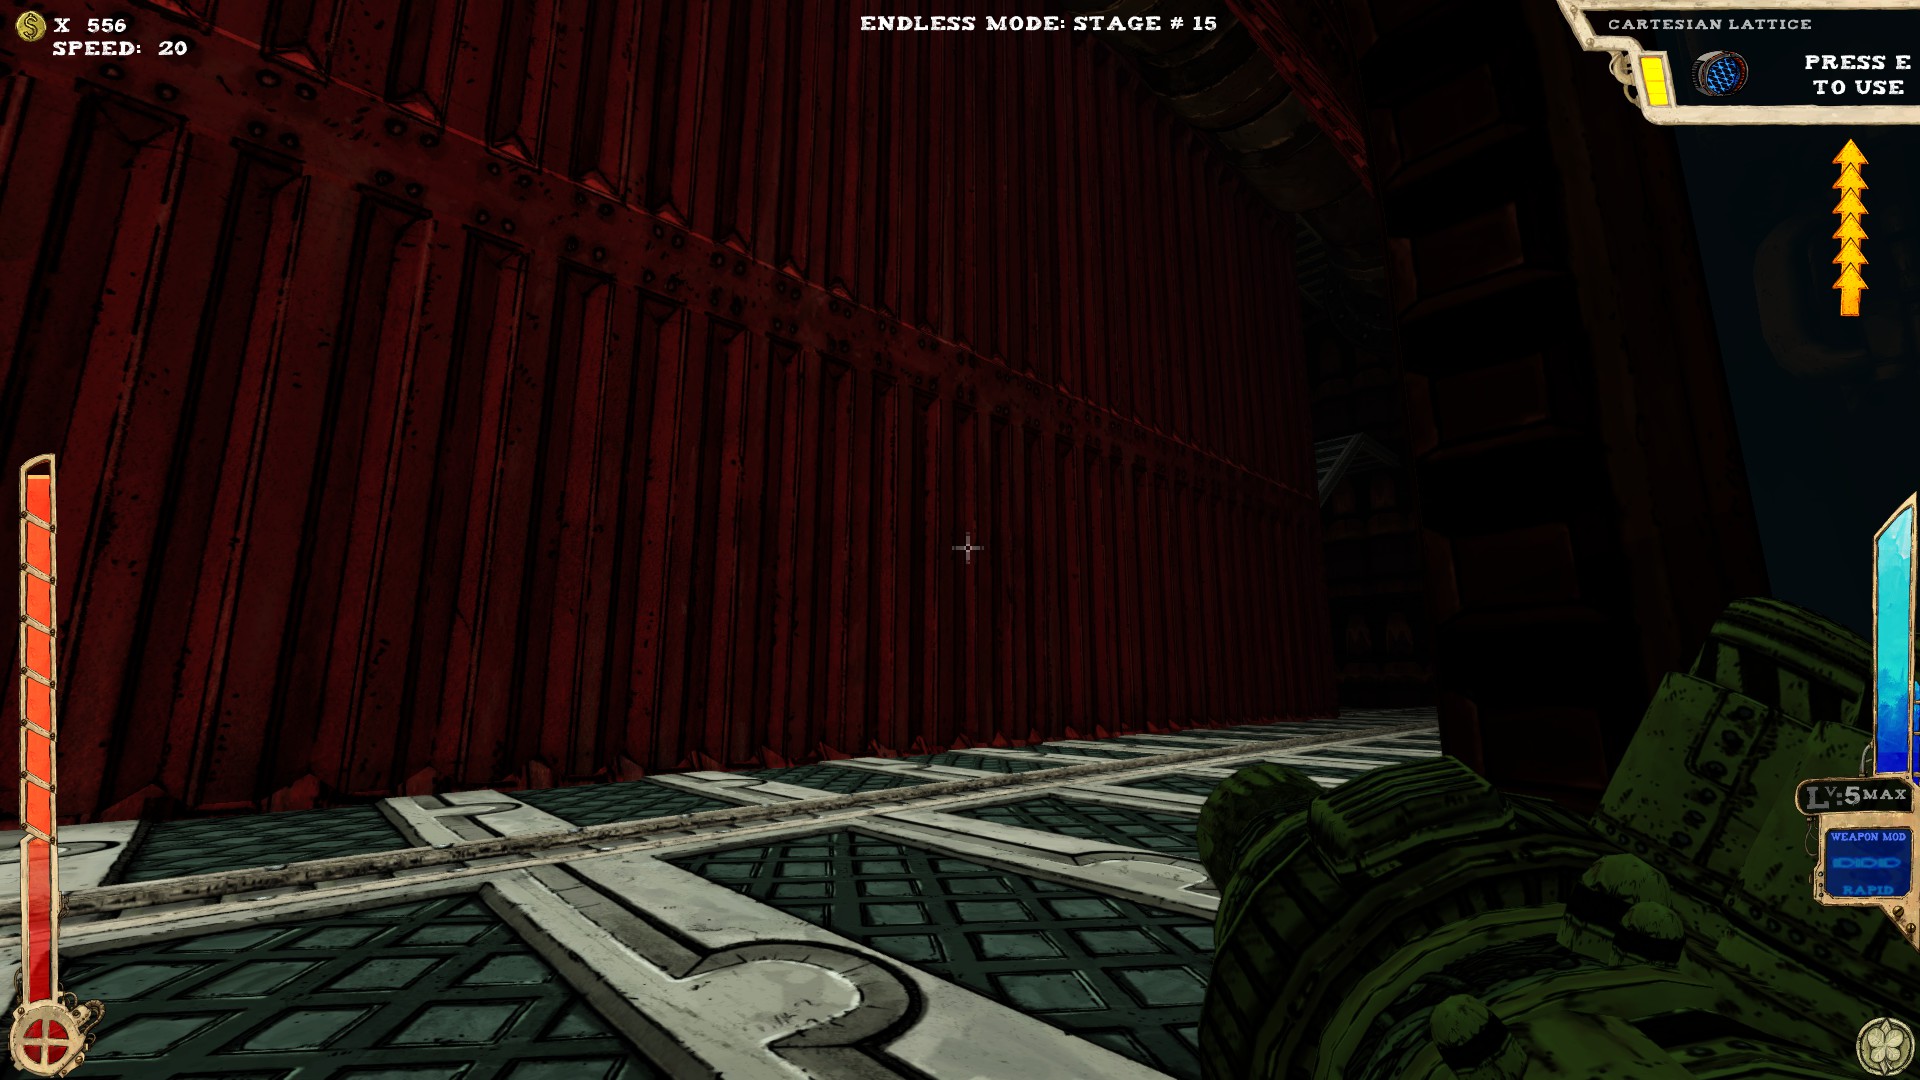
 Two secrets. Both located inside of large containers at the top of the room.
 The first container is around the middle of the room. It only has an opening on one side. Not quite sure right now on which...
Use jumps or proper item to get there.
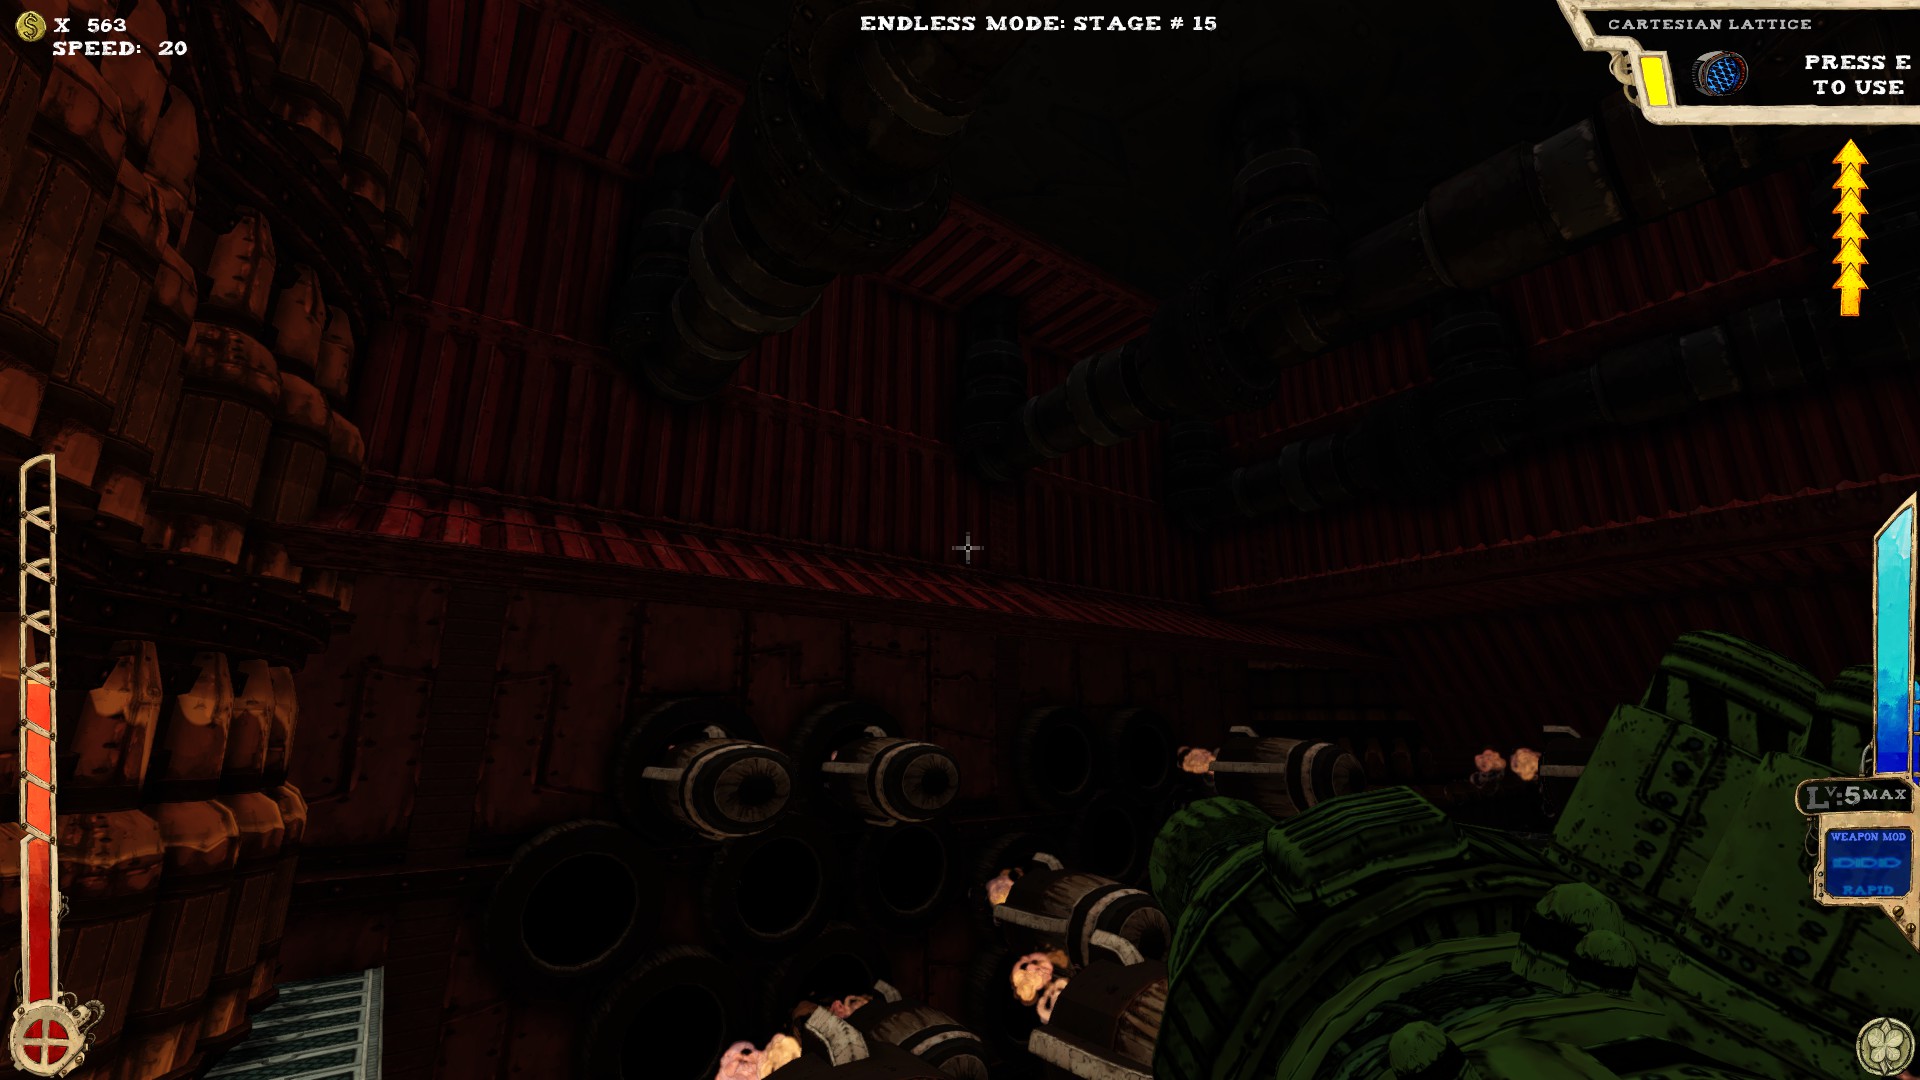
 That one is located near the end of the room. It also has only one opening, which is on the left side.
If you've managed to get to the first secret, you should get to that one, too.
----
 Two secrets.
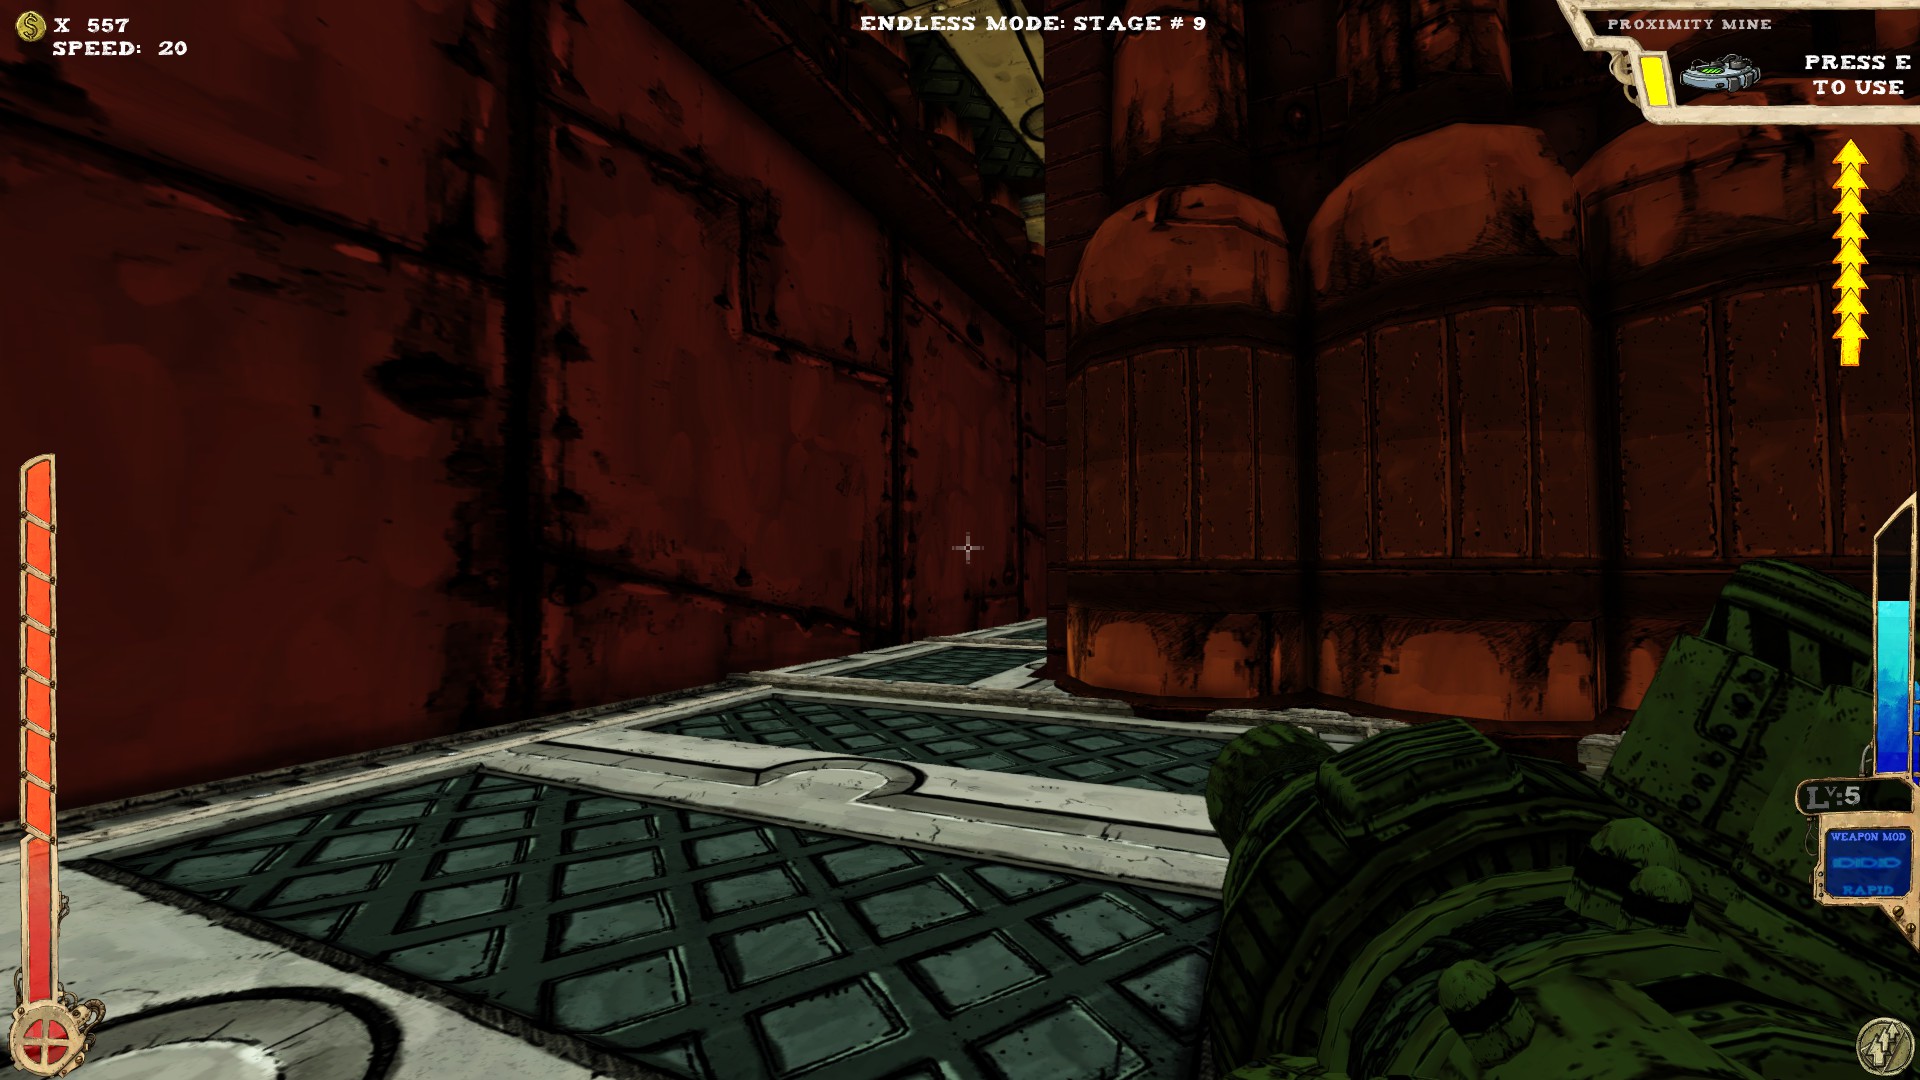
 This one is under the ramp you'll see shortly after entering the room. Easy to get to, but try not to fall down.
 It was either over the entrance or over the exit...
If you have enough jumps, it shouldn't be much of a hassle to look on both sides. It's inside the container. The opening is where I'm pointing at.
----
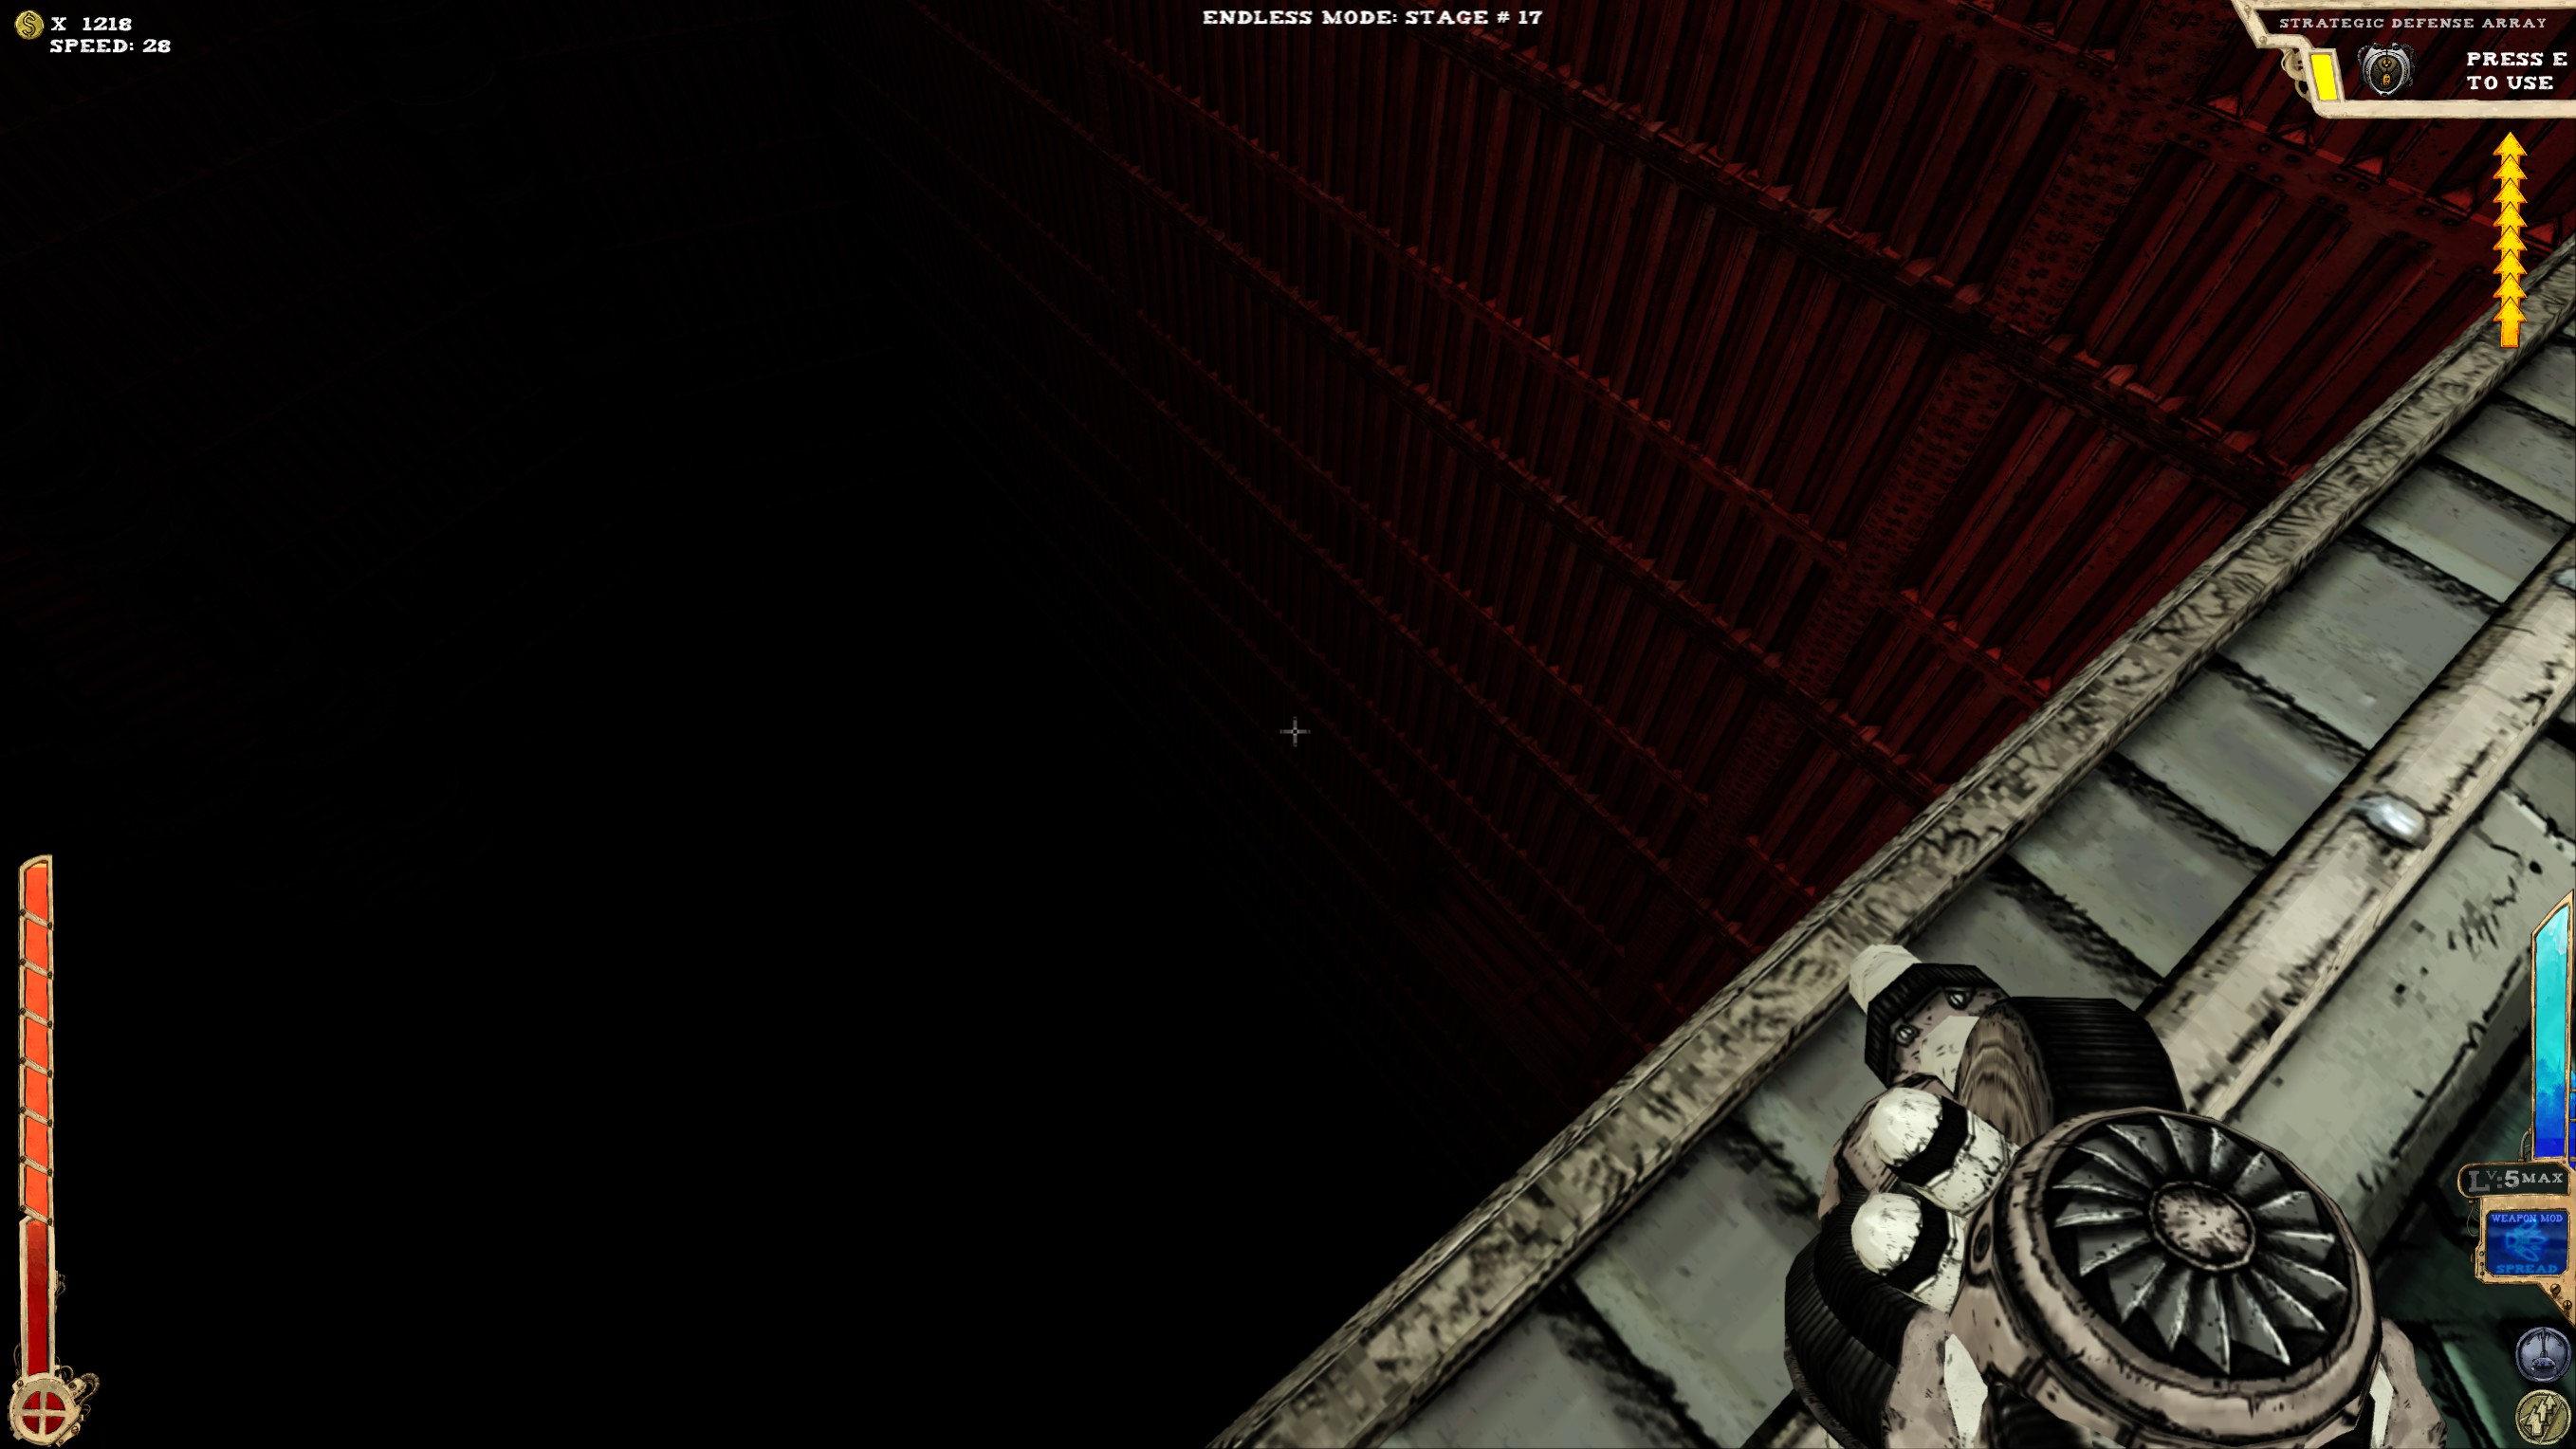
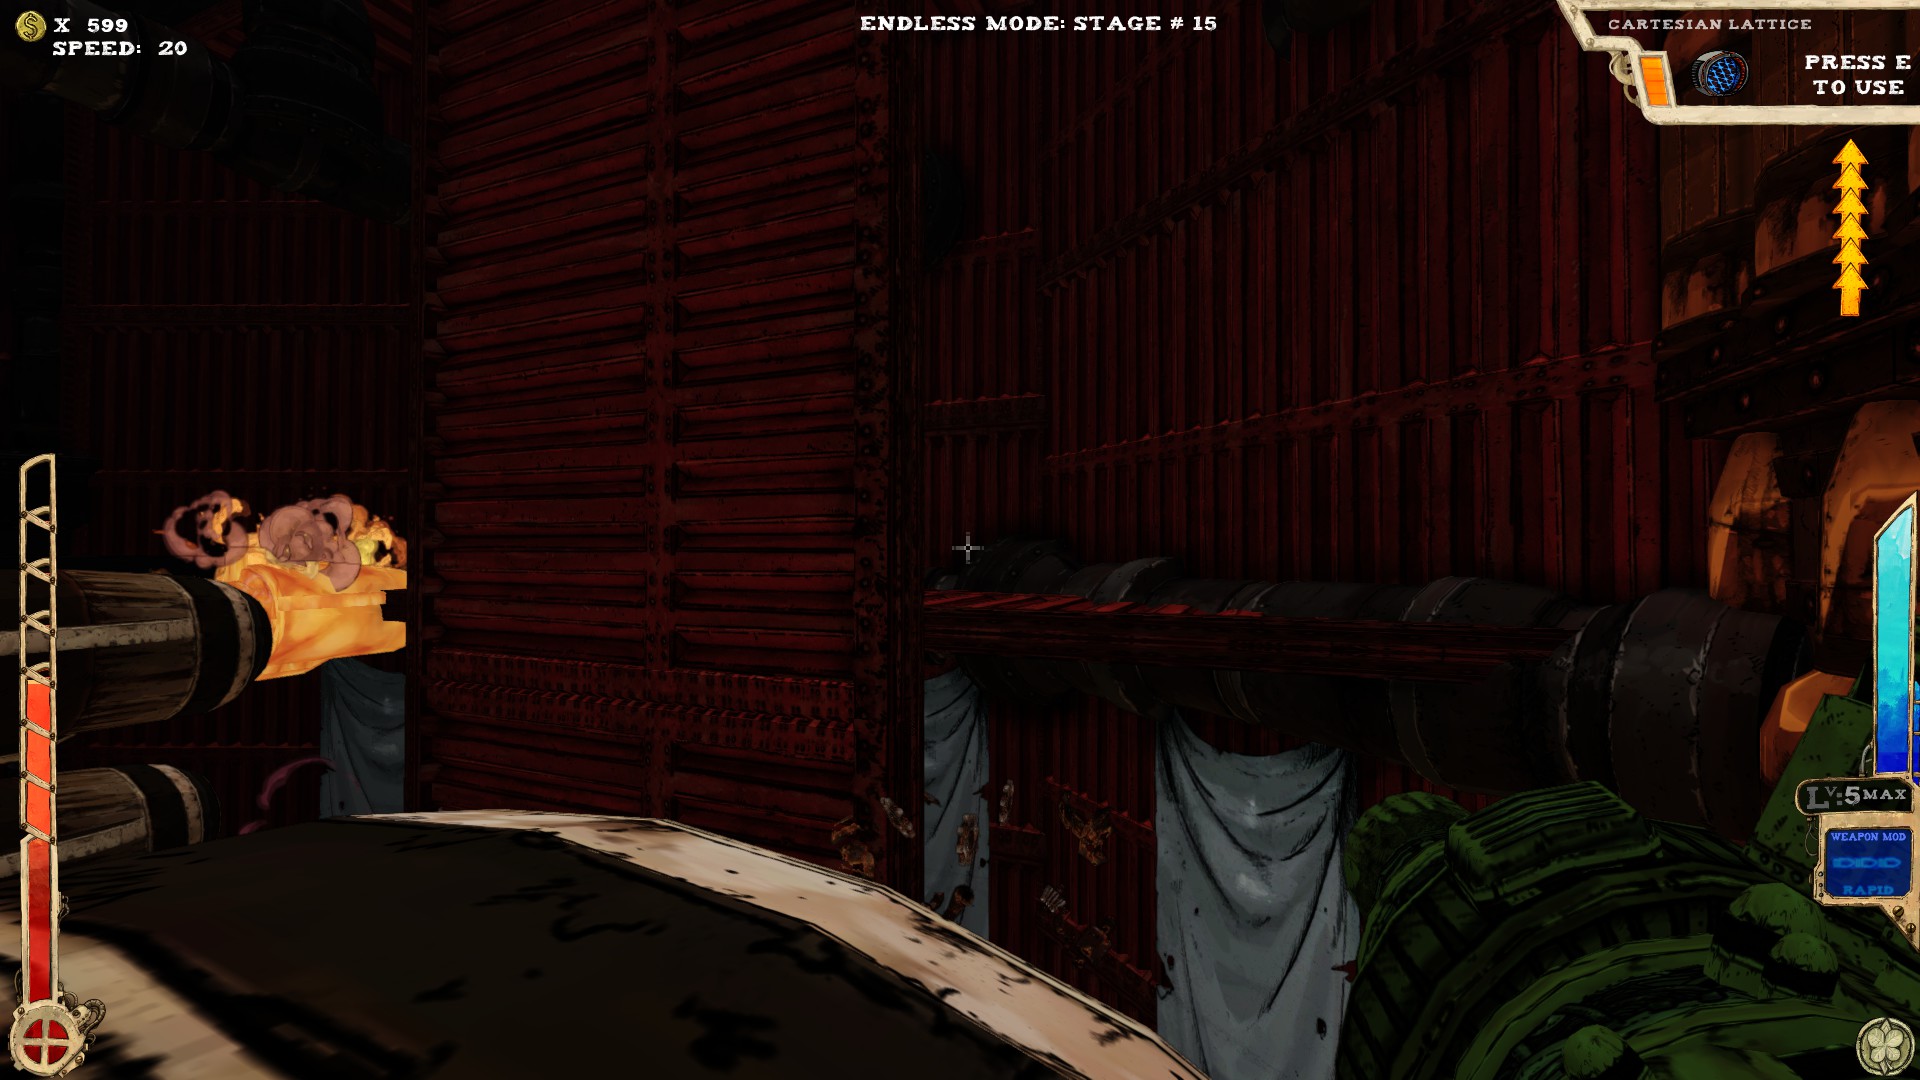
 A huge room with at least two secrets.
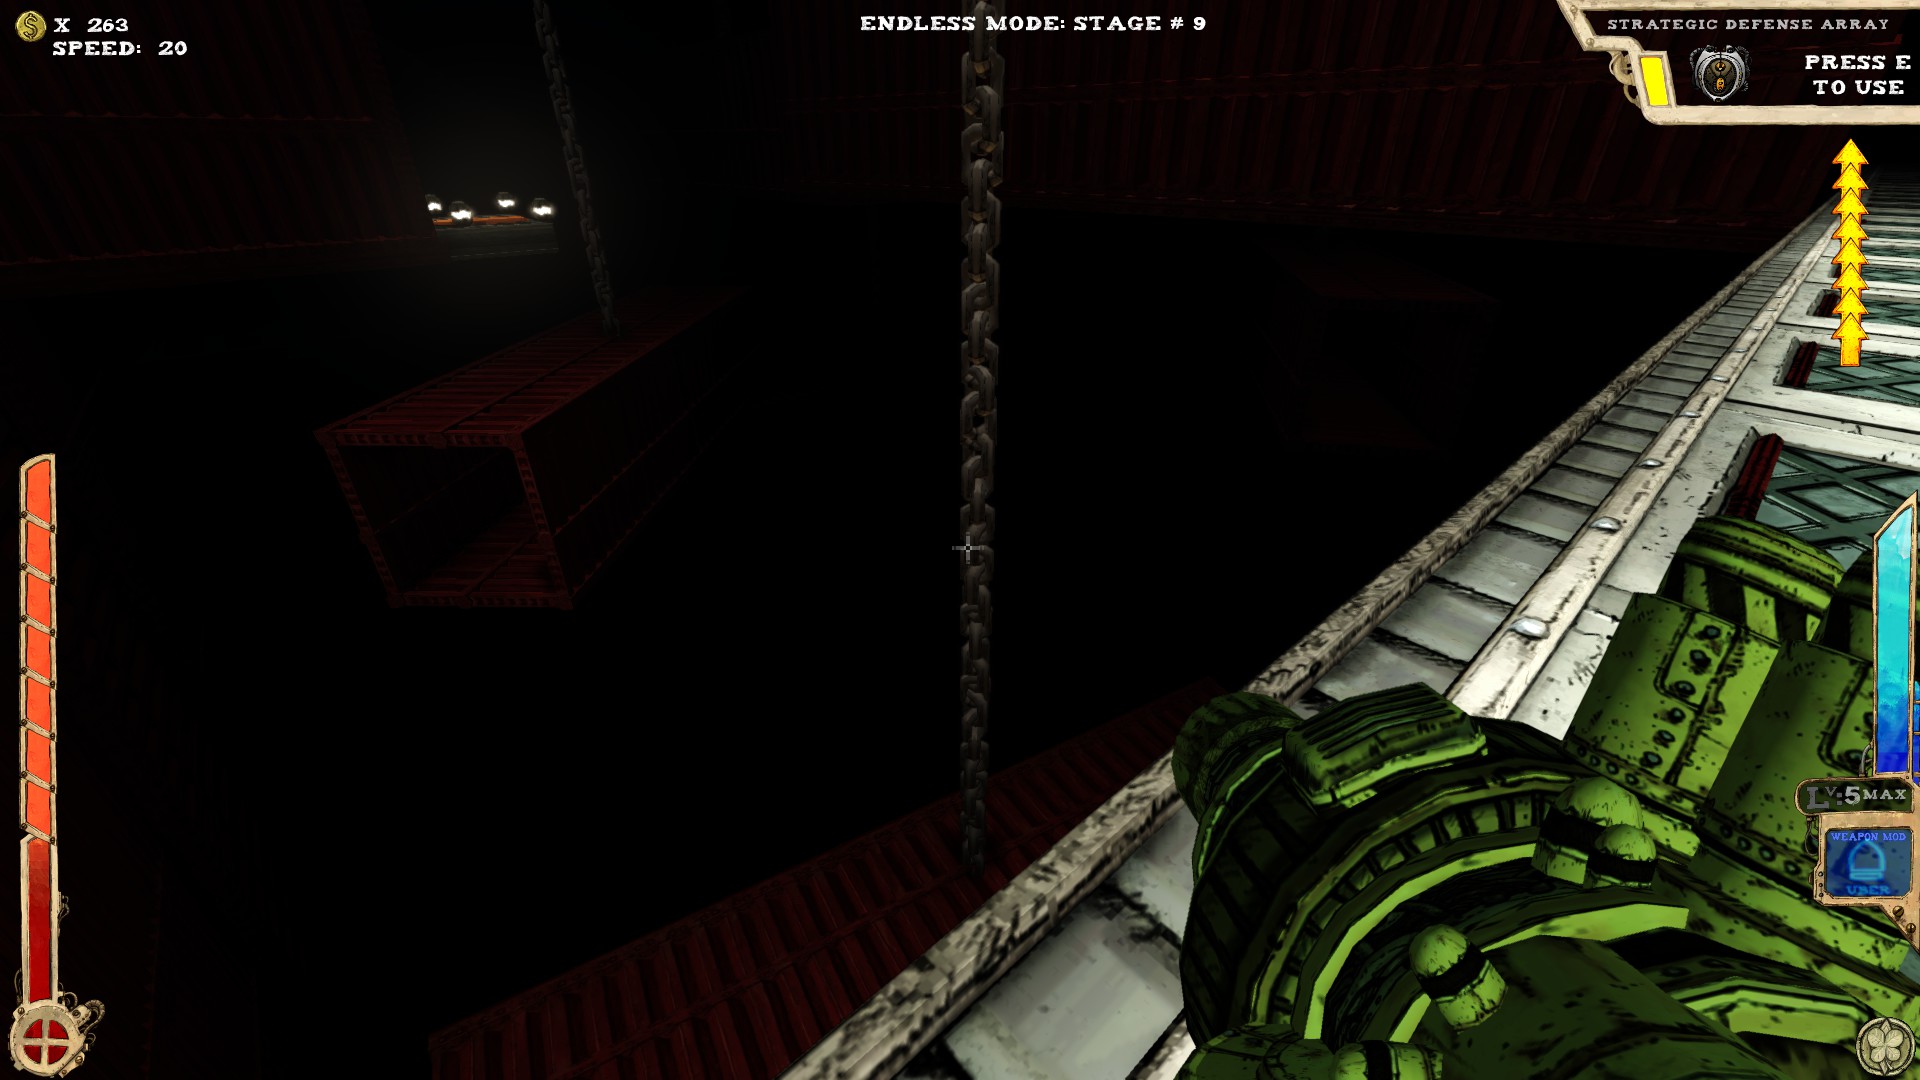 After entering the room you should see a chain running down. The secret is located inside a container at the end of the chain. If you don't have Lift Ticket or extra jumps, prepare for heavy impact.
Use Tilt to get back, if you don't have enough jumps.
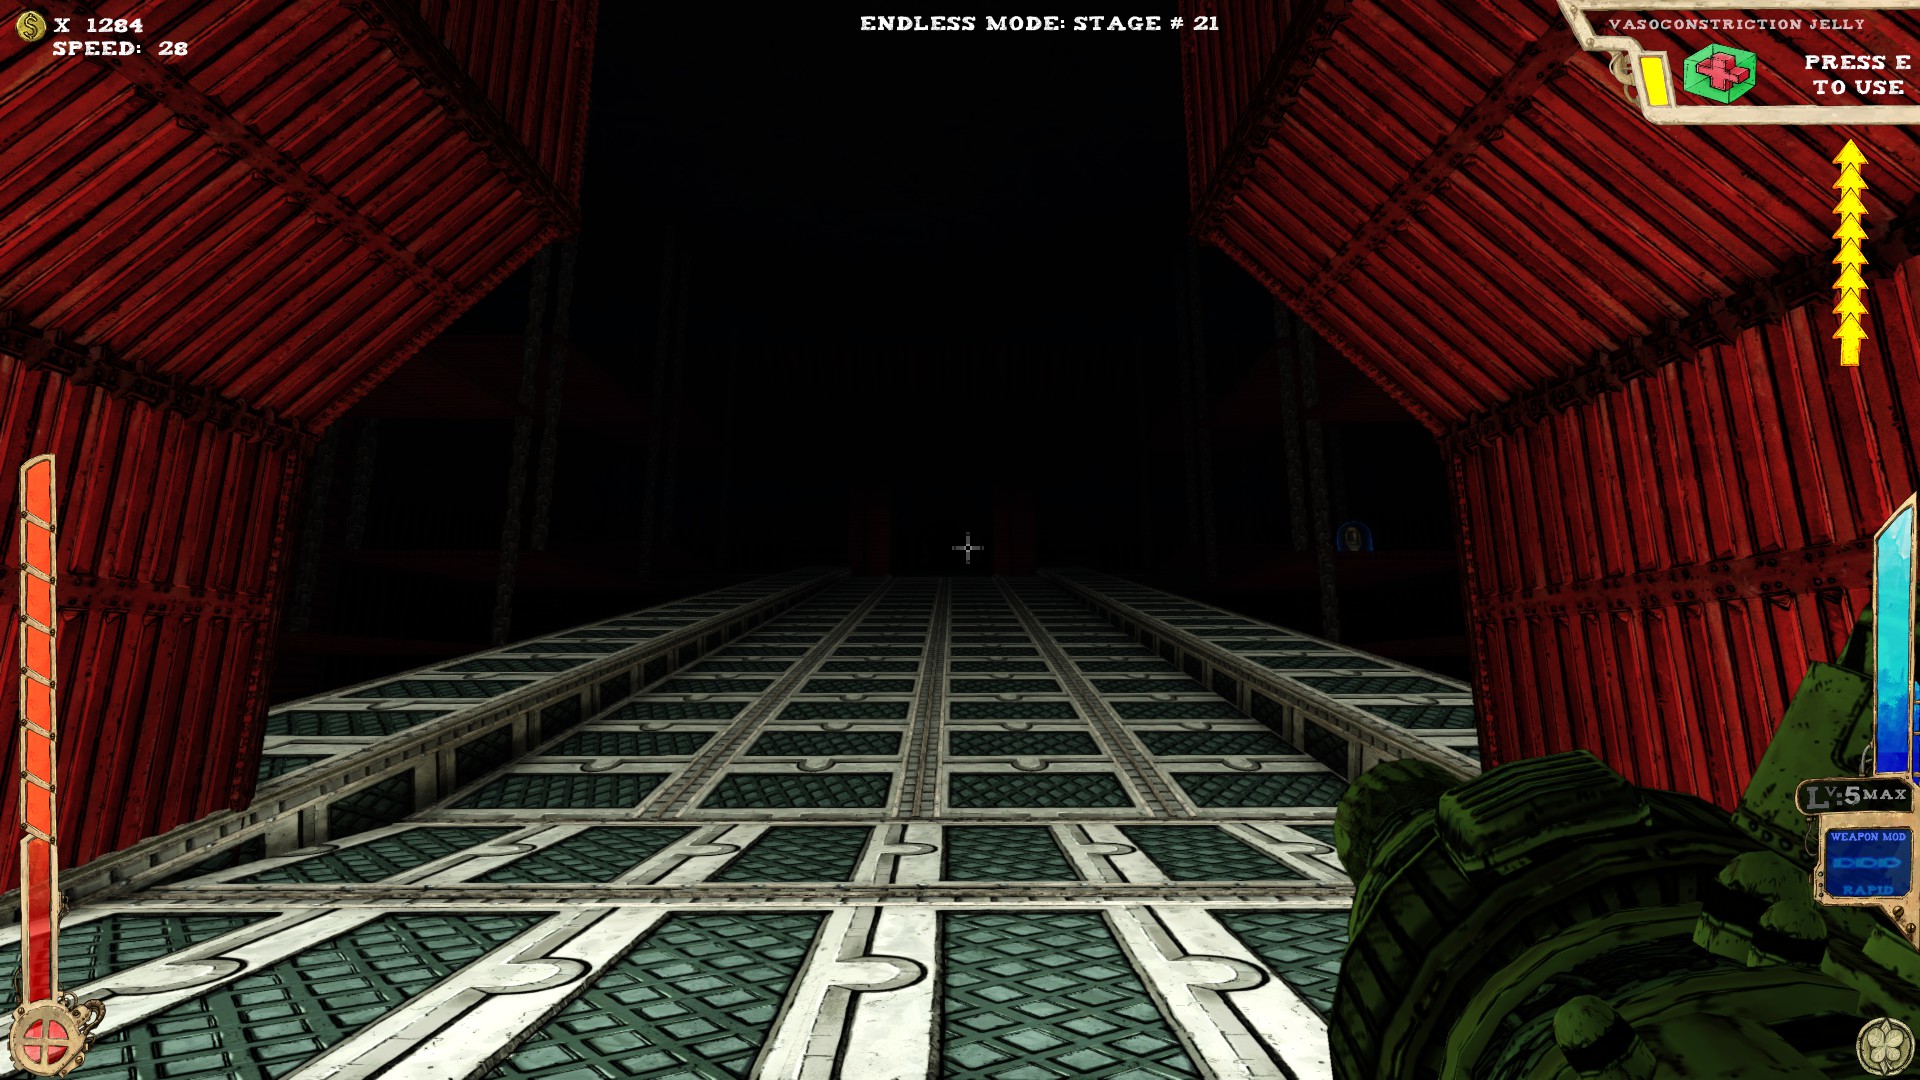
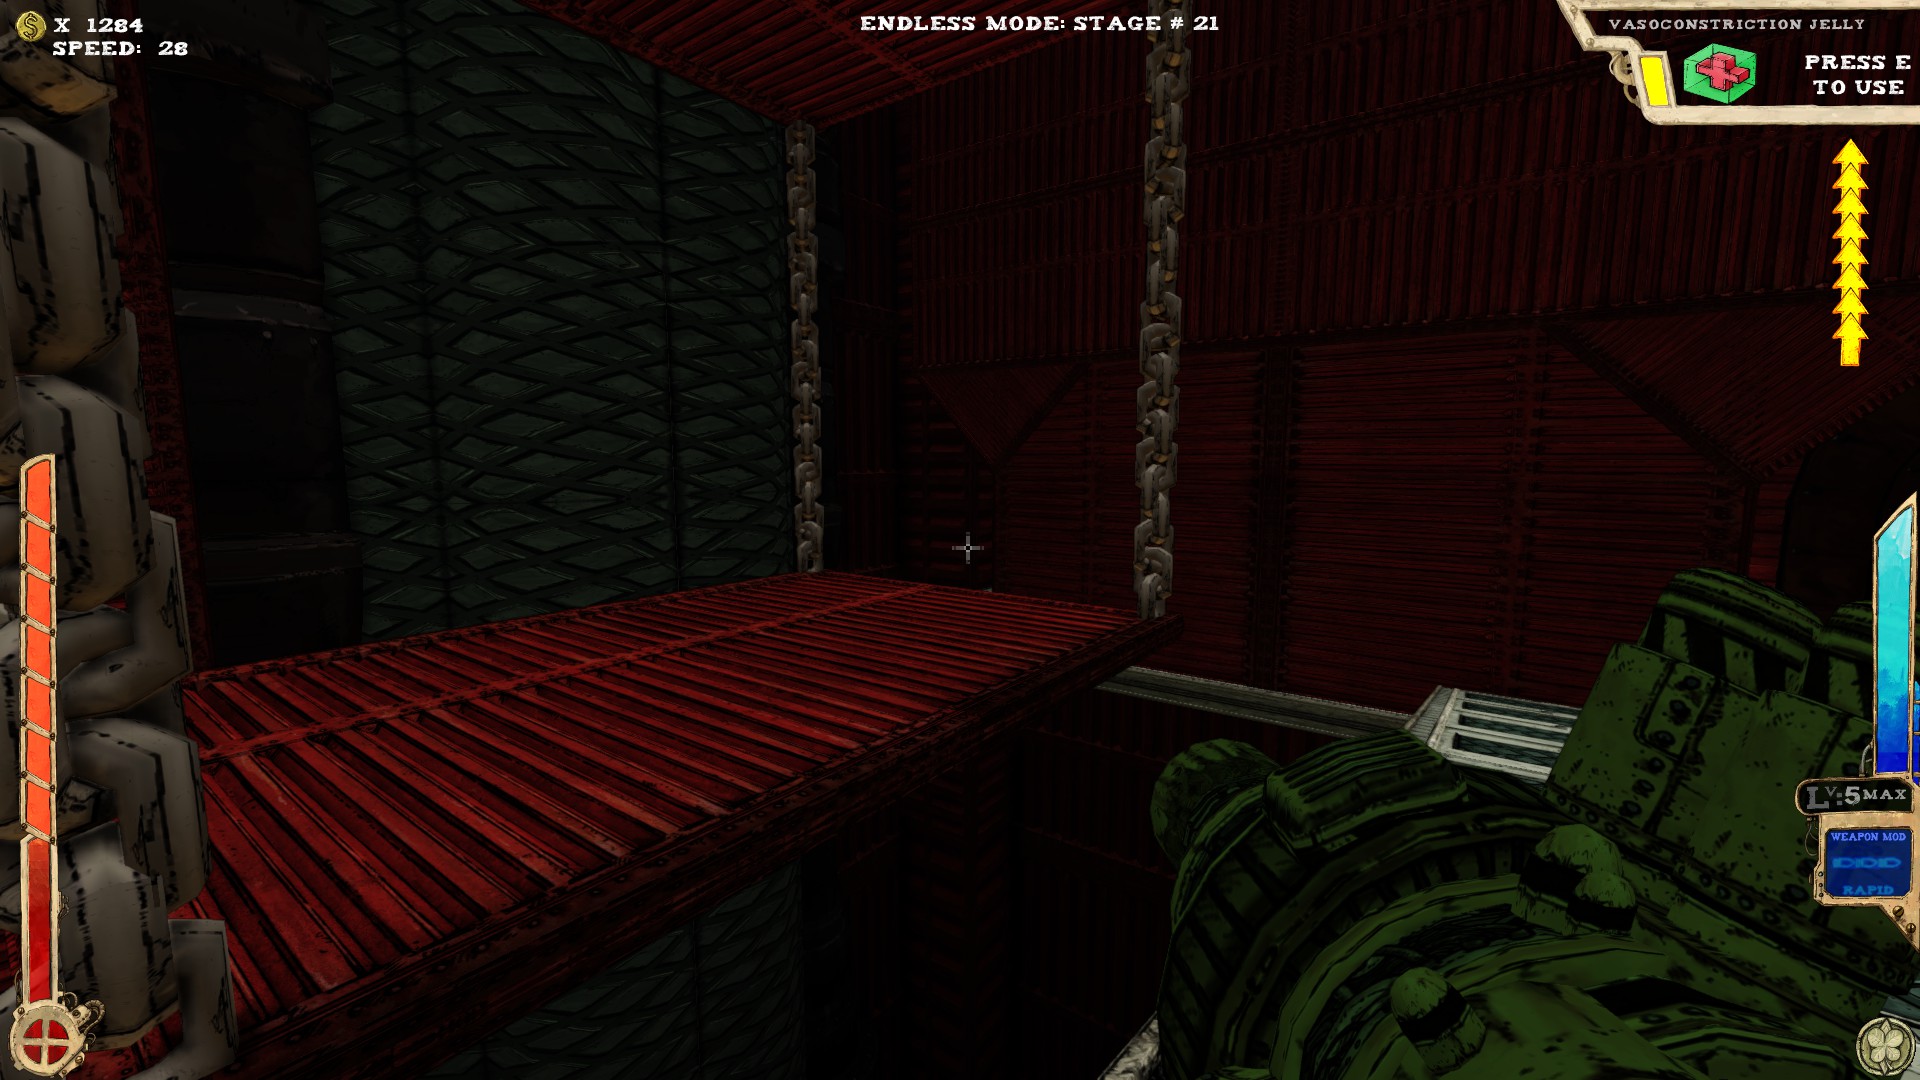
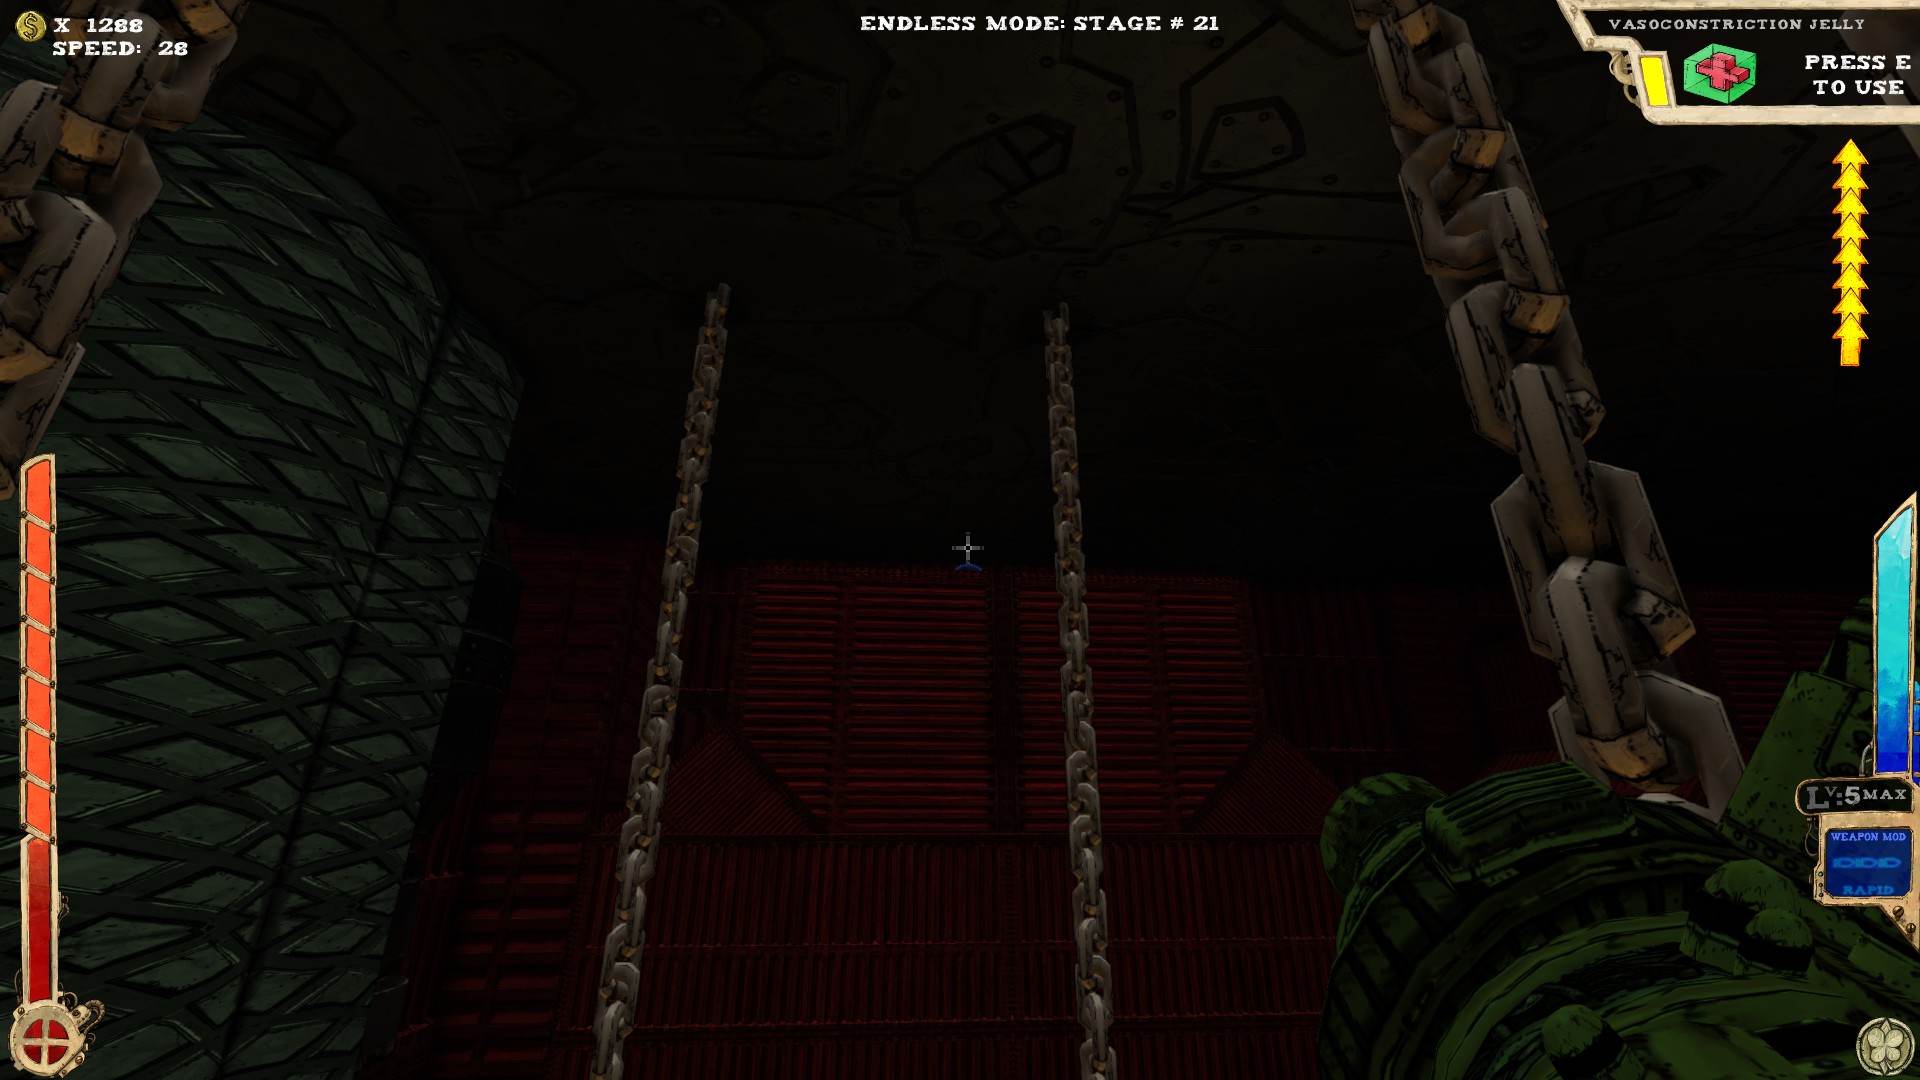
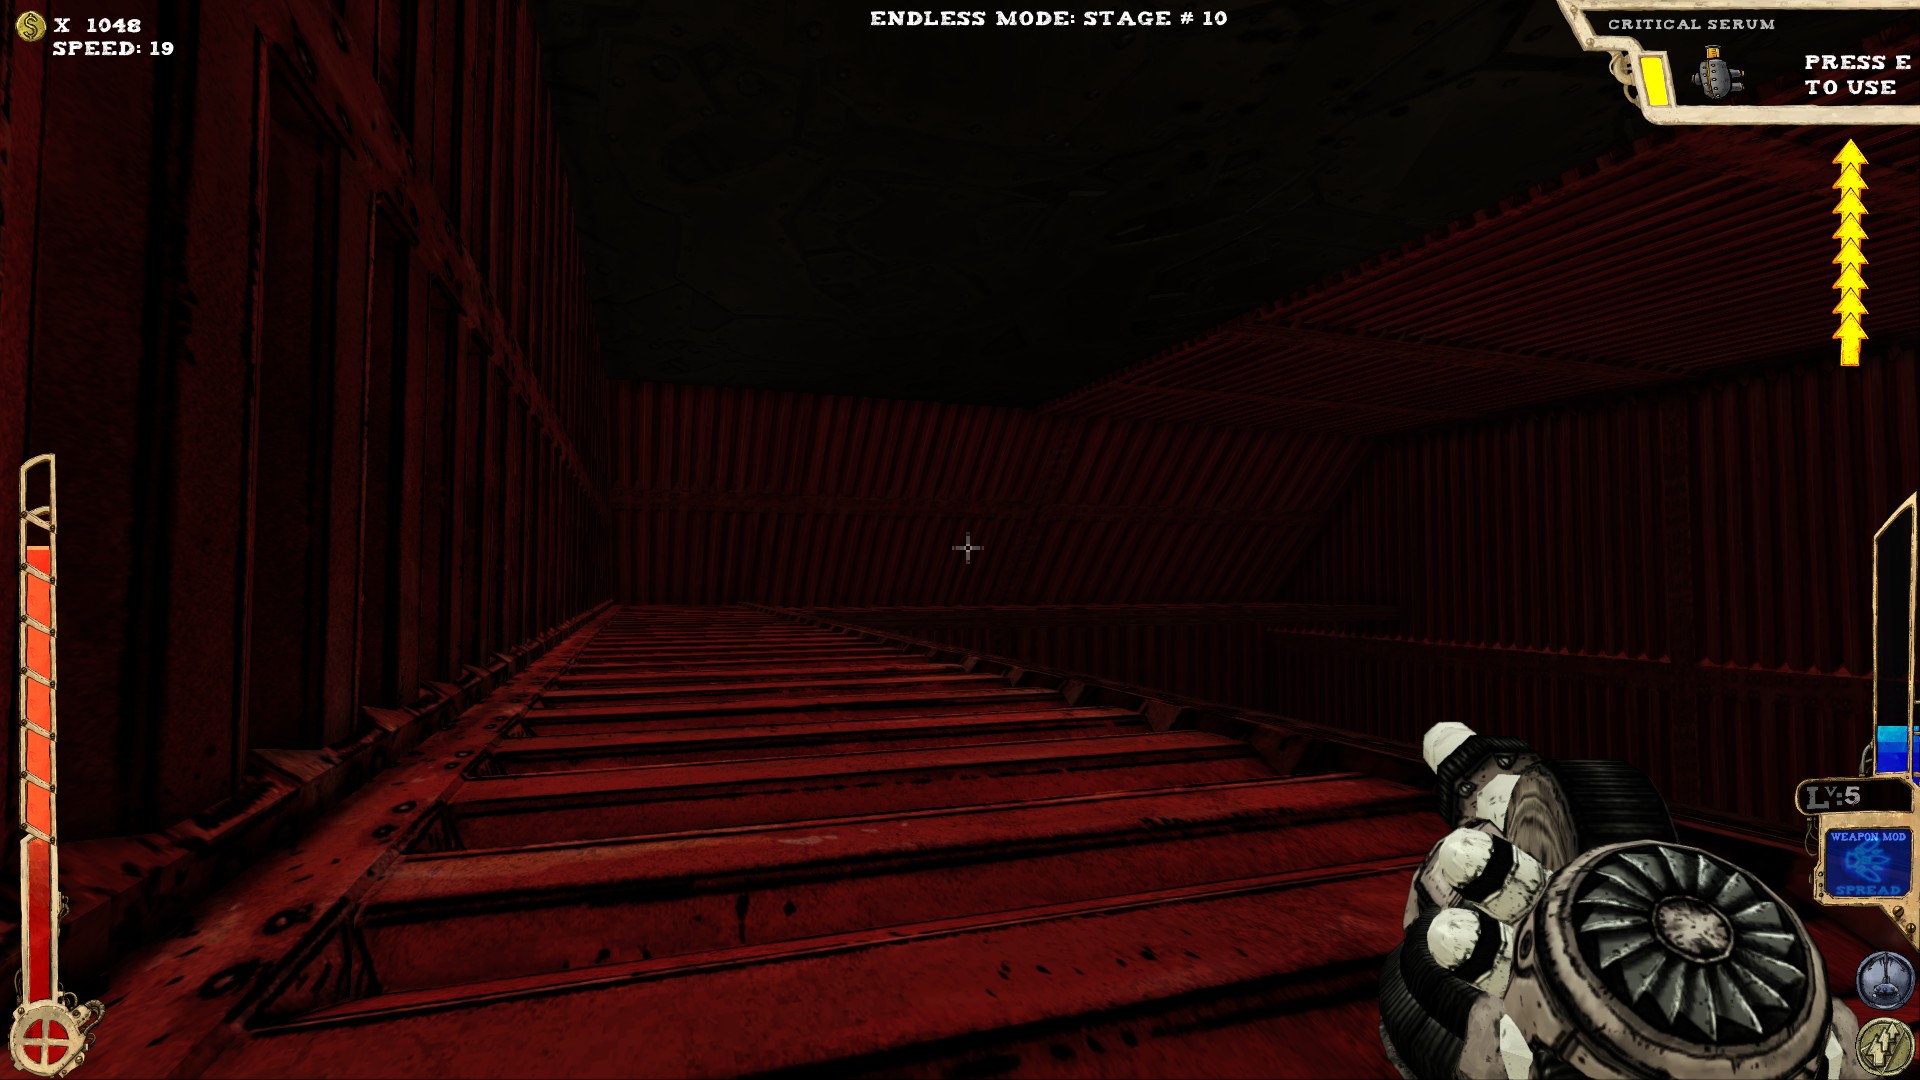 Somewhere under the ceiling. That's pretty much all I can give you. The room is huge and quite disorienting, thanks to the blackness.
----
 Two secrets.
 This one is located under a ramp. Not sure under which one right now, sorry :P
 Above the entrance is an opening, leading to this area. The secret is at the place I'm pointing at.
----
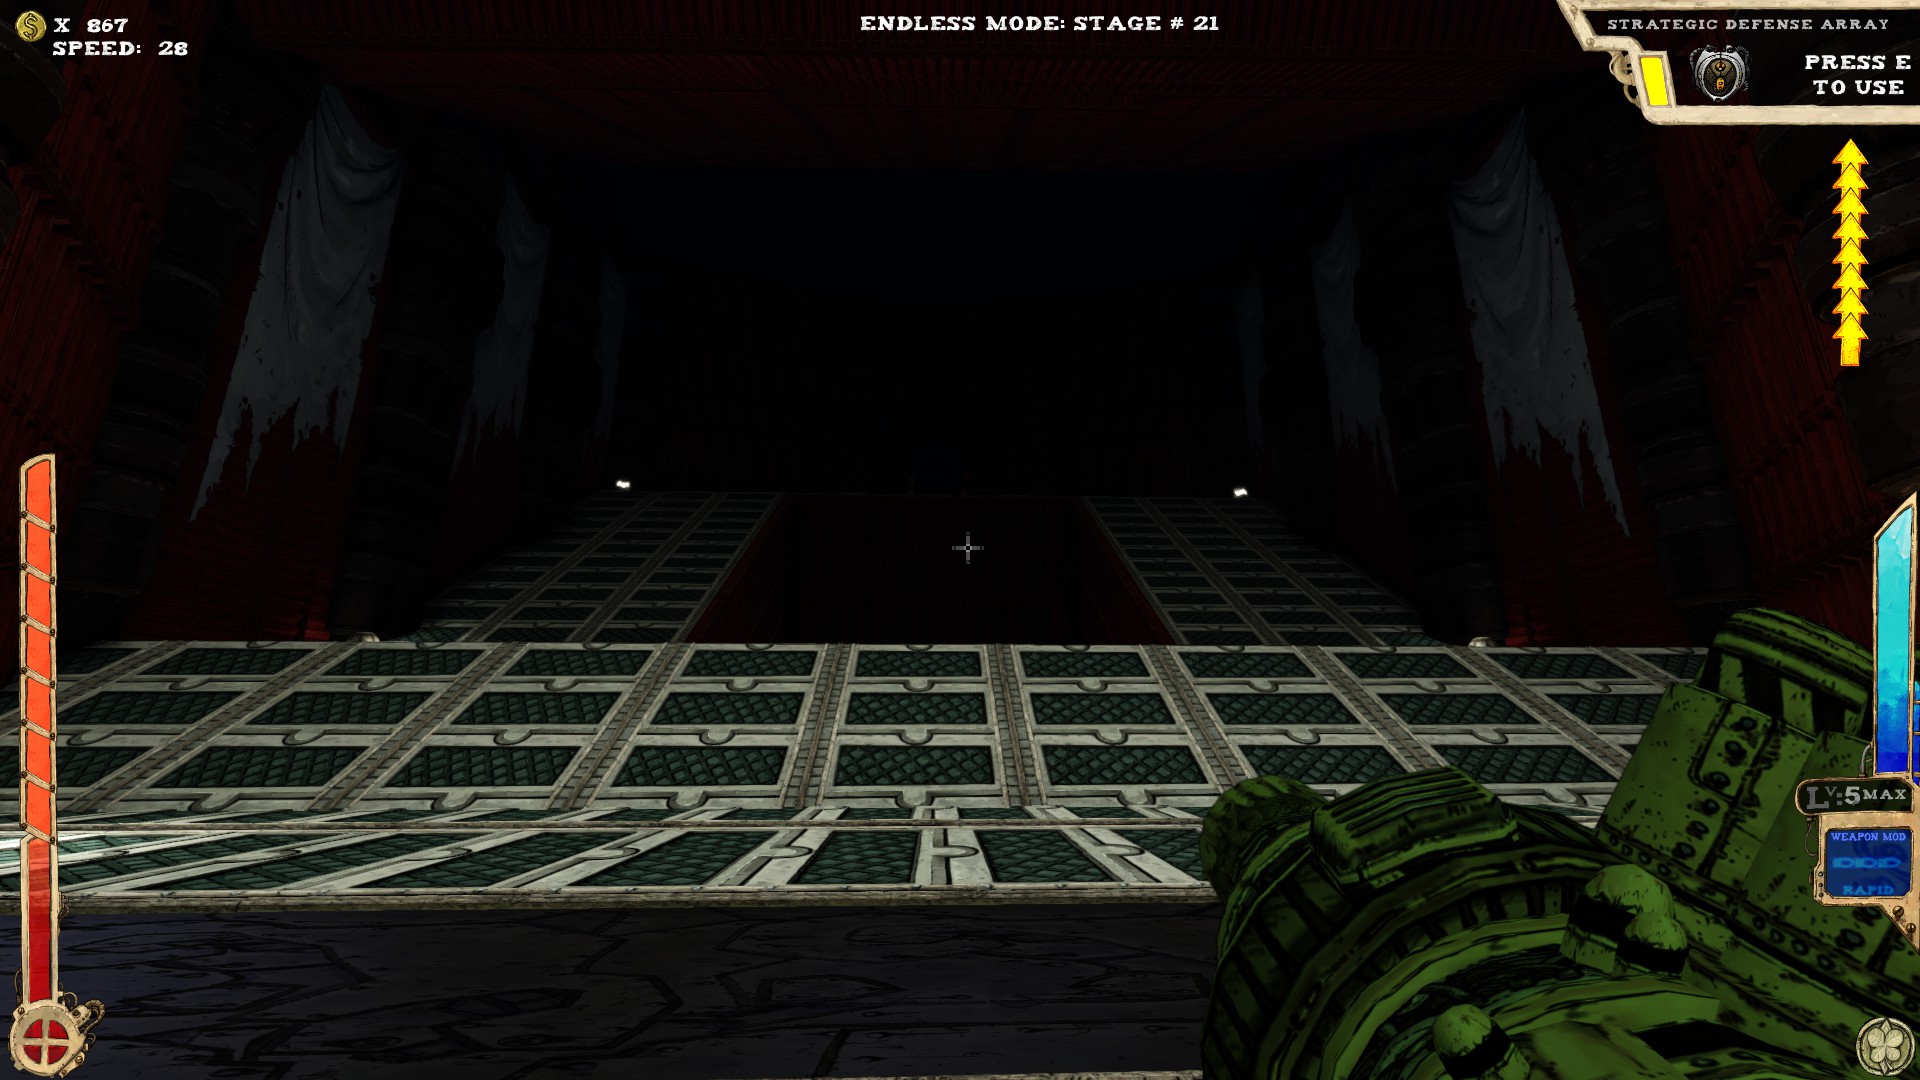
 One secret.
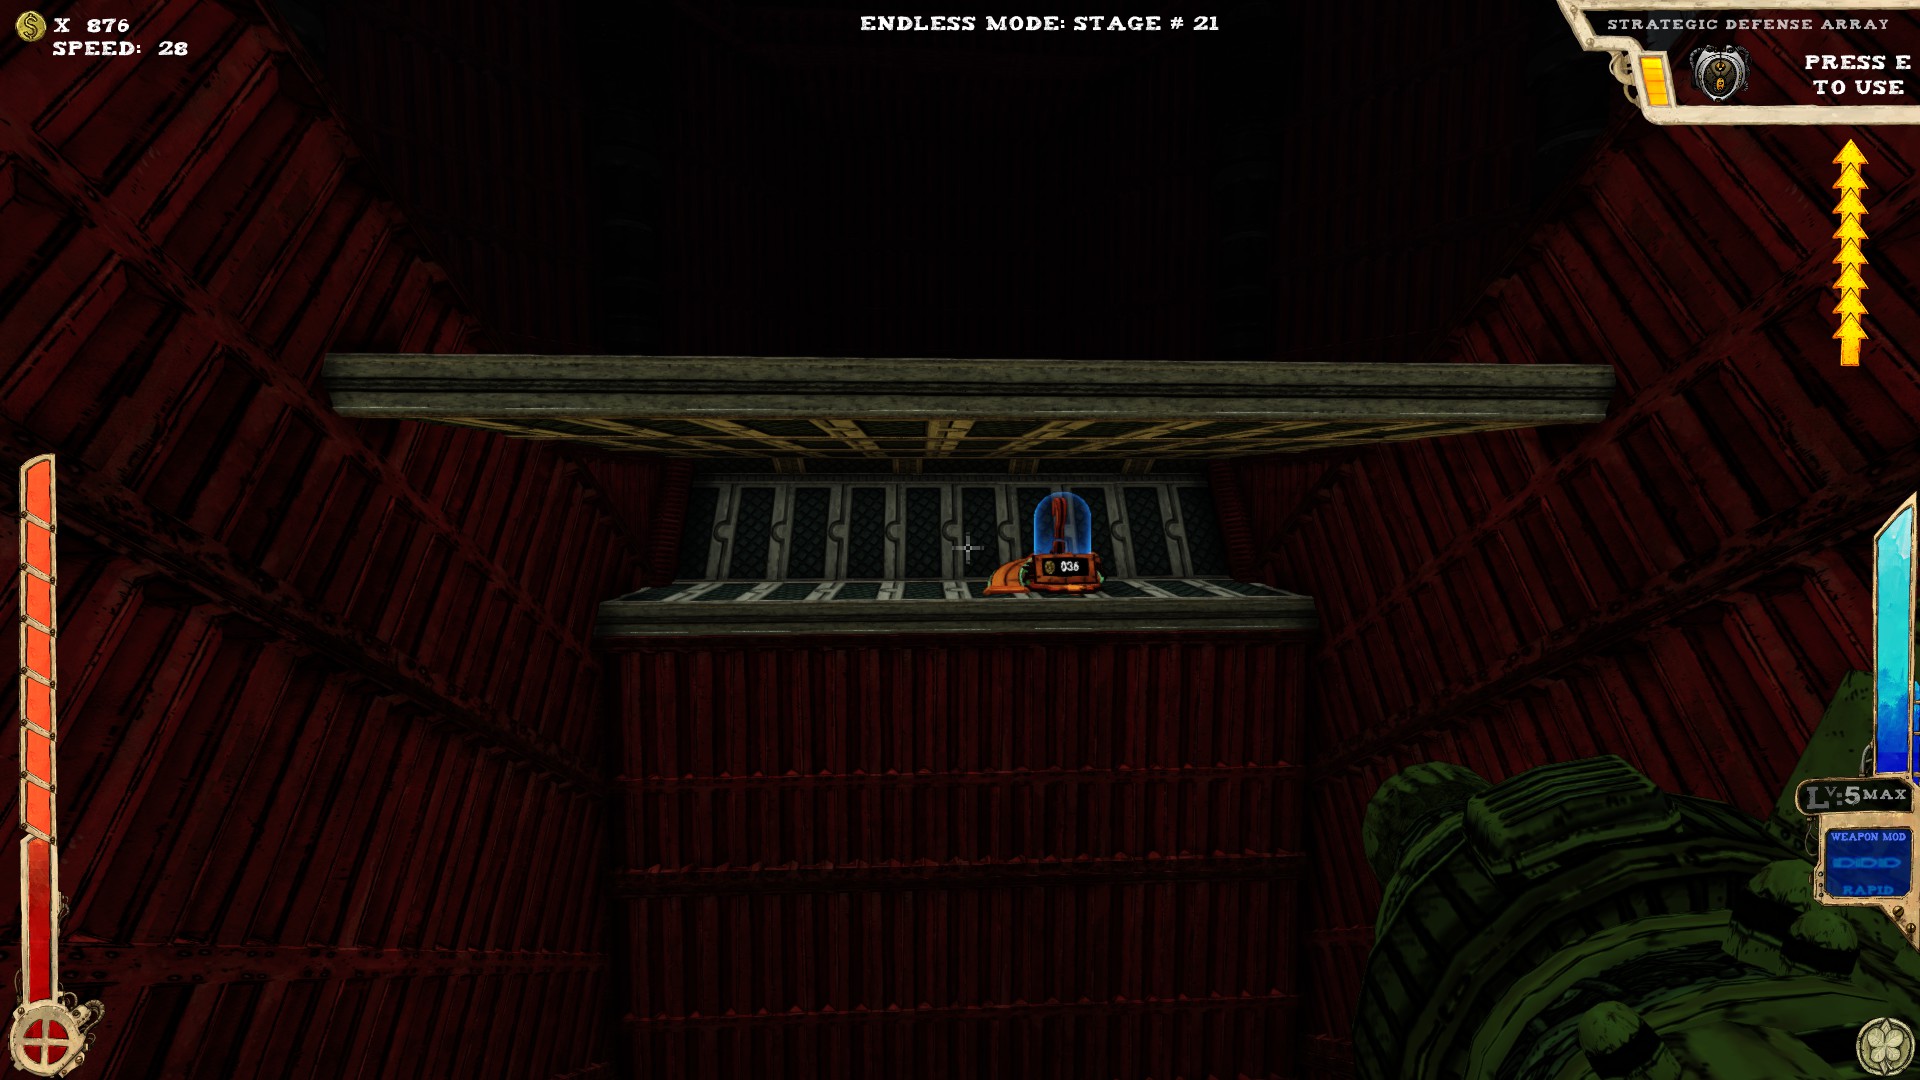
 On the left side is a small opening in the wall leading to a little maze. Just go right, then left, then follow the way and you should come to the teleporter leading to that:
 If not...well, try another way :P
Be aware that there are Sawblade Launchers in the maze.
----
 At least three secrets.
 This one is above the missile launchers behind a fake wall.
Remember that you can ride those missiles!
 That one is above the exit. If you've managed to get the secret before, either ride a missile there or use a bunch of jumps.
 This one is at a lower part of the room. When facing away from the entrance, it's on the right.
----
 Haven't found anything here.
----
 At least one secret.
 Right under the ramp leading to the exit.
And that's the Warehouse. Compared to the other levels it only has a small number of rooms.
Now let's visit the Battlements.
It's also my least favorite level.
At least two secrets.It's located on the left side of the room. The platform I'm pointing at leads to the secret.You'll need some extra jumps or a proper item to get there.
From the entrance go left, until you reach the catwalk by the abyss. Turn to the floor (the part you're on when entering the room). Somewhere down there is a small recess. Hard to target it, when you can't see anything, so good luck.----
Three secrets.The first one is right from the entrance. Either jump over there or walk over the ledge to get to a small chamber housing the secret.That one is located above the first one, reachable with enough jumps or a proper item.This one you'll find under the ramp. Just drop down from the upper part and jump into the opening, then follow the way down.You need at least one extra jump or a proper item to get there. Depending on how many jumps you've got, you might want to use Tilt to get back.
----
Two secrets. Both located inside of large containers at the top of the room.The first container is around the middle of the room. It only has an opening on one side. Not quite sure right now on which...Use jumps or proper item to get there.
That one is located near the end of the room. It also has only one opening, which is on the left side.If you've managed to get to the first secret, you should get to that one, too.
----
Two secrets.This one is under the ramp you'll see shortly after entering the room. Easy to get to, but try not to fall down.It was either over the entrance or over the exit...If you have enough jumps, it shouldn't be much of a hassle to look on both sides. It's inside the container. The opening is where I'm pointing at.
----
A huge room with at least two secrets.After entering the room you should see a chain running down. The secret is located inside a container at the end of the chain. If you don't have Lift Ticket or extra jumps, prepare for heavy impact.Use Tilt to get back, if you don't have enough jumps.
Somewhere under the ceiling. That's pretty much all I can give you. The room is huge and quite disorienting, thanks to the blackness.----
Two secrets.This one is located under a ramp. Not sure under which one right now, sorry :PAbove the entrance is an opening, leading to this area. The secret is at the place I'm pointing at.----
One secret.On the left side is a small opening in the wall leading to a little maze. Just go right, then left, then follow the way and you should come to the teleporter leading to that:If not...well, try another way :PBe aware that there are Sawblade Launchers in the maze.
----
At least three secrets.This one is above the missile launchers behind a fake wall.Remember that you can ride those missiles!
That one is above the exit. If you've managed to get the secret before, either ride a missile there or use a bunch of jumps.This one is at a lower part of the room. When facing away from the entrance, it's on the right.----
Haven't found anything here.----
At least one secret.Right under the ramp leading to the exit.And that's the Warehouse. Compared to the other levels it only has a small number of rooms.
Now let's visit the Battlements.
The Battlements
One of the two levels you might get after the Foundry/Gearworks. The other one being of course the Warehouse.
The Battlements has one of the biggest secrets (imo) in Tower of Guns and, using the right perk, you can also access a secret level from here.
 Three secrets.
 This one is close to the entrance, up on a platform. Unreachable without extra jumps or proper items.
If you have some extra jumps, but not enough to reach it directly, try using the ledges along the "windows". A good place to start is the other part of the room, where you'll find higher places to jump from.
 In the second part of the room are two secrets. One is under the podium, while the other is on it.
----
 One secret. Behind the elevator, in a fake wall.
----
 At least two secrets.
 One is on the upper ring of the tower. Unreachable without extra jumps or proper item.
 The second one is under a ramp, which runs along the side of the exit.
----
 None of those four rooms contain any secrets.
----
The next three rooms are special, as they ALL allow access to the exterior of the Tower. All of those three rooms share one of the secrets, while two of them have one of their own and one has no secret by itself.
I'll post the shared secret in the first room (+ the other two points of interest).
 As 'Ive said: no secret by itself, but the missing roof allows access to the whole Tower exterior.
 When moving up you should see a huge platform in the shape of a cog. Does NOT count as a secret, but has a chance of spawning coins, badges or items (or a combination of all three).
 That is the top of the Tower. Not considered a secret by the game (for some reason), but it provides 200 coins (2 coins, each worth 100) and a lot of badges.
 The actual secret in the exterior. This is the barrel of the huge gun (resembling a sniper rifle) closest to the top. At the end of the barrel is the secret location.
I'll recommend getting to the top first and then into the barrel, as it takes quite a while and after you've been in the barrel, you can just use Tilt.
----
 Two secrets. One is the shared secret from above.
 Under the main platform is another platform. There's the secret.
----
 Two secrets. One is the shared secret in the barrel.
 Left from the entrance is something that looks like some sort of cover. Walk right through it and to the end of that plank.
If you're having the perk Lift Ticket equipped, you can drop down from all of those three rooms and might land in a secret level, called The Village. Be aware though: if you exit the level, you'll start again in the Foyer!
Also: The Village doesn't seem to have any secrets in it.
That's the Battlements. Next up is...Hugbot Alley!
The Battlements has one of the biggest secrets (imo) in Tower of Guns and, using the right perk, you can also access a secret level from here.
Three secrets.This one is close to the entrance, up on a platform. Unreachable without extra jumps or proper items.If you have some extra jumps, but not enough to reach it directly, try using the ledges along the "windows". A good place to start is the other part of the room, where you'll find higher places to jump from.
In the second part of the room are two secrets. One is under the podium, while the other is on it.----
One secret. Behind the elevator, in a fake wall.----
At least two secrets.One is on the upper ring of the tower. Unreachable without extra jumps or proper item.The second one is under a ramp, which runs along the side of the exit.----
None of those four rooms contain any secrets.----
The next three rooms are special, as they ALL allow access to the exterior of the Tower. All of those three rooms share one of the secrets, while two of them have one of their own and one has no secret by itself.
I'll post the shared secret in the first room (+ the other two points of interest).
As 'Ive said: no secret by itself, but the missing roof allows access to the whole Tower exterior.When moving up you should see a huge platform in the shape of a cog. Does NOT count as a secret, but has a chance of spawning coins, badges or items (or a combination of all three).That is the top of the Tower. Not considered a secret by the game (for some reason), but it provides 200 coins (2 coins, each worth 100) and a lot of badges.The actual secret in the exterior. This is the barrel of the huge gun (resembling a sniper rifle) closest to the top. At the end of the barrel is the secret location.I'll recommend getting to the top first and then into the barrel, as it takes quite a while and after you've been in the barrel, you can just use Tilt.
----
Two secrets. One is the shared secret from above.Under the main platform is another platform. There's the secret.----
Two secrets. One is the shared secret in the barrel.Left from the entrance is something that looks like some sort of cover. Walk right through it and to the end of that plank.If you're having the perk Lift Ticket equipped, you can drop down from all of those three rooms and might land in a secret level, called The Village. Be aware though: if you exit the level, you'll start again in the Foyer!
Also: The Village doesn't seem to have any secrets in it.
That's the Battlements. Next up is...Hugbot Alley!
Hugbot Alley (Secret Level)
If you're like "Hugbot Alley? The heck's that?!?", then you should stop killing Hugbots.
Hugbot Alley is a secret level, which can come between the Warehouse/Battlements and the Logistics. It's also the only place (afaik) where you can get the Motivator, which is one of the several secret weapons in the game.
Hugbot Alley also has always the same layout and only one room with secrets in it.
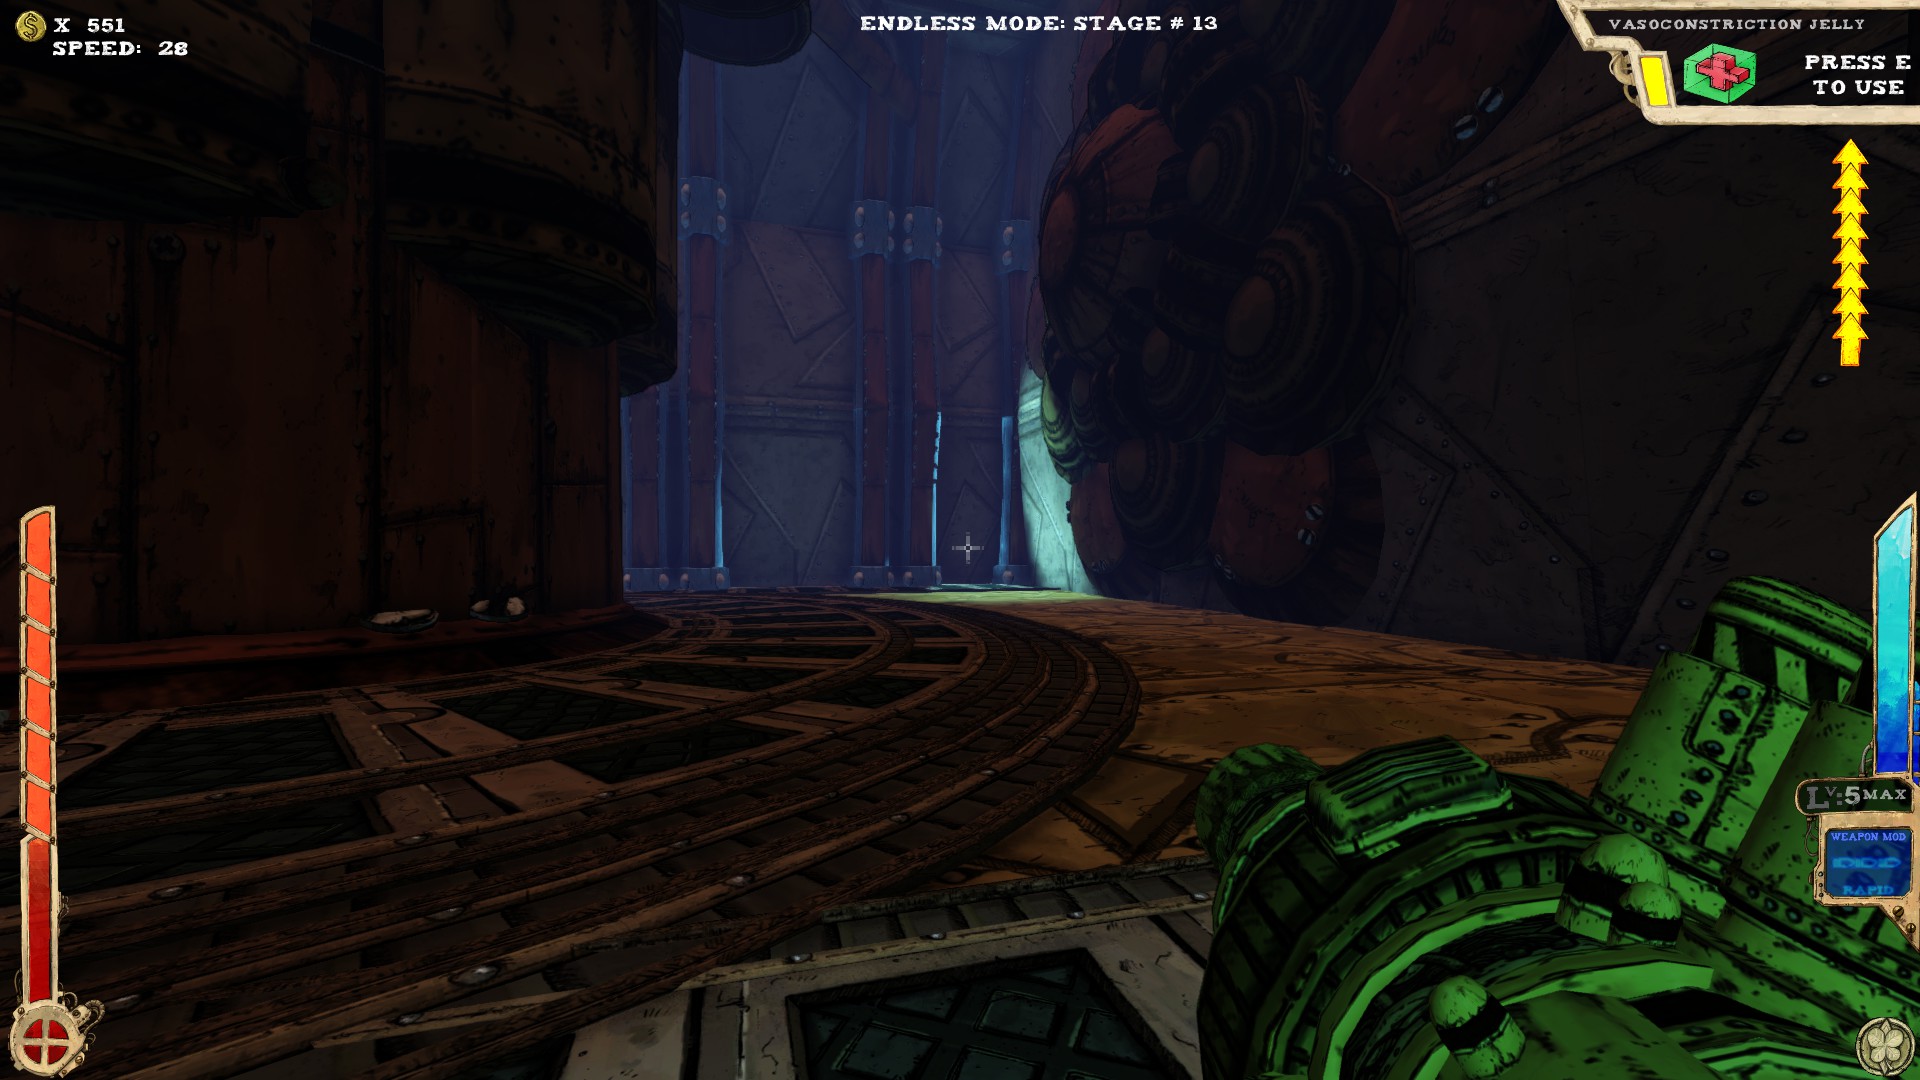
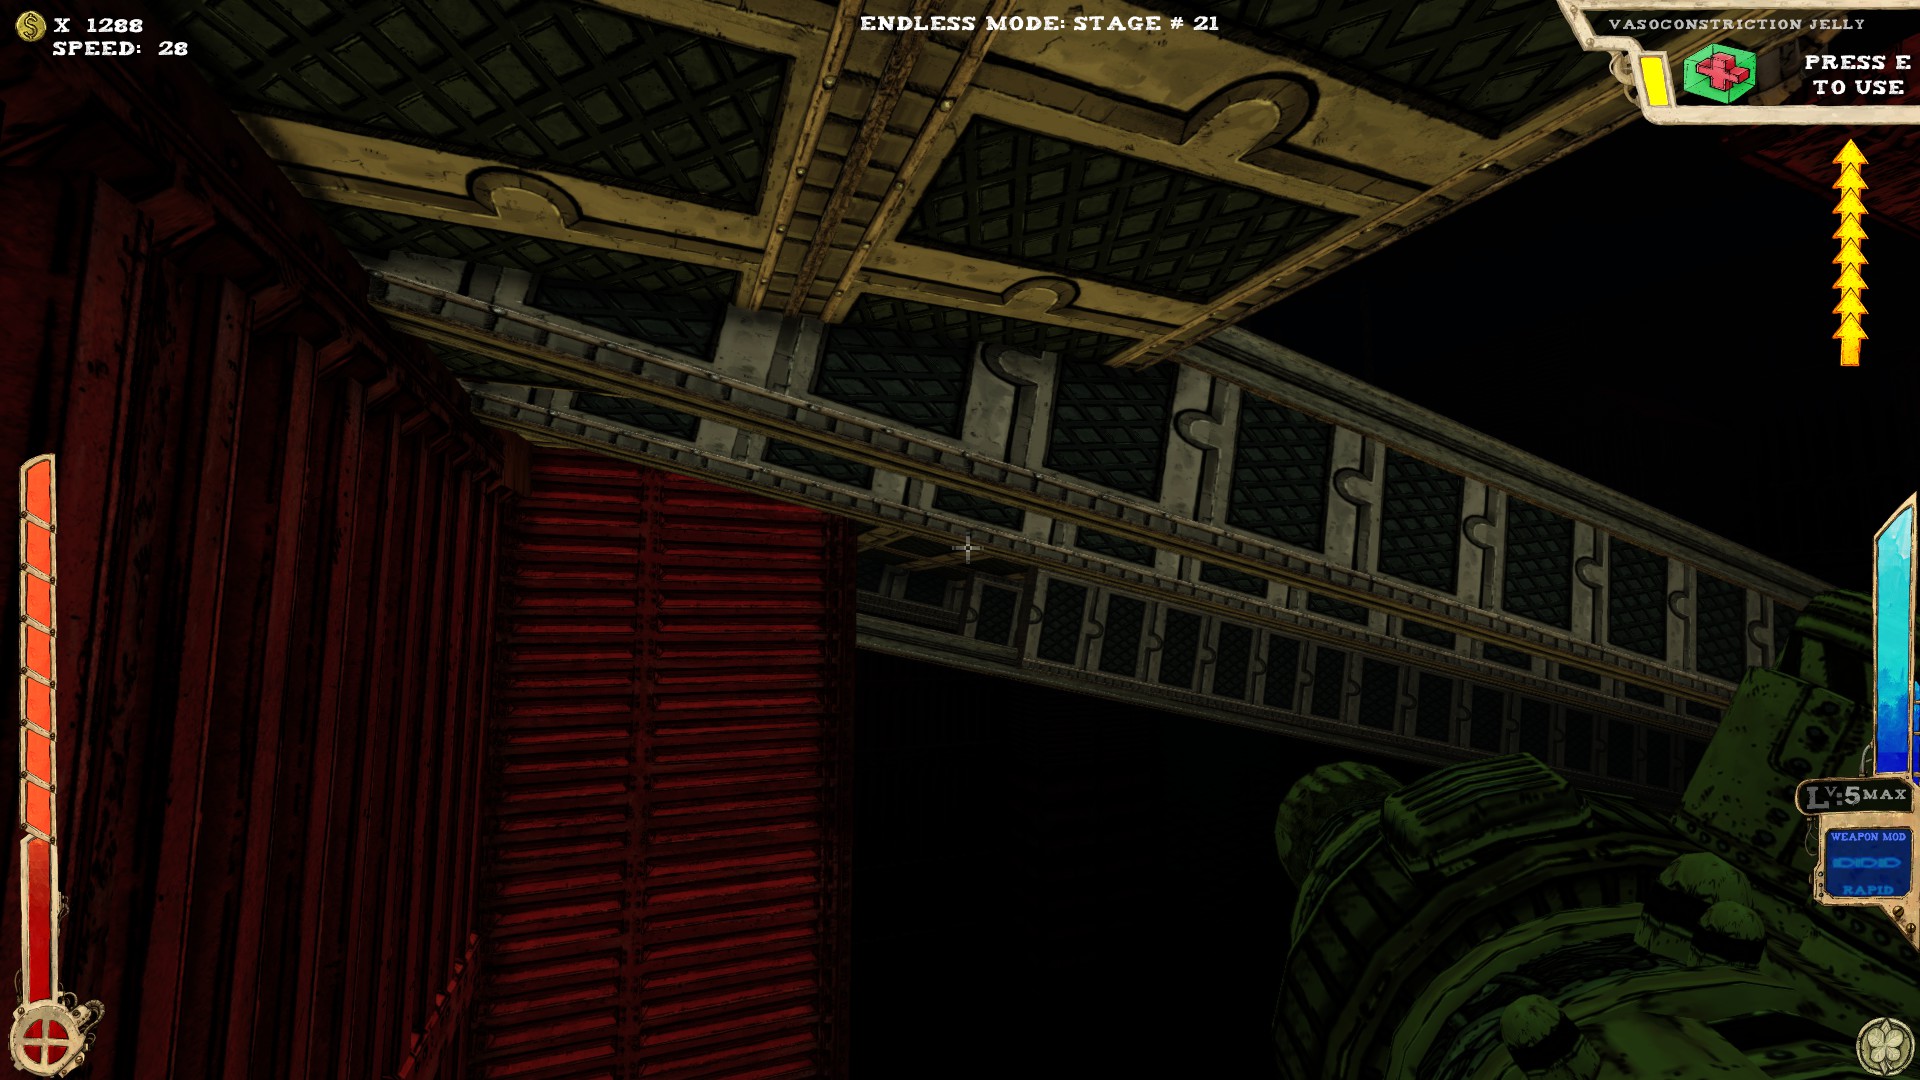
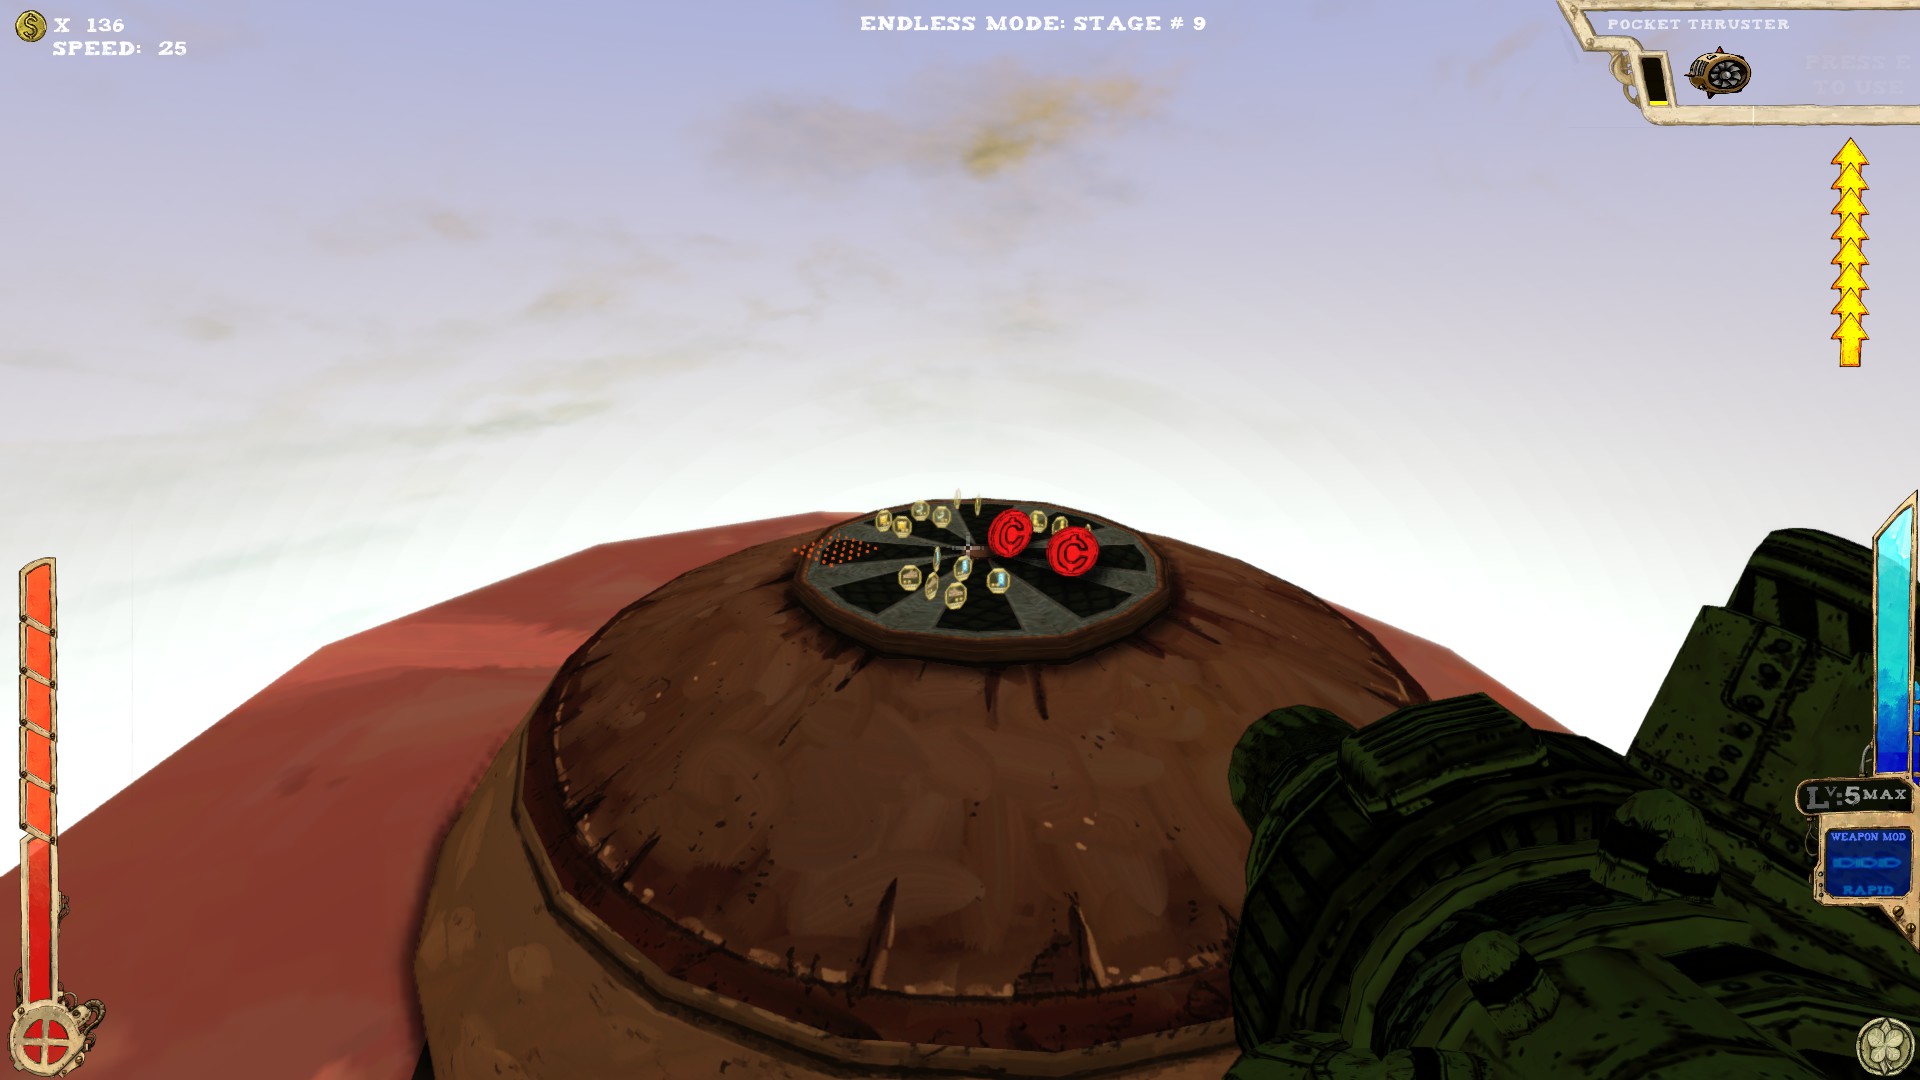
 Two secrets.
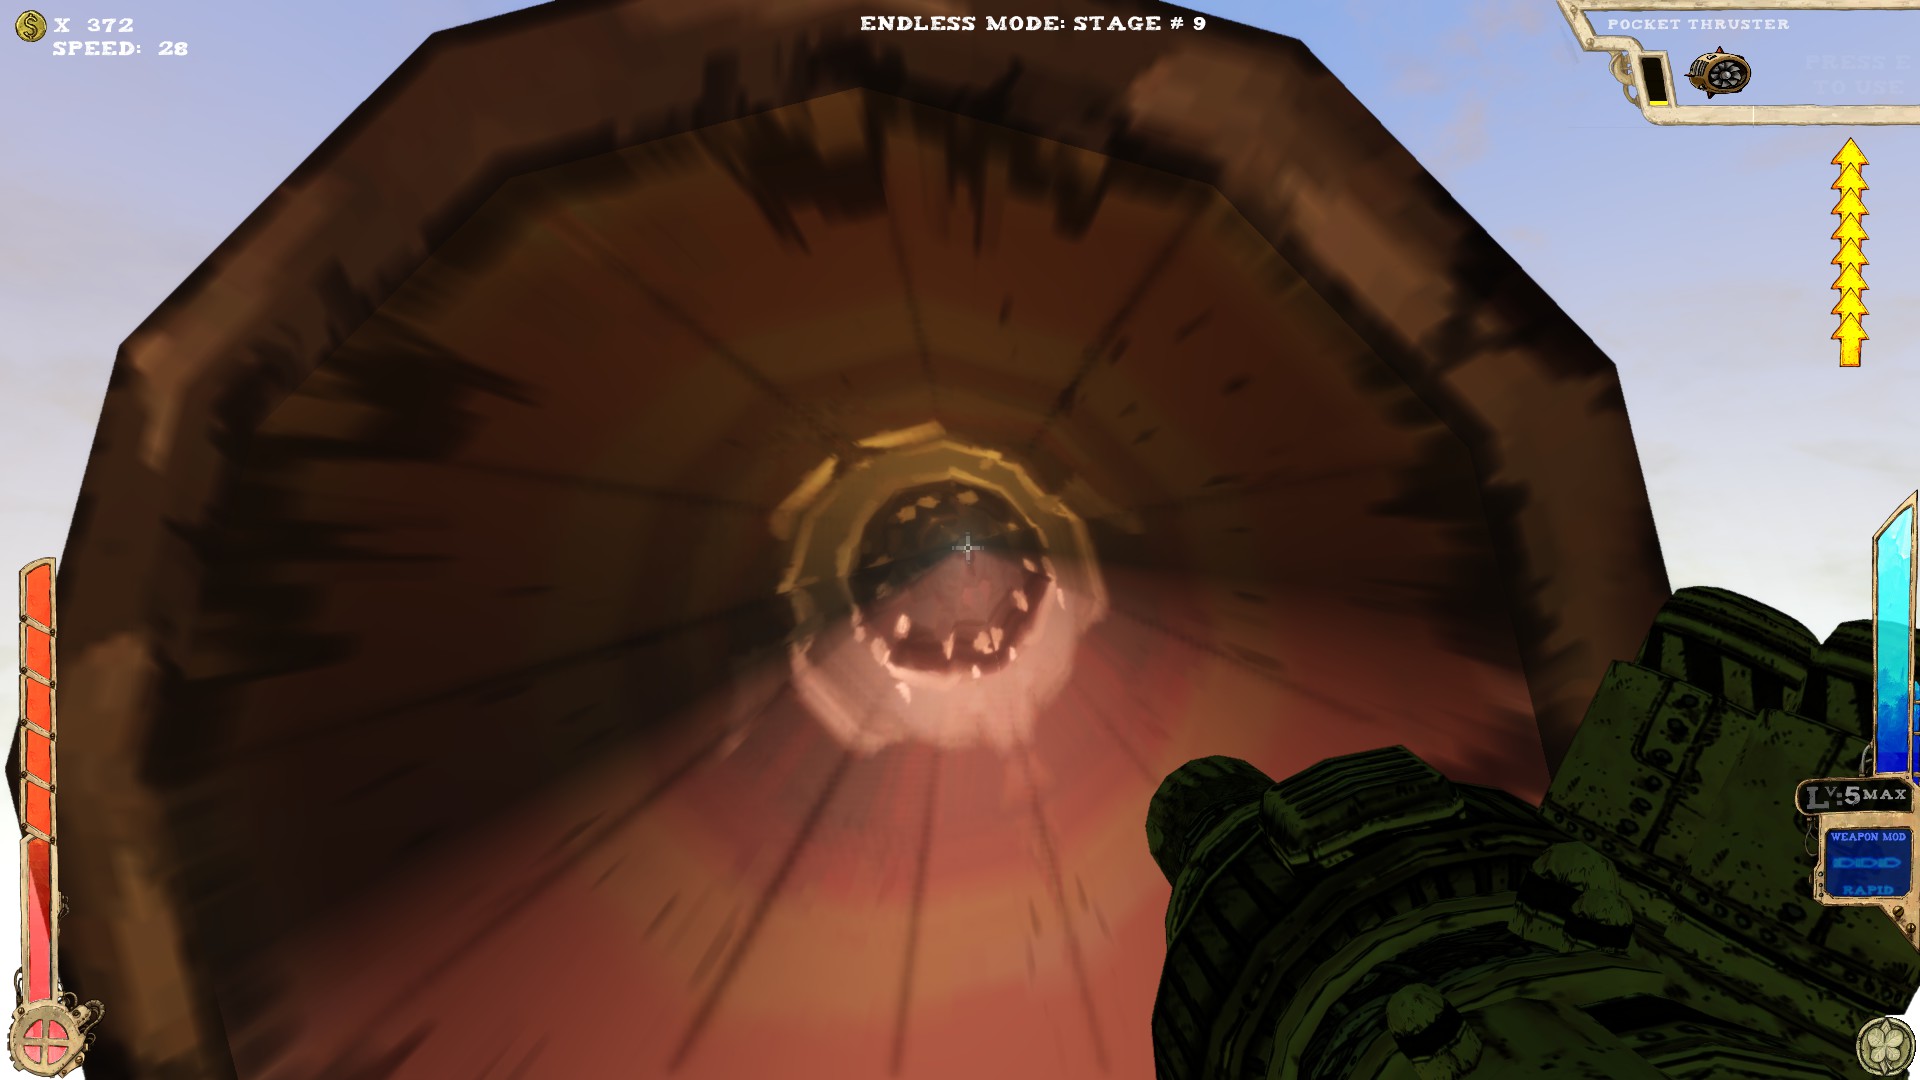
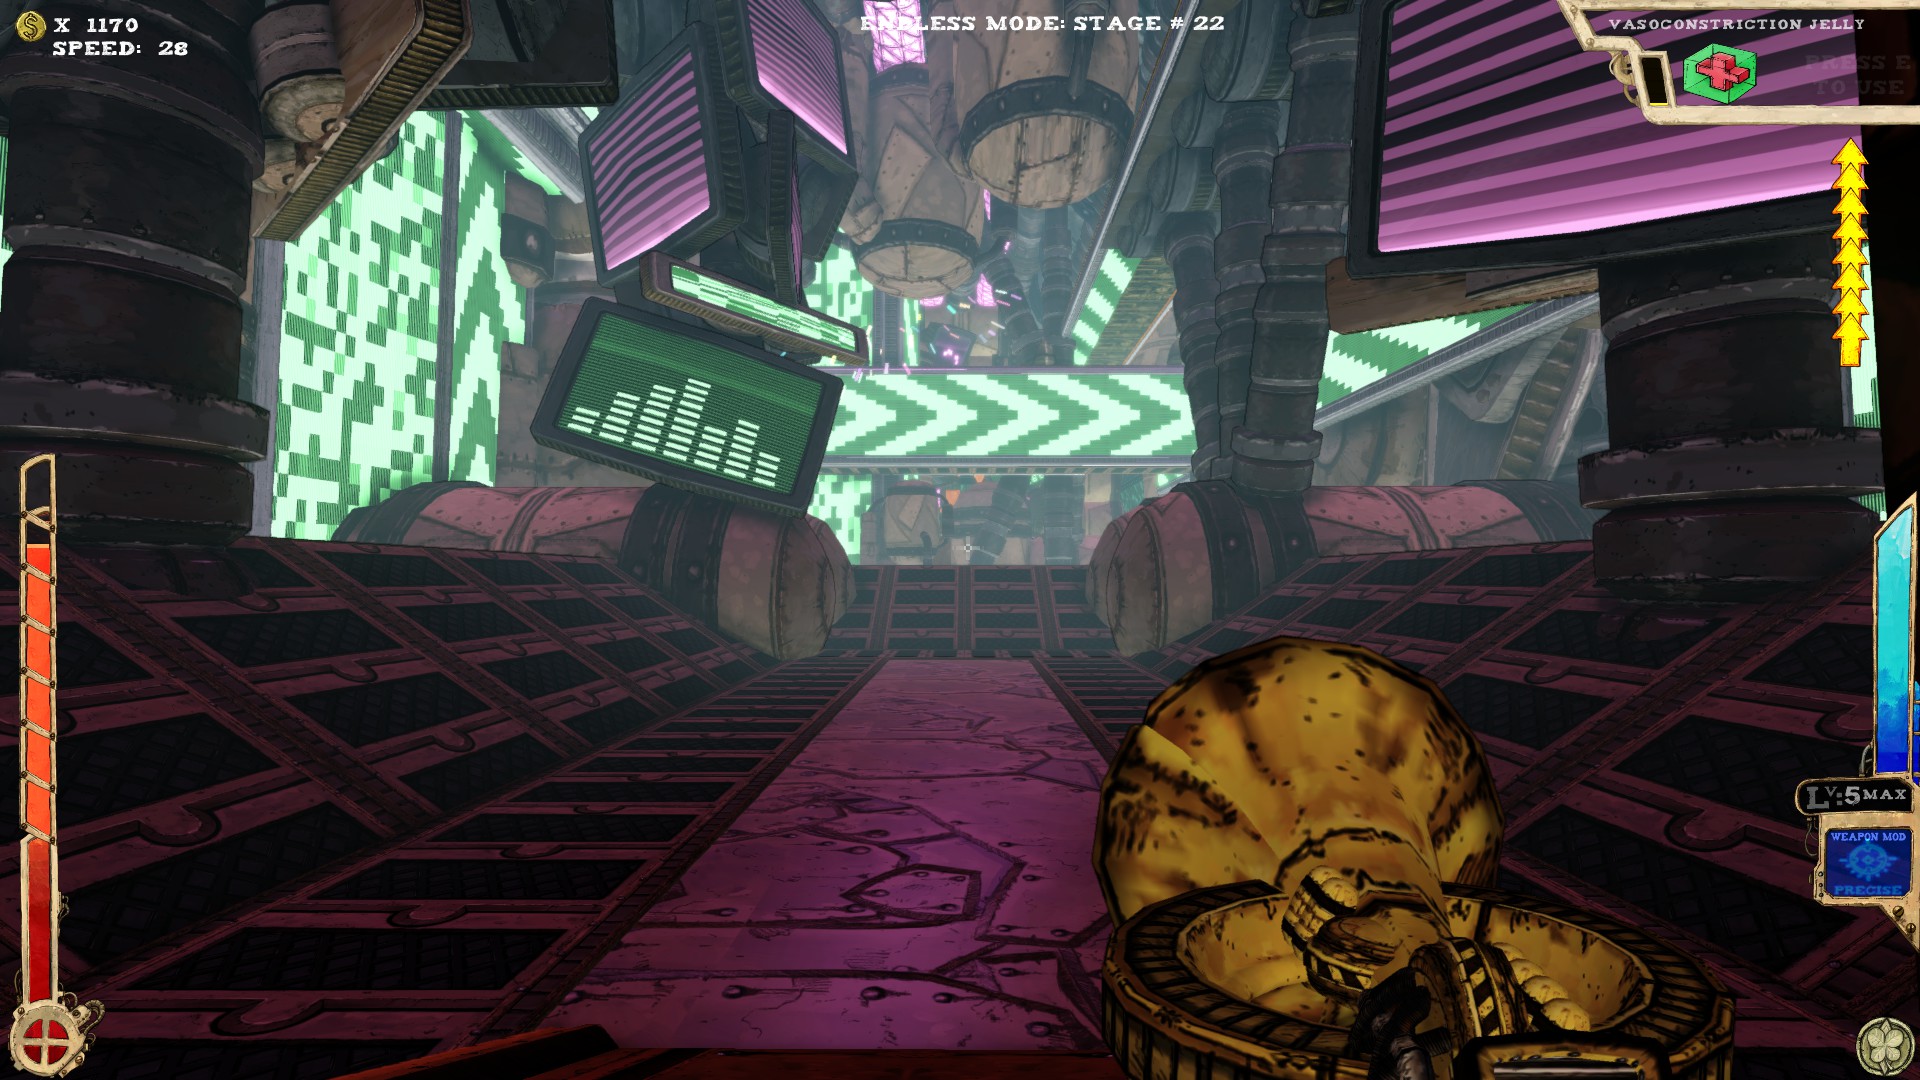
 One is under the conveyor belt that runs across the room, accessed via a small corridor on the left side of the room.
You can use the screens and other environment means to get higher to be able to get there.
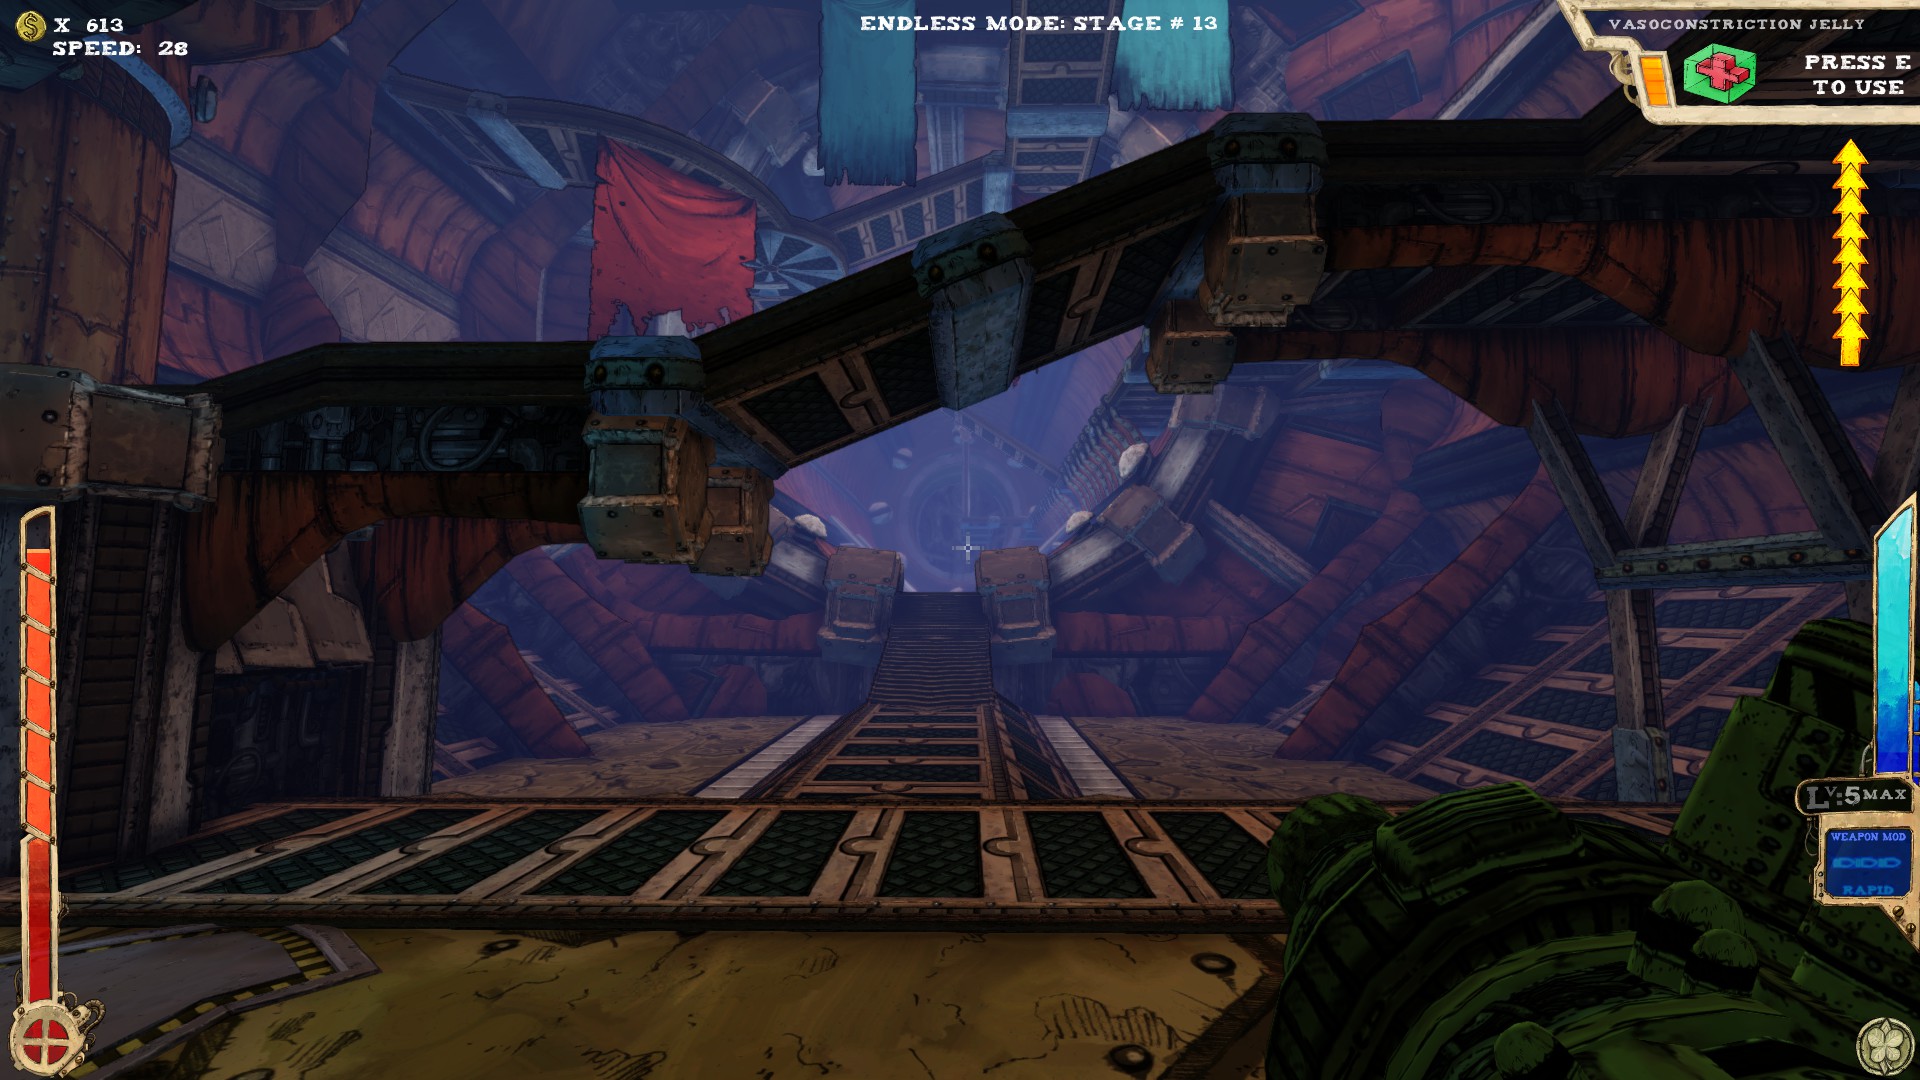
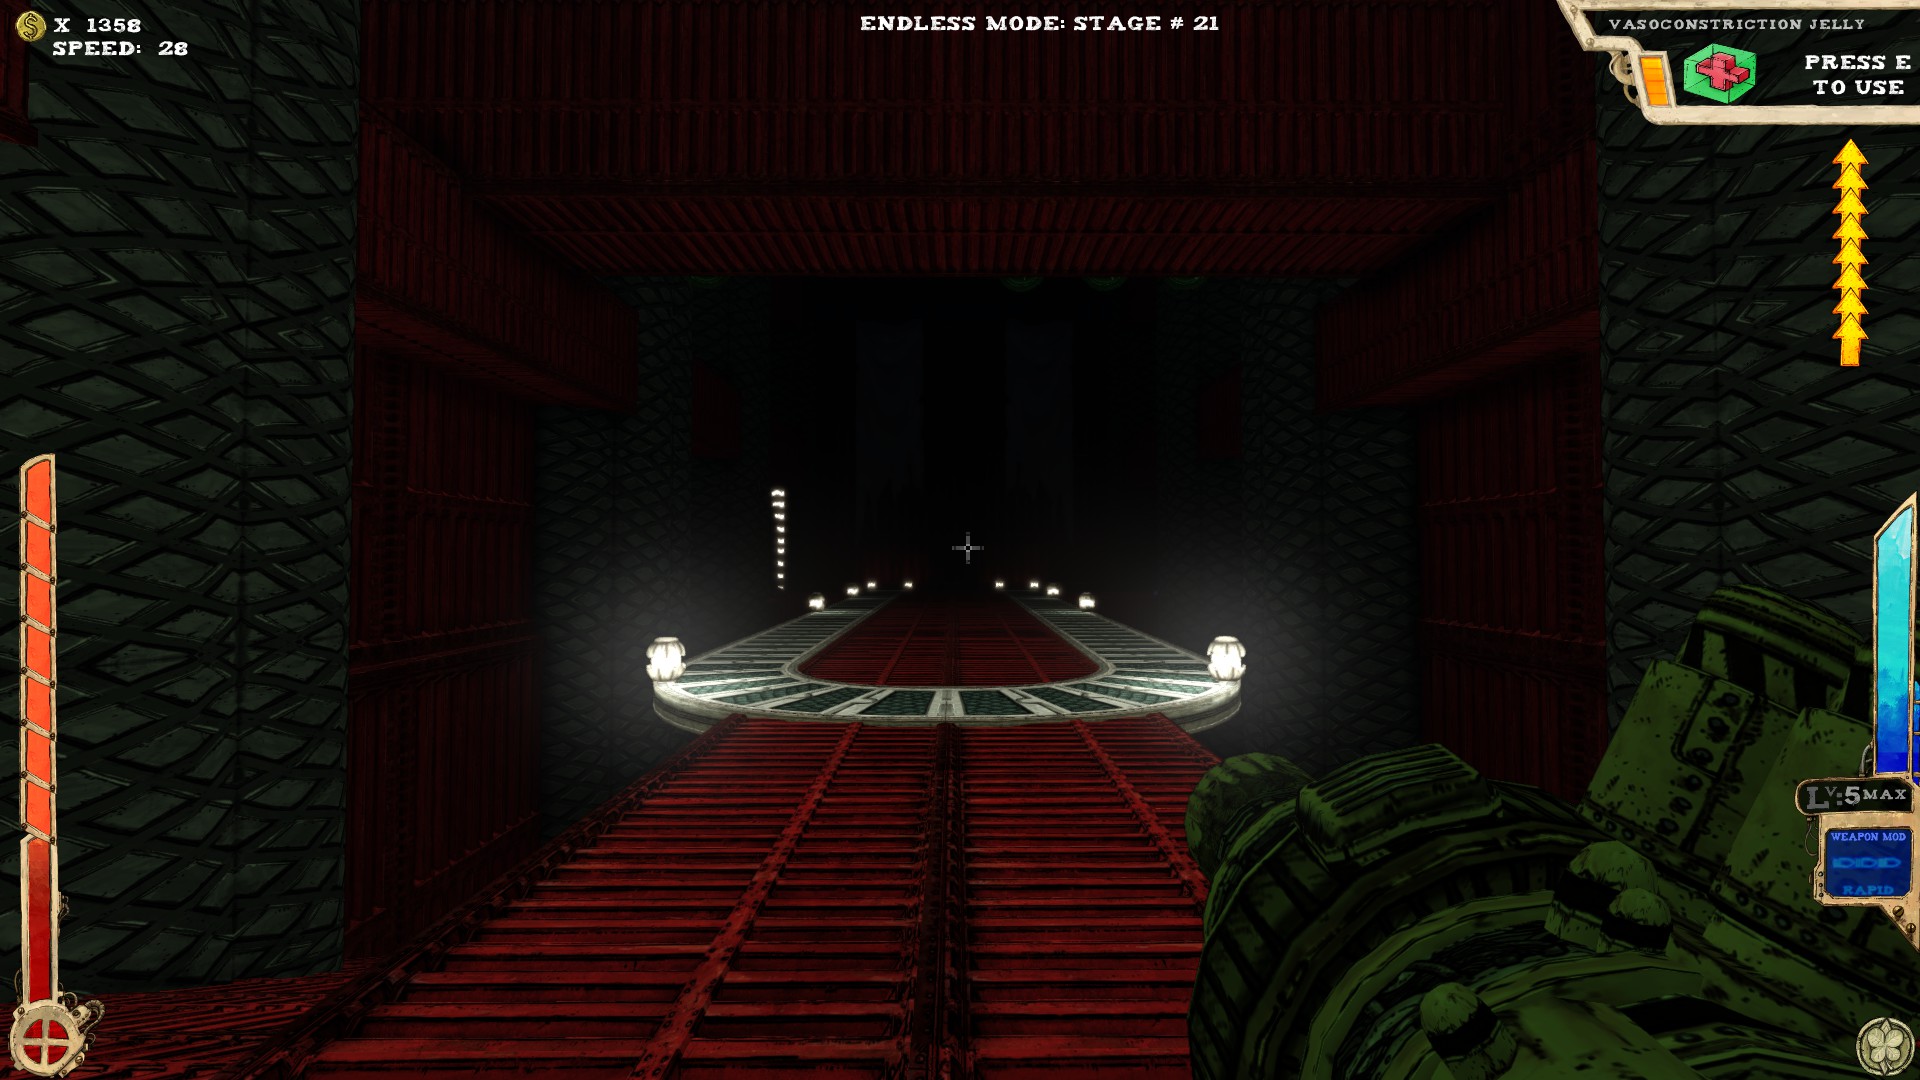
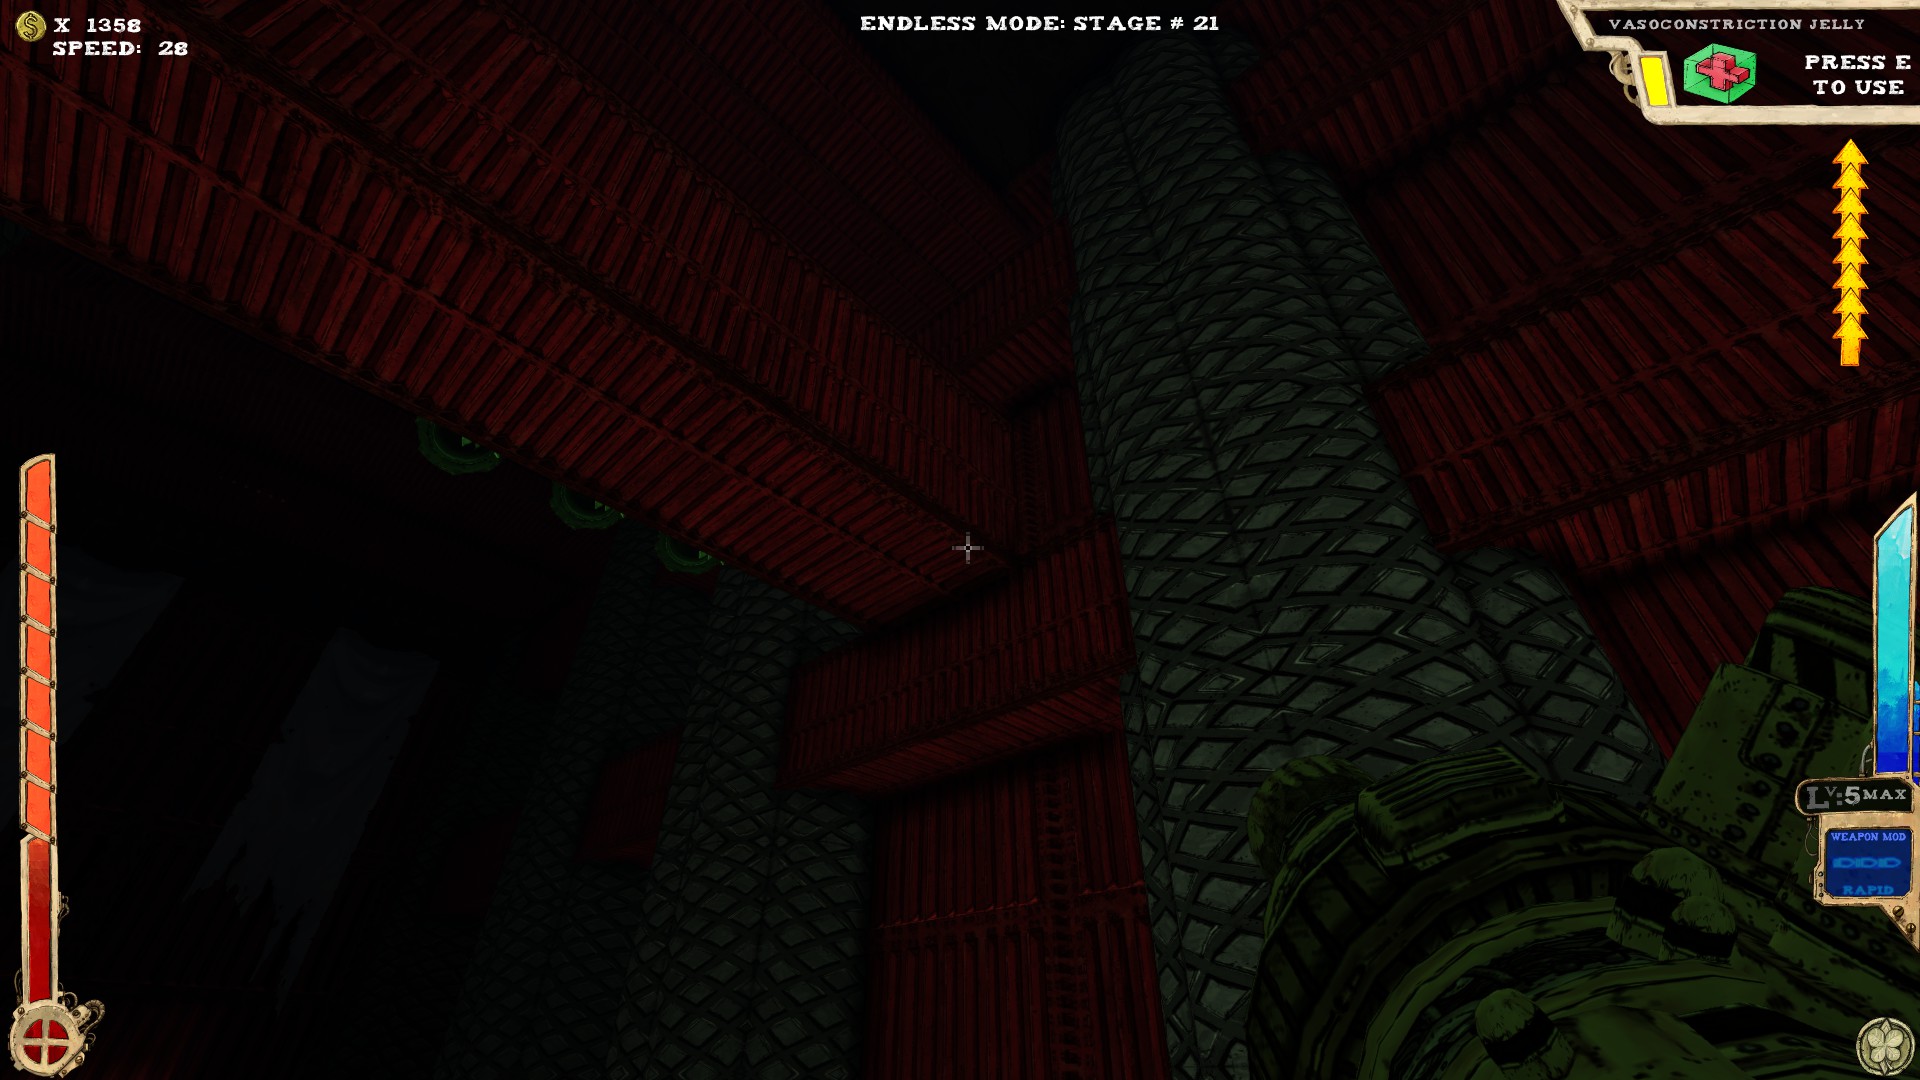
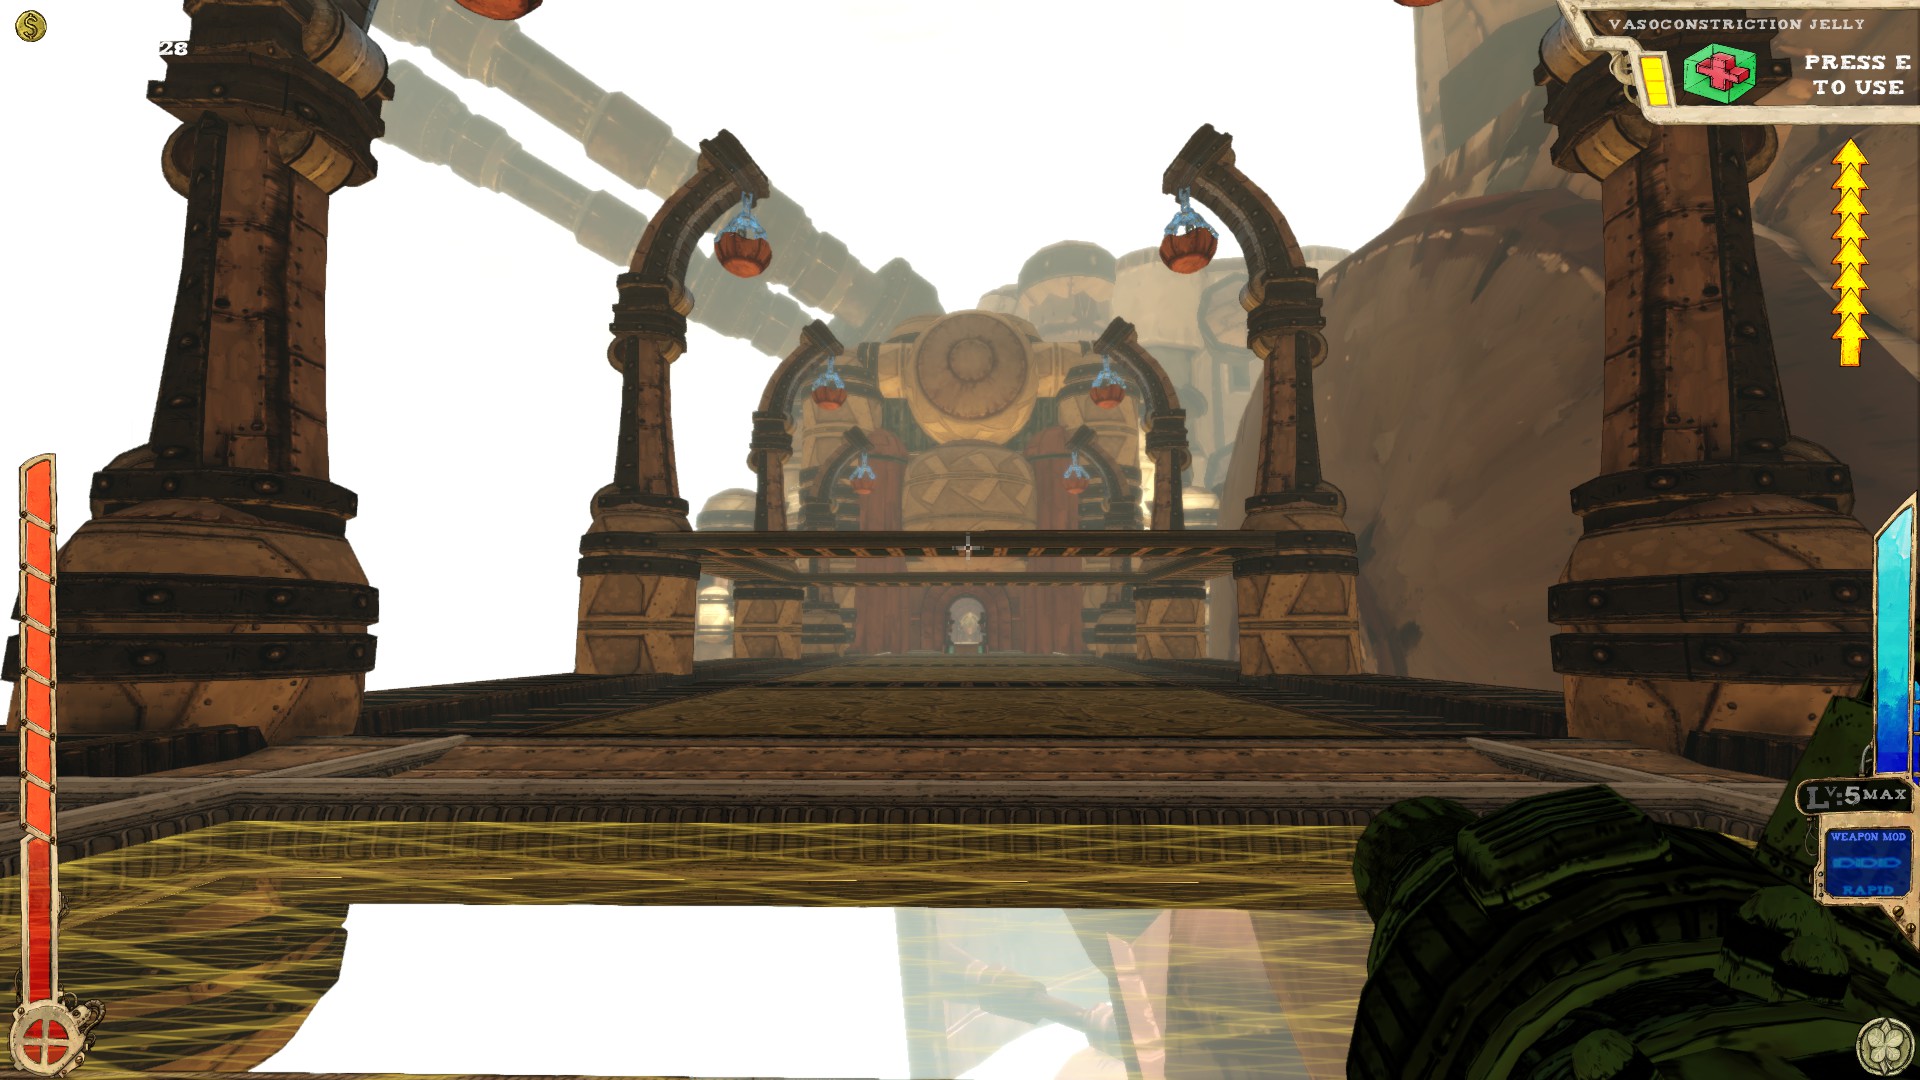
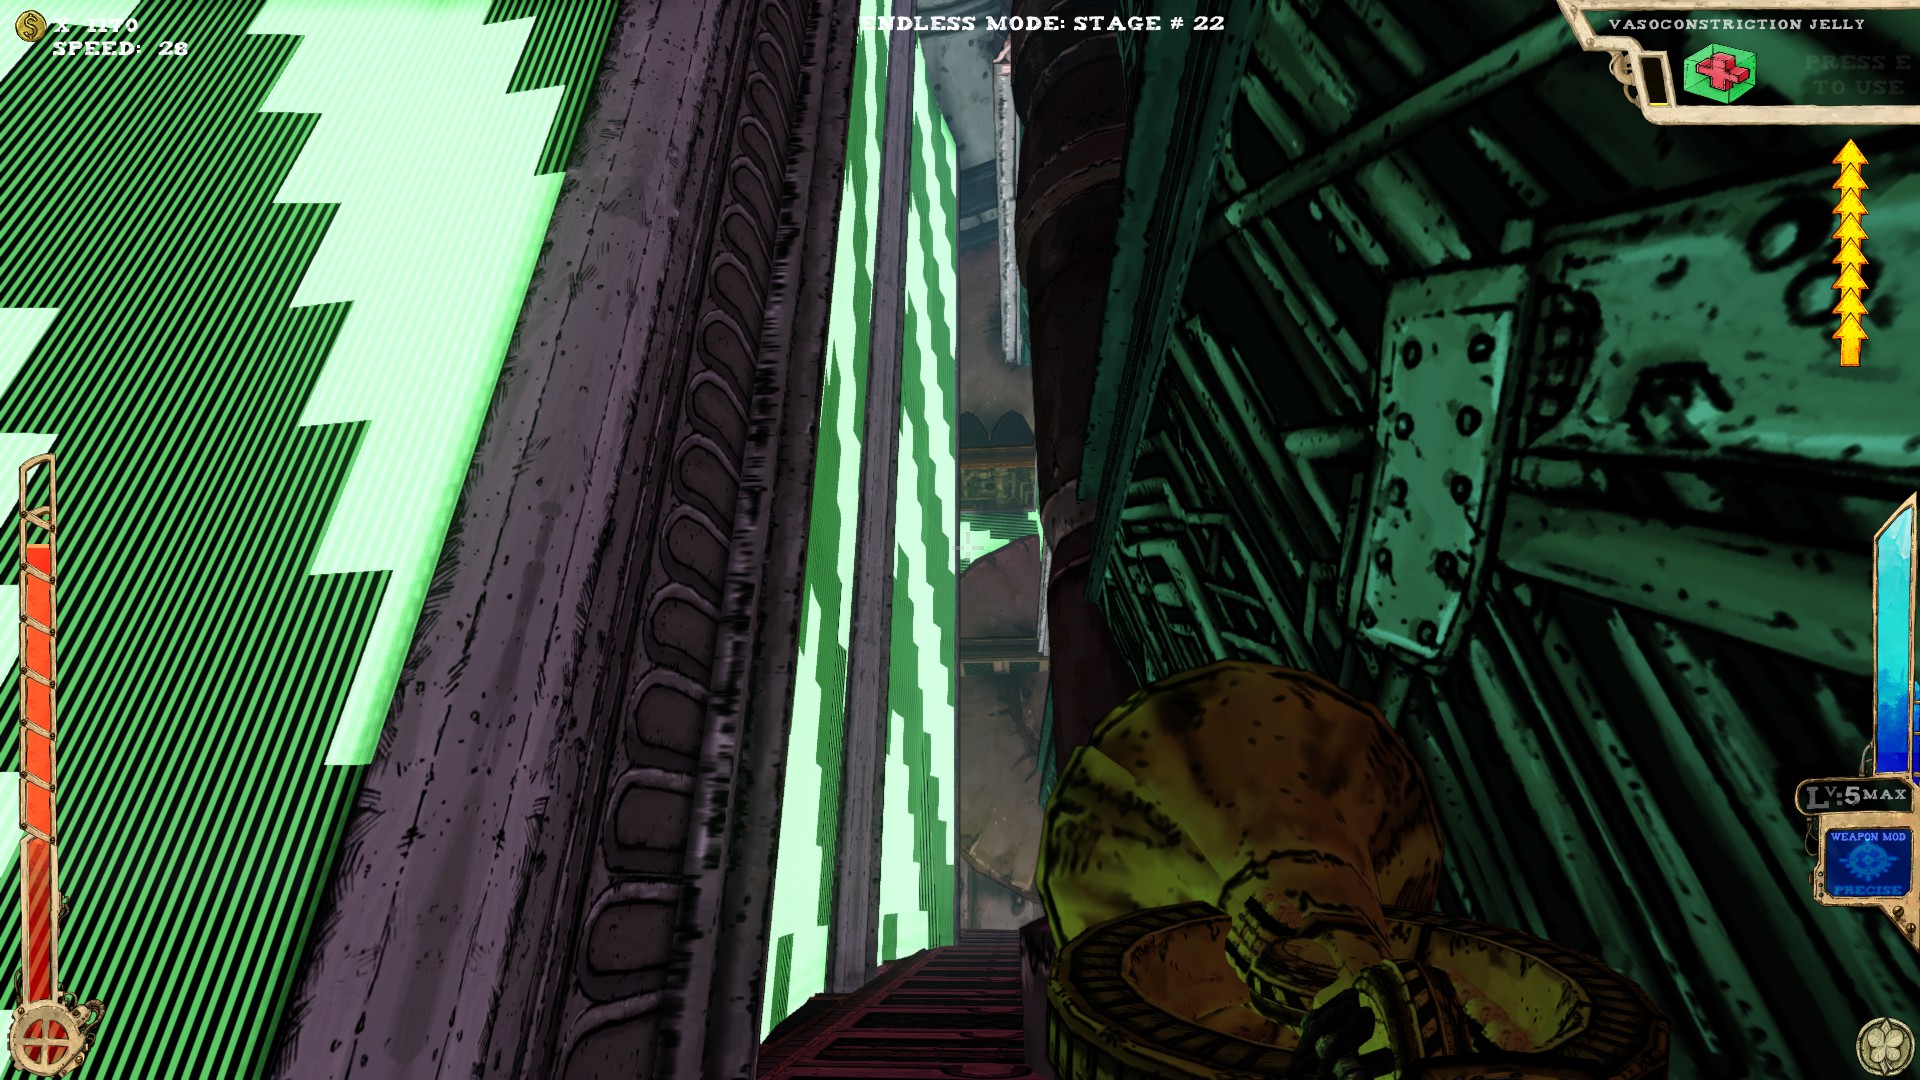
 When facing the exit, go right until the wall and turn right. You should see a small opening besides the ramp.
And that's Hugbot Alley. Logistics is next!
Hugbot Alley is a secret level, which can come between the Warehouse/Battlements and the Logistics. It's also the only place (afaik) where you can get the Motivator, which is one of the several secret weapons in the game.
Hugbot Alley also has always the same layout and only one room with secrets in it.
Two secrets. One is under the conveyor belt that runs across the room, accessed via a small corridor on the left side of the room.You can use the screens and other environment means to get higher to be able to get there.
When facing the exit, go right until the wall and turn right. You should see a small opening besides the ramp.And that's Hugbot Alley. Logistics is next!
Tog-o-Drome
Not really necessary to make a new section, as there only is one secret and two rooms, but what the hell, right?
You will definitely get to the Tog-o-Drome when playing Endless. If not, you can only stumble over it when using Lift Ticket to access The Village.
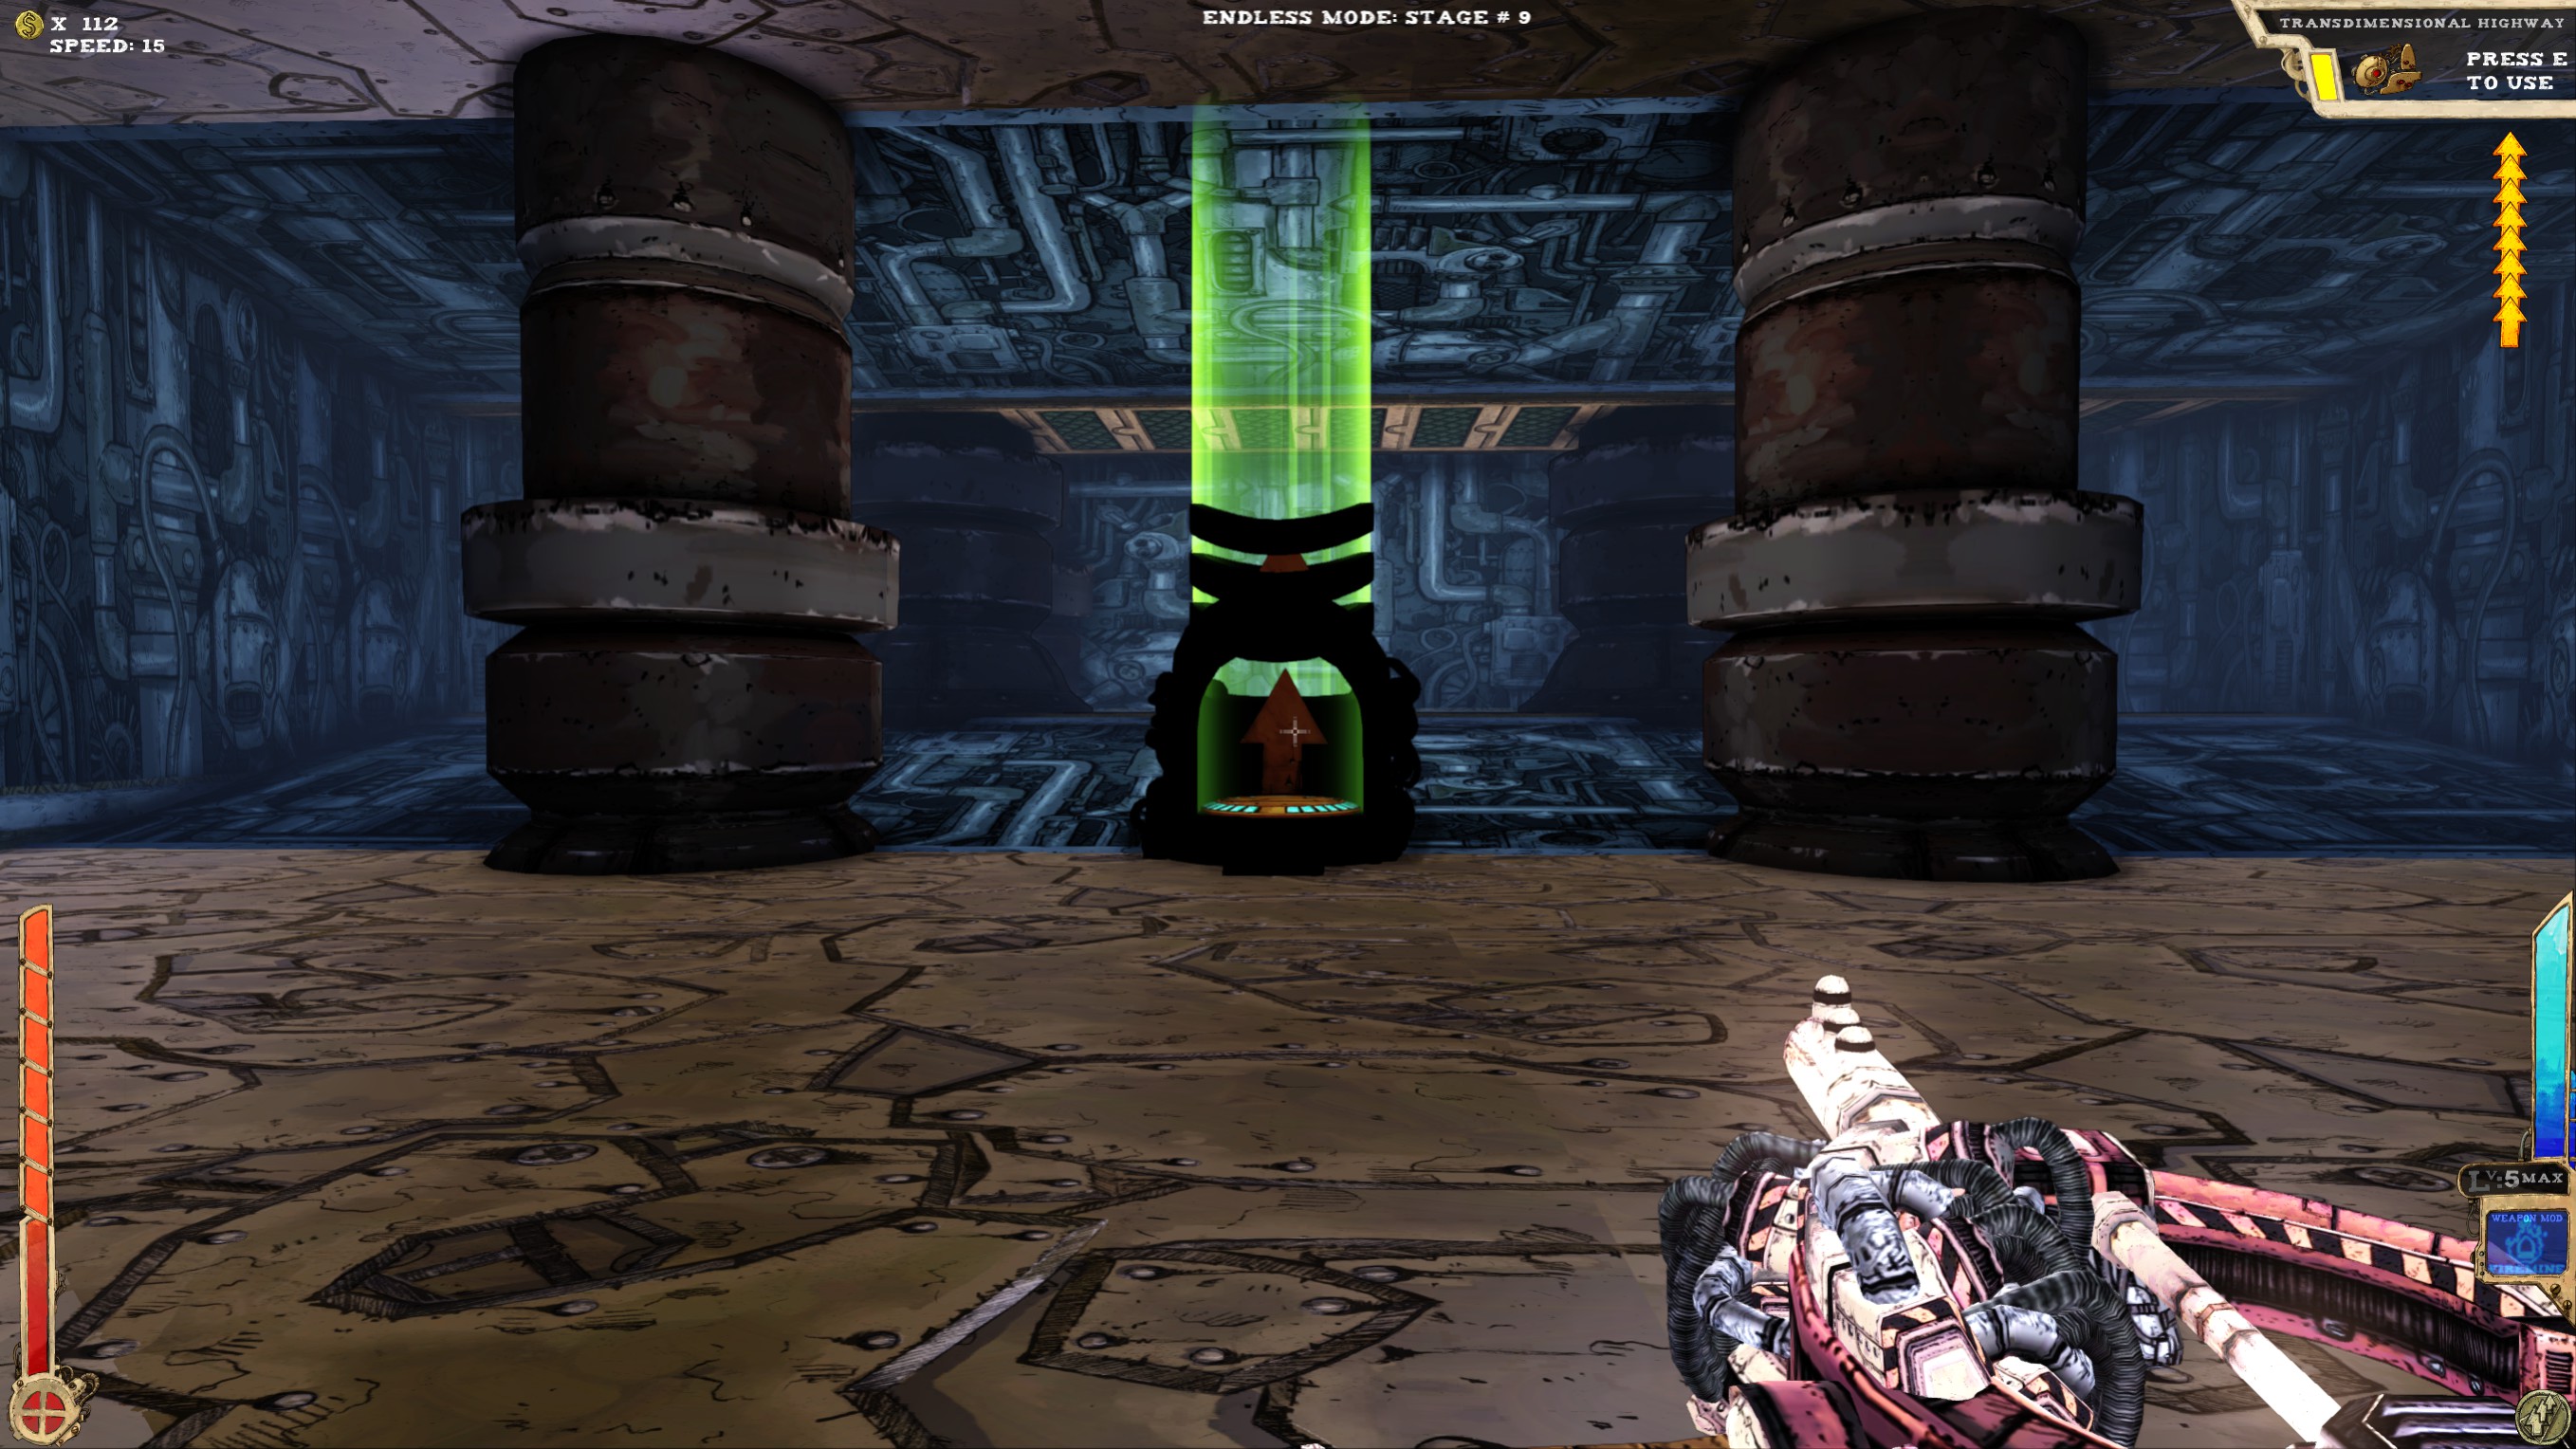 That is all. BEHIND the elevator, inside a fake wall.
You will definitely get to the Tog-o-Drome when playing Endless. If not, you can only stumble over it when using Lift Ticket to access The Village.
That is all. BEHIND the elevator, inside a fake wall.
The Logistics (Part 1)
The Logistics come either after the Warehouse/Battlements or after Hugbot Alley and is also one of the levels that always comes up.
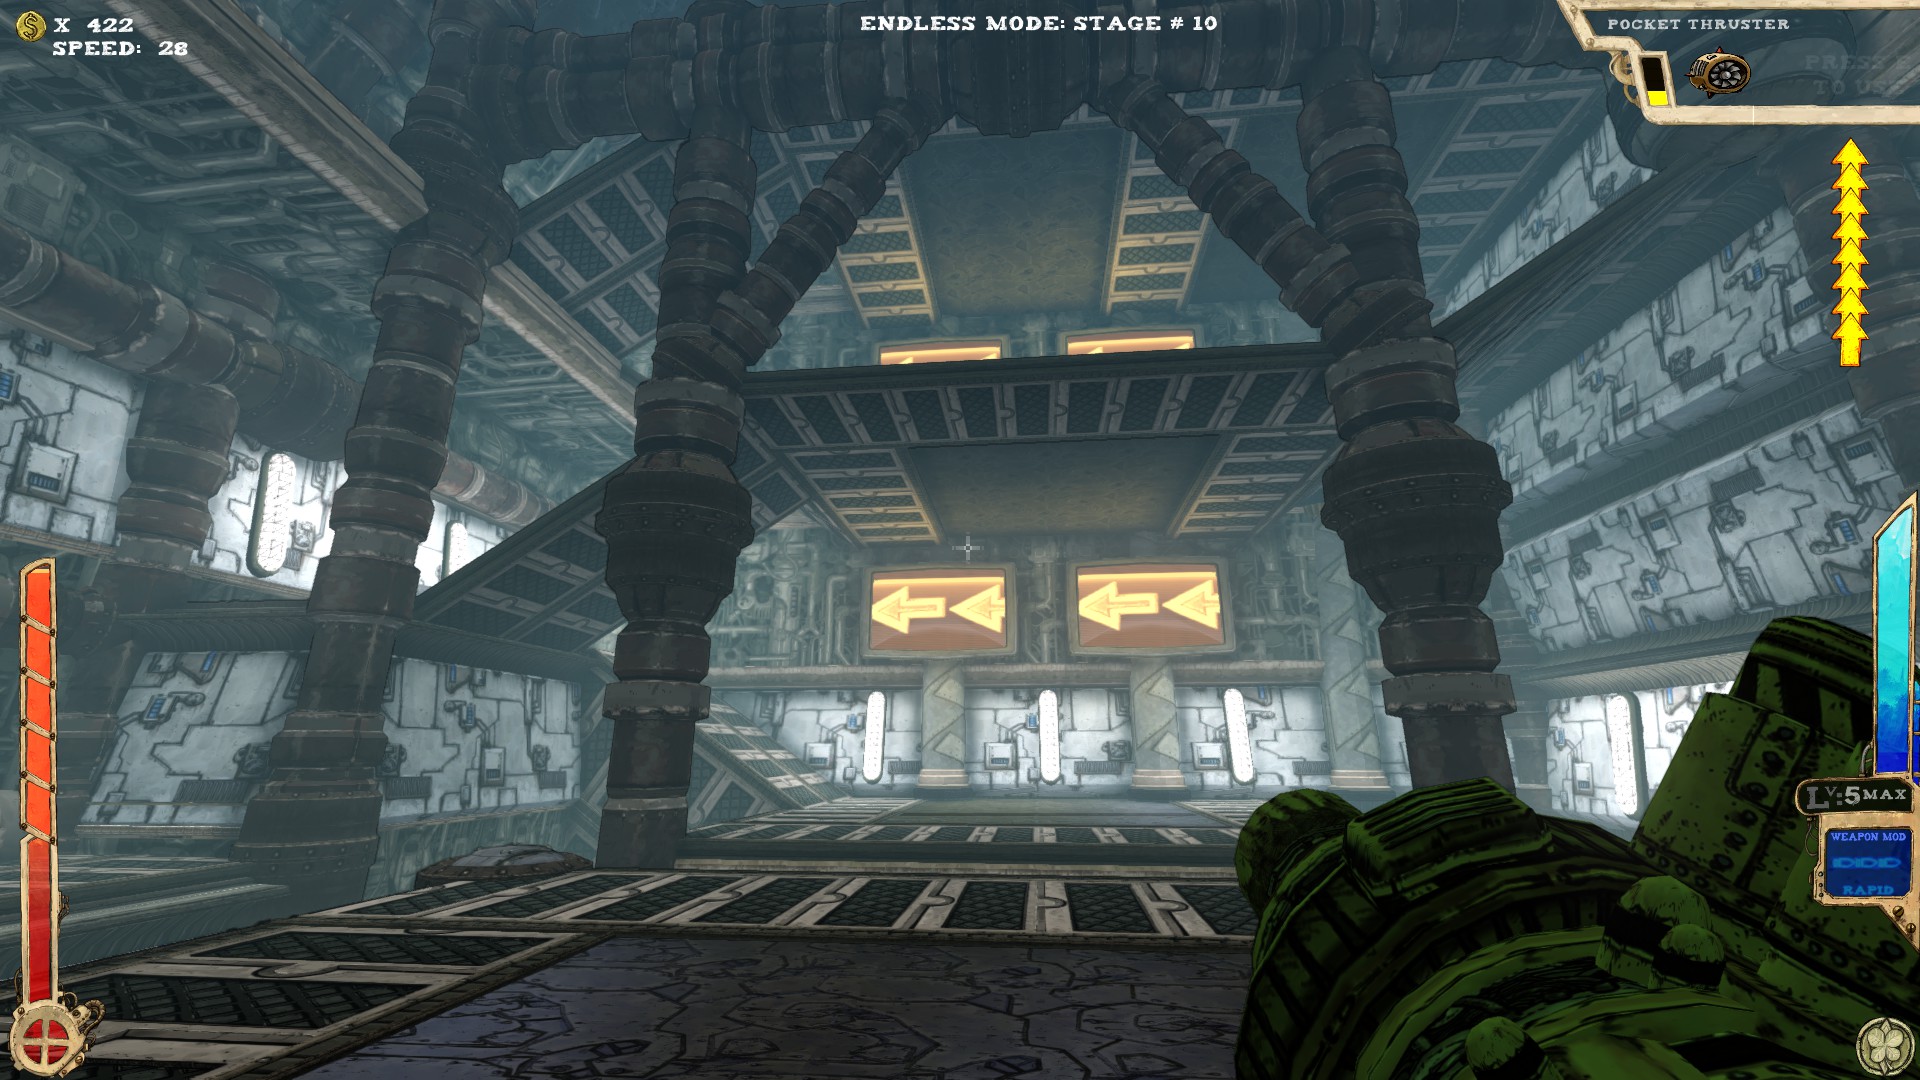 Two secrets.
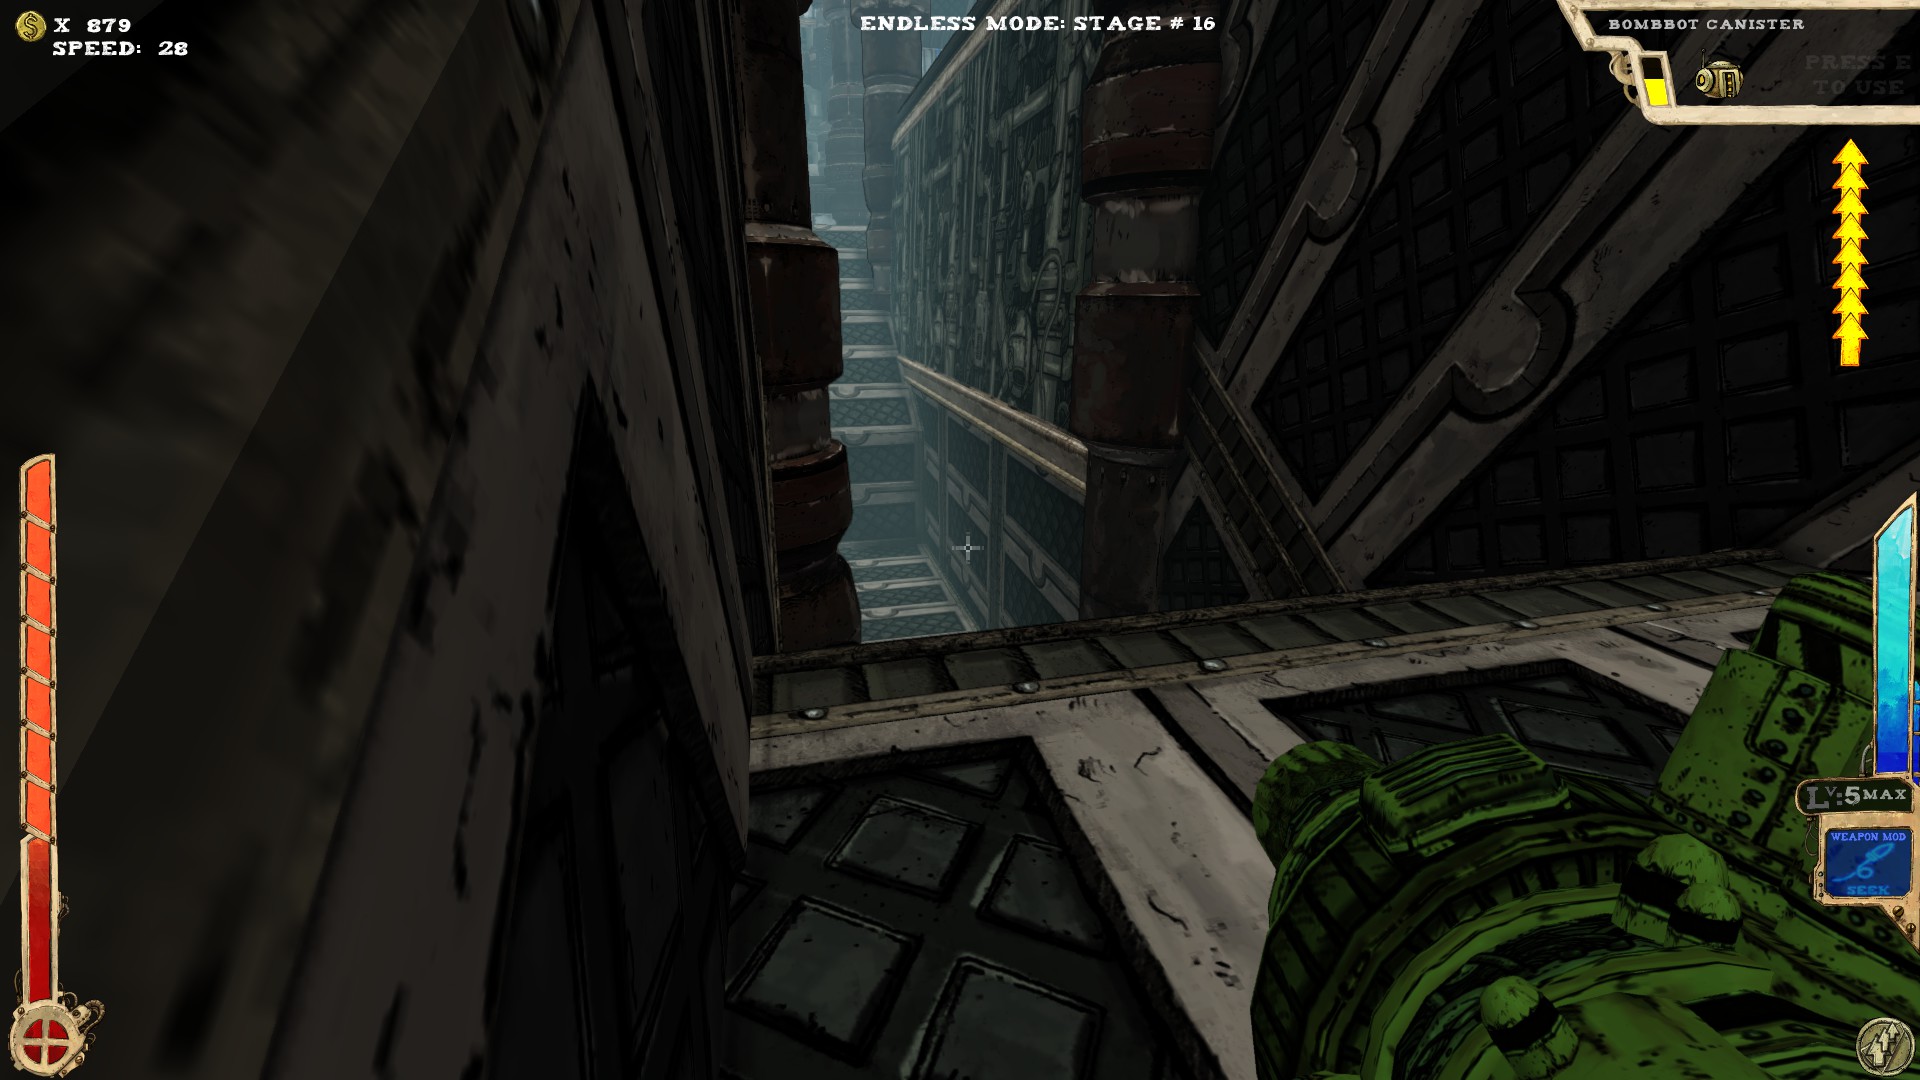 In the middle of the room on the bottom. The secret is on one side behind a fake wall.
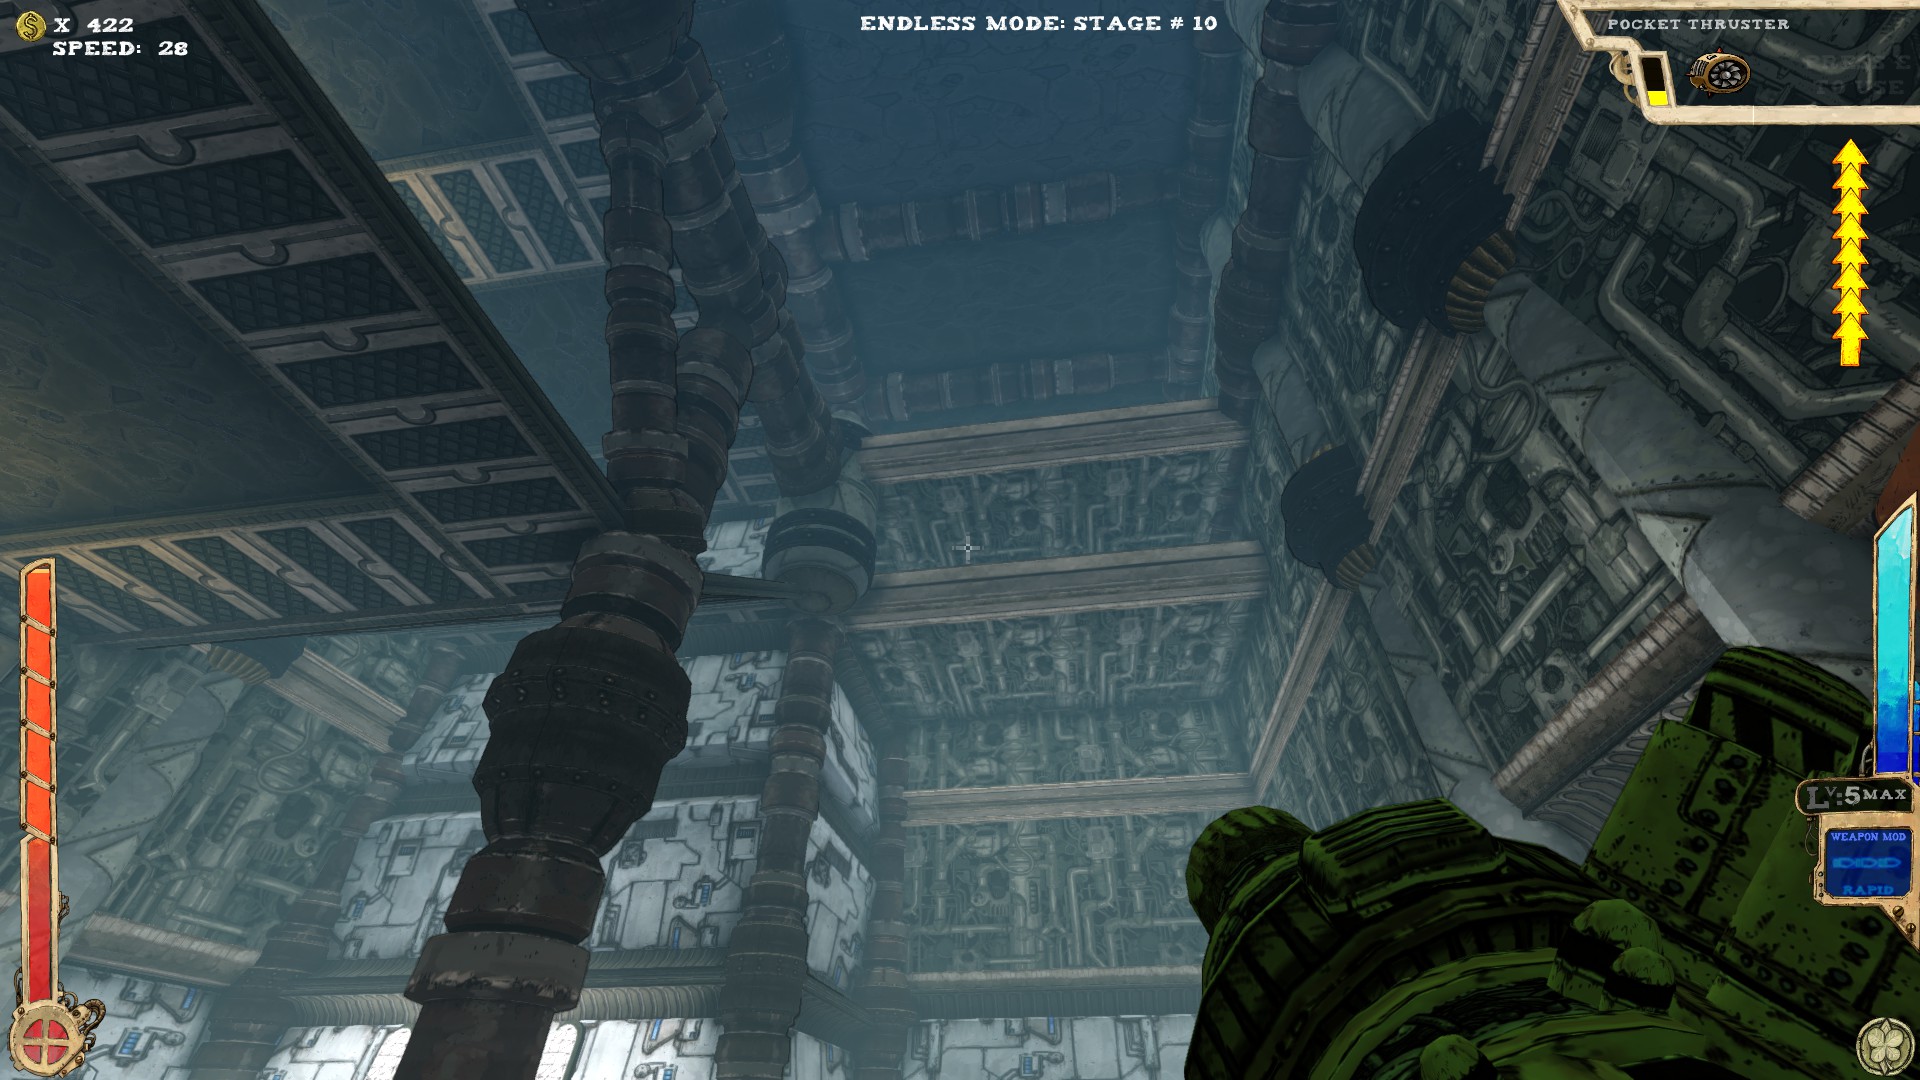 When reaching the top, you can either go left, which leads down to the exit or right, which leads to the secret. Take the right.
----
 Part of a random room setup. Contains one secret.
 When facing the entrance, you should see a platform above. On that platform is a wall. This wall is fake. Walk through it.
----
 Four secrets.
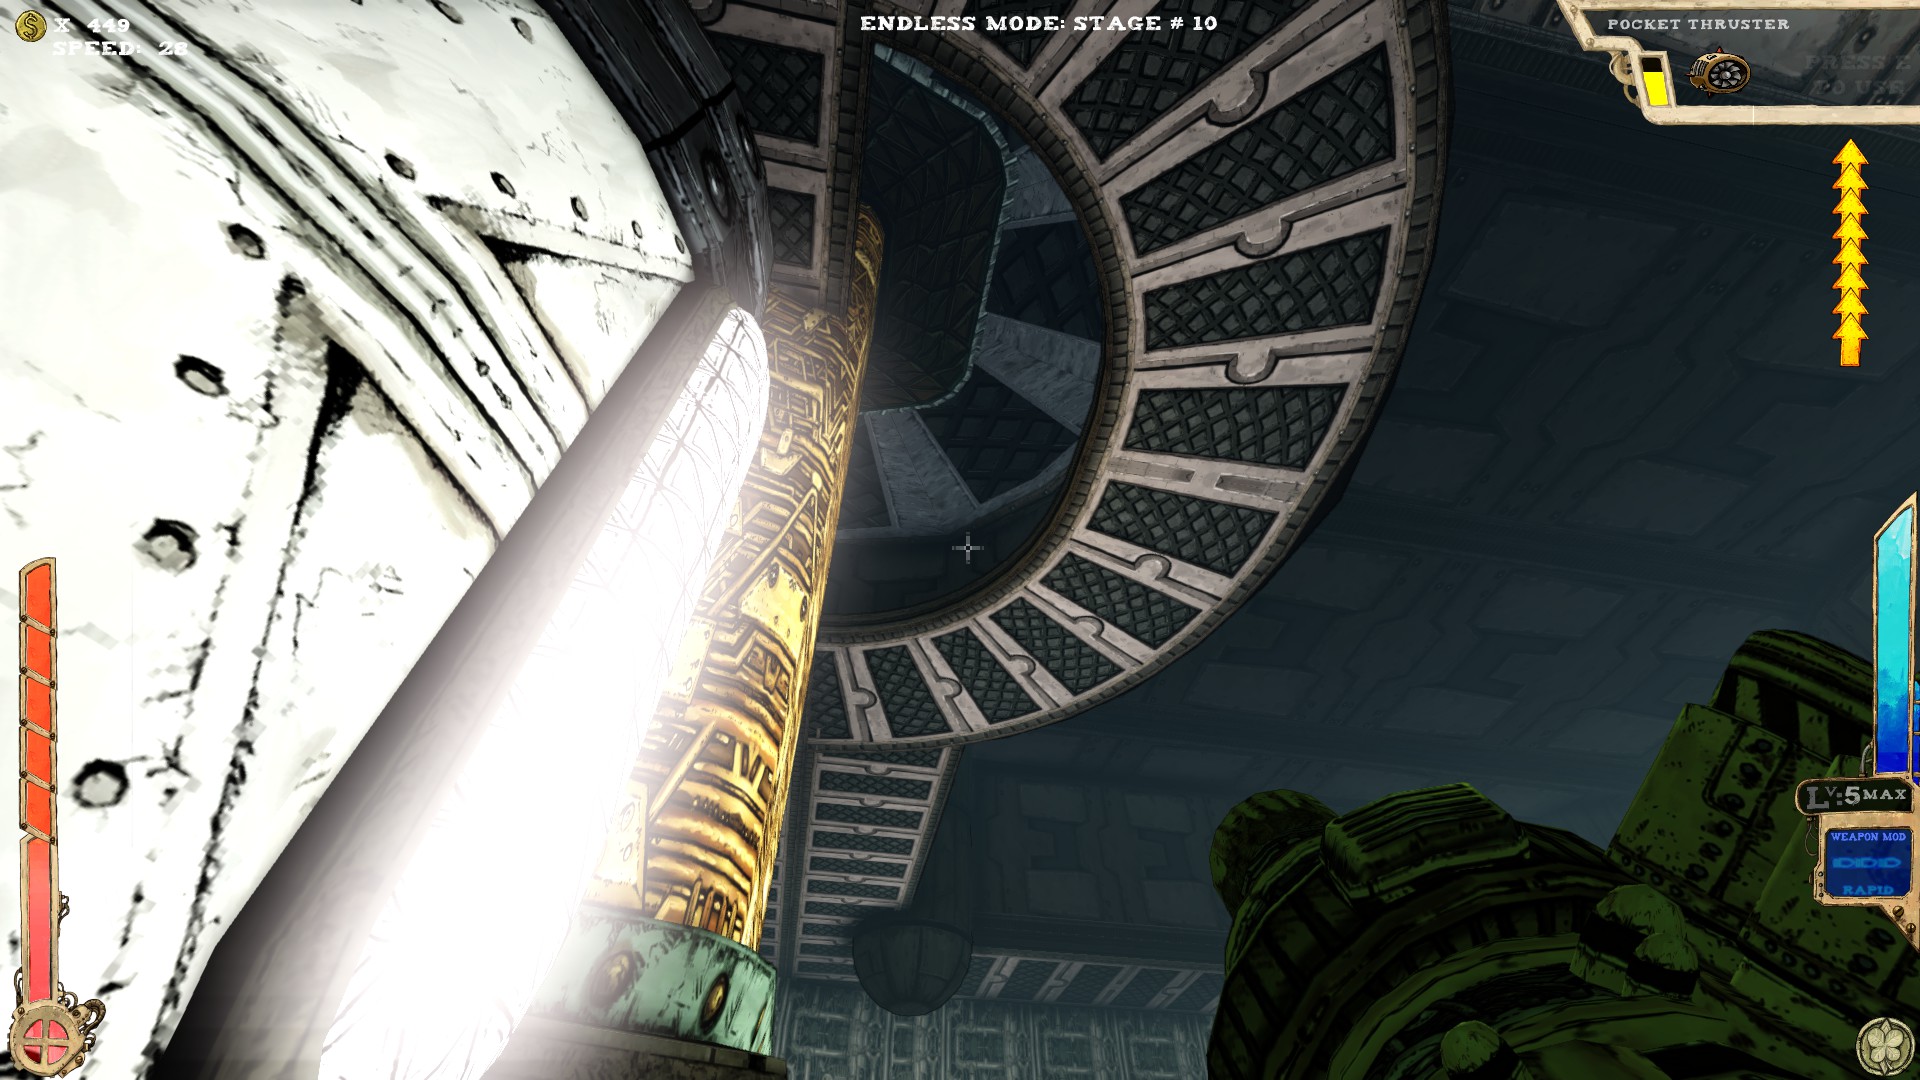
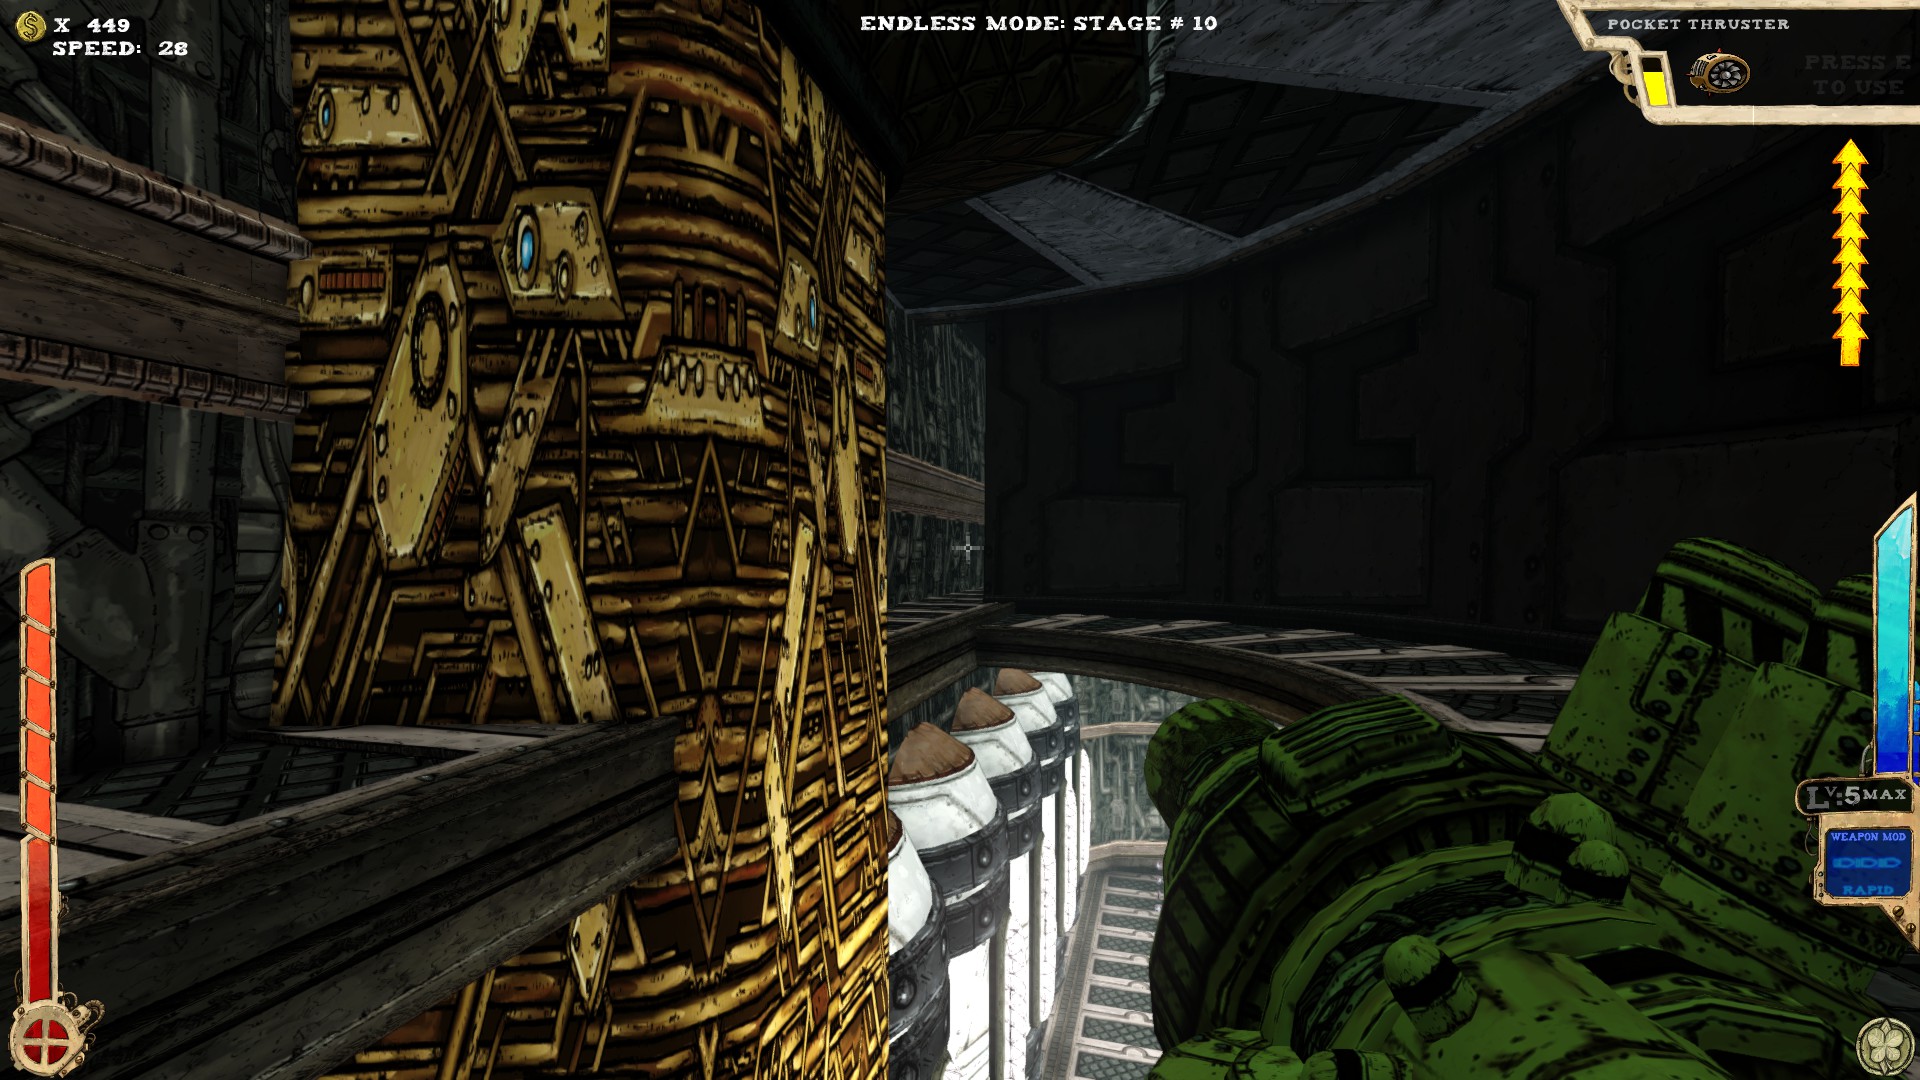 The pillar on the right has an opening. If you manage to get in there, you've found the first secret.
And when in there, you can access the second one by following the way I'm pointing at in picture two.
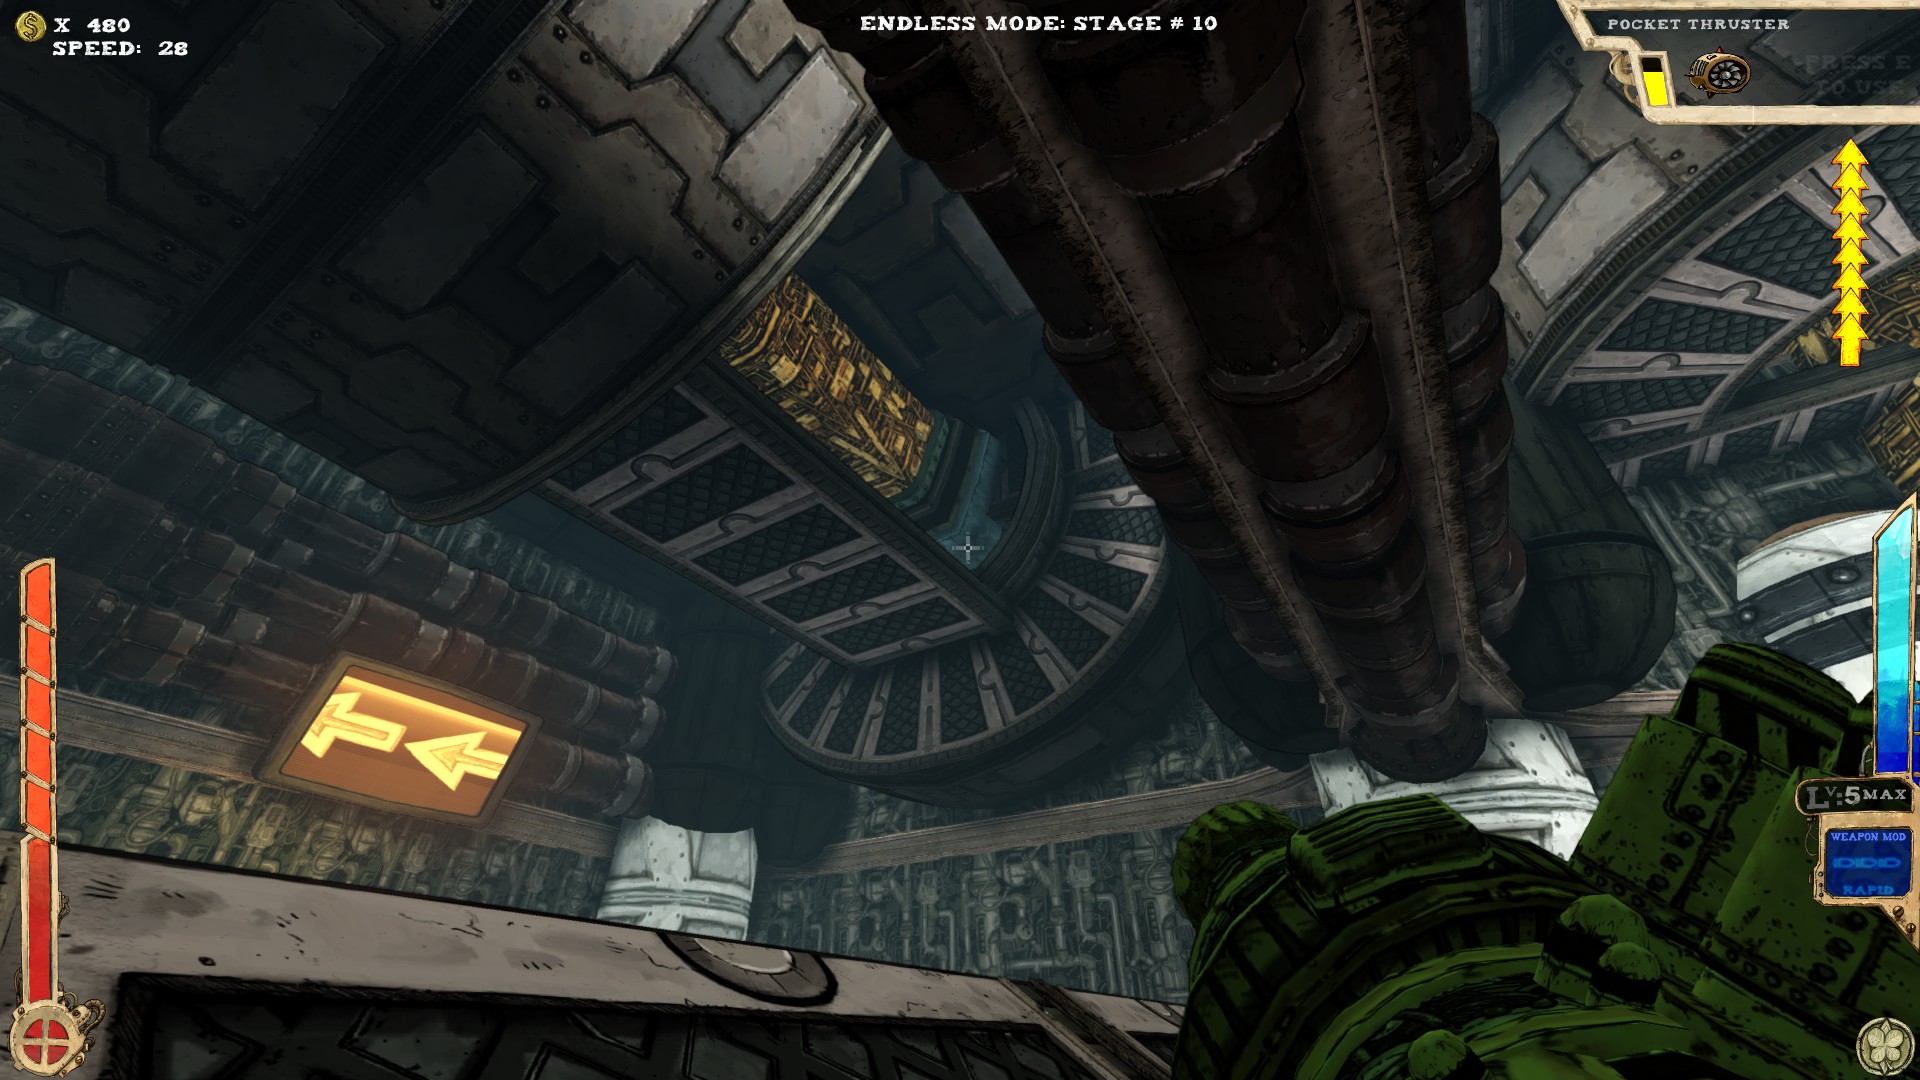 Second part of the room, under the pipe.
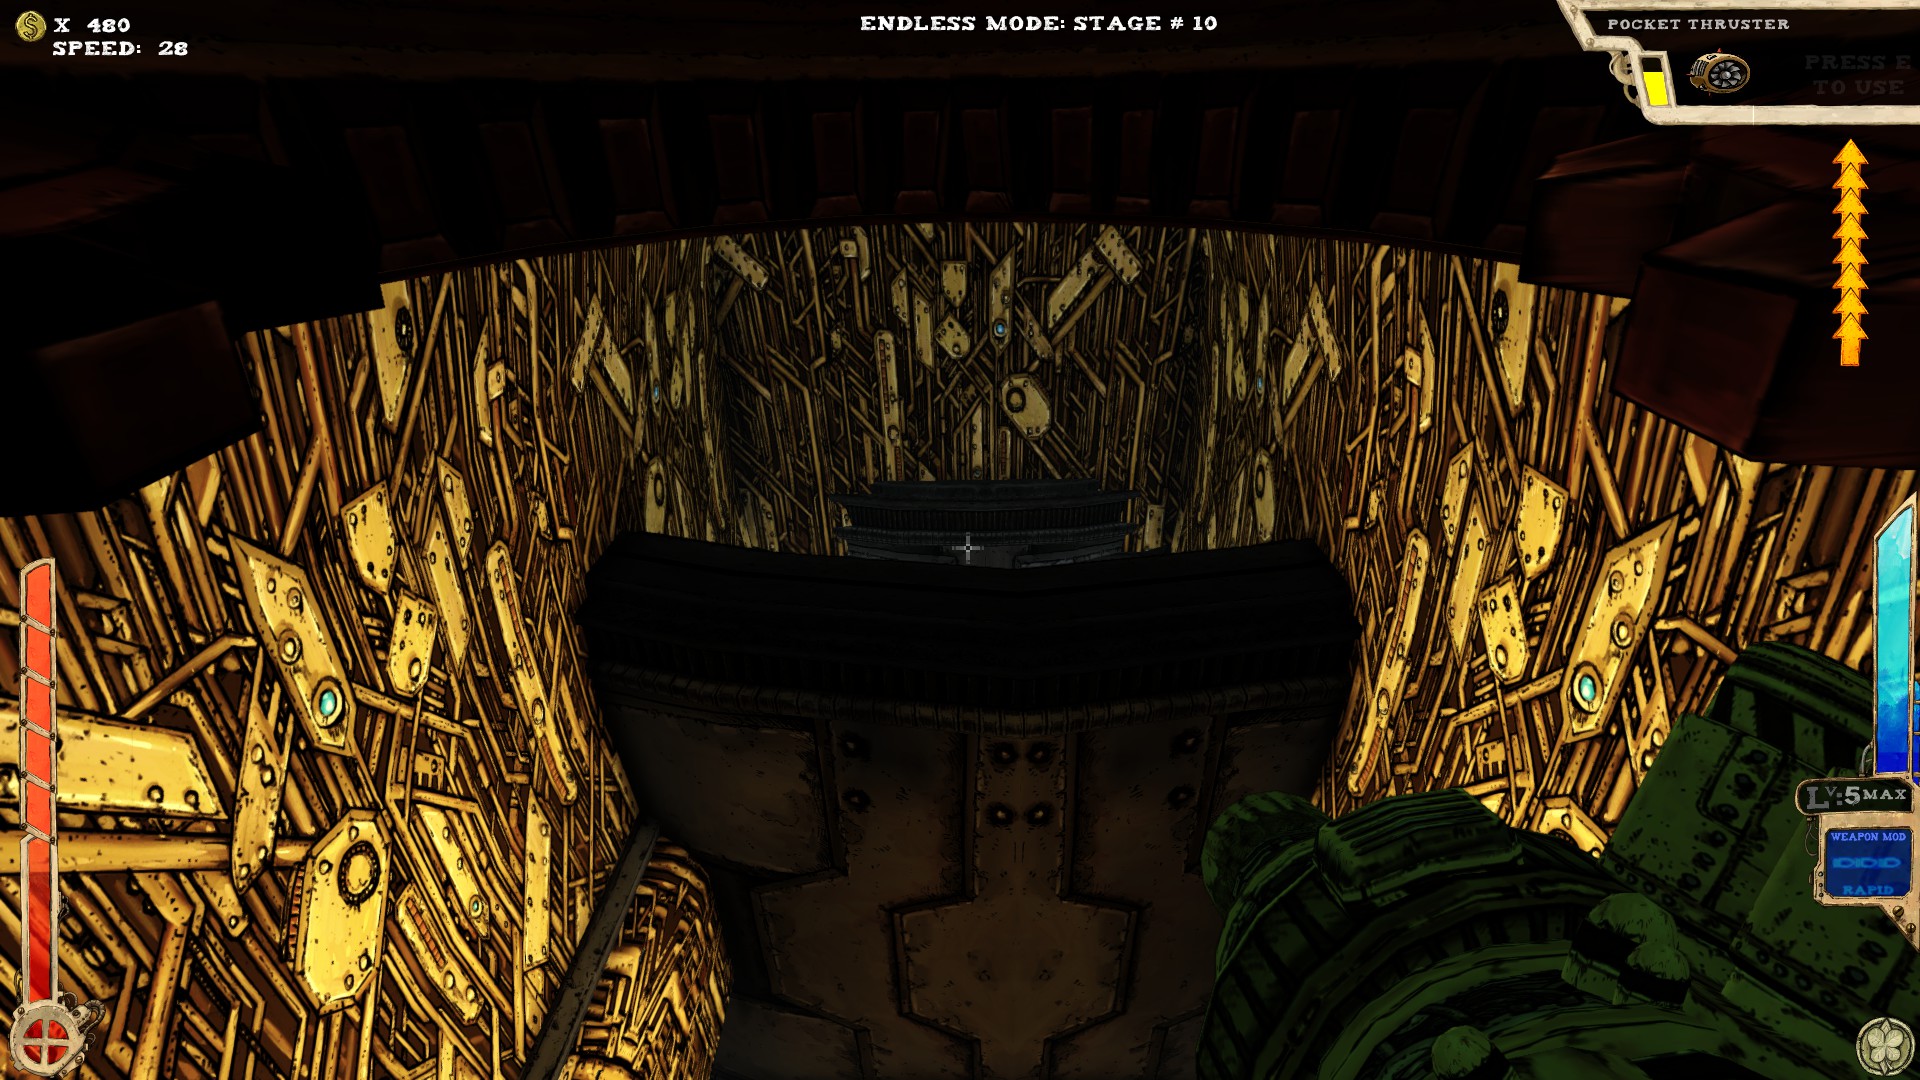 When standing in front of the boss door, turn around and look up. The platform above contains the secret.
----
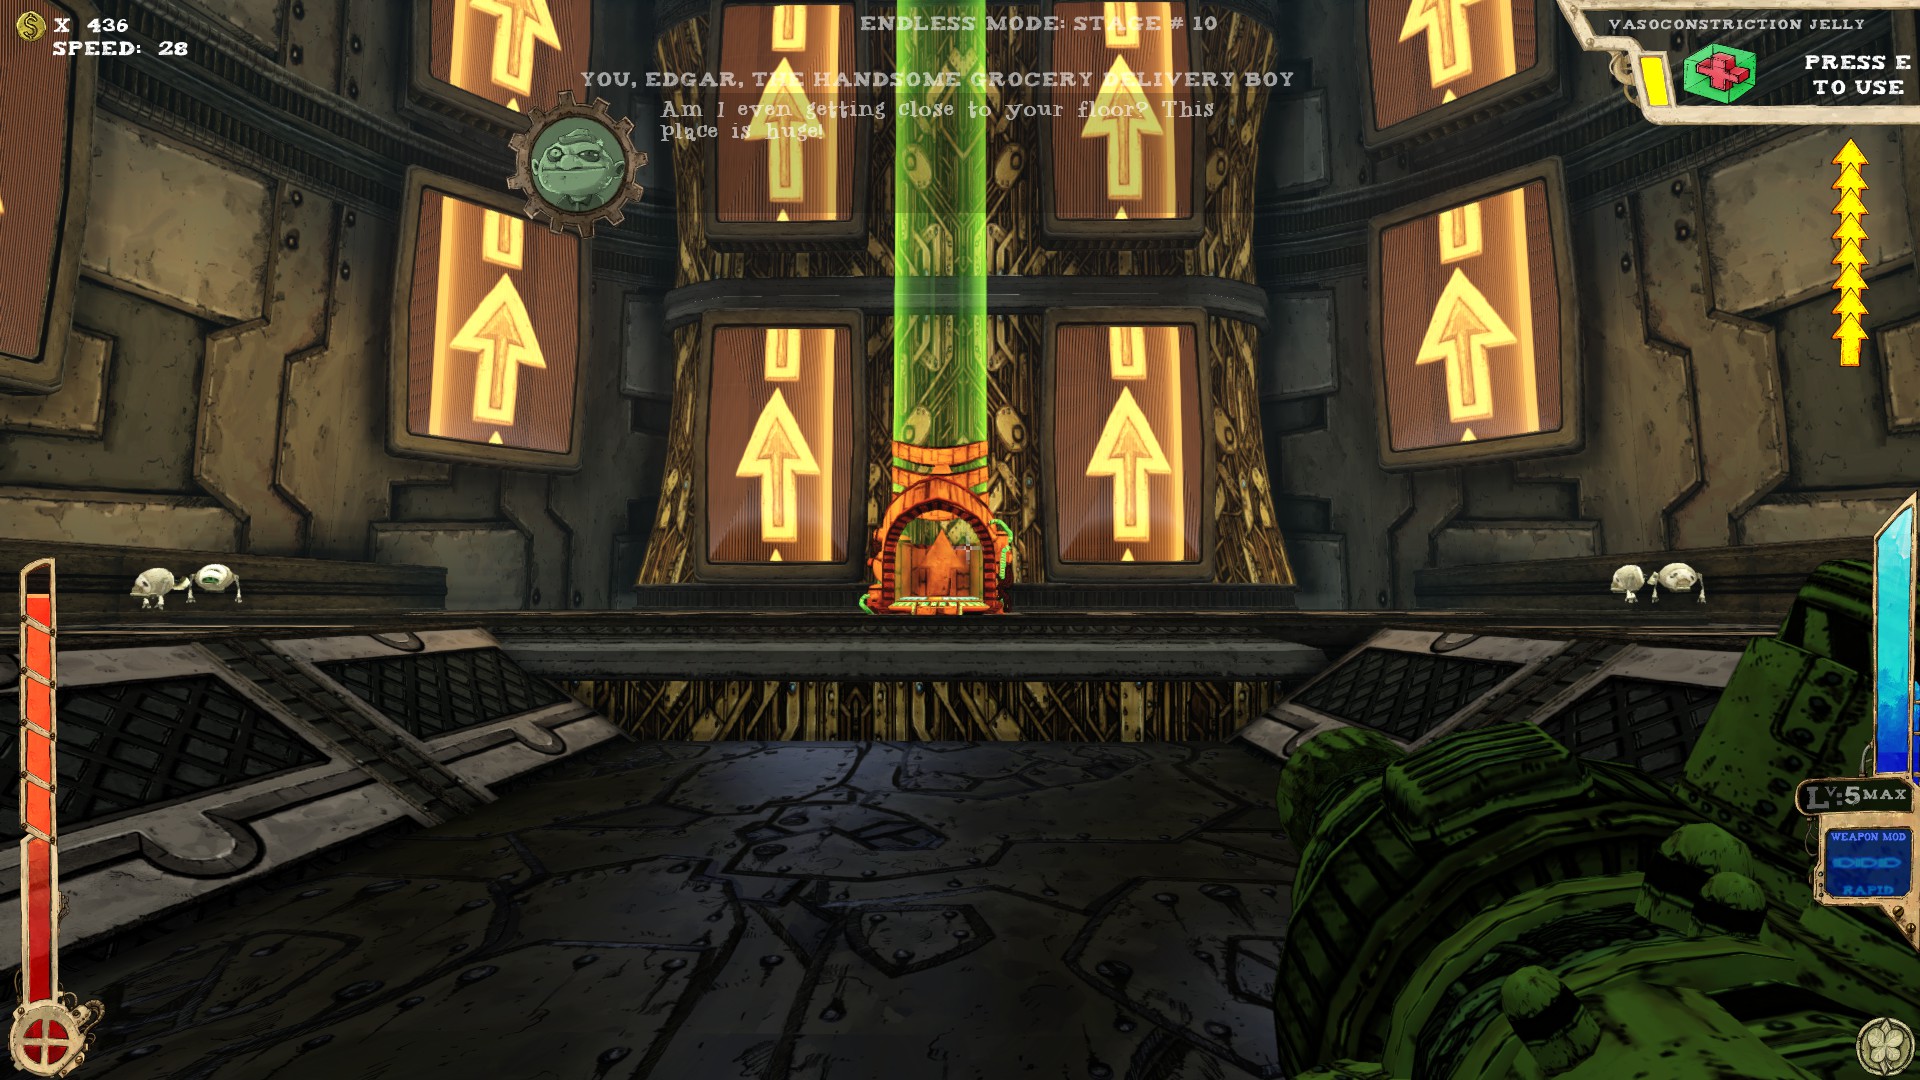 One secret.
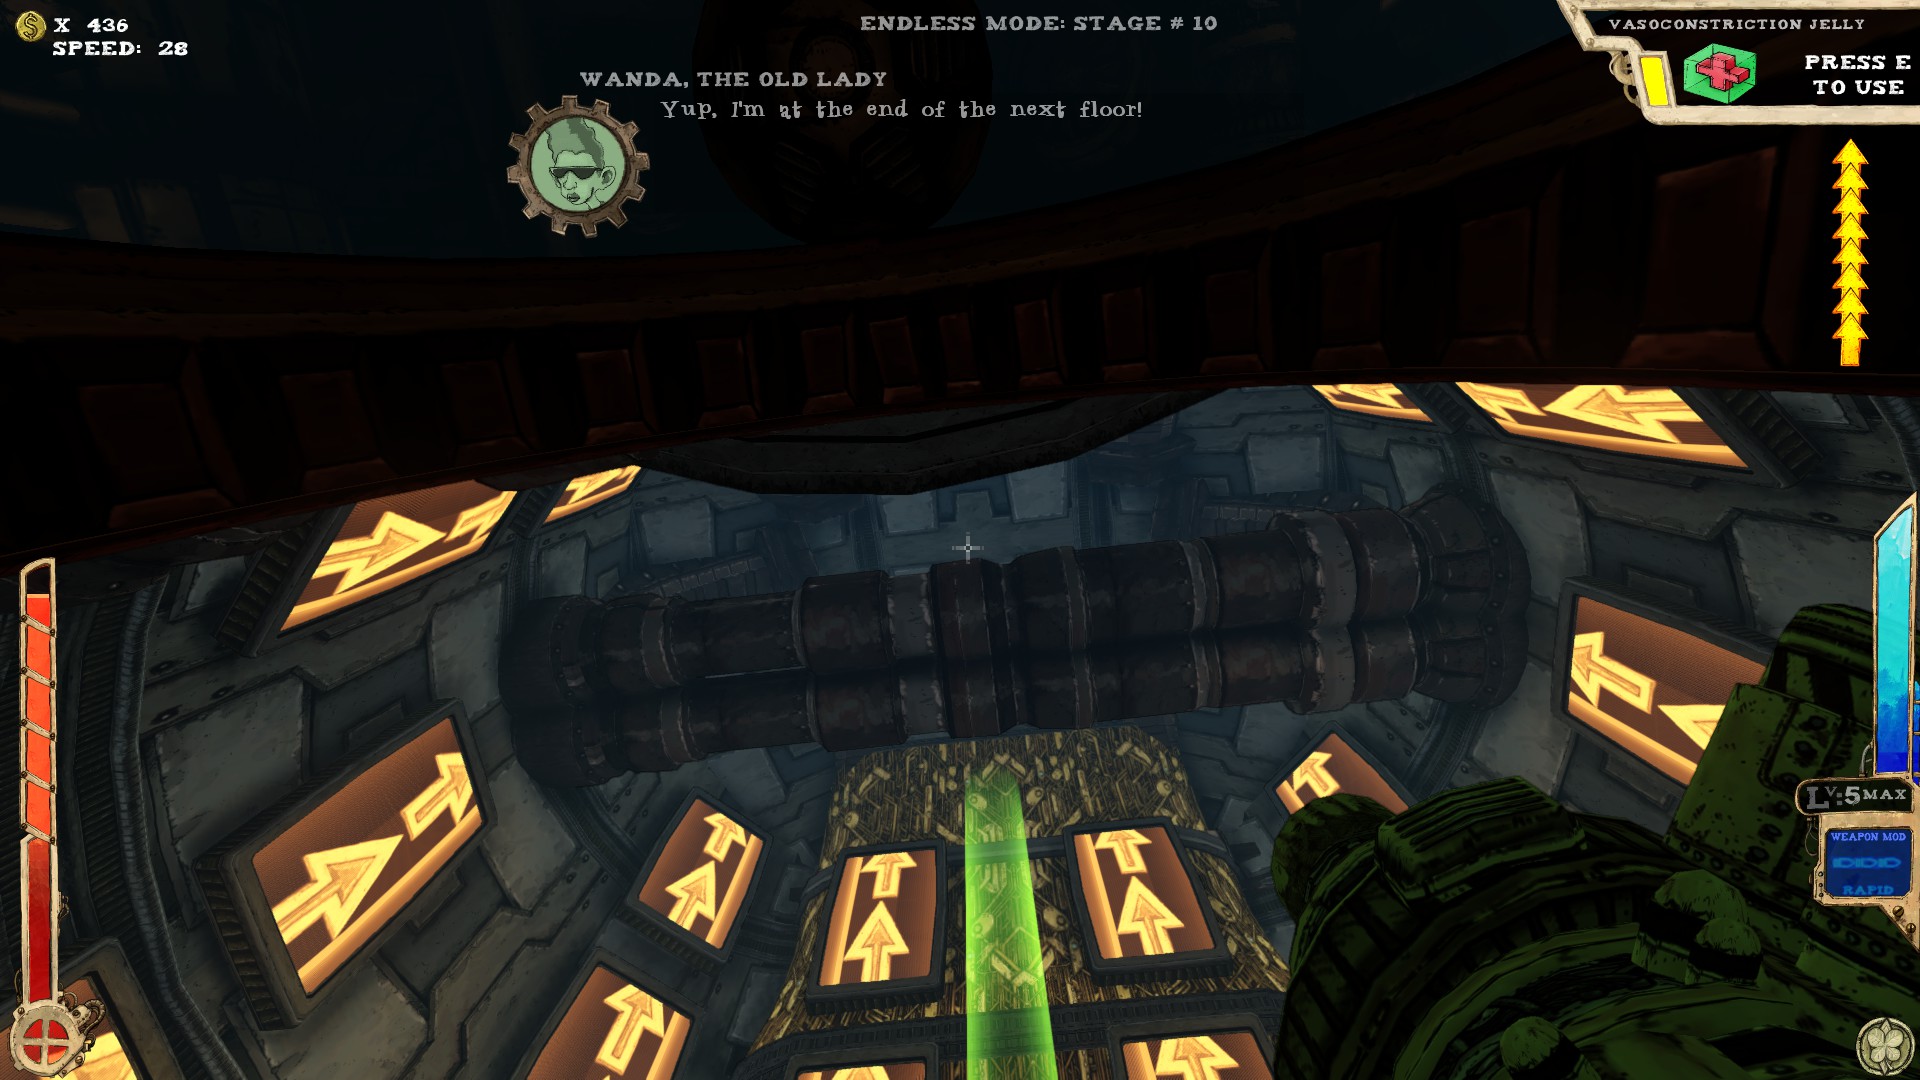 If the arrows on the screens everywhere weren't indication enough: look up. The secret is on the pipes.
----
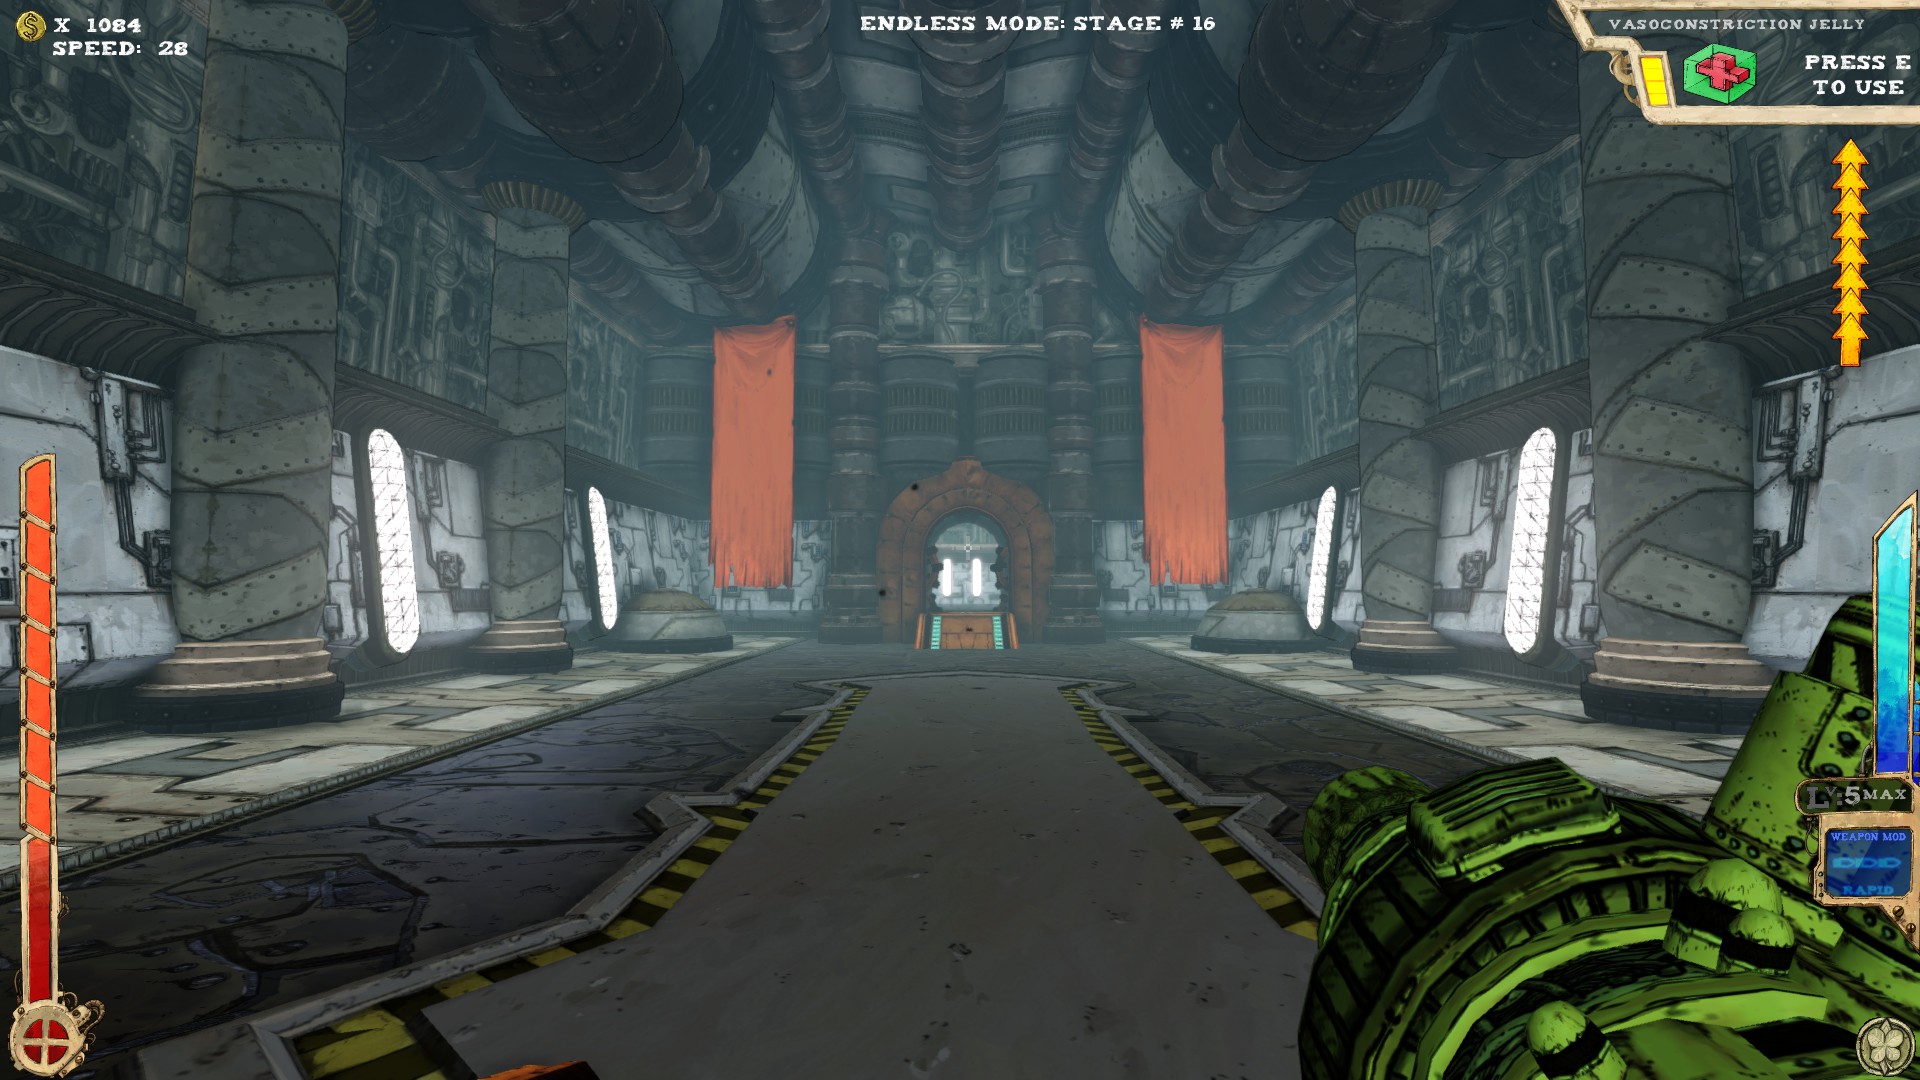 Two secrets.
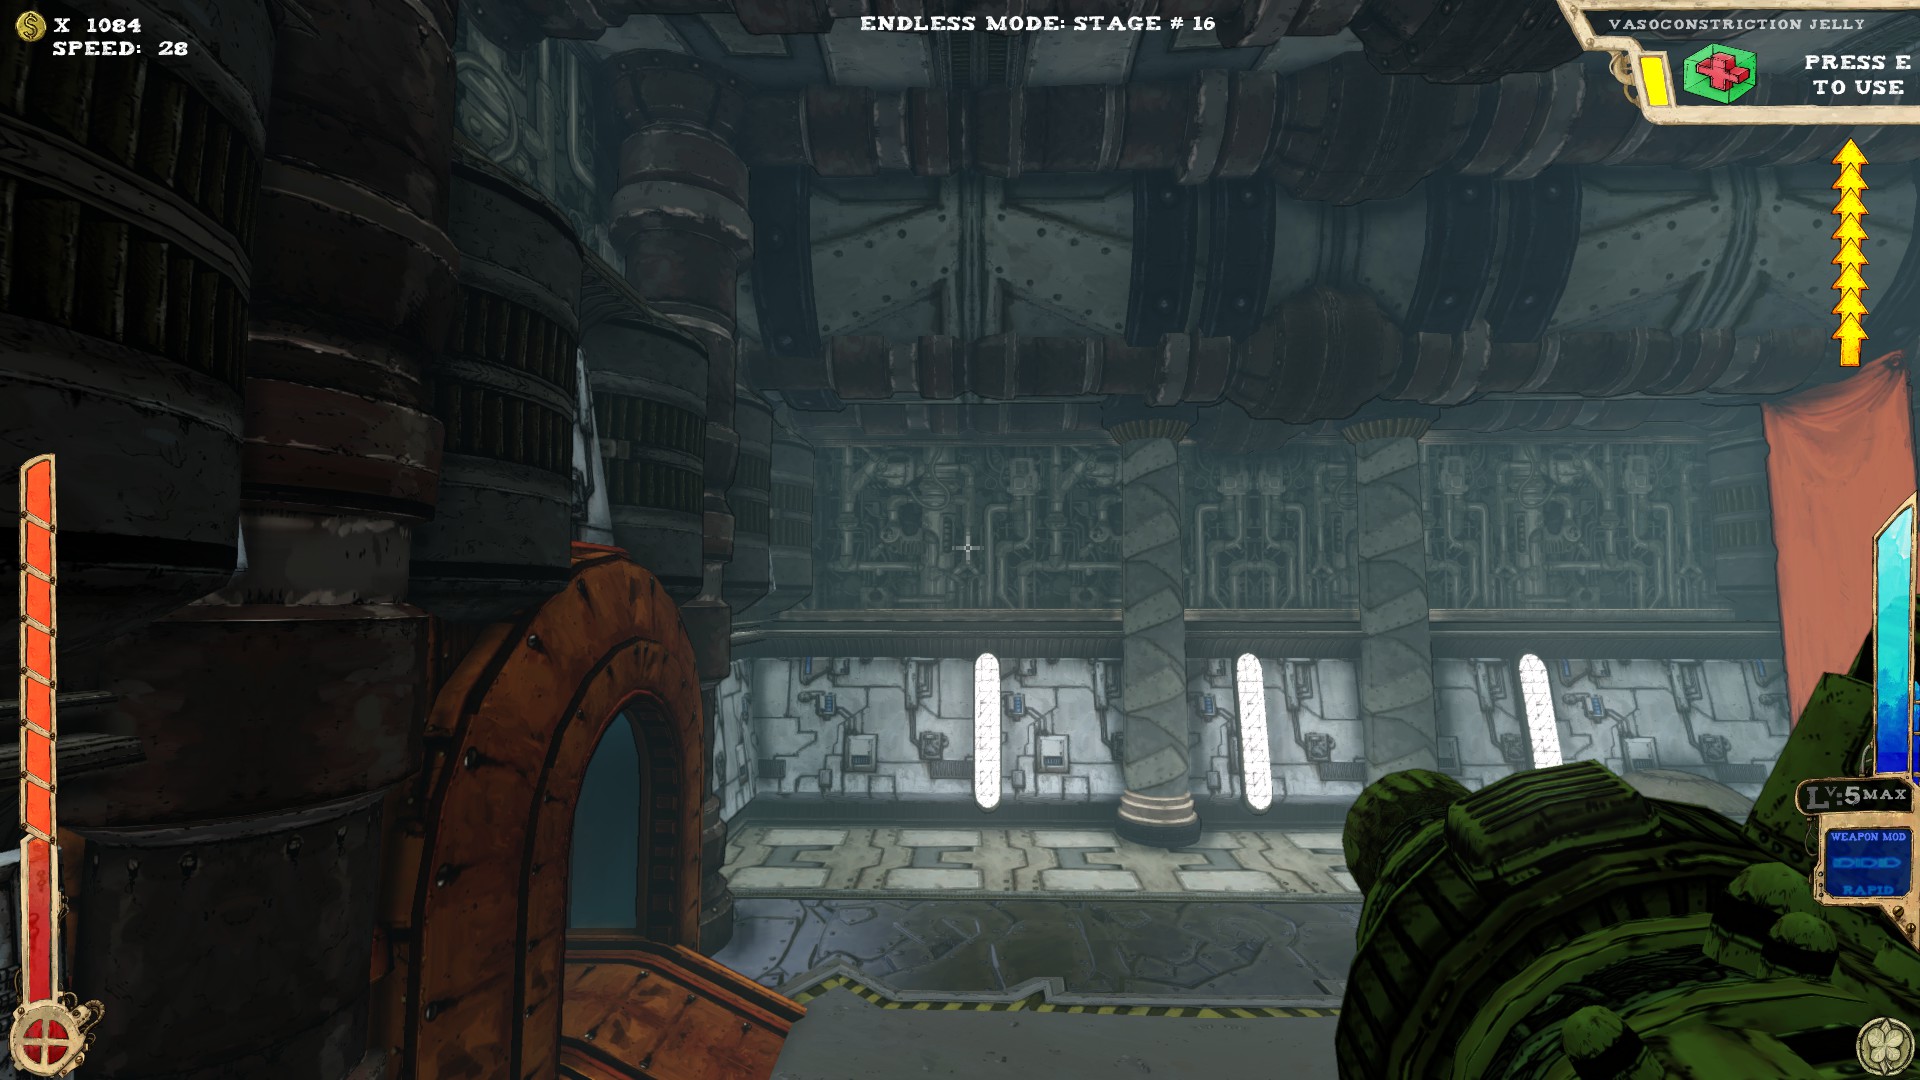
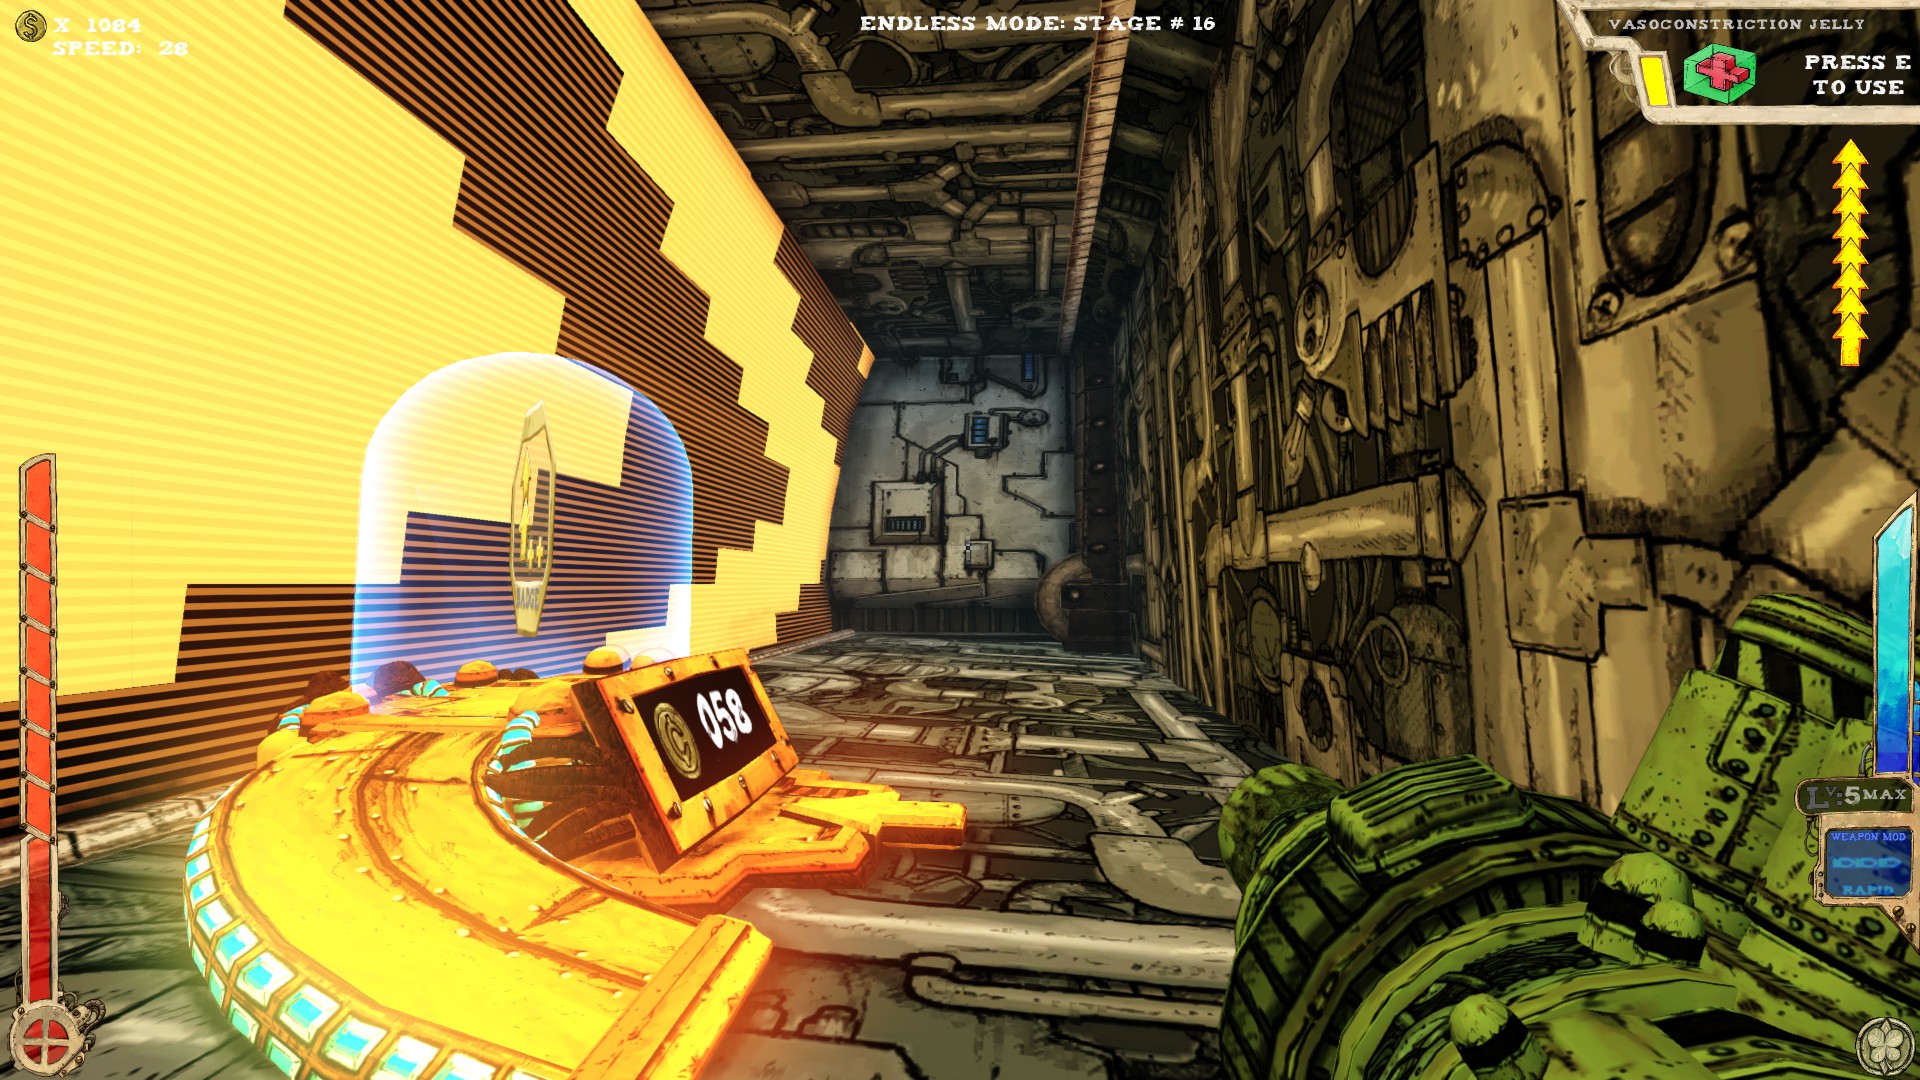 Left from the entrance. The wall I'm pointing at in picture one is fake.
When in the secret room, follow the huge arrows right through another fake wall into another secret.
----
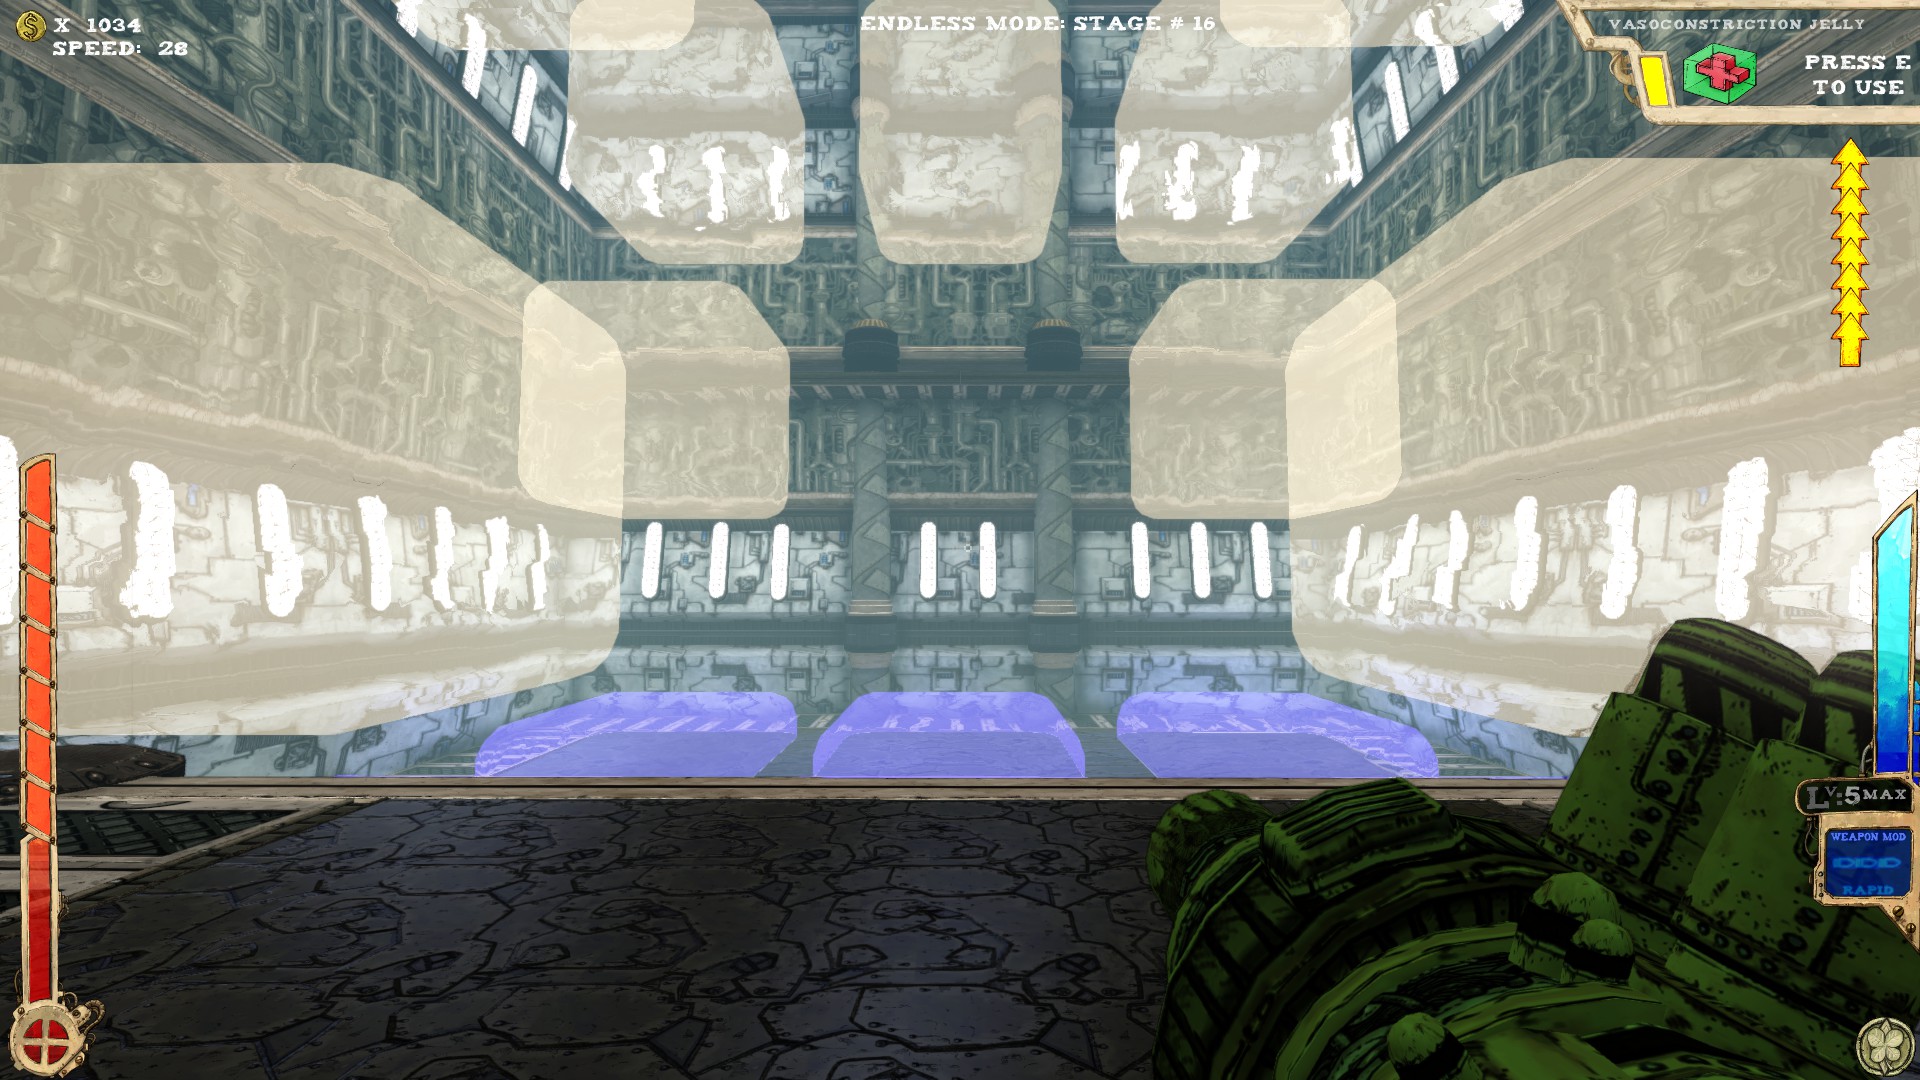 Two secrets, both in the highest part of the room.
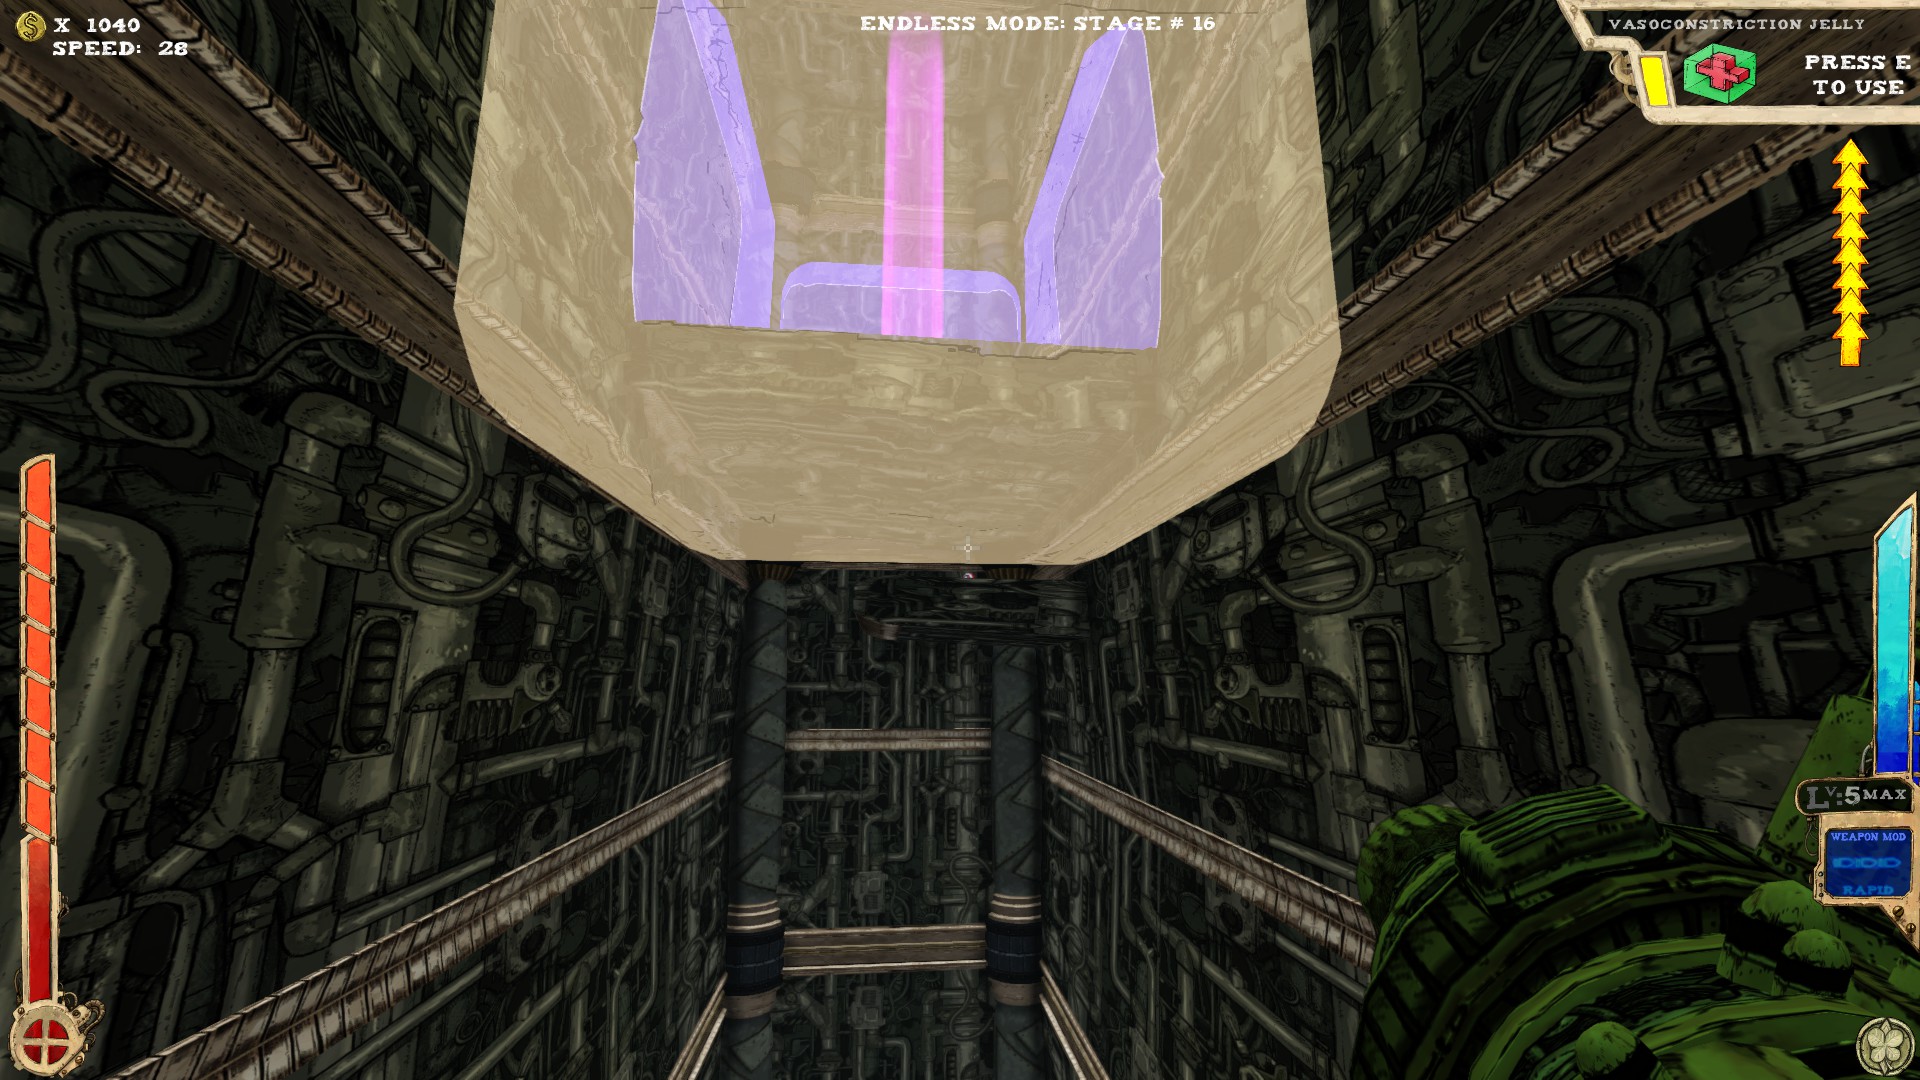 One is under the platform with the teleporter on it. Use the Jelly to get there.
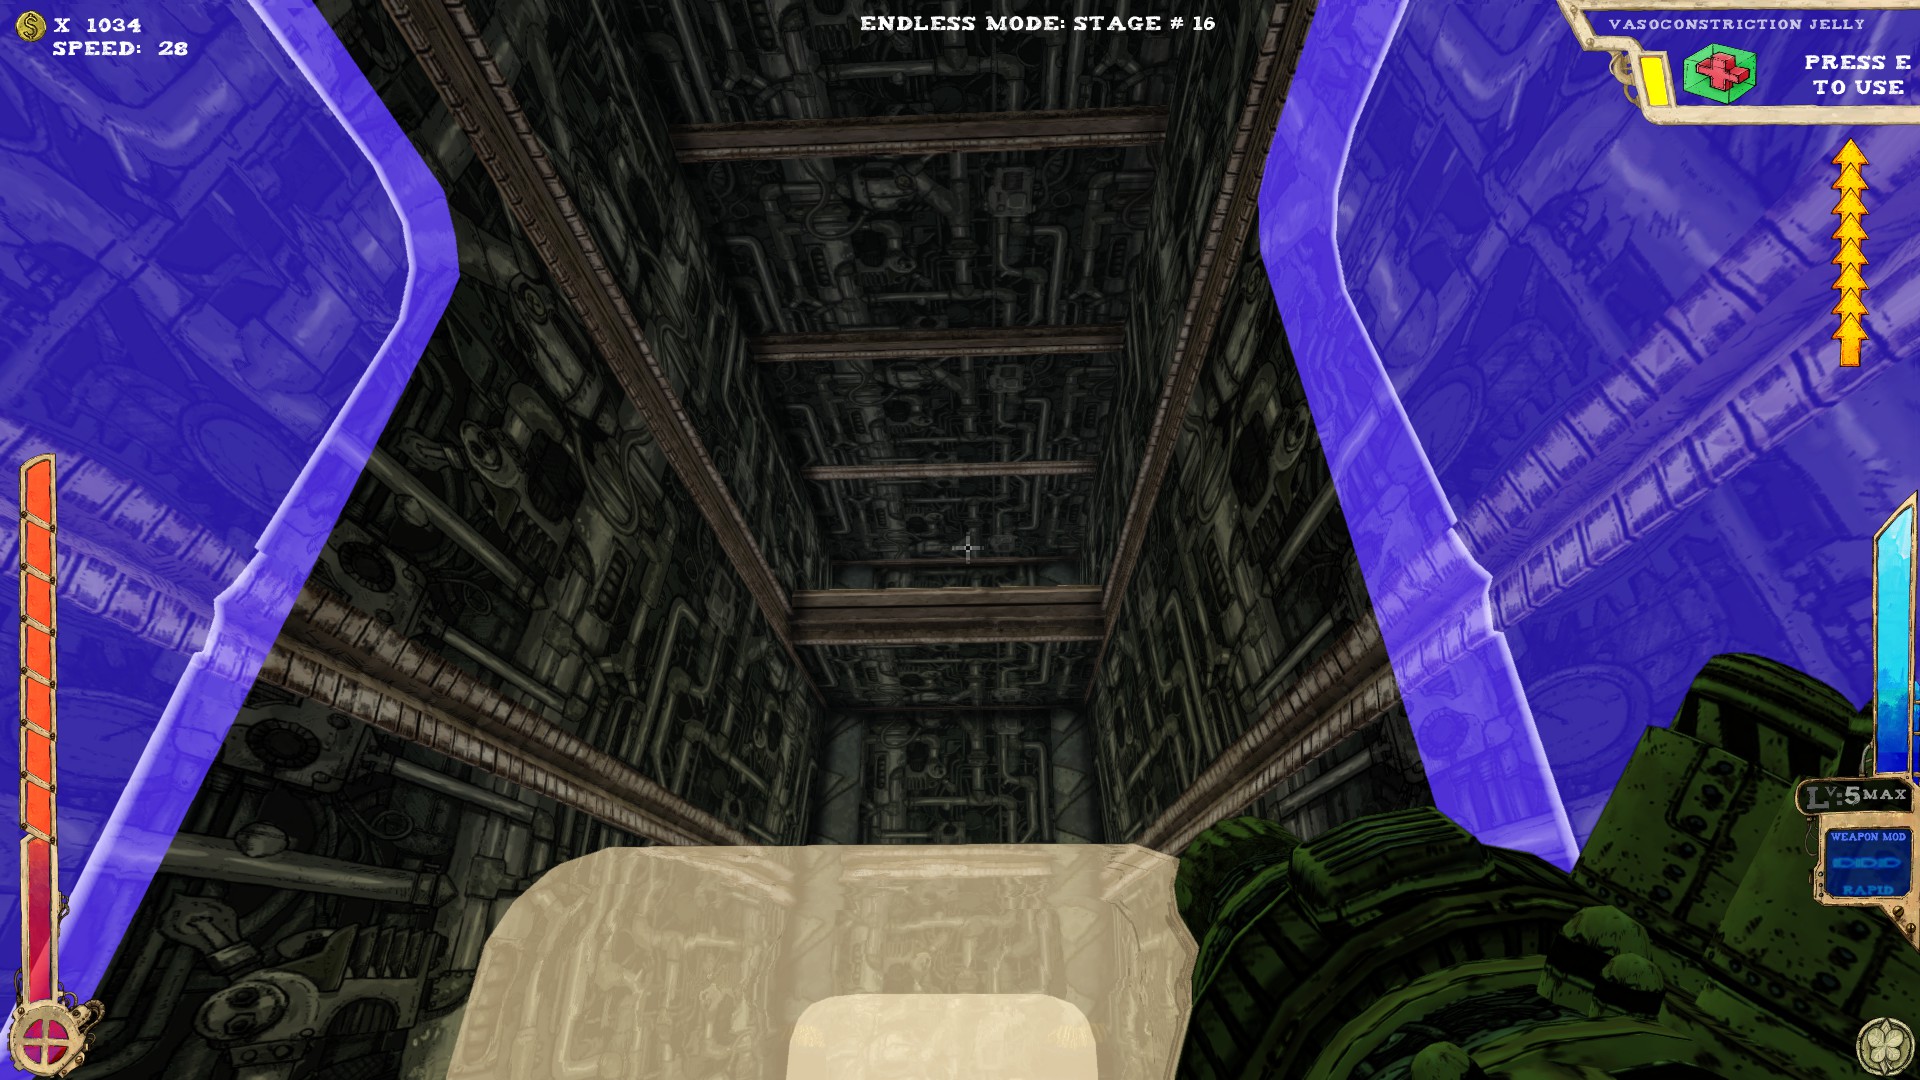 The other one is opposite of the teleporter platform on a platform under the ceiling. Use the Jelly.
----
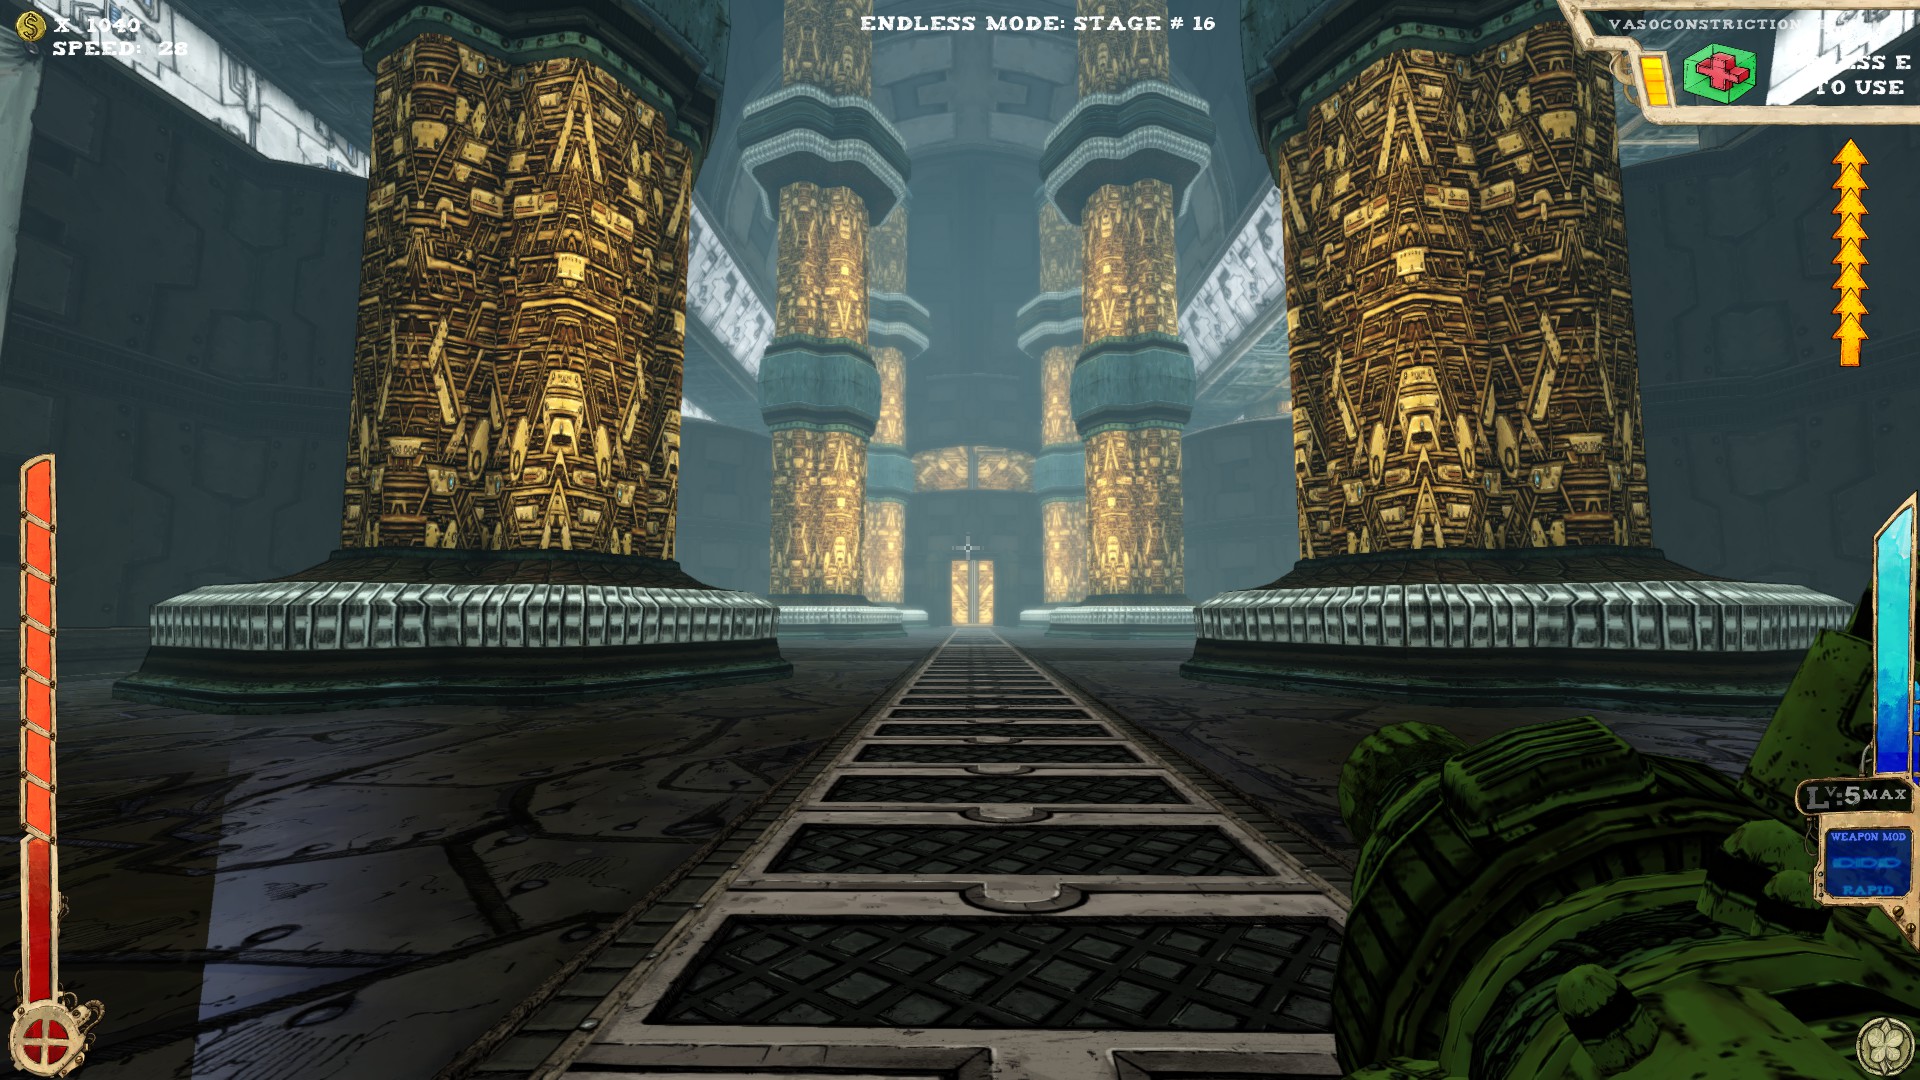 Three secrets.
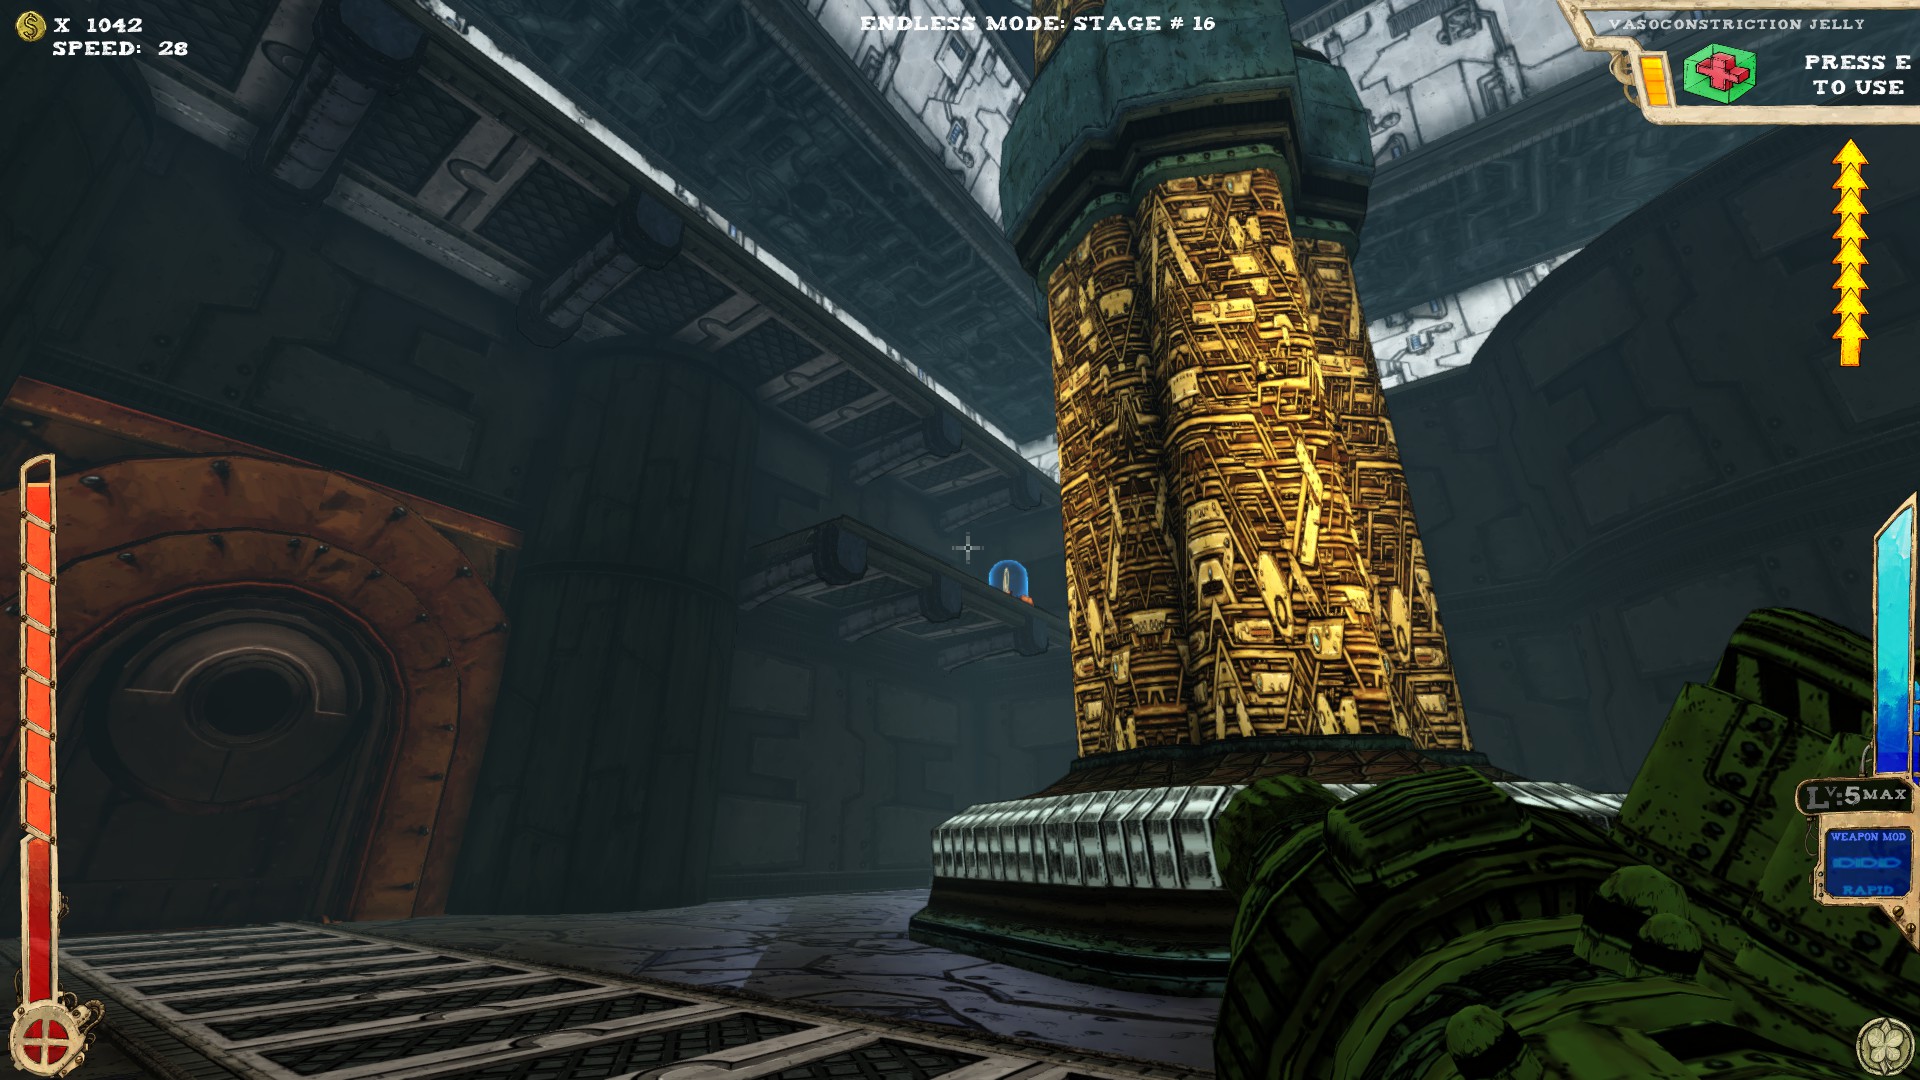 This one is left from the entrance on a small platform.
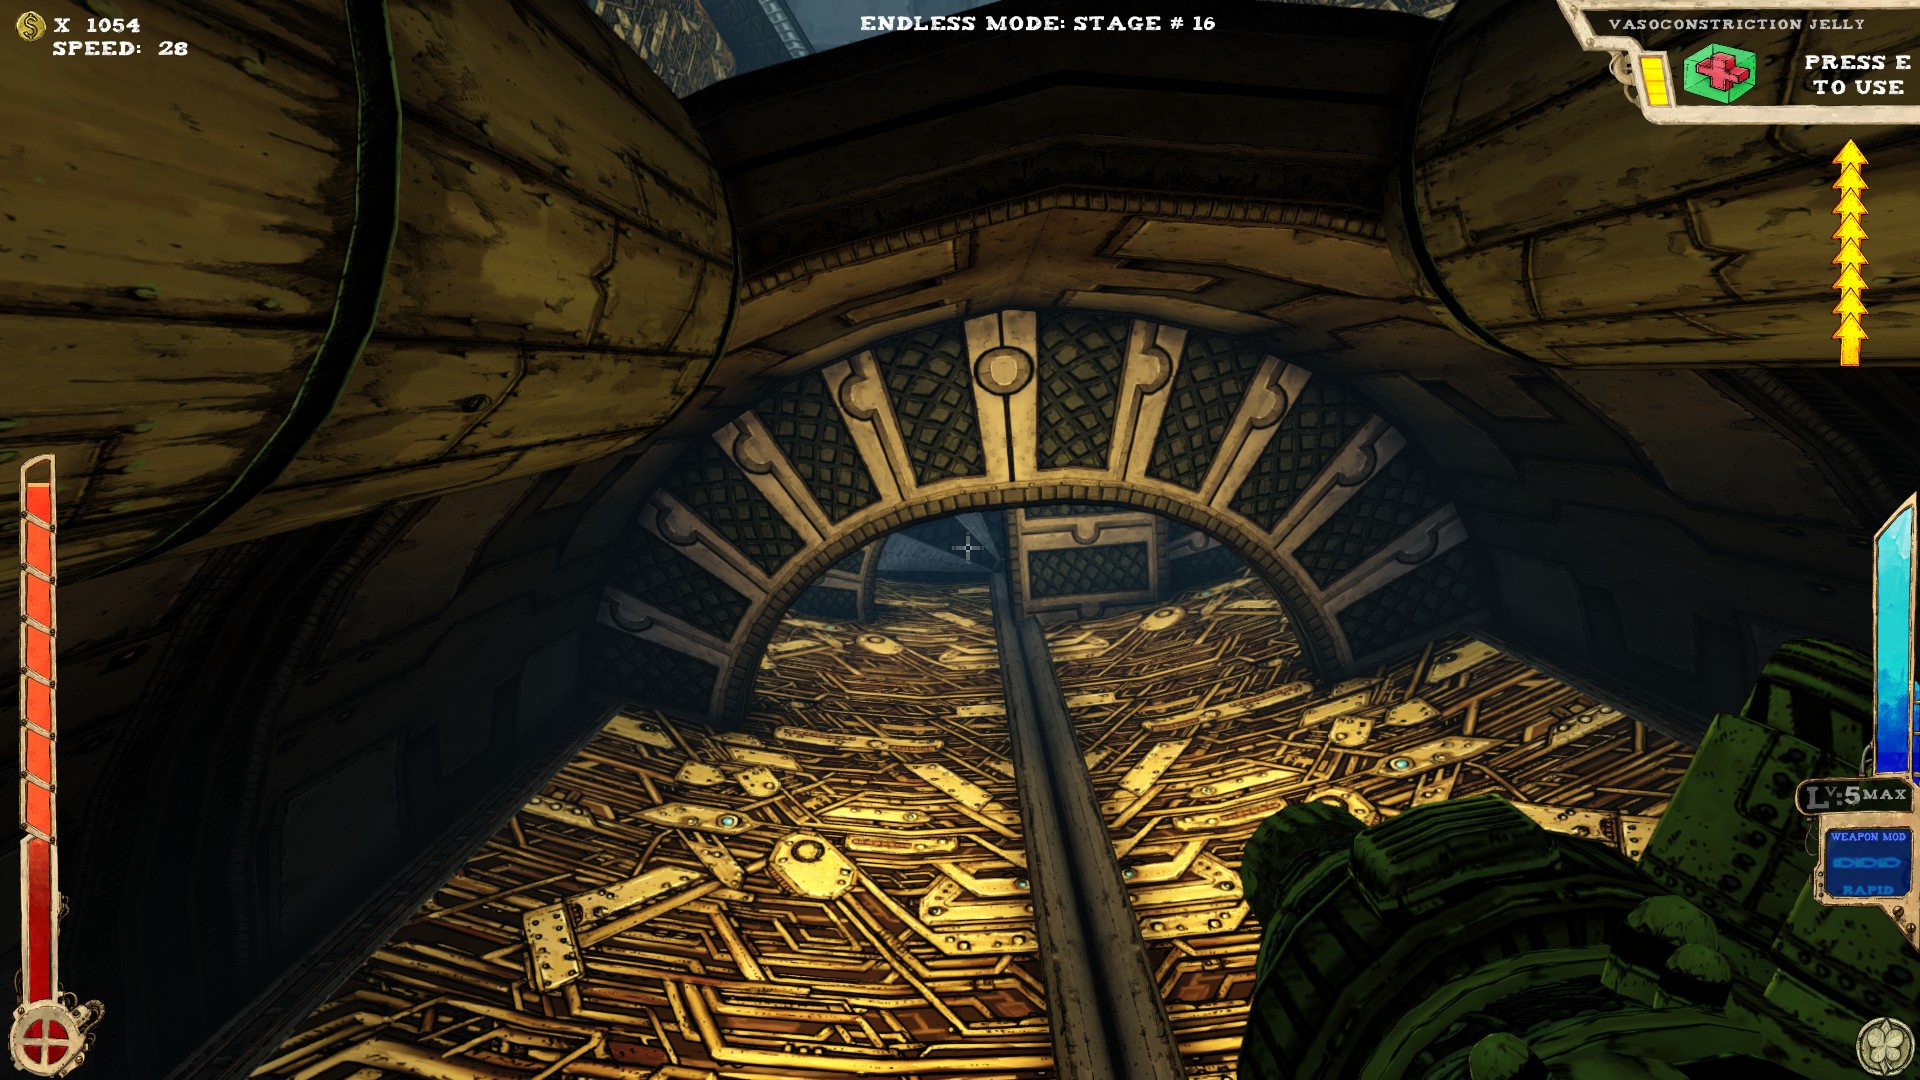 Use the elevator to jump up there. Be aware that enemies spawn when riding the elevator.
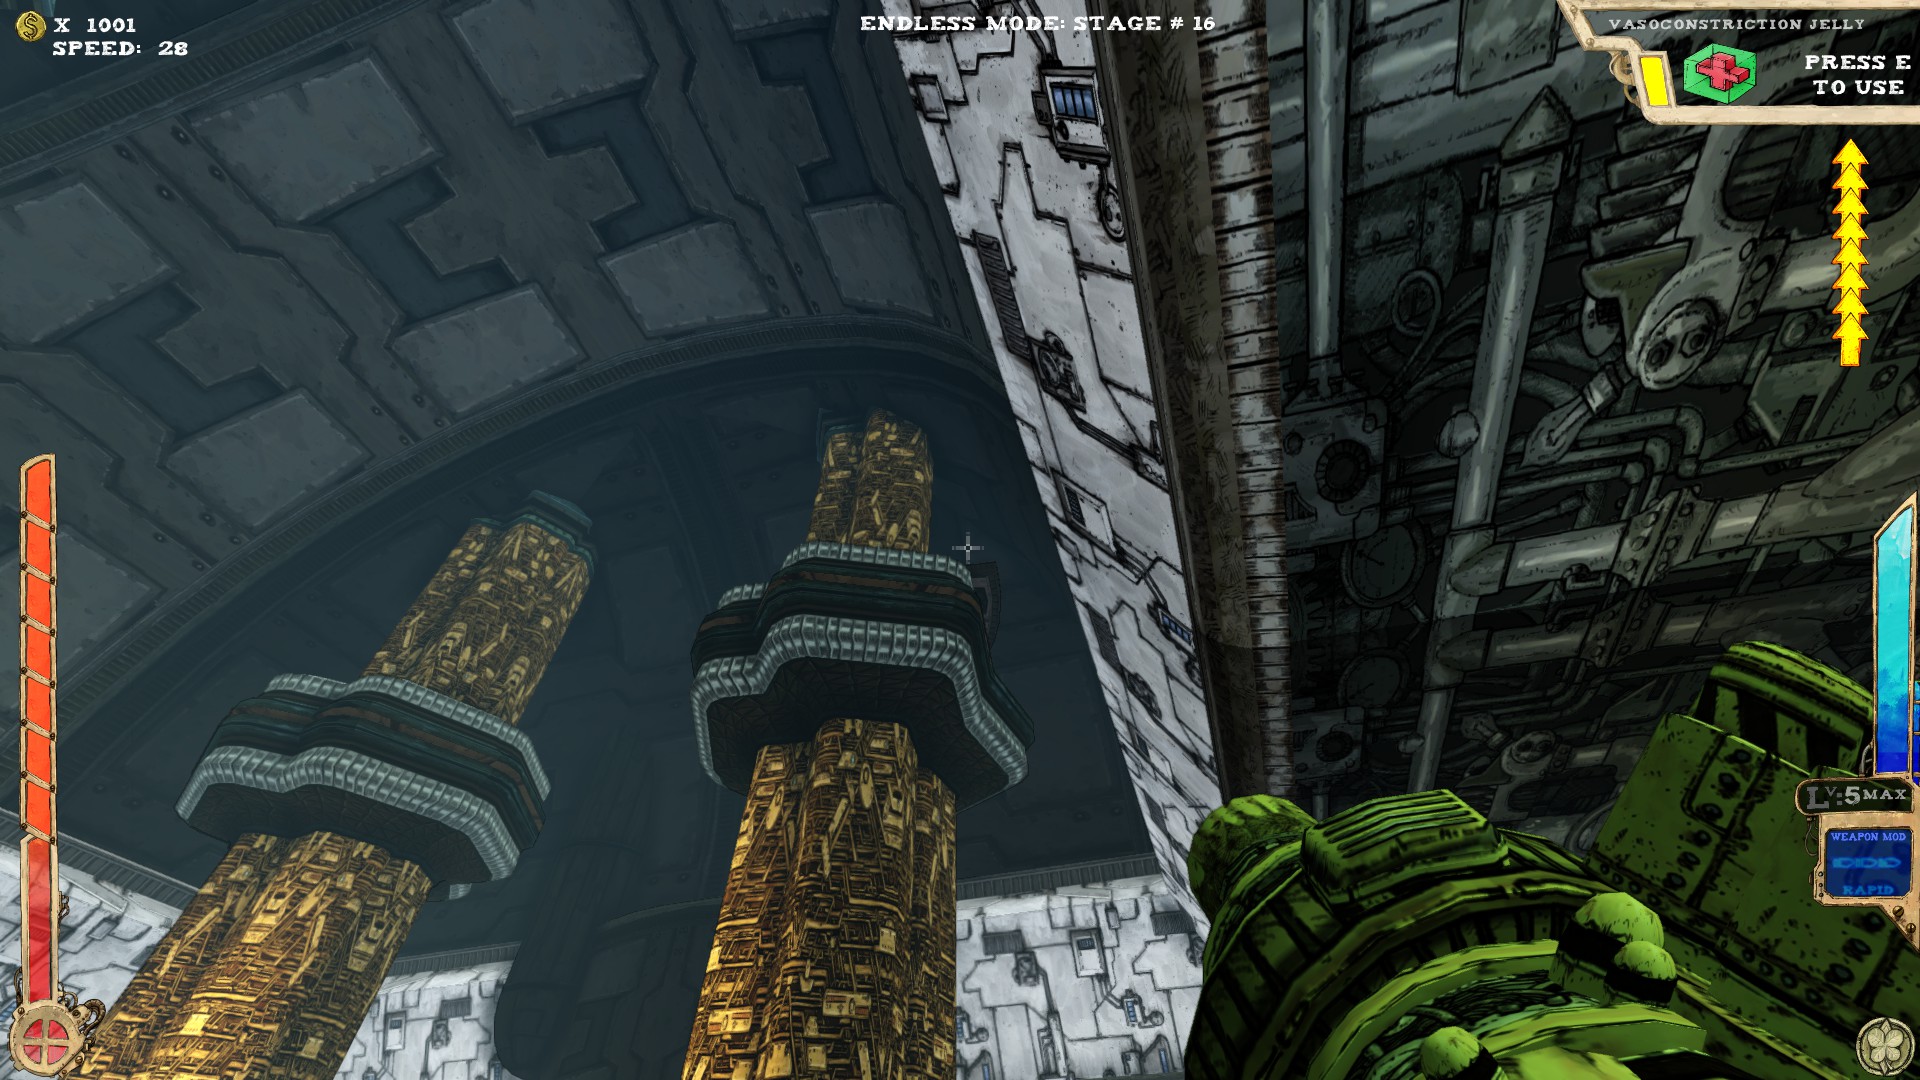 Right from the elevator (when facing it) there is a pillar with a small platform on it, containing a secret.
----
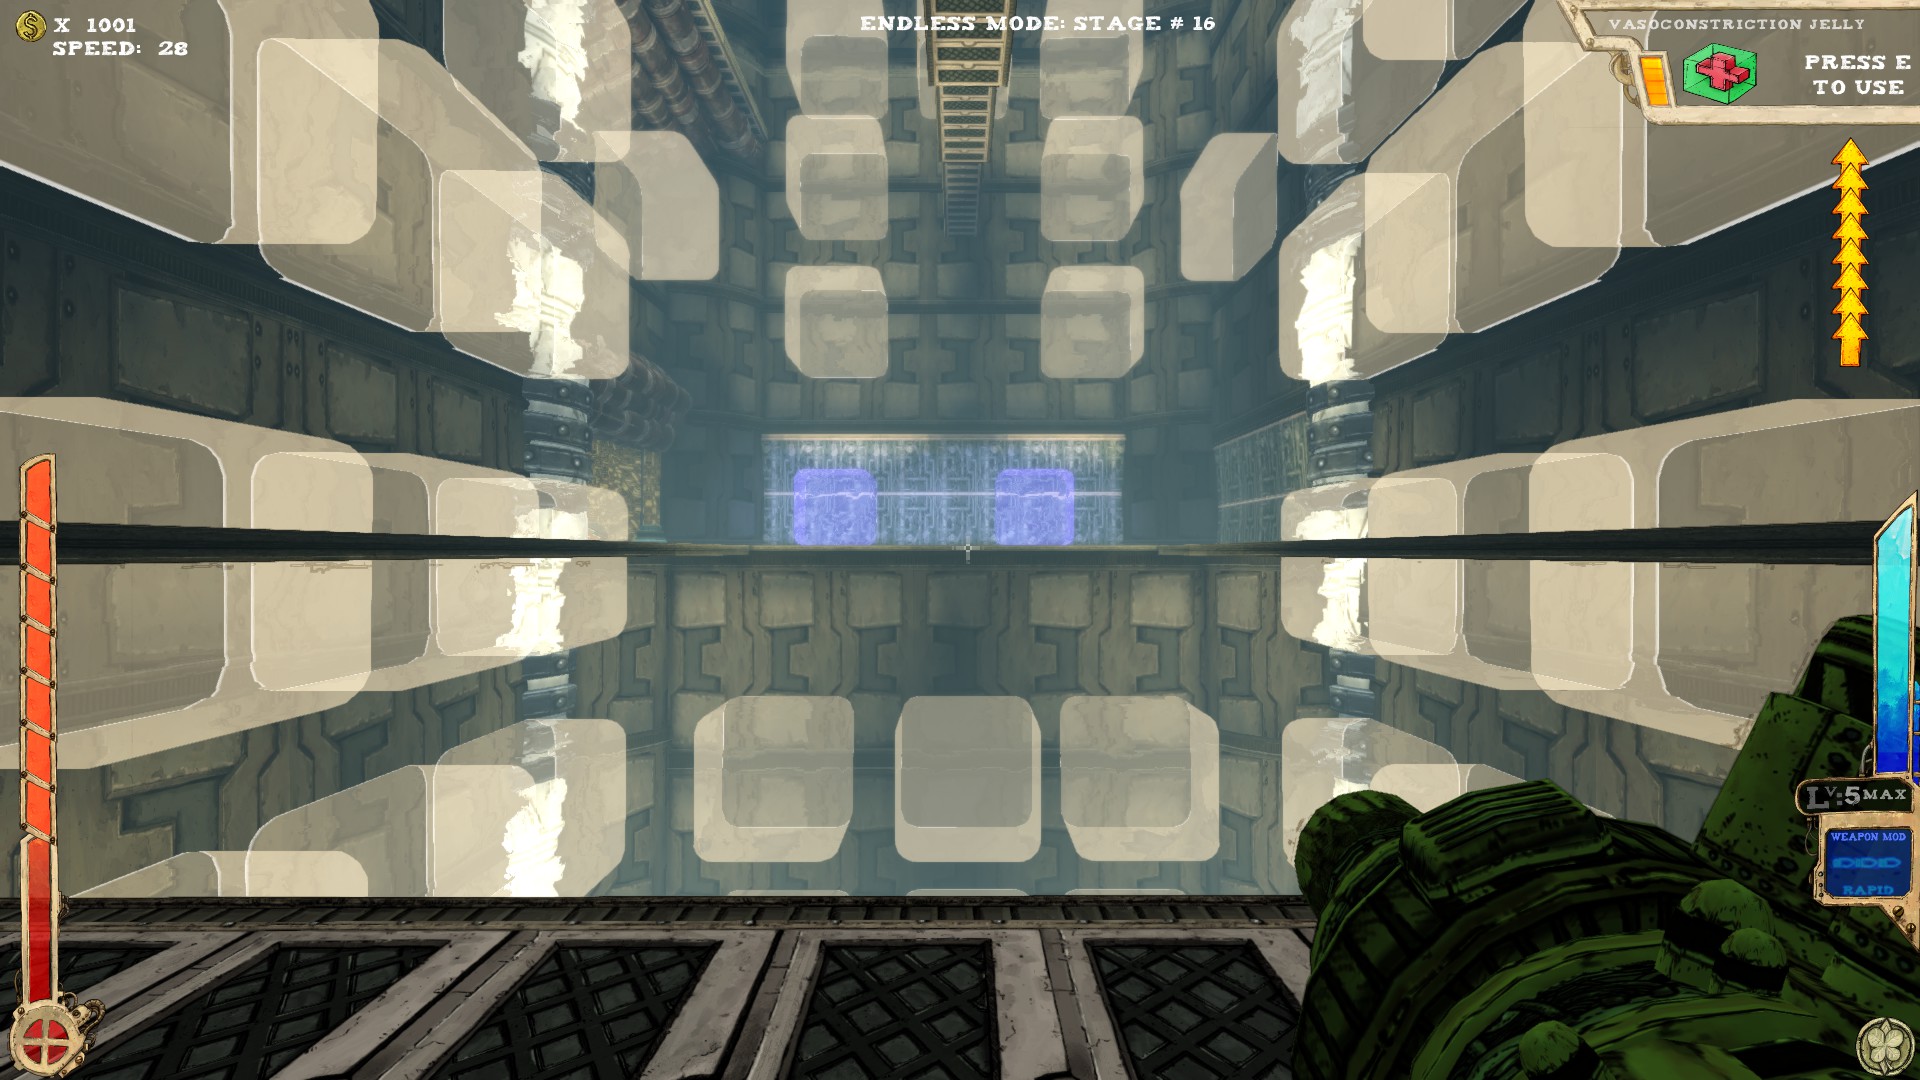 A huge room, but only one secret.
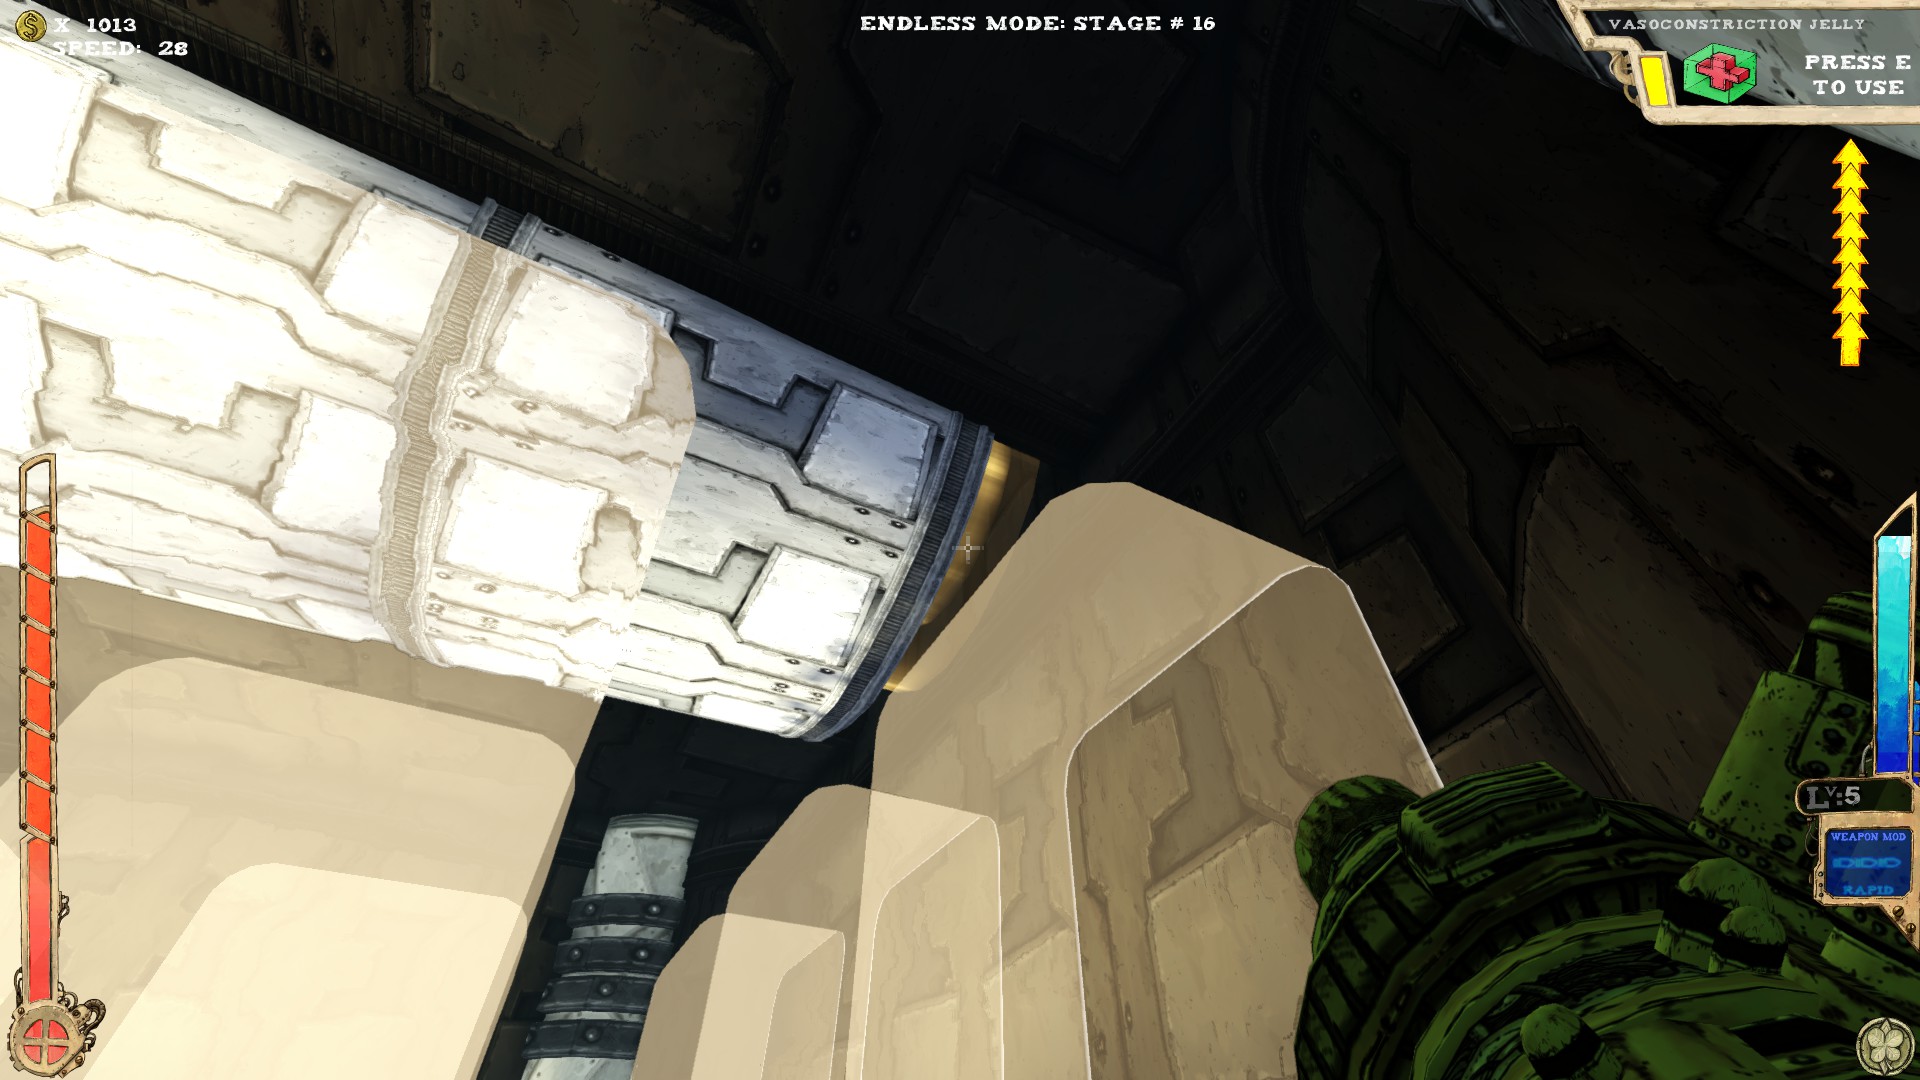 The huge tube on the ceiling has an opening on one side. Get in and ride the beam of light. Try to stay on the edge of the beam or you might get transported right into the teleporter.
The secret is on the right side.
----
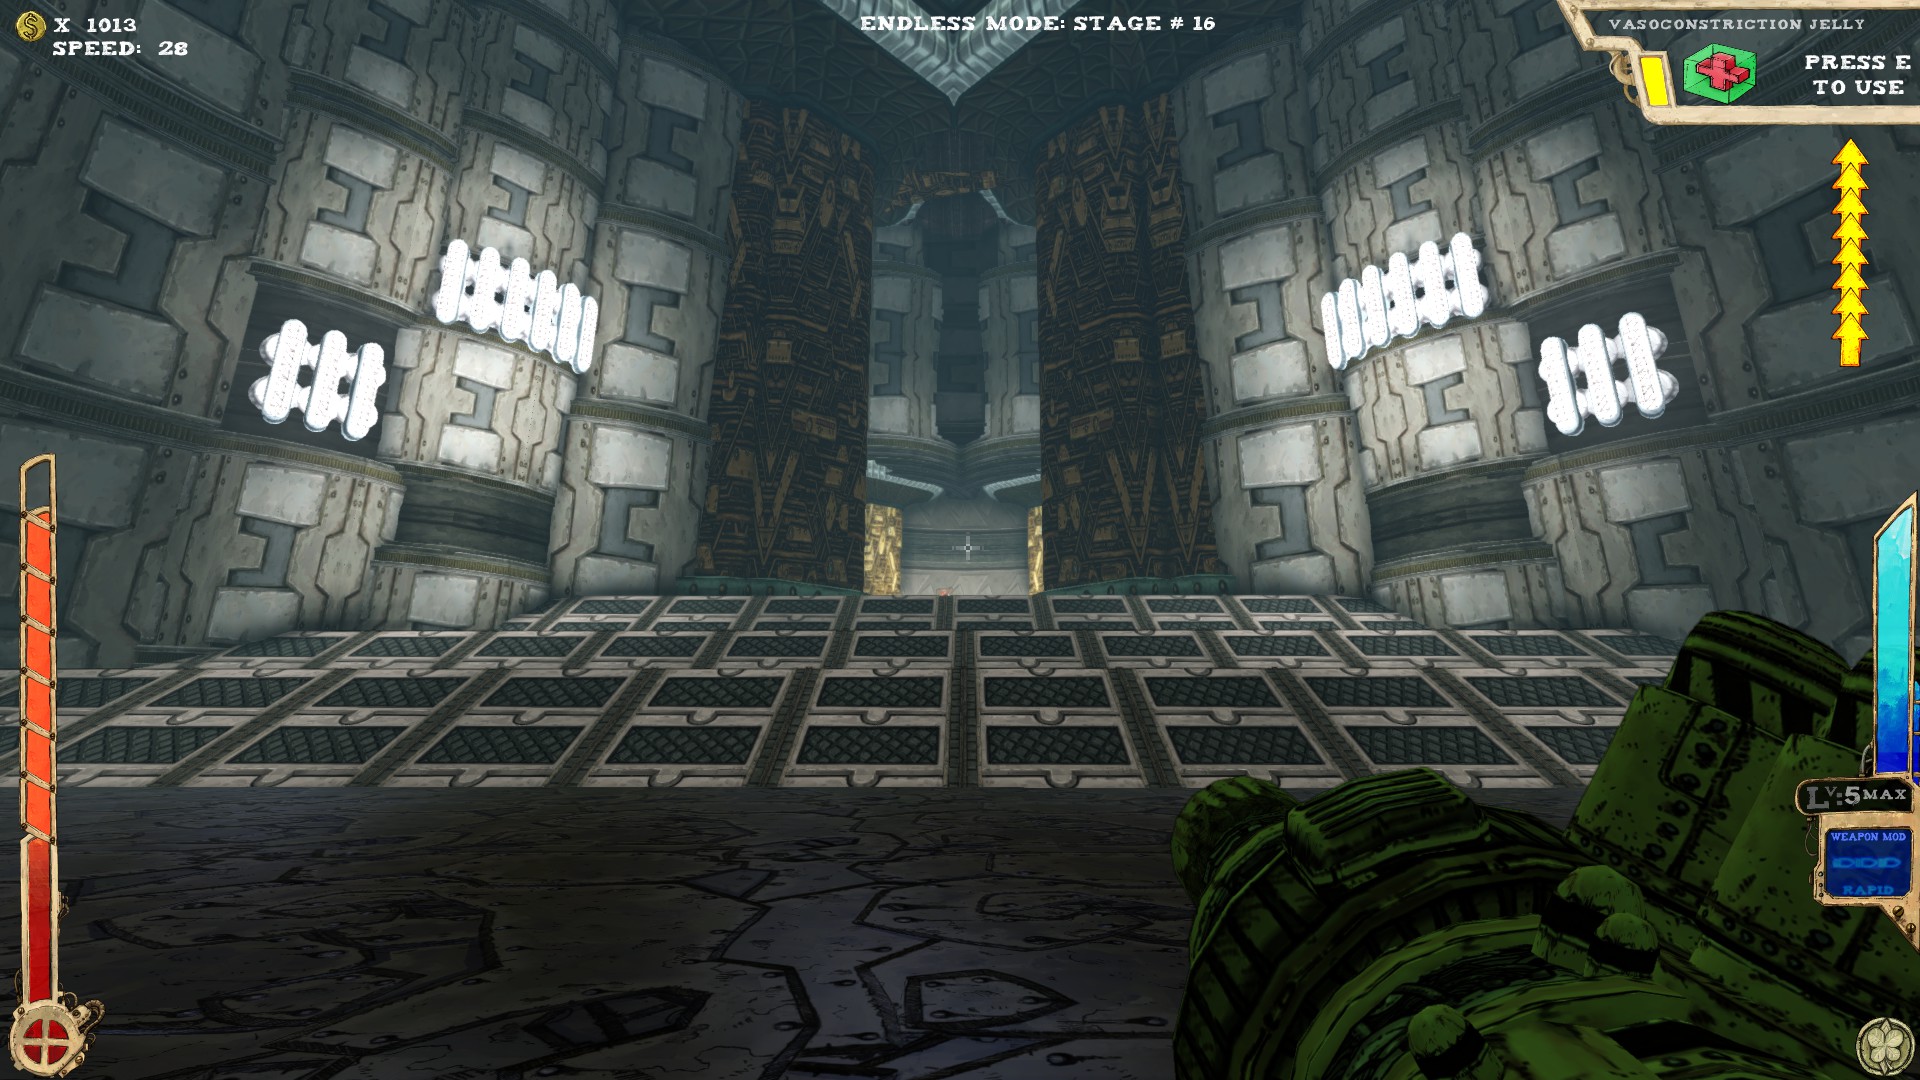 This is the boss room where you fight the Pipeorgan in. So far it is the only boss room where I've found a secret.
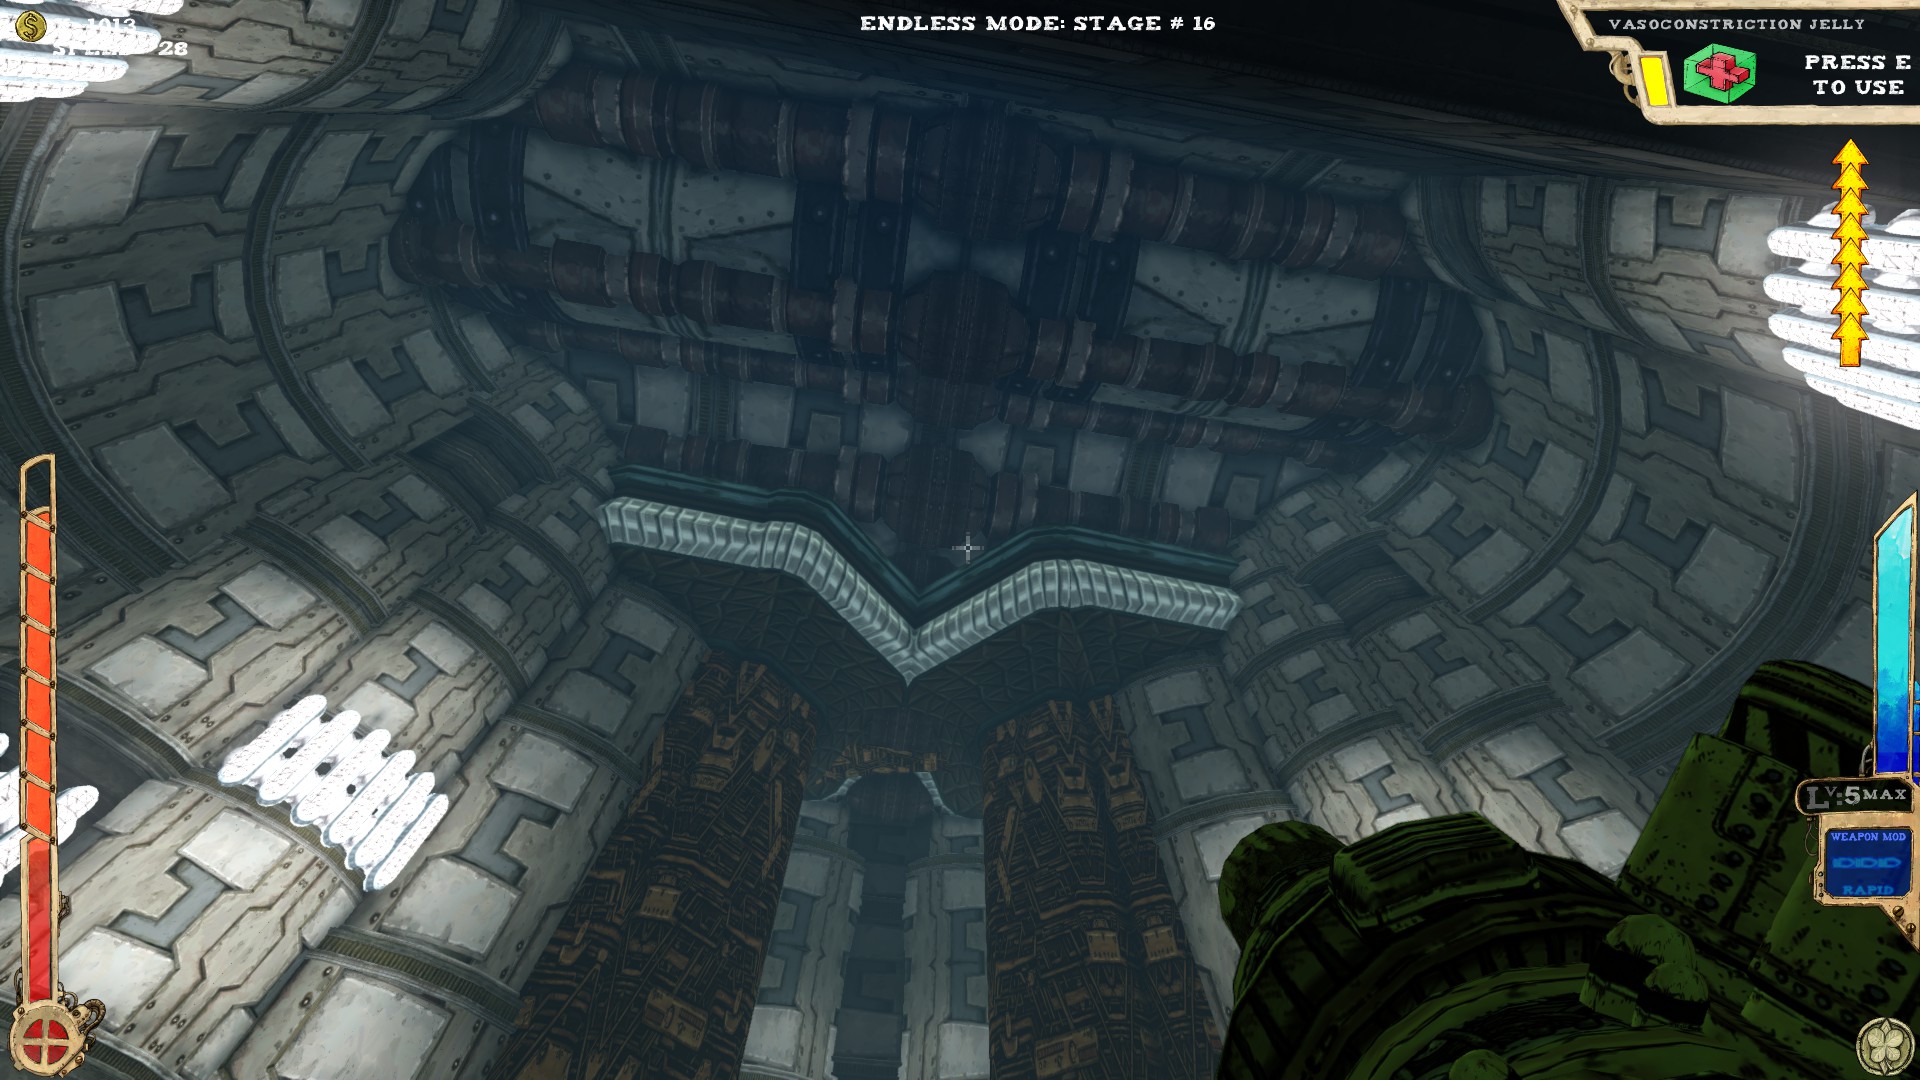 When on the ramps, look up and you should see the place. It can be quite a hassle to get in there, even with enough jumps. The secret itself is in the right part.
----
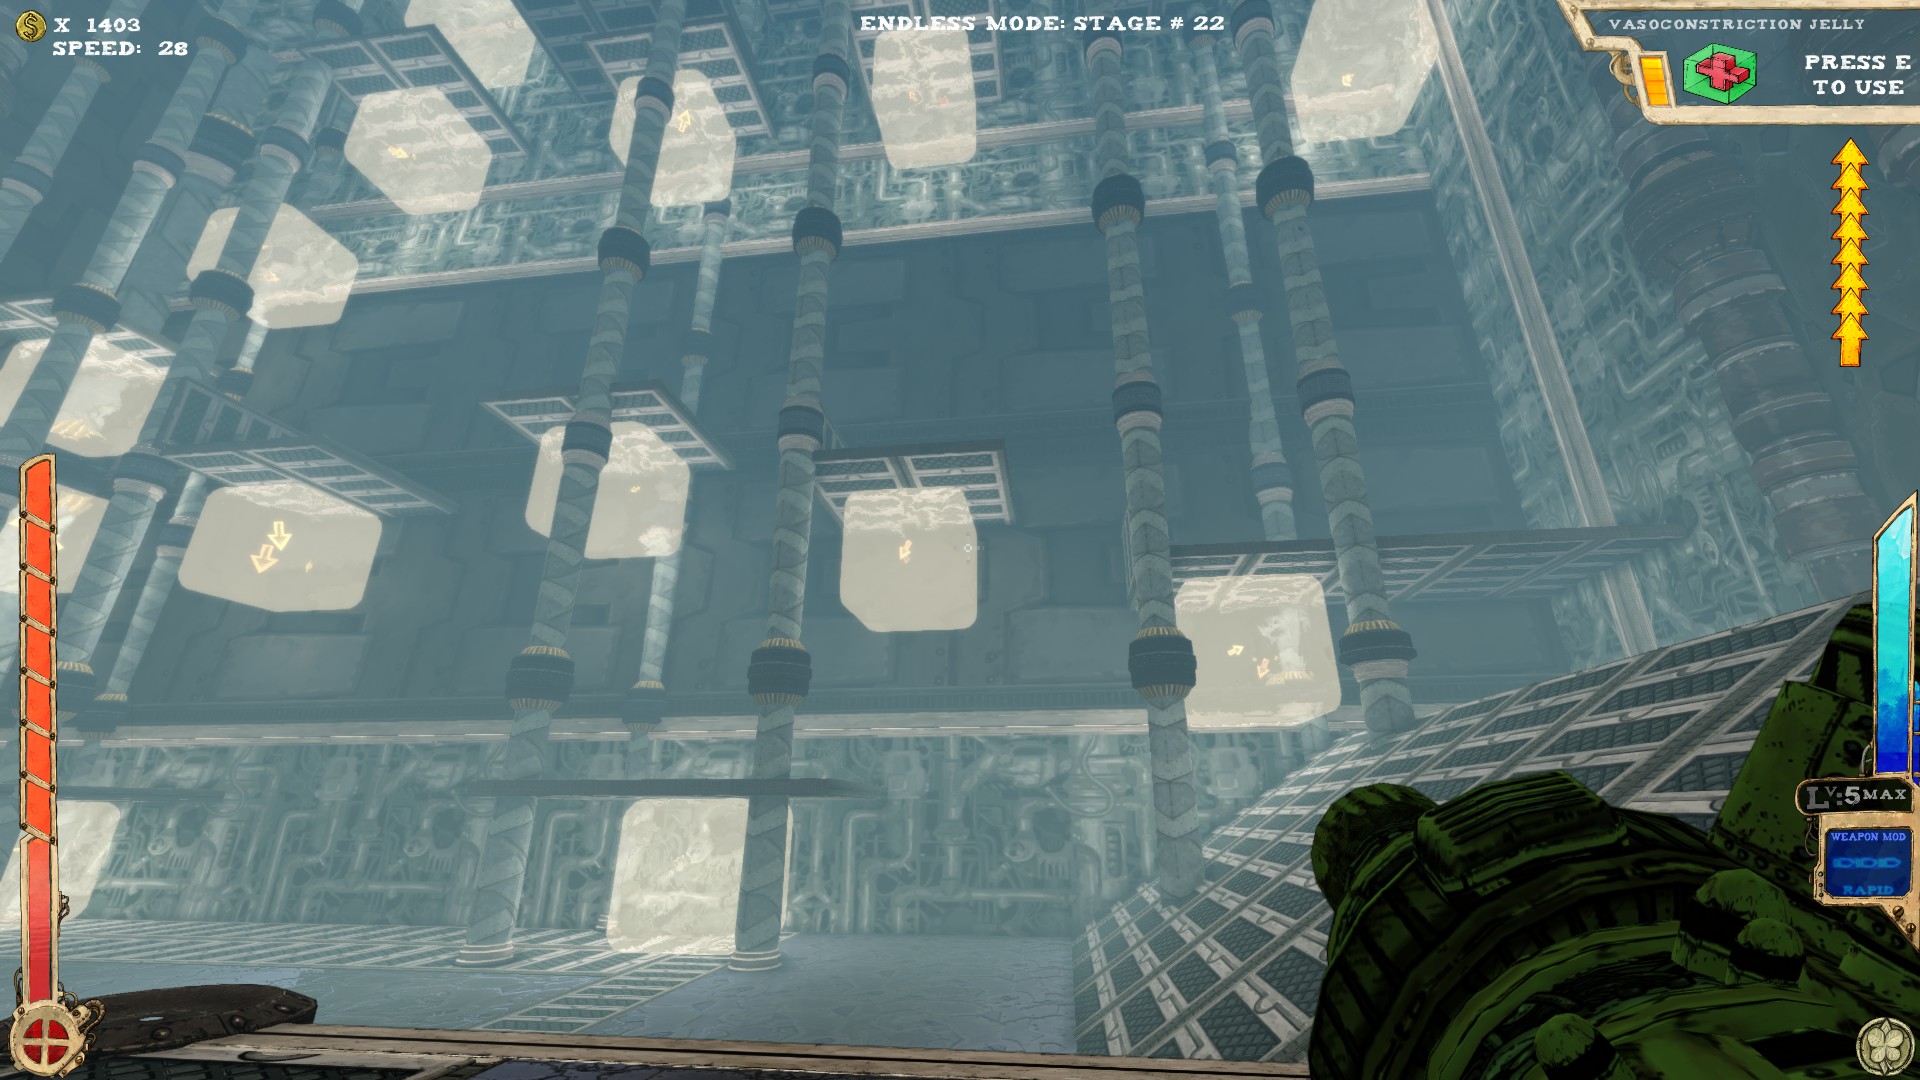 Two secrets.
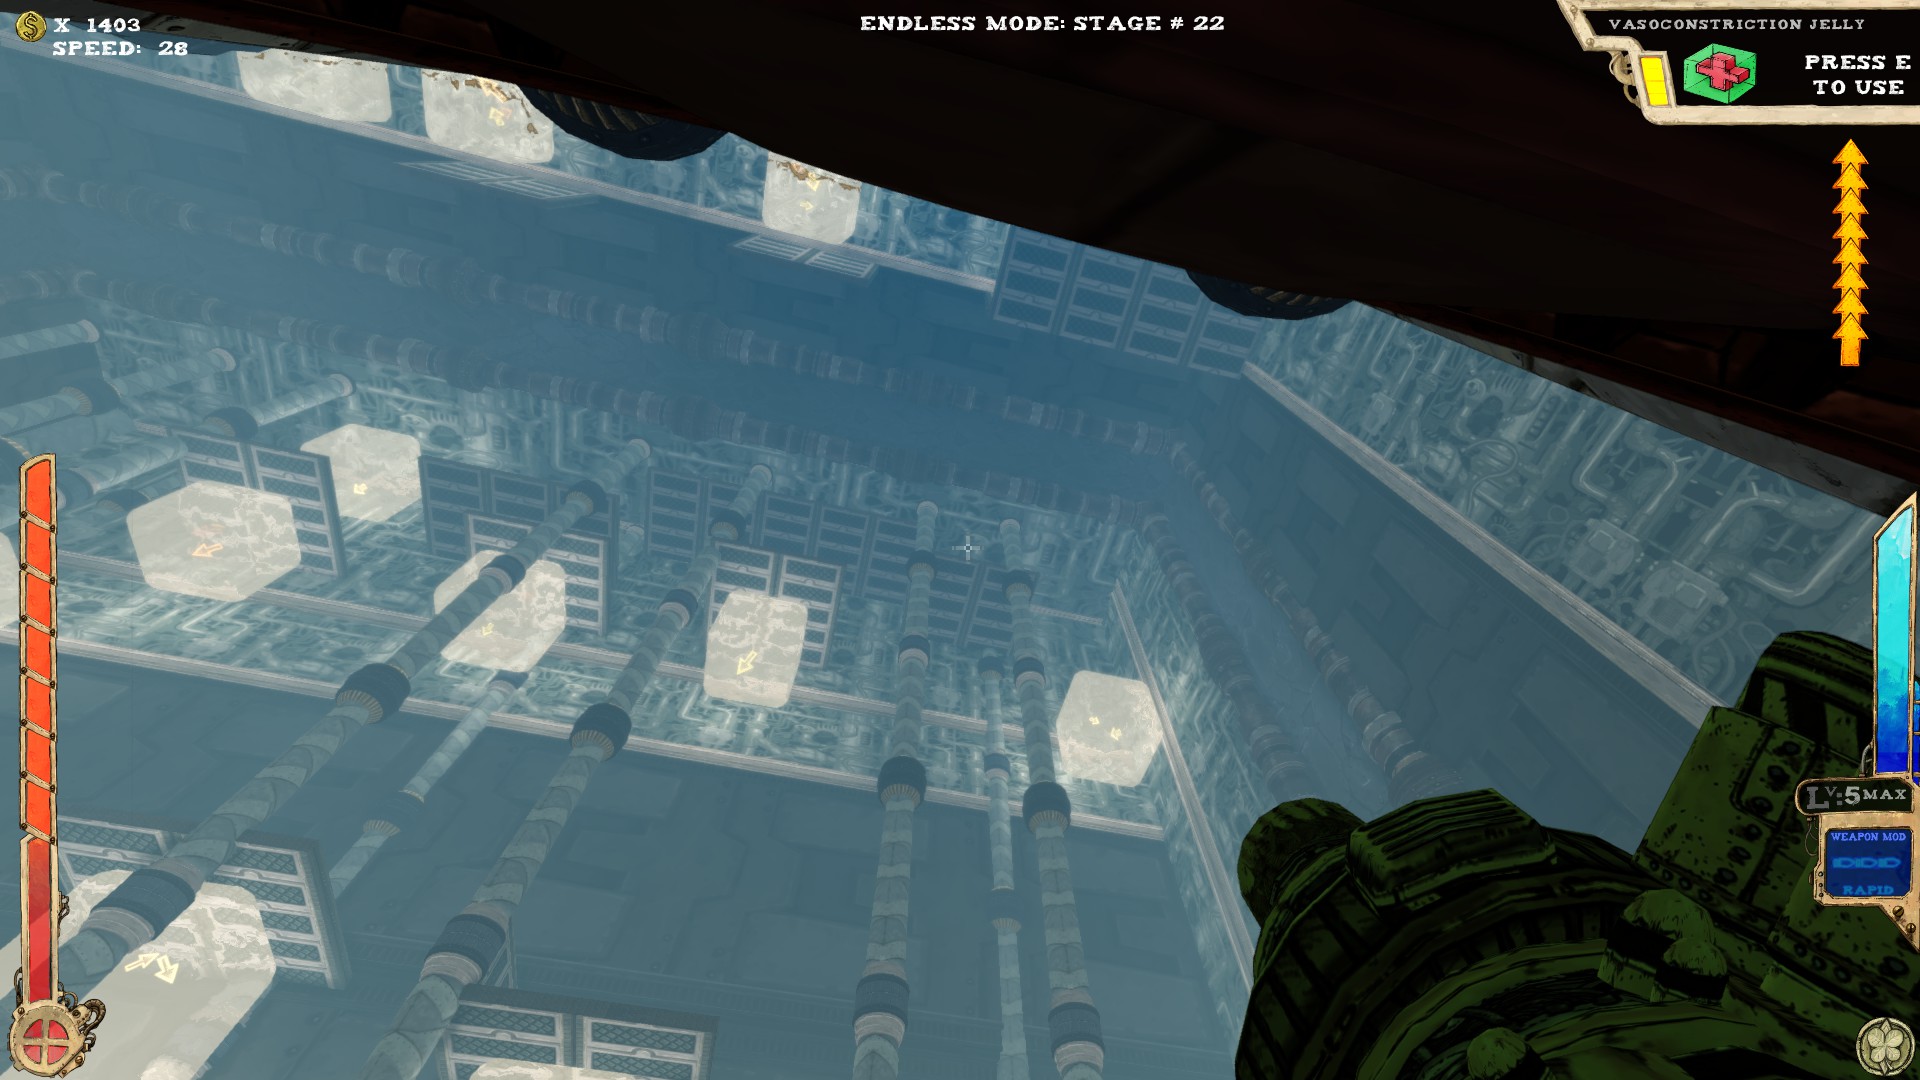 You can reach that one by using the Jelly, but a small error and you might fall quite a bit. Having at least one extra jump can make it a bit easier.
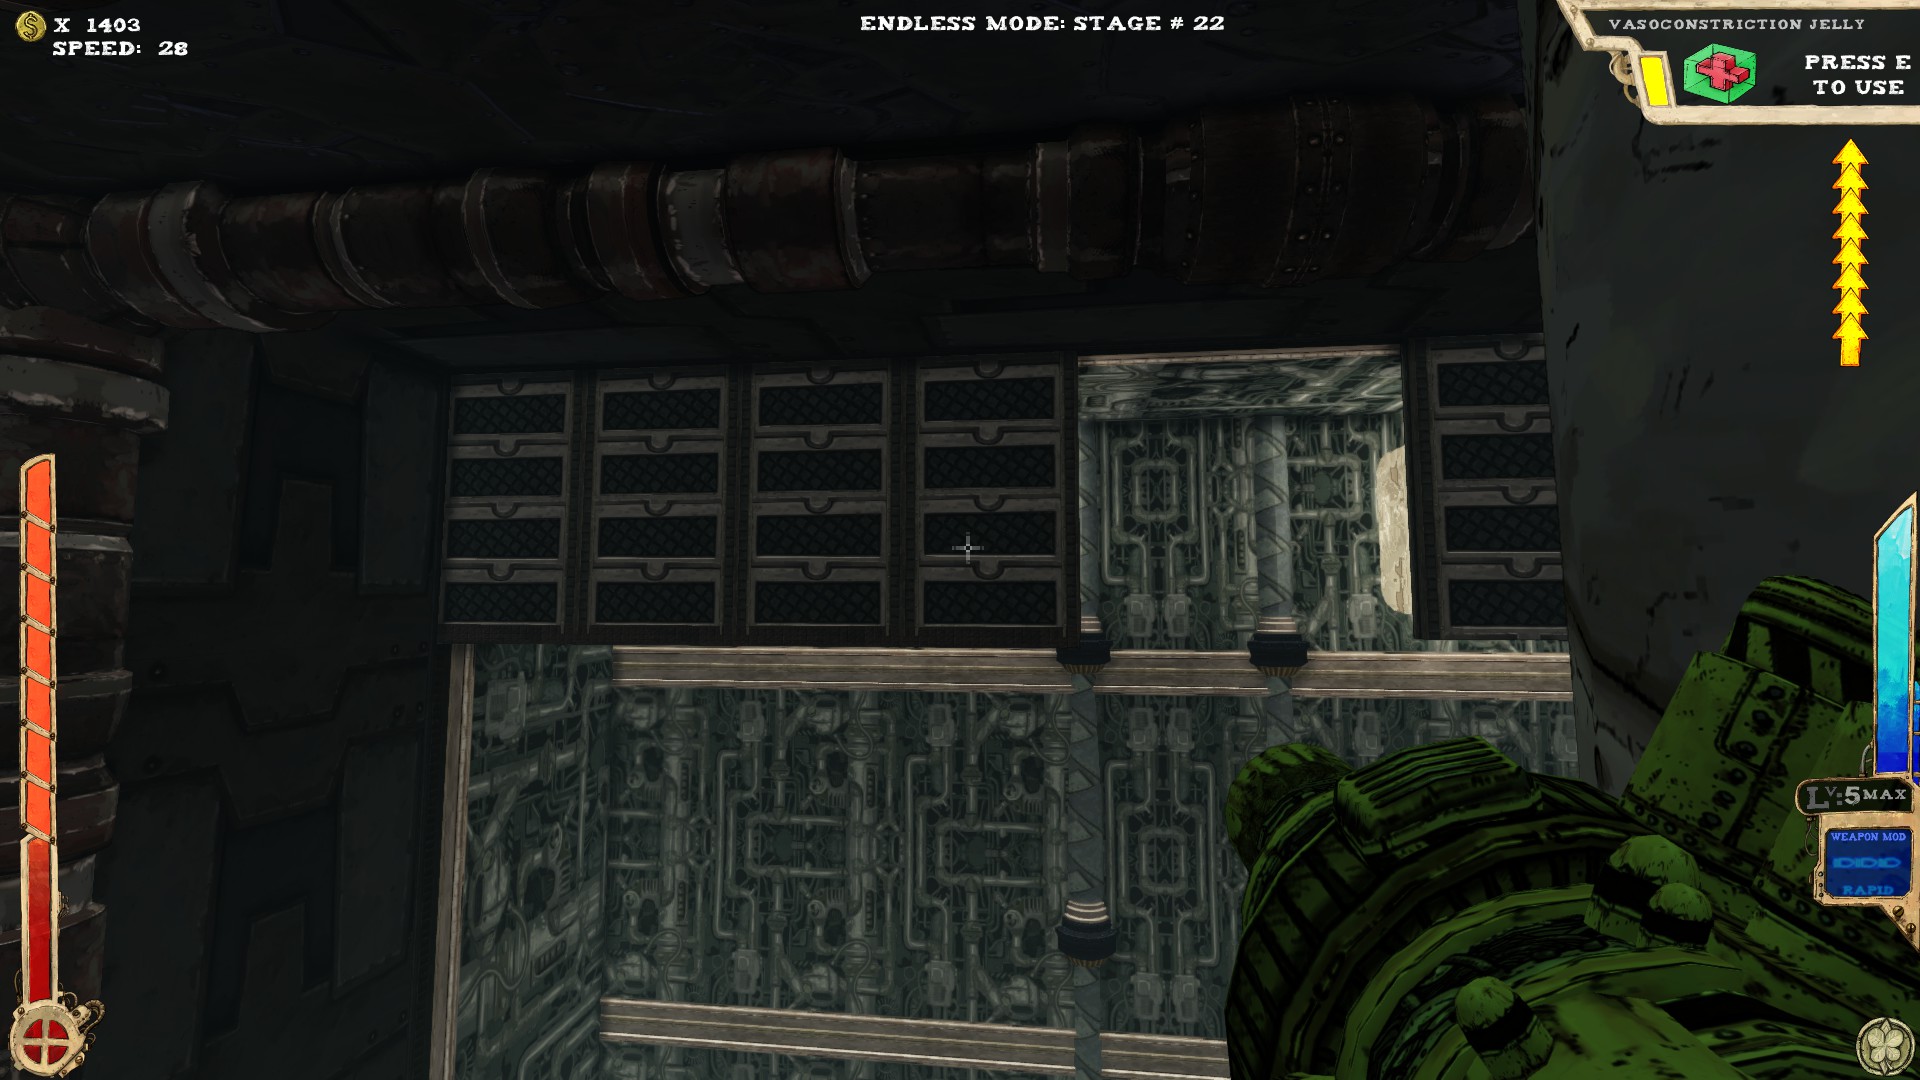 From the first secret just look left to the other side. Behind the wall I'm pointing to is the secret.
This is NOT a fake wall! The opening is right from my crosshair.
----
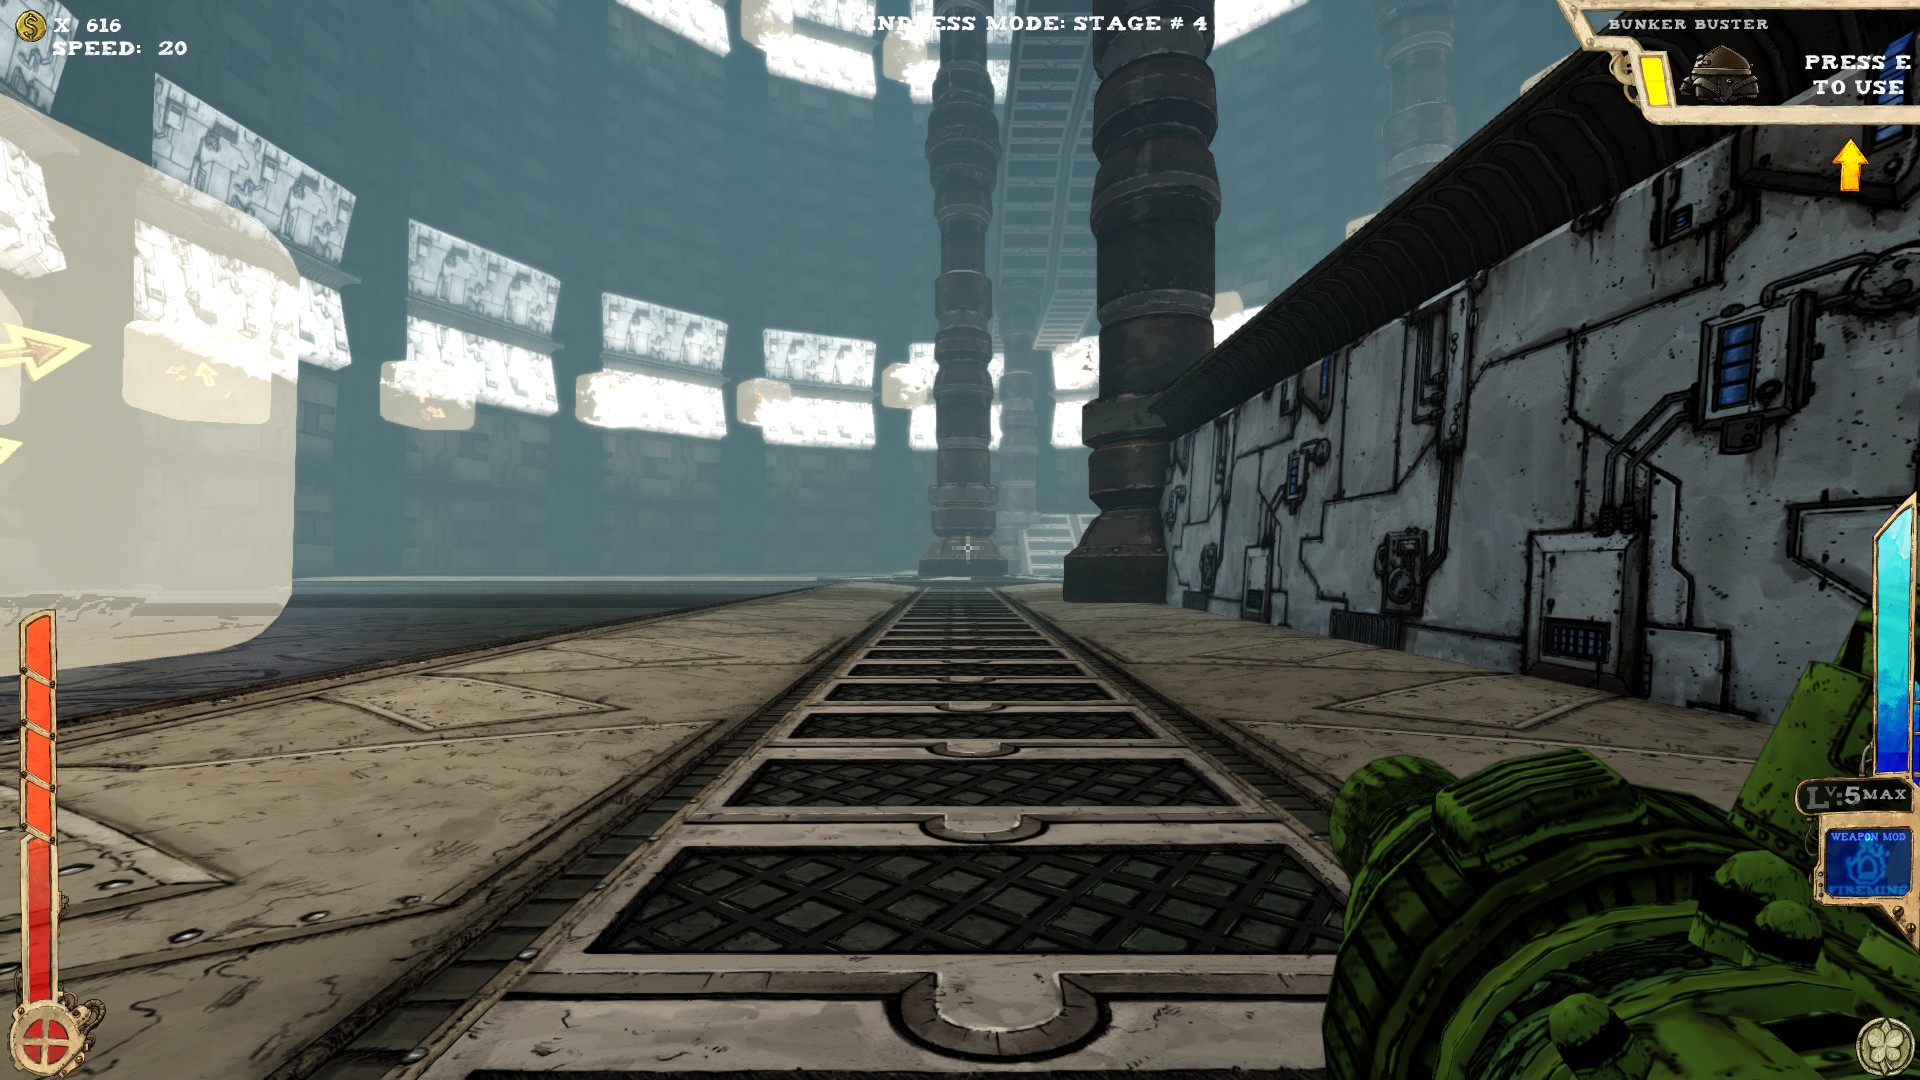 Two secrets...most of the times.
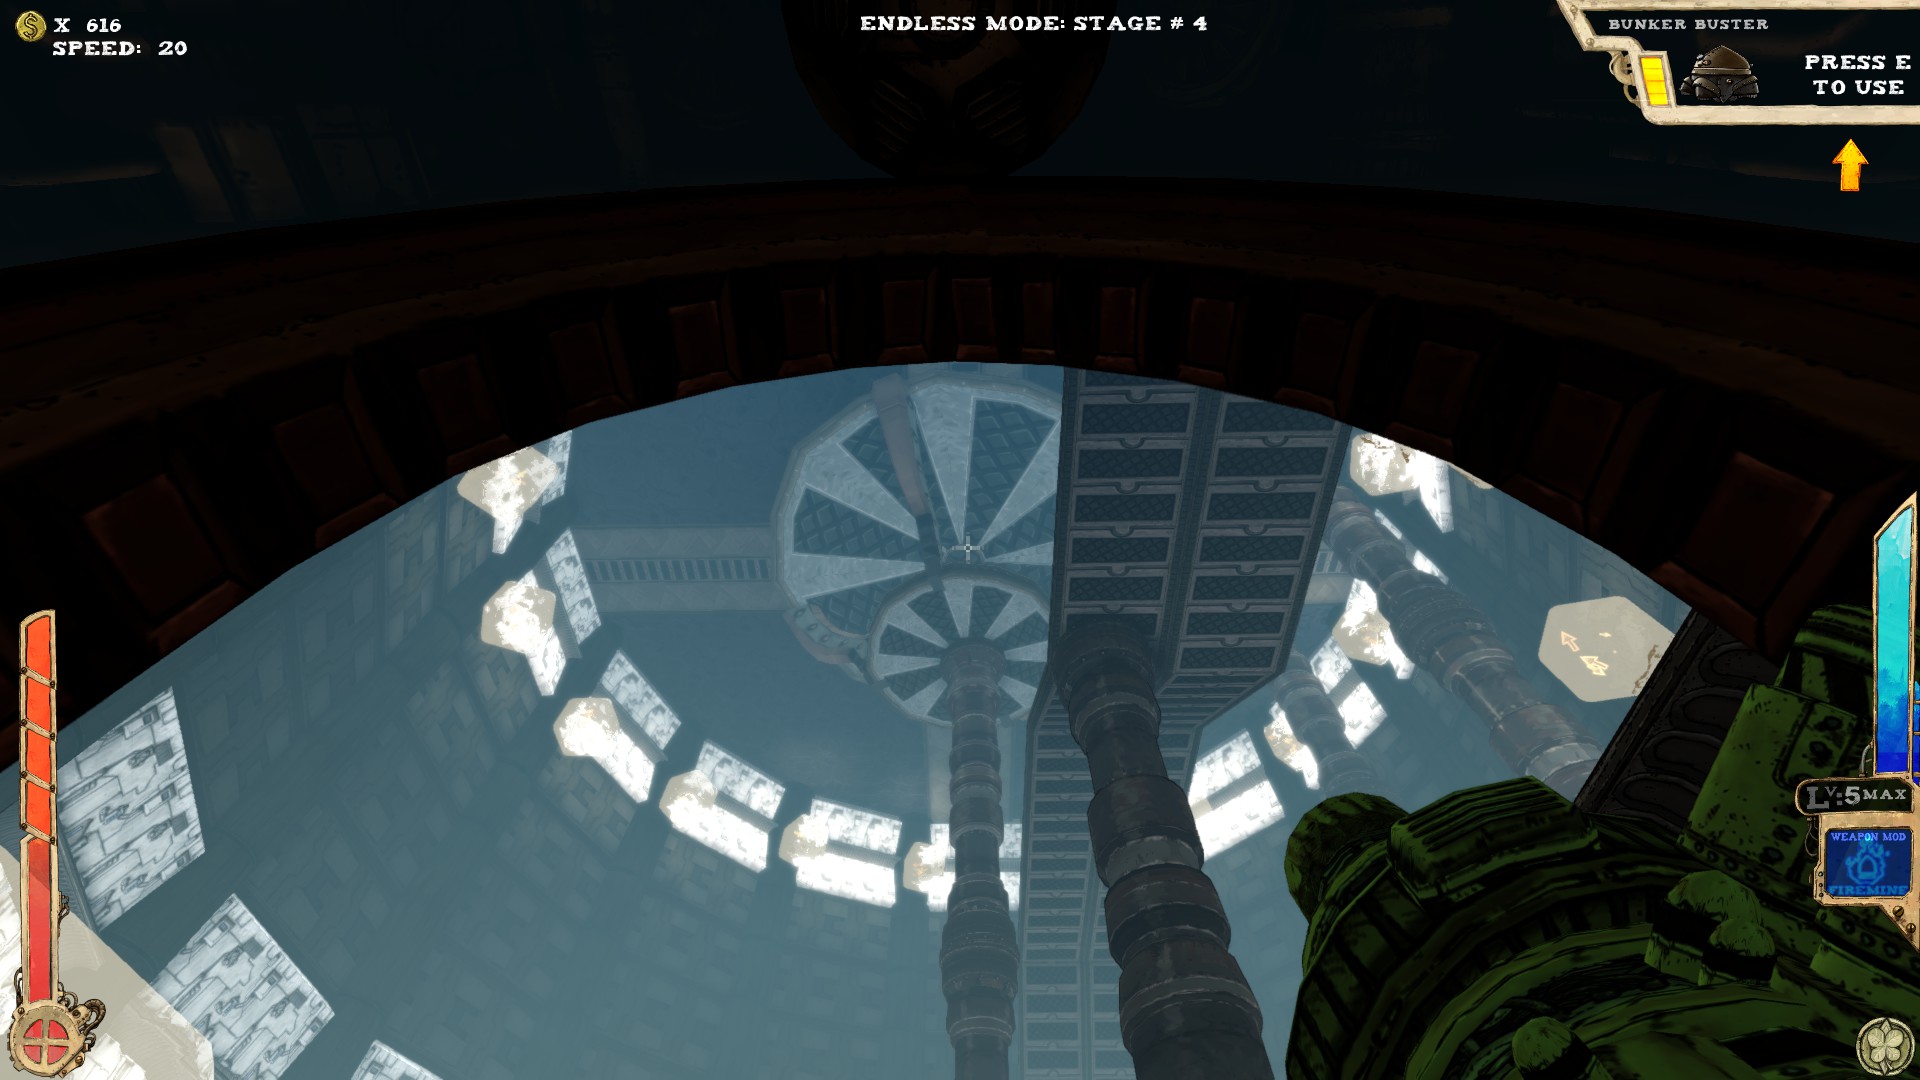 The rotating platform contains one secret. Use the Jelly on the sides to get there, but don't ride it to the end or you suddenly might be out of Jelly.
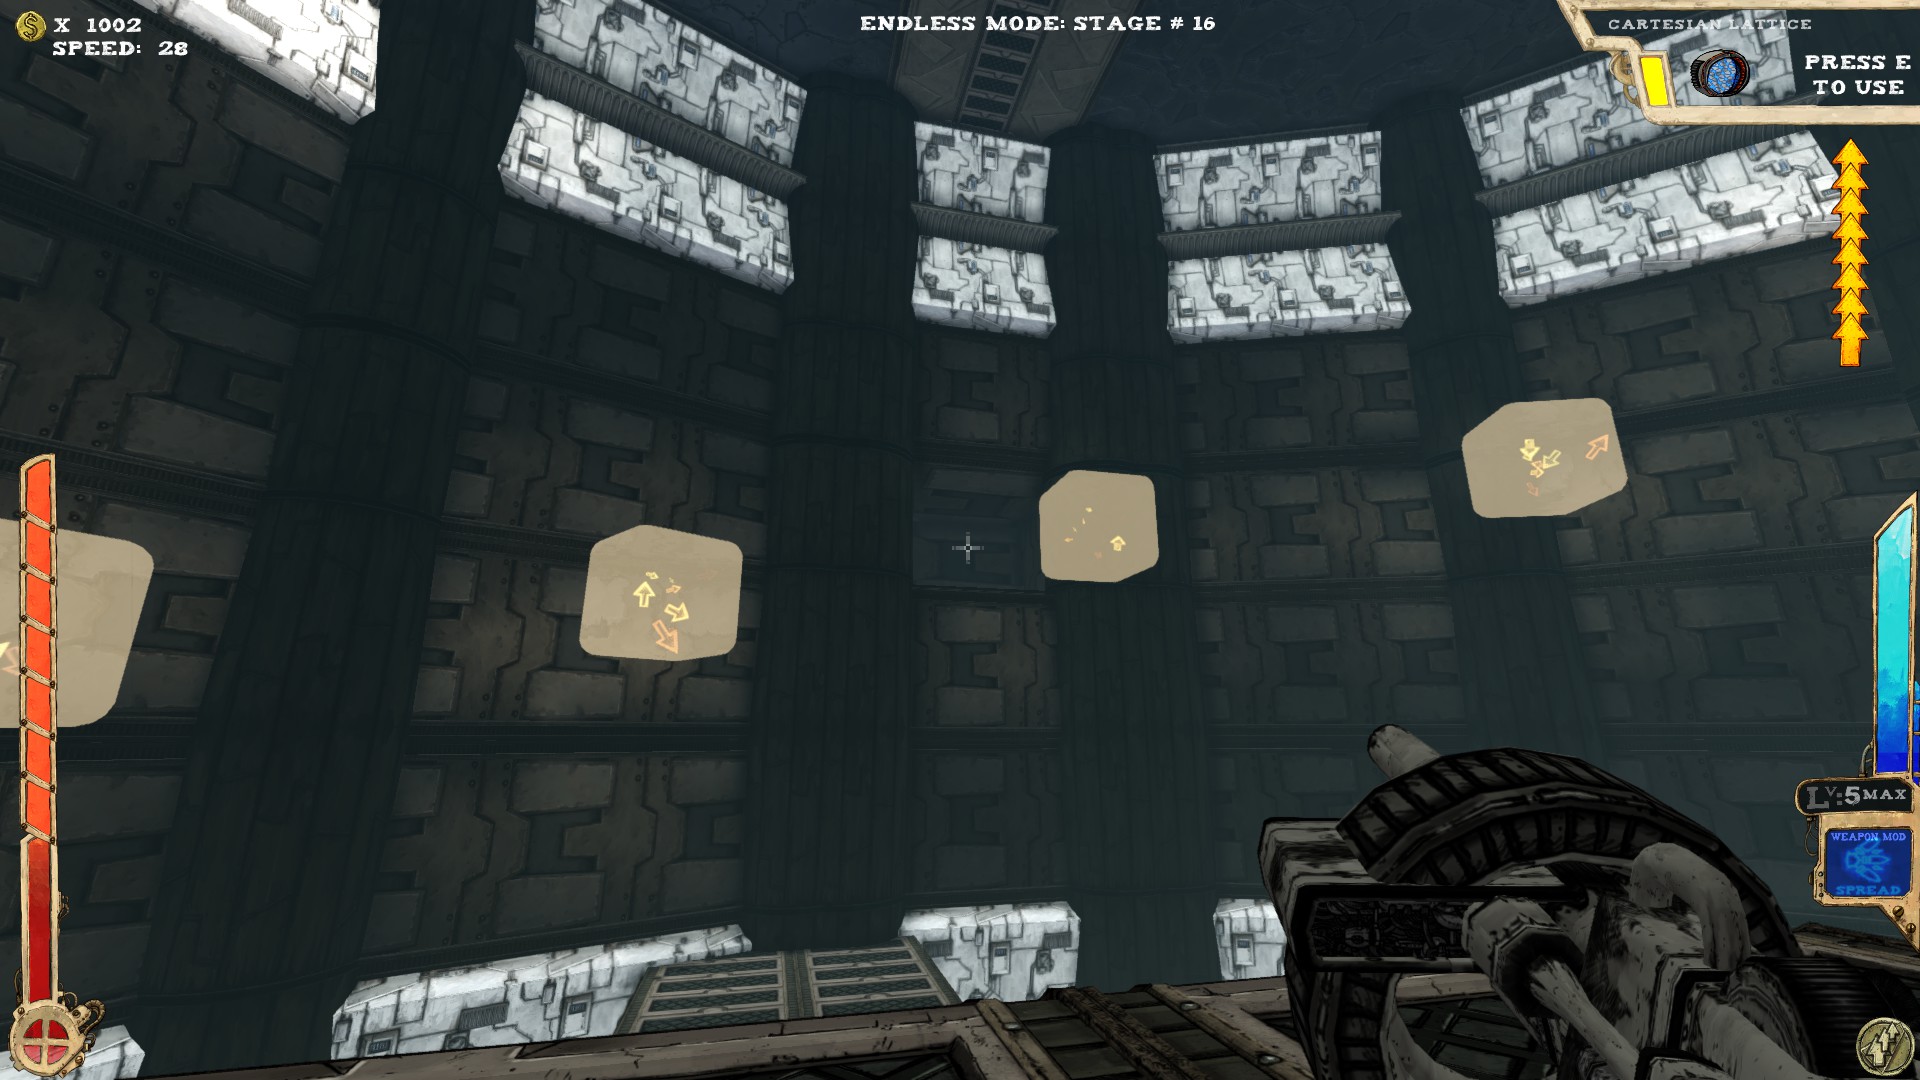 That's a weird one. When on the rotaing platform, scan the walls and you should see an opening (slightly different color). In there is the secret.
Sometimes there is a wall blocking the secret, which I've never seen for any other secret...
It also still seems to count to the secrets completion rate at the end of the level, even when you can't access it.
----
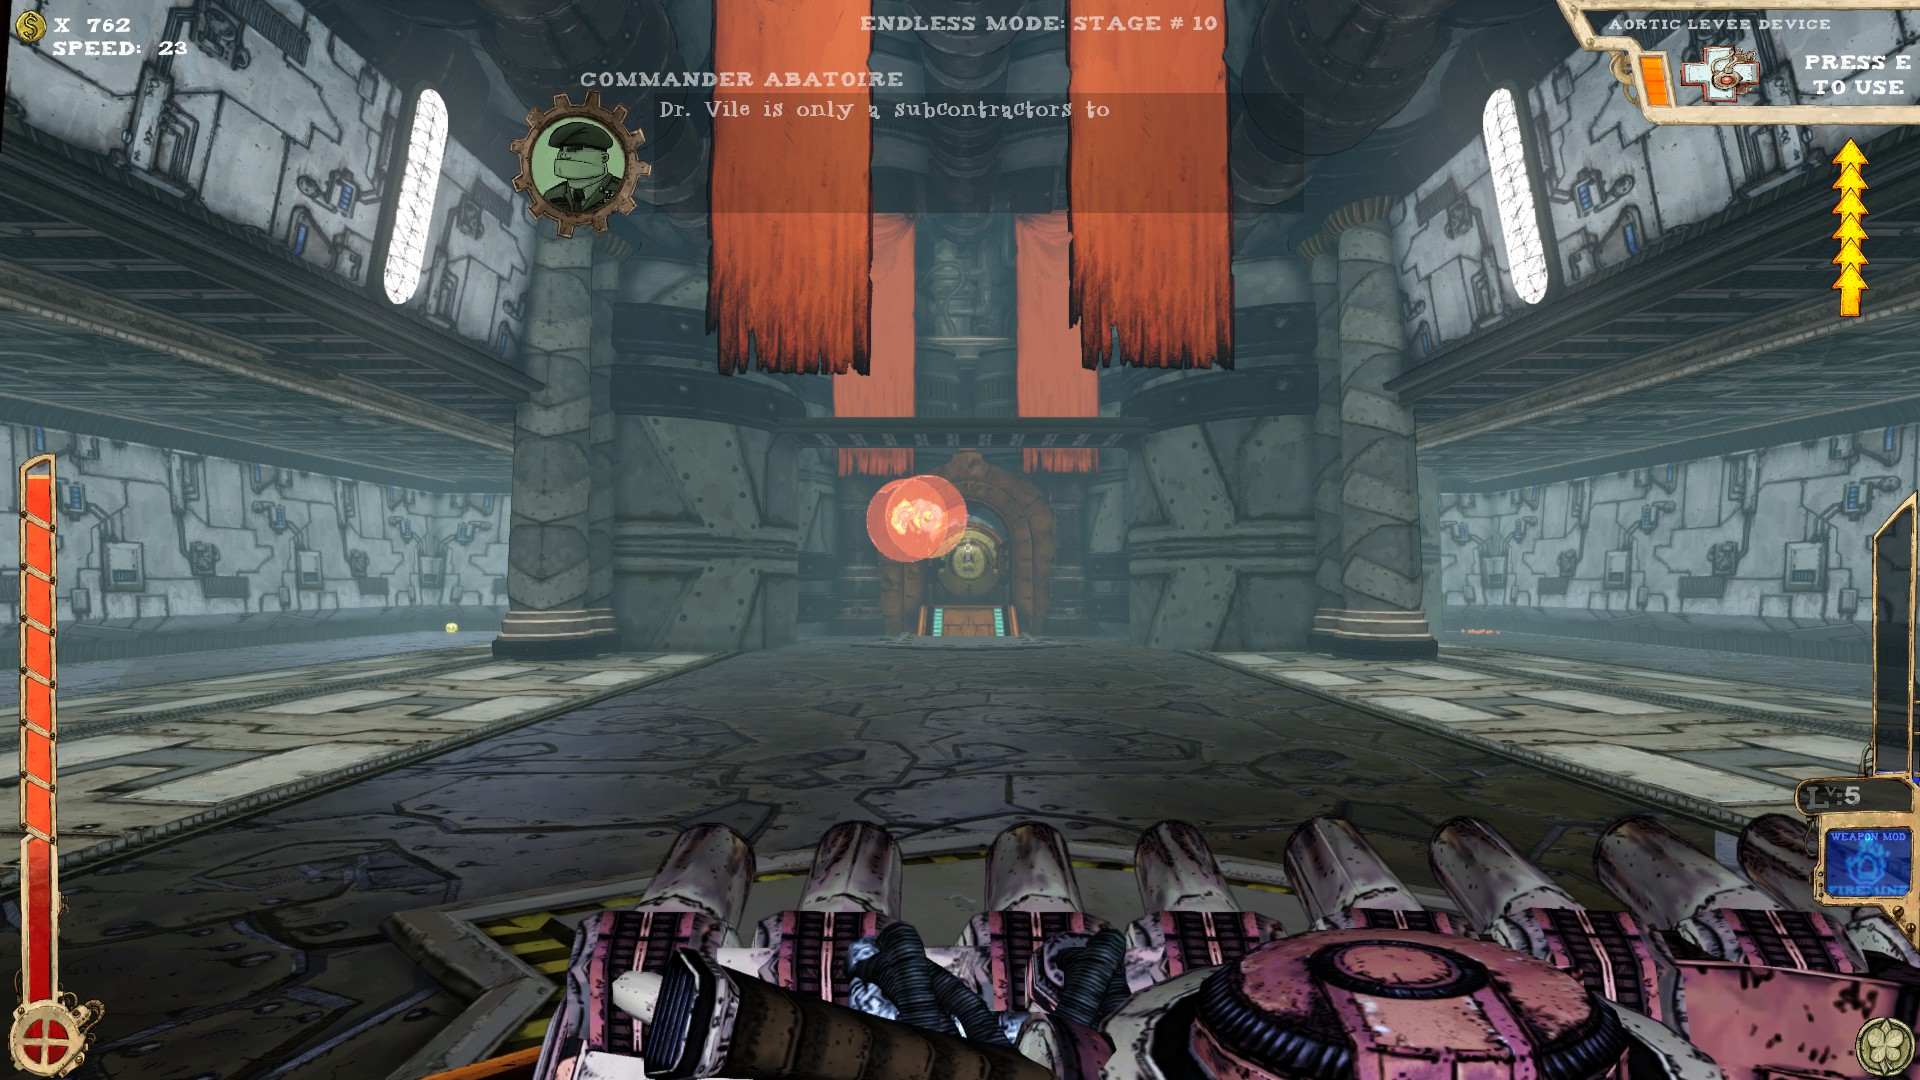
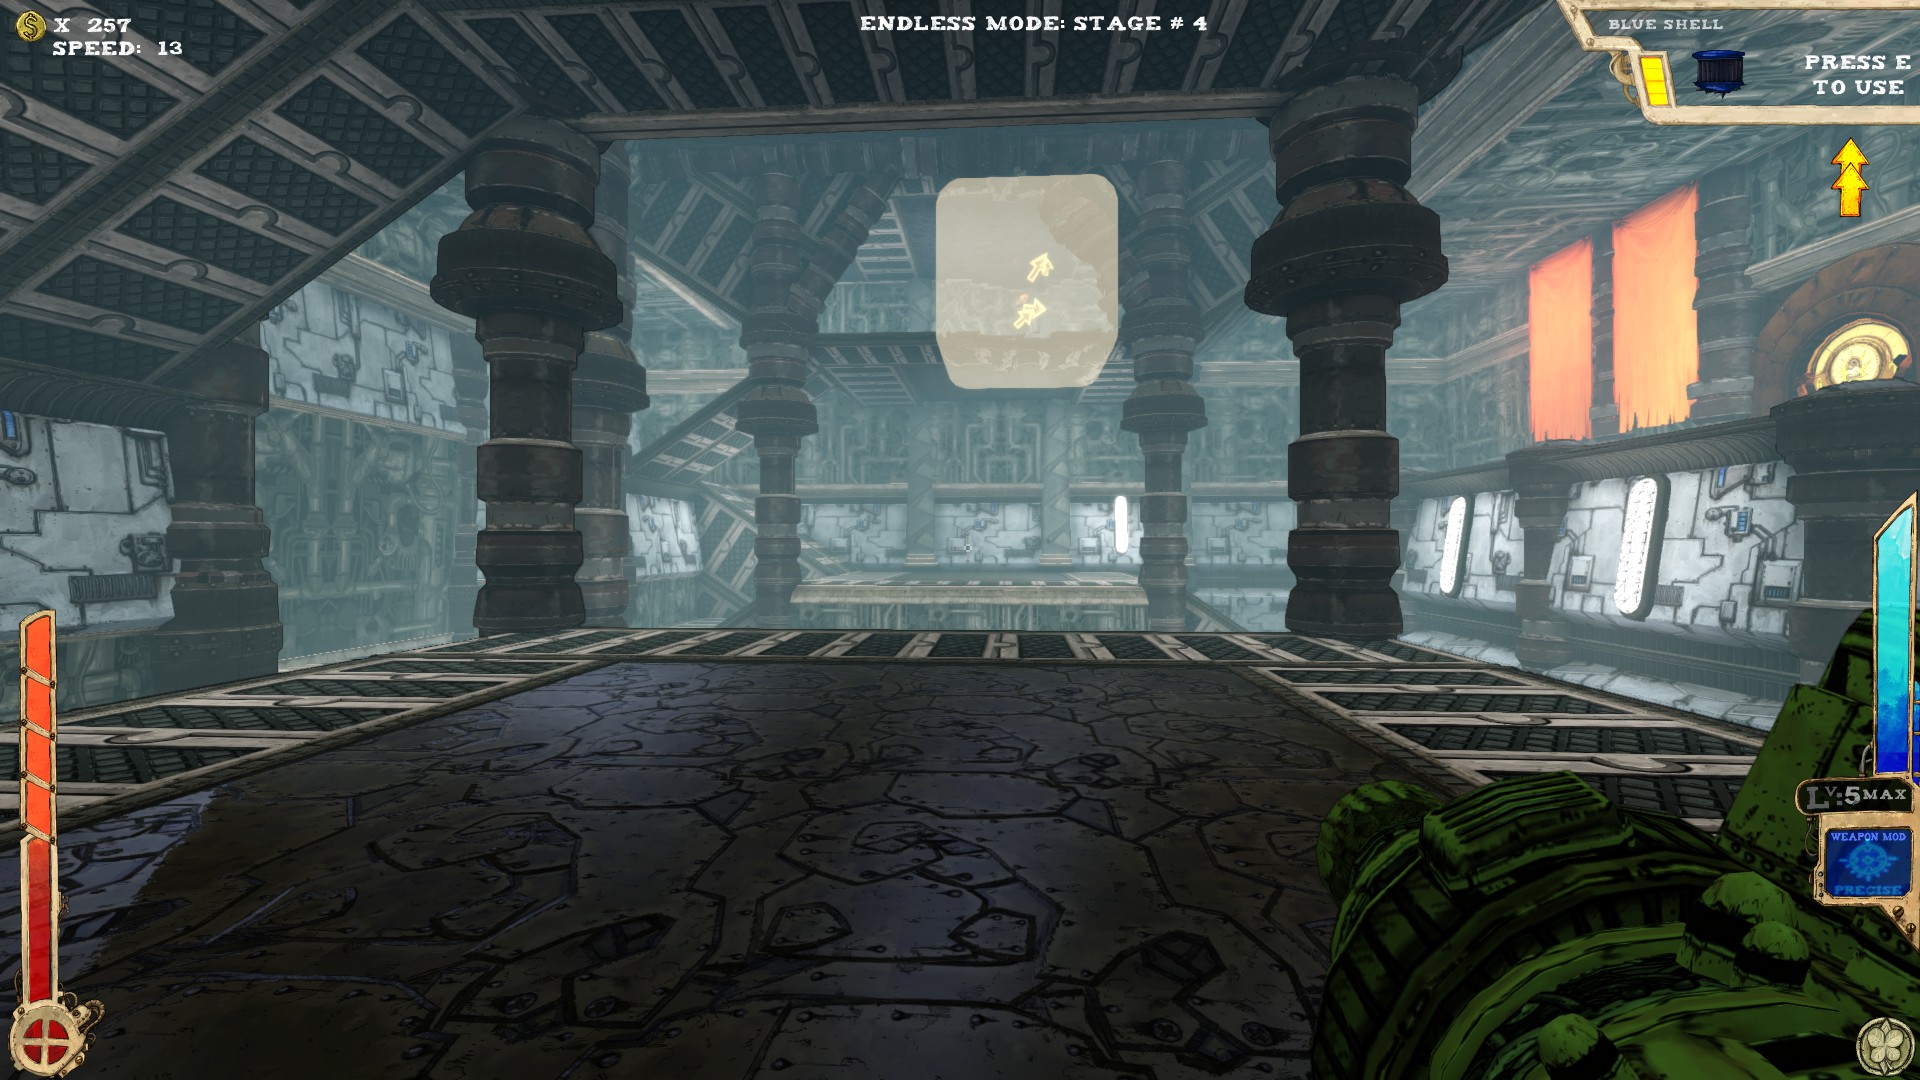
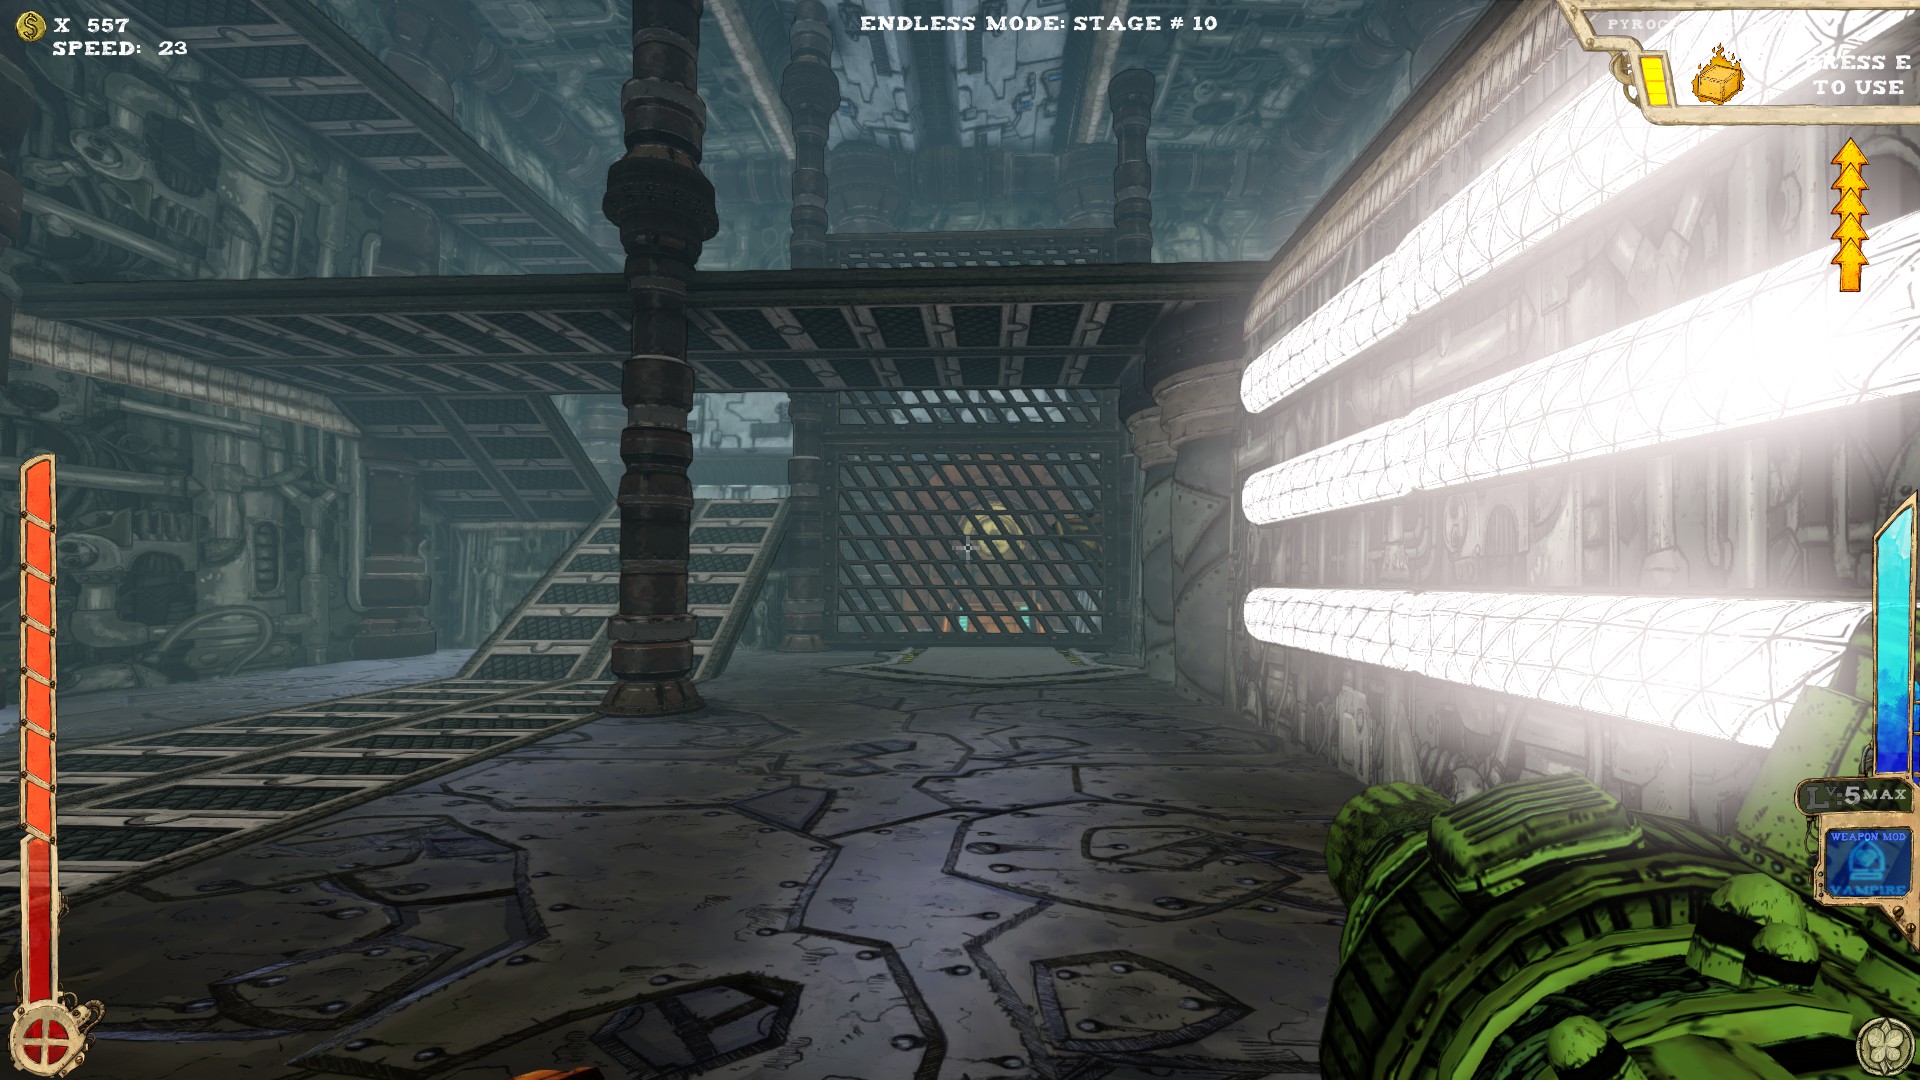
 None of these have secrets. The last one is part of a multi room setup. Be aware of that, but the part you're seeing in the picture doesn't have a secret.
----
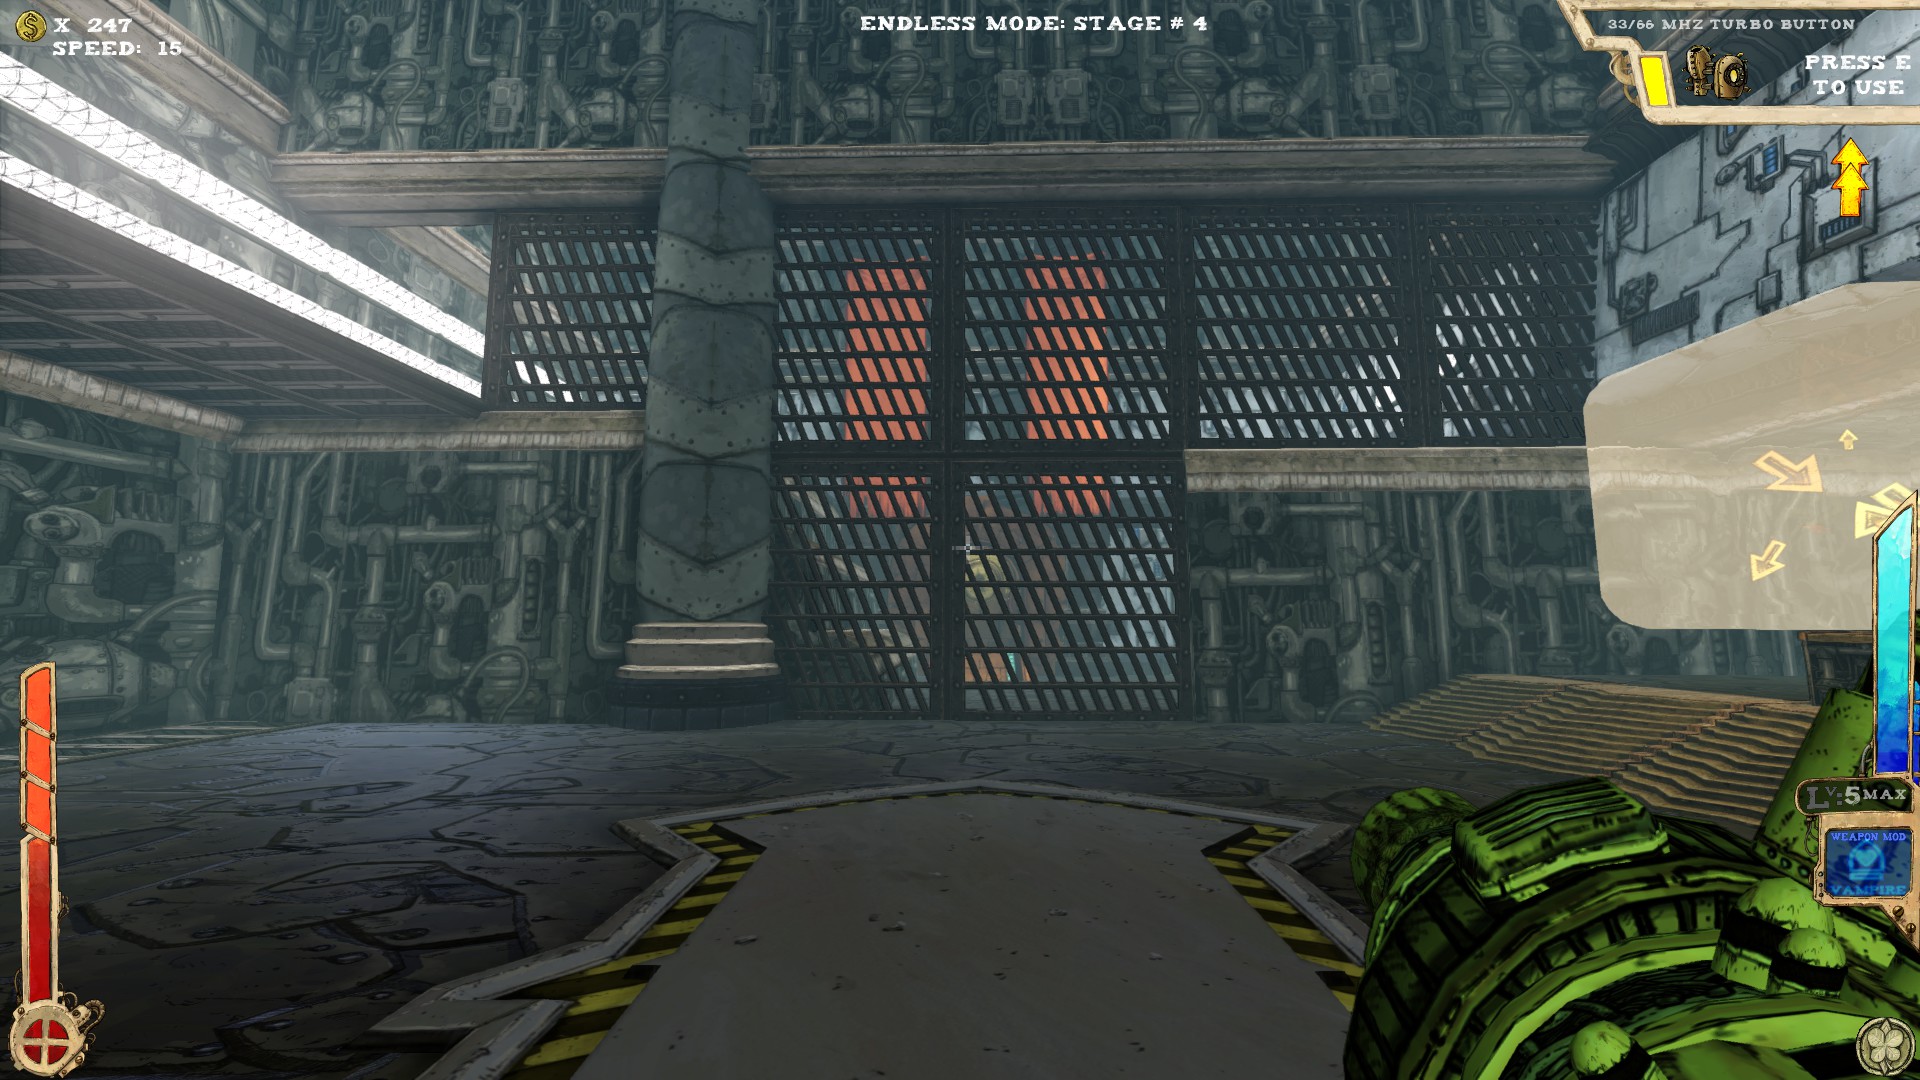 One secret.
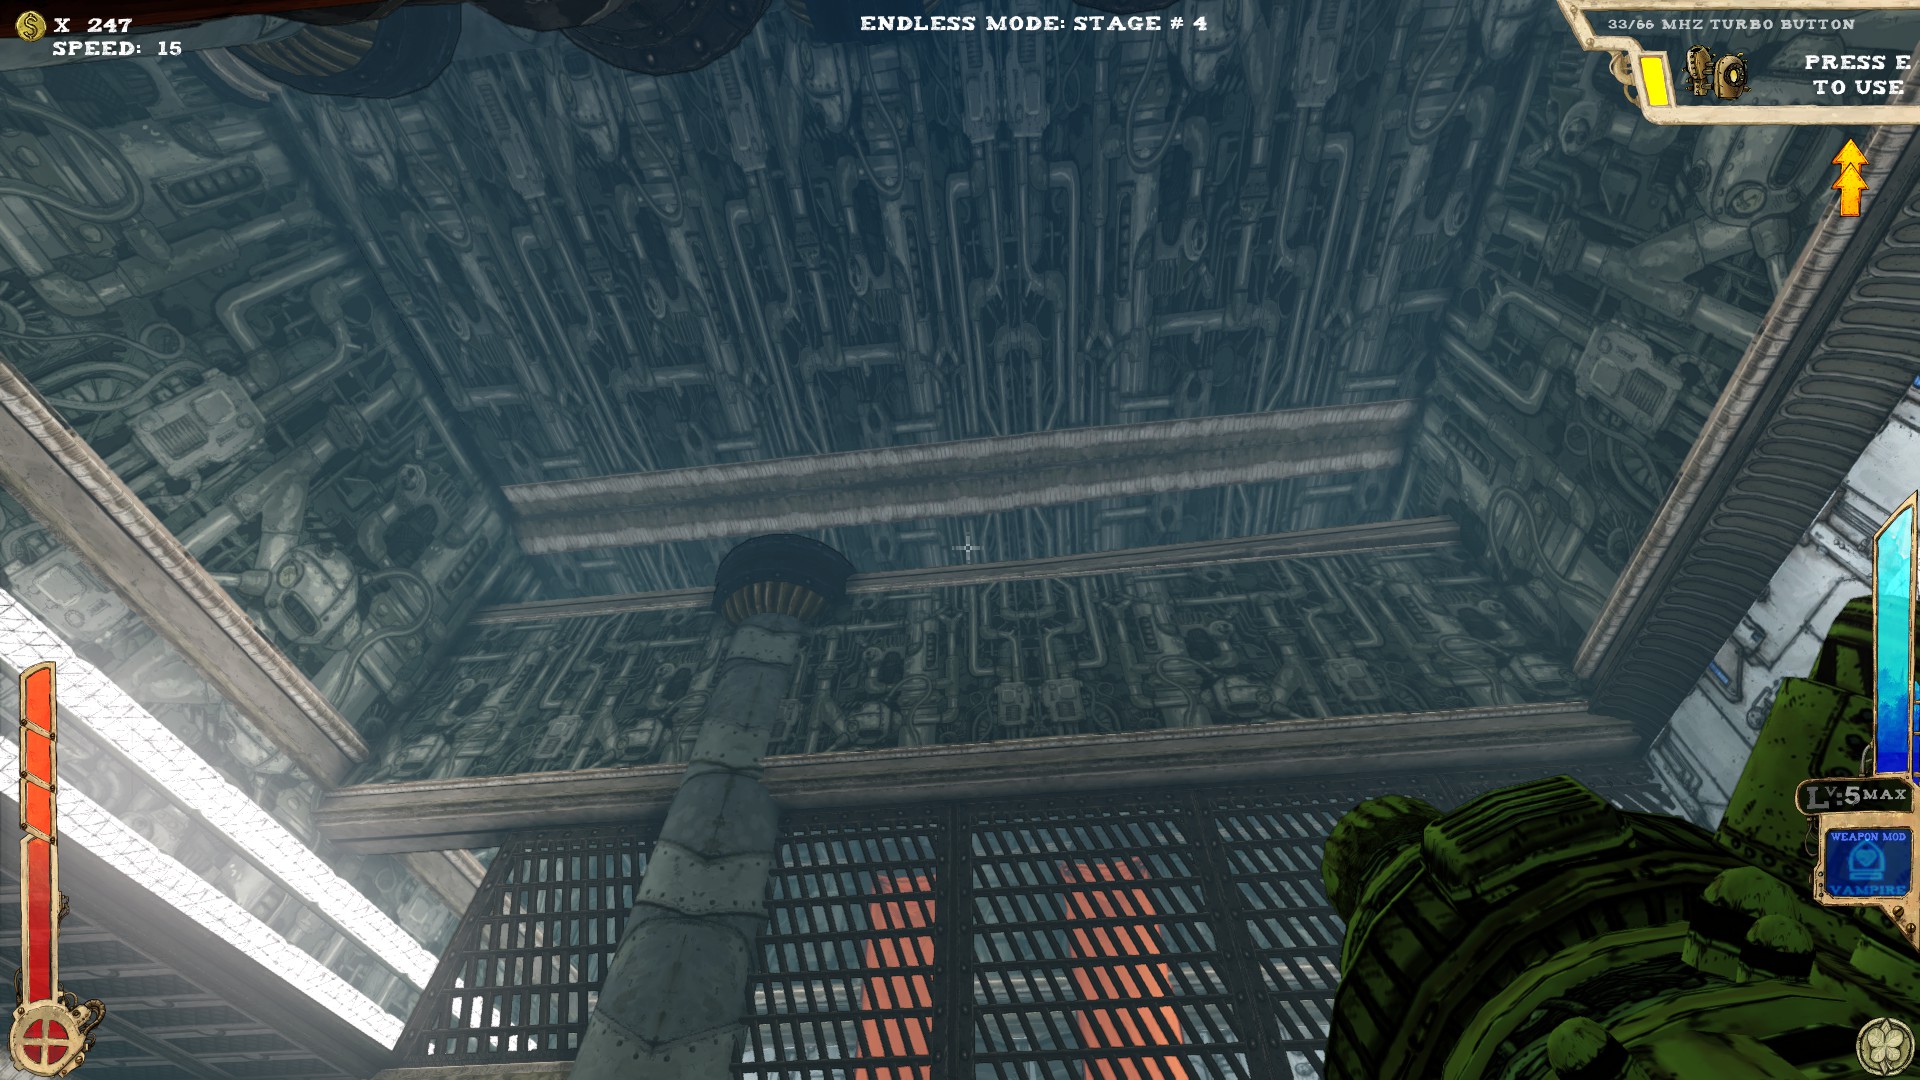 Look up from the entrance and you should see the opening. Just use the Jelly to get there.
----
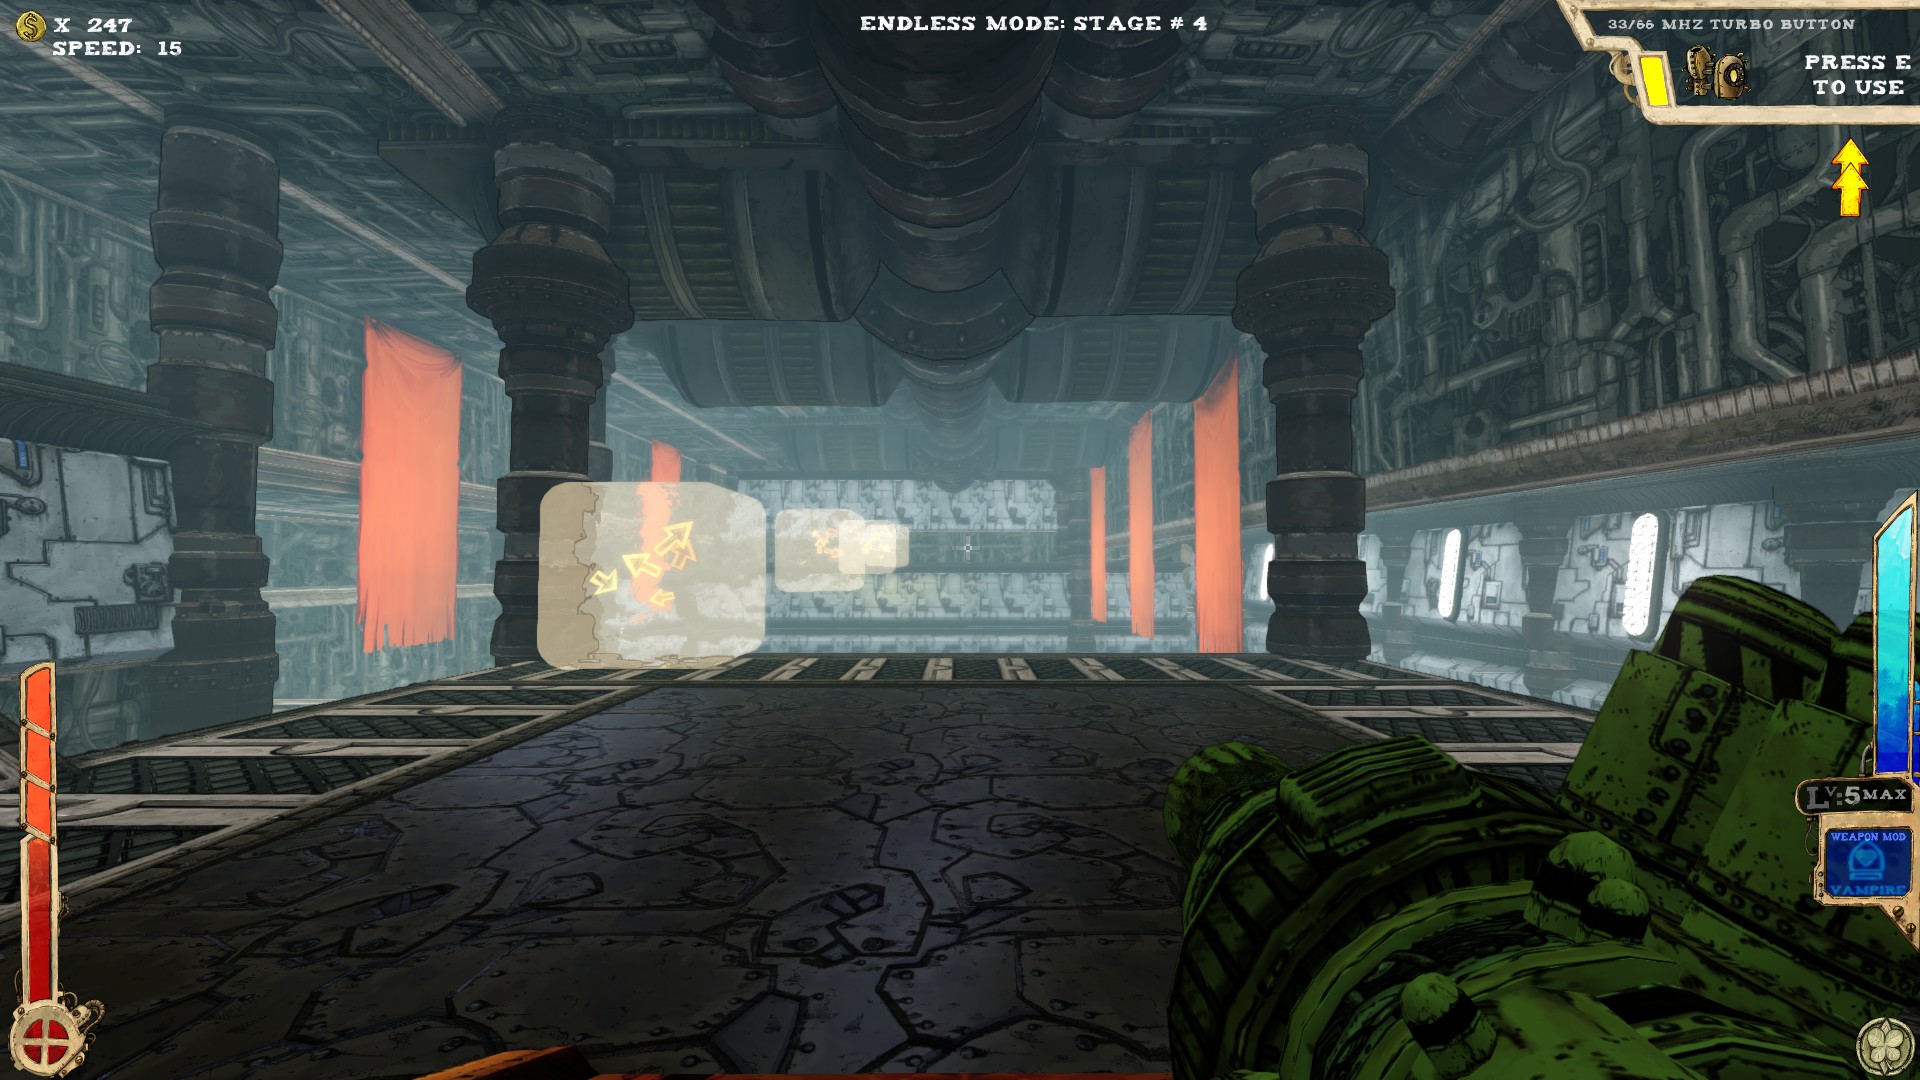 Two secrets.
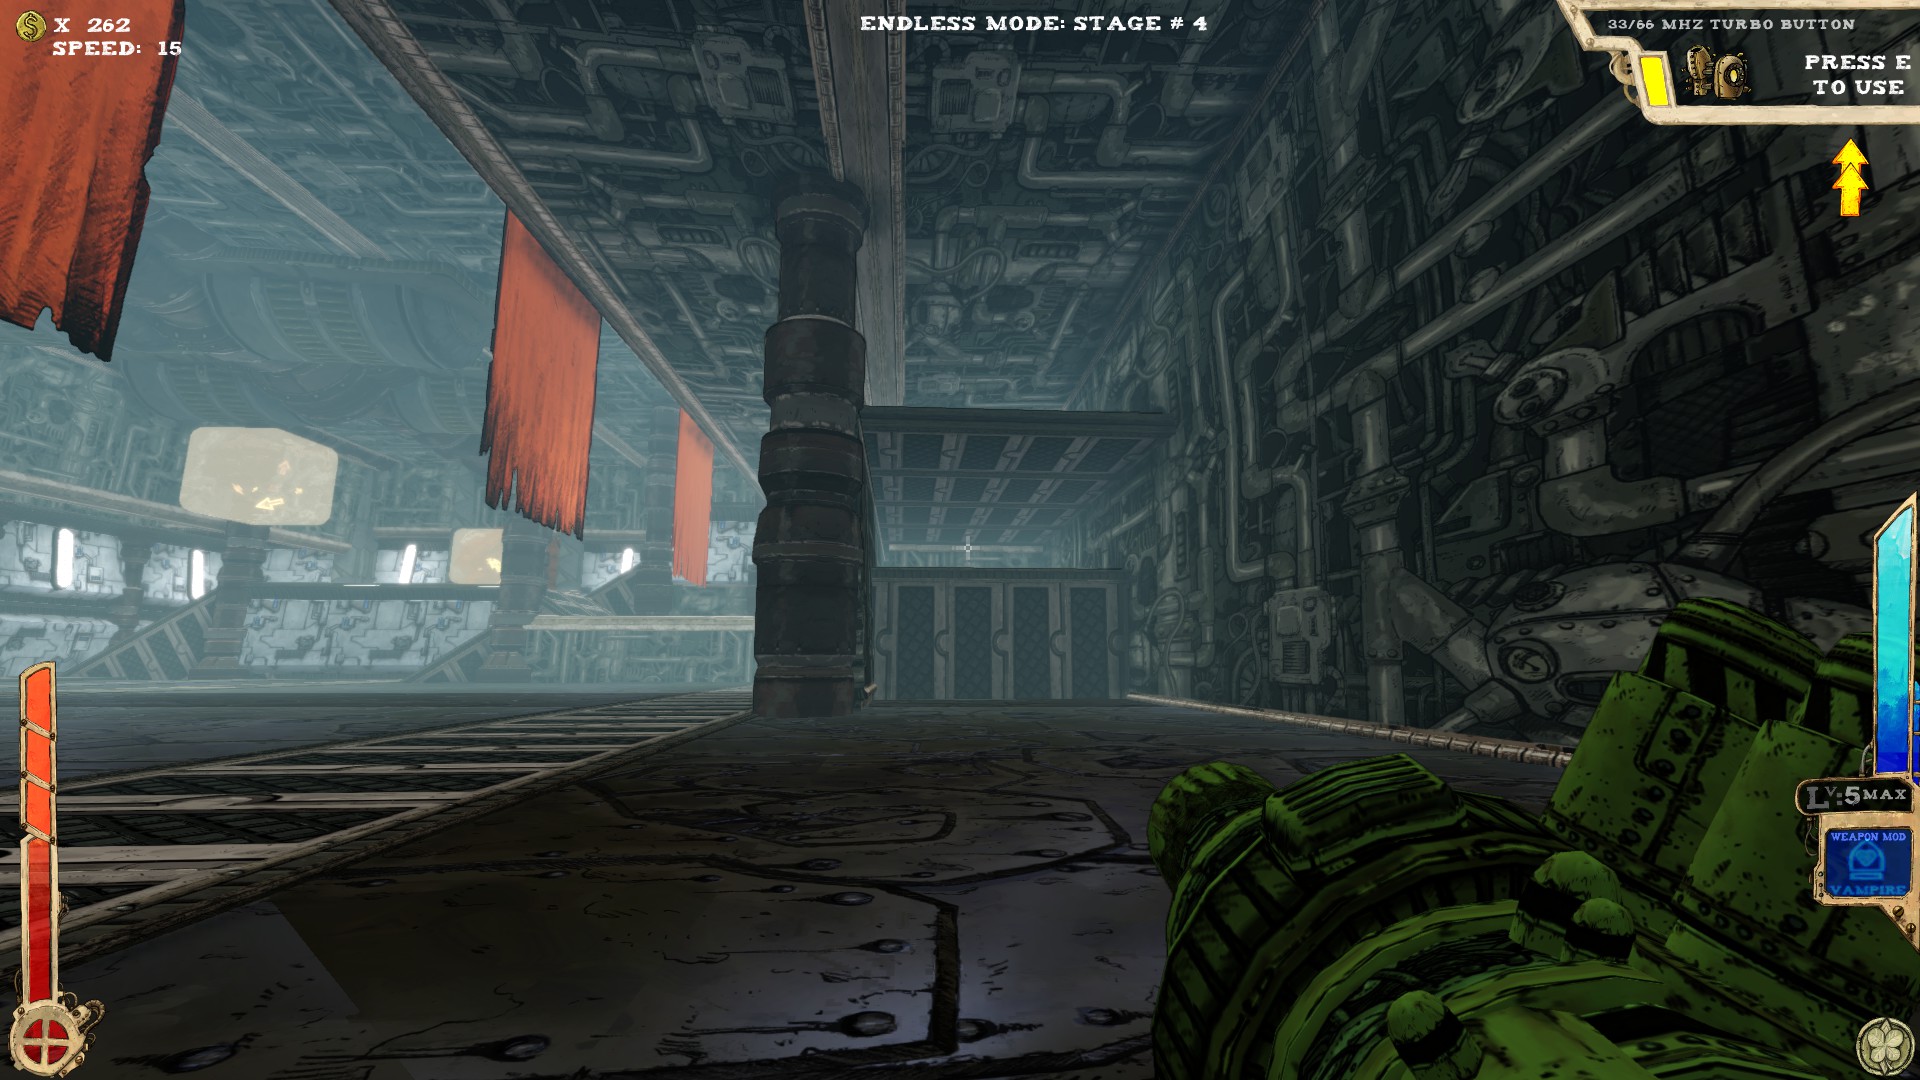 End of the pit. Turn around, go to the right and you should see the opening under the platform. If you don't have enough jumps, use the platform above to drop down and get in. An extra jump is still needed, though.
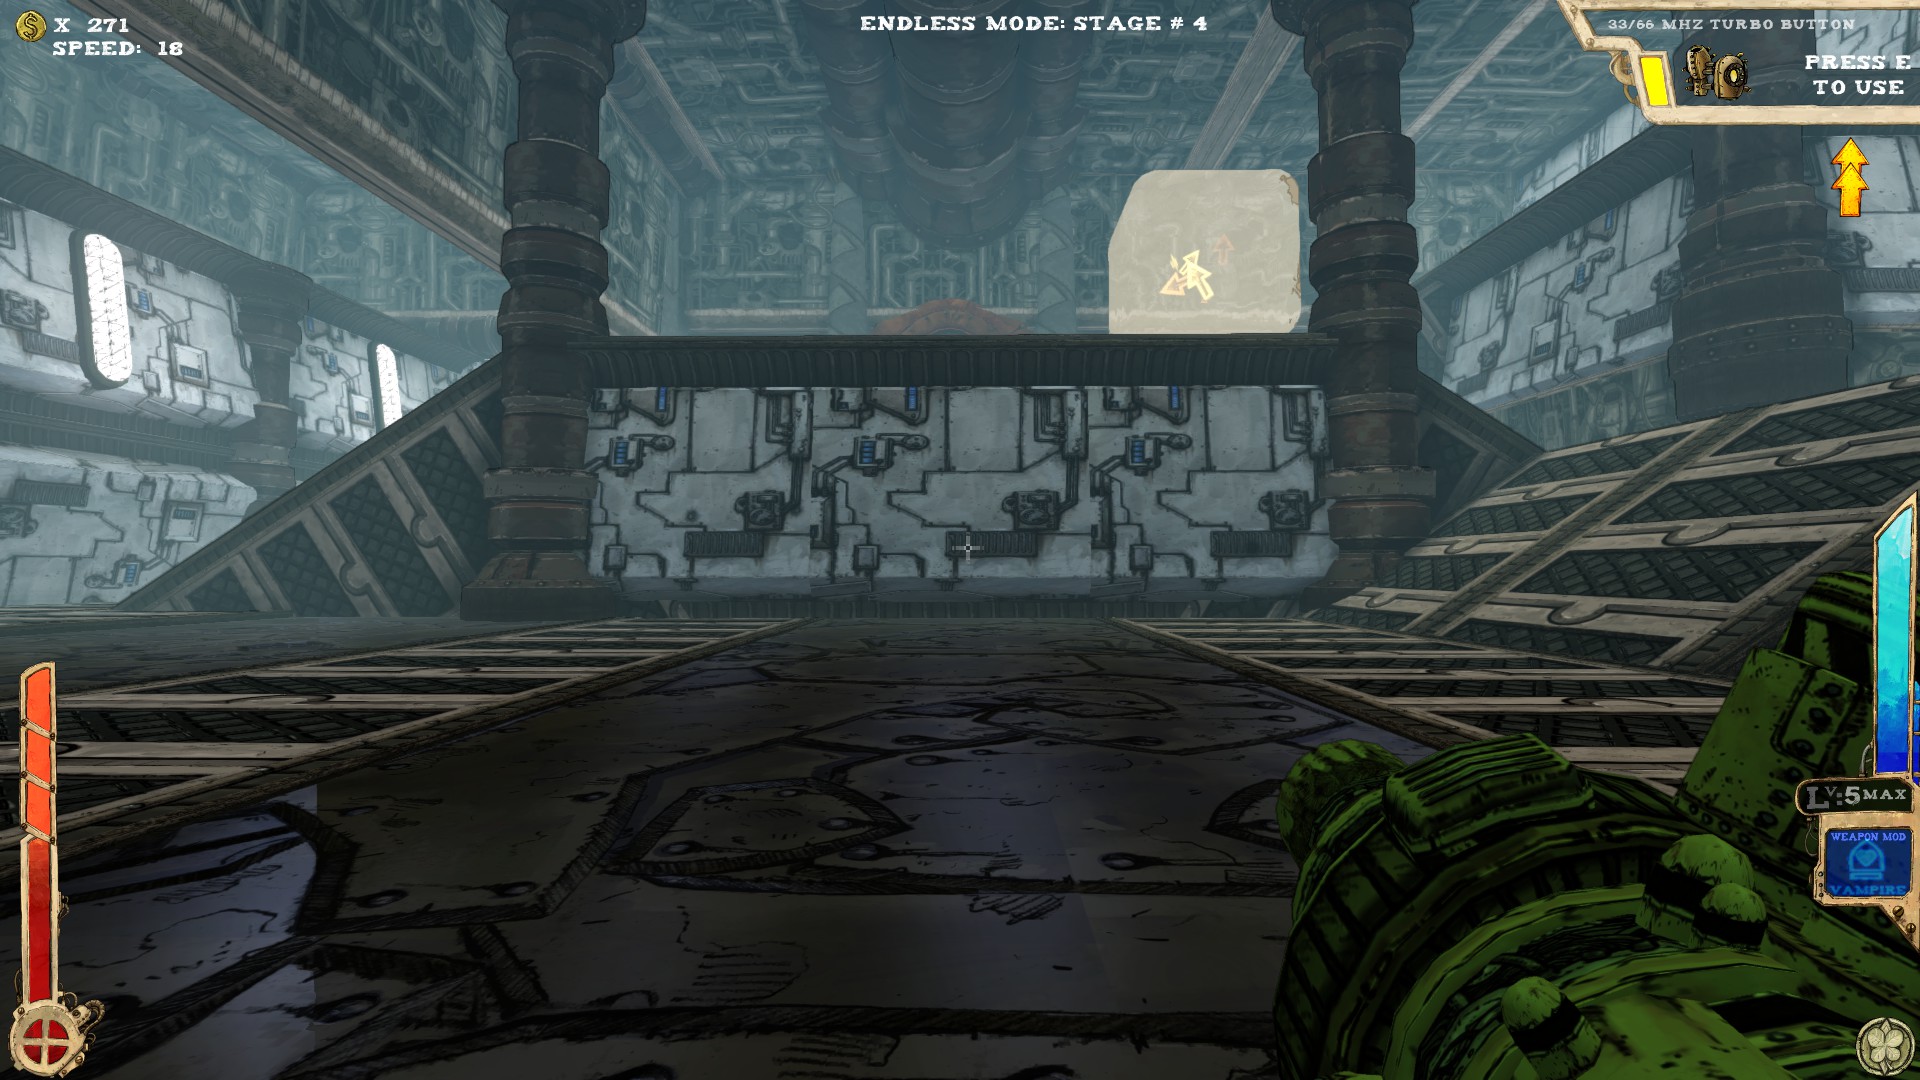 Also in the pit. Face the entrance and you should see what I do in the picture. Fake wall. Go right in.
----
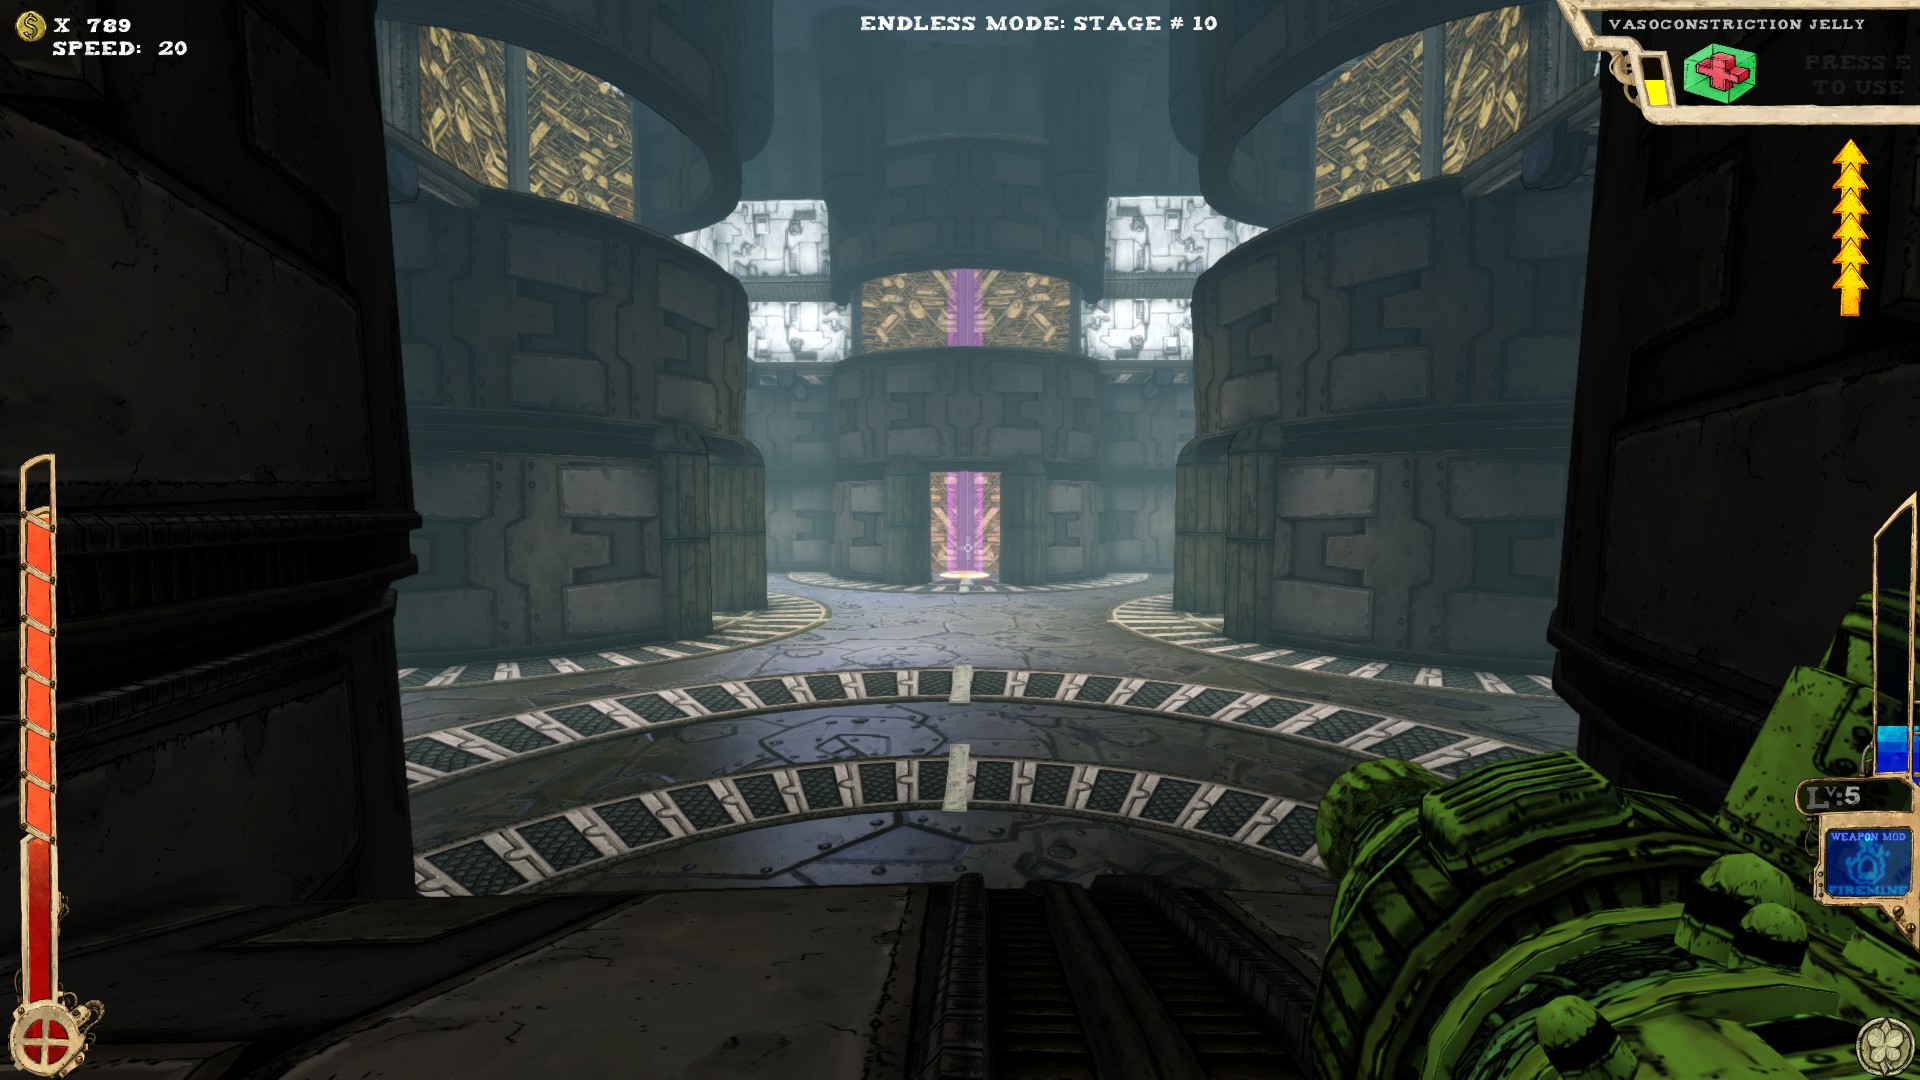 Not a room by itself, but part of setup that can change.
Two secrets.
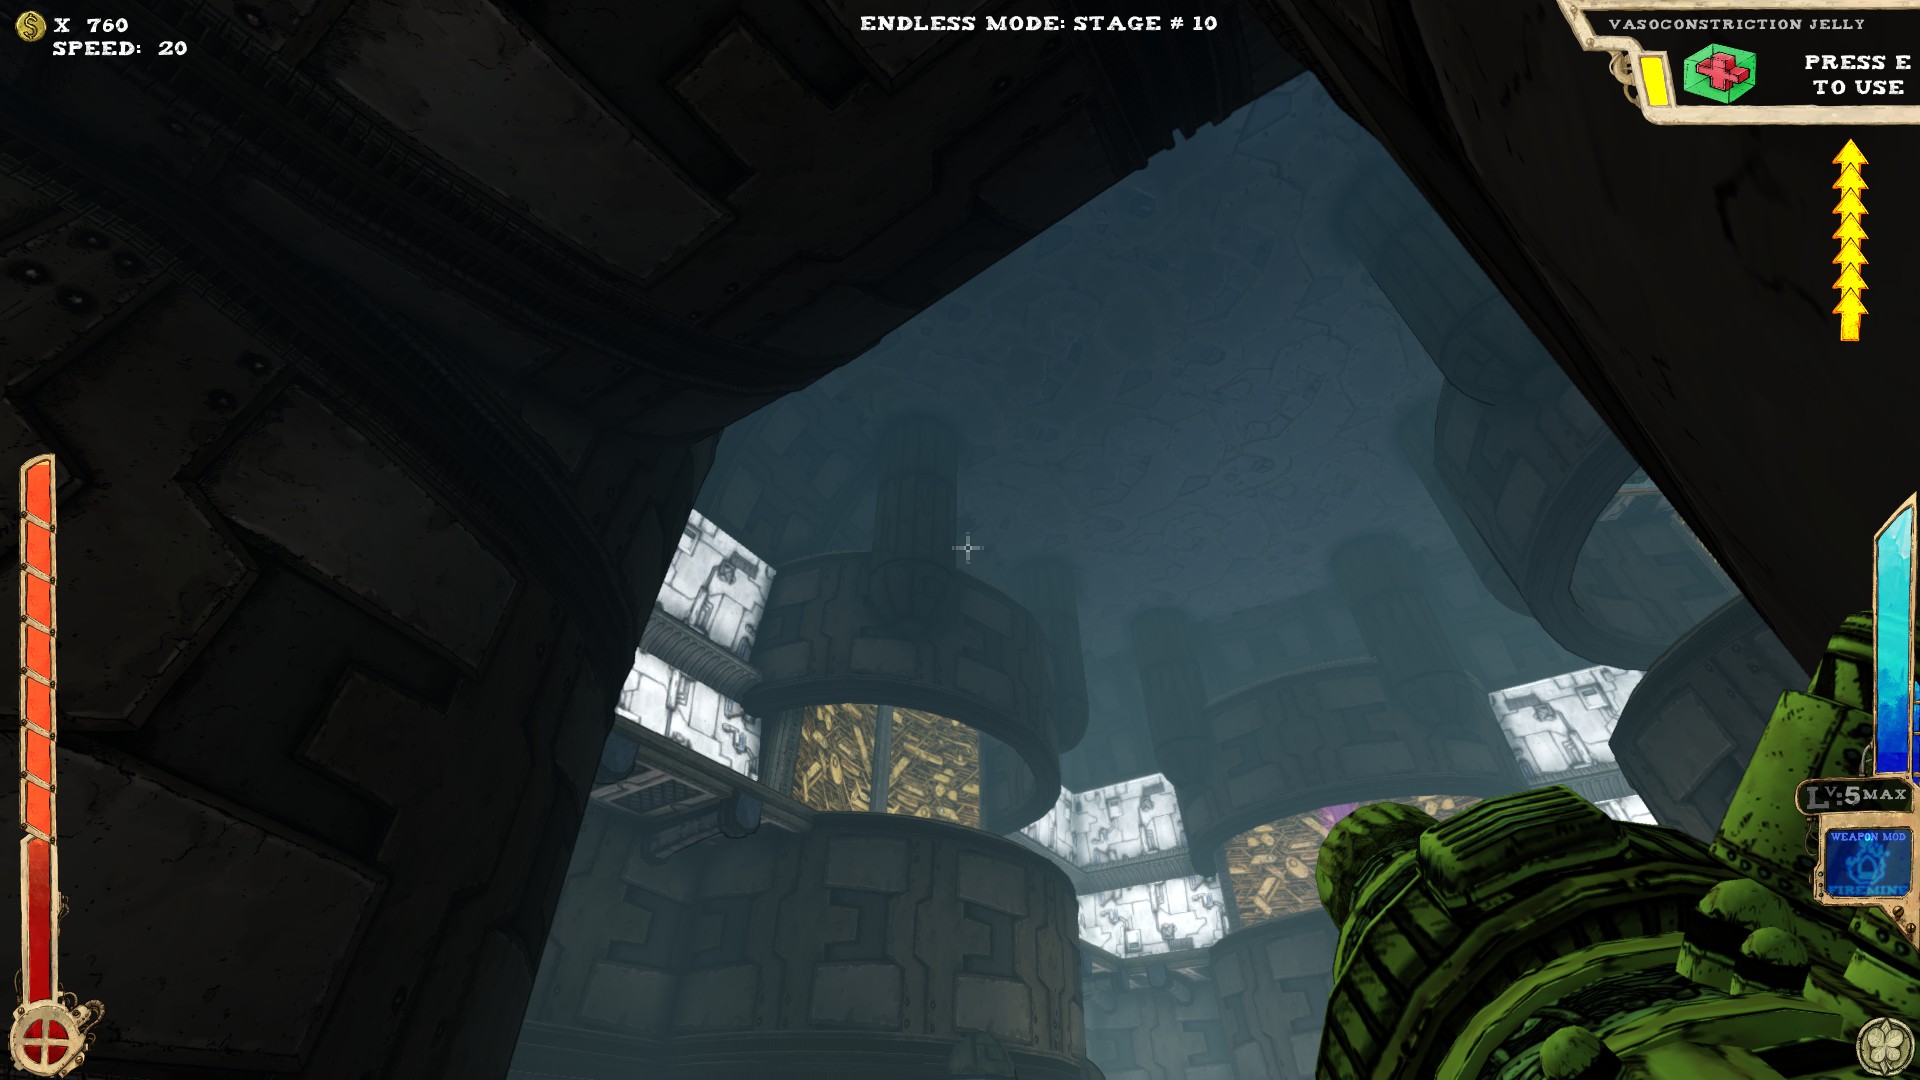 On top of the left tower is a secret. The other tops contain nothing. Not reachable without enough jumps or proper item.
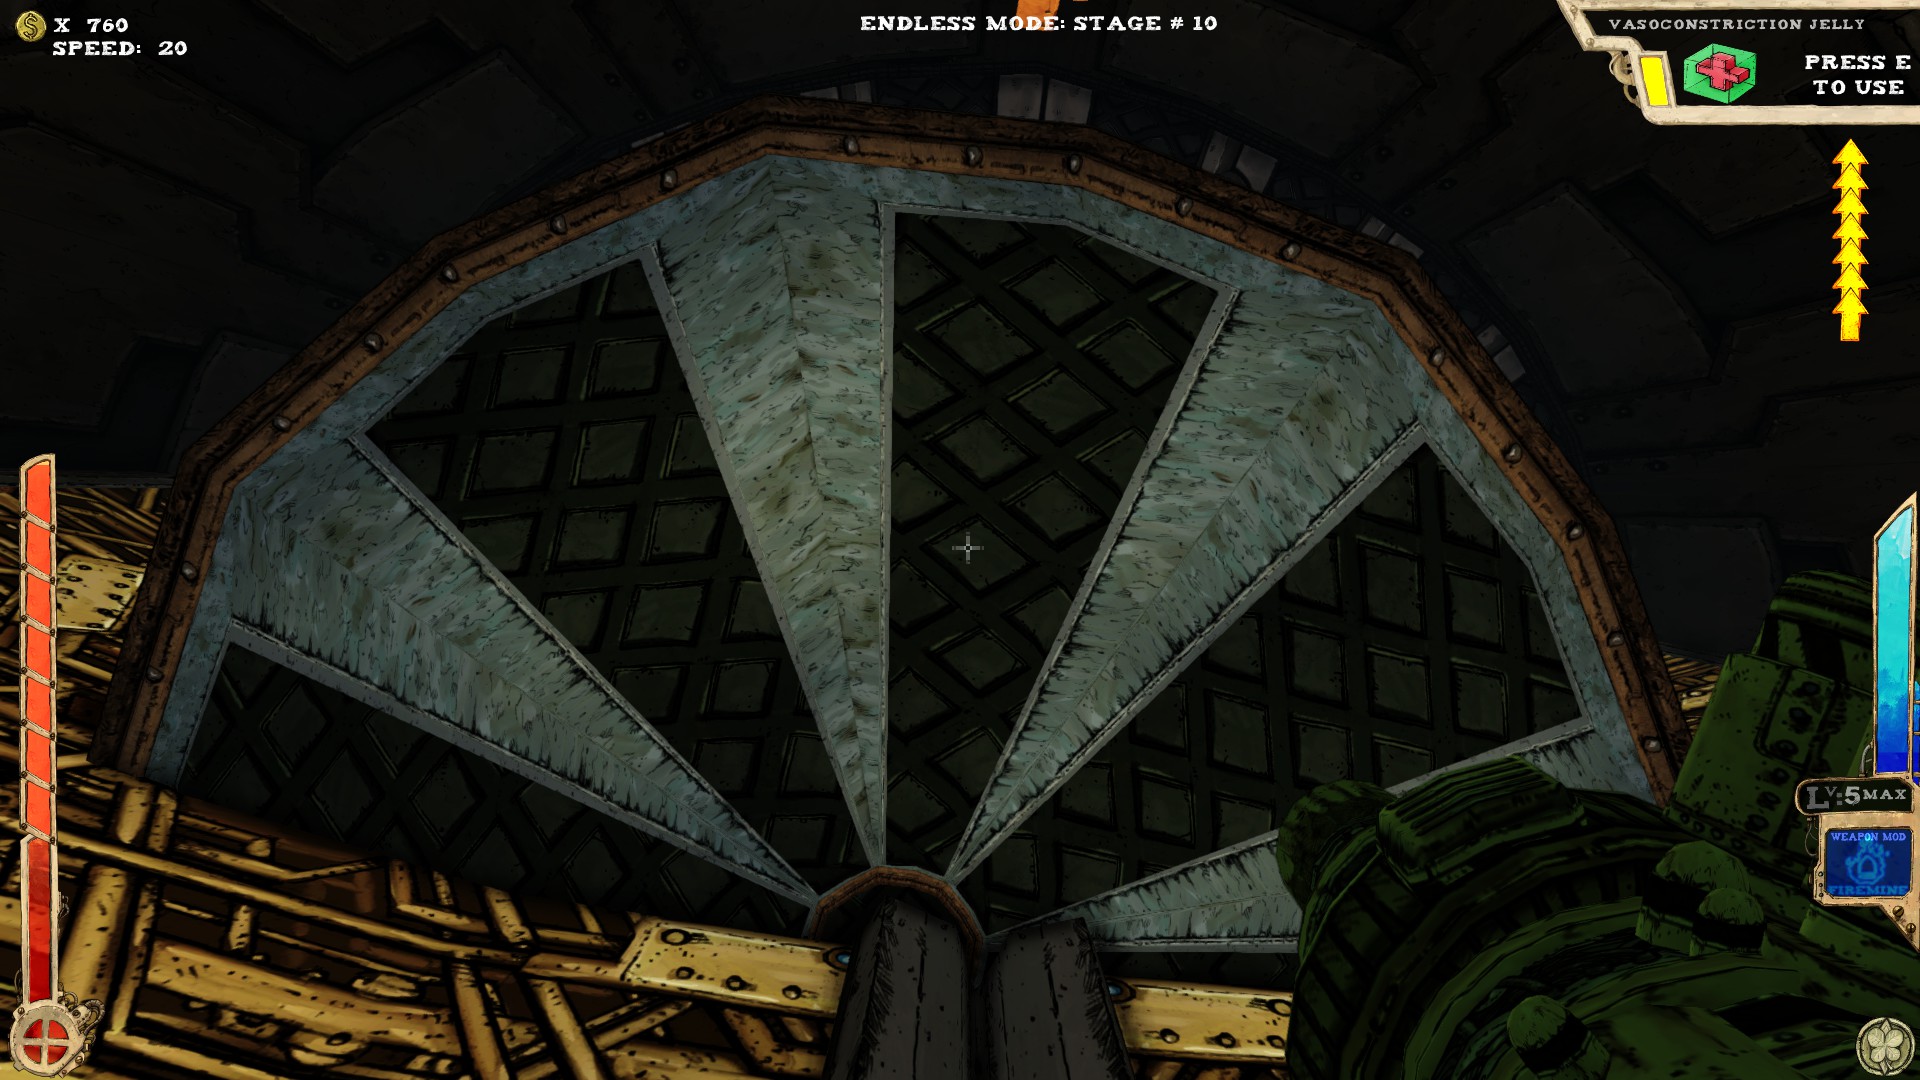 After using the teleporter, you'll end up on a platform. Right above you is another such platform, containing the secret.
----
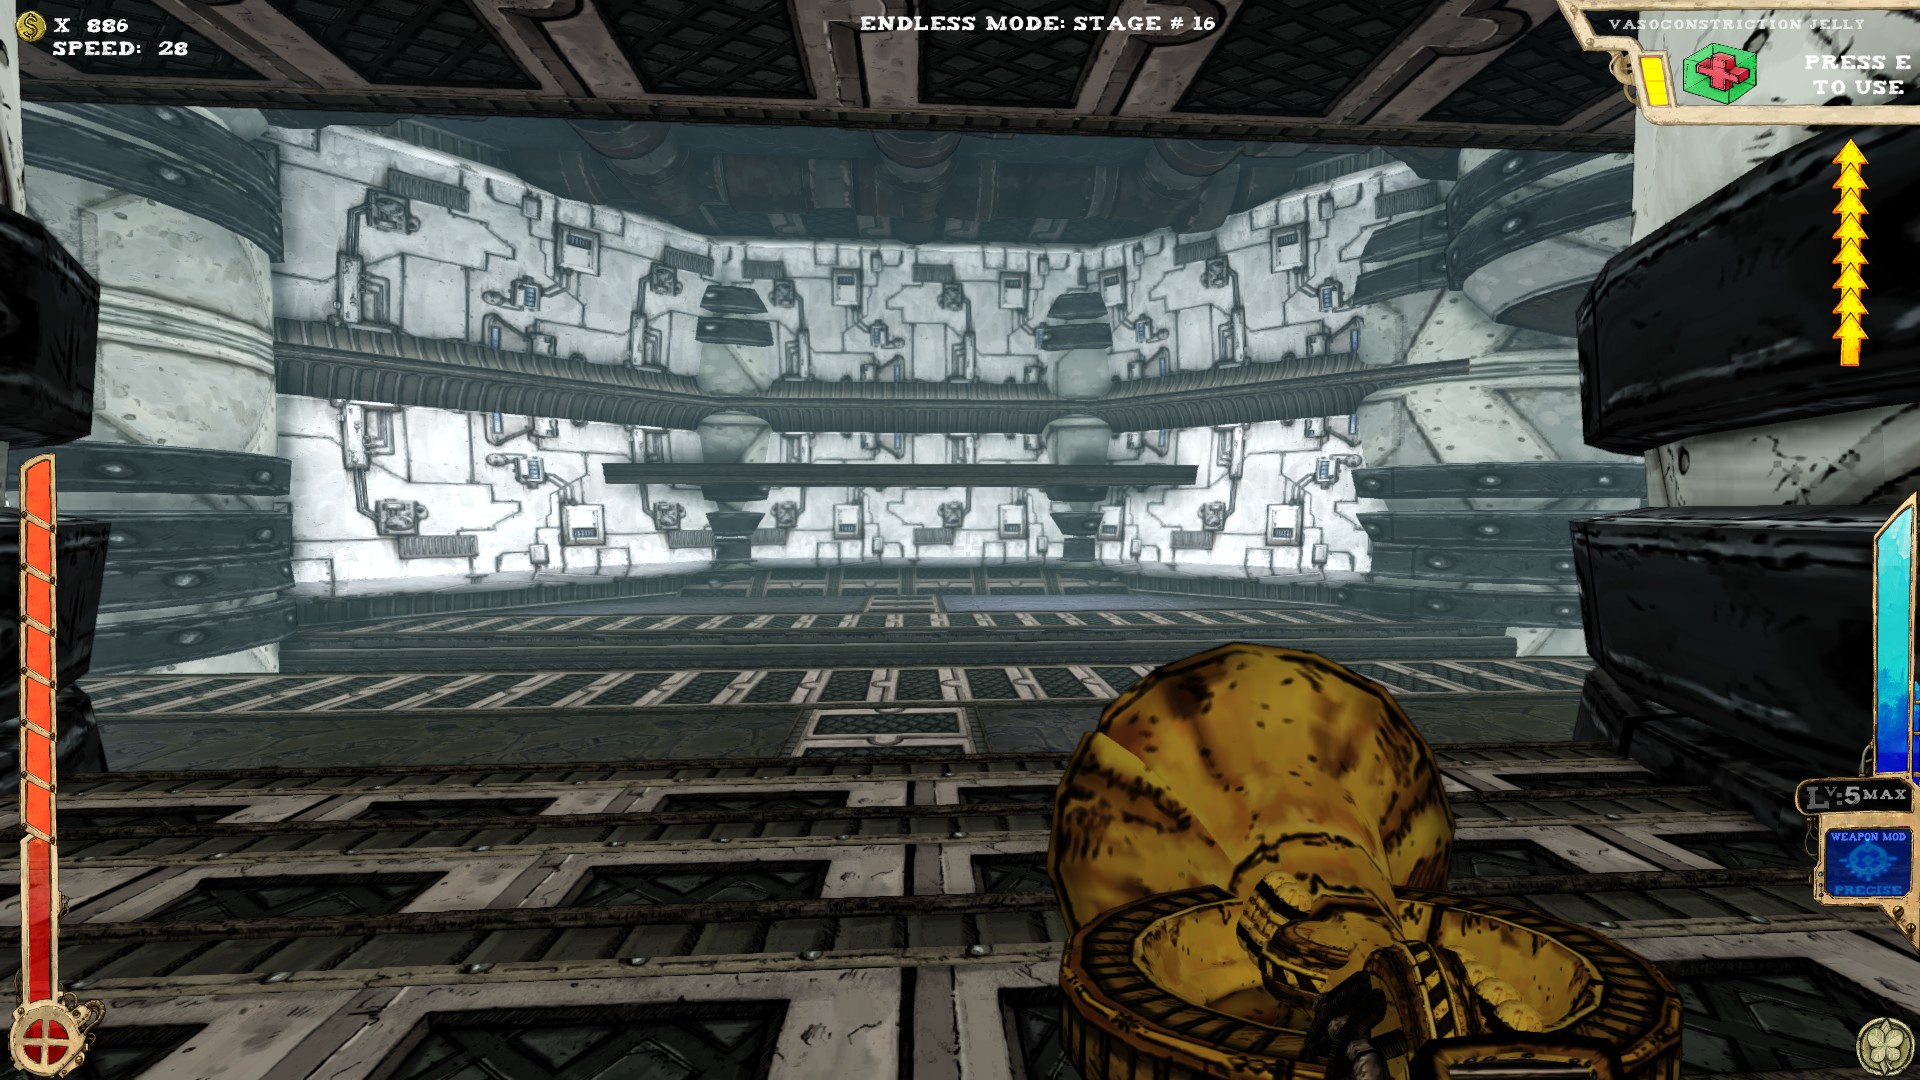 While this looks similar to another room I've covered before, it isn't. The other one has a hole in the middle leading to another part, while this one has just a small corridor.
One secret.
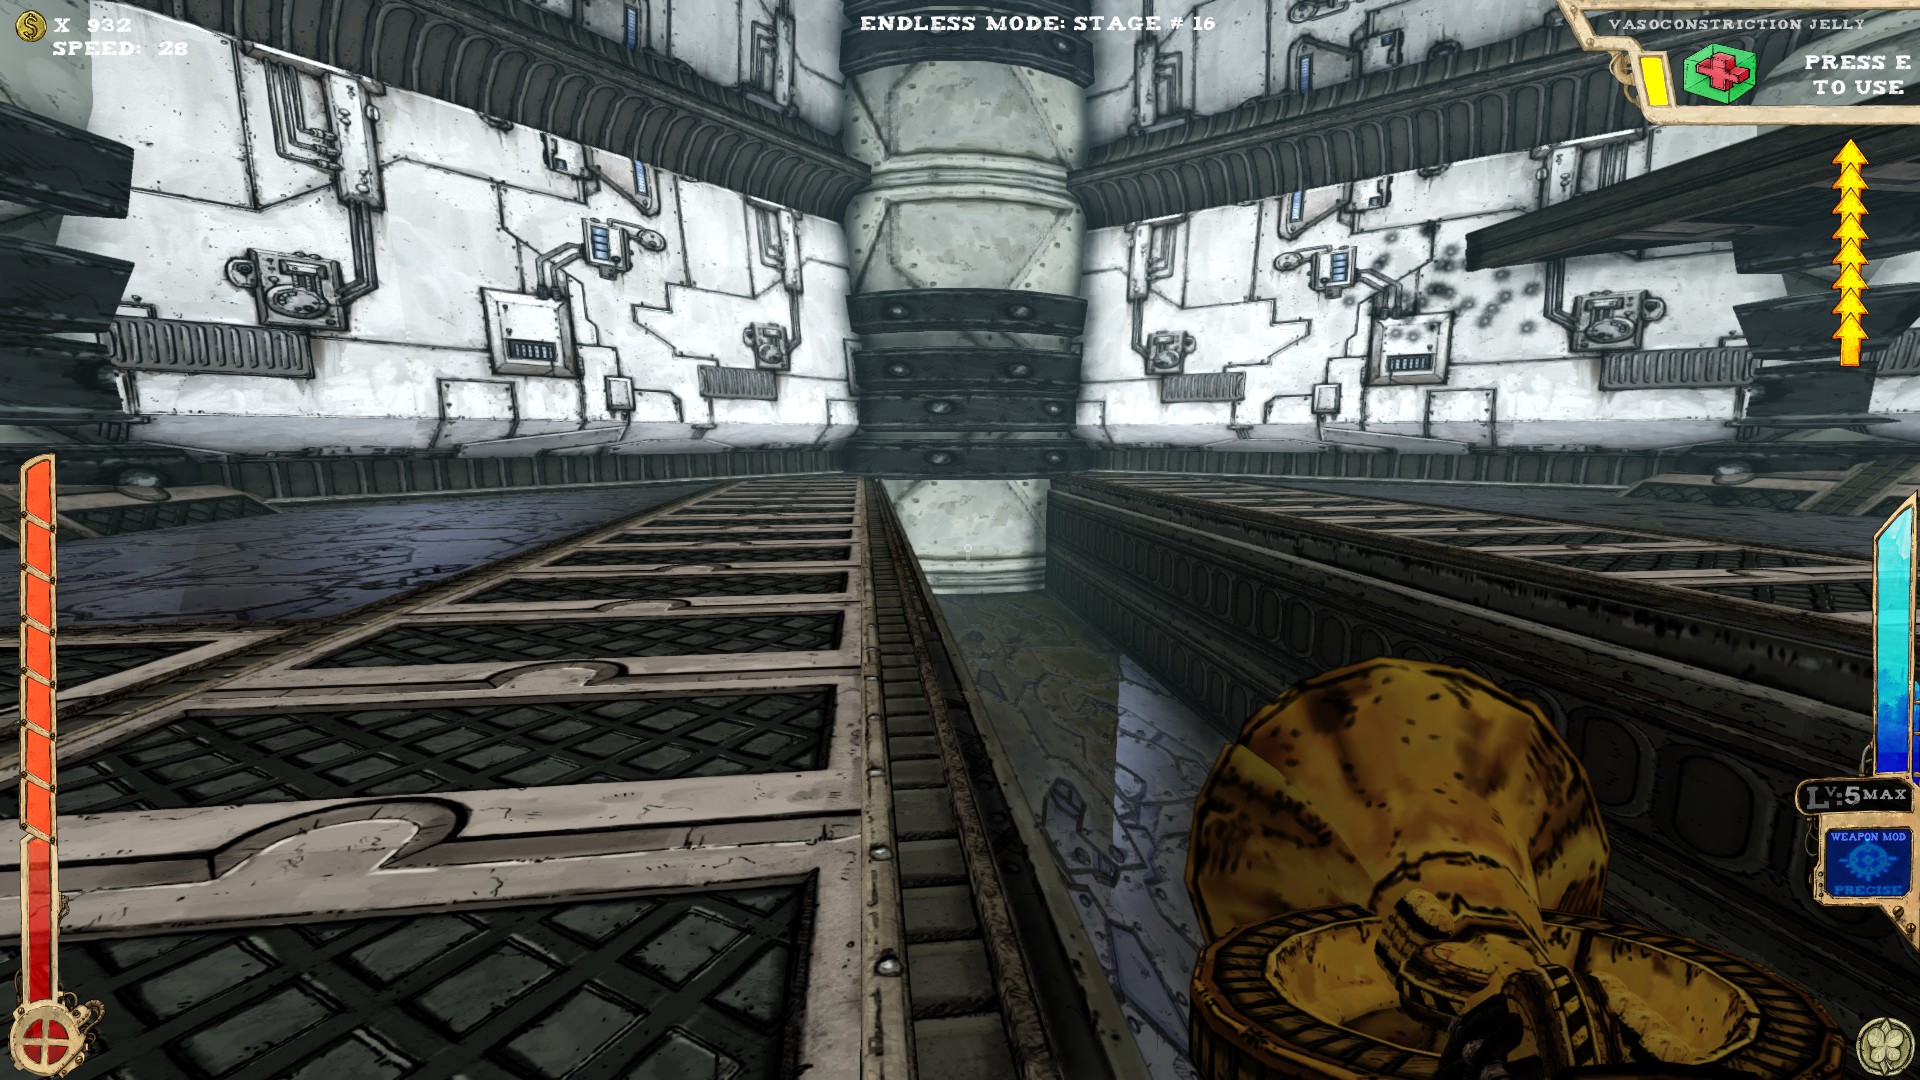 Drop down in the middle and walk into the pillar.
Two secrets.In the middle of the room on the bottom. The secret is on one side behind a fake wall.When reaching the top, you can either go left, which leads down to the exit or right, which leads to the secret. Take the right.----
Part of a random room setup. Contains one secret.When facing the entrance, you should see a platform above. On that platform is a wall. This wall is fake. Walk through it.----
Four secrets.The pillar on the right has an opening. If you manage to get in there, you've found the first secret.And when in there, you can access the second one by following the way I'm pointing at in picture two.
Second part of the room, under the pipe.When standing in front of the boss door, turn around and look up. The platform above contains the secret.----
One secret.If the arrows on the screens everywhere weren't indication enough: look up. The secret is on the pipes.----
Two secrets.Left from the entrance. The wall I'm pointing at in picture one is fake.When in the secret room, follow the huge arrows right through another fake wall into another secret.
----
Two secrets, both in the highest part of the room.One is under the platform with the teleporter on it. Use the Jelly to get there.The other one is opposite of the teleporter platform on a platform under the ceiling. Use the Jelly.----
Three secrets.This one is left from the entrance on a small platform.Use the elevator to jump up there. Be aware that enemies spawn when riding the elevator.Right from the elevator (when facing it) there is a pillar with a small platform on it, containing a secret.----
A huge room, but only one secret.The huge tube on the ceiling has an opening on one side. Get in and ride the beam of light. Try to stay on the edge of the beam or you might get transported right into the teleporter.The secret is on the right side.
----
This is the boss room where you fight the Pipeorgan in. So far it is the only boss room where I've found a secret.When on the ramps, look up and you should see the place. It can be quite a hassle to get in there, even with enough jumps. The secret itself is in the right part.----
Two secrets.You can reach that one by using the Jelly, but a small error and you might fall quite a bit. Having at least one extra jump can make it a bit easier.From the first secret just look left to the other side. Behind the wall I'm pointing to is the secret.This is NOT a fake wall! The opening is right from my crosshair.
----
Two secrets...most of the times.The rotating platform contains one secret. Use the Jelly on the sides to get there, but don't ride it to the end or you suddenly might be out of Jelly. That's a weird one. When on the rotaing platform, scan the walls and you should see an opening (slightly different color). In there is the secret.Sometimes there is a wall blocking the secret, which I've never seen for any other secret...
It also still seems to count to the secrets completion rate at the end of the level, even when you can't access it.
----
None of these have secrets. The last one is part of a multi room setup. Be aware of that, but the part you're seeing in the picture doesn't have a secret.----
One secret.Look up from the entrance and you should see the opening. Just use the Jelly to get there.----
Two secrets.End of the pit. Turn around, go to the right and you should see the opening under the platform. If you don't have enough jumps, use the platform above to drop down and get in. An extra jump is still needed, though.Also in the pit. Face the entrance and you should see what I do in the picture. Fake wall. Go right in.----
Not a room by itself, but part of setup that can change.Two secrets.
On top of the left tower is a secret. The other tops contain nothing. Not reachable without enough jumps or proper item.After using the teleporter, you'll end up on a platform. Right above you is another such platform, containing the secret.----
While this looks similar to another room I've covered before, it isn't. The other one has a hole in the middle leading to another part, while this one has just a small corridor.One secret.
Drop down in the middle and walk into the pillar.
The Logistics (Part 2)
----
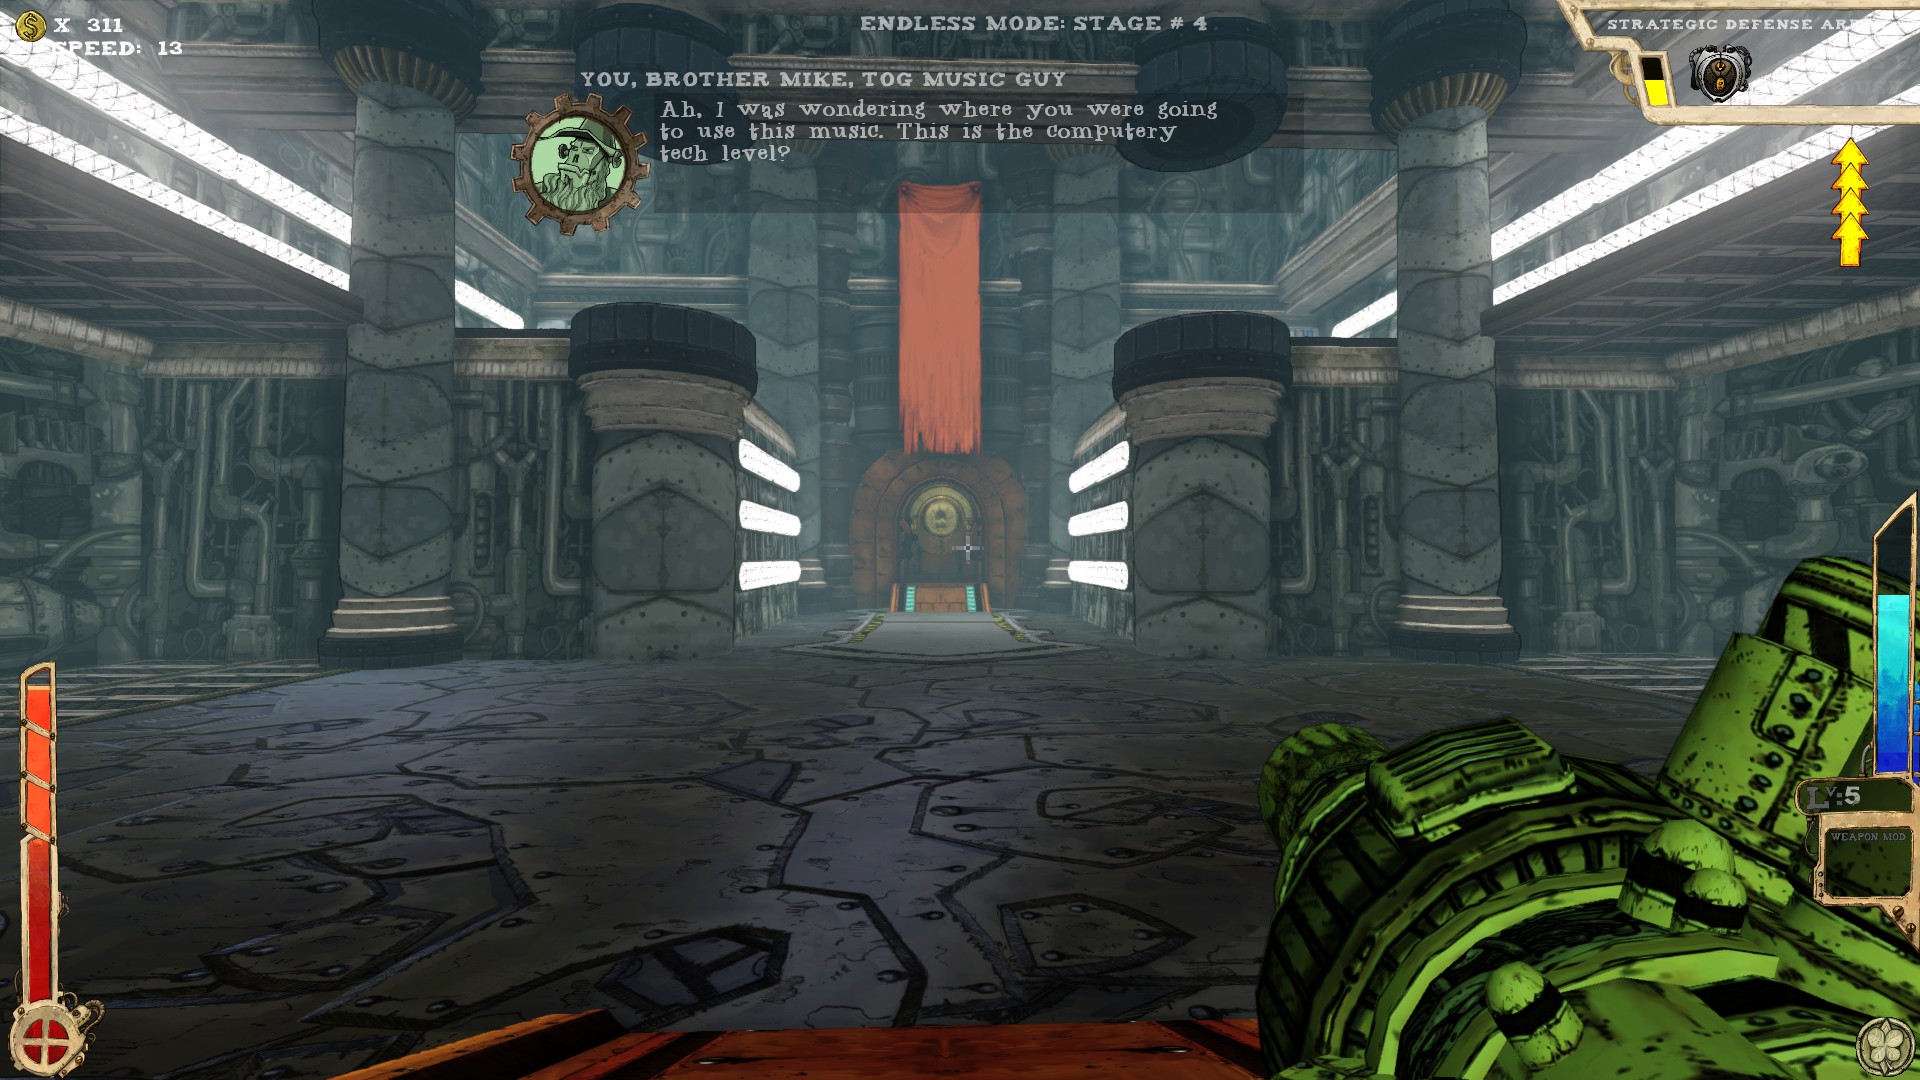 One secret.
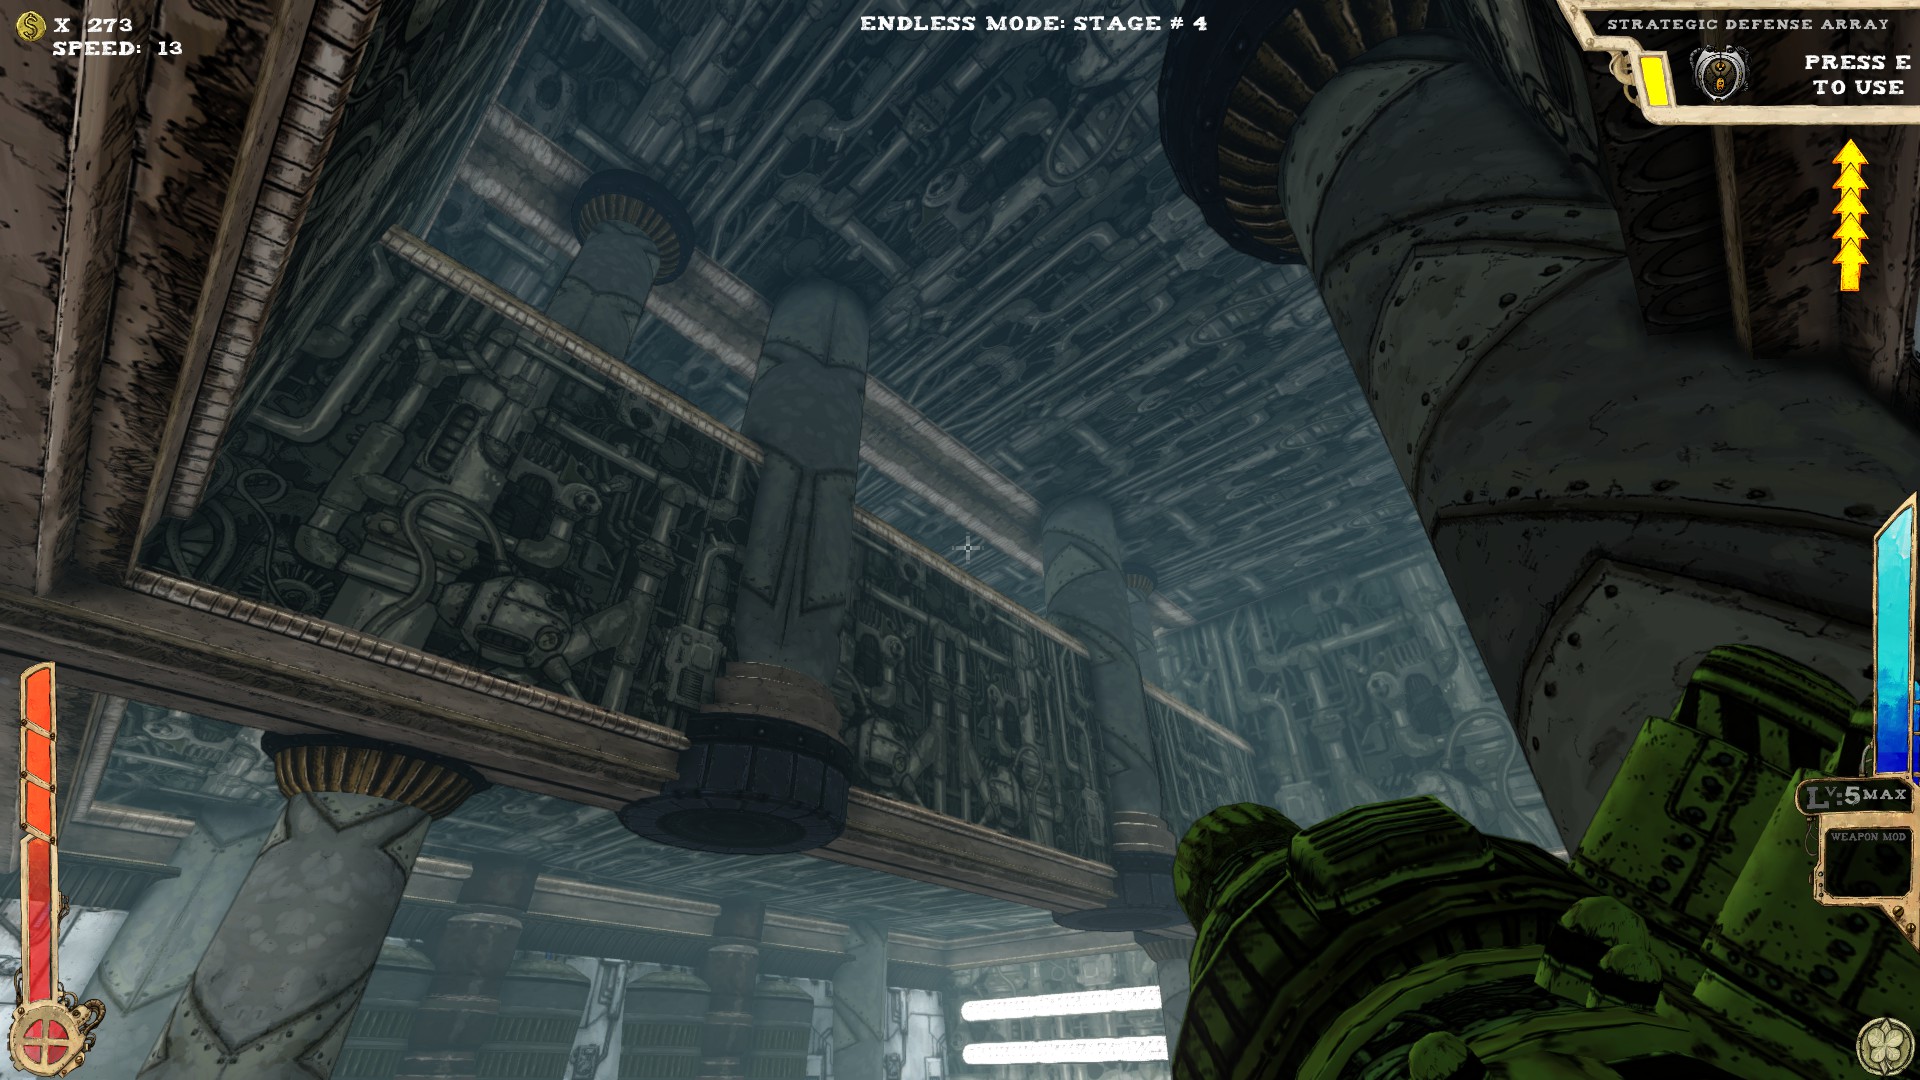 Facing away from the exit and look up, you should spot the opening. Not reachable without enough jumps or proper item.
----
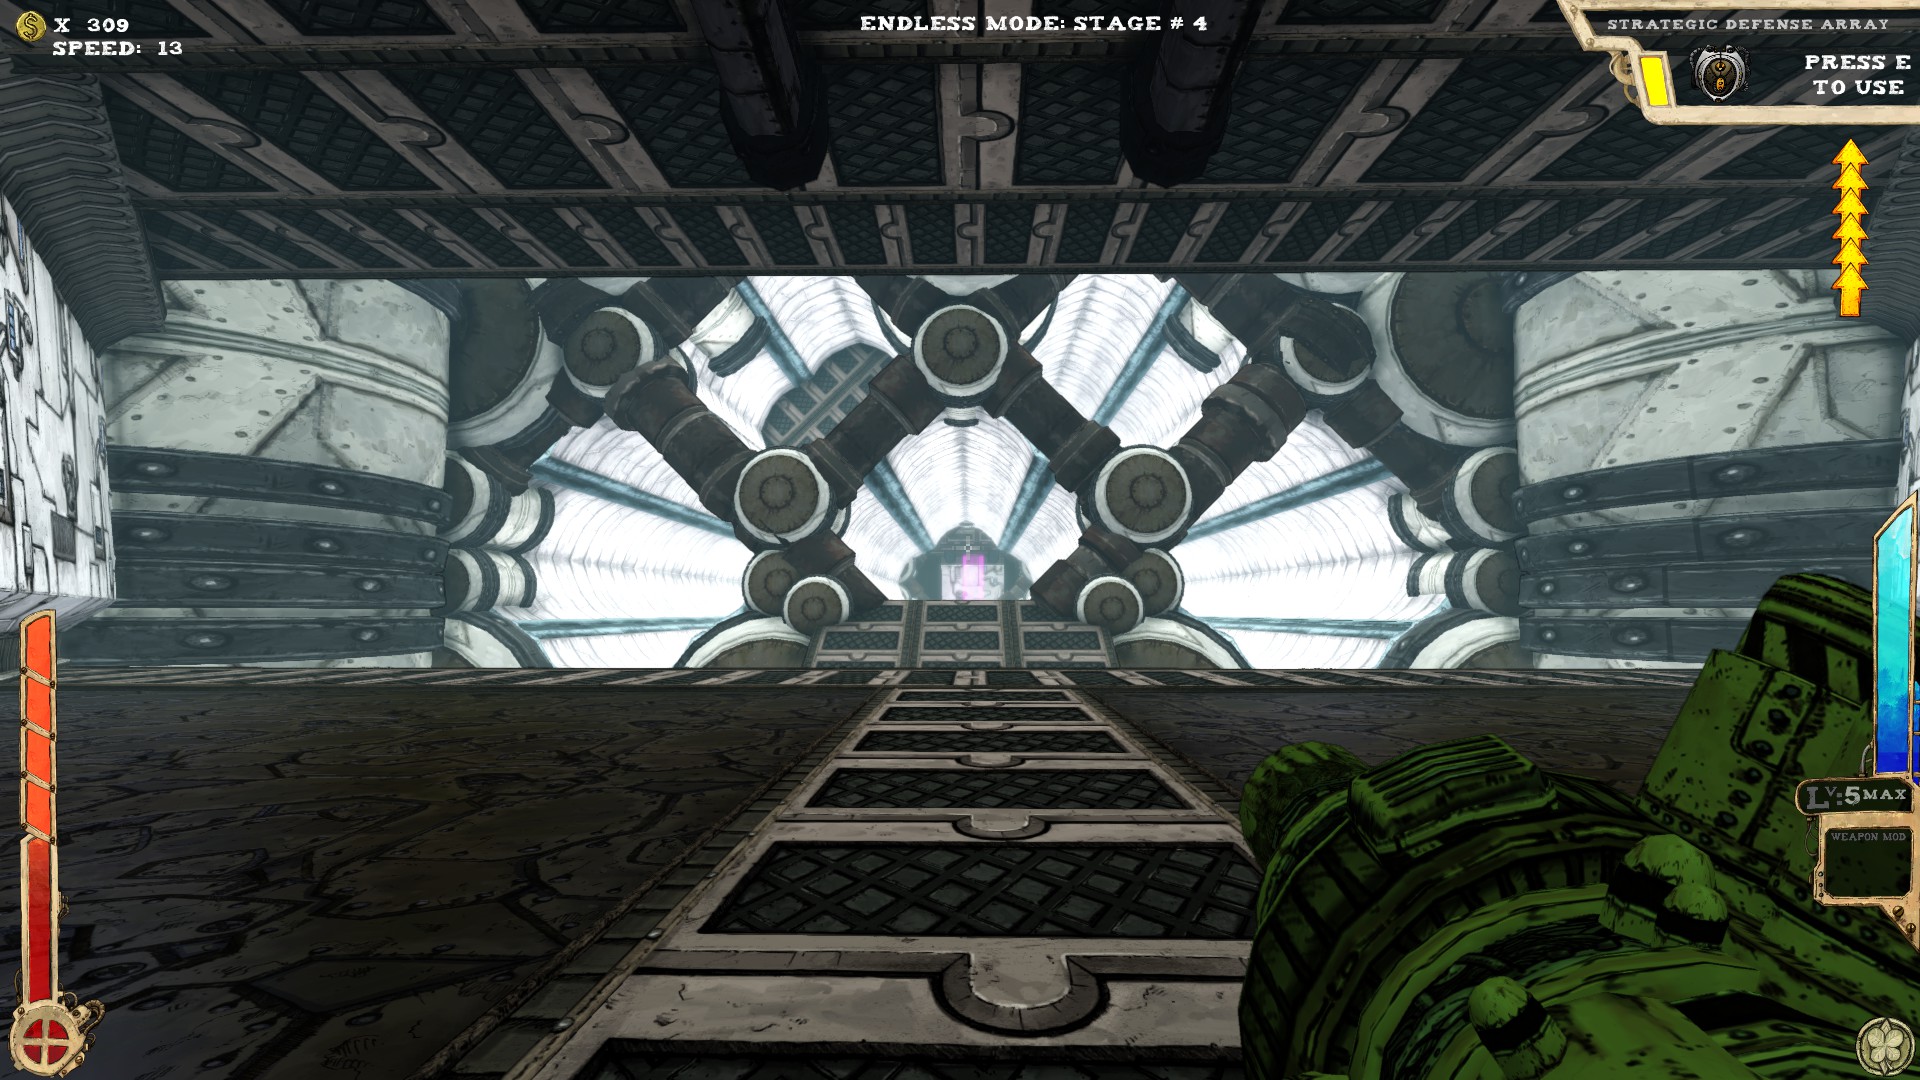 One secret.
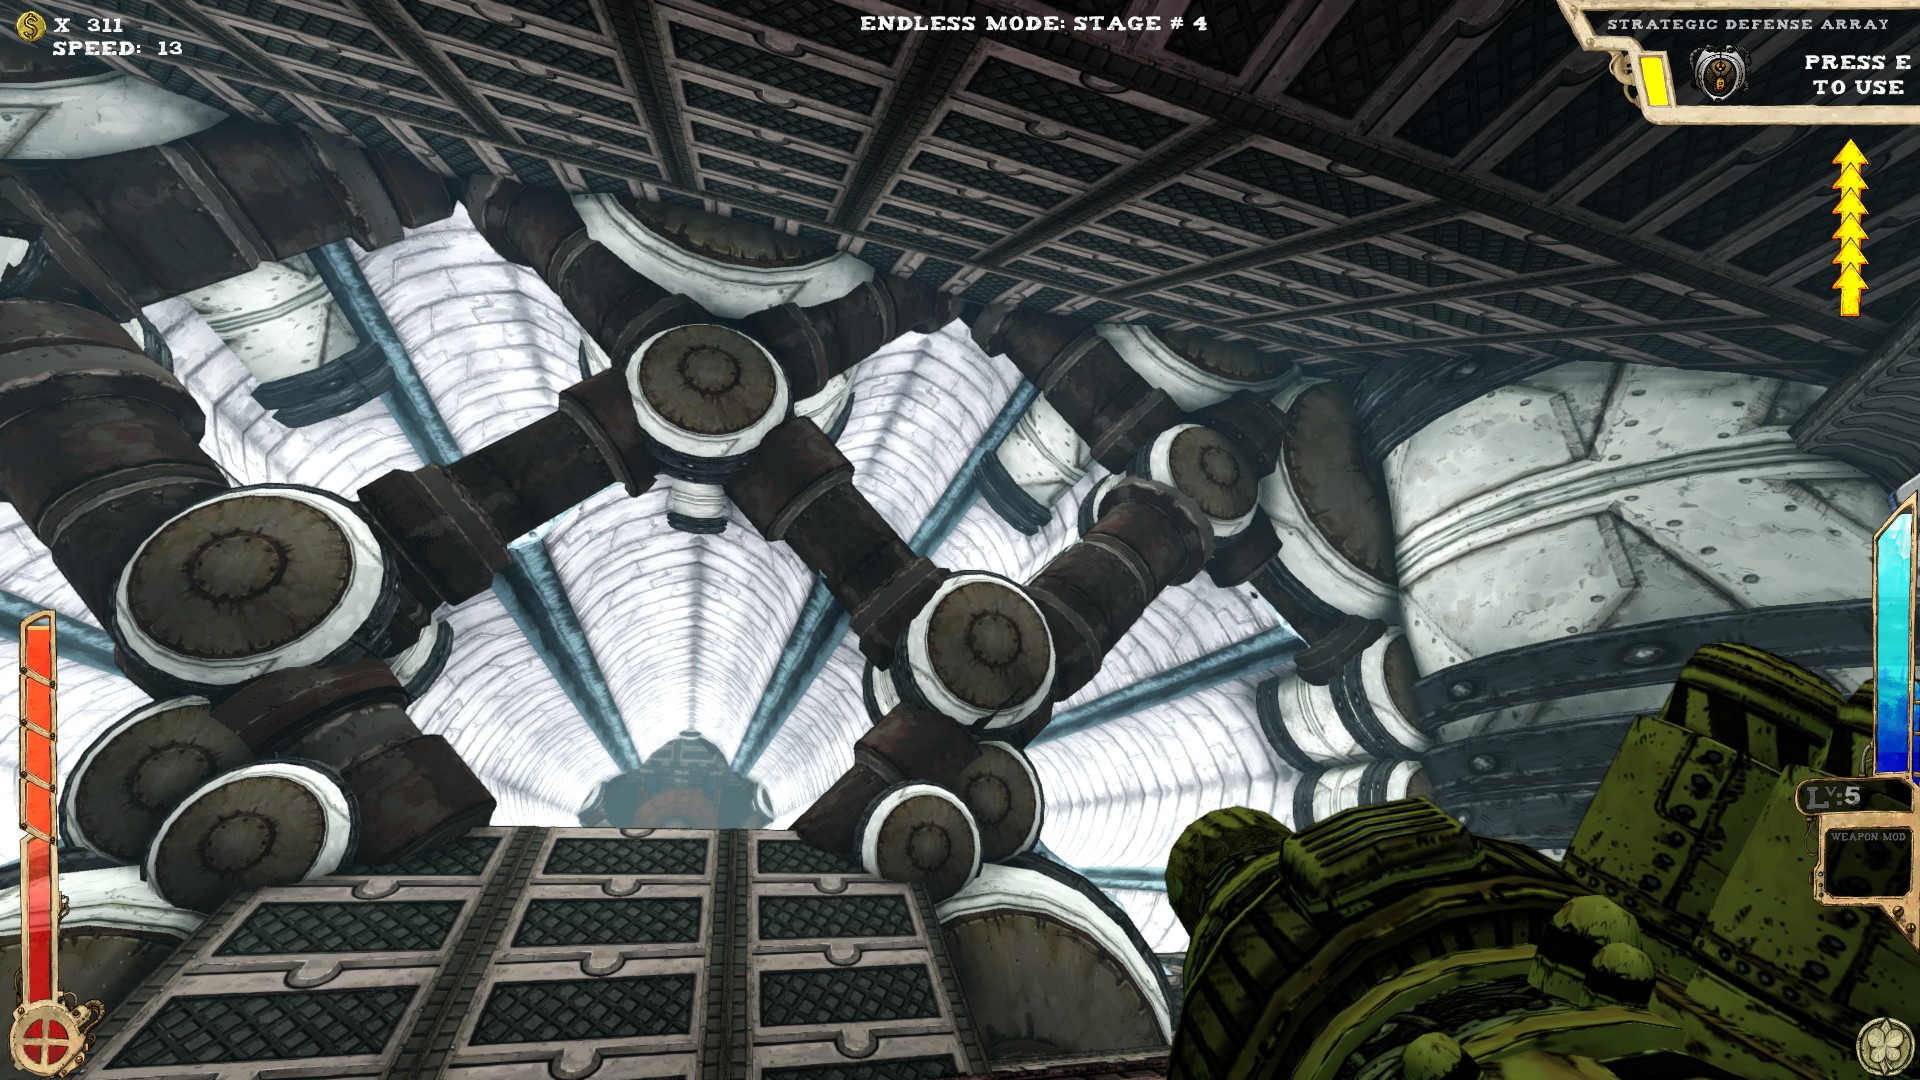 Move through to the other side, turn around and in the upper right "comb" is the secret located.
----
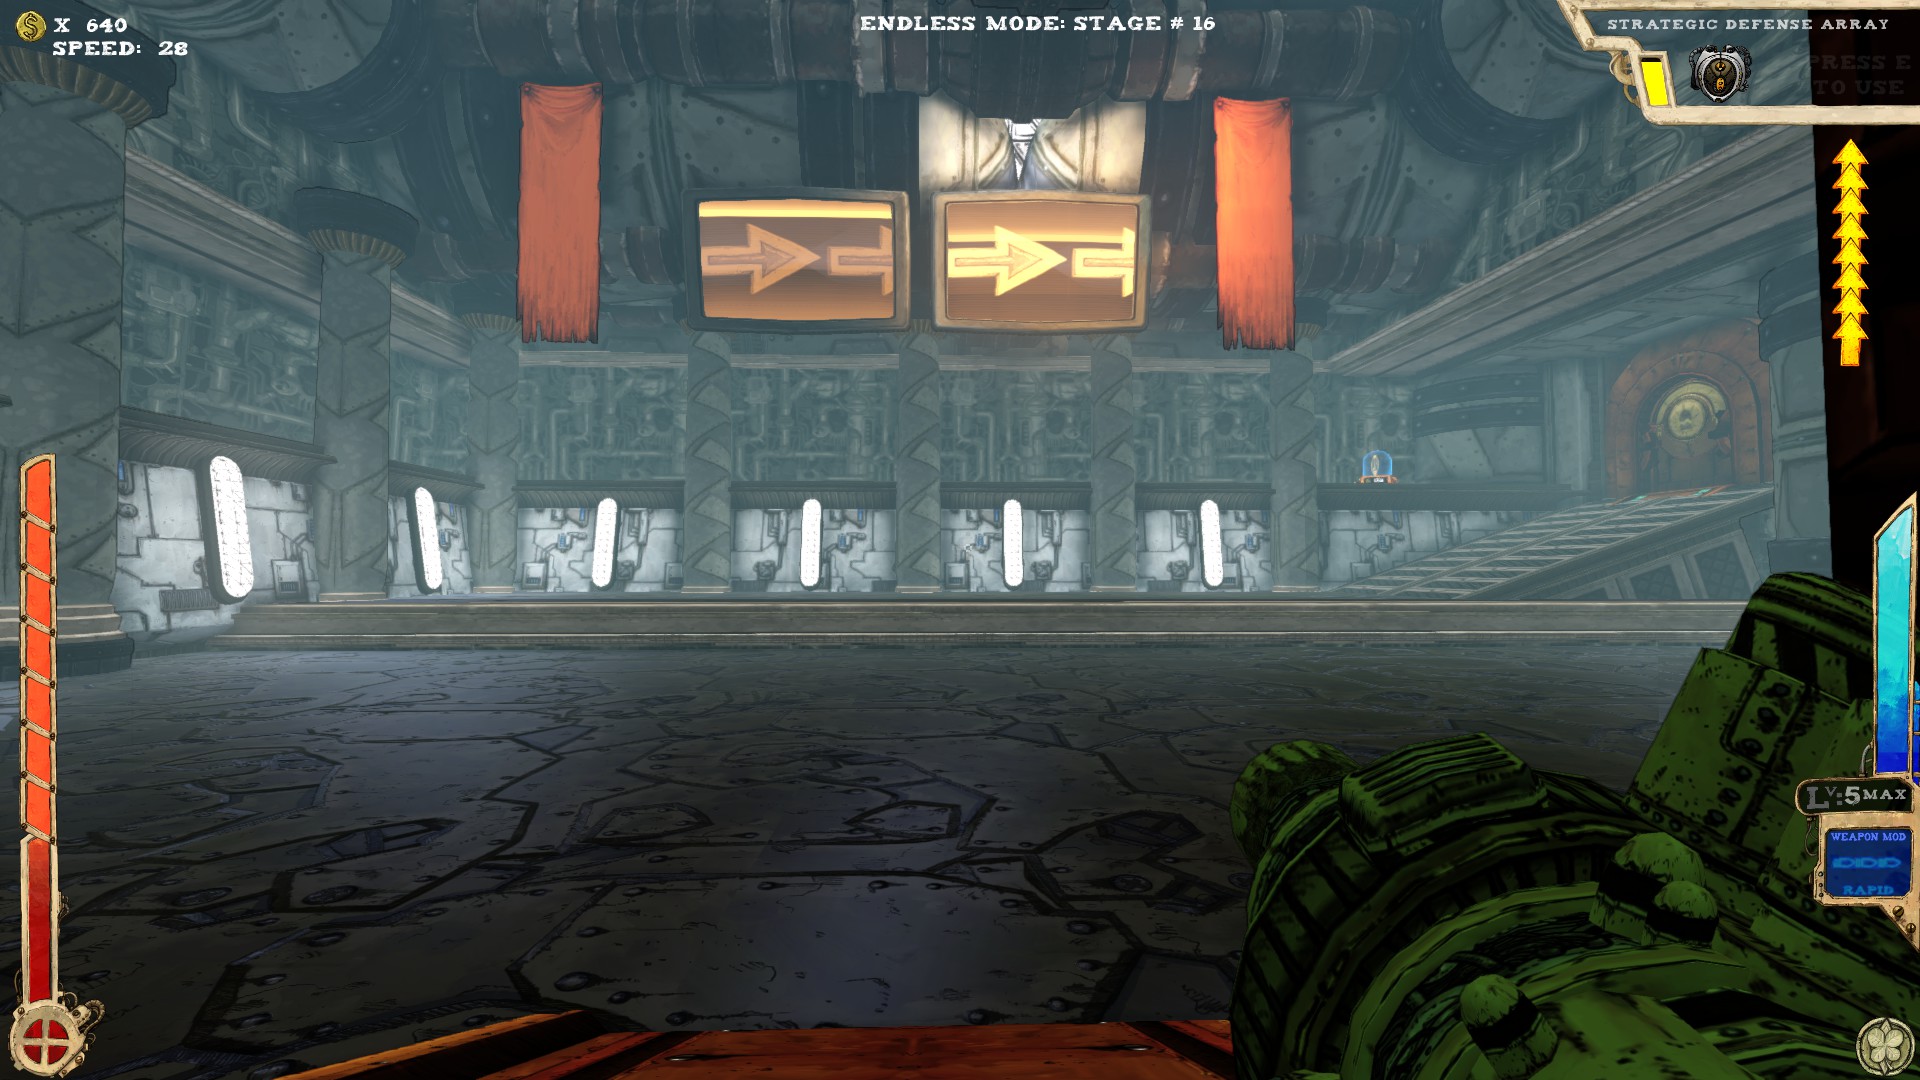 One secret.
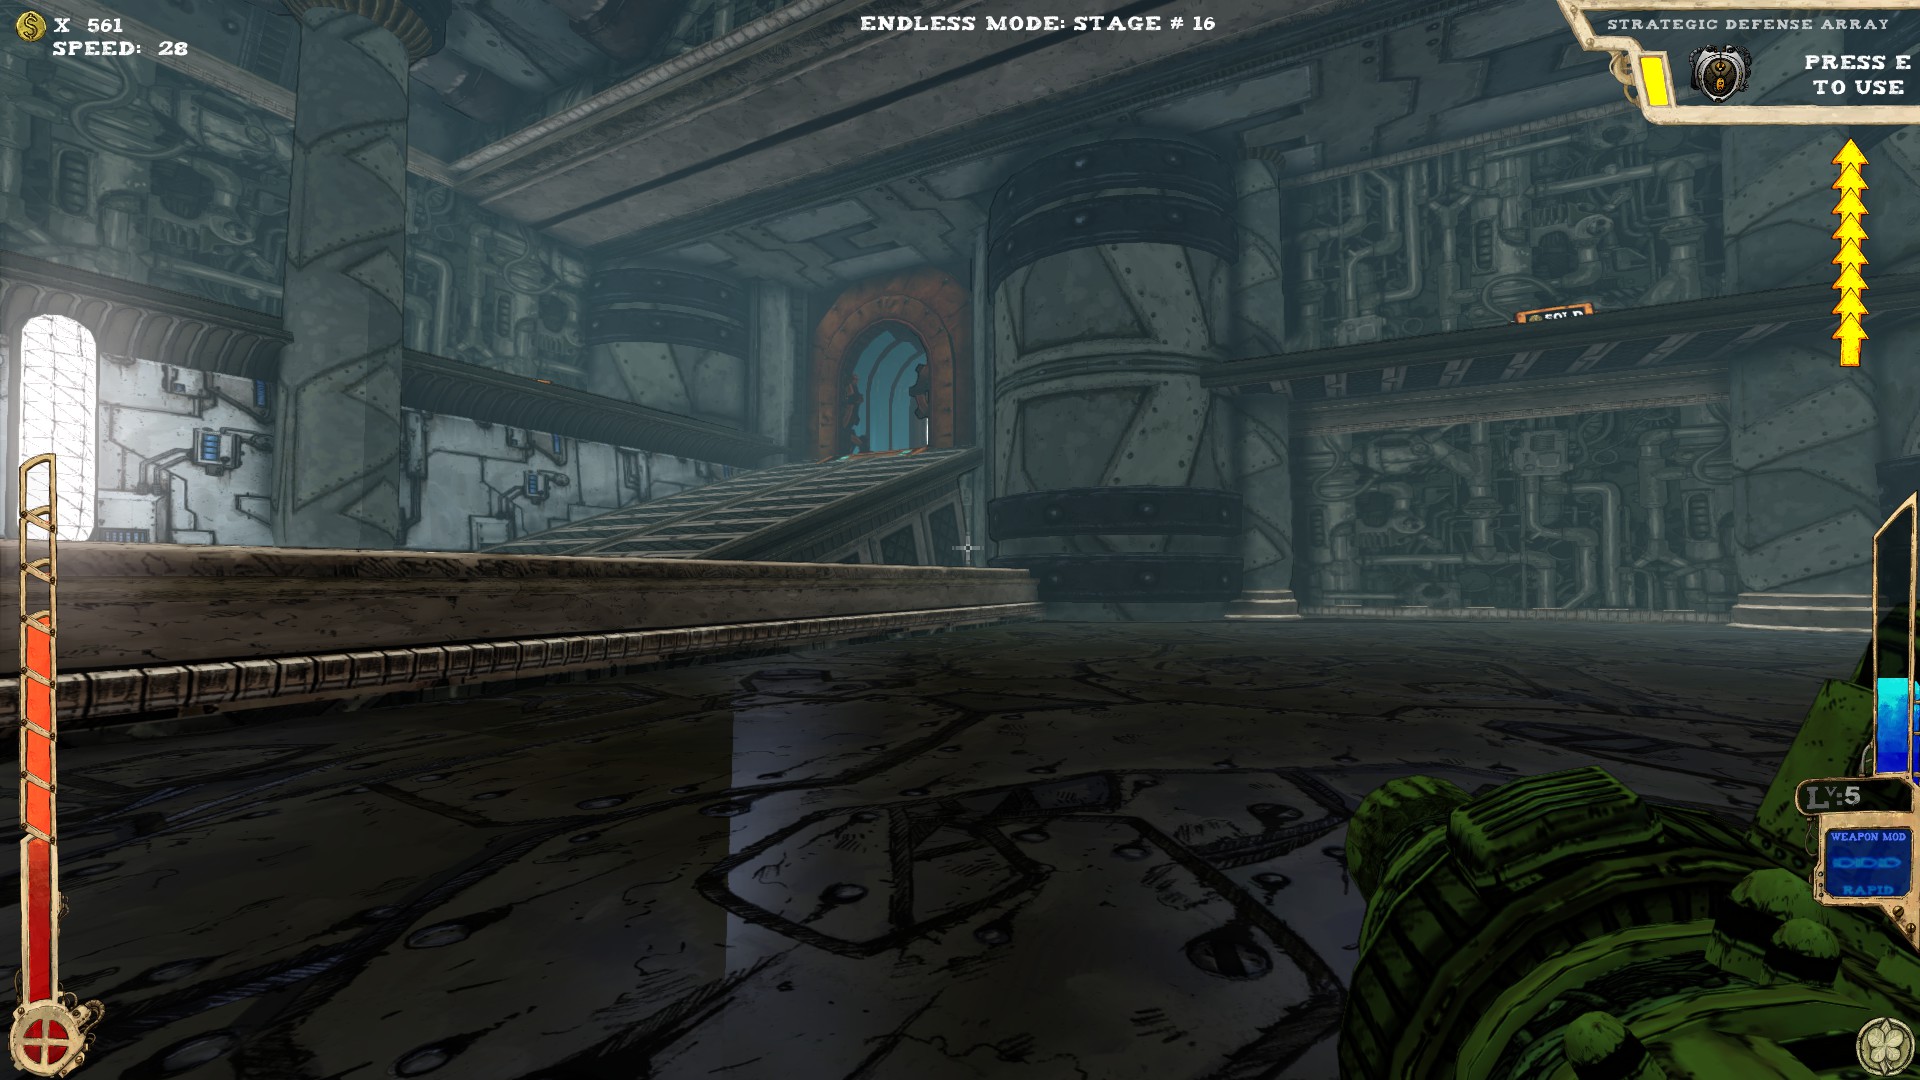 Under the ramp leading to the exit.
----
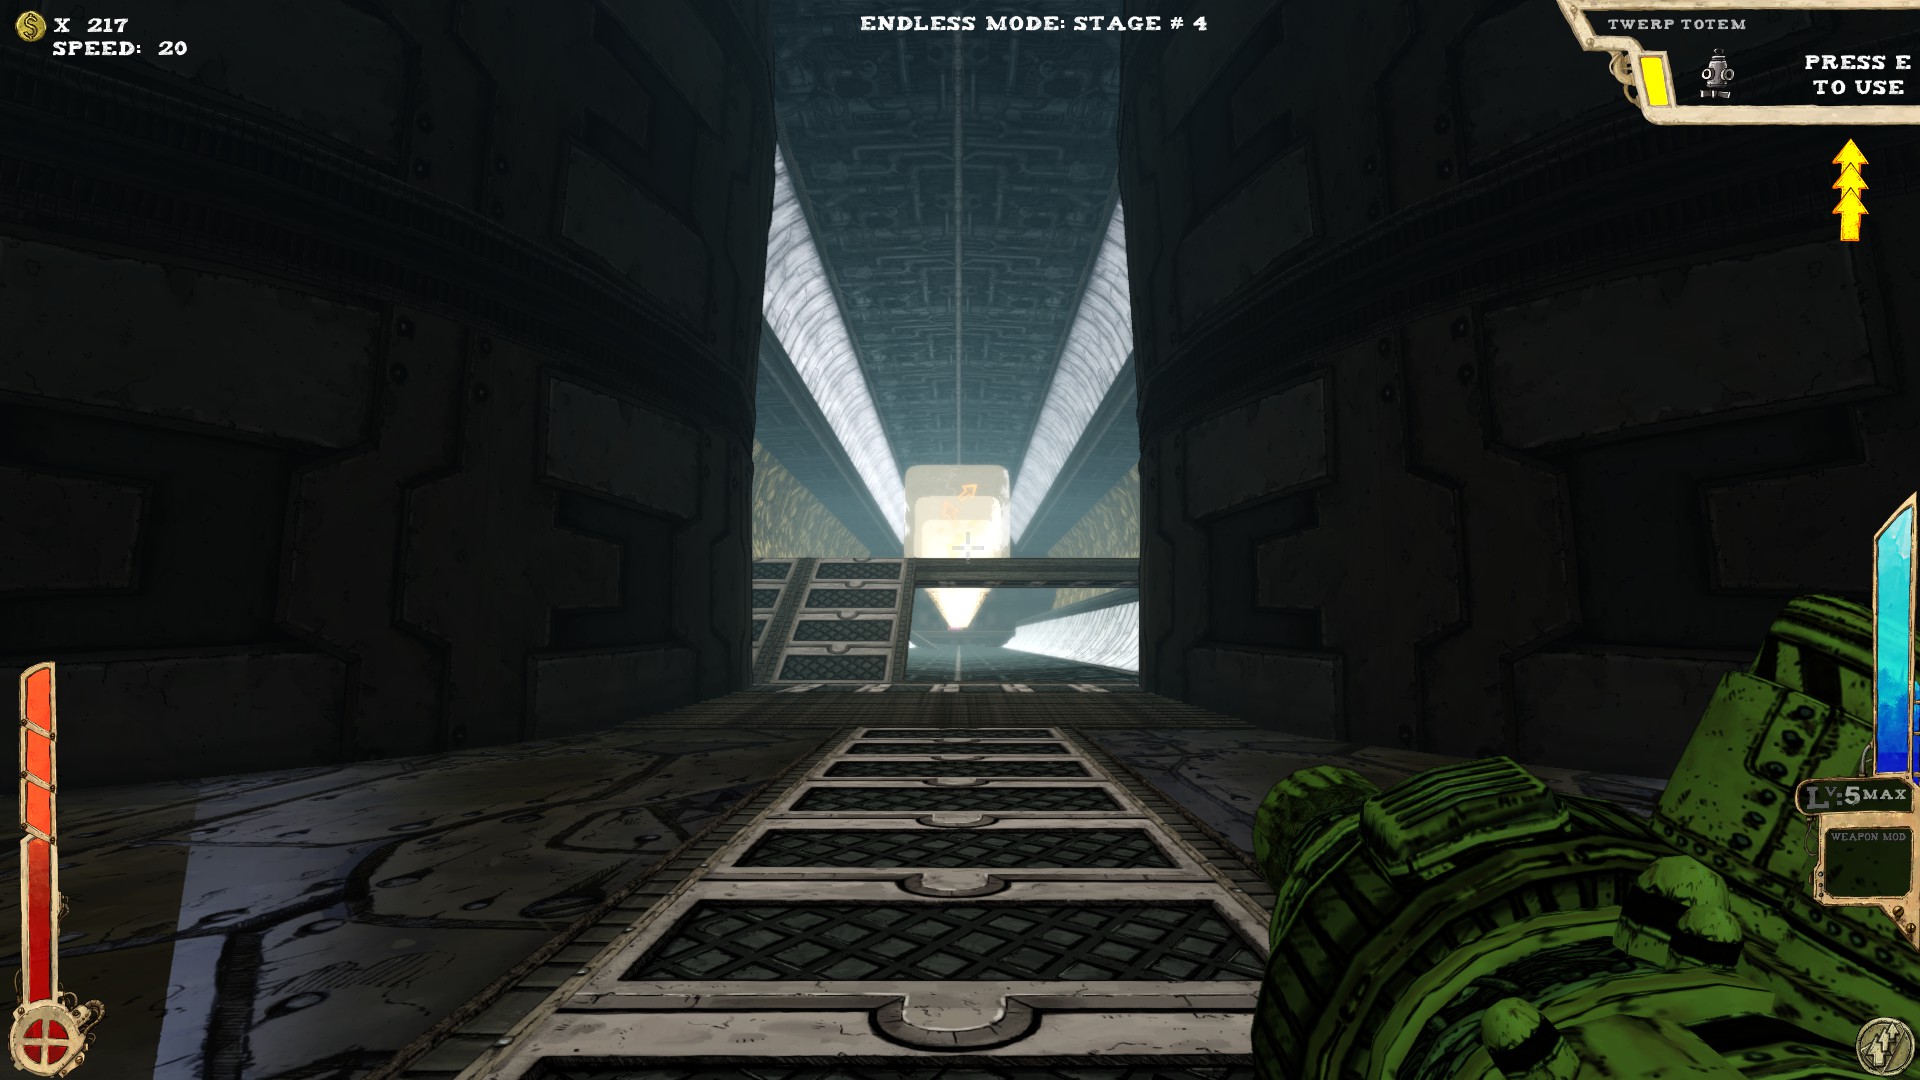 At least two secrets.
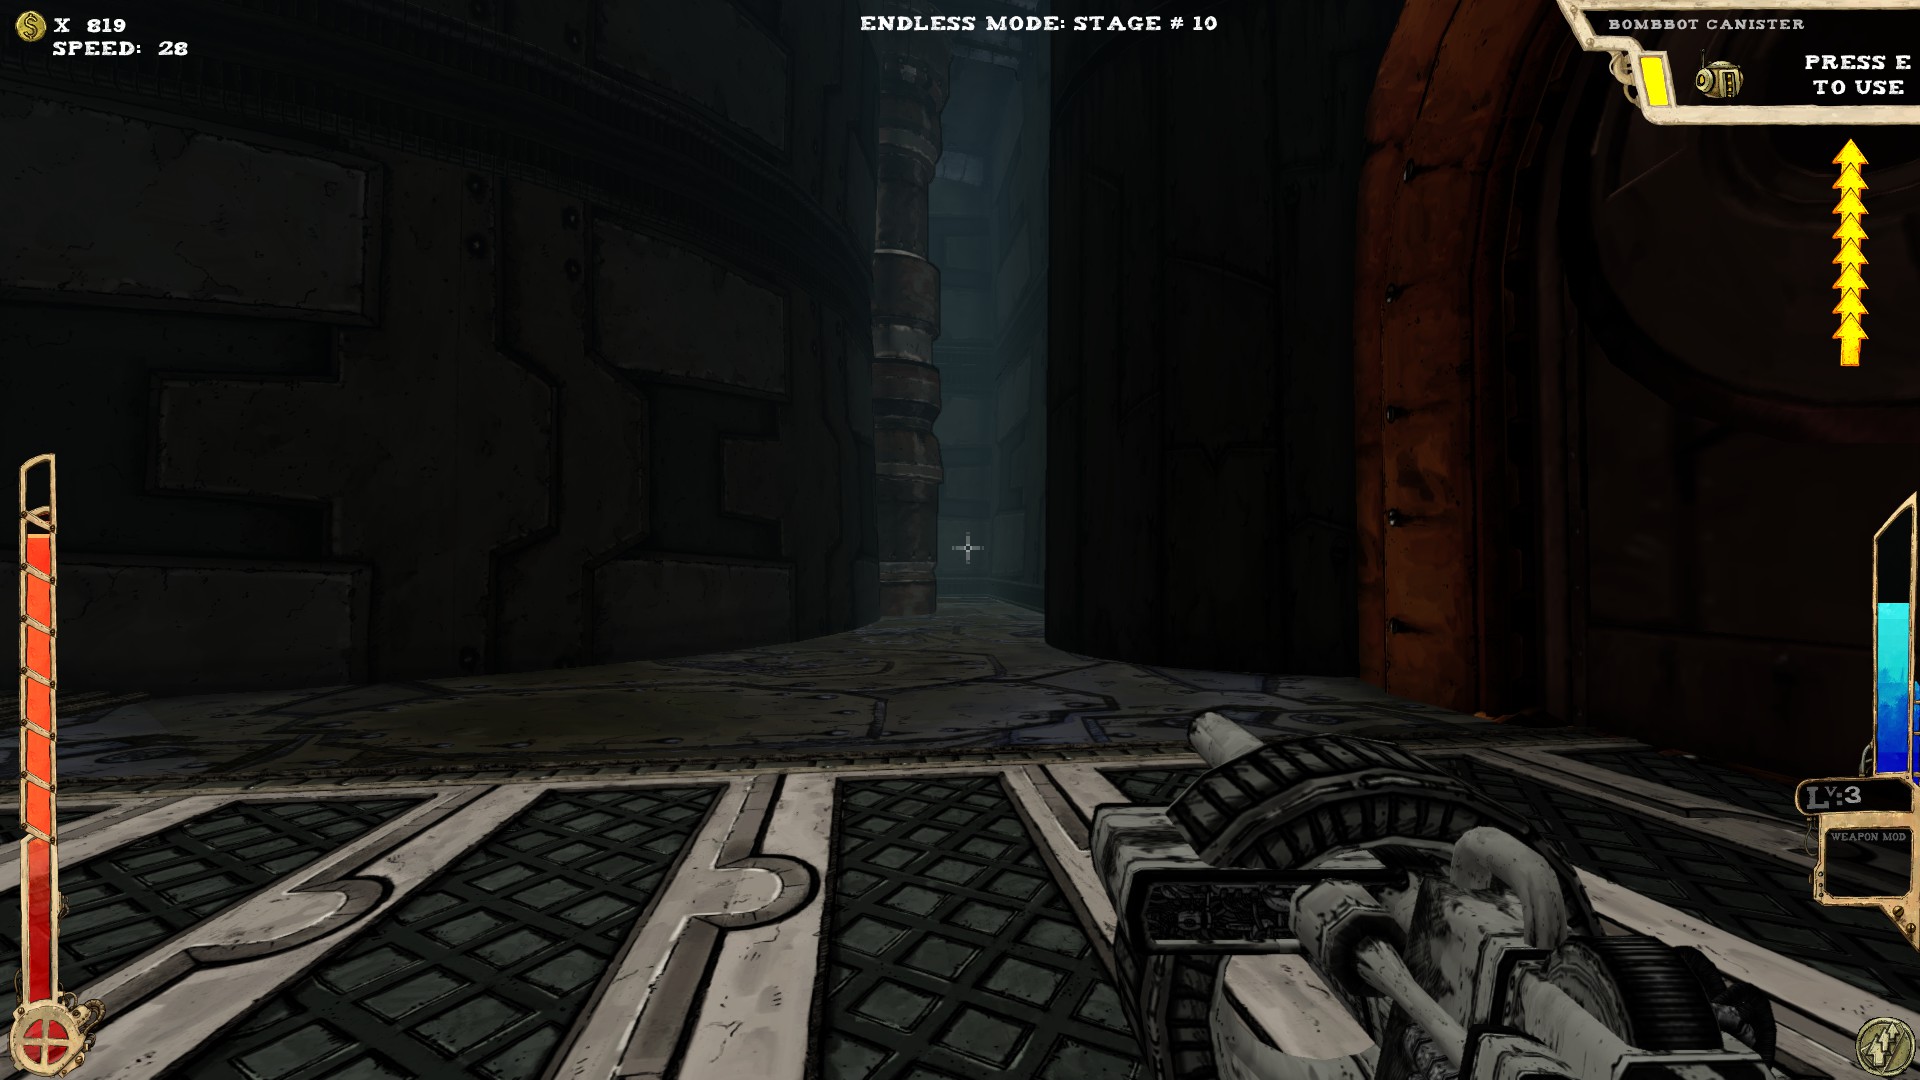 Right besides the entrance is a little way. Follow it.
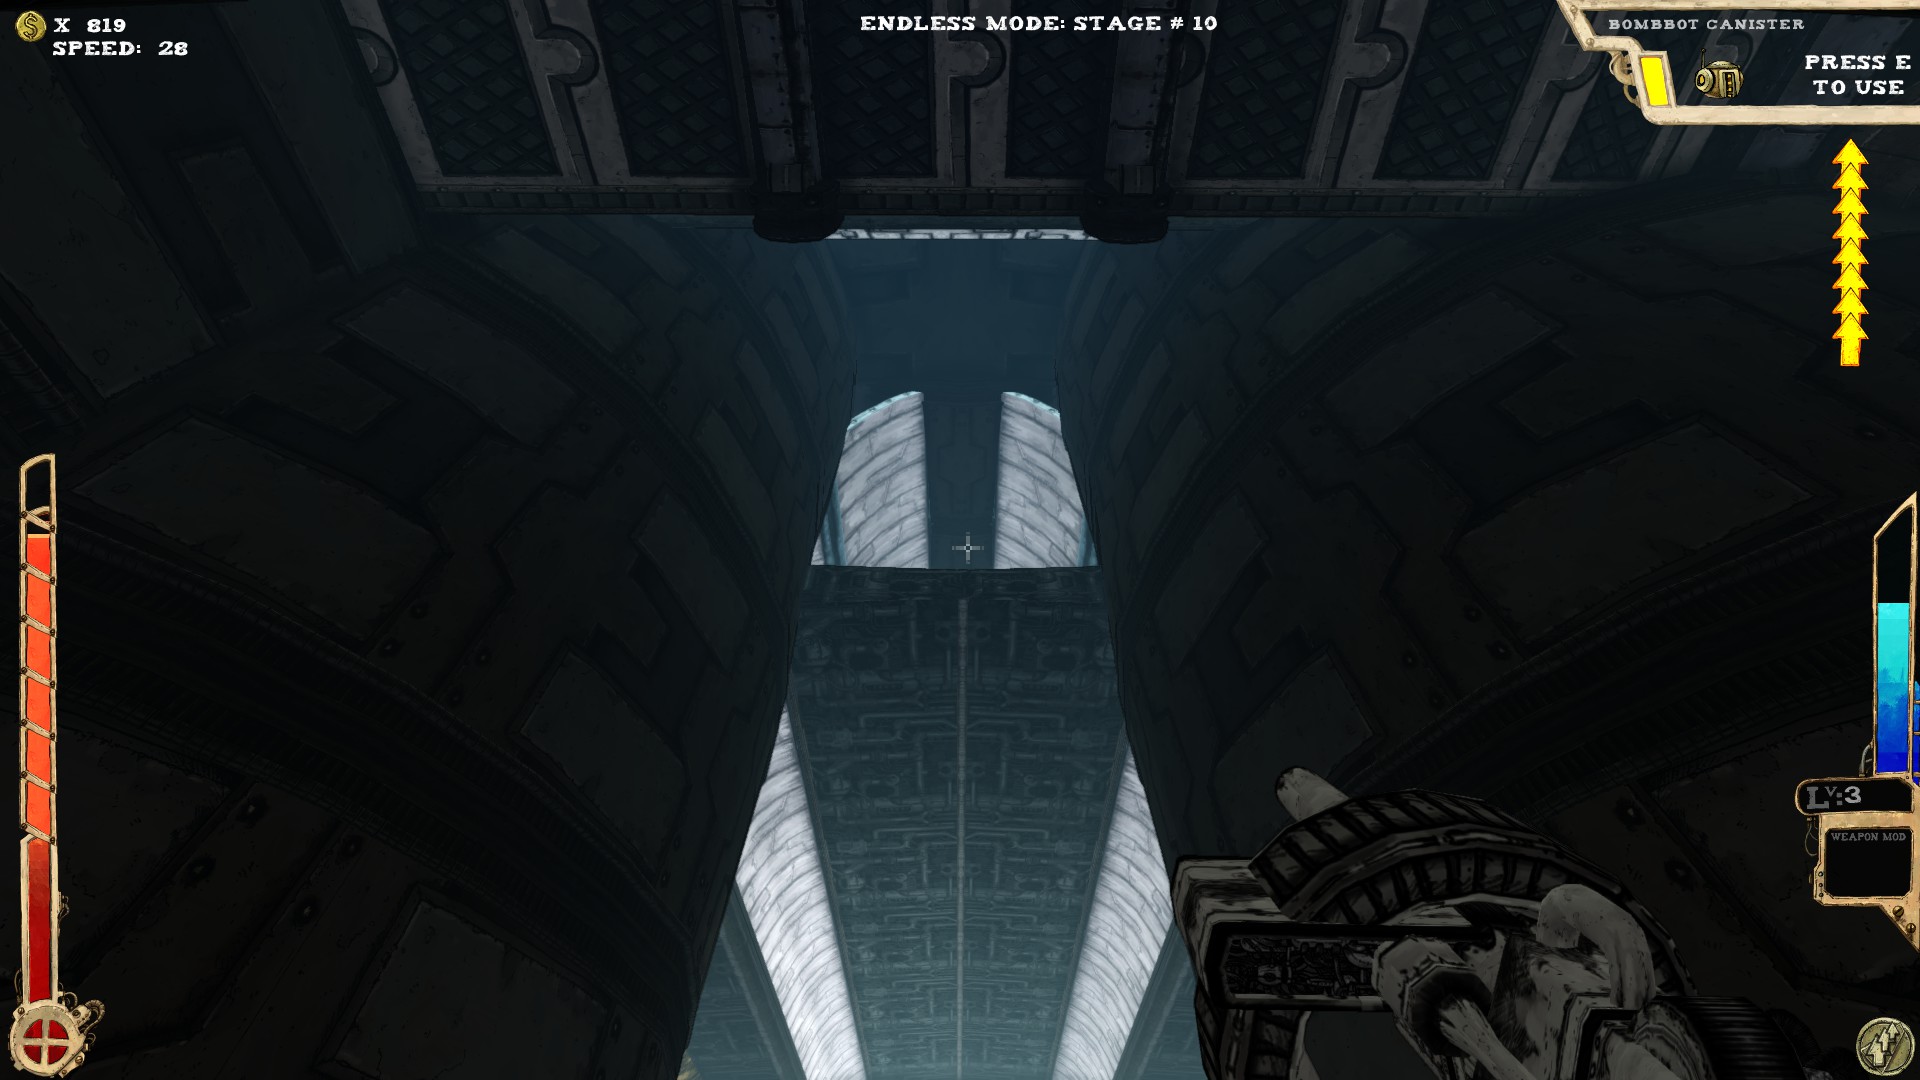 Pretty much above the entrance.
There is another platform right above the entrance, which you can reach with the Jelly. If you don't have enough jumps to get to the secret directly, try to get there first and from there to the actual secret.
----
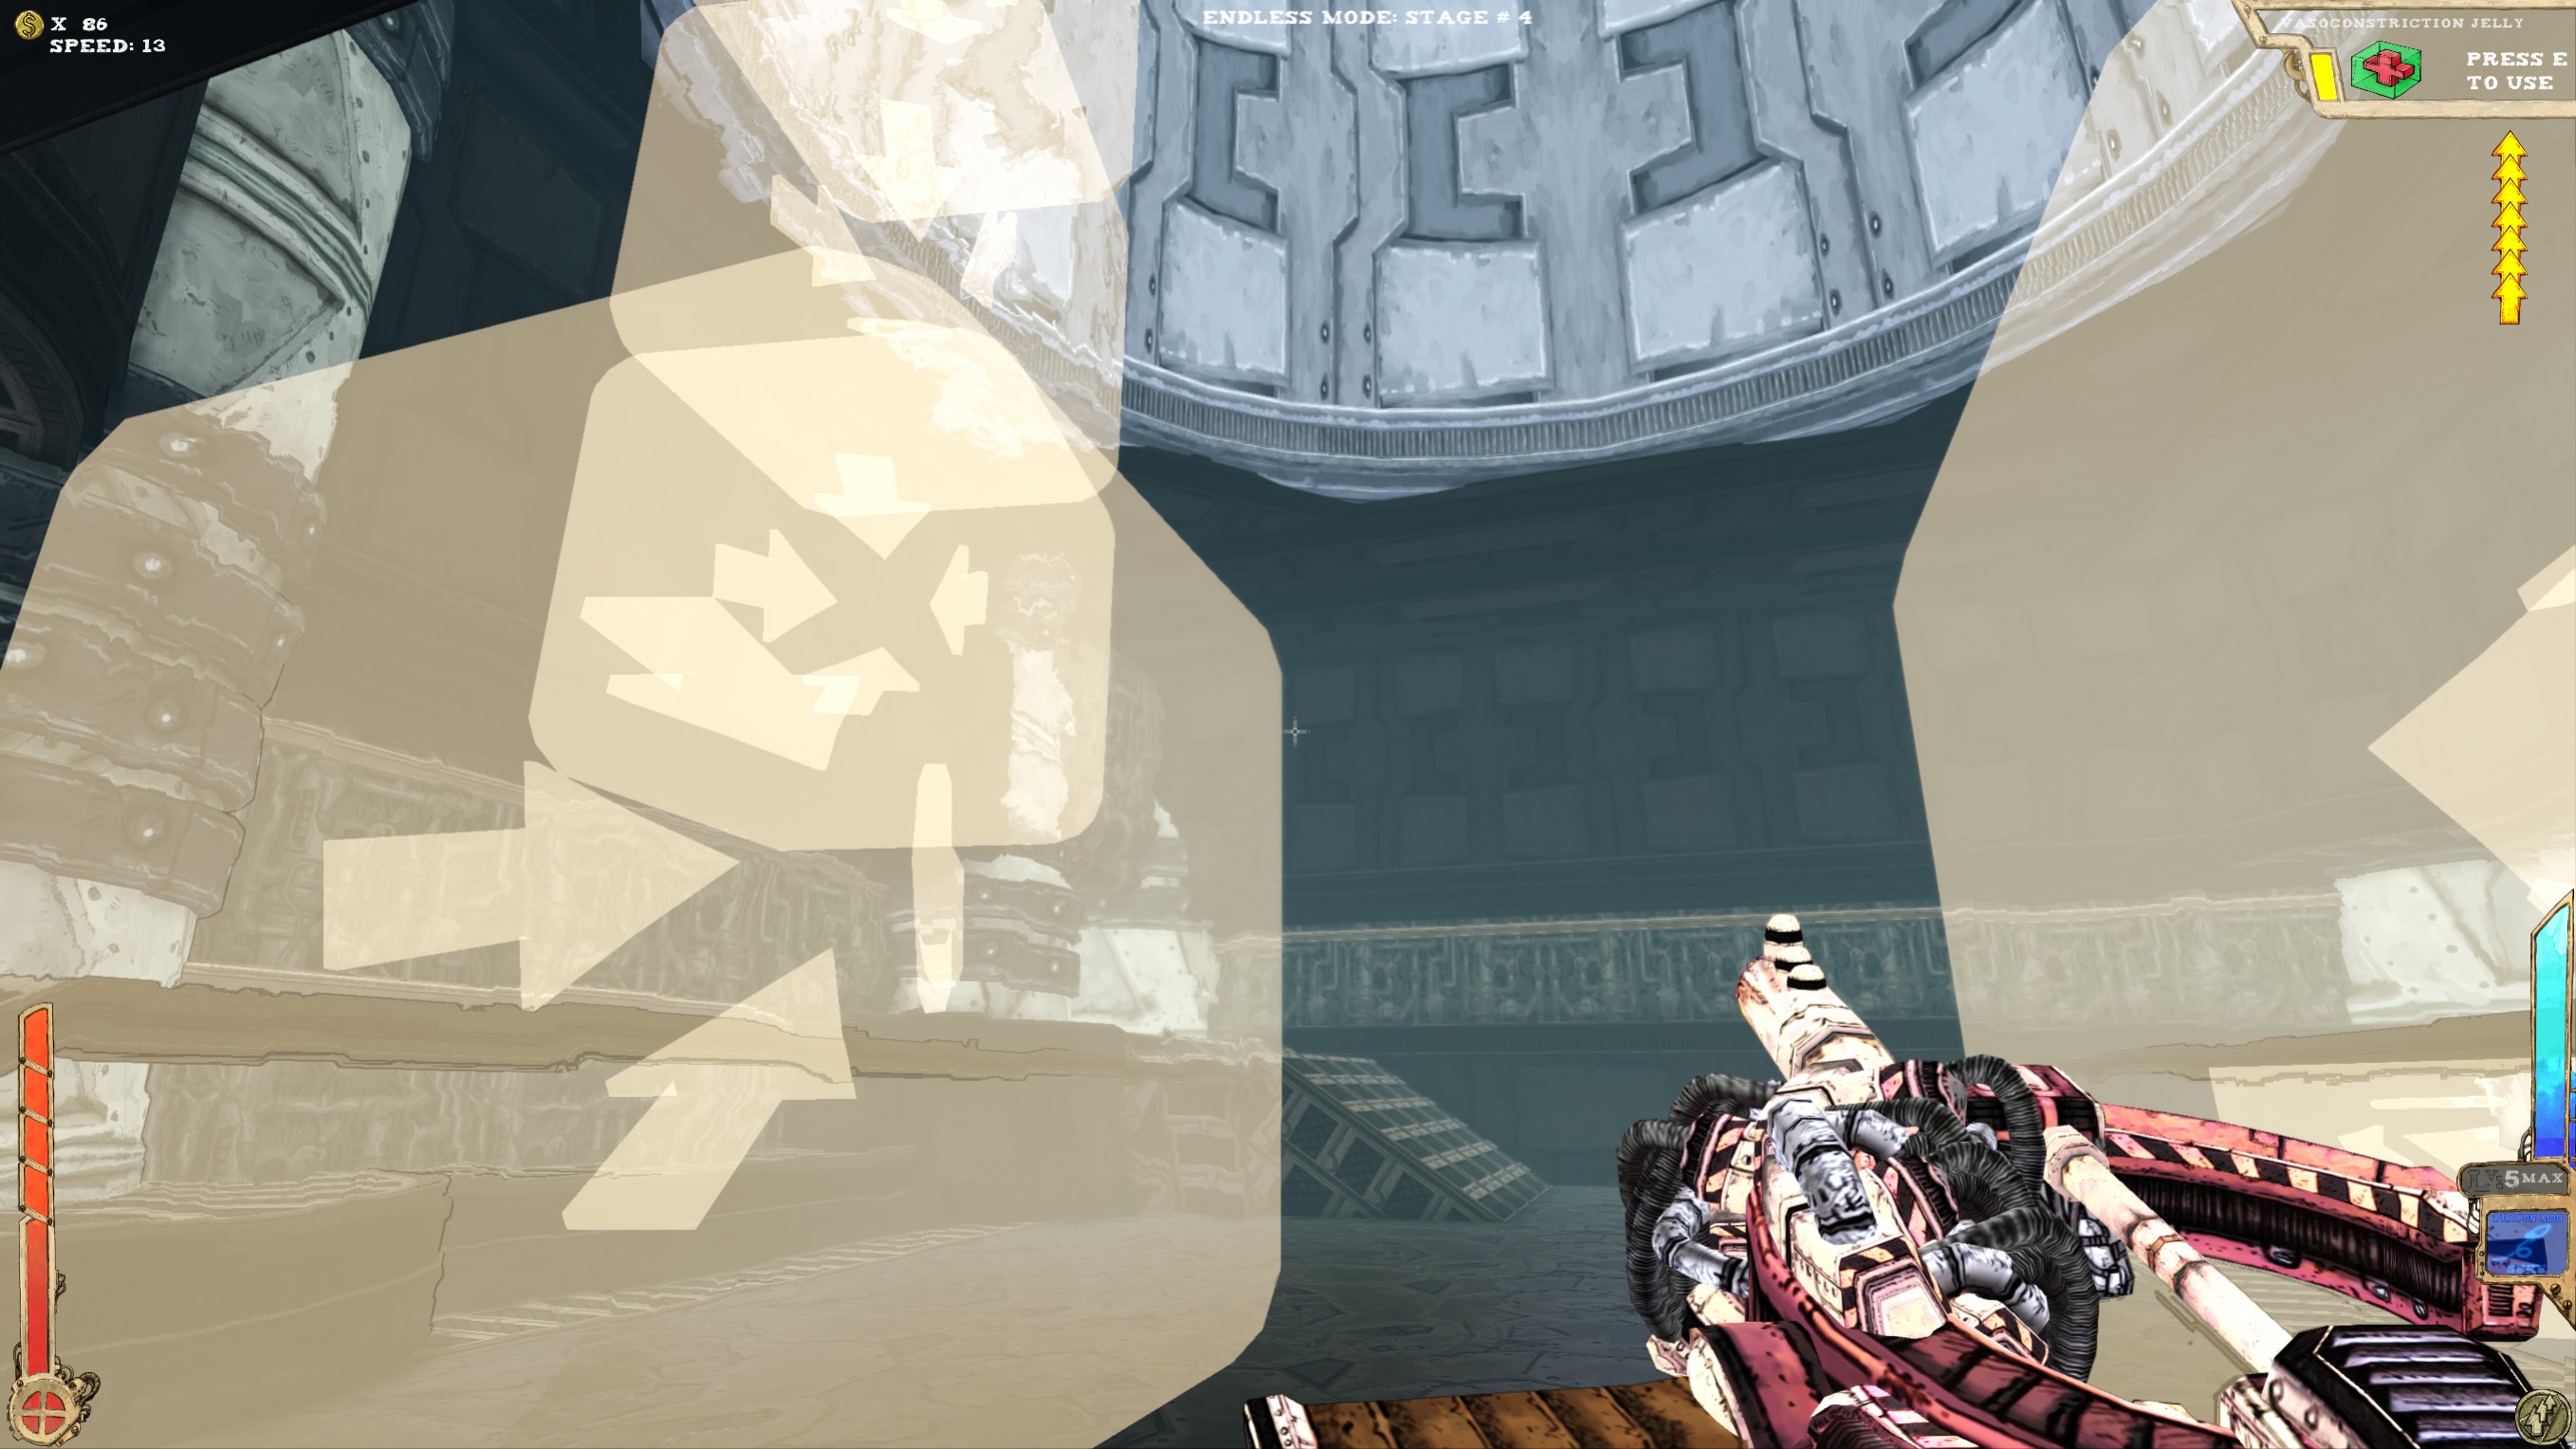 At least one secret.
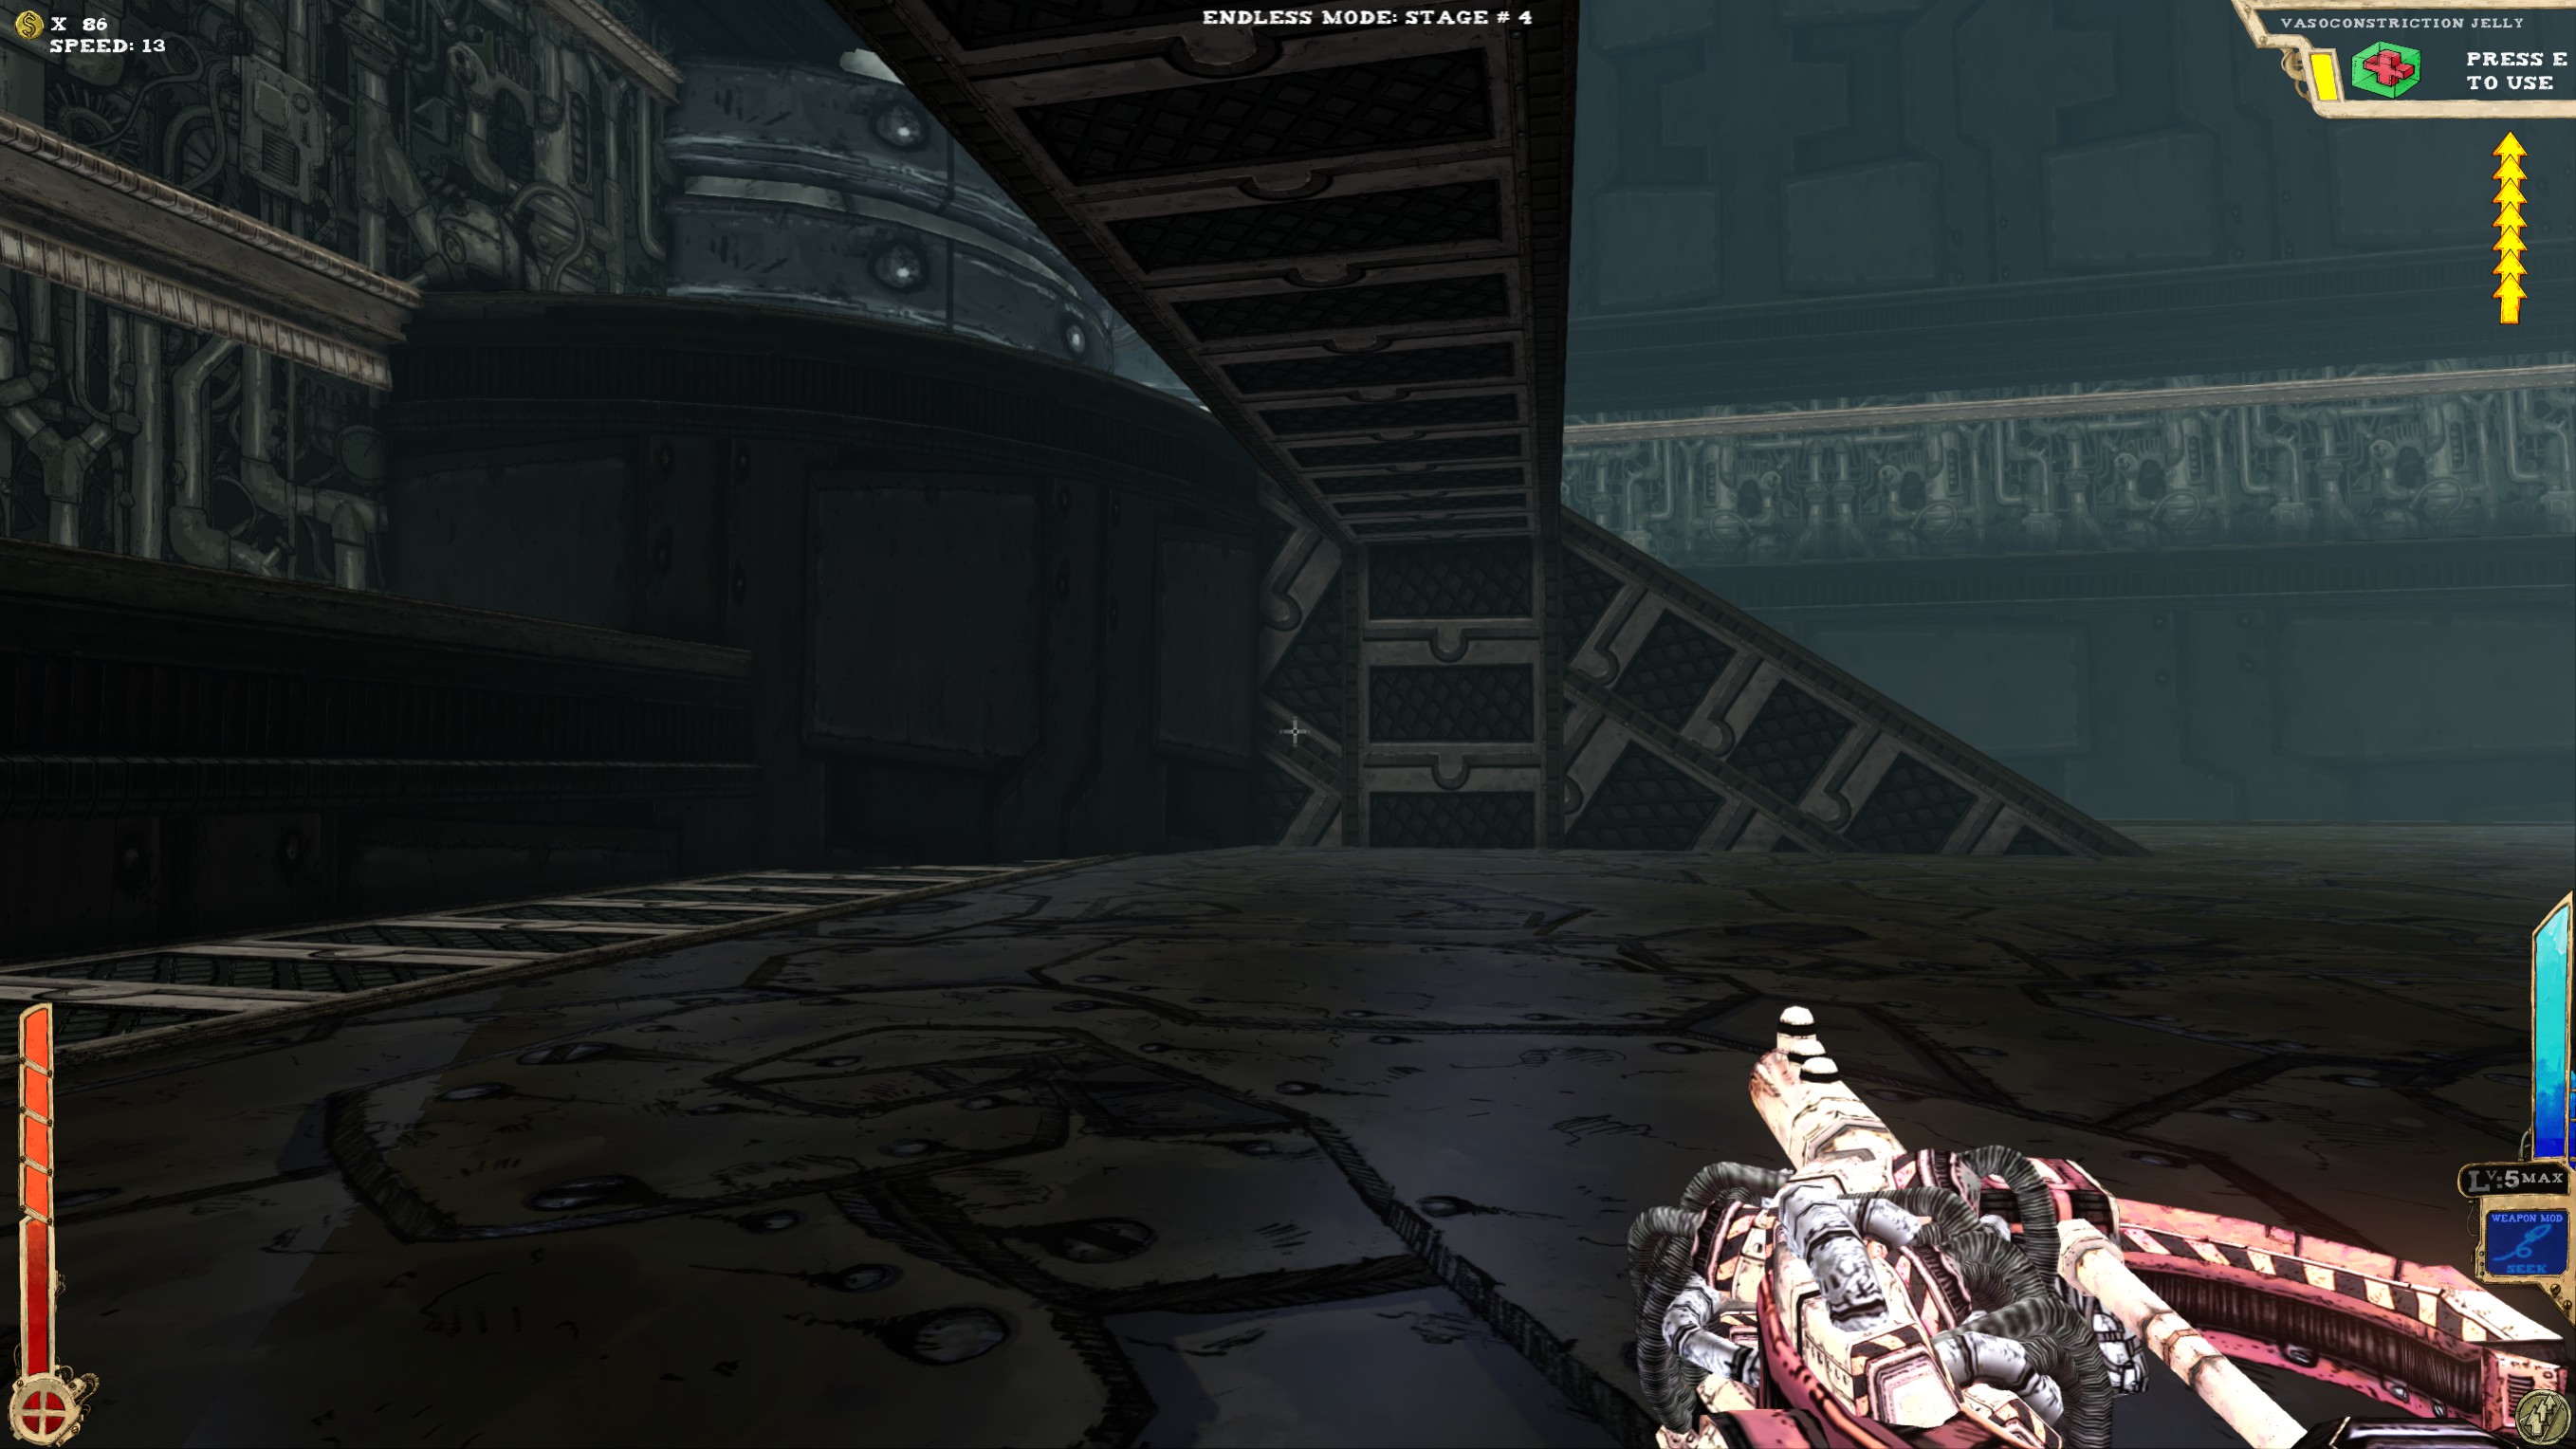 You should see that ramp from the entrance. Walk right in there!
----
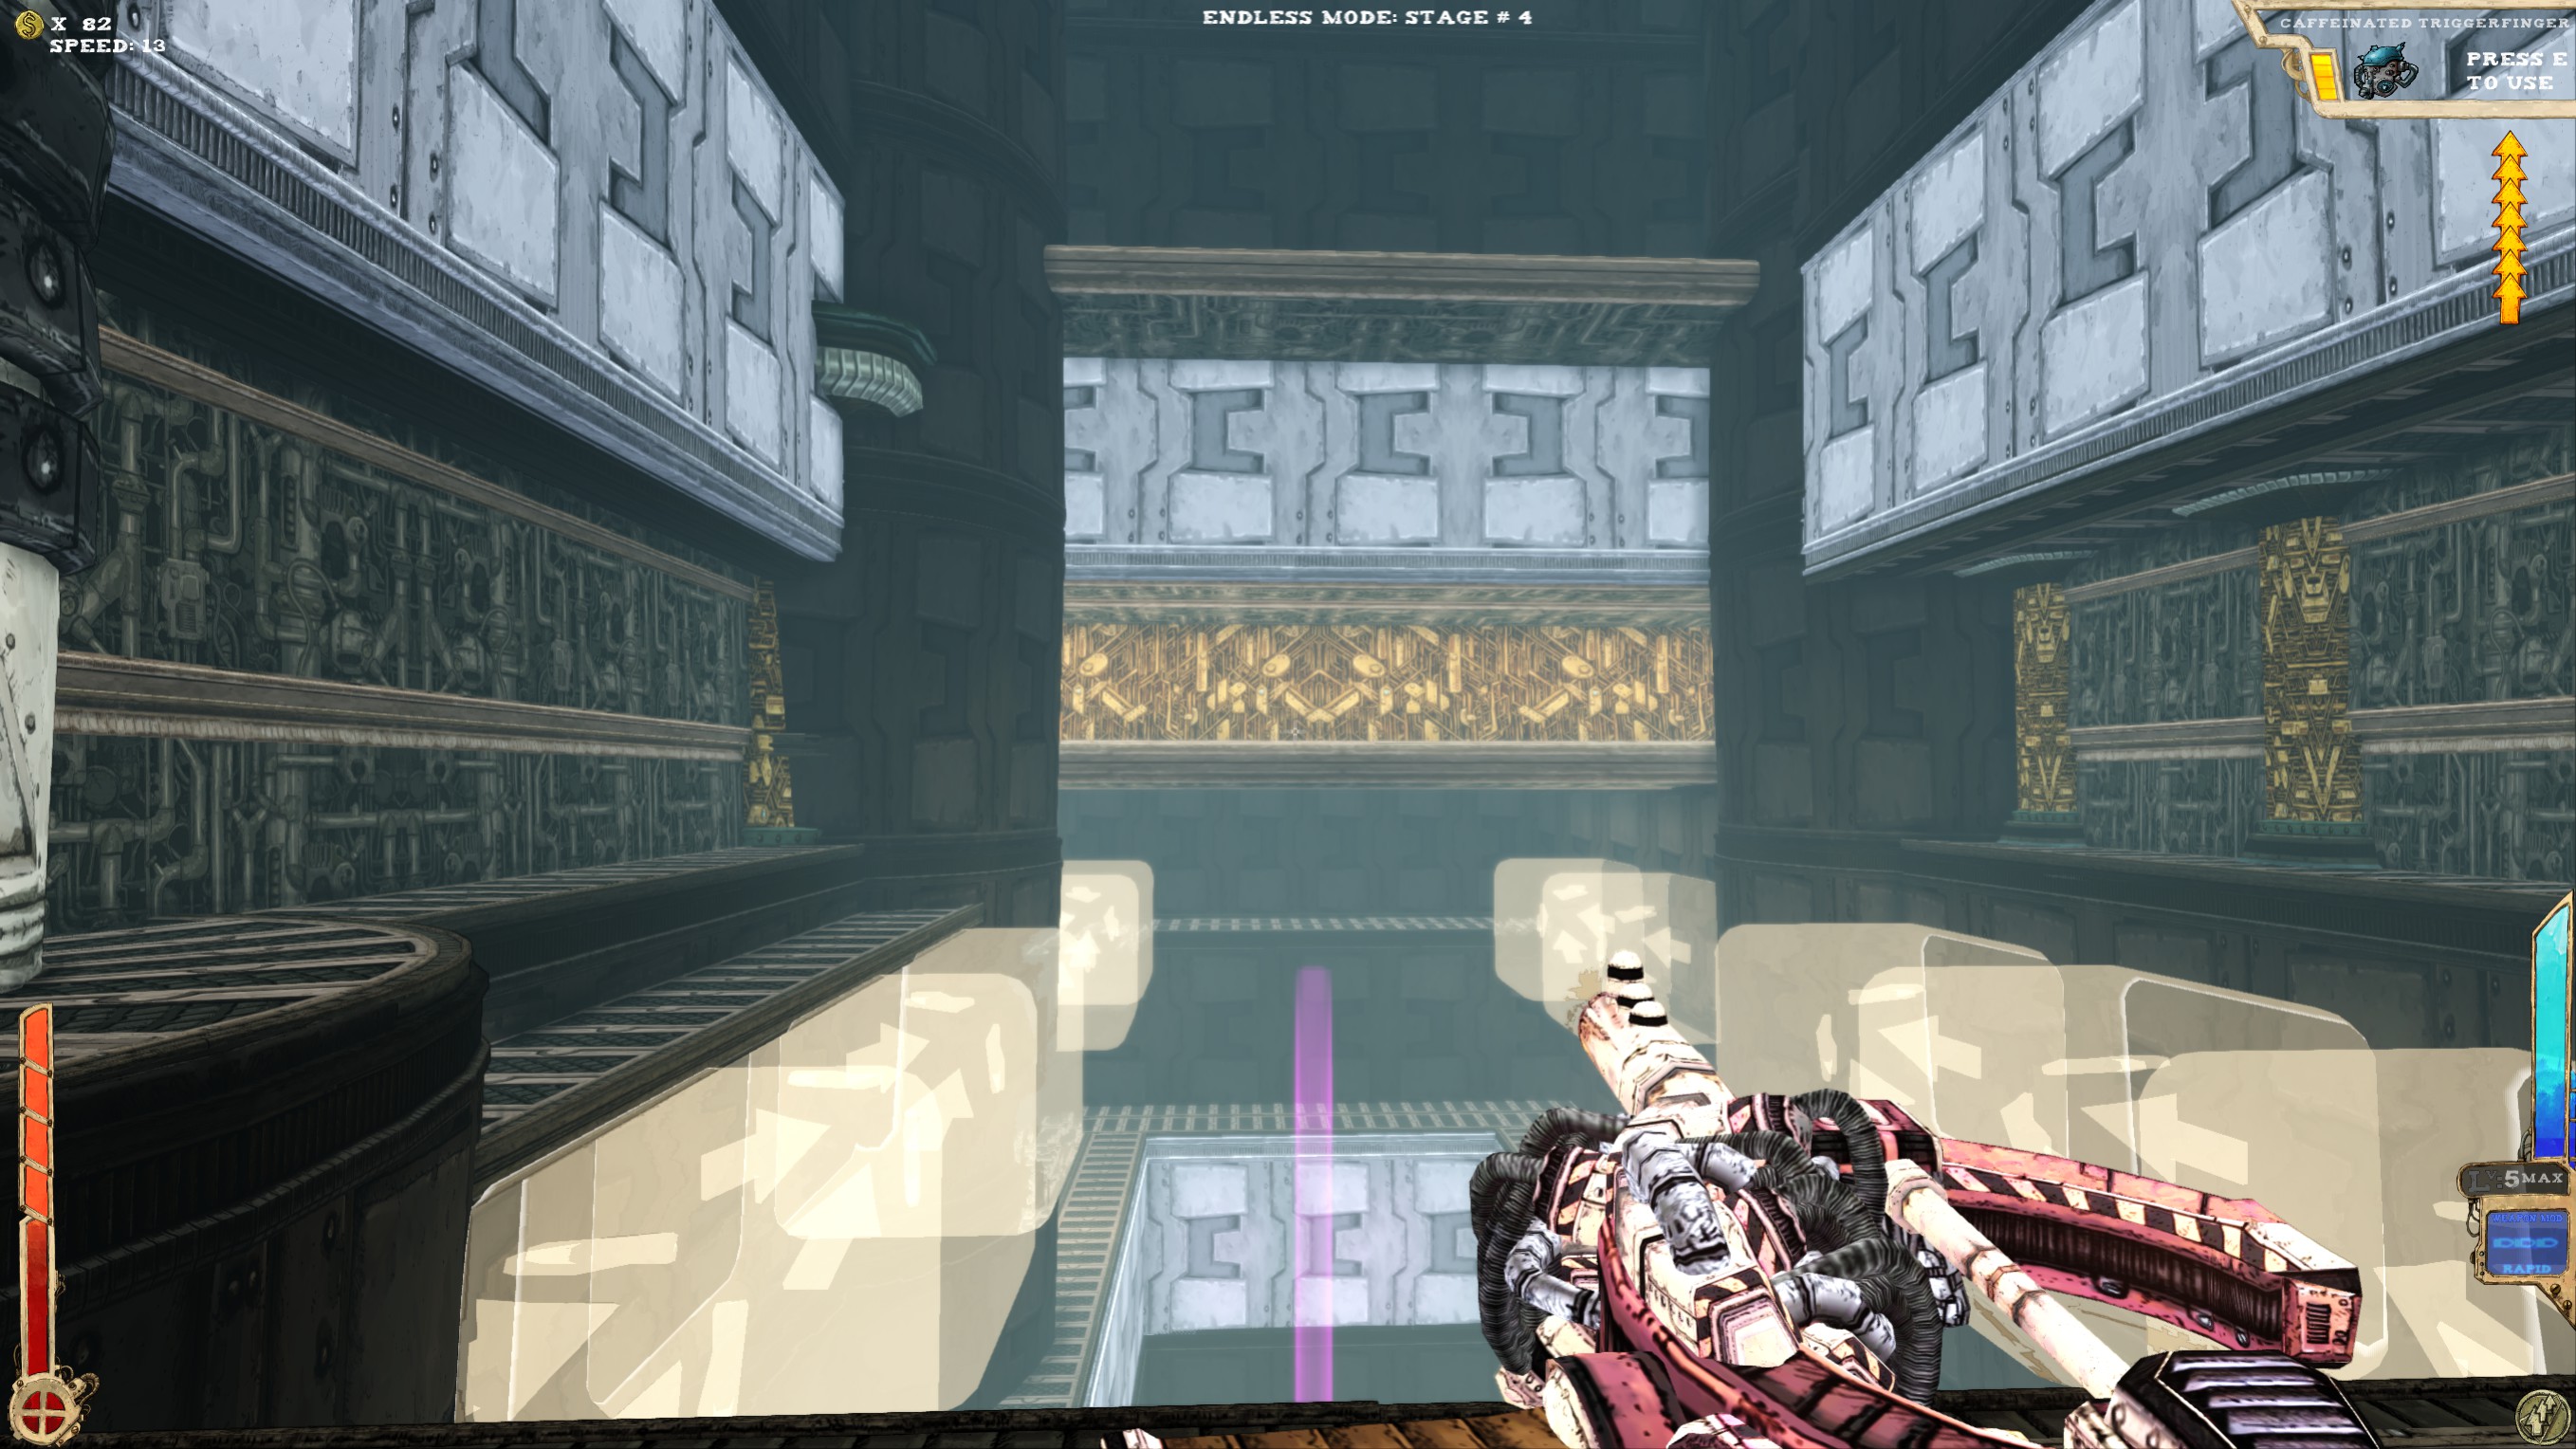 At least three secrets.
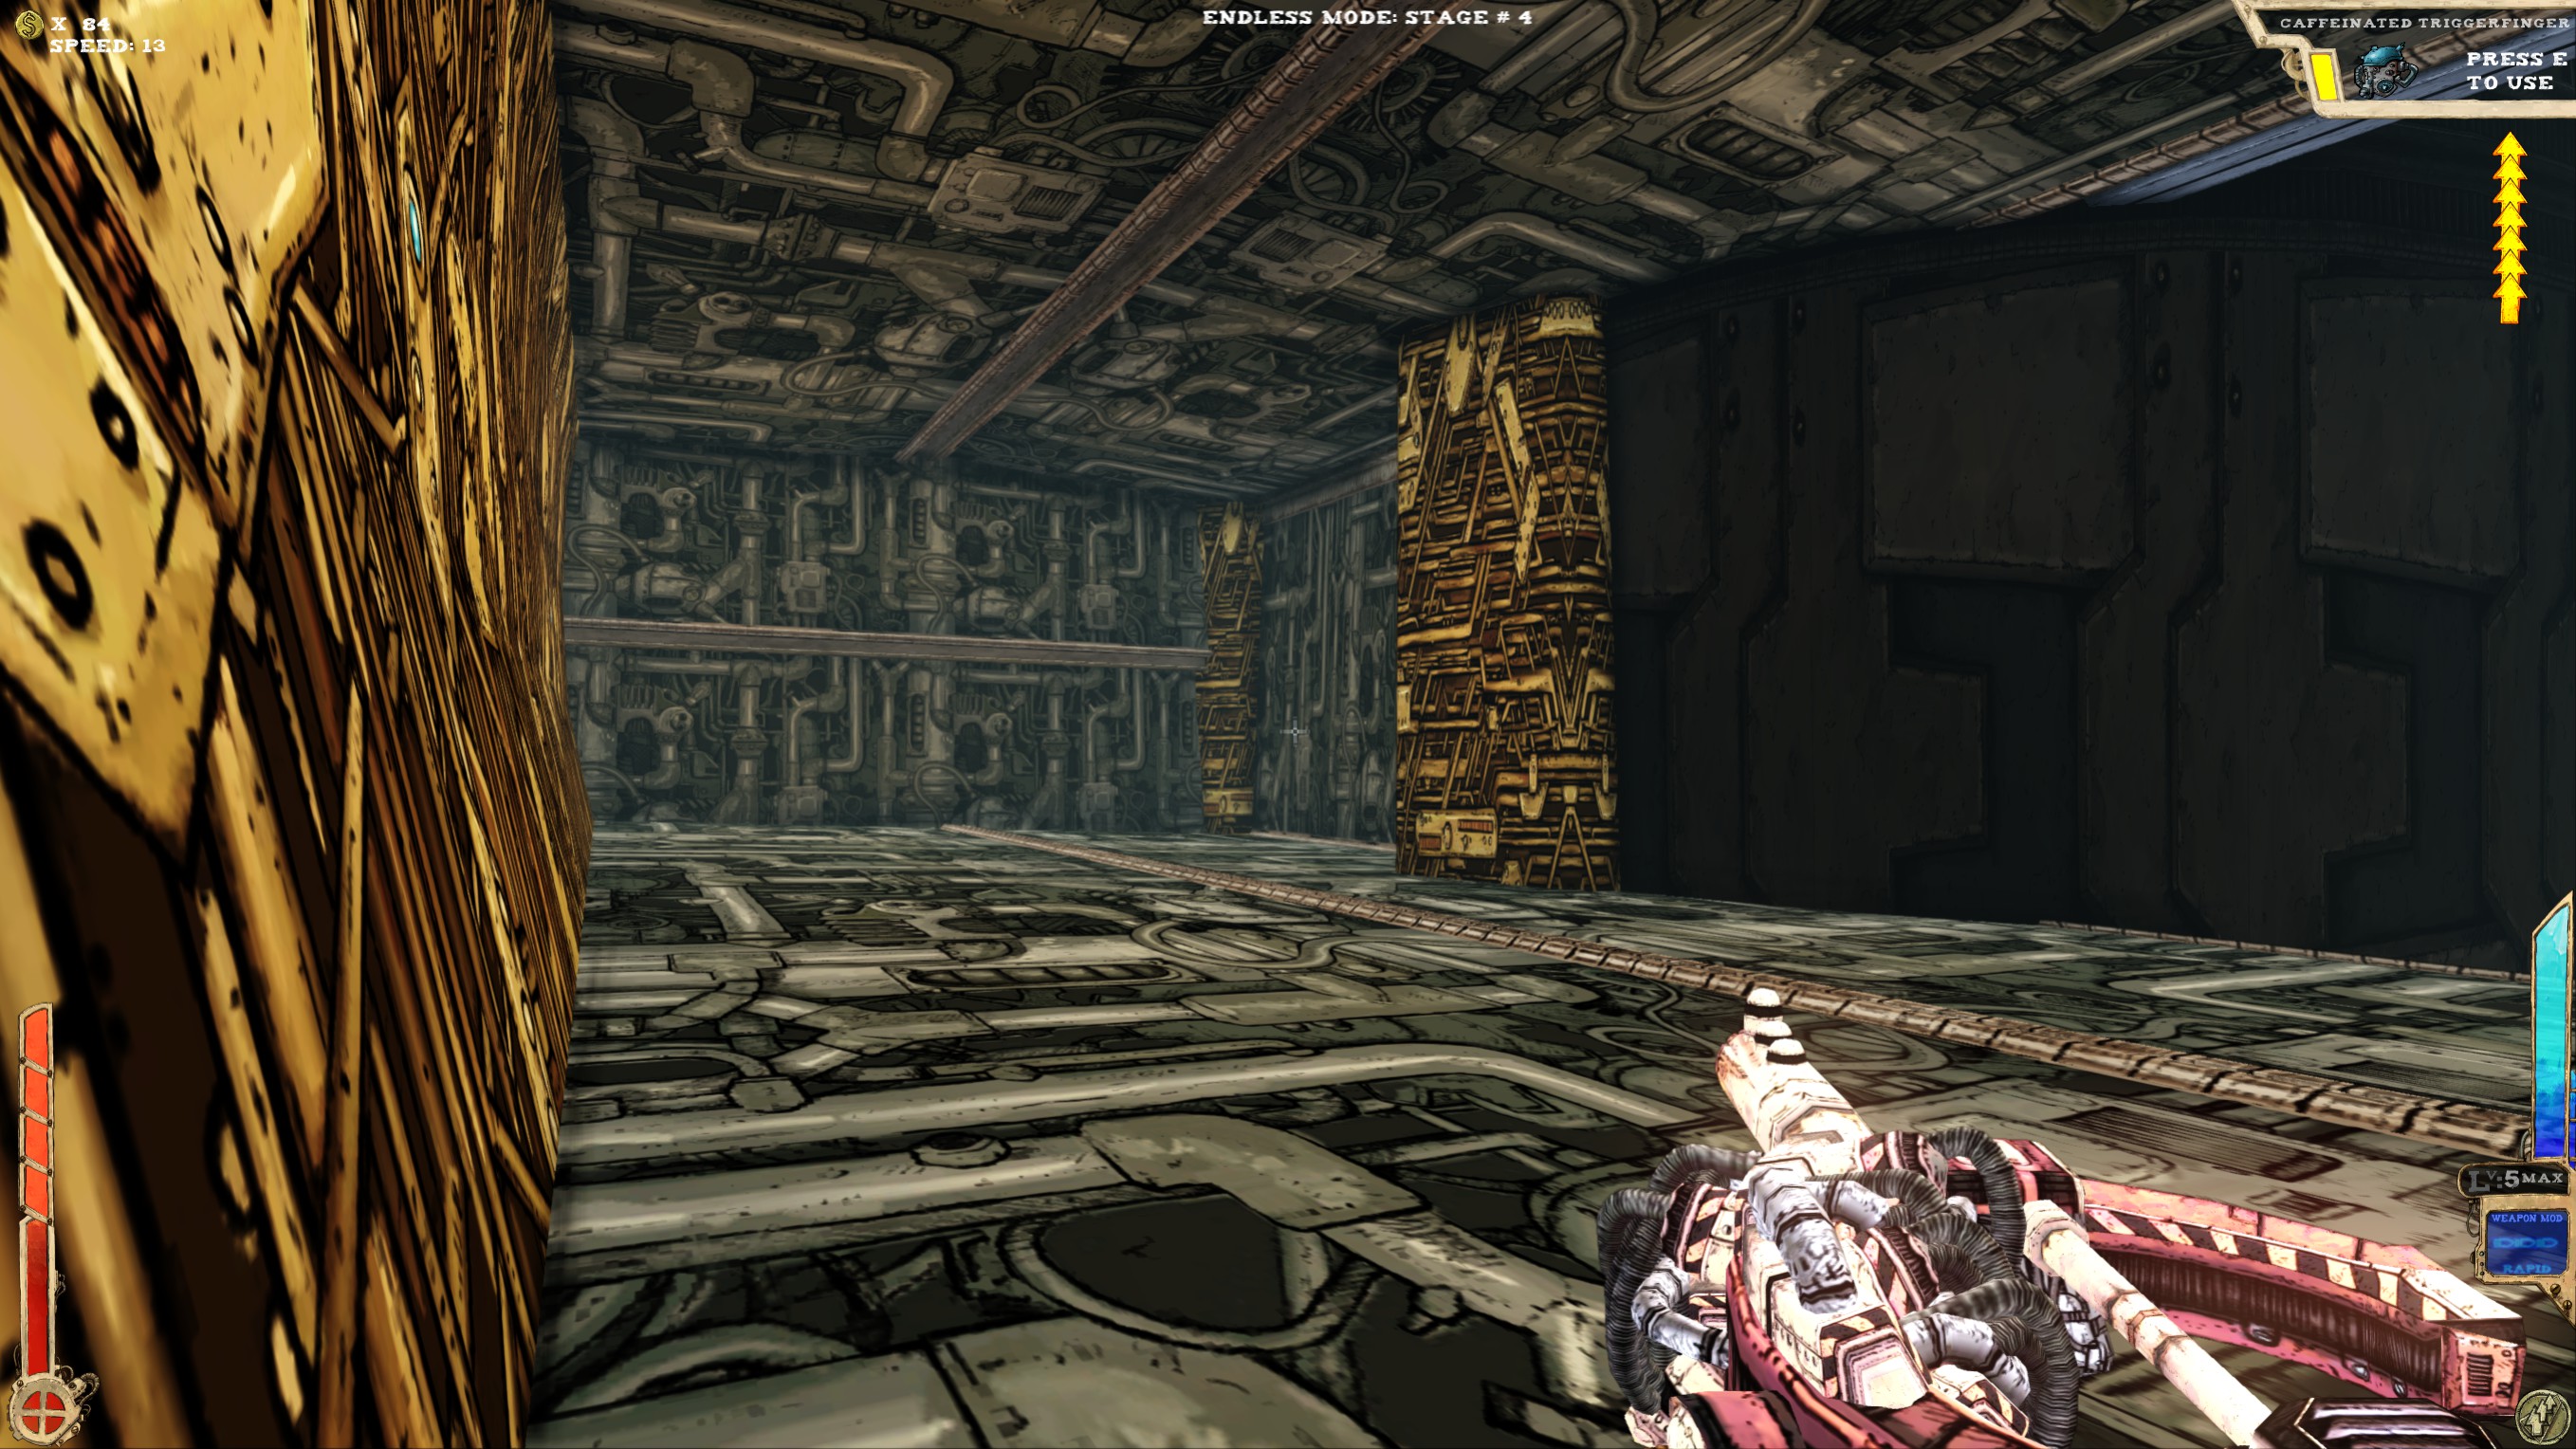 You can see that corridor in the first picture. Left is the exit, right is the fake wall I'm pointing at.
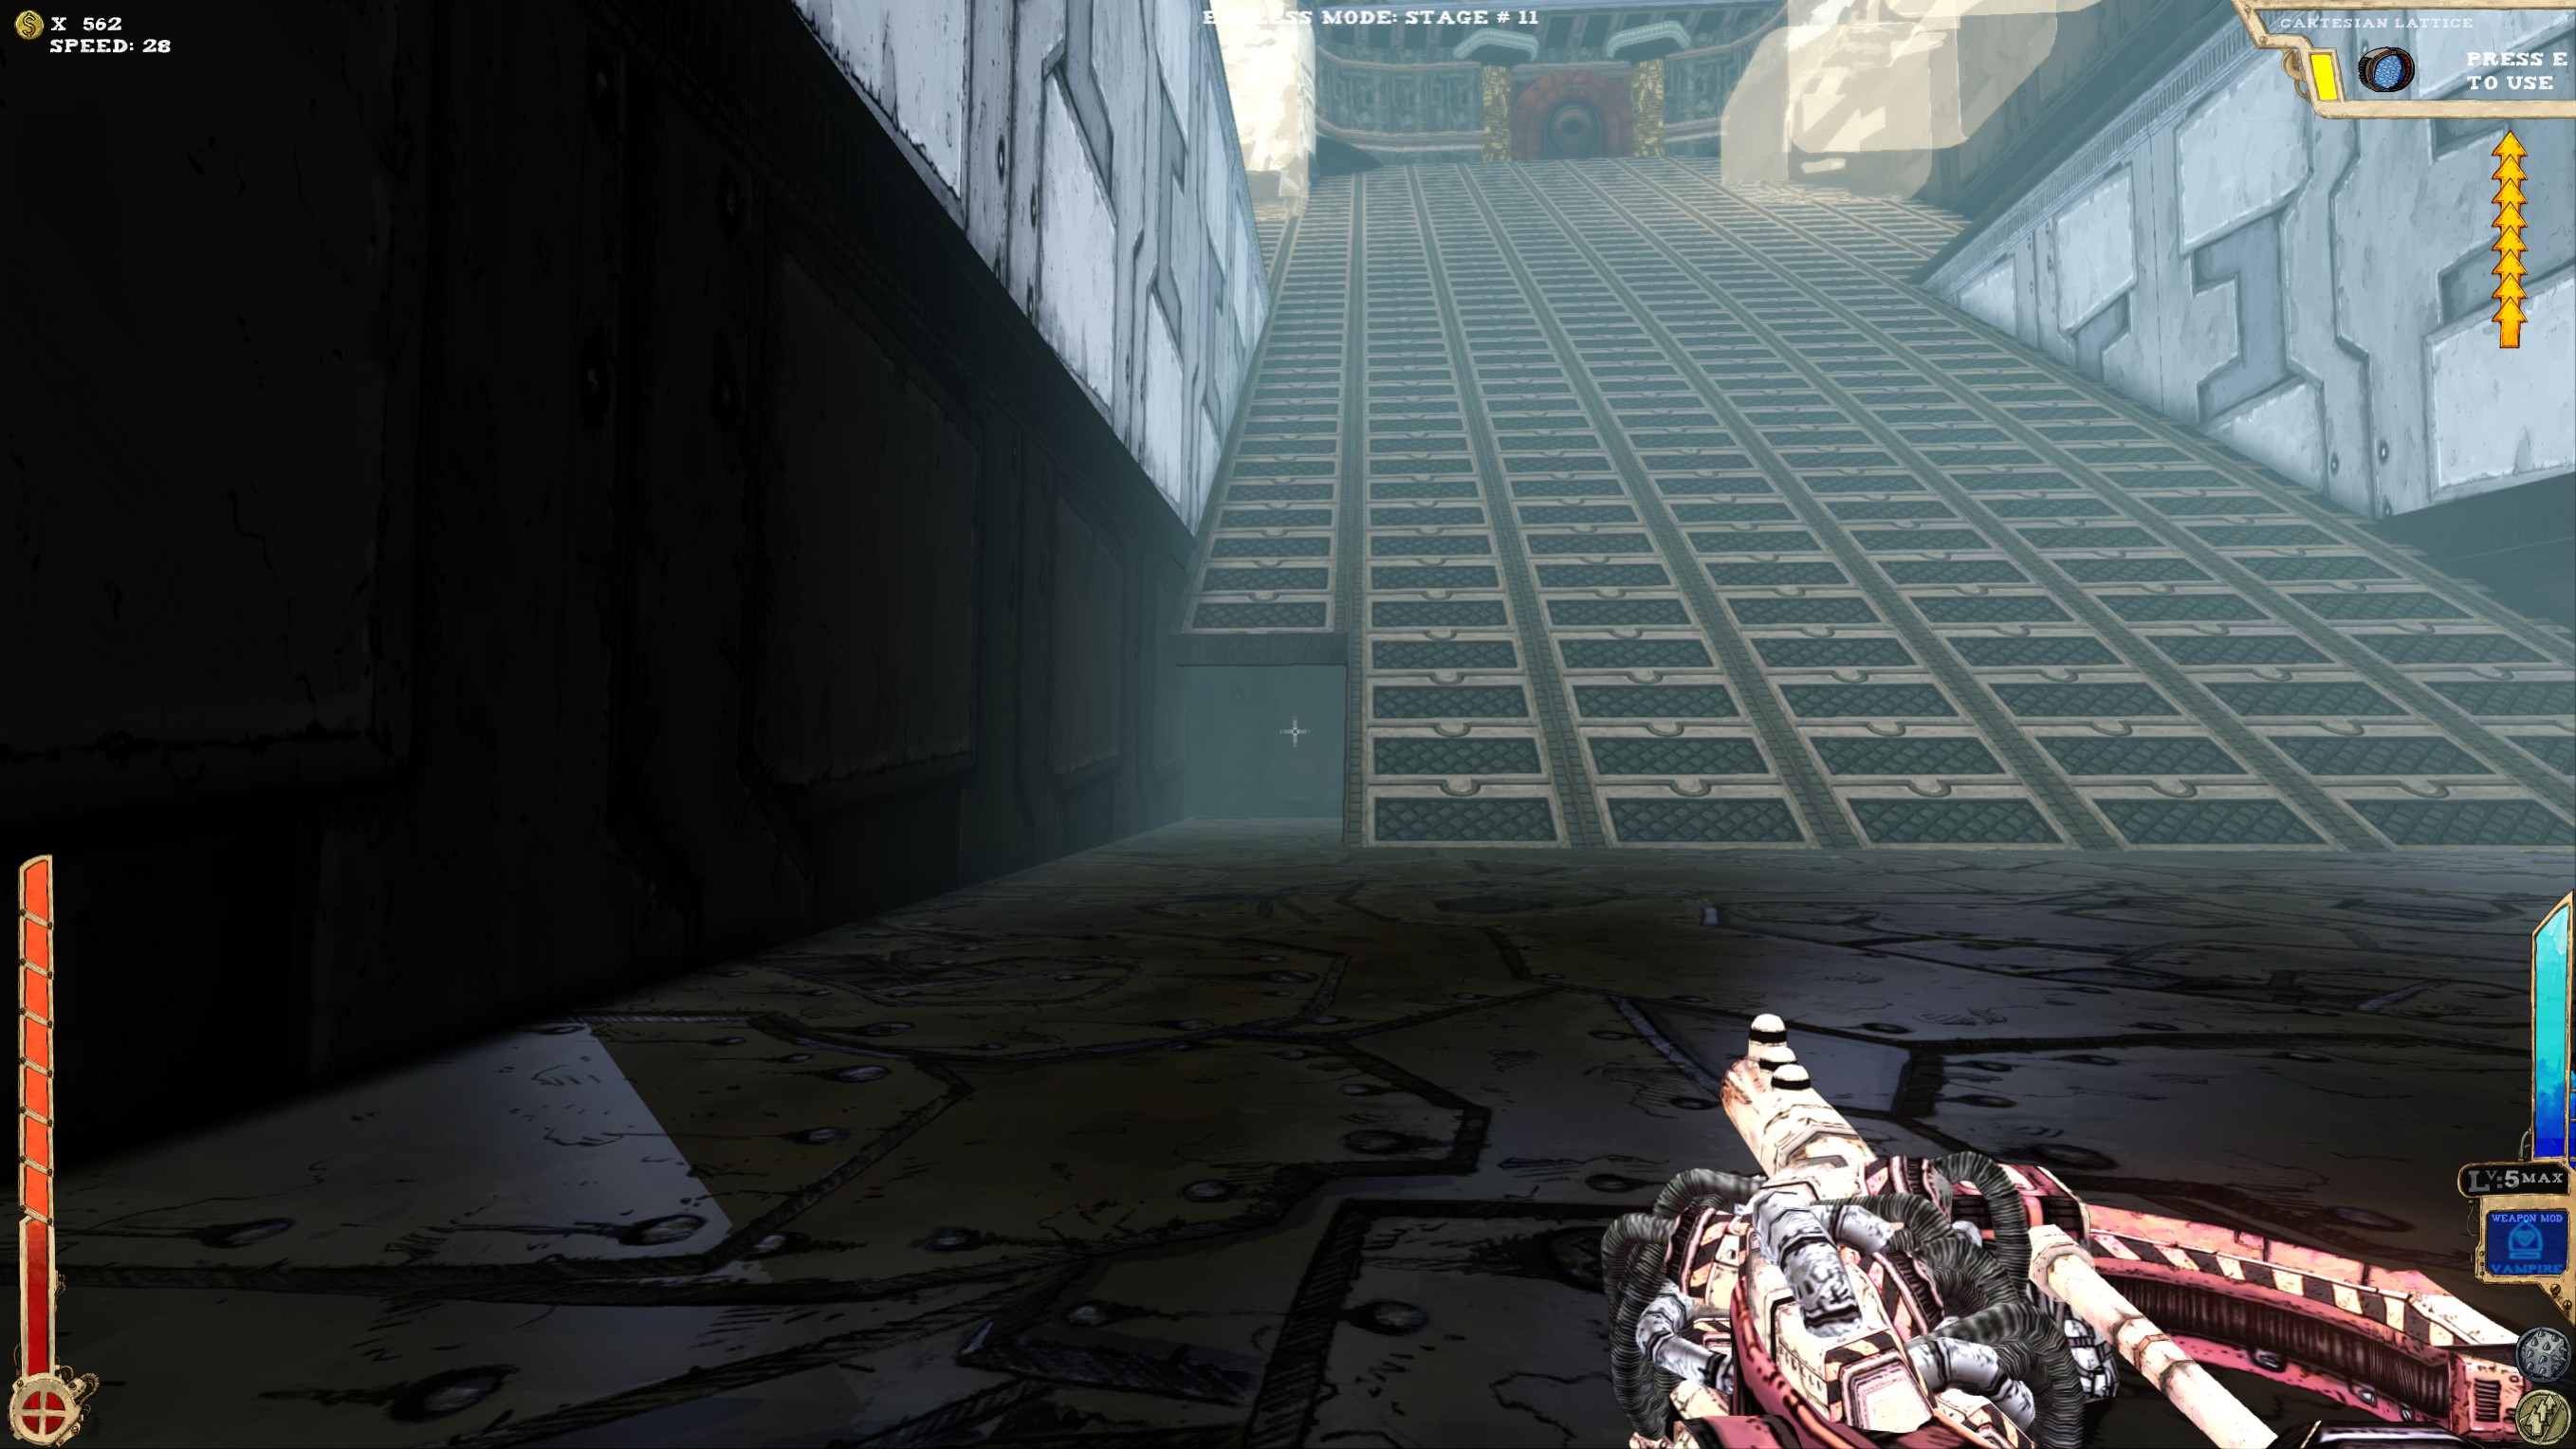 Enter room, walk down ramp, turn around and see the hole!
And if seeing it isn't enough, you can also walk in there and get the secret.
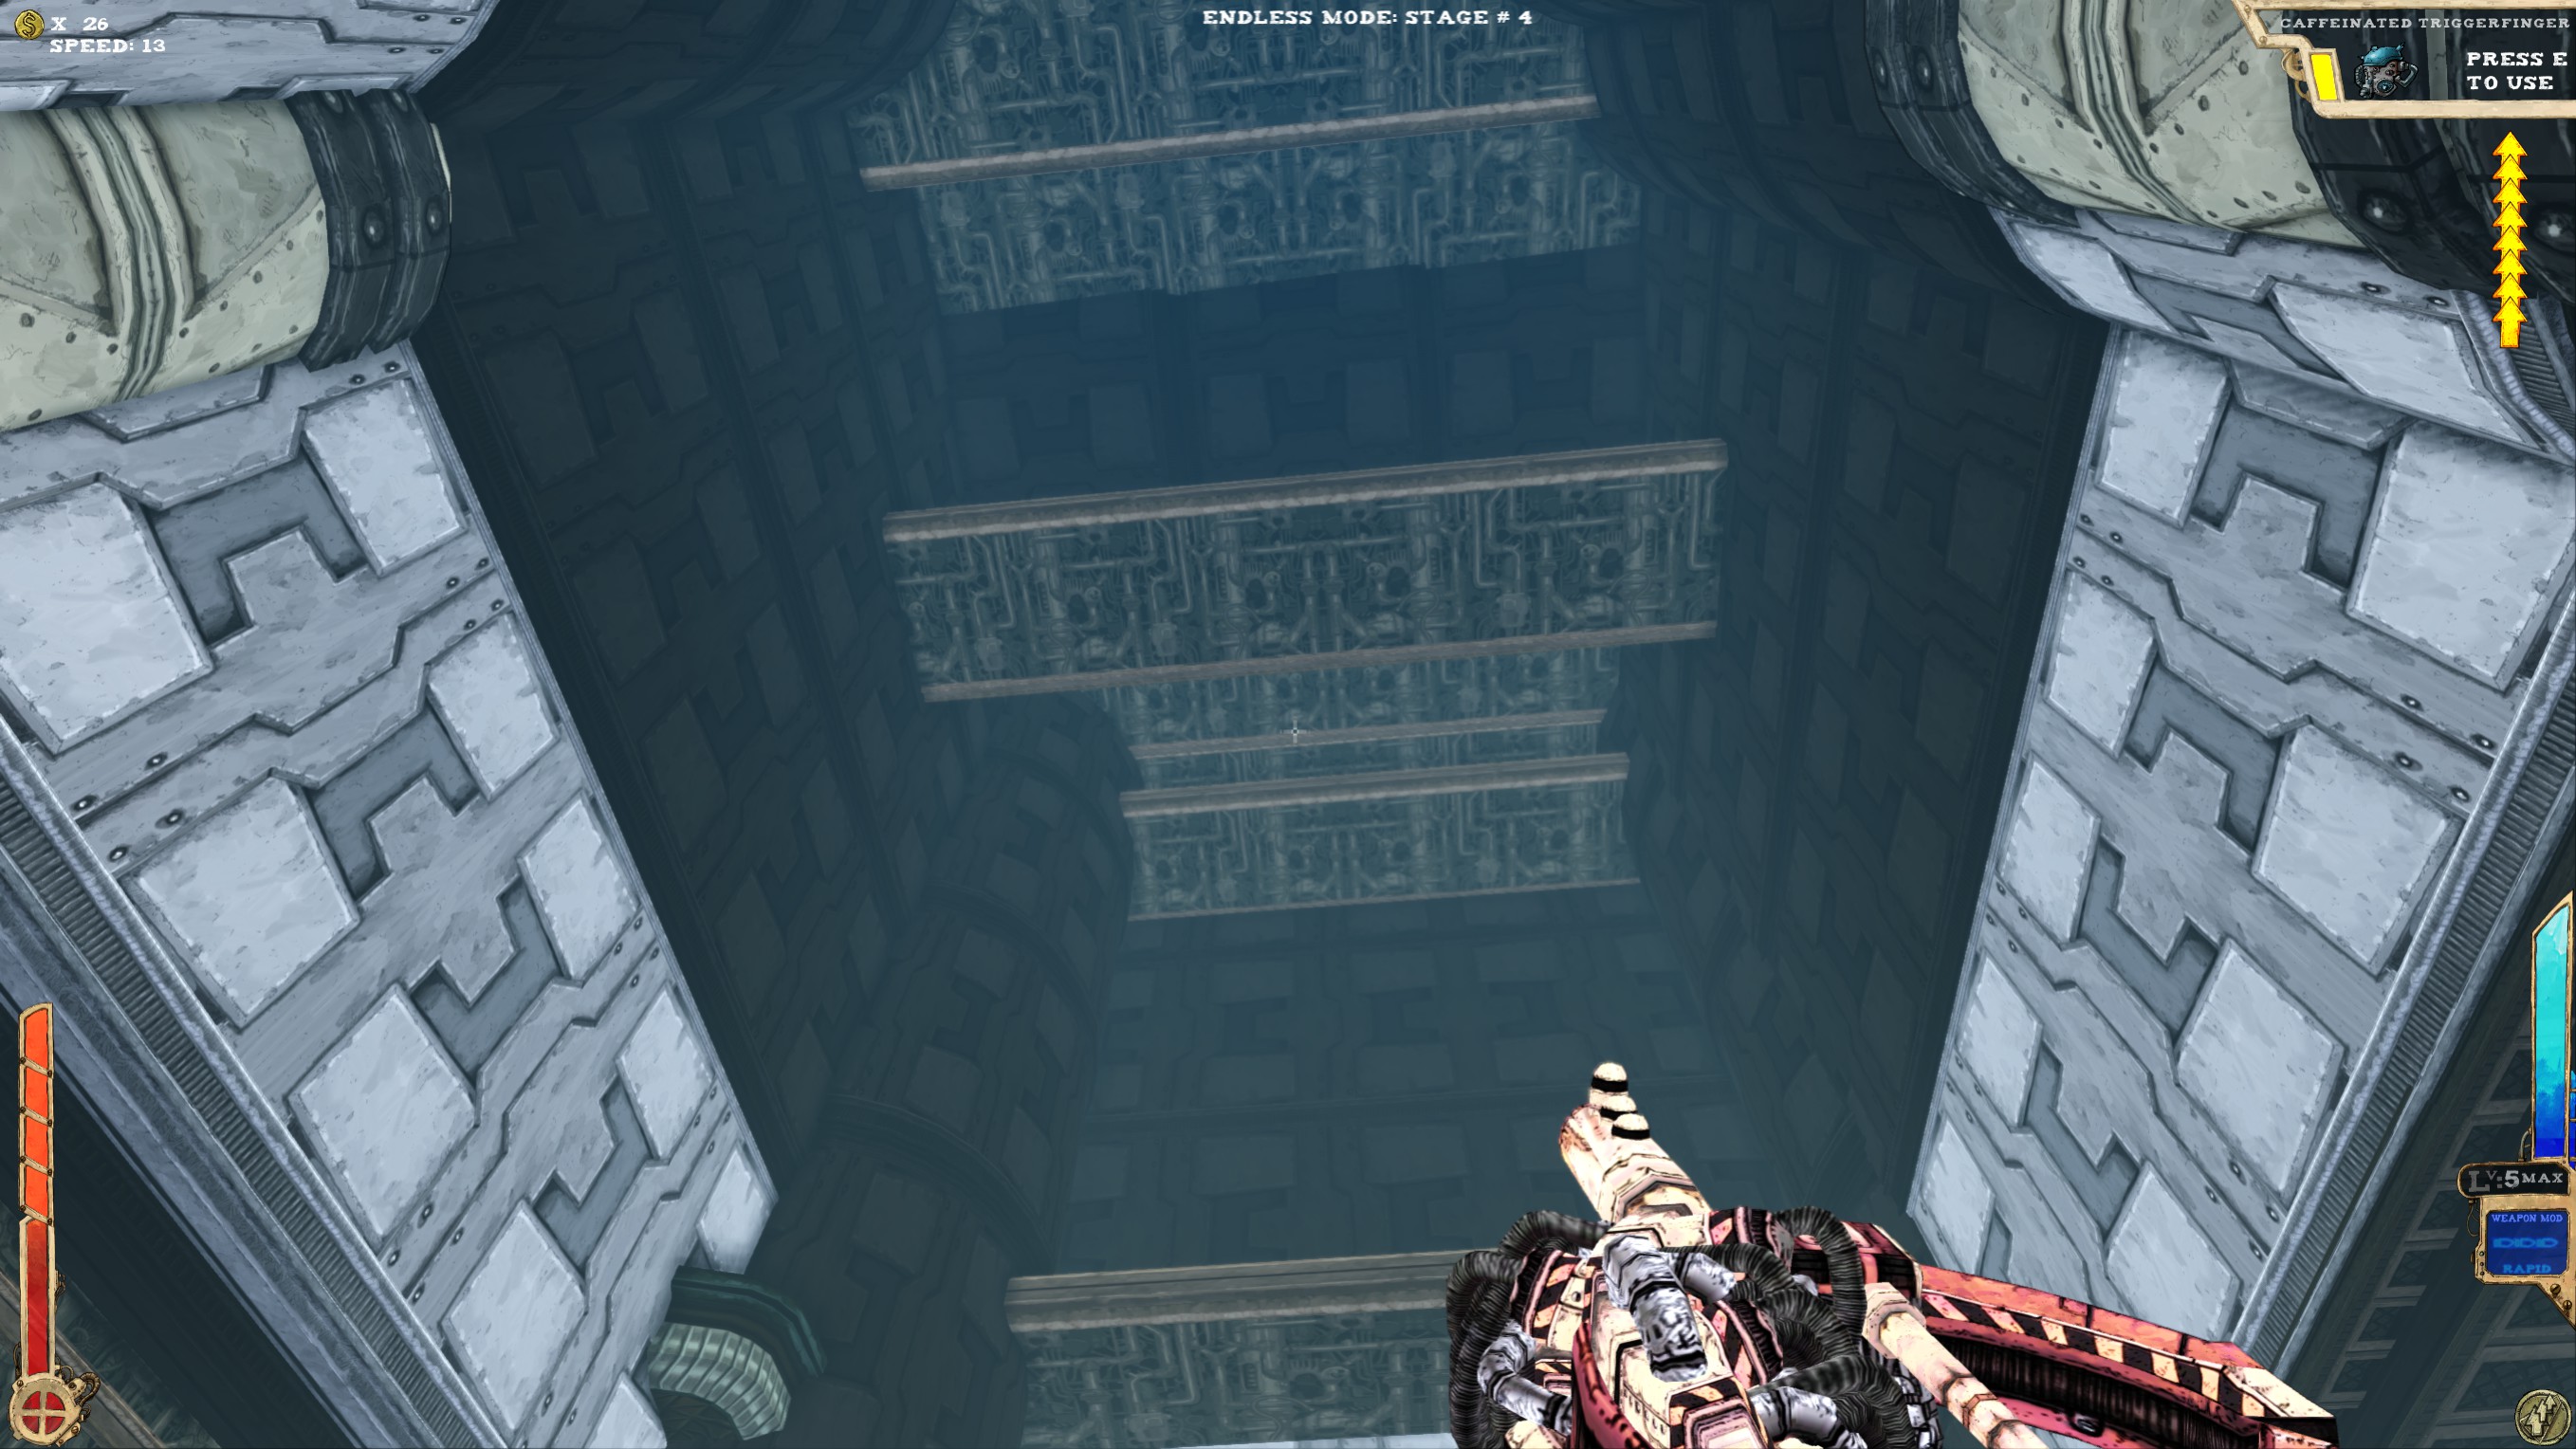 Pretty much right under the ceiling. There are a lot of places to make a stopover to reset your extra jumps.
----
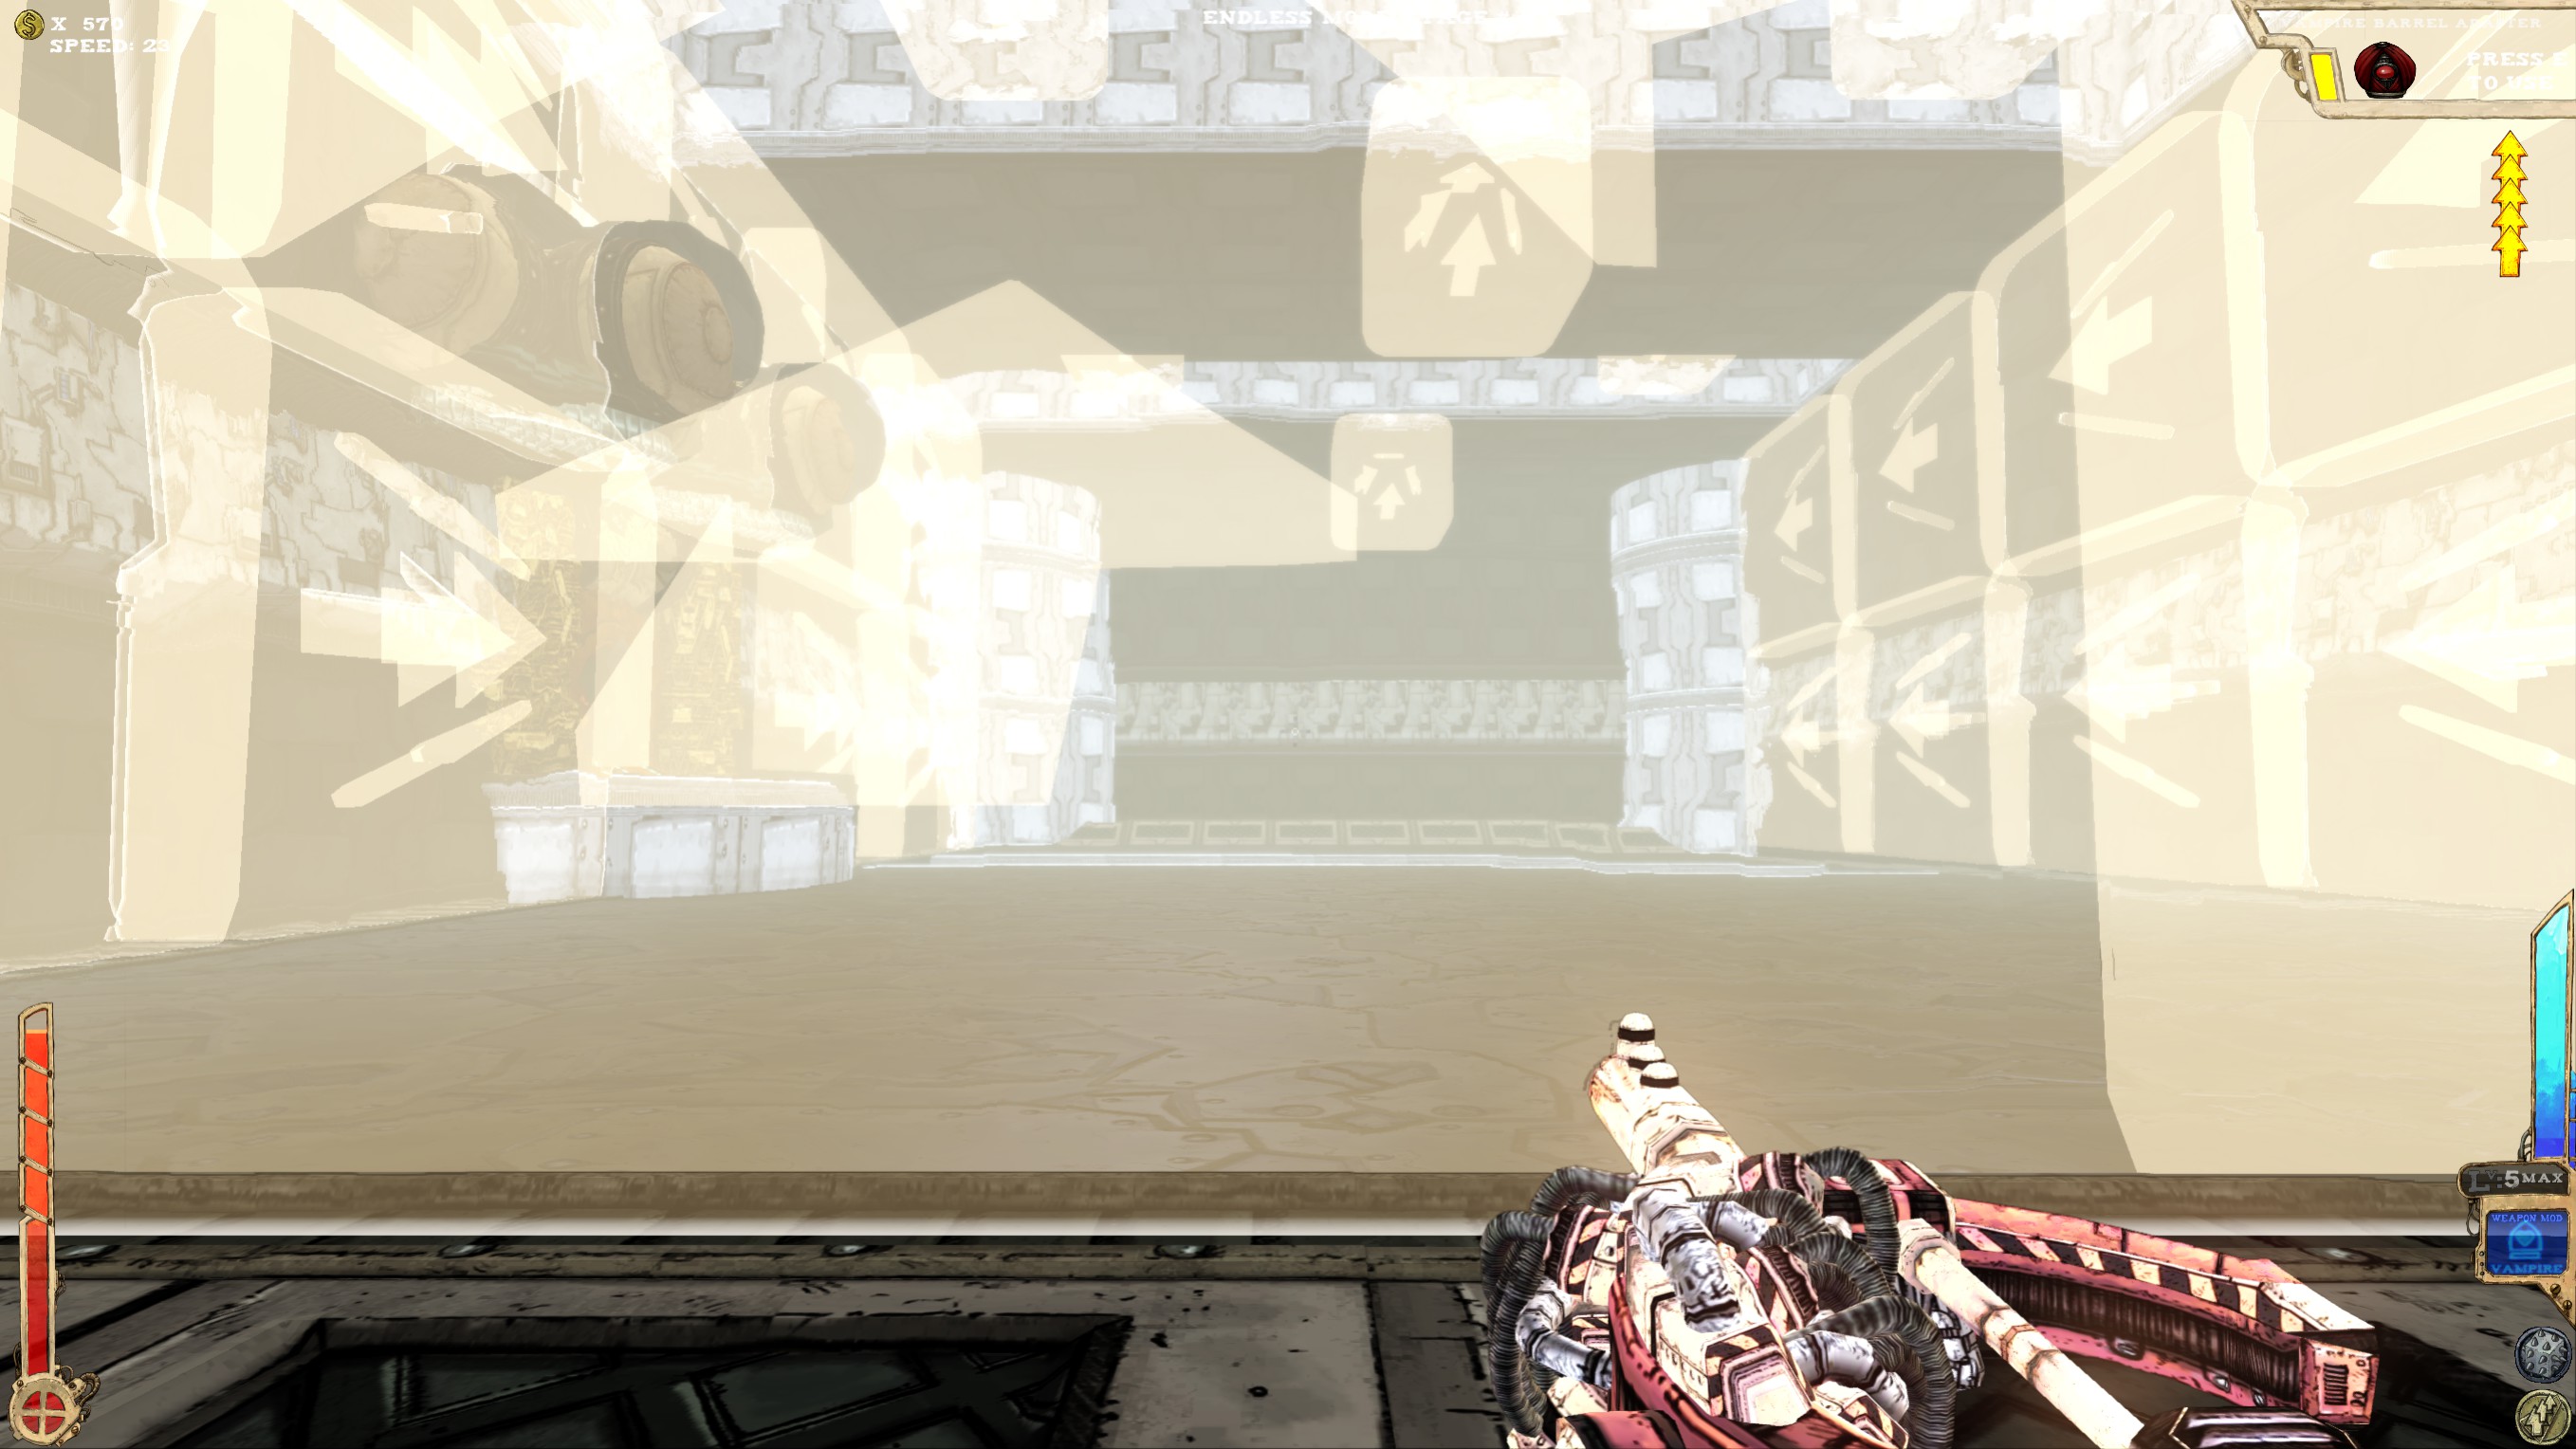 At least one...
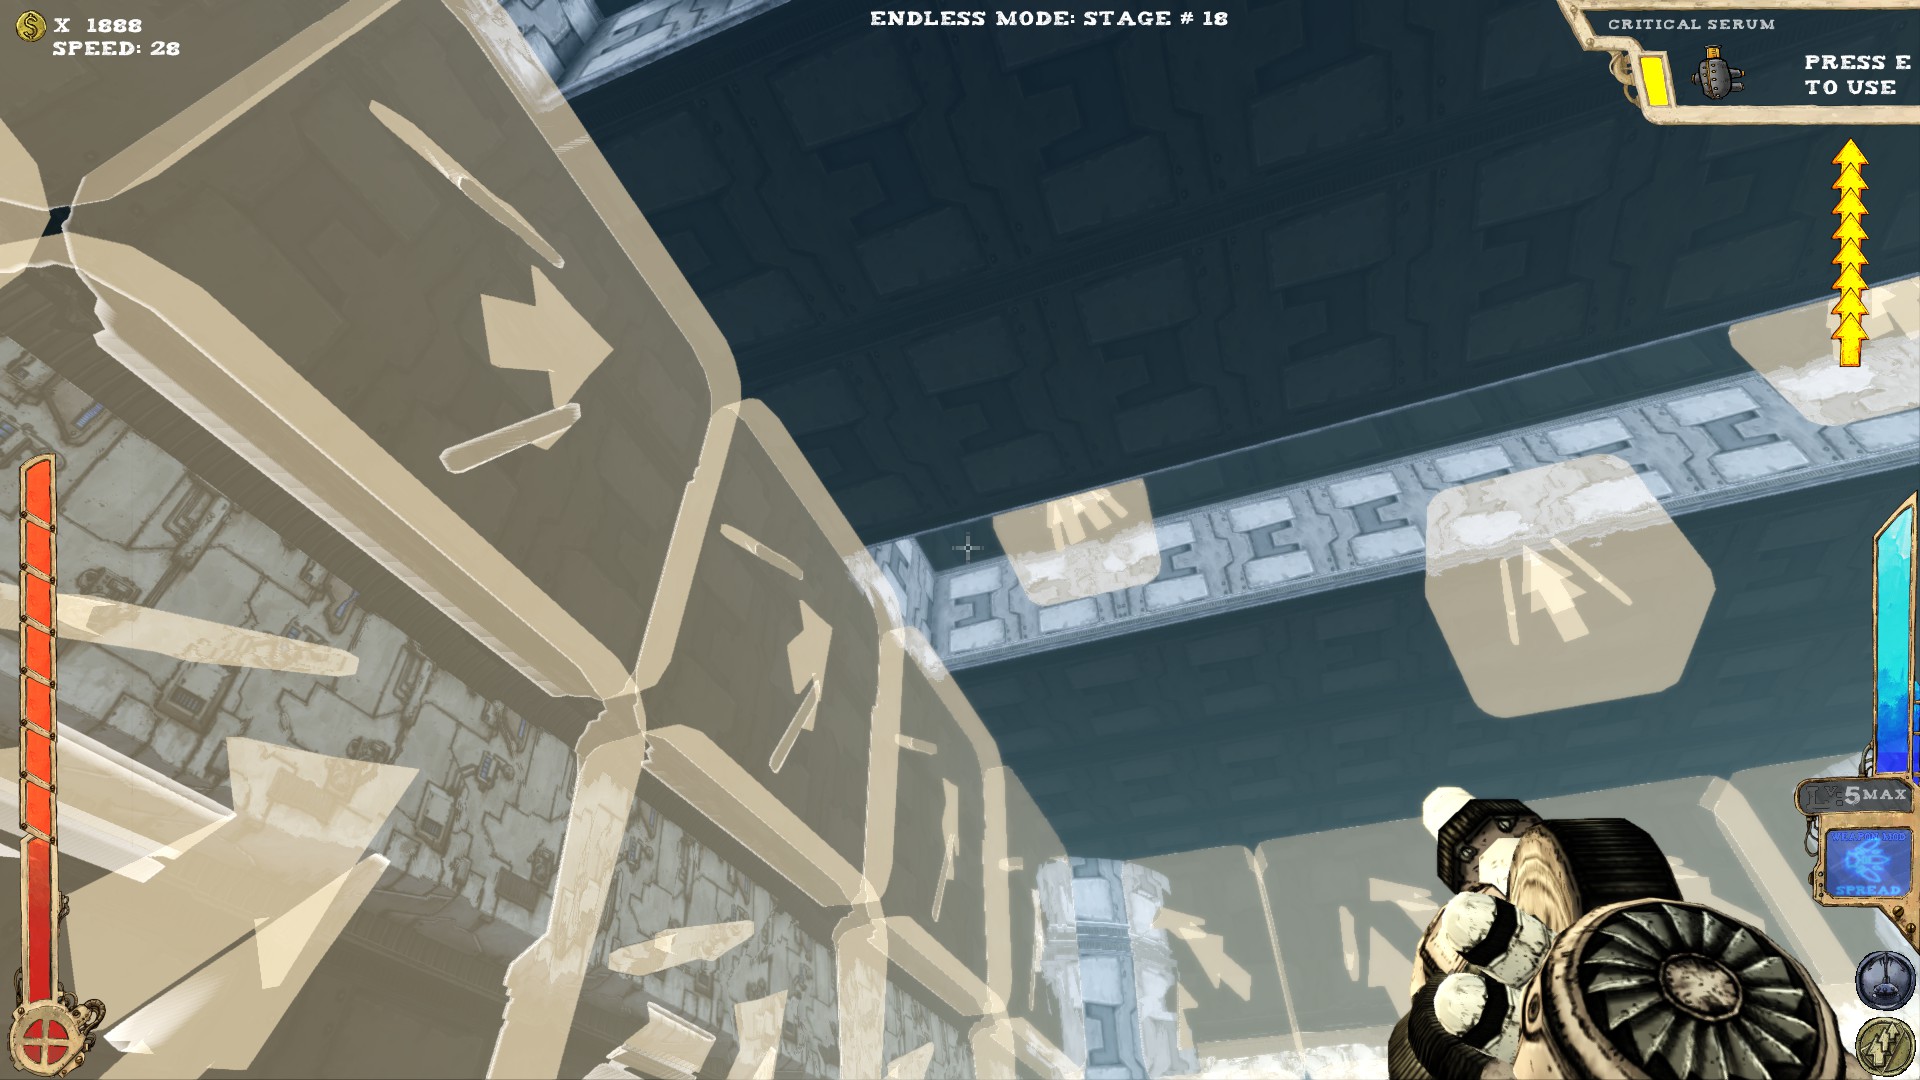 Right where I'm pointing at is a small recess, containing the secret. (Thanks to Hollowriller for this one!)
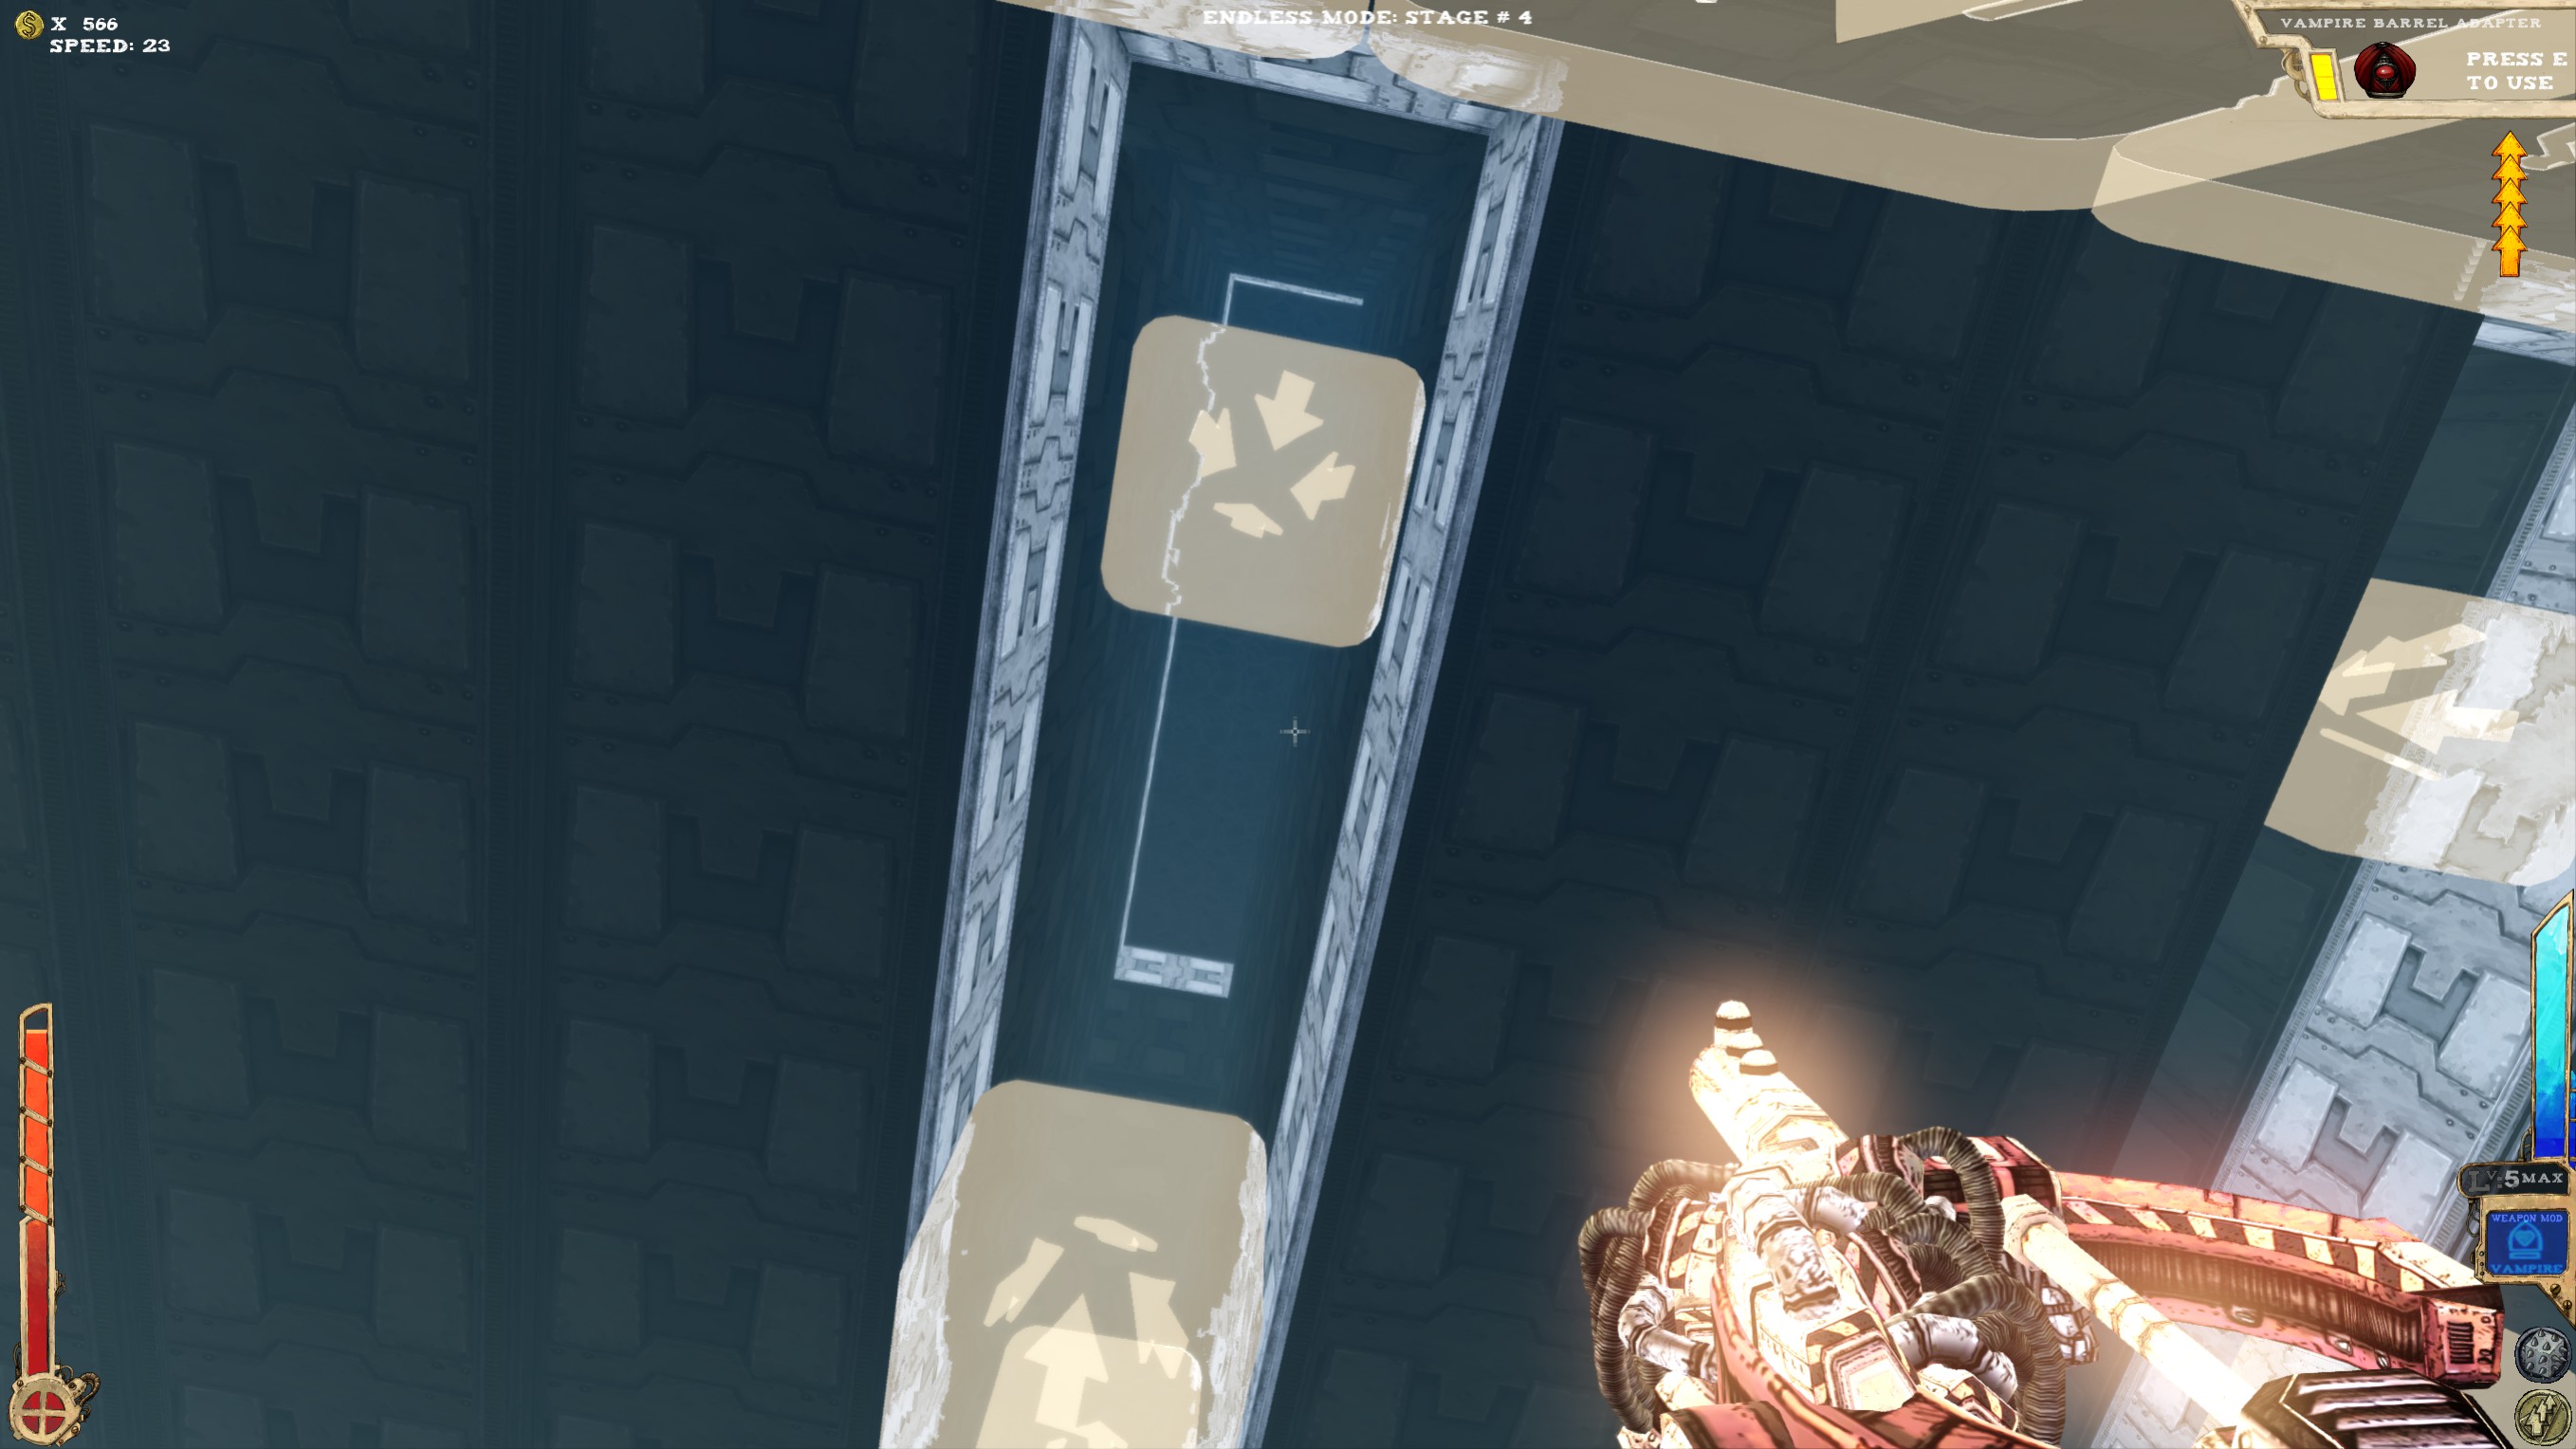 While the area above sure looks like a secret, it doesn't seem to be one. Was up there several times, but never to the typical "You have found a secret" message.
There is a bunch of stuff up there, so go check it out anyway.
Now on to the Sanctum.
One secret.Facing away from the exit and look up, you should spot the opening. Not reachable without enough jumps or proper item.----
One secret.Move through to the other side, turn around and in the upper right "comb" is the secret located.----
One secret.Under the ramp leading to the exit.----
At least two secrets.Right besides the entrance is a little way. Follow it.Pretty much above the entrance.There is another platform right above the entrance, which you can reach with the Jelly. If you don't have enough jumps to get to the secret directly, try to get there first and from there to the actual secret.
----
At least one secret.You should see that ramp from the entrance. Walk right in there!----
At least three secrets.You can see that corridor in the first picture. Left is the exit, right is the fake wall I'm pointing at. Enter room, walk down ramp, turn around and see the hole! And if seeing it isn't enough, you can also walk in there and get the secret.
Pretty much right under the ceiling. There are a lot of places to make a stopover to reset your extra jumps.----
At least one...Right where I'm pointing at is a small recess, containing the secret. (Thanks to Hollowriller for this one!)While the area above sure looks like a secret, it doesn't seem to be one. Was up there several times, but never to the typical "You have found a secret" message.There is a bunch of stuff up there, so go check it out anyway.
Now on to the Sanctum.
The Sanctum
Welcome the last level, only that it isn't.
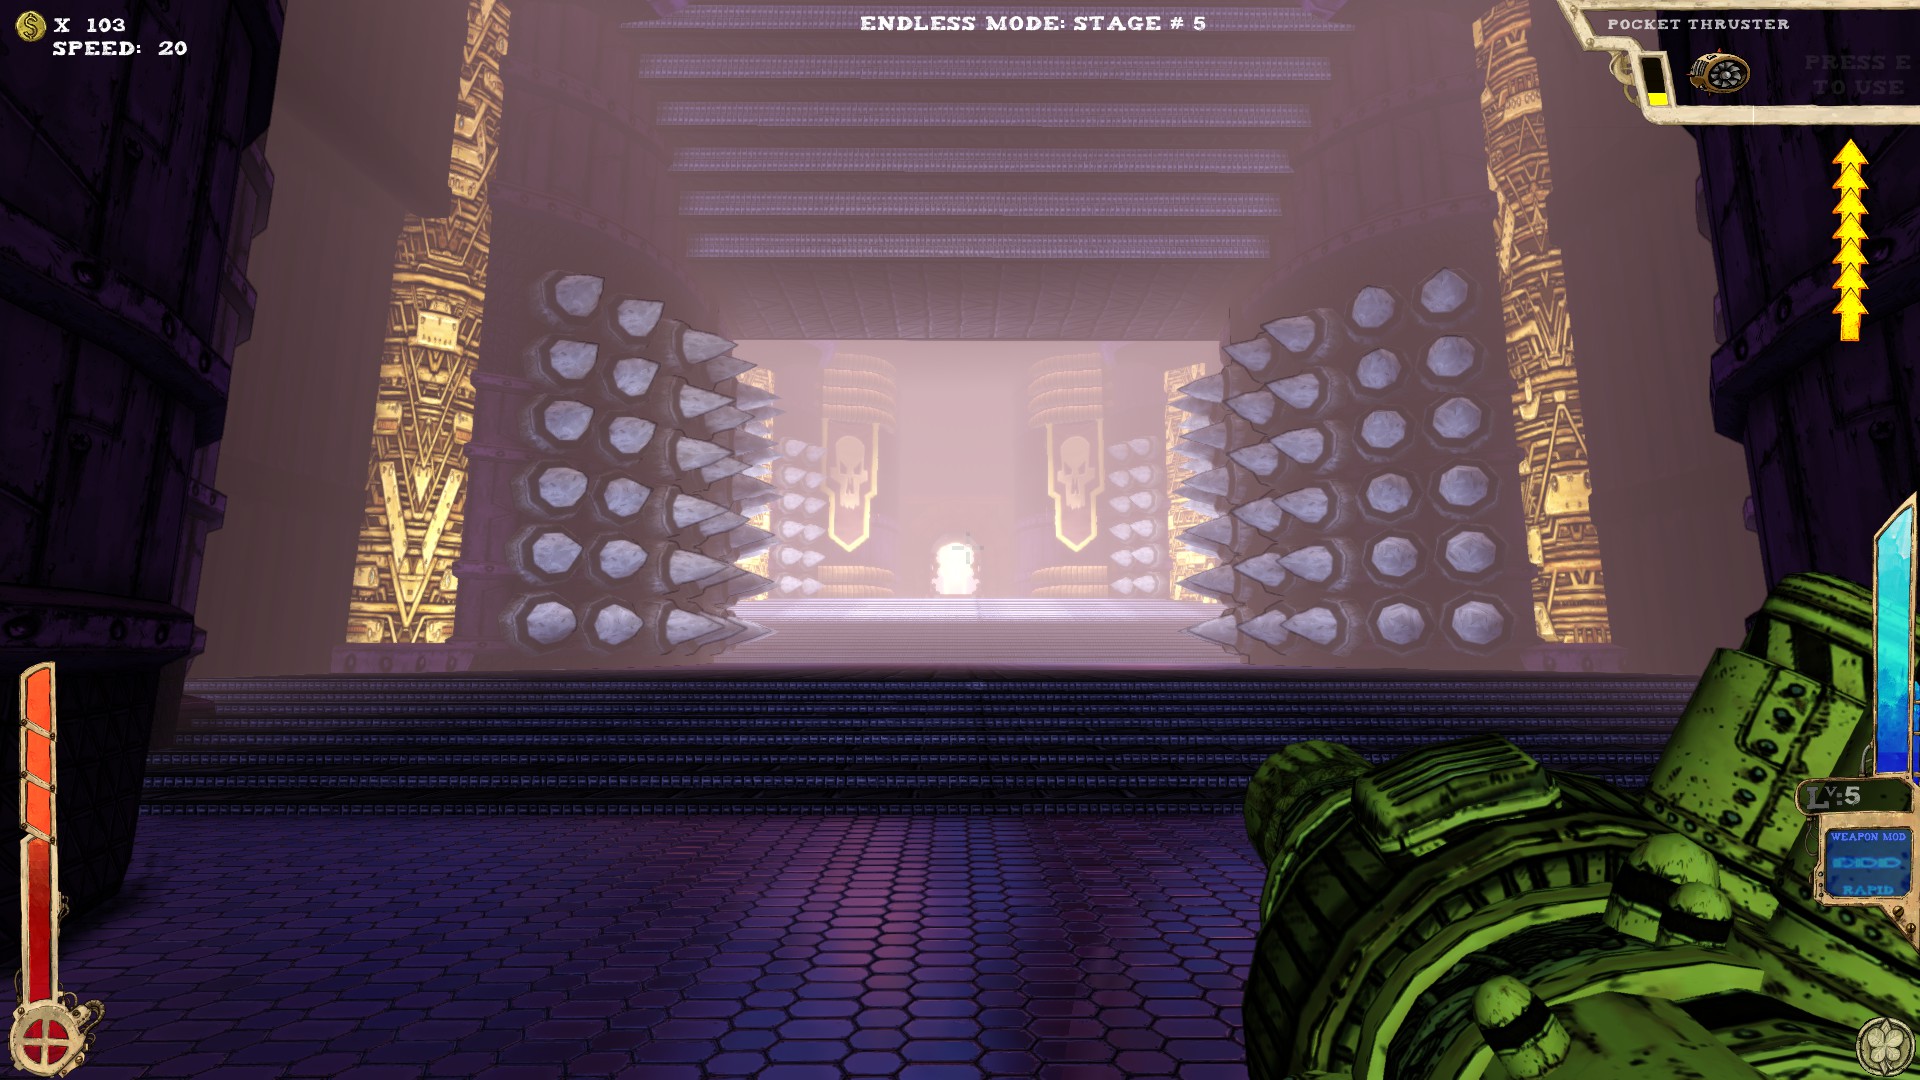
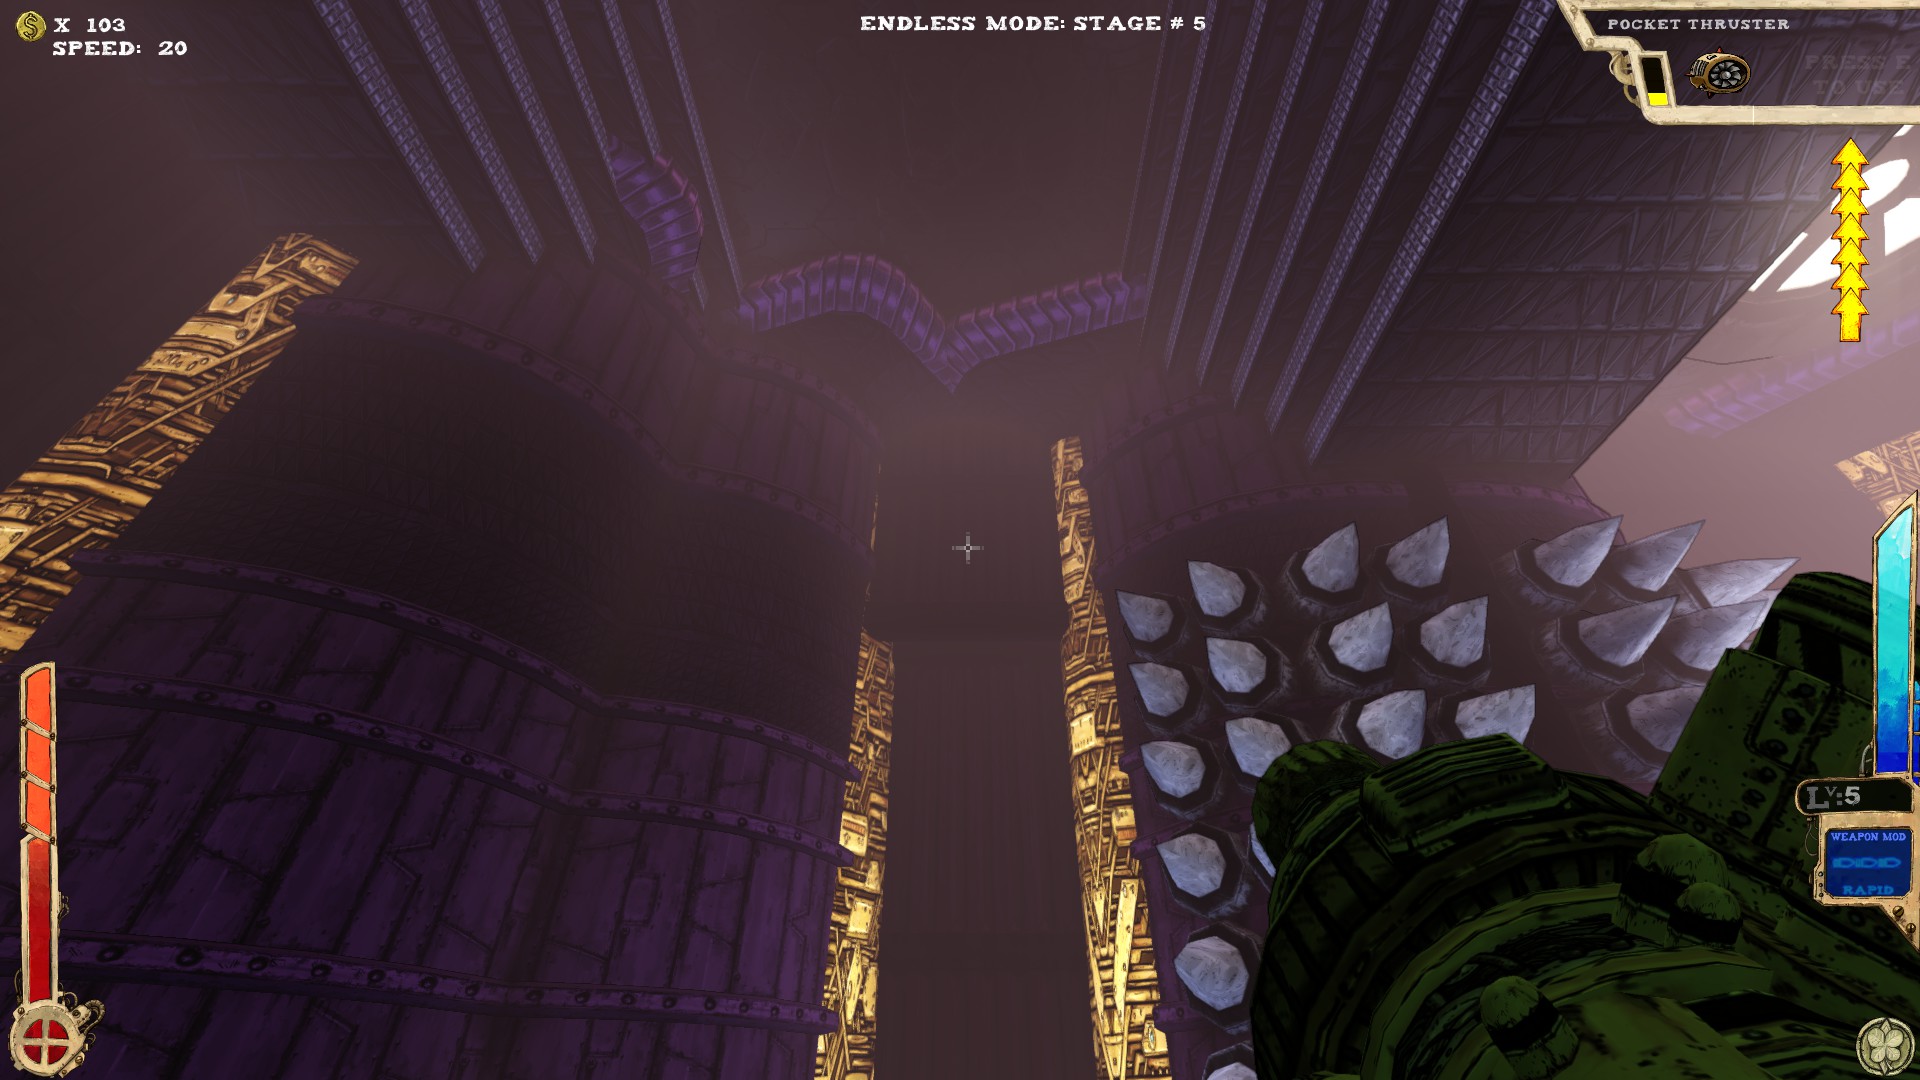 This secret is located left from the entrance, up behind a wall. You should be able to spot a little ledge sticking out.
Either have enough jumps, a good item or try and start from the pipes close to the exit, from there jump onto the spikes (you don't take damake on top of them) and from there you should be able to reach the secret.
----
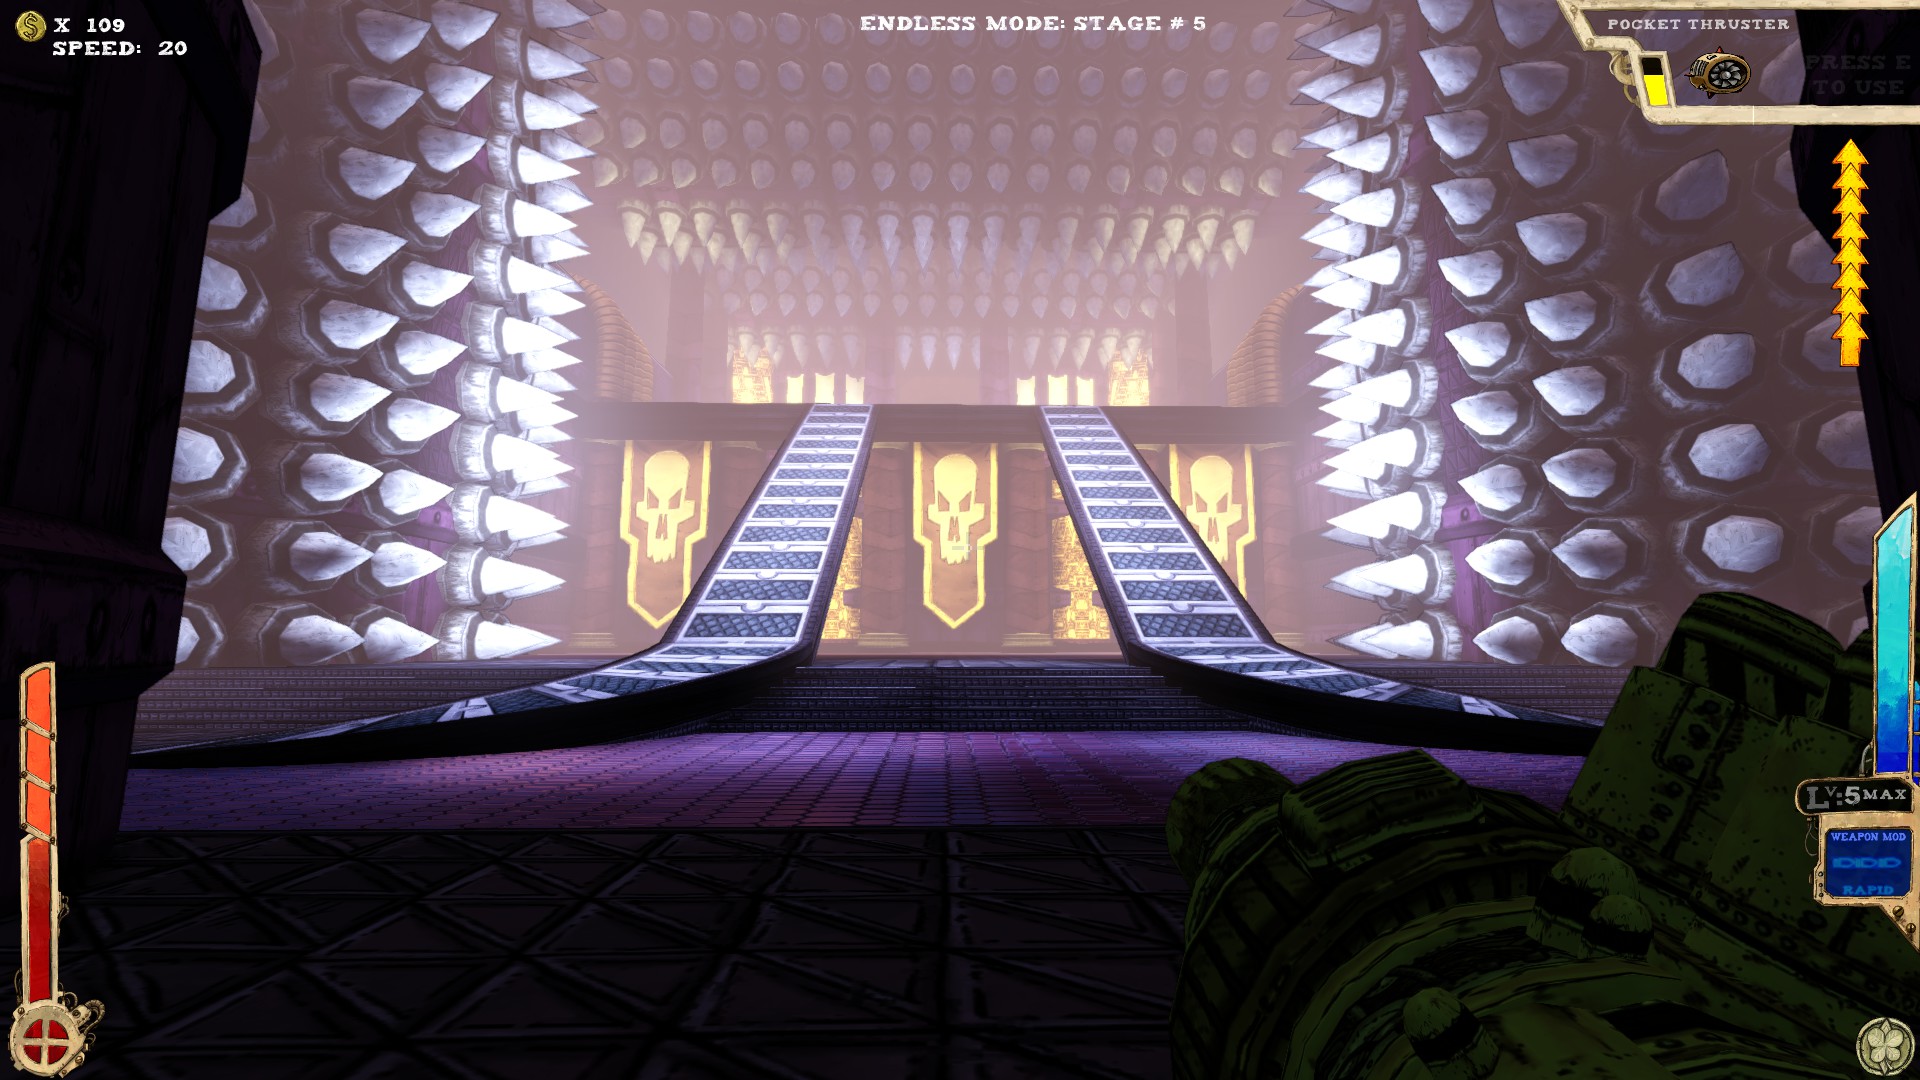
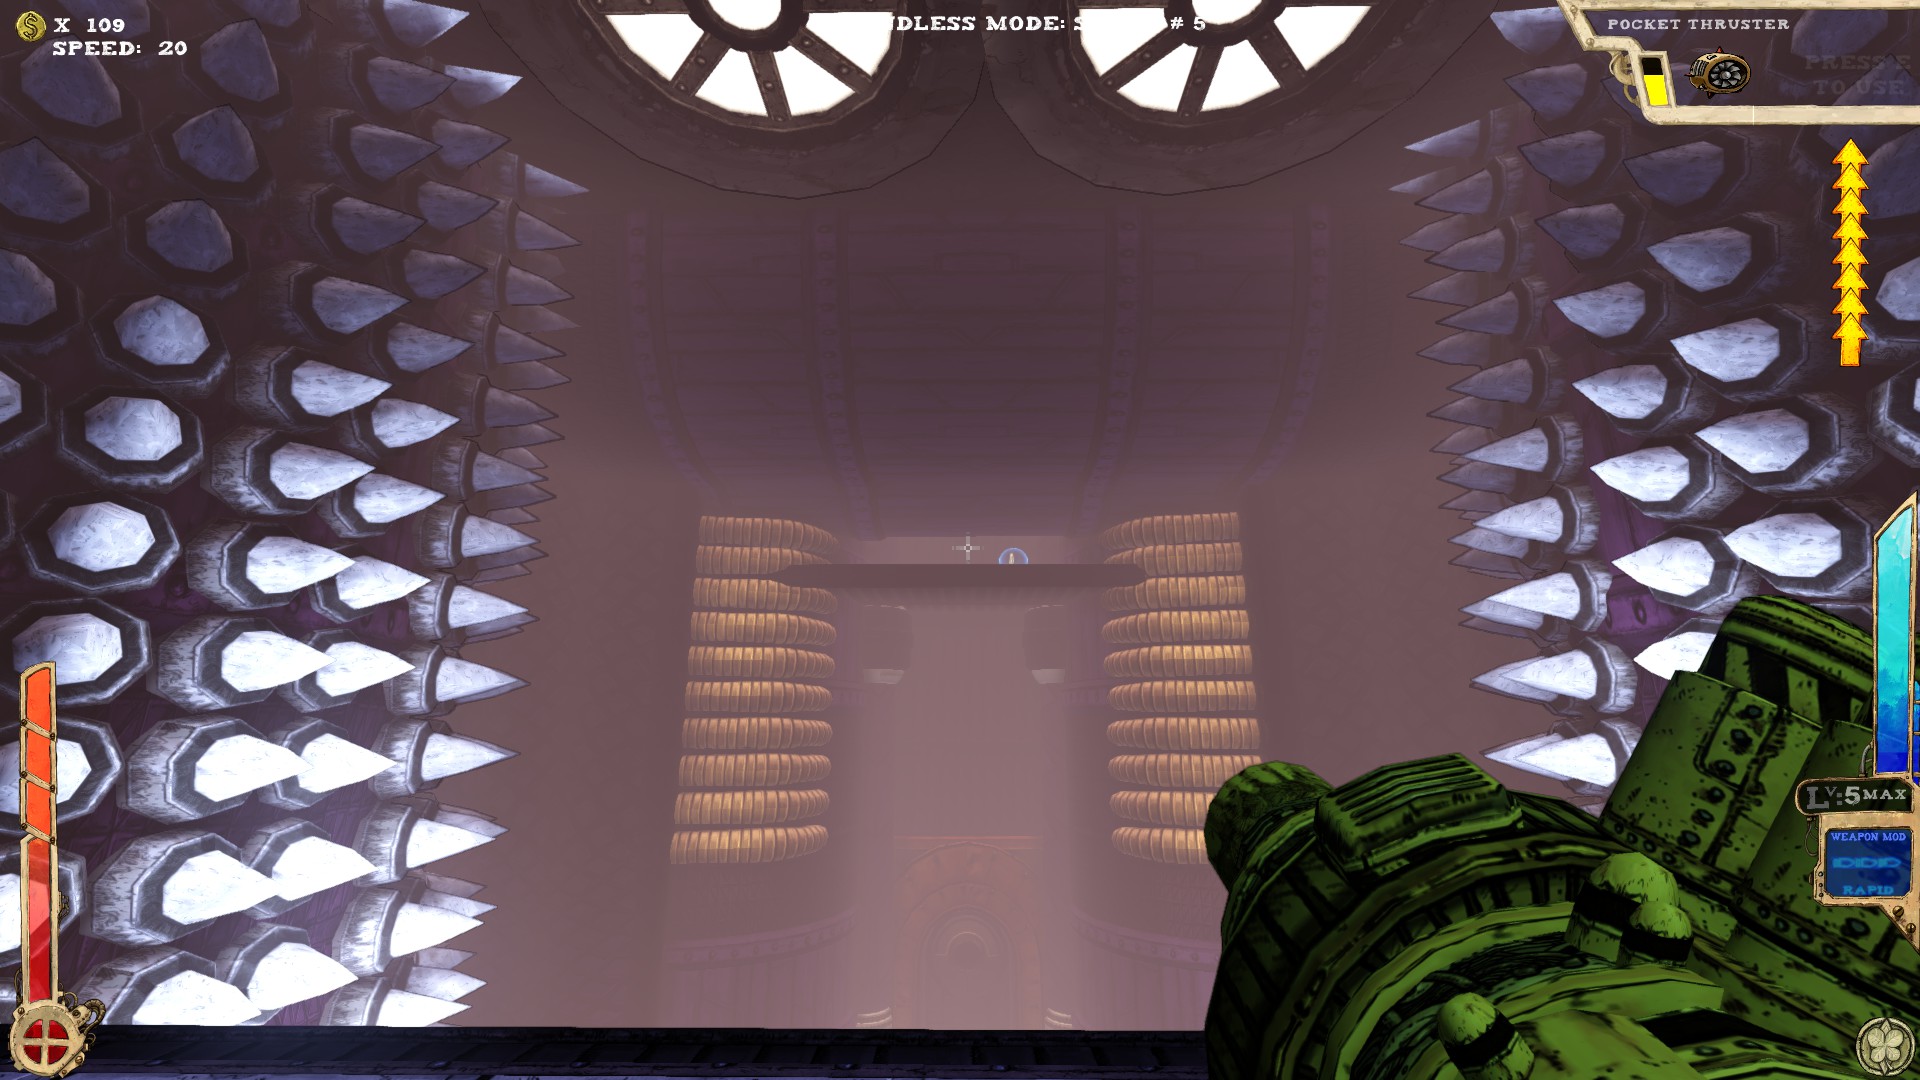 The secret is on a platform right above the entrance. Best reached from the upper part of the room.
----
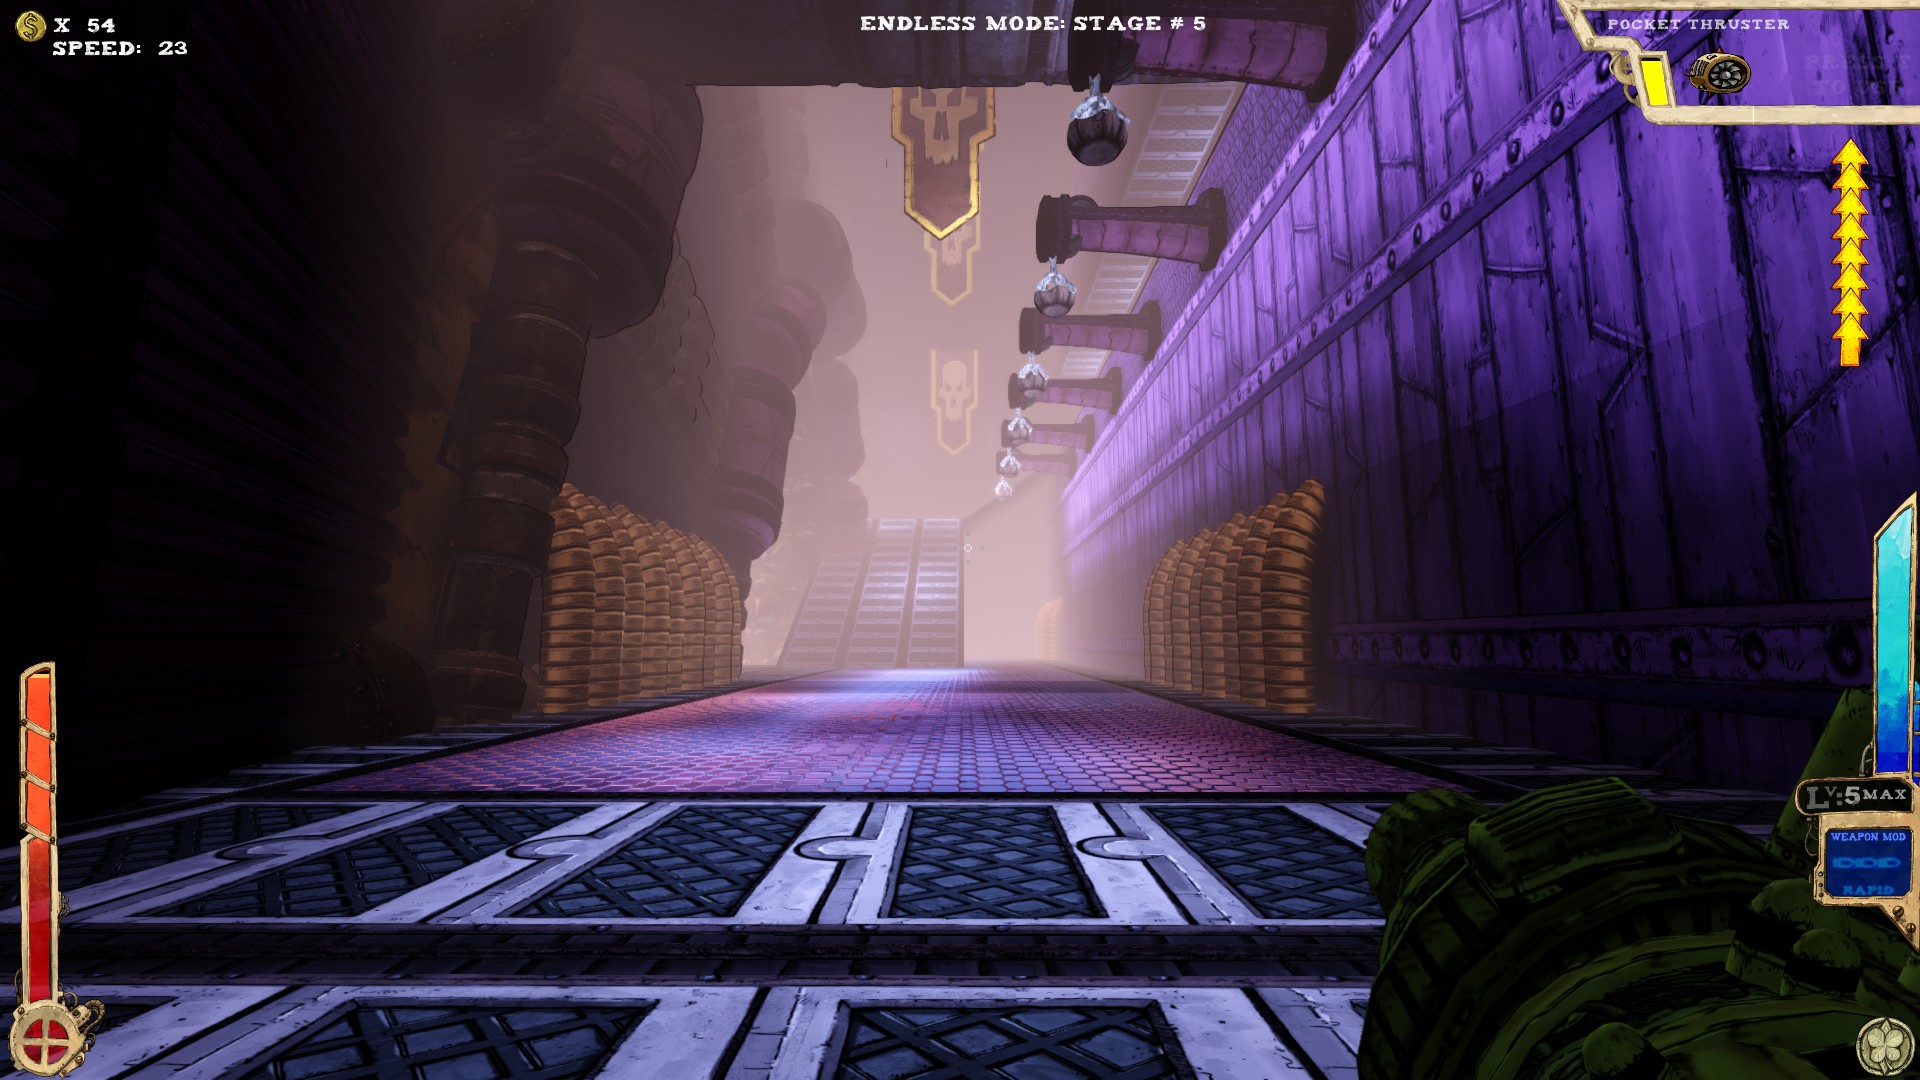
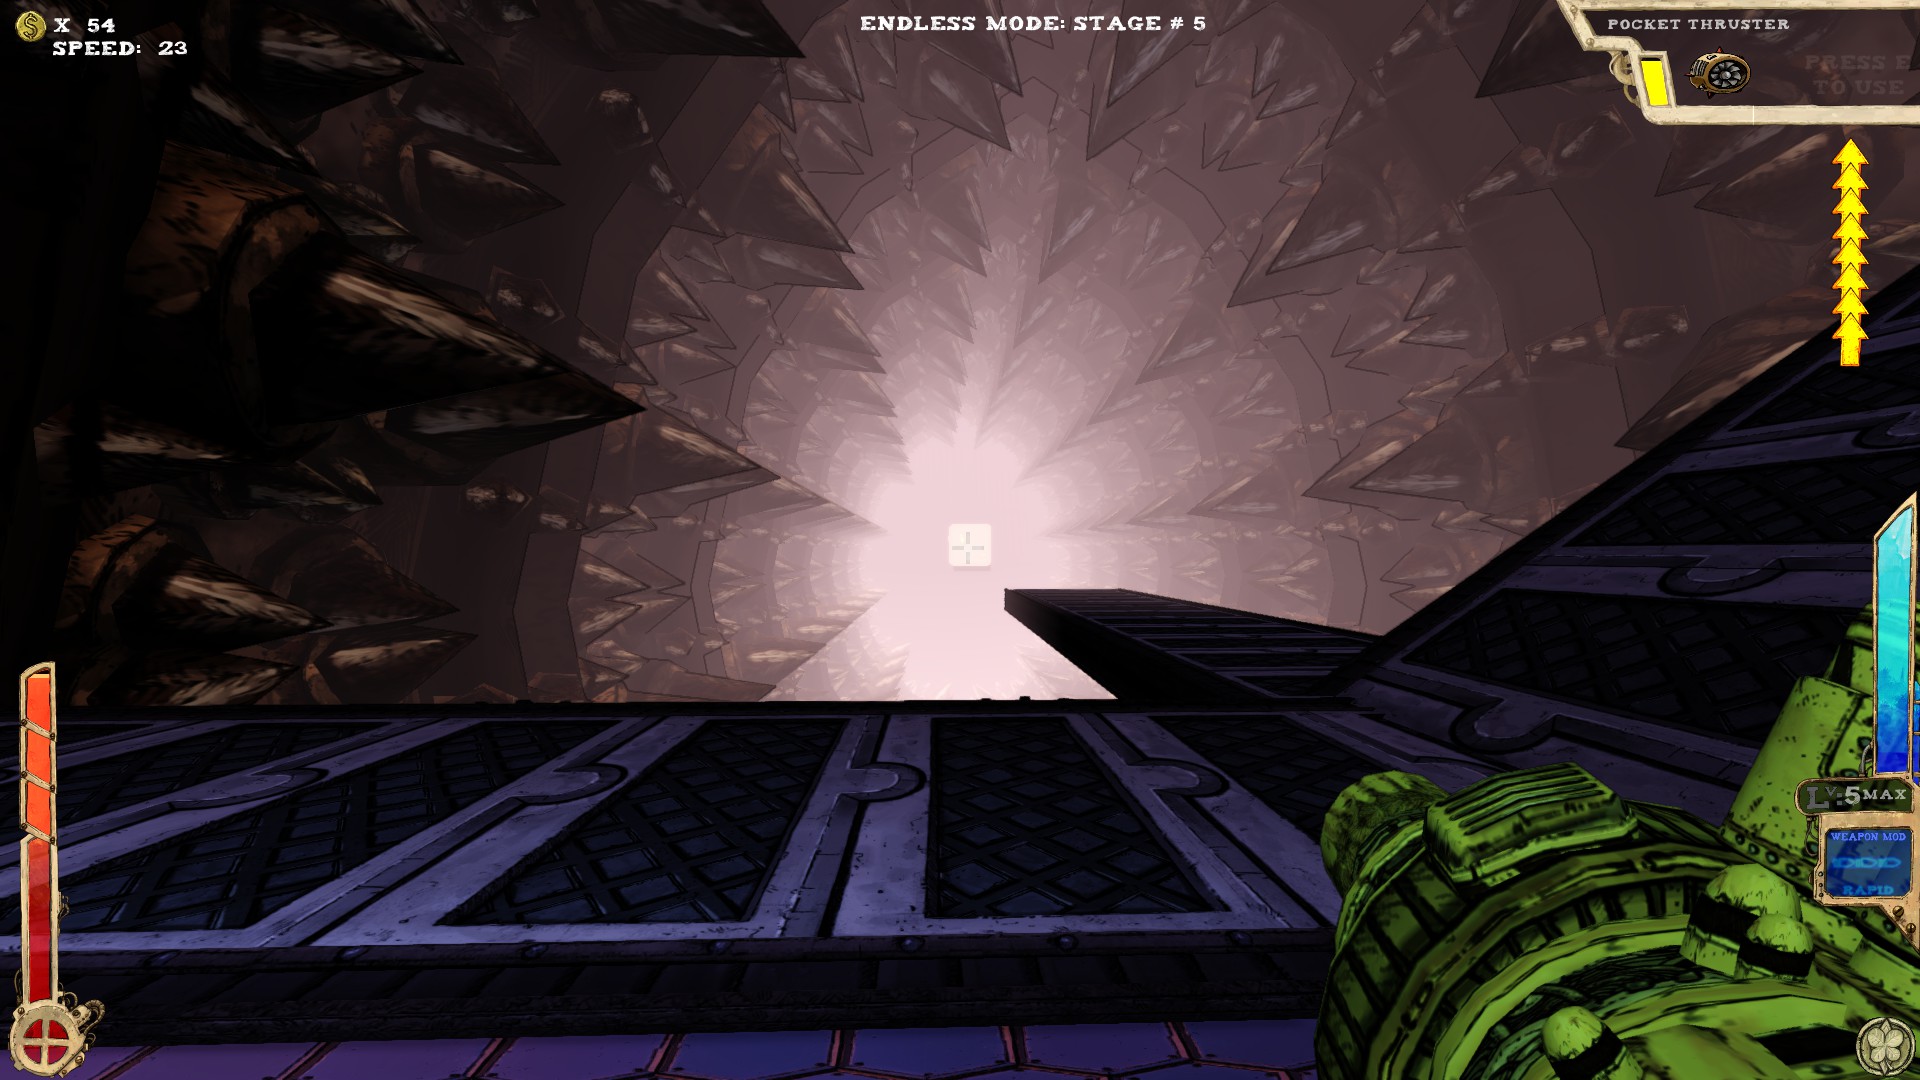
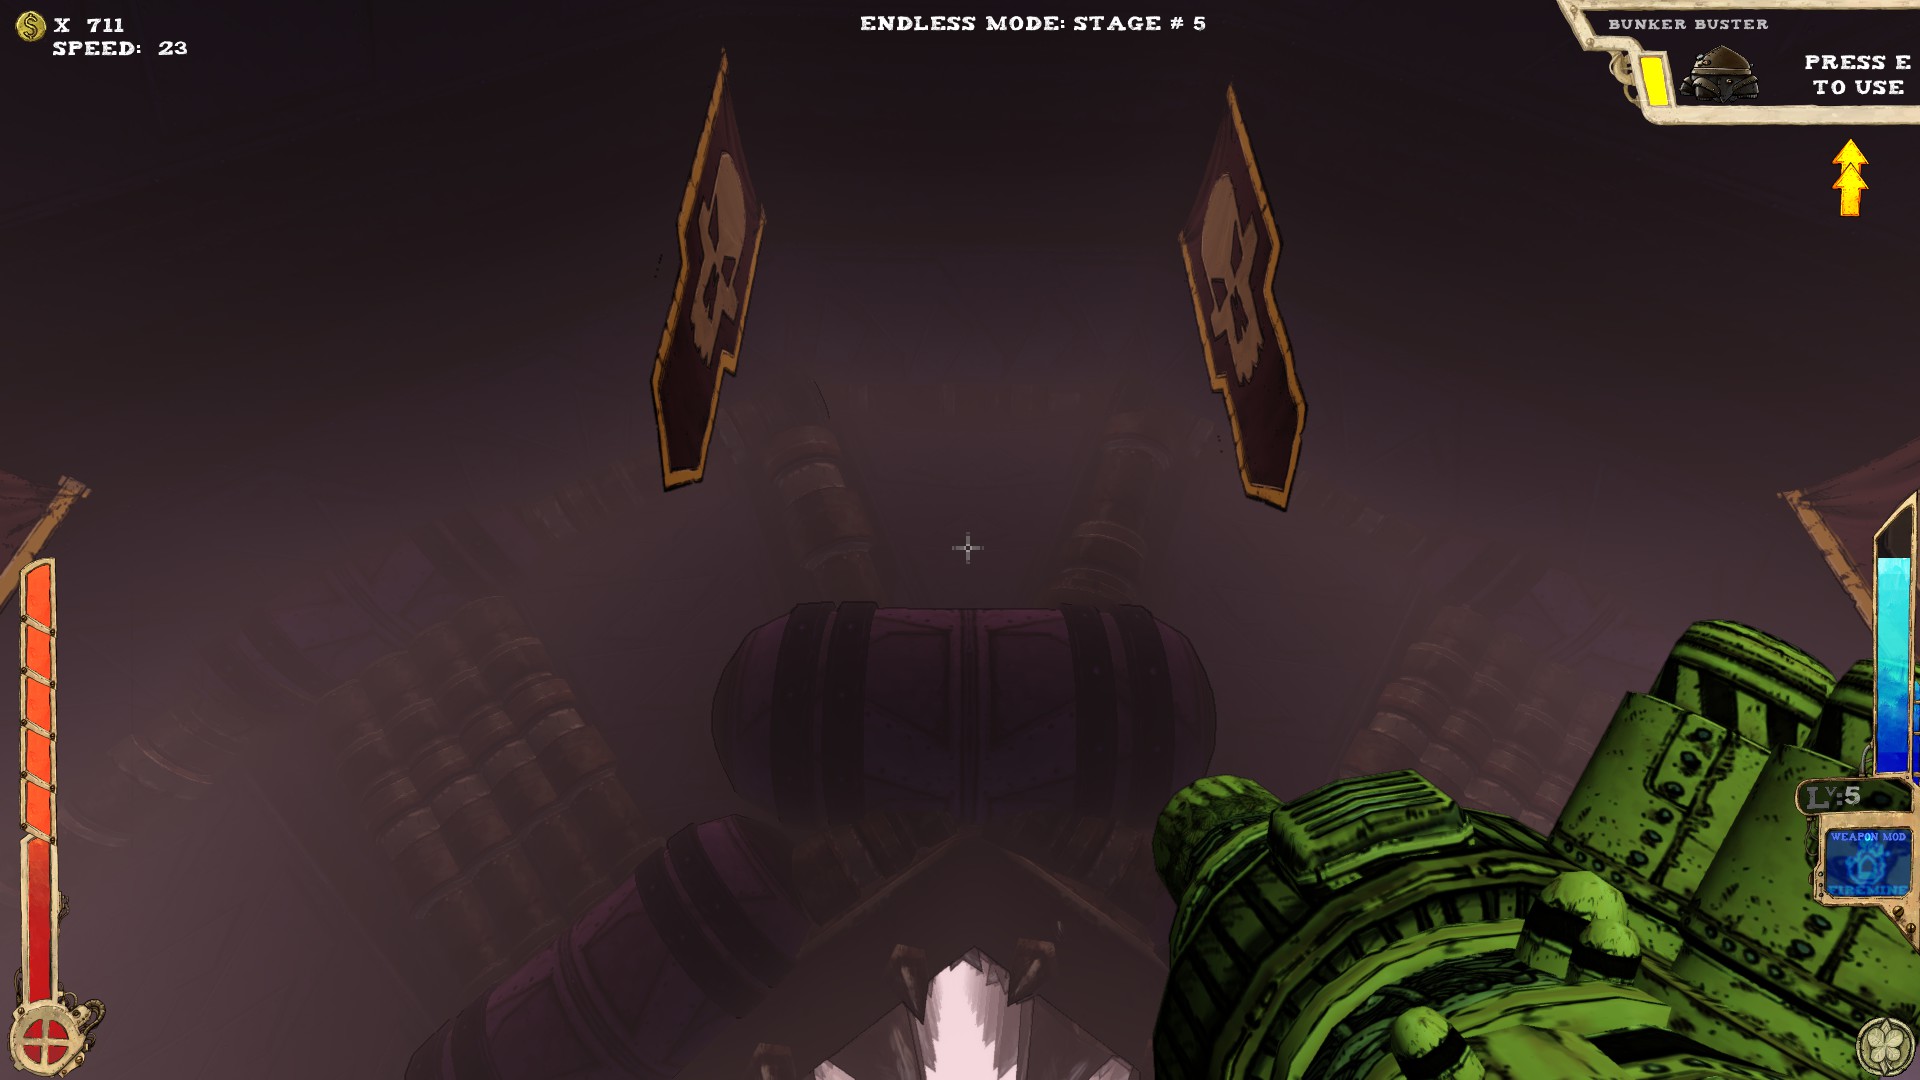 Hard to miss. It's at the end of the tunnel, on a platform right after the Jelly.
The third picture shows an alternative route through a fake wall, where you'll end up behind the secret.
----
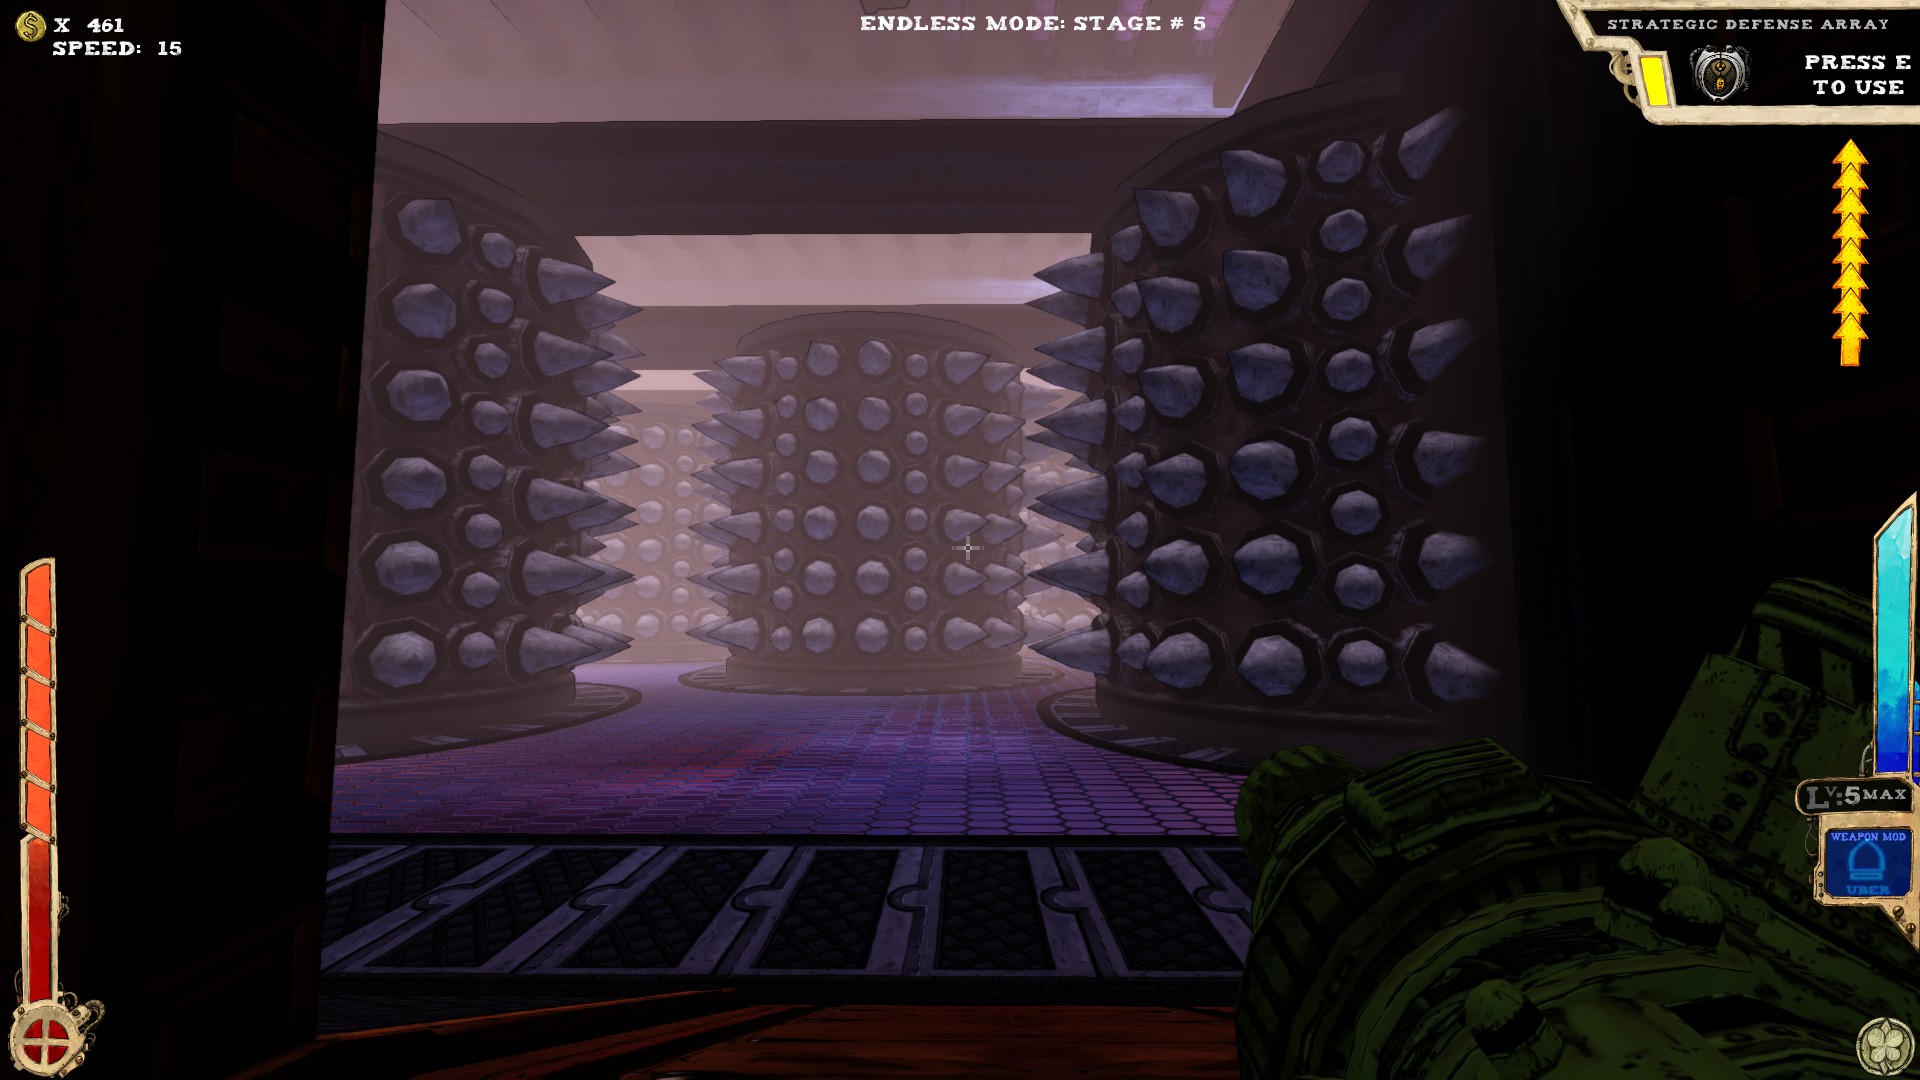
 Go left from the entrance and in between two of those rotating spike things in the wall is a secret, behind a fake wall.
----
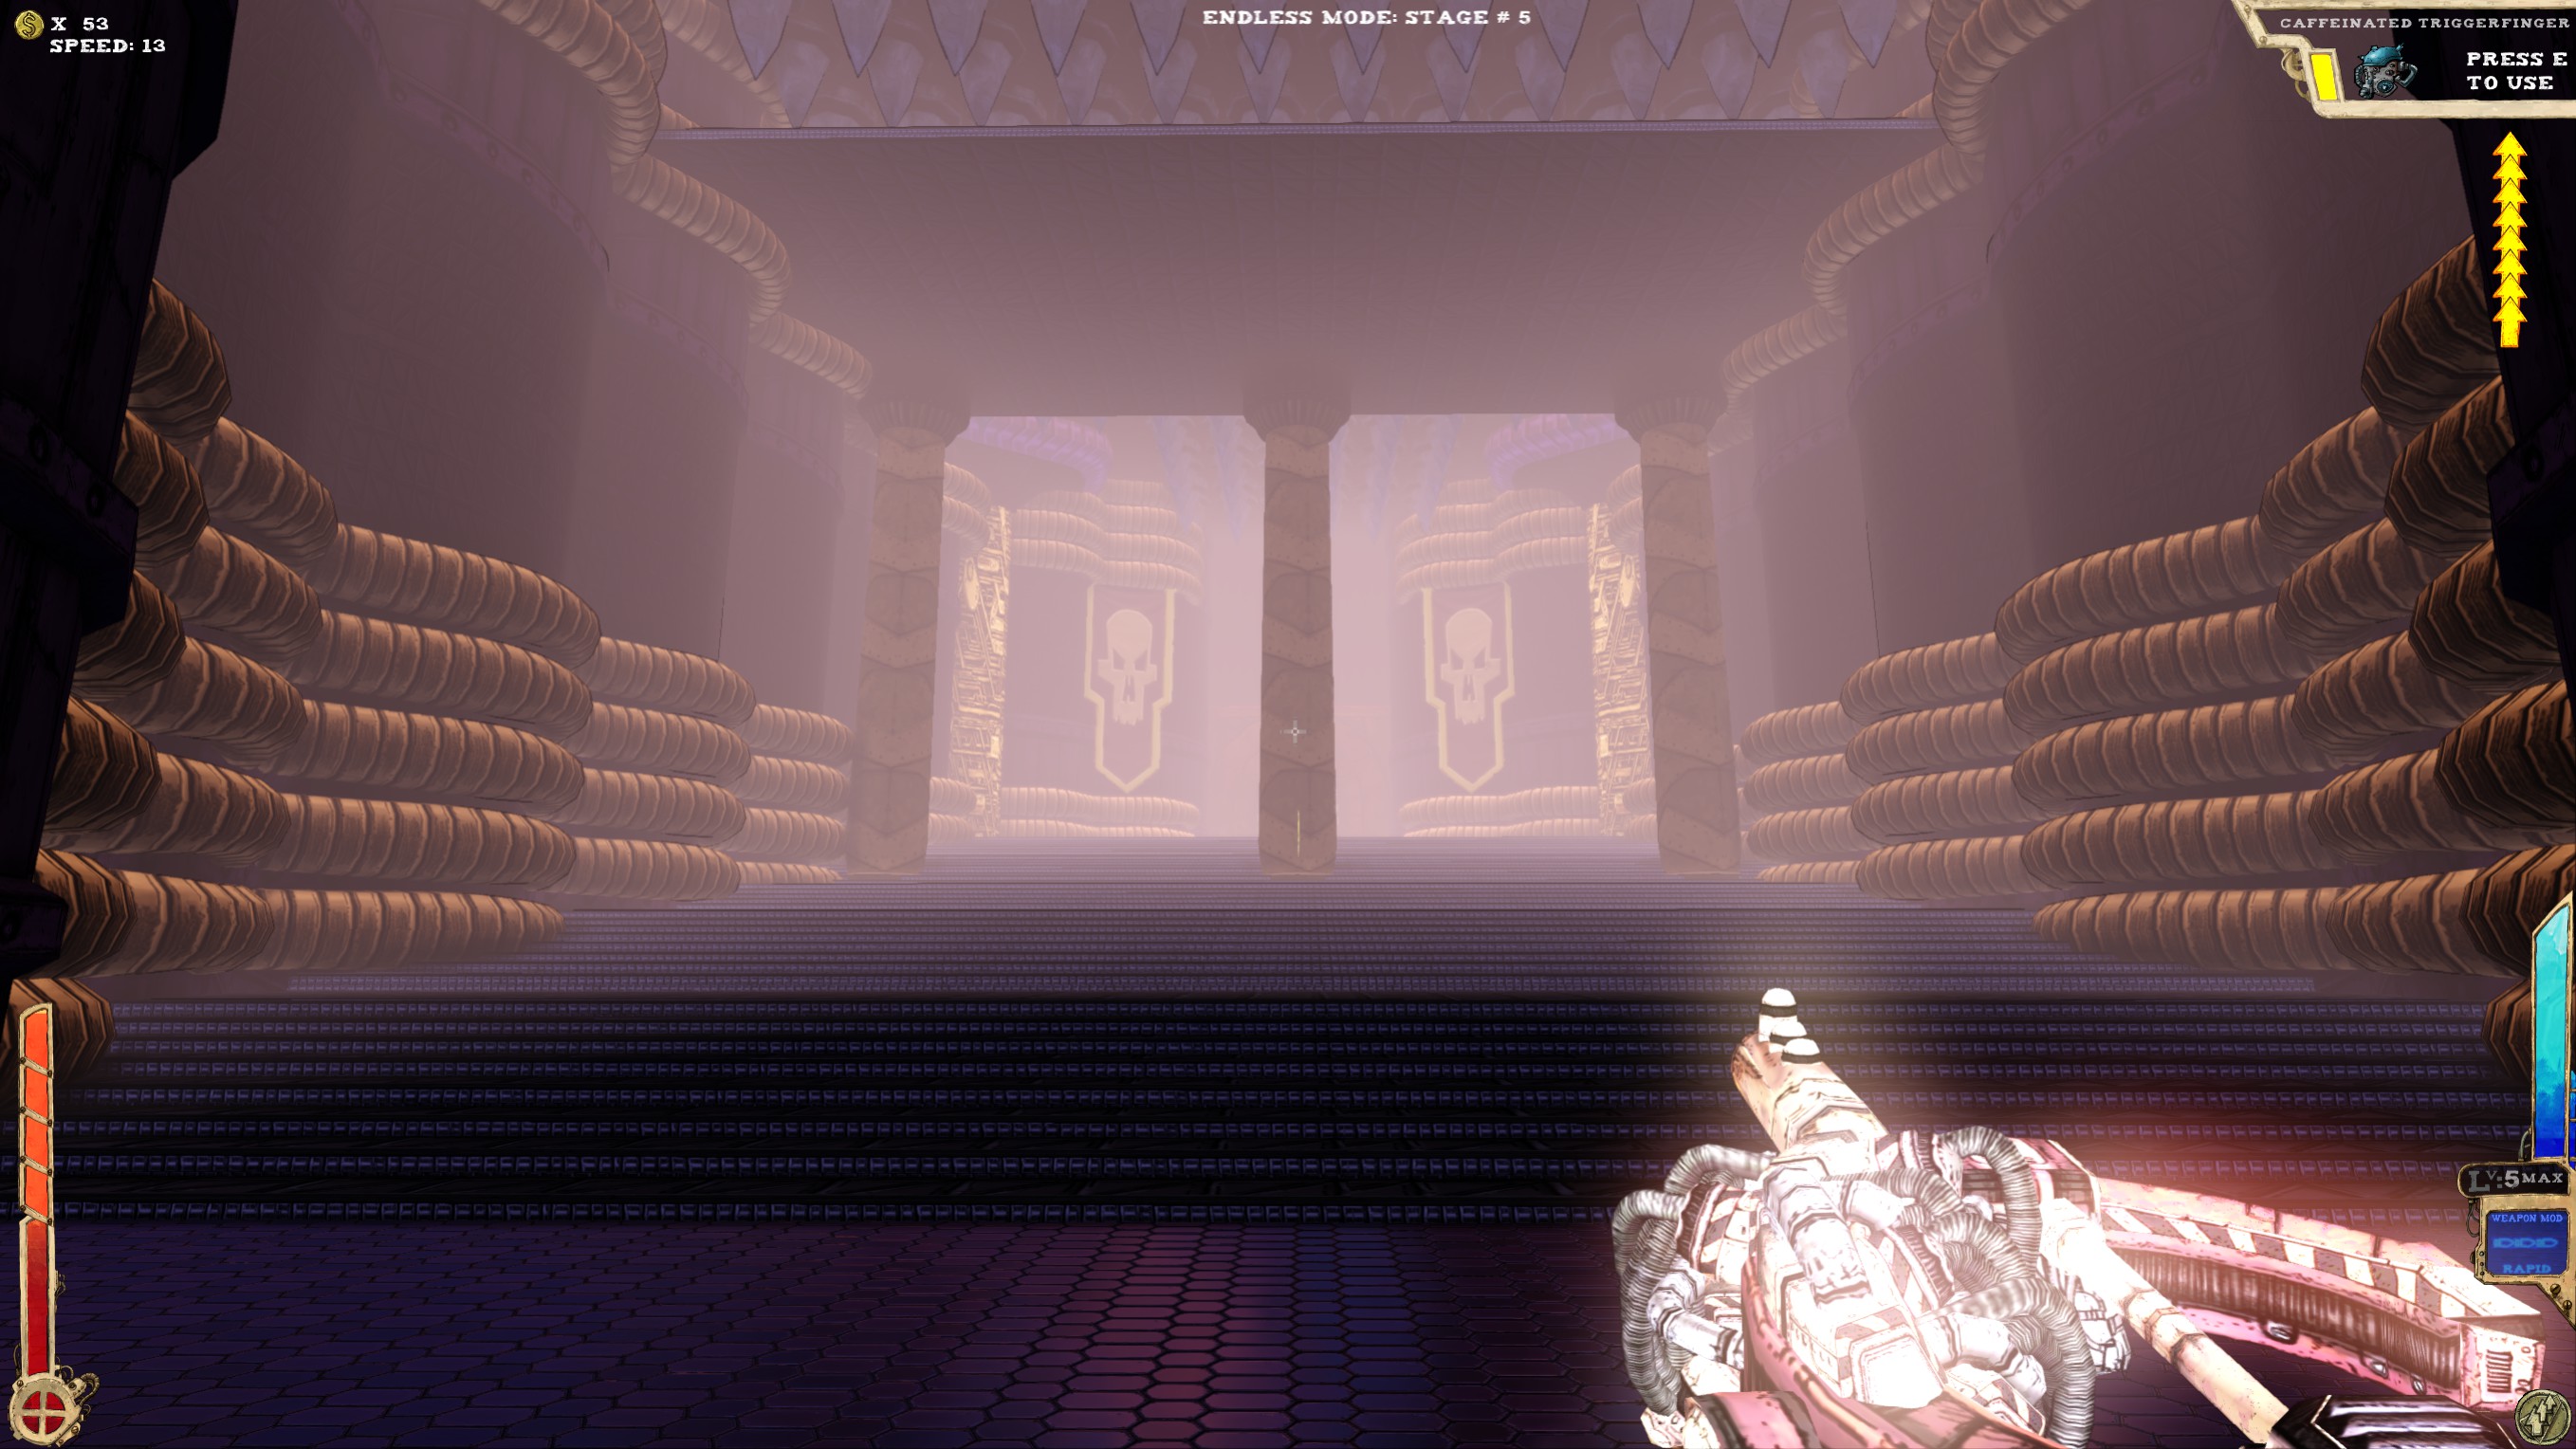 Two secrets. The first one being on the platform under the spiked ceiling. Watch your head.
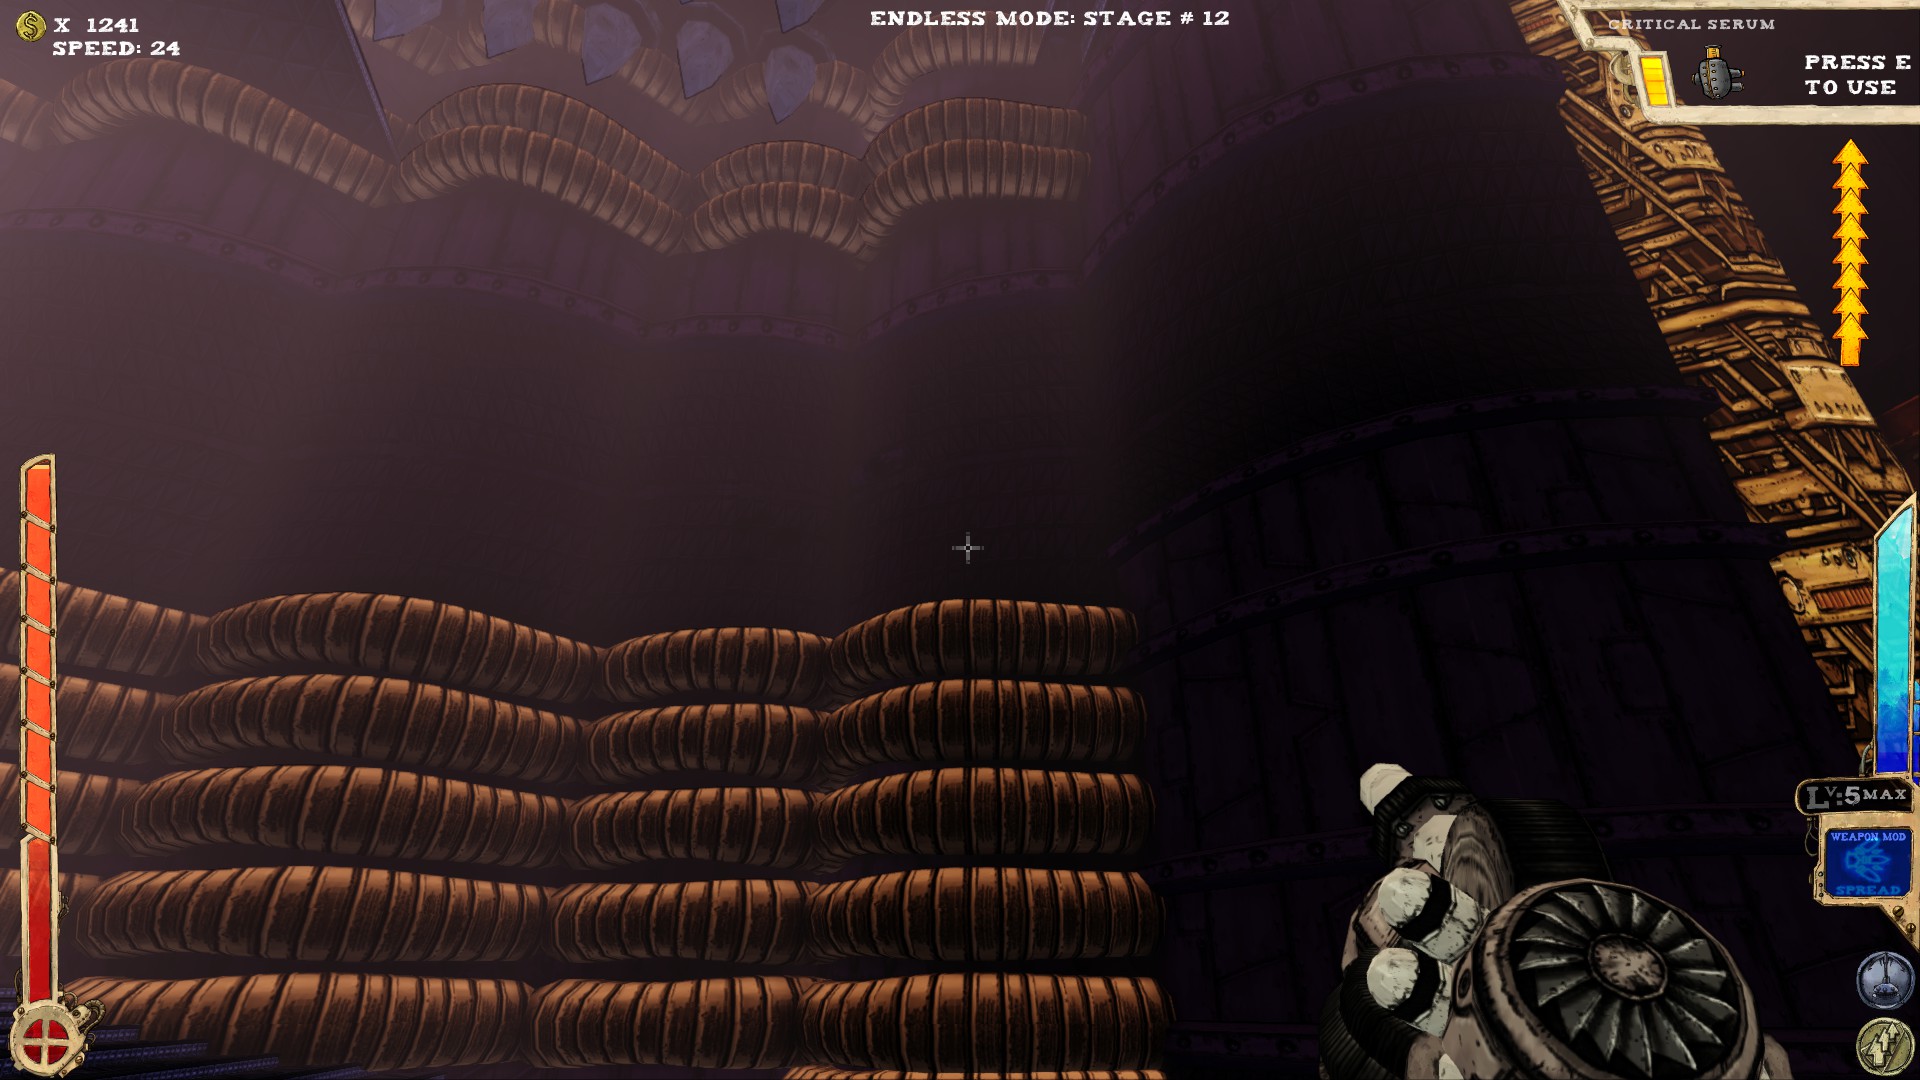 Turn right at the entrance and jump into the wall I'm pointing at.
----
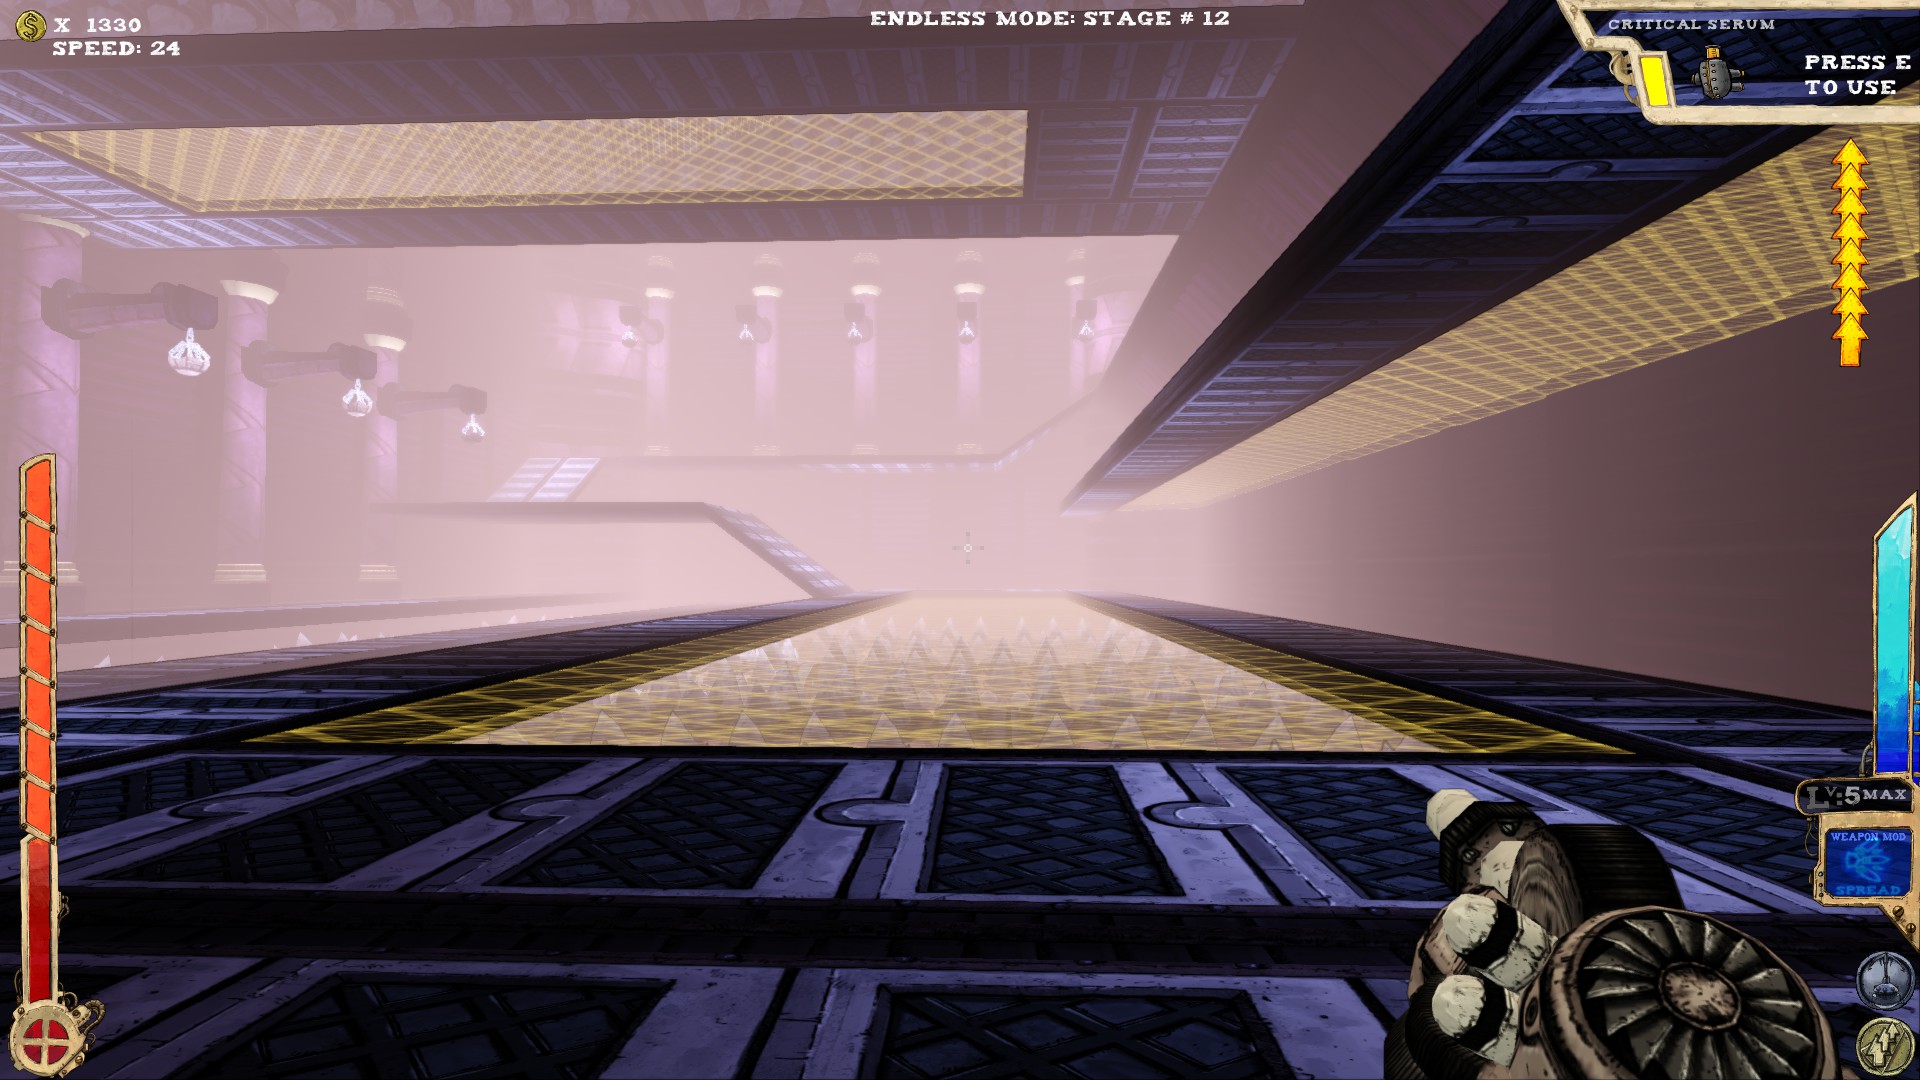 One secret, under the ceiling.
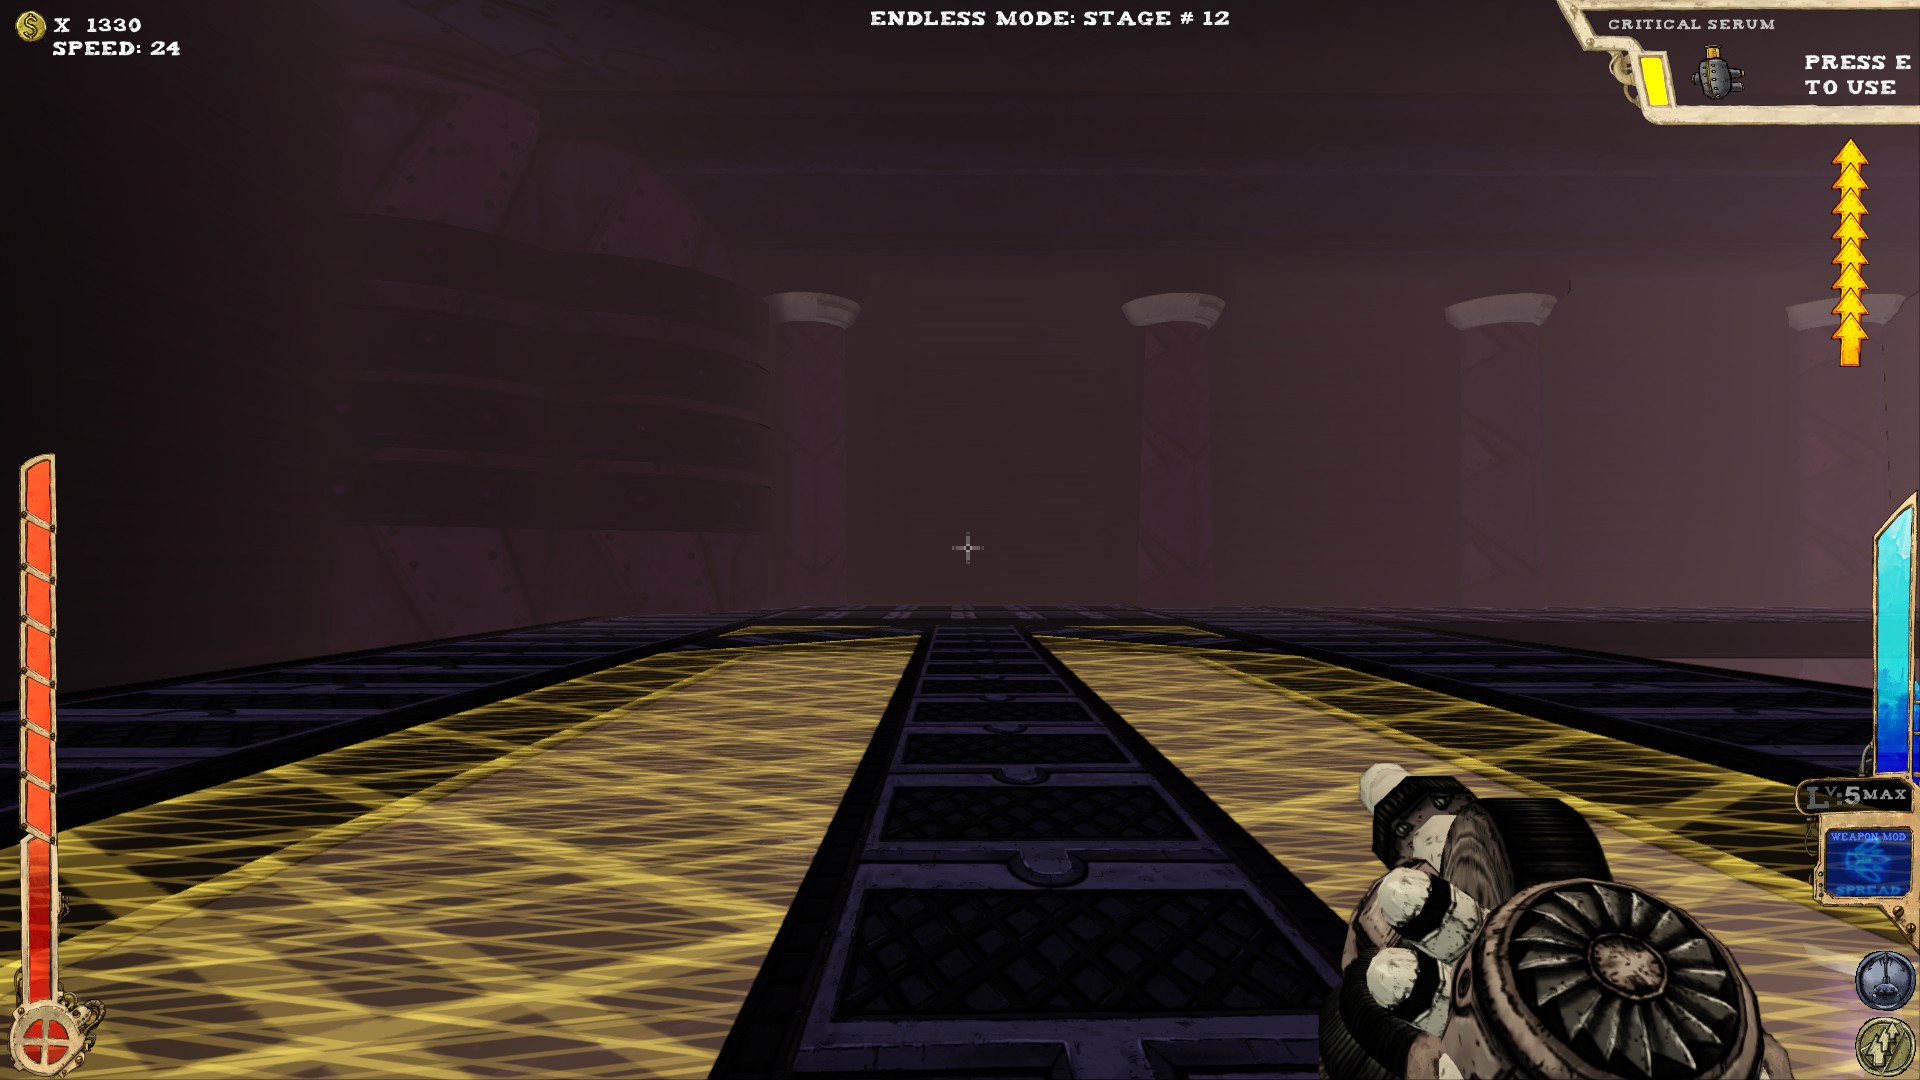 The wall is fake! Get in there!
To get to this part, you'll either have to have enough jumps, an appropriate item OR you can drop down to the bottom of the room and get into the teleporter. If the first two methods aren't working out, the third one is the way to go. Watch out for all the spikes though.
----
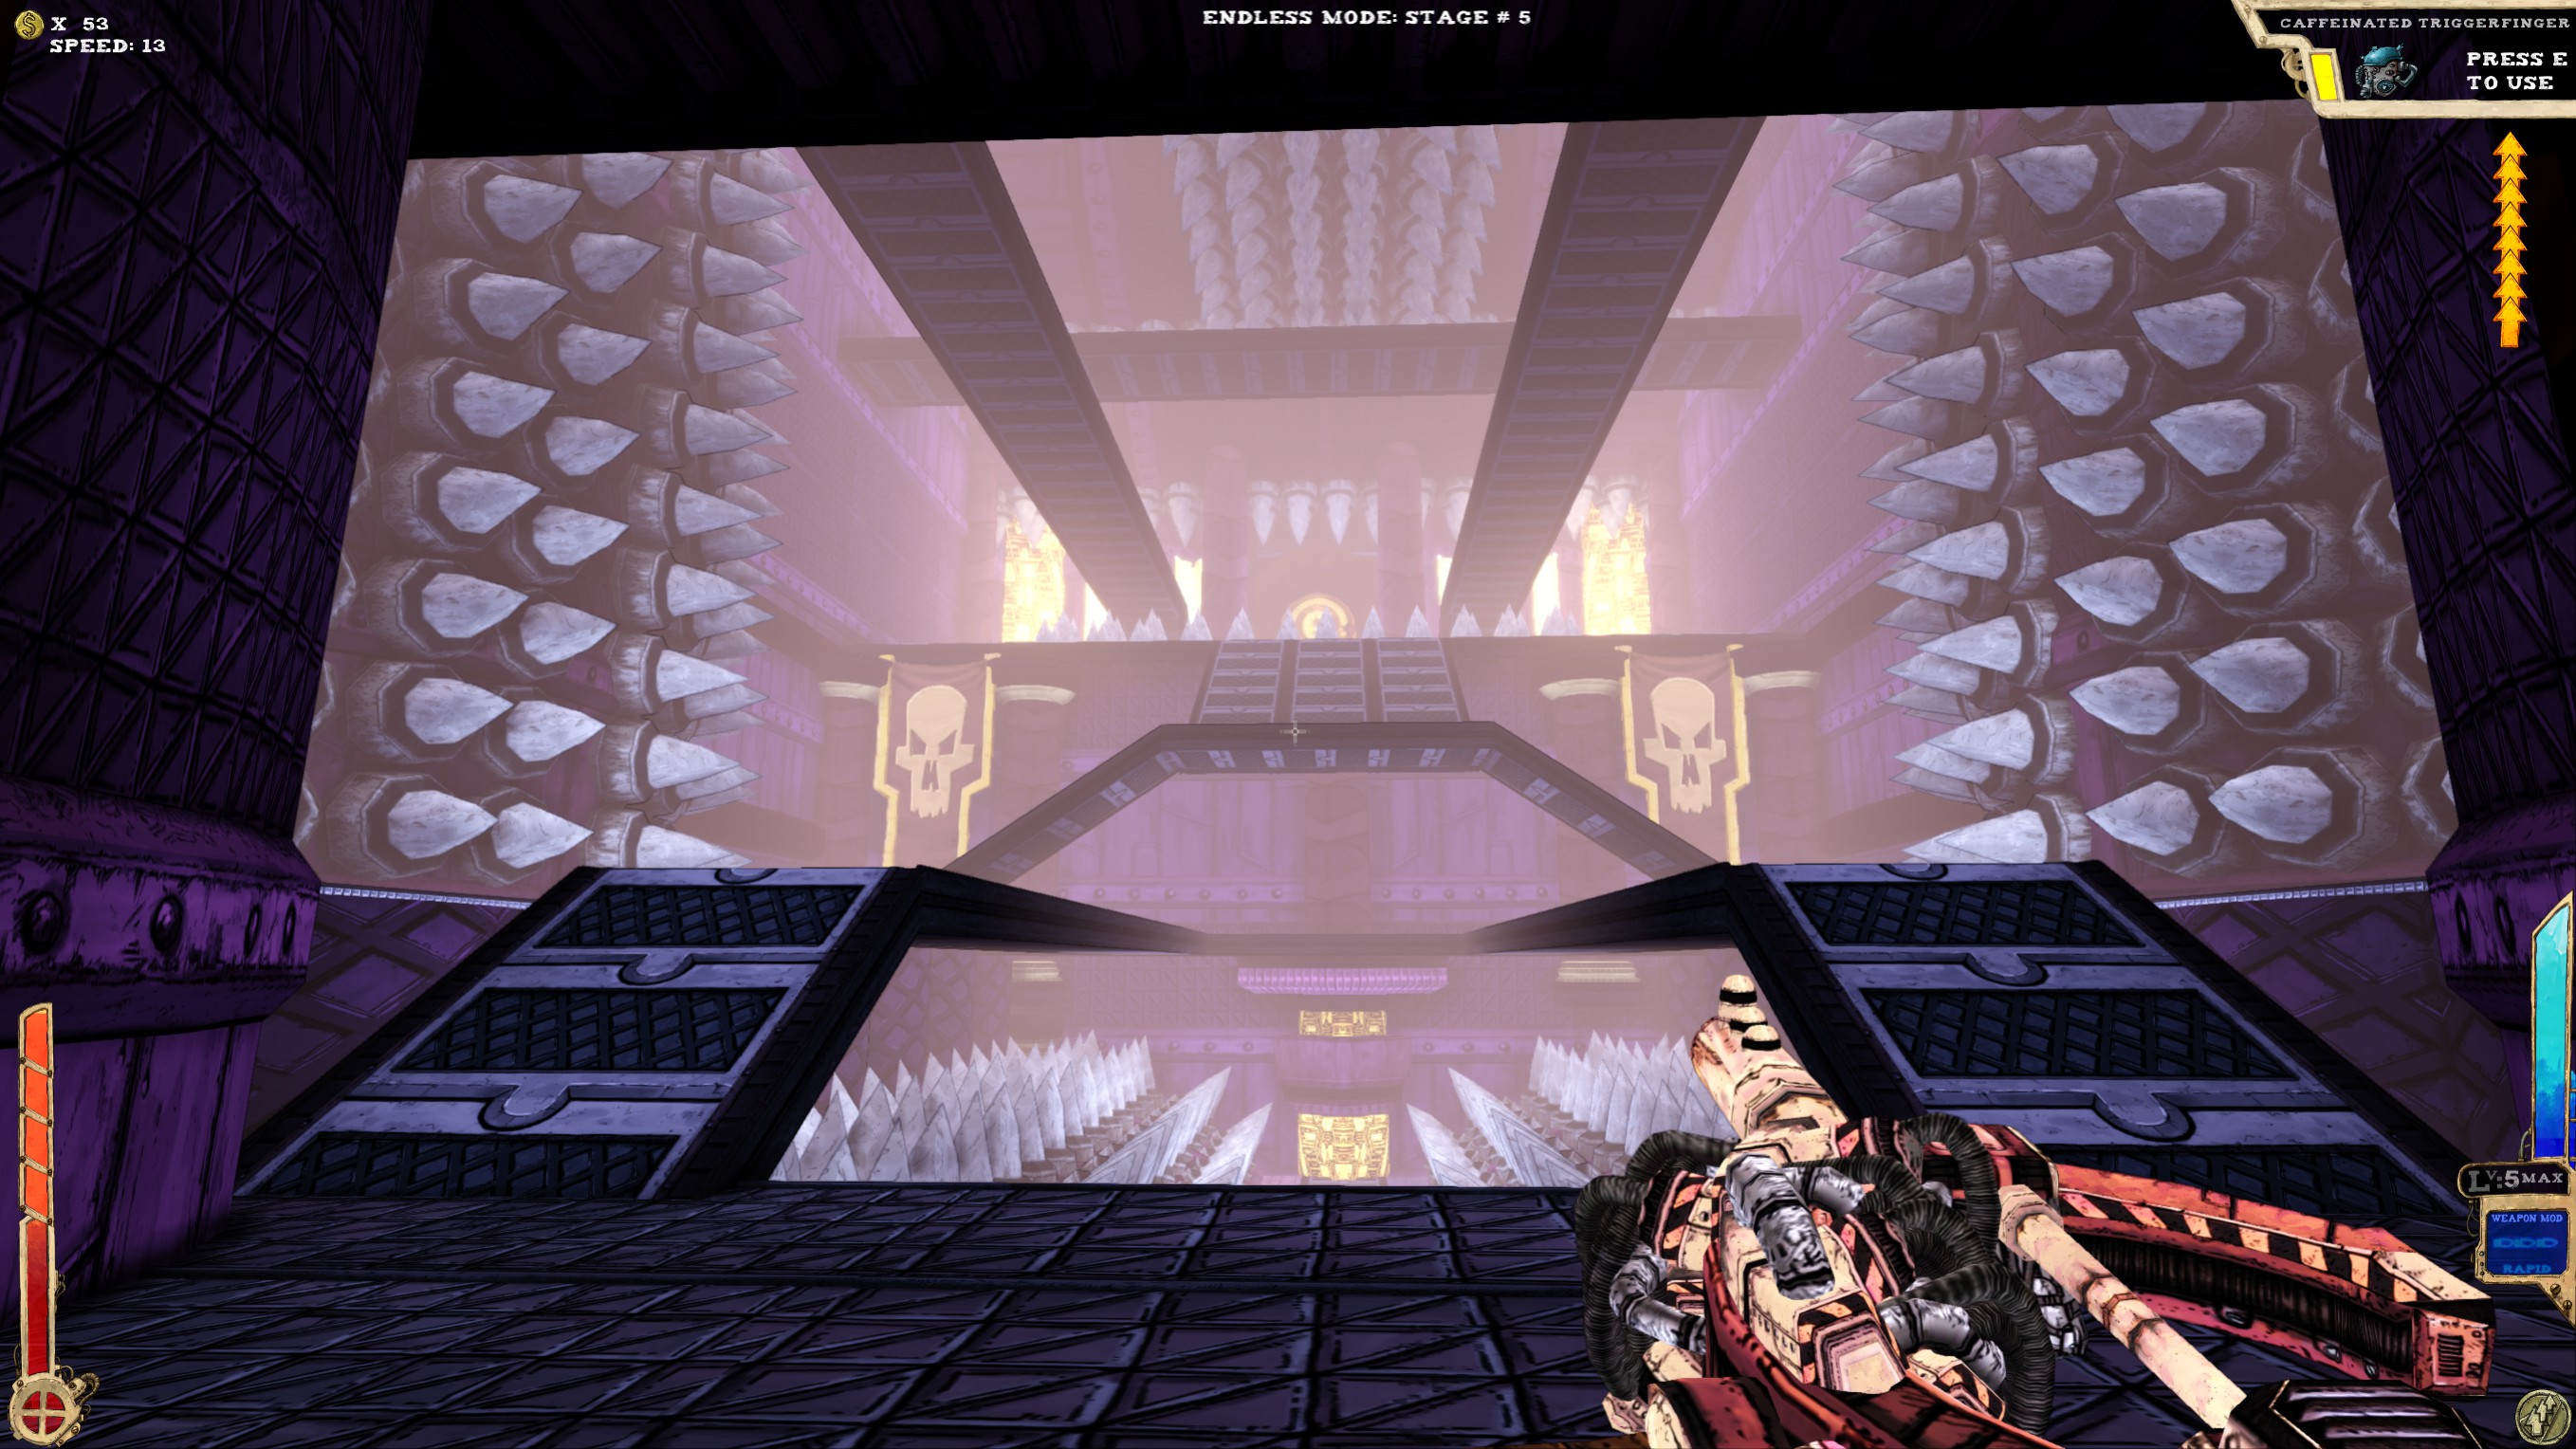 Two secrets.
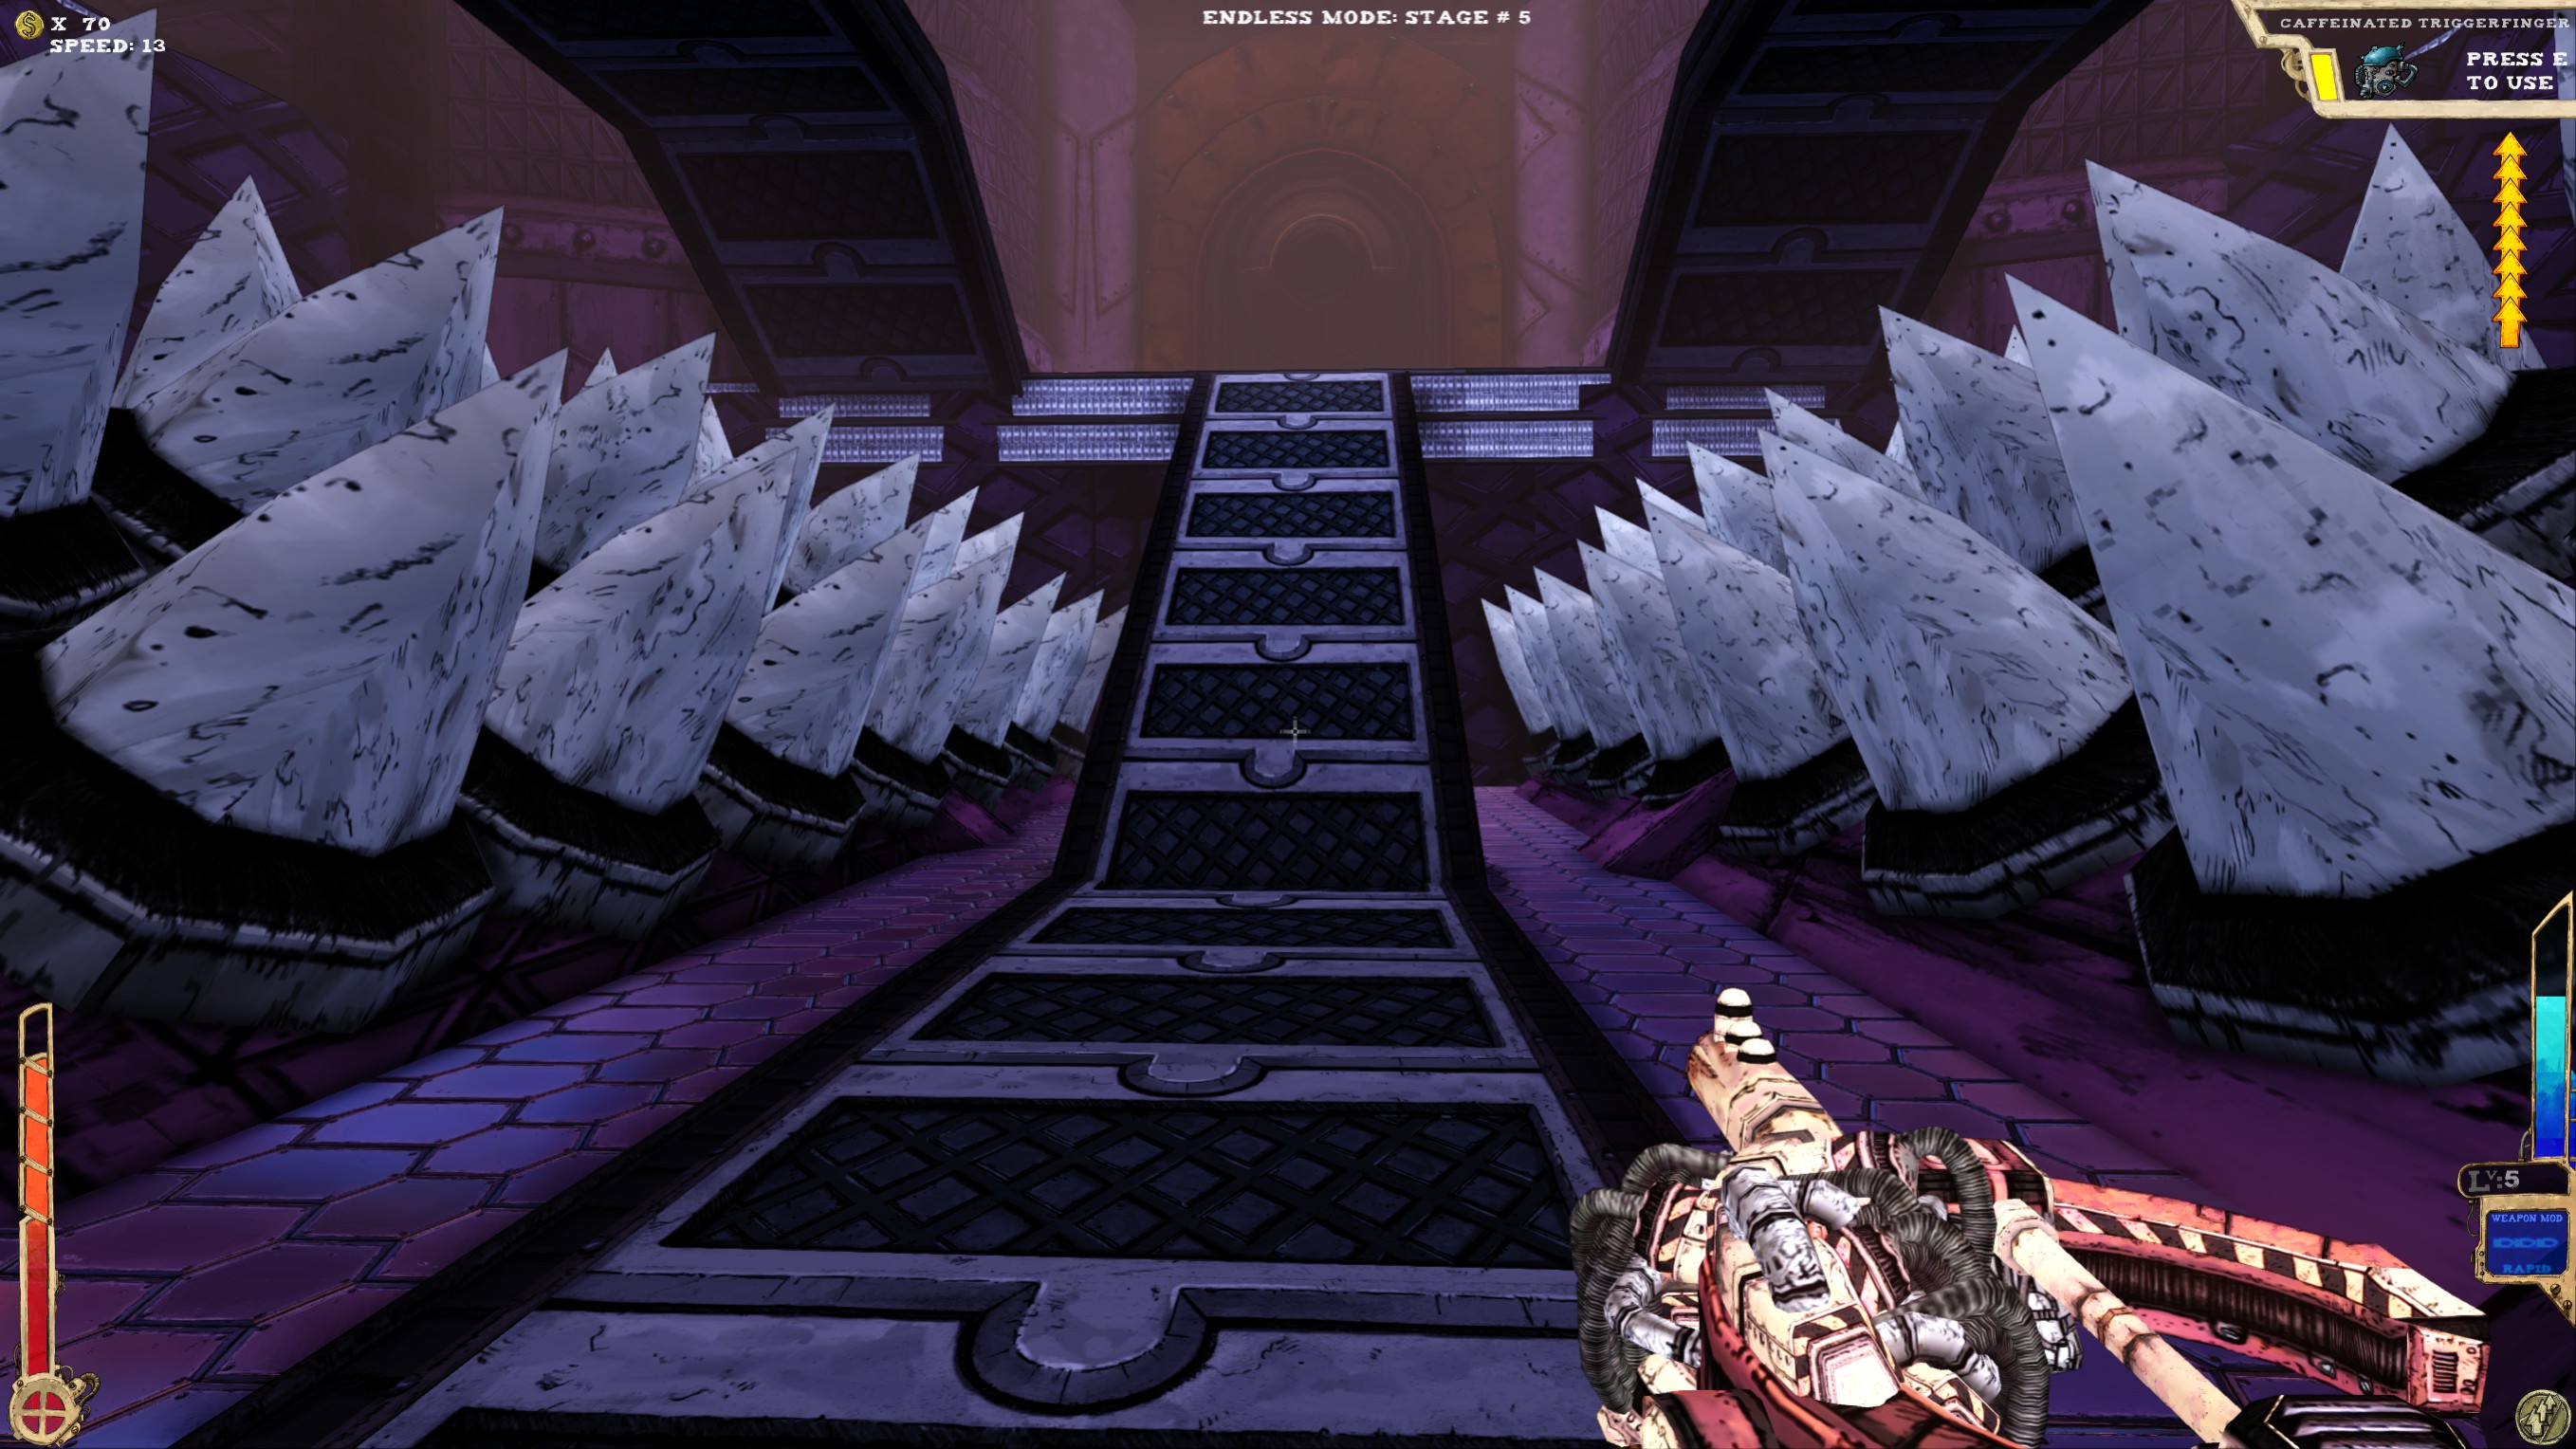 Go down the middle, turn around and you should see the ramp in the picture. Behind it is a fake wall.
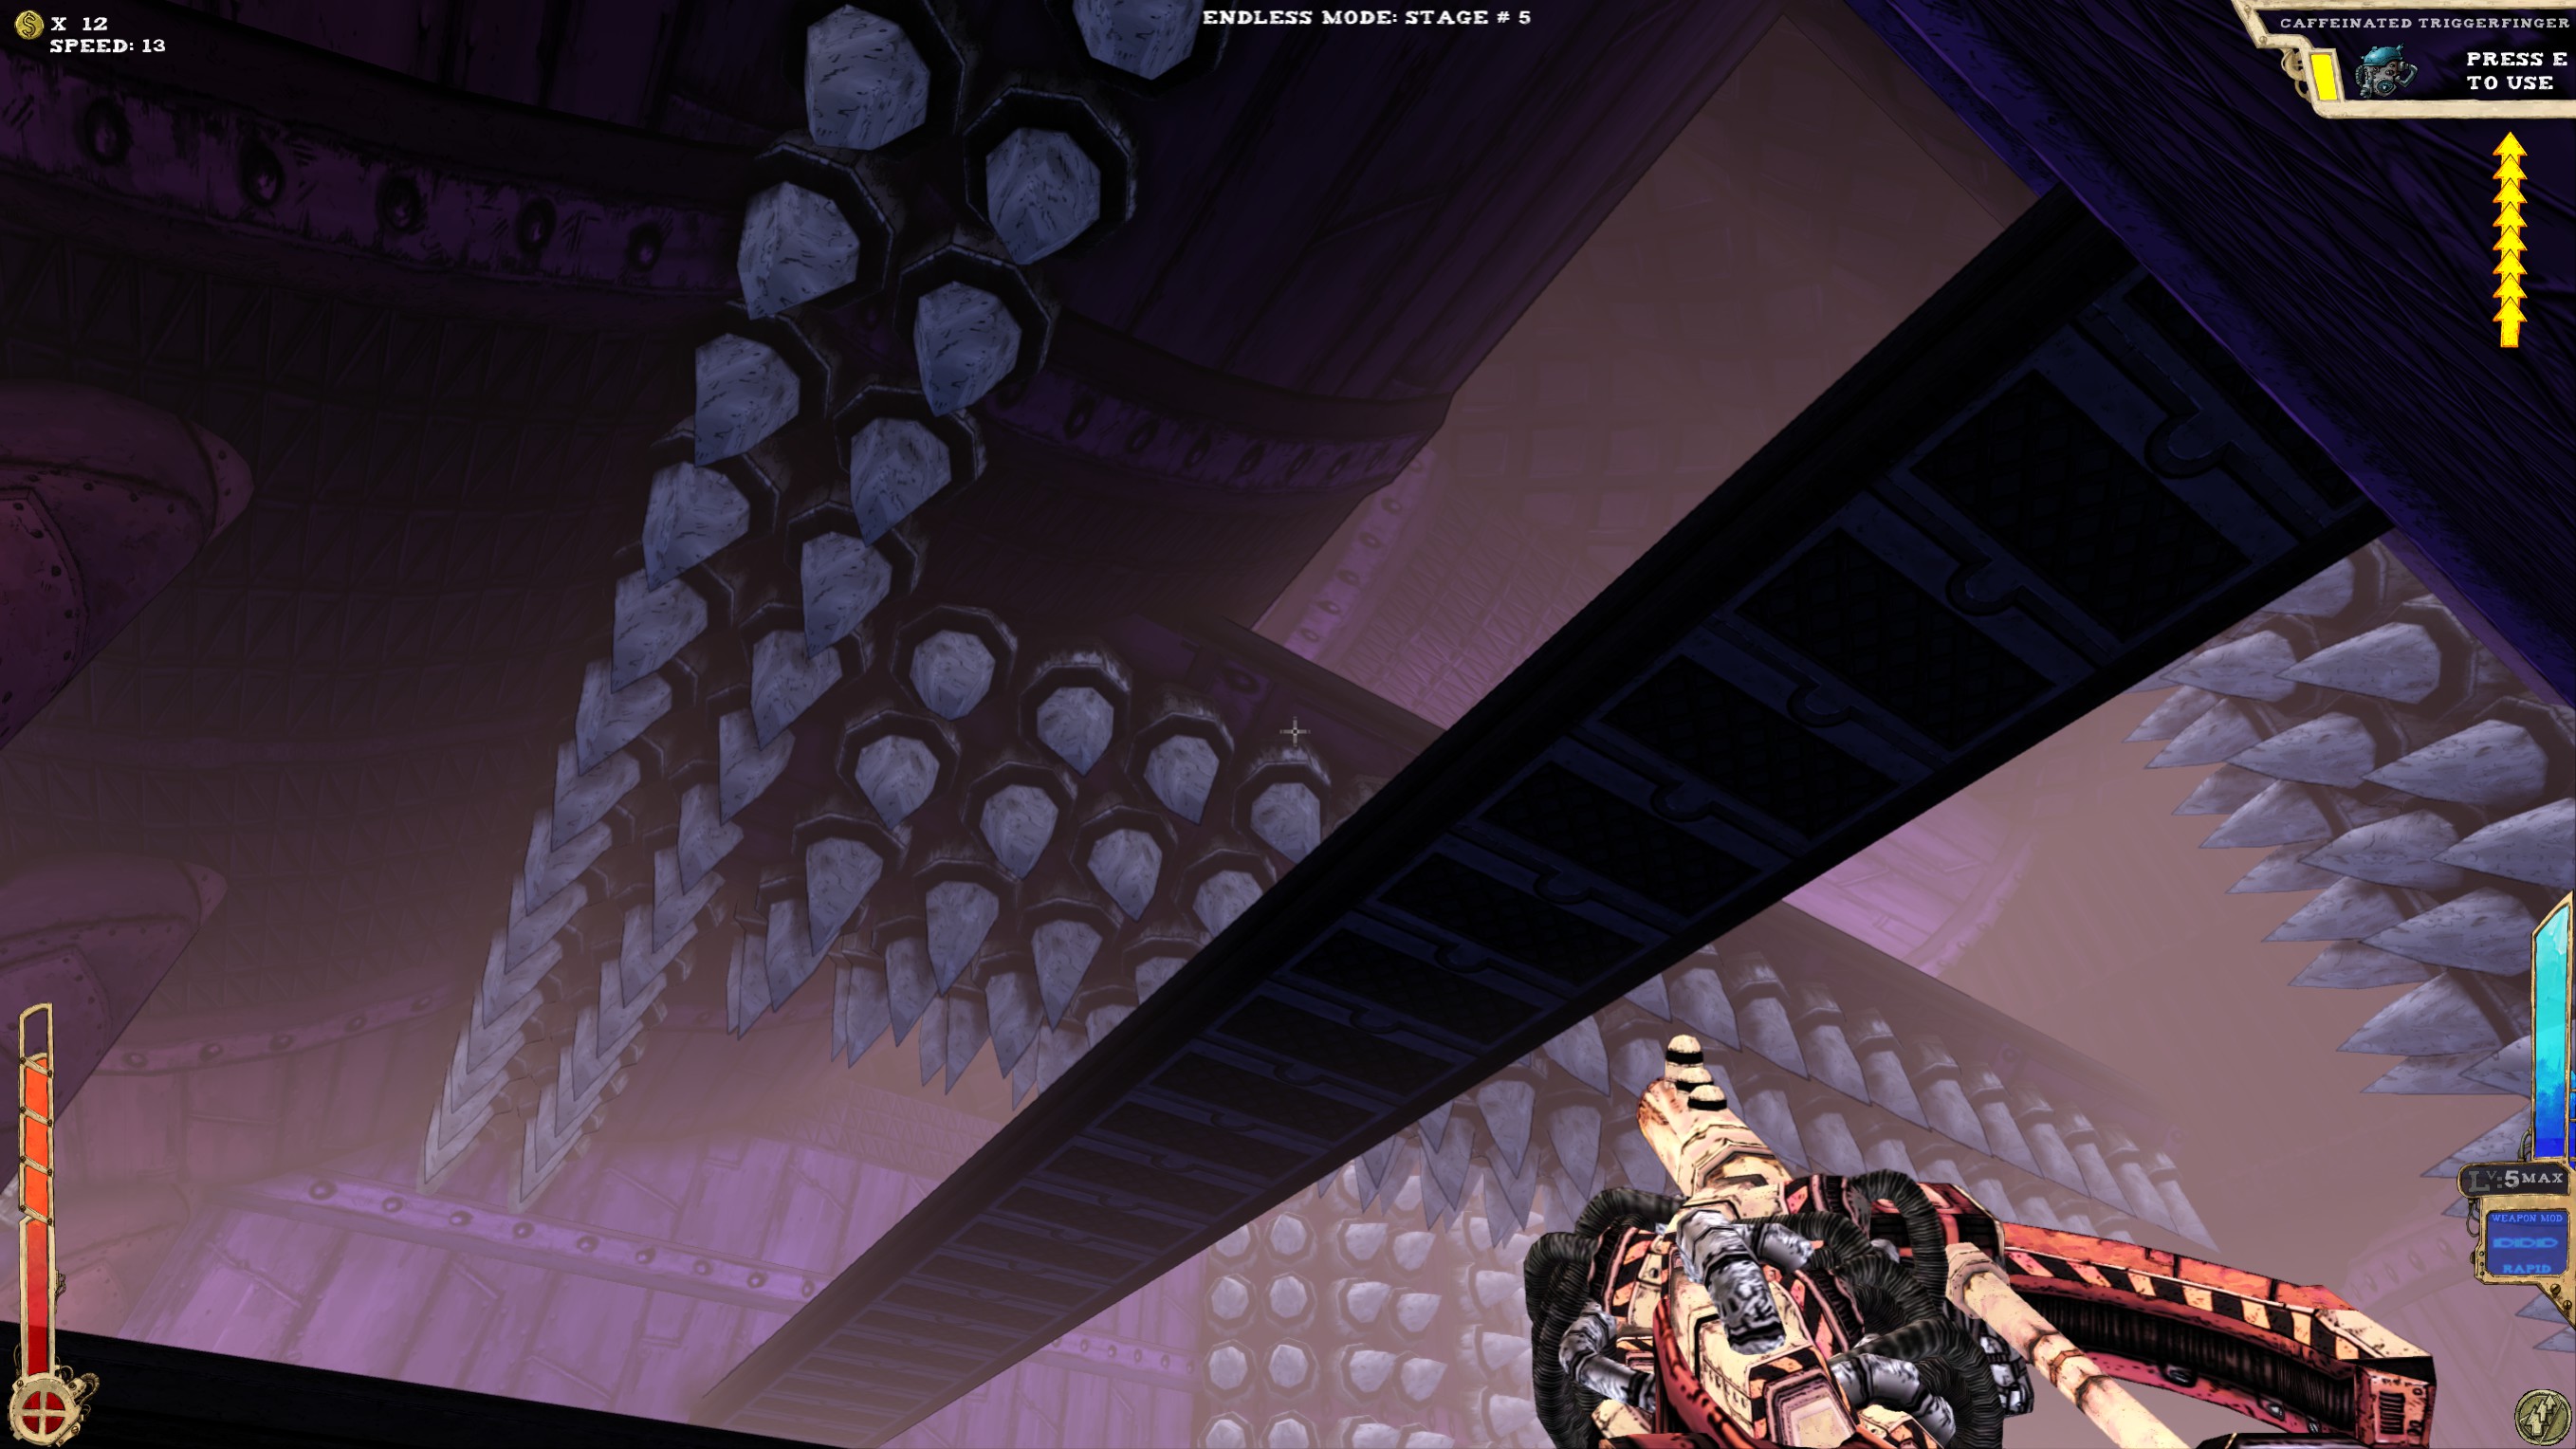 Up there's the second secret.
The Sanctum also leads to the Crow's Nest. If you haven't figured out how to get there yet, you really need to explore your surroundings more.
This secret is located left from the entrance, up behind a wall. You should be able to spot a little ledge sticking out.Either have enough jumps, a good item or try and start from the pipes close to the exit, from there jump onto the spikes (you don't take damake on top of them) and from there you should be able to reach the secret.
----
The secret is on a platform right above the entrance. Best reached from the upper part of the room.----
Hard to miss. It's at the end of the tunnel, on a platform right after the Jelly.The third picture shows an alternative route through a fake wall, where you'll end up behind the secret.
----
Go left from the entrance and in between two of those rotating spike things in the wall is a secret, behind a fake wall.----
Two secrets. The first one being on the platform under the spiked ceiling. Watch your head.Turn right at the entrance and jump into the wall I'm pointing at.----
One secret, under the ceiling.The wall is fake! Get in there!To get to this part, you'll either have to have enough jumps, an appropriate item OR you can drop down to the bottom of the room and get into the teleporter. If the first two methods aren't working out, the third one is the way to go. Watch out for all the spikes though.
----
Two secrets.Go down the middle, turn around and you should see the ramp in the picture. Behind it is a fake wall.Up there's the second secret.The Sanctum also leads to the Crow's Nest. If you haven't figured out how to get there yet, you really need to explore your surroundings more.
The Crow's Nest
Home of the final final boss.
If you've never been there, you never actually finished the game properly.
There's only one single secret (Thanks to Twisted Santa for pointing it out!)
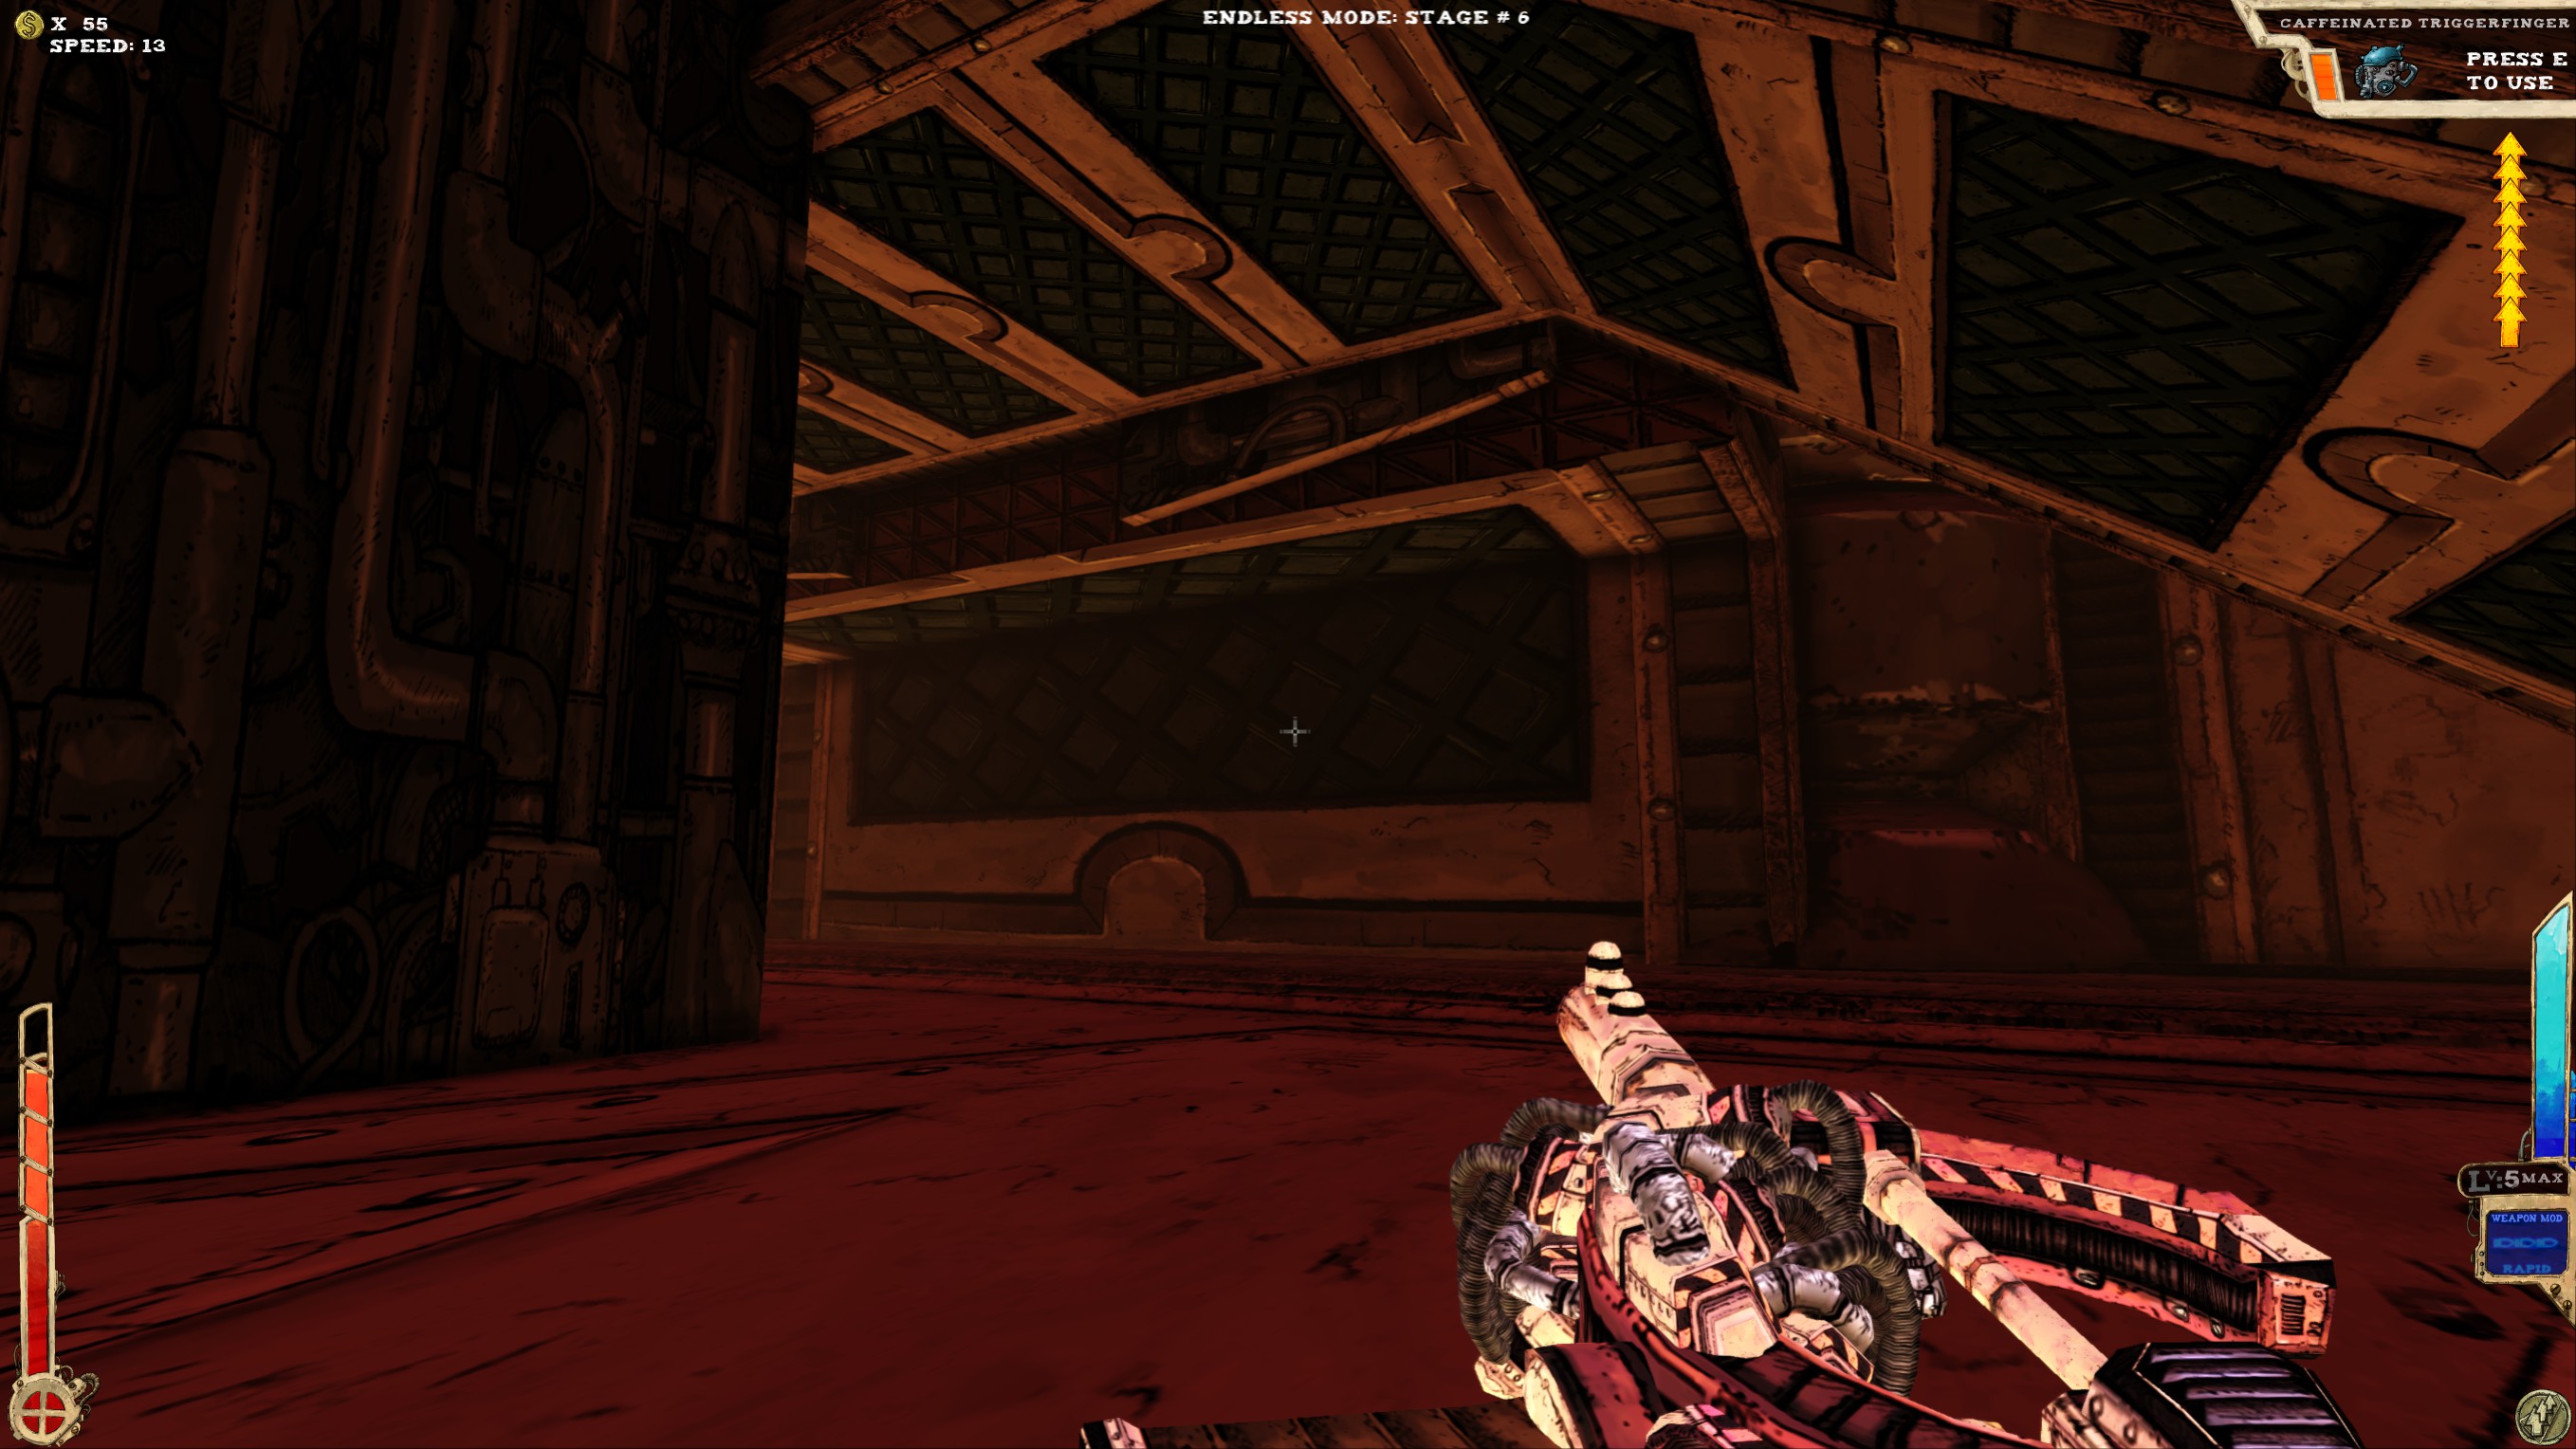 After descending the elevator, get to the ground level and look back under the platform. Waltz right in there.
If you've never been there, you never actually finished the game properly.
There's only one single secret (Thanks to Twisted Santa for pointing it out!)
After descending the elevator, get to the ground level and look back under the platform. Waltz right in there.
Epilogue
The Crow's Nest doesn't have any secrets, at least the overall secrets found do not change after finishing the level.
Same with the Village.
Caketown apparently has a secret platform under the main platform, but I can't confirm that, as I've already well over 200 runs and the next time Caketown shows up, is apparently at run 3000 (thousand, yes).
And this concludes my (very first) guide!
It's extremely picture heavy and pretty much unstructured, but I still hope one or the other might find it useful.
Be also aware that I've stopped playing Tower of Guns.
I've played the game for 125h already and have about 250 runs (I think) and that's enough for now.
If any of you point me to a secret, I will try to confirm at, but other than that, I most likely won't play the game for a while.
Criticism? Questions? Secrets/rooms I've missed? Let me know!


This will be most likely the last update for this guide. Maybe we'll see each other in Mothergunship ;)
There is a third secret: in front of the exit door (on the opposite wall) there is a fake wall (between two columns)
http://images.akamai.steamusercontent.com/ugc/487822023923176211/AC99099DD1DE2B45FC9CDD40755D61009B16AD20/
The lava pool beside you has a slightly deeper portion near the wall with a secret at the bottom.